
artanis is probably the only protoss character whose cutscene model matches the ingame portrait


-
Welcome to rpgcodex.net, a site dedicated to discussing computer based role-playing games in a free and open fashion. We're less strict than other forums, but please refer to the rules.
"This message is awaiting moderator approval": All new users must pass through our moderation queue before they will be able to post normally. Until your account has "passed" your posts will only be visible to yourself (and moderators) until they are approved. Give us a week to get around to approving / deleting / ignoring your mundane opinion on crap before hassling us about it. Once you have passed the moderation period (think of it as a test), you will be able to post normally, just like all the other retards.
You are using an out of date browser. It may not display this or other websites correctly.
You should upgrade or use an alternative browser.
You should upgrade or use an alternative browser.
Completed Starcraft : Brood War LP
- Thread starter Ninja Destroyer
- Start date


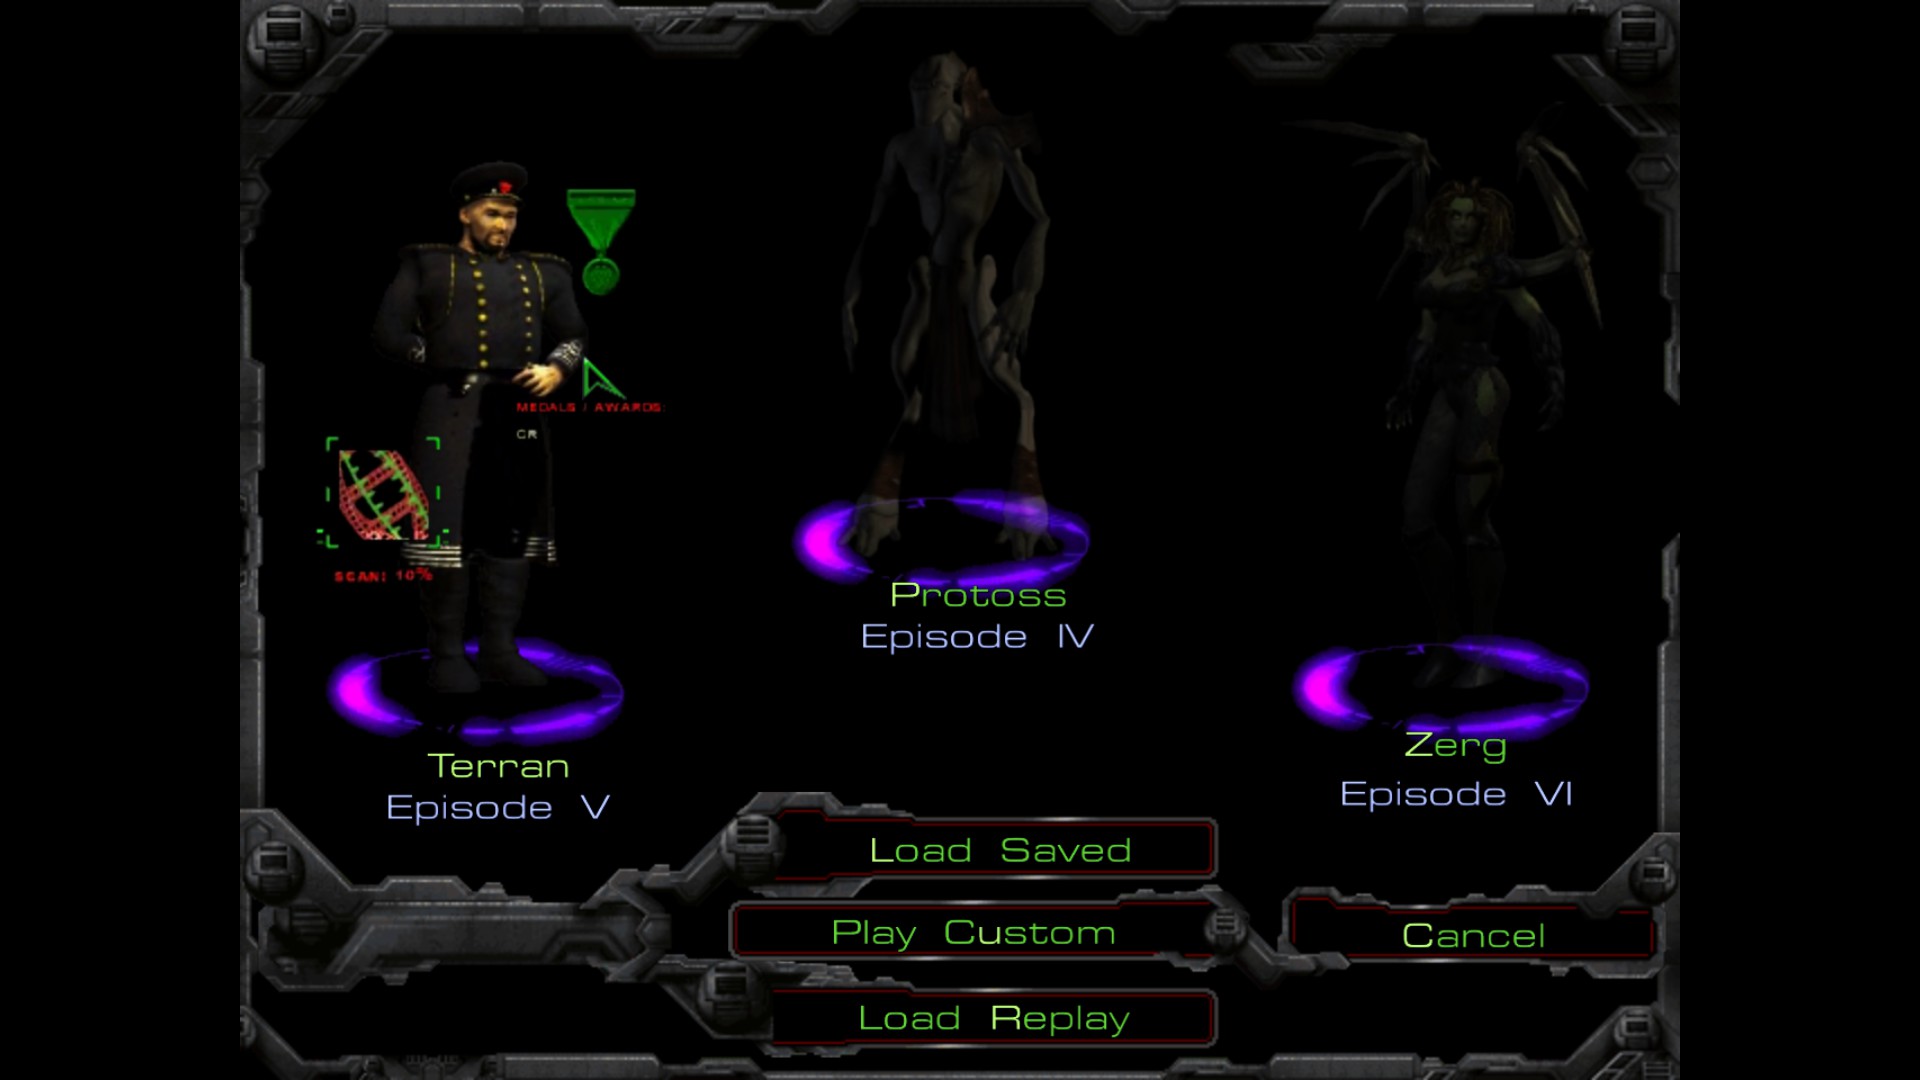
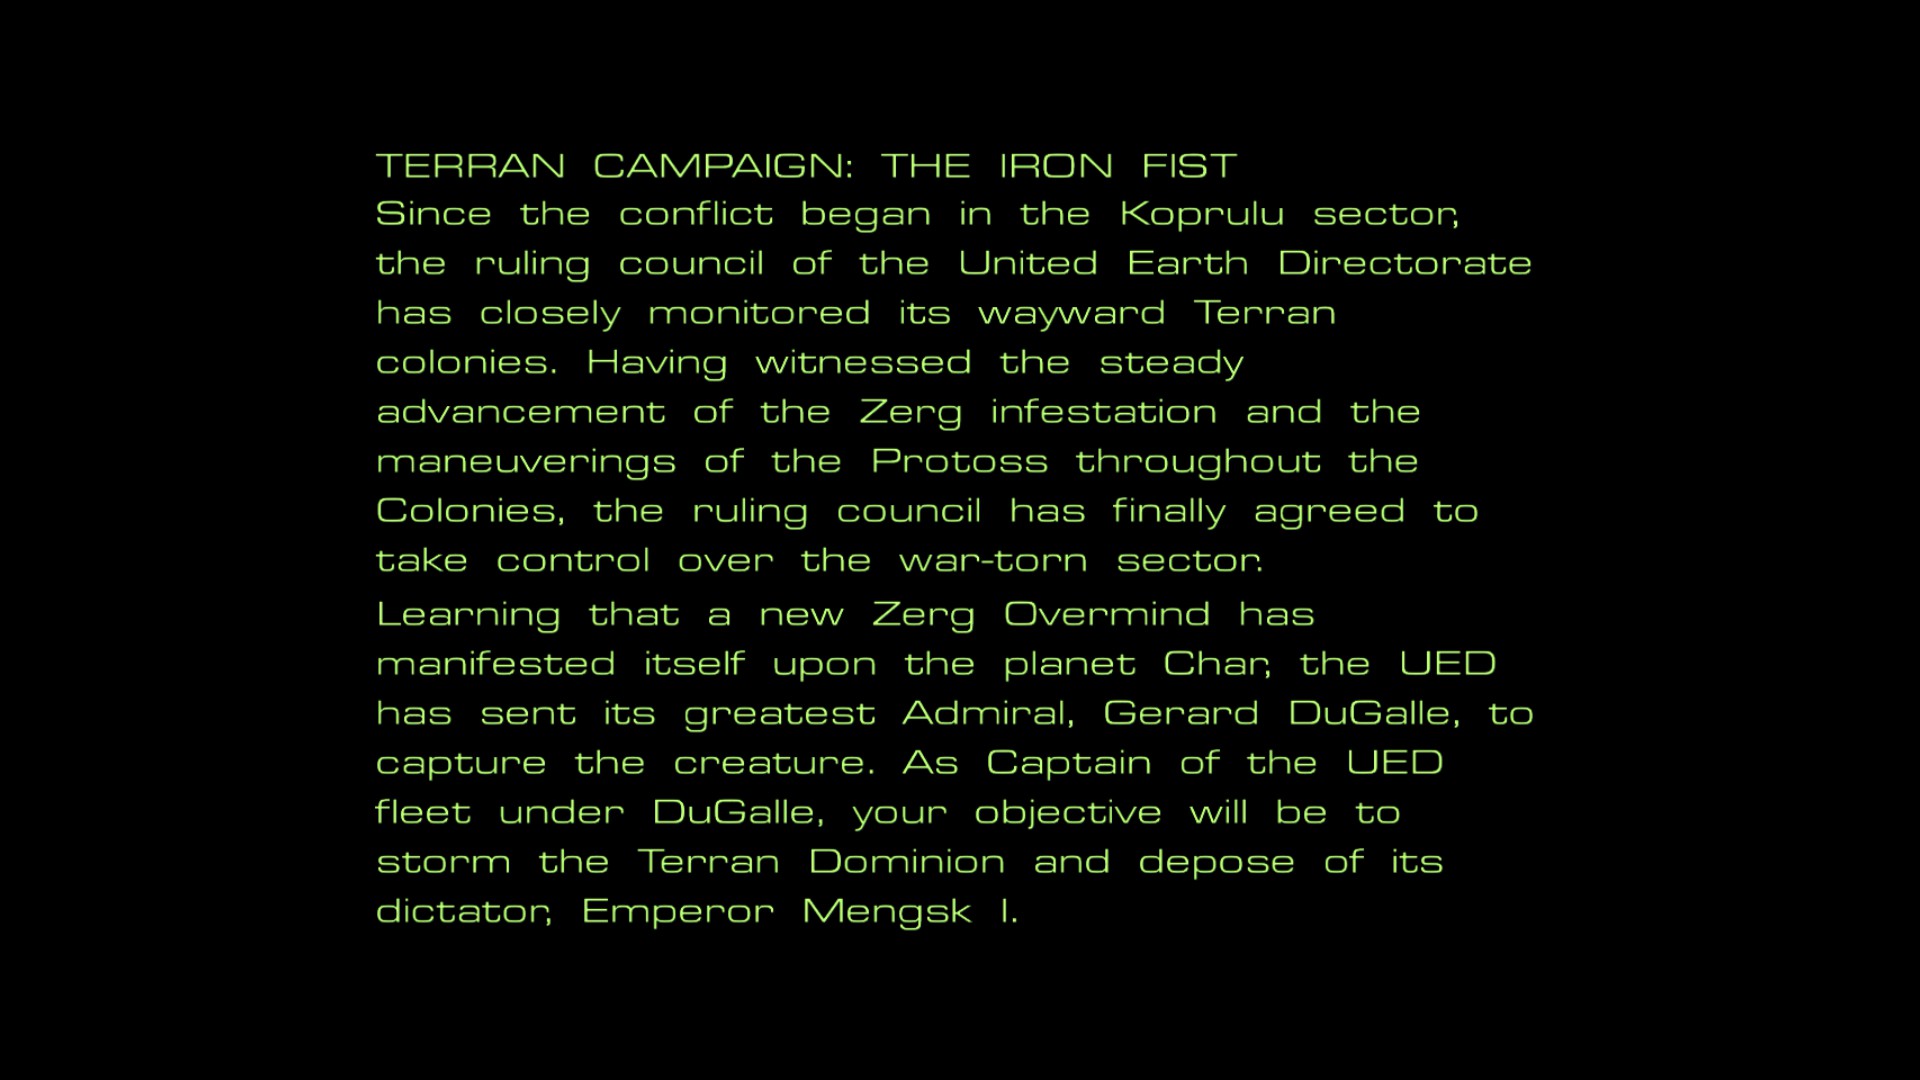
Terran (United Earth Directorate) campaign
Mission I : First Strike


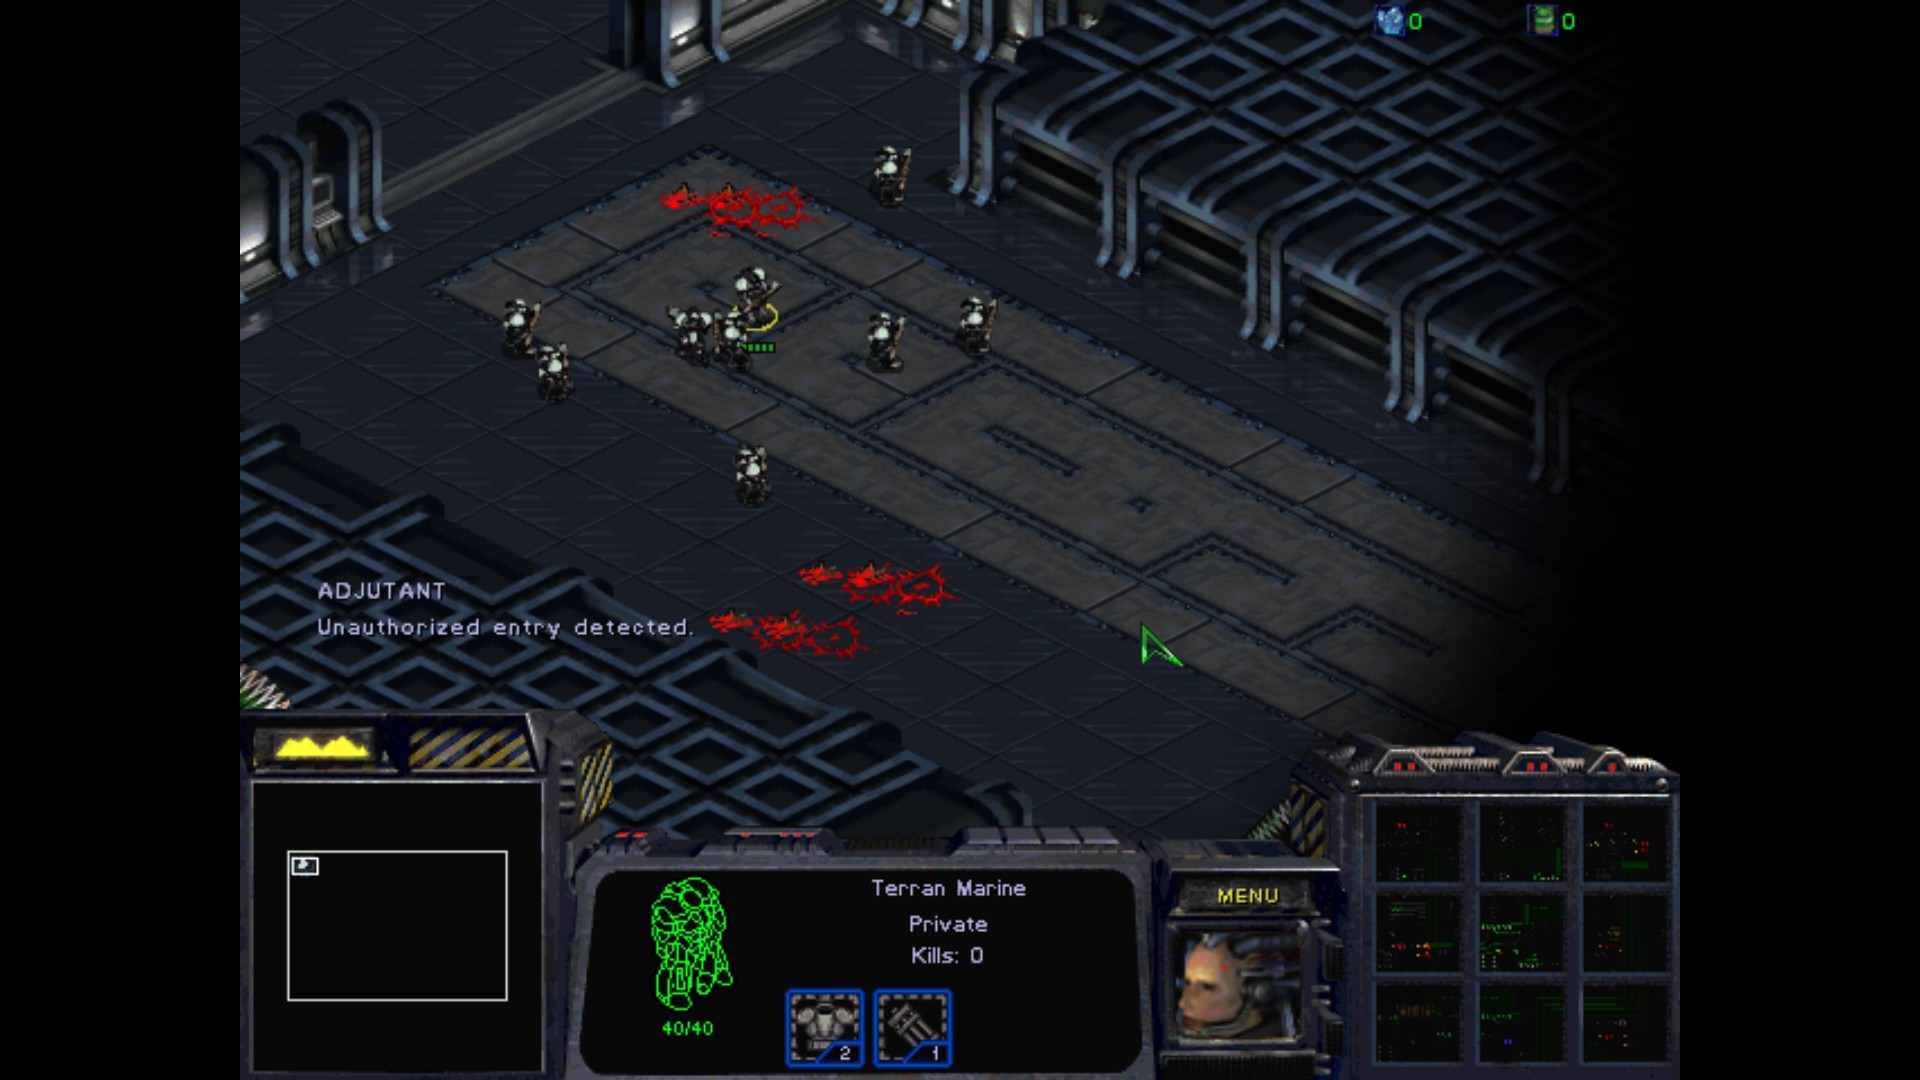
Adjutant online.
Good morning, Captain. Our long voyage from Earth is over, and we are holding a stationary position near the borders of Dominion space.
I trust that the effects from your long cold sleep have worn off by now.
If not, the Med Officer can provide you with additional CryoStim supplements. Admial DuGalle has issued a proclamation to the entire fleet via transmat.
I'll patch it through to you now.

Attention! Defenders of the United Earth Directorate, this is Admiral DuGalle.
You were all briefed before we left Earth, so you know that we have come here to conquer this sector in the name of Humanity.
Should any of you have second thoughts about performing your assigned duties, be reminded that if we fail in our mission here, not one
of us will be going home. We stand or fall together in this forsaken wasteland!
Serve the Directorate. Serve Humanity. All other priorities are secondary to victory! DuGalle out.
Transmat completed. Receiving incoming transmission:

Good morning, Captain.
I am Vice Admiral Stukov, tactical advisor to Admiral DuGalle.
I see you've already reviewed his proclamation.
I'm sure it doesn't cover anything you weren't already familiar with.
Once you get to know the Admiral, I'm sure you'll find that he's actually quite personable.
At any rate, Captain, I do have orders for you.
As we are about to begin our invasion of the Dominion, we will need access to their primary datanet and weapons diagnostics.
To this end, you are to assault the outlying planet of Braxis, and take control of its capital city of Boralis.
You are to deploy your forces within two standard hours. The Admiral expects perfect results, Captain. Stukov out.
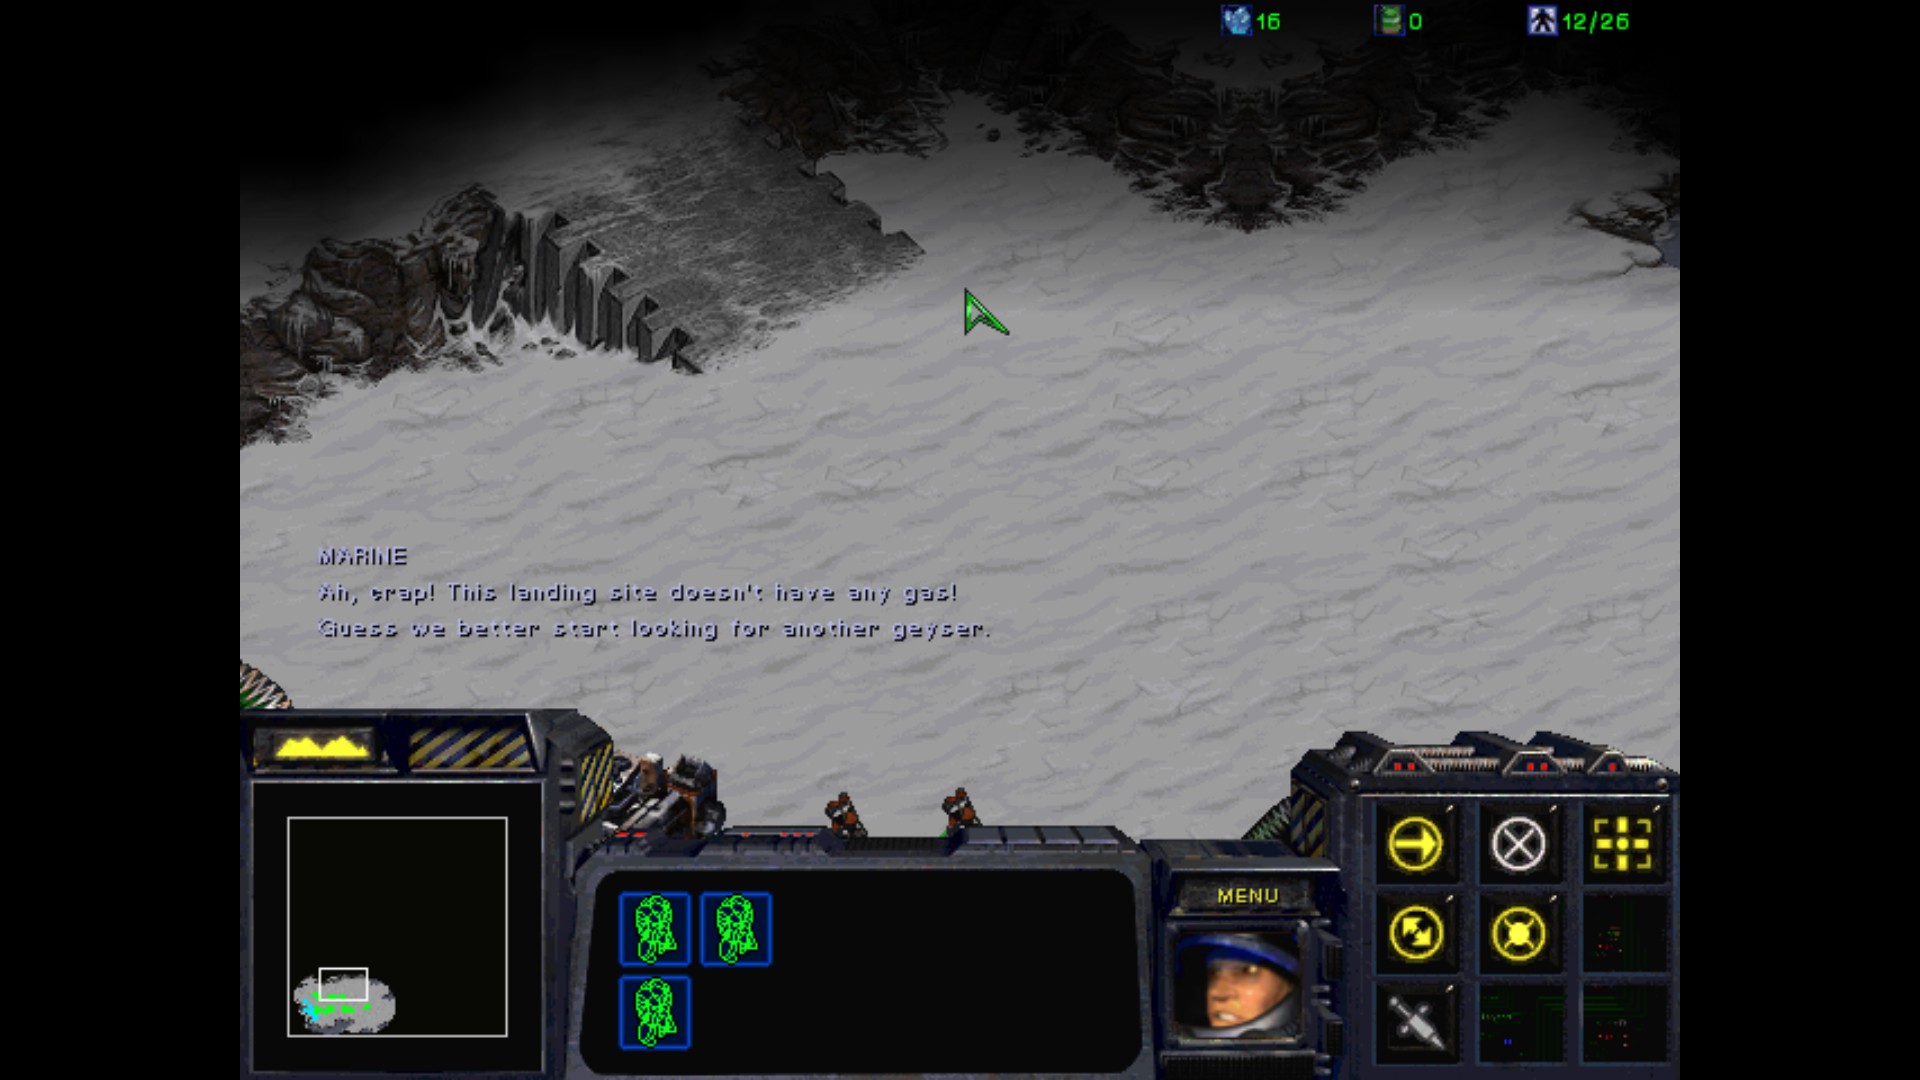
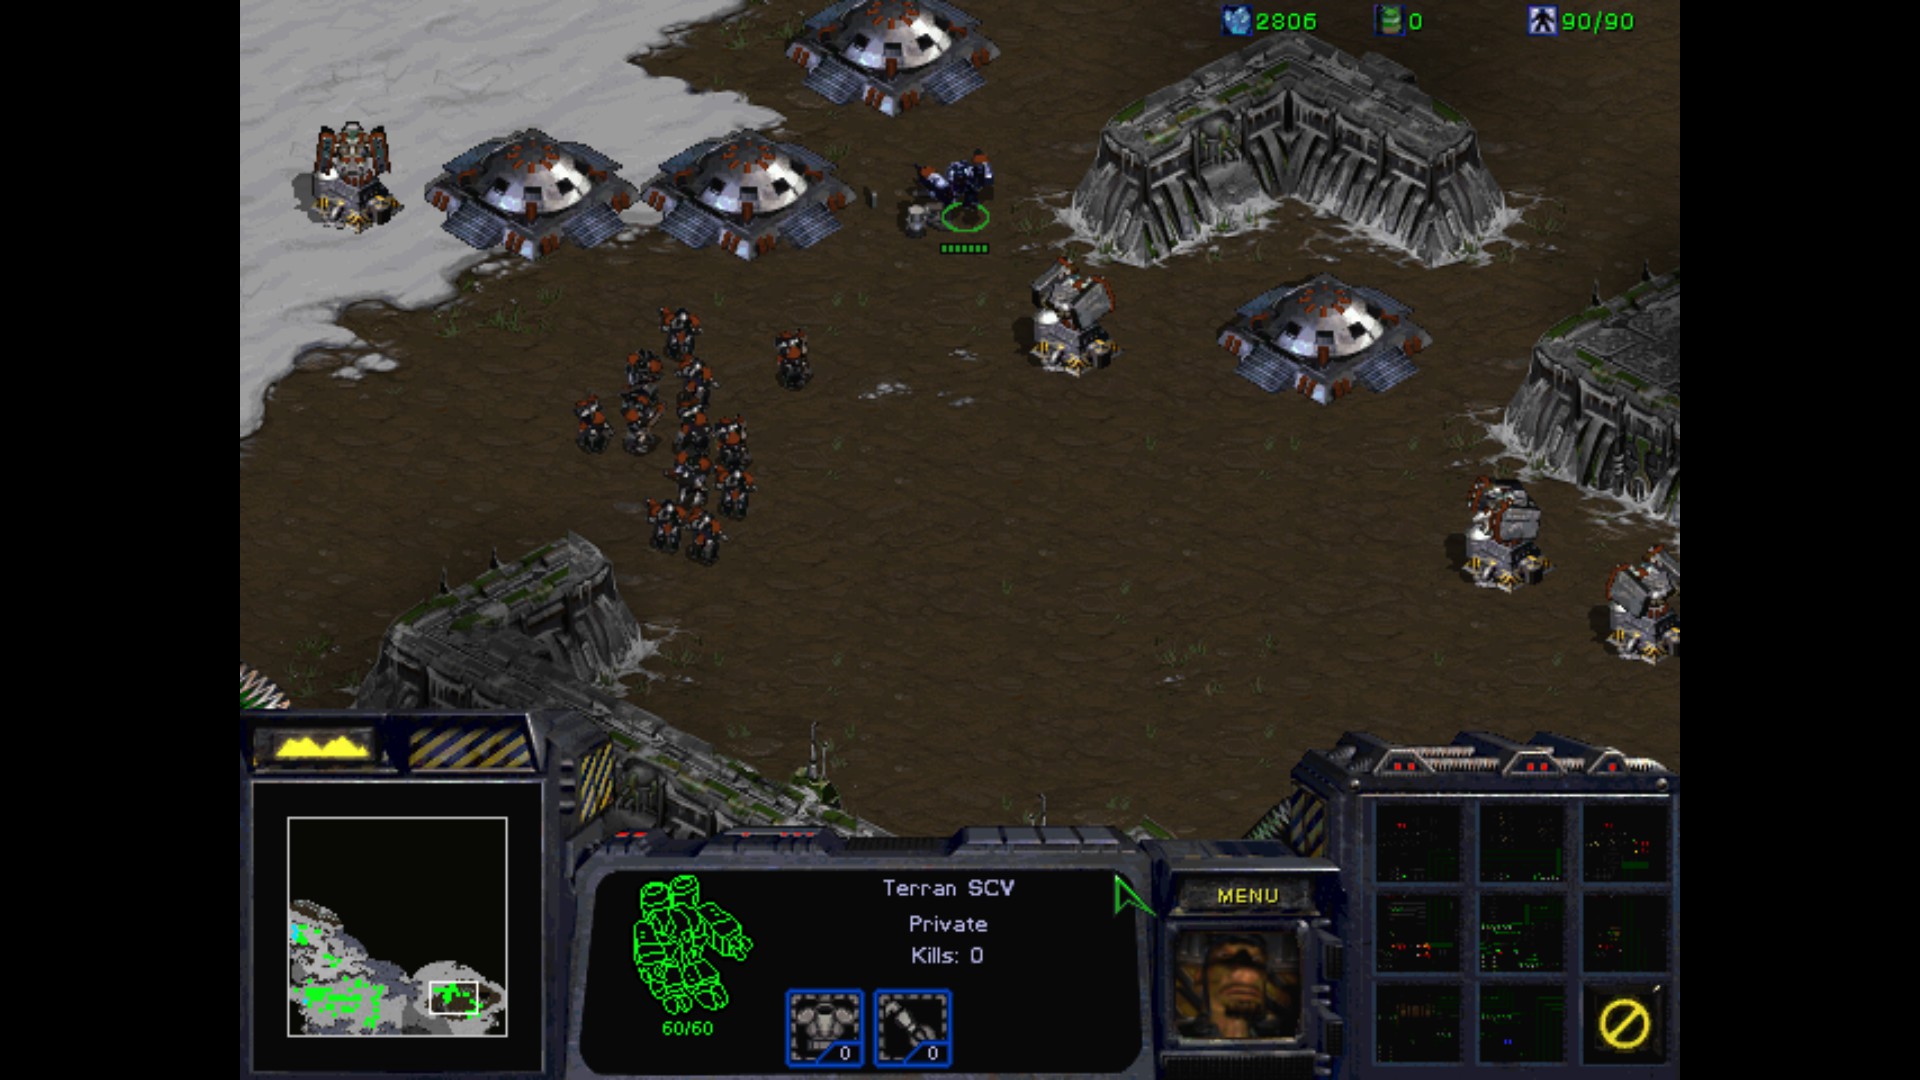
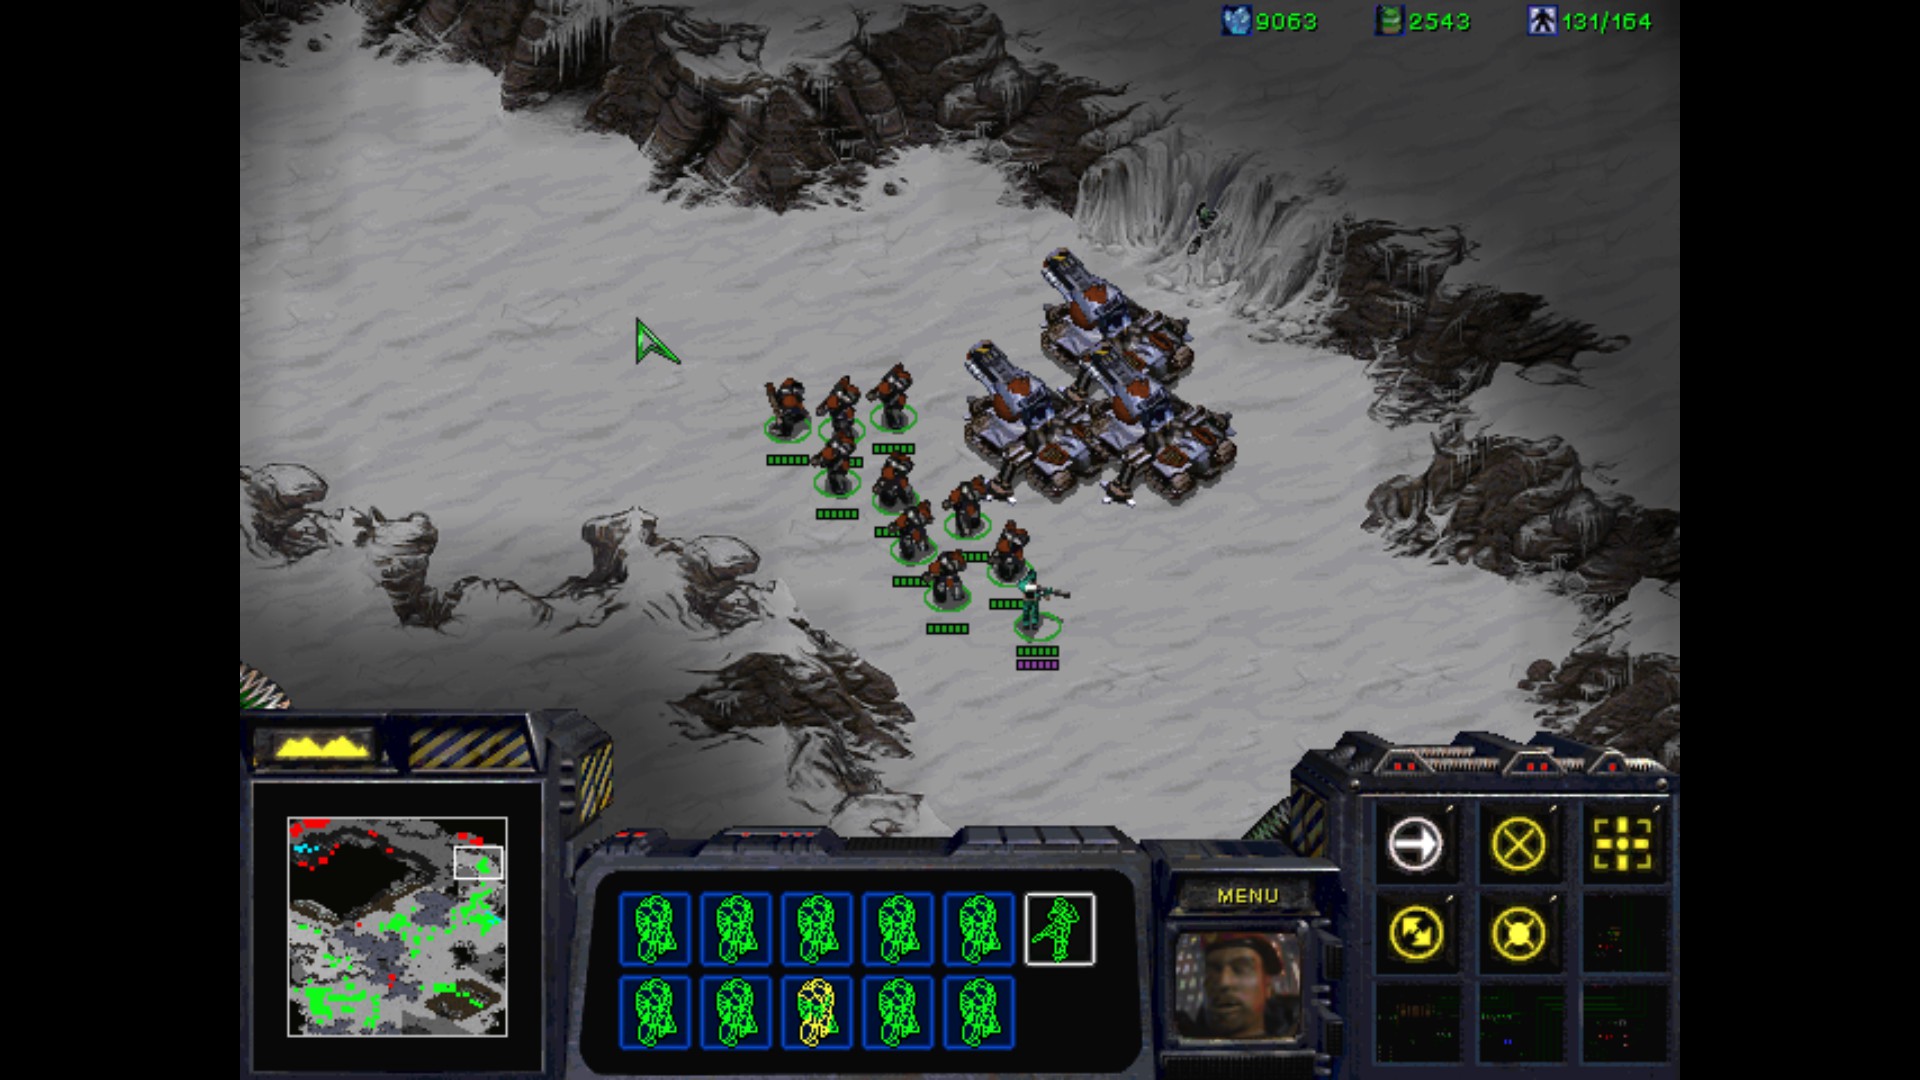
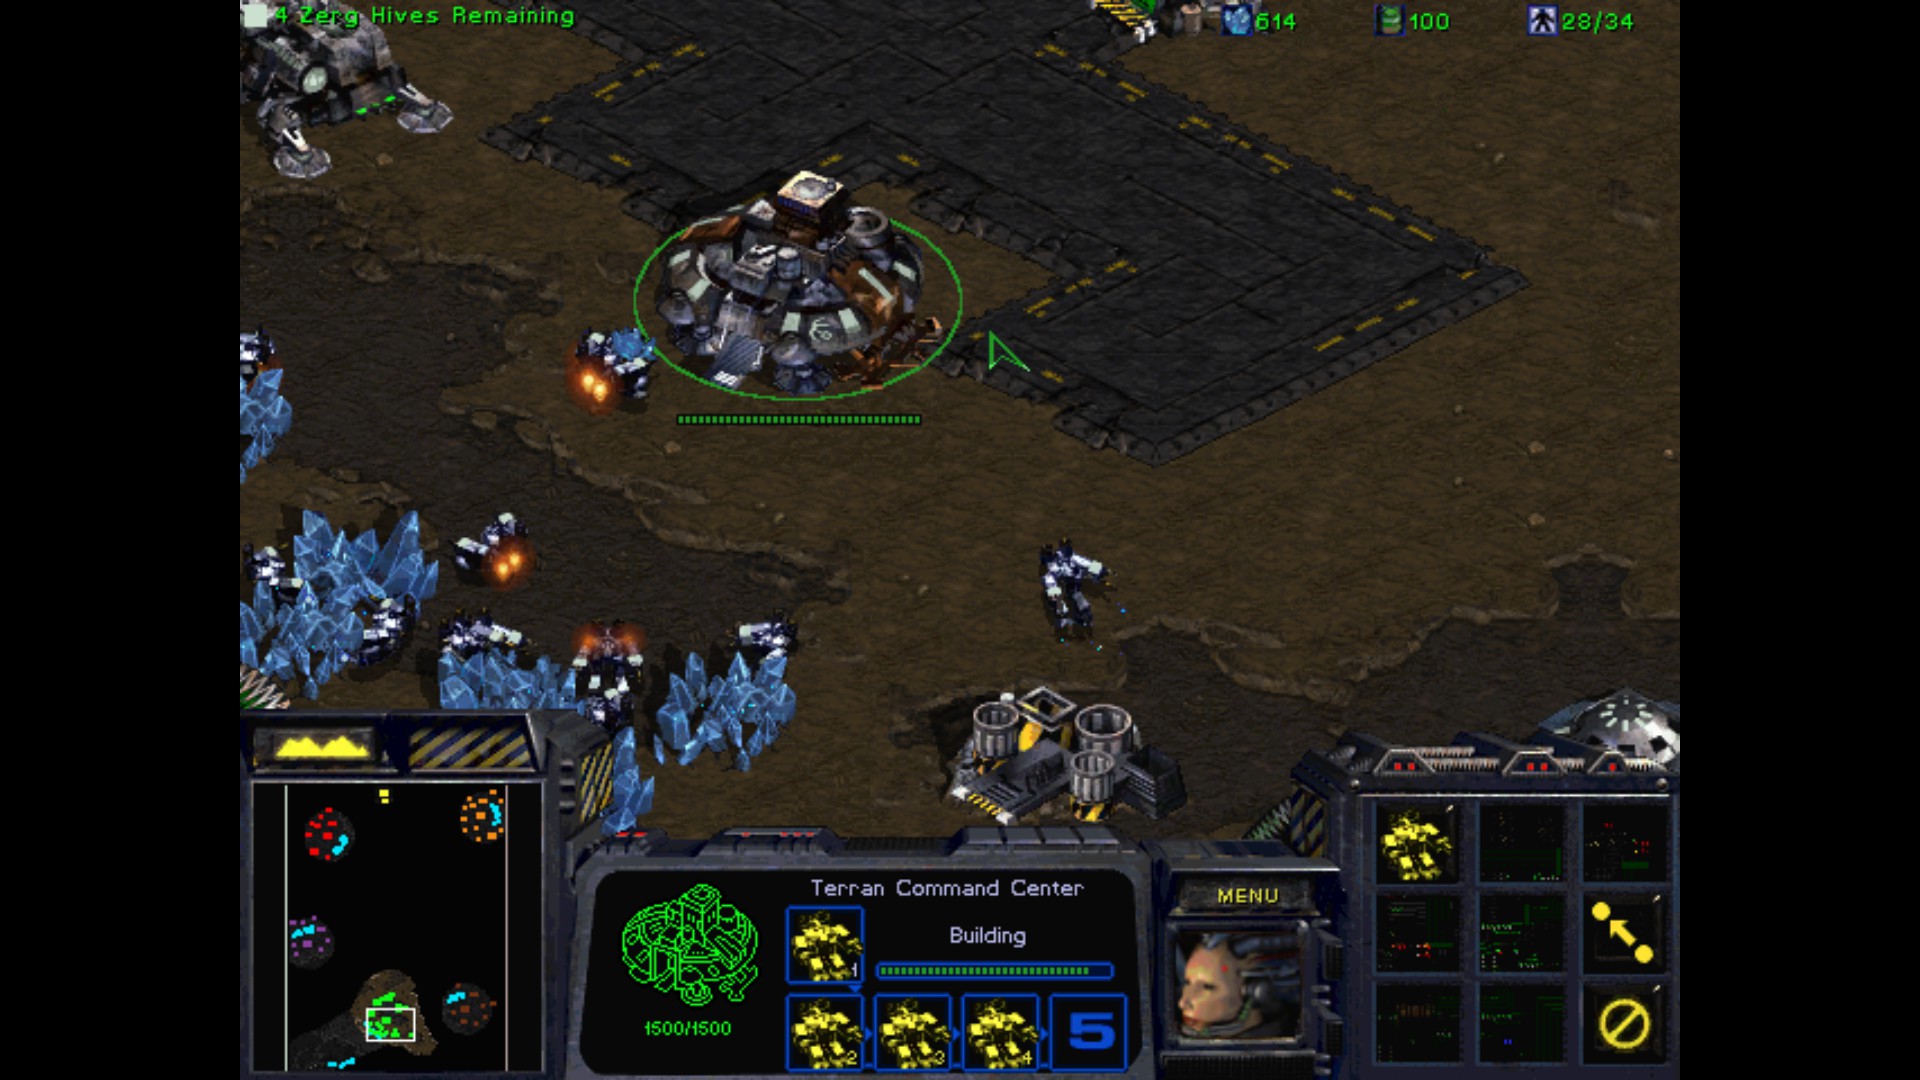
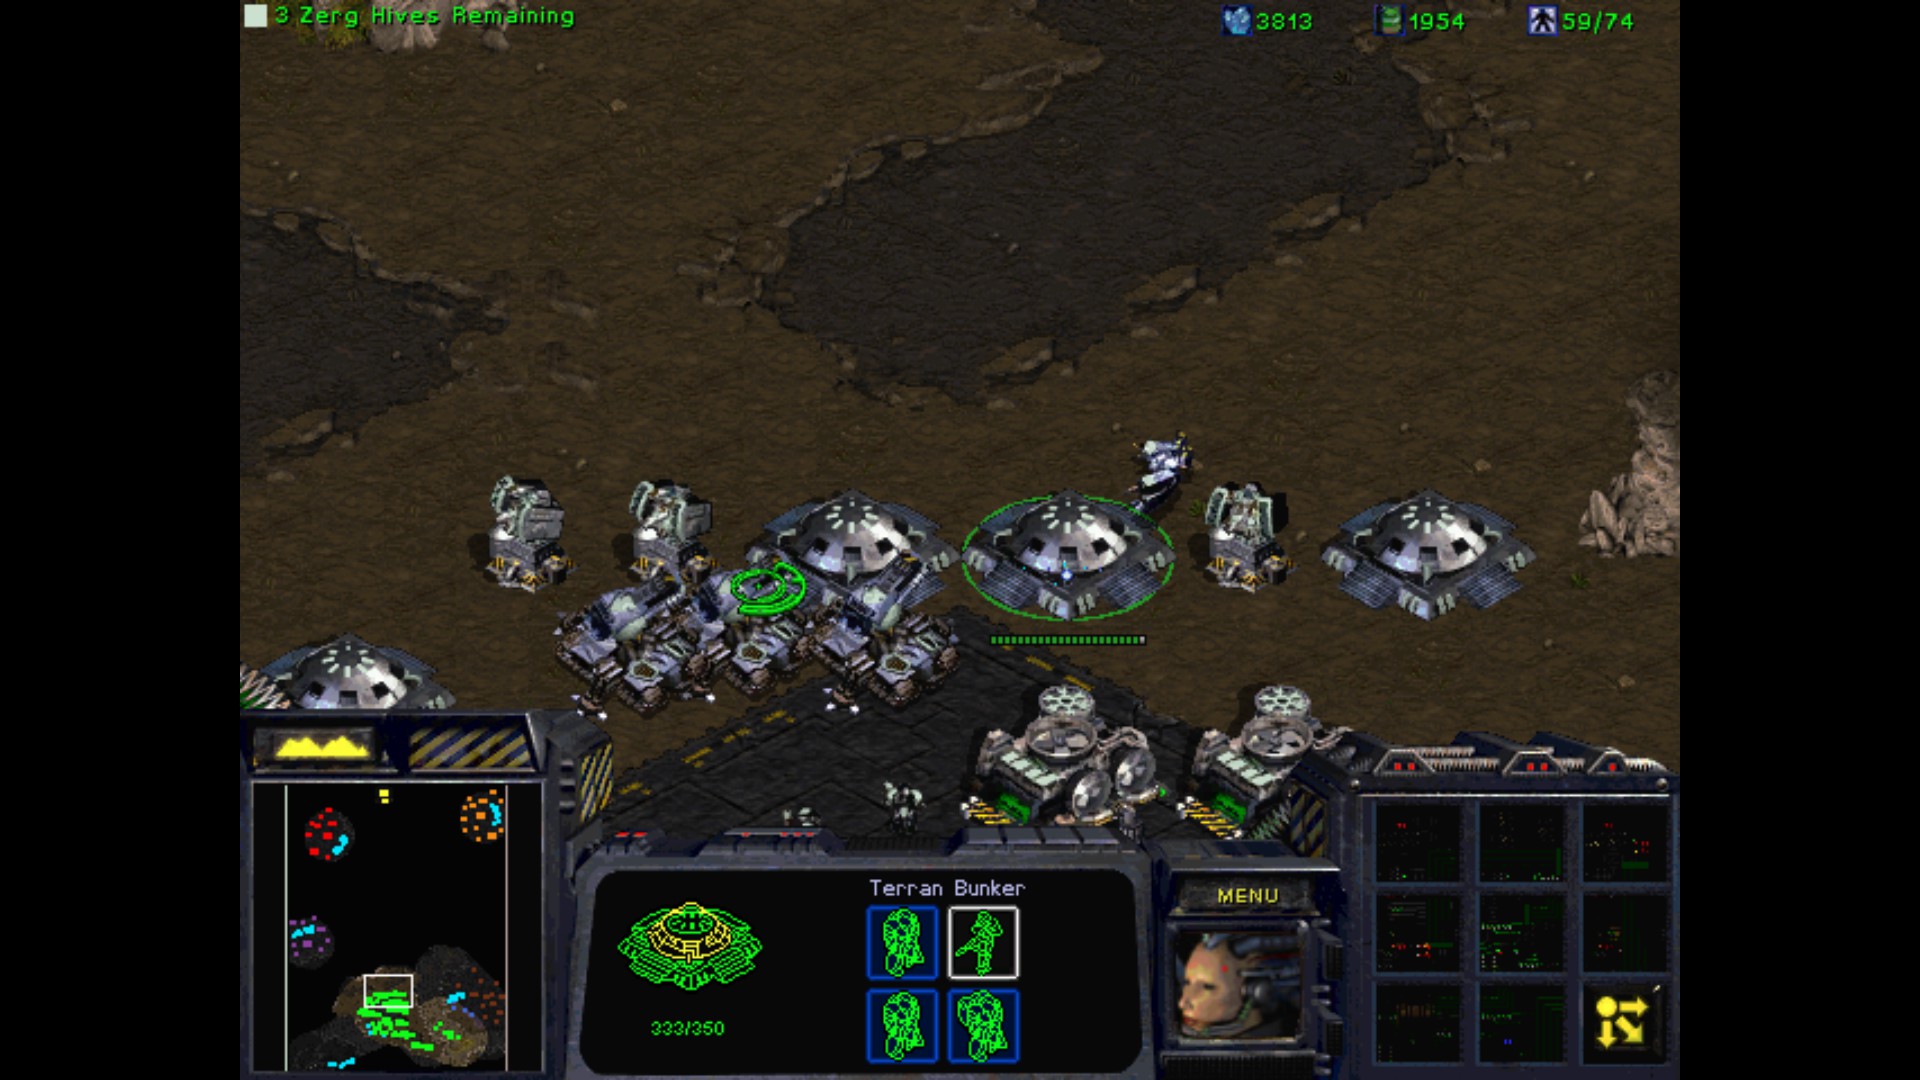
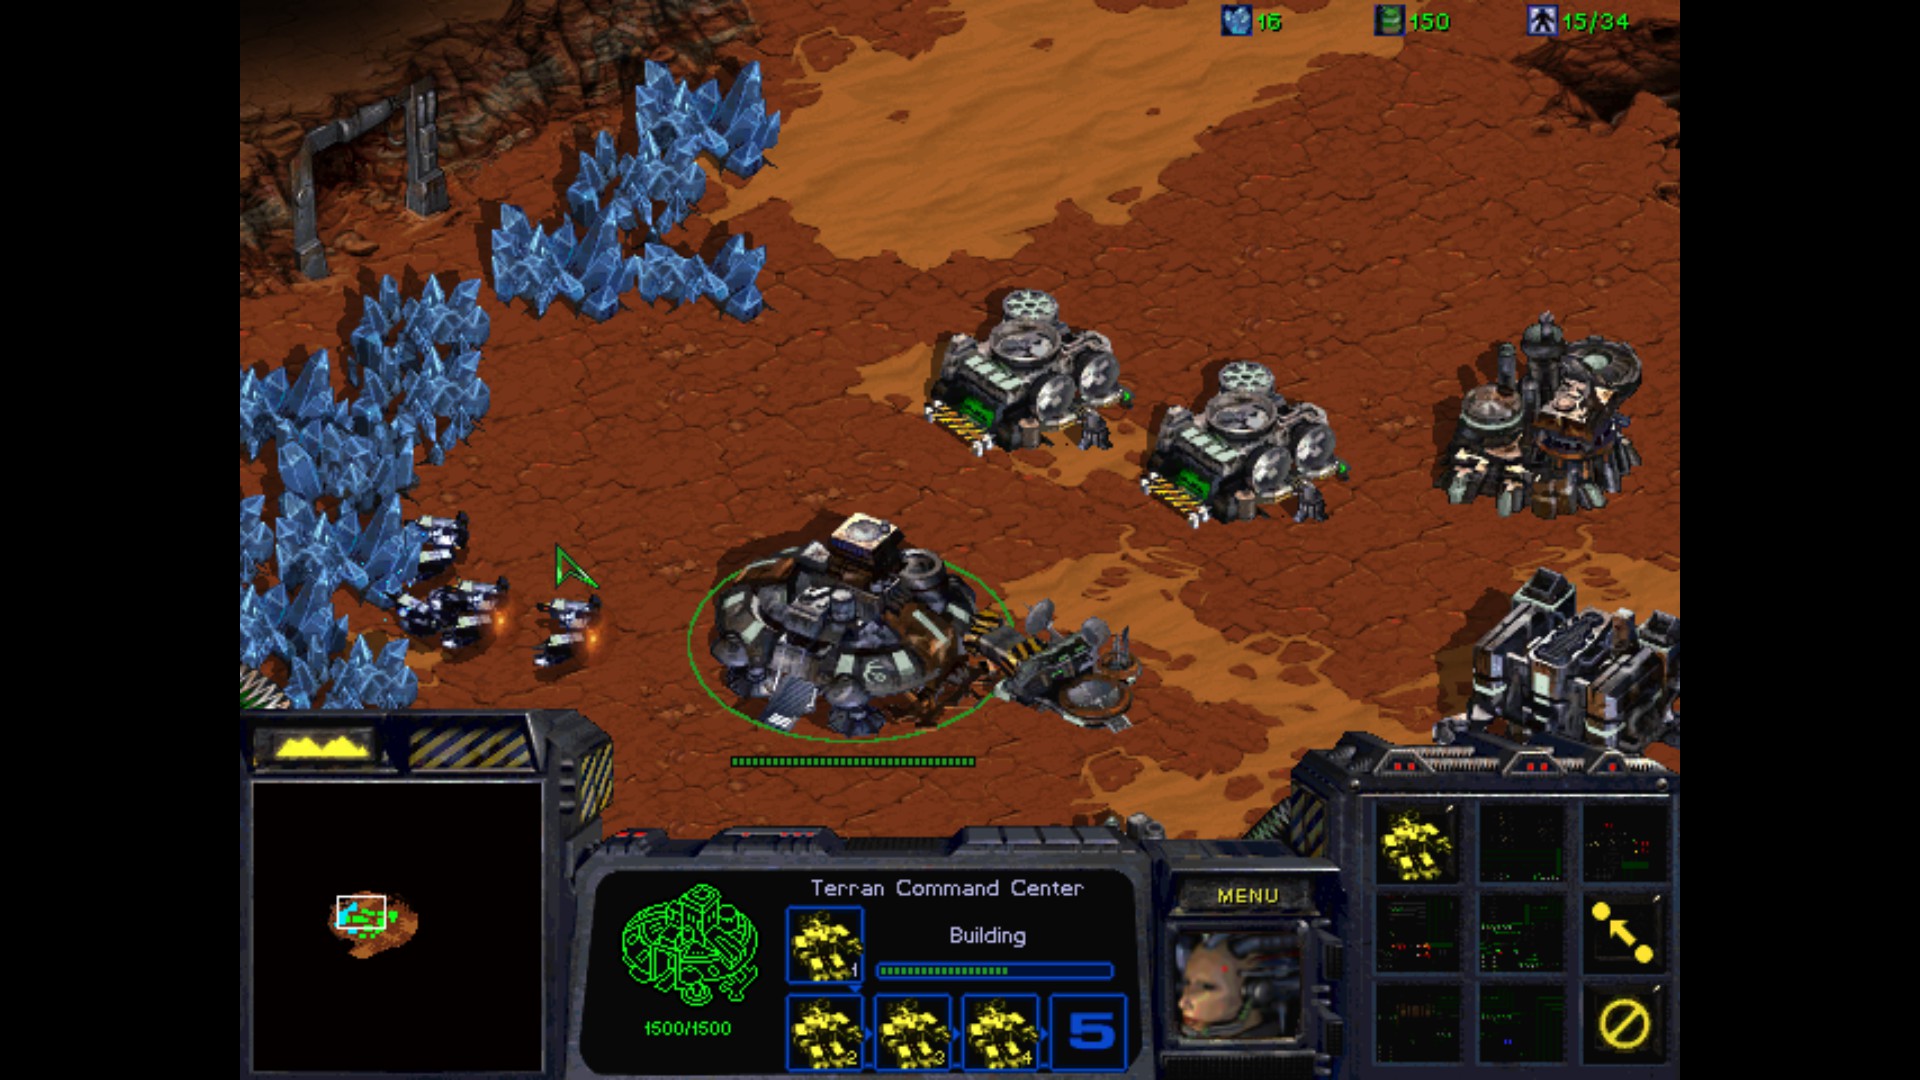
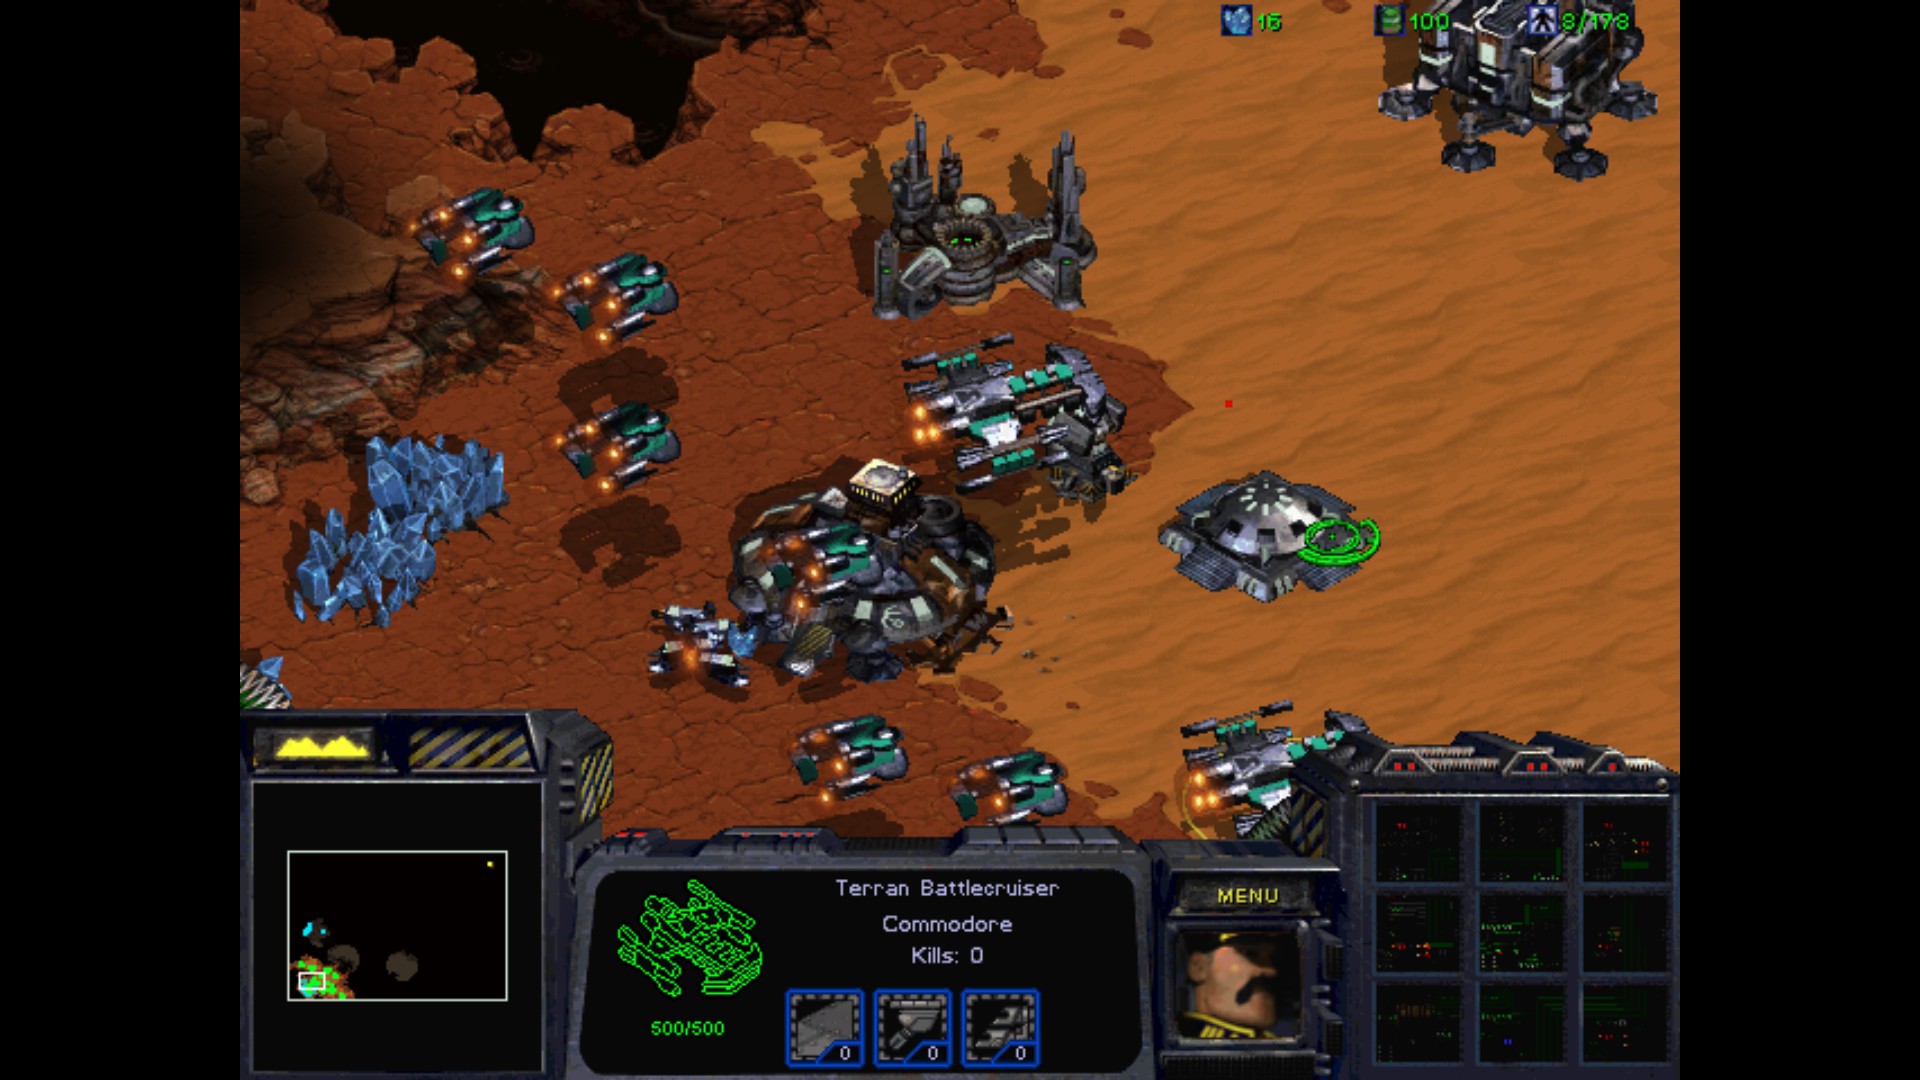
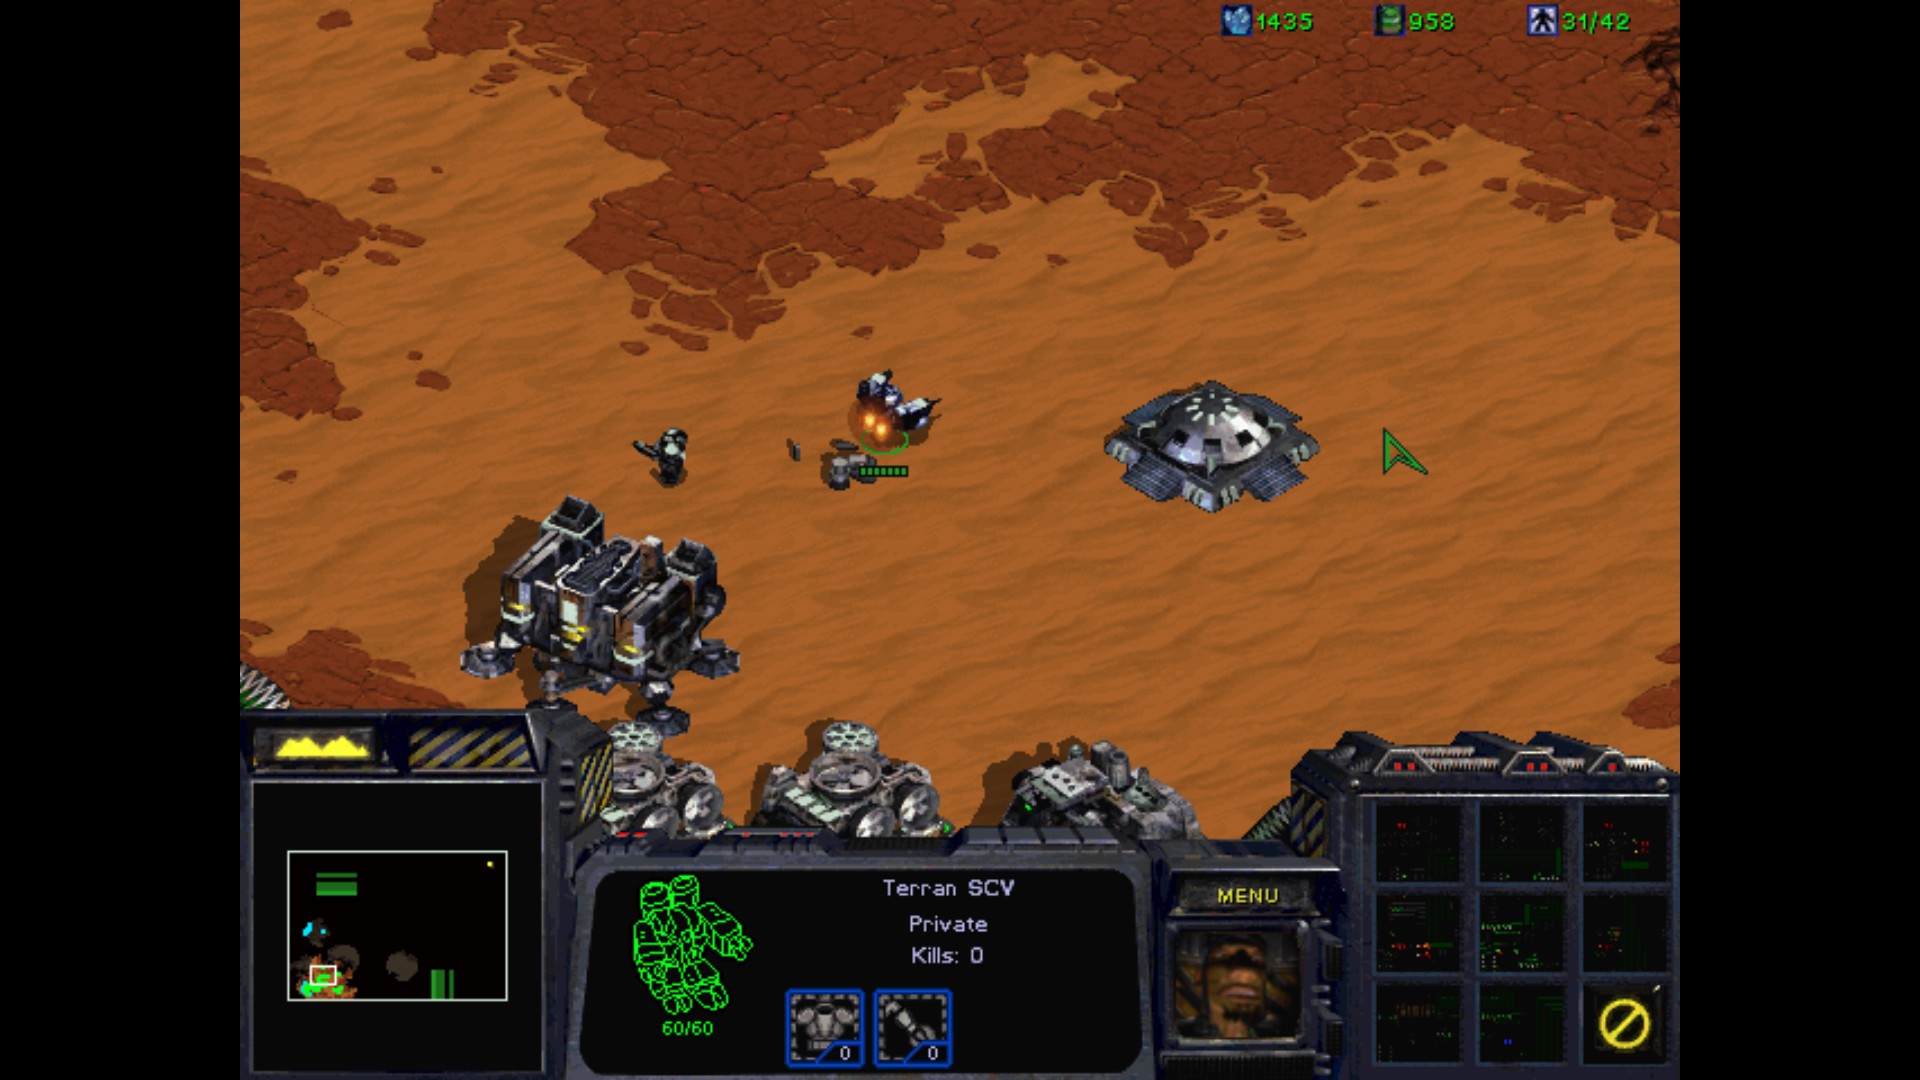
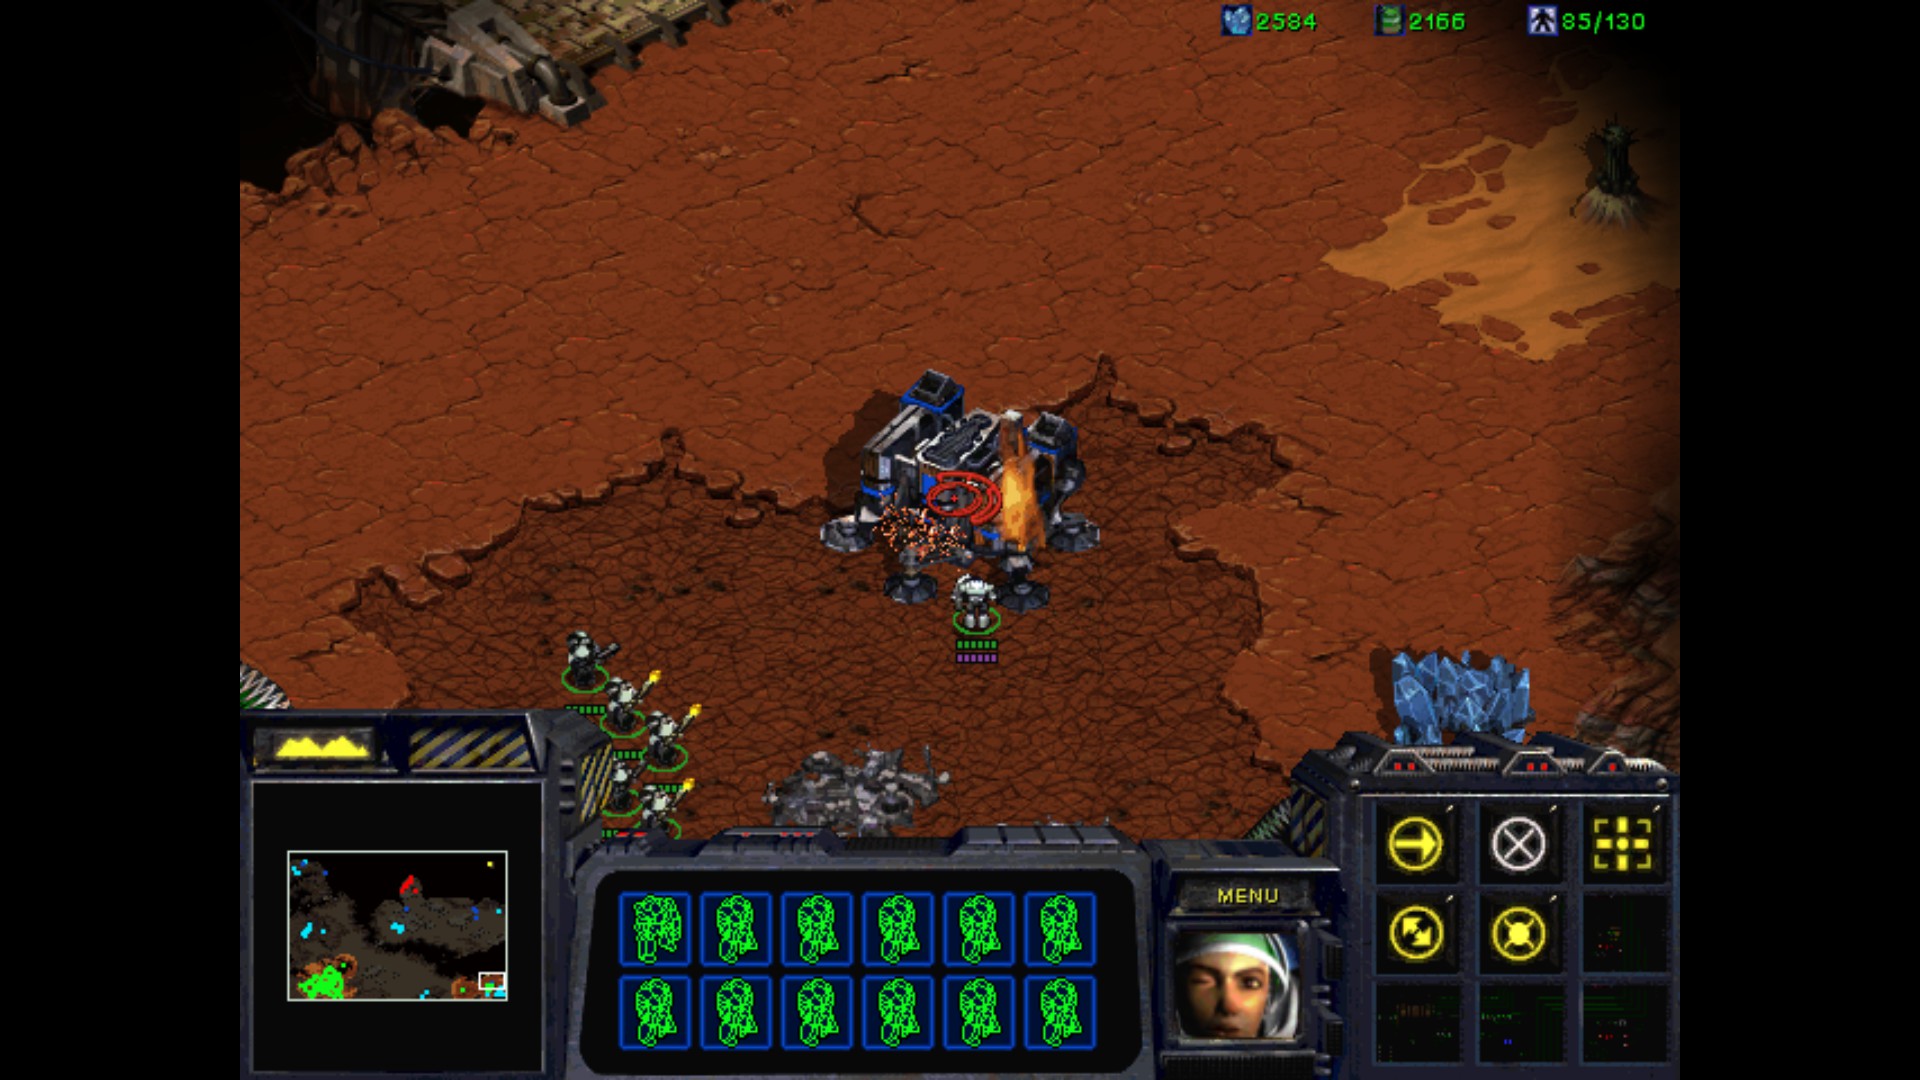
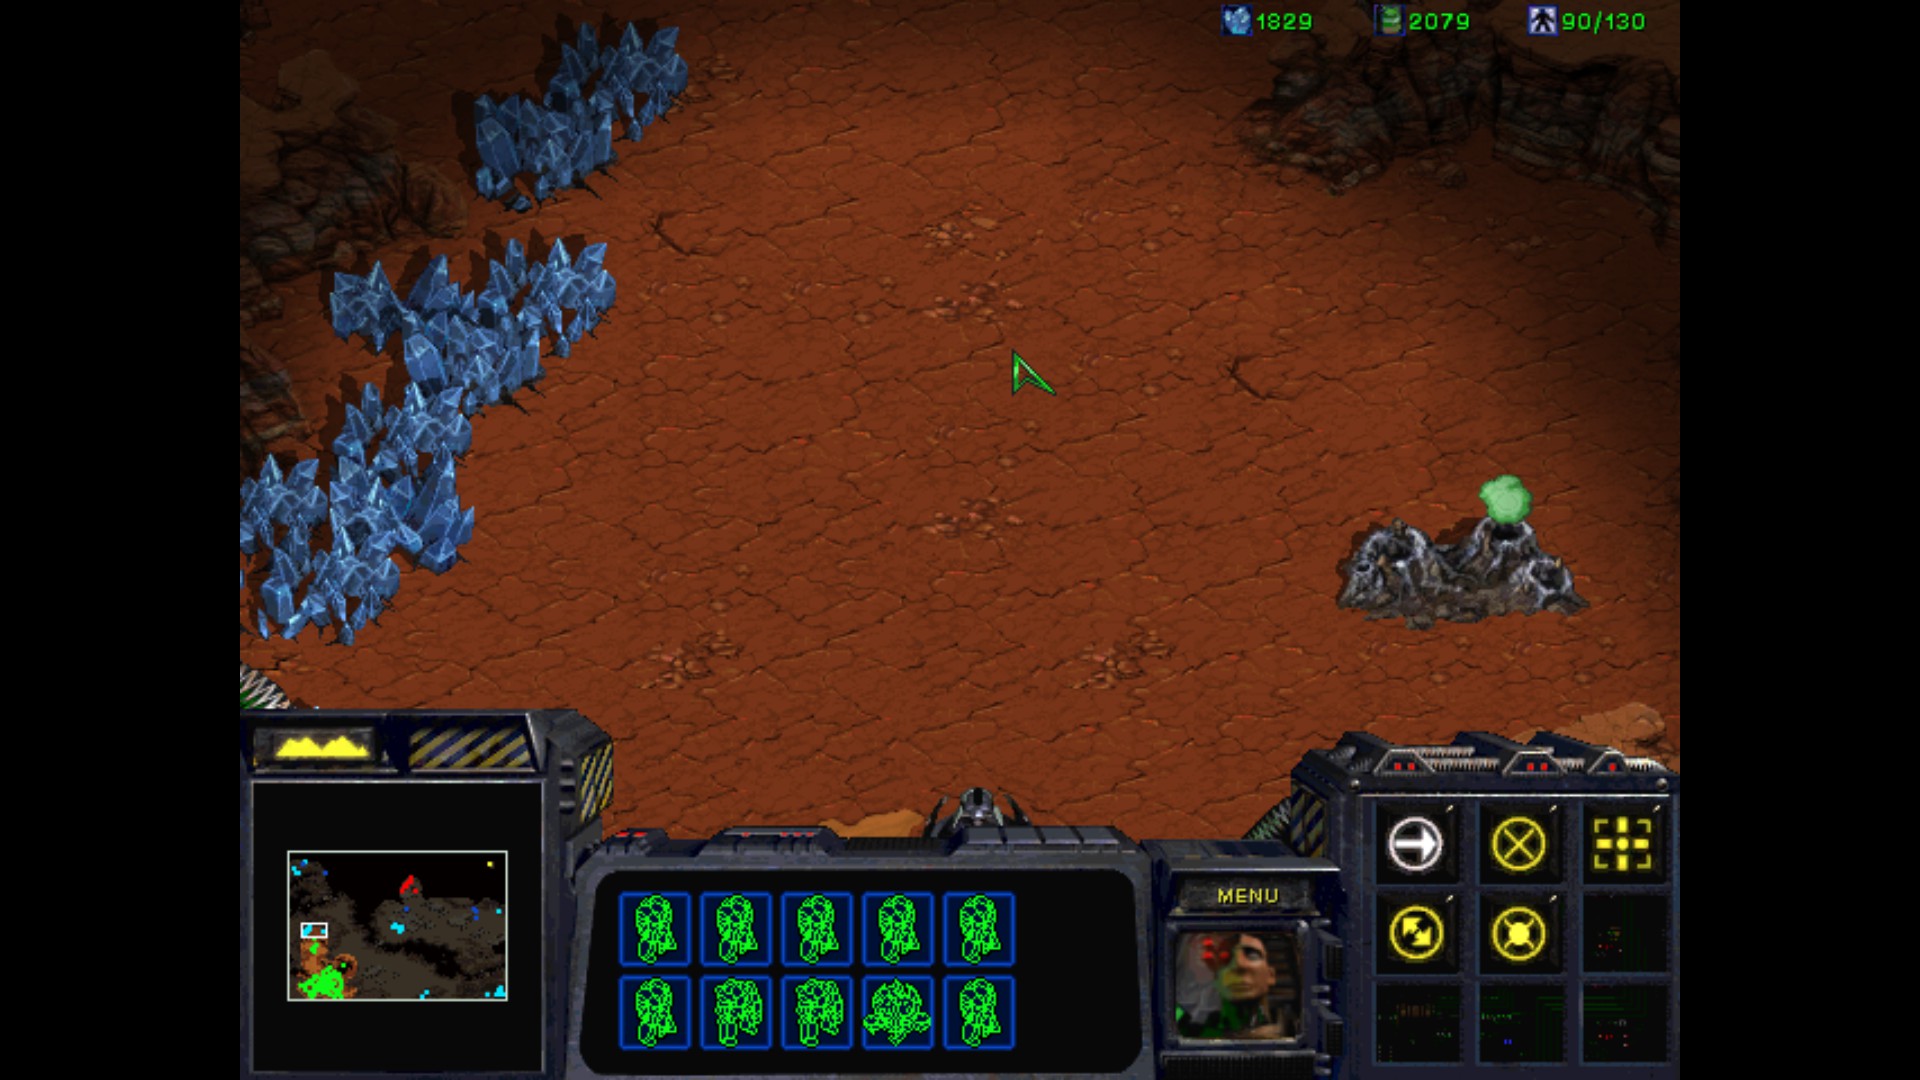
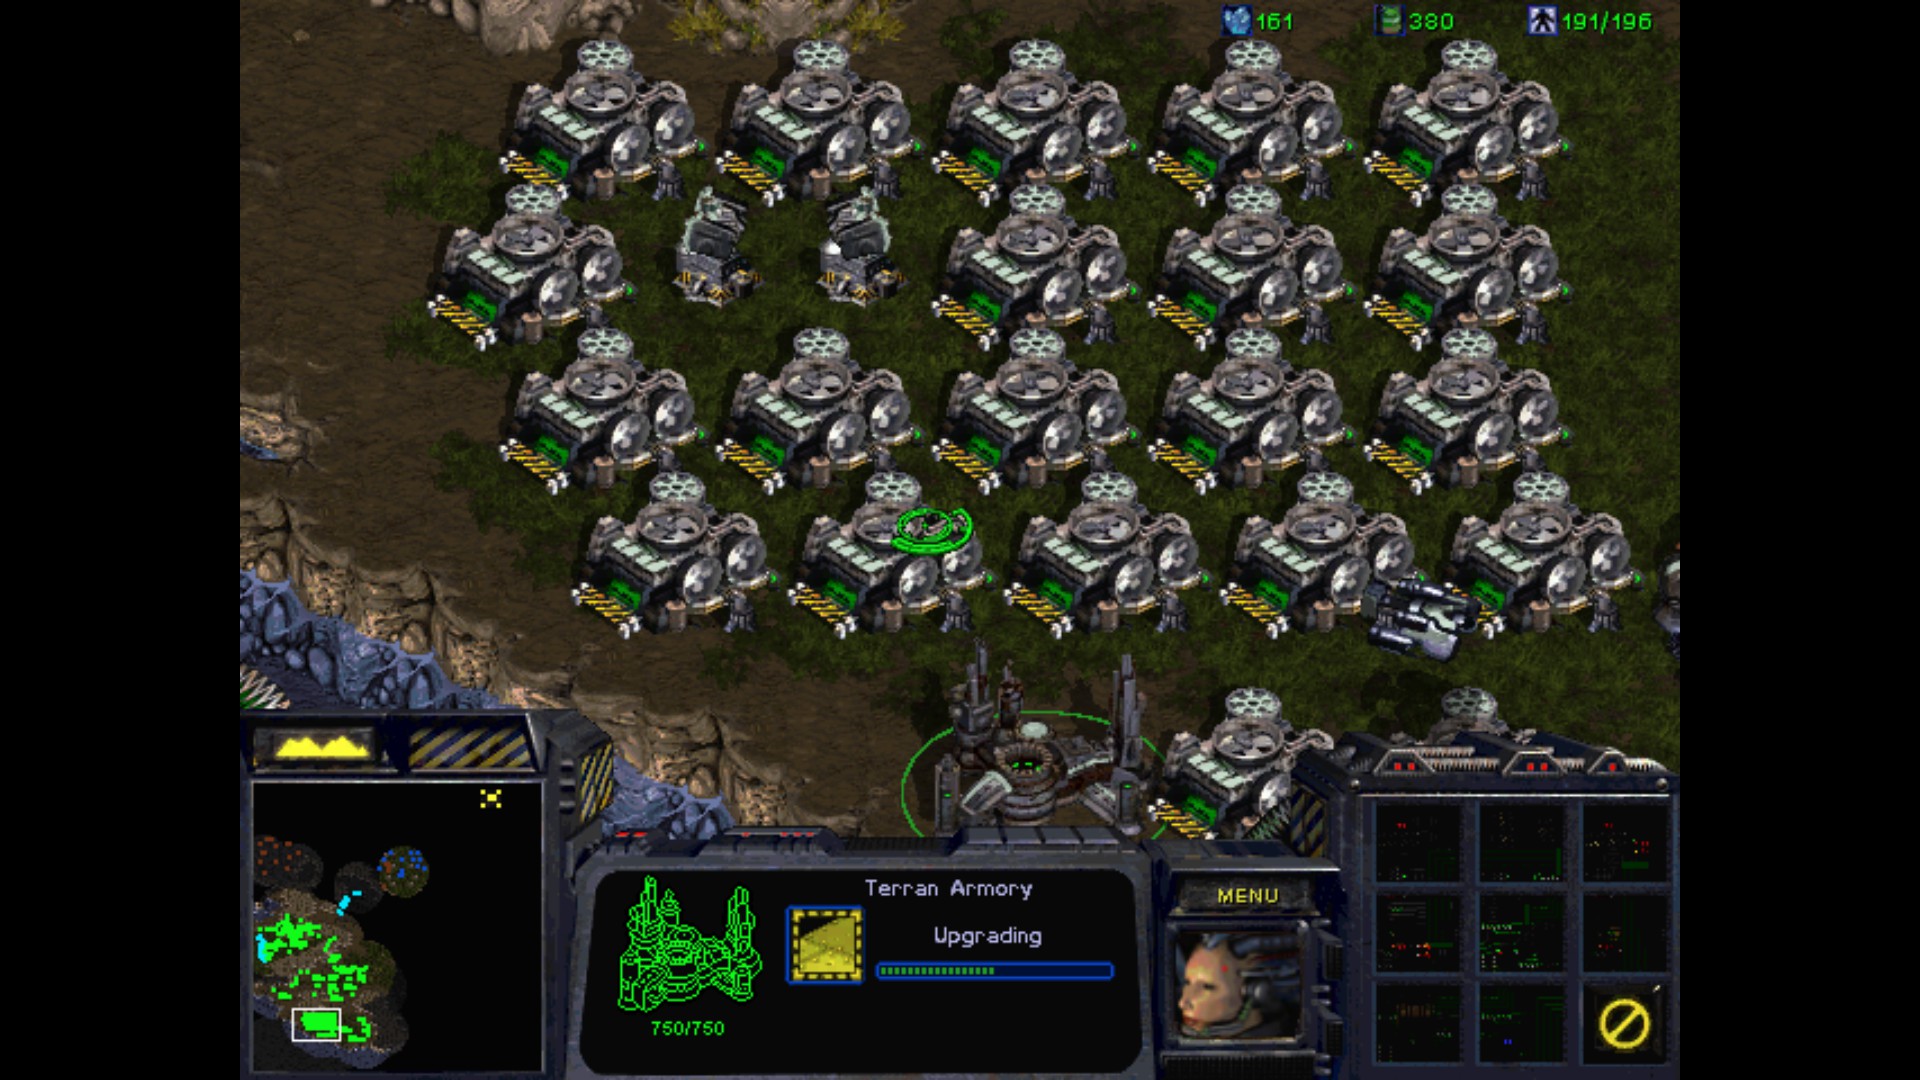
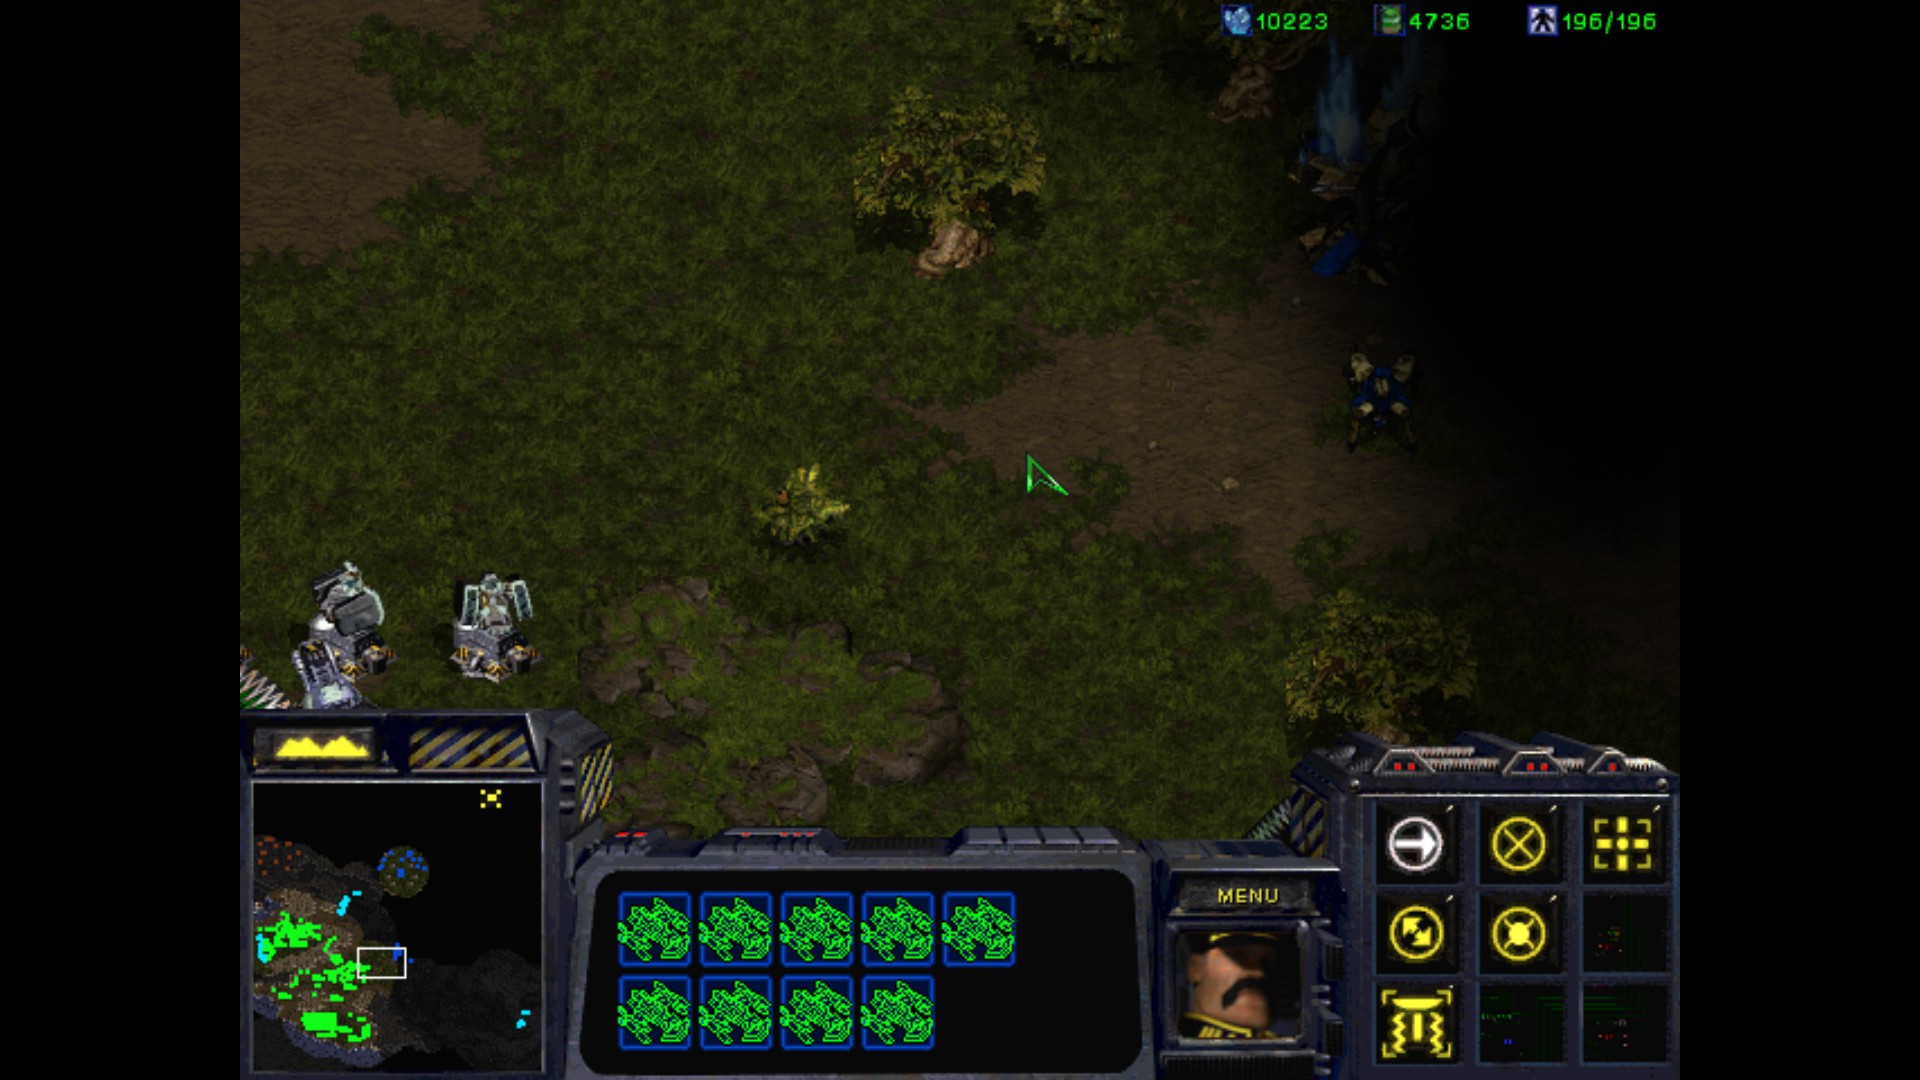
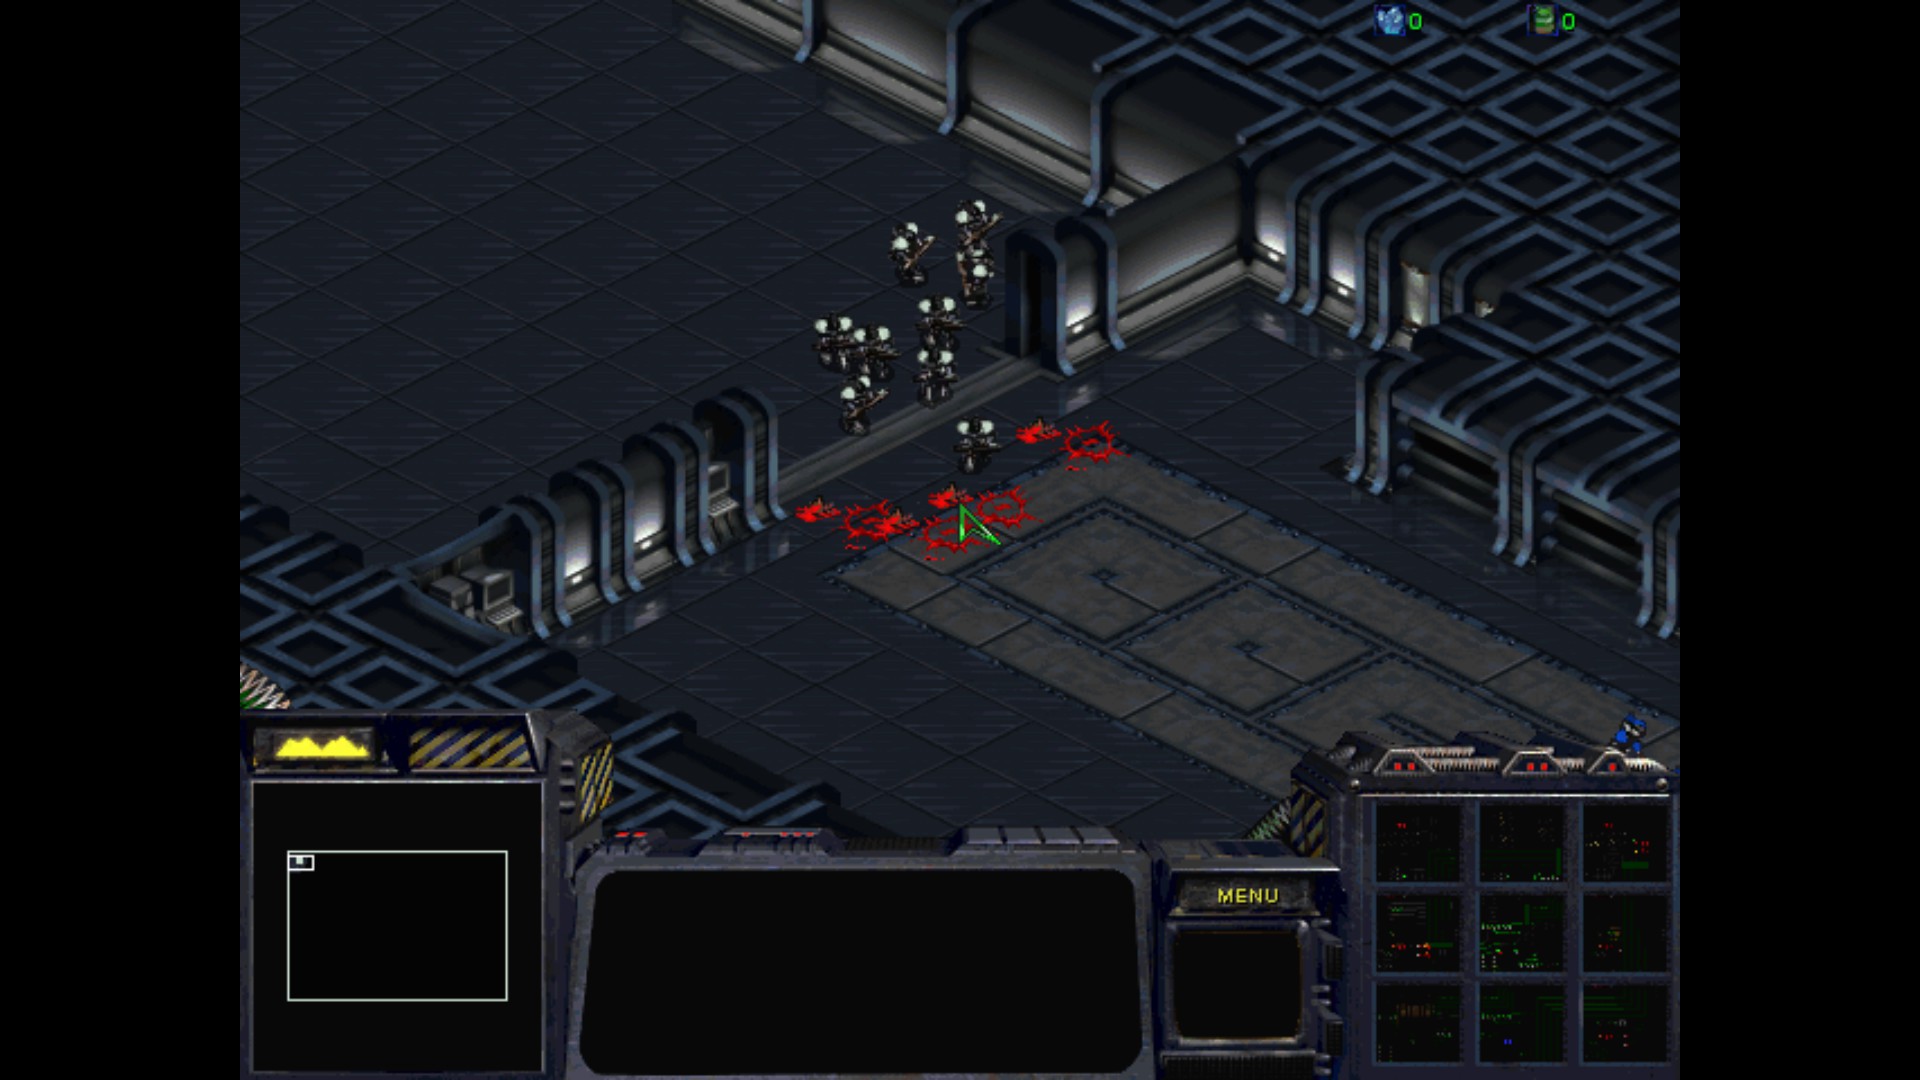
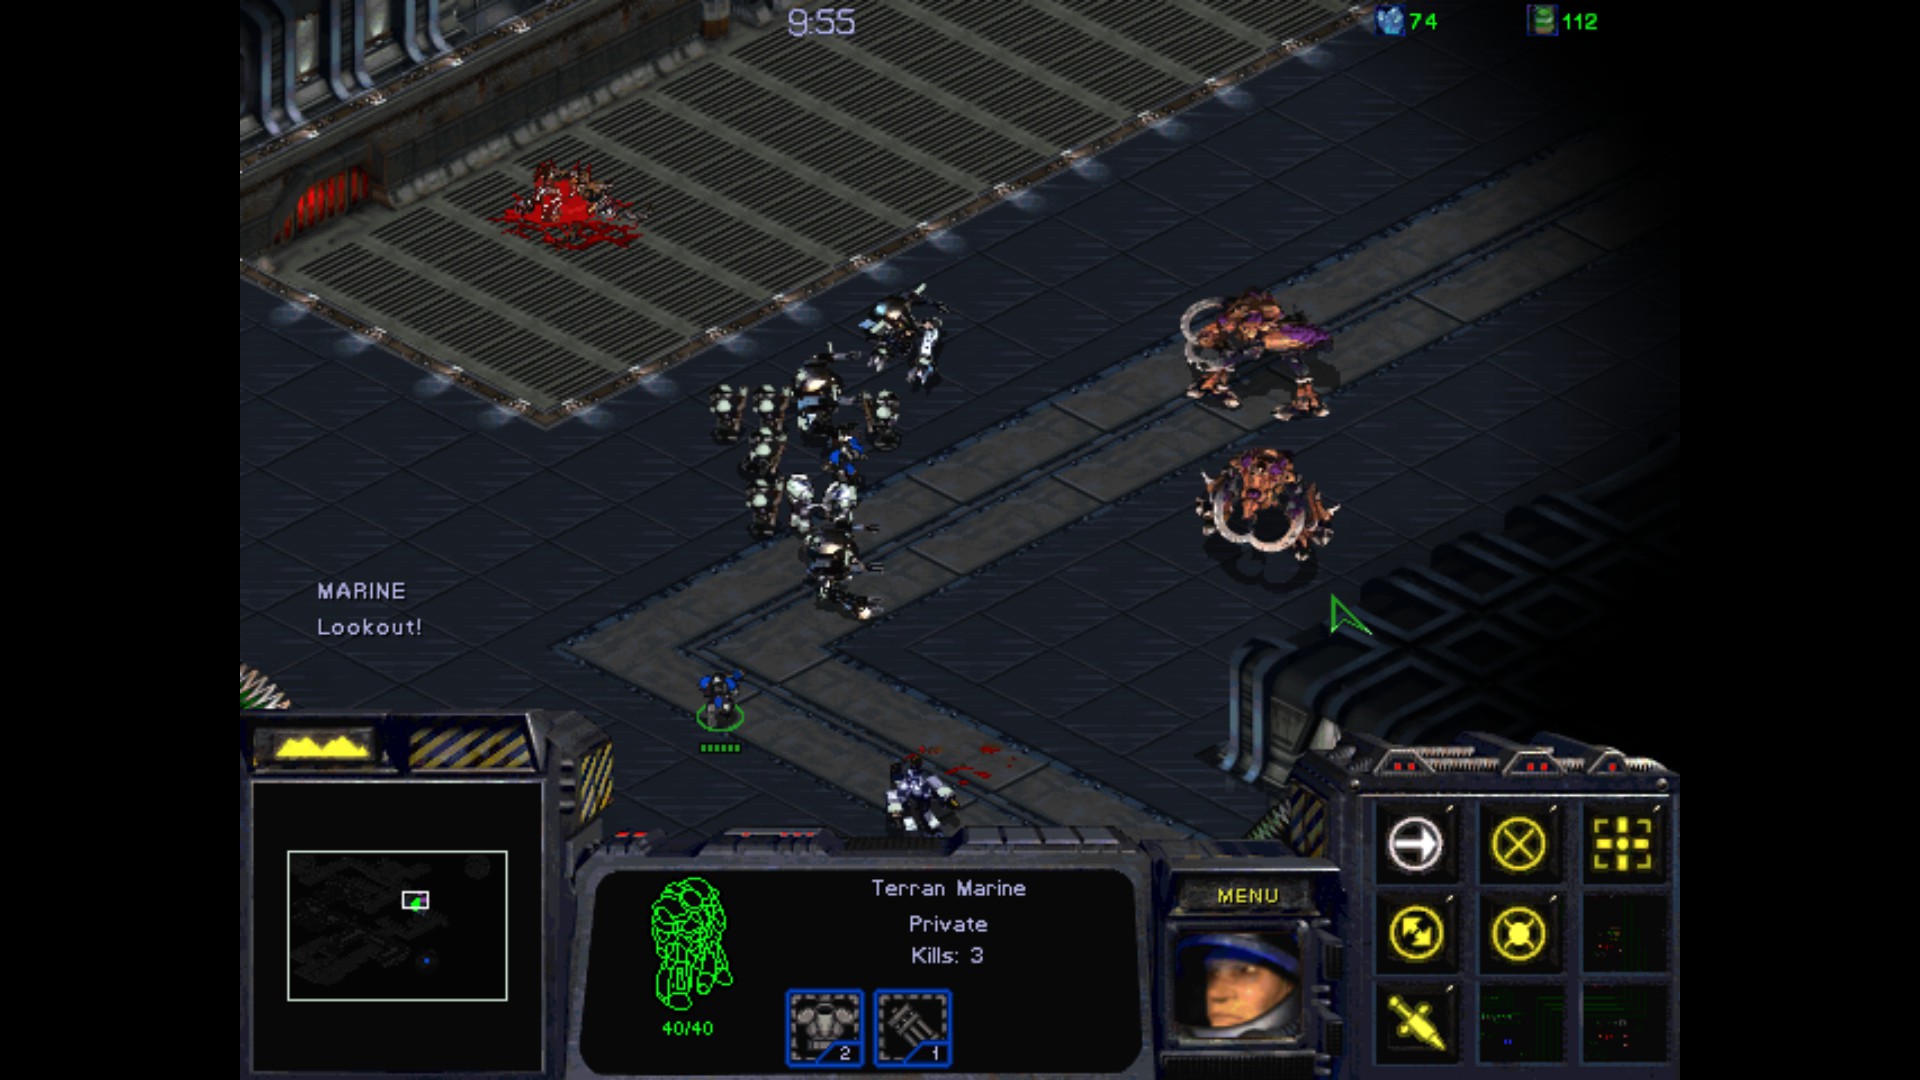
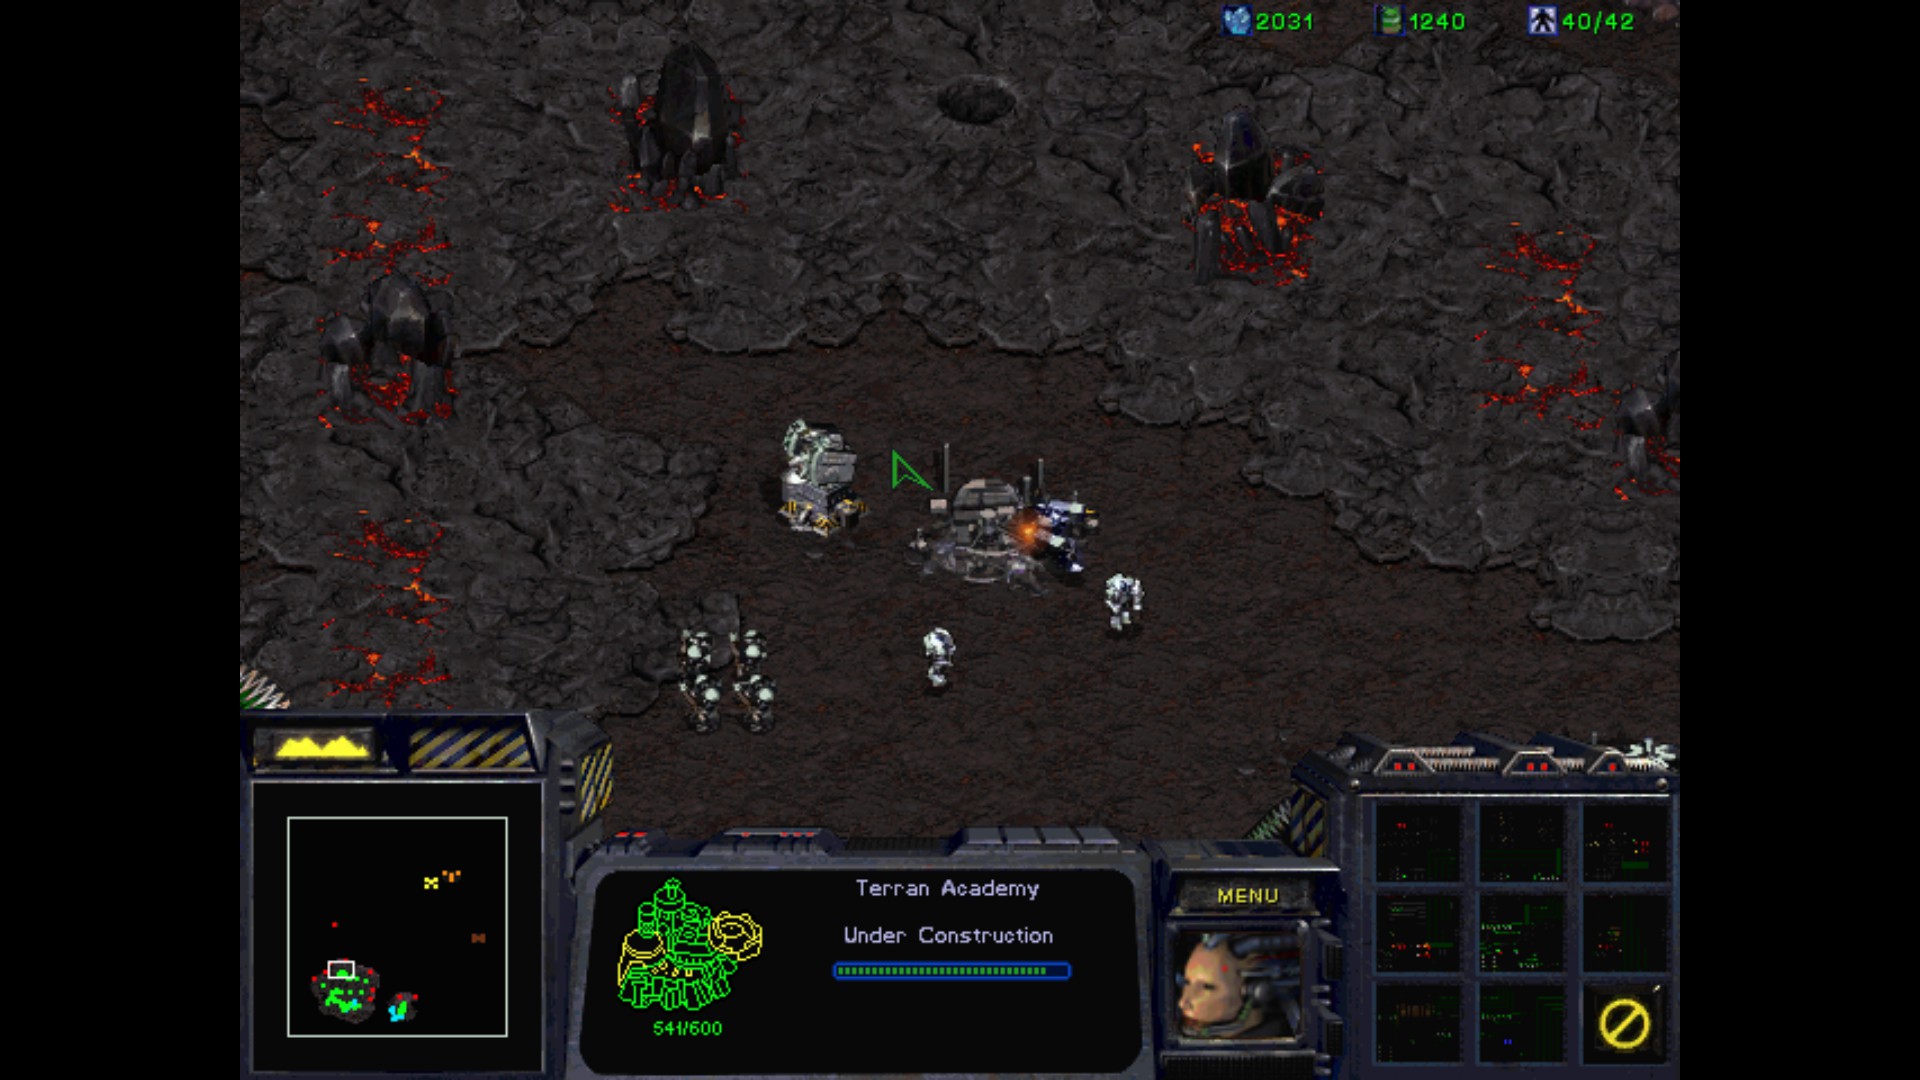
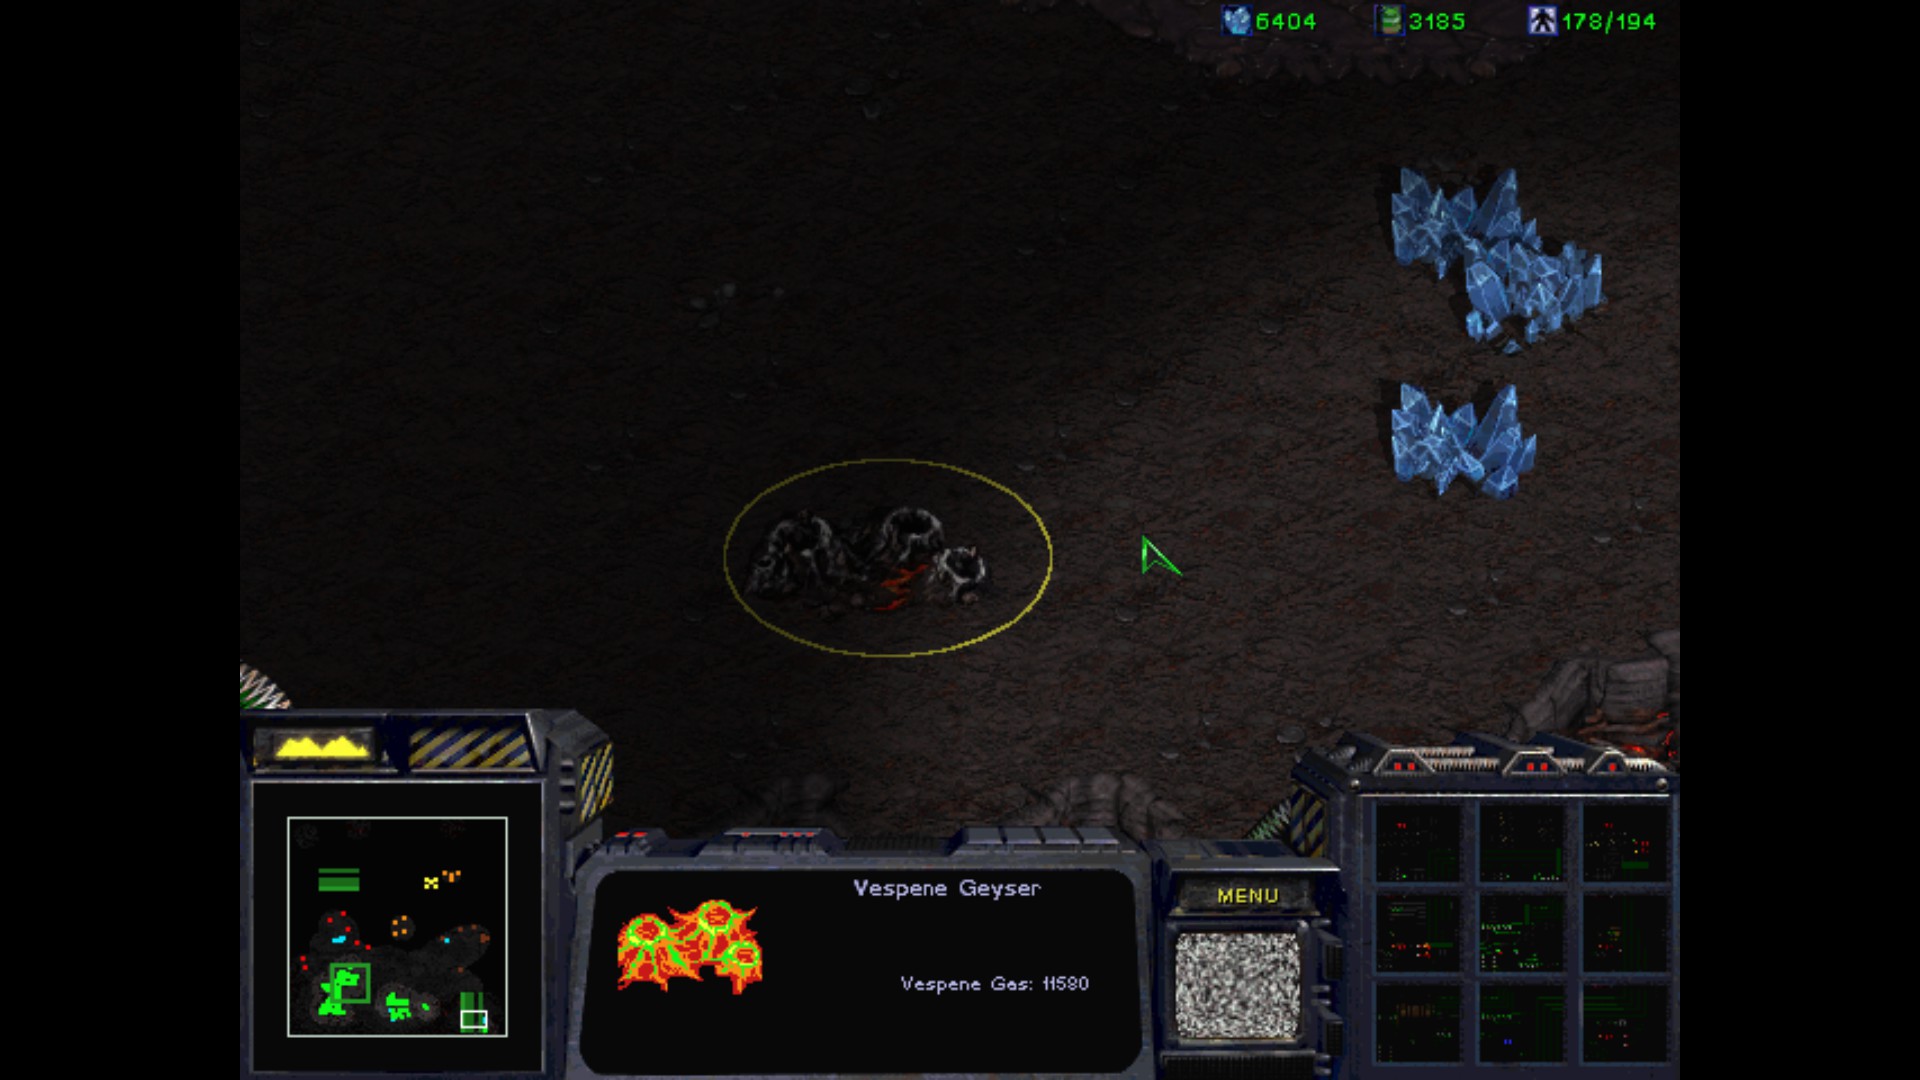
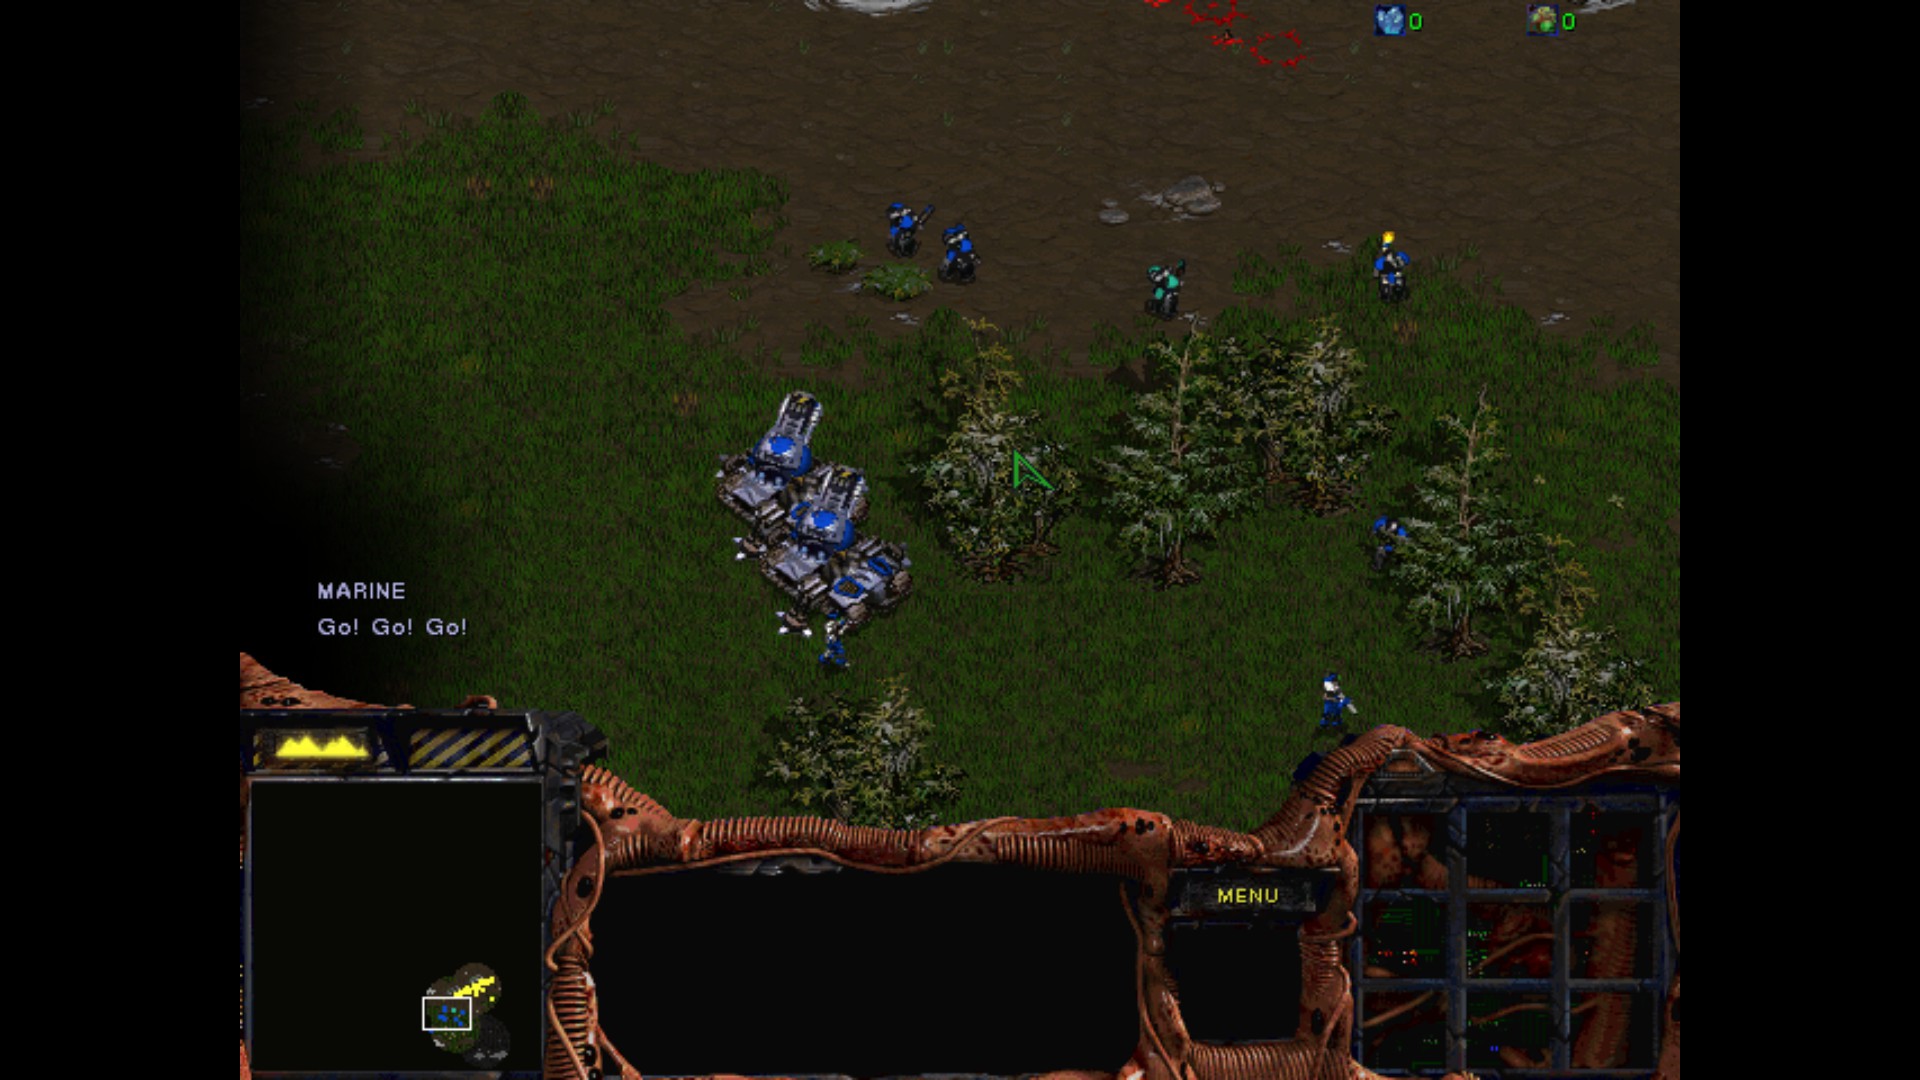
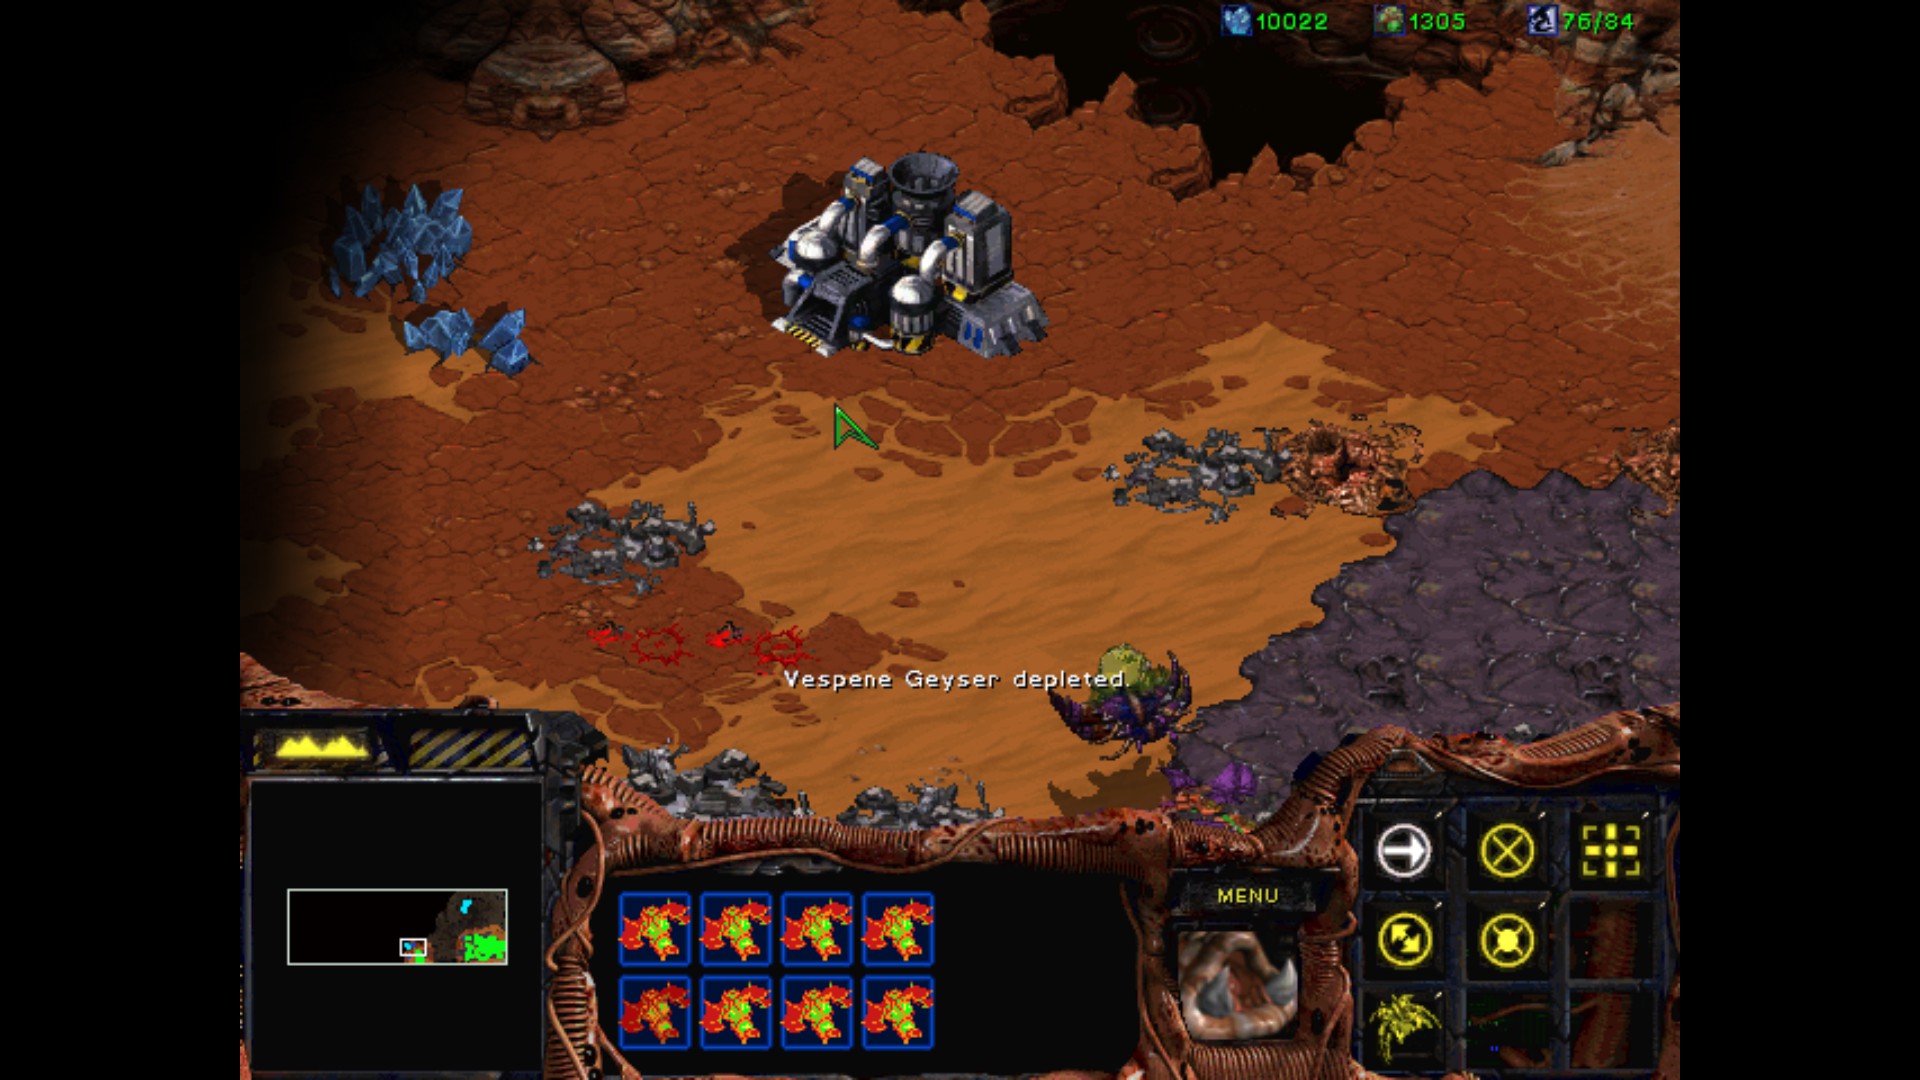
It's nice to finally change the faction from Protoss to Terran after playing them for so long. The first mission starts with a quick interruption from the Marine that there is no Vespene Geyser. For now I will need to keep making marines as a main force against Dominion forces.
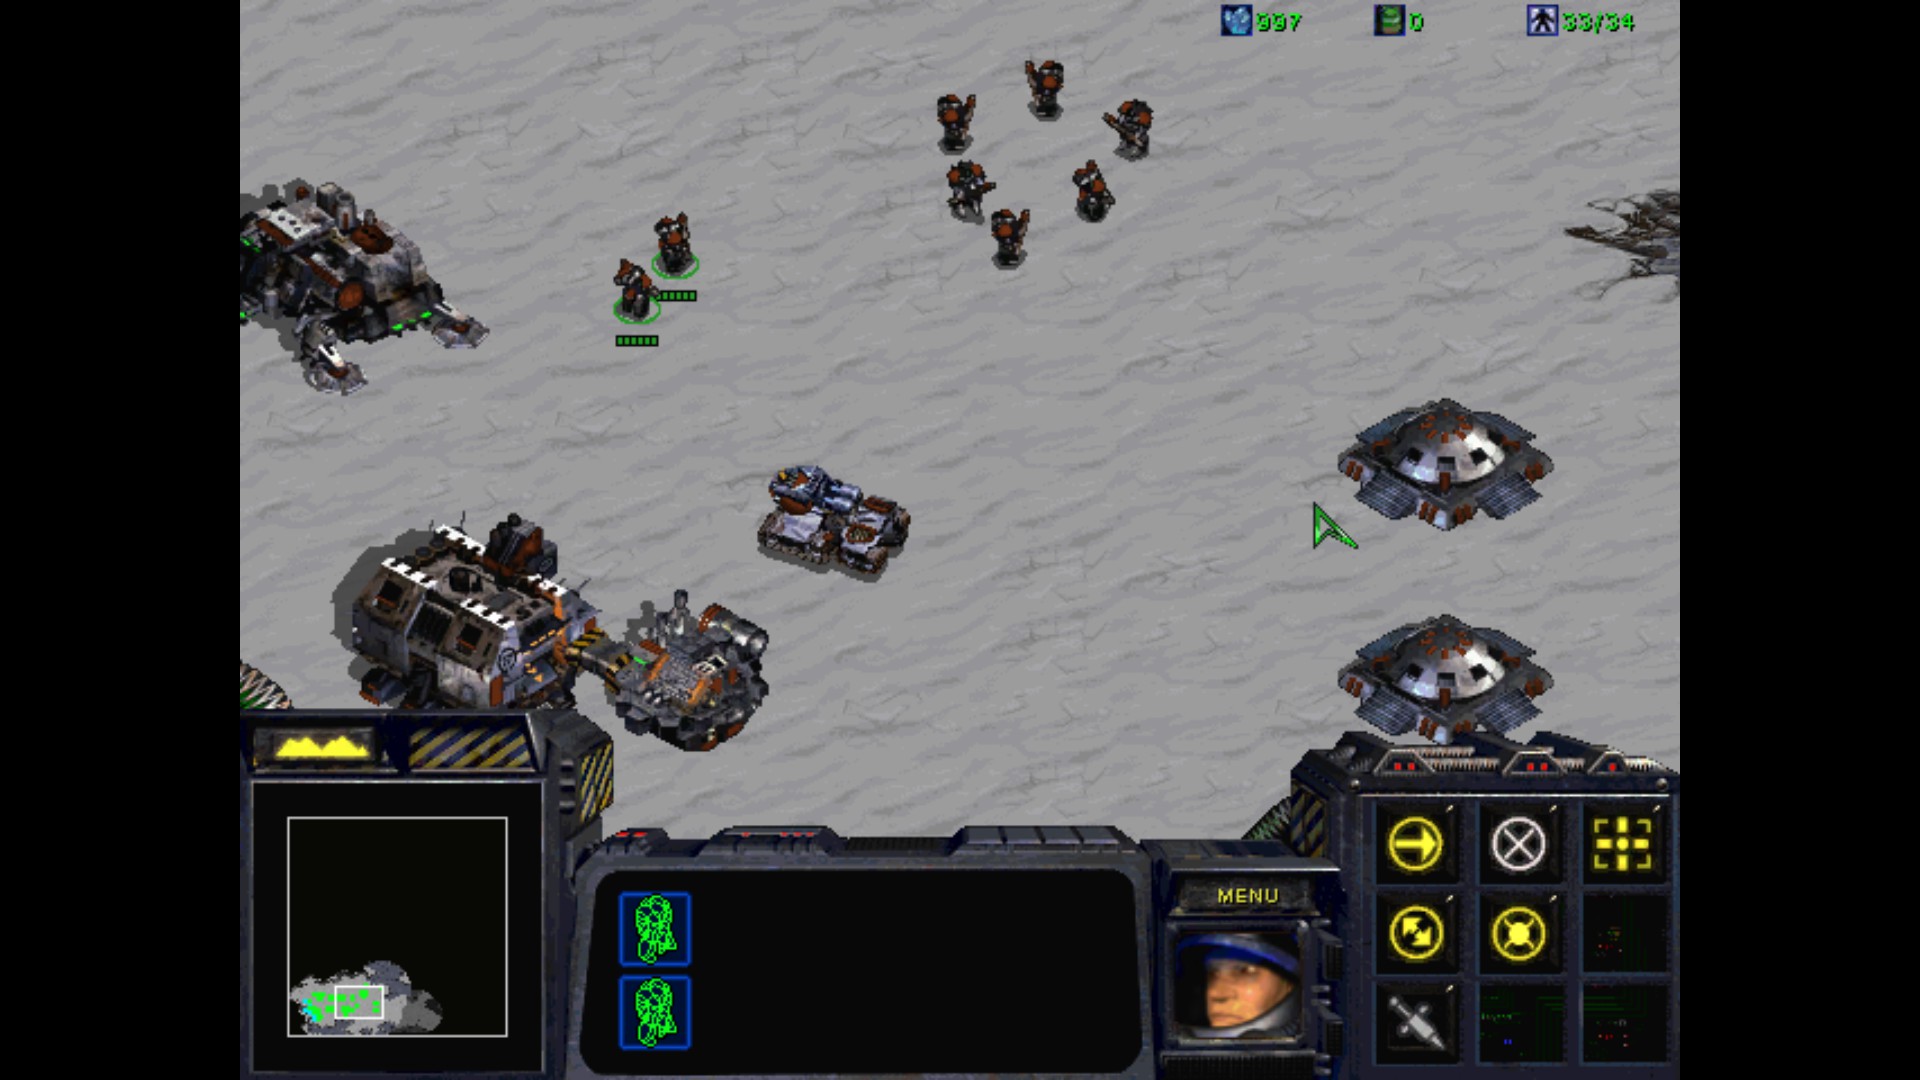
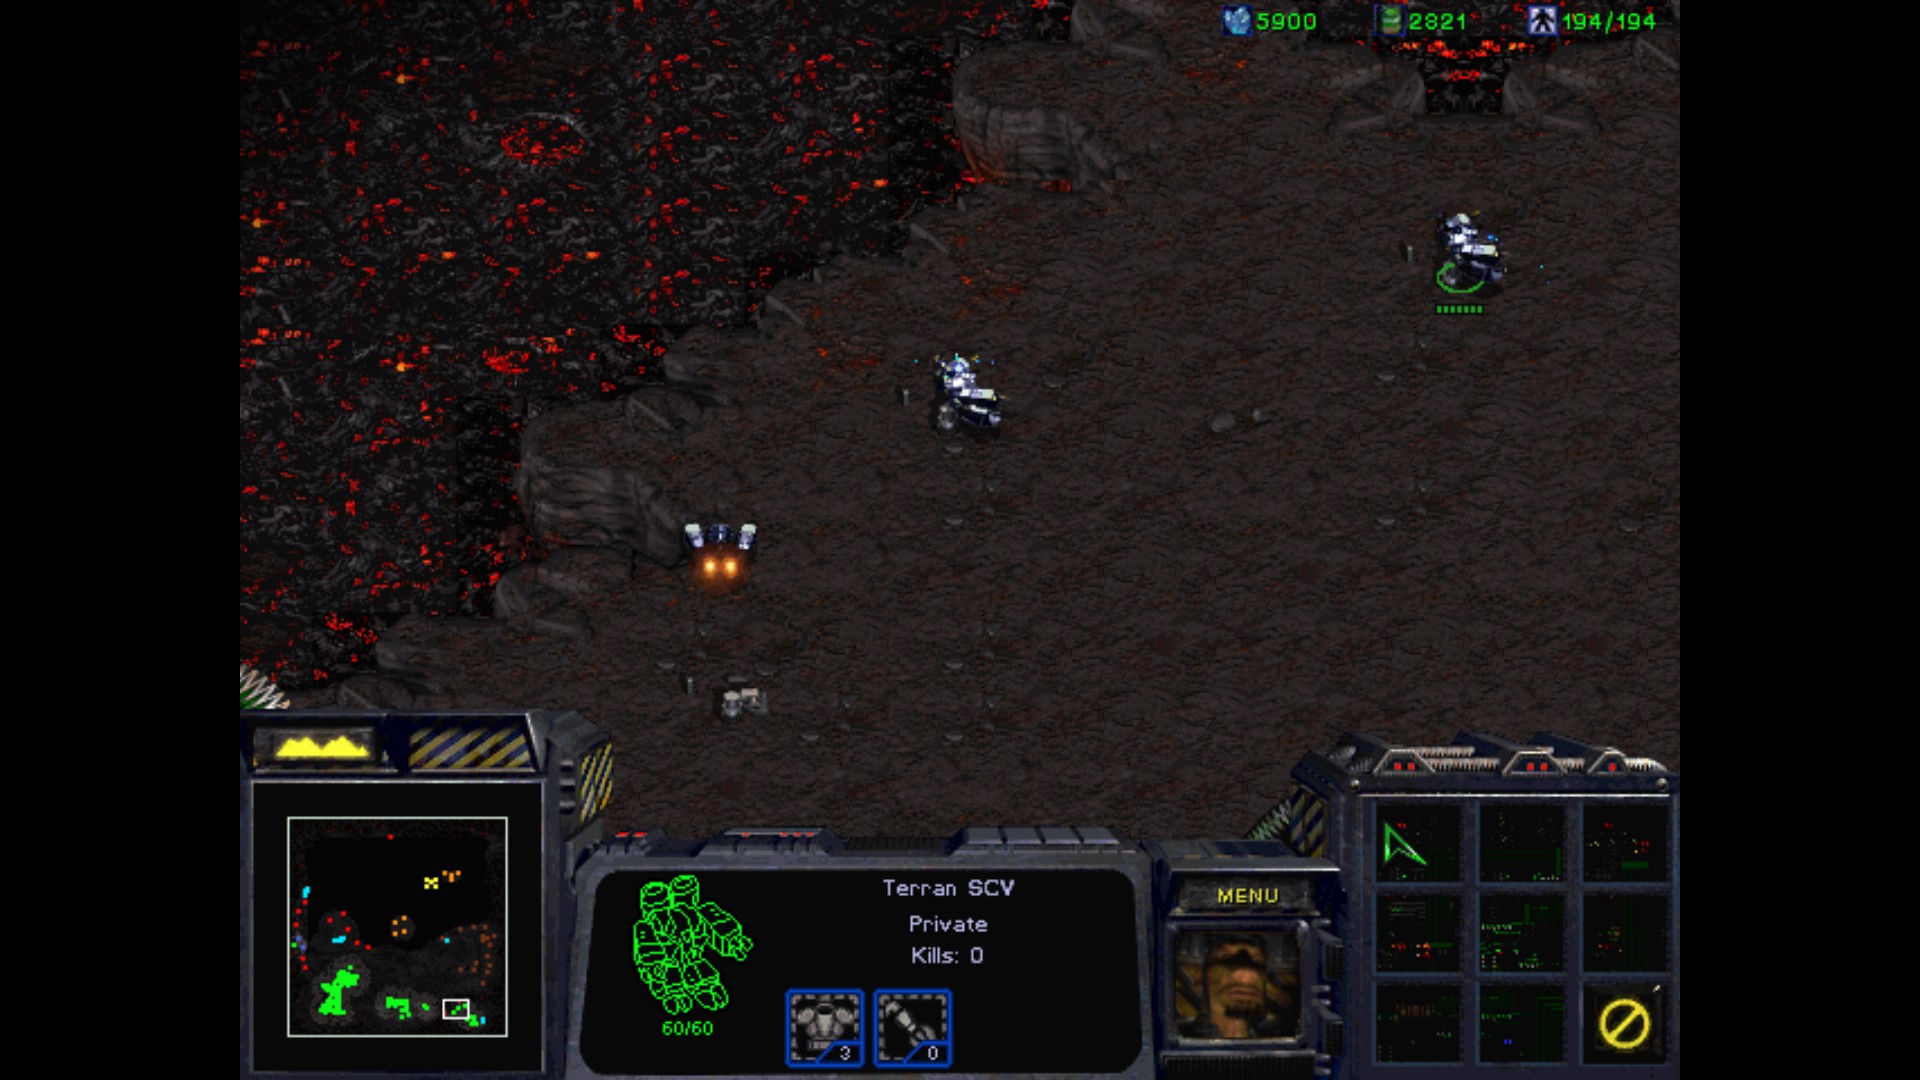
We also got Factory and a free tank without siege upgrade. For now he will be assisting the Bunker brigades.
Not a moment too soon. Dominion troops are launching their first attack, but I'm already prepared for them.
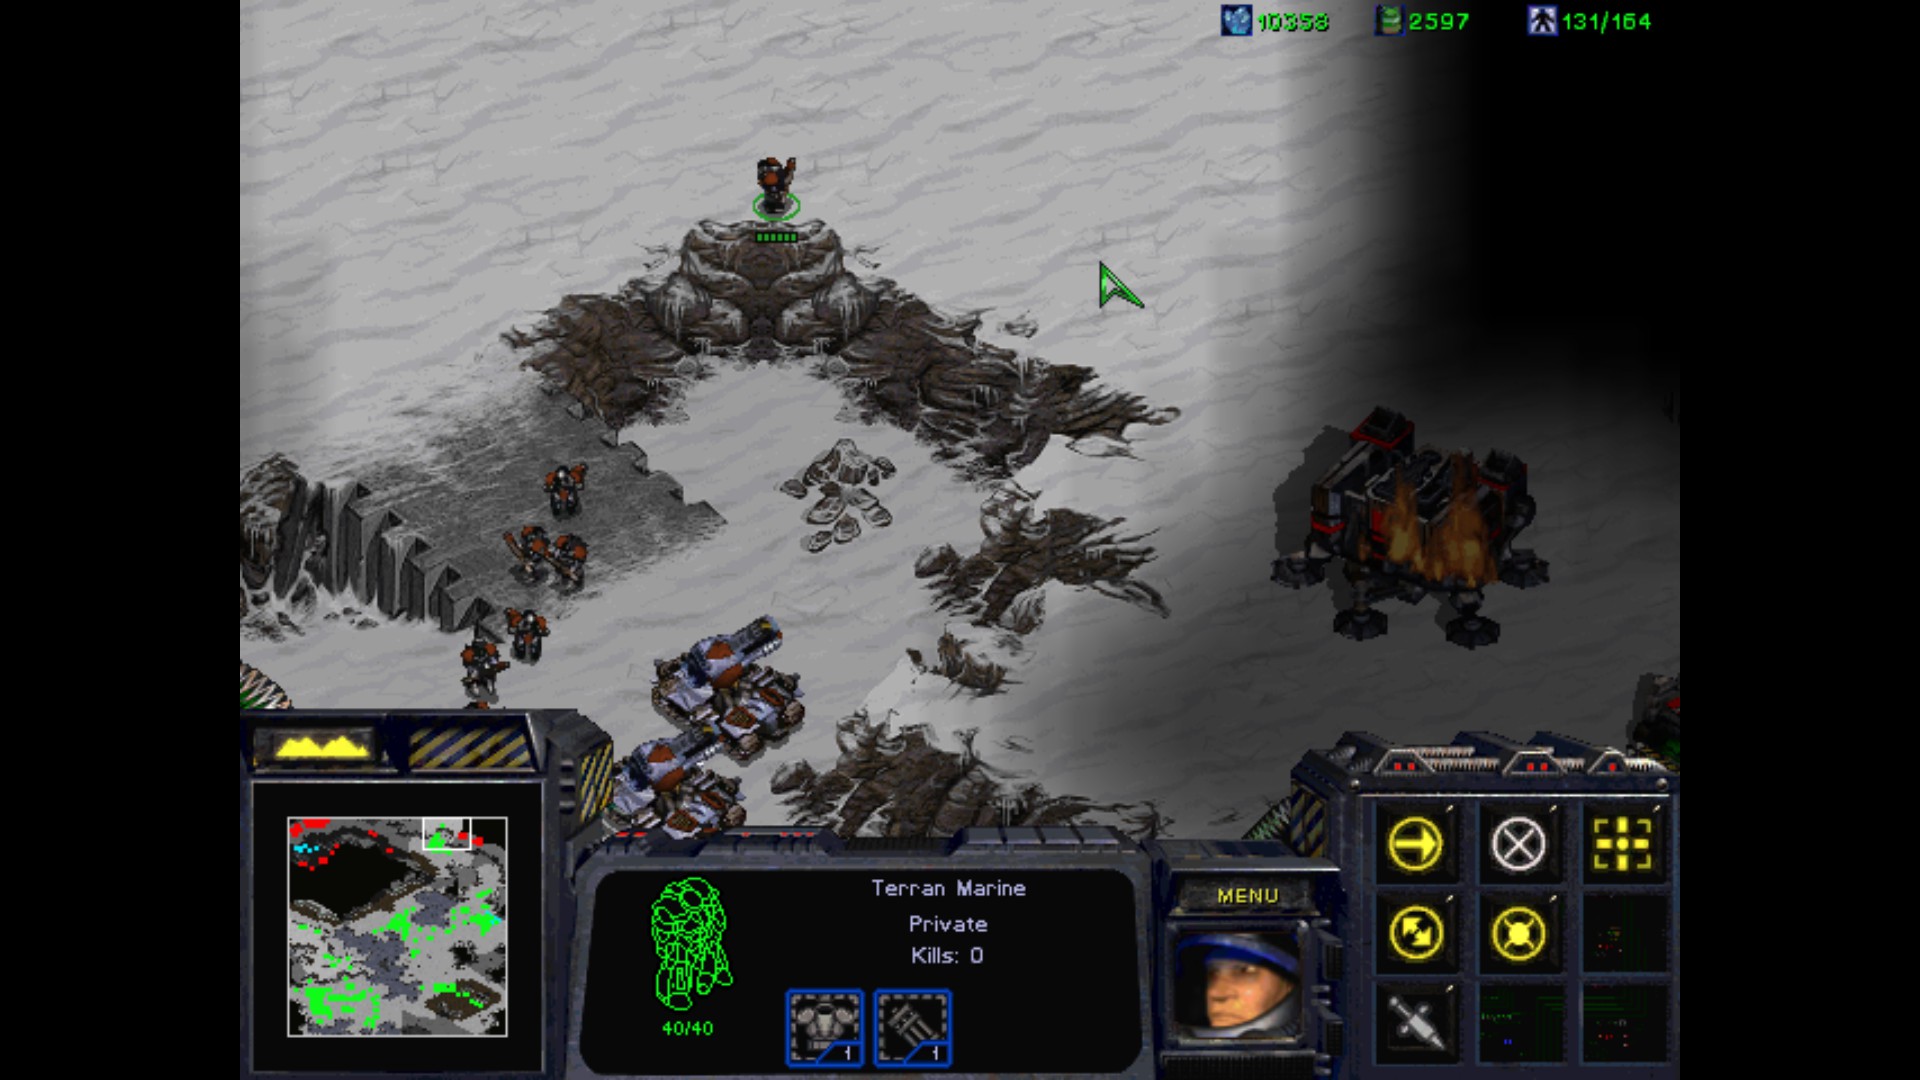
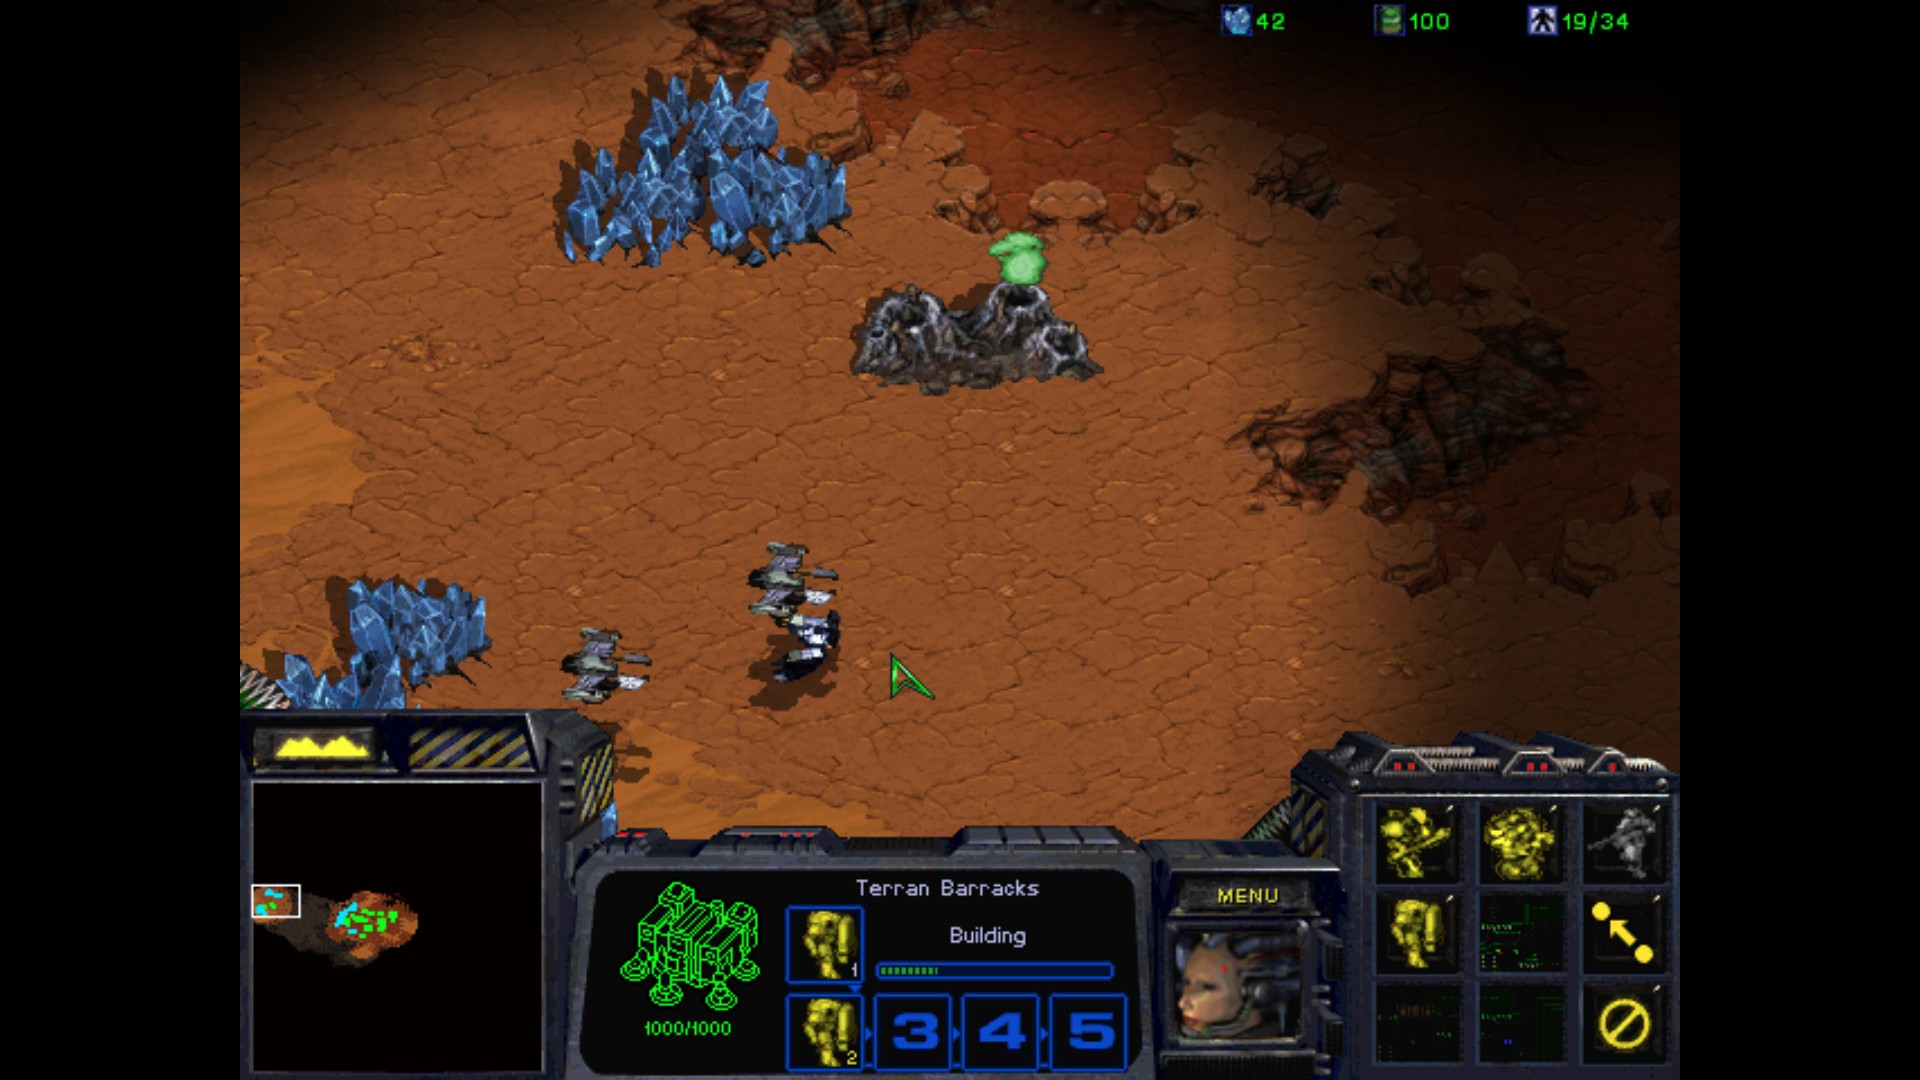
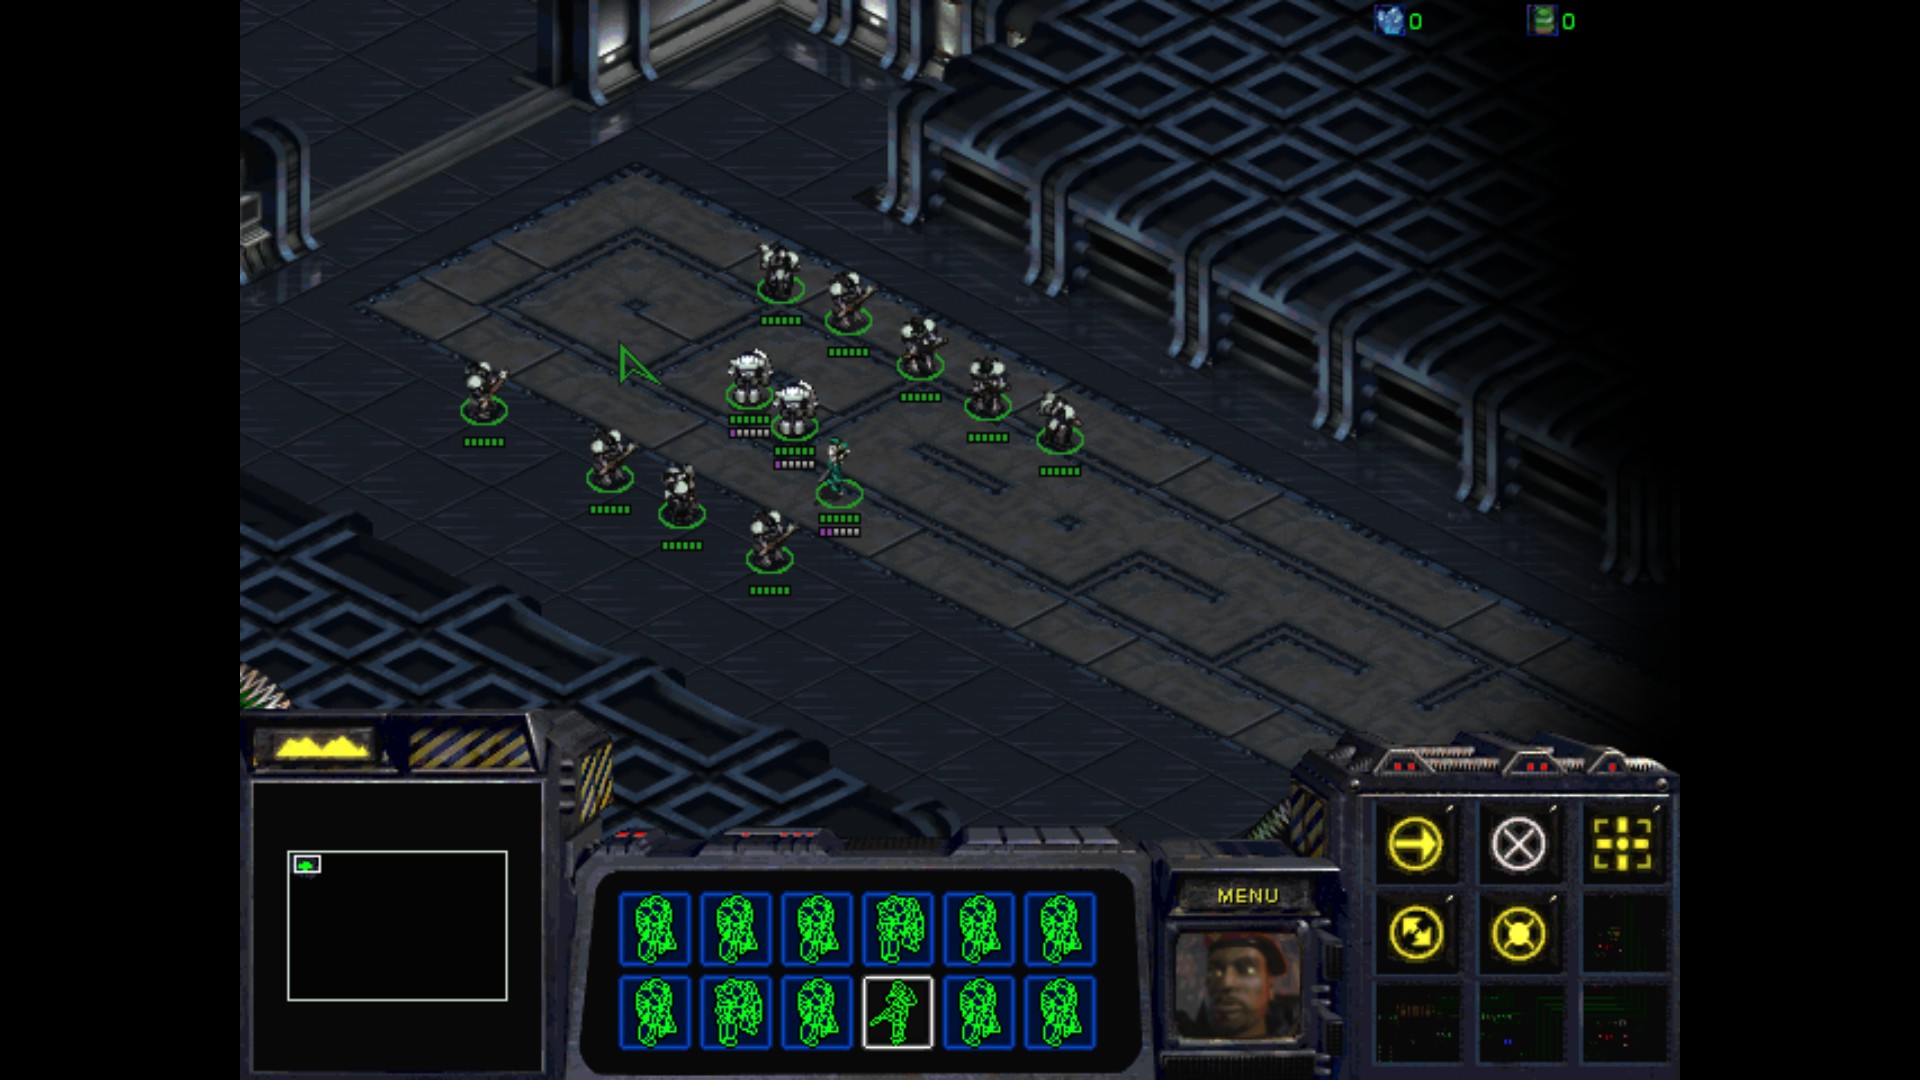
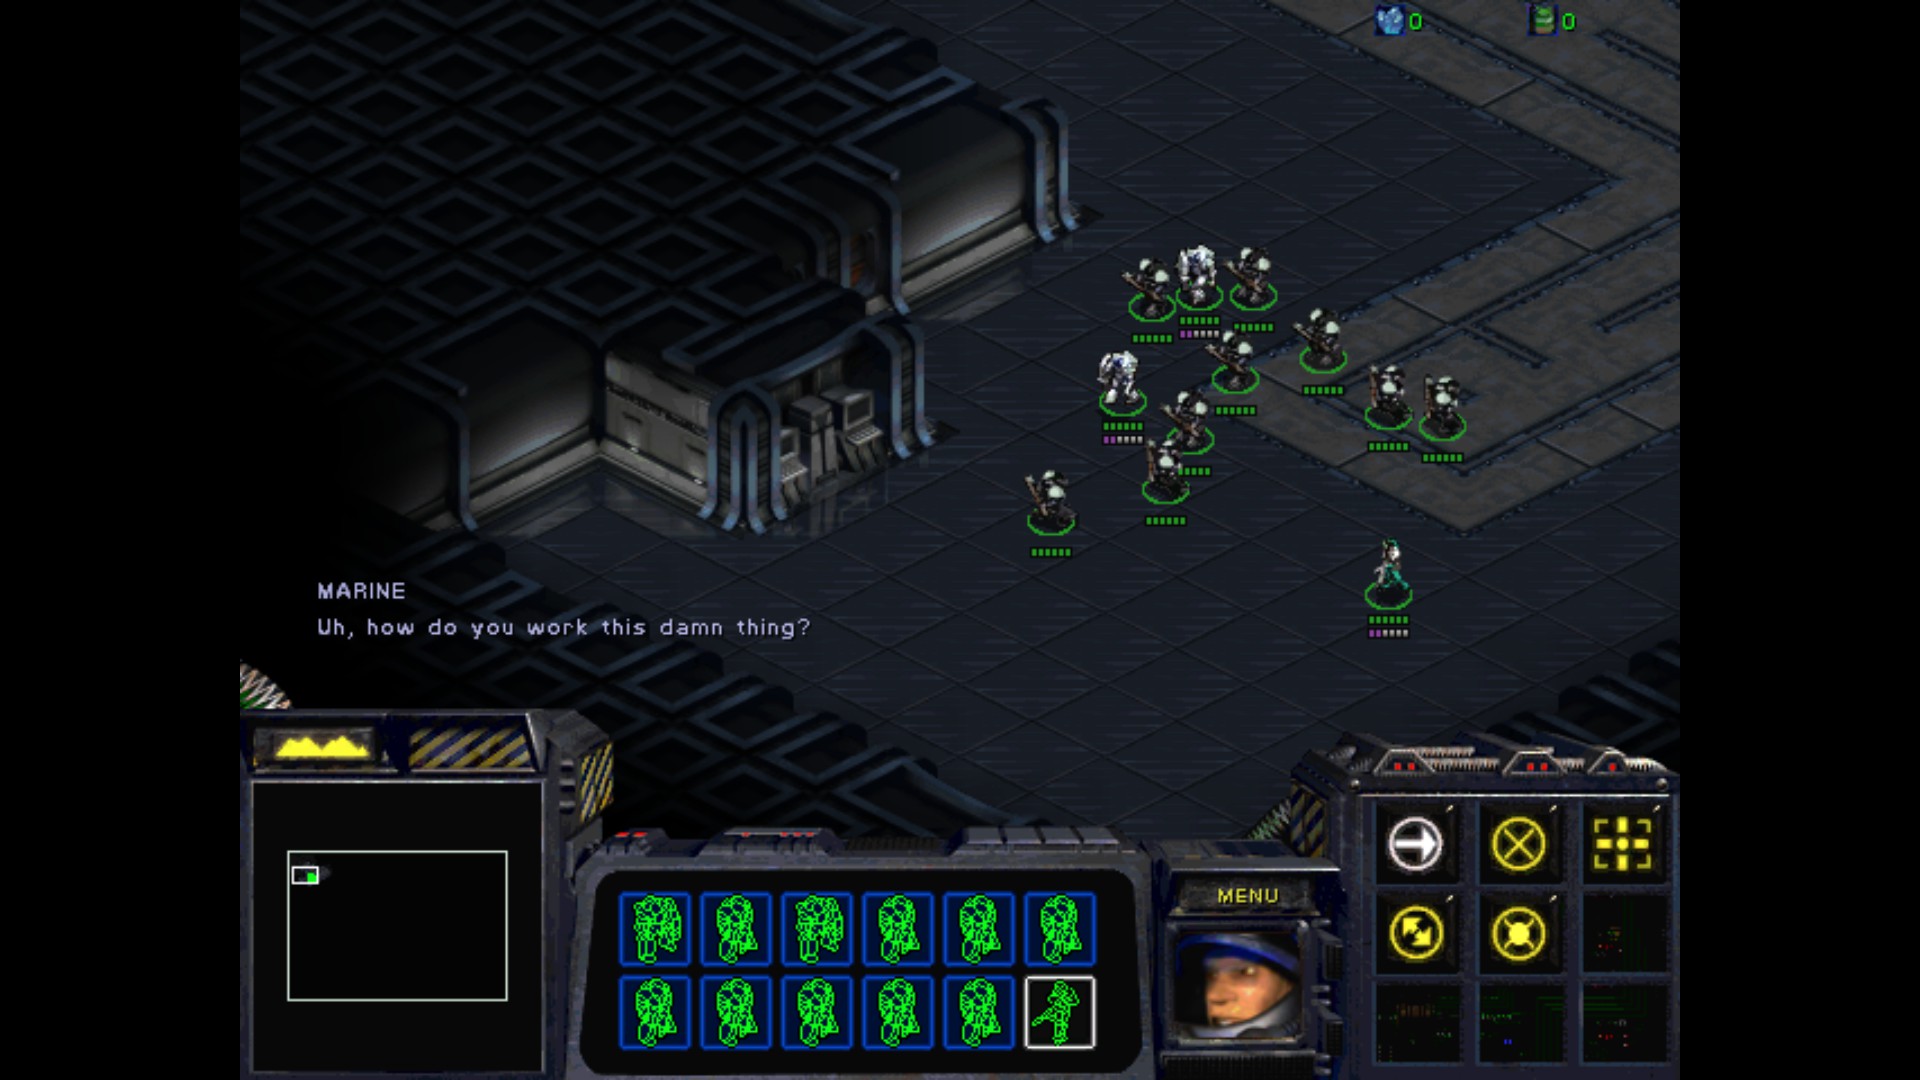
Meanwhile I move with a small squad into the northern part of the hill.
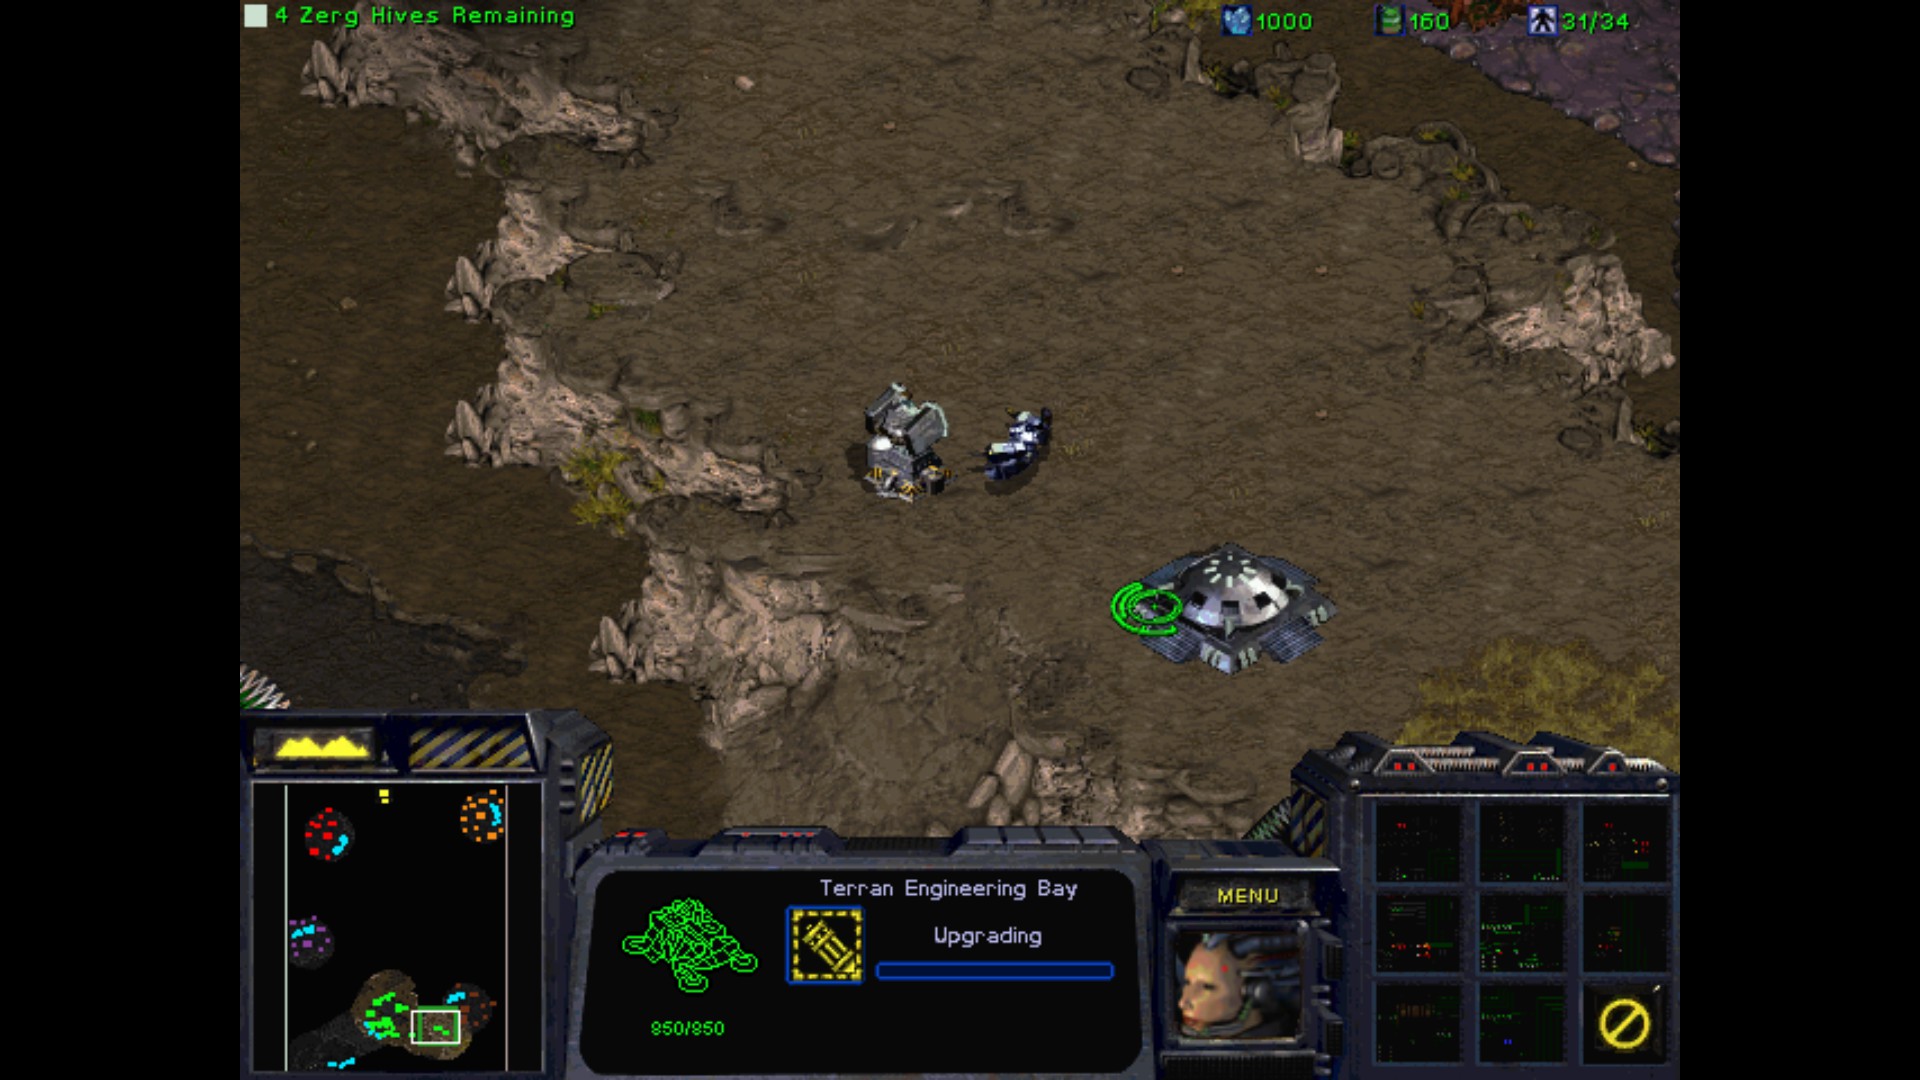
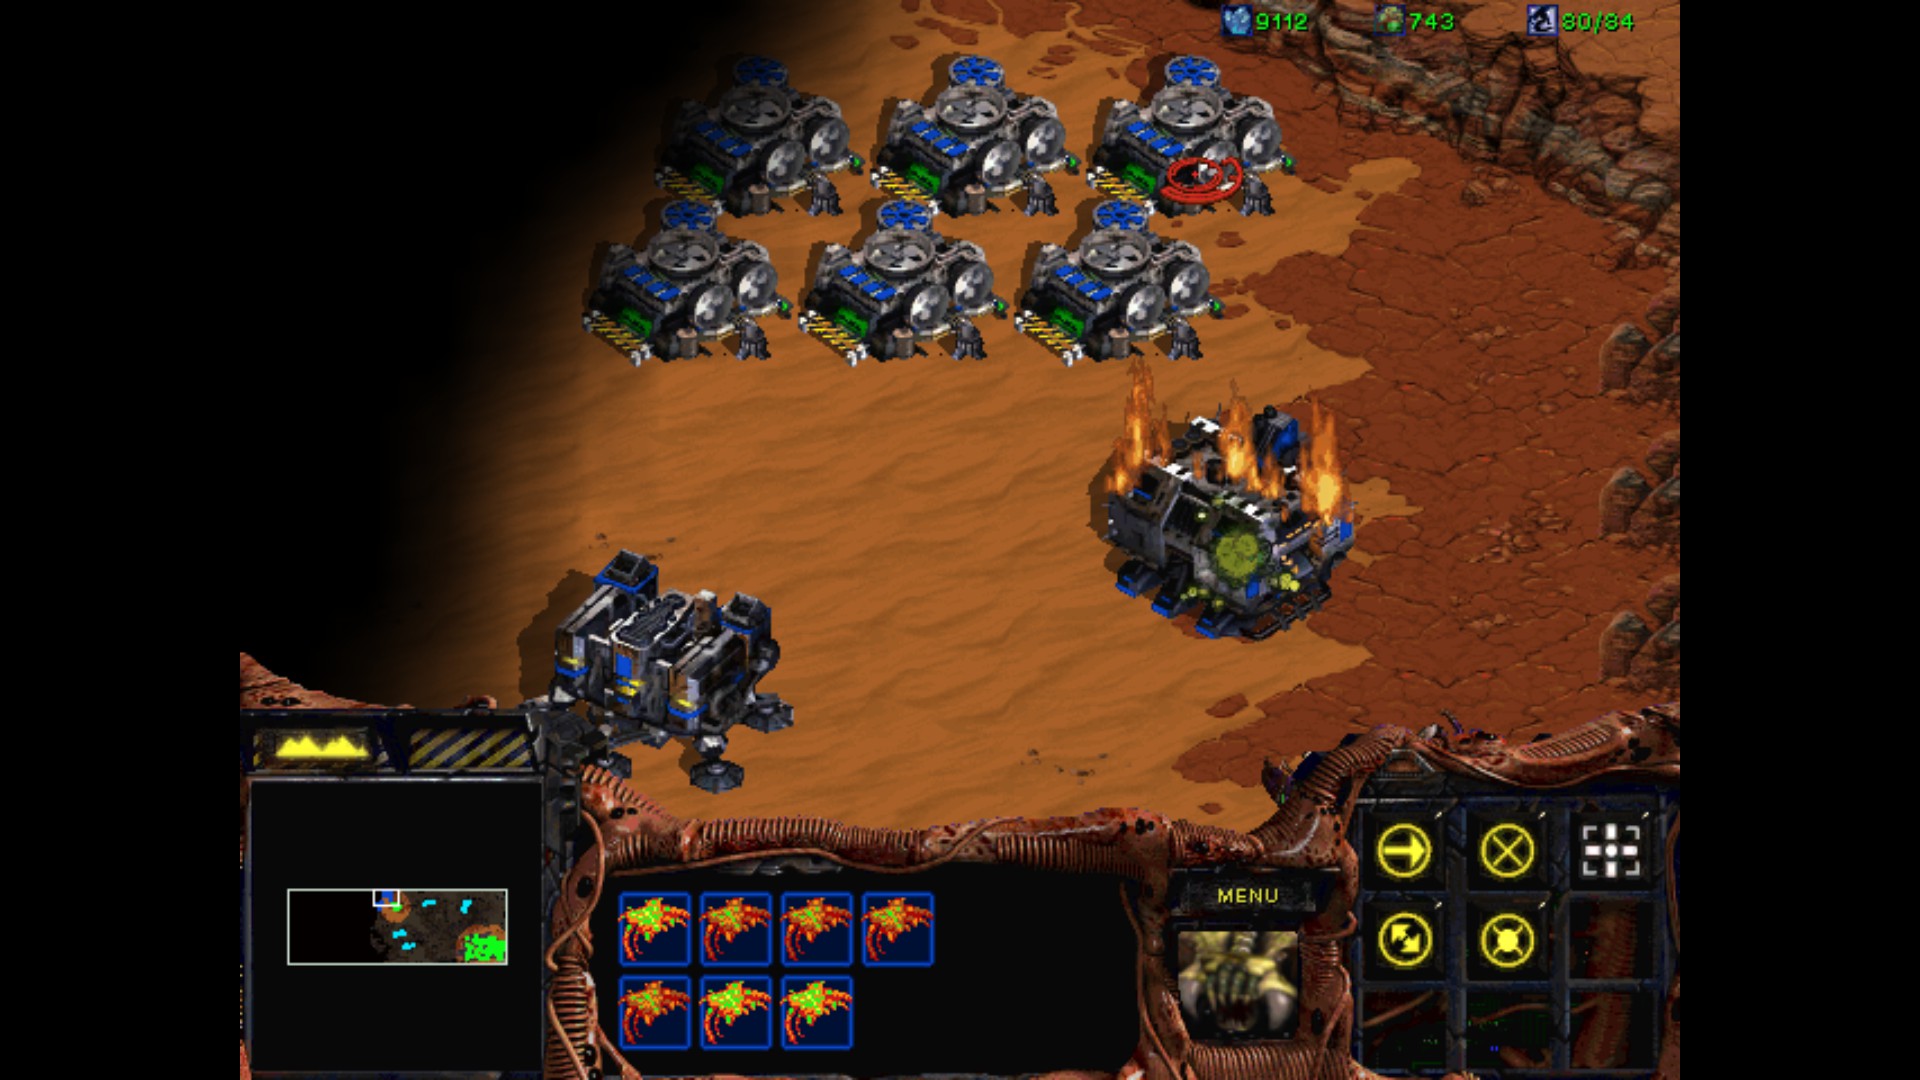
I find some Marines and Turrets that are guarding another place filled with minerals. It's a good idea to guard this spot as well to avoid any surprises from air.
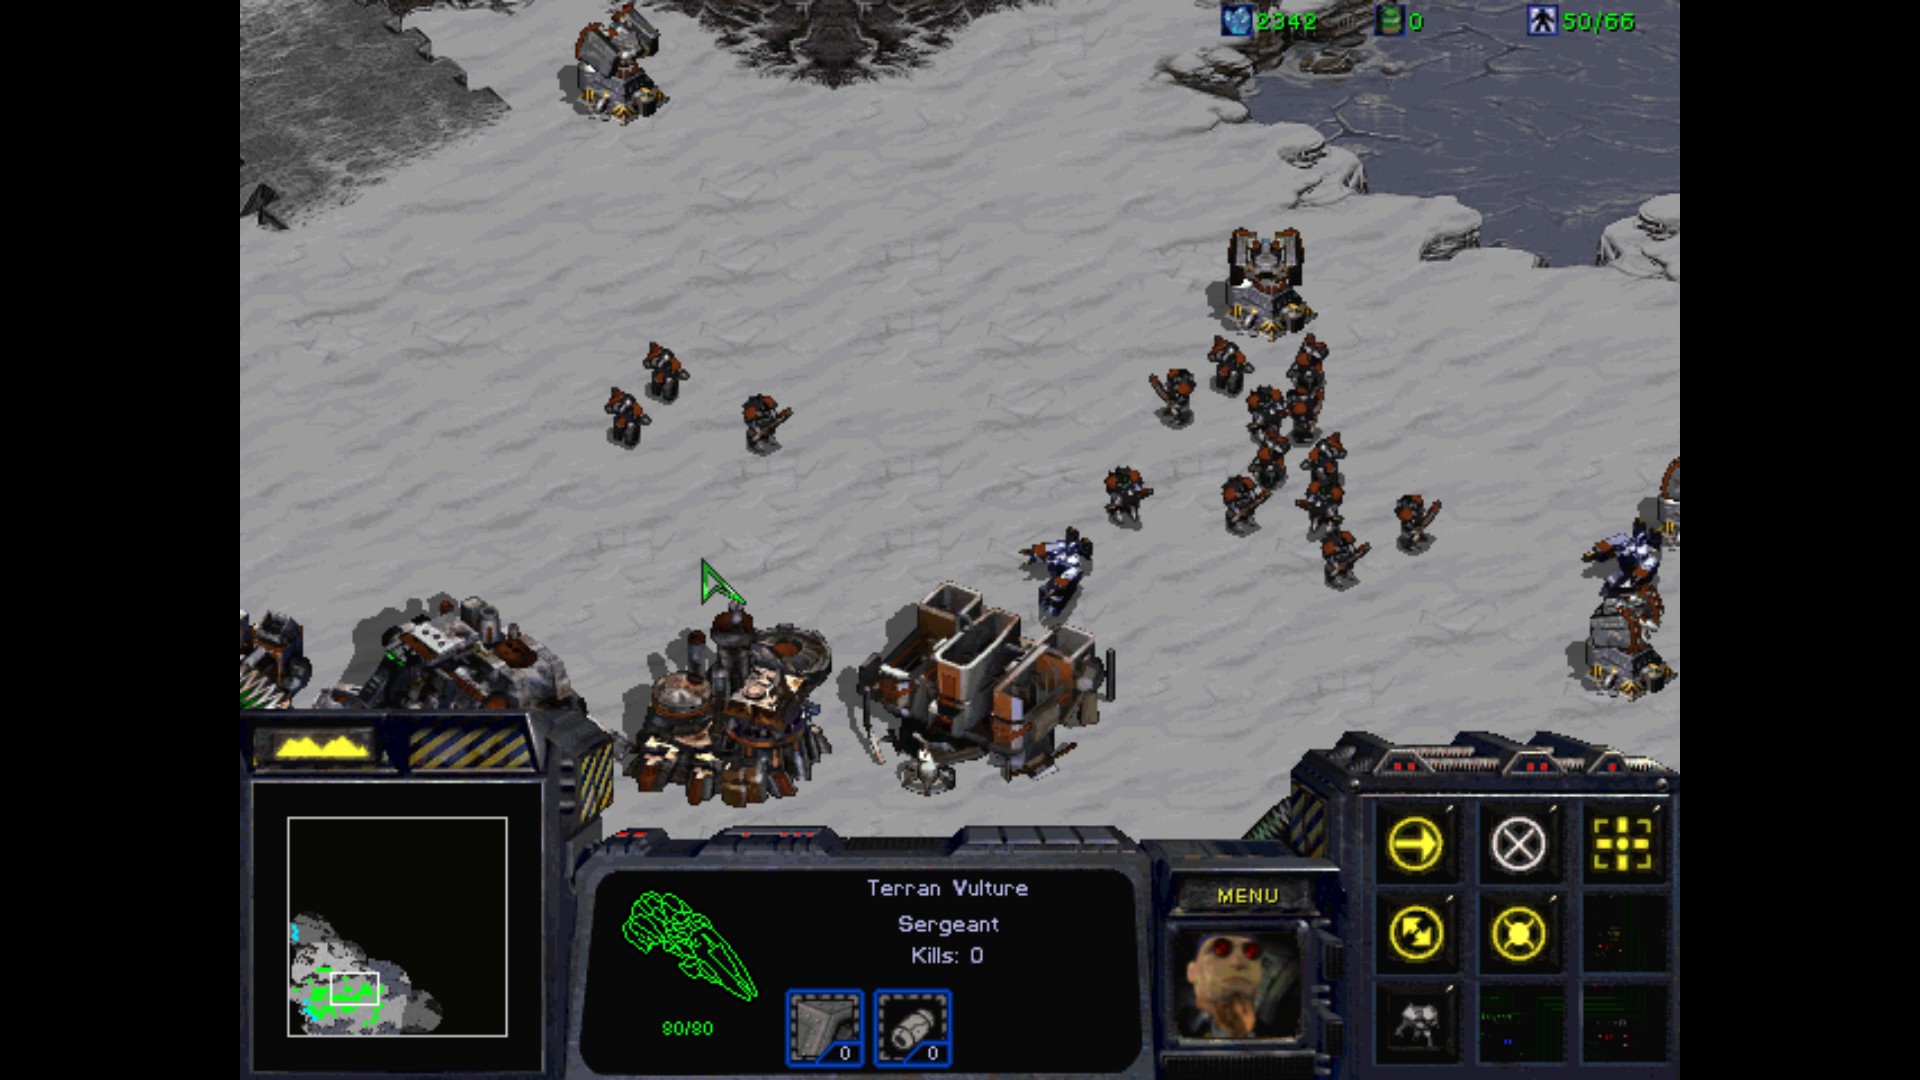
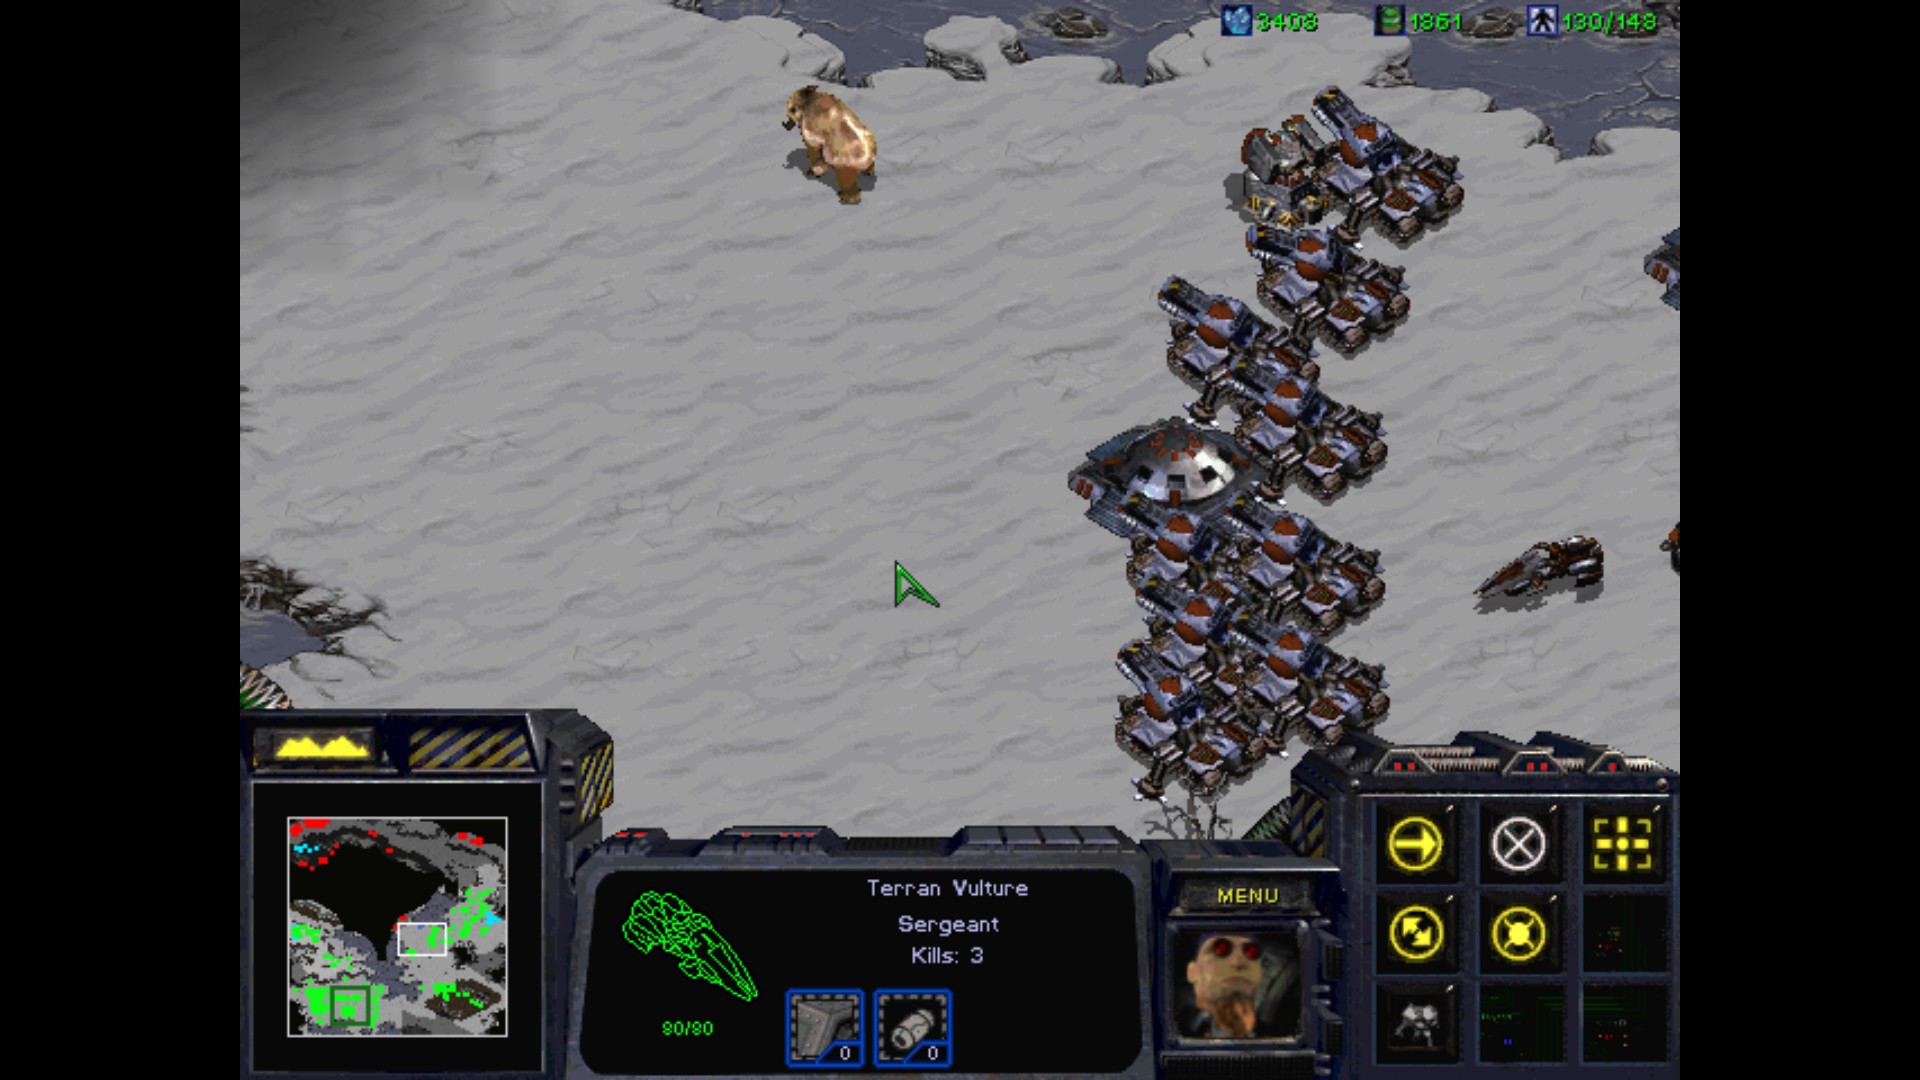
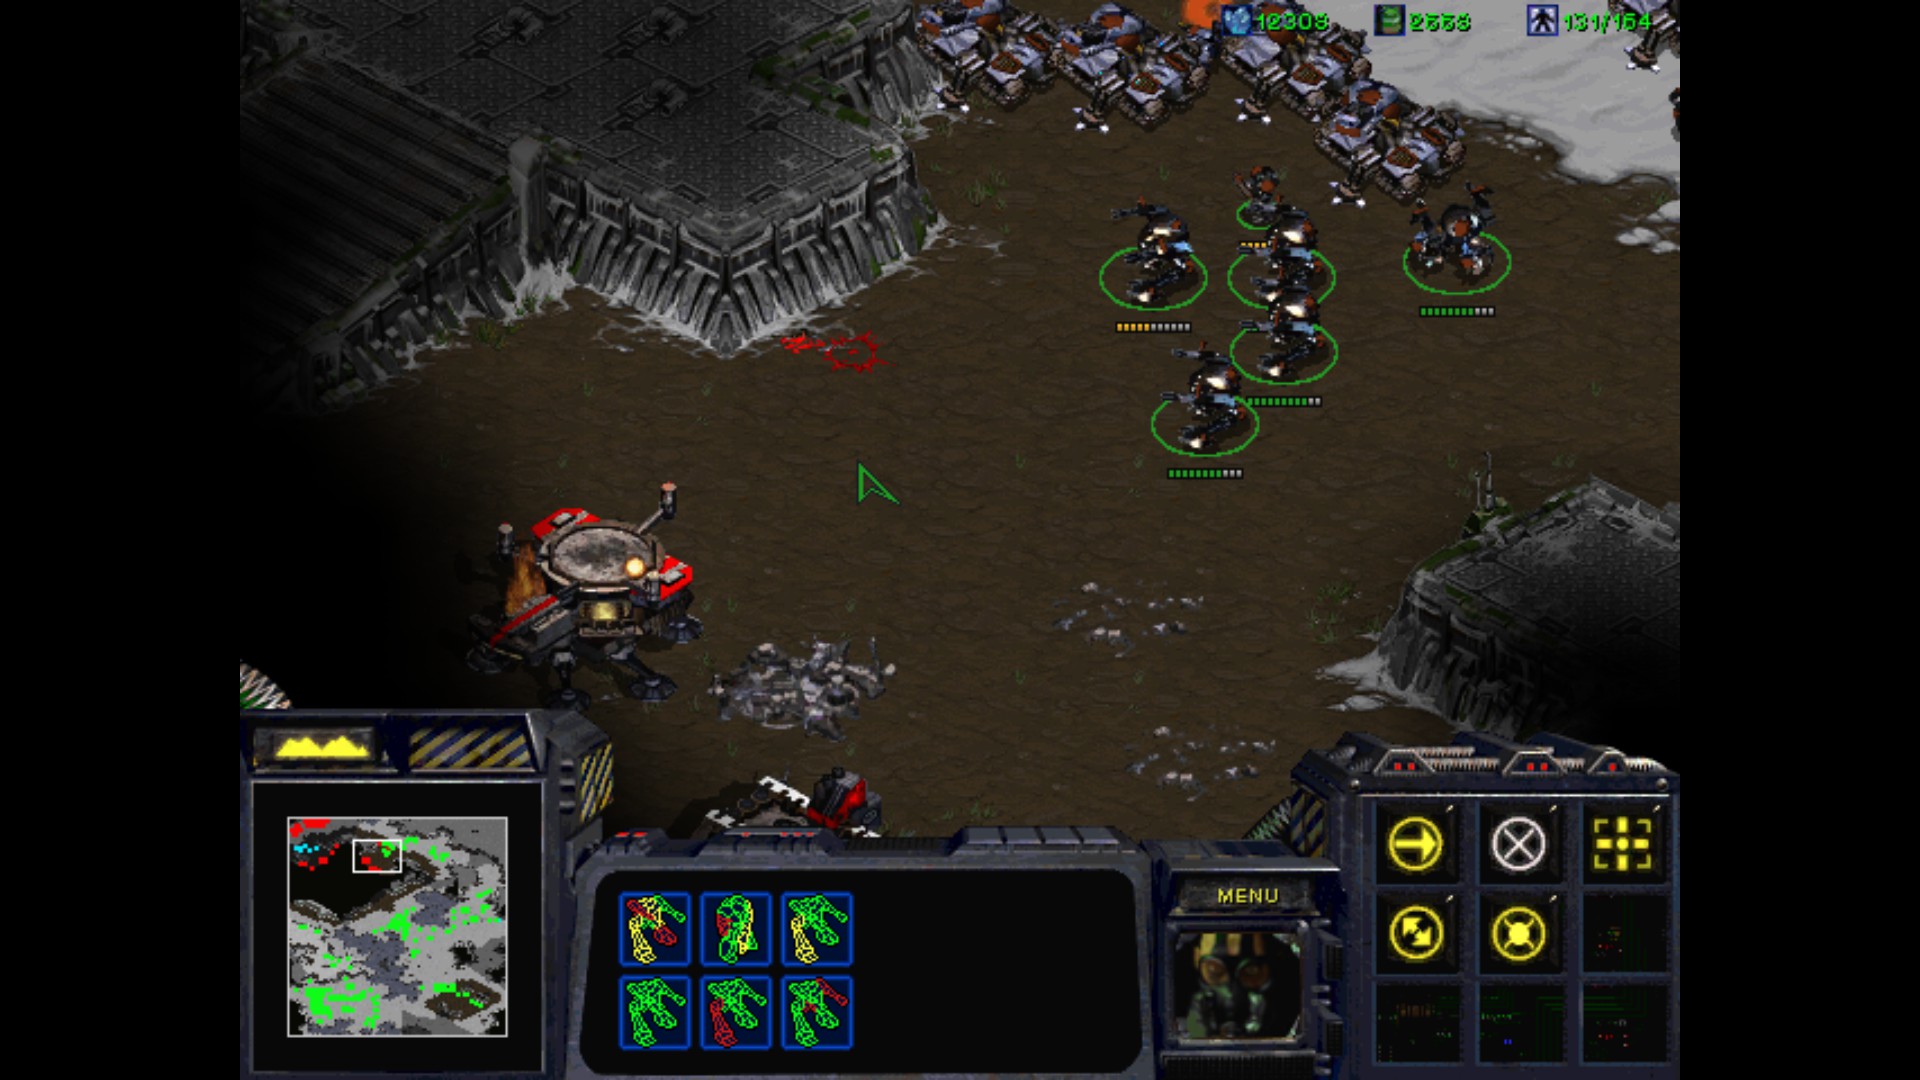
I have enough troops and Vultures to start moving on.

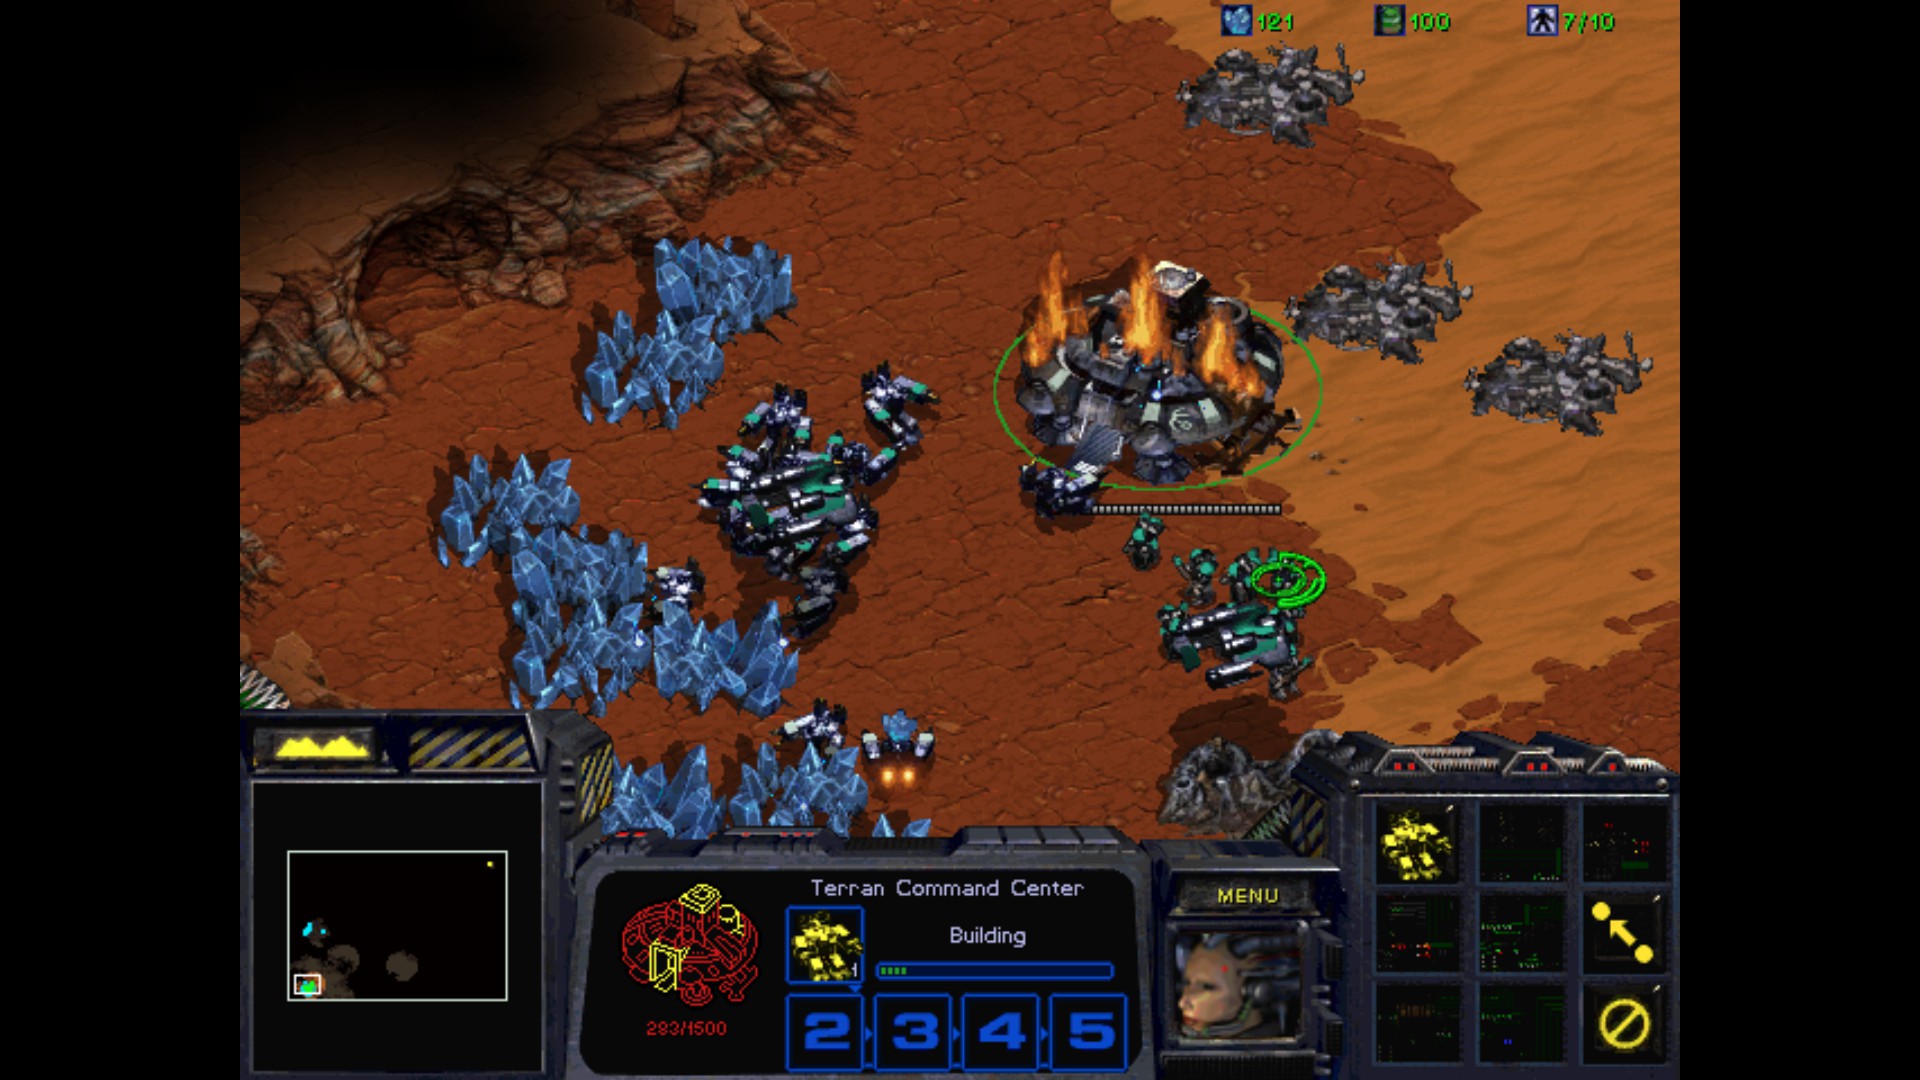
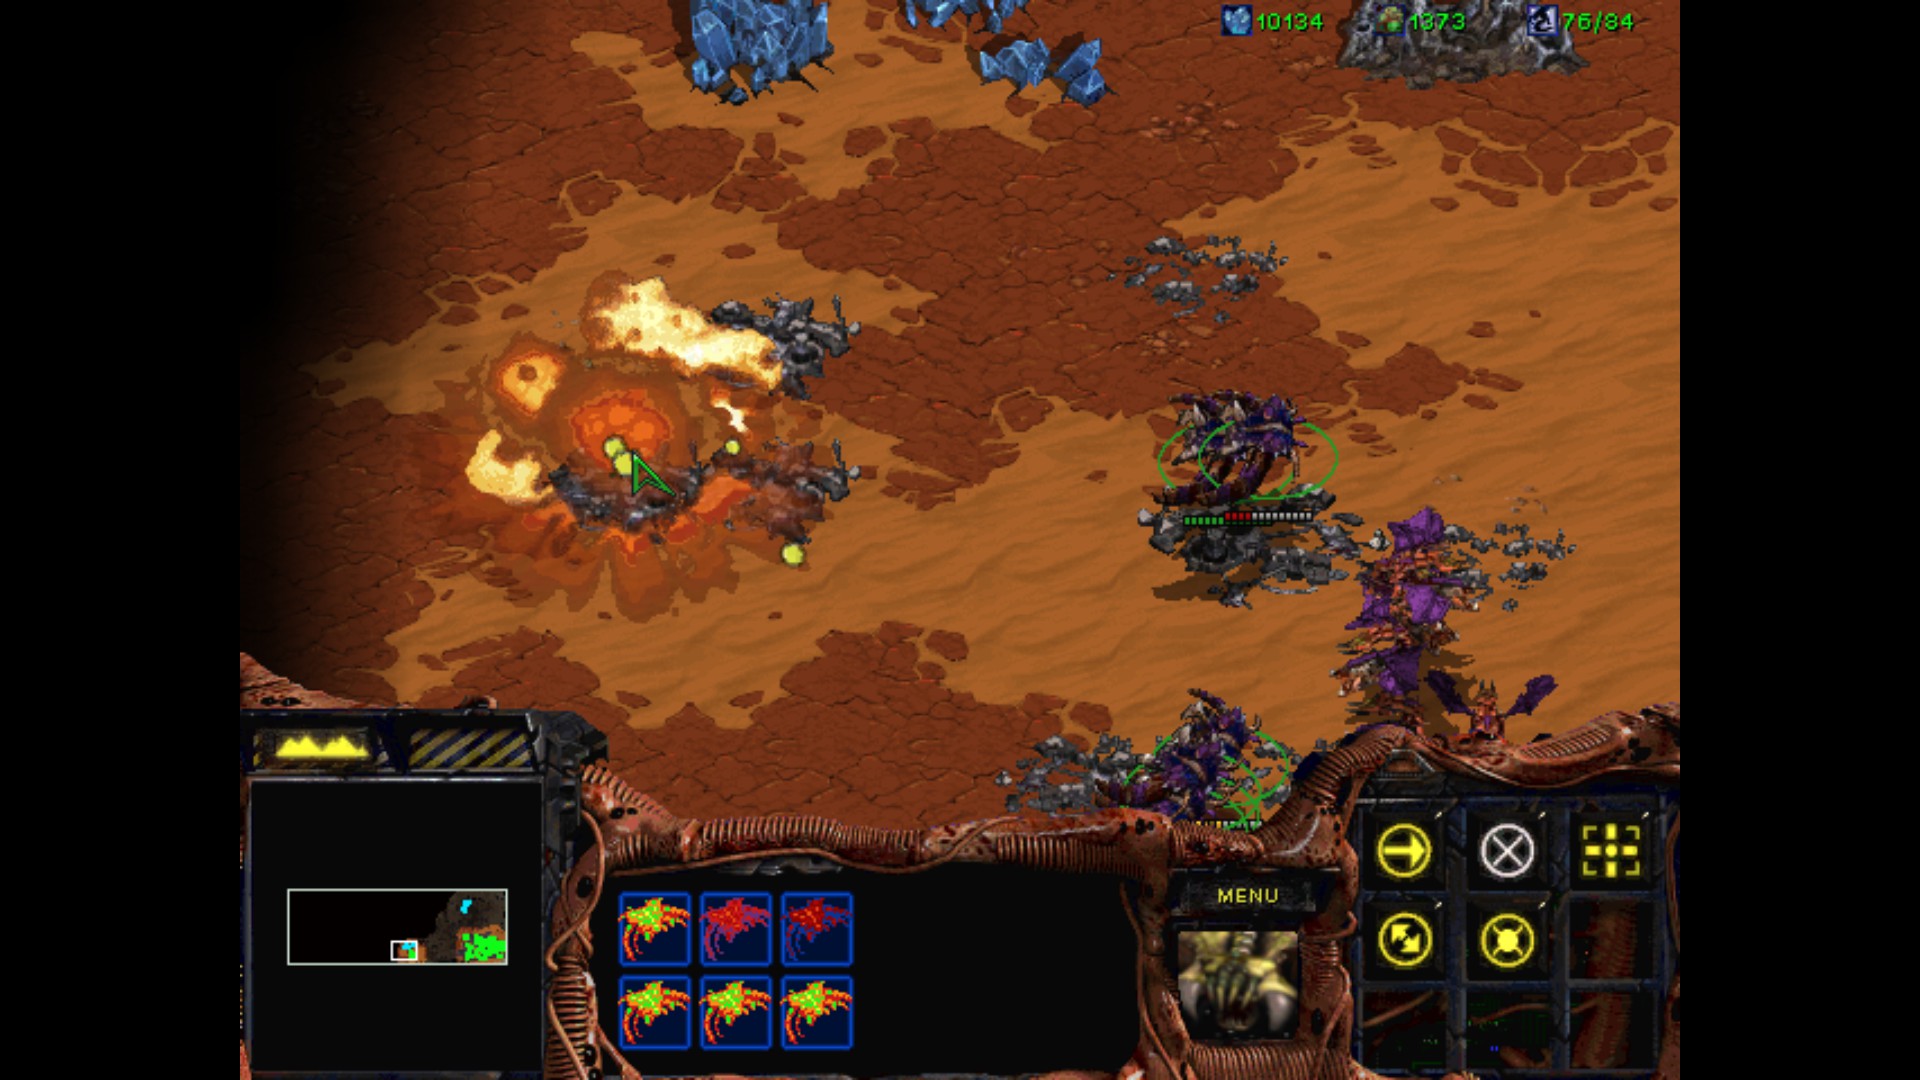
In the south east I destroy Barracks with a skeleton crew. I guess it was used for making the small groups attacking me, or just stacking them with Goliaths and Vultures together. Not anymore!
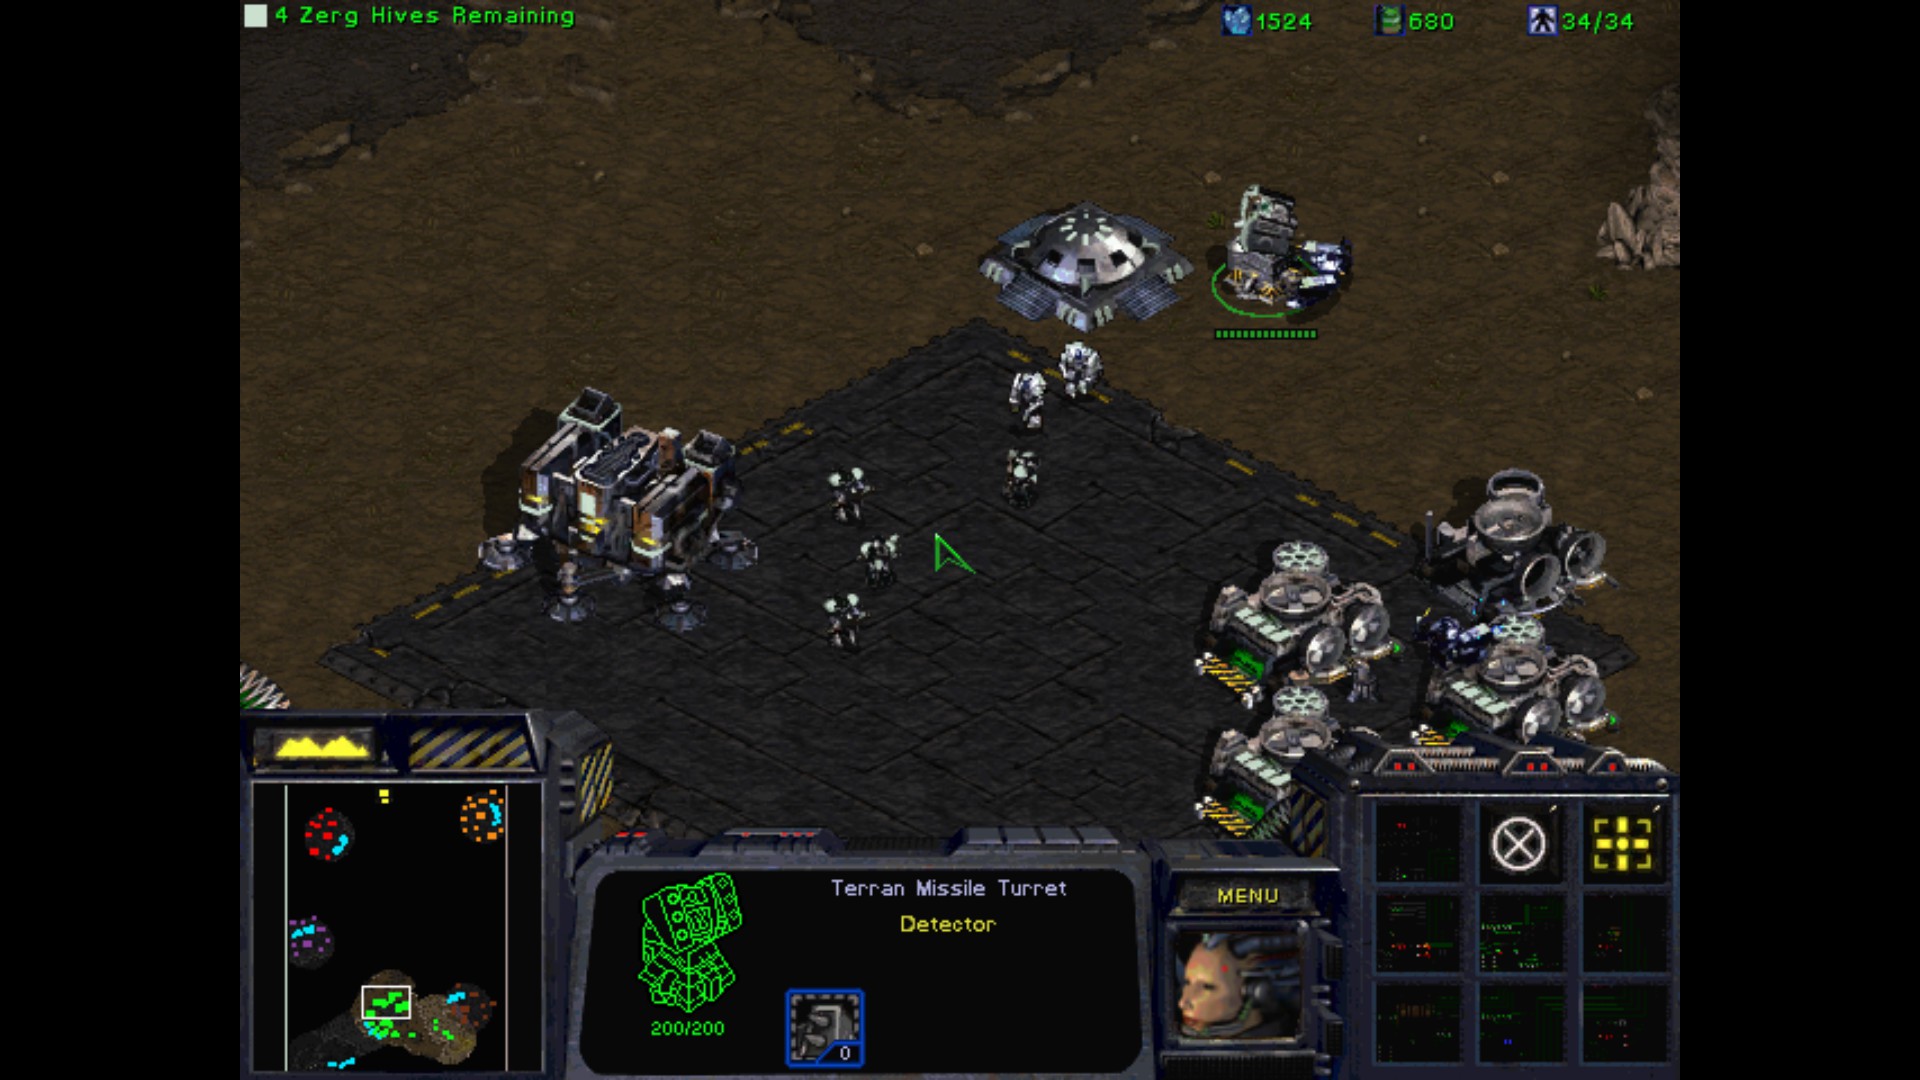
I've secured the northern part of the hill...
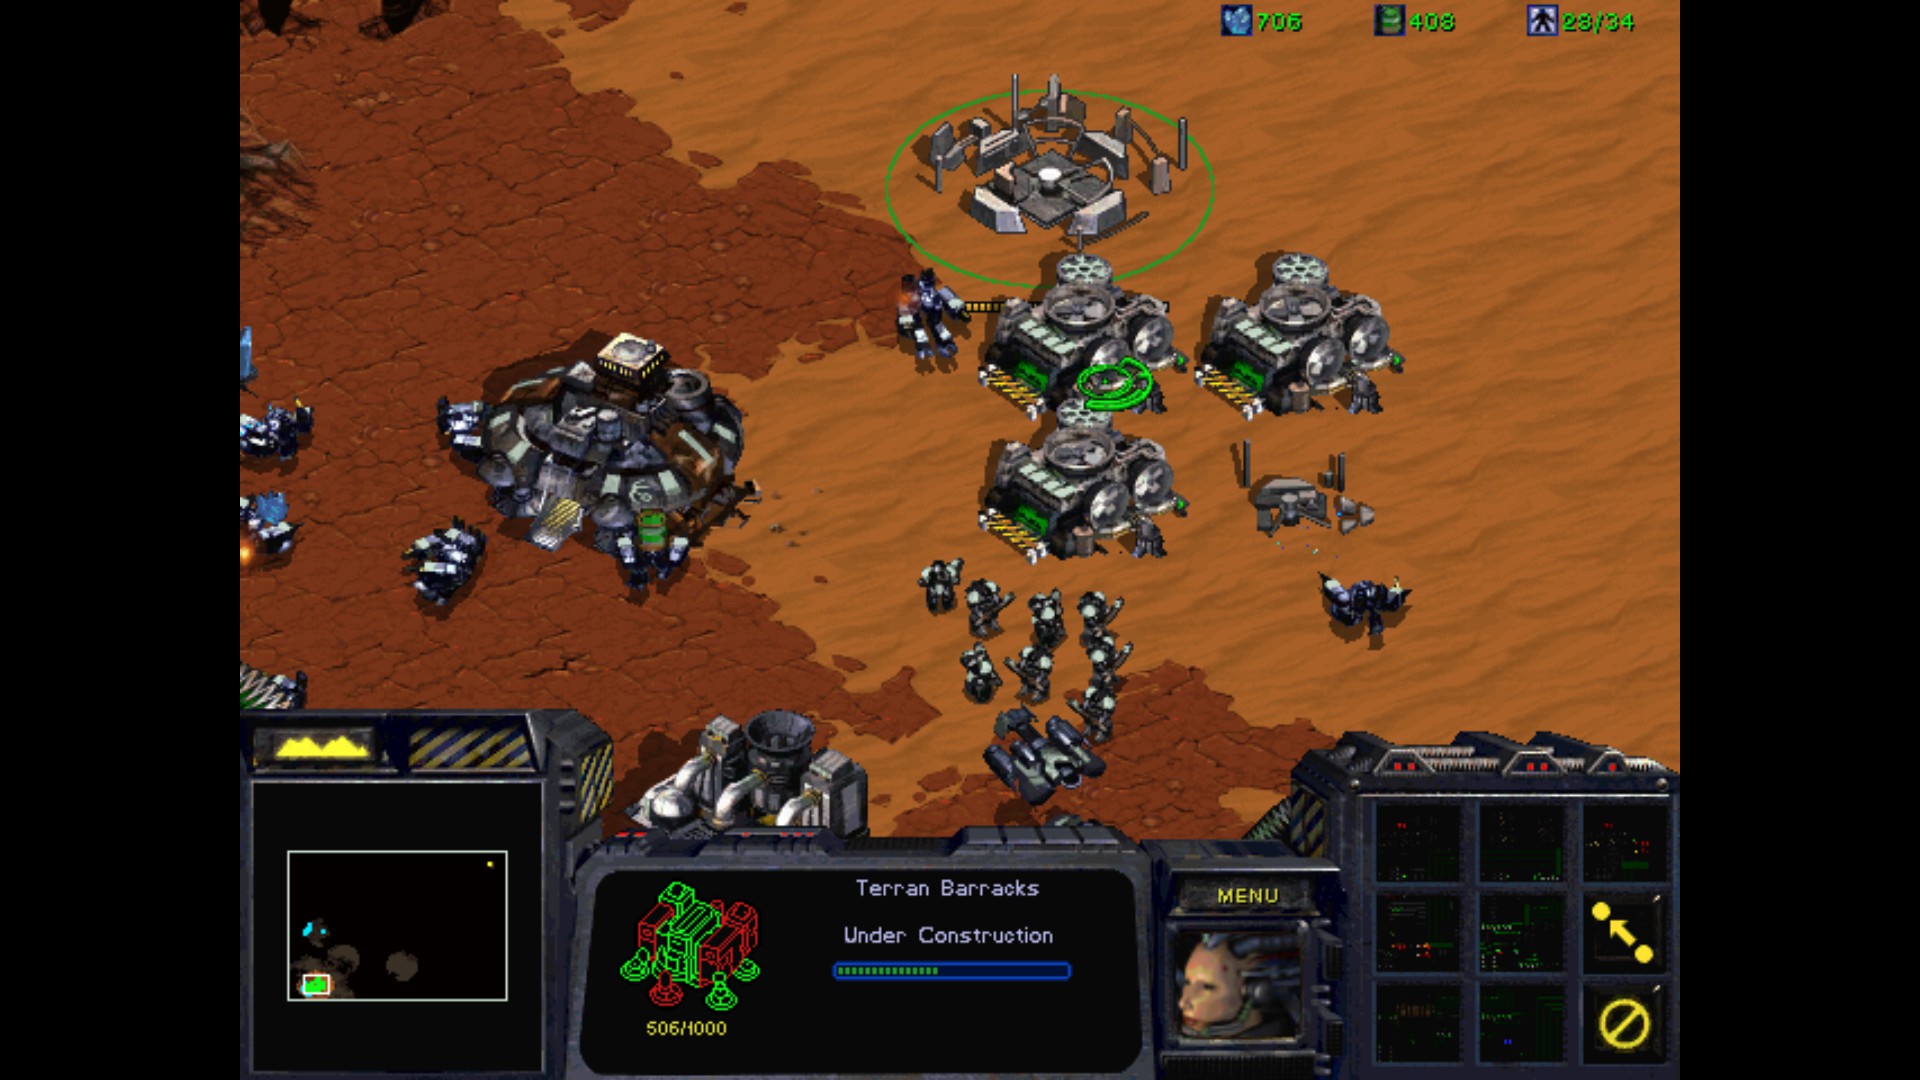
plus the liberated place as well. This is an excellent terrain for Bunkers and Turrets to make. I move some Marines from the Bunkers in the main base since they won't have to deal with much resistance from now on.
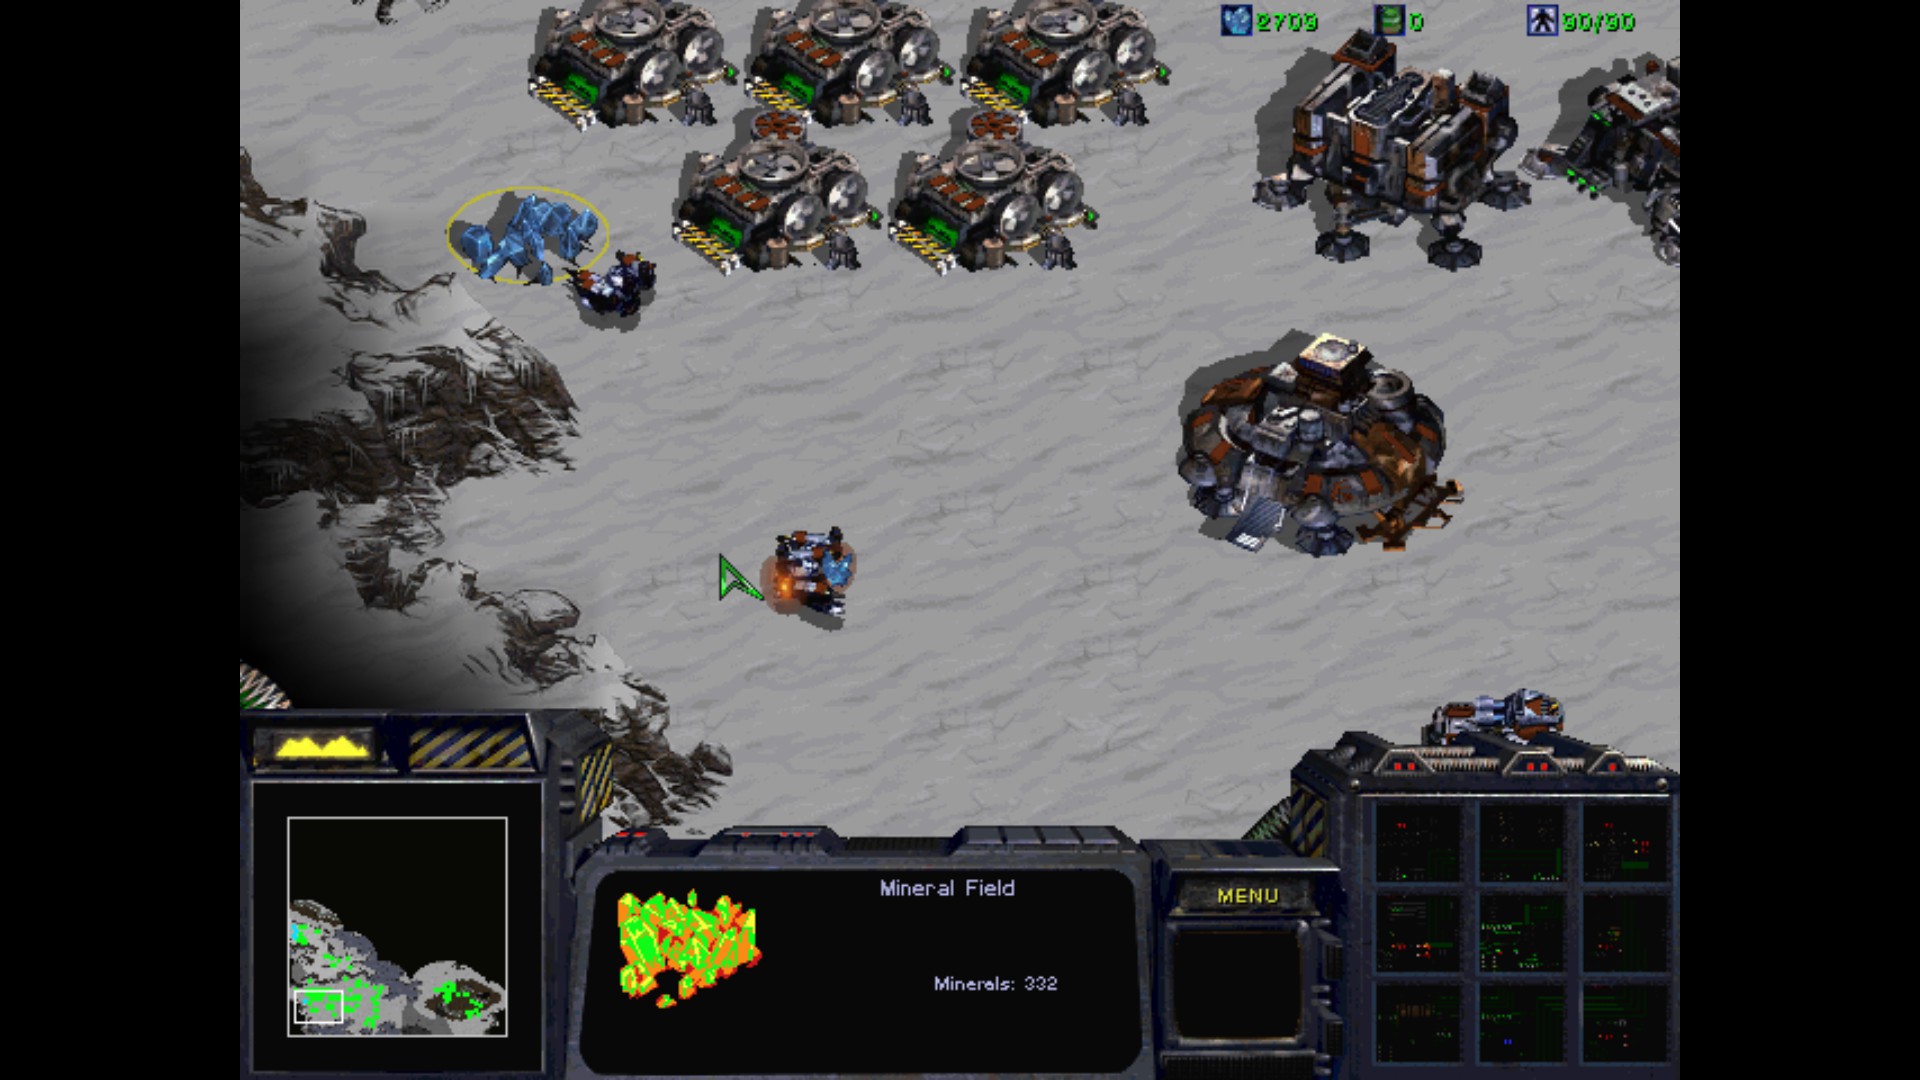
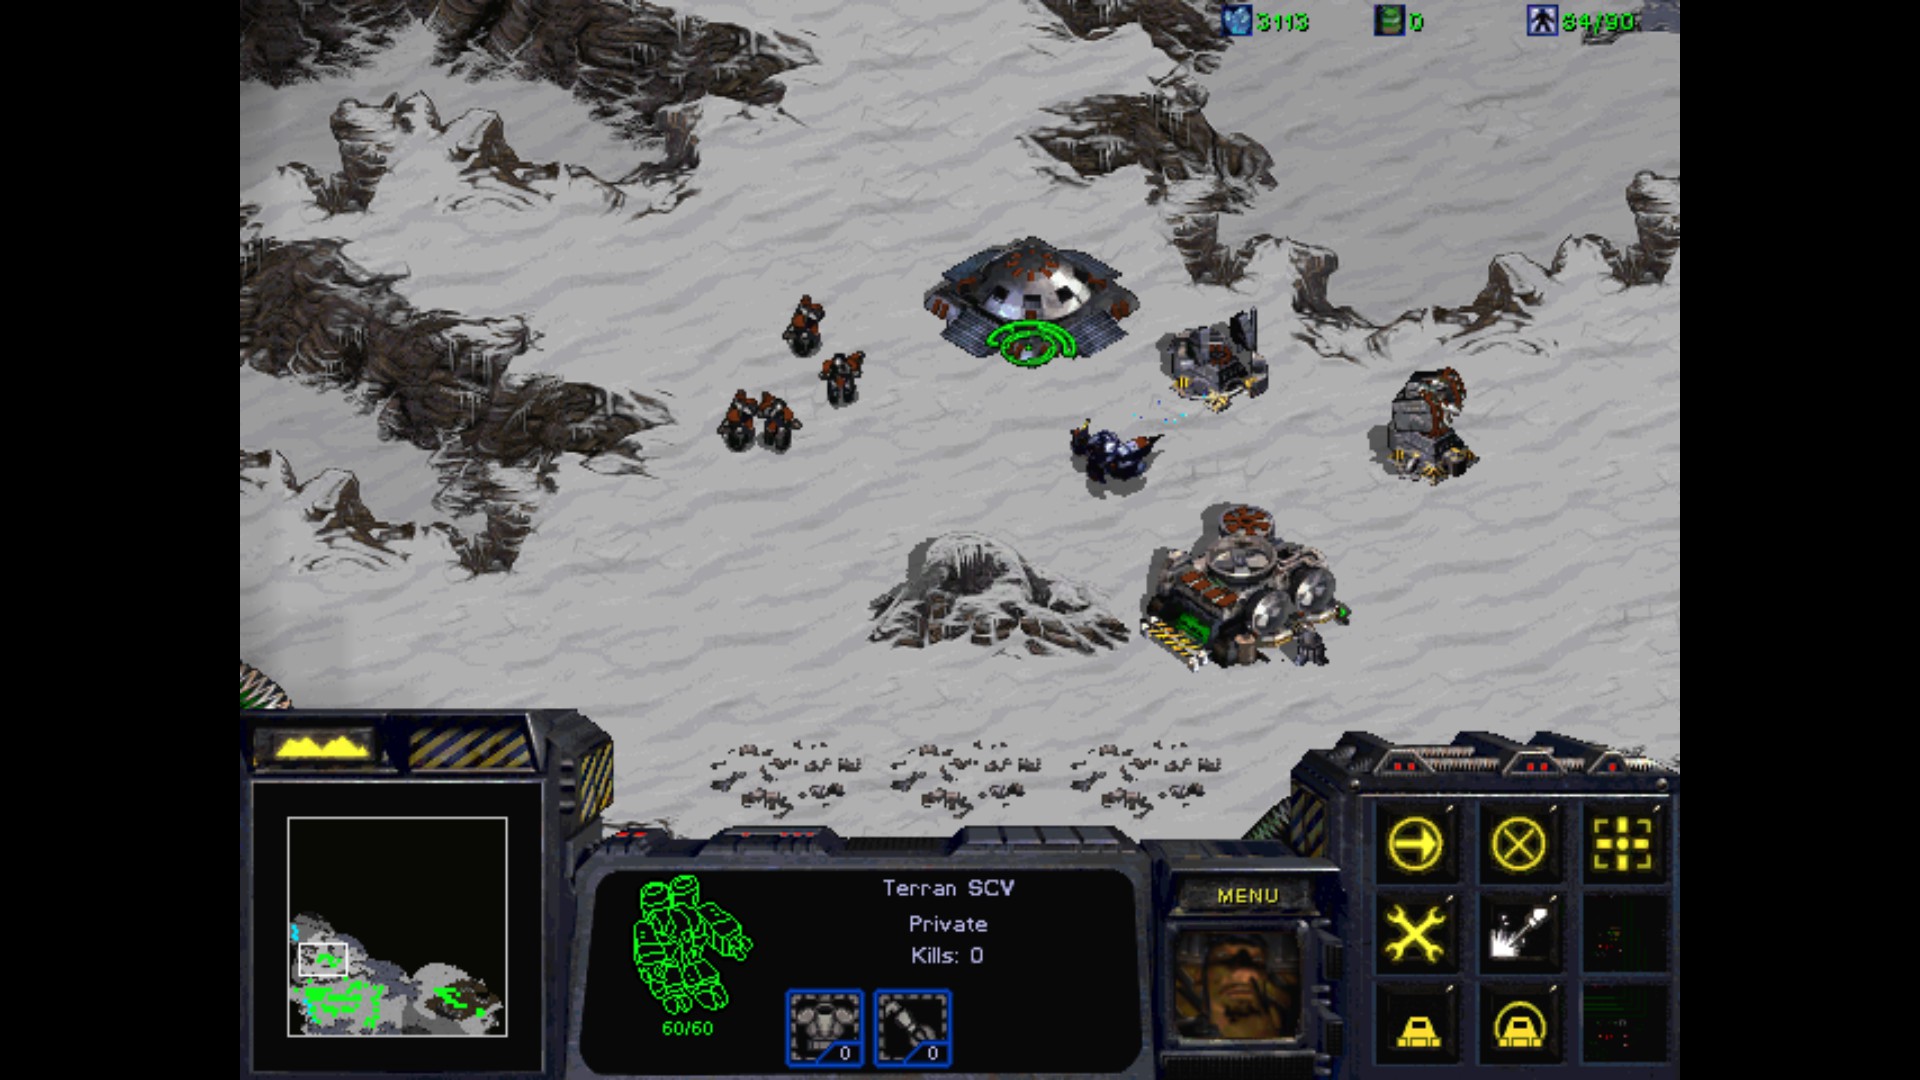
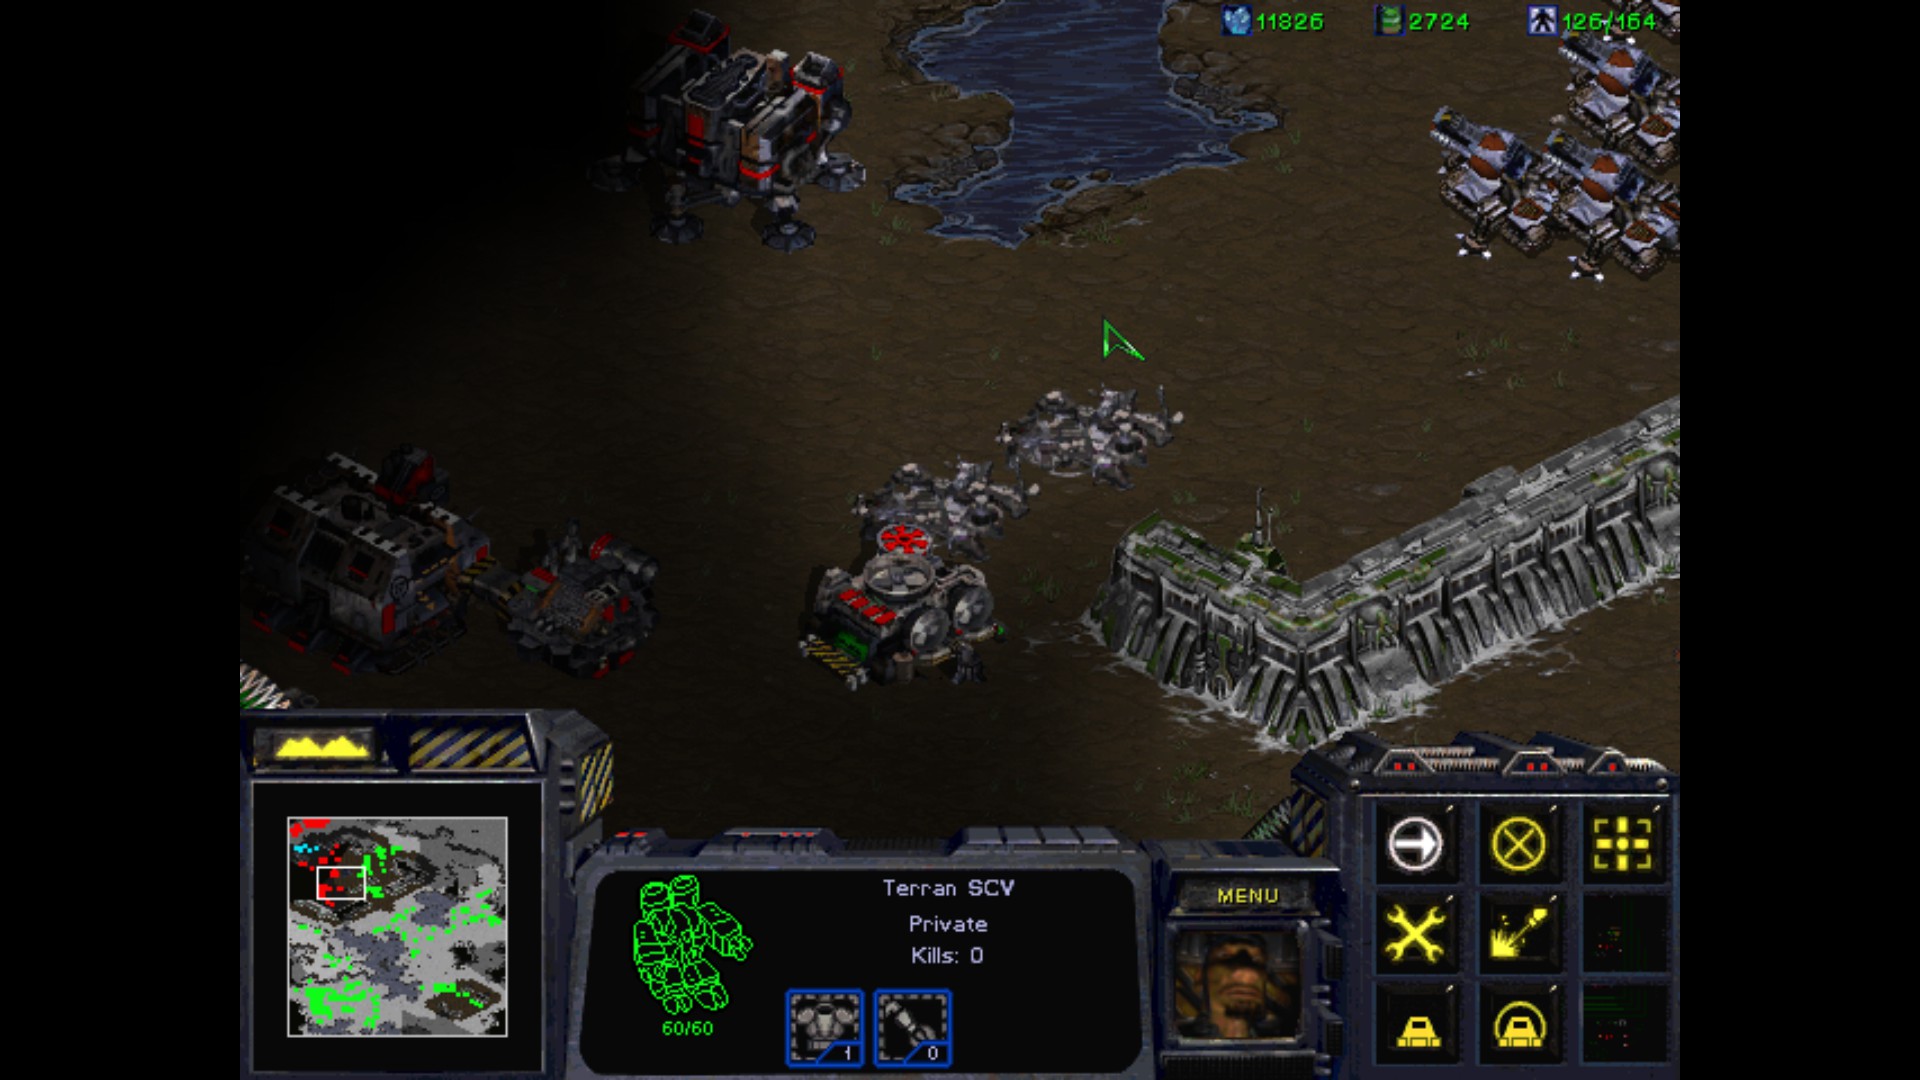
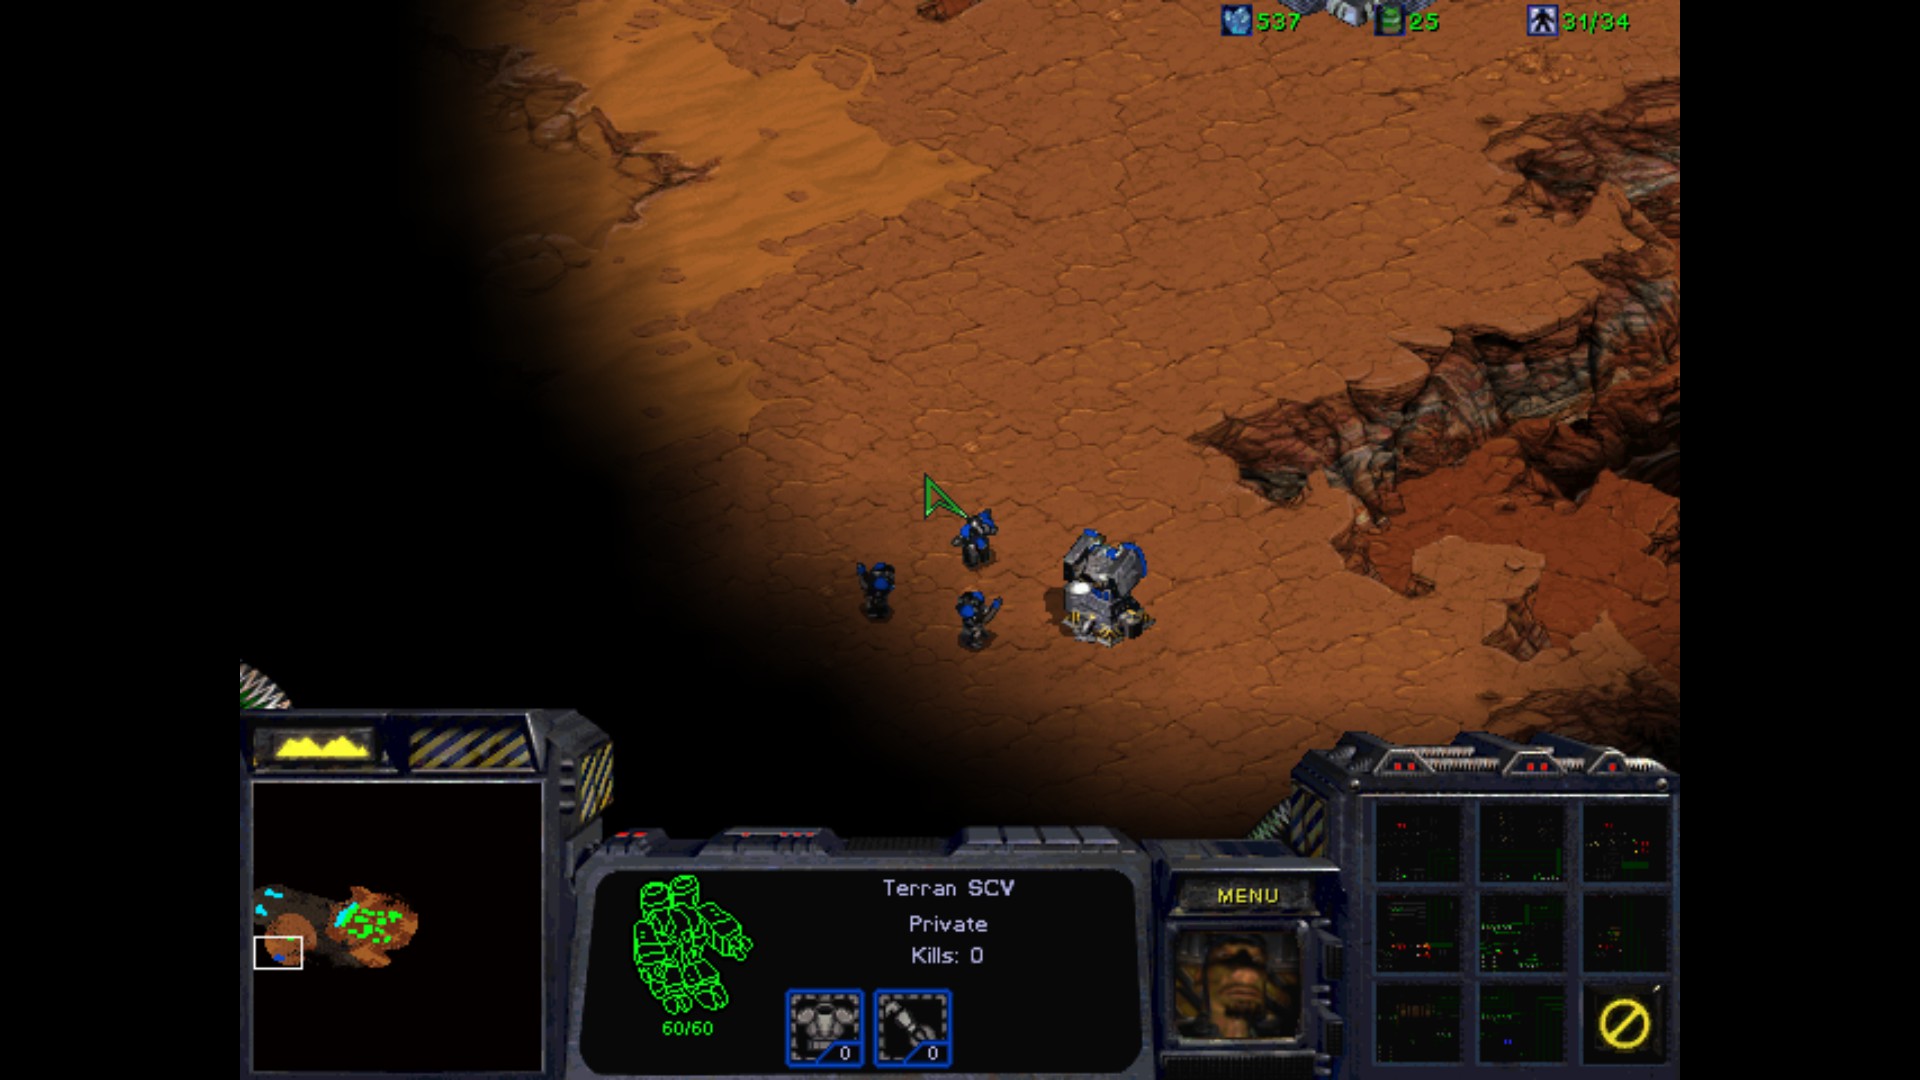
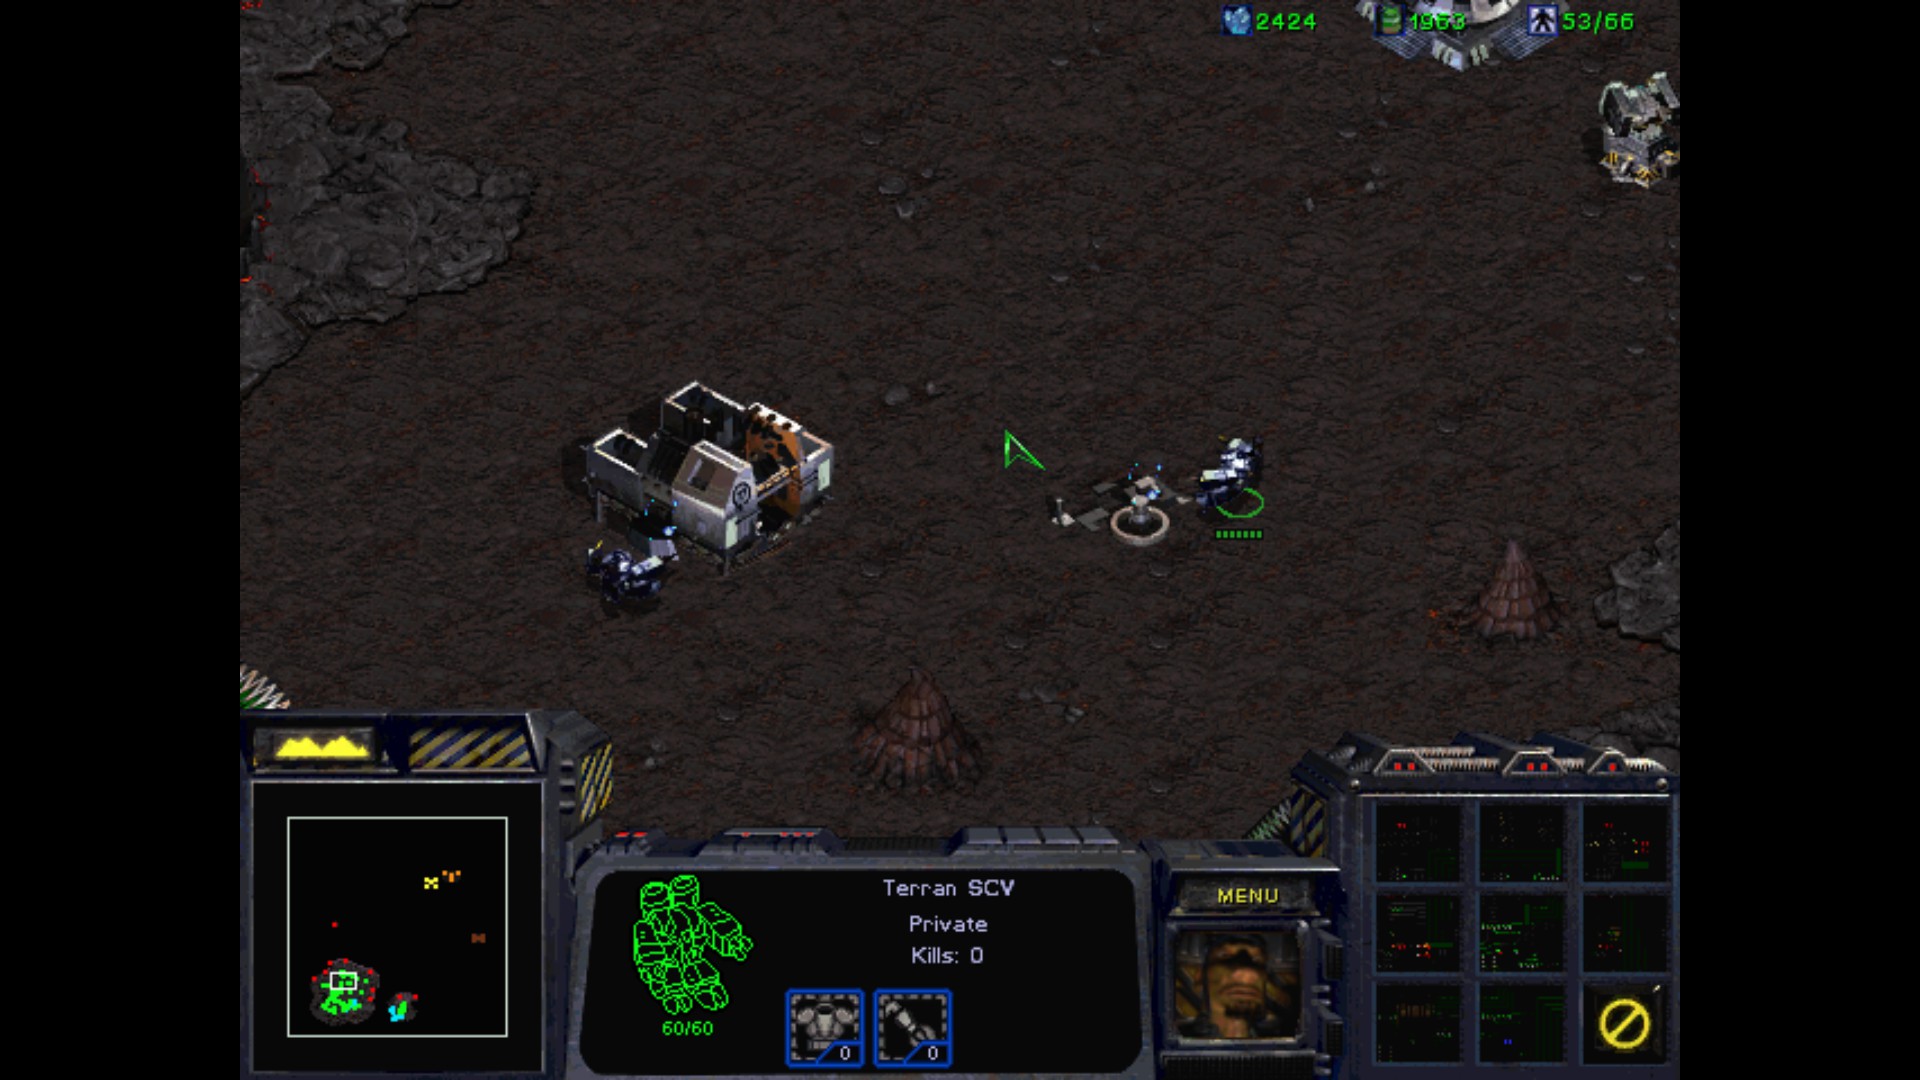
Already I have gathered all the minerals here. I will move SCV's to the hill.

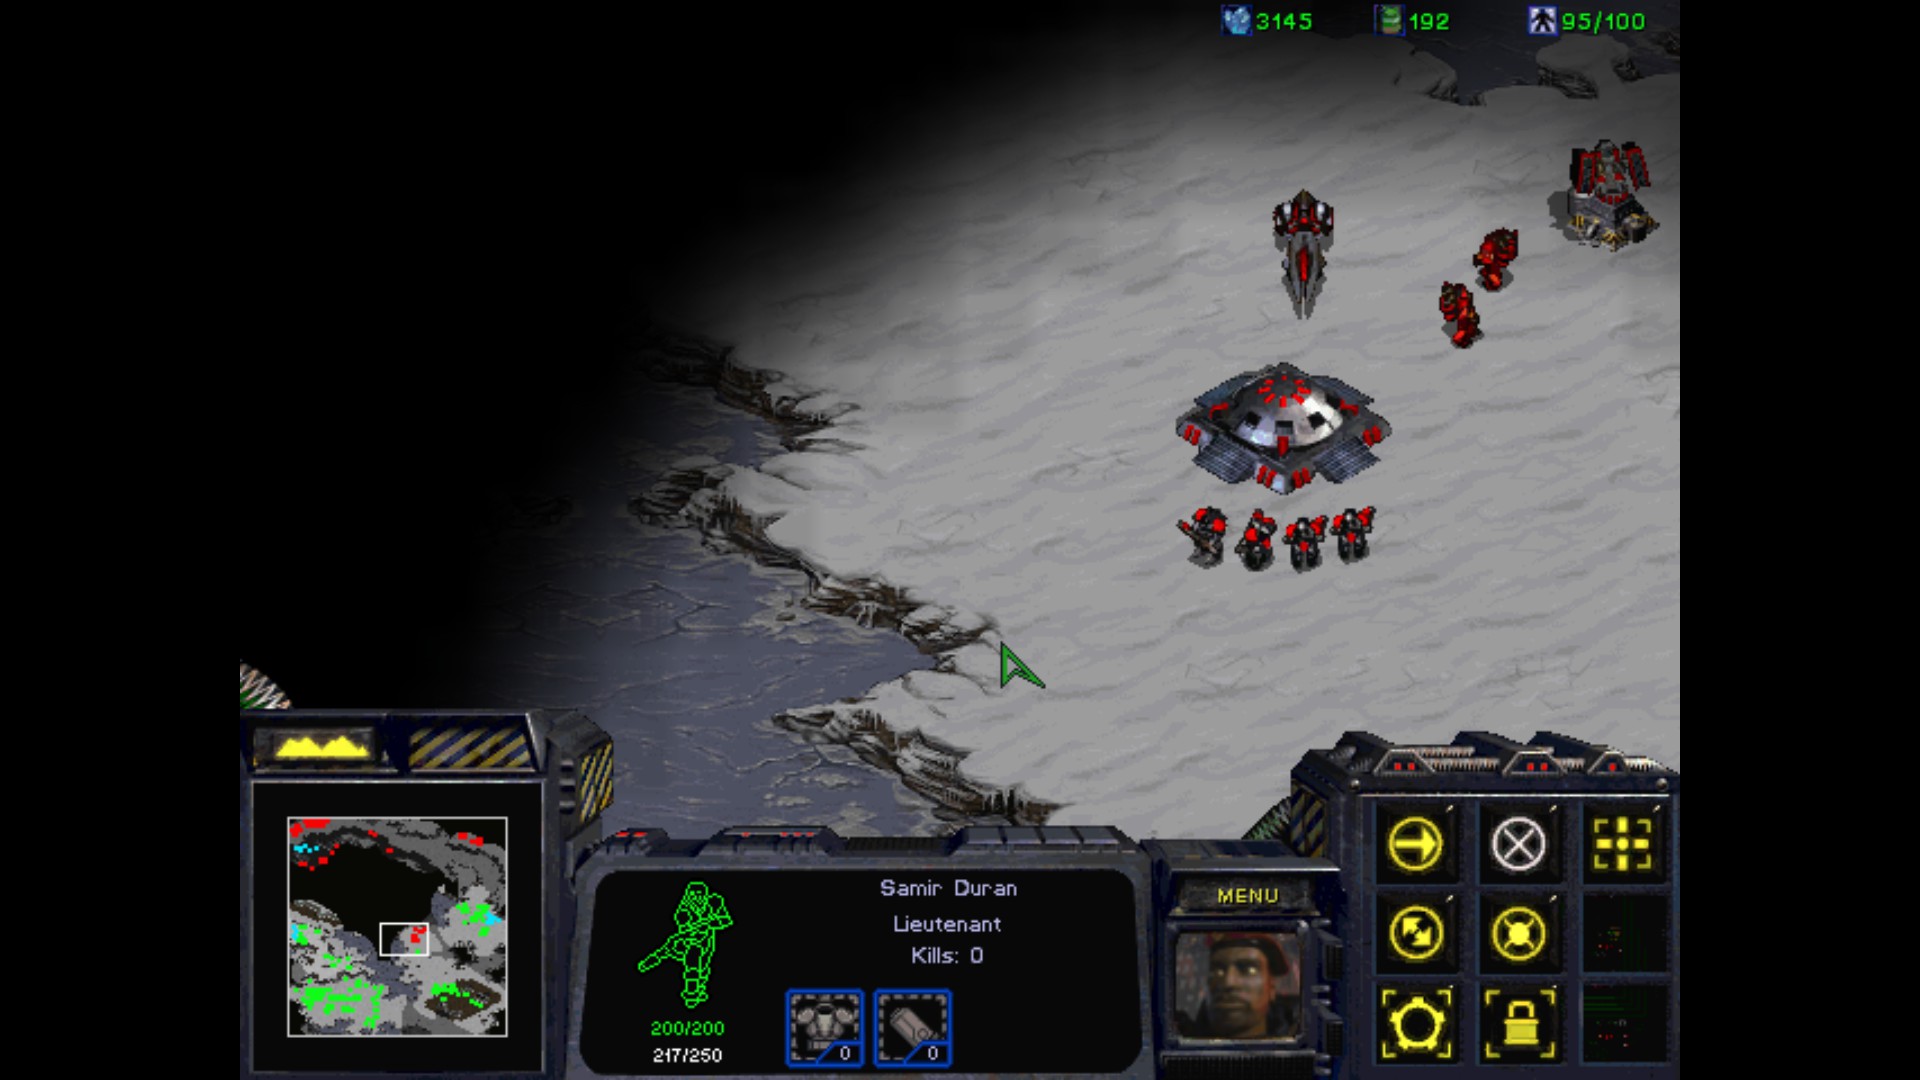
Meanwhile, I'm sending a lone vulture to check map for me. I meet Lieutenant Samir "Irenaeus" Duran who is part of the Confederate forces and is eager to help us in this mission.
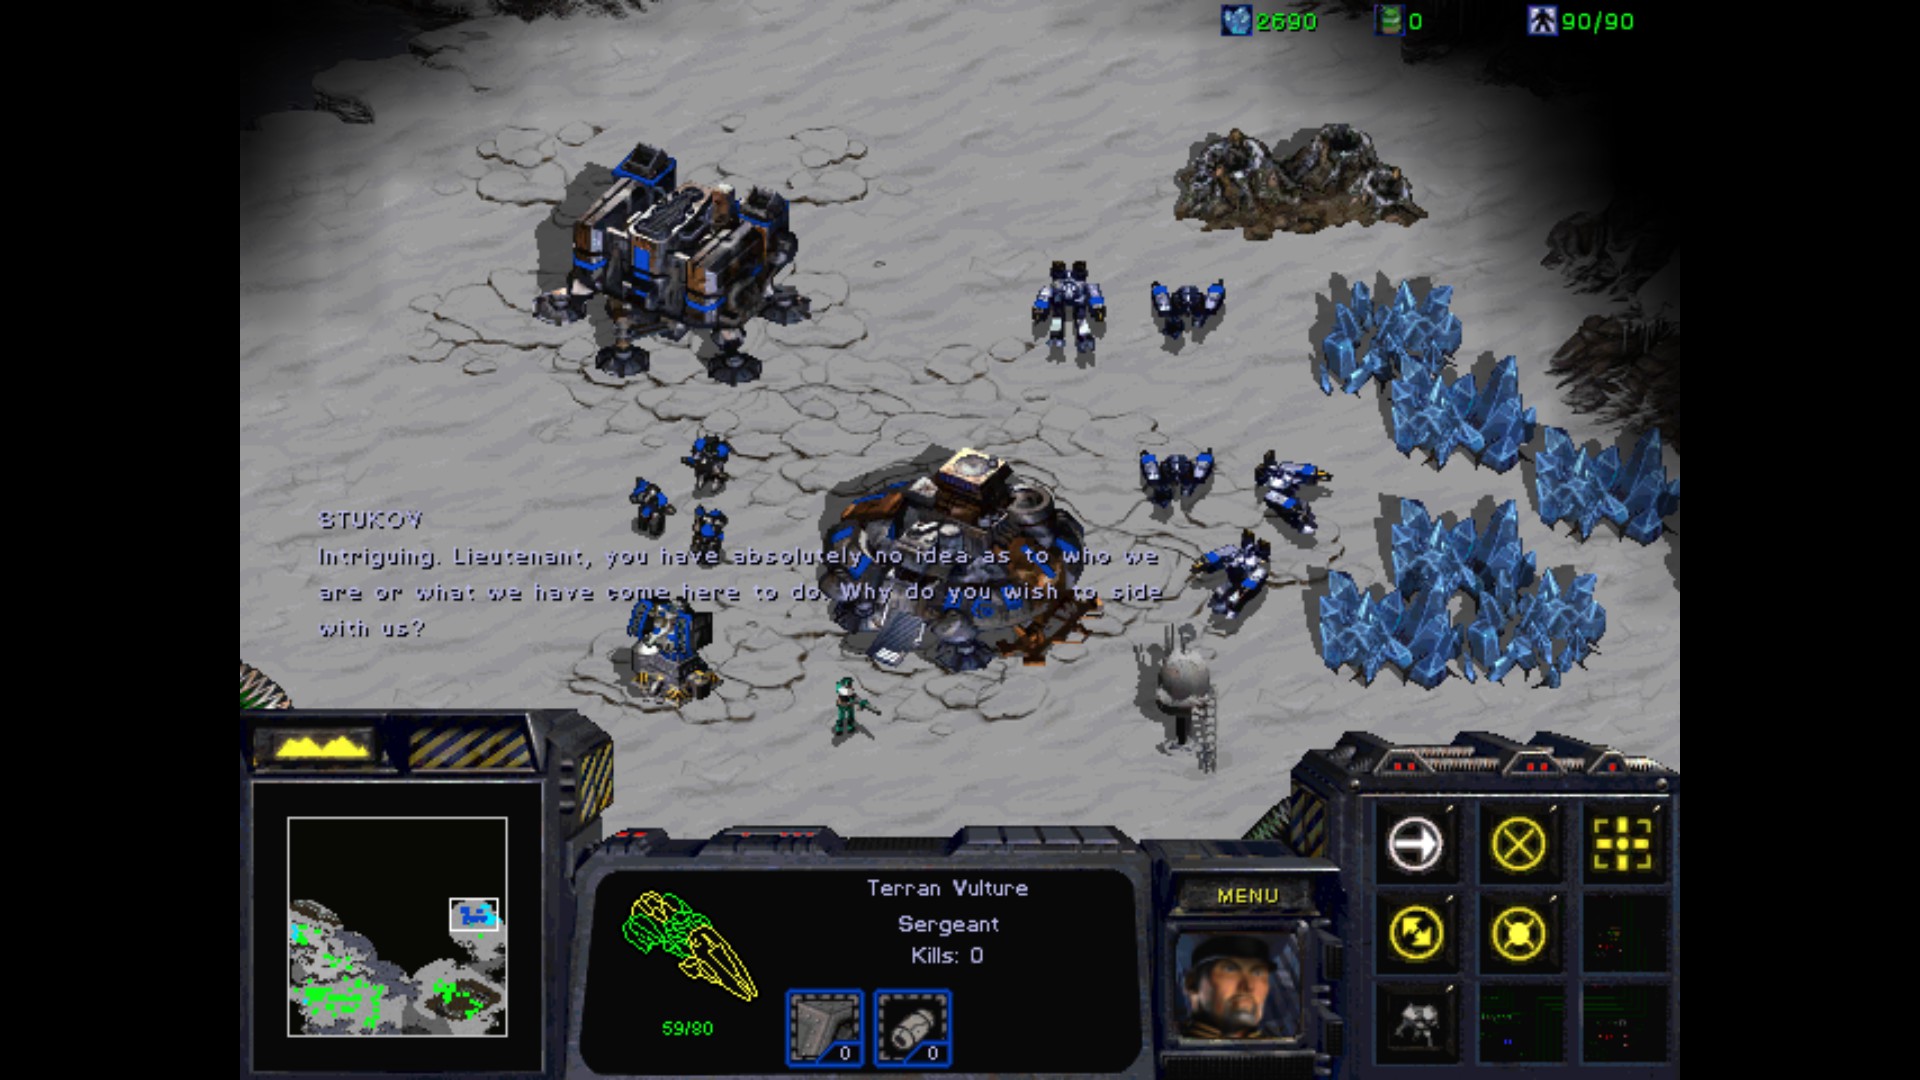


Stukov agrees and we now possess the very secretive information, which could be known after scouting the terrain by a random Vulture. The north east path will be giving us the chance to attack from the right flank.
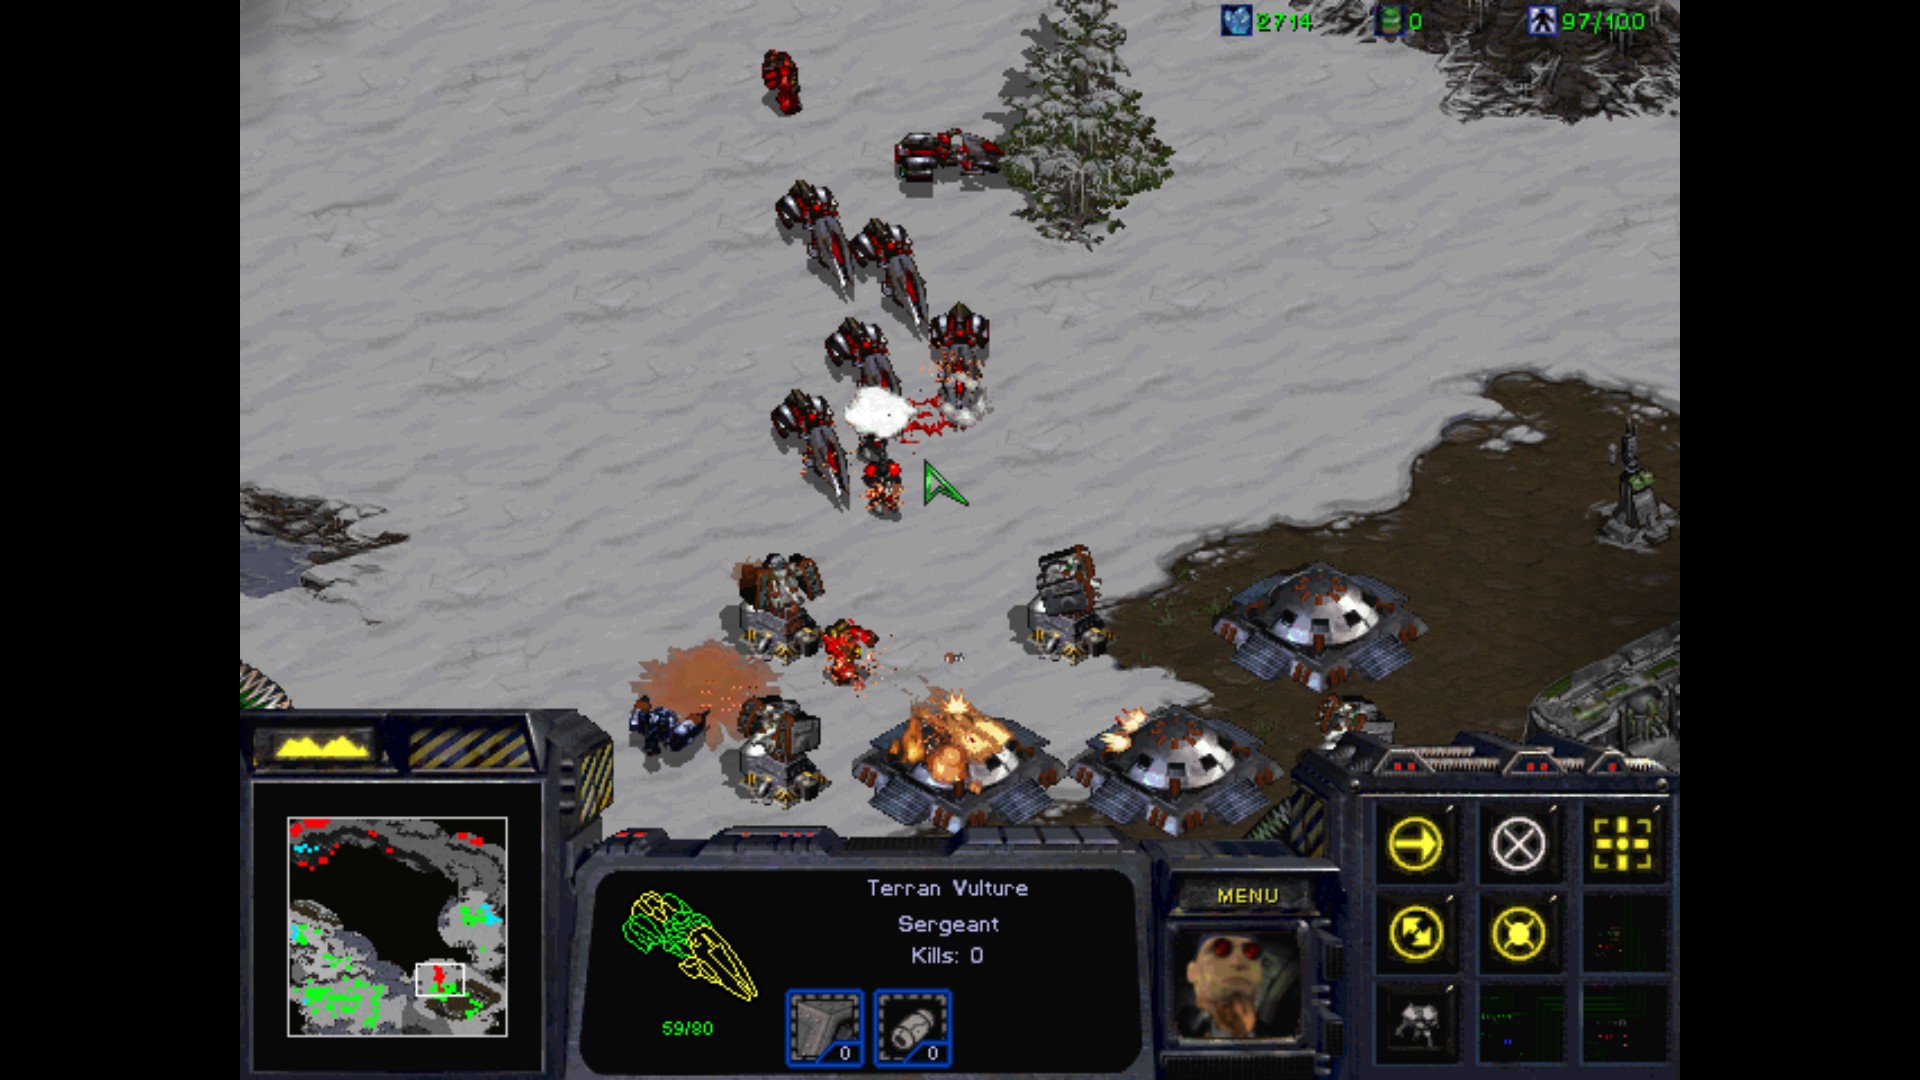
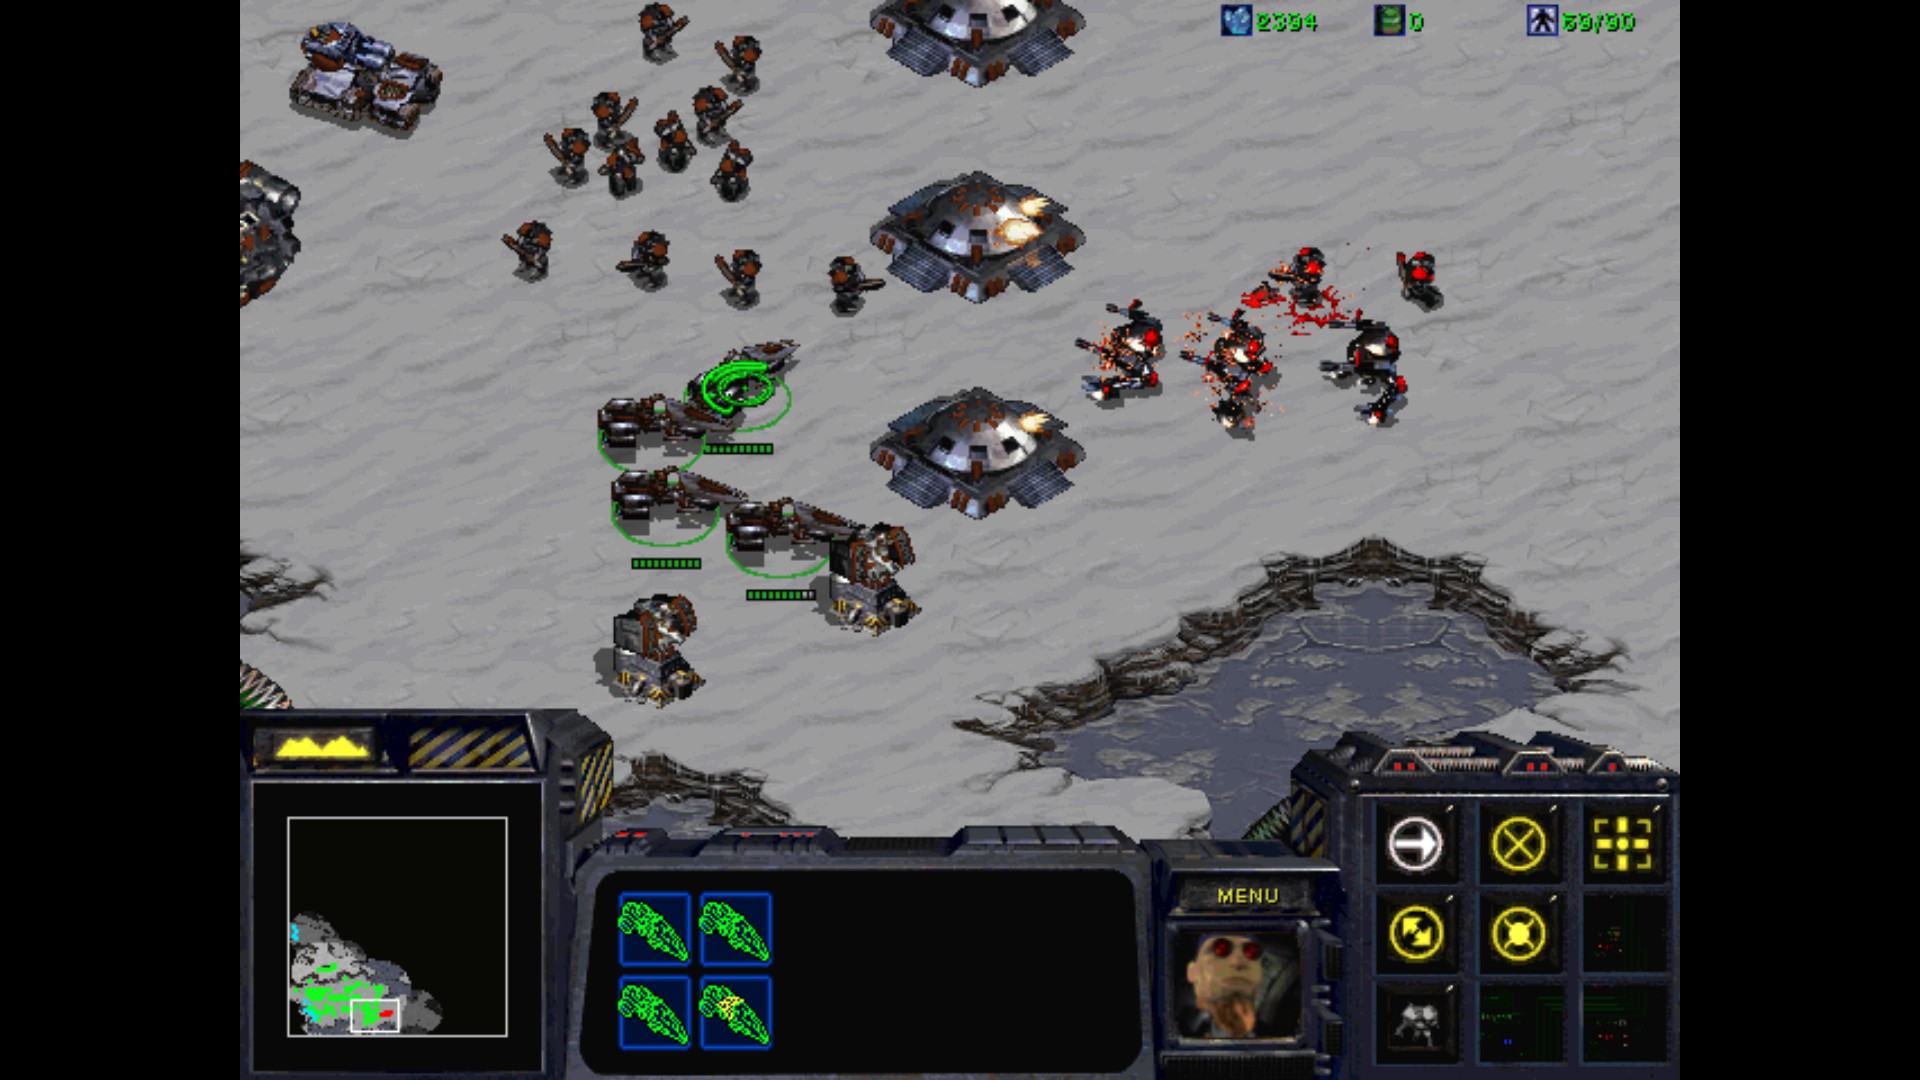
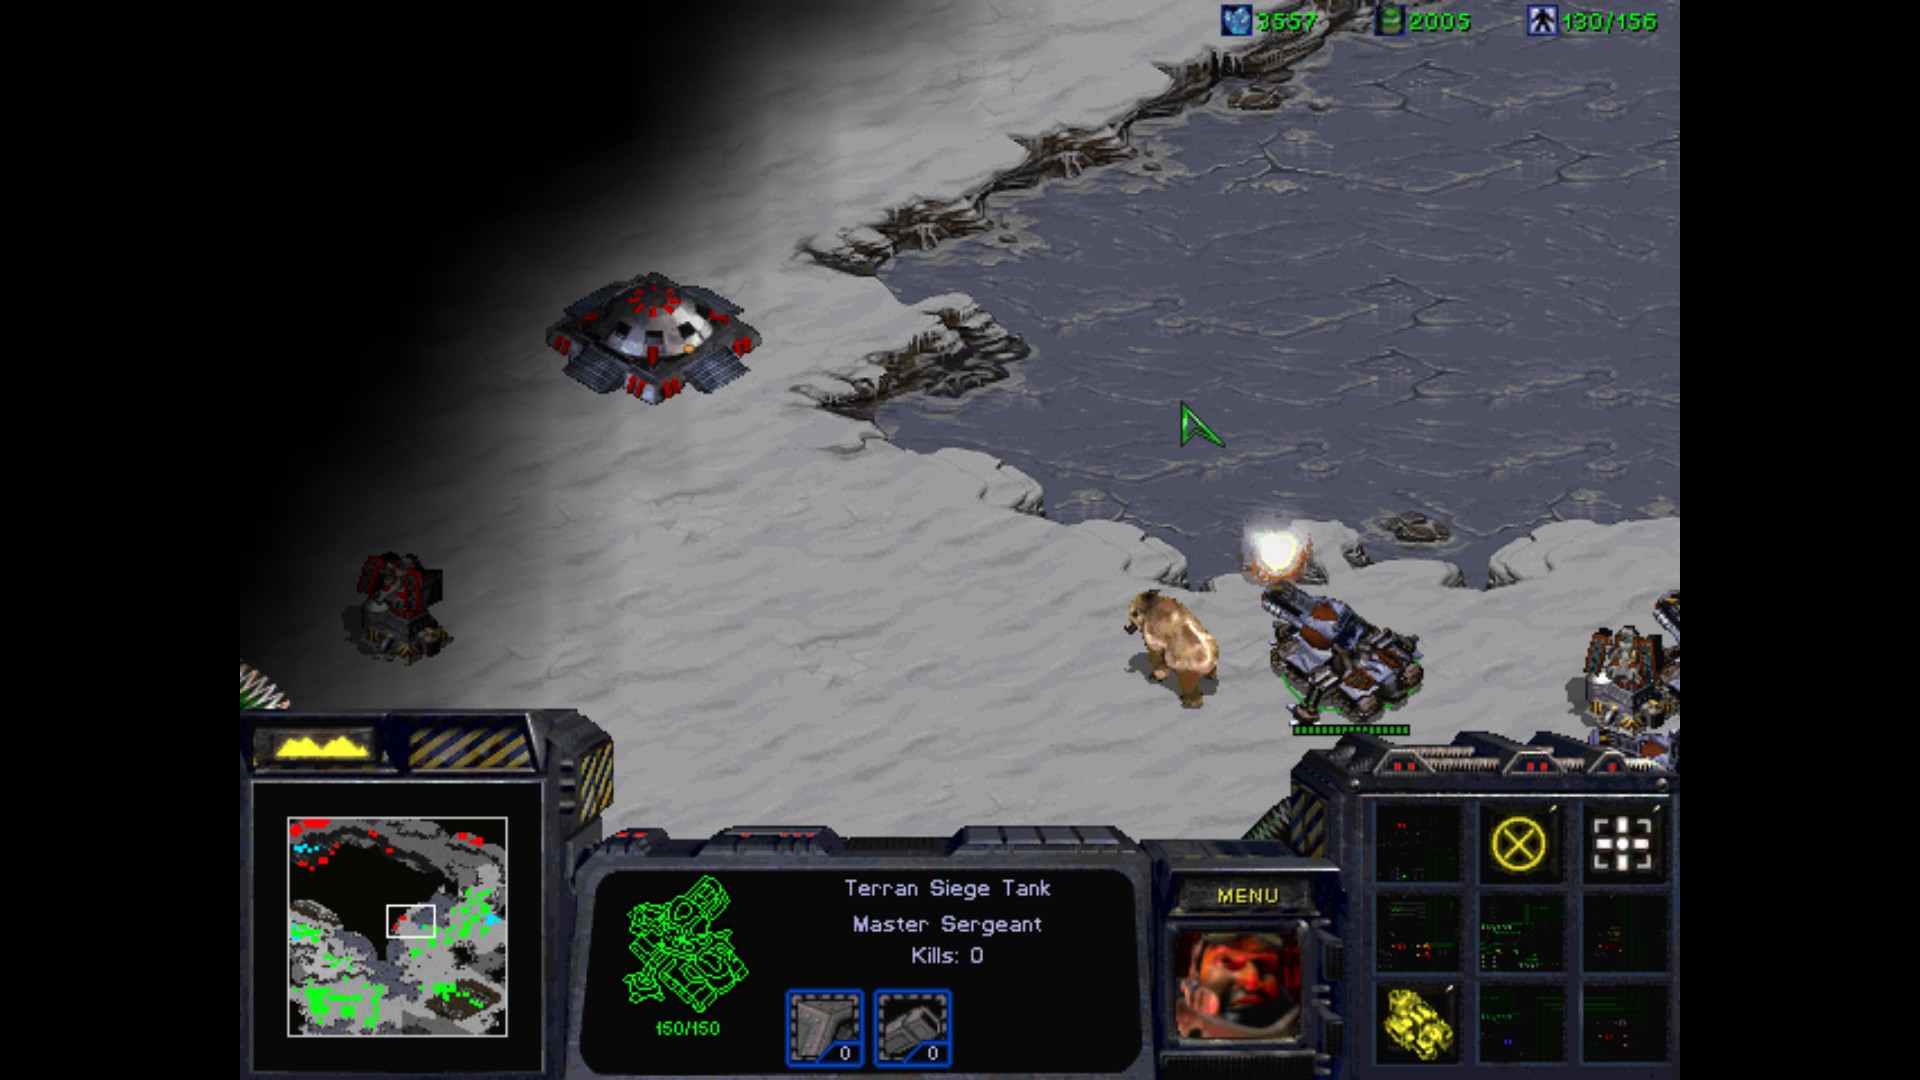
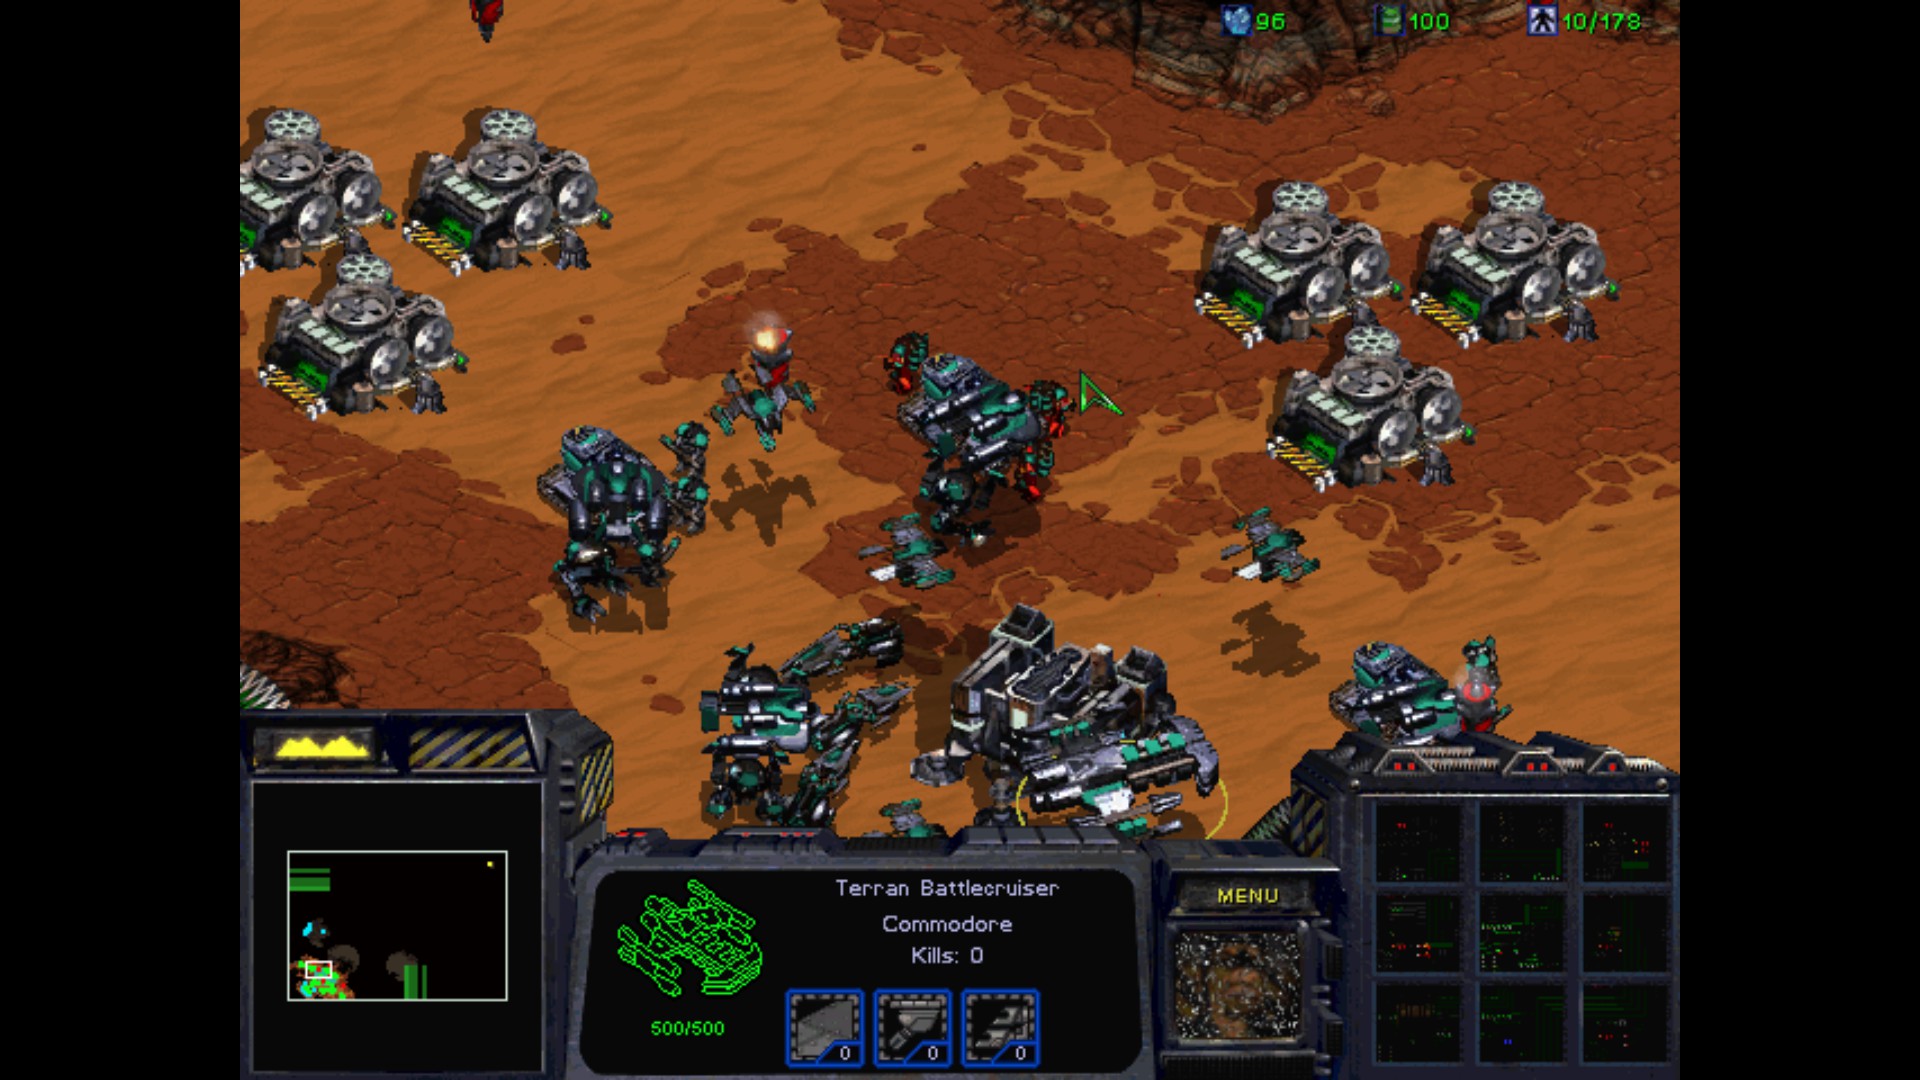
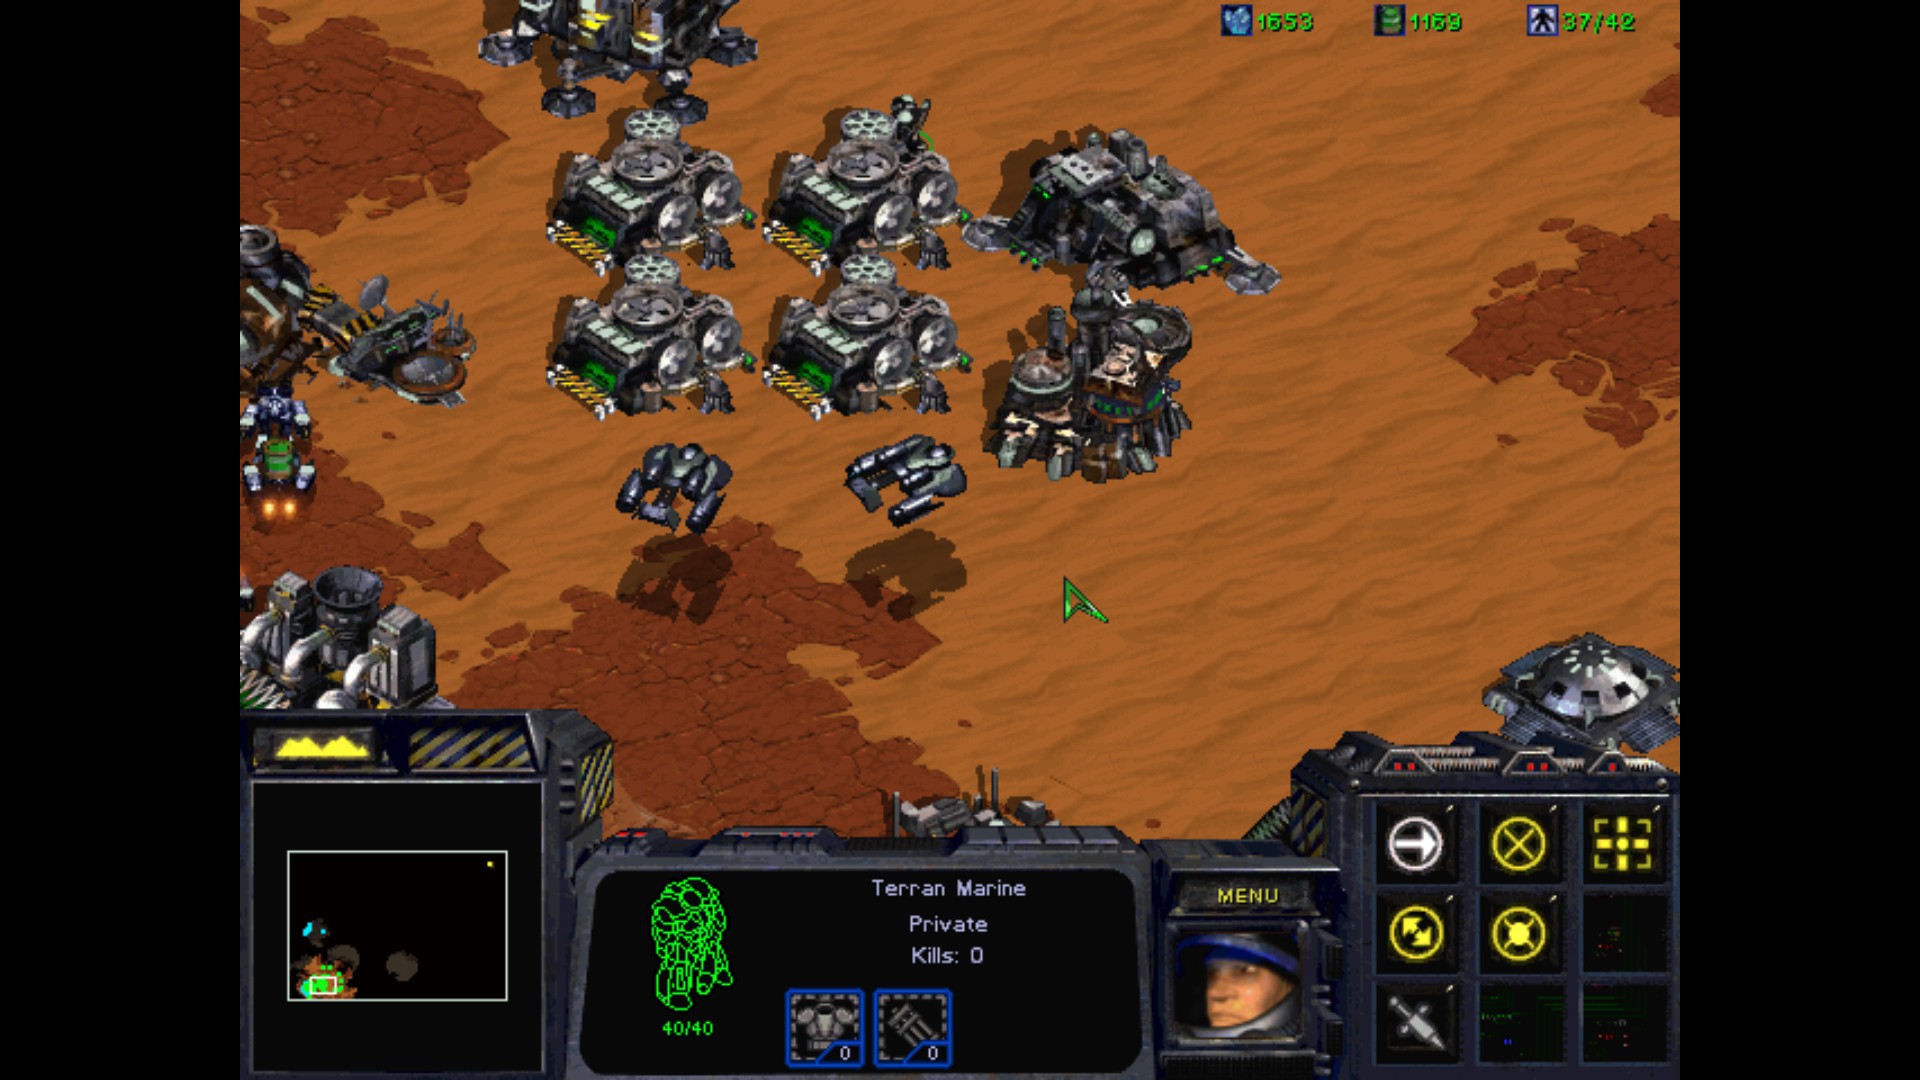
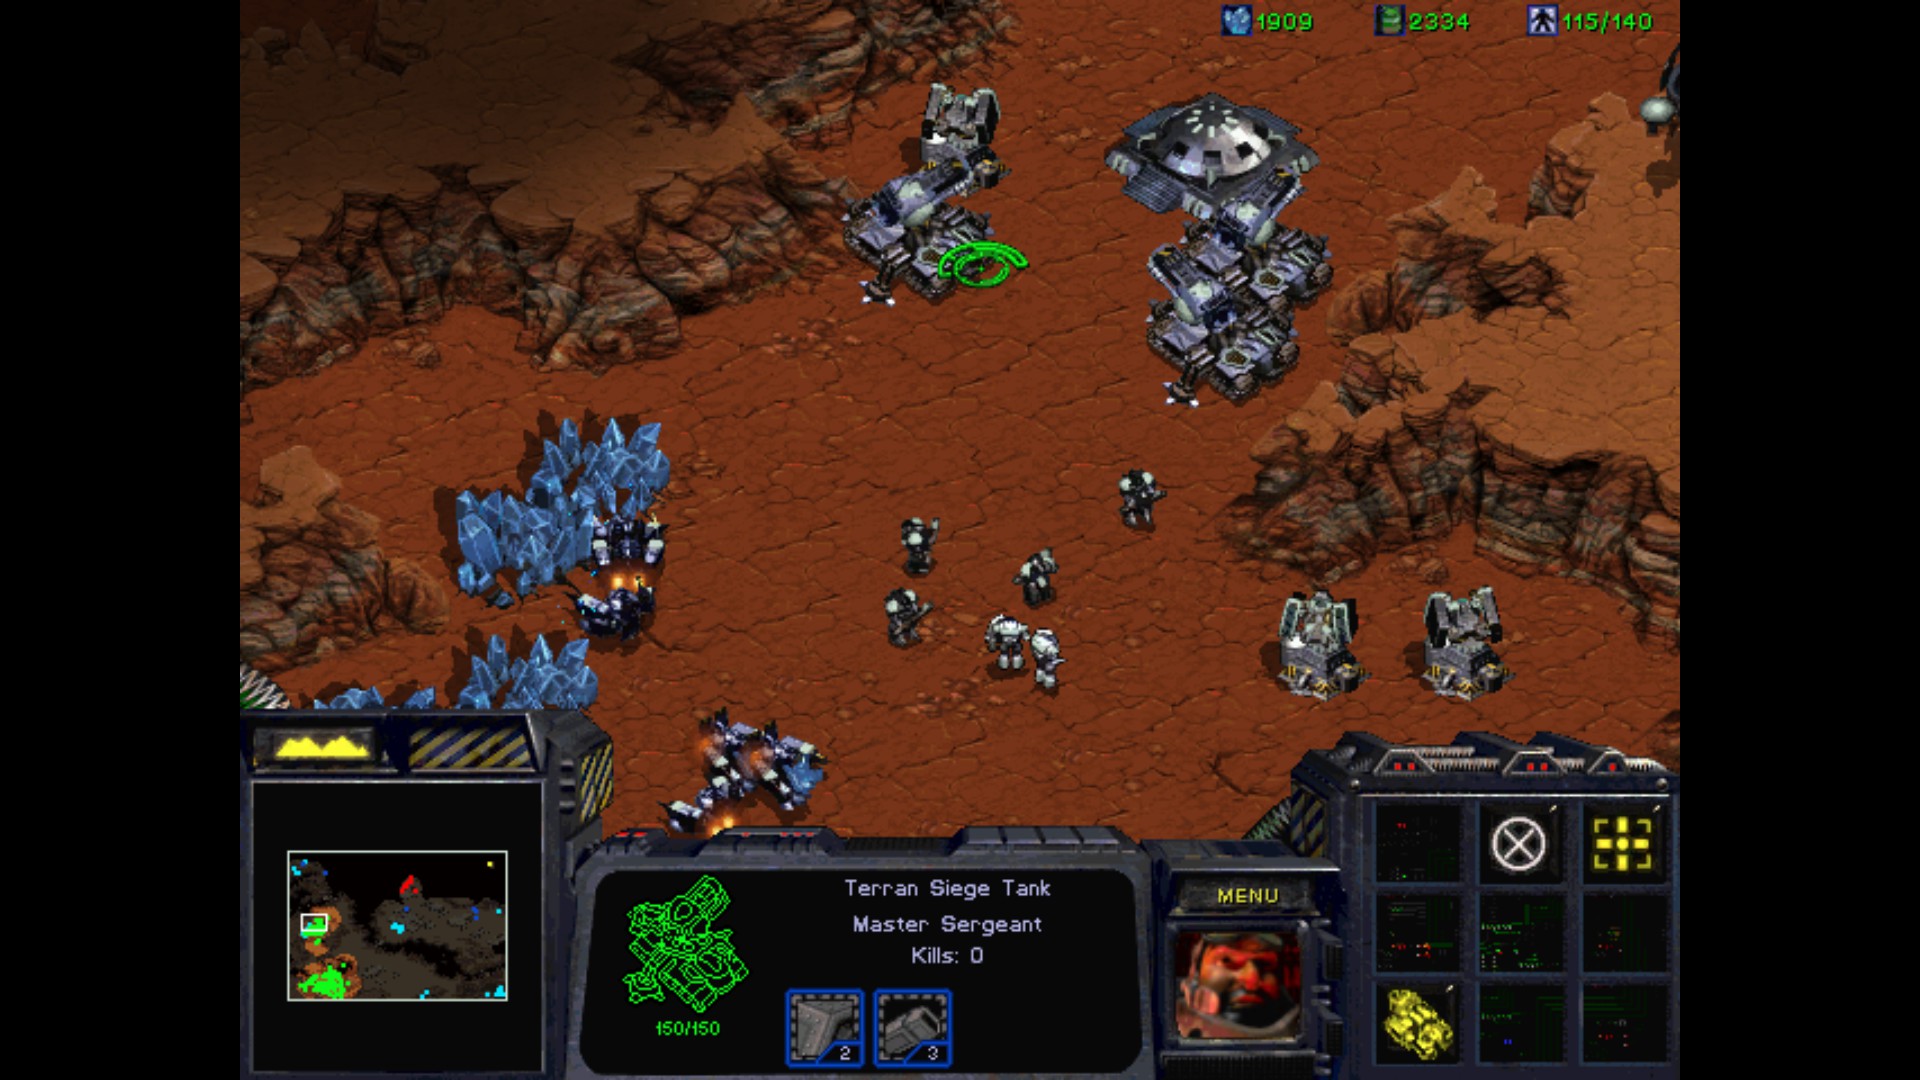
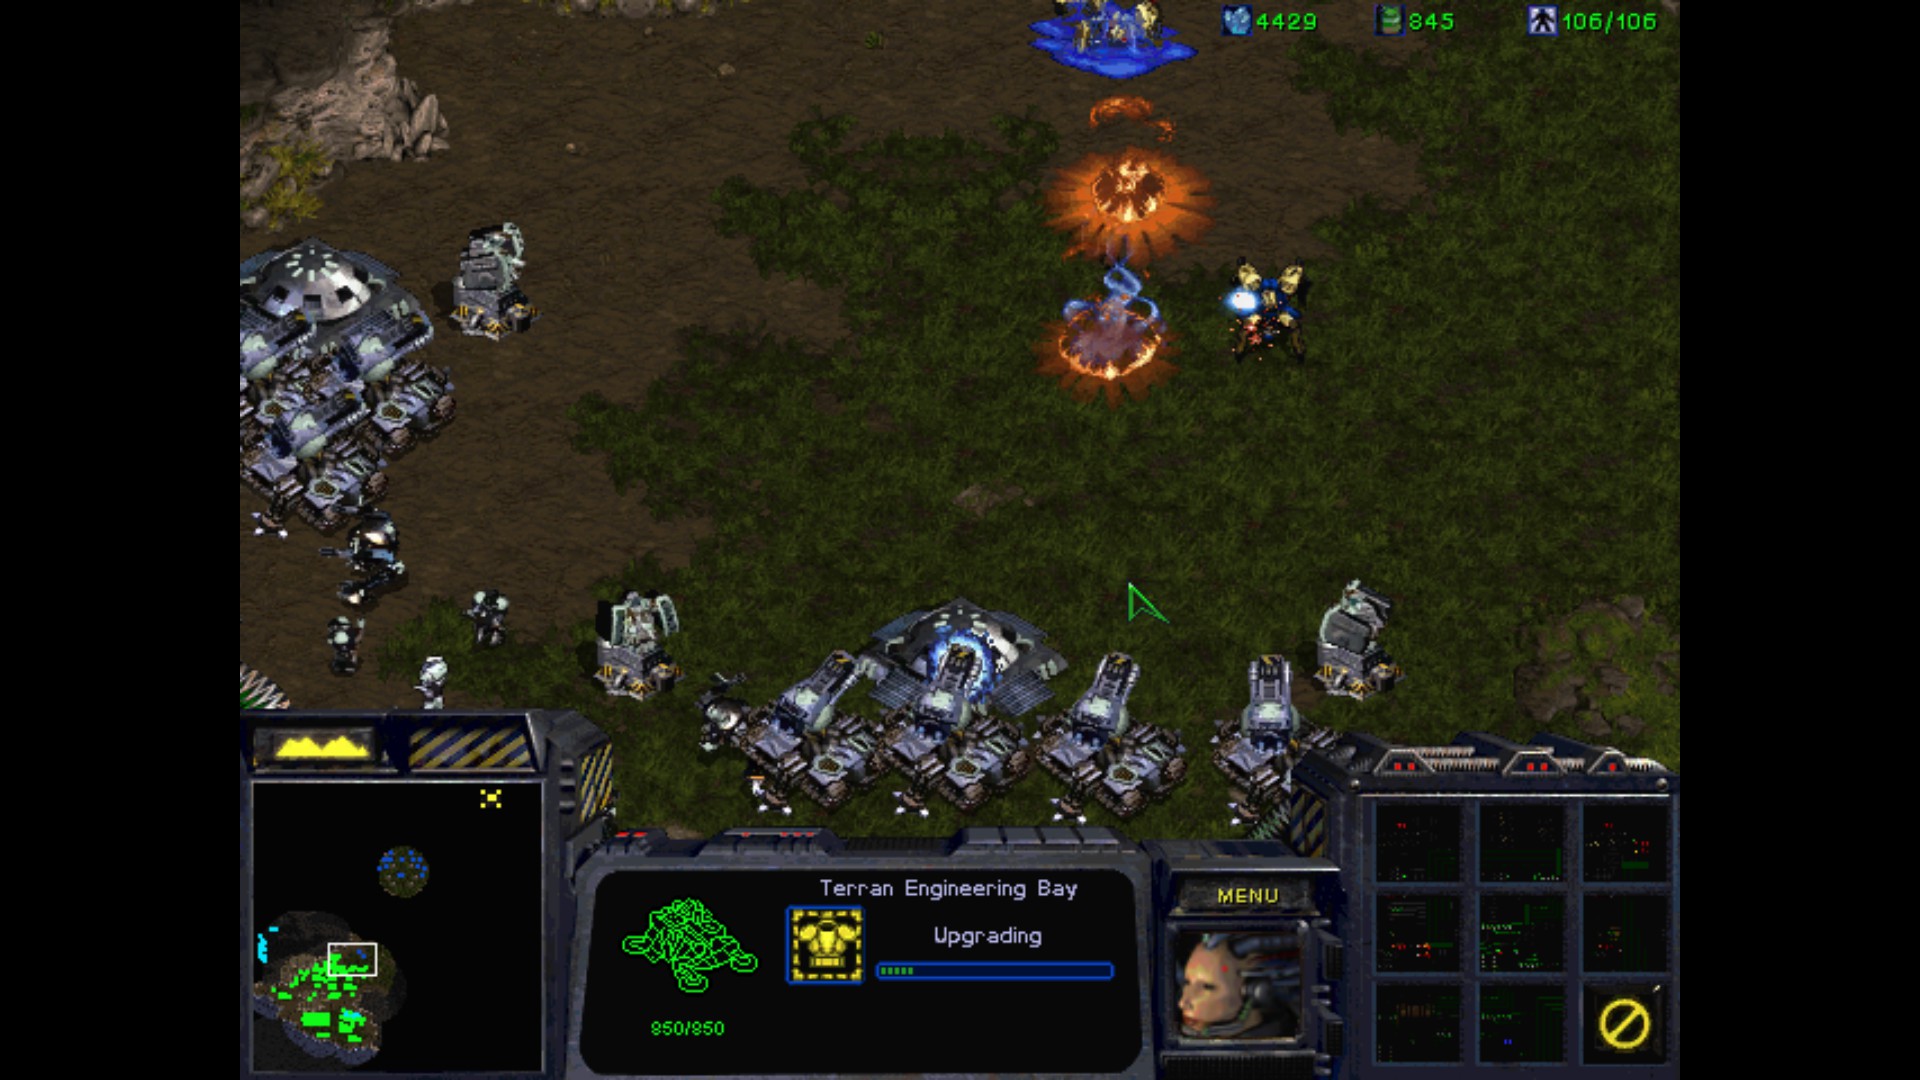
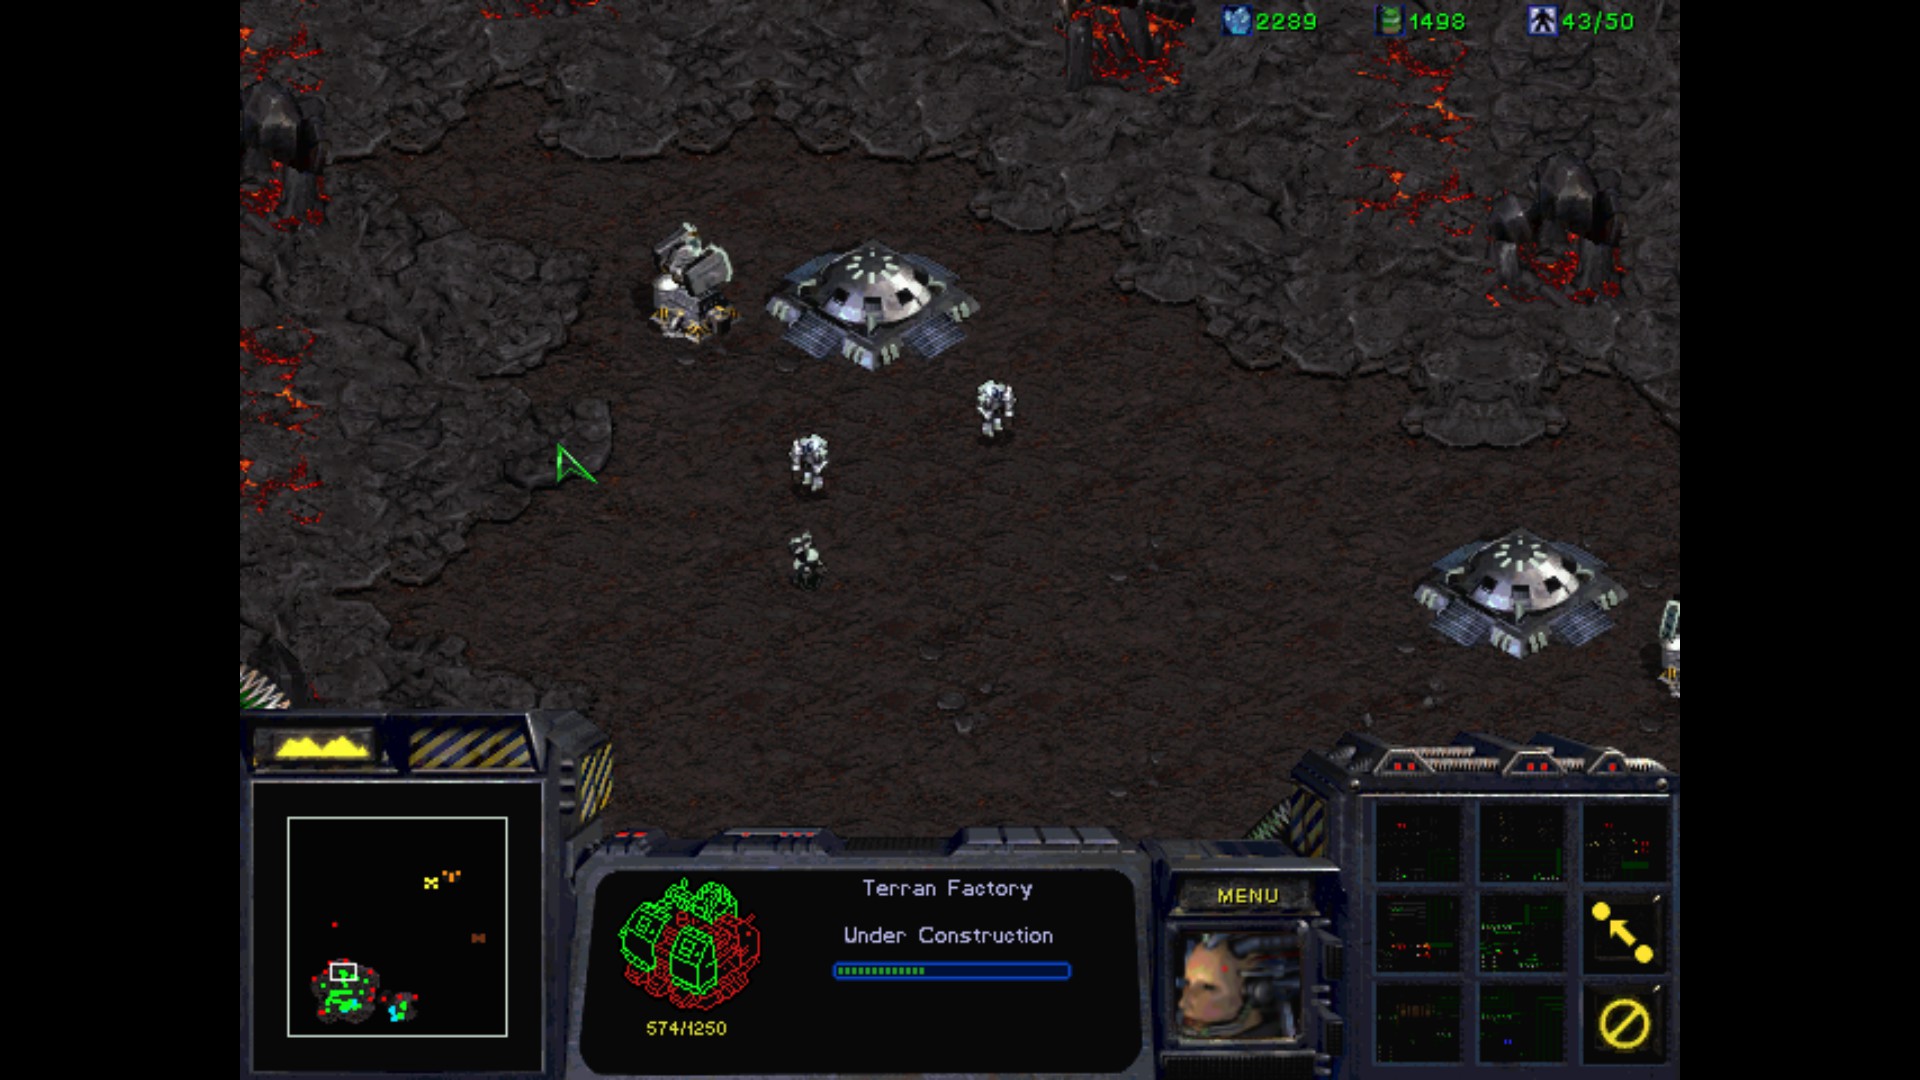
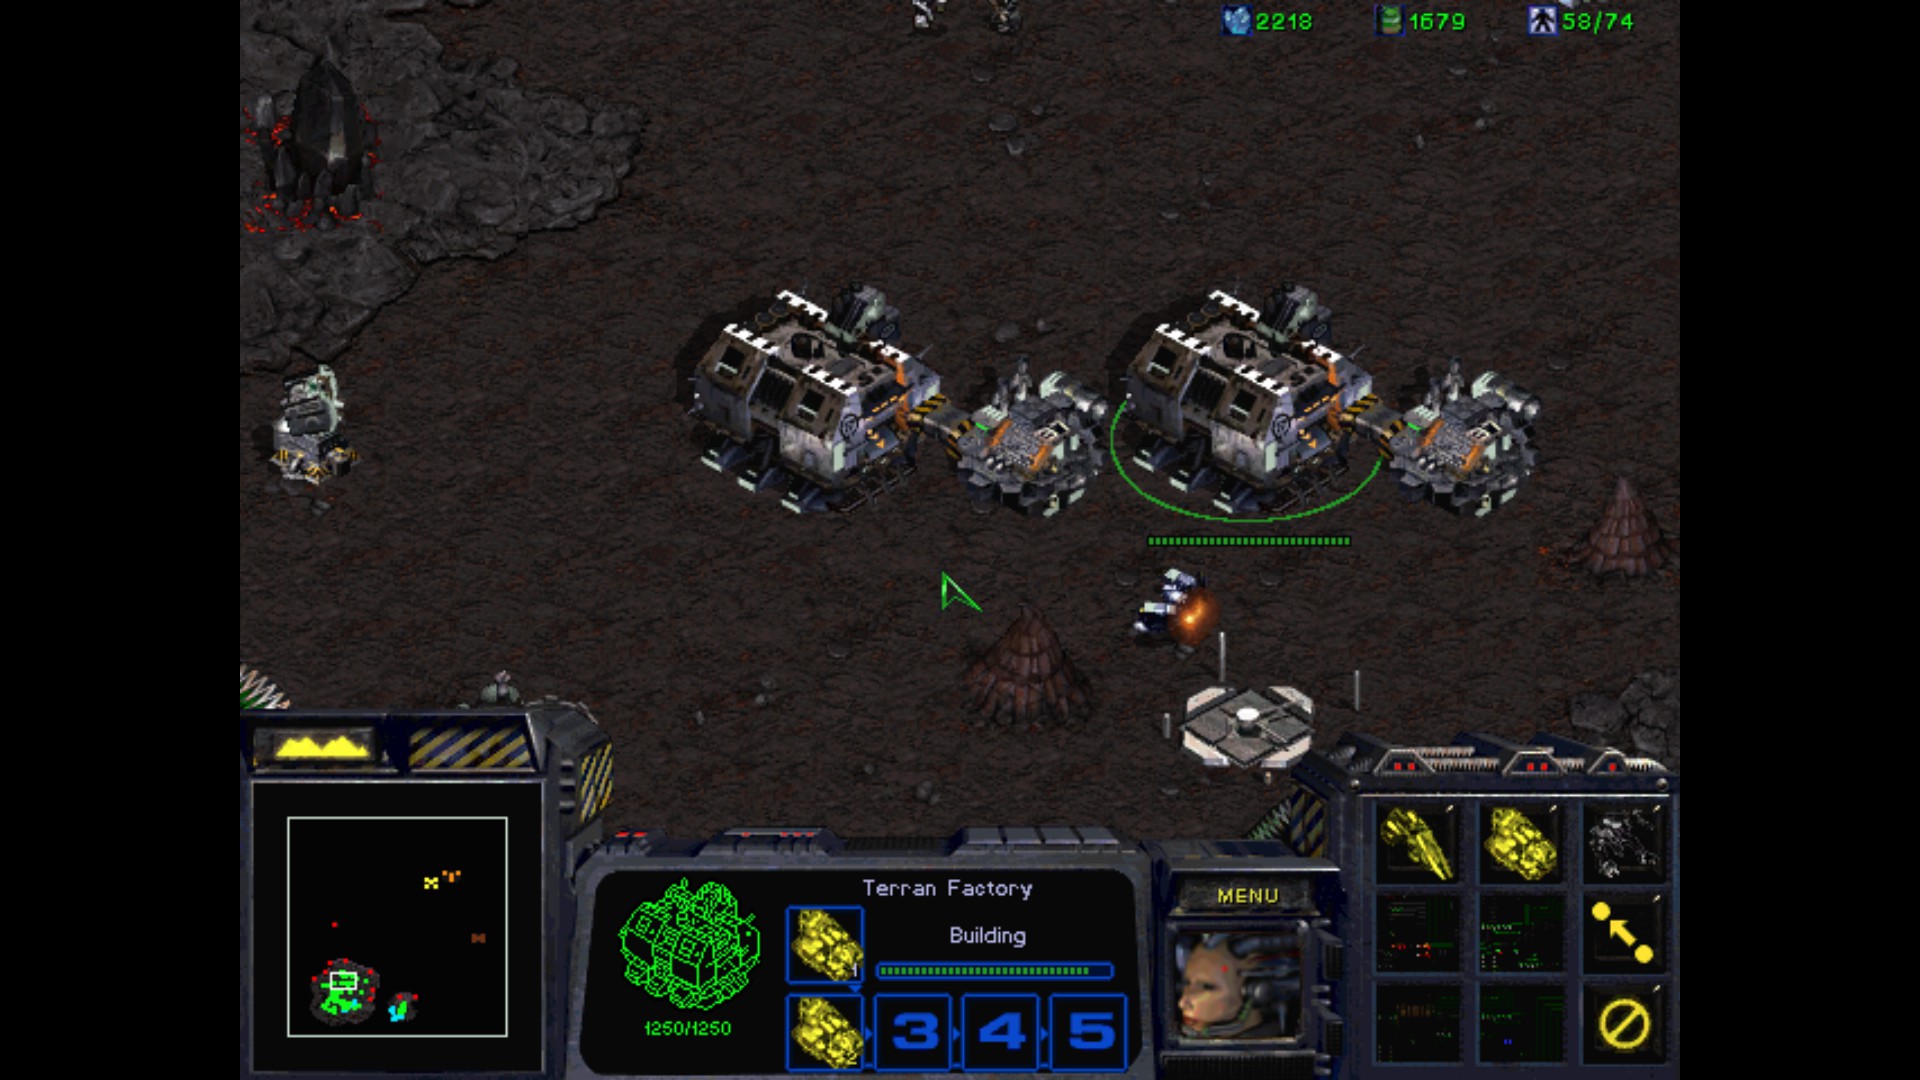
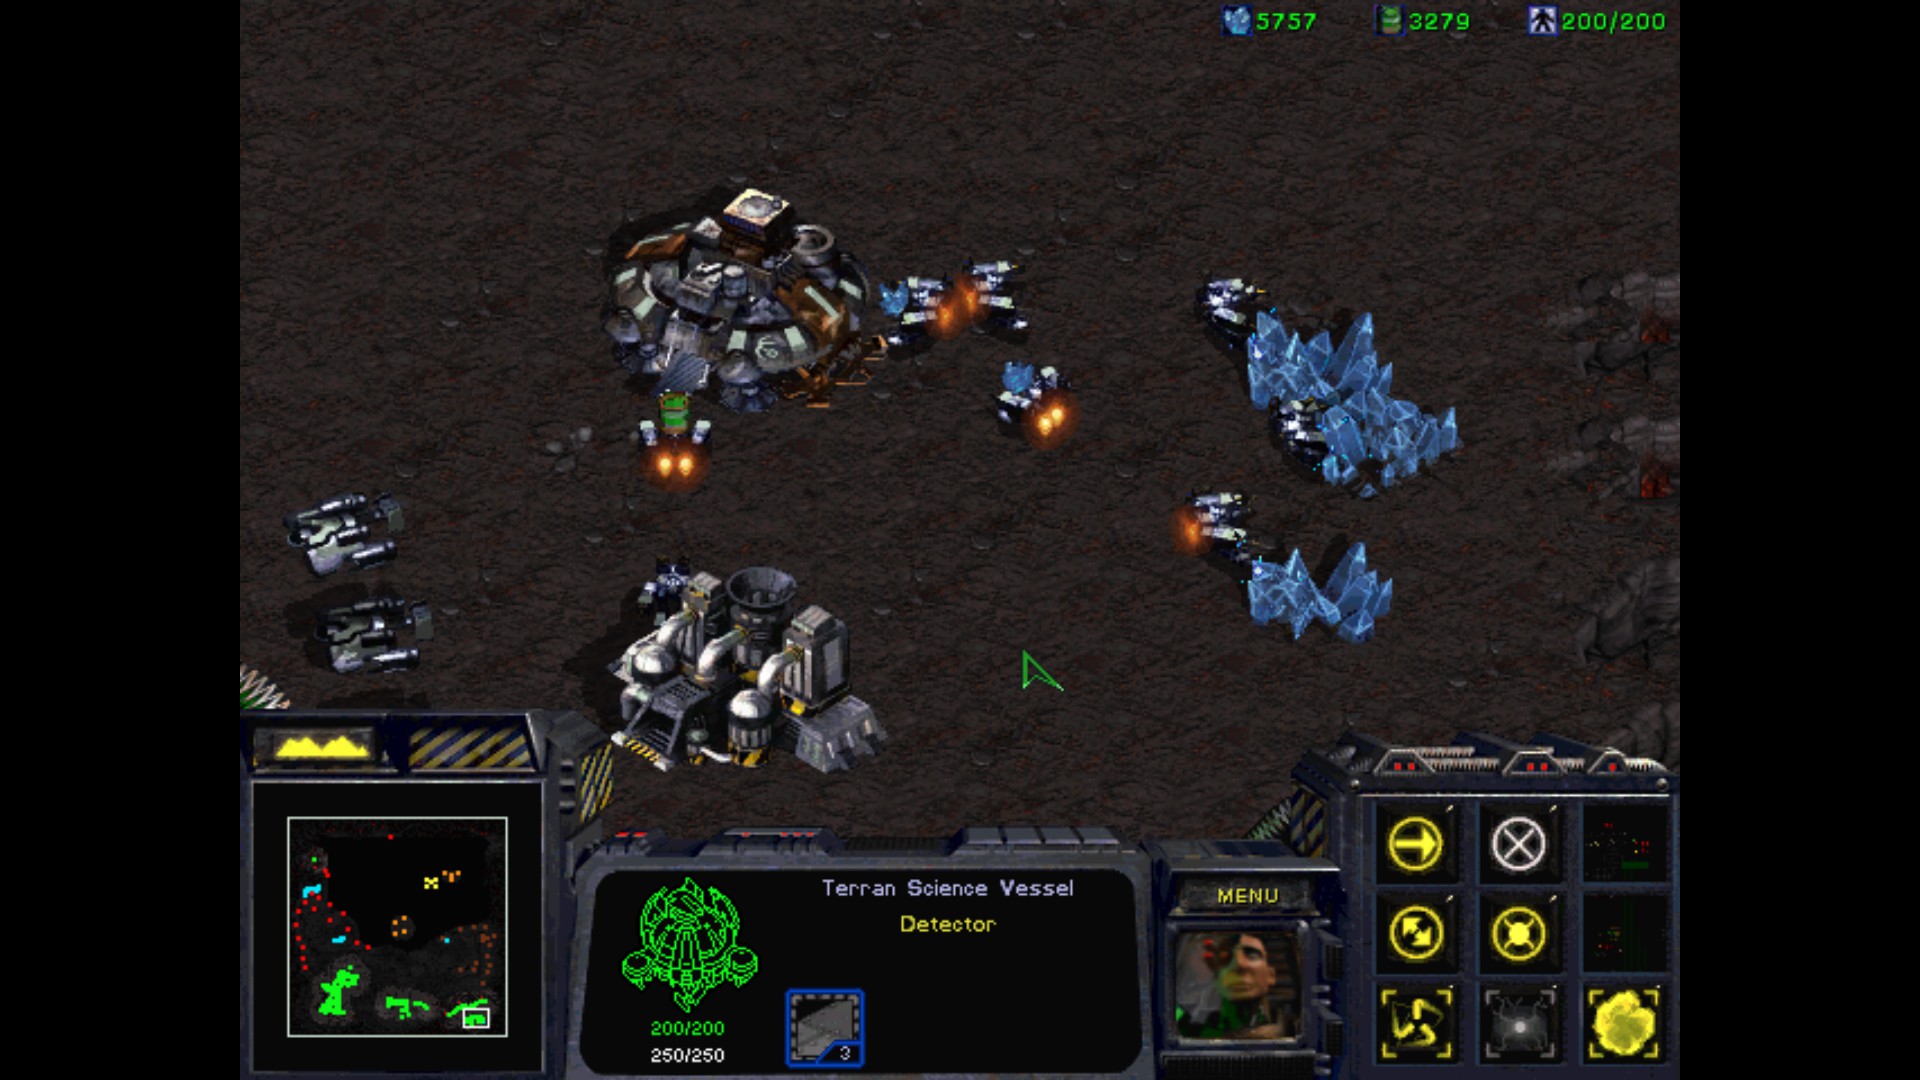
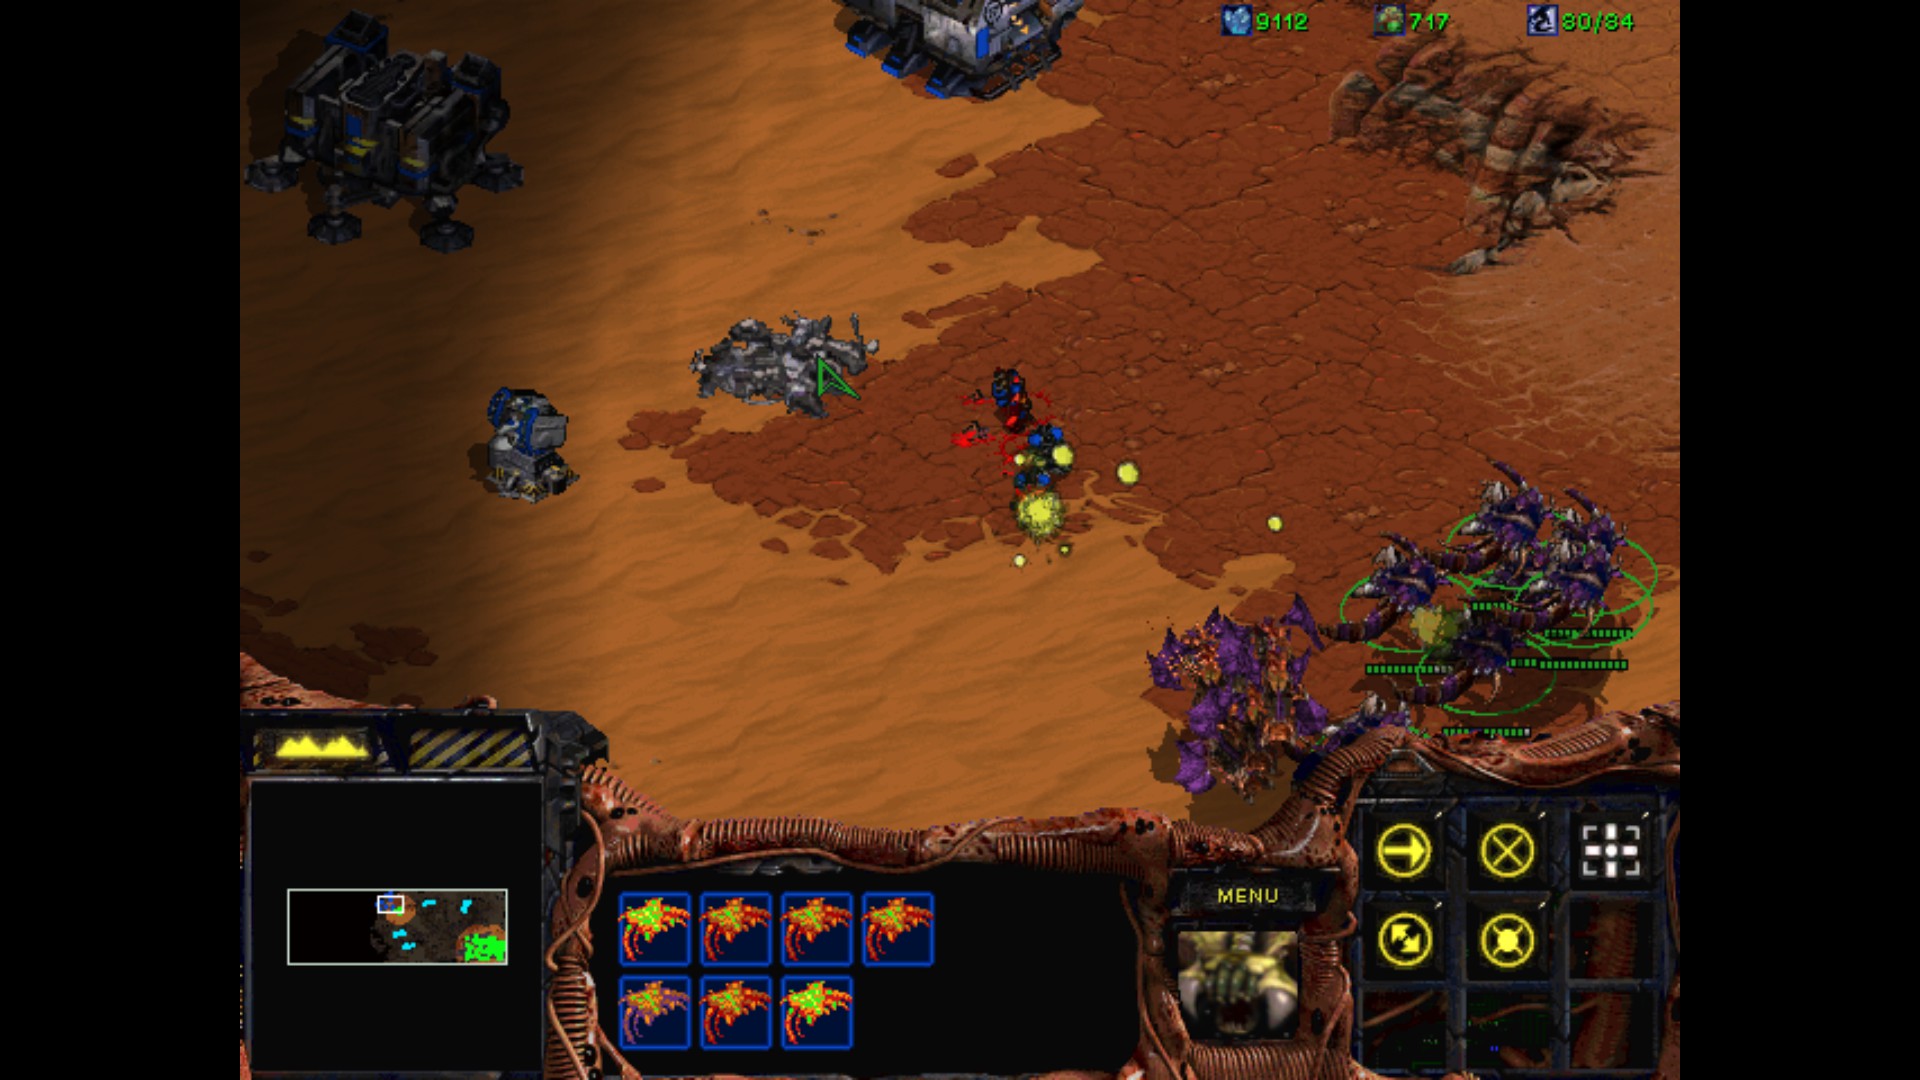
The enemy is putting more pressure on me right now. It's a good thing that I can make Tanks and Goliaths from now on.
Not a big problem for me due to the Tanks.

I secure the pass to not have any reinforcements trying to move into the second base after I will start attacking the centre. I want to test how much resistance I will encounter for now.
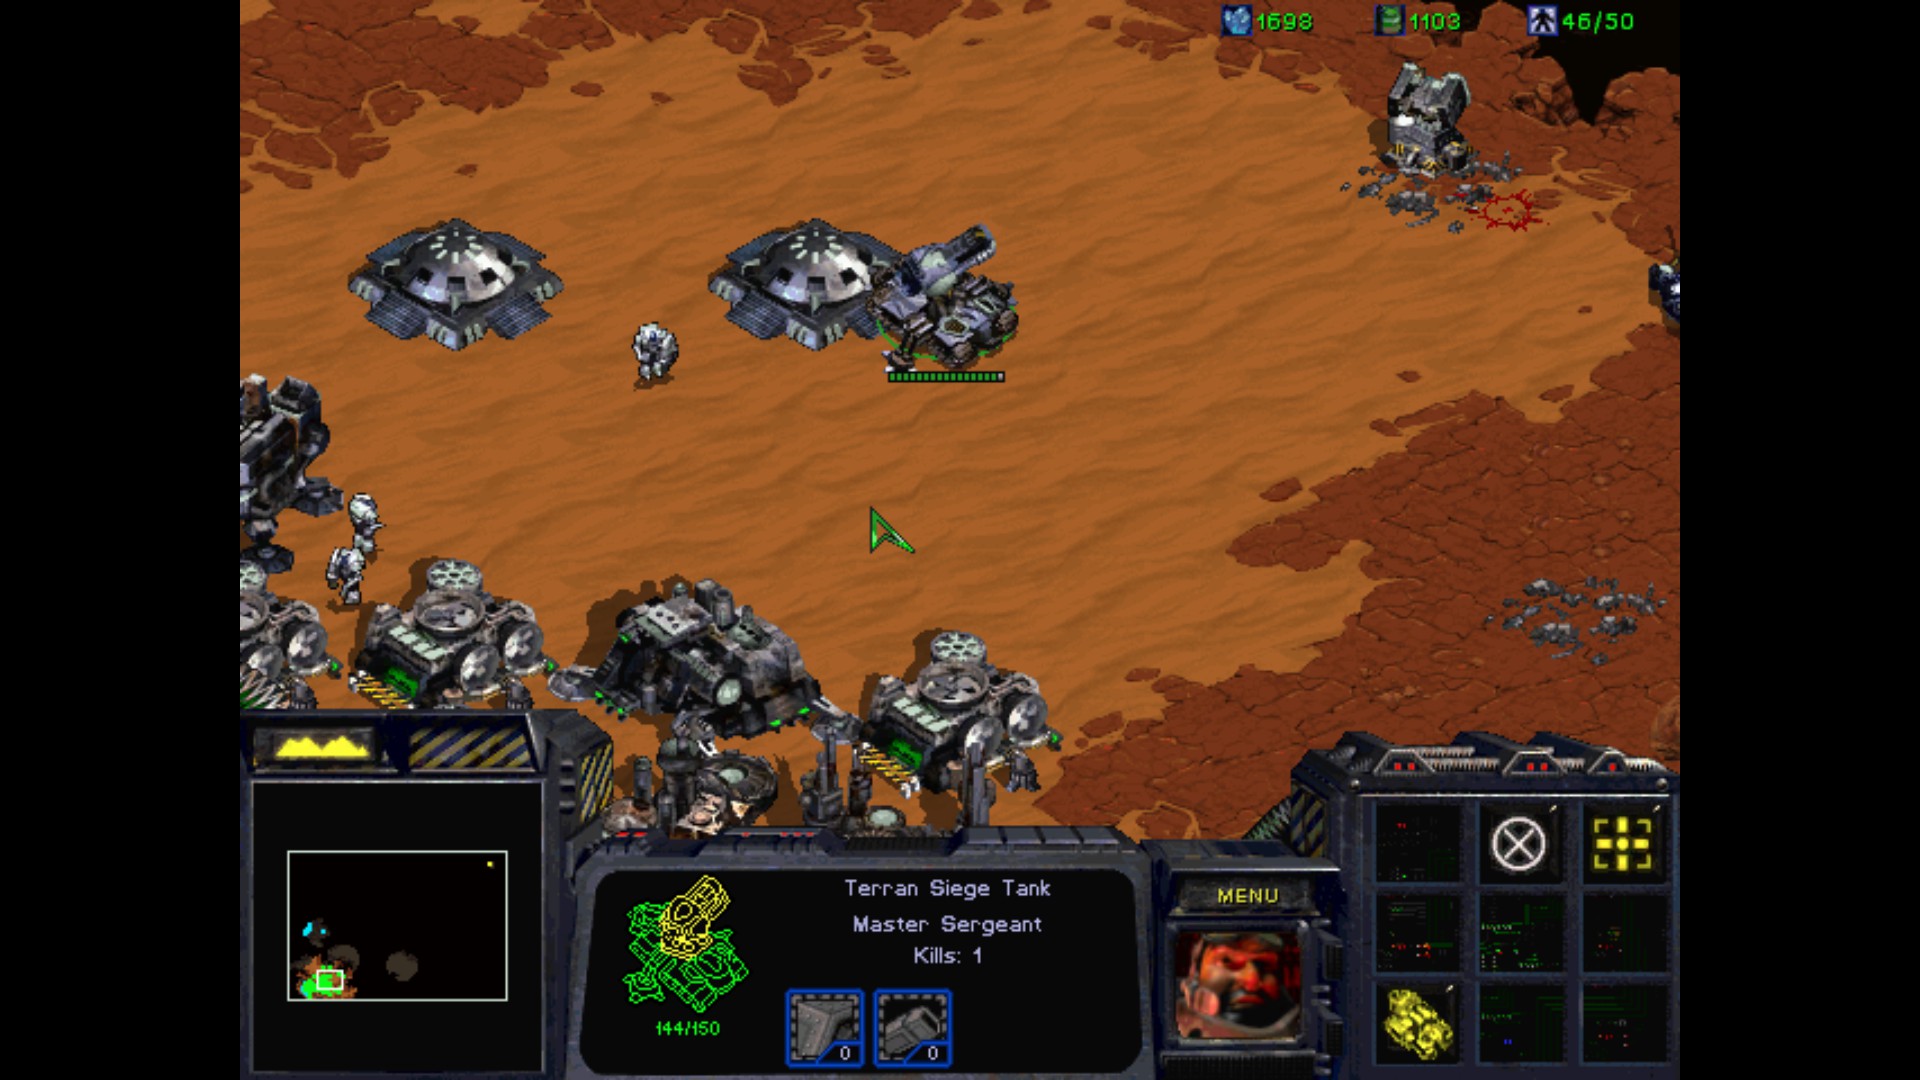
On my command, unleash hell!
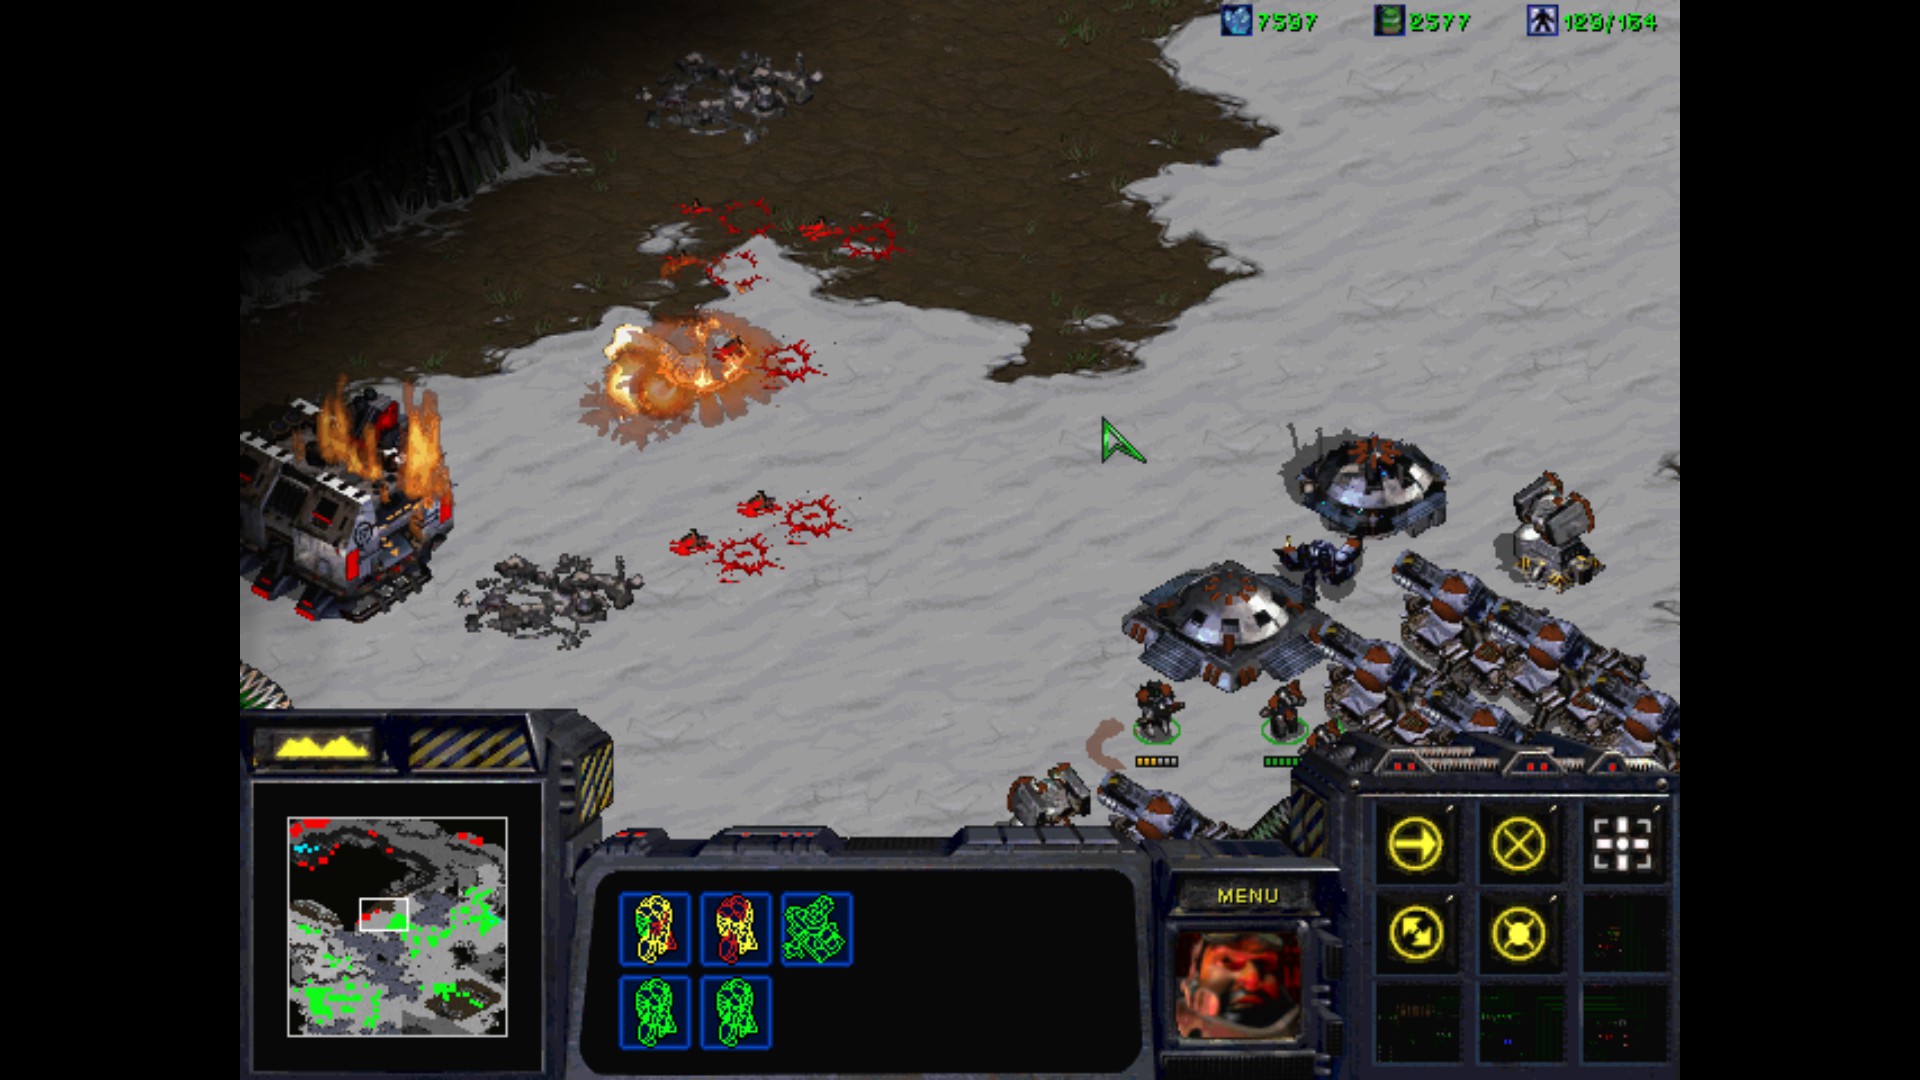
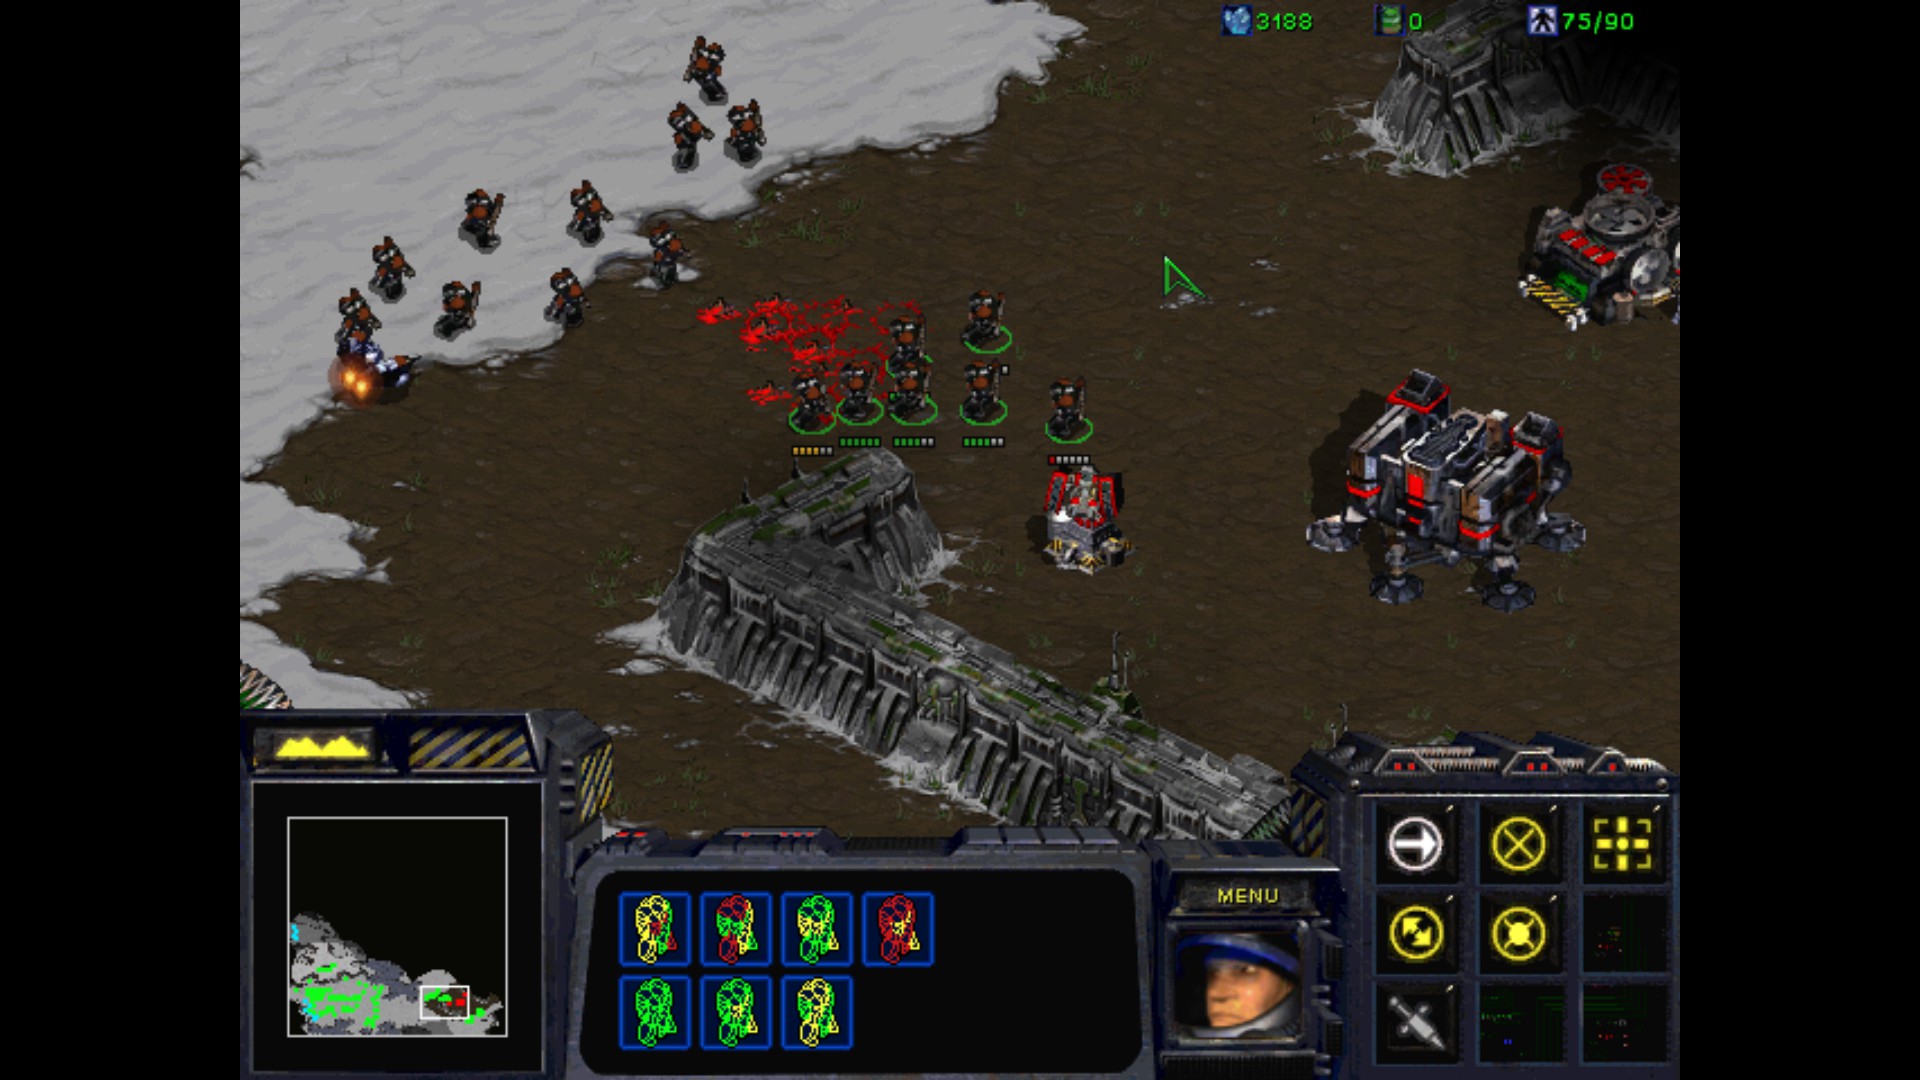
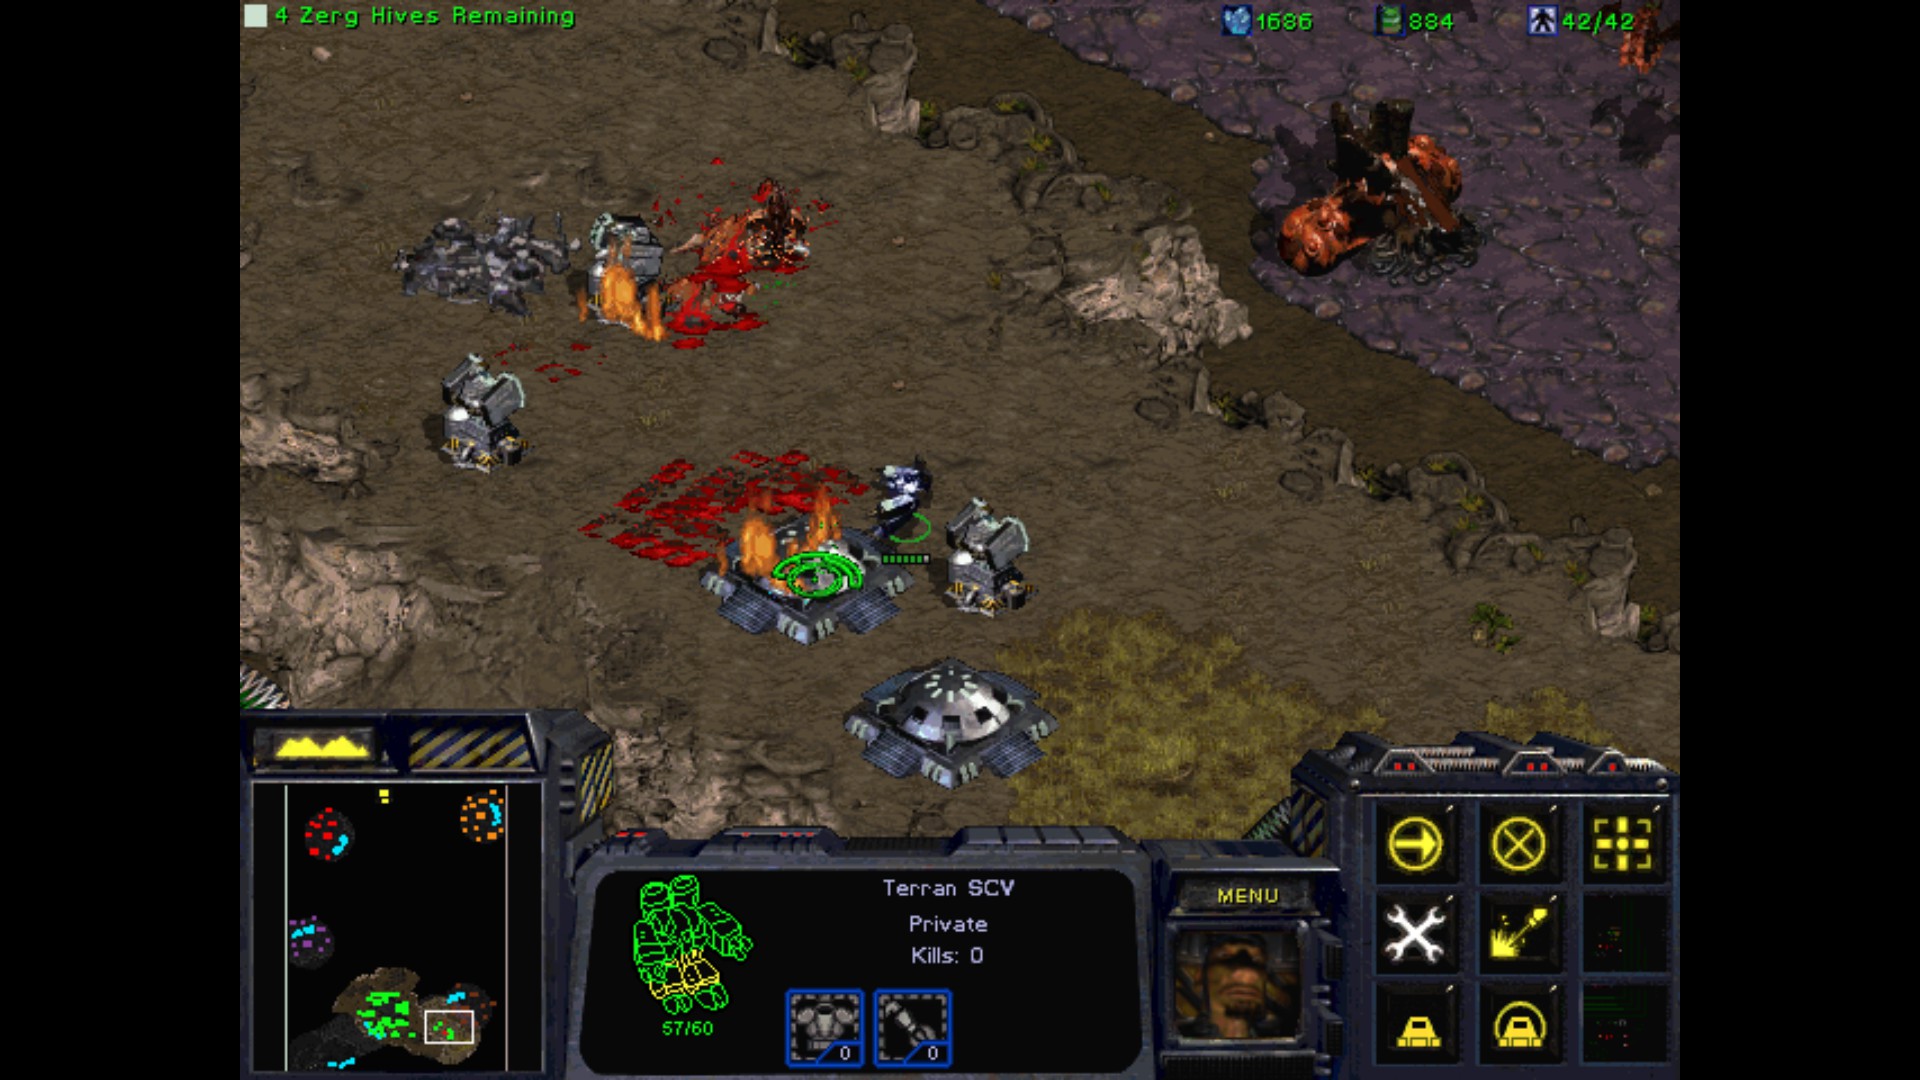
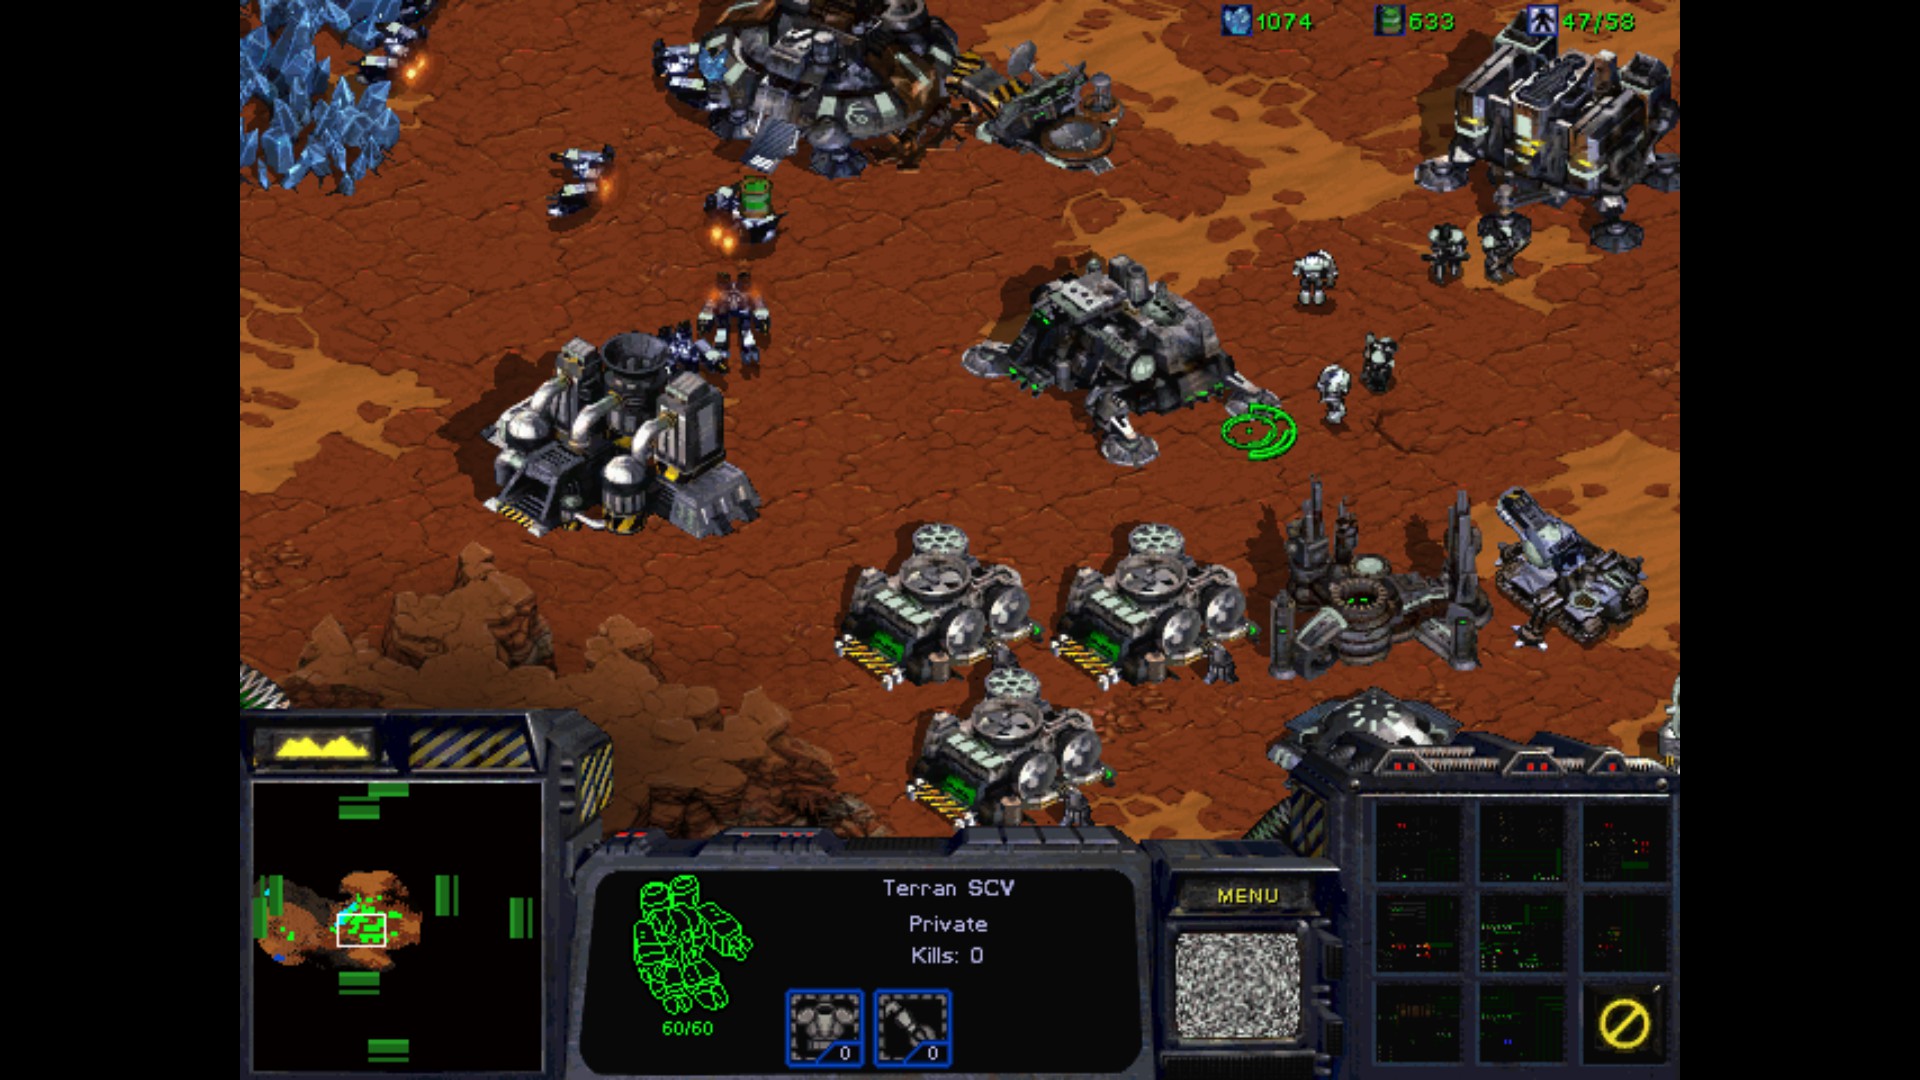
I make bunkers and move some Marines to assist the Tanks who are having a great time killing dozens of Dominion soldiers. They attack constantly, so I need to keep SCV in a good shape to repair them if needed.
I've cleaned the entrance but because I can see some structures up in the northern east, I prefer to move Duran with a small mixed group of units to secure this position as well. In case there are any troops or Tanks/Goliaths it's better to cut their production.
Mostly Supply Depots and Barracks. Still, better safe than sorry! I destroy everything here.


Duran has a great sight, so I'm using him to help my Tanks destroy Bunkers on the right flank.

Of course after that I'm swarmed with soldiers and mechanized units. But I've got the upper hand without a doubt.
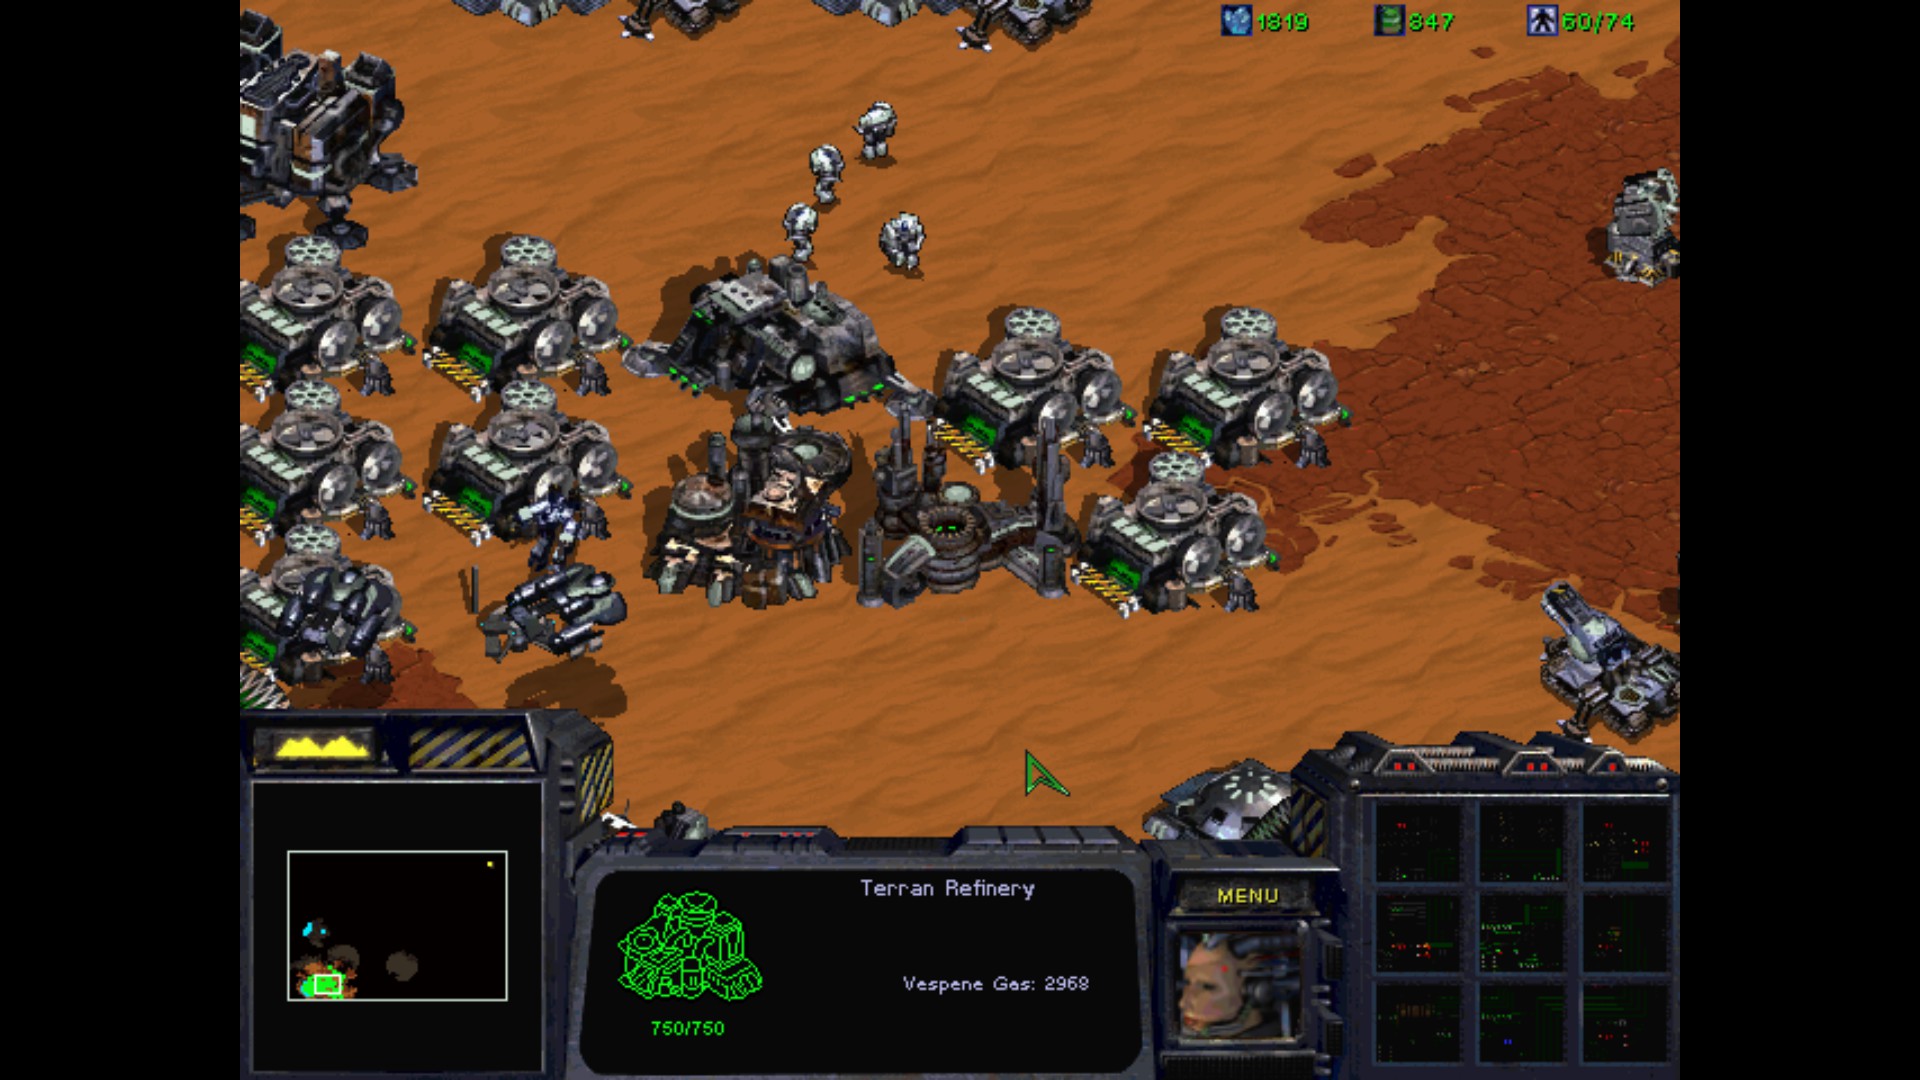
I move closer to the center of the base. The forces that are in the south left for bombarding any reinforcements are moving out as well.
I'm halfway through the Dominion base. You can sense the desperation in making those additional troops and Goliaths. The battle has been already lost for them.
Mission completed. It was a good warm up and we shall see what DuGalle is planing next for us.
ah, la resistance is here
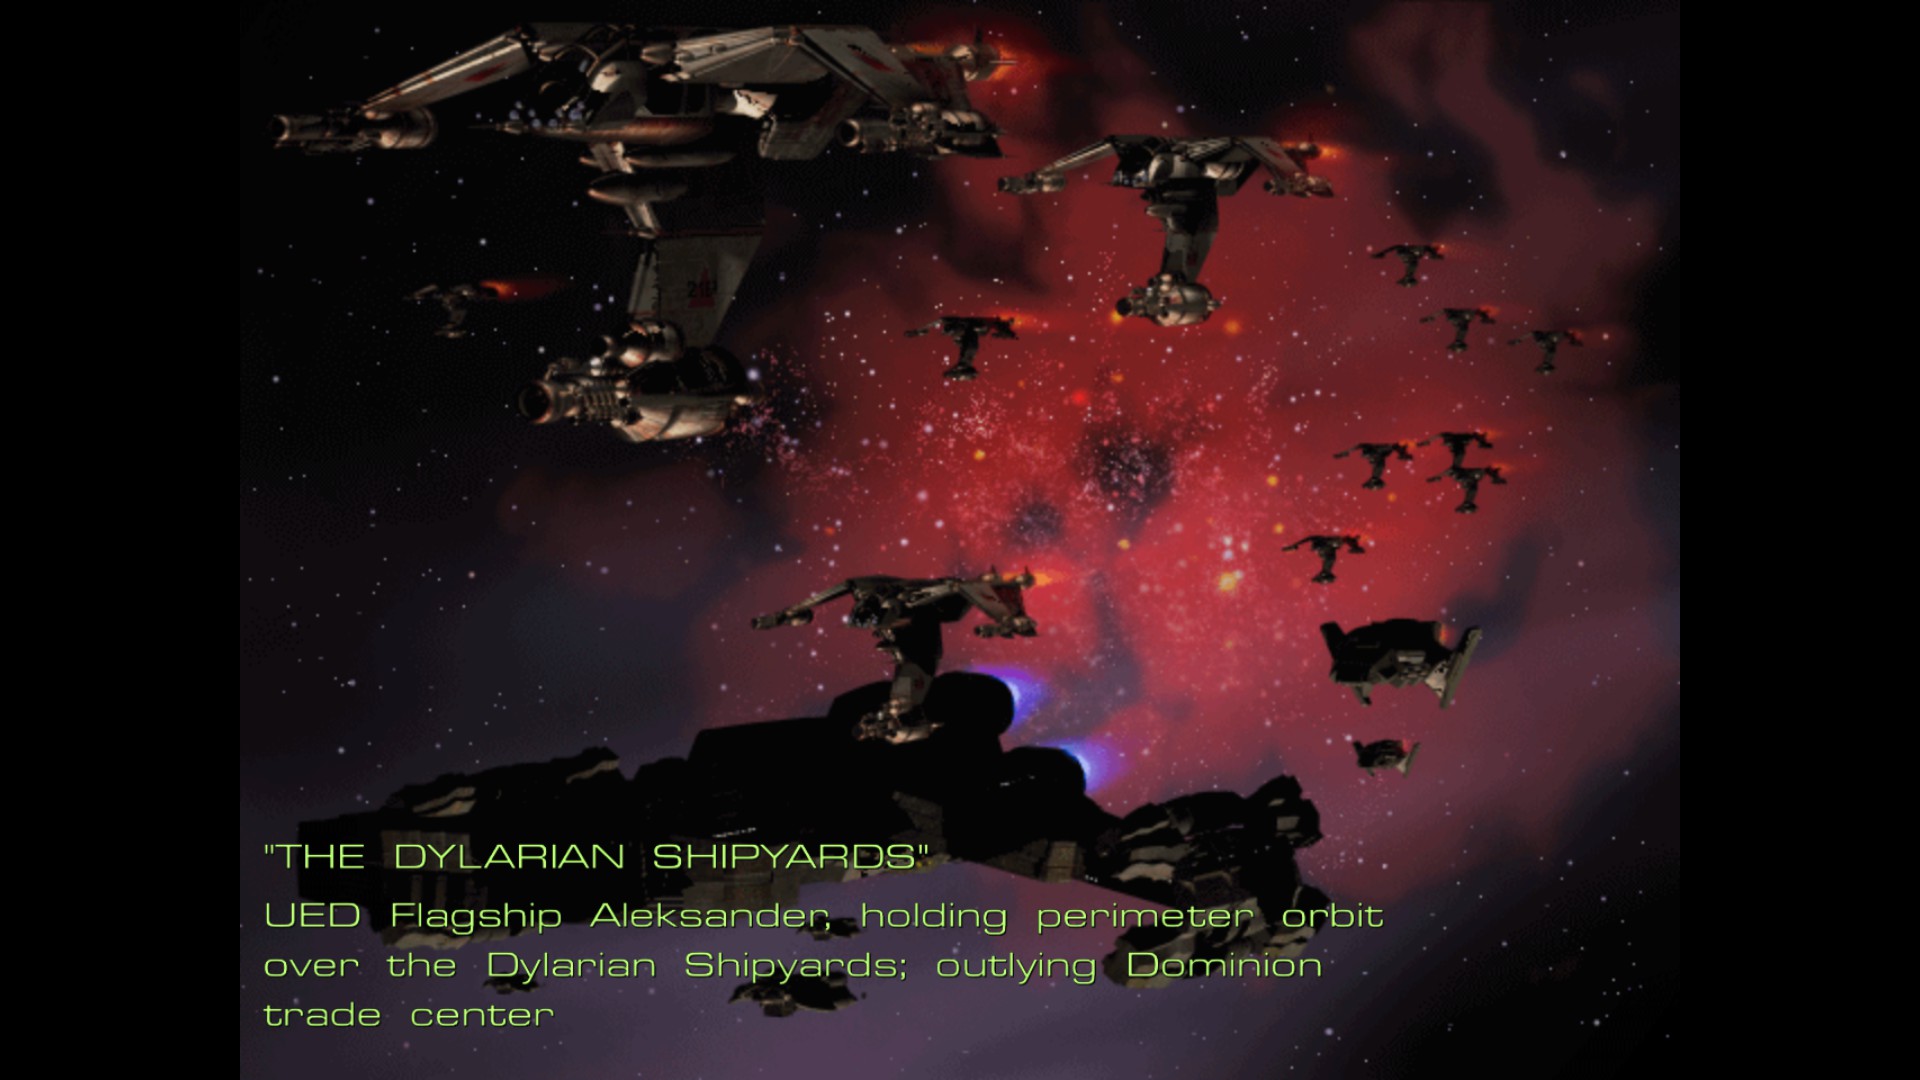
Mission II : The Dylarian Shipyards
Receiving incoming transmission.
Captain, Vice Admiral Stukov has informed me of your flawless sortie upon Braxis.
I must commend you for beginning our campaign with such a decisive victory.
Our Tac Teams have decrypted the Dominion's datalink and have gained access to Mengsk's most guarded files.
However, our work is not yet complete.
We have ascertained the location of the Dylarian shipyards.
These shipyards, serving as a fueling and repair station for the Dominion, house a number of functional Battlecruisers in dry-dock.
To assure that our domination of this sector remains uncontested, you are to assault the shipyards and liberate as many of these capital ships as possible.

Gentlemen, I recommend that you launch this attack using the utmost caution.
Dominion Command can typically reinforce its outlying bases within sixteen standard hours.
You should expect some sort of reprisal from Emperor Mengsk shortly.
Ah, the turncoat. I suggest that you pay keen attention to rank when you address the Captain and myself, Lieutenant Duran.
Is that understood?
Of course, Admiral.
Heh heh. You're beginning to show your age, Gerard. Give the boy some credit. He just tipped us off to a preeminent attack.
However useful he may prove to be, Alexei, he will always be a traitor in my eyes. And you know that I cannot abide a traitor.
Only too well, Gerard. Captain, when you are ready, you may commence with the operation.
Once you have commandeered the enemy's battlecruisers, be prepared to repel the Dominion reinforcements when they arrive.
Objectives :
- Steal battlecruisers
- Defeat the Dominion strike force

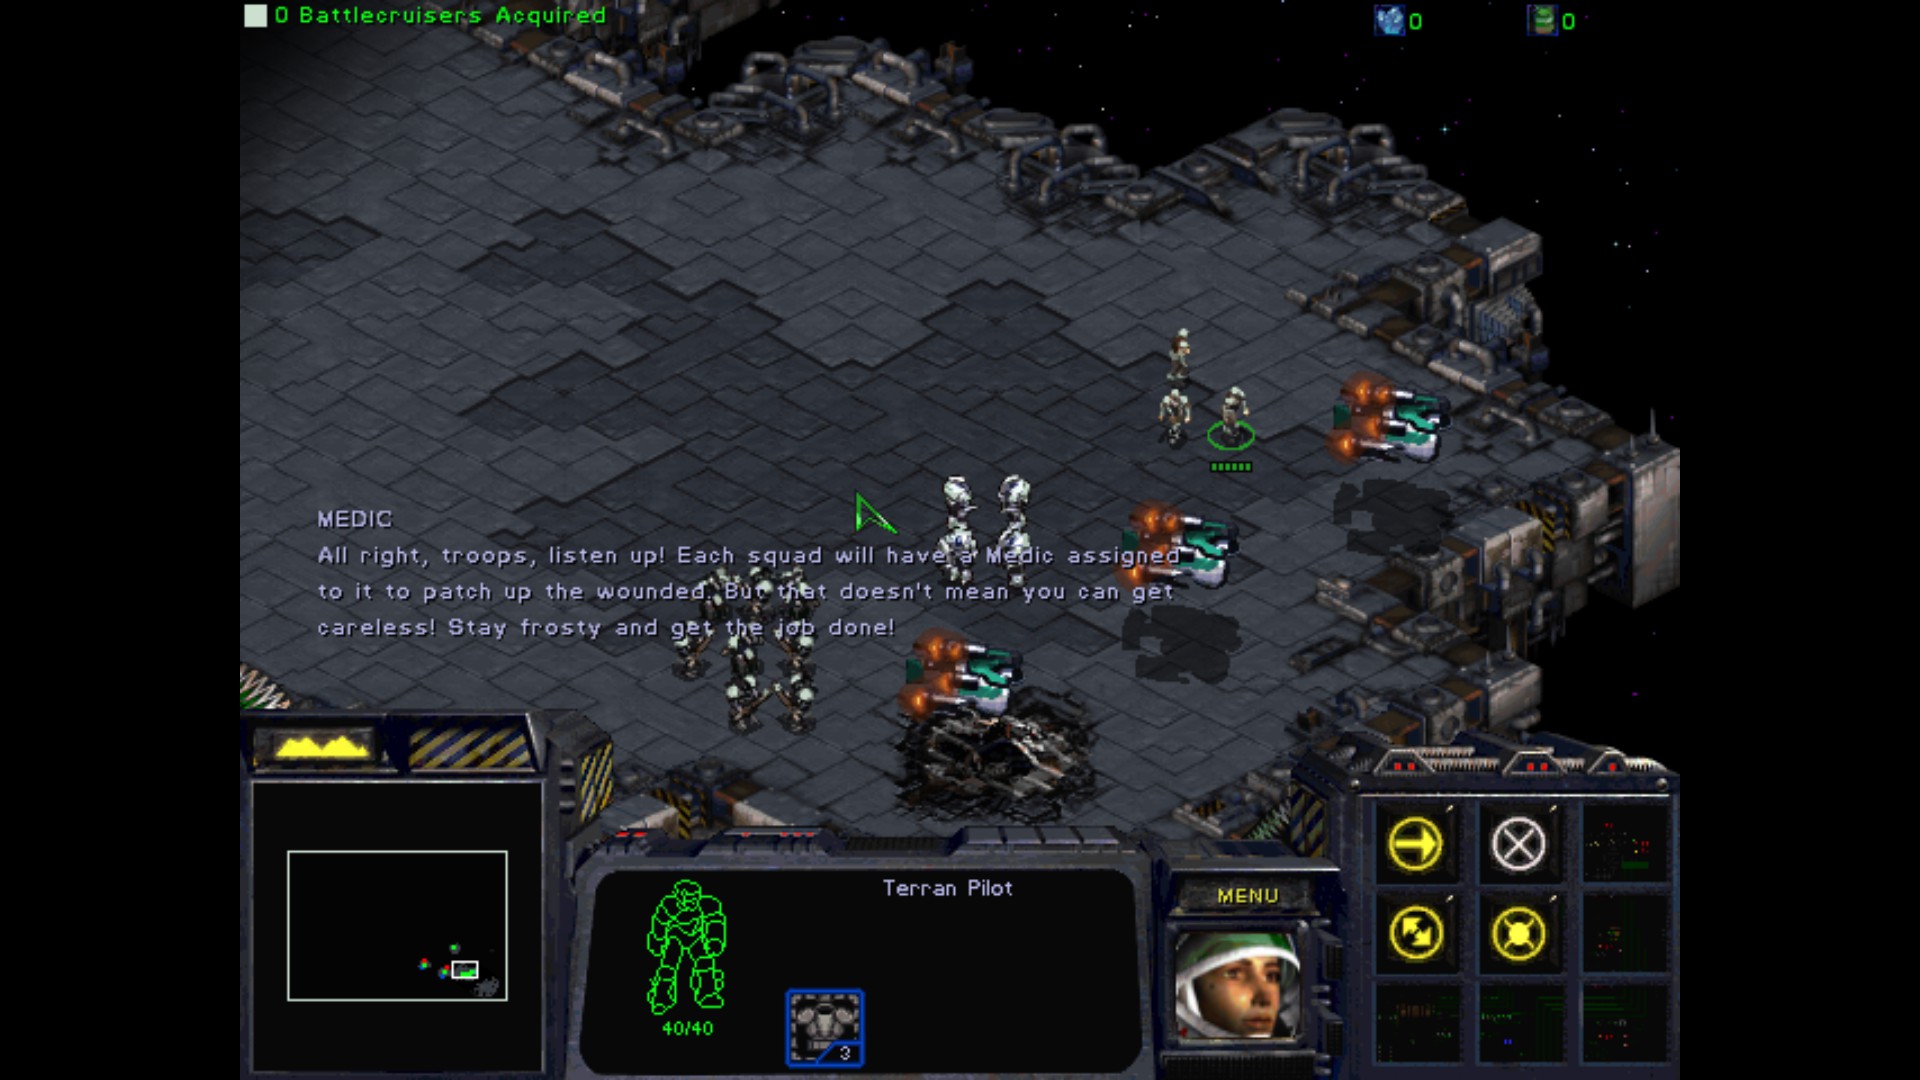
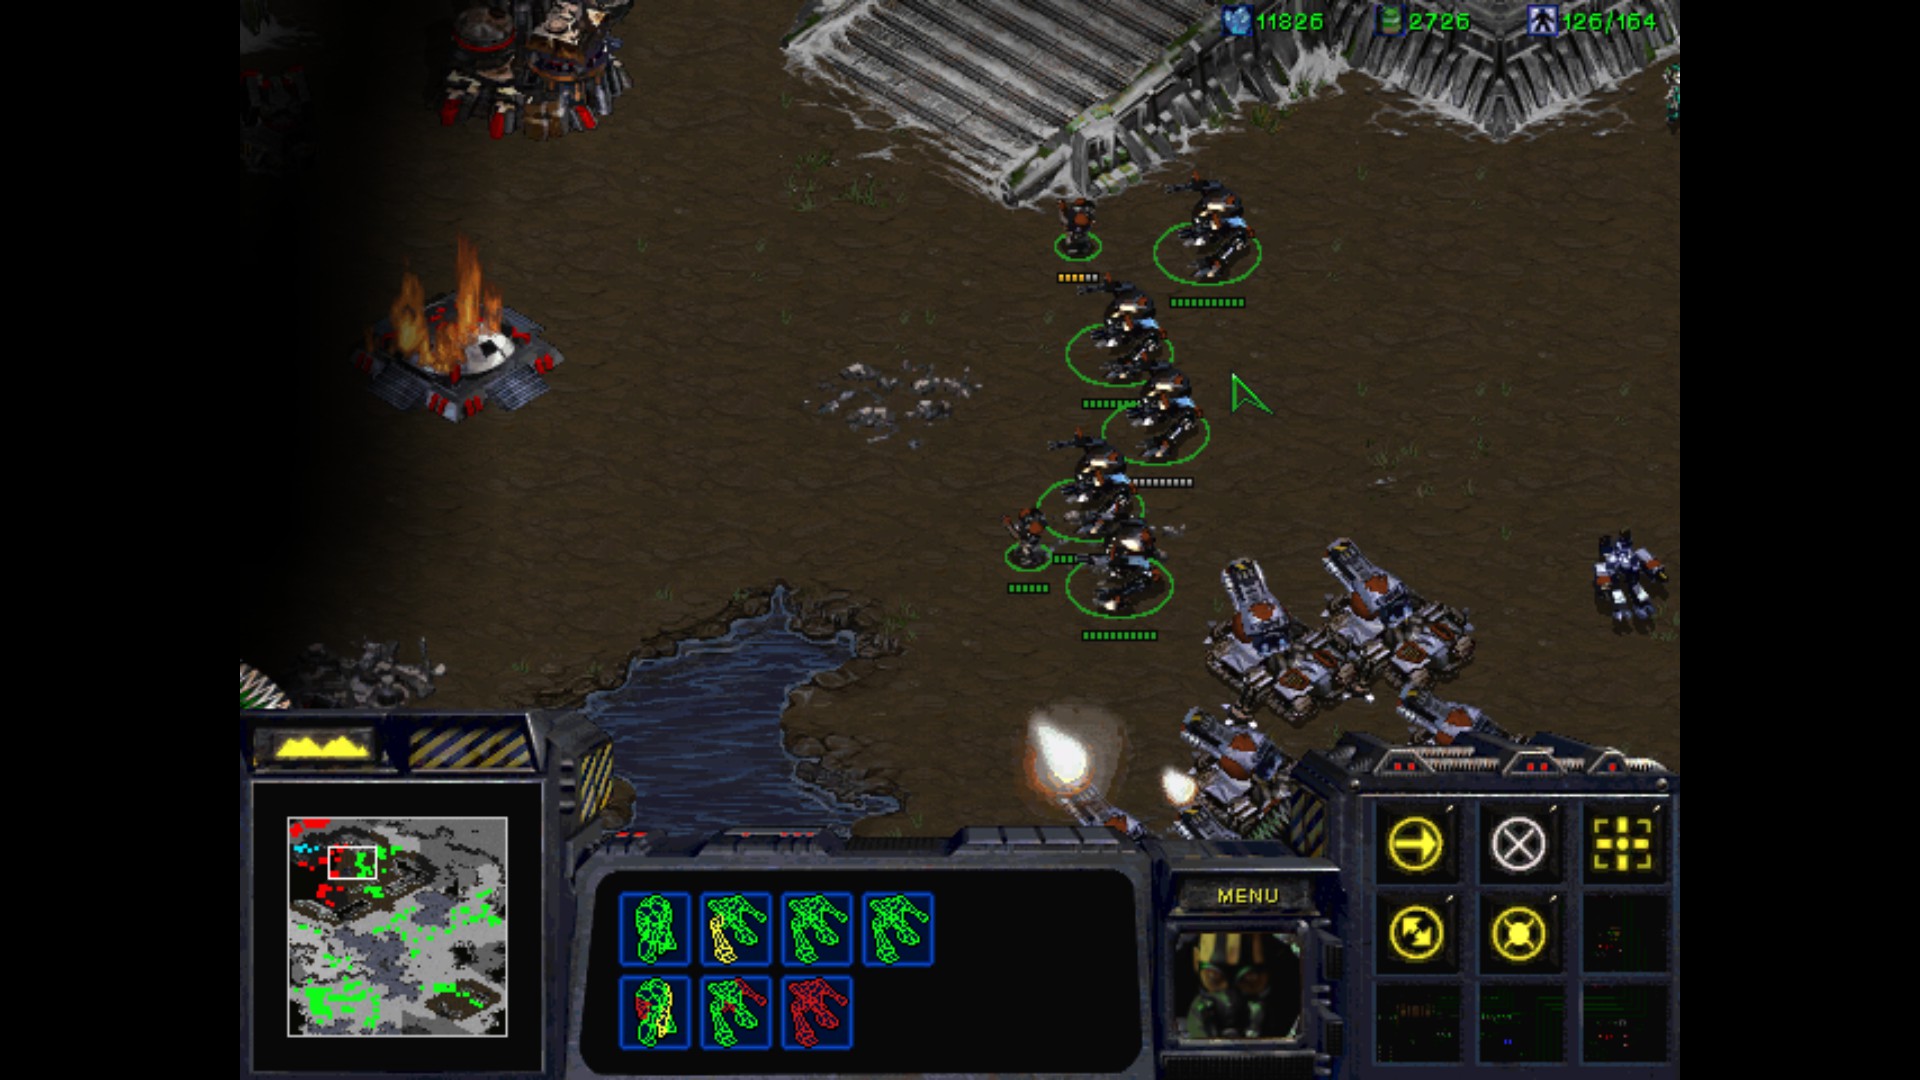
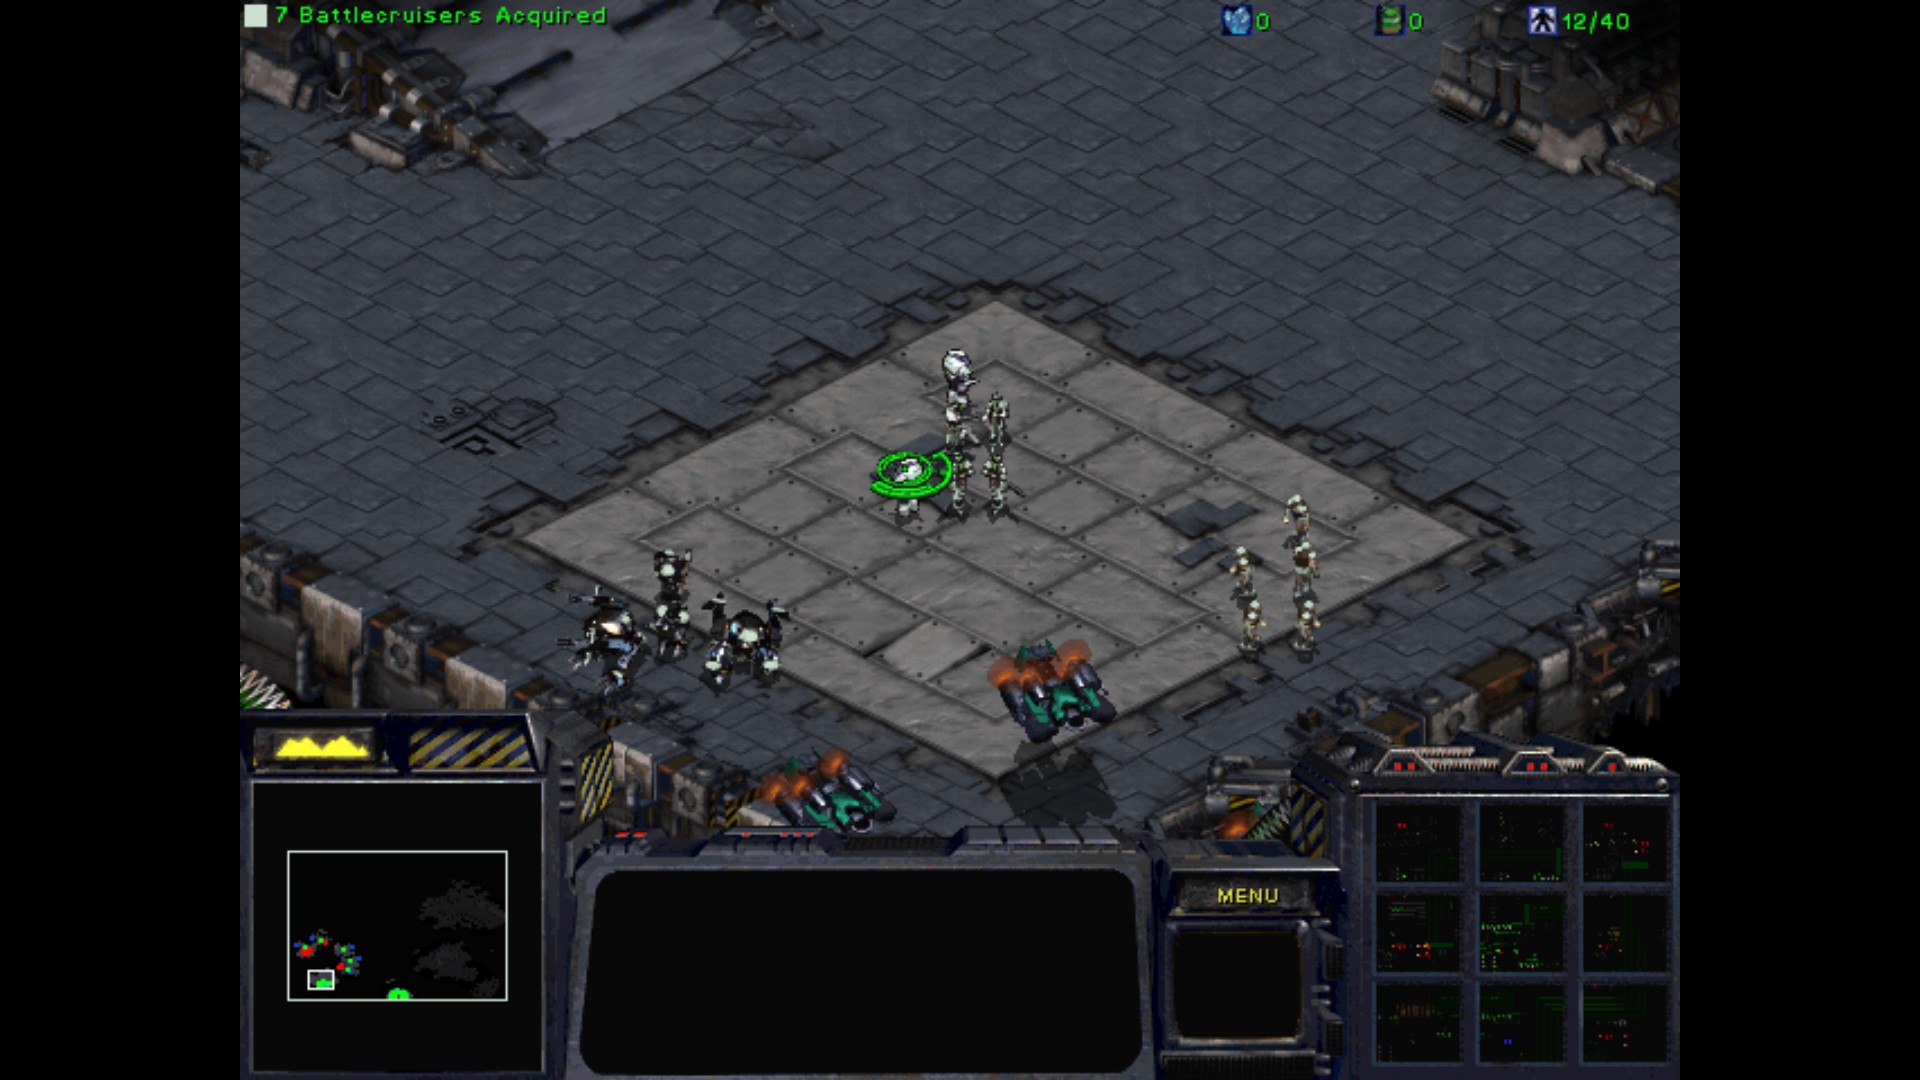
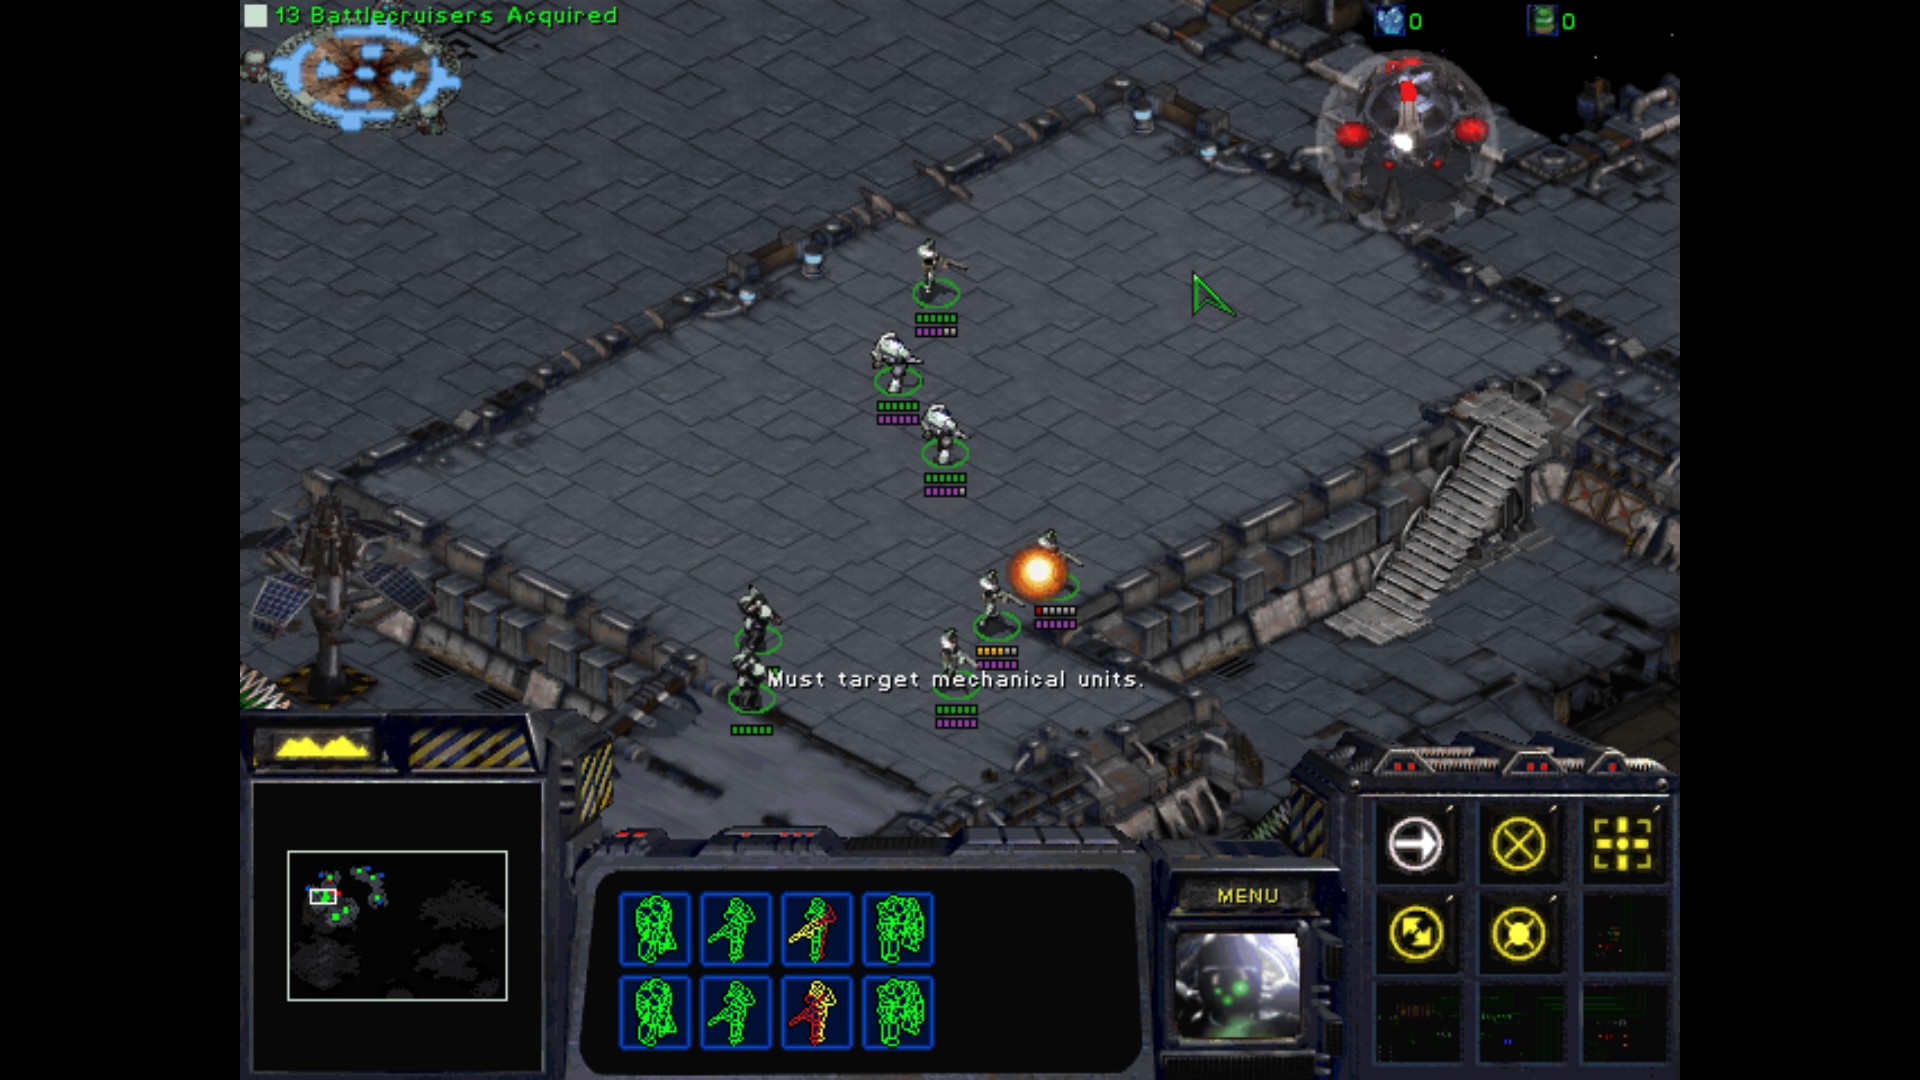
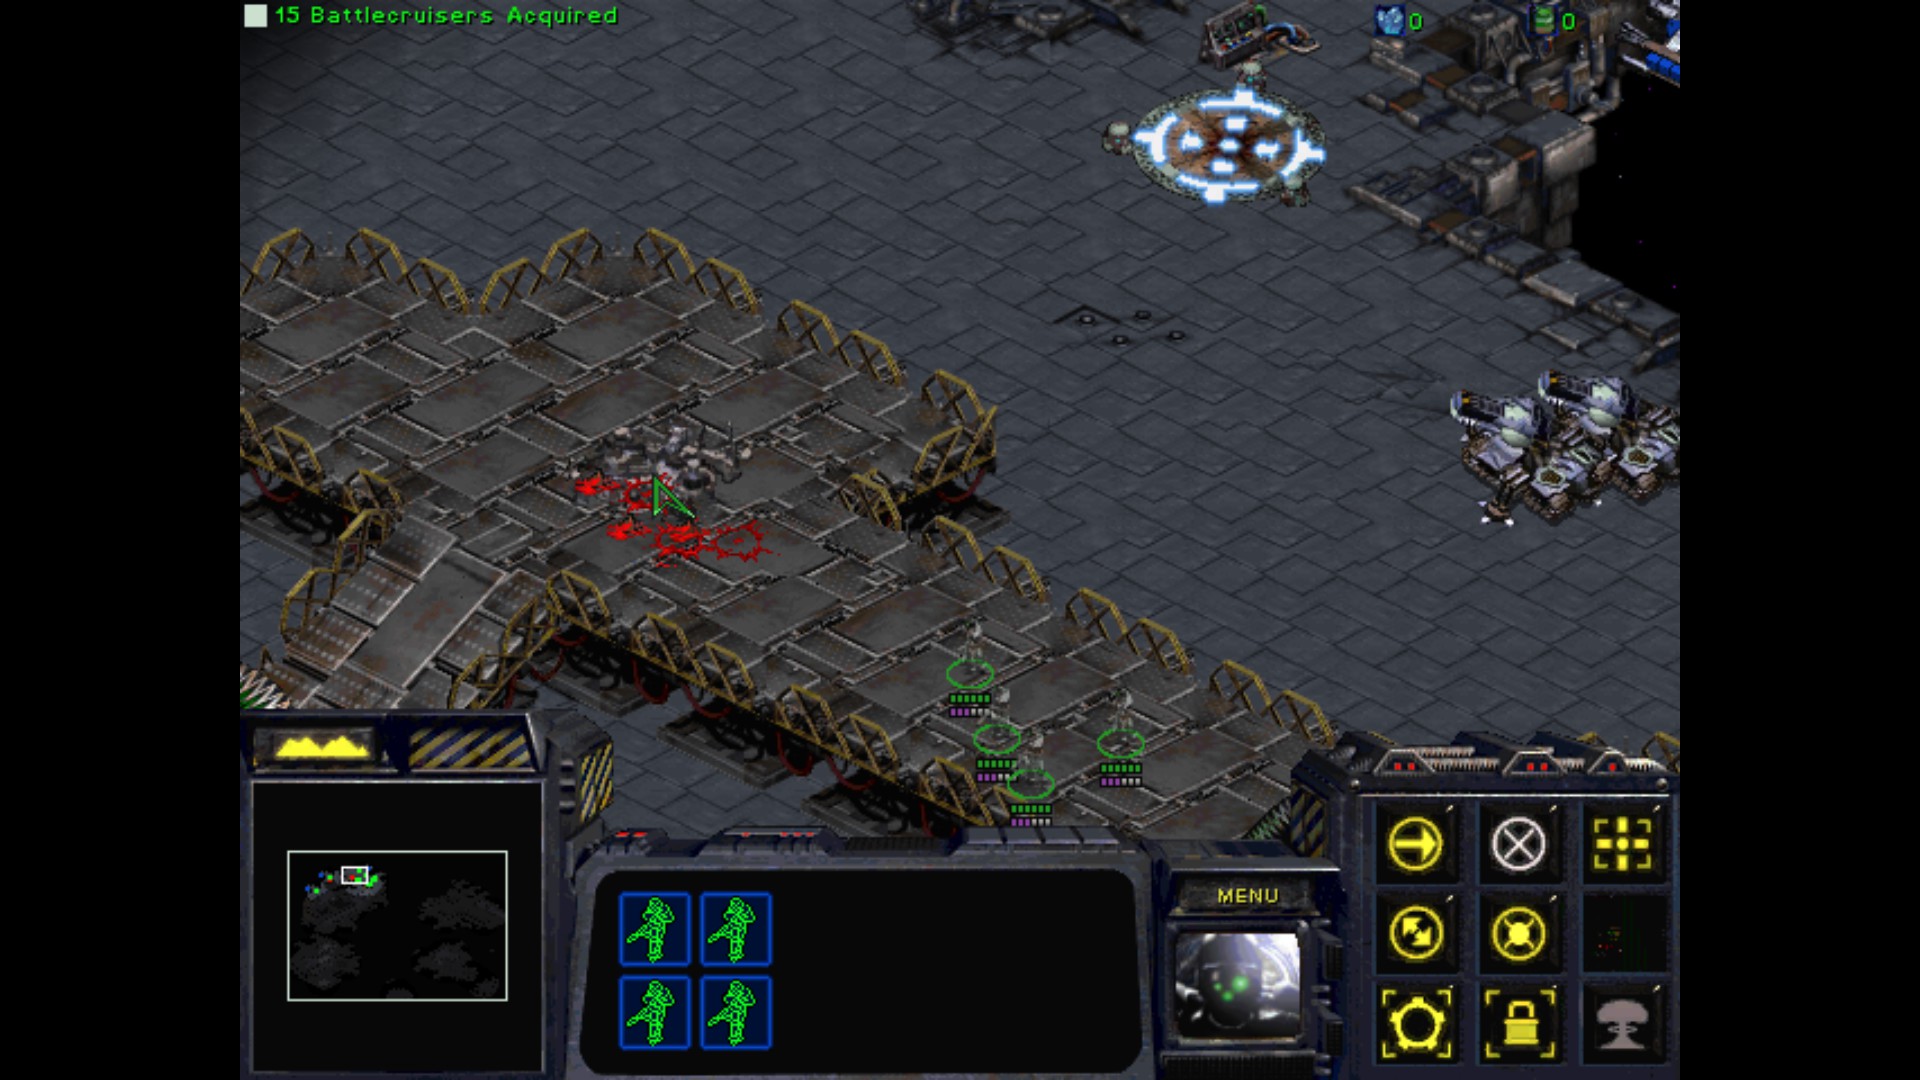
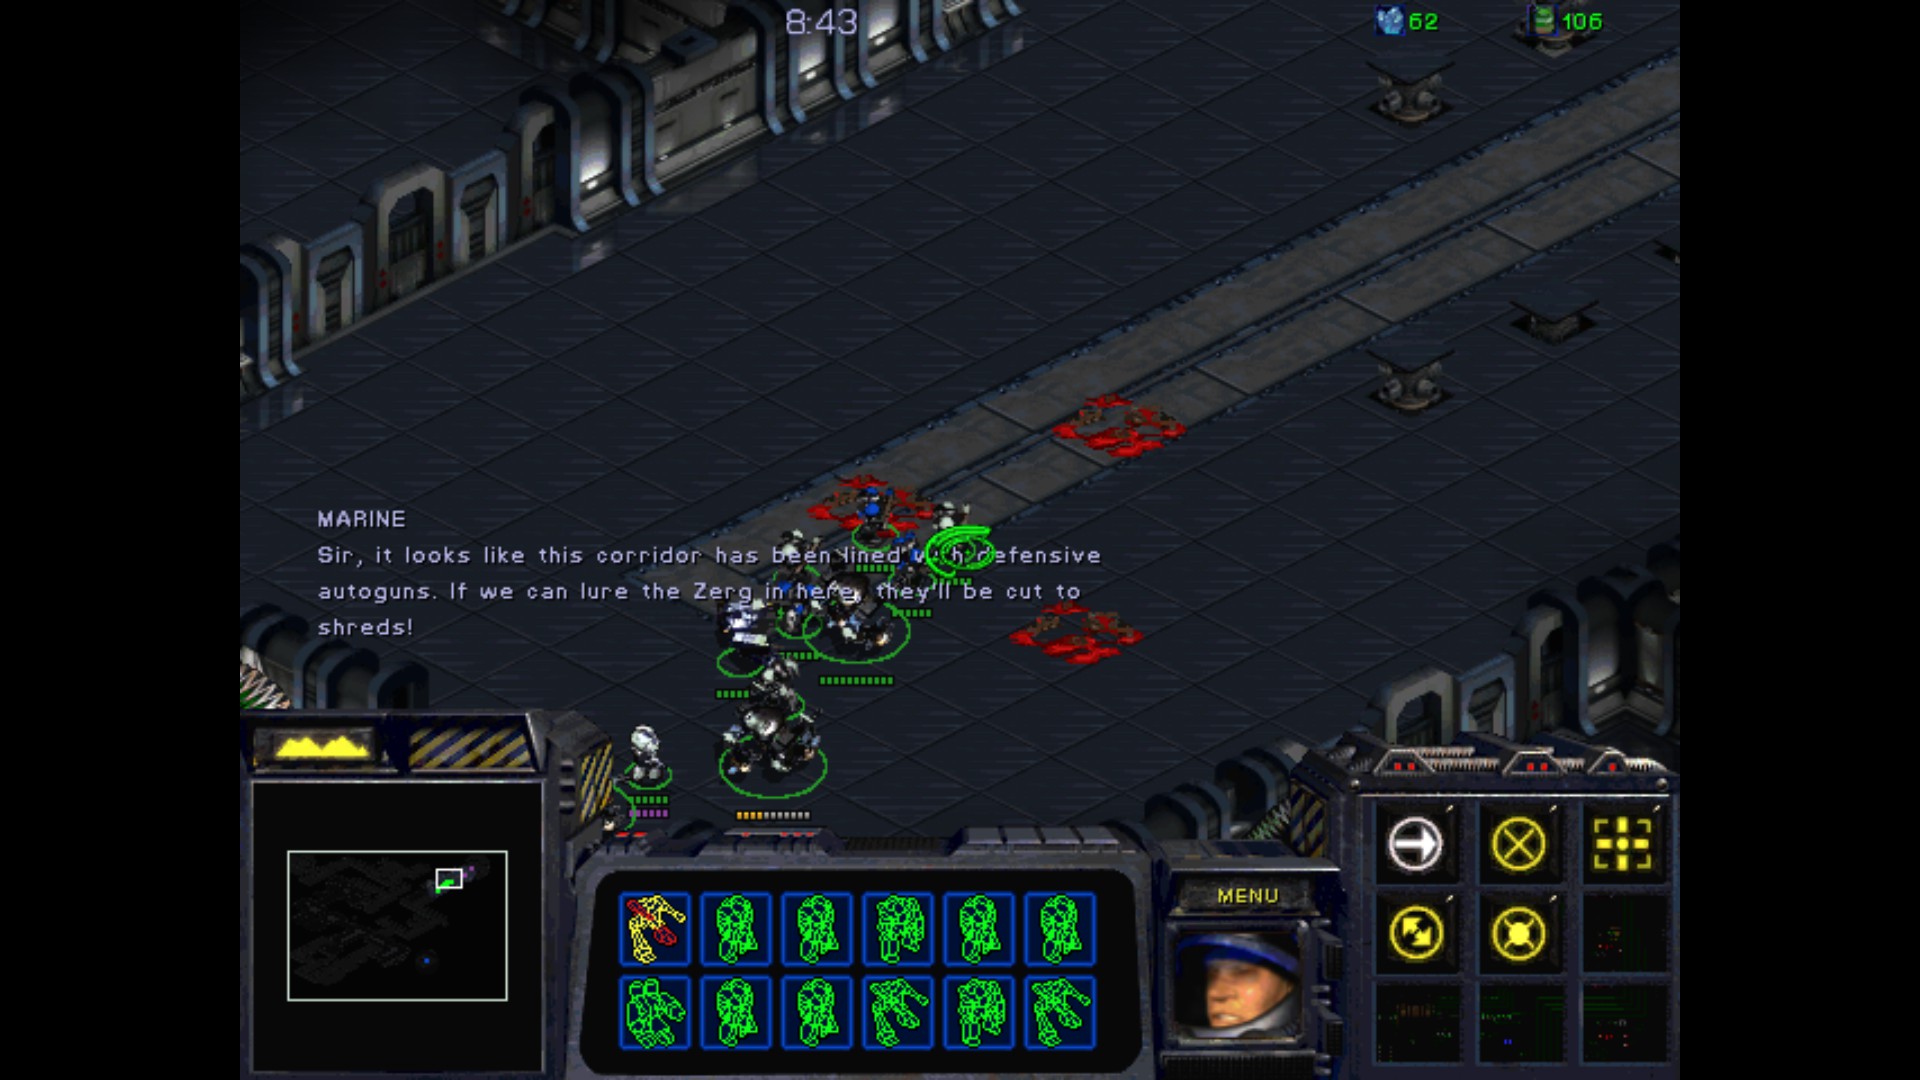
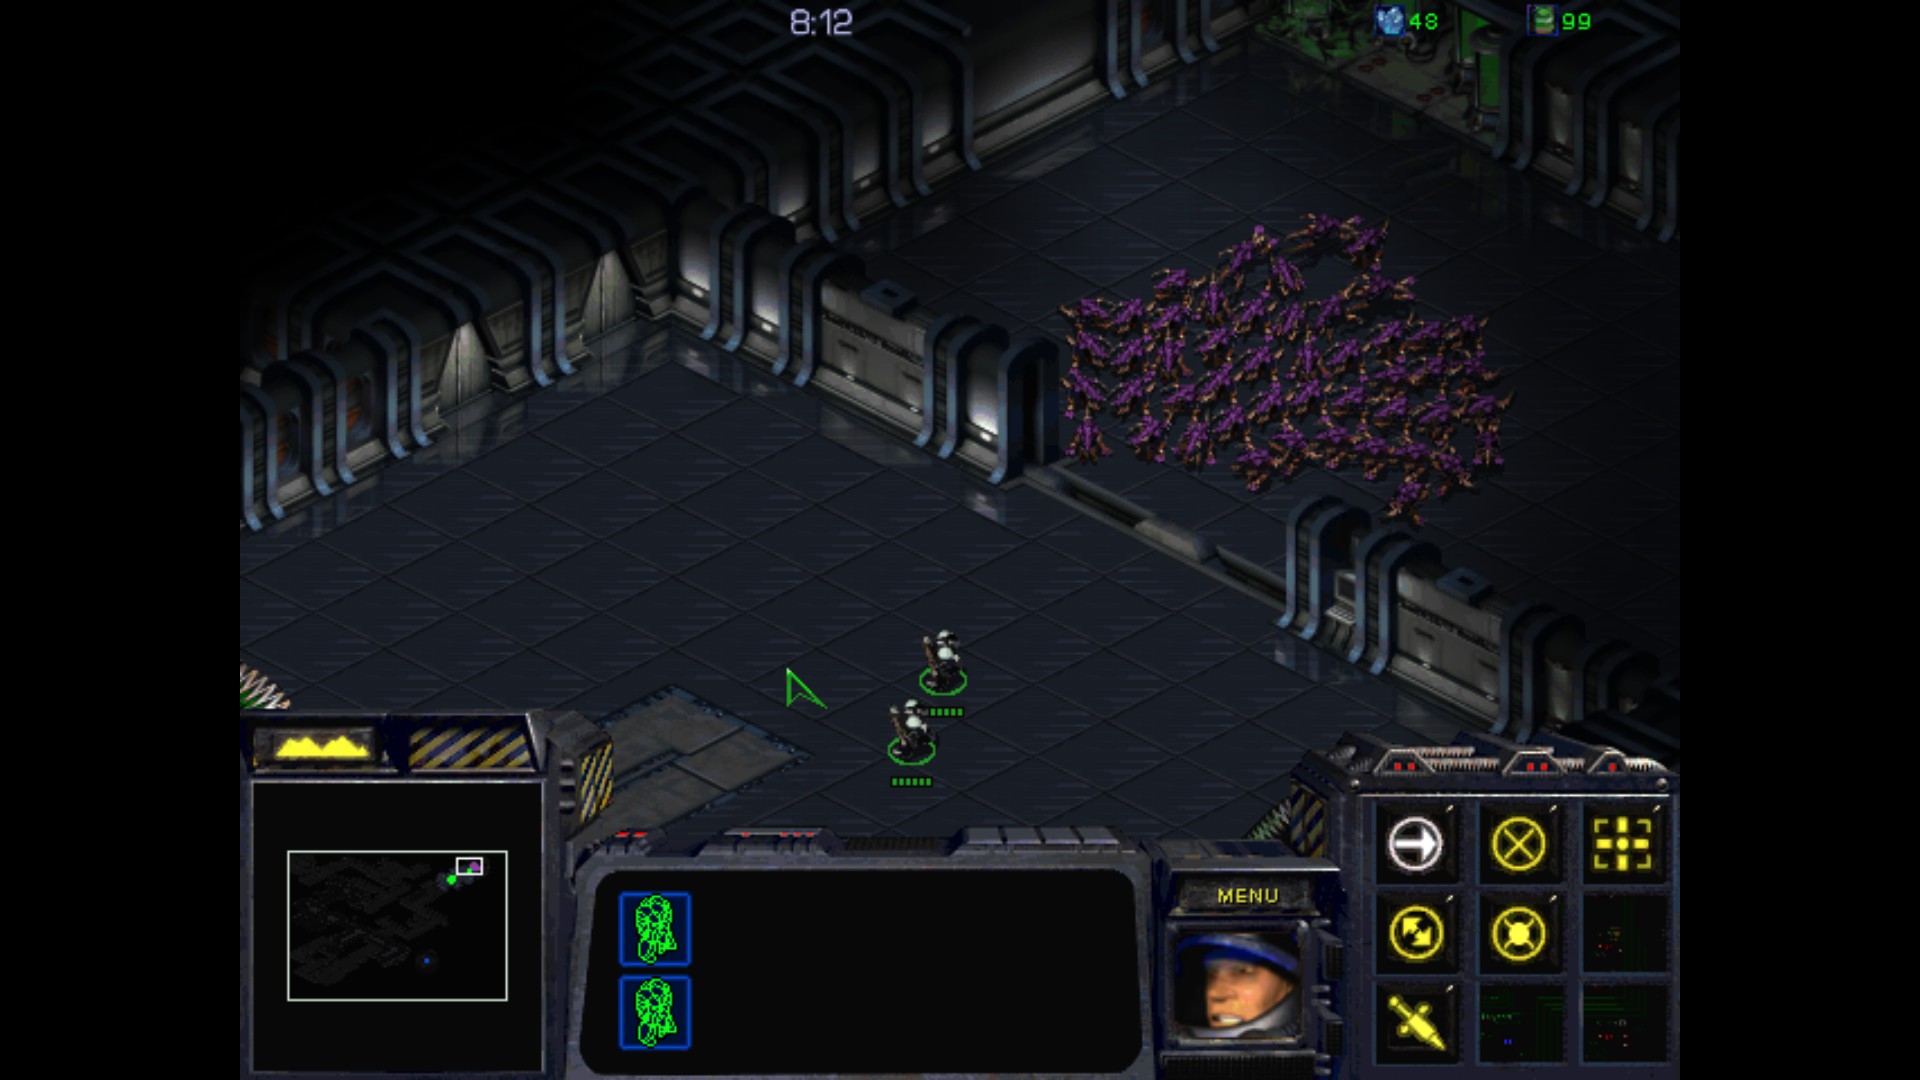
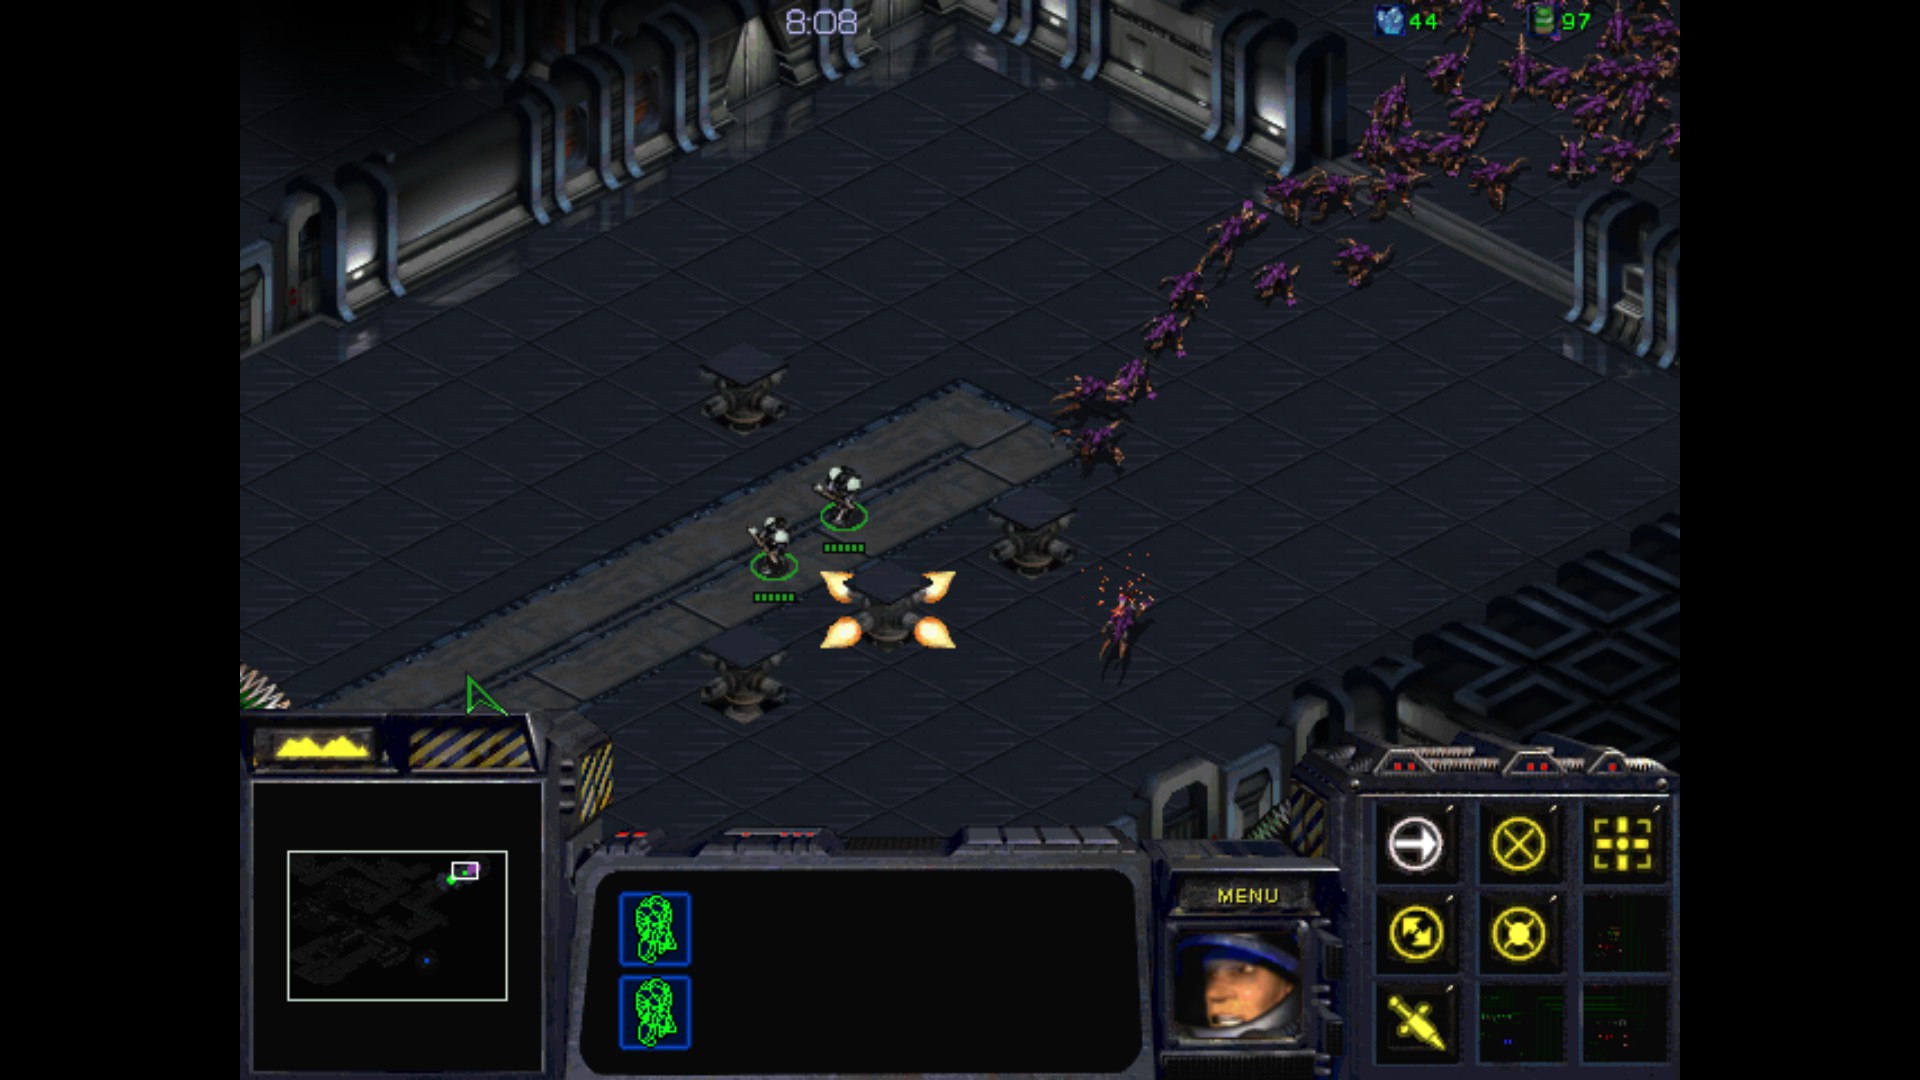
Second mission of UED is interesting due to having a new unit that we can use - Medic. As you have already noticed, we don't have any resources here and I'll need to be careful with the troops that I have available for this. Basically we are creating here safe paths for the Battlecruisers pilots, who are stationed on a platforms. First step is really simple, we learn that Marines can shoot the Bunker, and the Medics will they care of their wounds. Thanks to them, we won't loose any soldier if we are careful.
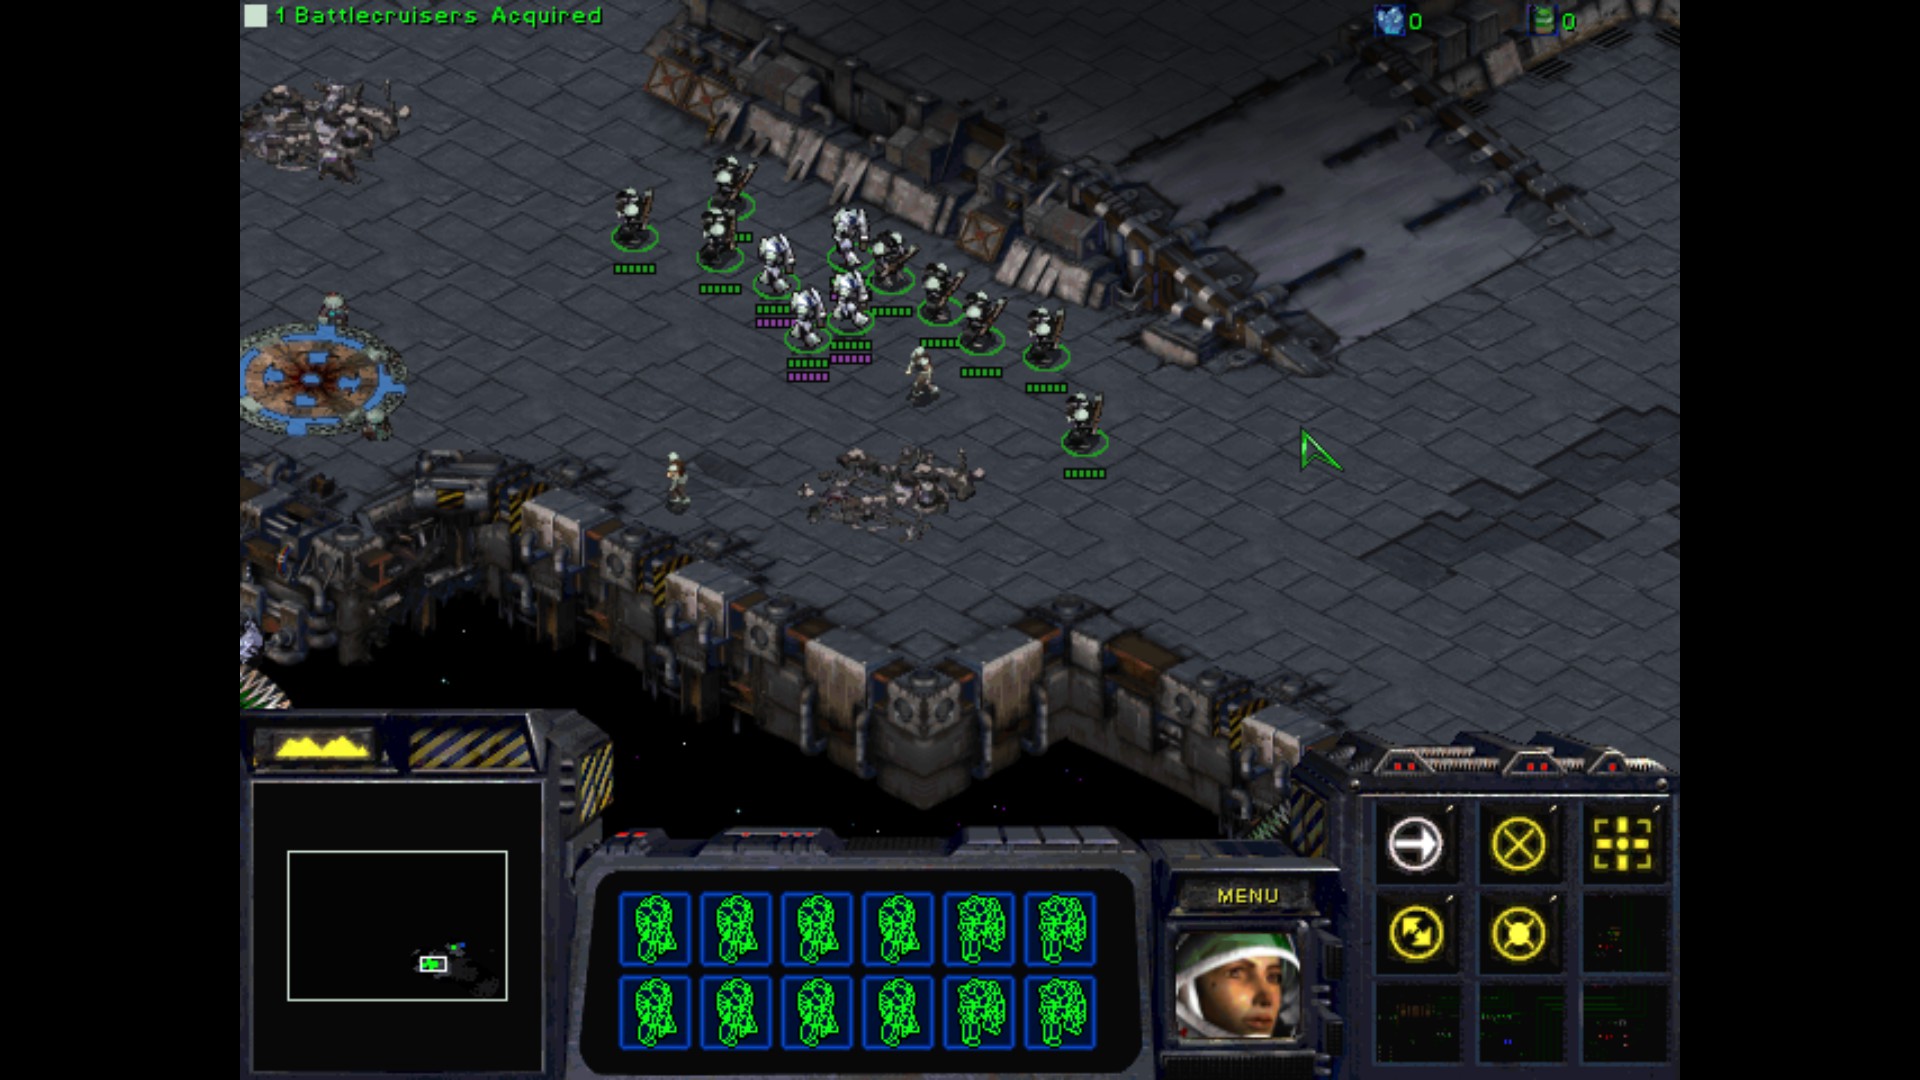
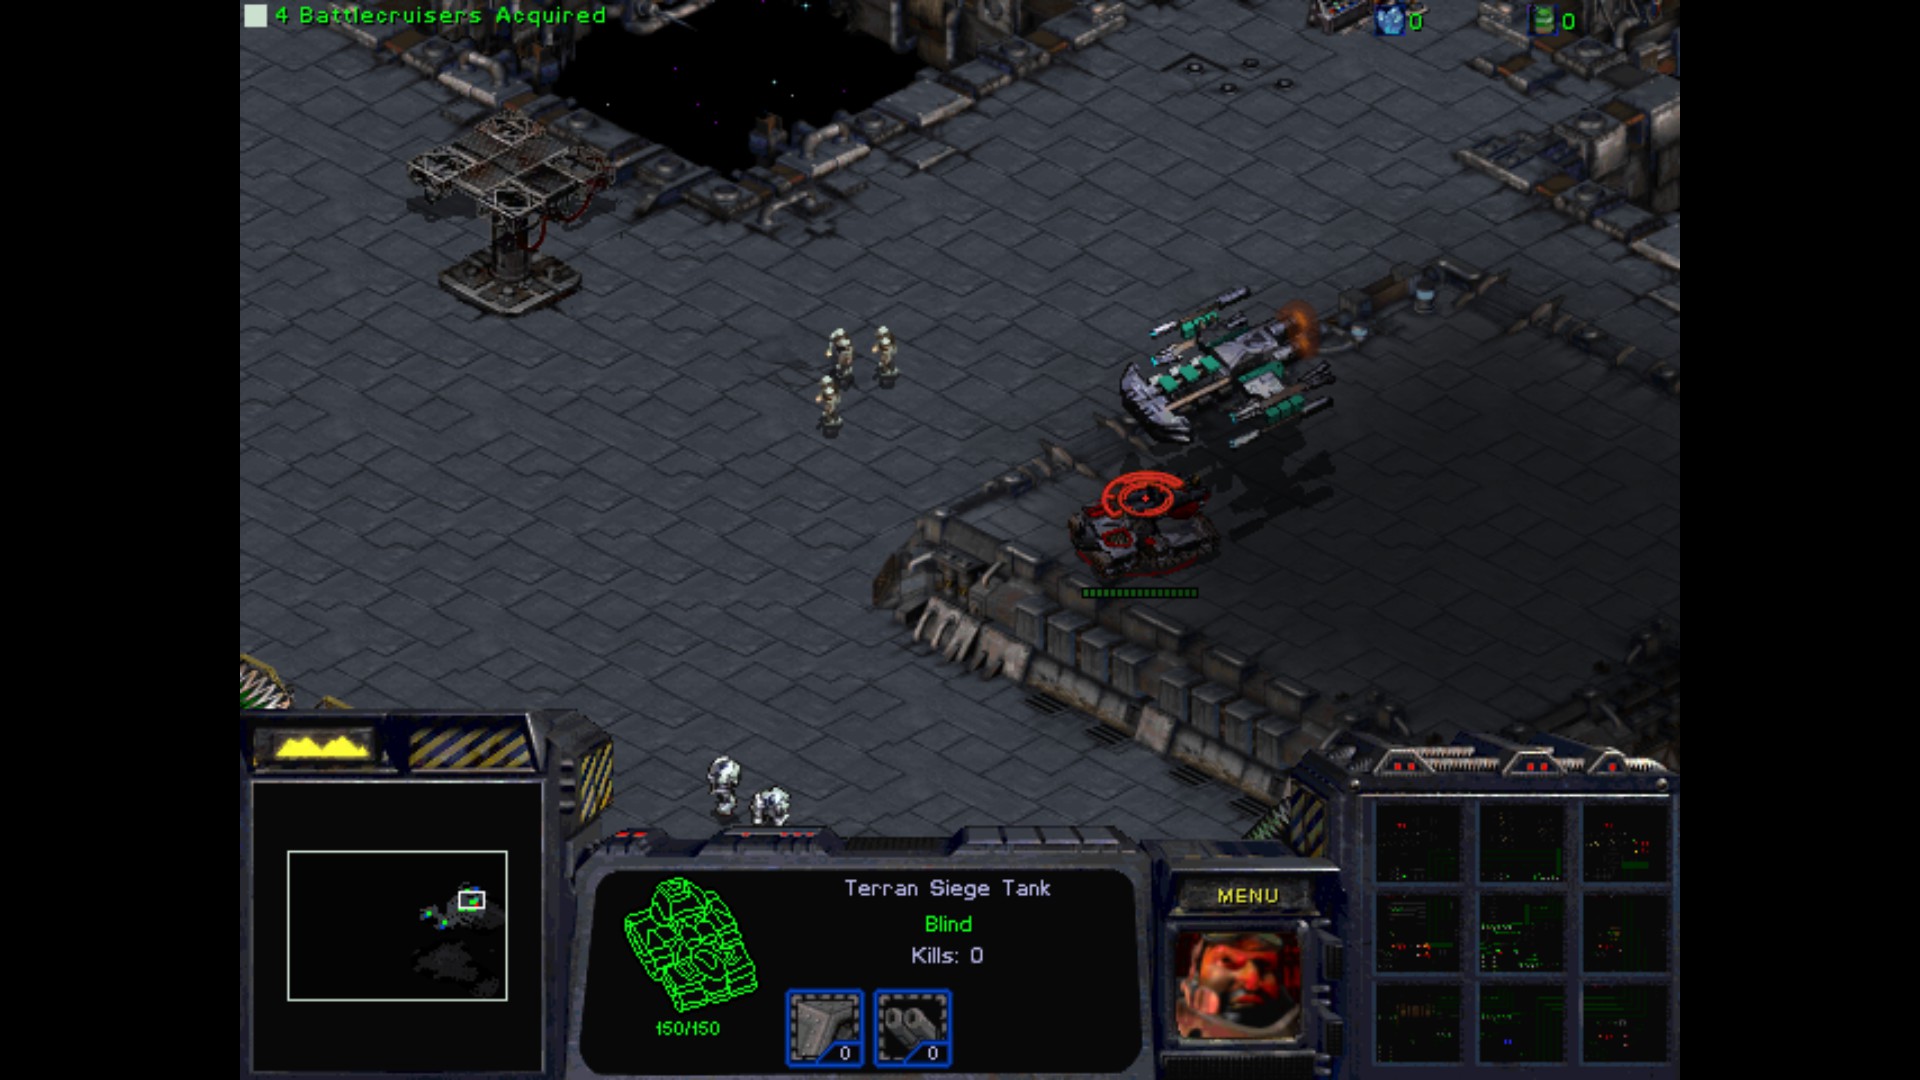
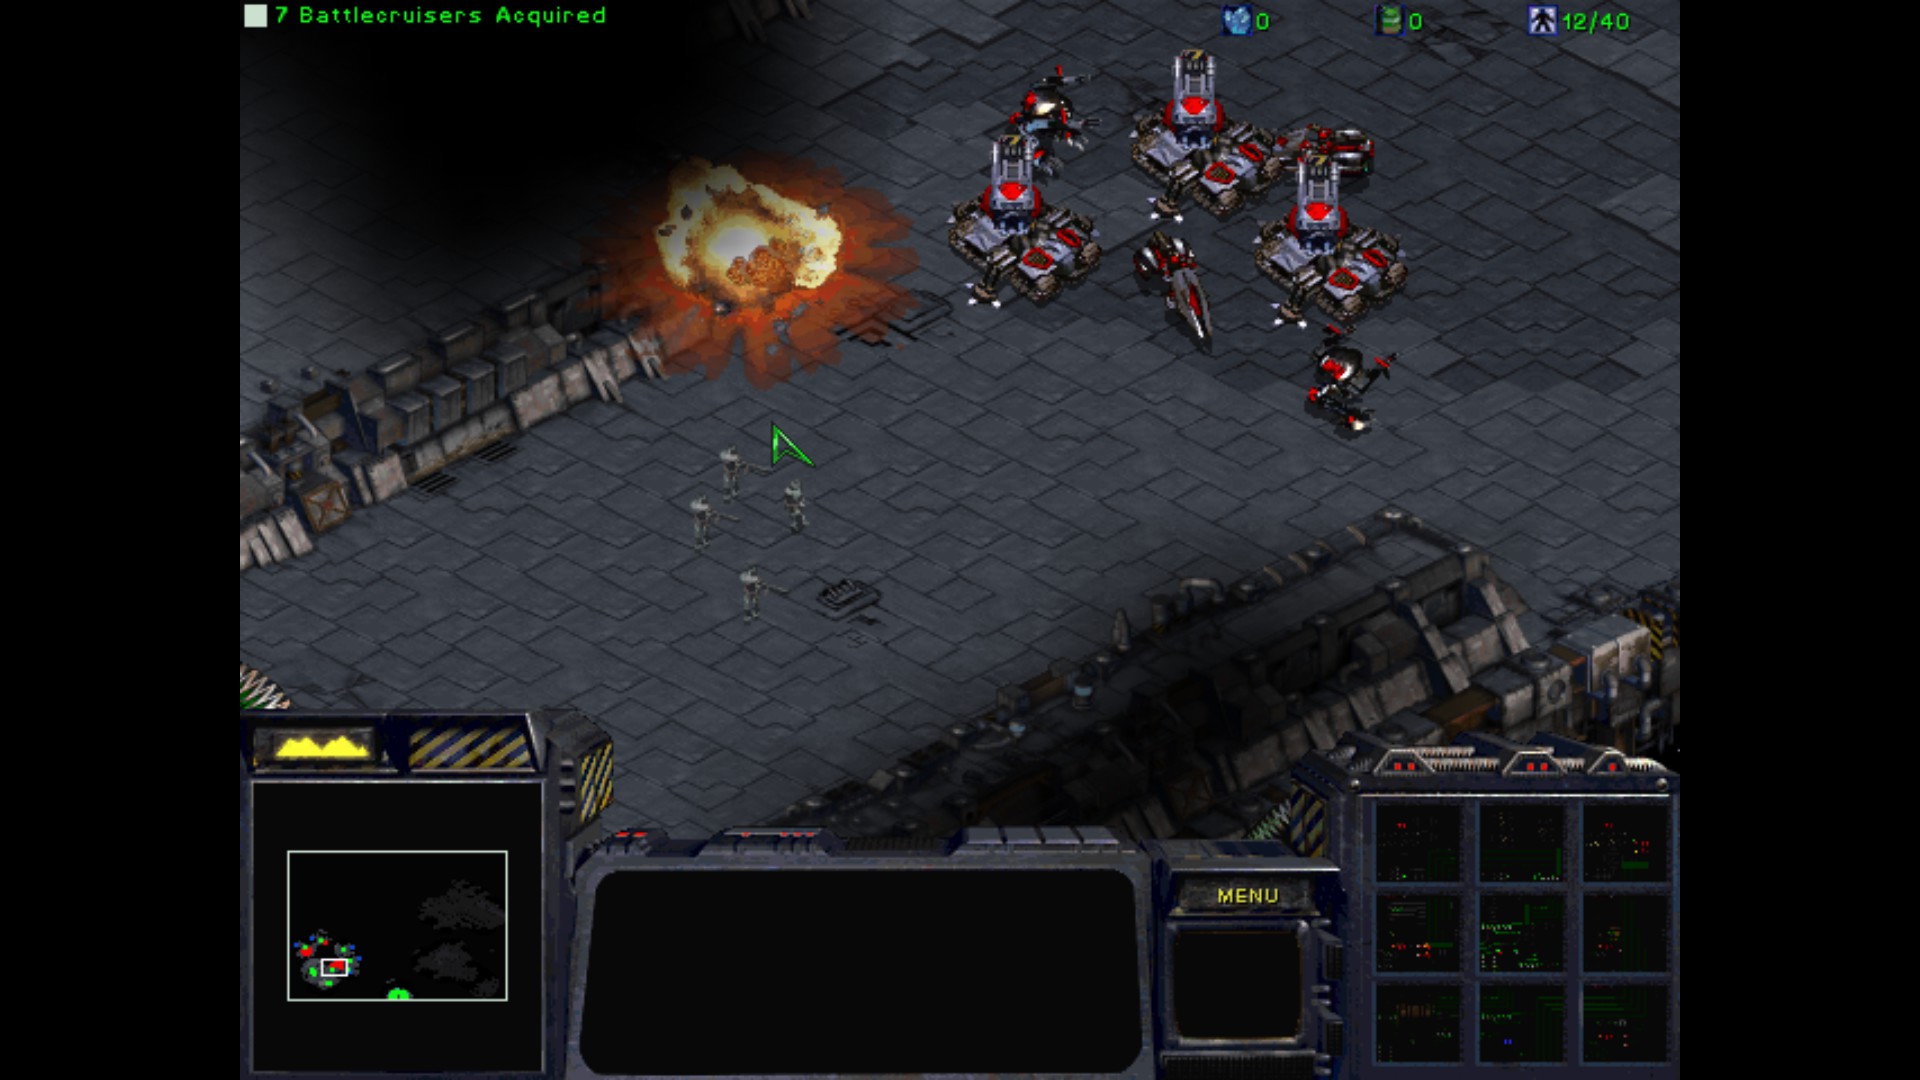
The operation goes smooth, but we are interrupted by the Tank. But Medics have Optic Flare, which can be used to blind every unit and removes its detection ability. With this, they can see only everything what is very near them and mechanized vehicles such Tanks or Science Vessels are garbage after that. That is of course, until we apply the Restoration, which removes Lockdown, Optic Flare, Irradiate, Plague, Ensnare, Parasite, and Maelstrom from targeted unit. Medics really are changing the life span of our soldiers, and they can help in many situations.
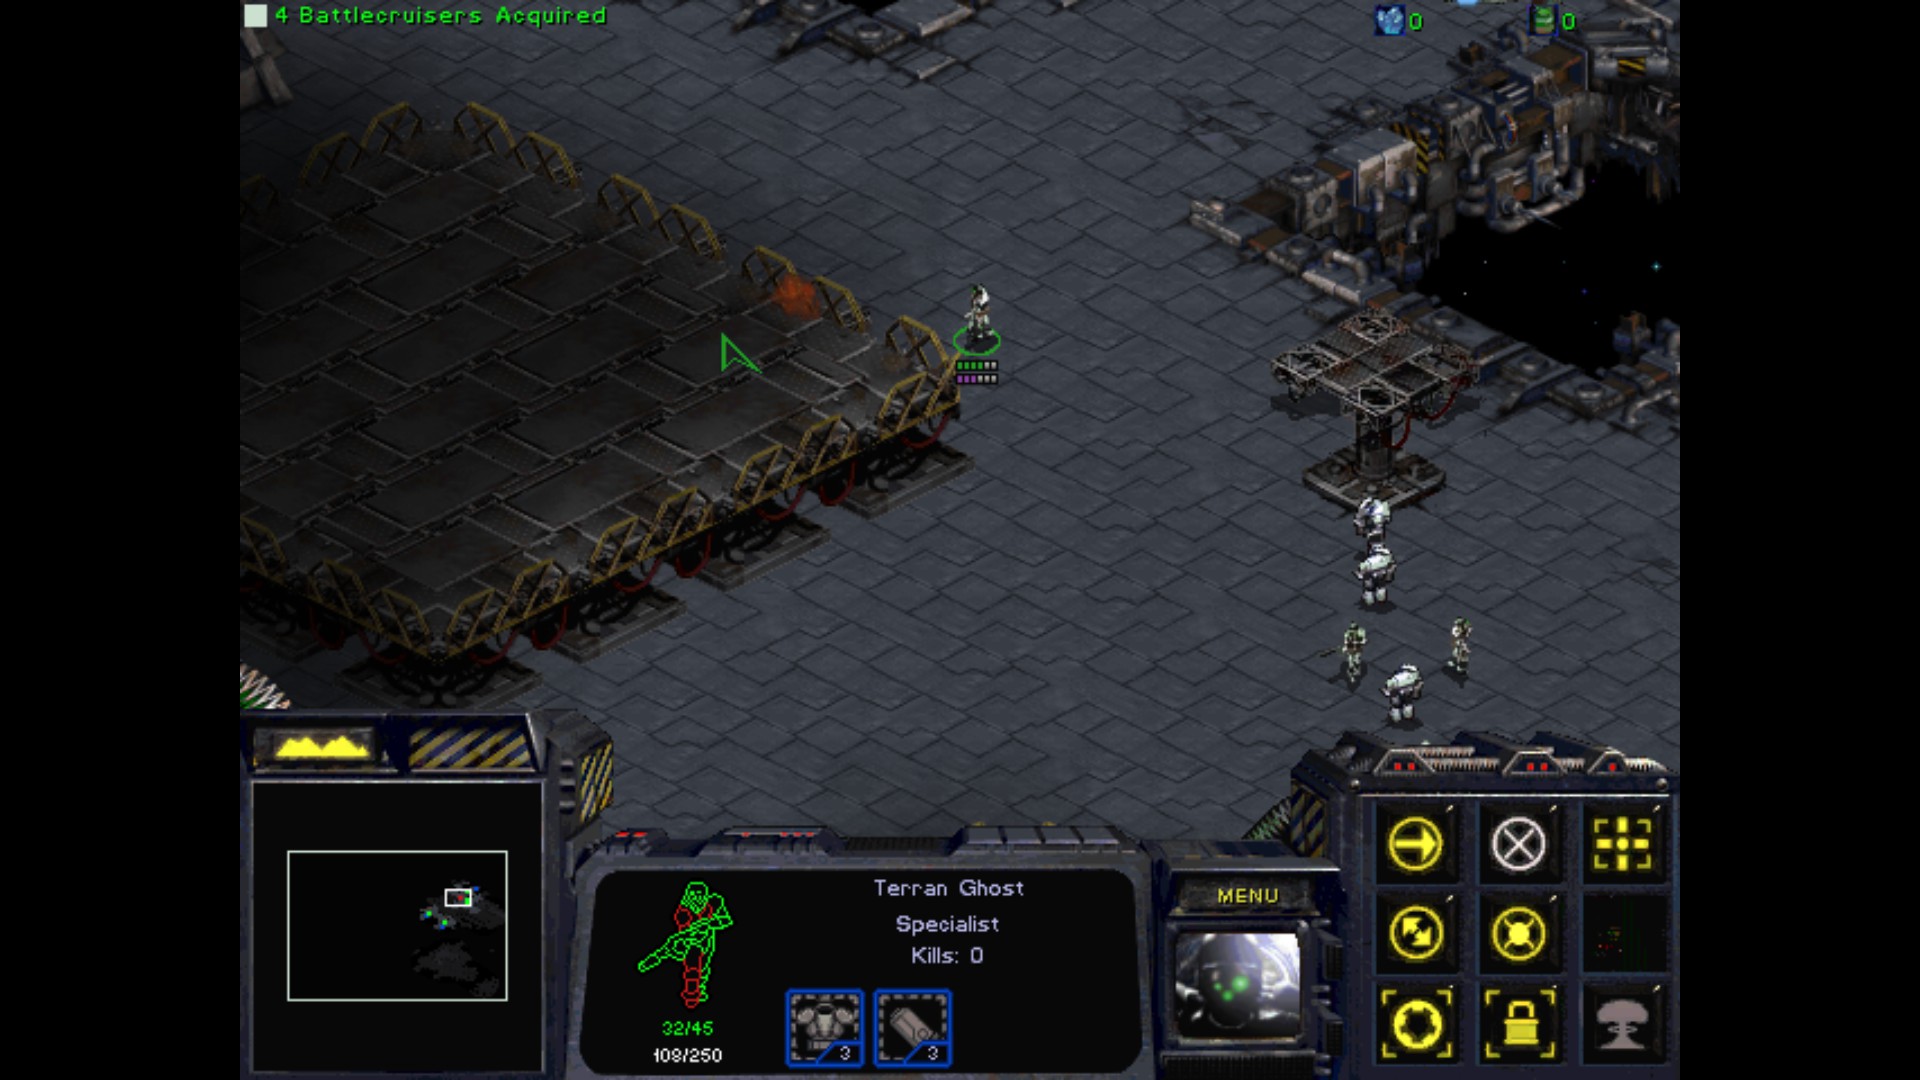
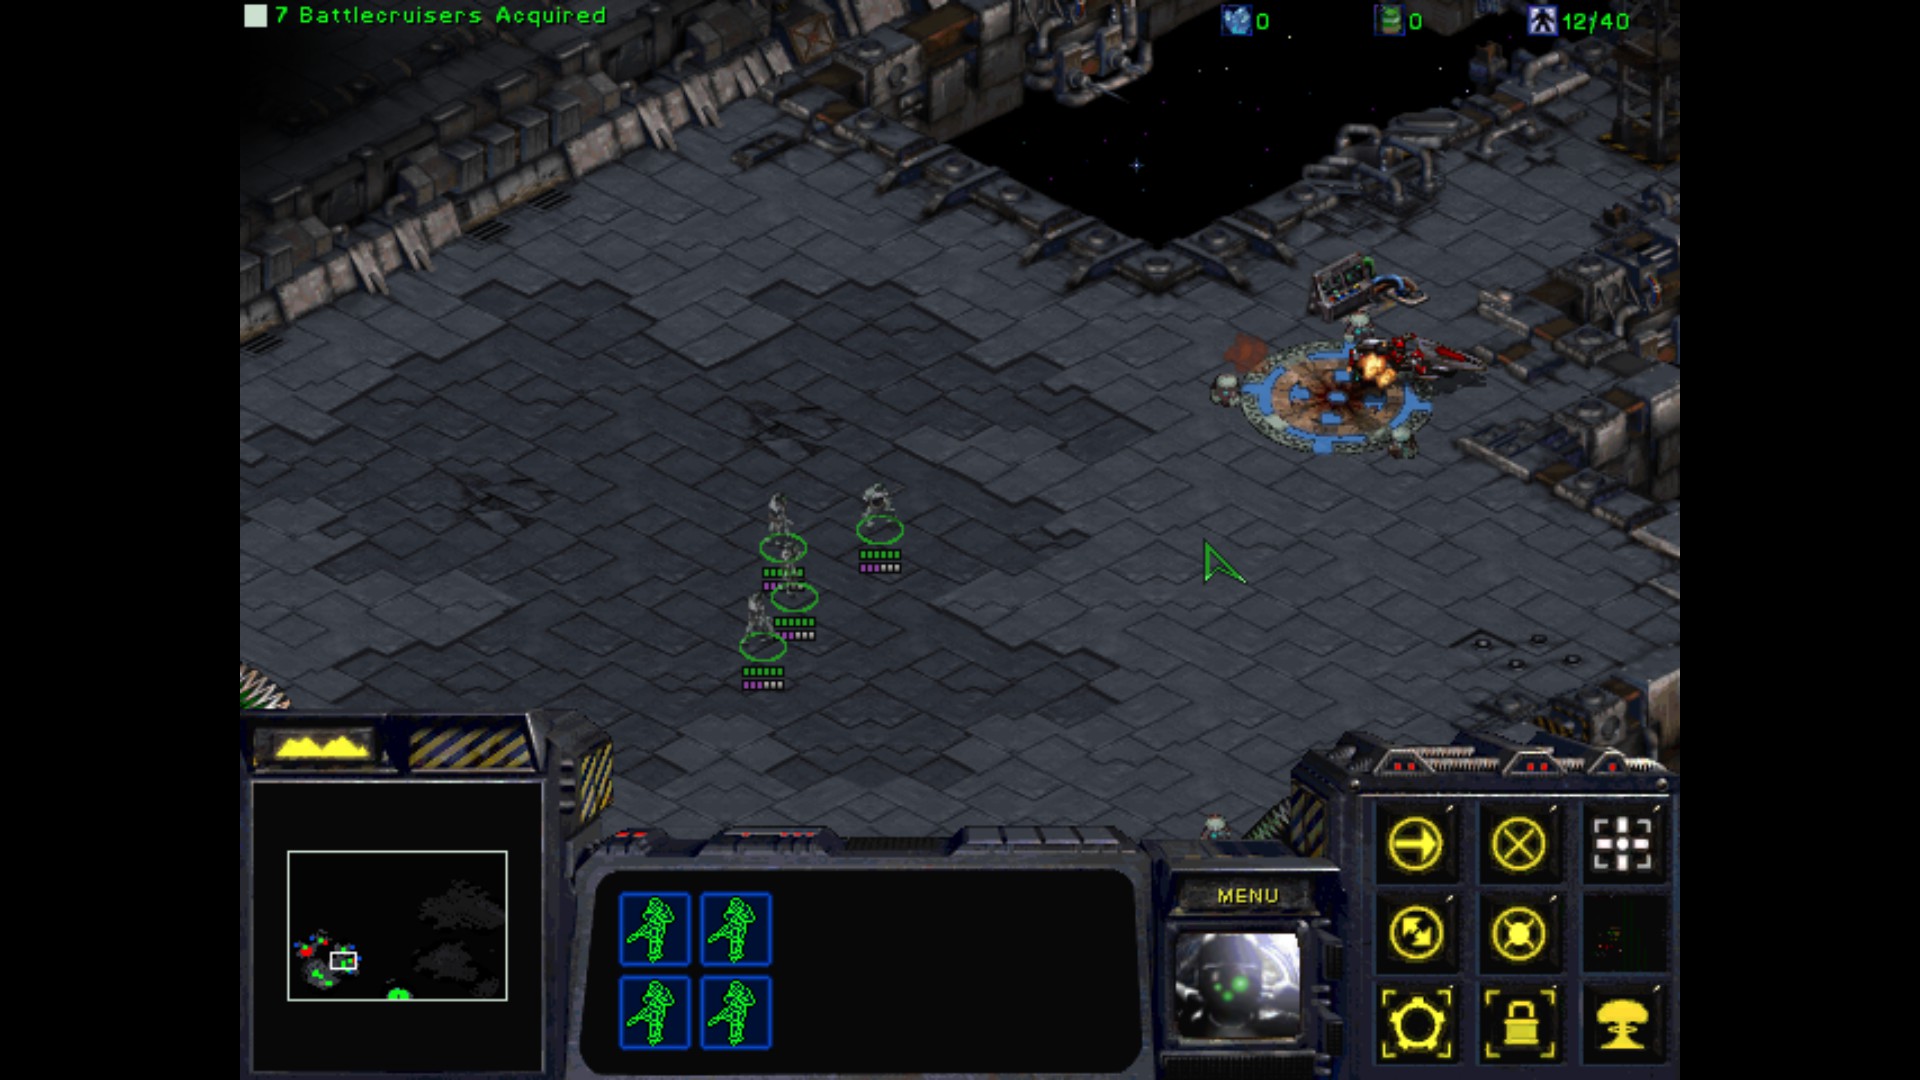
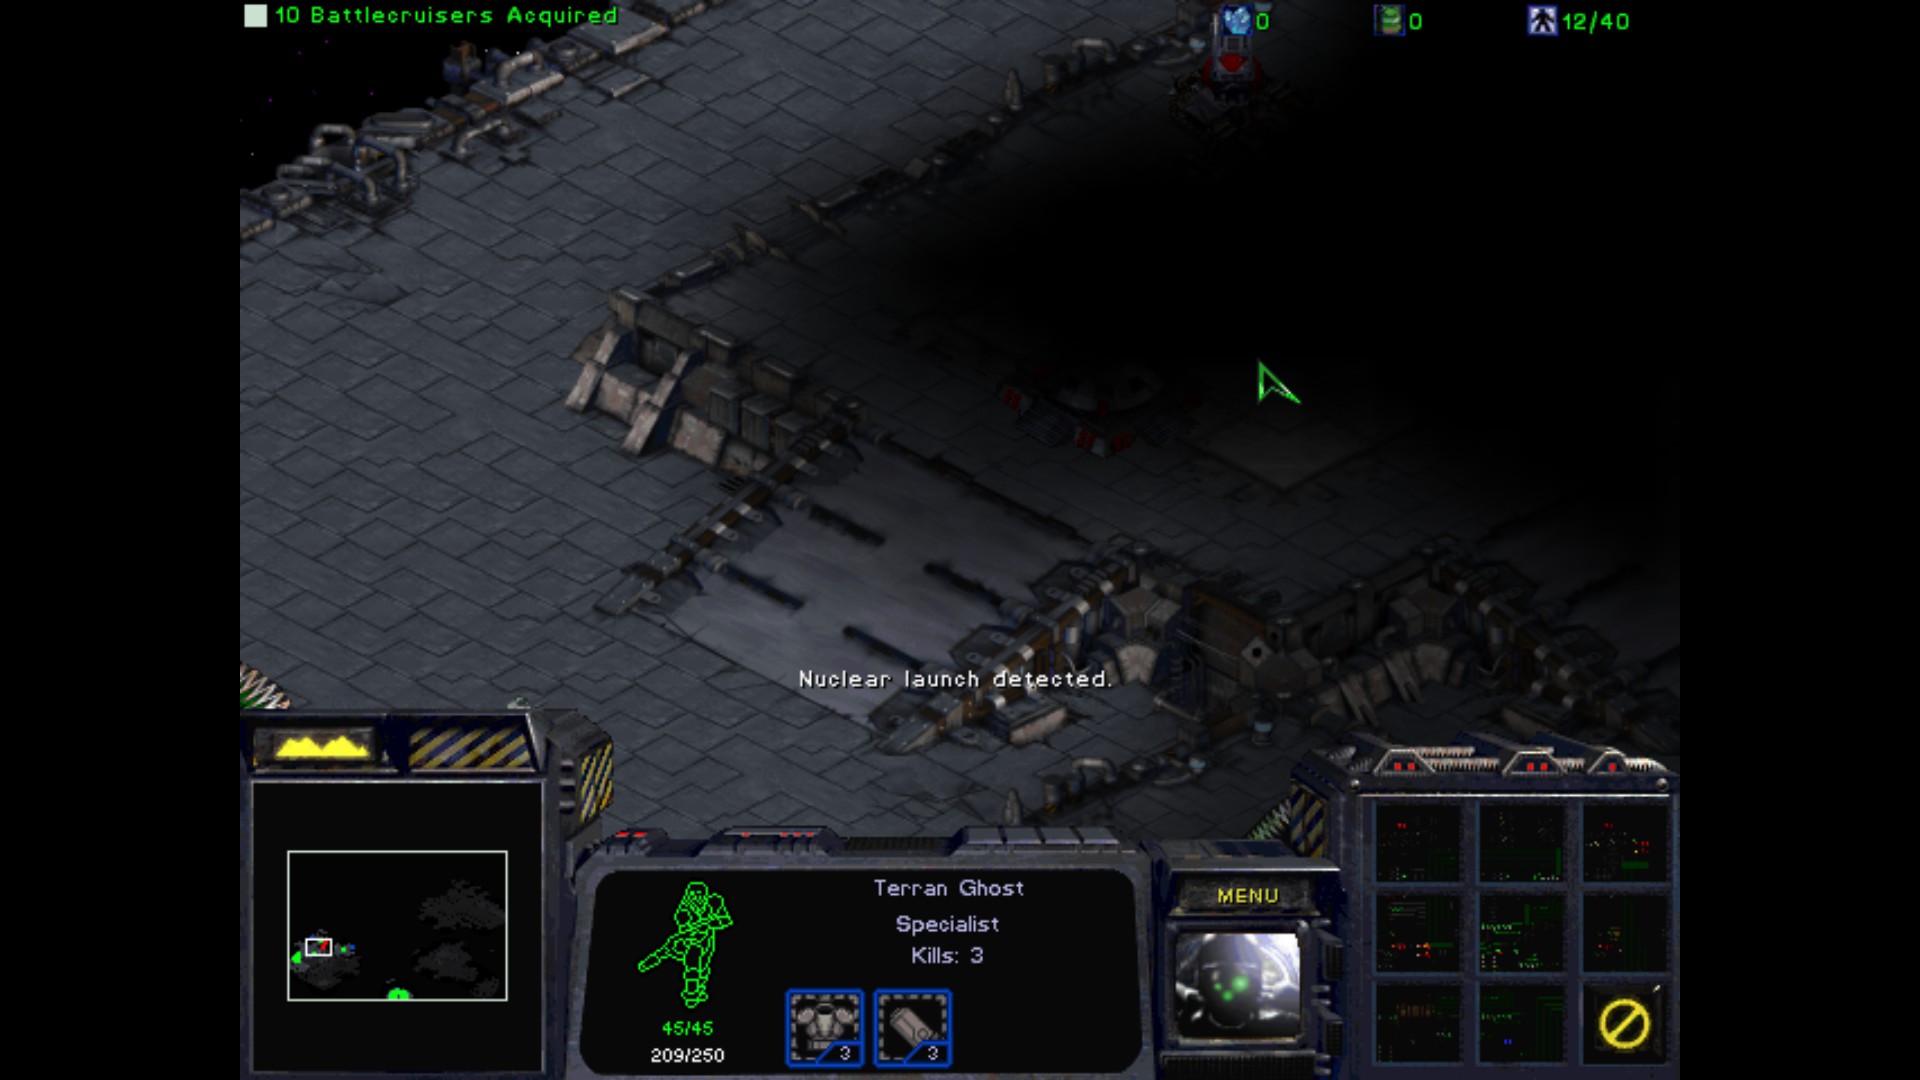
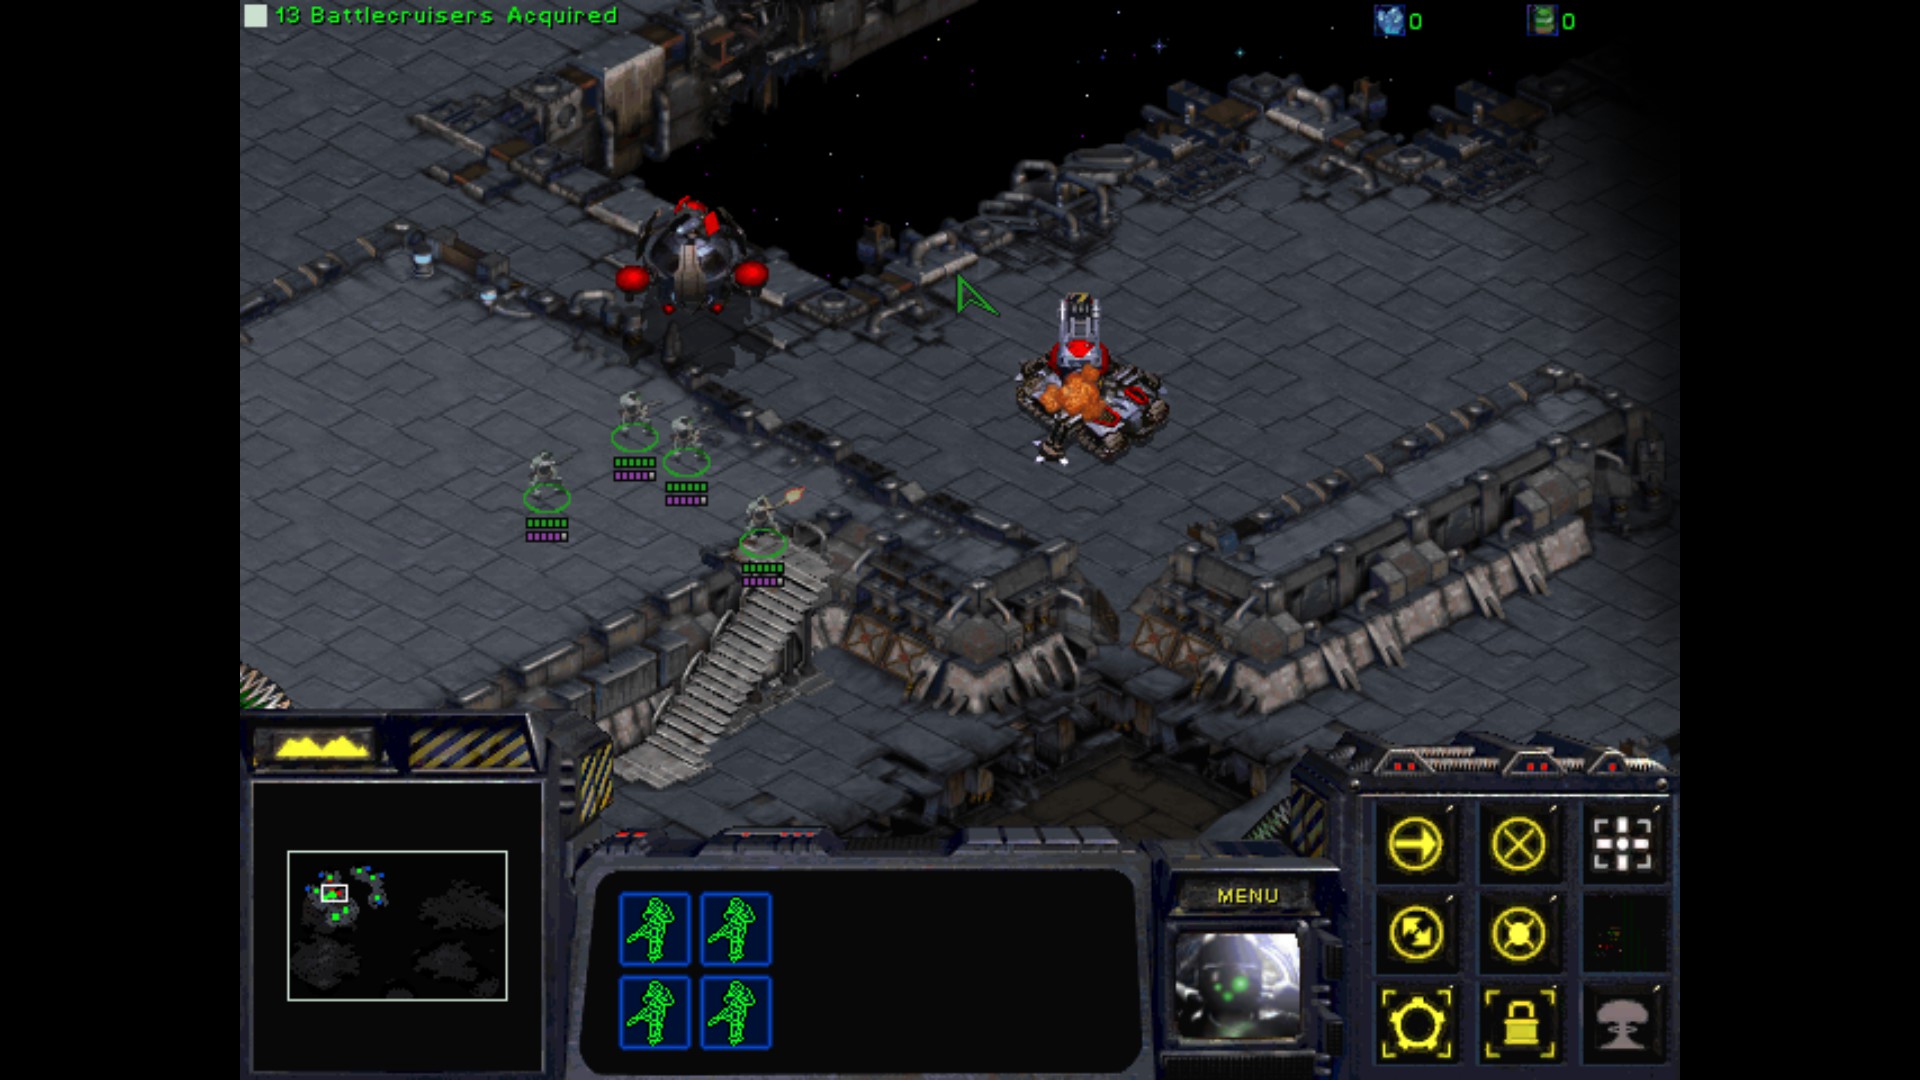
I scout with a single Ghost another Tank on the platform.
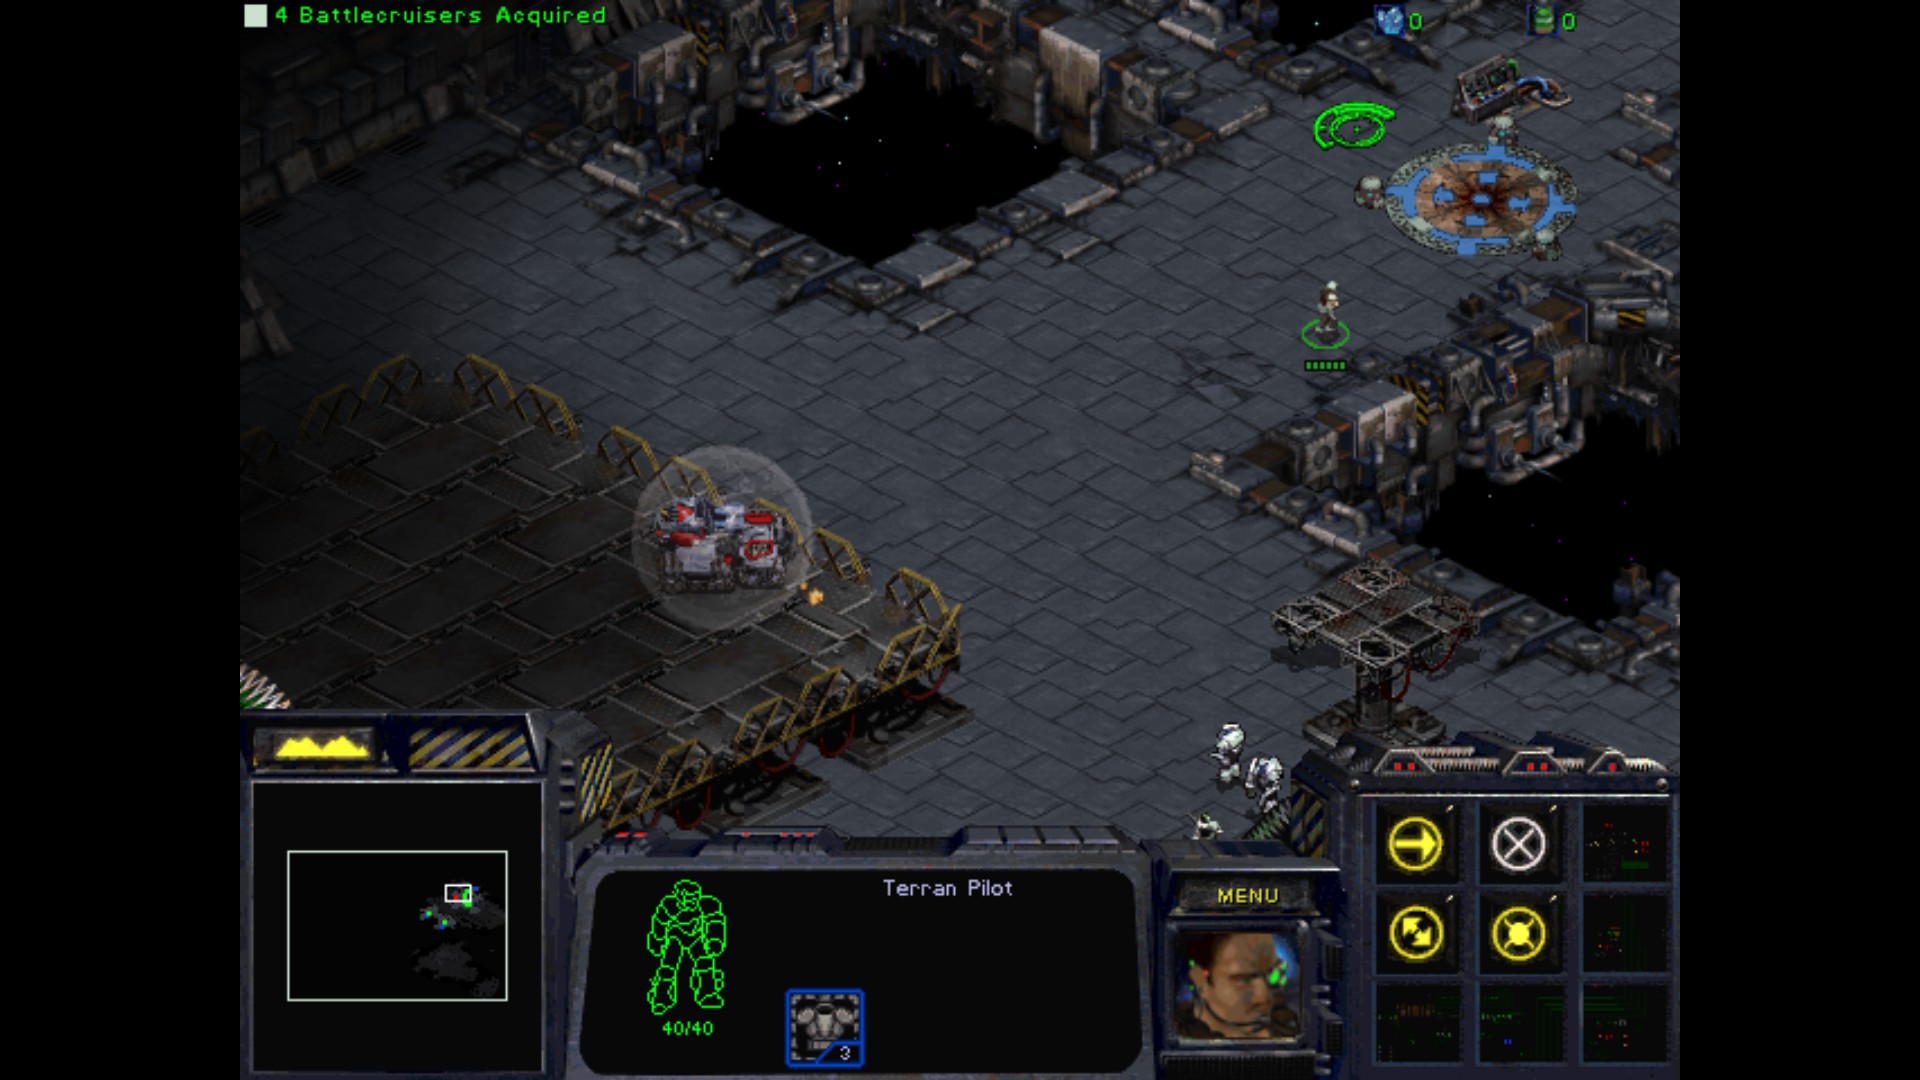
I just put him on Lockdown and let another pilot to enter the Battlecruiser.
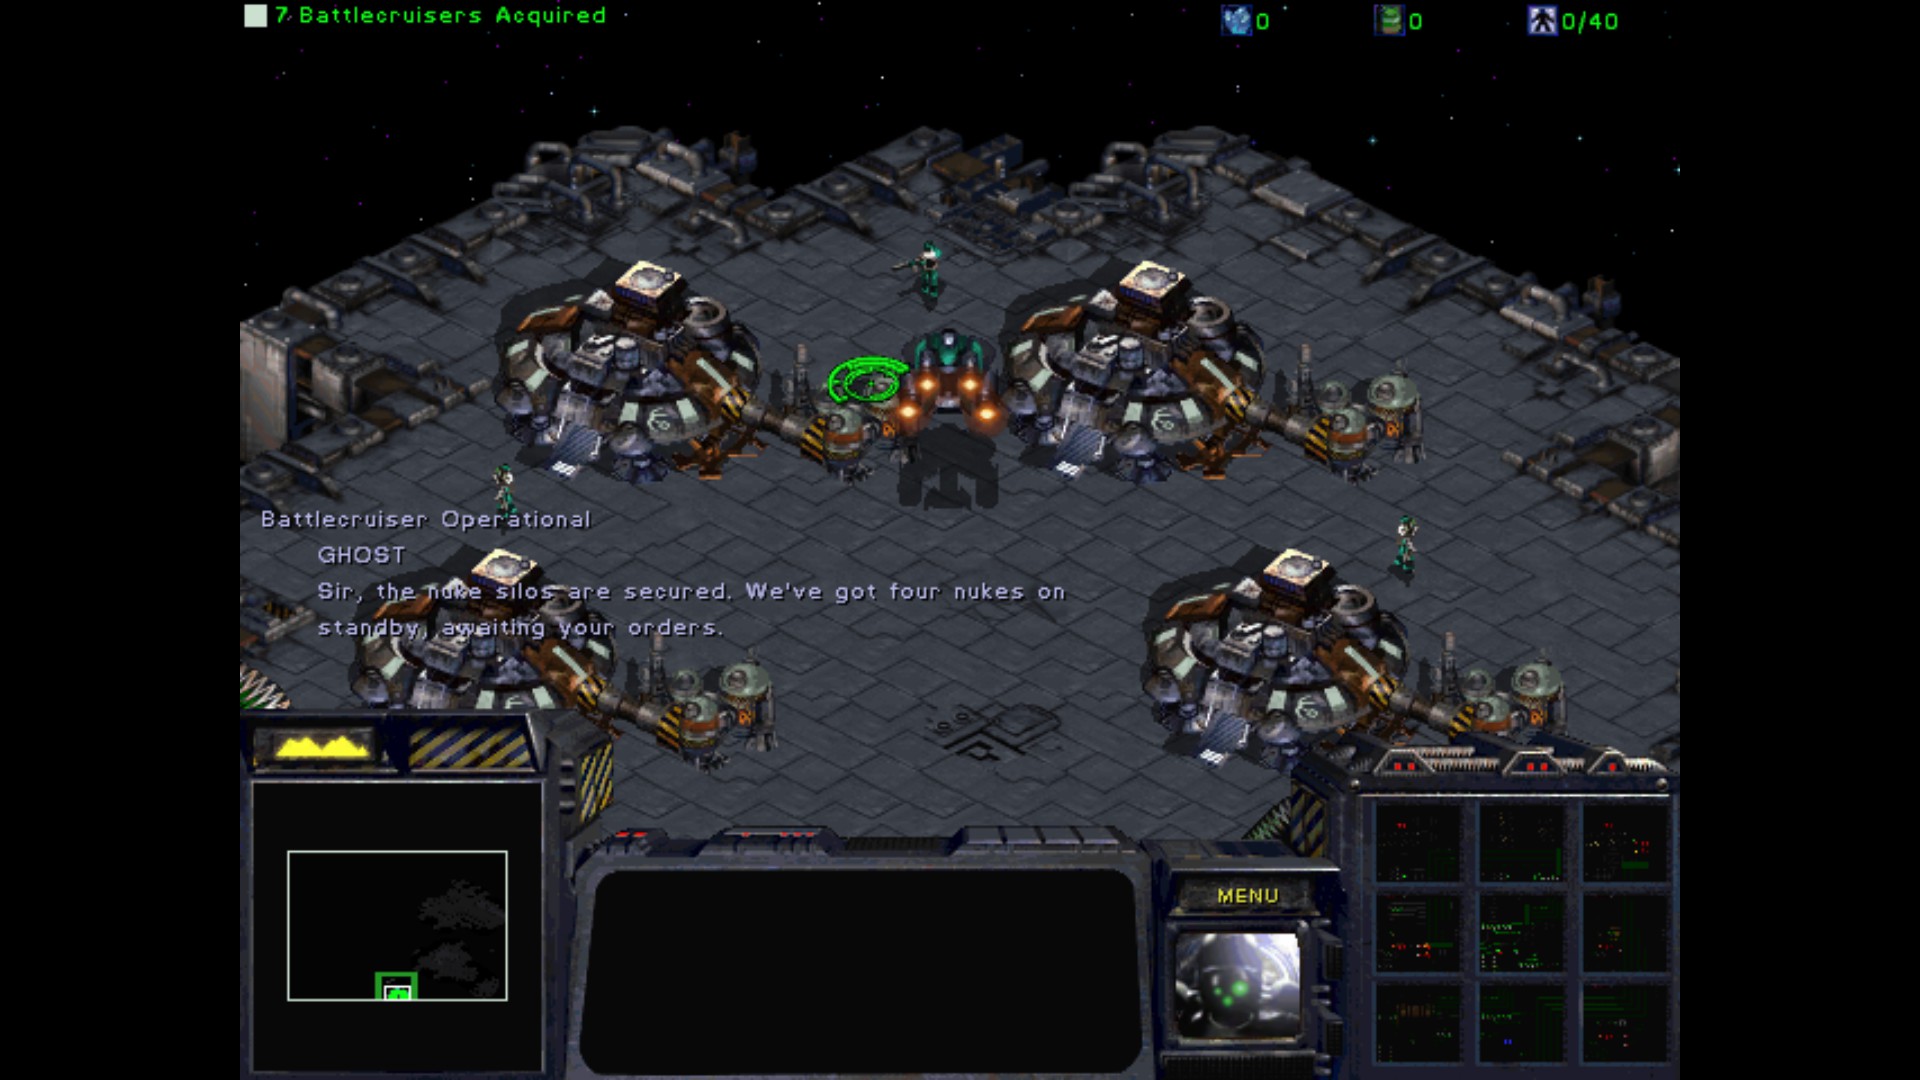
Great, I've got four nukes that will help me to deal with the resistance forces on other sectors. I better use them only if I have no other choice.
Another dropships are moving to the left flank. Let's see what's up ahead.

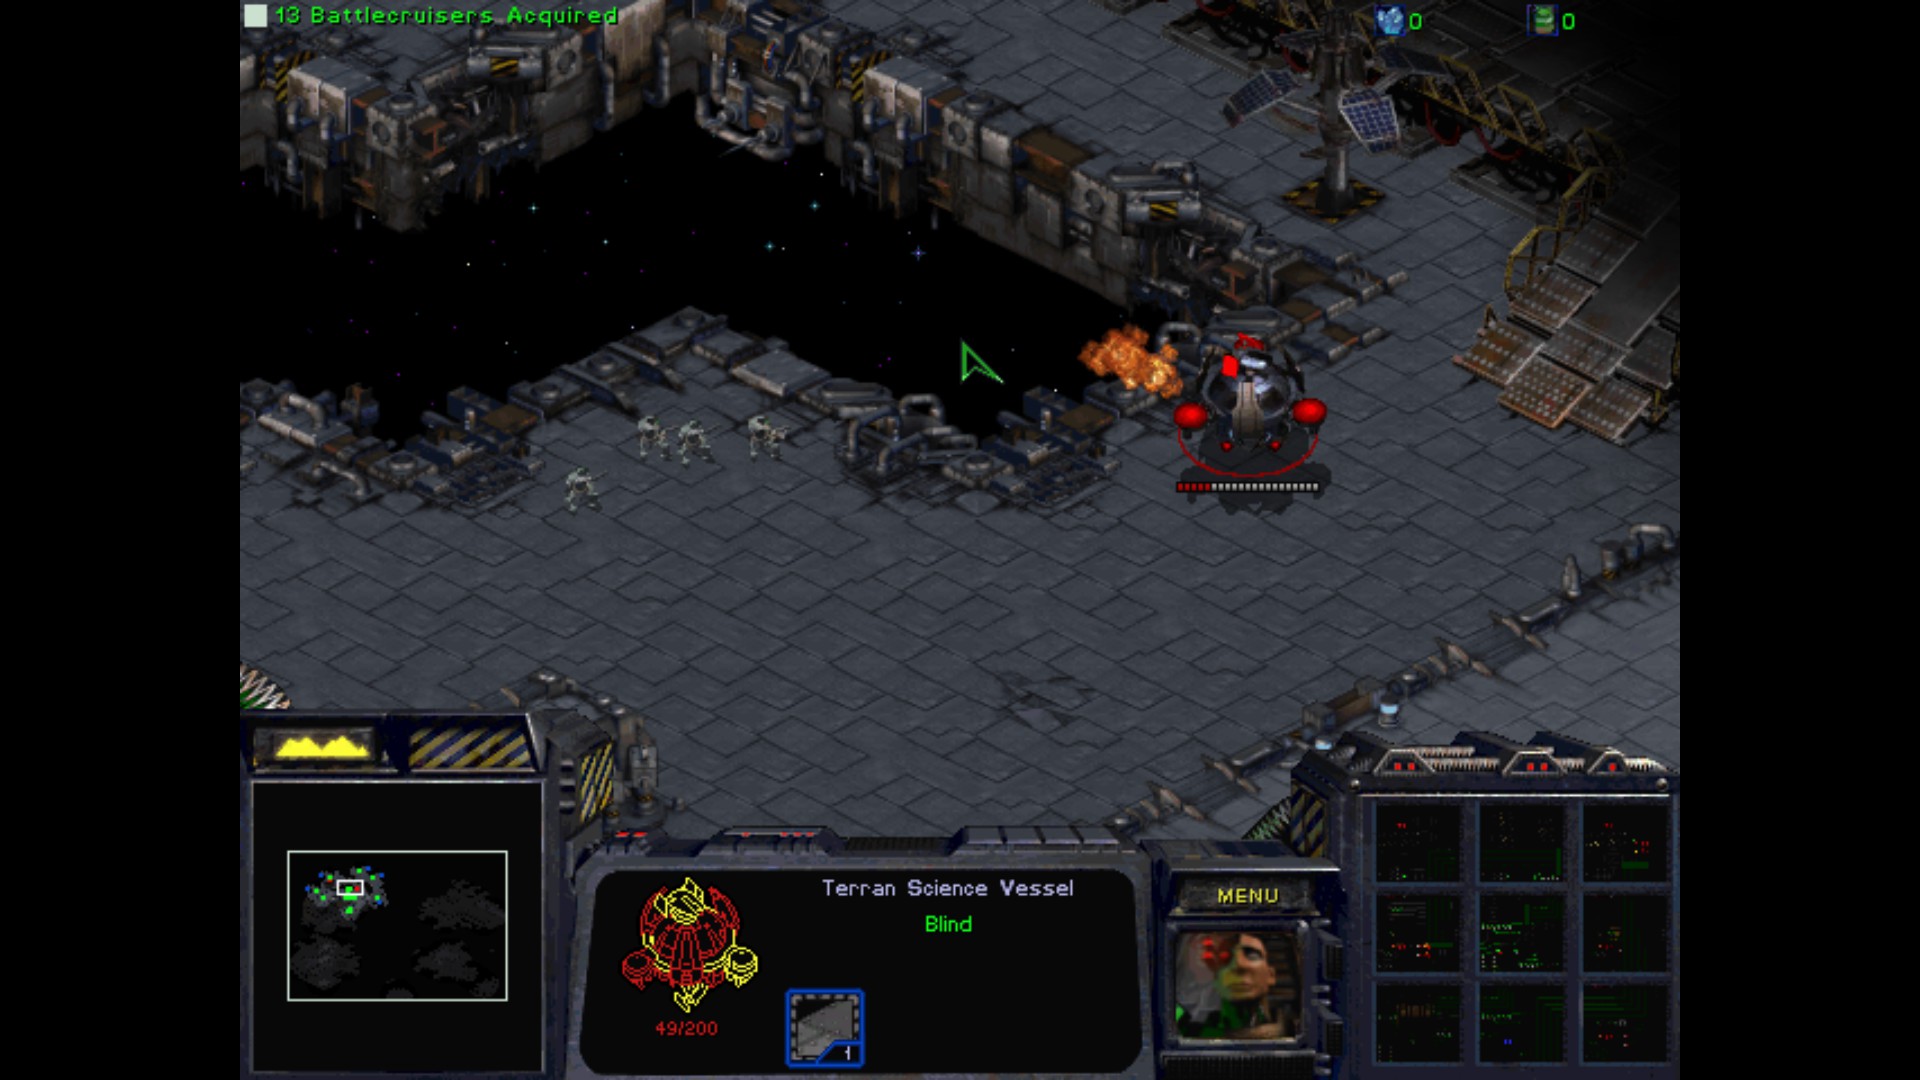
Science Vessel is disabled. He probably was giving an extra sight for the other ground forces.
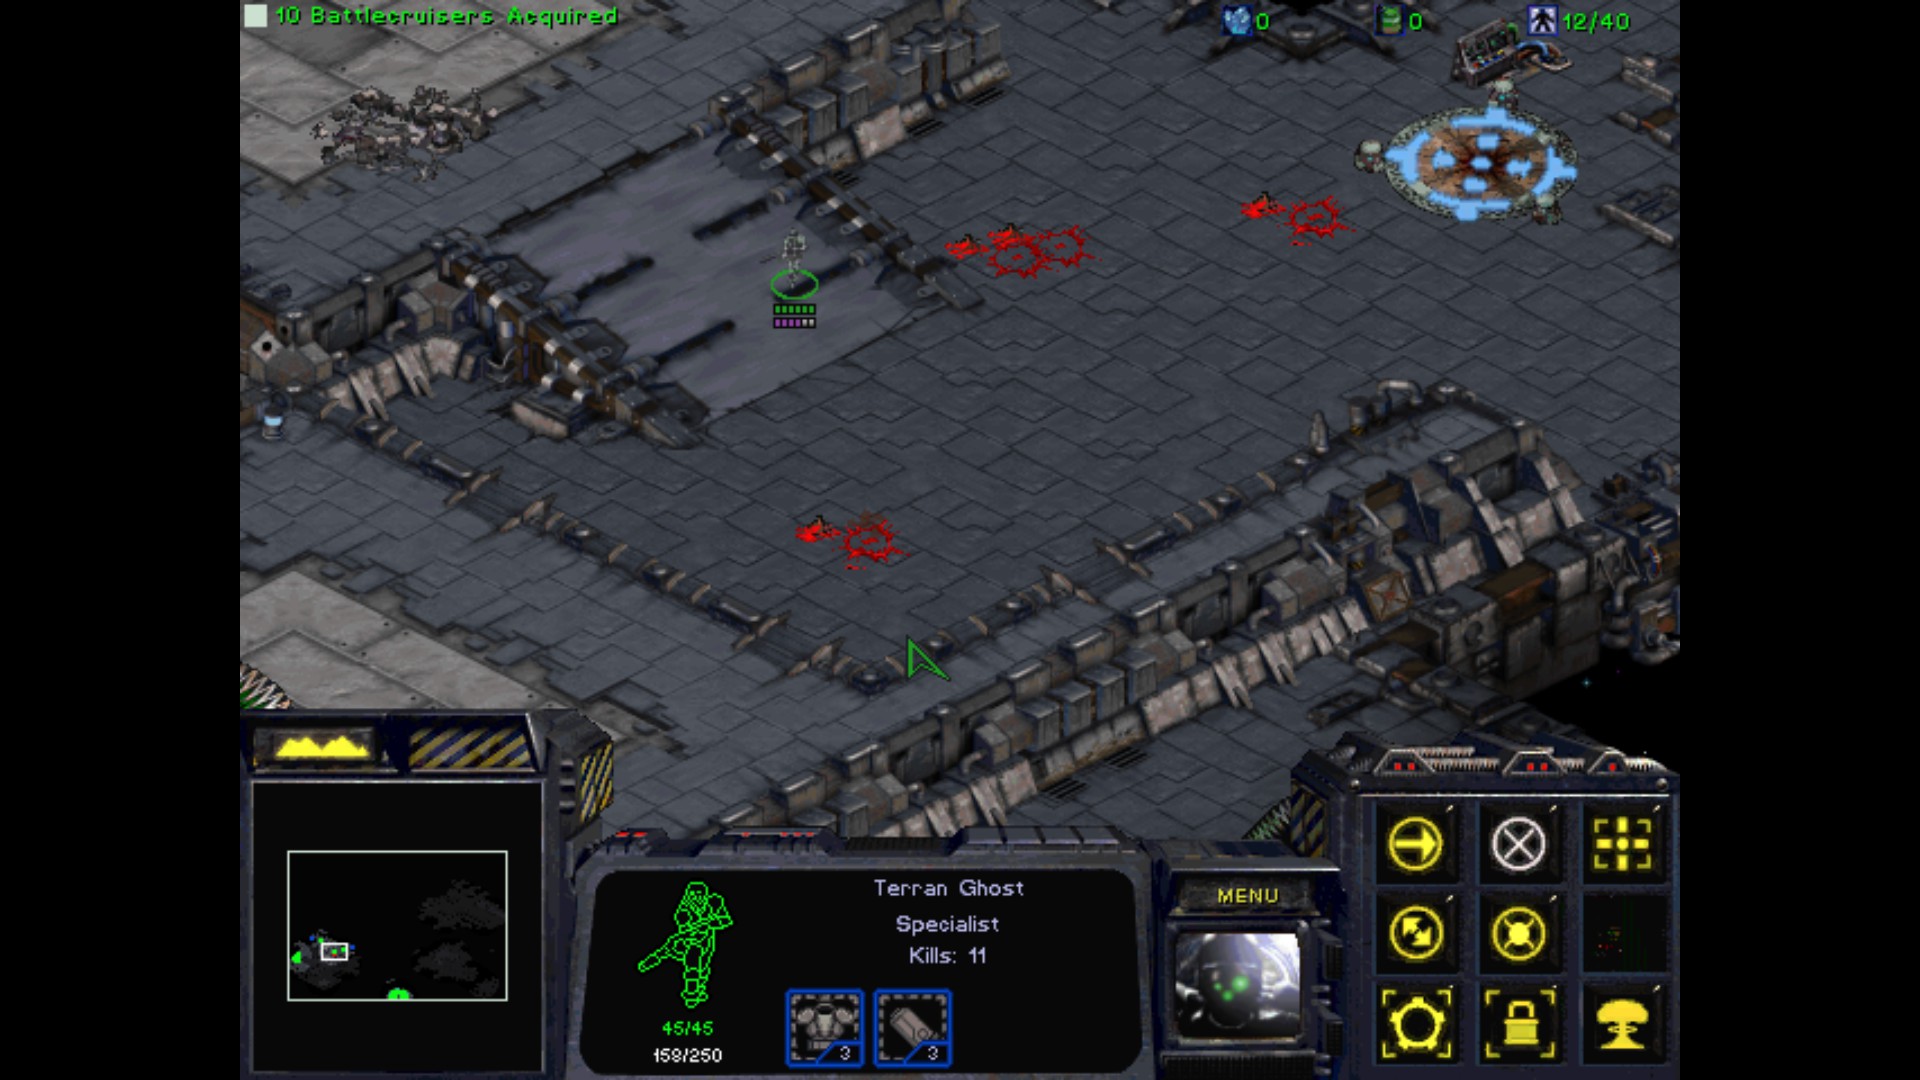
Yep, that was a good call. Now with invisible Ghosts I can massacre all of them without any problems.
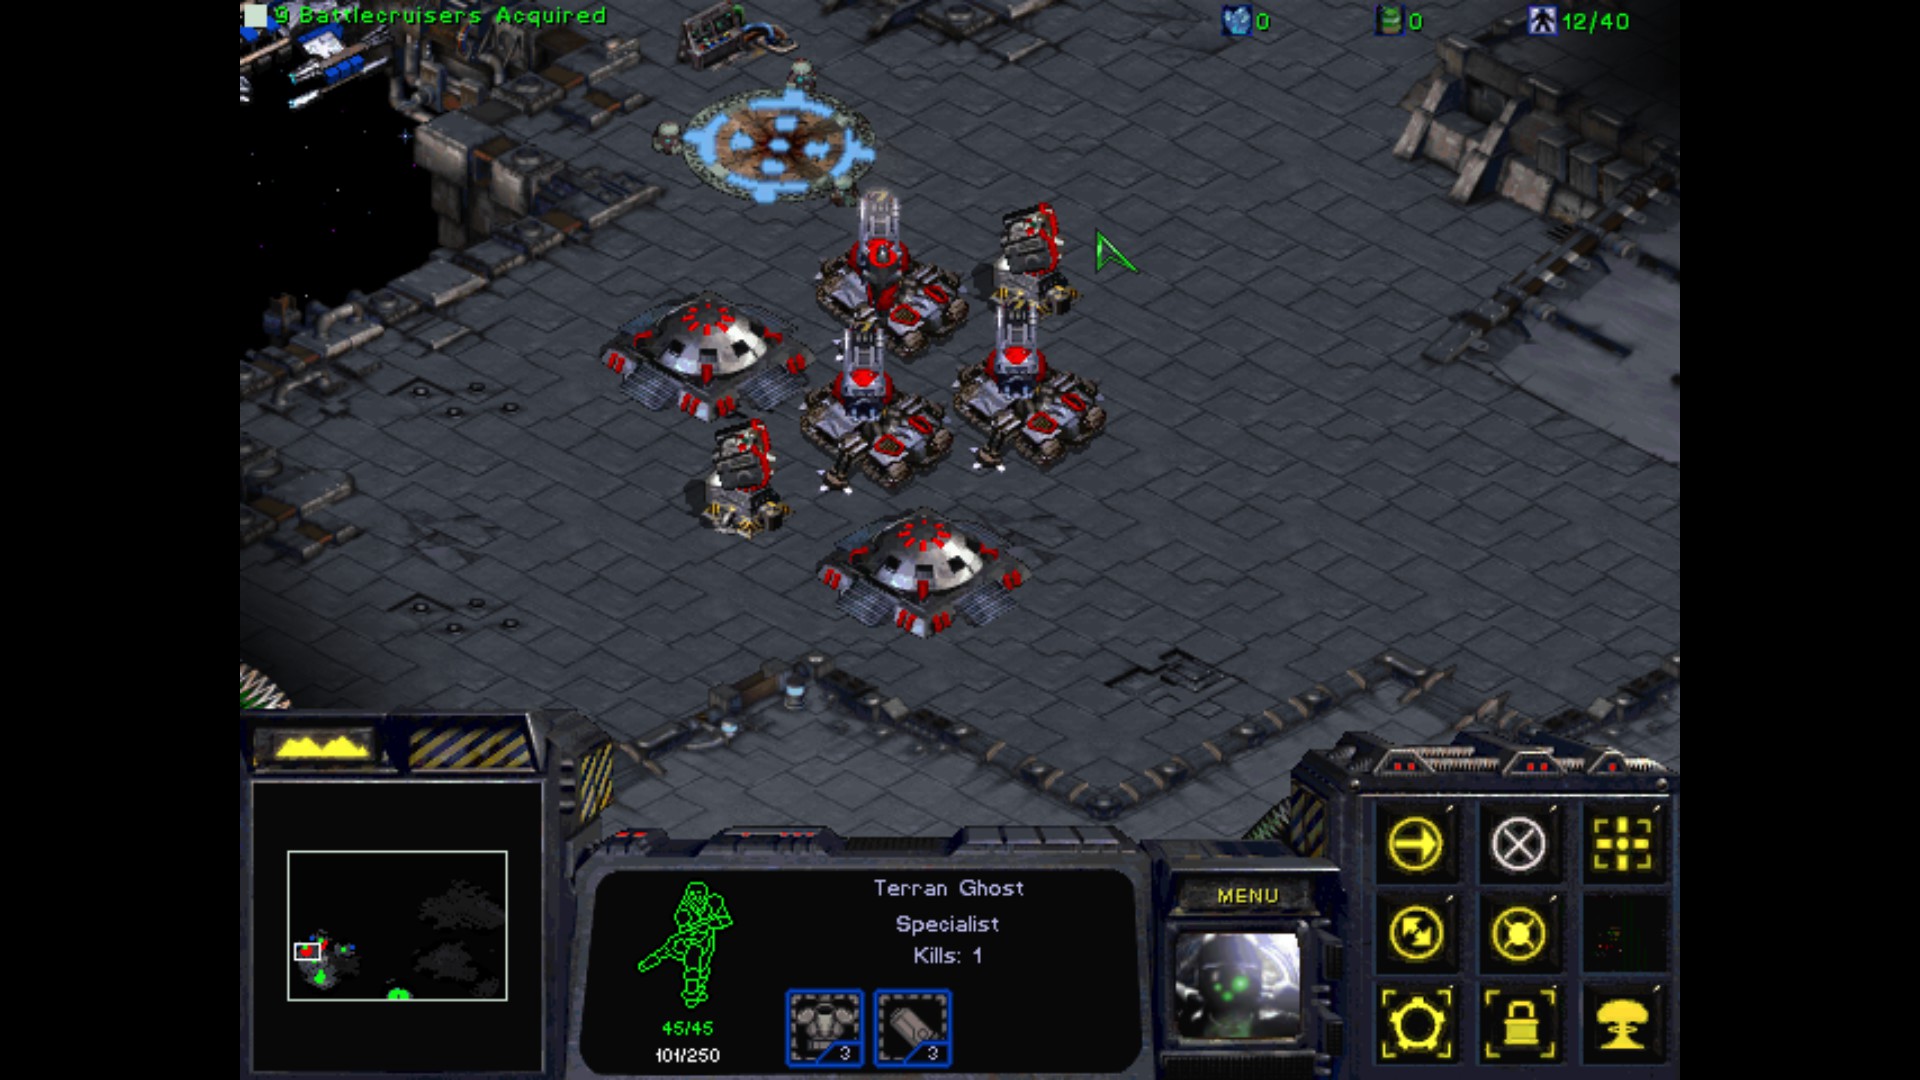
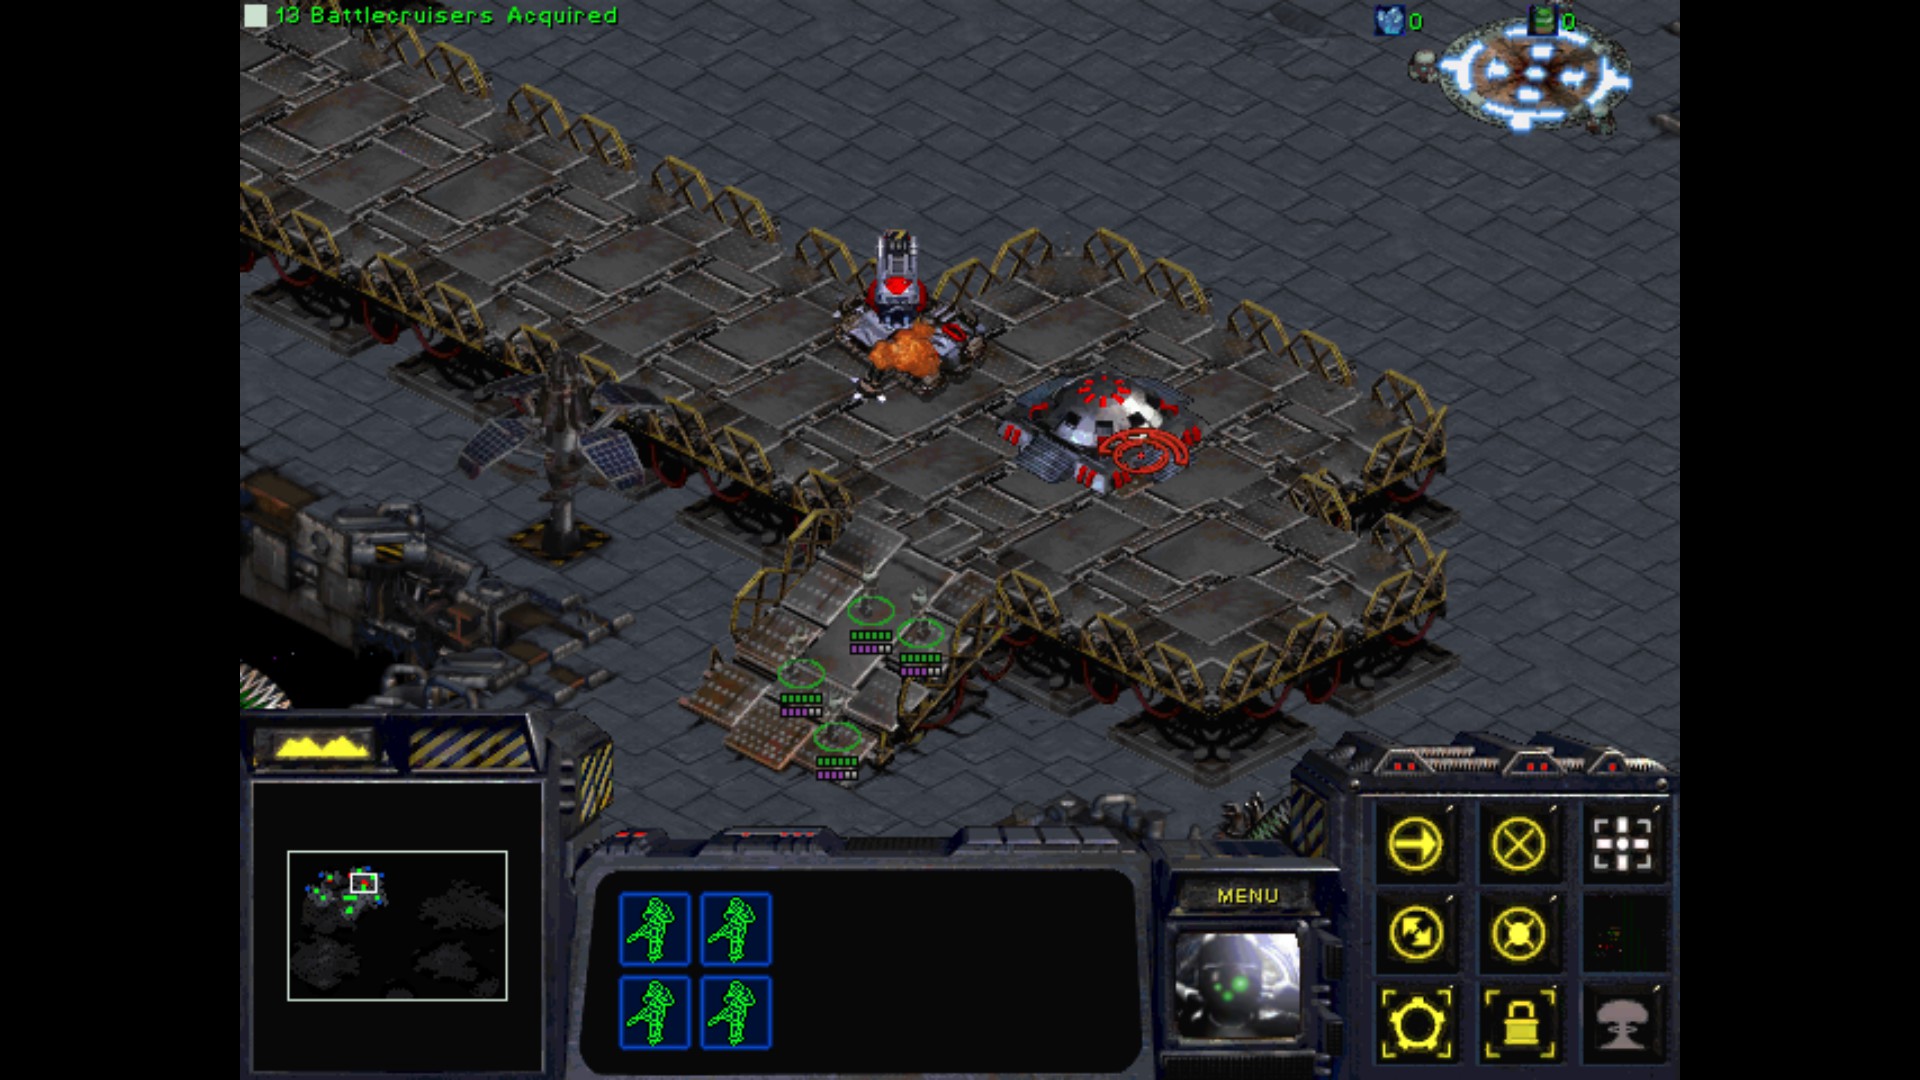
The last beacon is heavily guarded. With those Turrets and no Tanks I have no other choice but to use my first nuke.
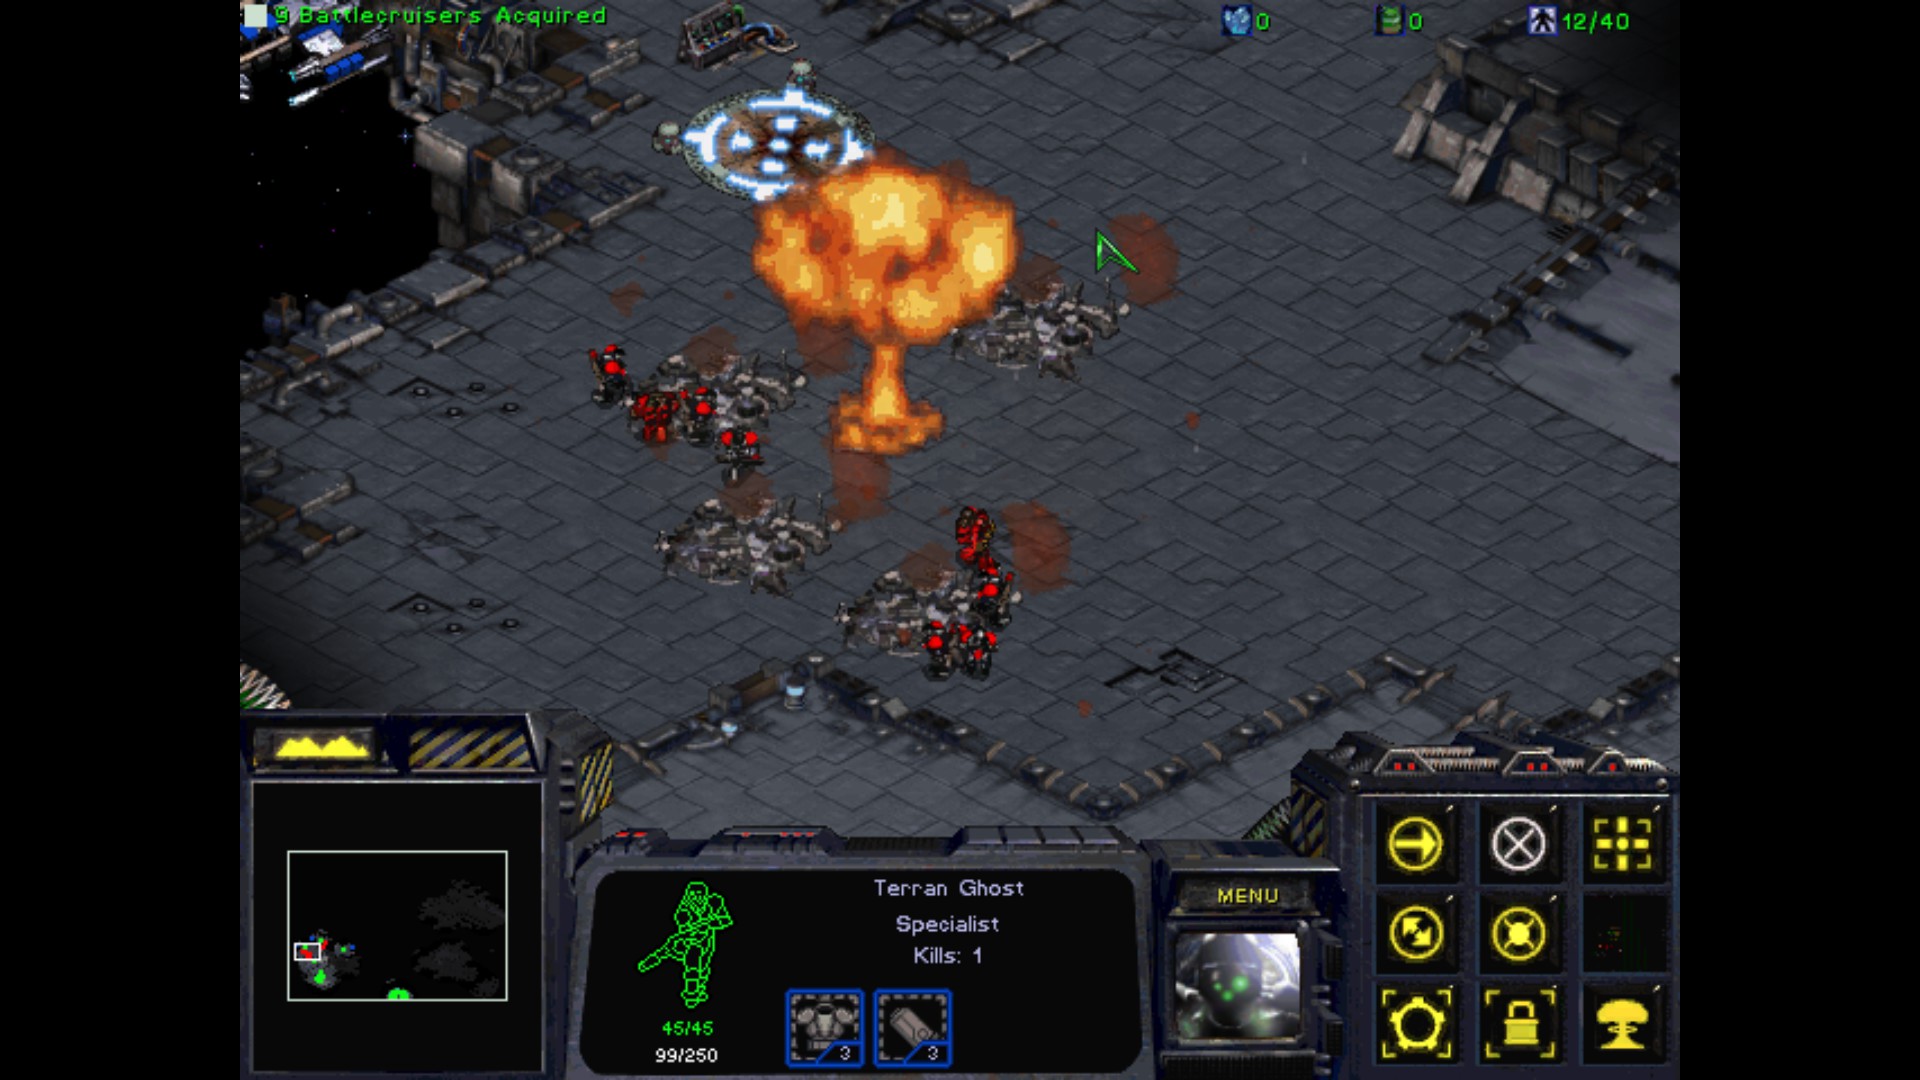
The surviving soldiers are being killed by Ghosts.
Another bunker / Tank / Turrets mixed together. Nuke it!
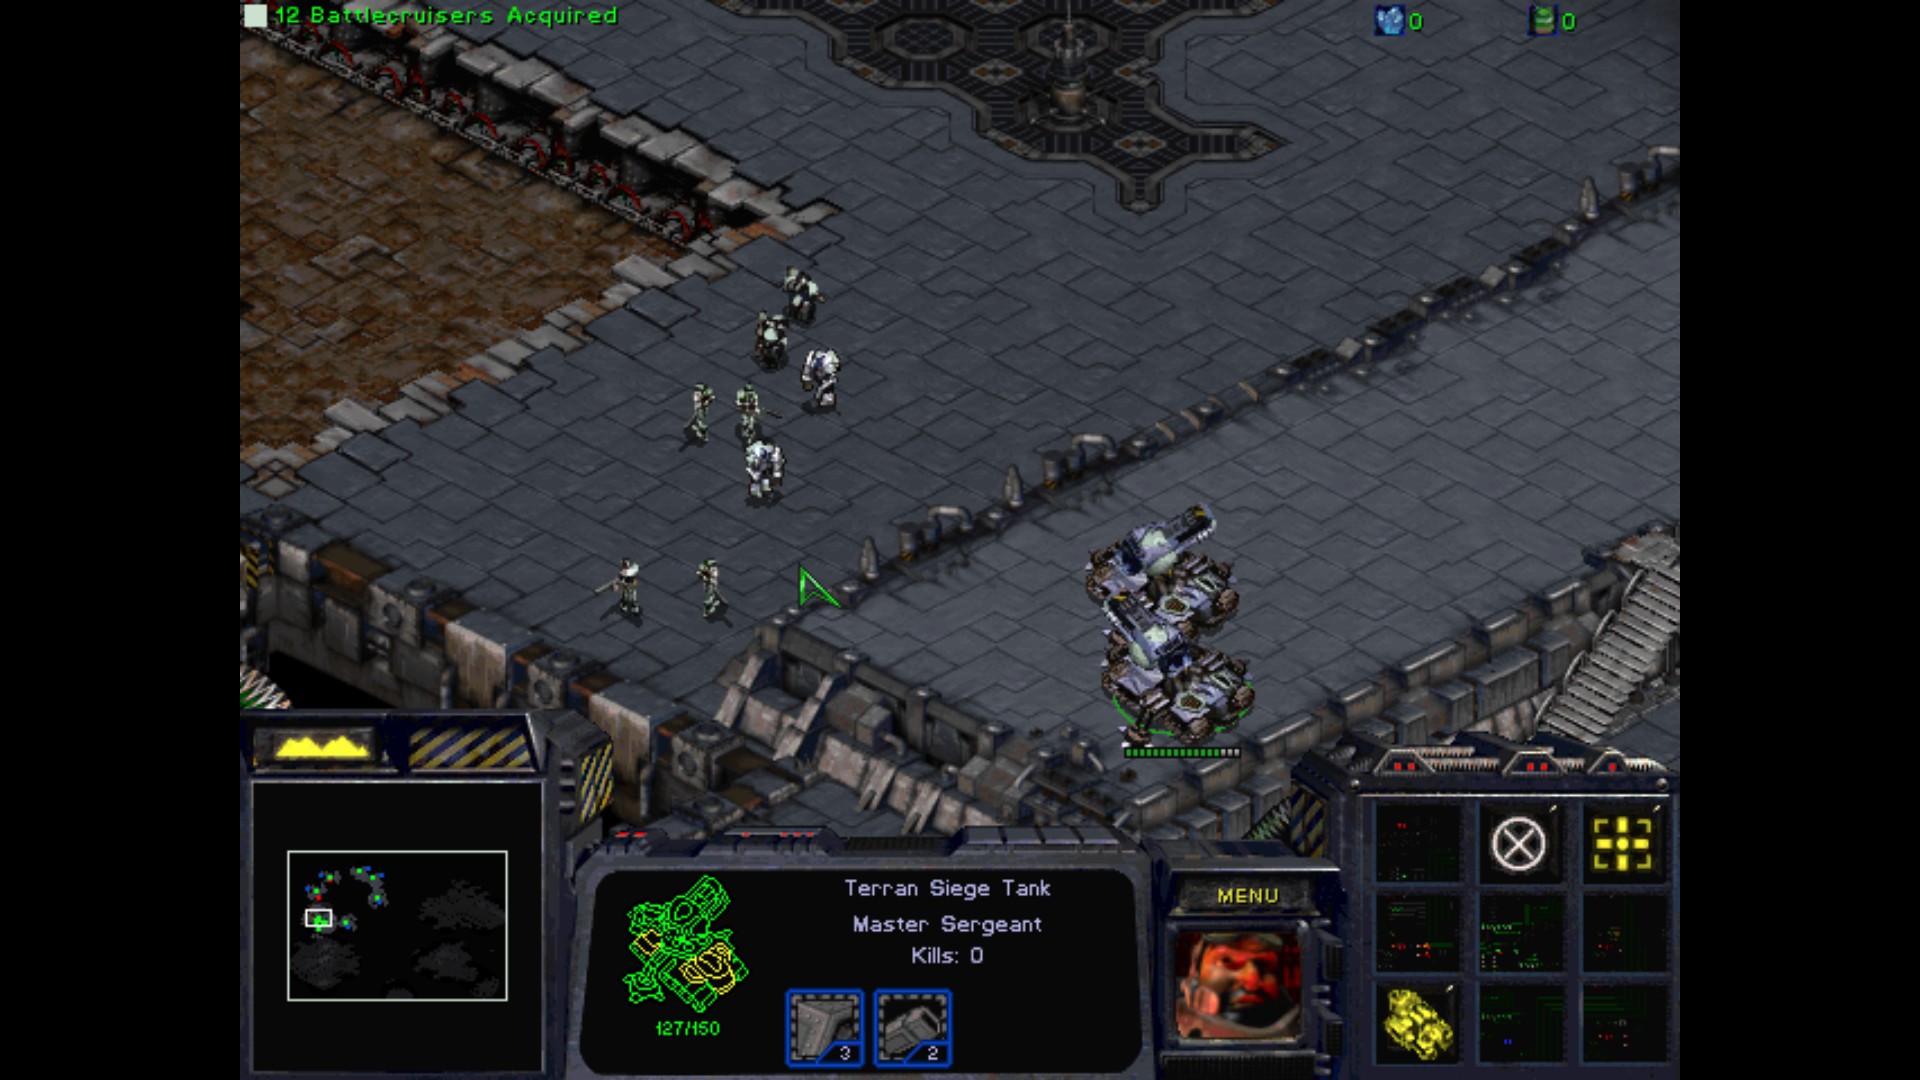
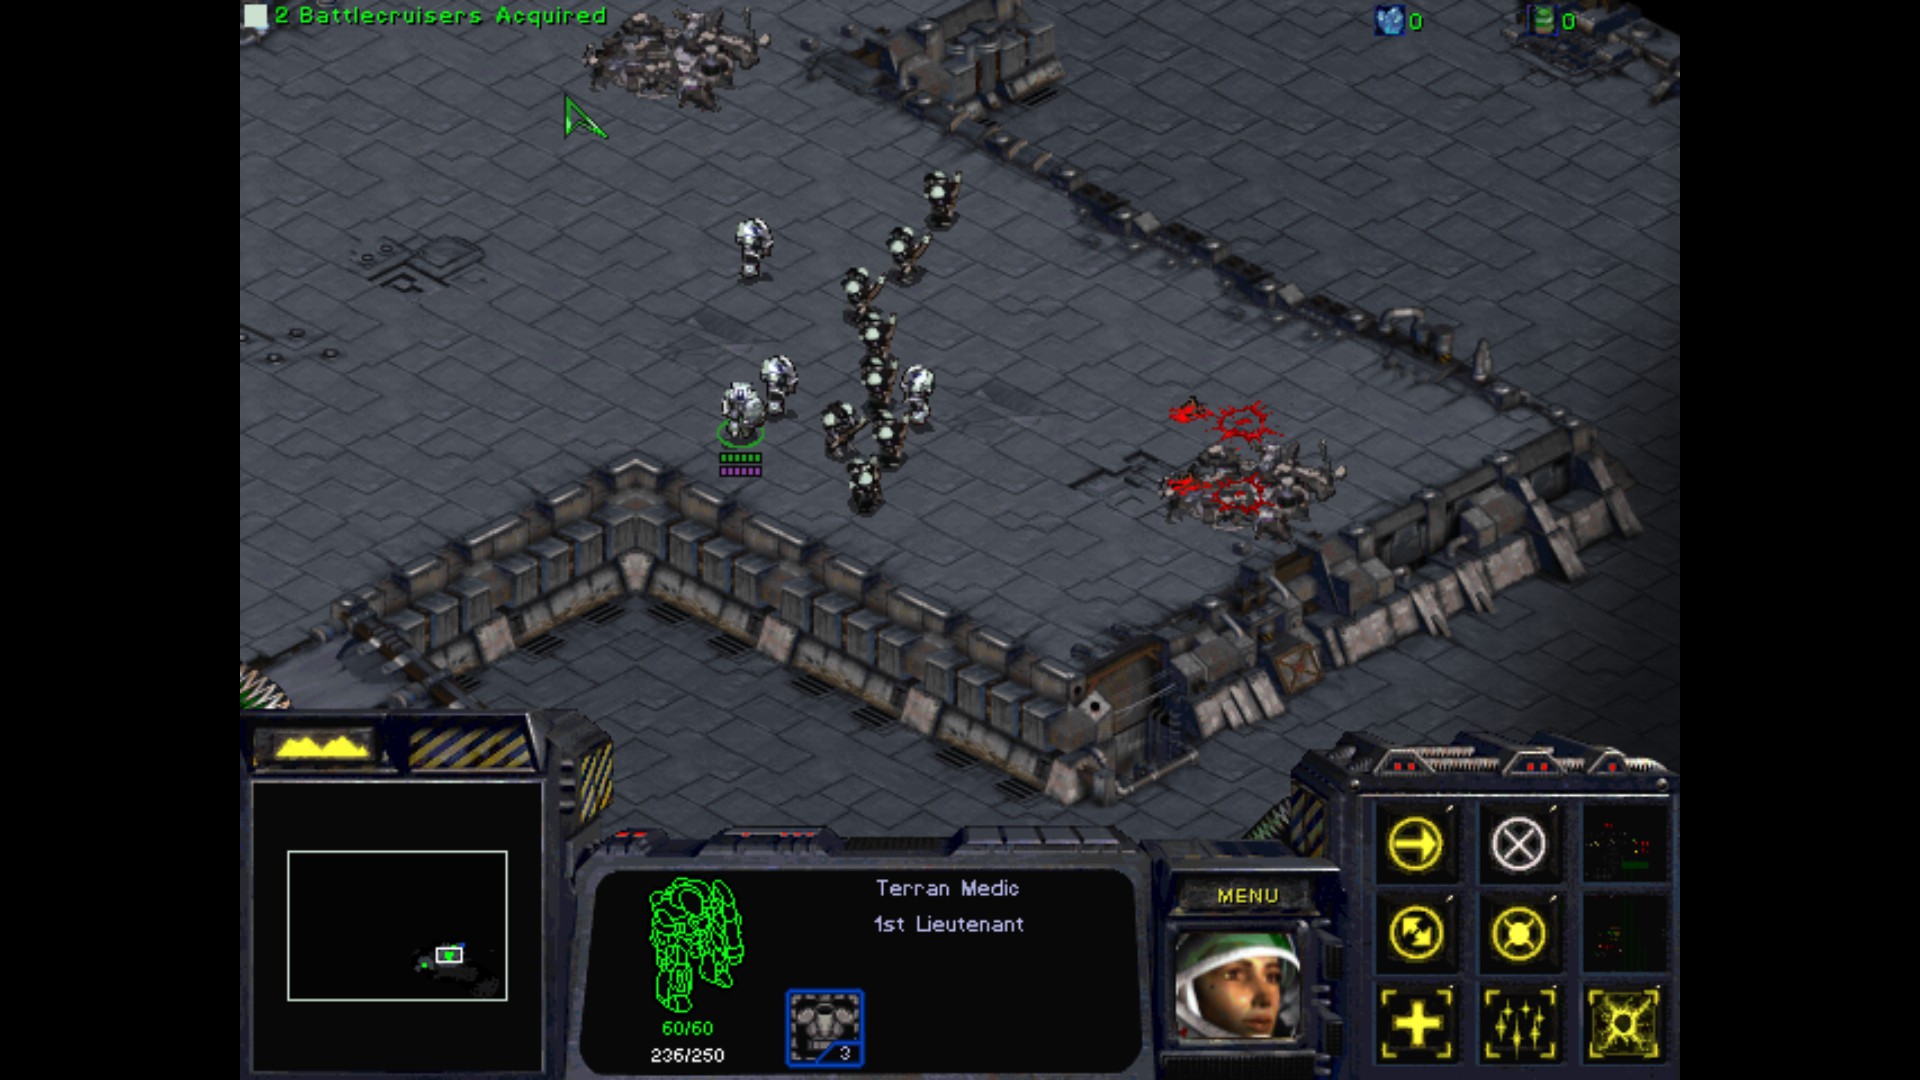
After the second phase I have some Ghosts, Medics, Marines and last, but not least - two Tanks. They will be helping me destroying the bunkers from now on.
Shit, Science Vessel pointed my Ghost to the enemy's Tank. I quickly blind both of them and destroying them after that. It was a close call, but Medics saved all of them.
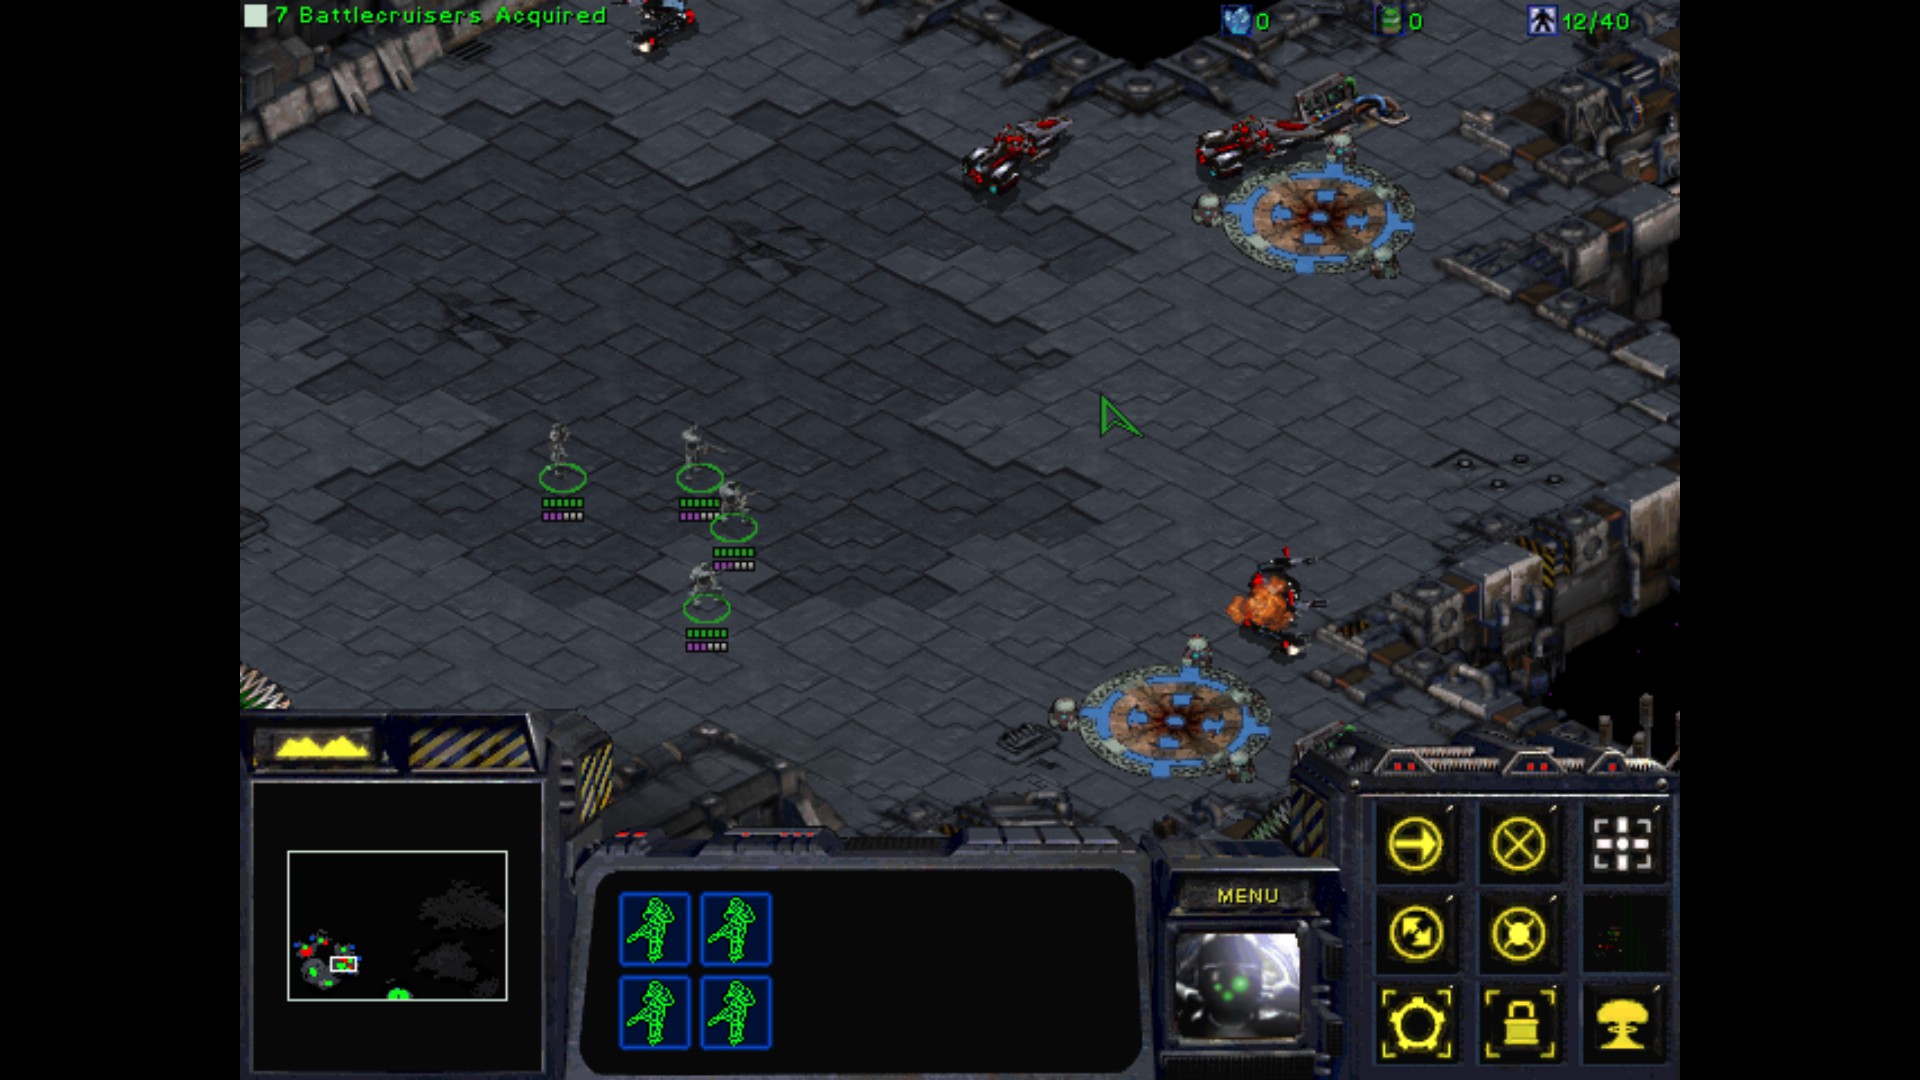
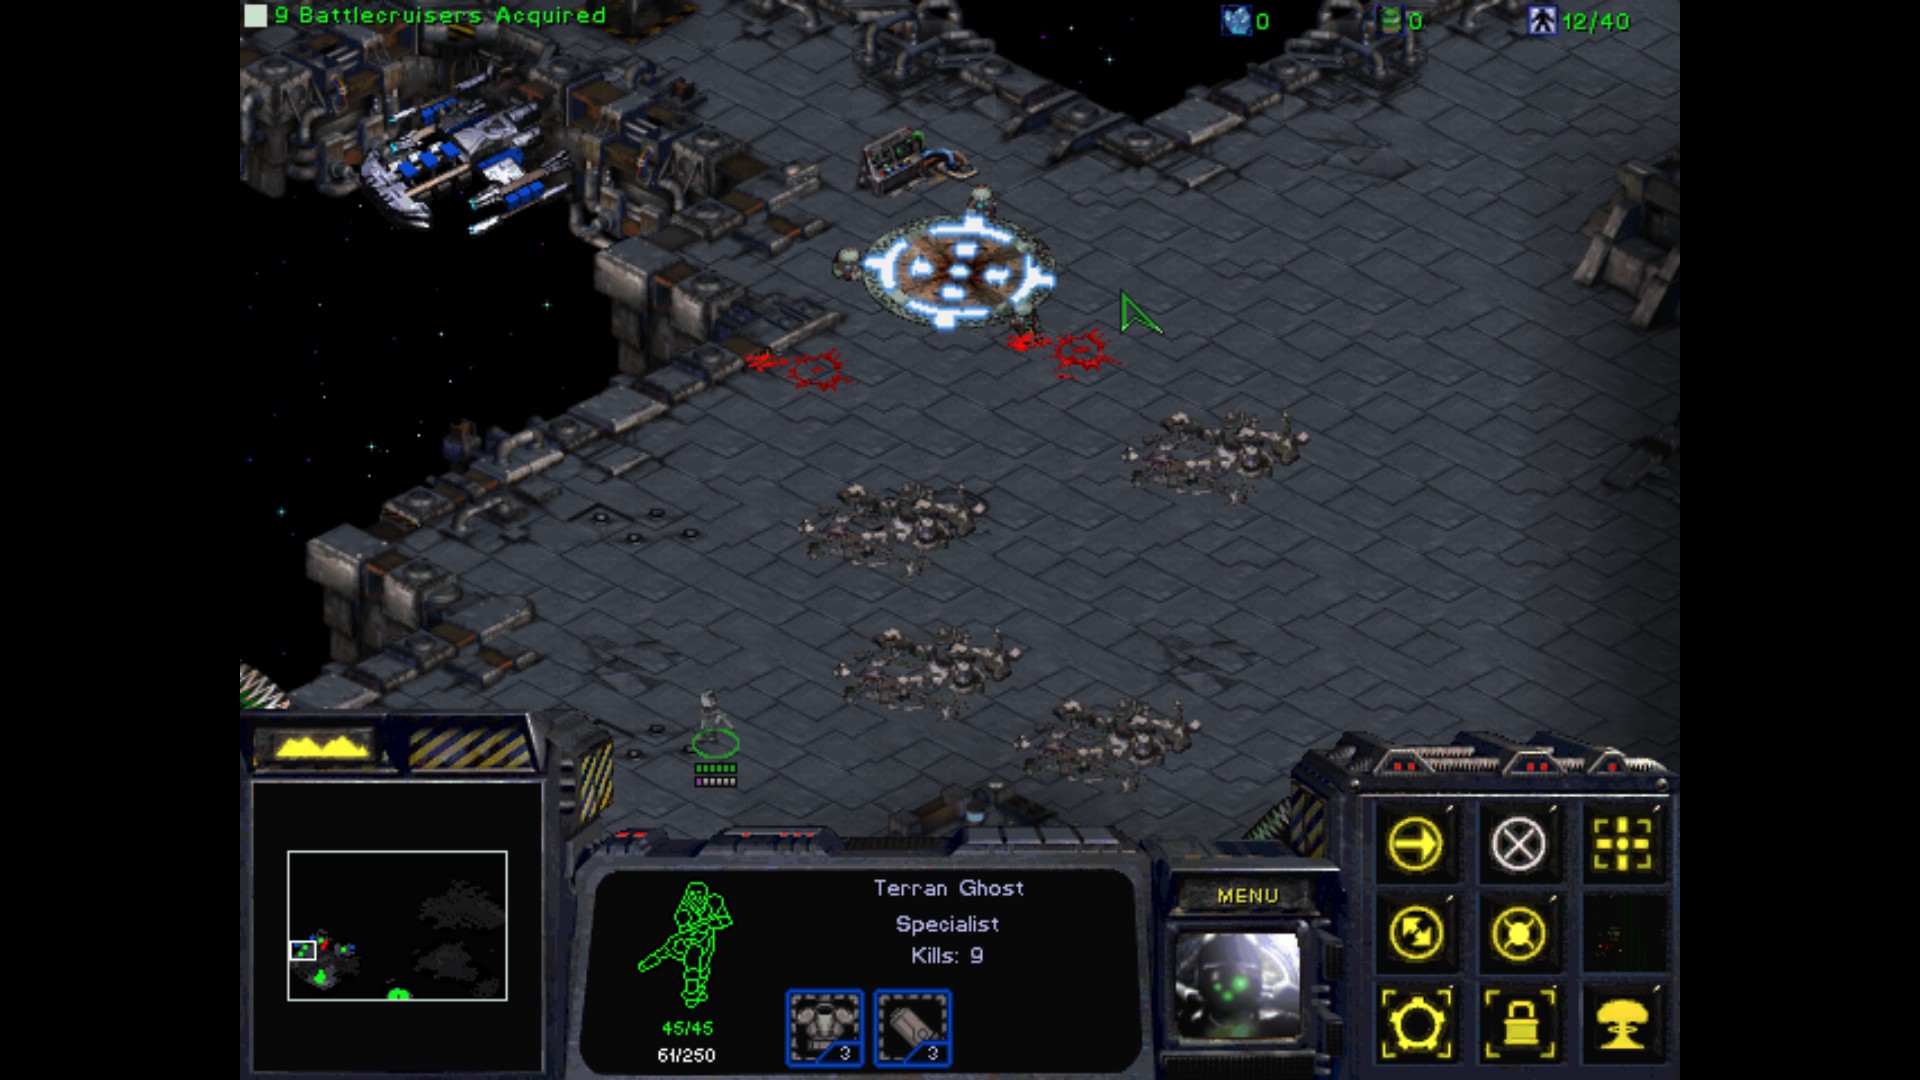
Without Turrets this defense spot is a perfect place to use my Ghost again. Don't mind if I do.
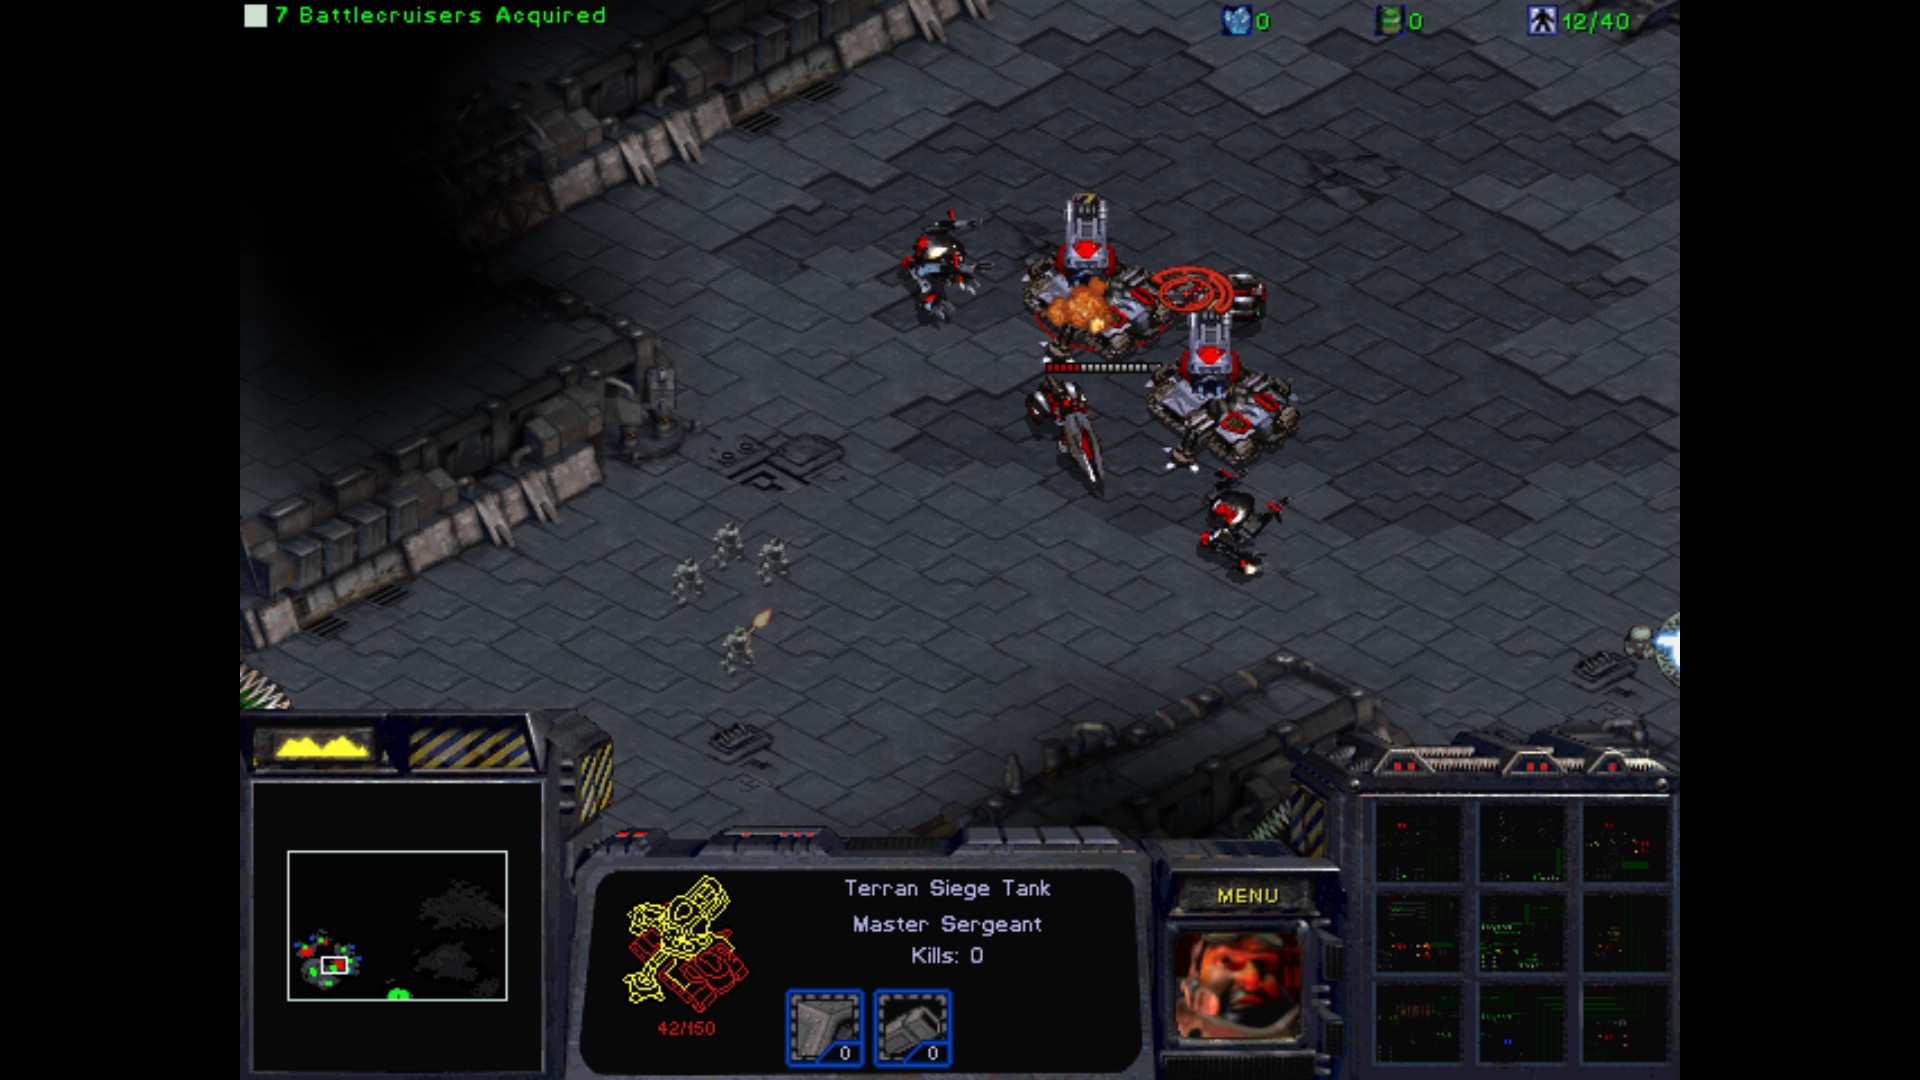
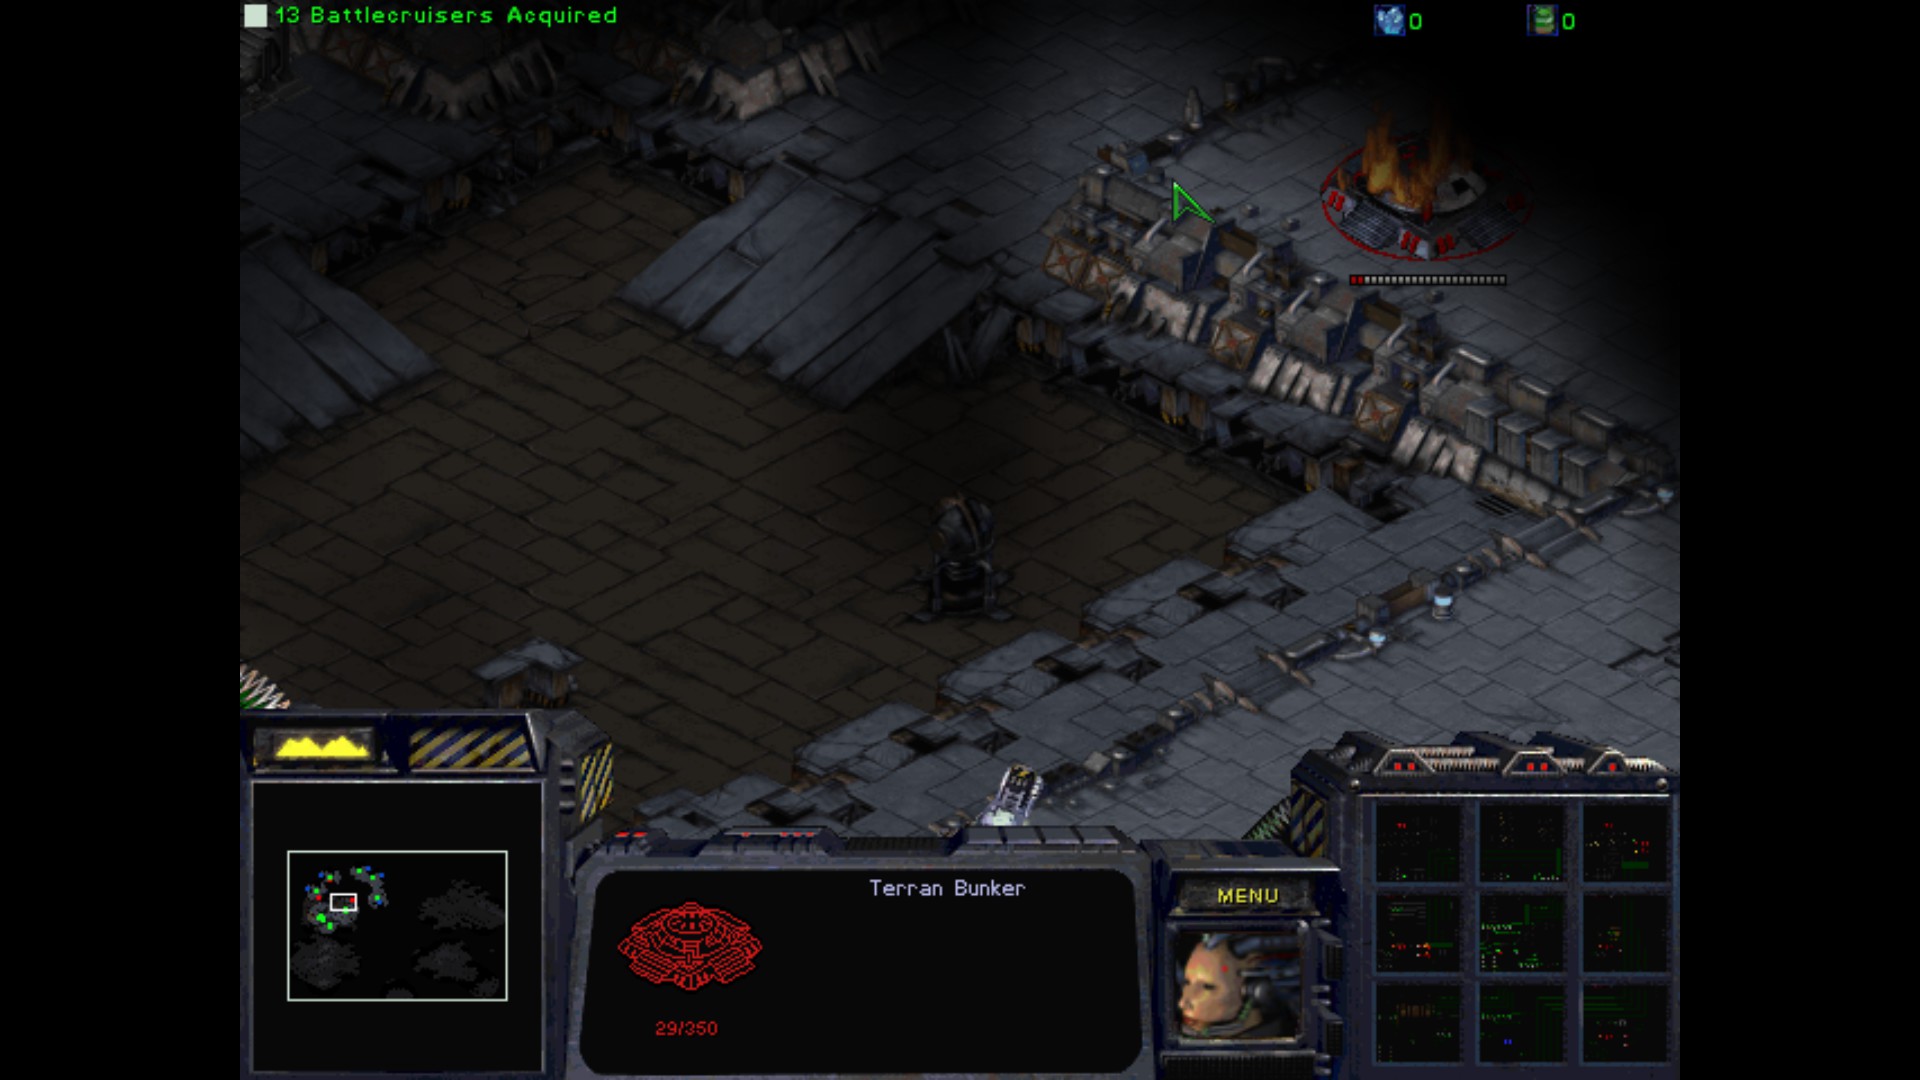
My Tanks destroy Bunker and kill the whole crew quicker than the Ghosts.

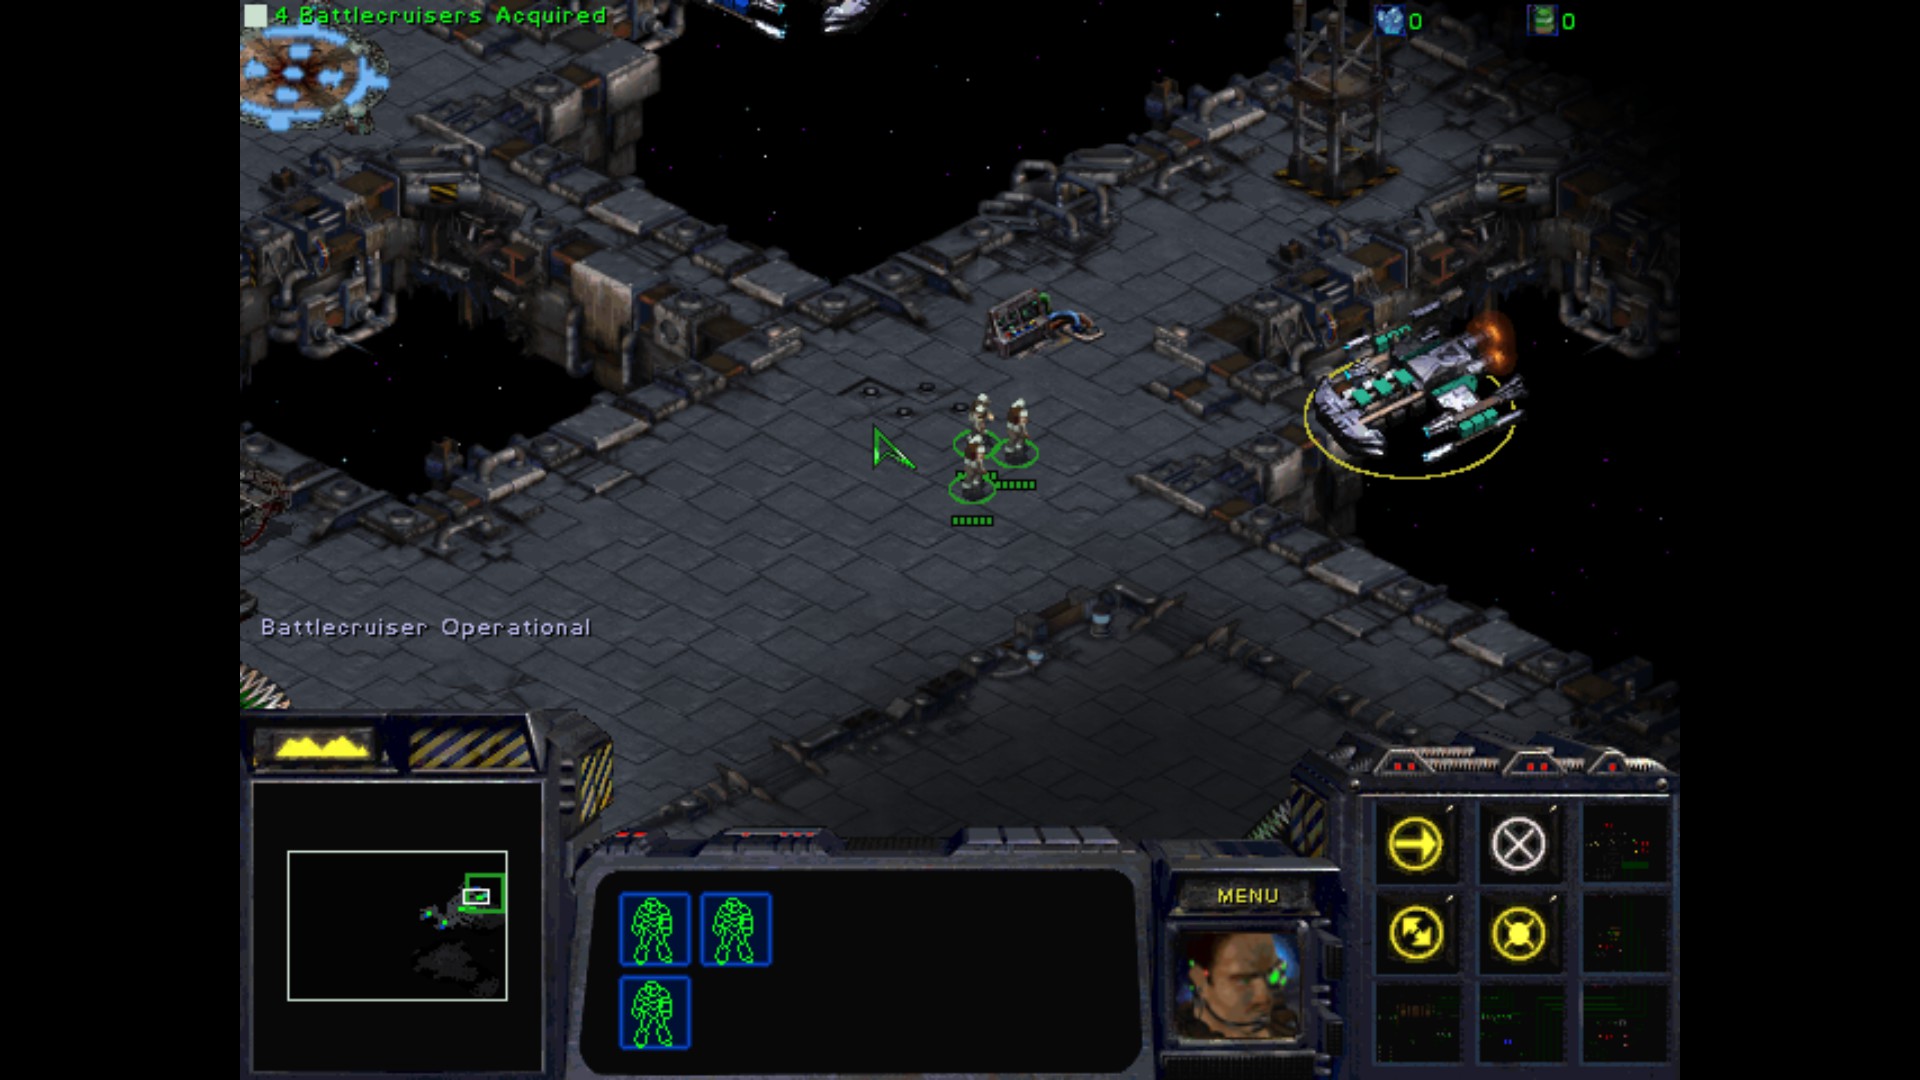
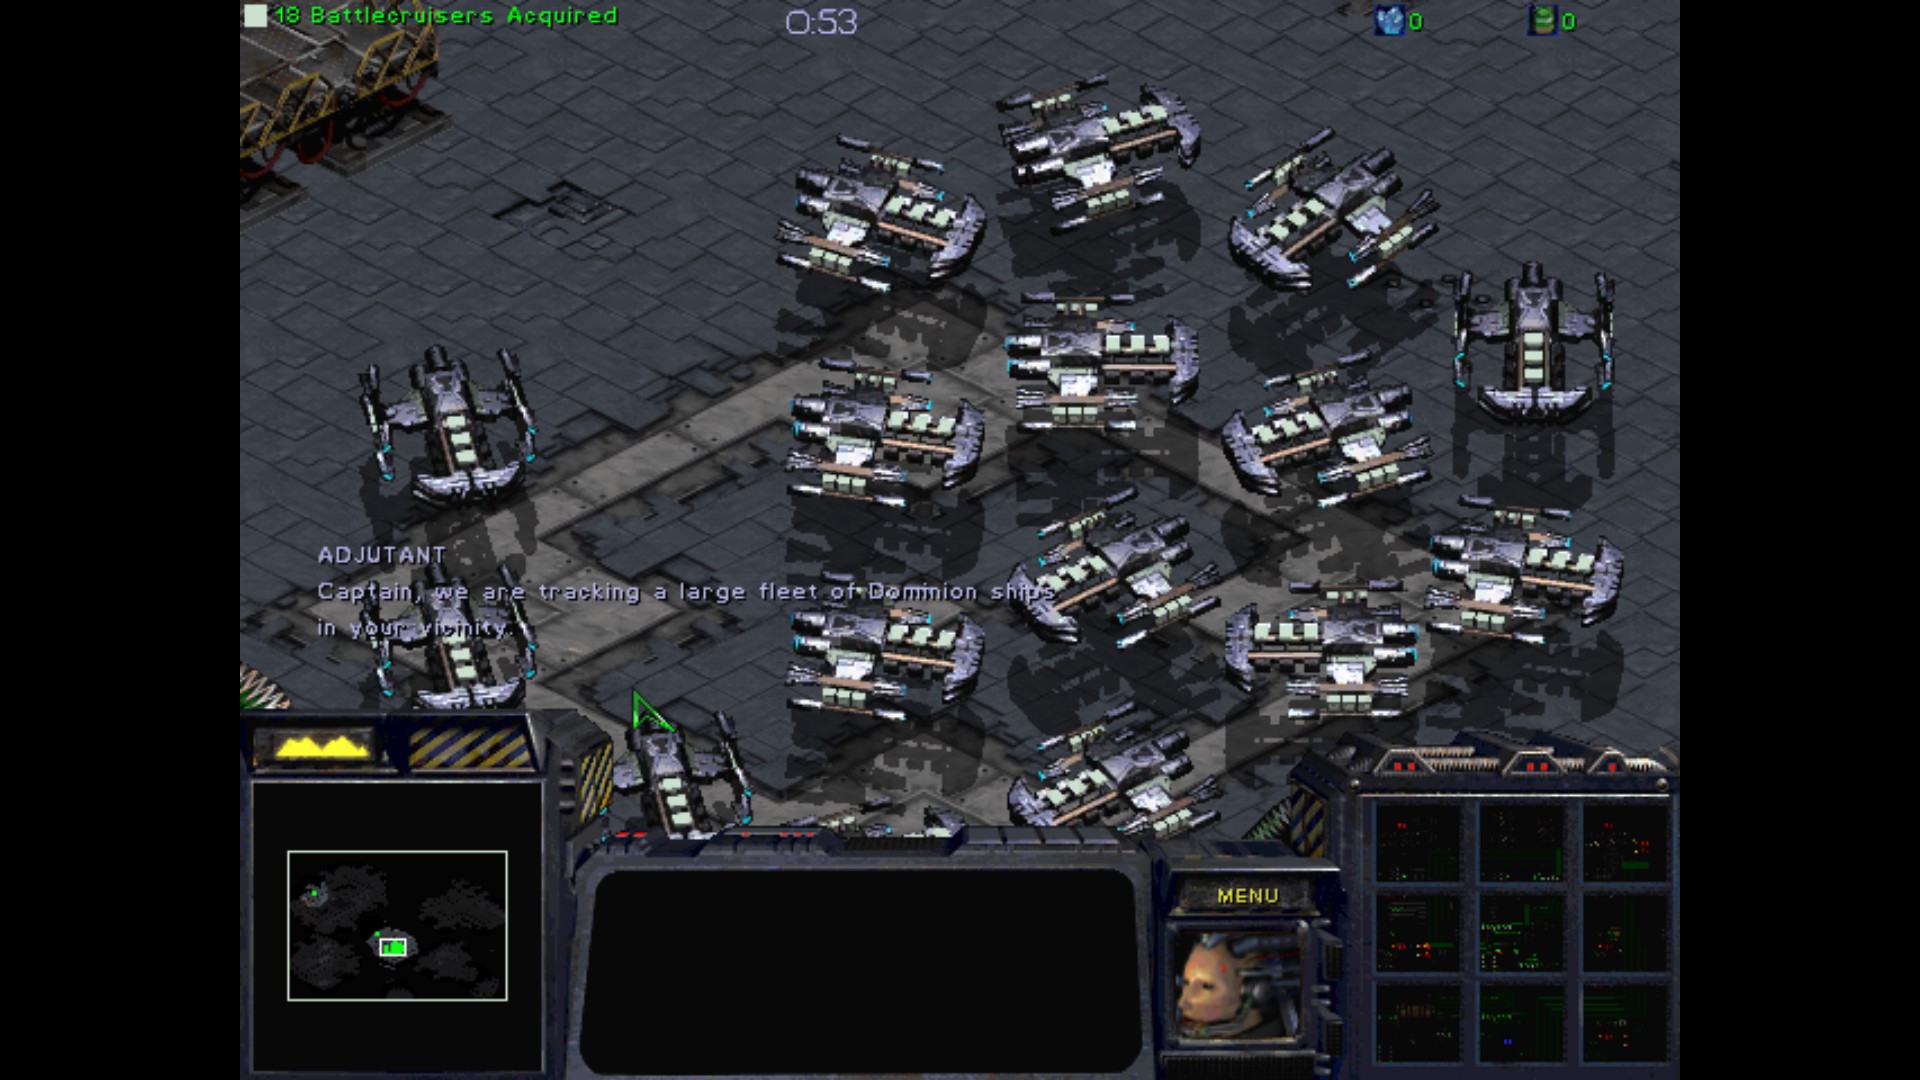
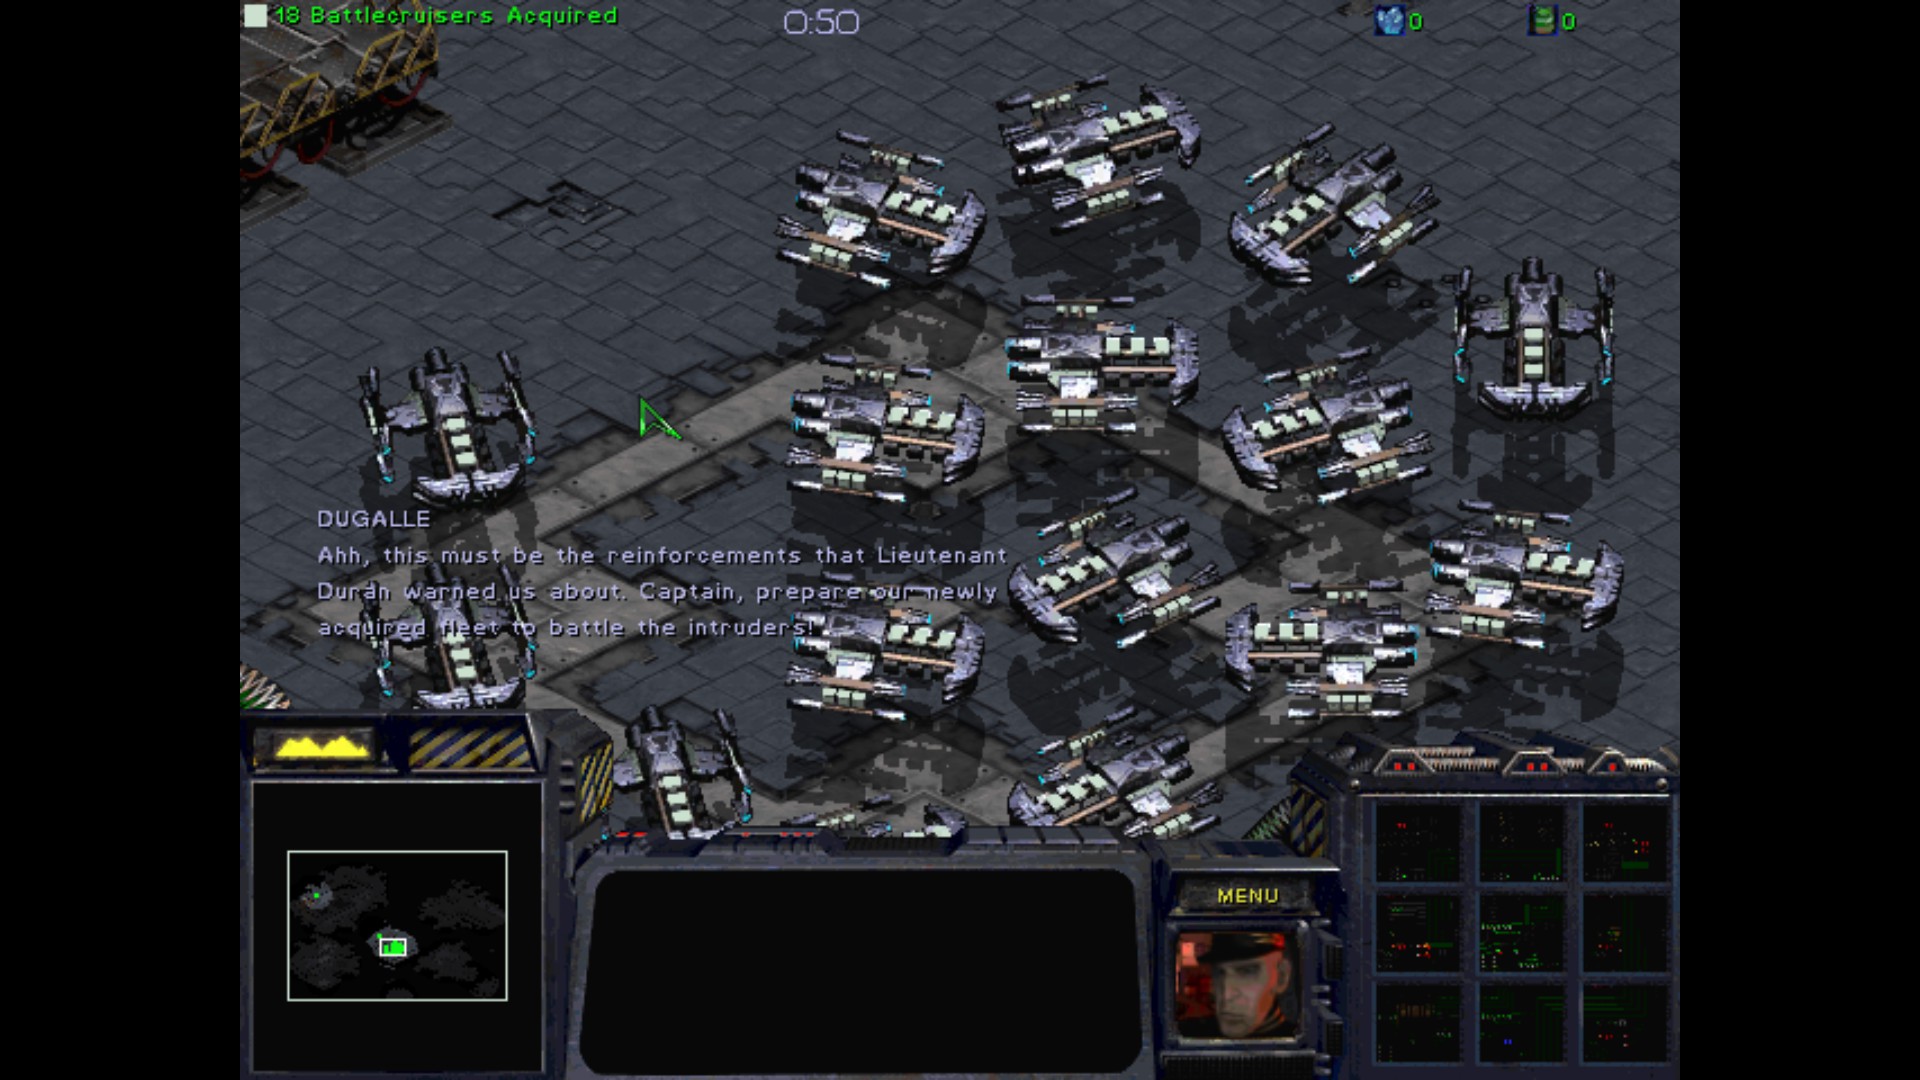
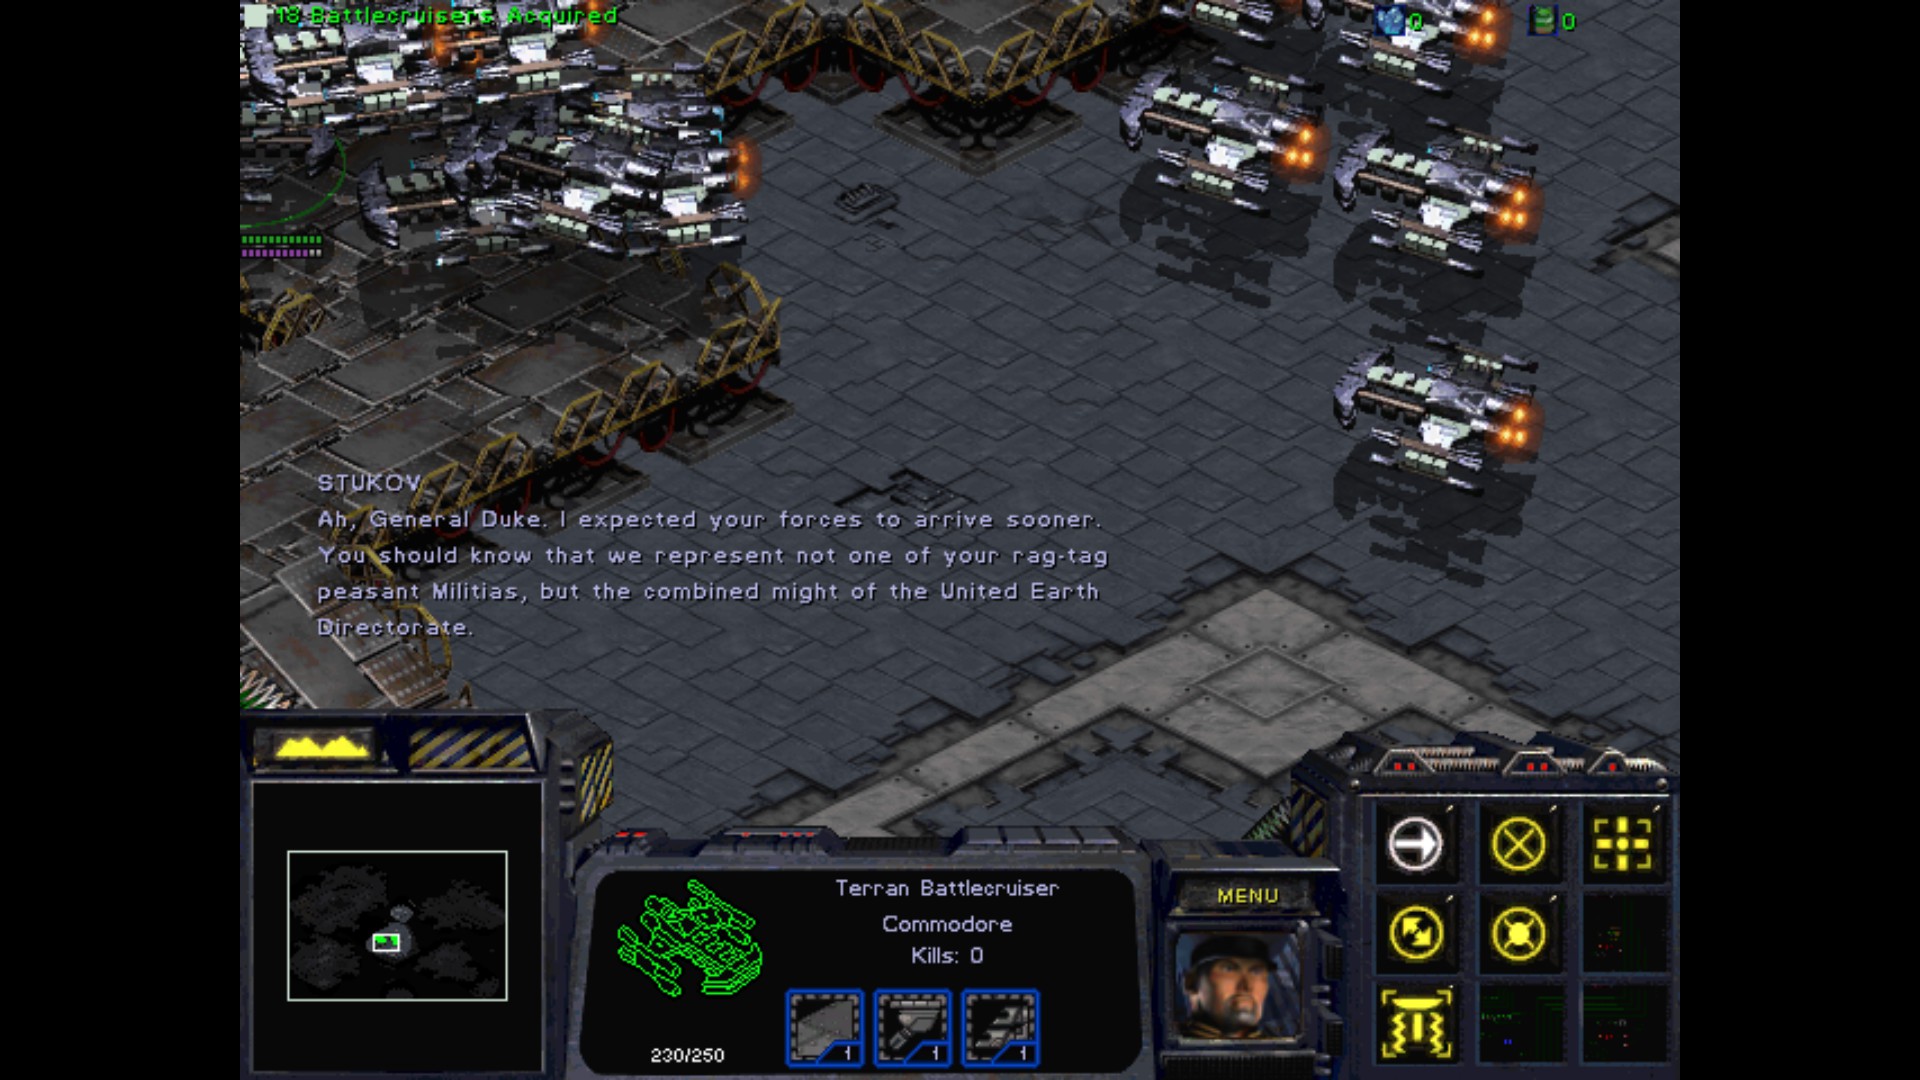
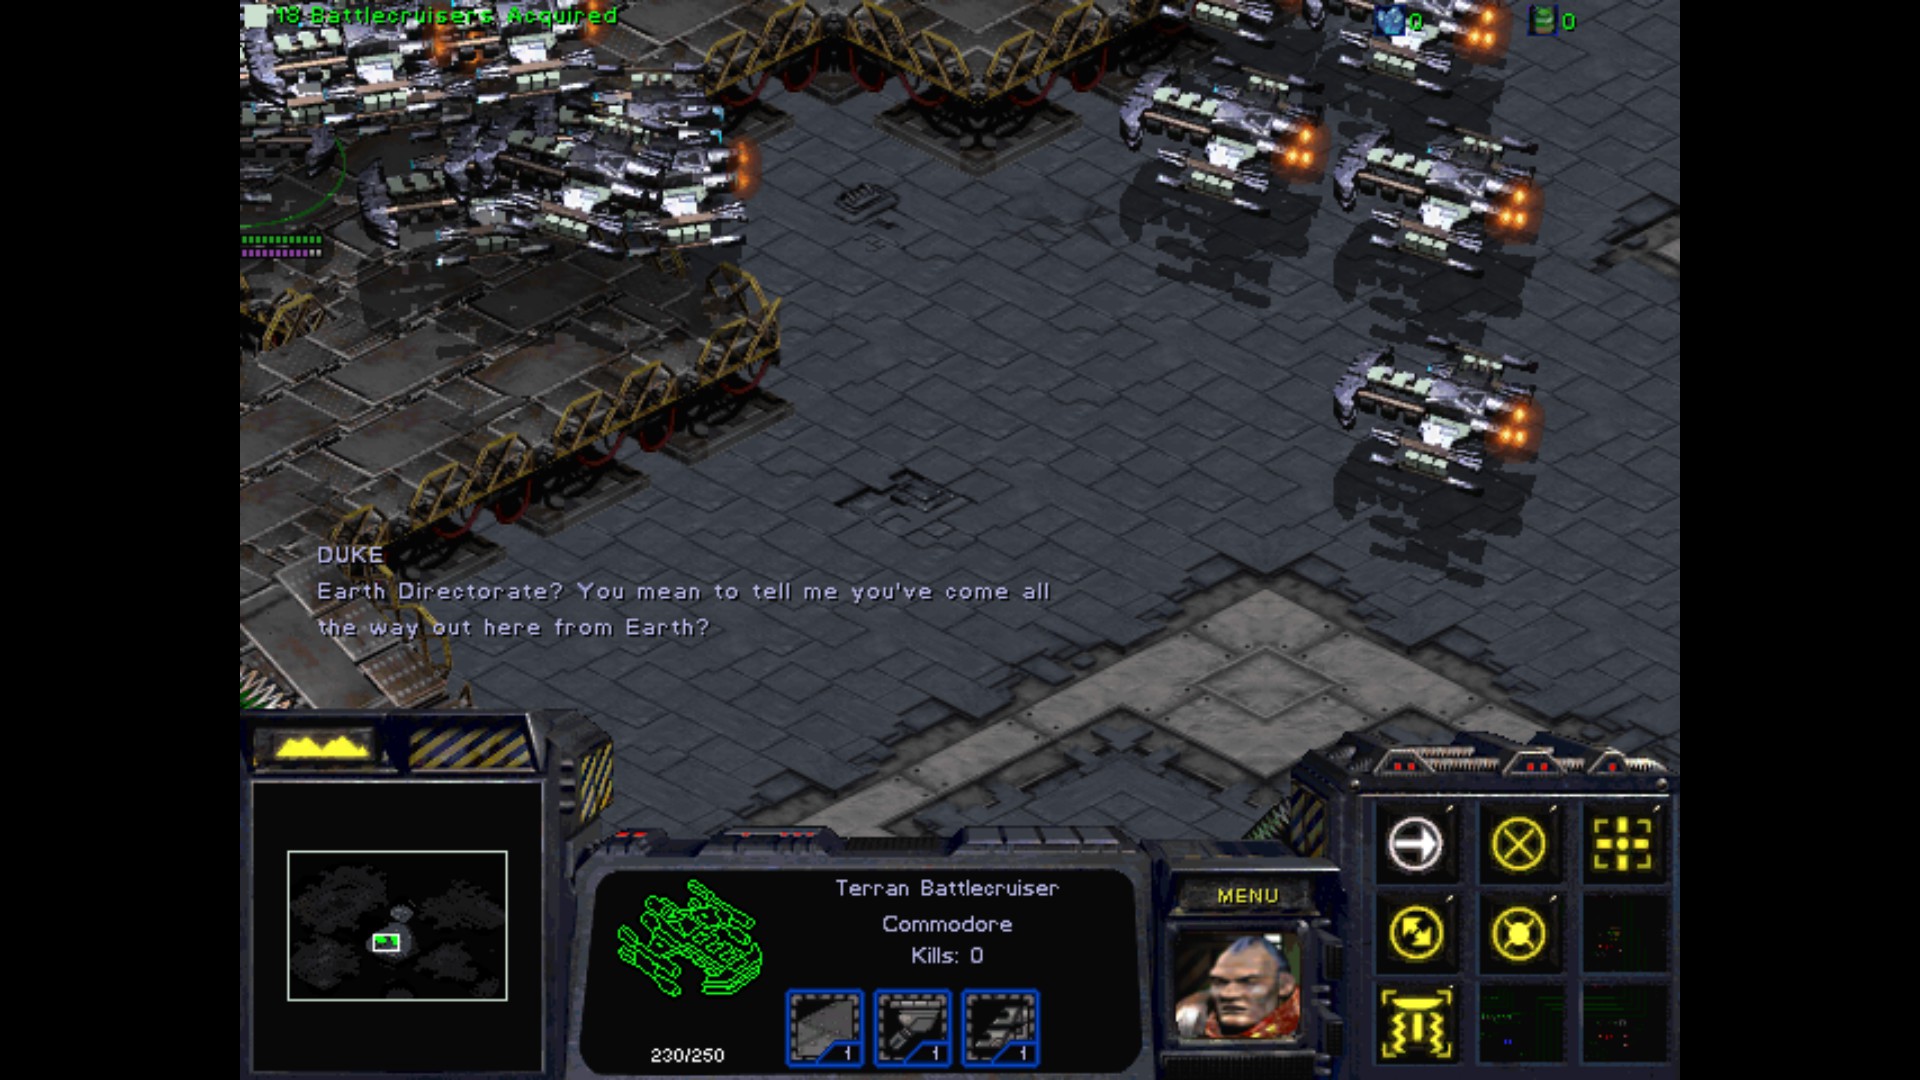
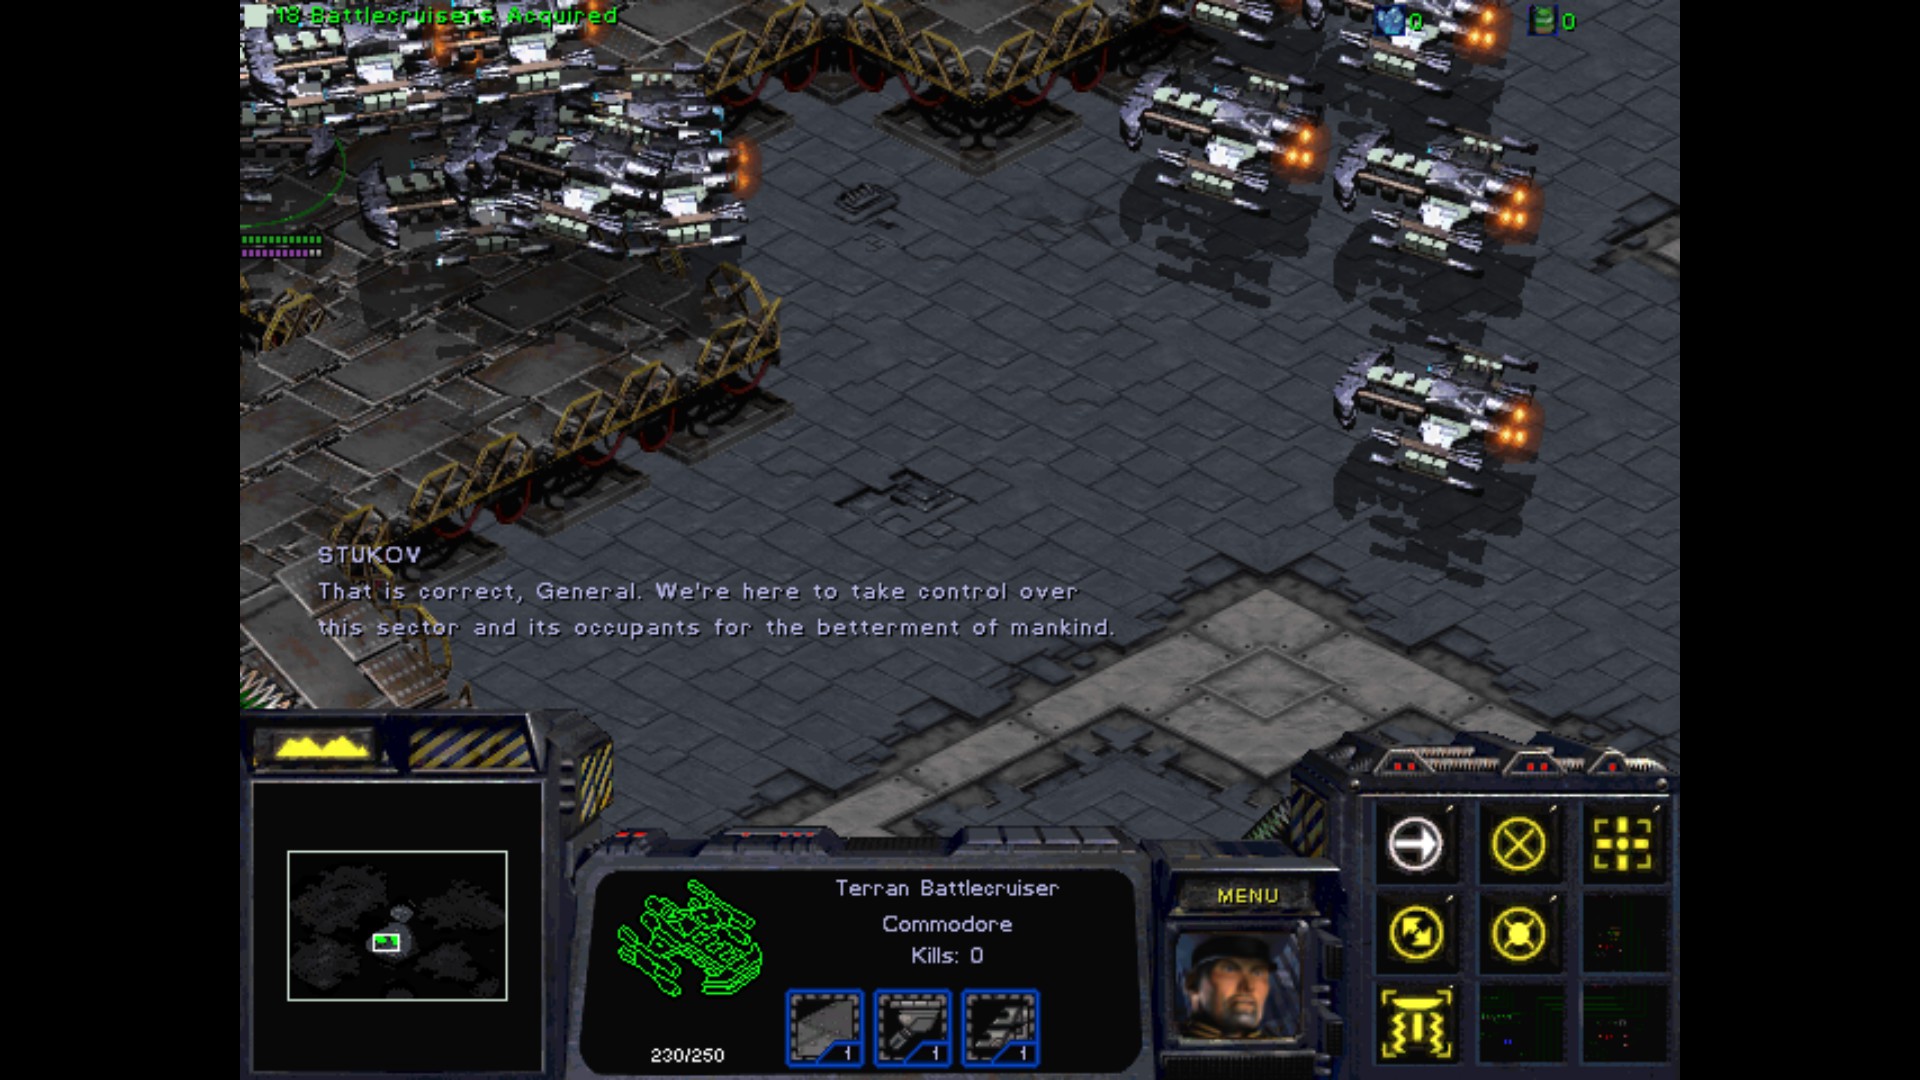
The last Battlecruiser to acquire.

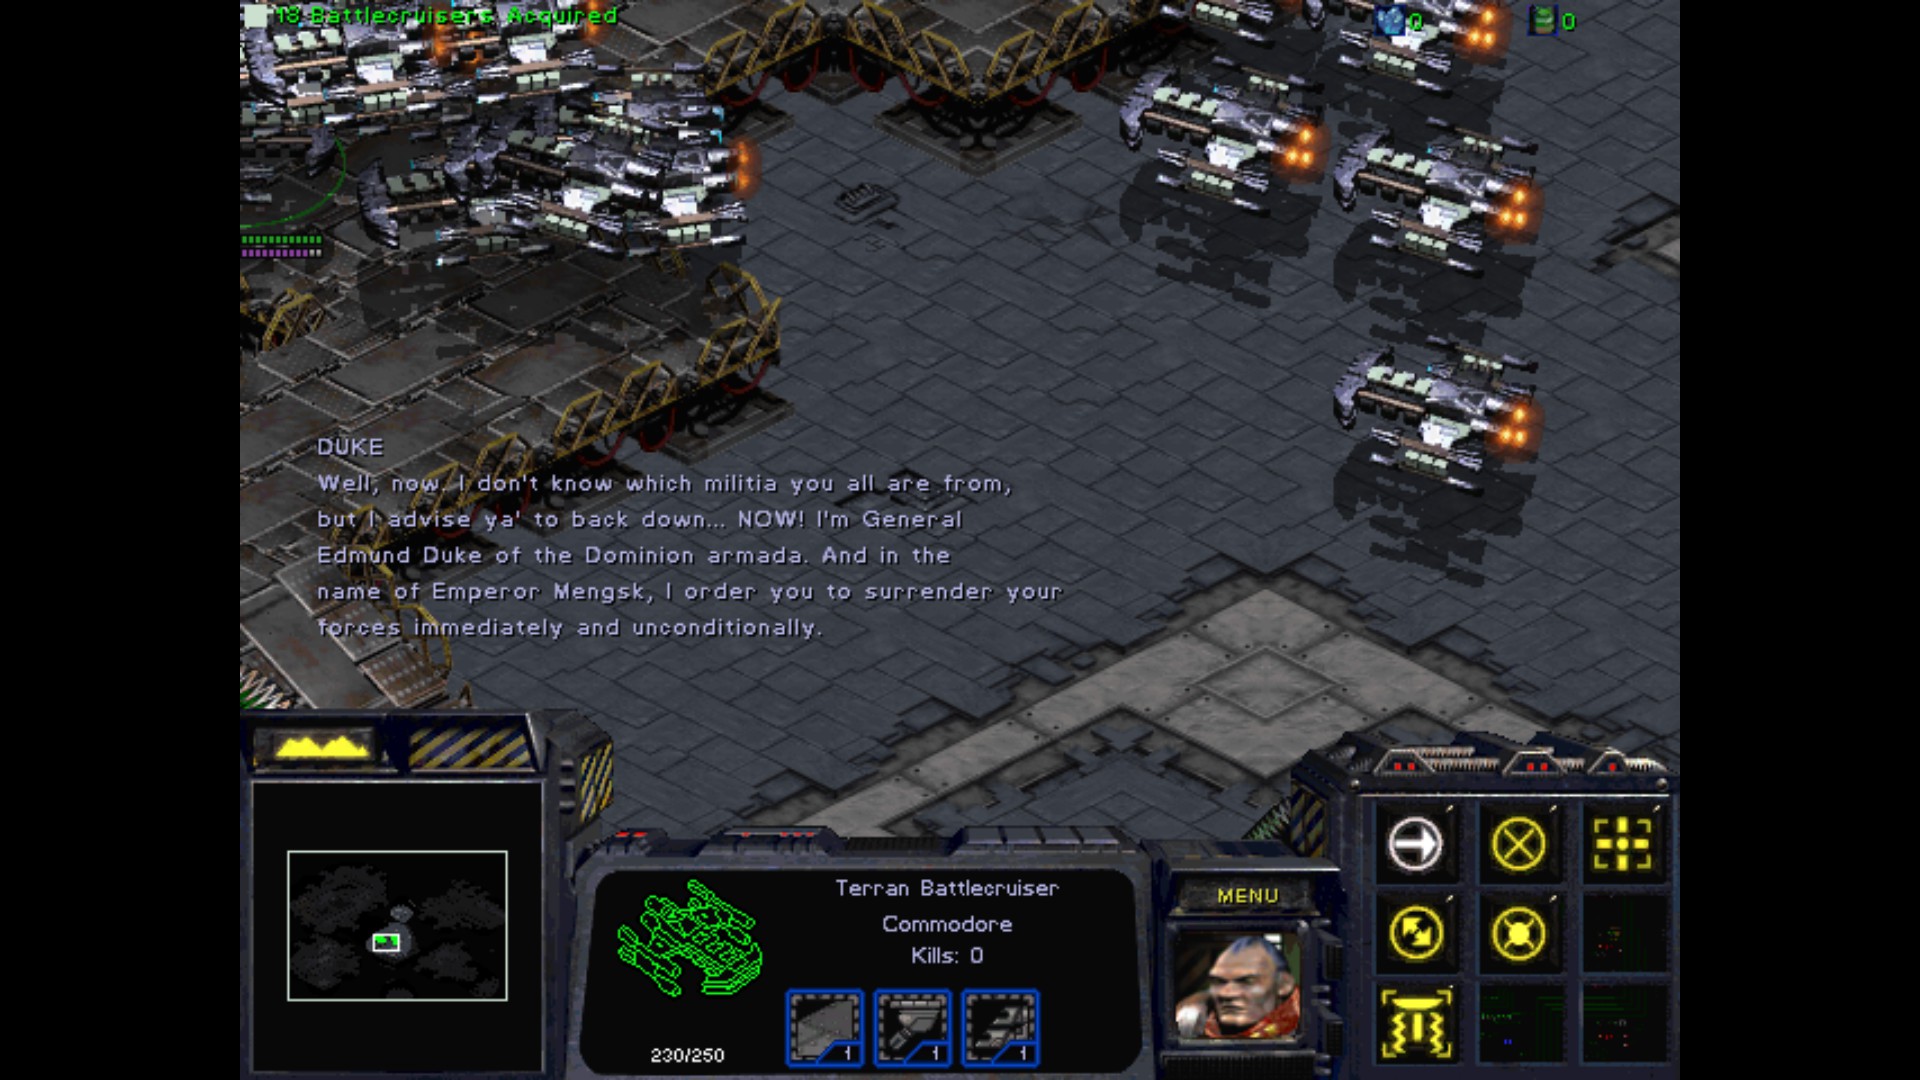
It's the Duke! Long time no see.
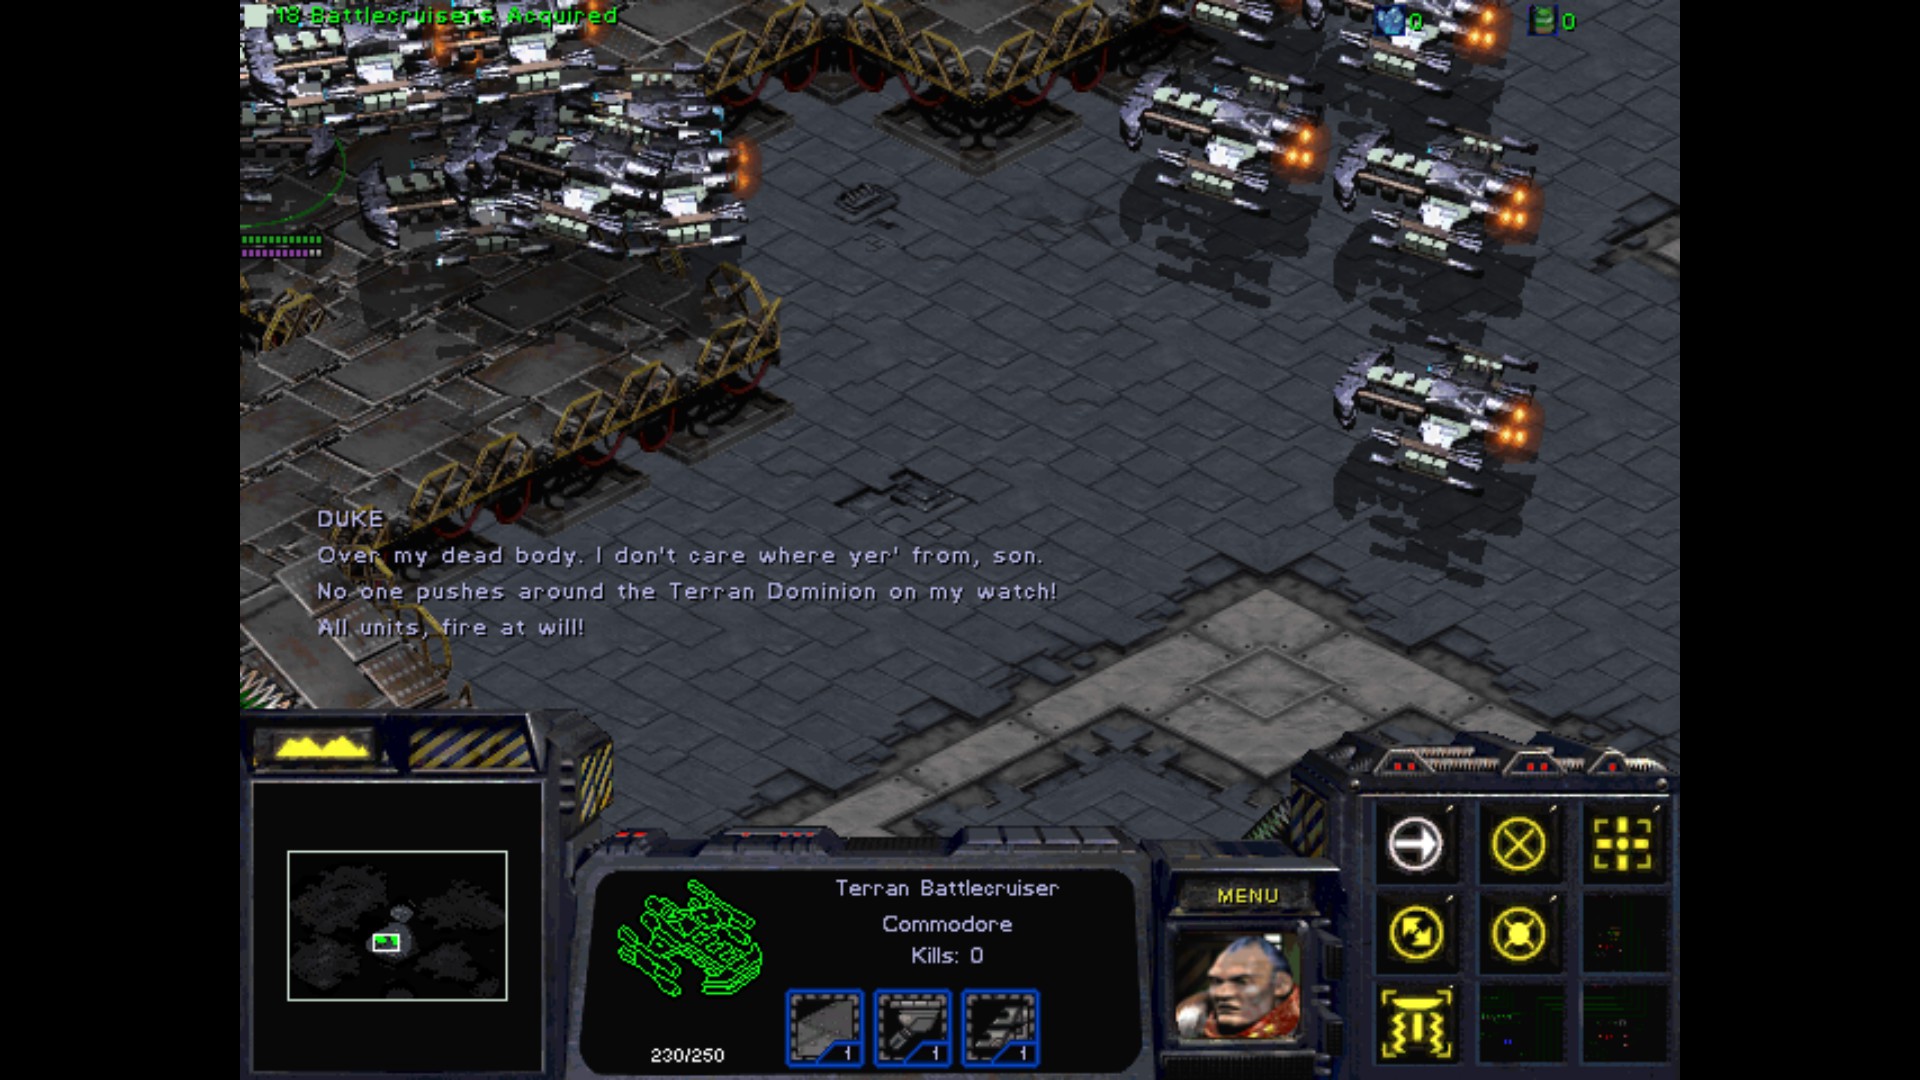
The battle is totally chaotic, Yamato Guns and lasers blasting all around. You need to have a little bit of luck and the mission is over.
Mission III : Ruins of Tarsonis

Captain, the Dominion shipyards have been destroyed, and it seems that General Duke has withdrawn his forces from this quadrant.
We have impressed most of the remaining Dylarian defense forces into the fleet and stand ready to move to the next phase of our invasion.
We've just received word from our research team that they've uncovered some kind of hidden weapons relay upon the planet Tarsonis.
They report that it's called a Psi Disrupter, and that its purpose is somehow connected with the Zerg.
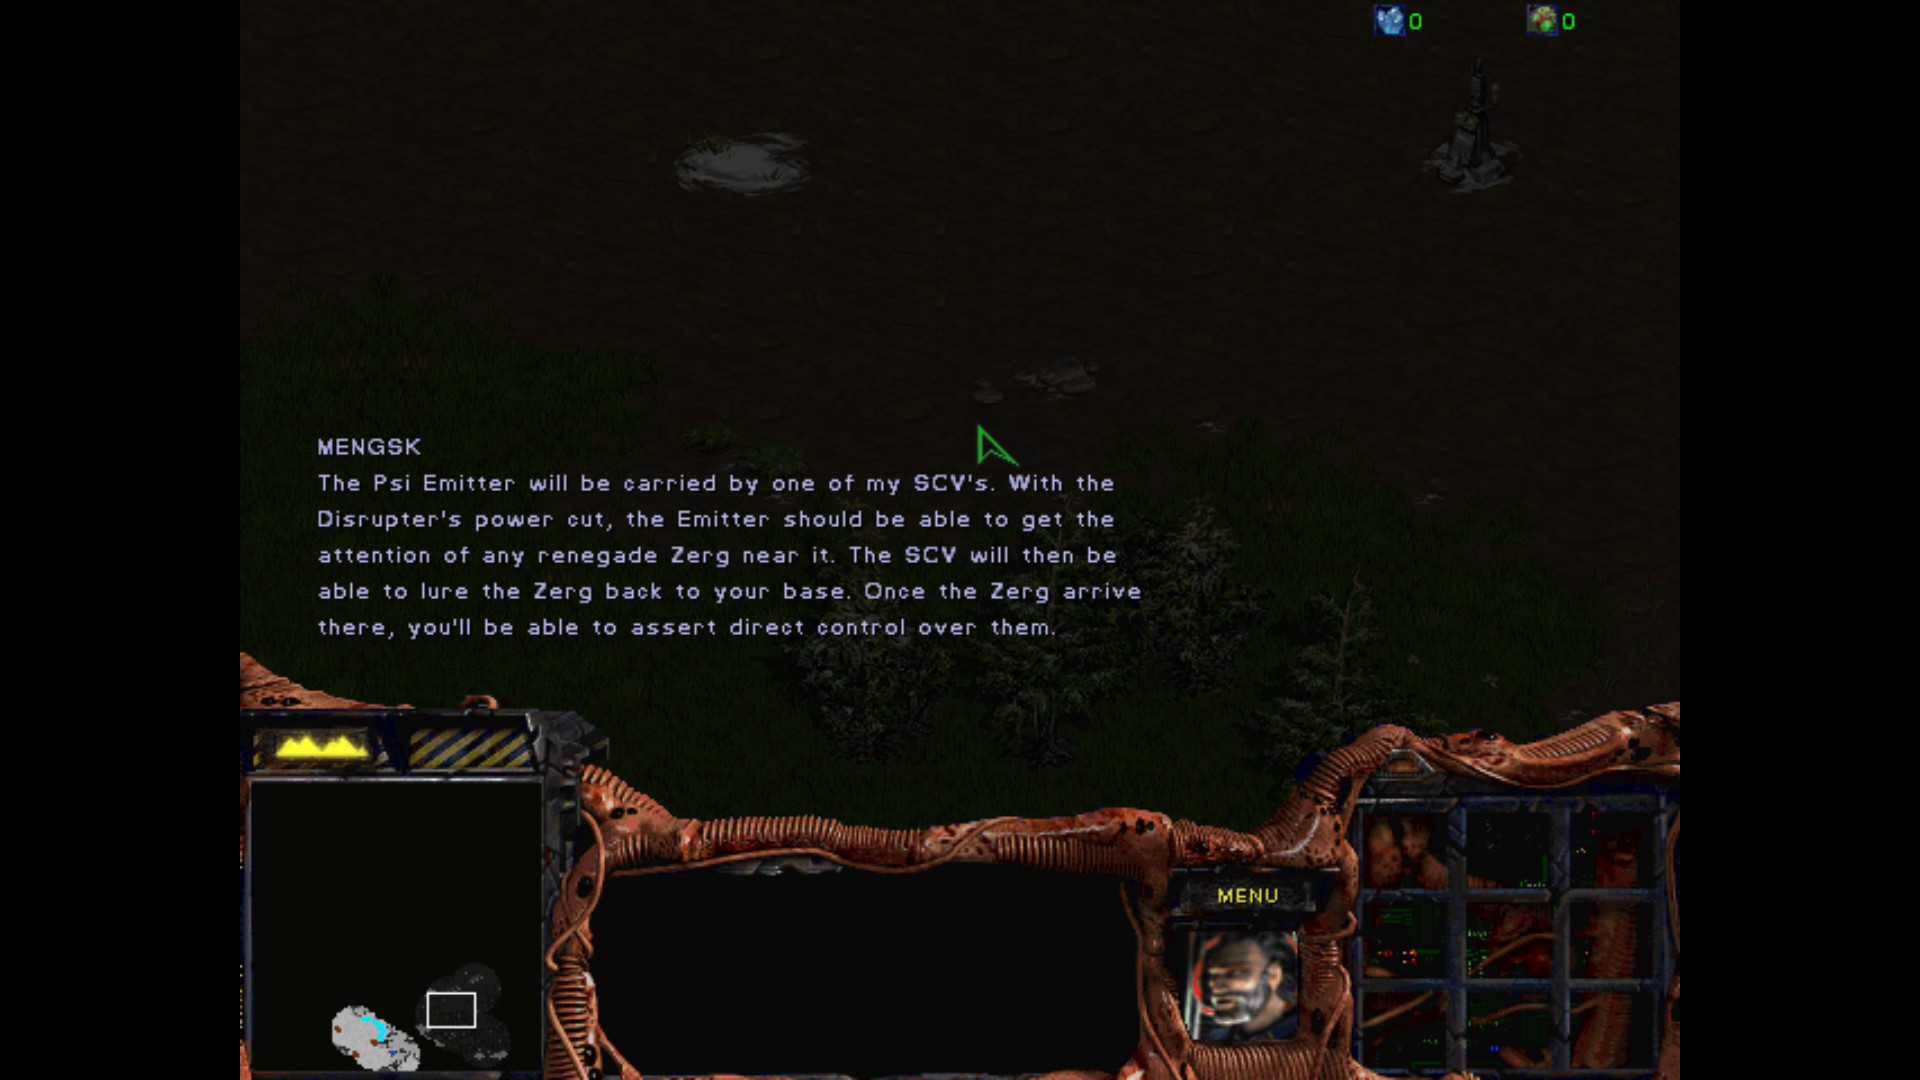
Admiral, during the Zerg invasion of these colonies, the Confederacy had manufactured a number of portable machines called Psi Emitters which had the uncanny ability to lure Zerg to their signals. It was rumored that they had created a specialized emitter that could disrupt the Zerg's communications, but Emperor Mengsk was never able to find it.
It appears that this Psi Disrupter is the machine he was looking for.
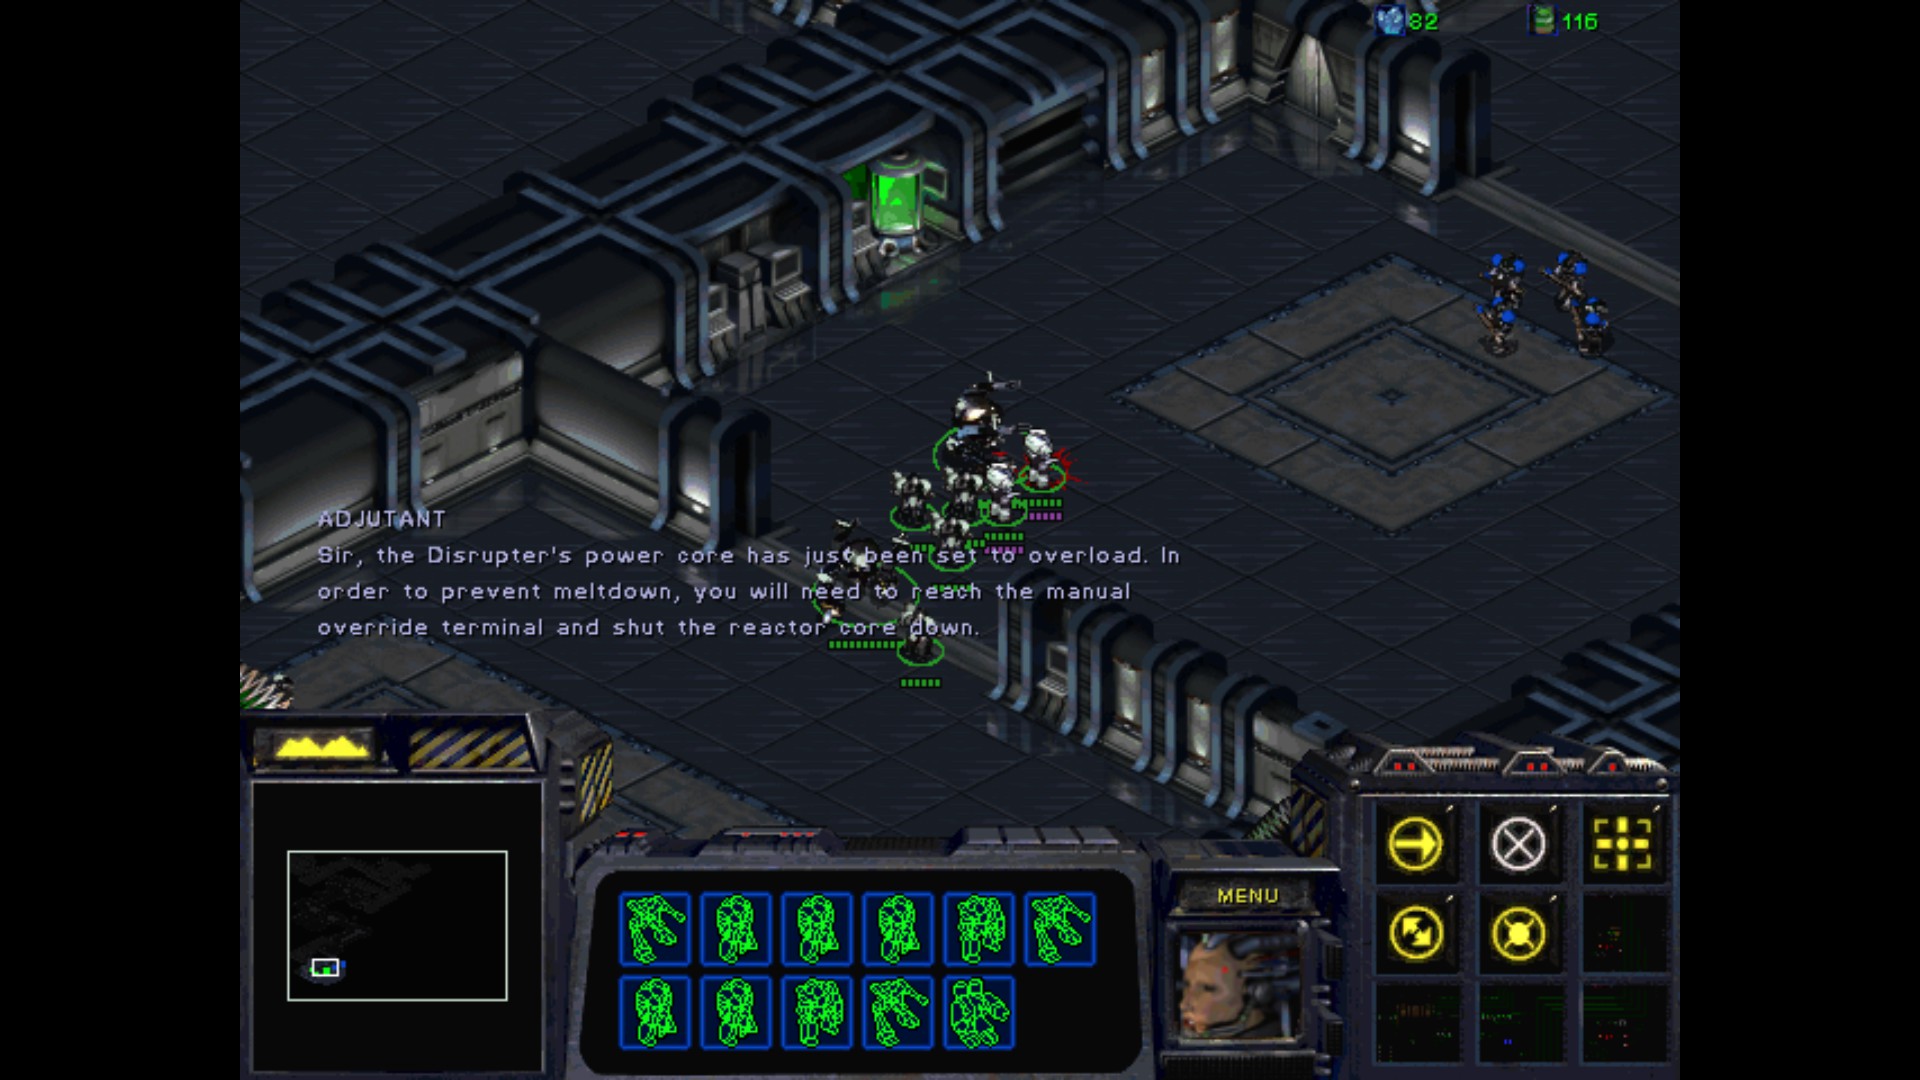
I must humbly suggest to you, Admiral, that the Disrupter be destroyed as quickly as possible.
If it should fall into the hands of the Dominion we could face some very serious problems.
Hmm. A prudent call, Lieutenant. I am inclined to agree.
But Admiral, this device could insure our victory over the Zerg! It is foolhardy to discard such an advantage!
Surely, Vice Admiral, you don't doubt the tenacity of your own fleet?
Your Directorate forces will devastate the Zerg without the need for such a device.
Listen here, Lieutenant, I've had just about enough of your-
This conversation is over, Alexei.
Given the true nature of our mission to enslave the Overmind, we could hardly stand to have Mengsk control a device of this magnitude.
This Psi Disrupter must be destroyed in order to safeguard our mission. Ensign, set your course for Tarsonis.
Objectives :
- Bring Duran to the Psi Disrupter
- Duran must survive

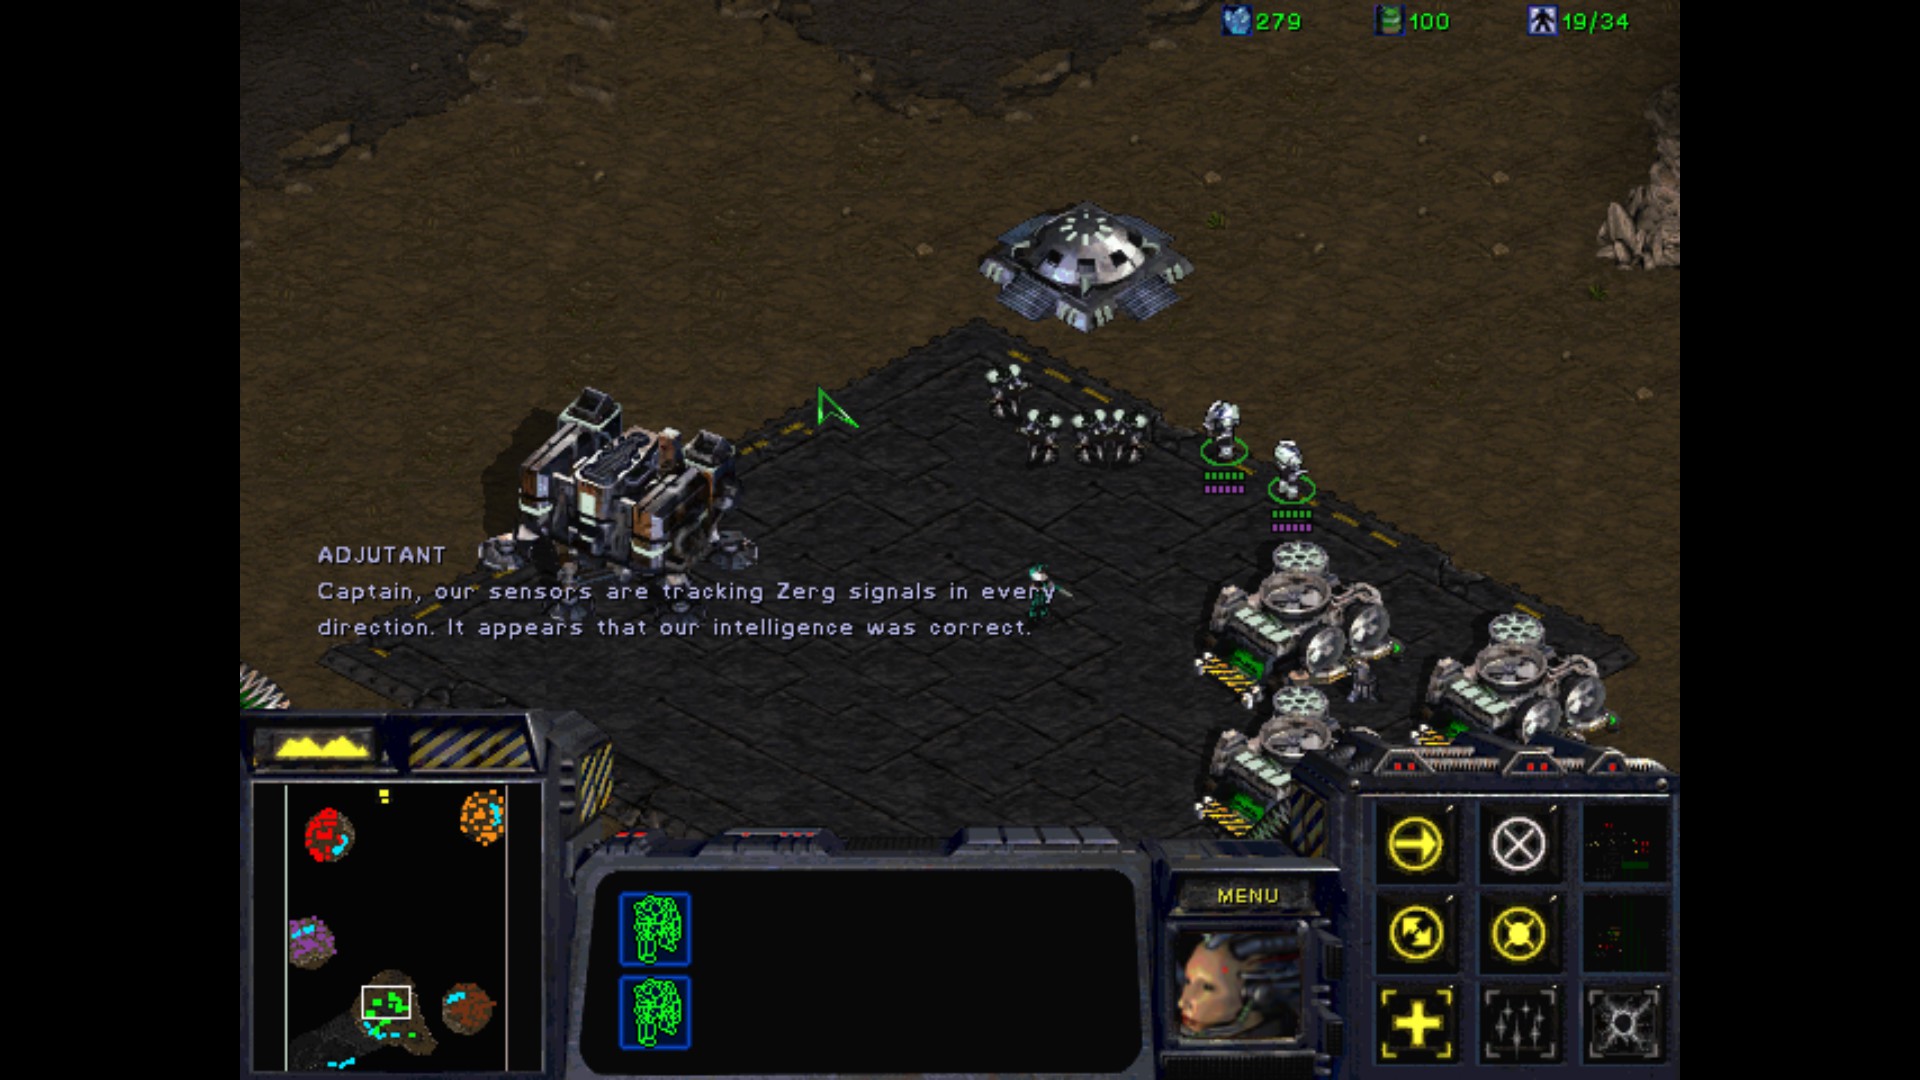
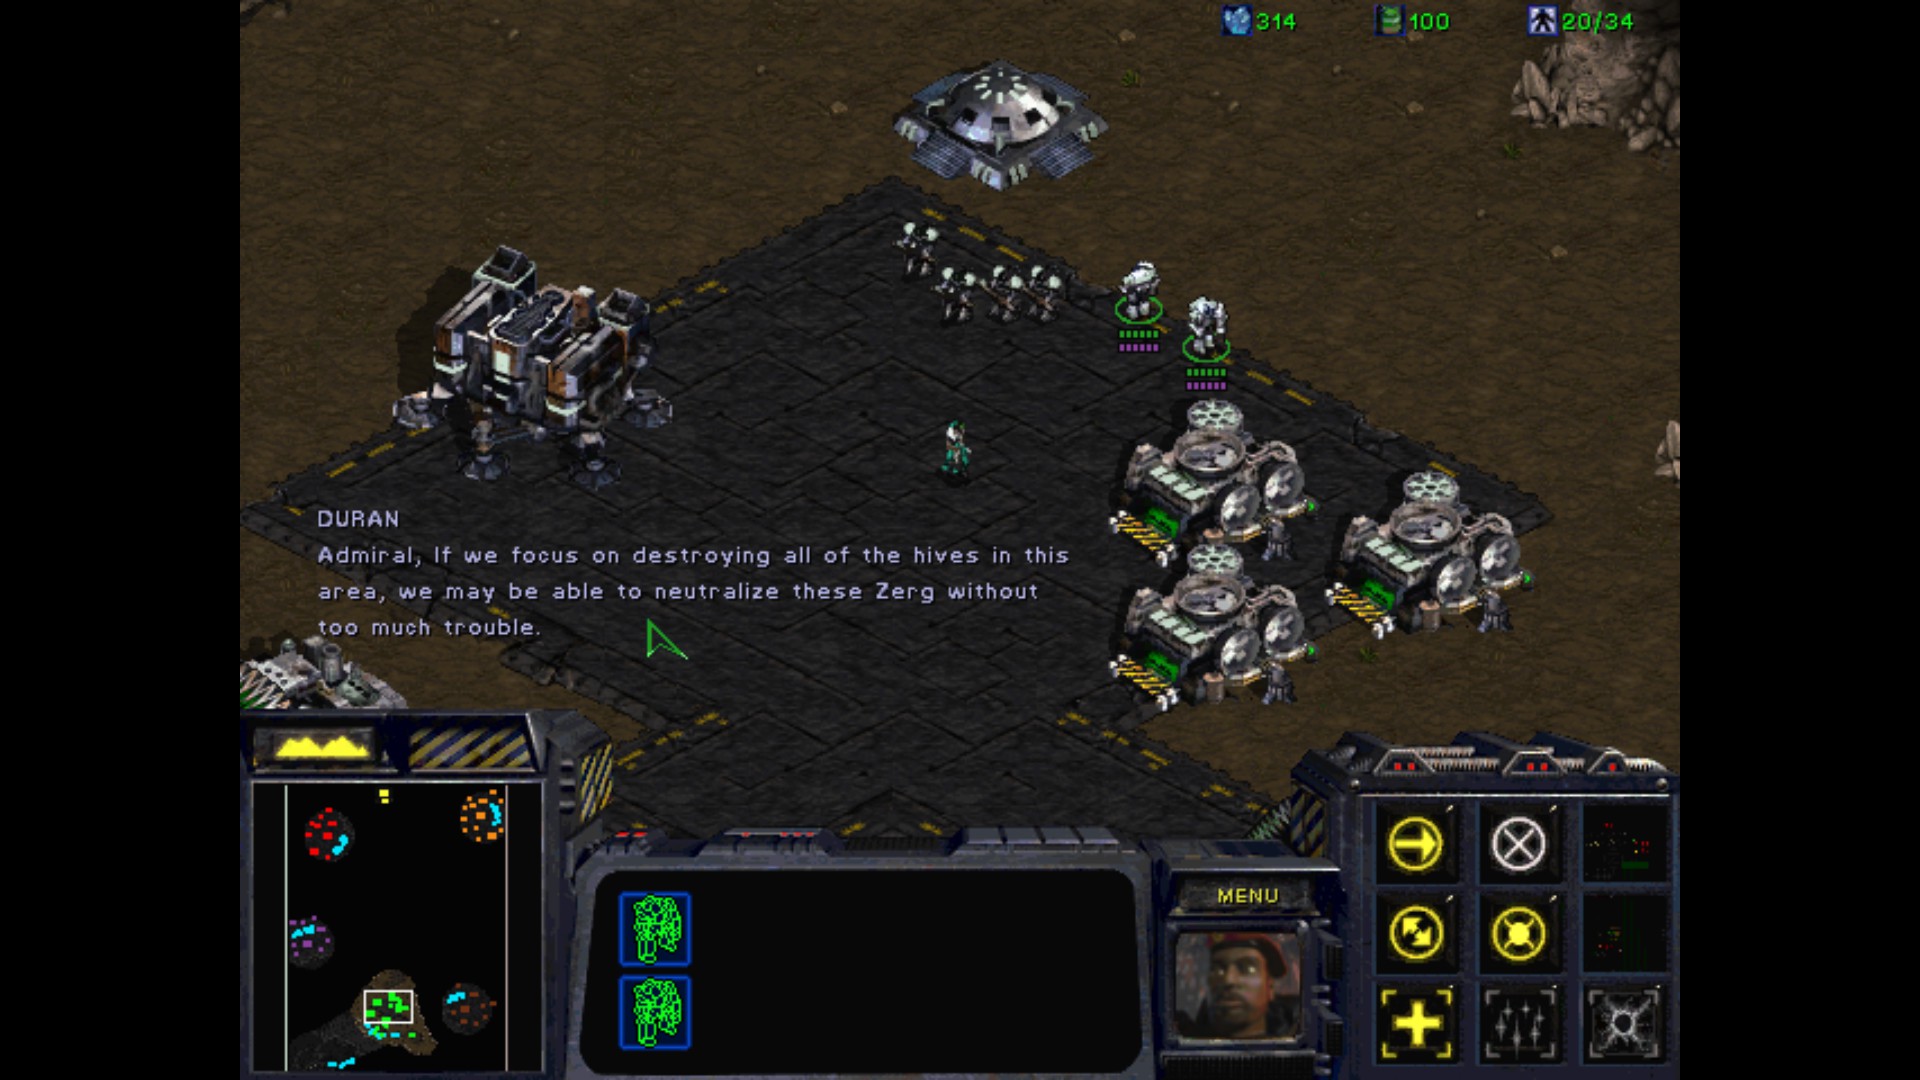
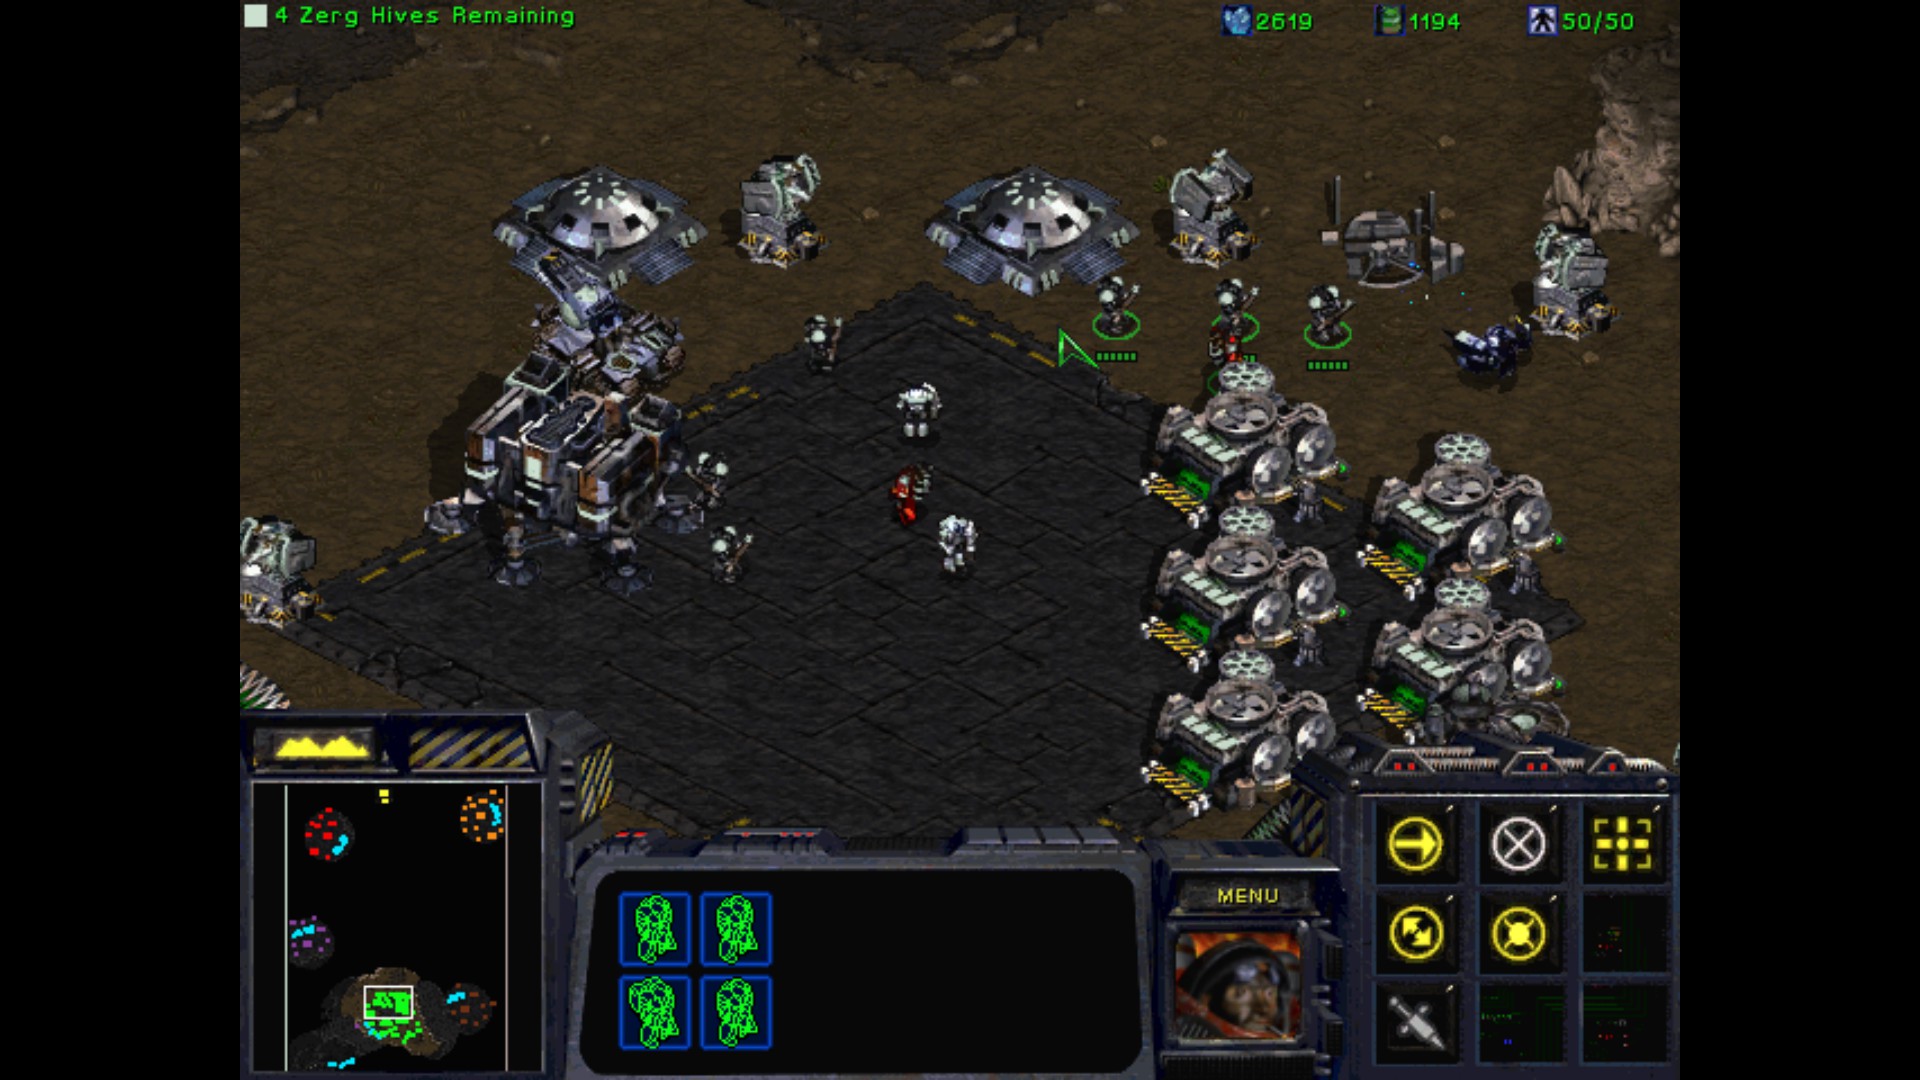
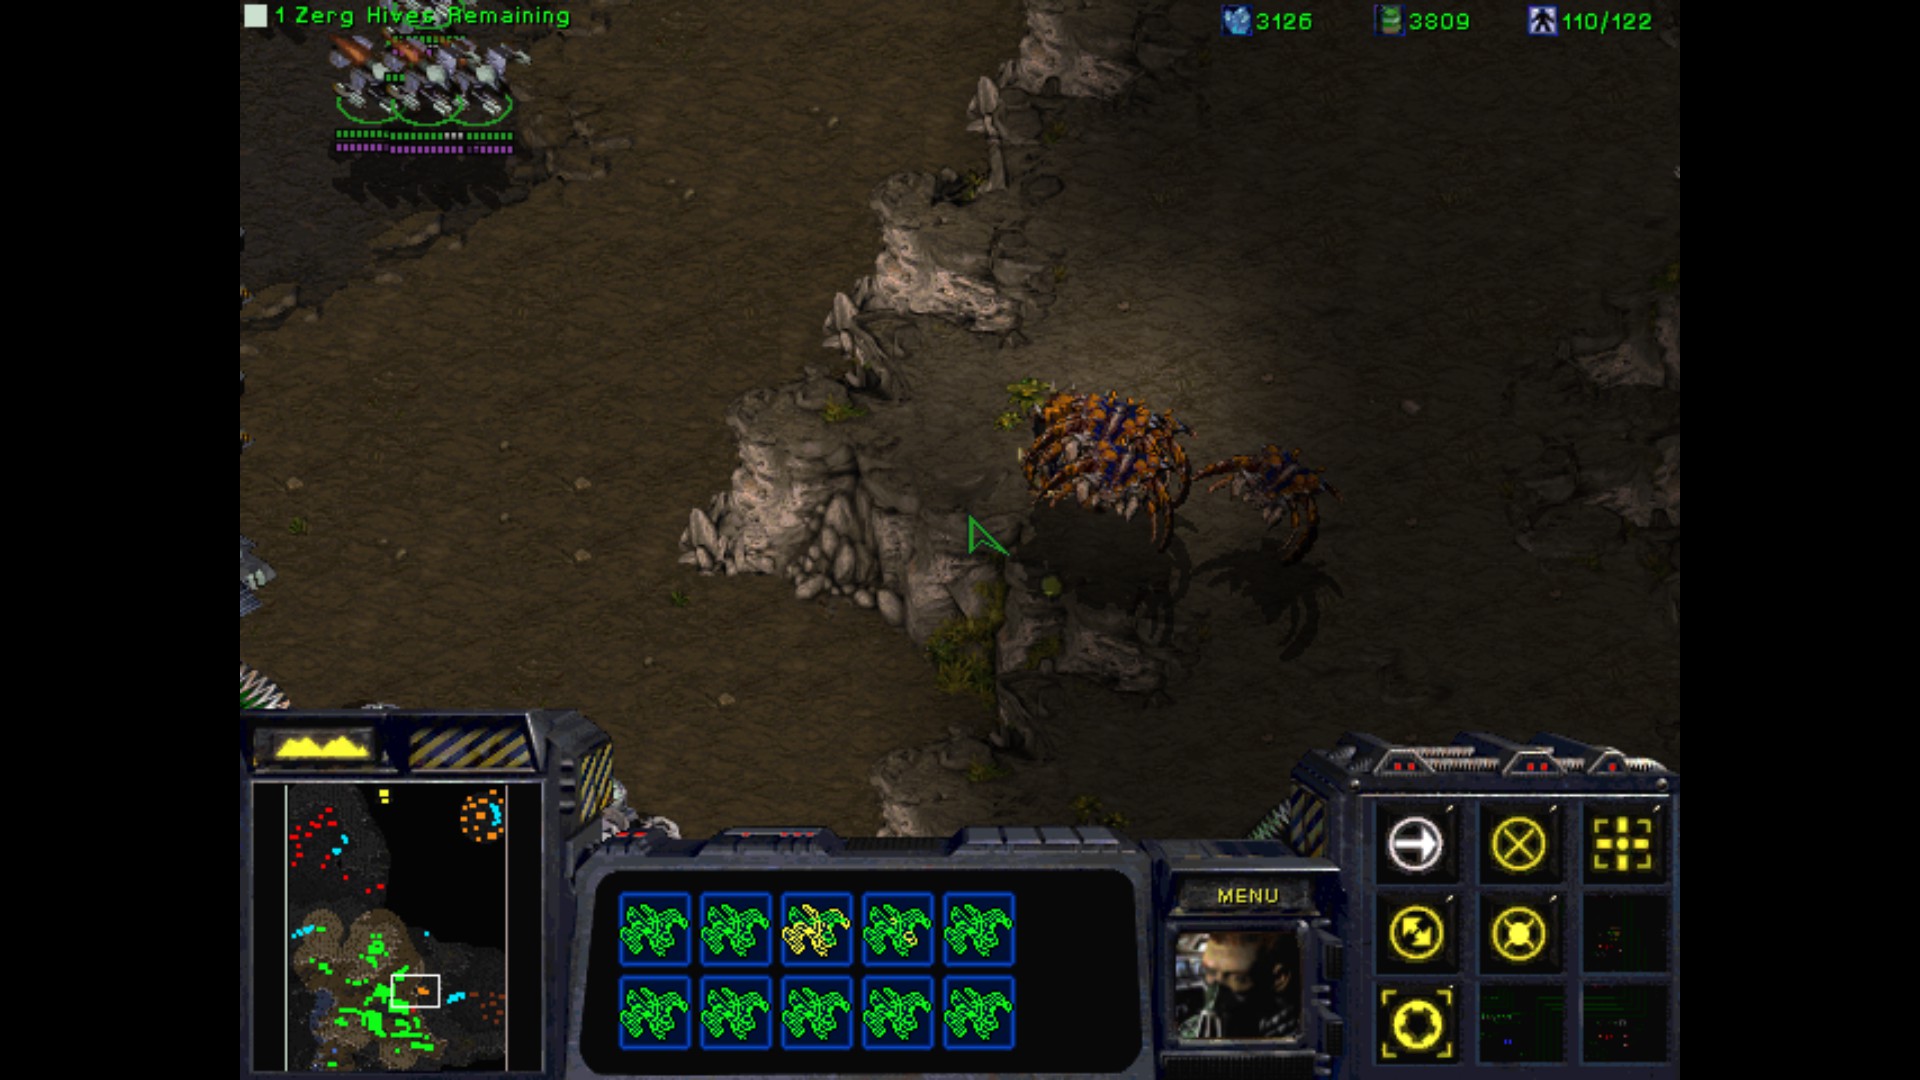
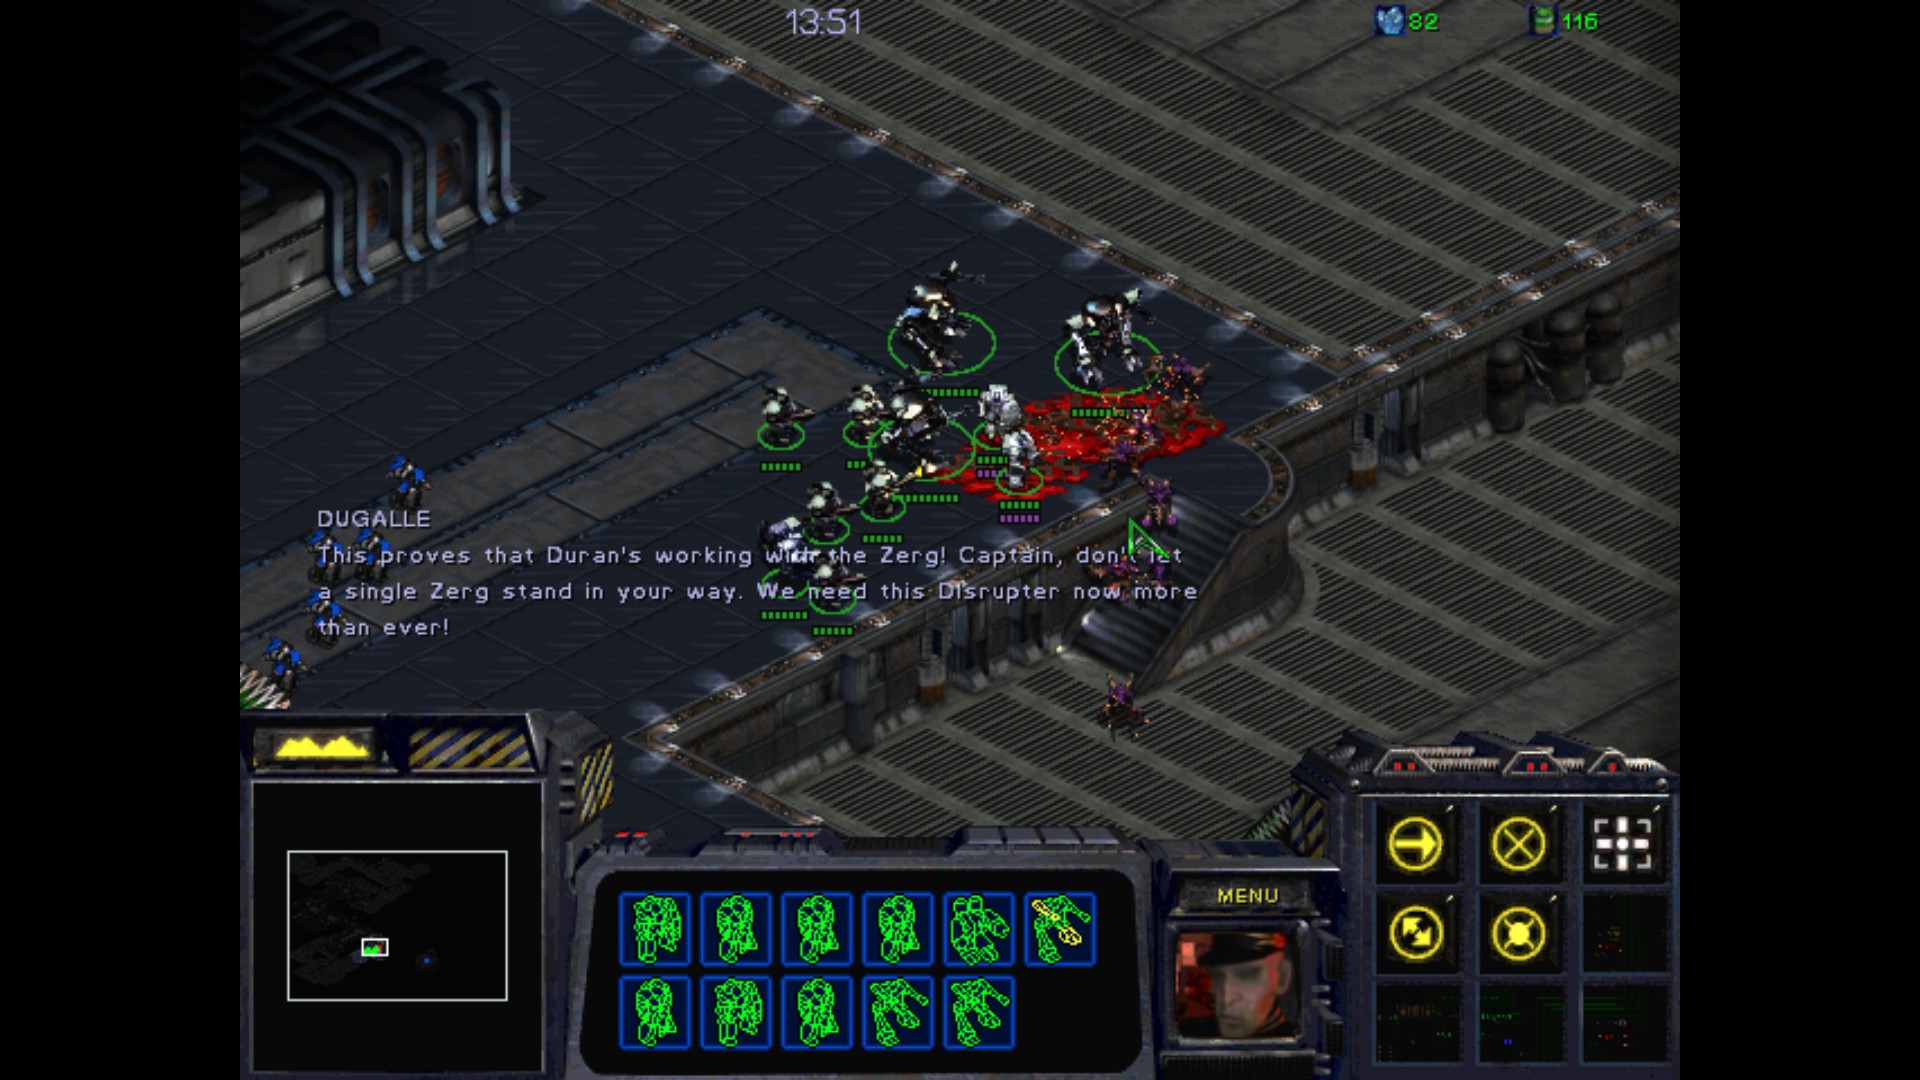
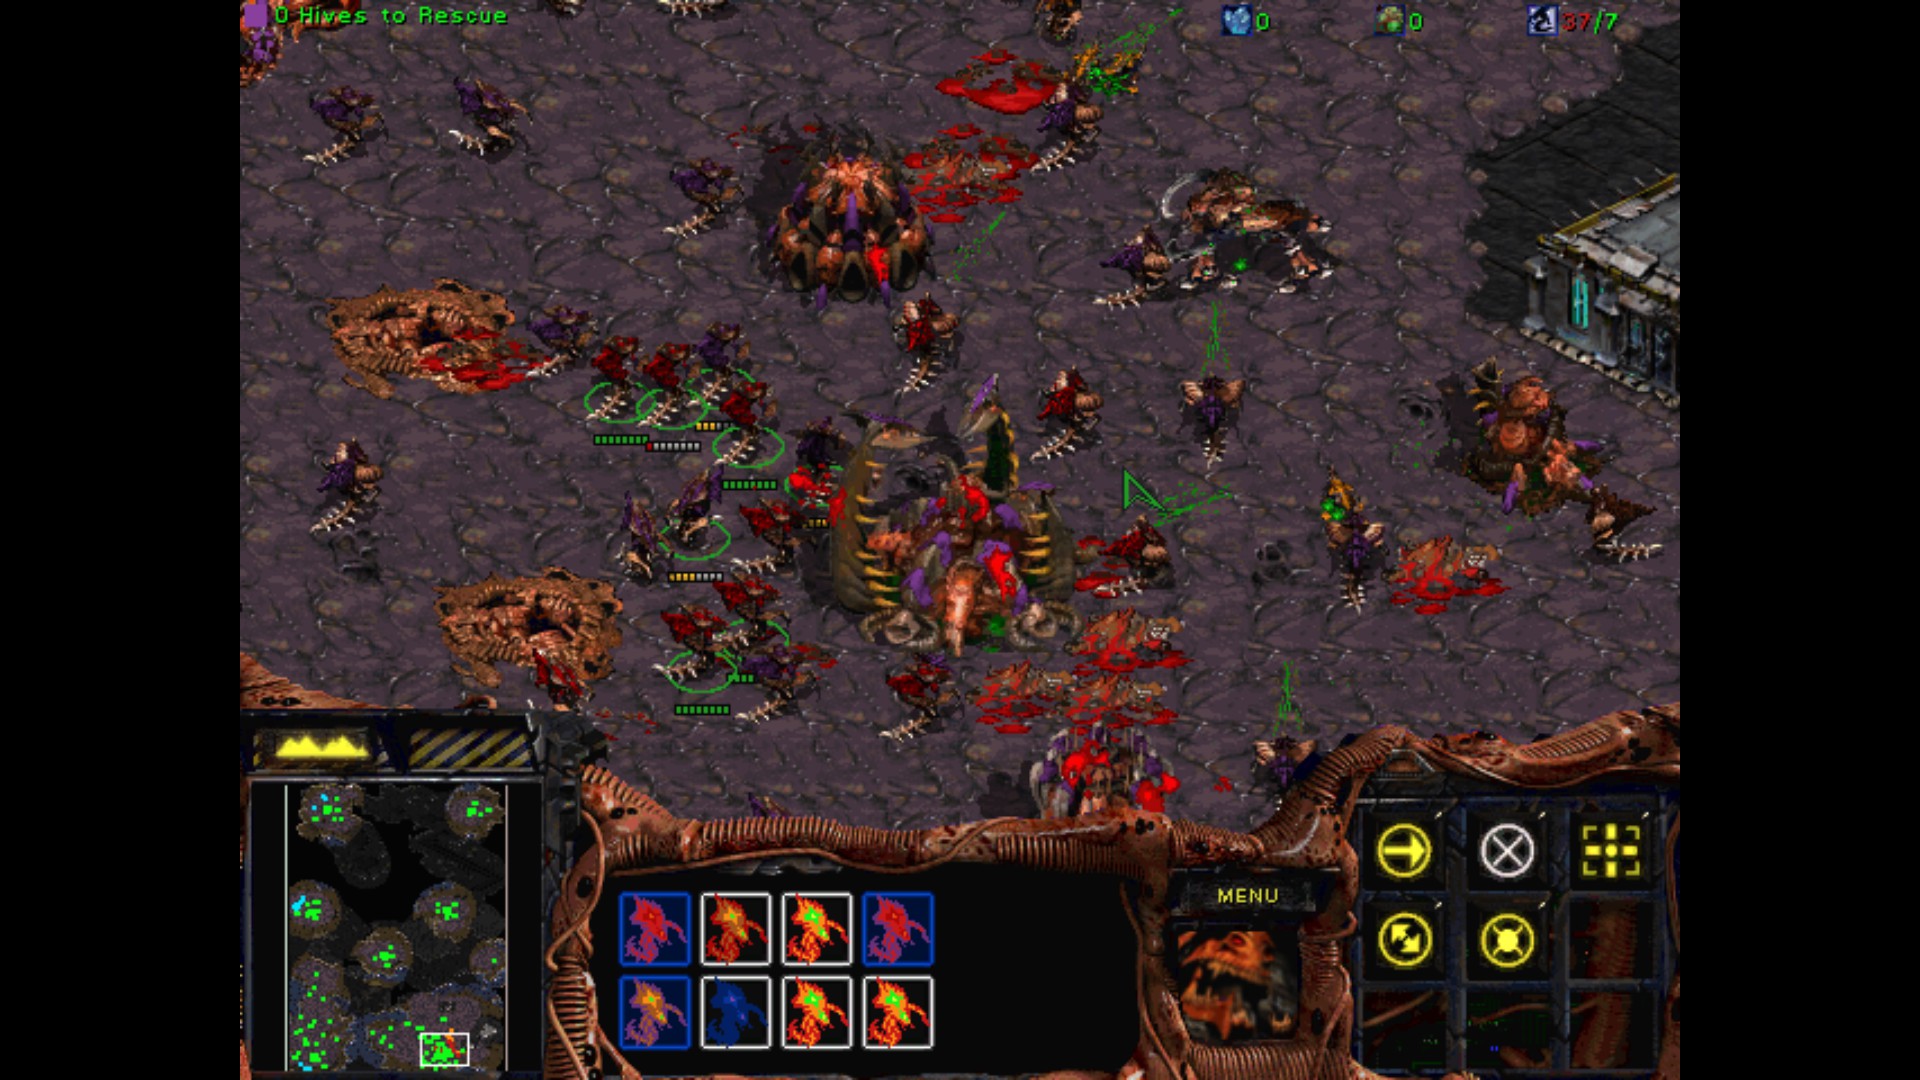
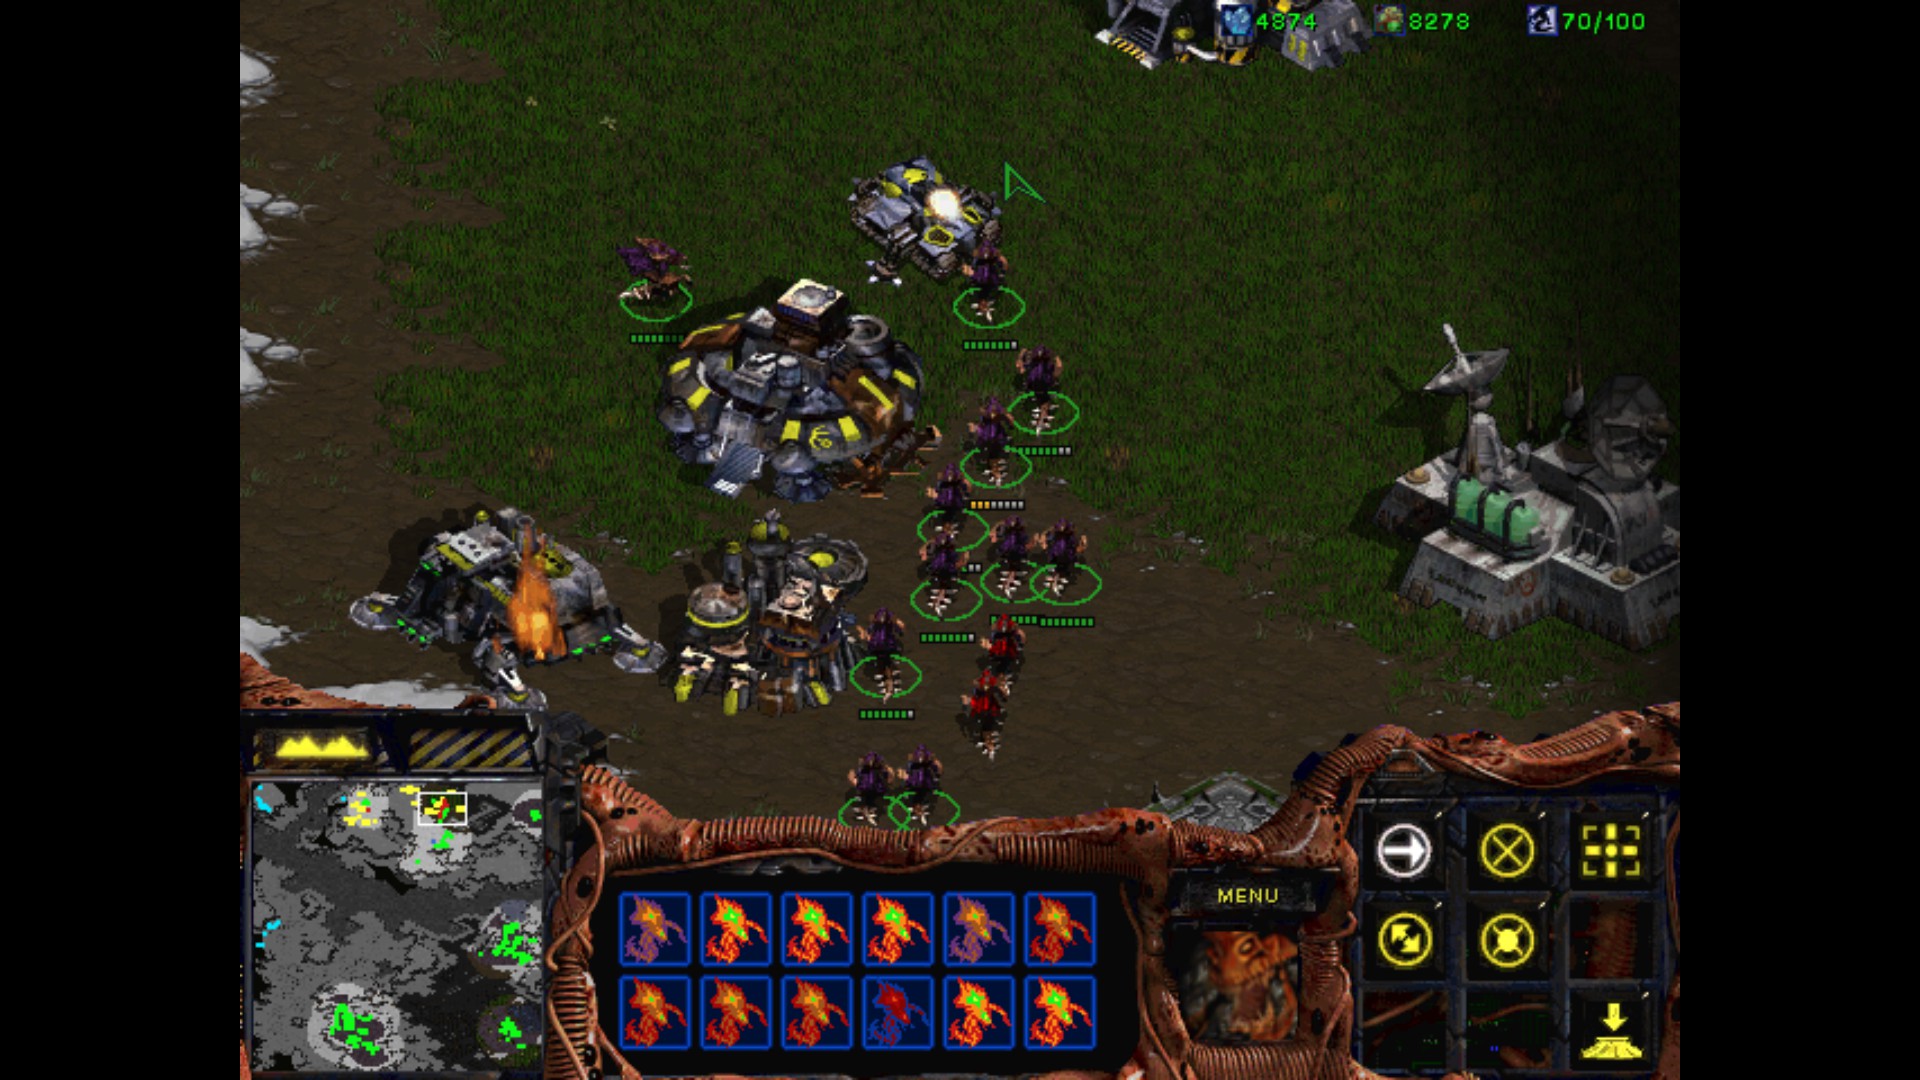
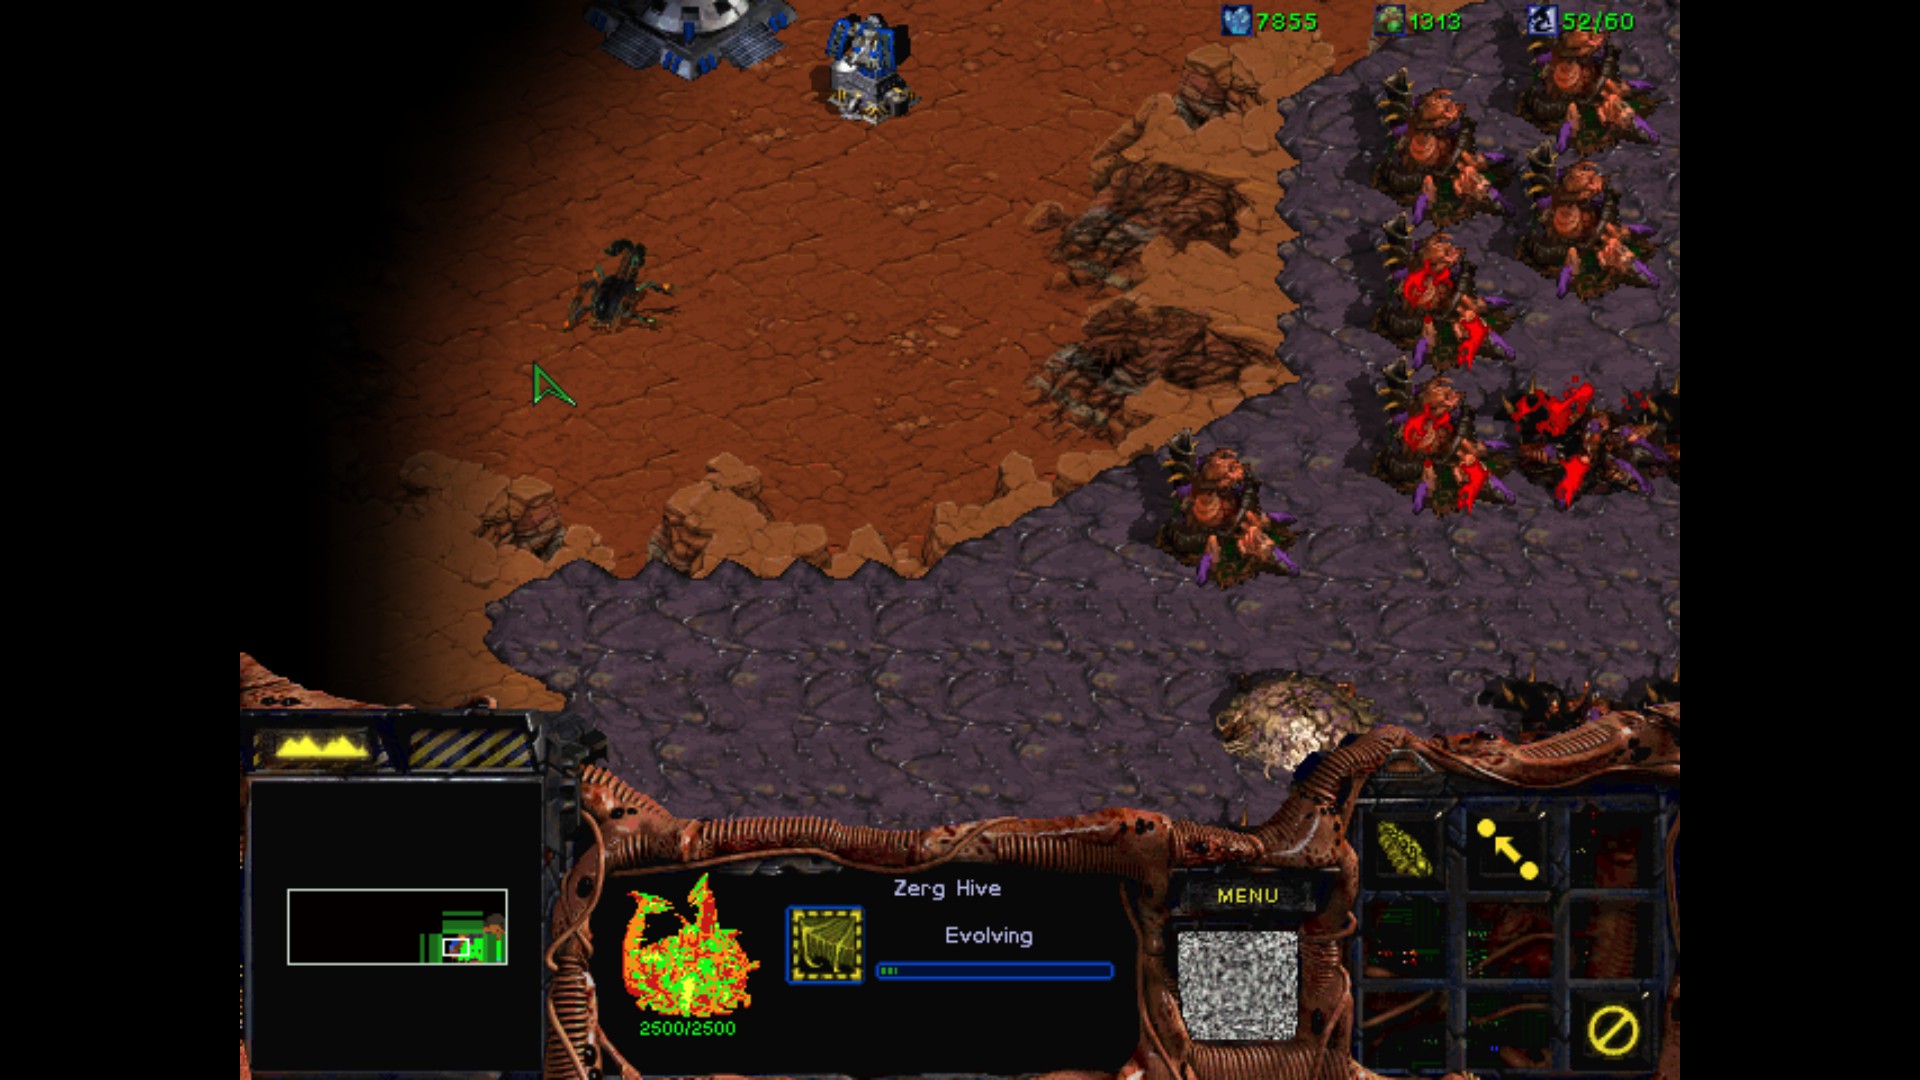
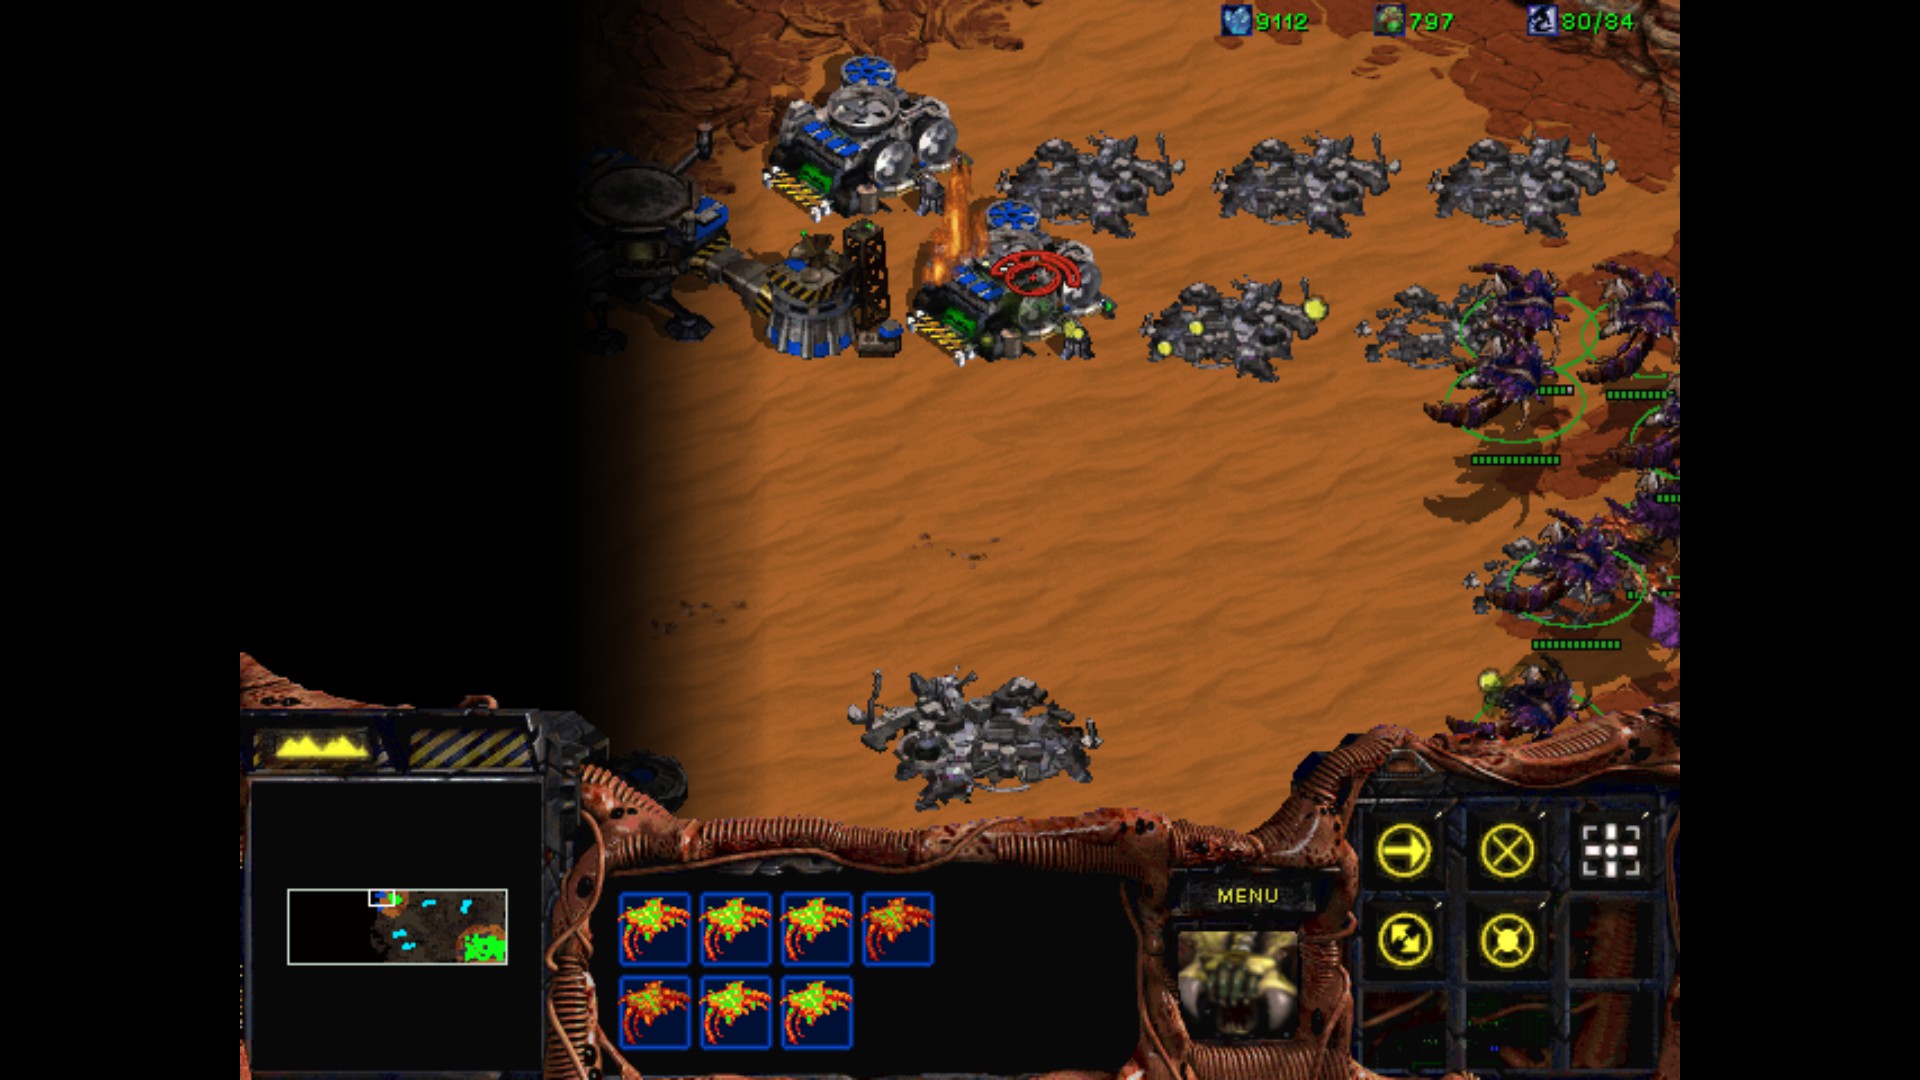
Great, we start in the lower side of the map and we have to move Duran into the Psi Disrupter, the golden spot up north. But lucky for us, we will have an easier approach with the Zerg broods here. I will need to destroy their Hives to neutralize each one of them. I don't expect it to be easy though. Let's start by making a typical Terran defense net for north and east entries.
This will be a good place to keep the Bunkers and Turrets as for now. The brown Brood is the closest one, so it will be my first target.
Damn, these attacks are really more frequent and brutal than I anticipated. Not to mention the Mutalisks raid. Well, at least there is no Guardians so far.

I finally move one of the Tanks into the attacked position.
I make the bunker line here, and fill the gaps with the Tanks as well.
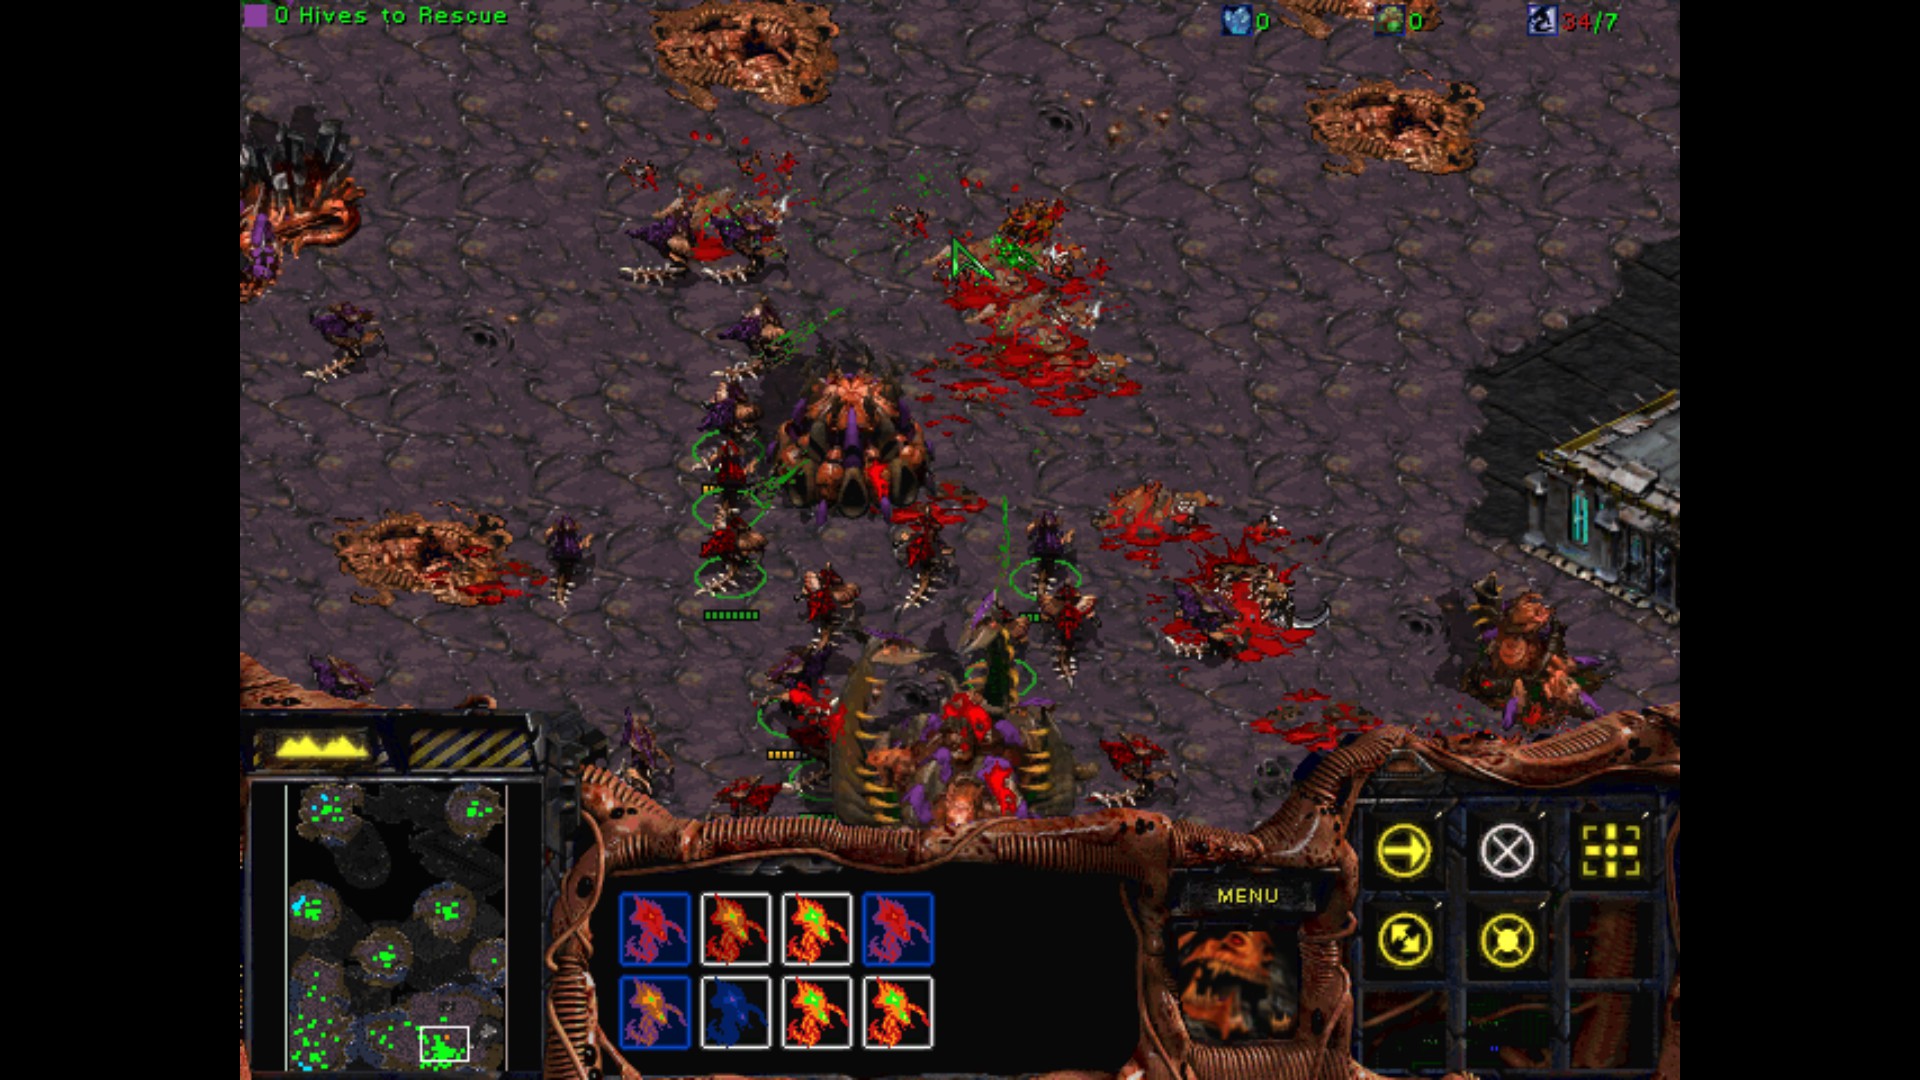
As you can see, the Turrets give extra sight to him so he can shoot the Hive without any problems. I guess this Zerg is going down. I send another Tank to help this one.
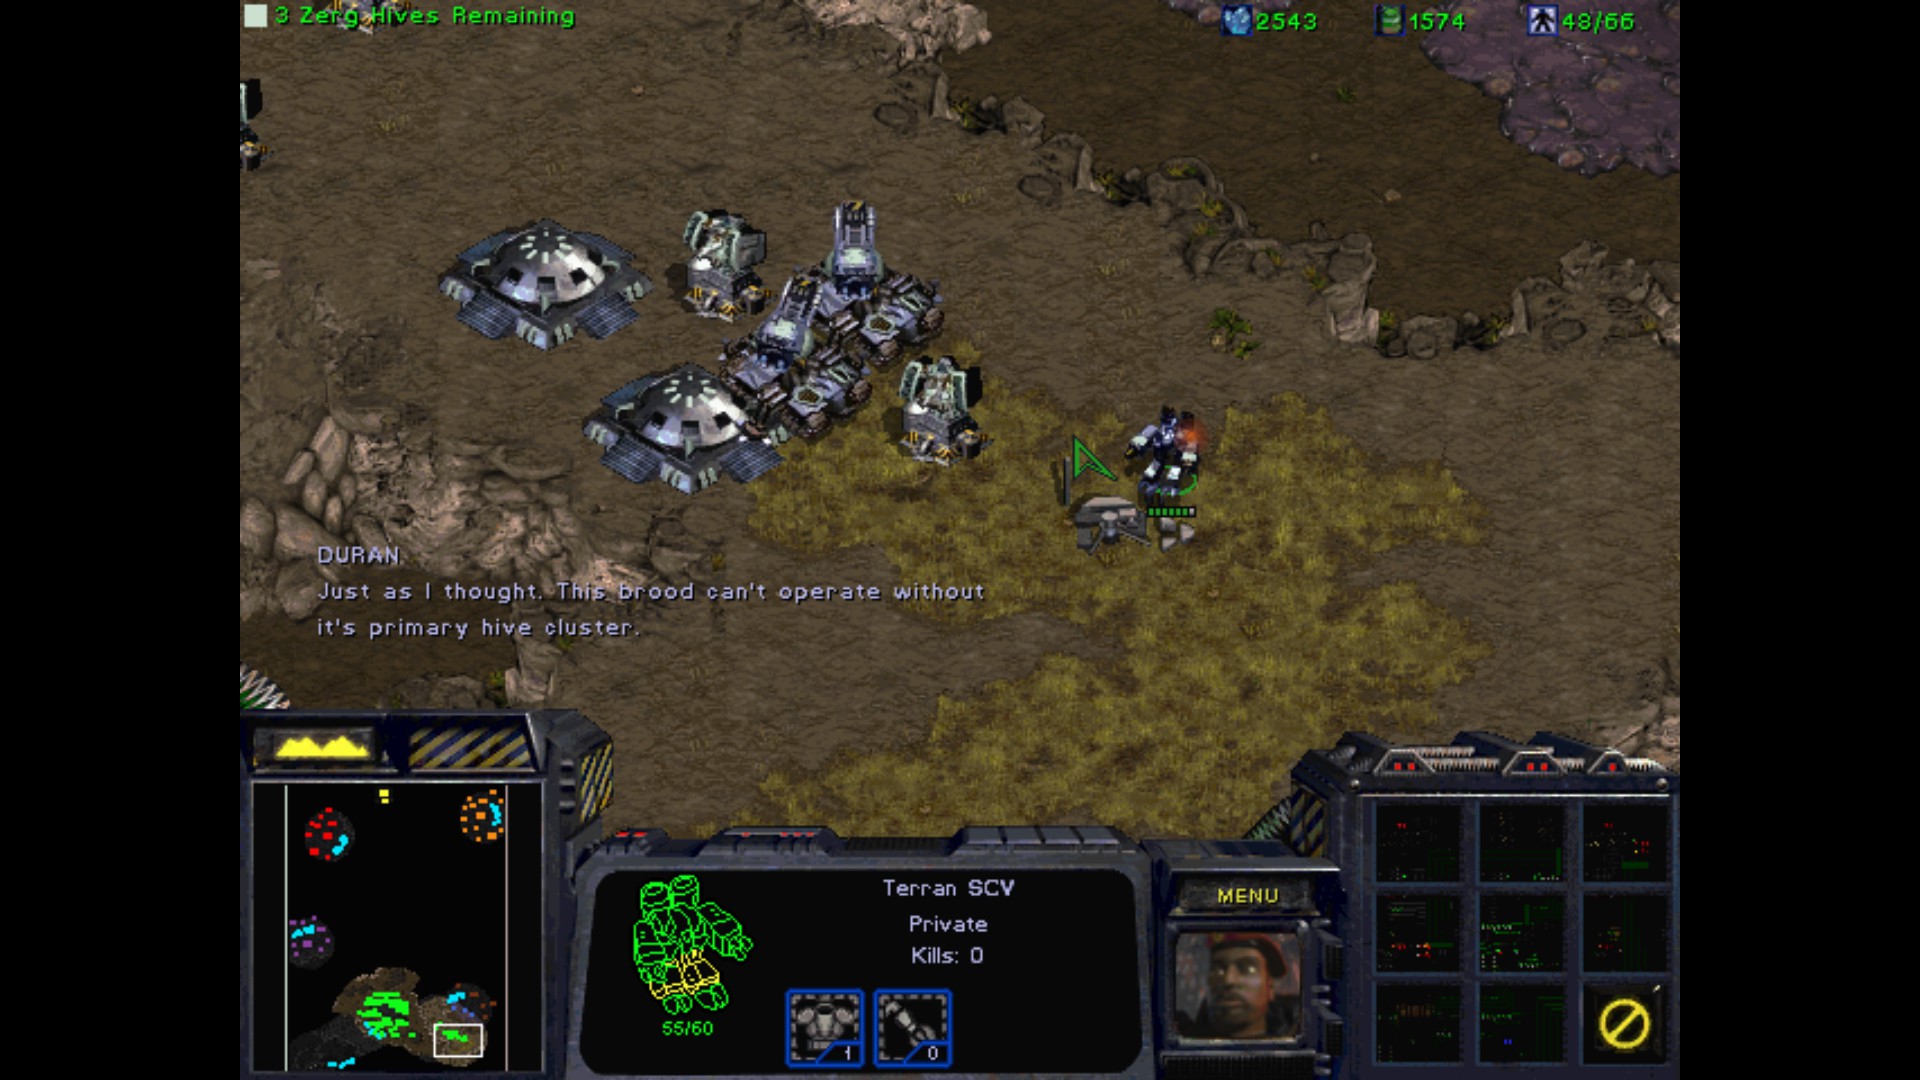

It's funny to see all the remaining units just floating patiently around not fighting back. Let's see, if it really works.

Yep, no reaction whatsoever. And I have a good amount of minerals and gas if needed. As for now, the field on the west will suffice for me.
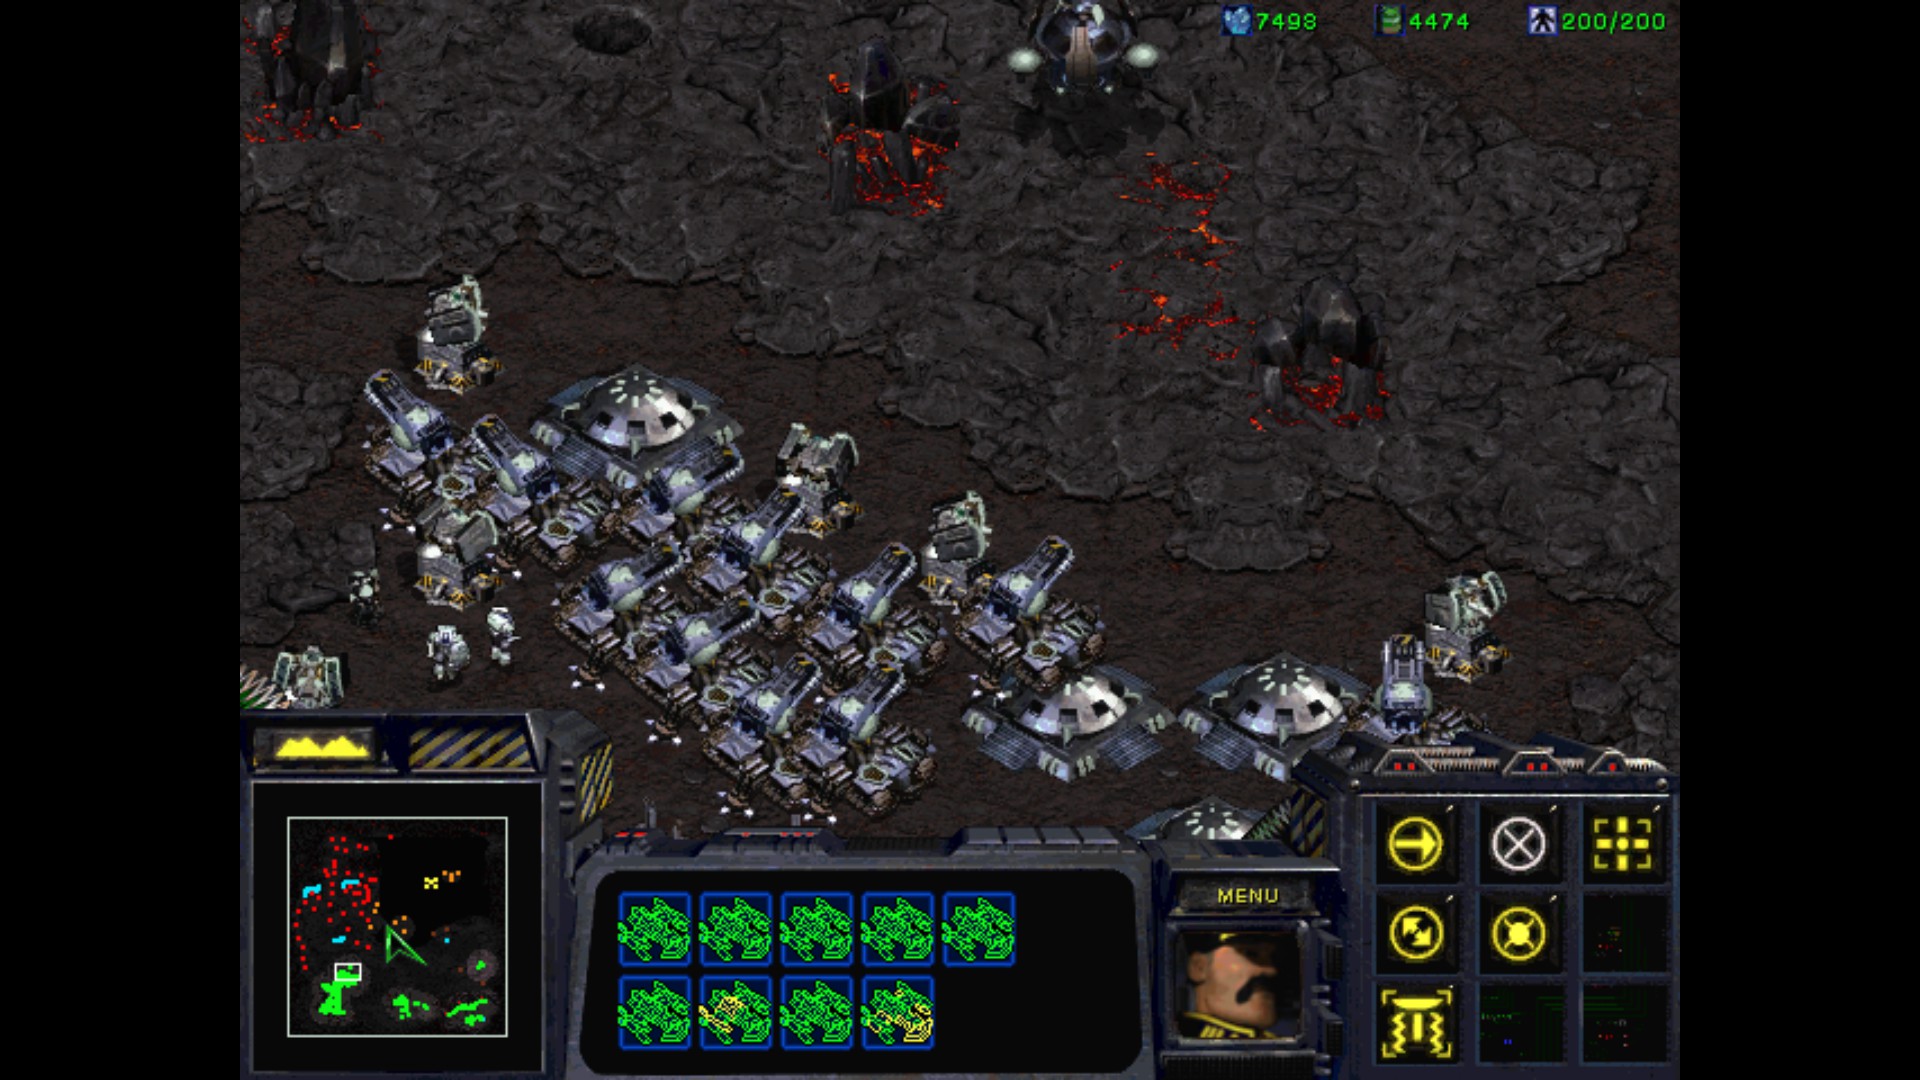
The attacks on the north opening aren't that bad for now. But knowing how much resources I have, I make 12 of Tanks plus more Turrets / soldiers to fight off the bigger raids.
It's time to make Wraiths, and to drop our SCV's into the little place on the west to gather more resources for me.
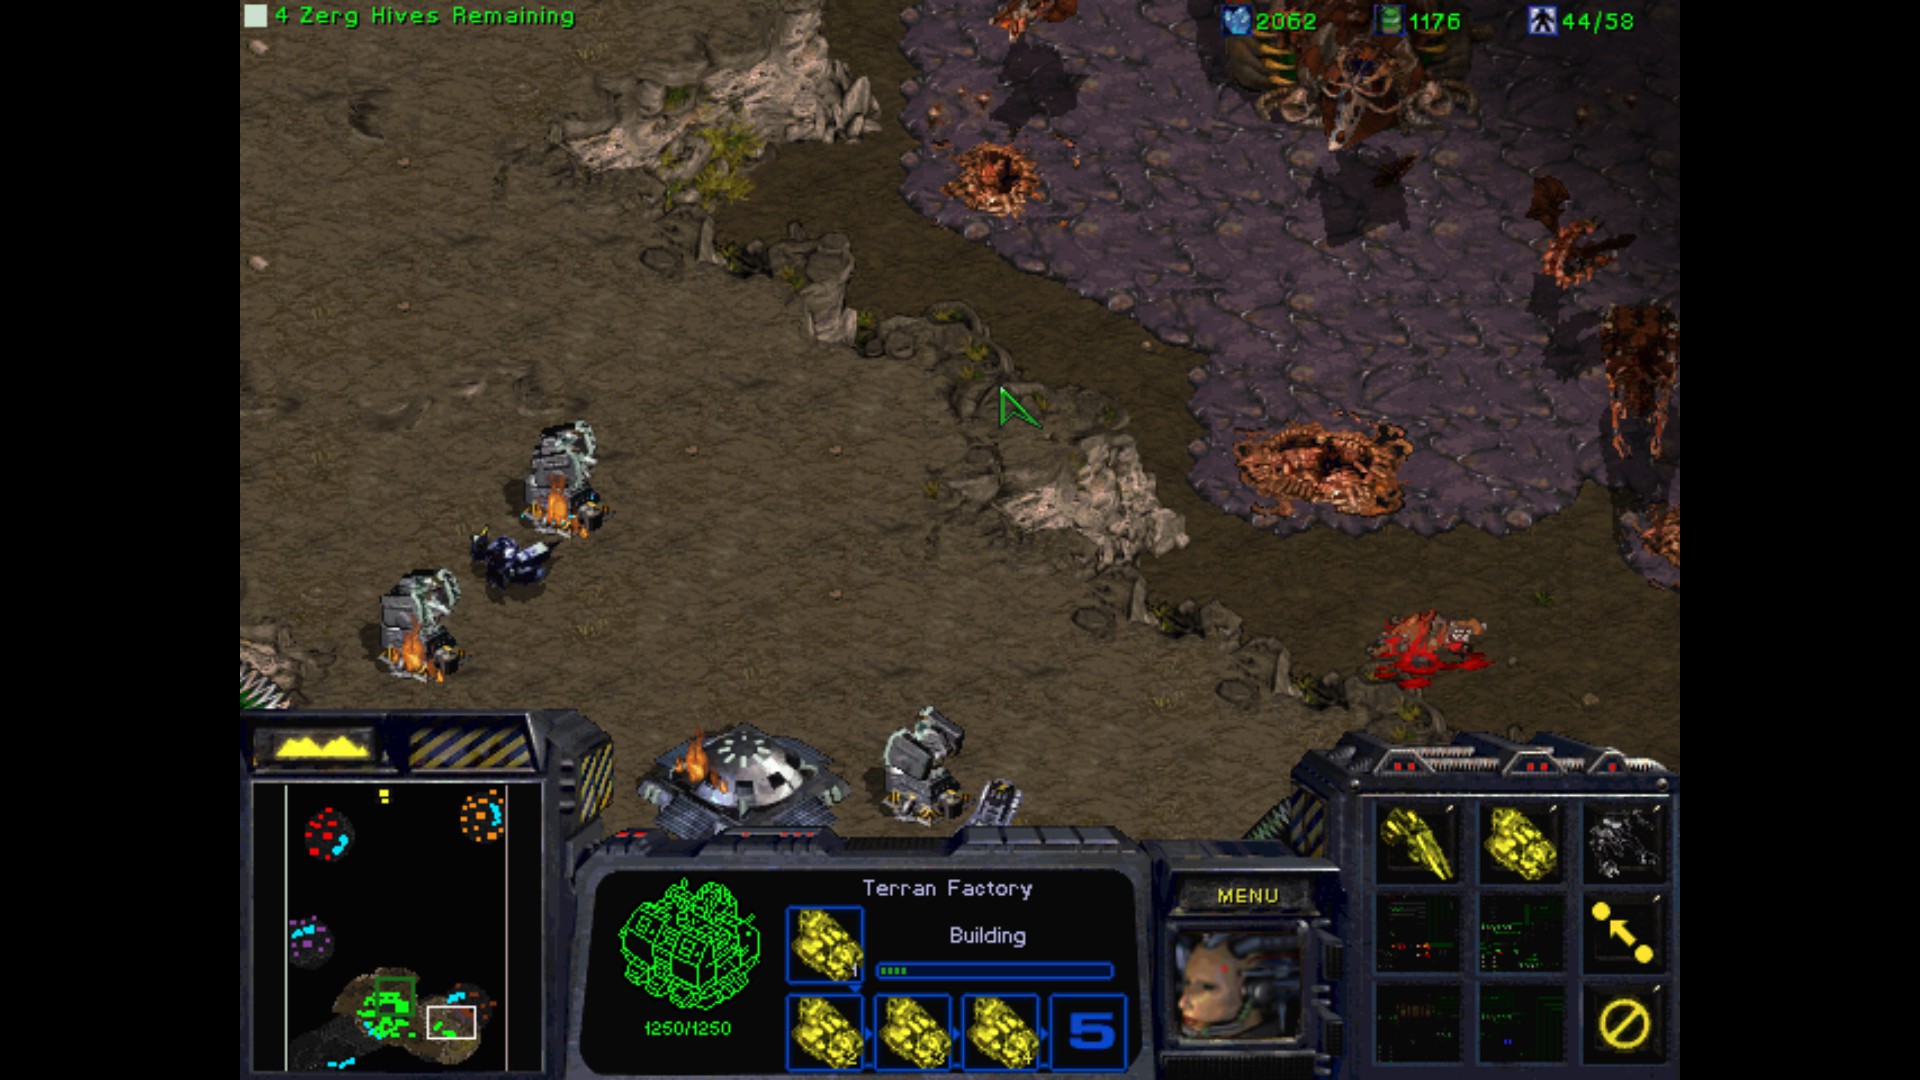
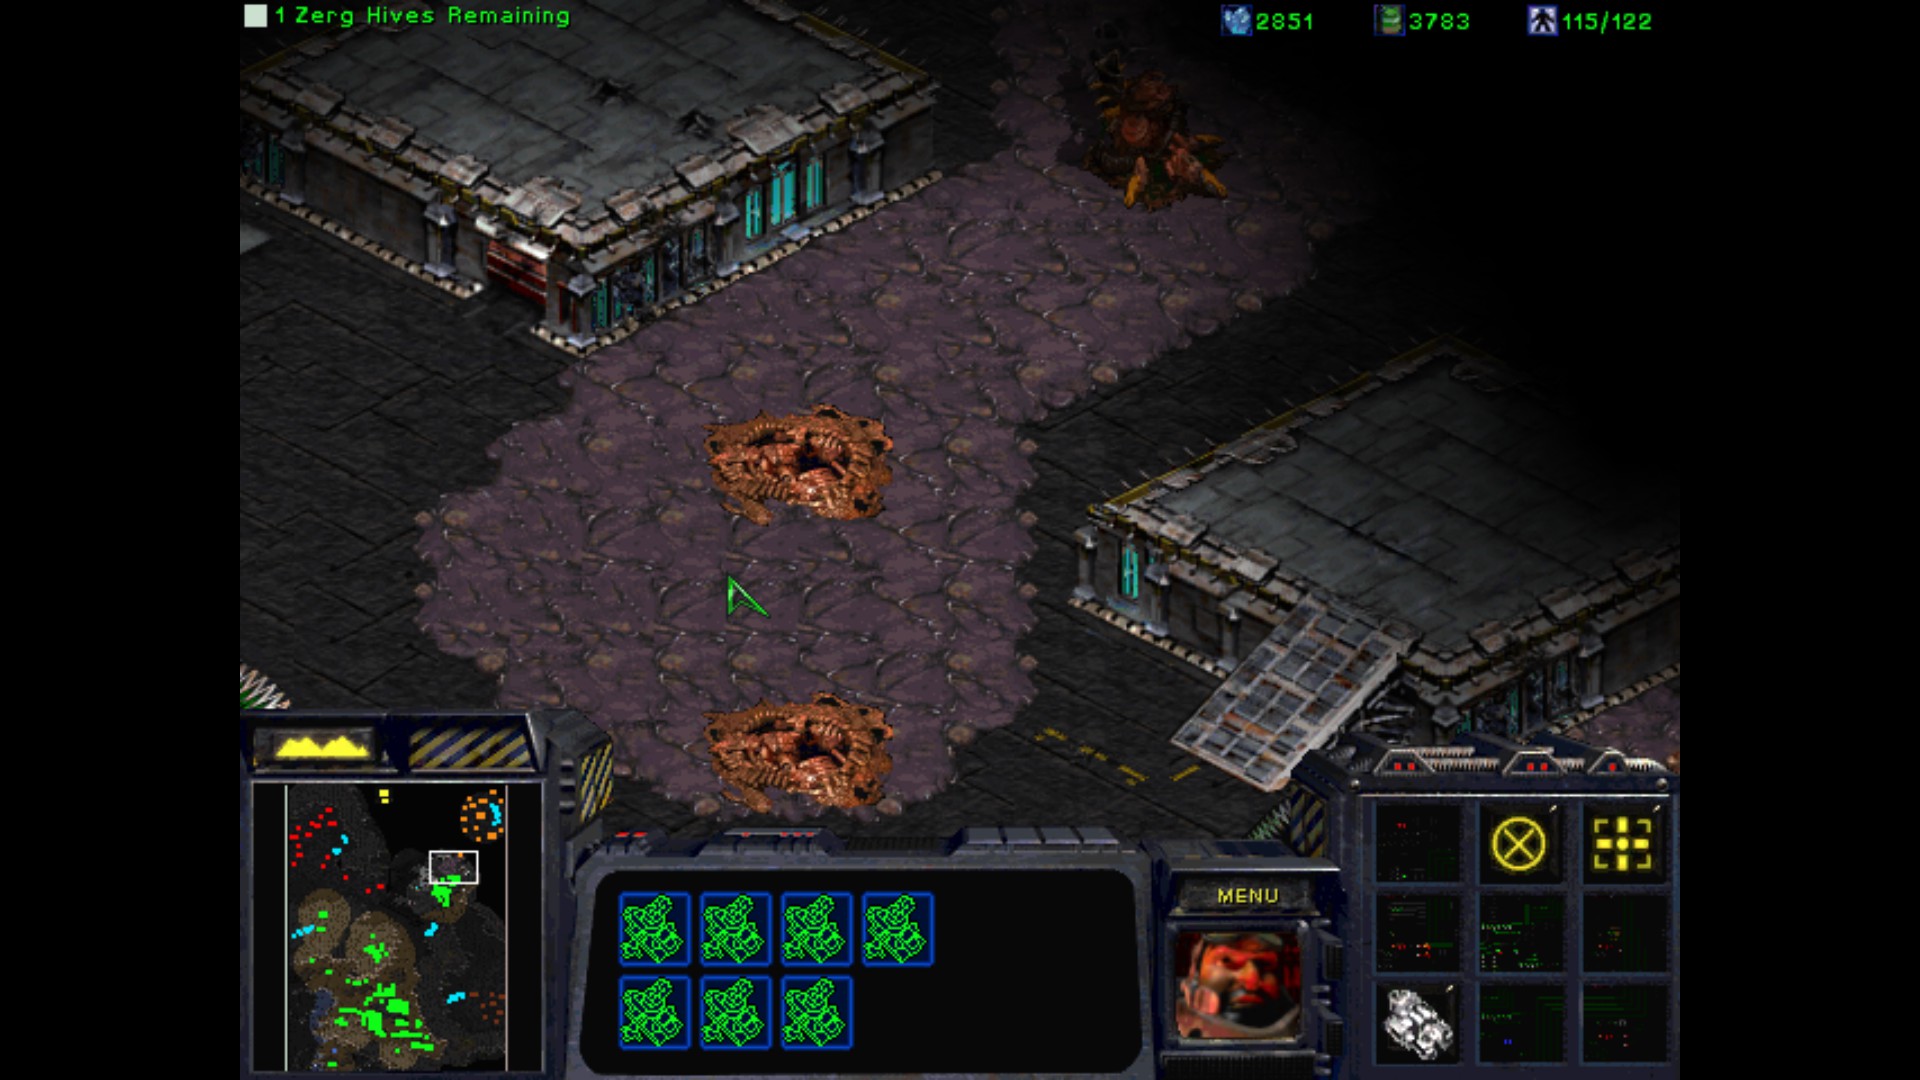
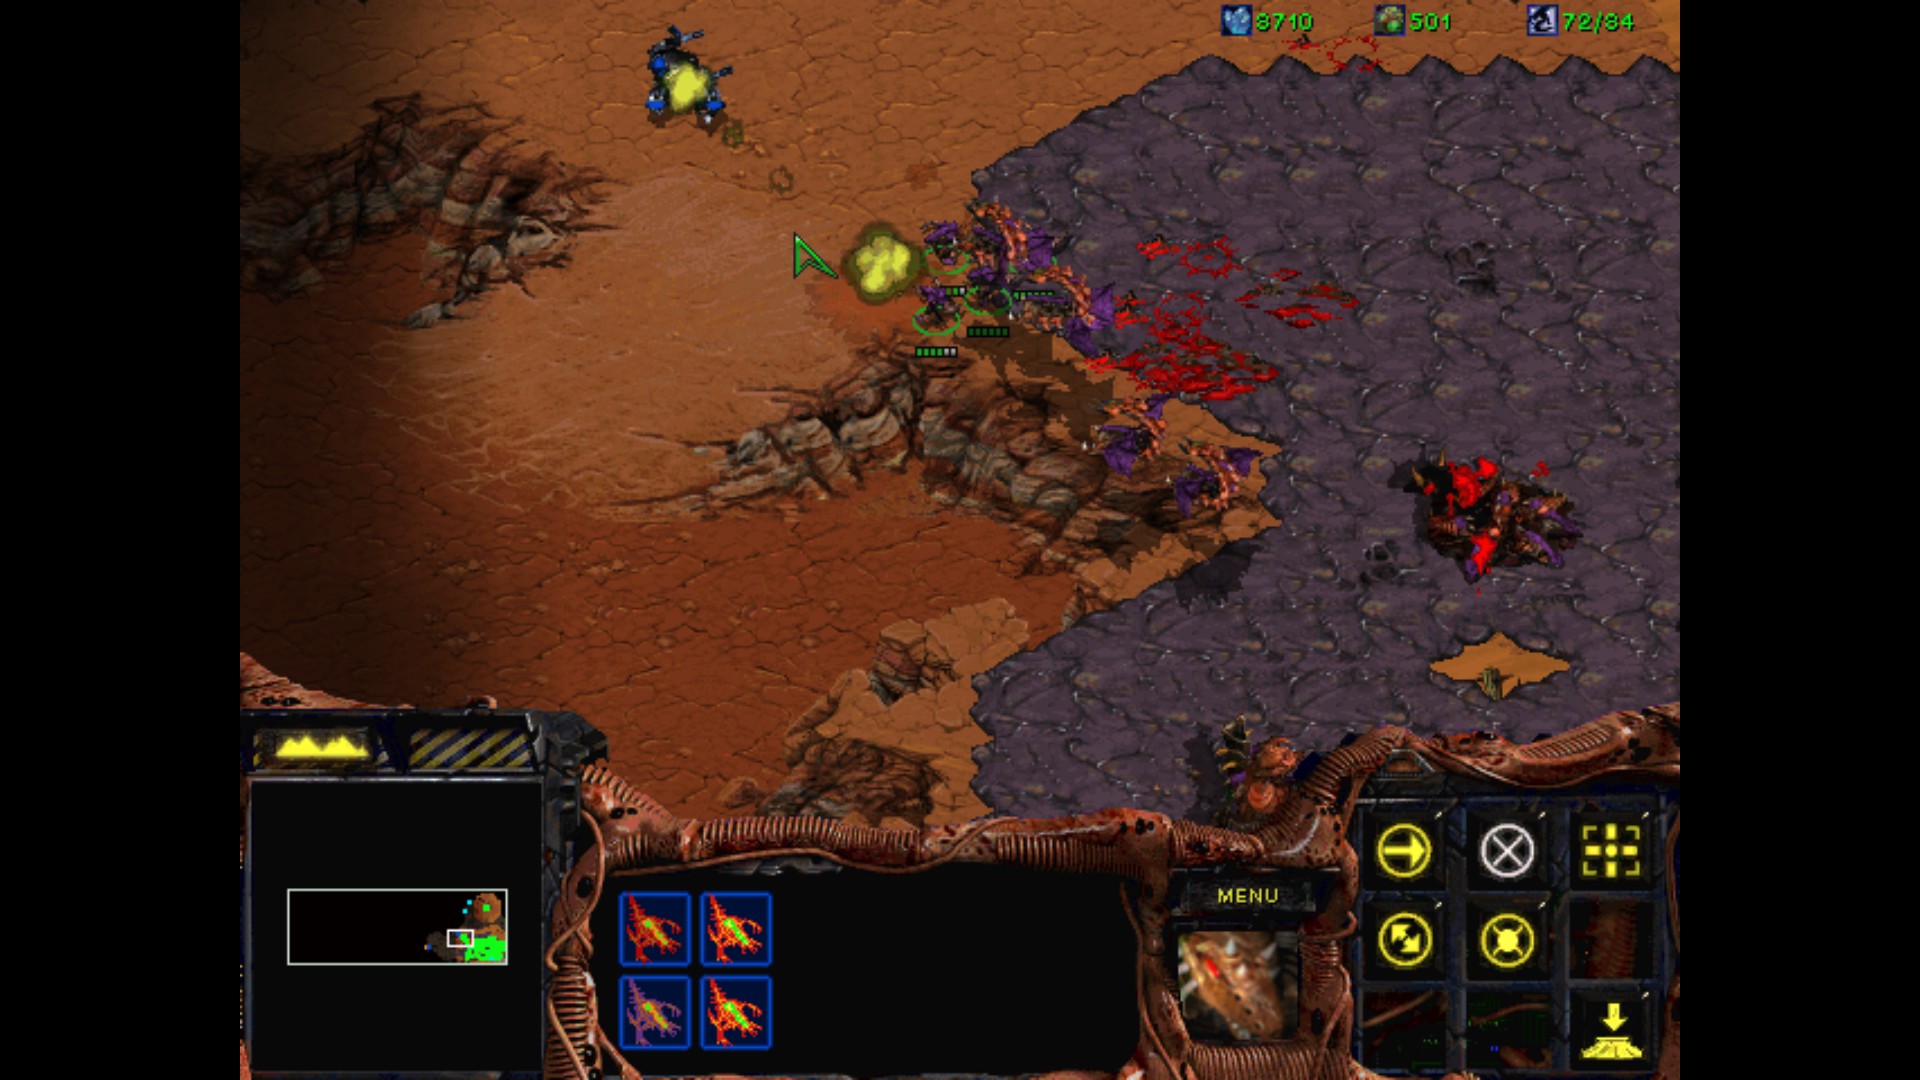
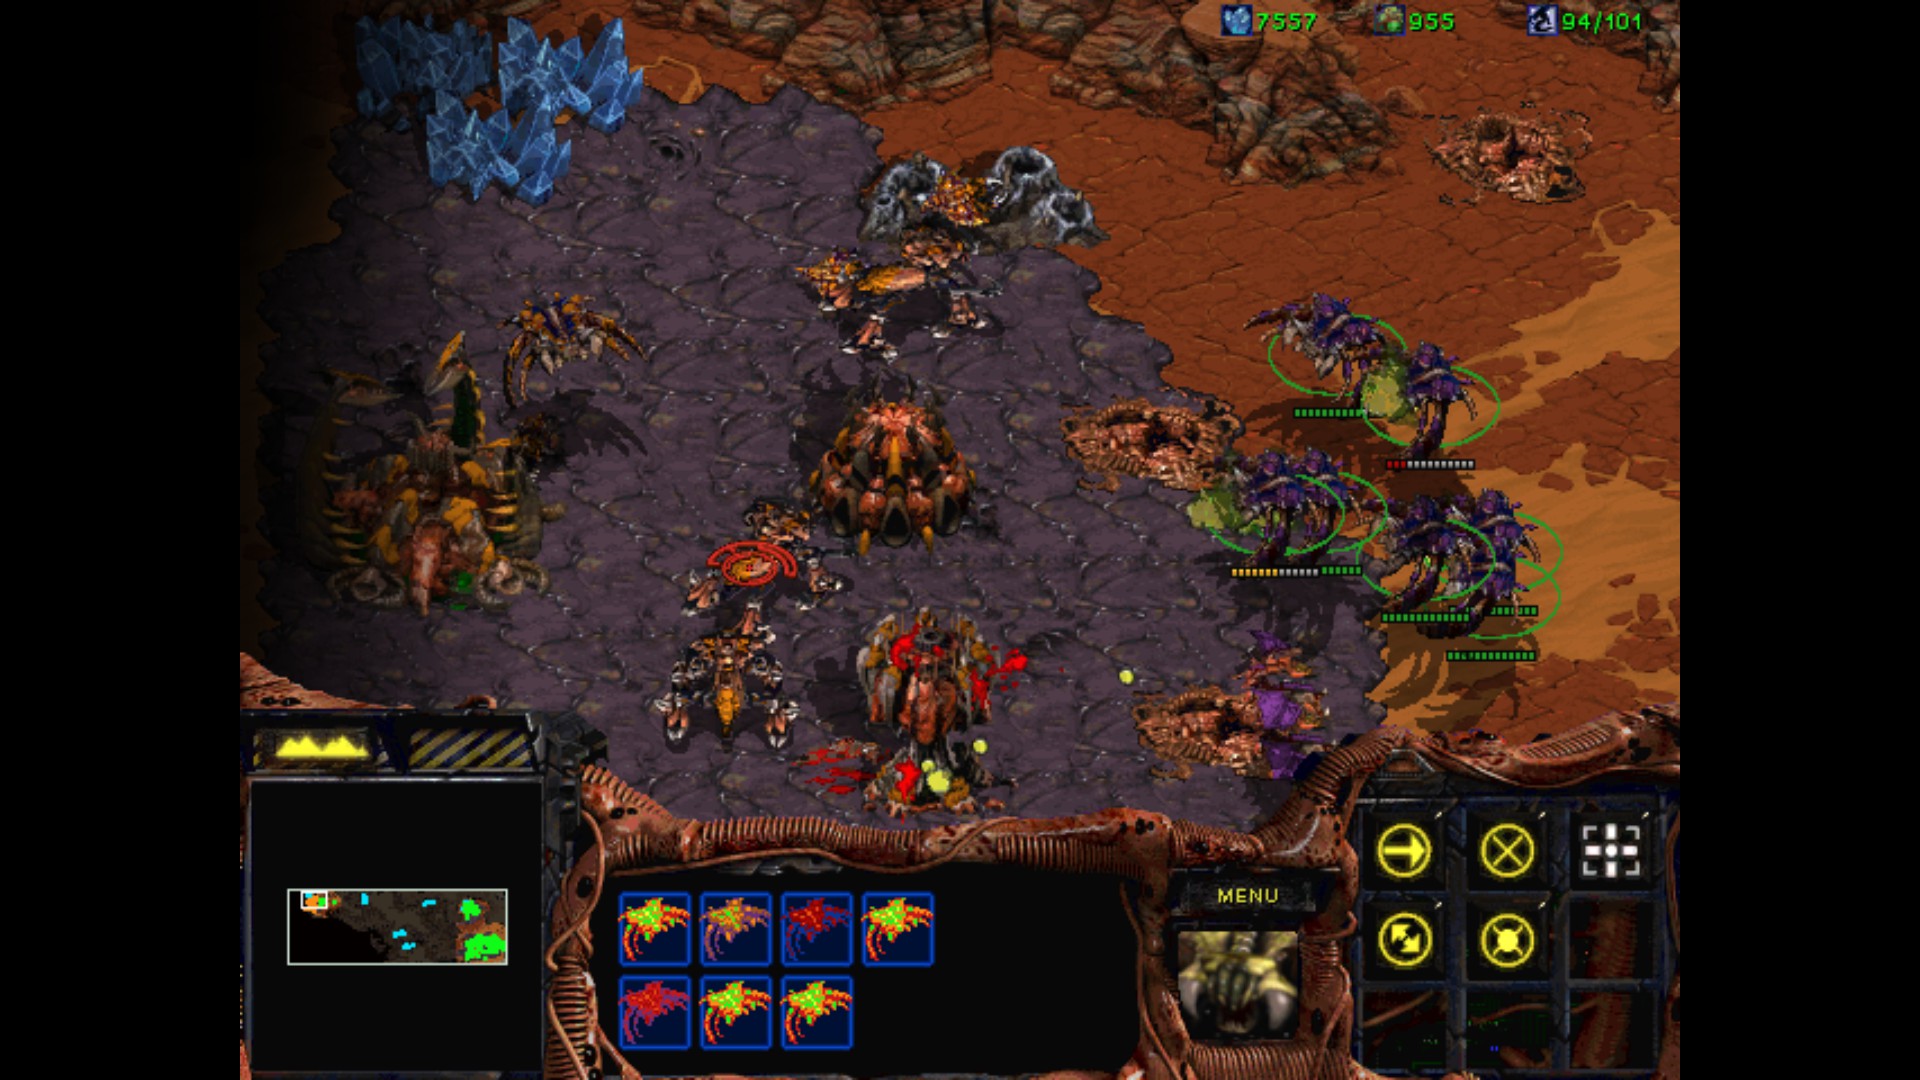
The Violet / Purple brood is next on my list. SCV will be making a 2 bunkers / Turrets to help the Tanks if needed.
Science Vessel is detecting big numbers of burrowed units. It's a total slaughter and the Overlords are trying the resolve the situation but with no success. The Hive is already so near that it takes only a little push to make Tanks attack it and get rid off another Zerg.
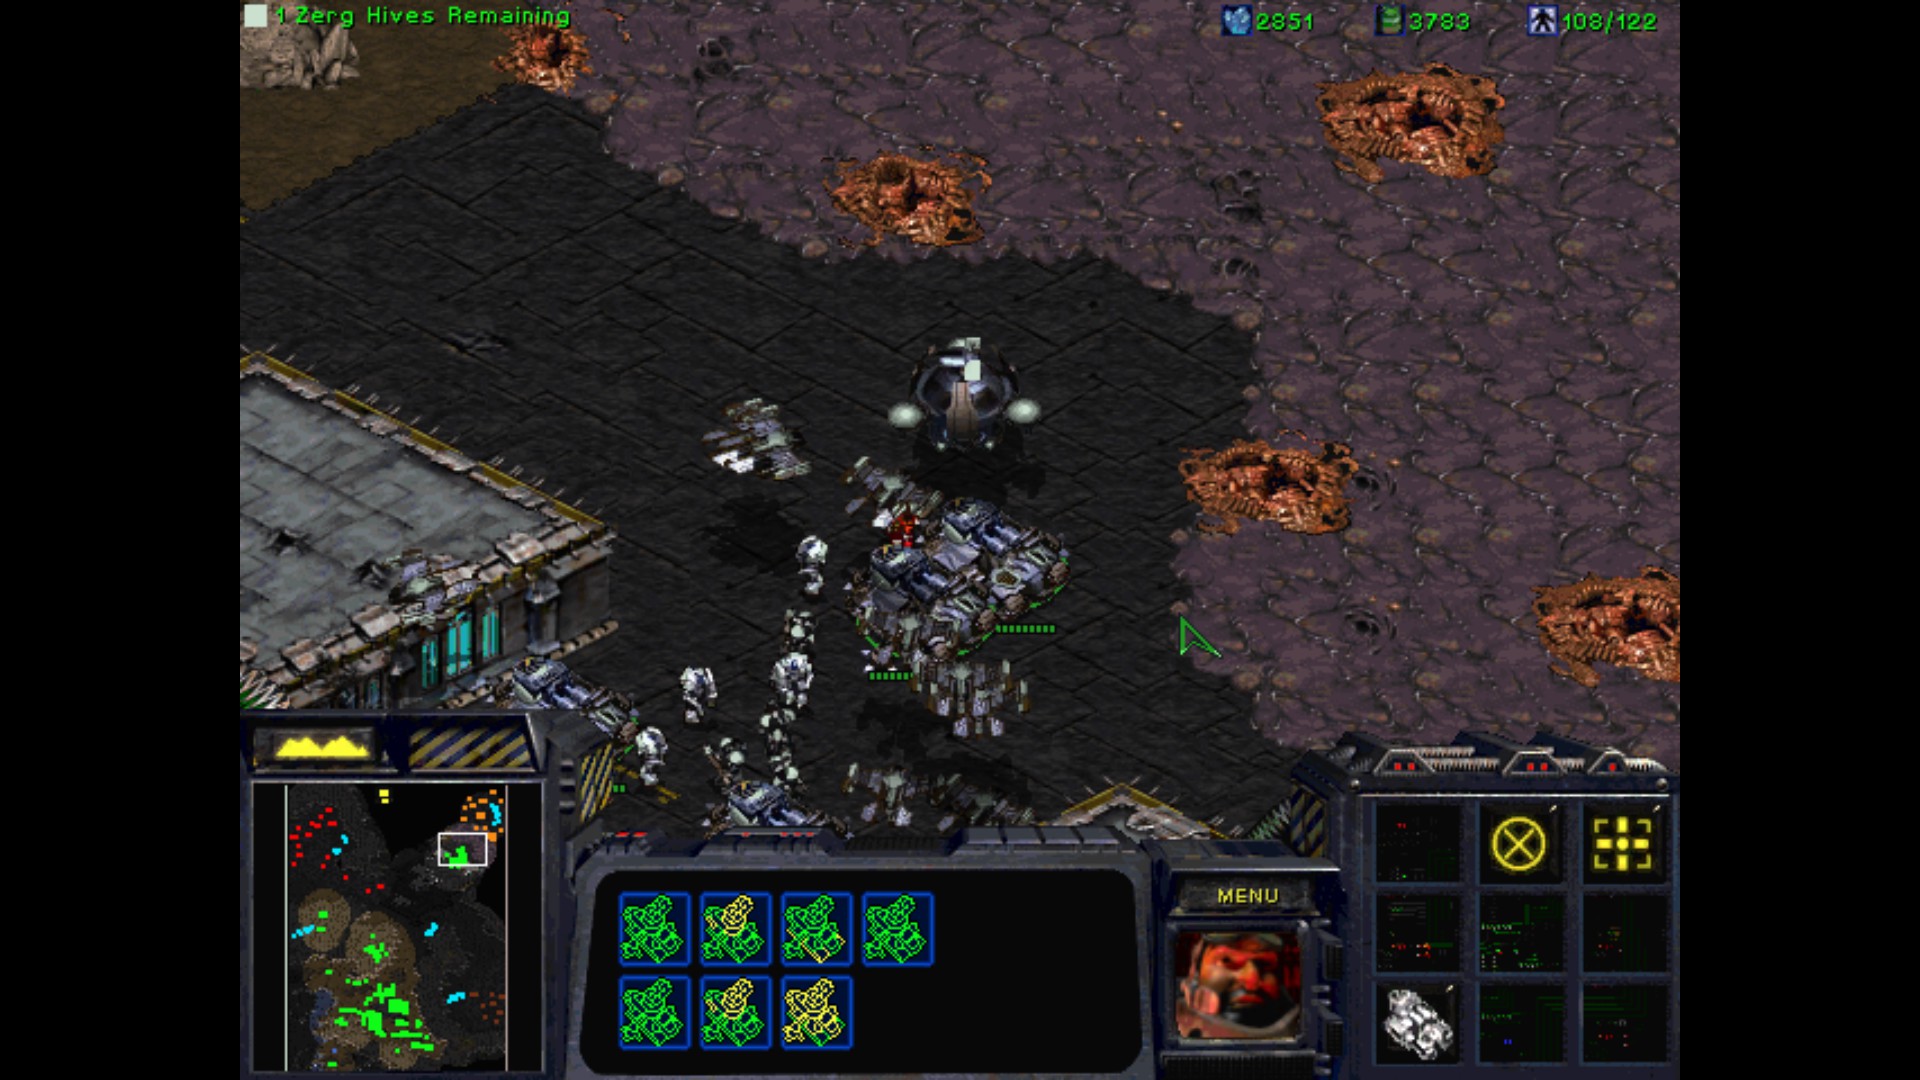
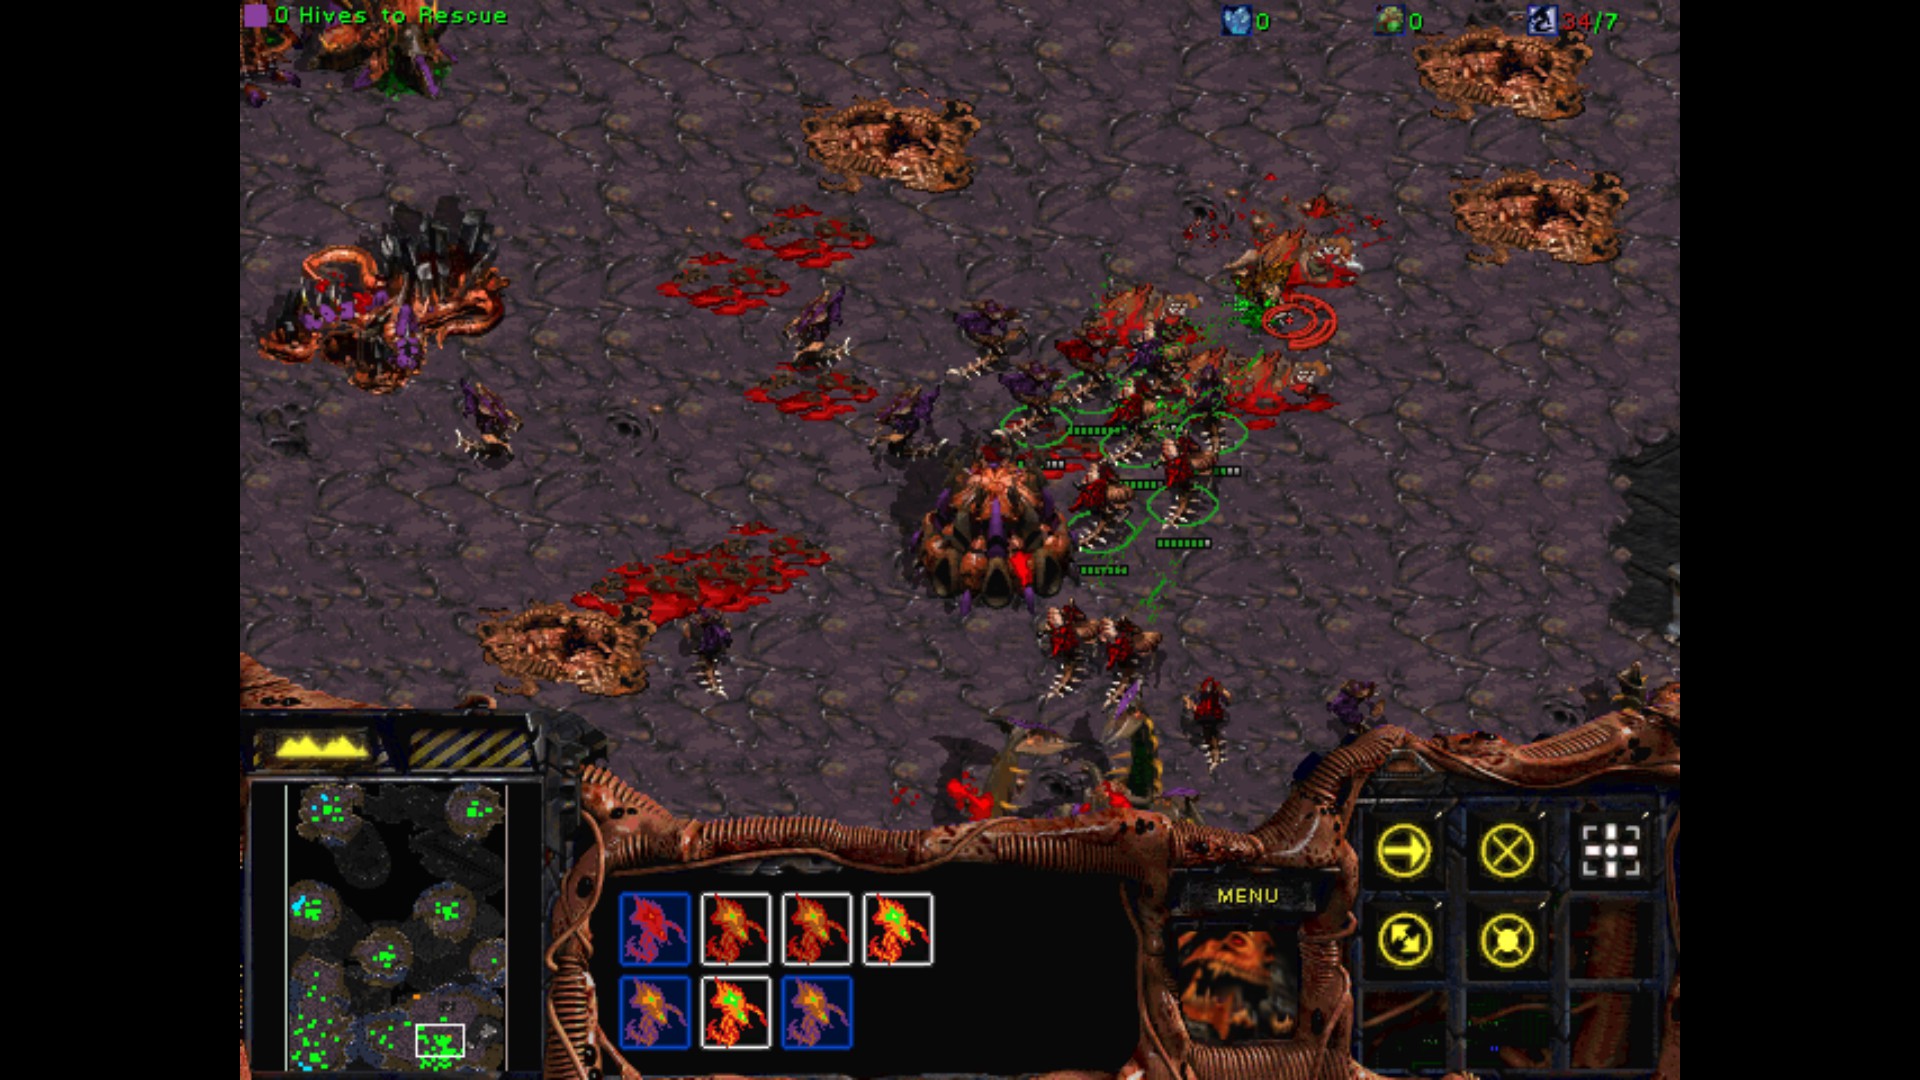
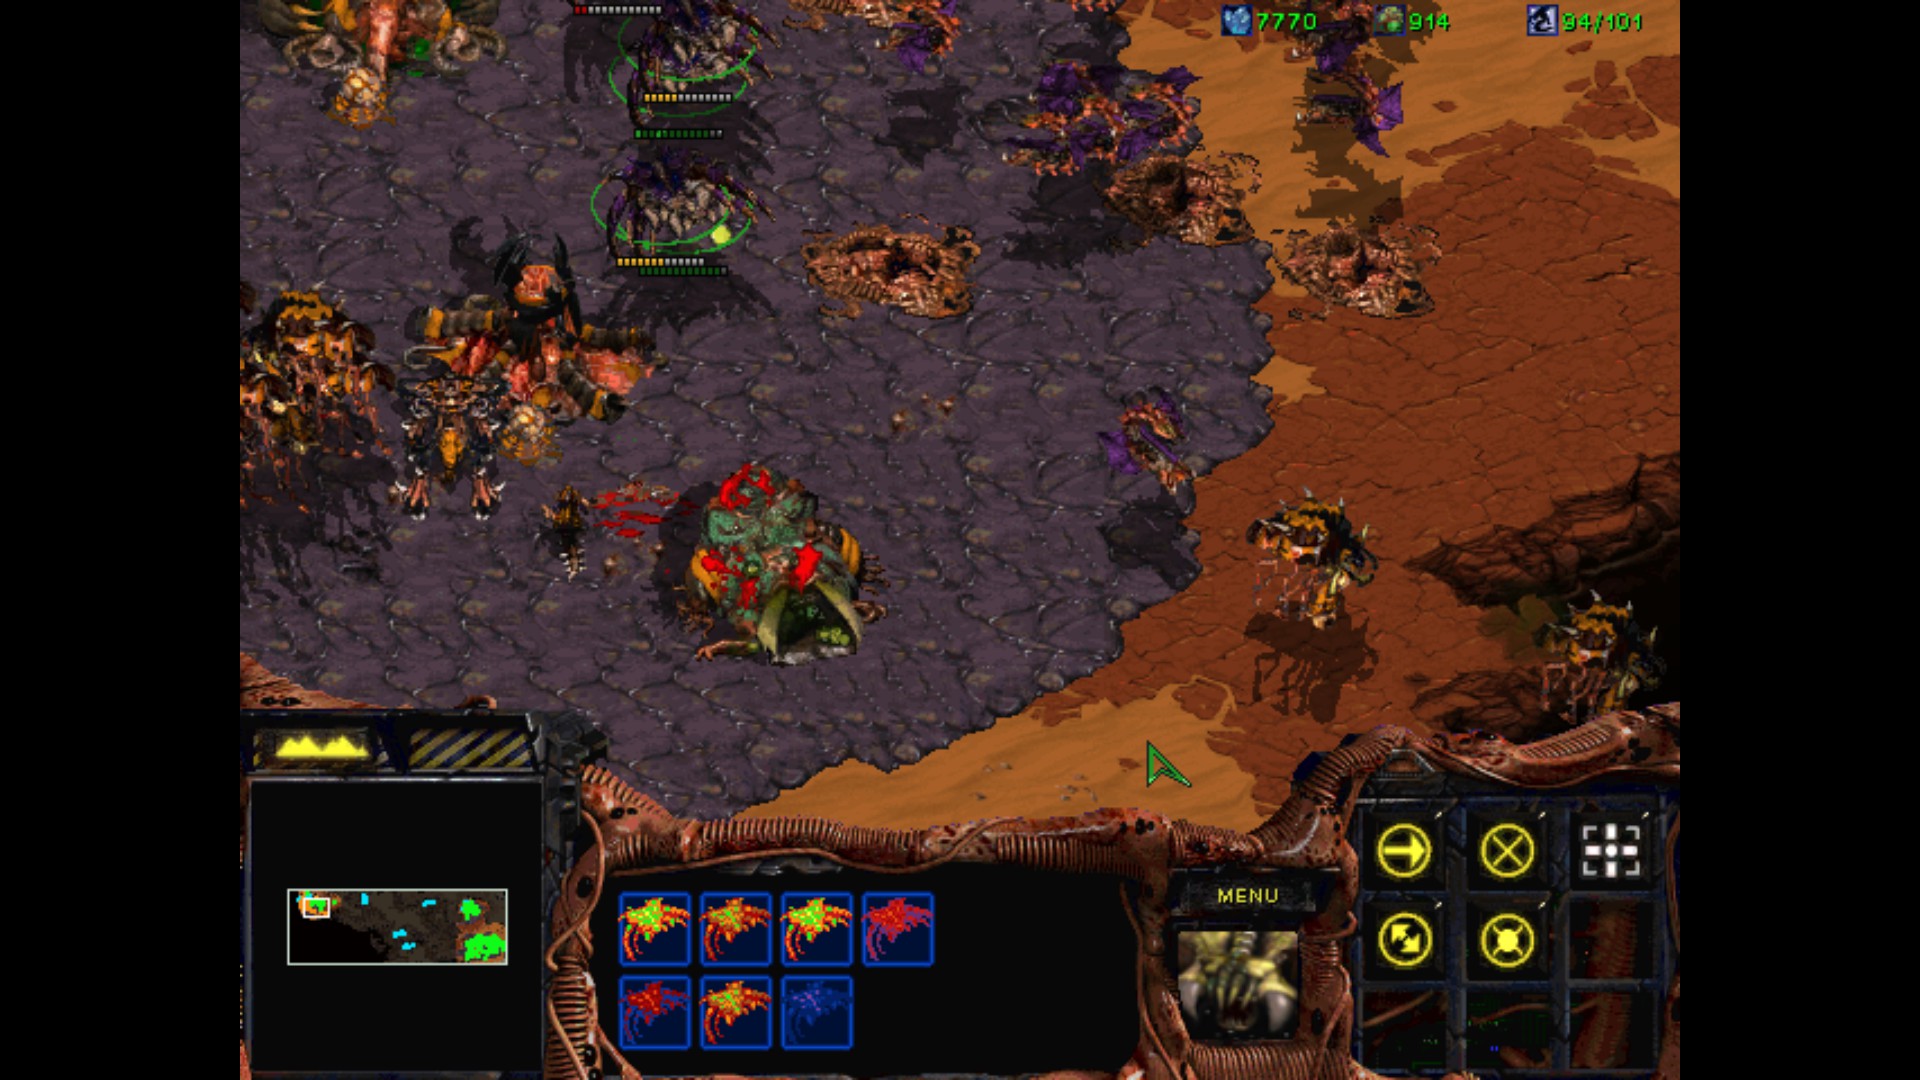
Damn, Ultralisks raids started. The Red brood is only up the north to the Violet one, so he will go next.
Another neutral Zerg. I'm cleaning up the whole hill from the remaining Zergs to have a good spot for defending my base.
I'm securing here a nice group of units. The Tanks will be shooting the incoming Ultralisks without being endangered. Which reminds me, that I need to take my Wraiths for a quick spin into the red base.
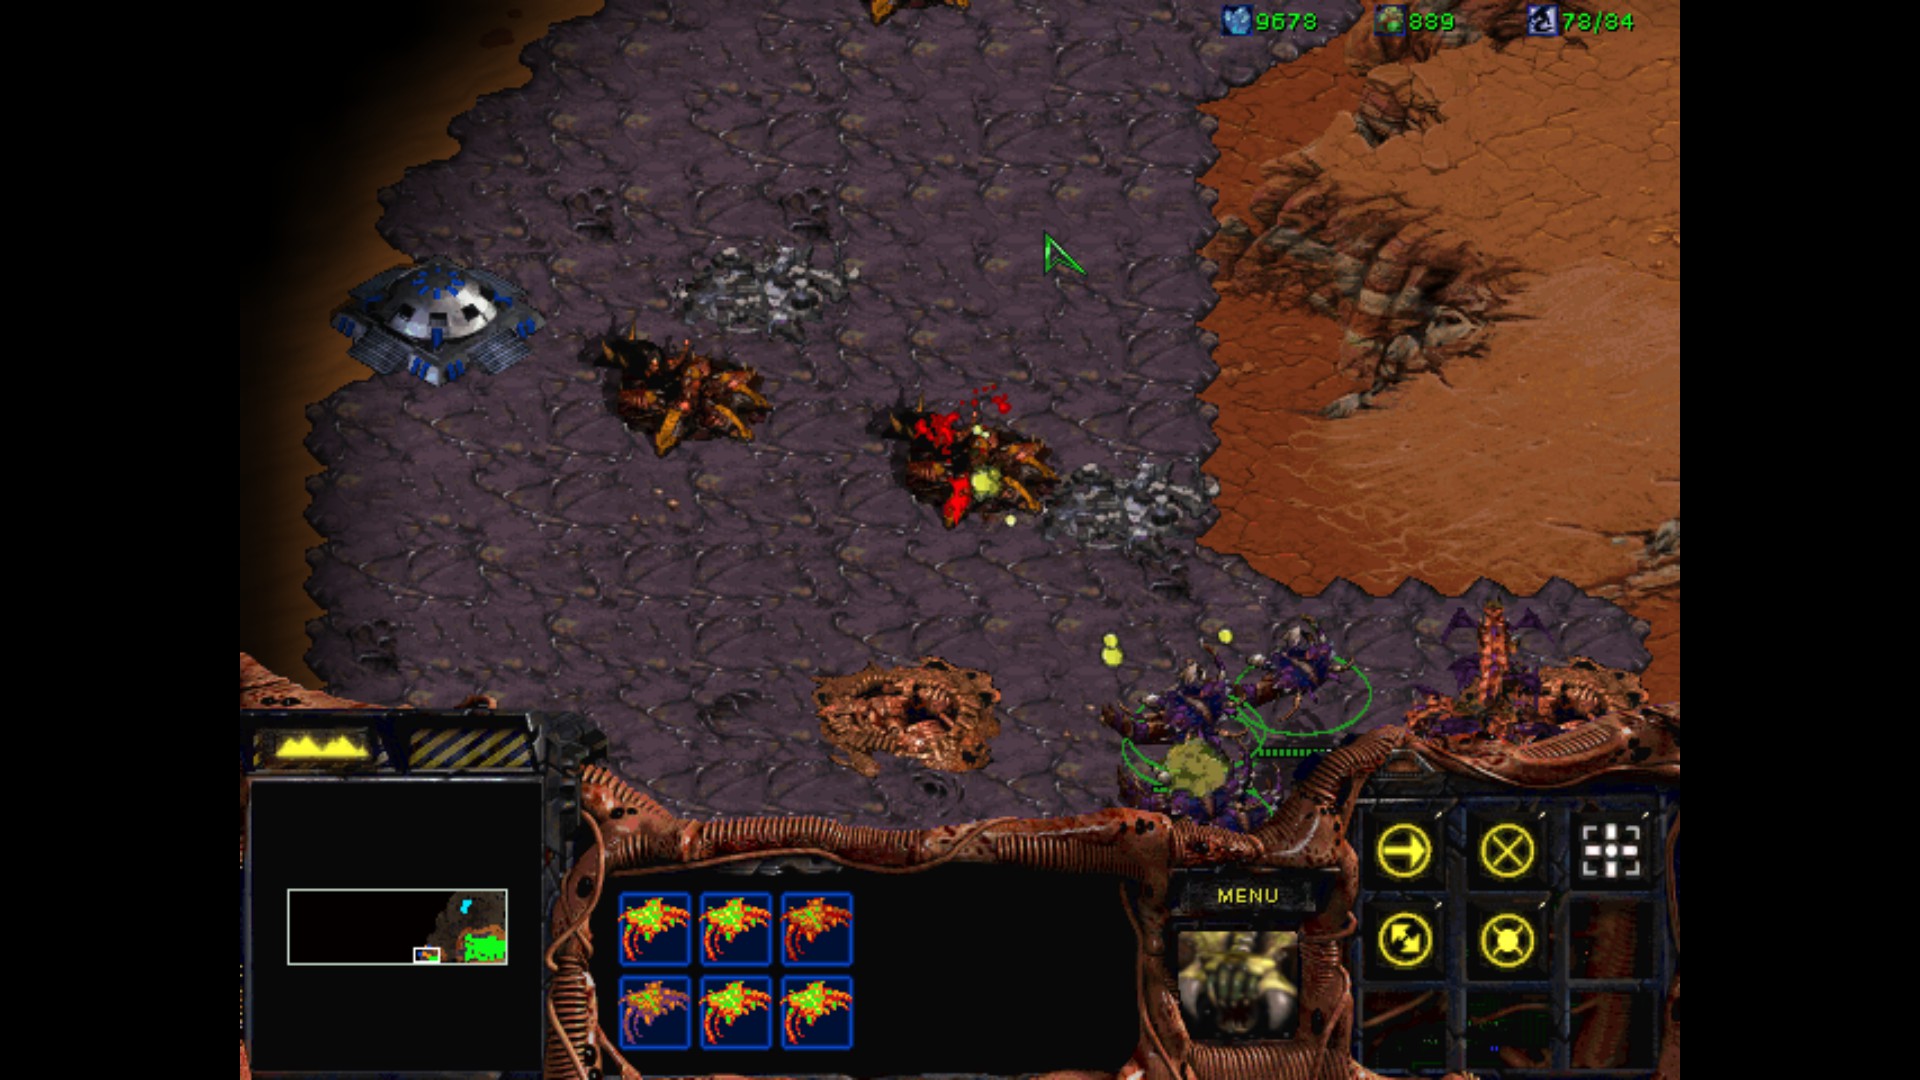
Wait, what? Only Sunken Colonies and Ultralisks all arround. Good timing, I just use Wraiths to destroy another Hive.
Not a single Spore Colony or Hydralisk. It looks to me, this Brood was specialized for brutal frontal attacks and it was the other ones that would be fighting in air.
Speaking of which...
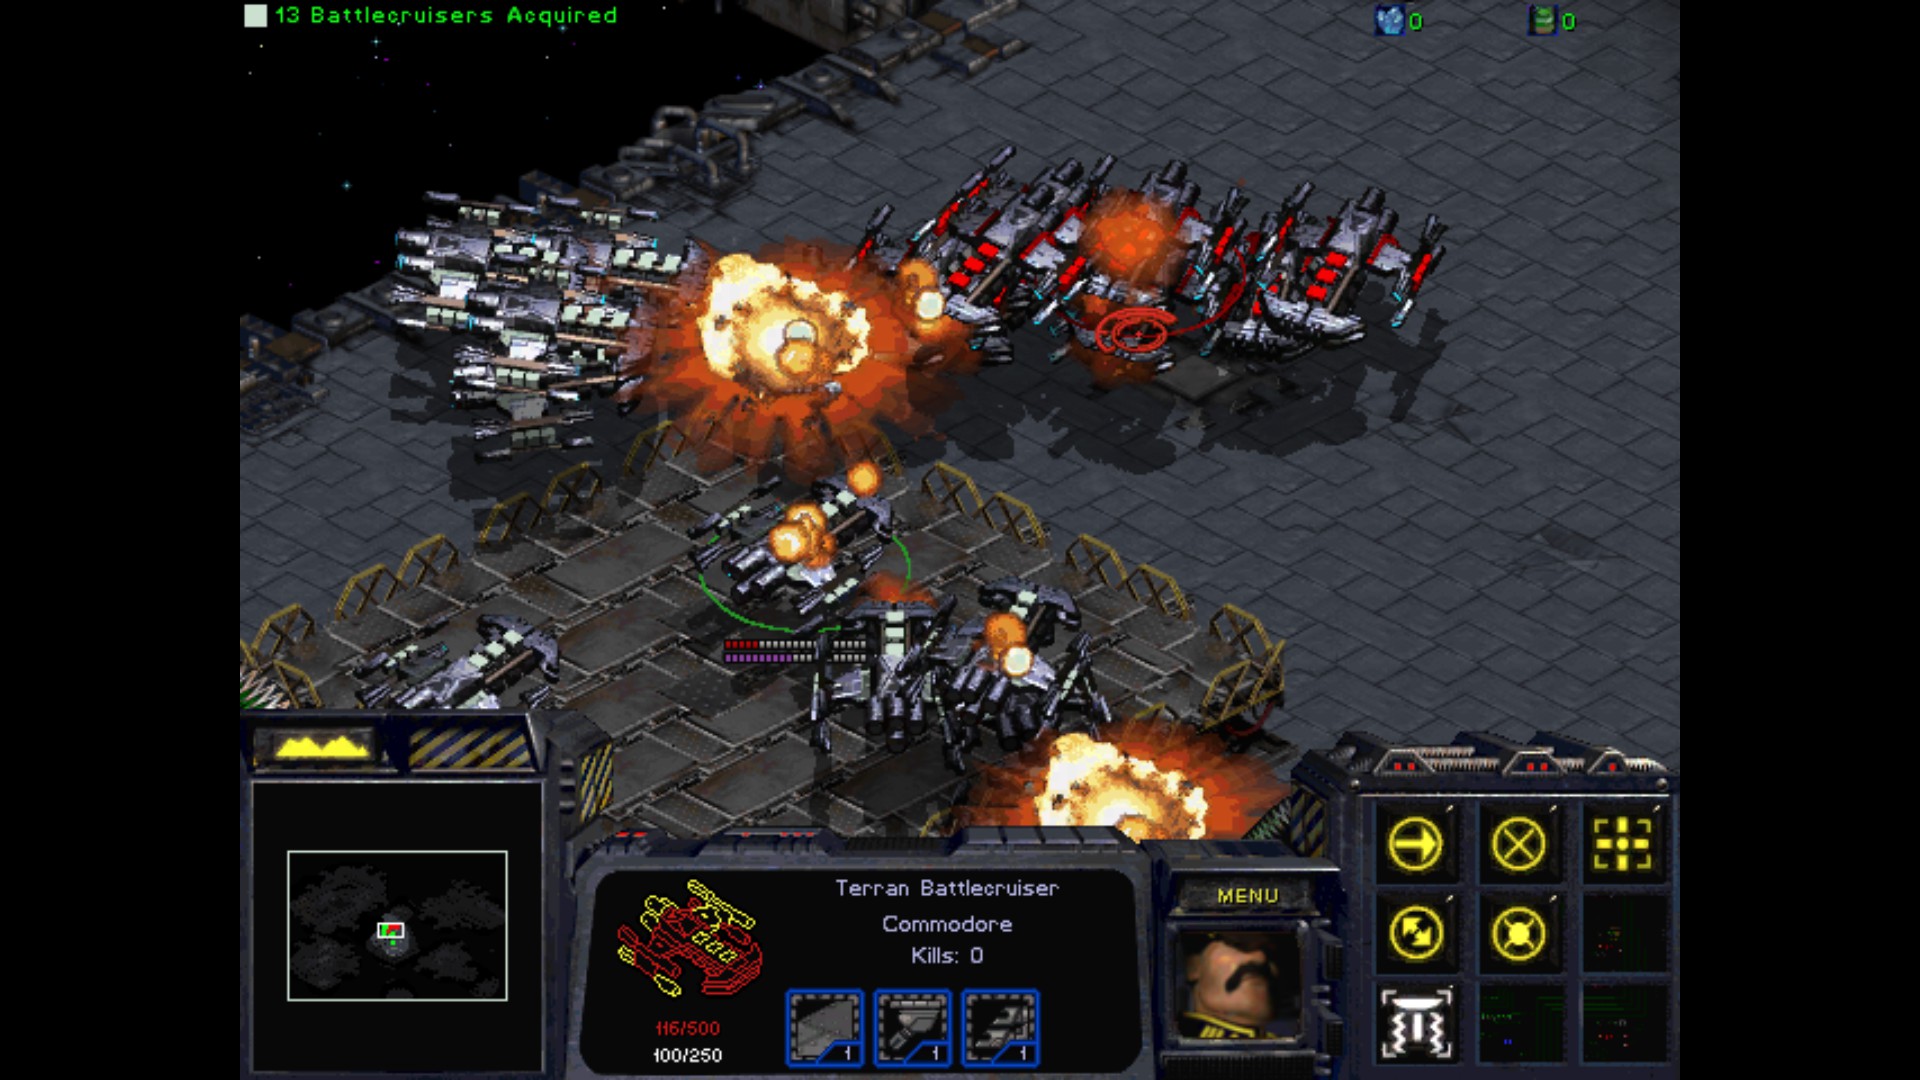
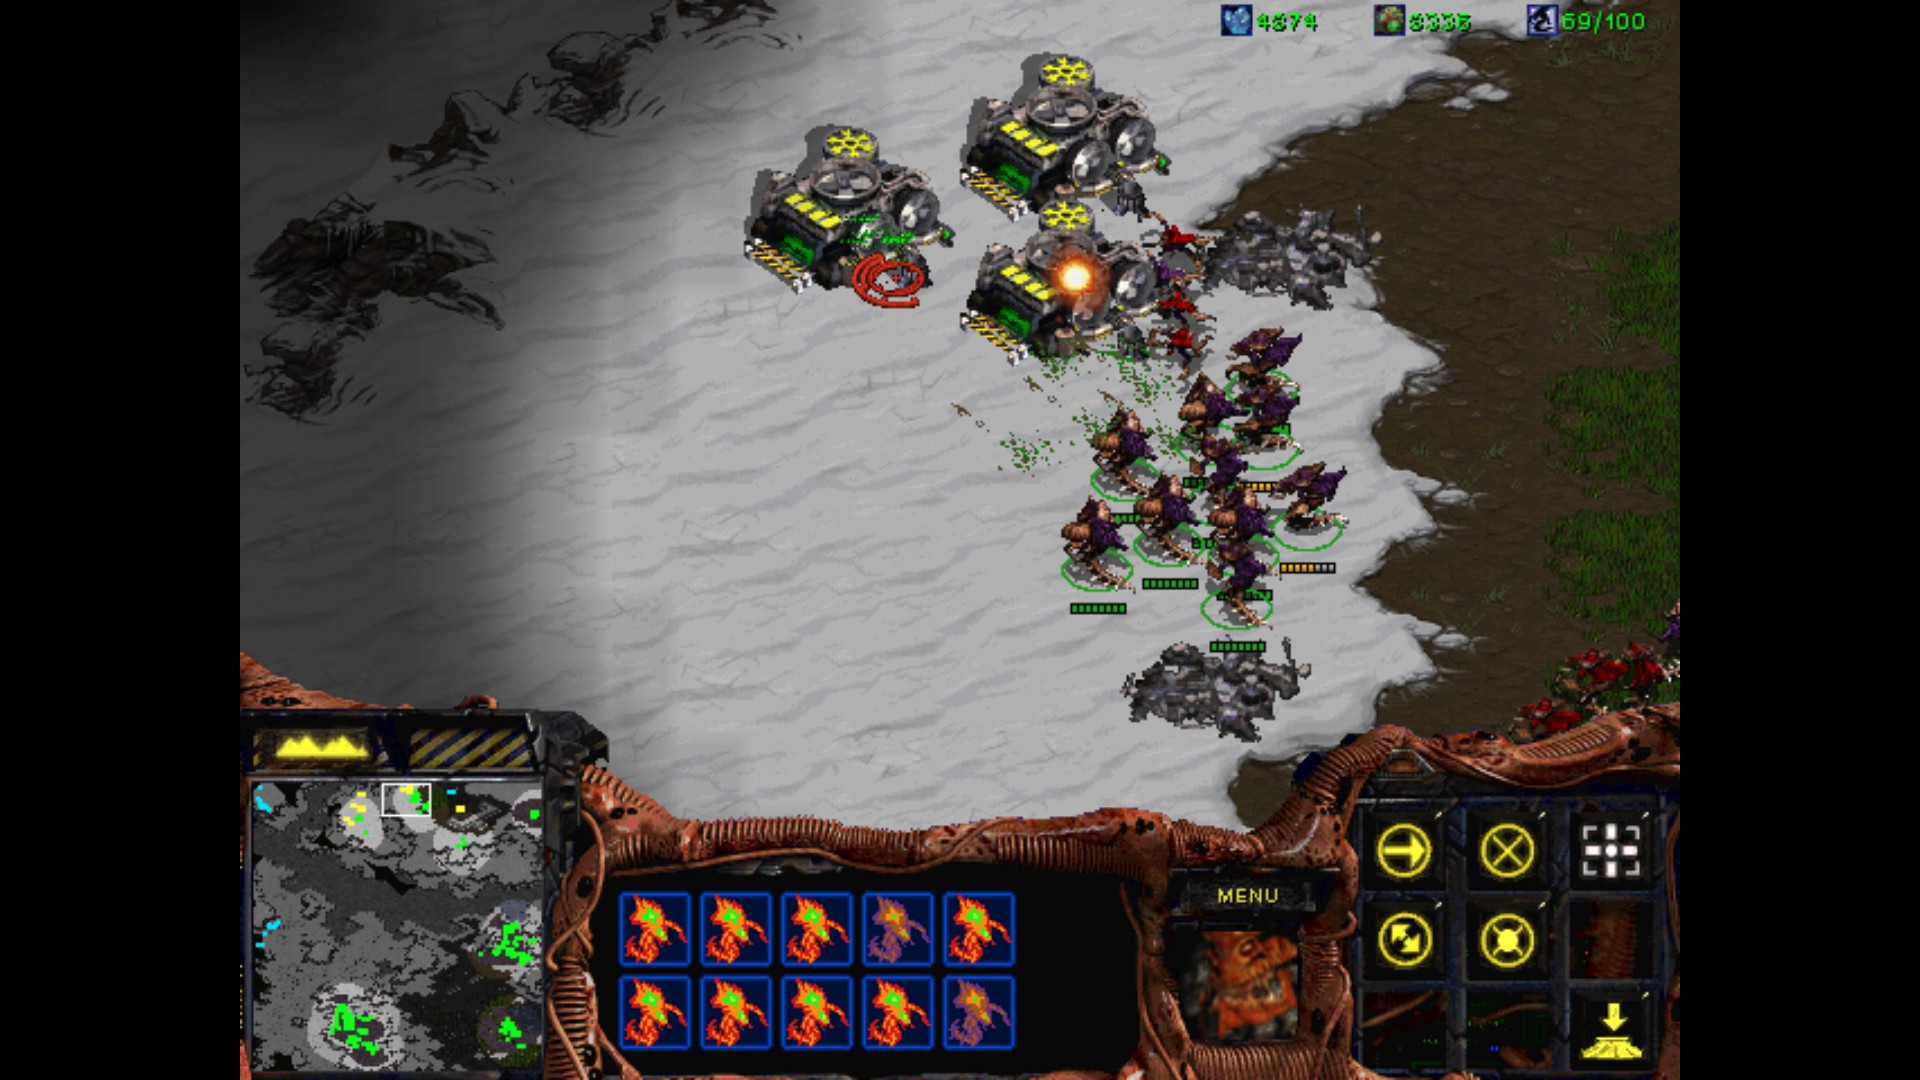
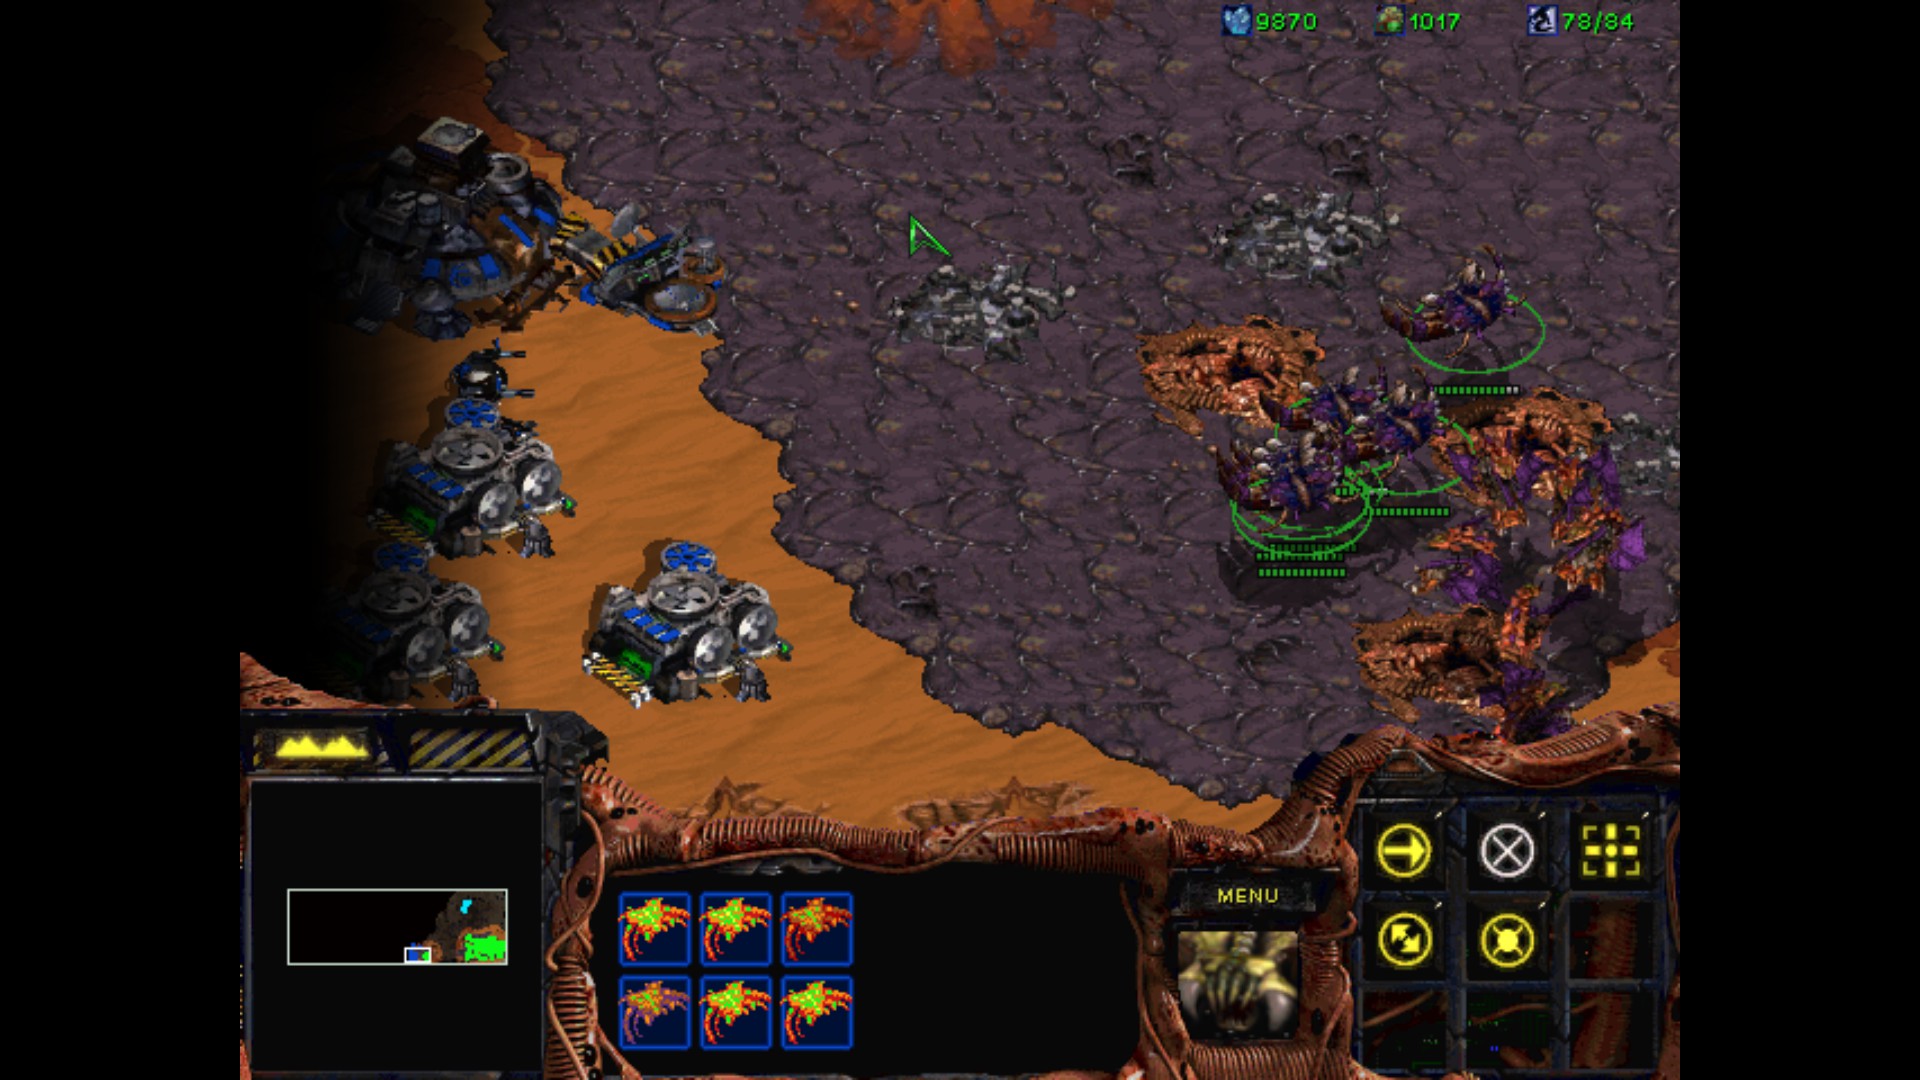
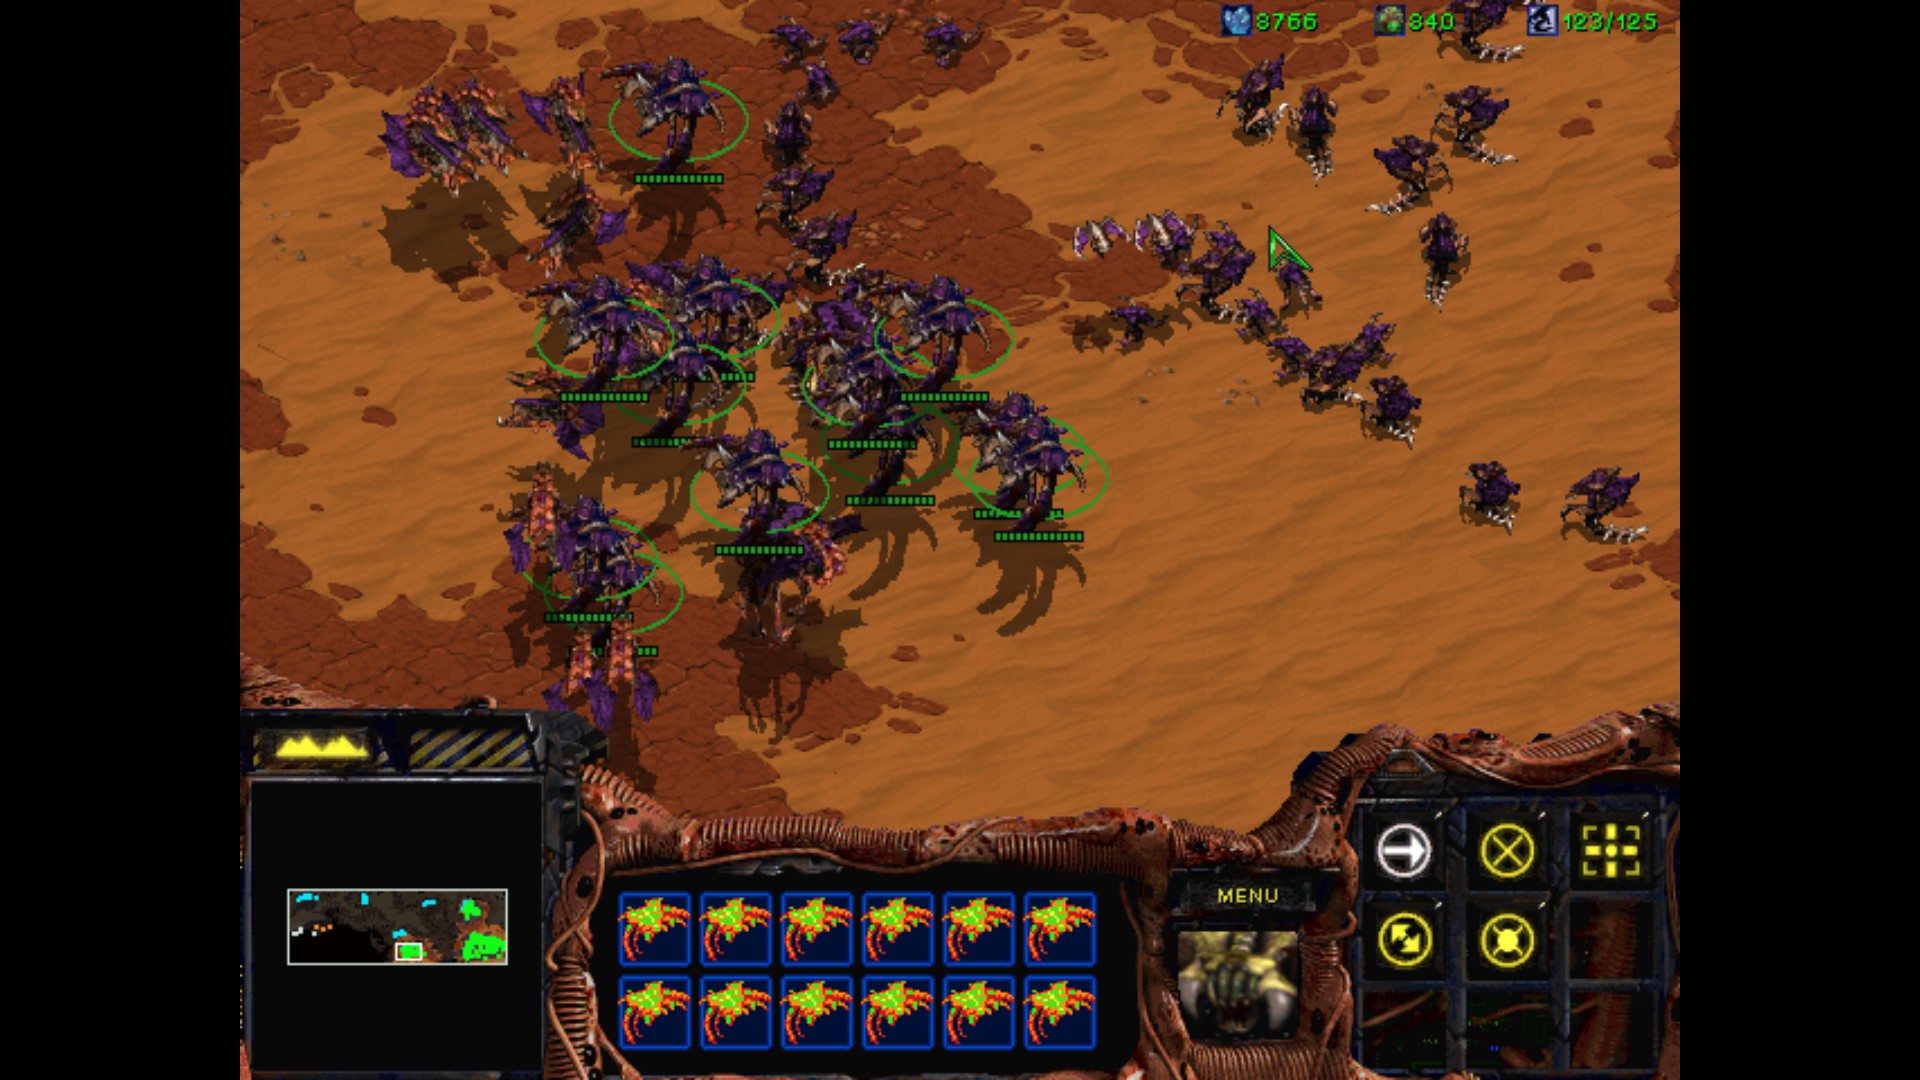
One last move remaining. As I don't want to leave single Hive untouched, I take a group of Tanks plus ground troops, Science Vessel and Wraiths for the last confrontation in this mission.
It was a good idea to attack, because the remaining Hydralisks / Zerglings weren't big problem and the Mutalisks didn't outnumbered my Wraiths.
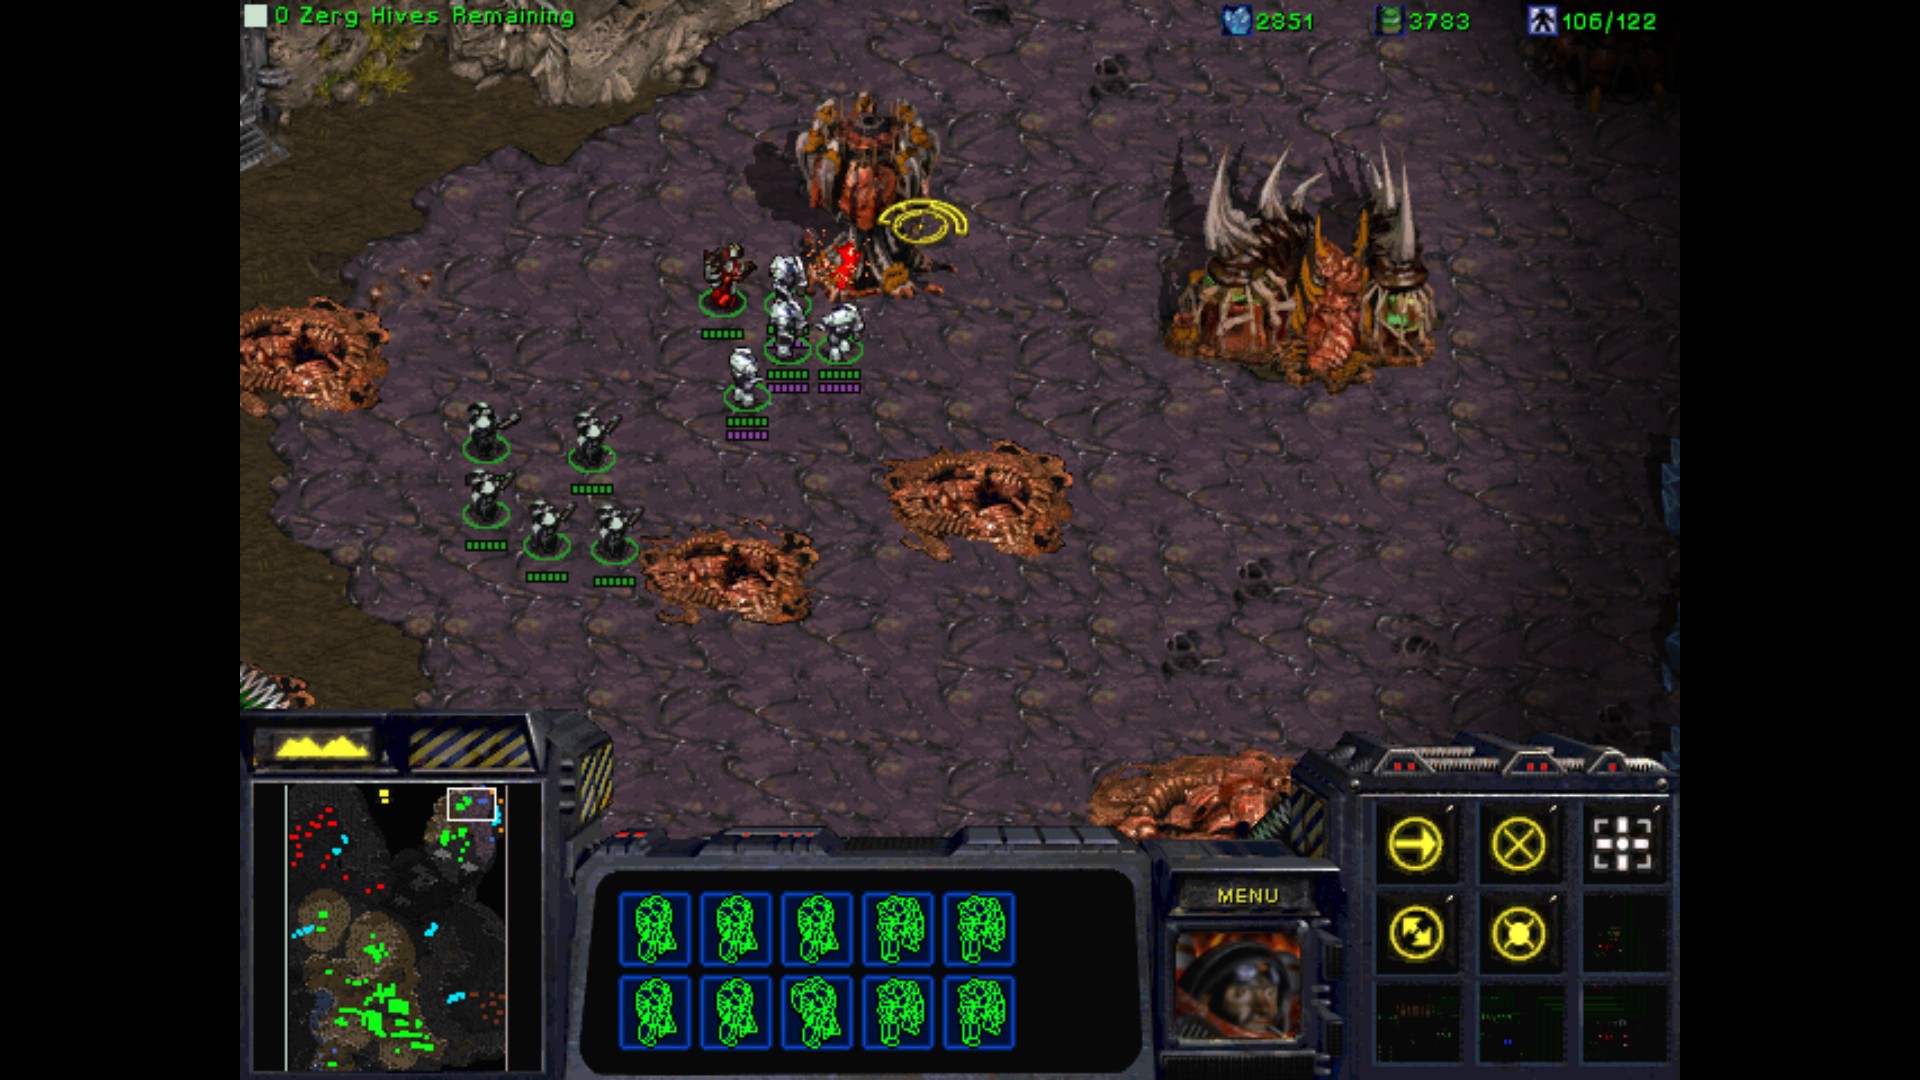
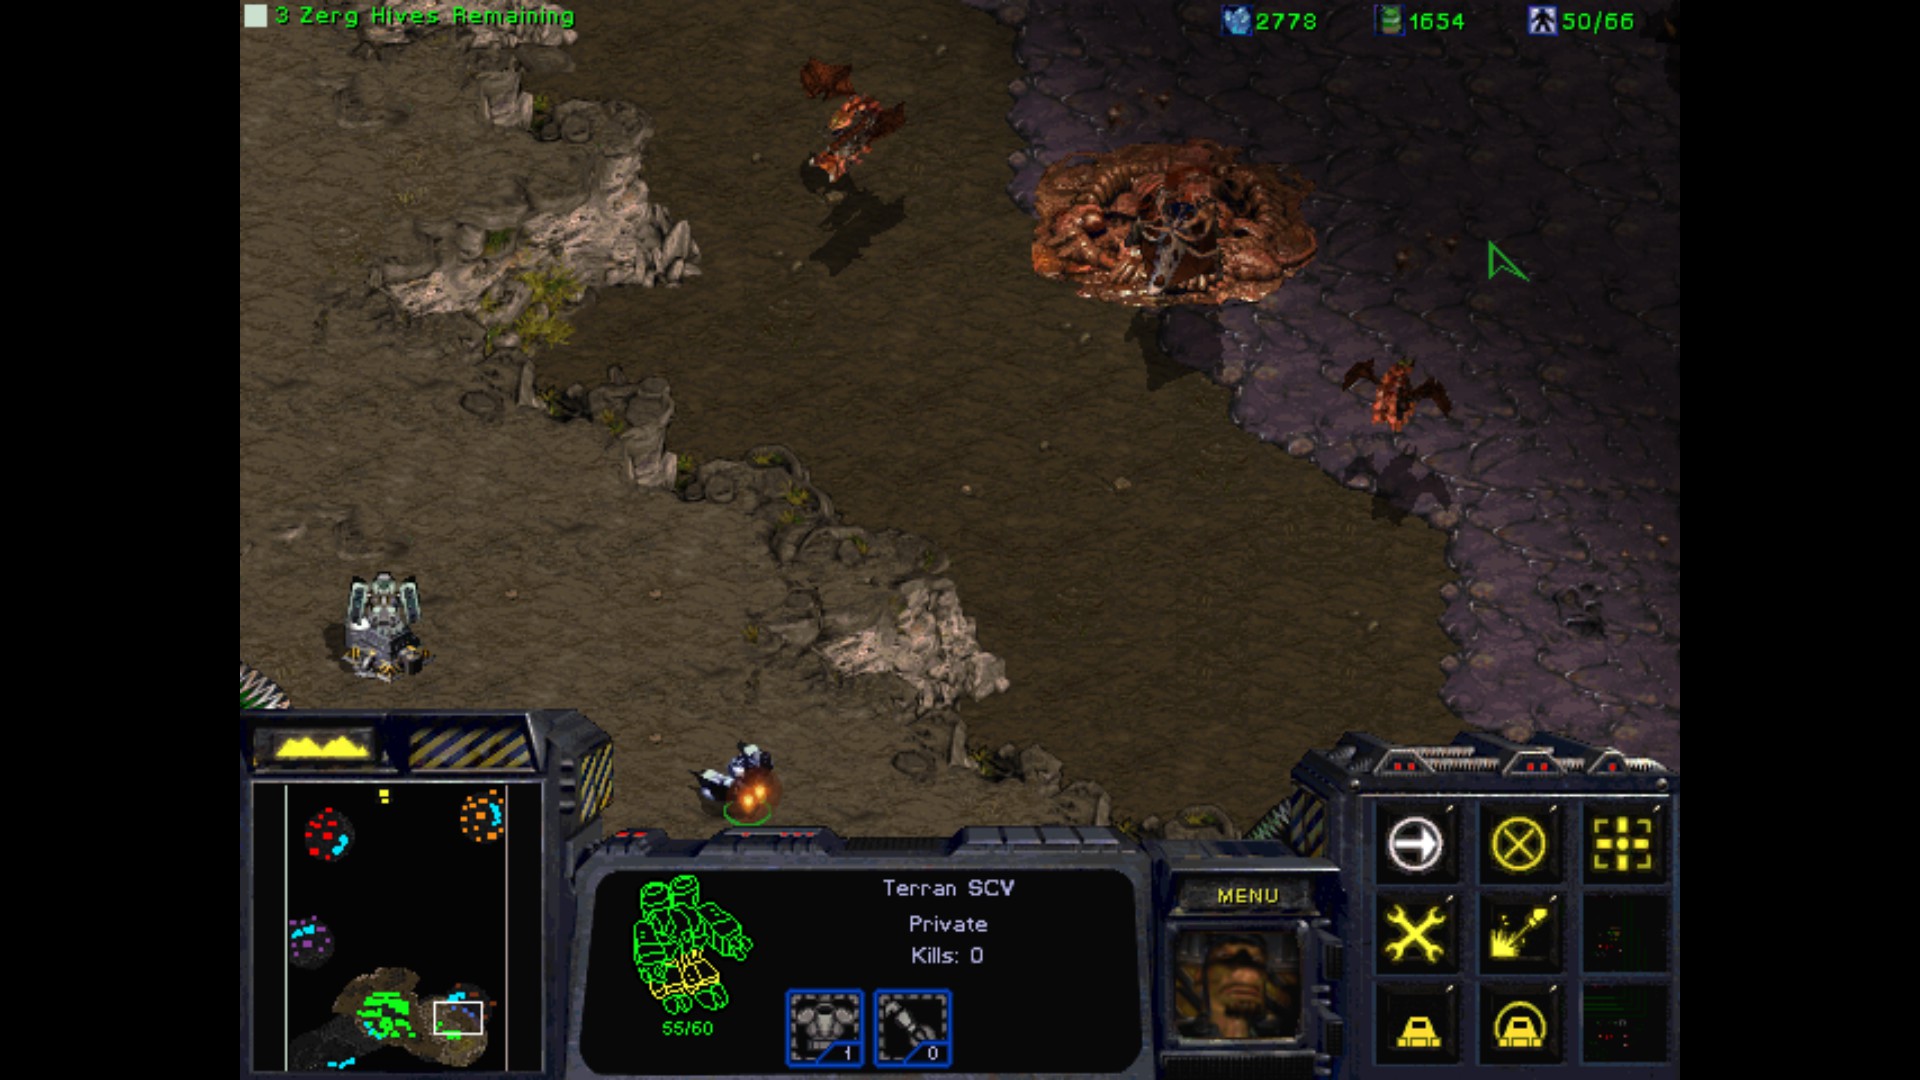
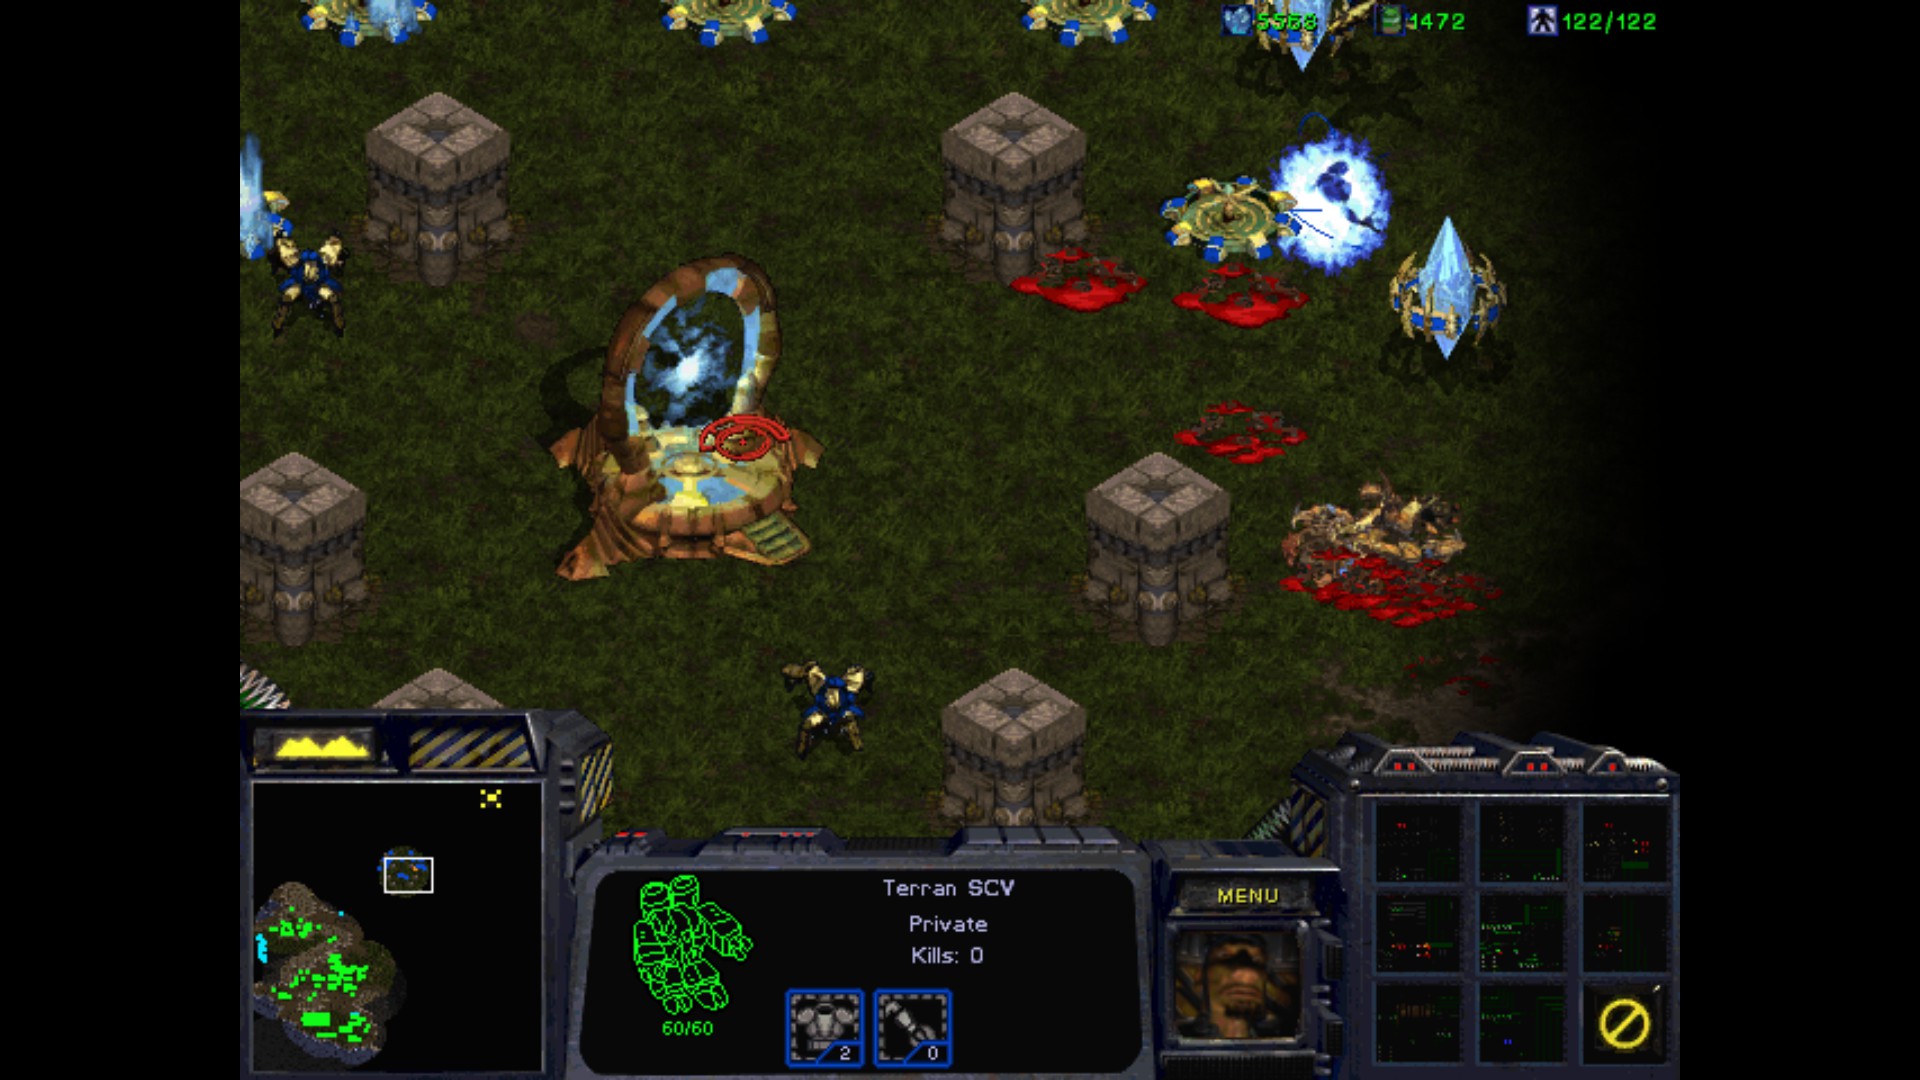
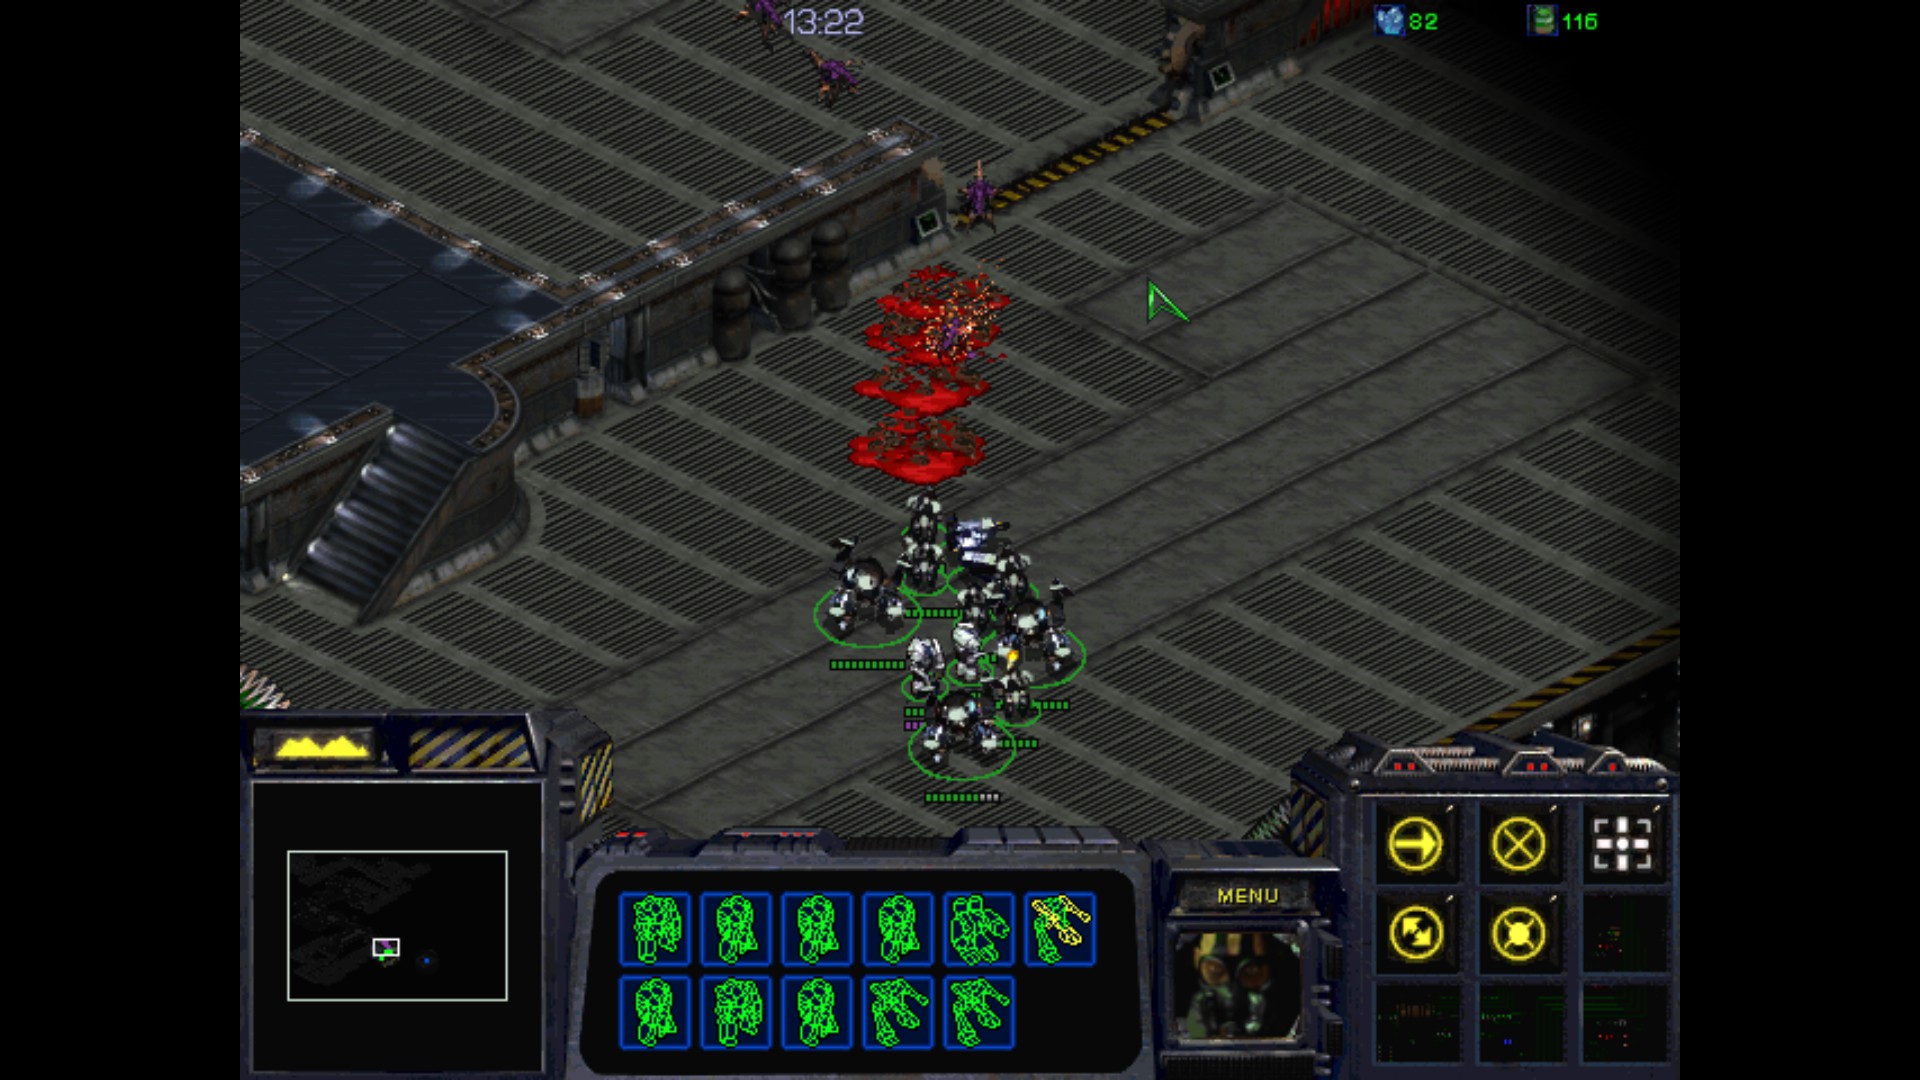
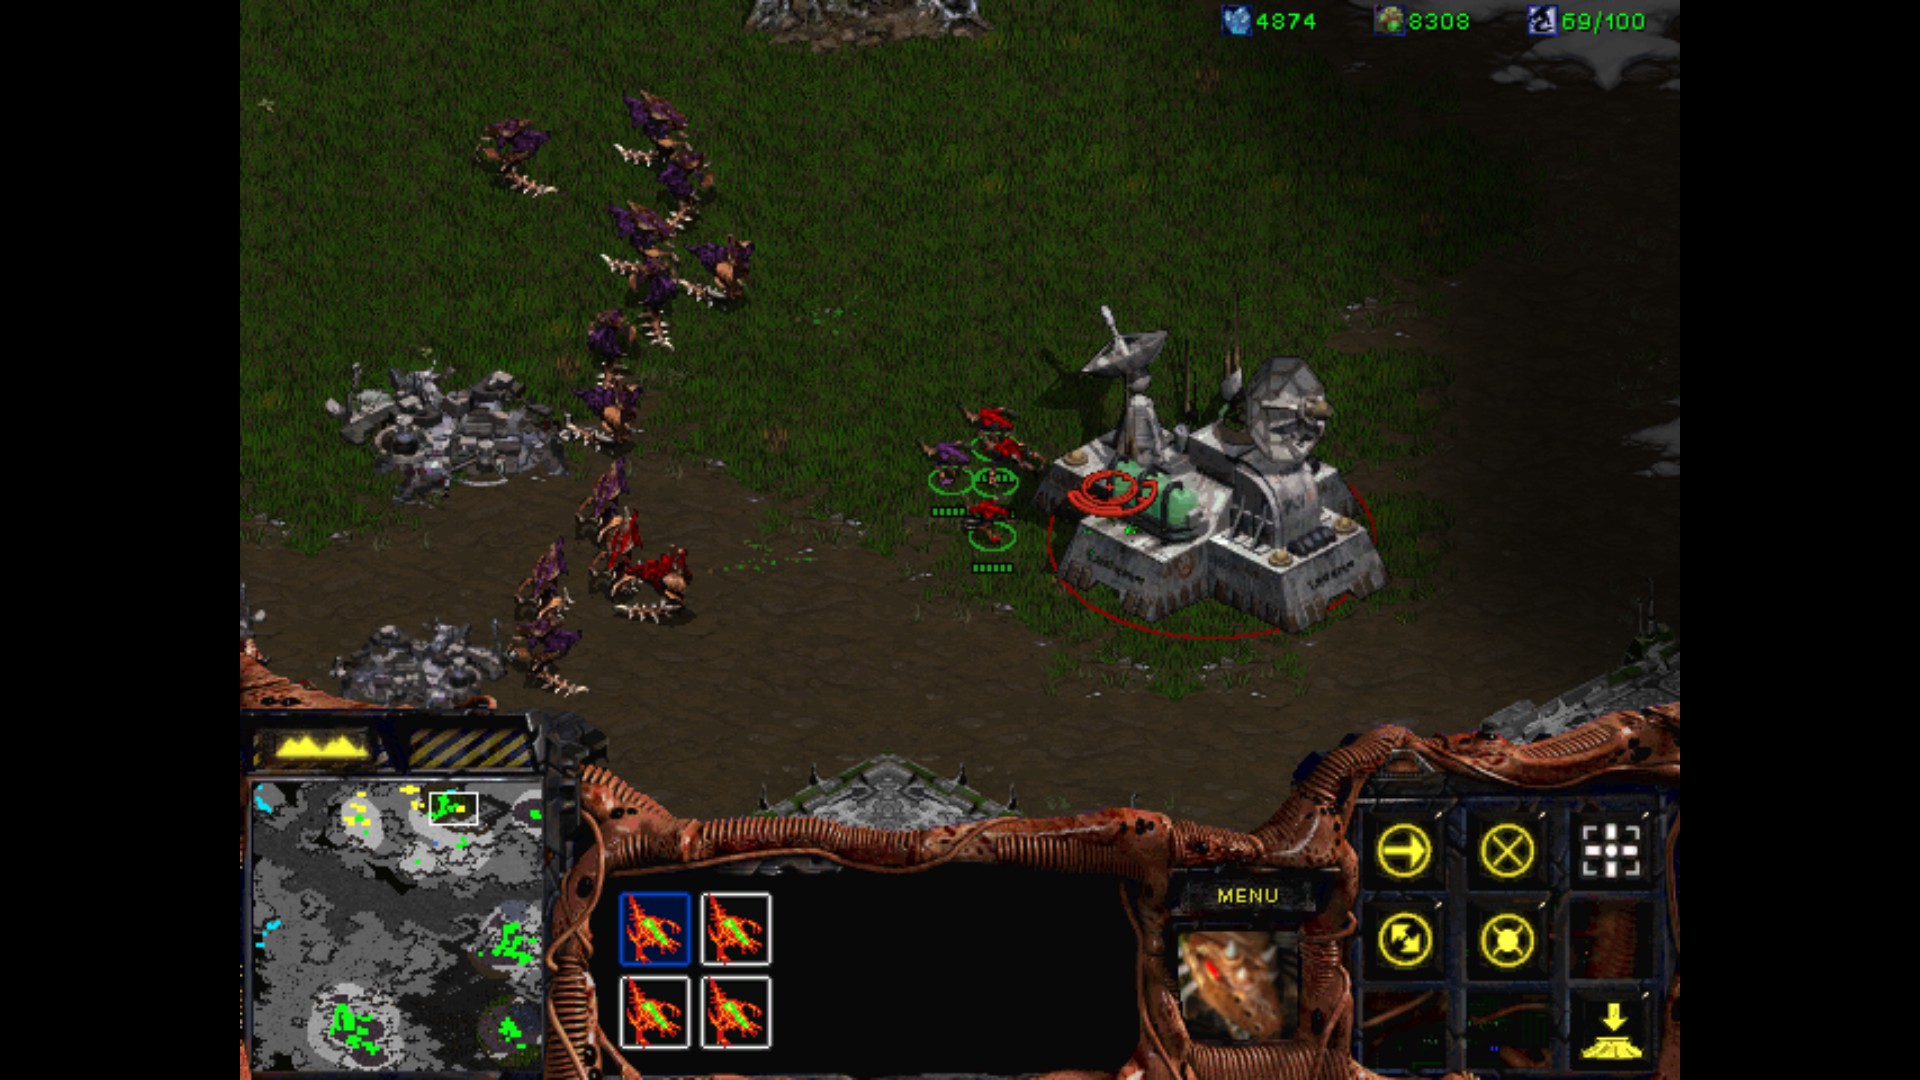
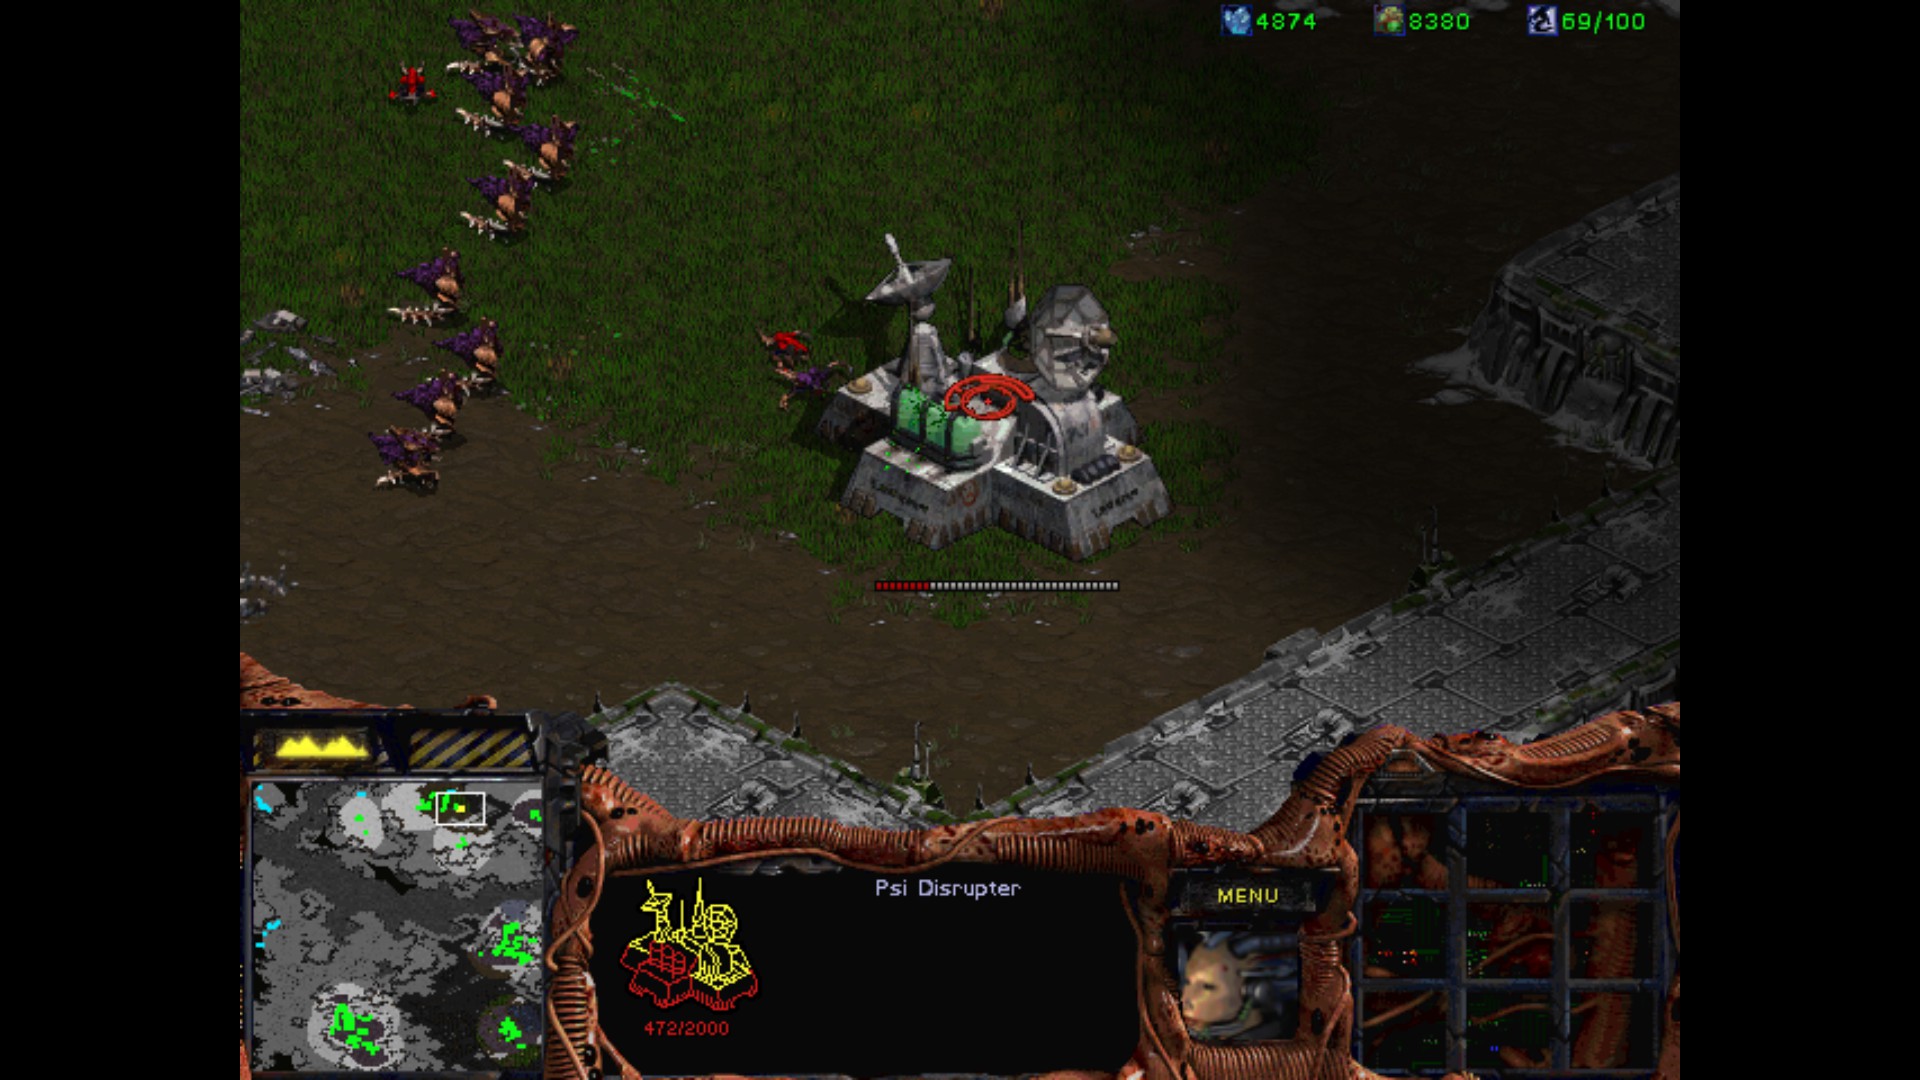
I'm done here. Time to see, if the Psi Disrupter is being guarded by any remaining extra forces.
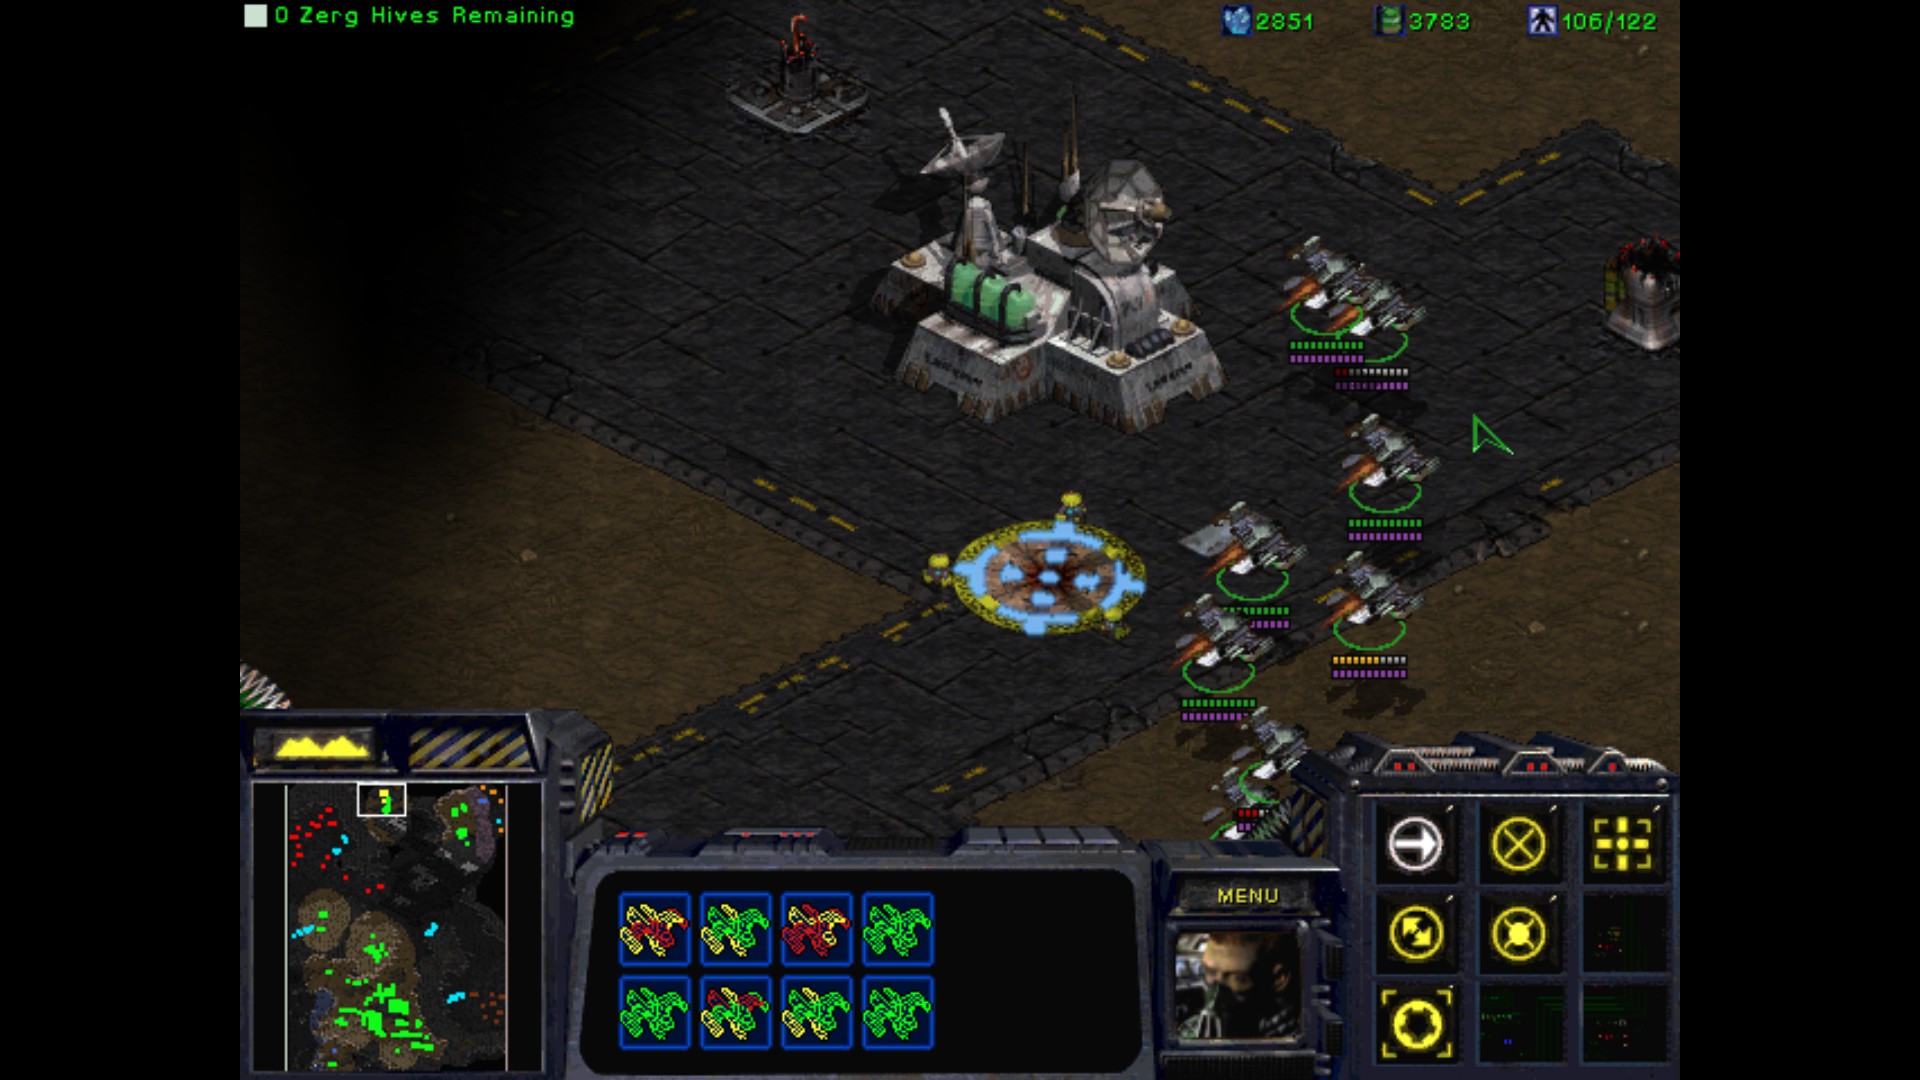
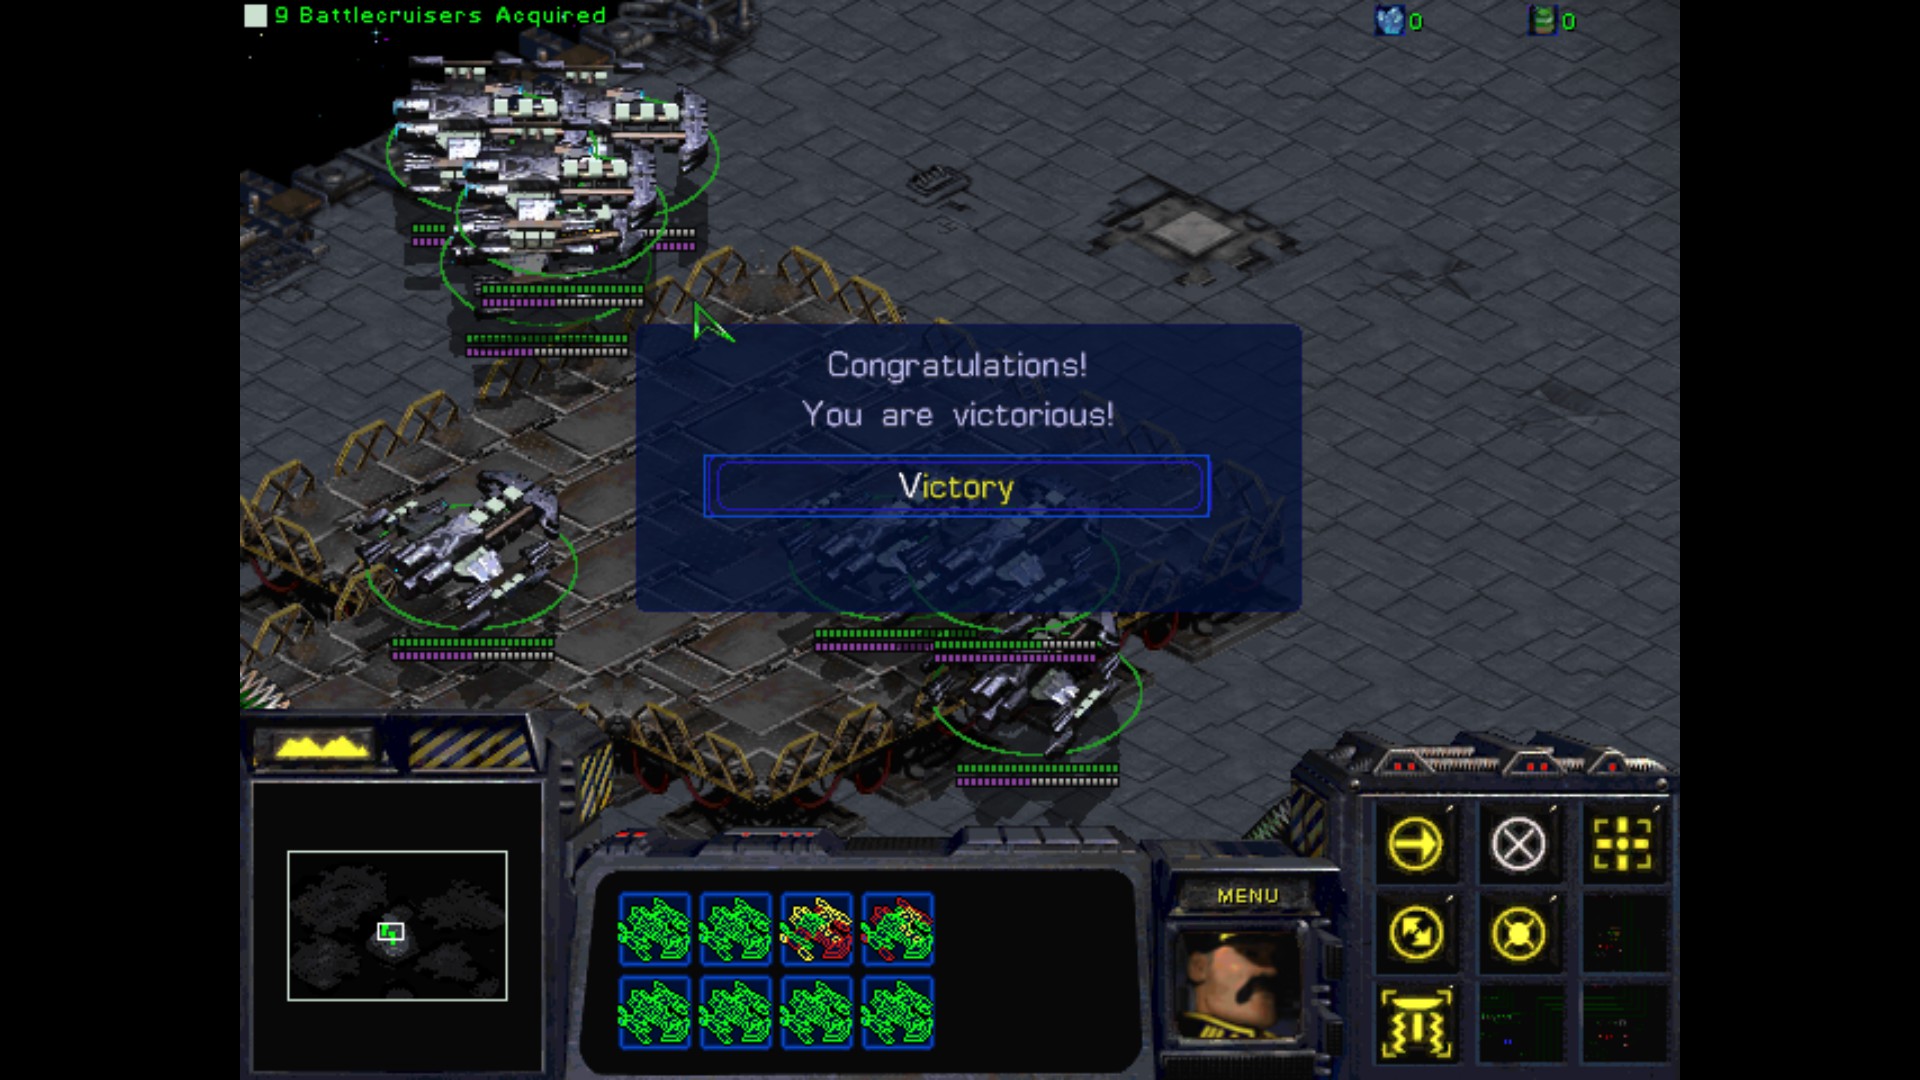
Nope, everything is quiet here. Duran can make his entry without any problems.
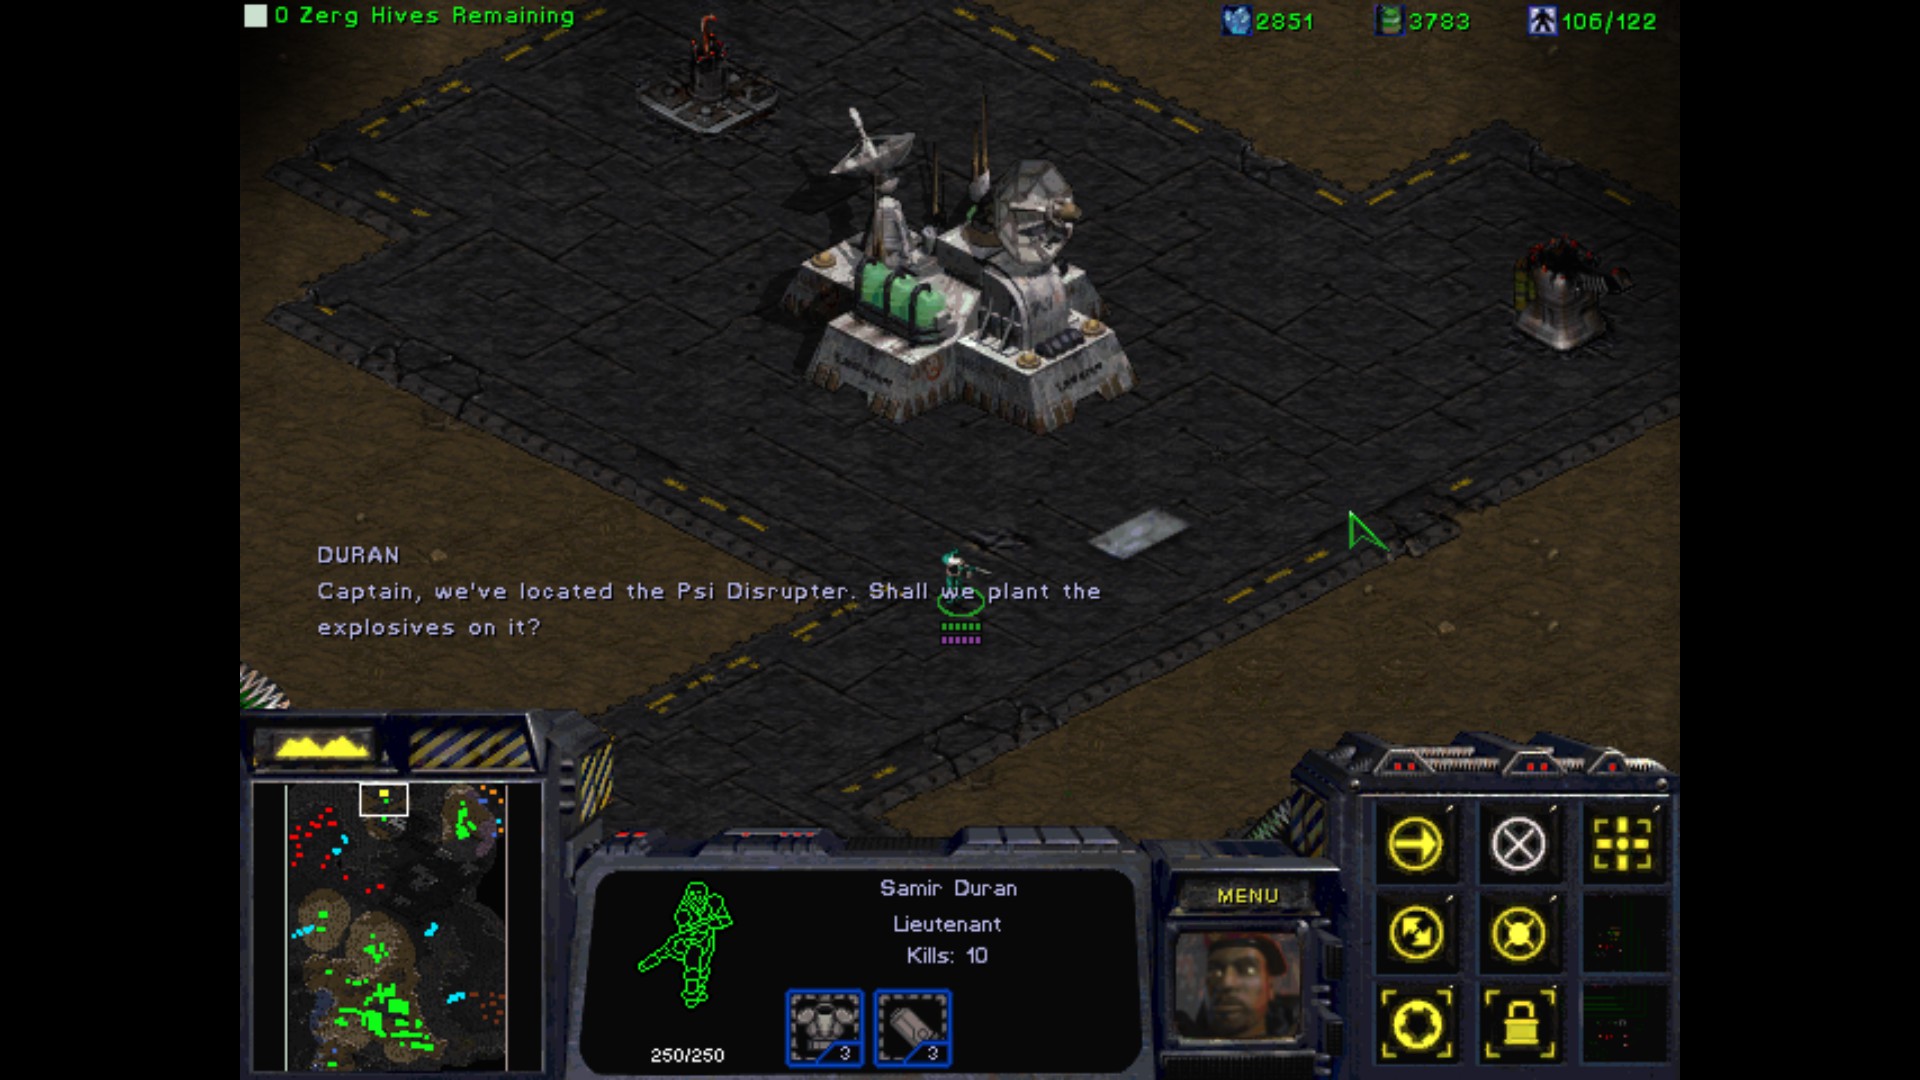
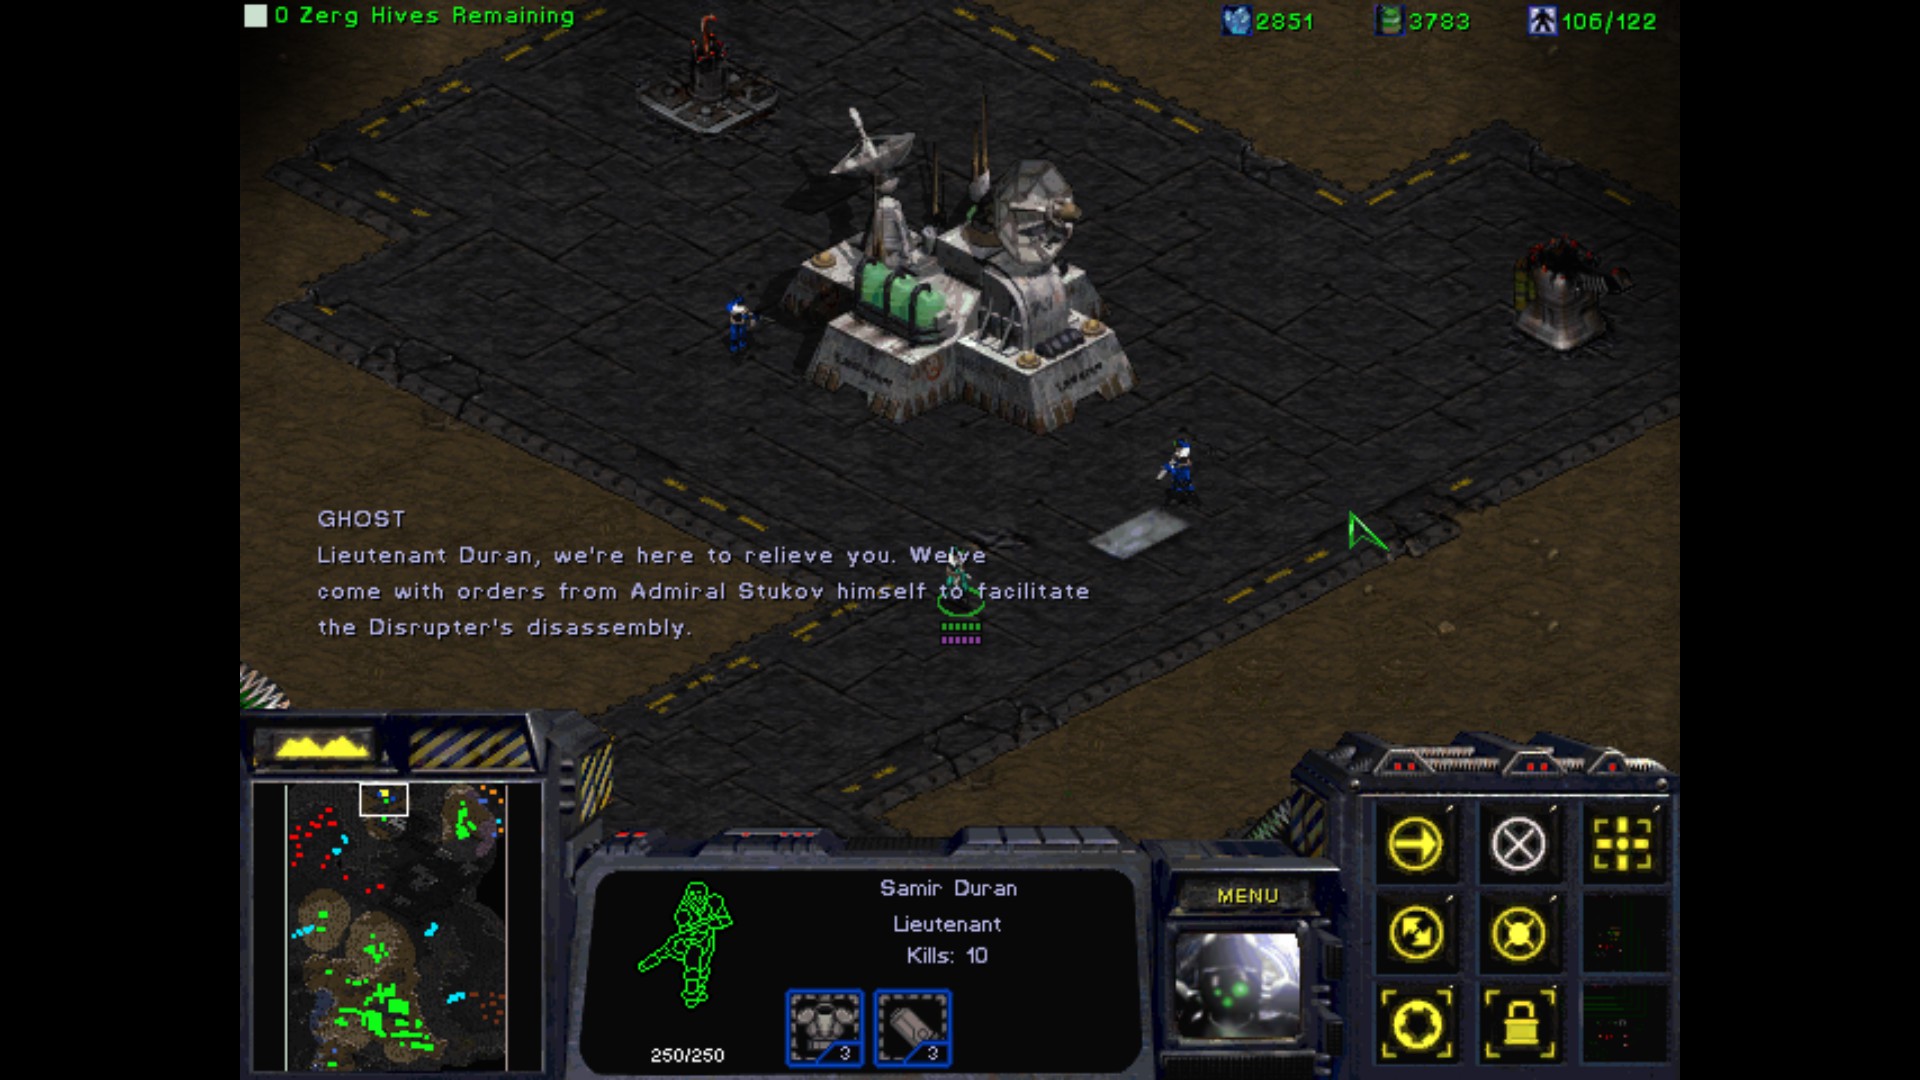
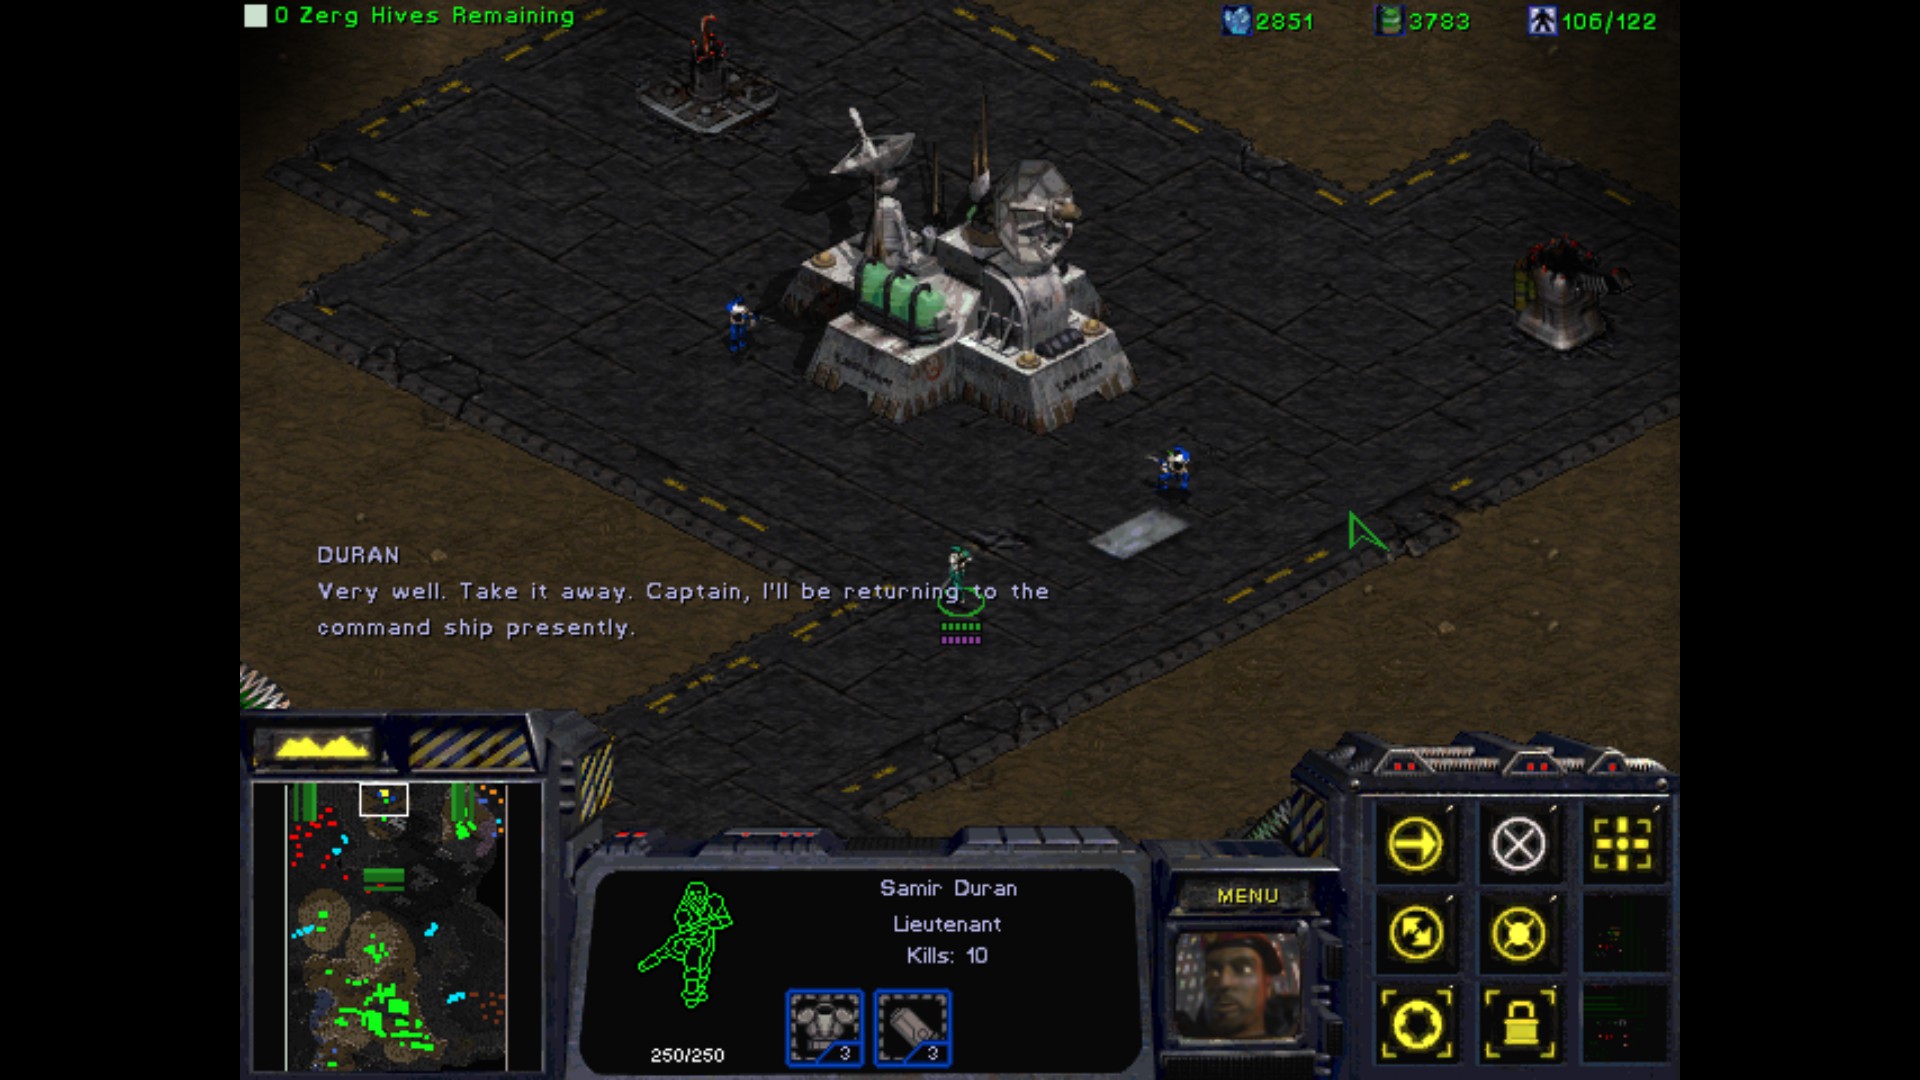
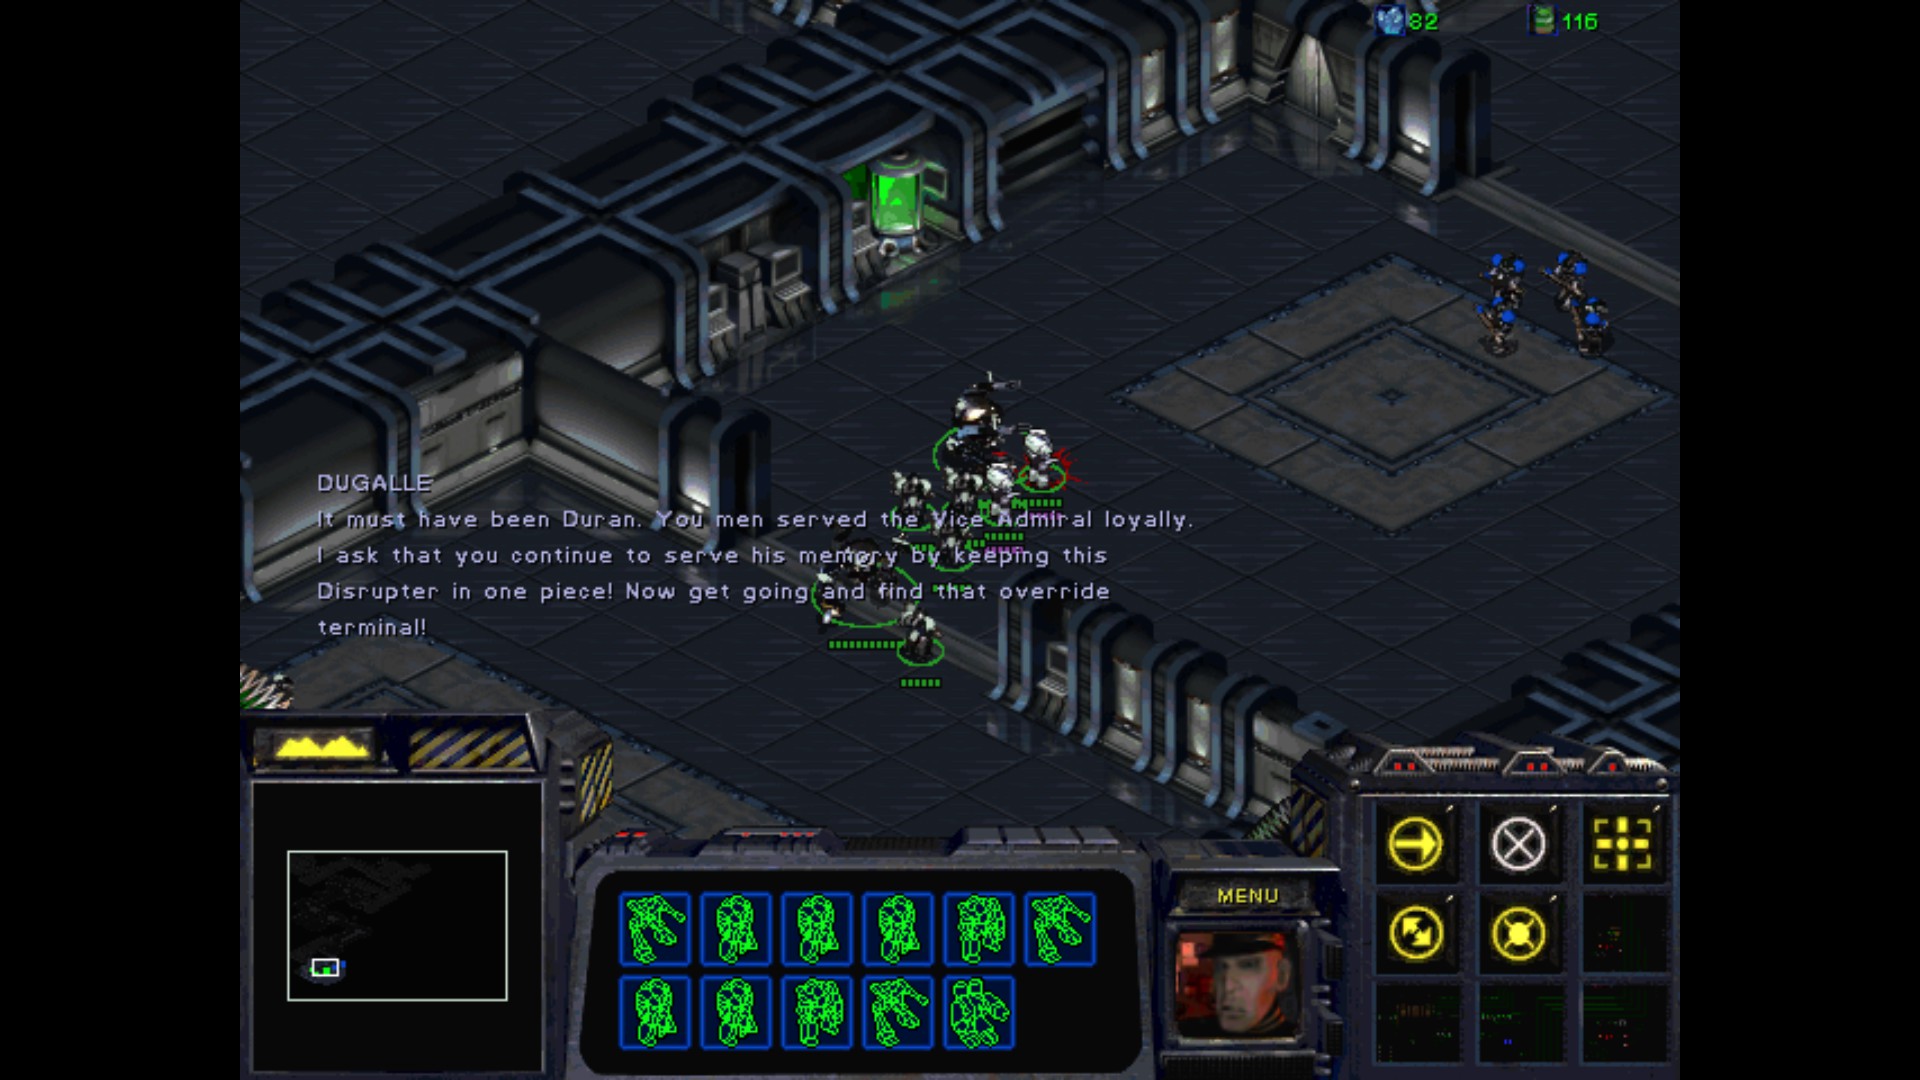
Duran really would like to destroy the whole installation. I wonder what is his real motivation here.
Victory!
i like how it takes just one dude to commandeer a battlekrooza
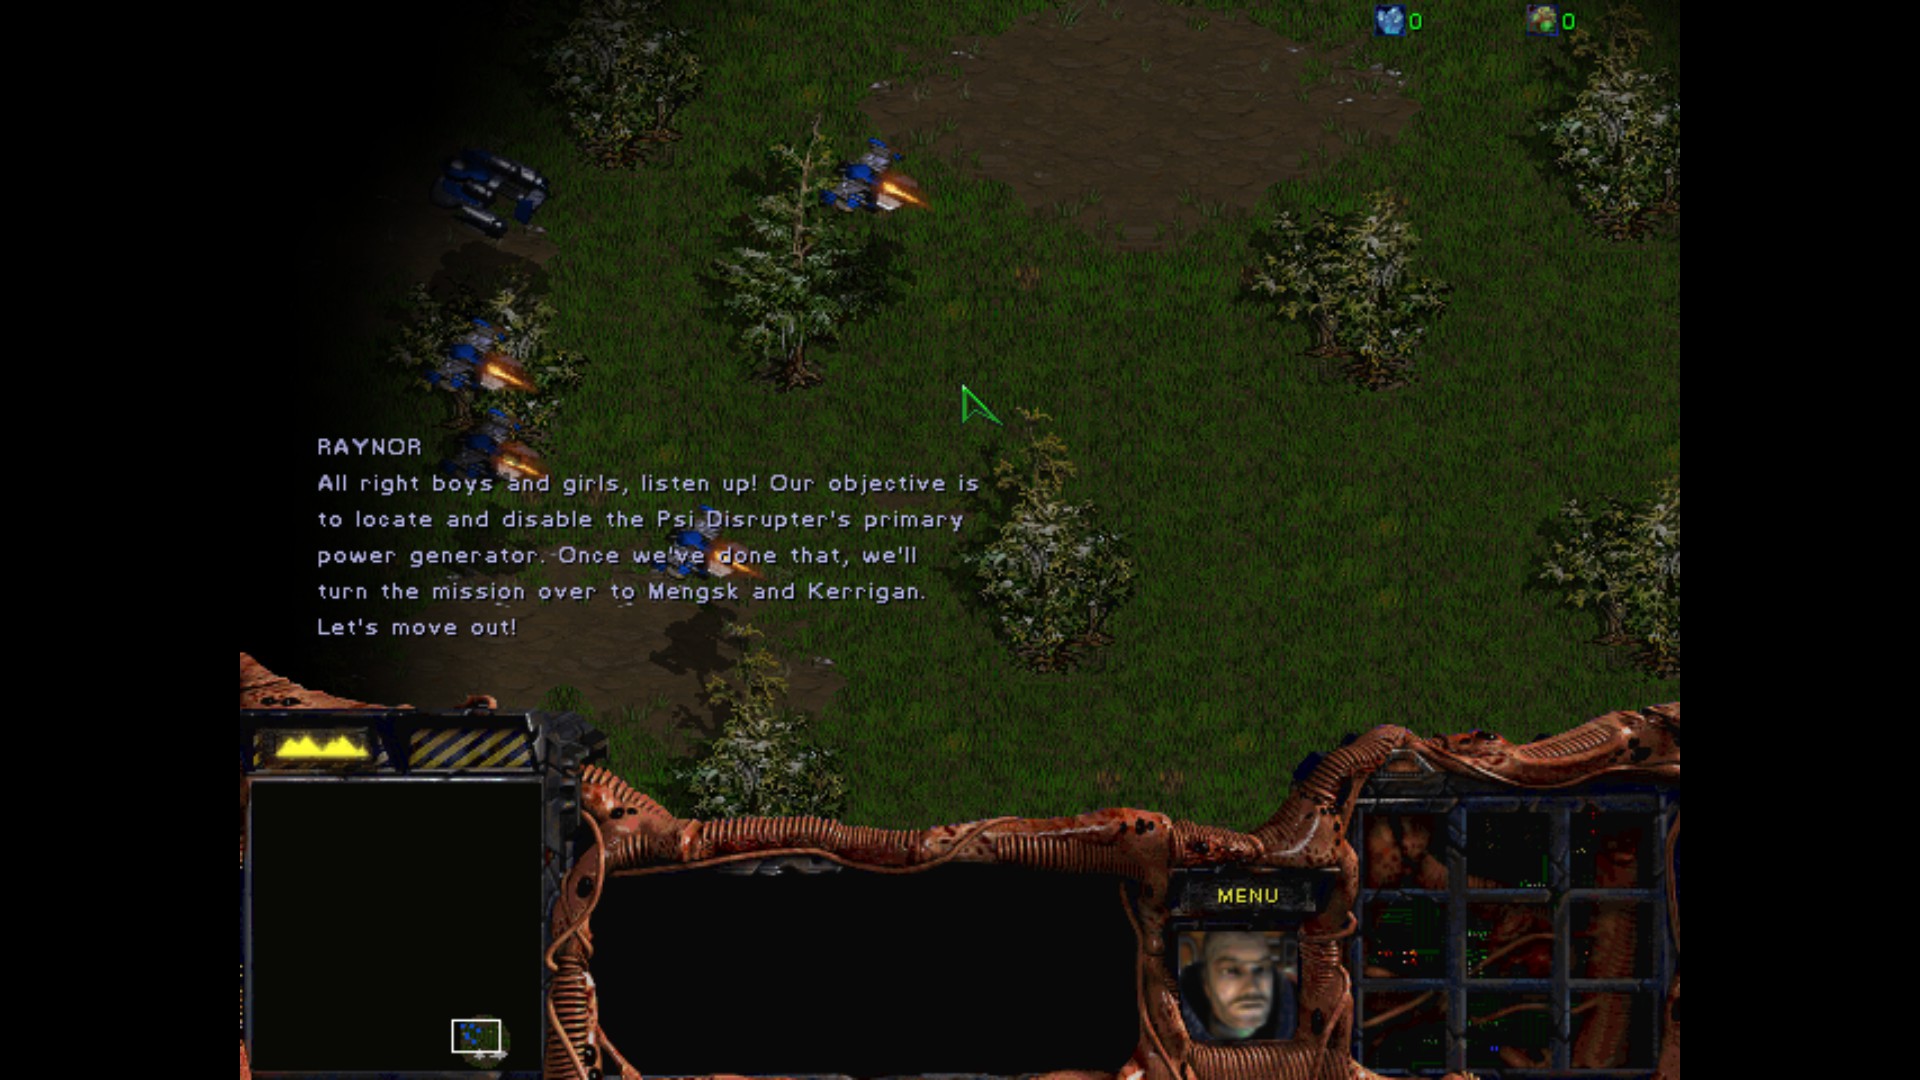
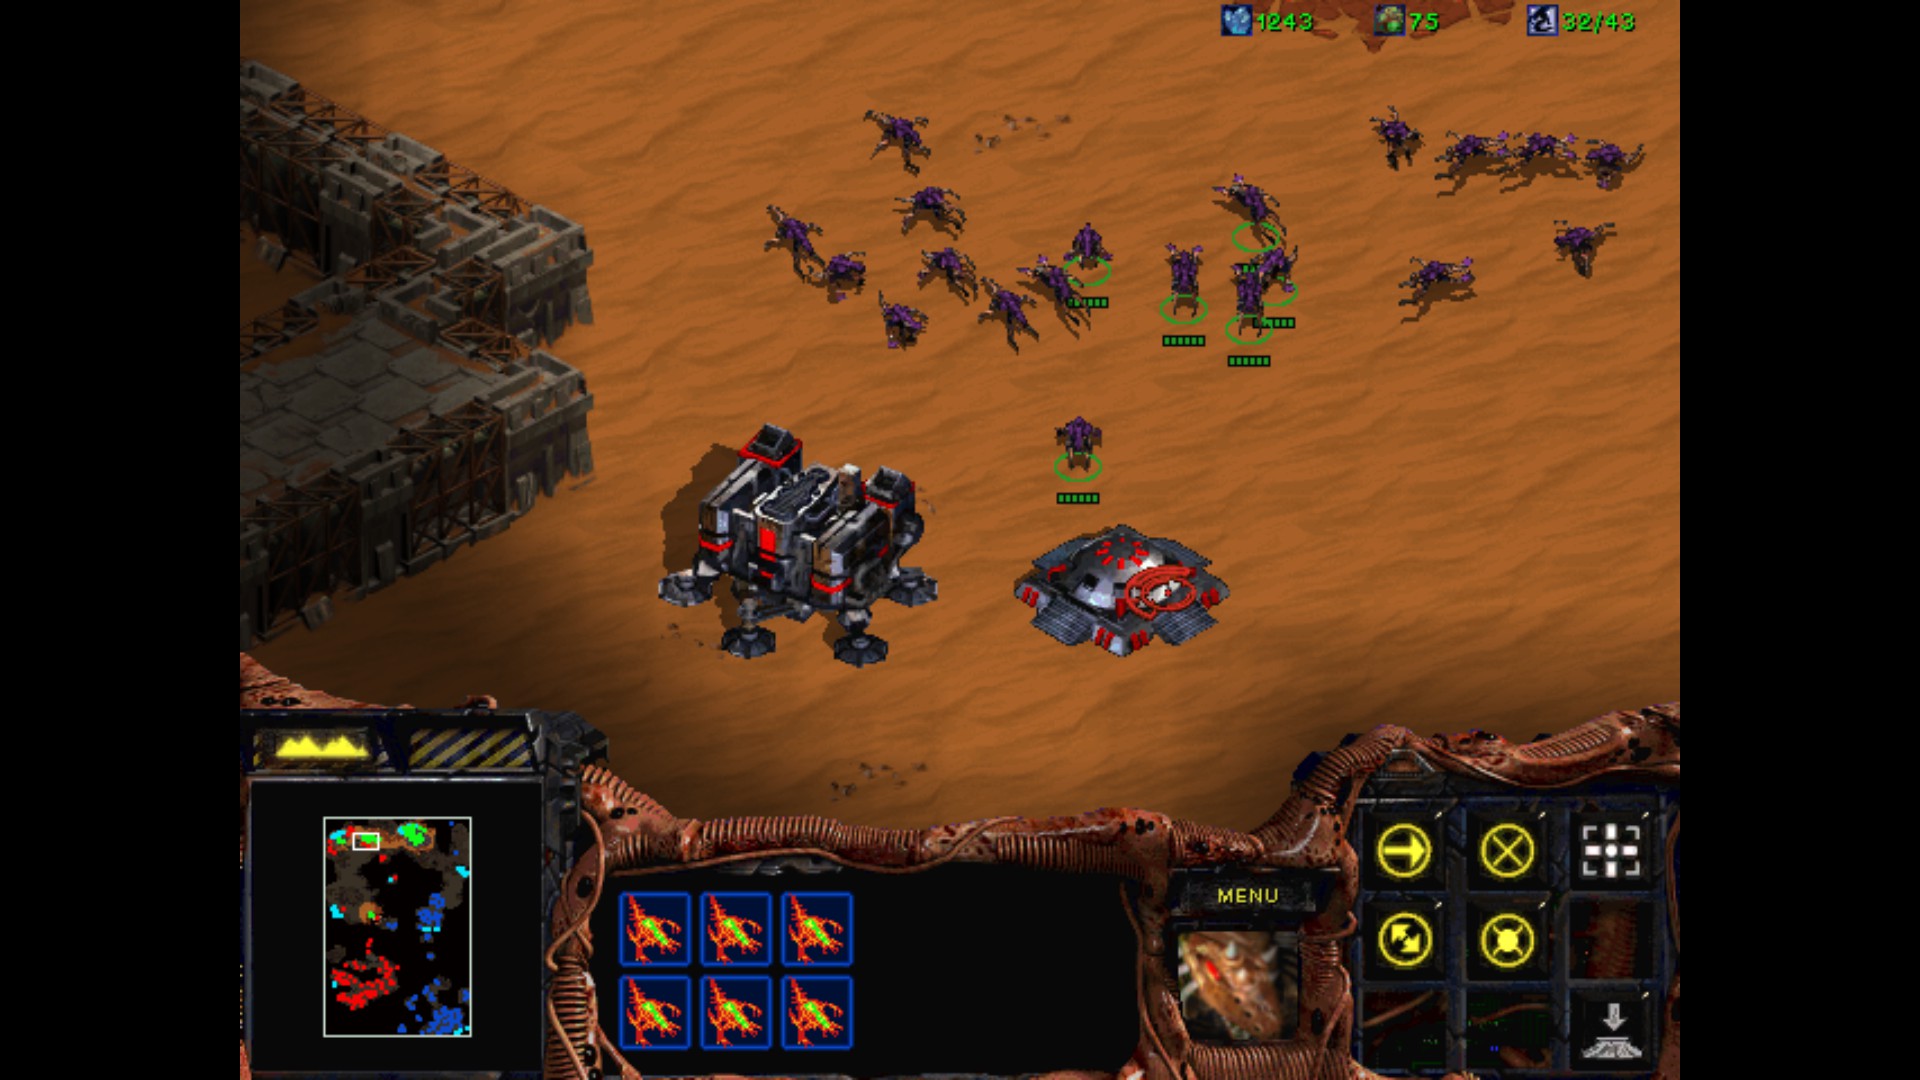
Mission IV : Assault On Korhal

Captain, once again your leadership has set a fine example to the rest of my officers.
Vice Admiral Stukov has informed me that the Psi Disrupter has been accounted for, so we can now proceed with the next phase of our operation.
The time has come to begin our primary invasion of the Dominion Throne-world of Korhal.
Alexei, fill the Captain in on the current situation.
As you may know from your research, Captain, Korhal was a hotbed of anti-Confederate sentiment for years.
The Confederacy hoped to contain Korhal's civil unrest by decimating it and its population with a massive nuclear barrage.
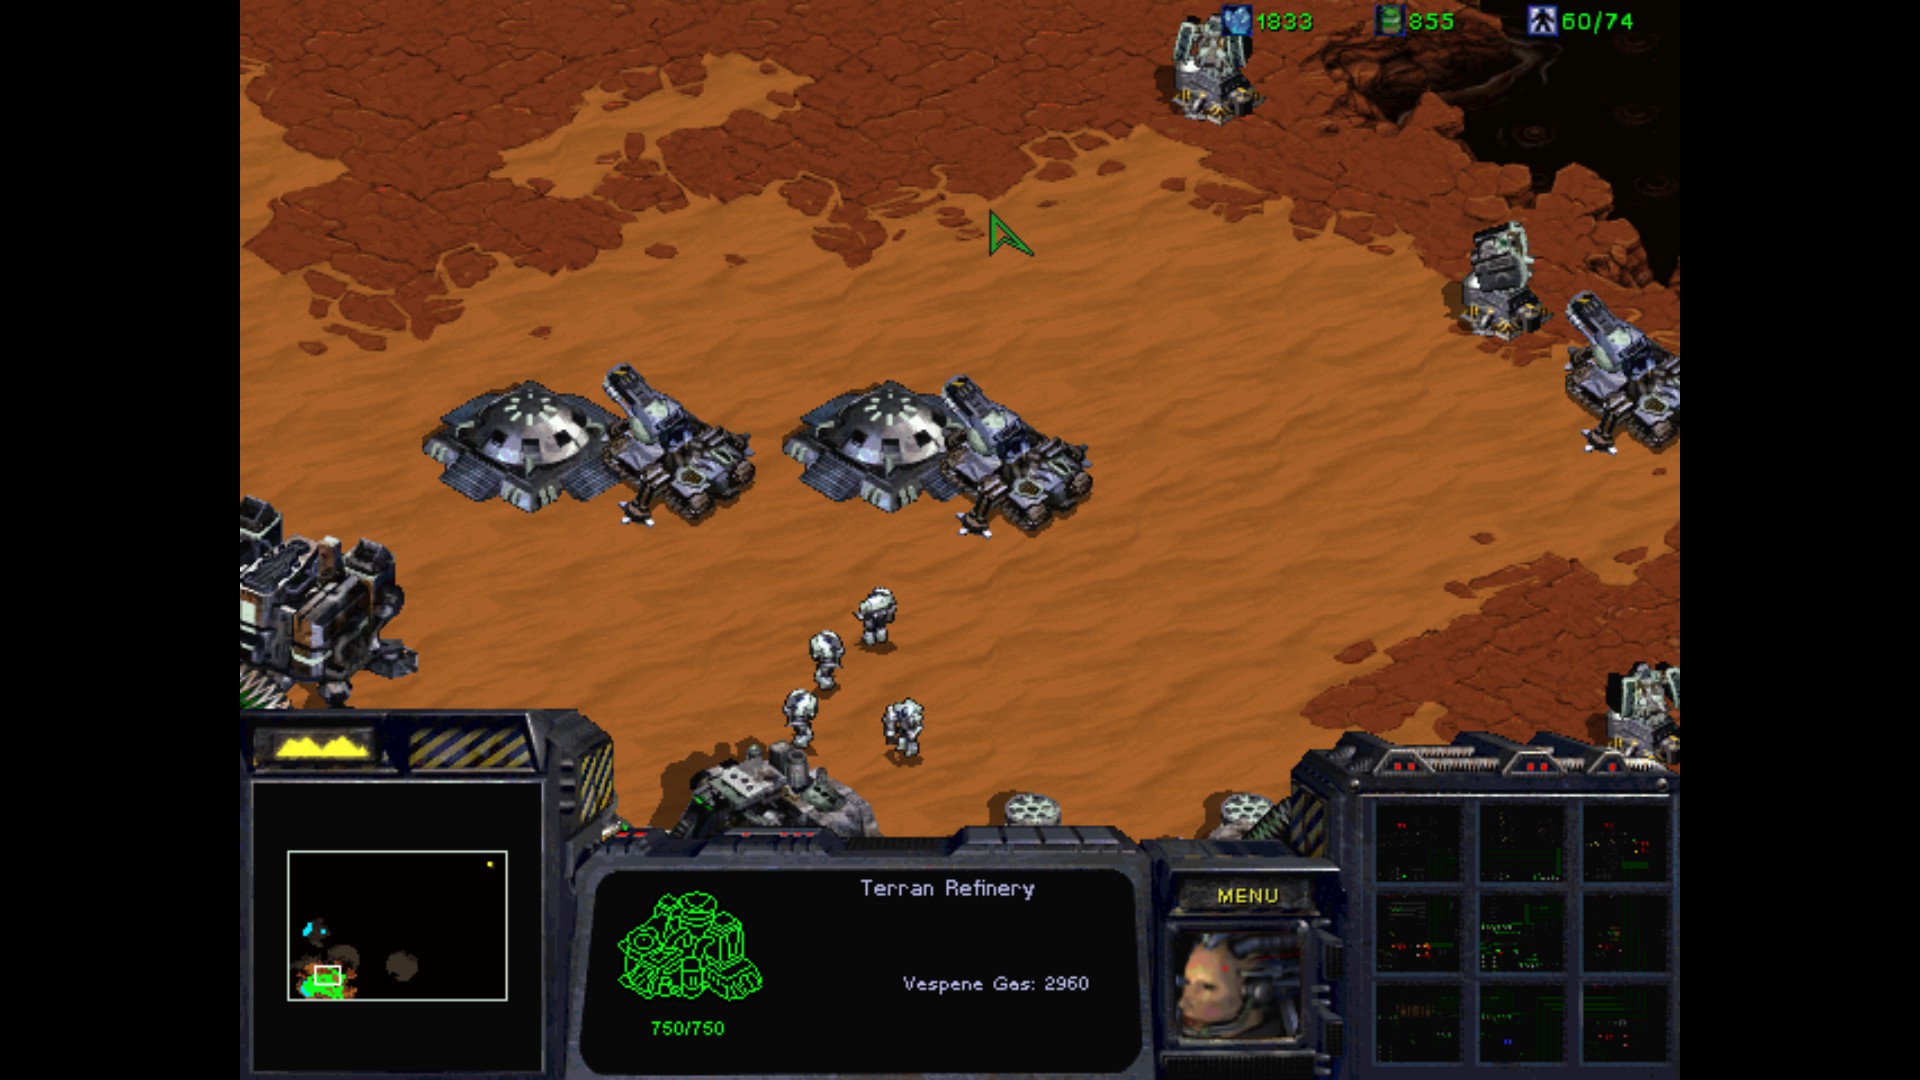
Though the radiation levels on the planet are at an all time low, its surface is now nothing more than a smoldering desert.
The catch, Admiral, is that because this world has already been devastated by nuclear fire, Mengsk has no compunction against using Nukes on us.
We have detected a large cluster of missile silos on the outskirts of Augustgrad.
If those silos were destroyed, we believe that Mengsk would lose his core nuclear capabilities.
We also face a different obstacle, Captain. Intelligence has informed us that Mengsk employs multiple battlecruisers for his planetary
defense. It is possible to nulify these battlecruisers by taking out strategic physics labs. Without these labs, Mengsk will be unable to power-up his ships' weapons systems.
Though we know how to compensate for Mengsk's defenses, we don't have enough time to follow through on them both.
Therefore, Captain, you must choose to either counter his nuclear capabilities or his battlecruisers. Once you've taken care of this operation, we can begin
to plan our final assault against Augustgrad.
Objectives :
- Destroy the enemy physics labs
-OR-
- Destroy the enemy nuclear silos
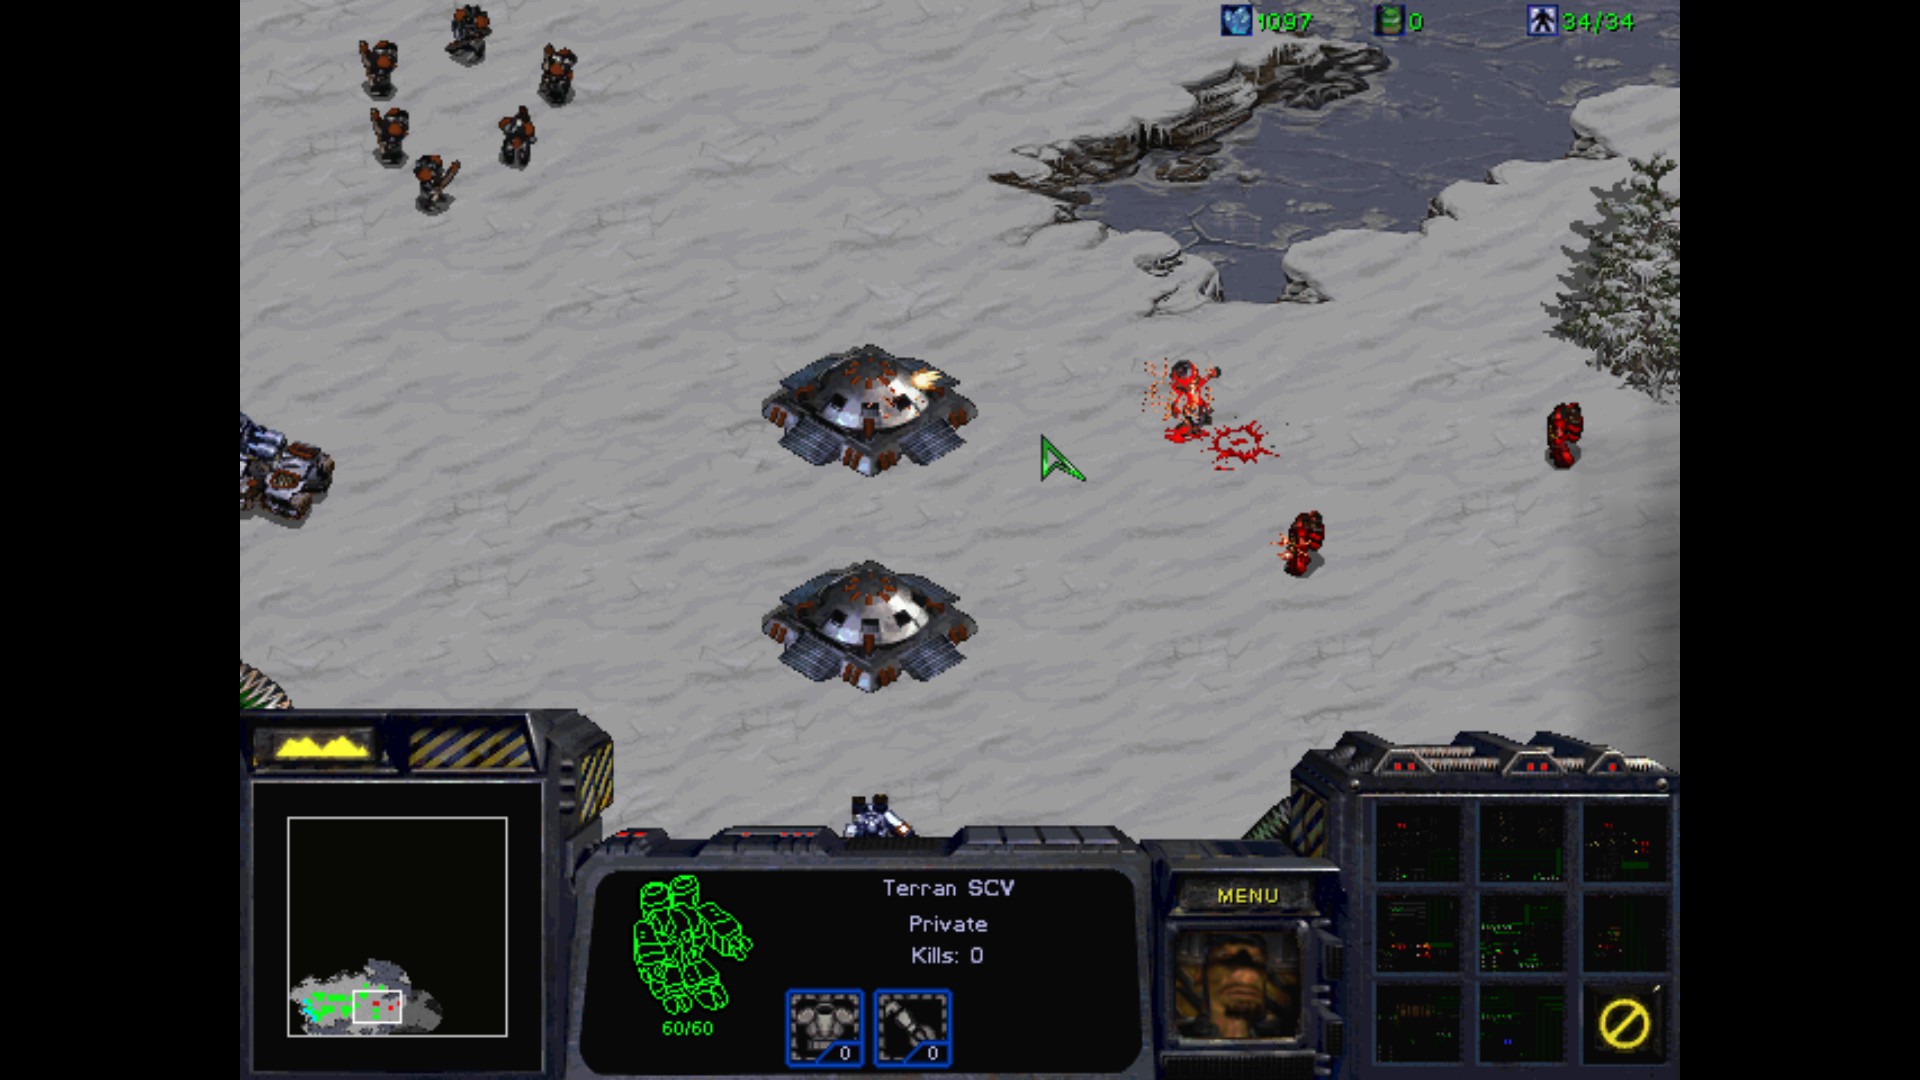
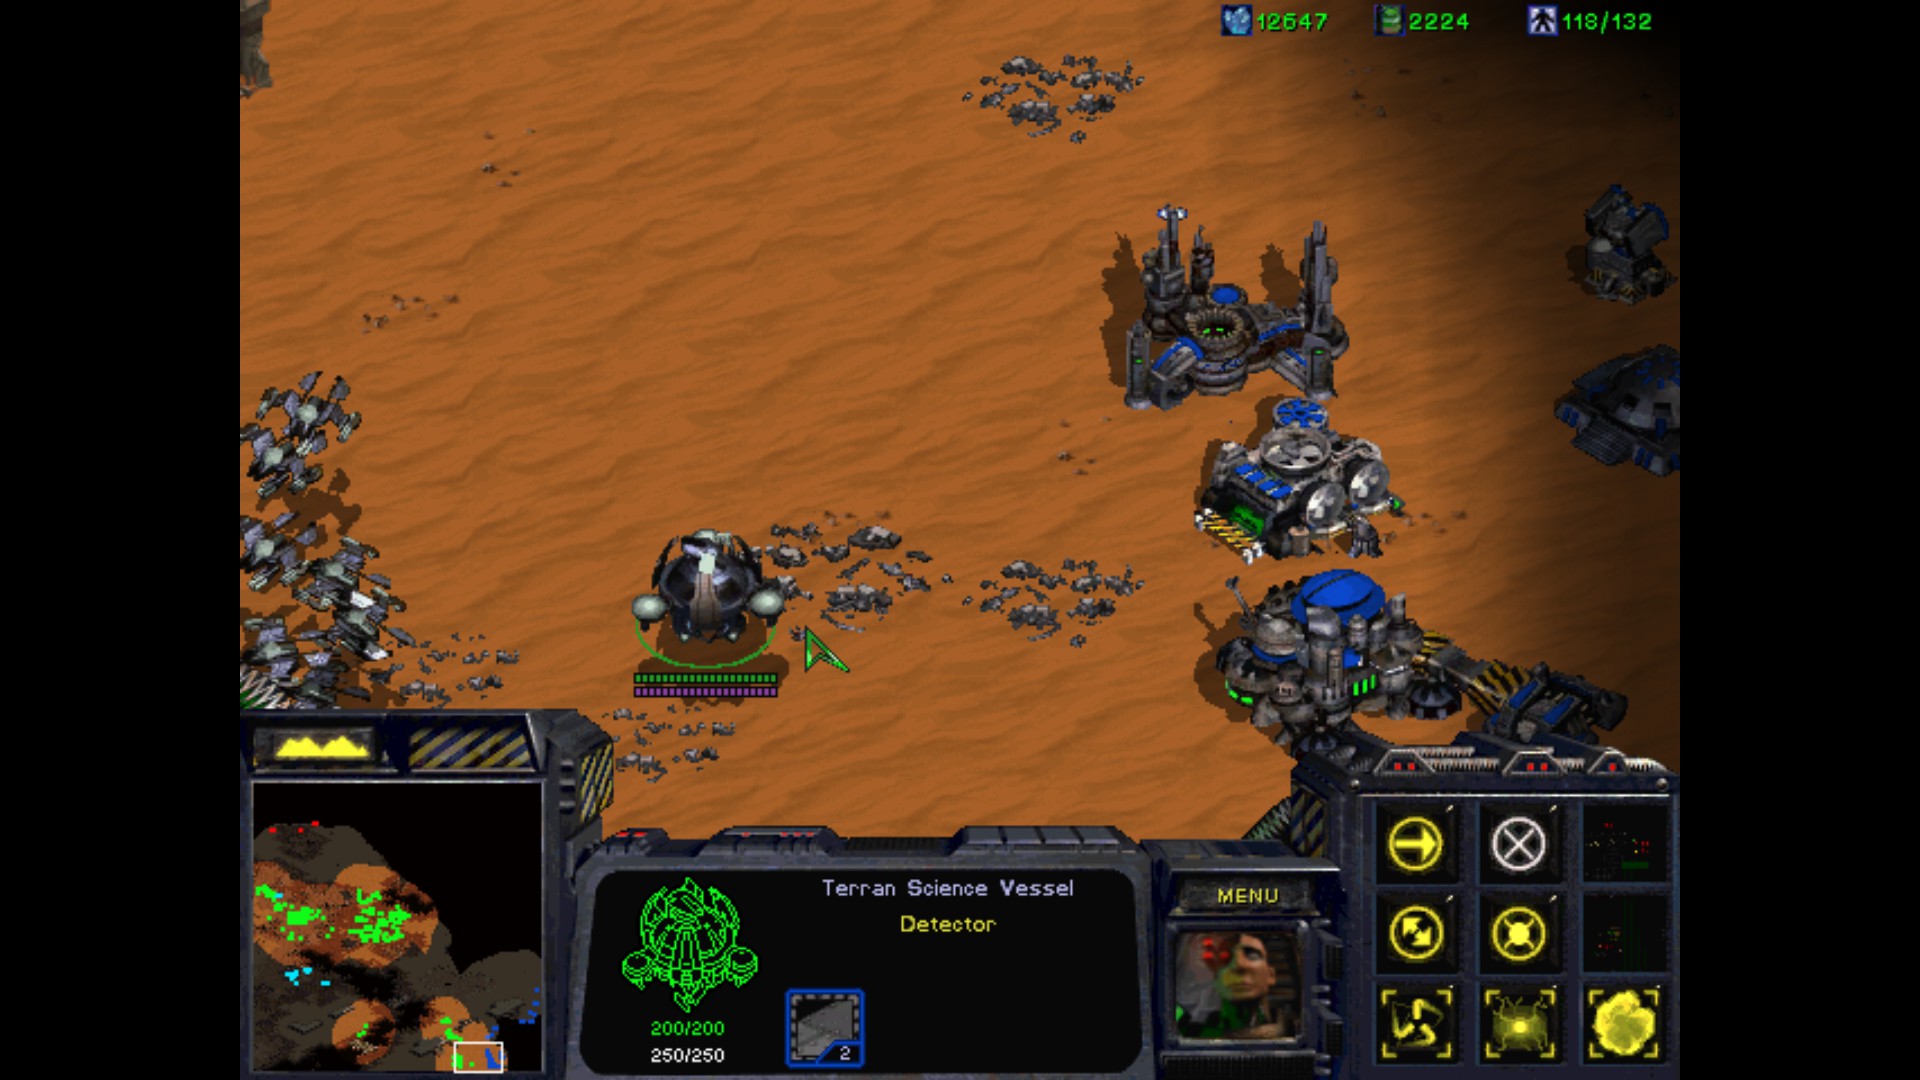
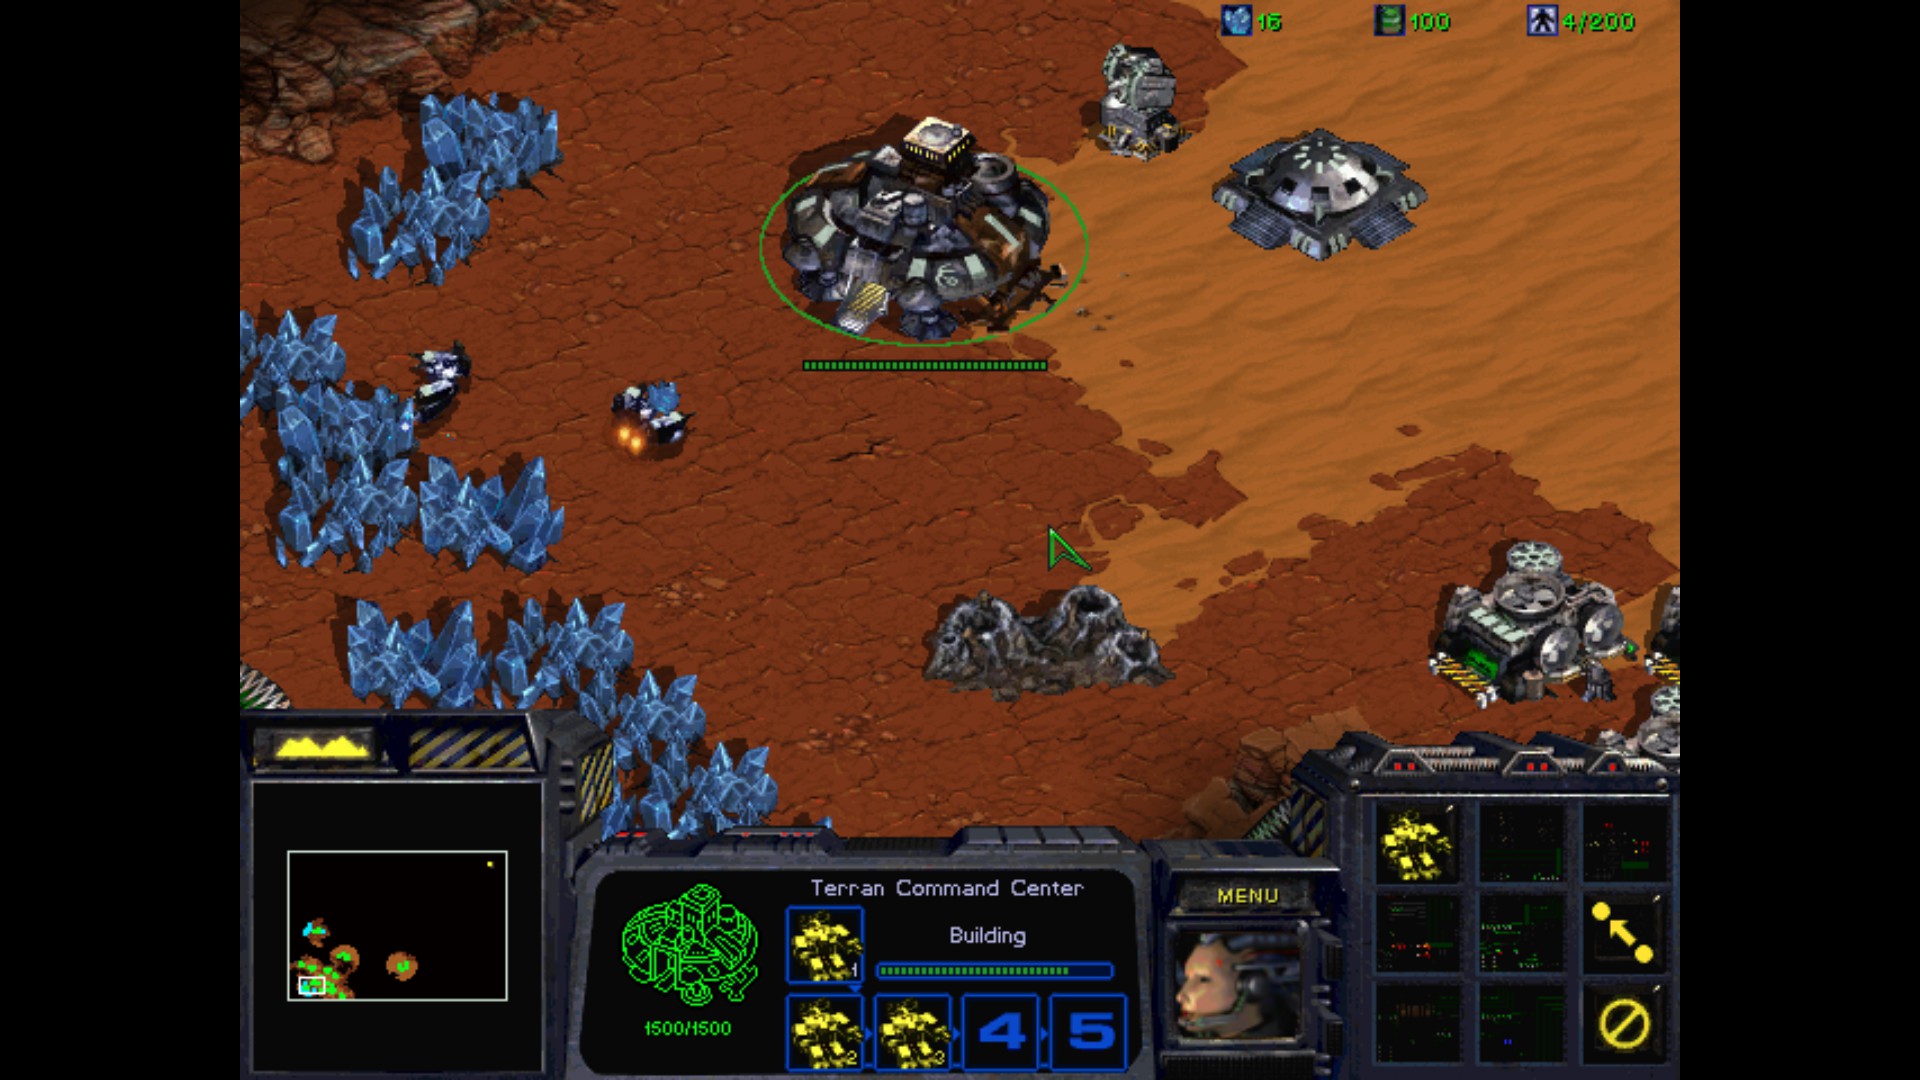
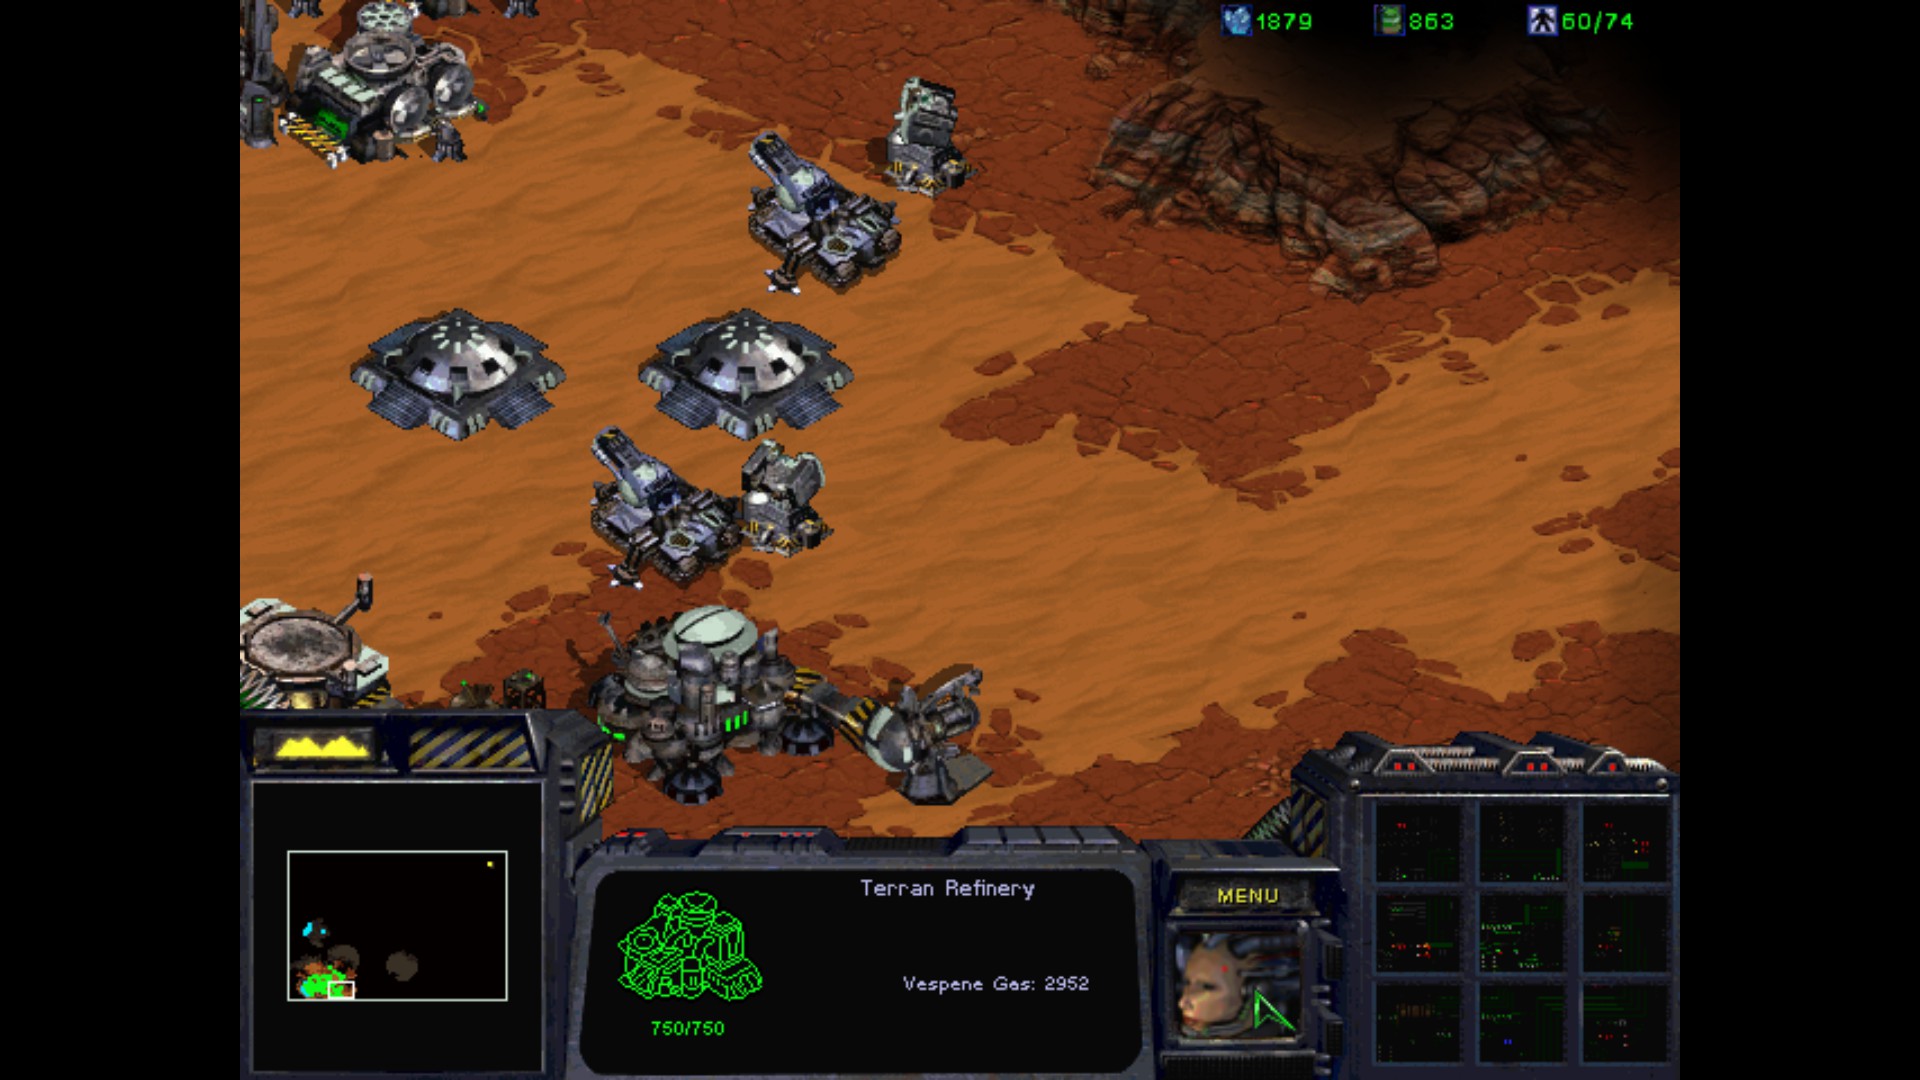
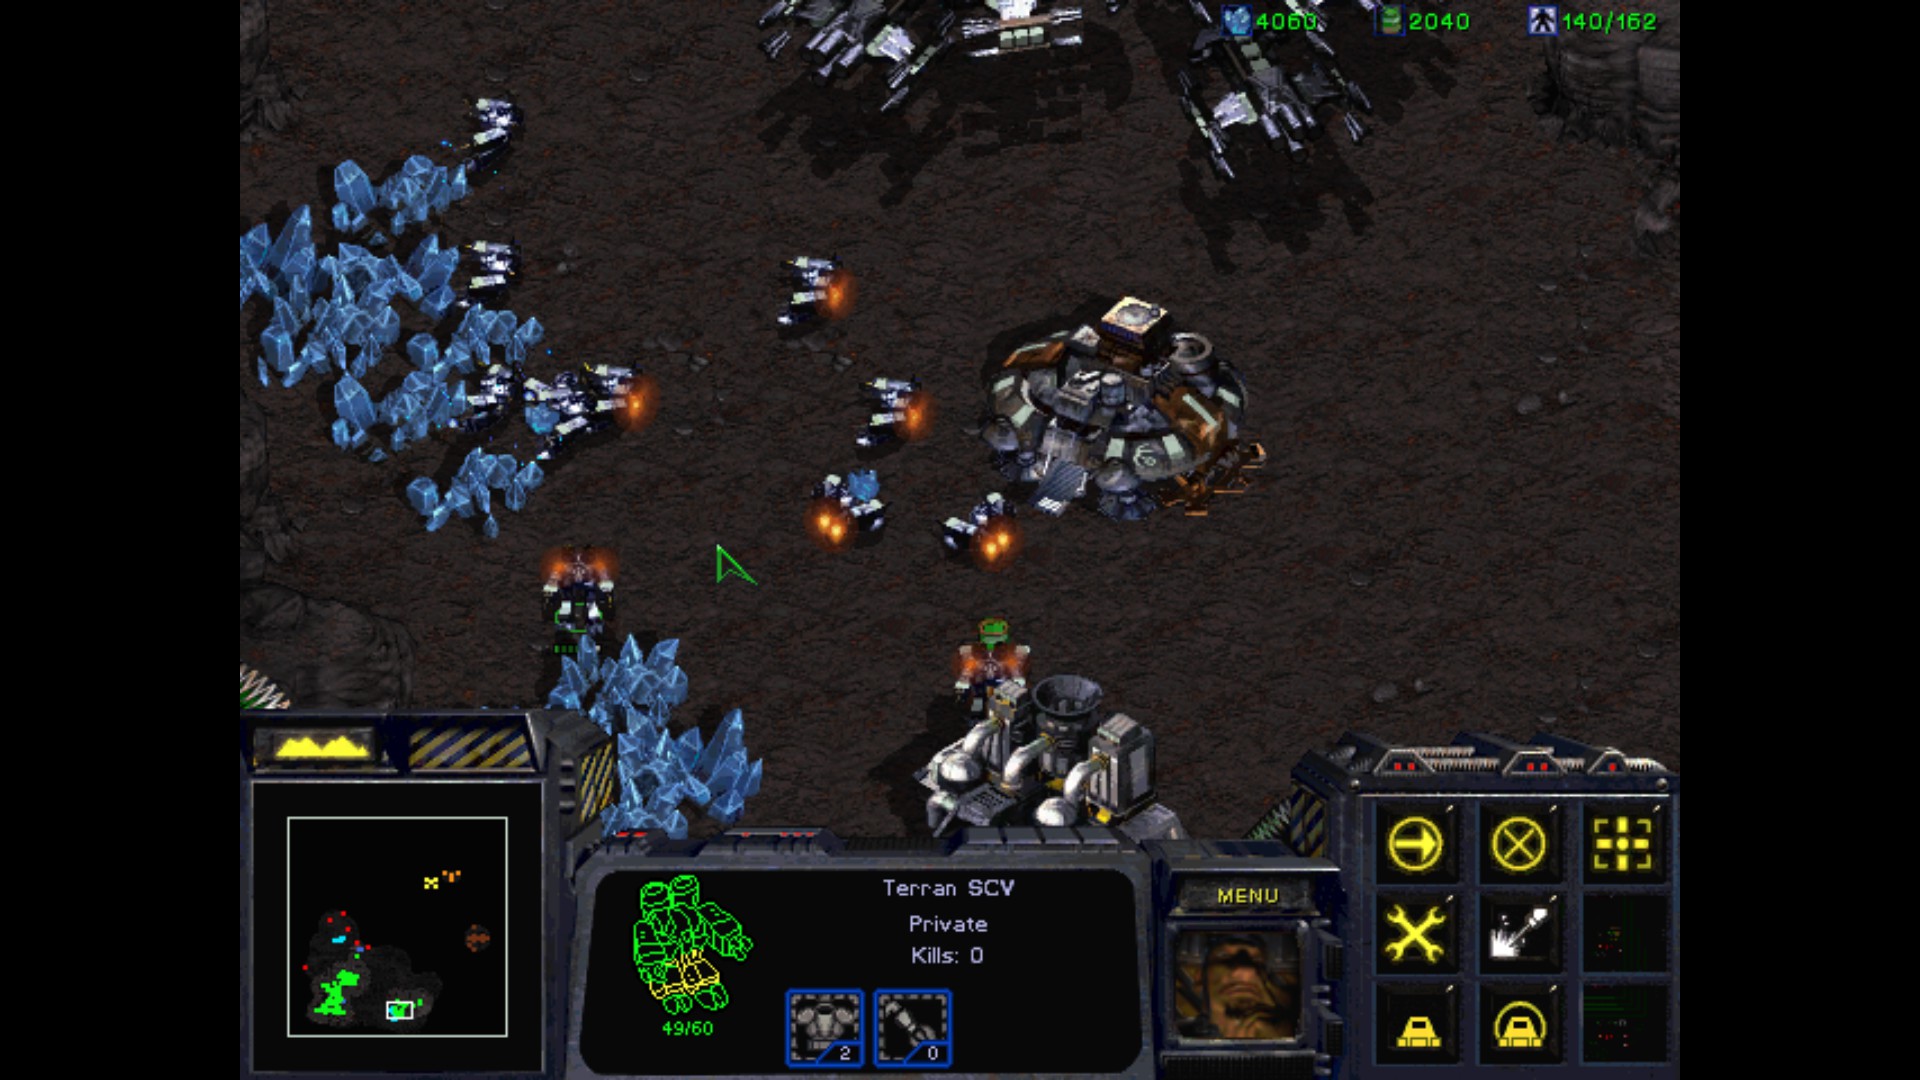
First Starcraft mission with choices and consequences, how exciting! I will neutralize the production of Battlecruisers. The choice is obvious for me, detecting Ghosts is less stressful than dealing with a fleet of upgraded ships that can tear up quickly my defenses. With that though in mind, I start building the base. We are situated in a tight spot, as we are vulnerable from three sides. I need to upgrade the defenses and after that try to find smaller targets to gain some upper hand in the nearby vicinity.
I take the two Wraiths for a spin. This will be a good place to move SCV's once they gather all the resources in the main base.
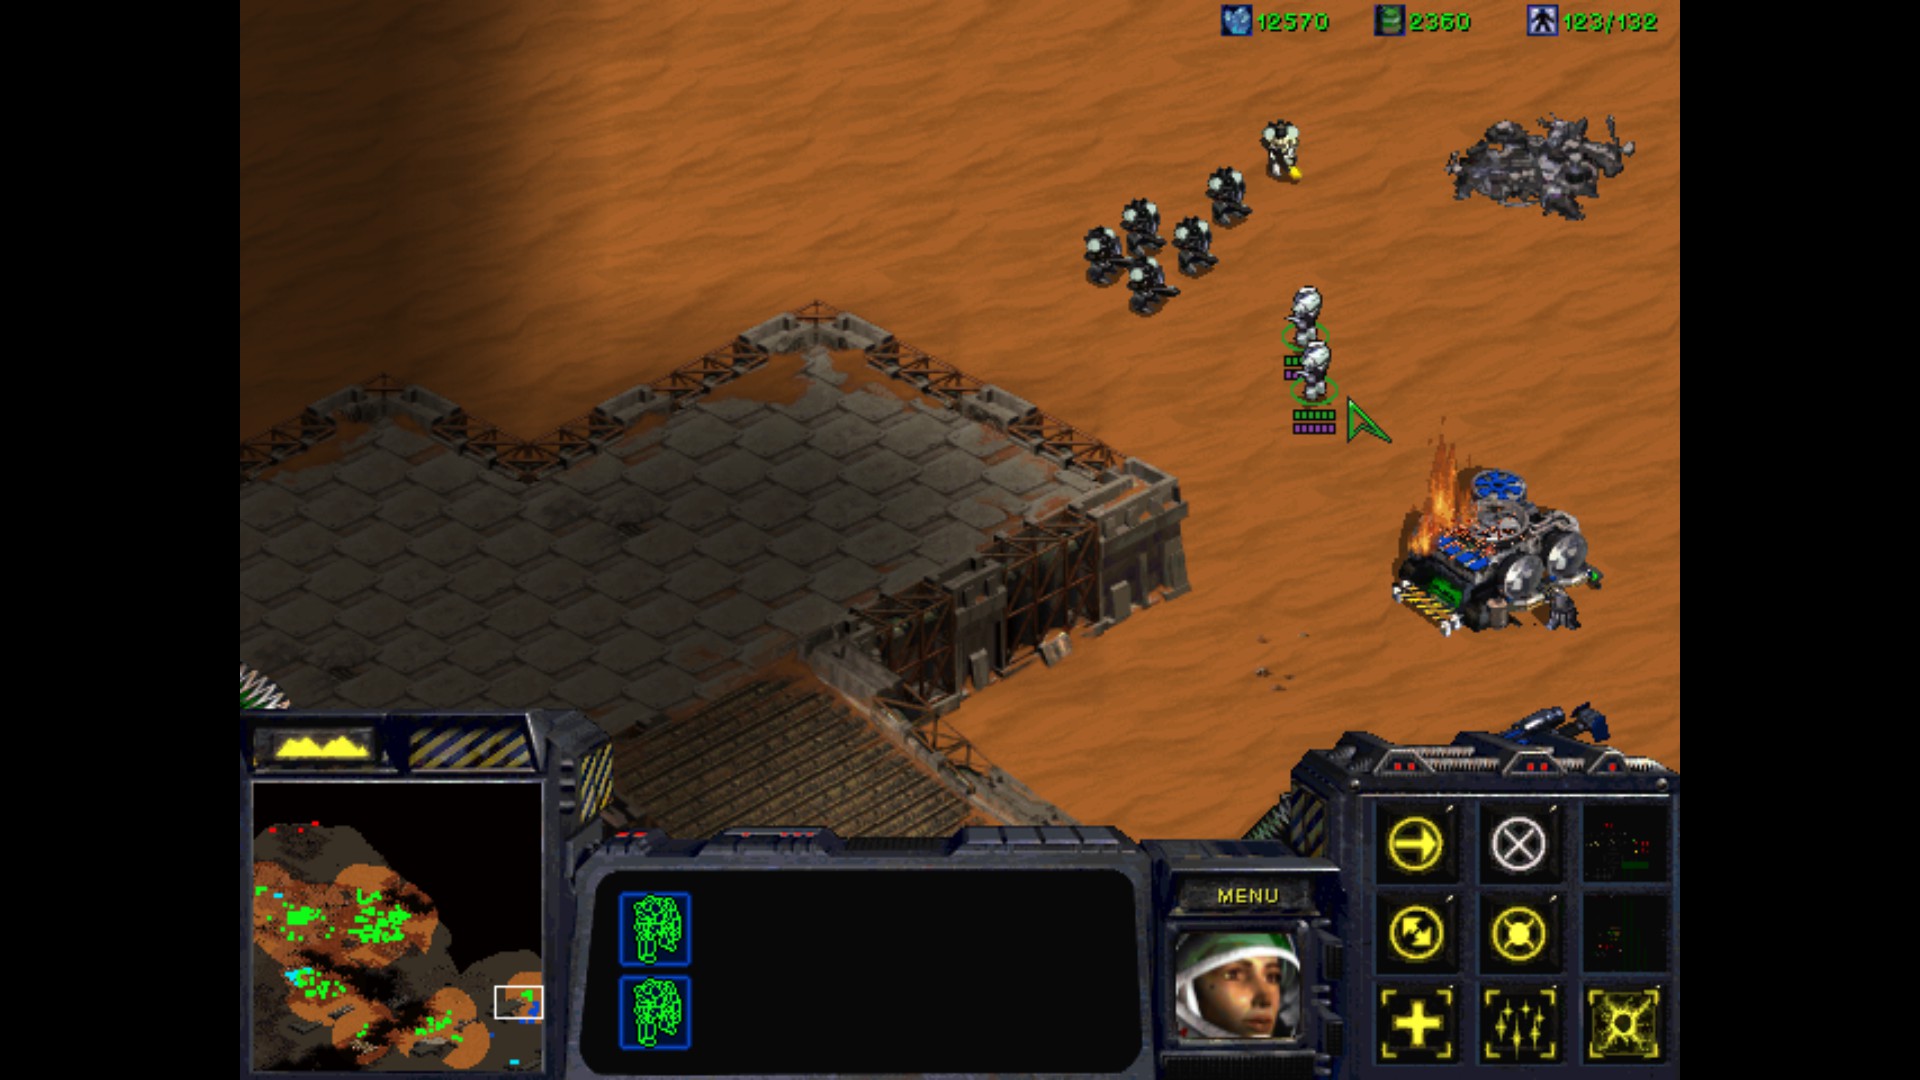
Oh, a little Marine forces and Turret. Perfect place to start for me.
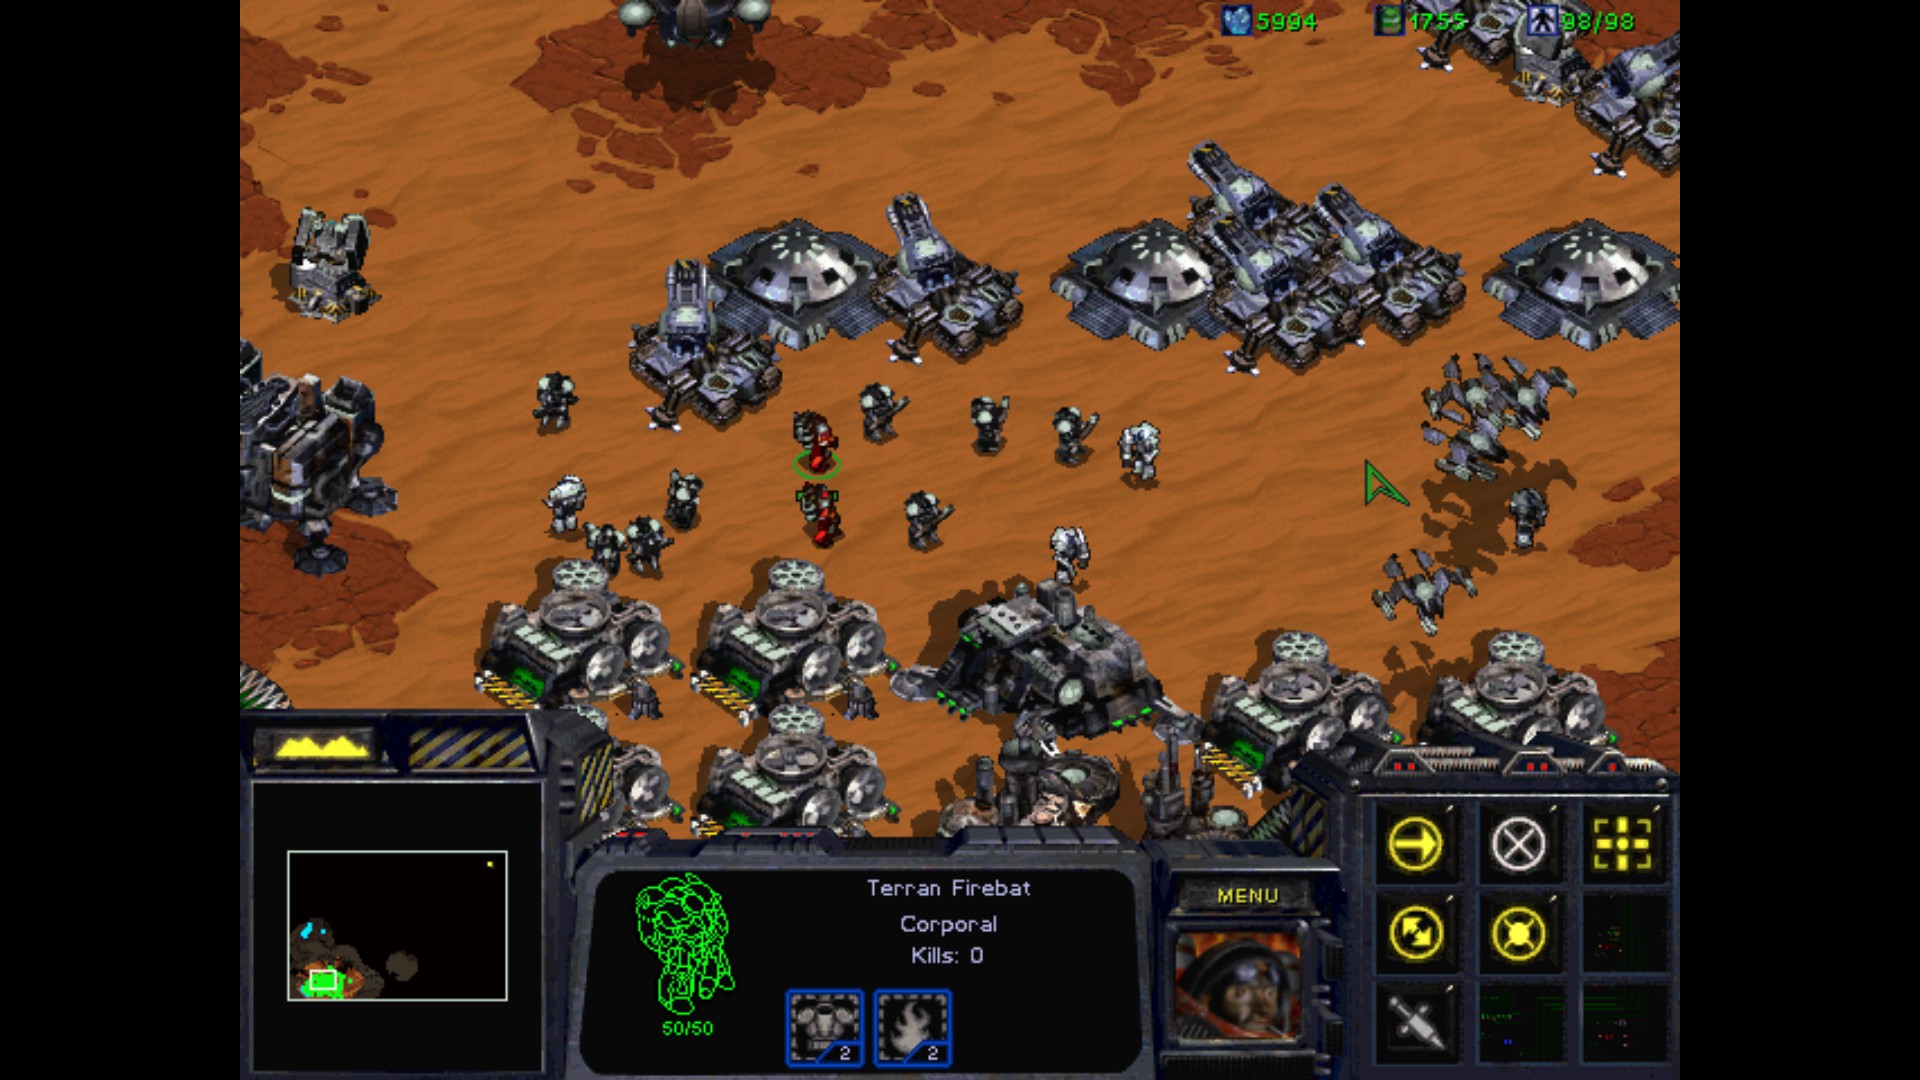
Much better, with Tanks in siege mode and Medics / Marines I will survive the upcoming attacks from both Terran Squadrons.
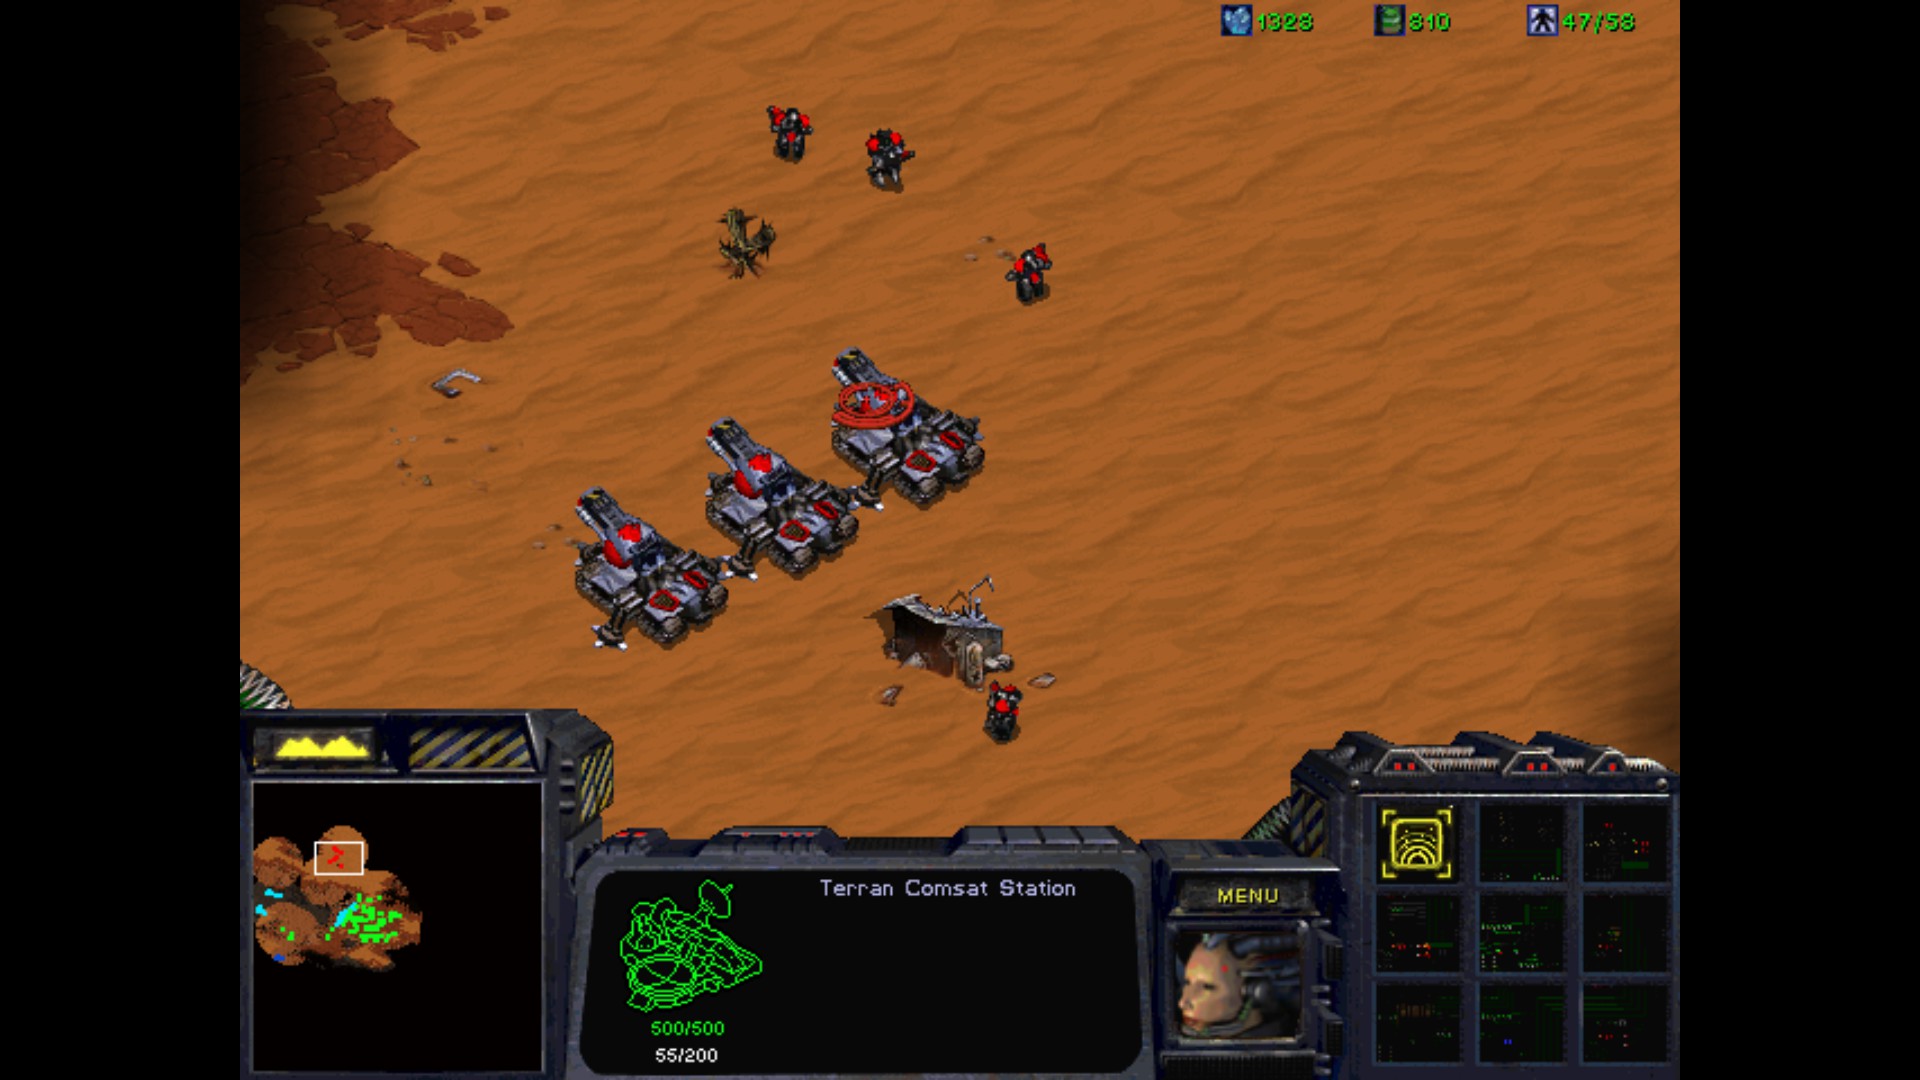
I randomly use my Comsat Station. Lucky finding, I will use Wraiths here since the Tanks would make some damage to the ground troops.
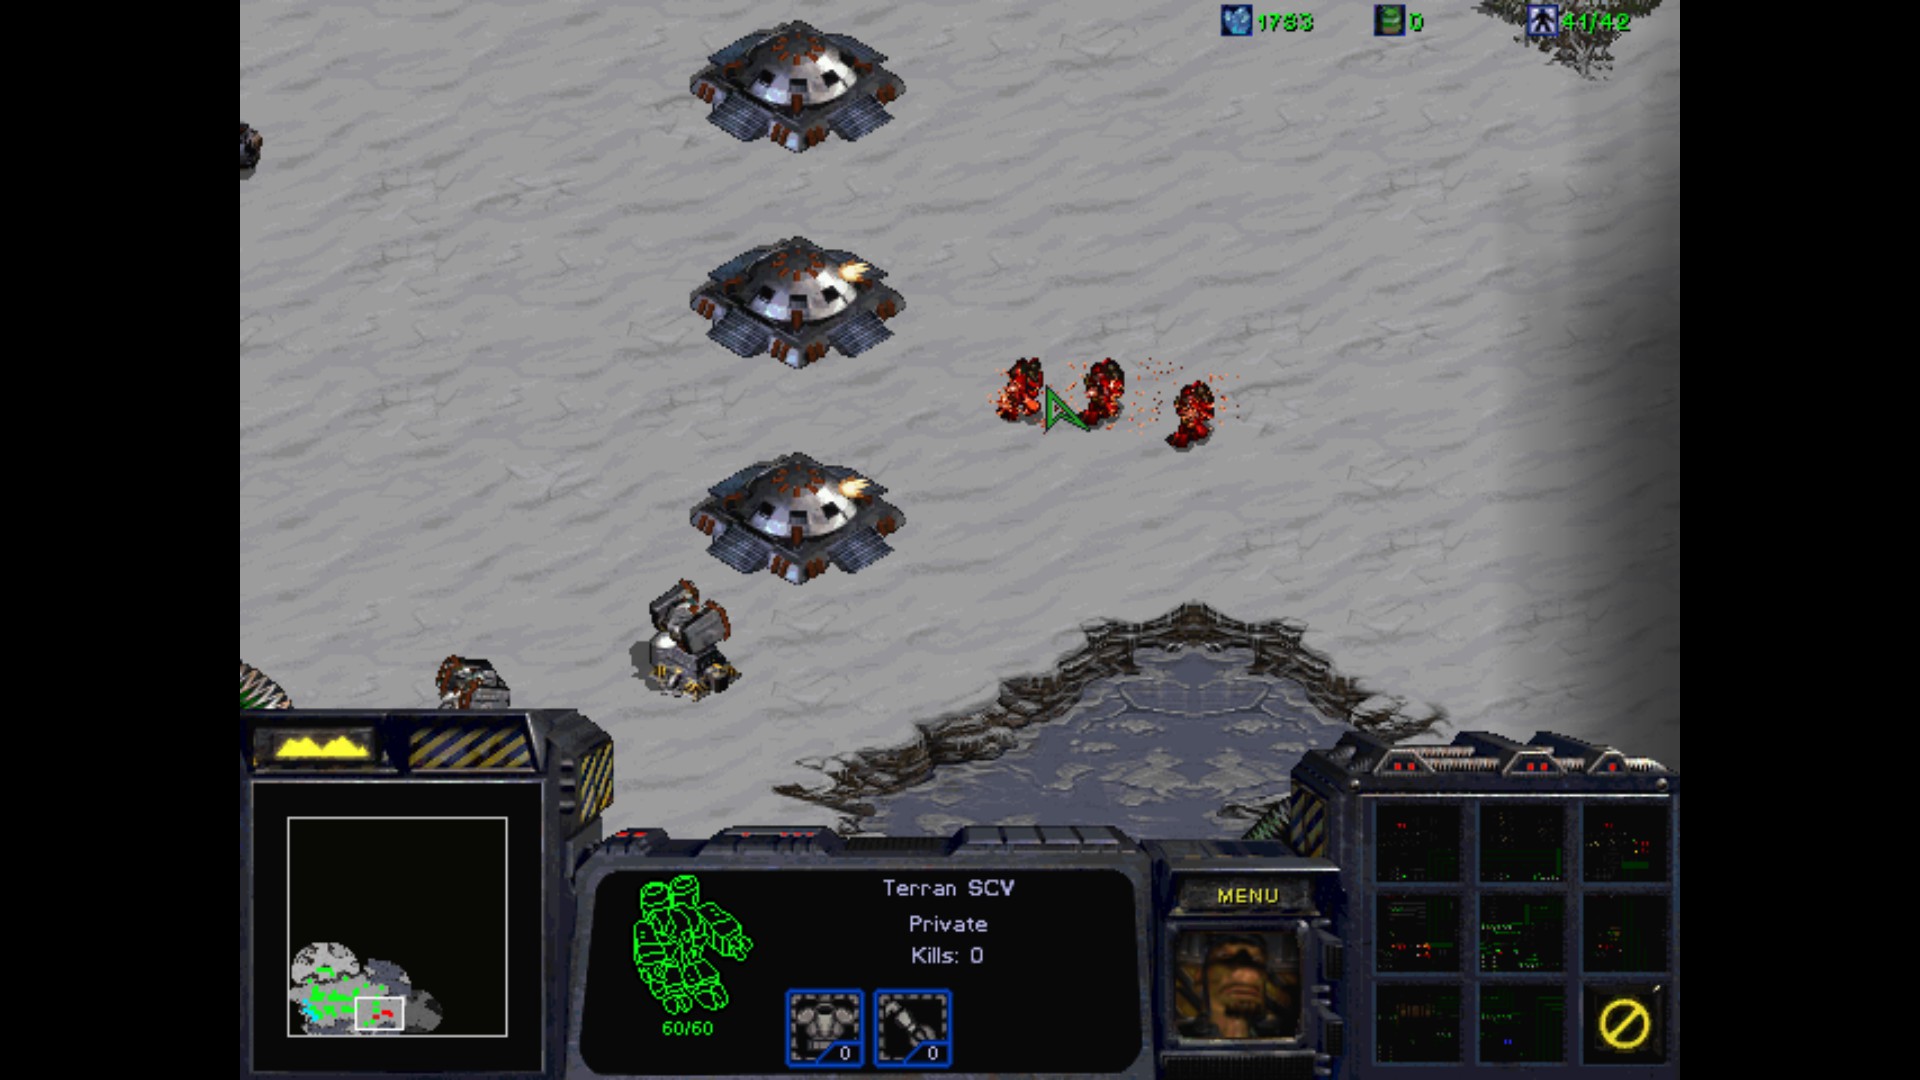
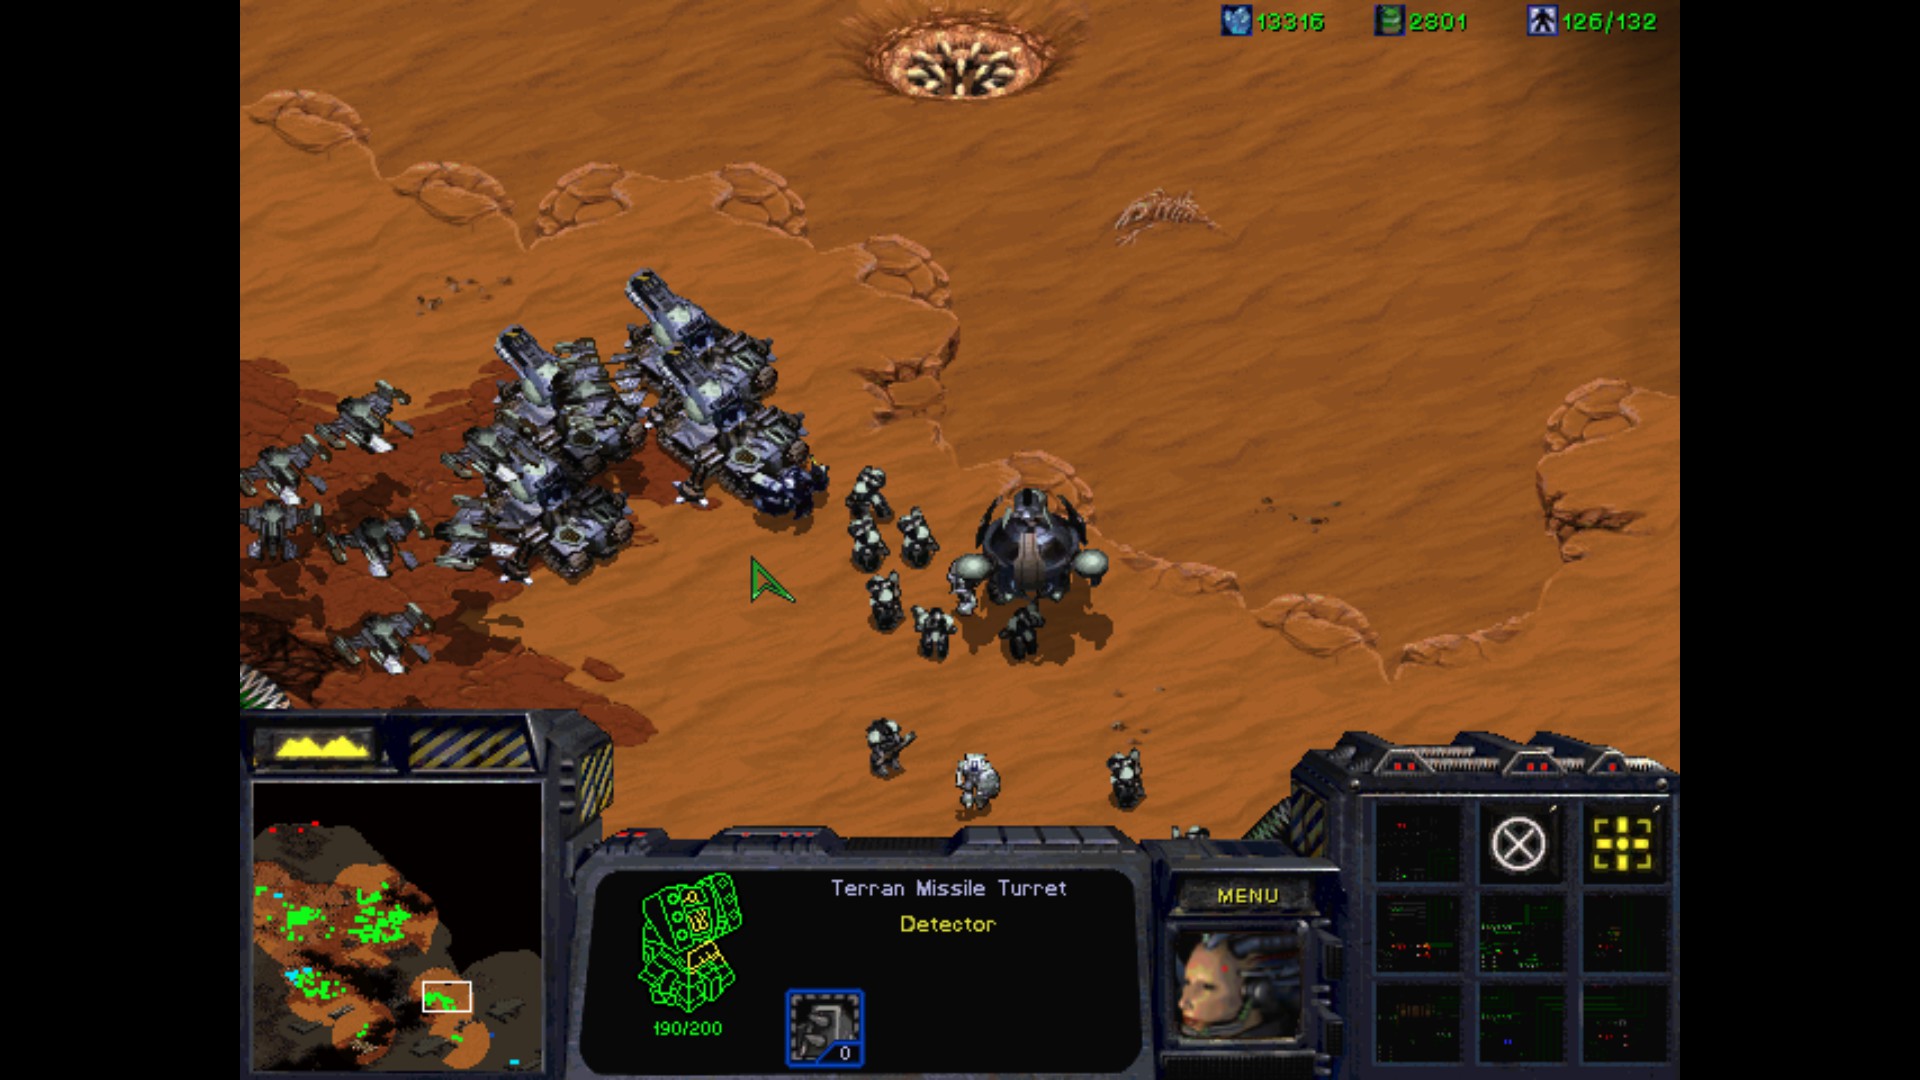
I move my own Tanks to the earlier spot. I thought it was only the Turret and Marines, but there was a Bunker here as well. Not anymore!
The entry to the north is now guarded without much problems. Turrets give my Tanks an upper edge and I constantly upgrade them in the Armory. I always go Ground -> LVL 1 , Air -> LVL 2 routine in the campaign when I know that I'm using the whole arsenal of units at my disposal.
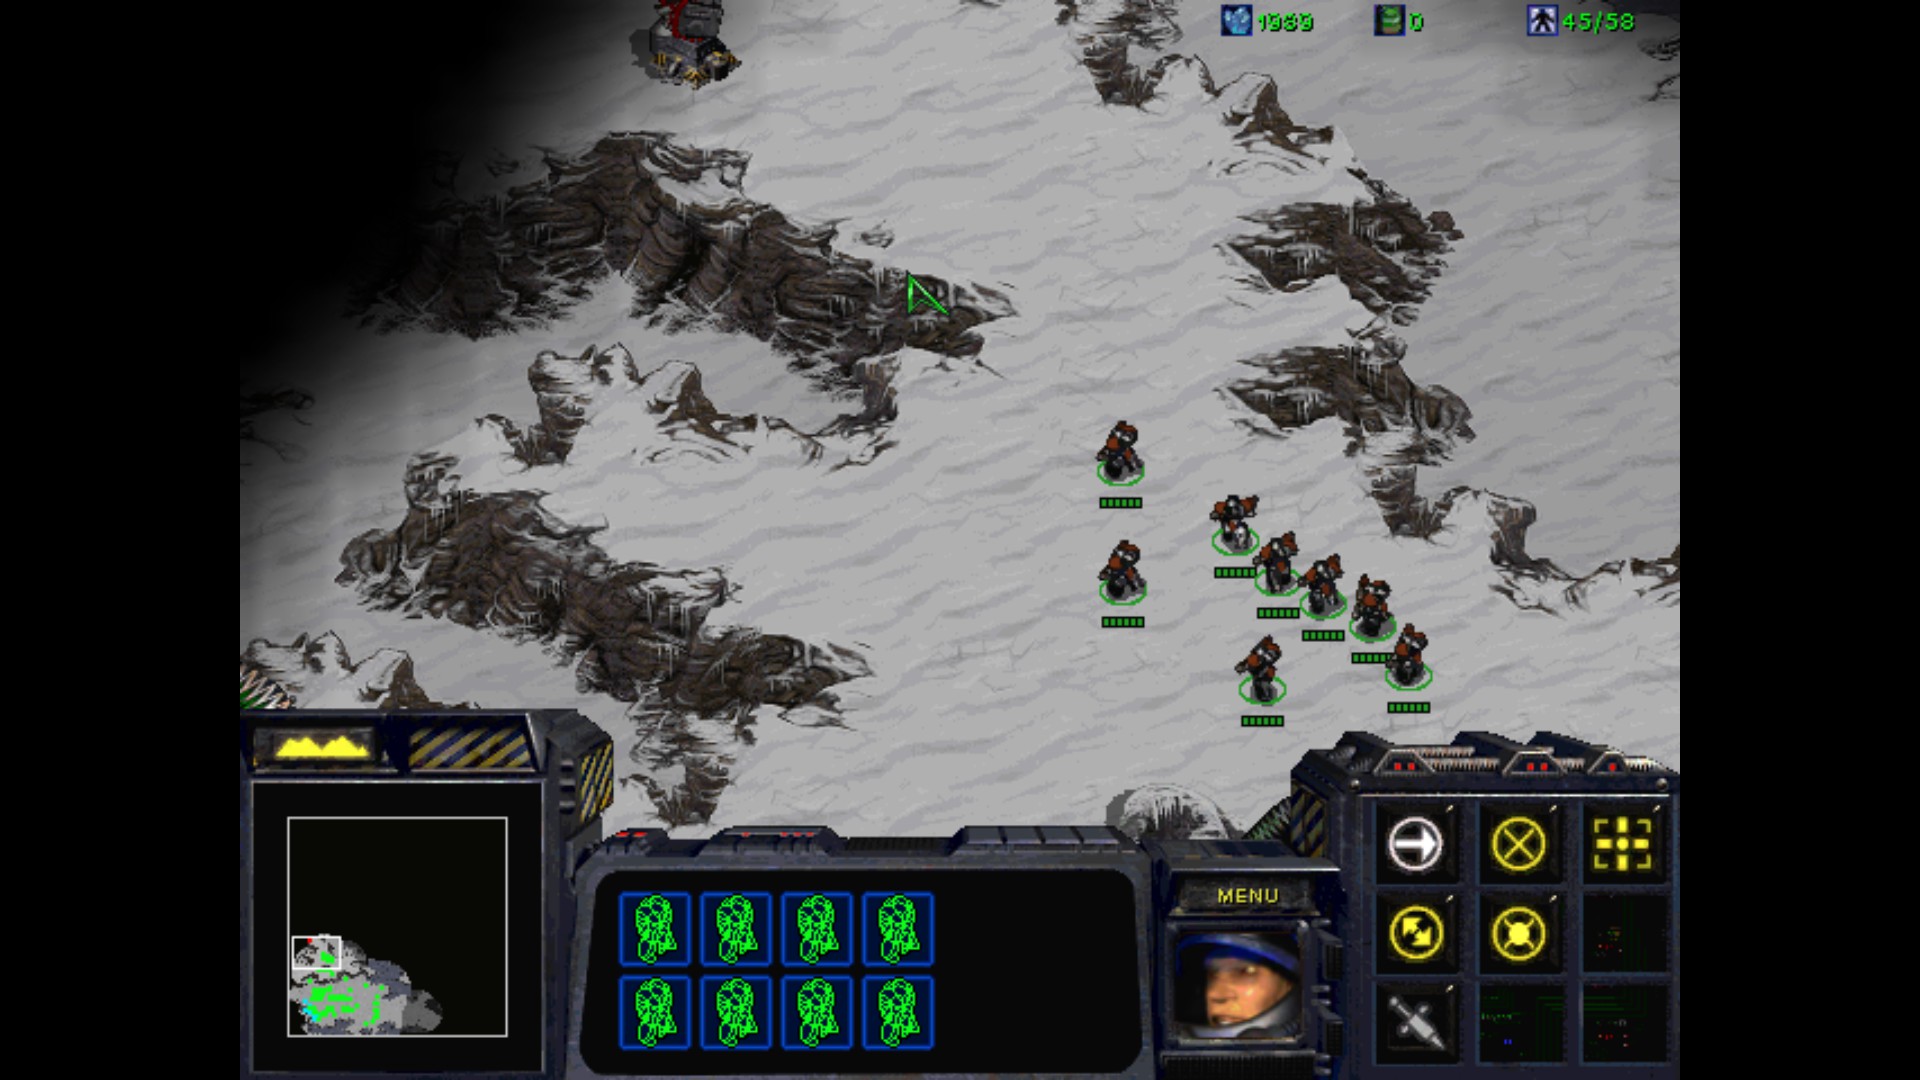
The eastern path is safe as well. This is the more frequently attacked spot. There are constantly Marines/Firebats/Ghosts/Tanks pouring into. I need to be careful, especially with the latter one. Siege Tanks fighting each other out are the battles that end up really quick if you are to eager to move on.
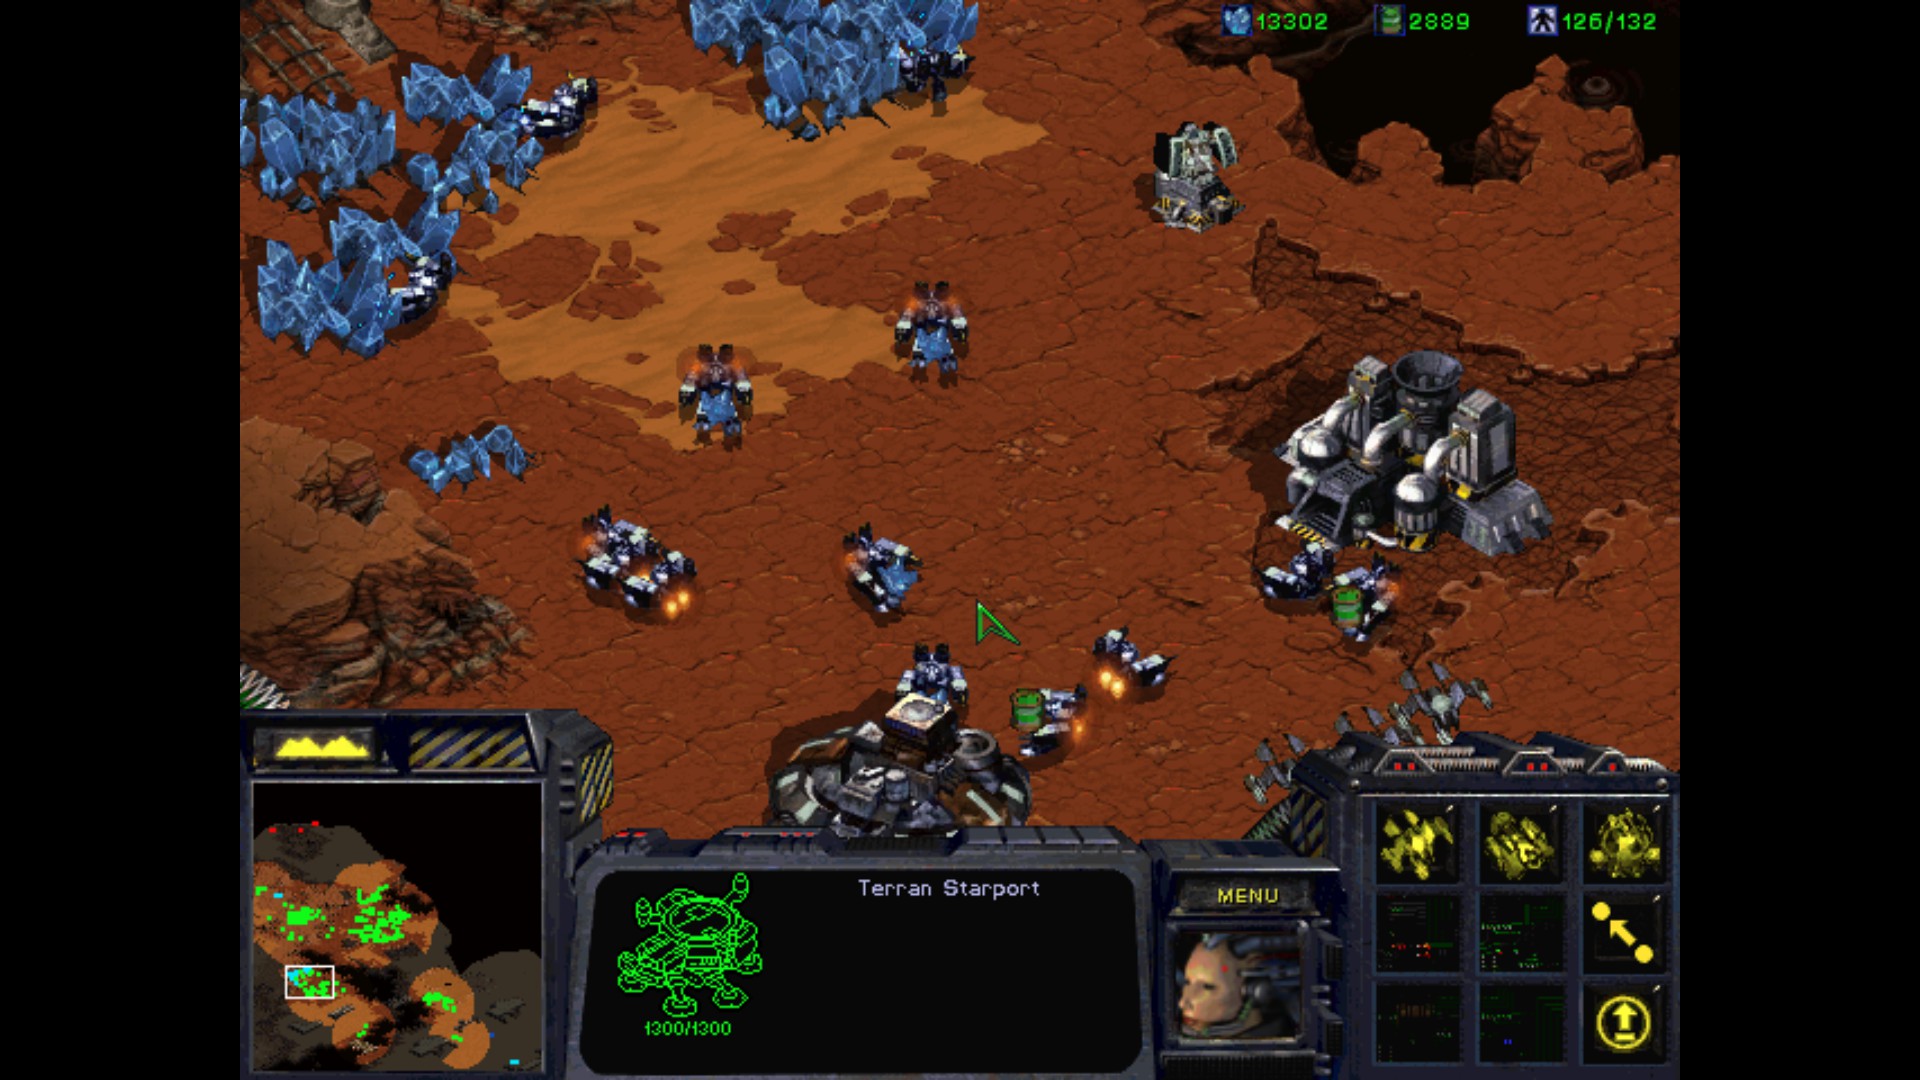
I make another defense spot near the minerals discovered earlier. The small base of a blue Terran is sending into this positions Goliaths and Marines for the most part. I need to move on and secure another piece of land to have an easier time navigating through to the main installations.

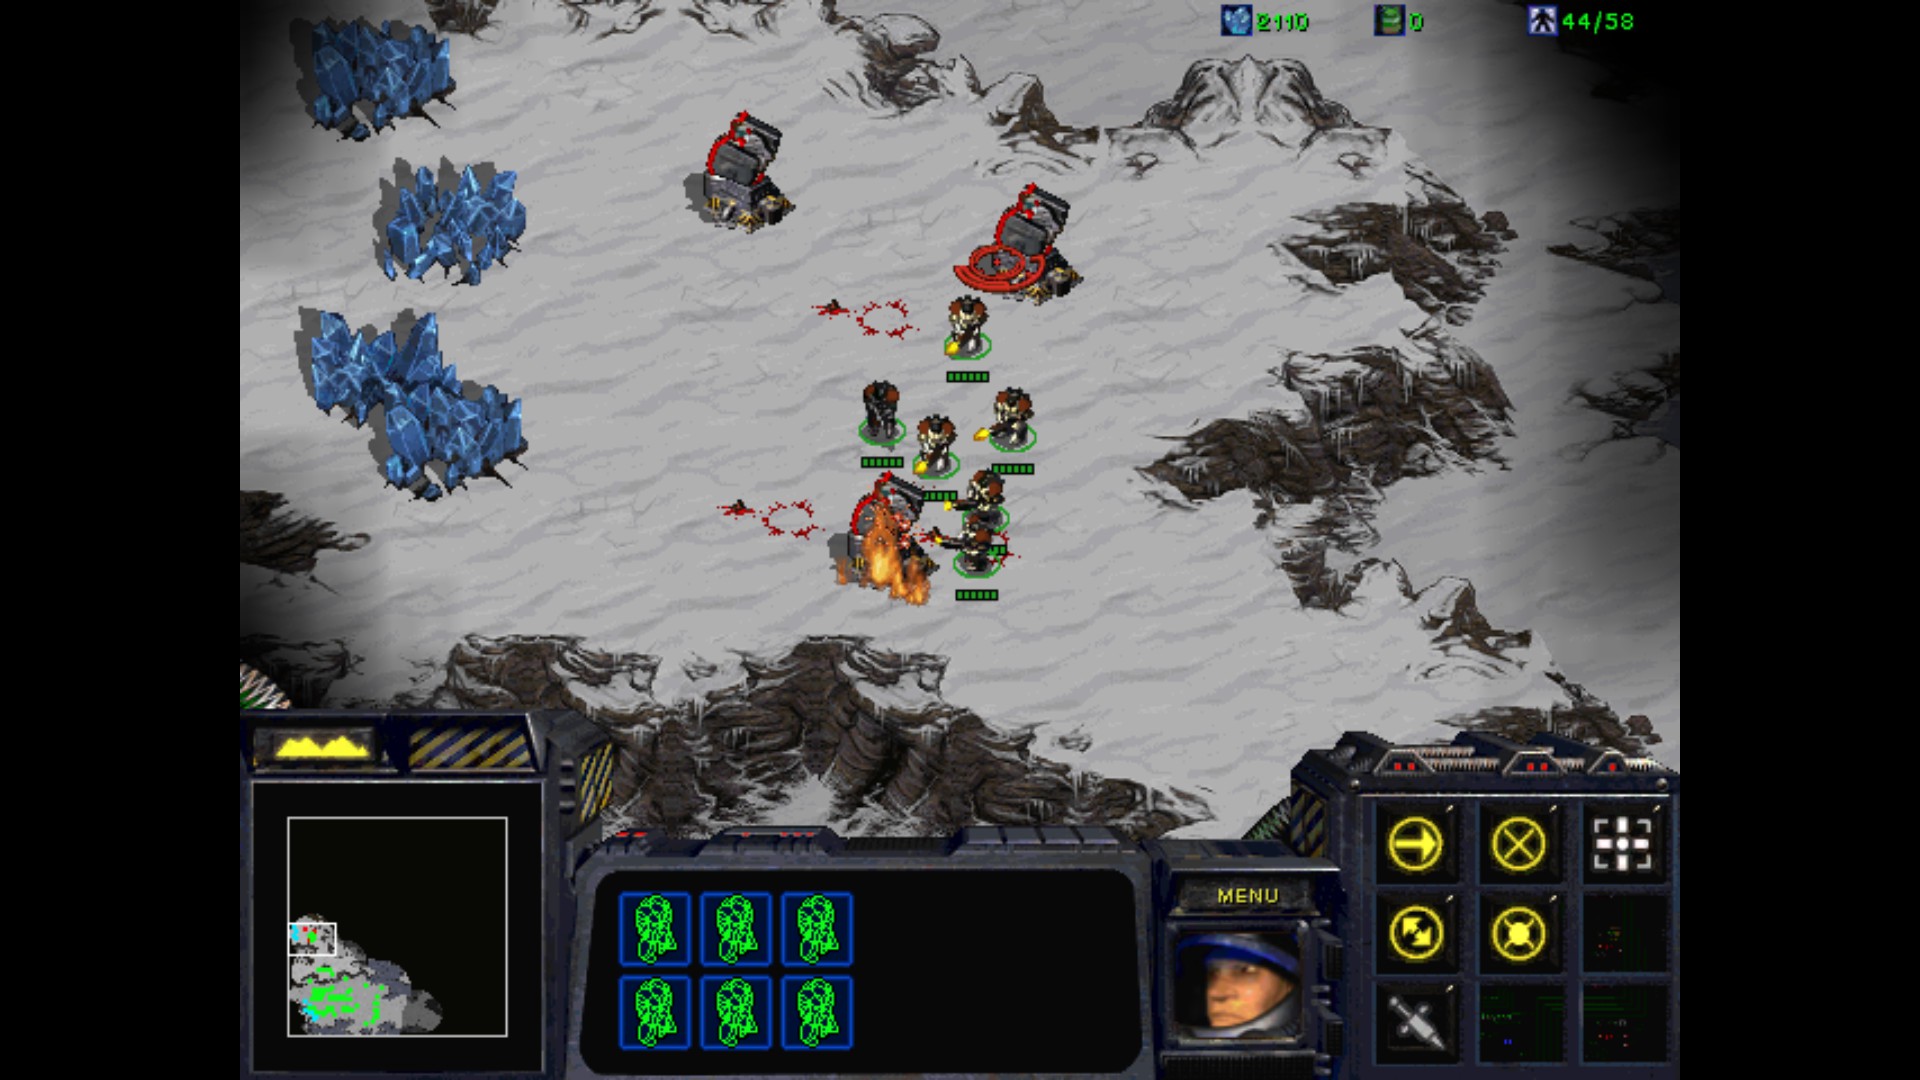
Nicely done attack, precise and with no casualties. The Marines and Medics are killing the Marines that are moving to my Tanks. The Wraiths just patiently await for now.
Success! The base wasn't that small at all. I bet this will cut the production of enemy's forces. Time to prepare an invasion to the east.
I move the Tanks with SCV's and ground troops and little by little, destroy the whole base. If needed I make some Turrets and Bunkers to kill the initial big waves of combined forces trying to defend.
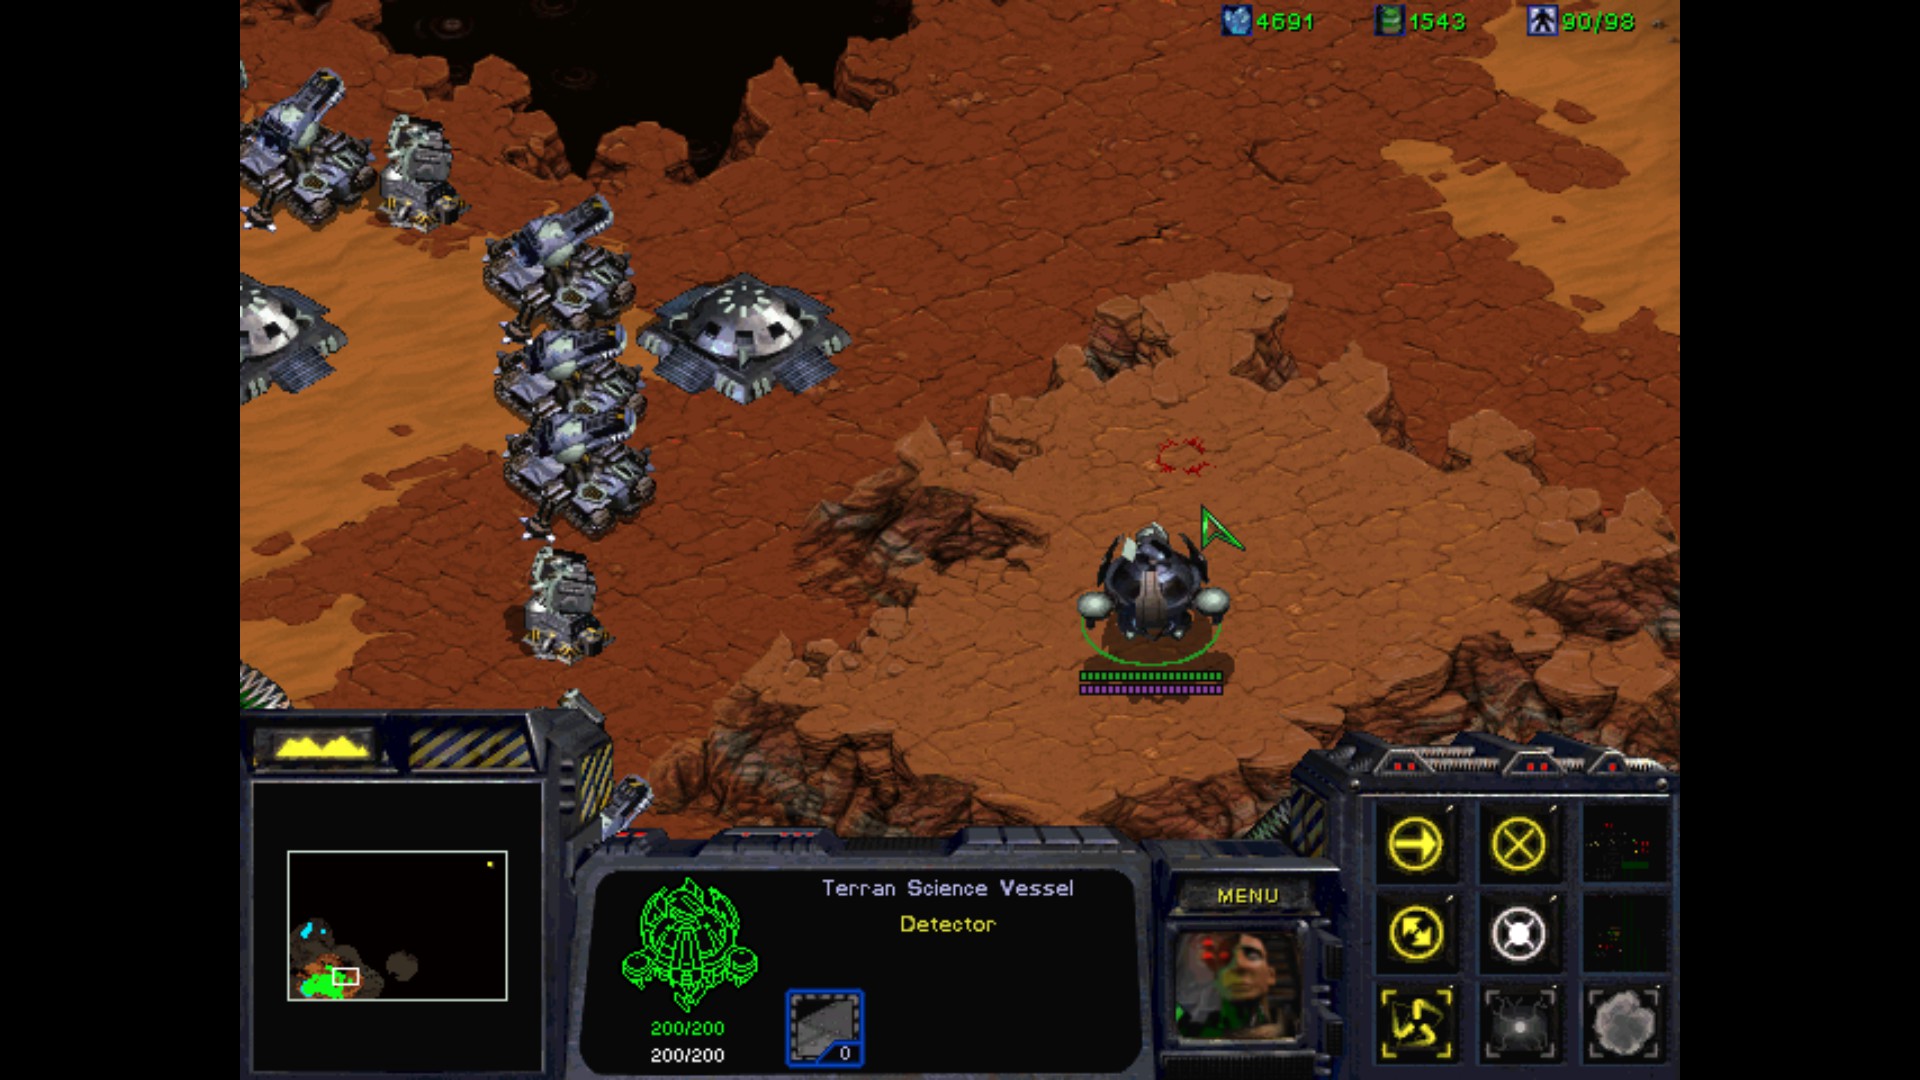
The place is filled with mines all over. It's a good idea to have 2 Science Vessels and use them to clean the map before entering through the ground.
Bobba Fett was here. I've left a single Missile Silo, because I want to destroy the other squad of Terrans. I could already finish the mission, but as I've told before, I'm going for the "No Battlecruisers" option here. I guess I should have go up north, but that is not a problem. UED eats bullets for breakfast and will show Mengsk where his place is.
Meanwhile I made a third base, in the earlier liberated location.

I move my troops to the last remaining Turret and Bunker of the blue Terran.
I carefully move my Science Vessel to see what to expect from the red Terran.
After fixing all the machines that were used on the attack in south, I move to the north and implement the same modus operandi.

I must admit, the red squadron fought initially really well and tried to weaken my combined attack but he quickly run out of steam. His places is huge, so I have a really good time destroying everything here to the ground.

It's almost over in the western location as well. No leftovers for later!

Finally. In the next mission I will be only pestered by Ghosts and Nukes without being bothered by Battlecruisers. We shall see how it works out in the end.
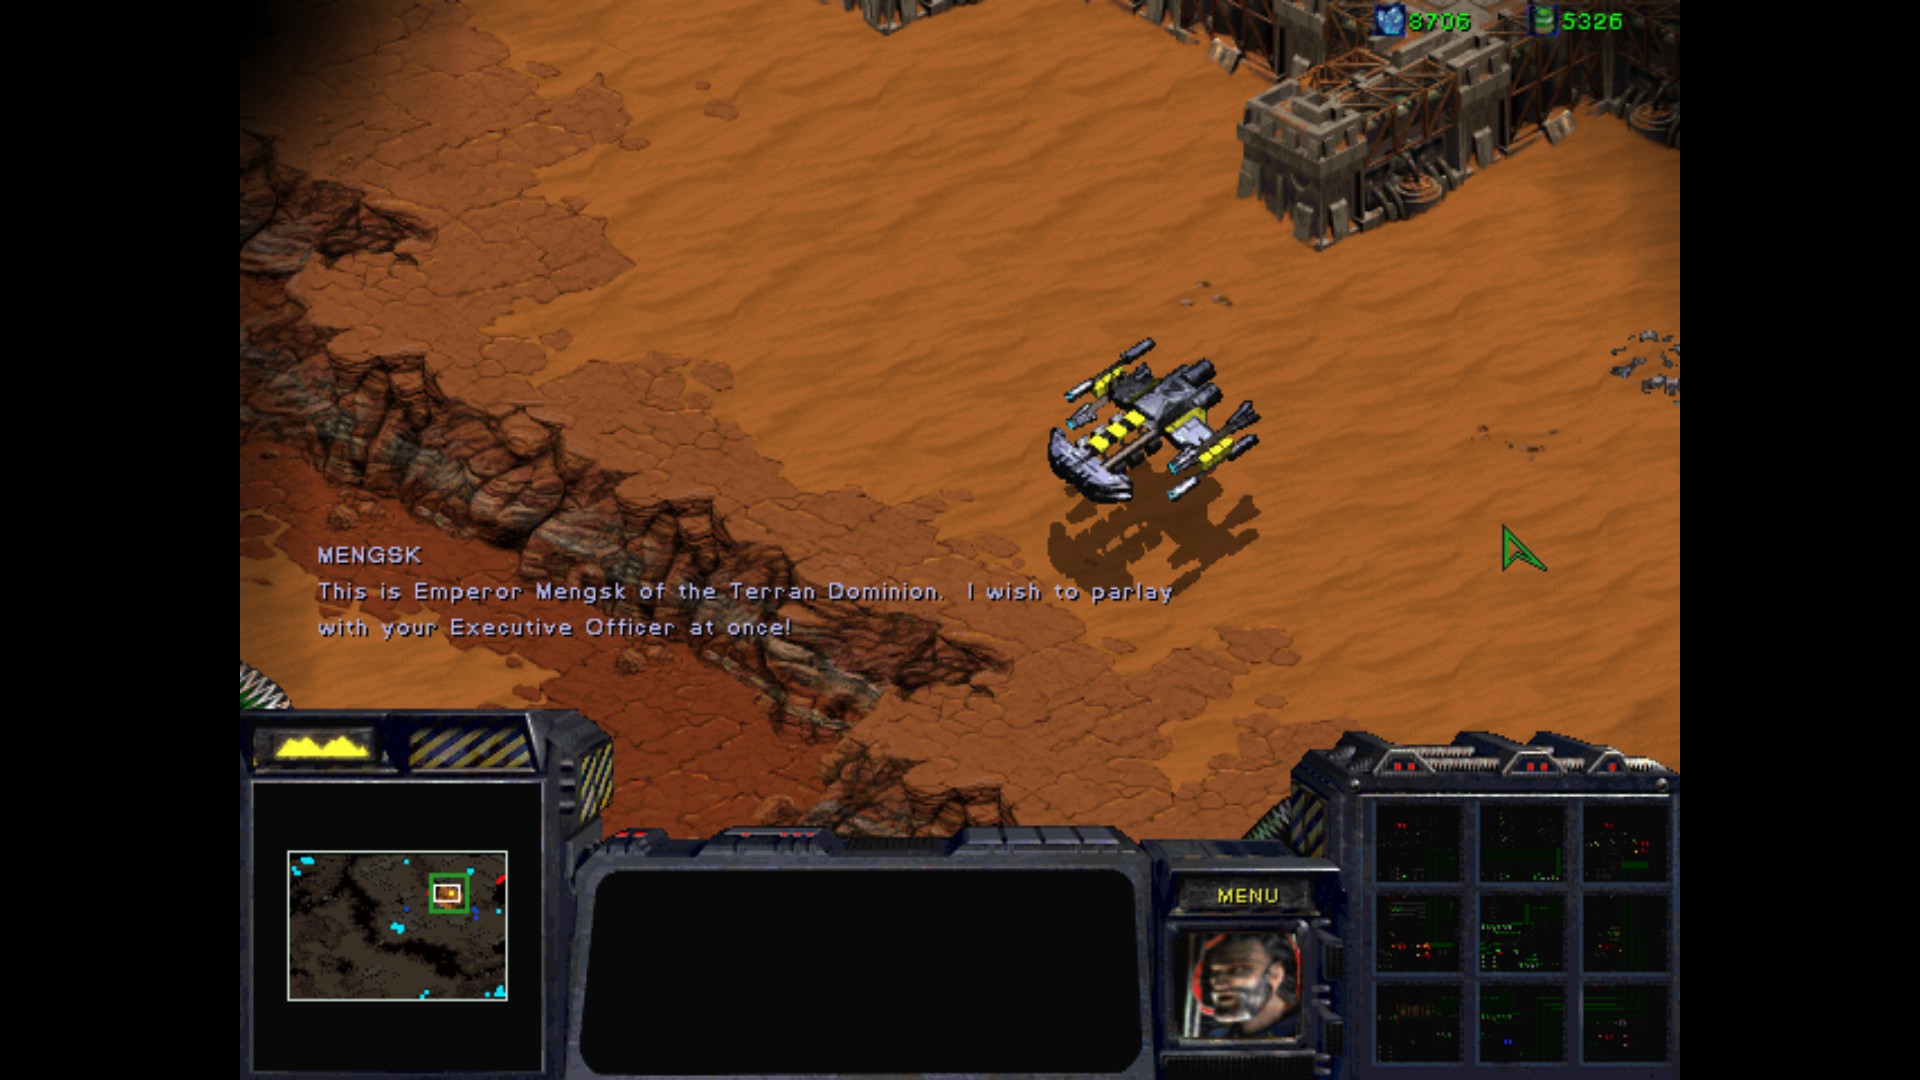
Mission V : Emperor's Fall (Ground Zero)

:
Captain, Admiral DuGalle has ordered a final tactical meeting before the siege of Augustgrad commences.
I'll patch you through to his war room.
:
Ah, Captain, we've been expecting you.
As you may have guessed, we are coordinating our final attack plans.
You should know, that even though Mengsk cannot reinforce his numbers, his standing forces are substantial.
Augustgrad is easily the most heavily fortified city in all of Dominion space.
And remember that Mengsk is an accomplished tactician so you had best be wary of any counter attacks he may attempt.
:
Also, despite the fact that we have crippled his fleet of battlecruisers, we suspect that Mengsk will unload his nuclear silos whenever the opportunity presents itself. Keep security tight at all of your bases, and watch out for enemy Ghosts.
:
That should cover it, Captain. Be careful and good luck. By the day's end, the Terran Dominion will be nothing more than a bad memory.
Objectives :
- Destroy Mengsk's Command Center
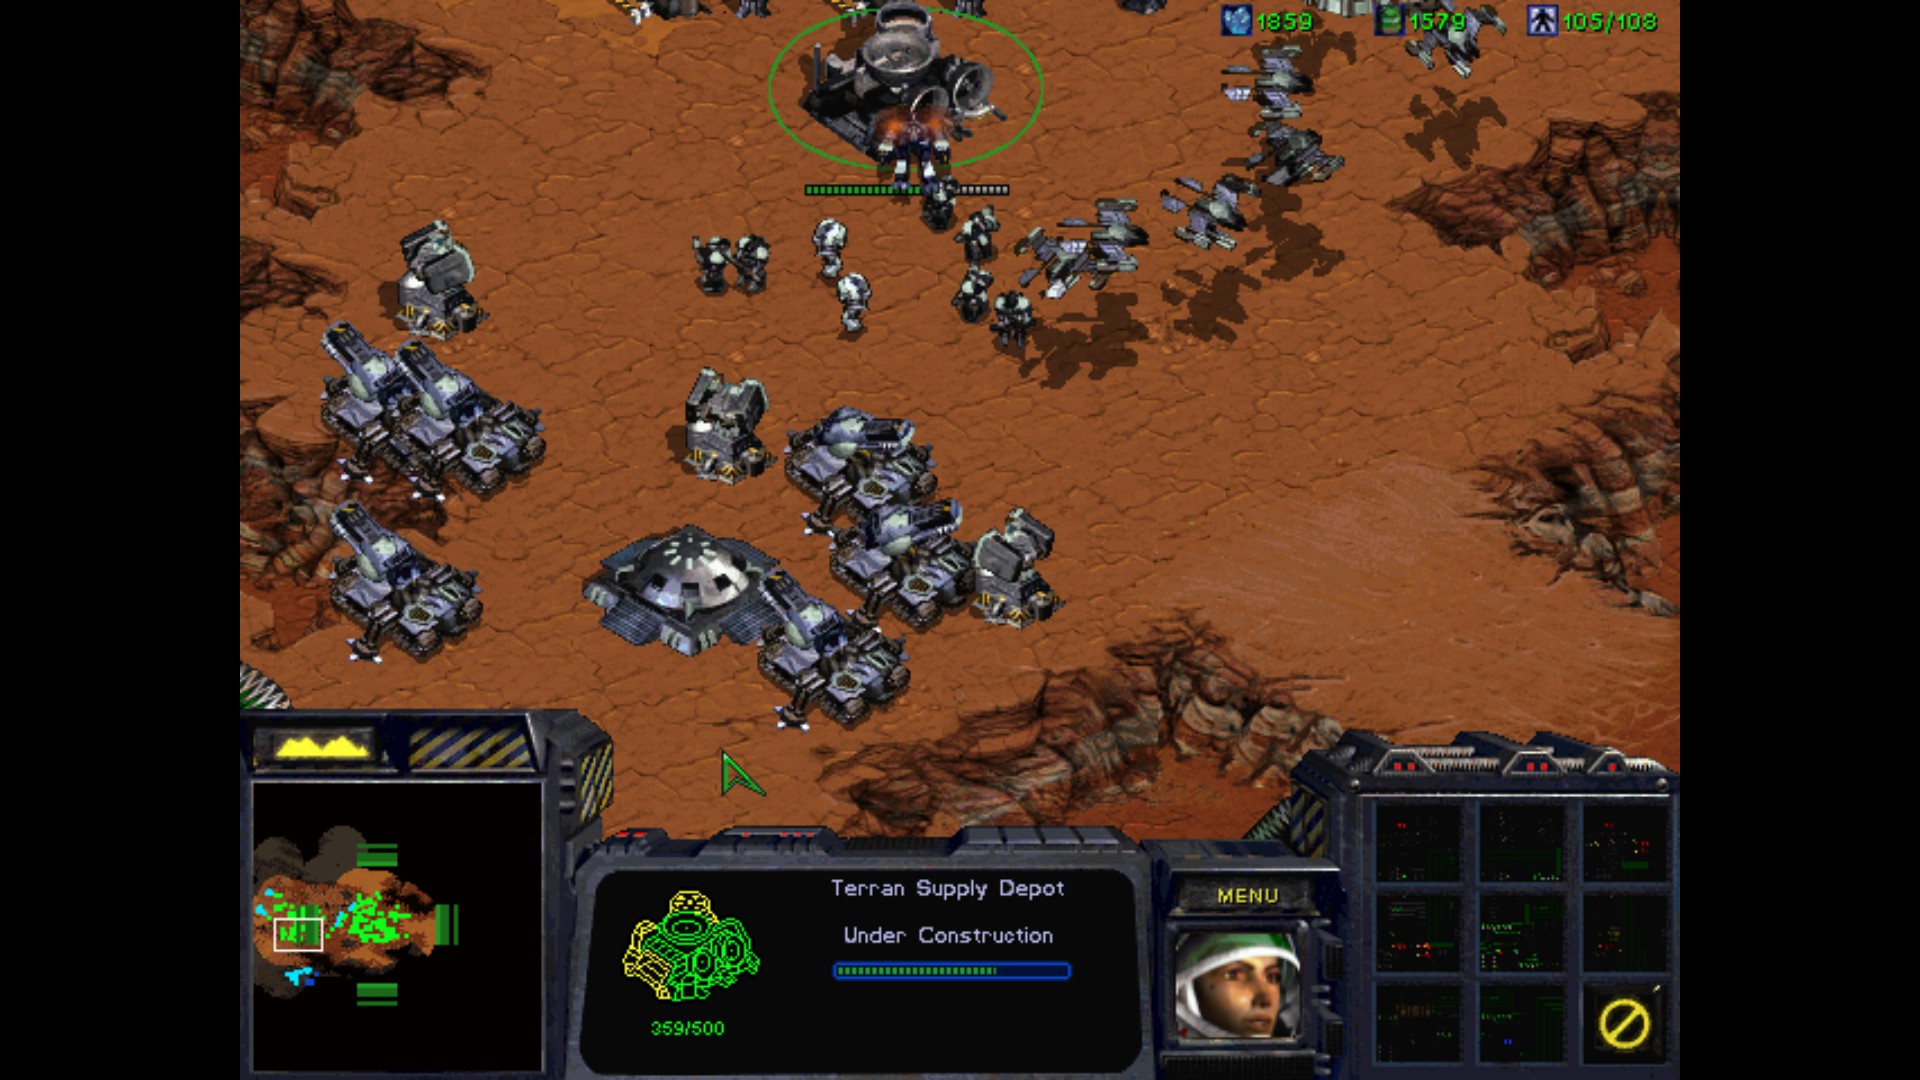
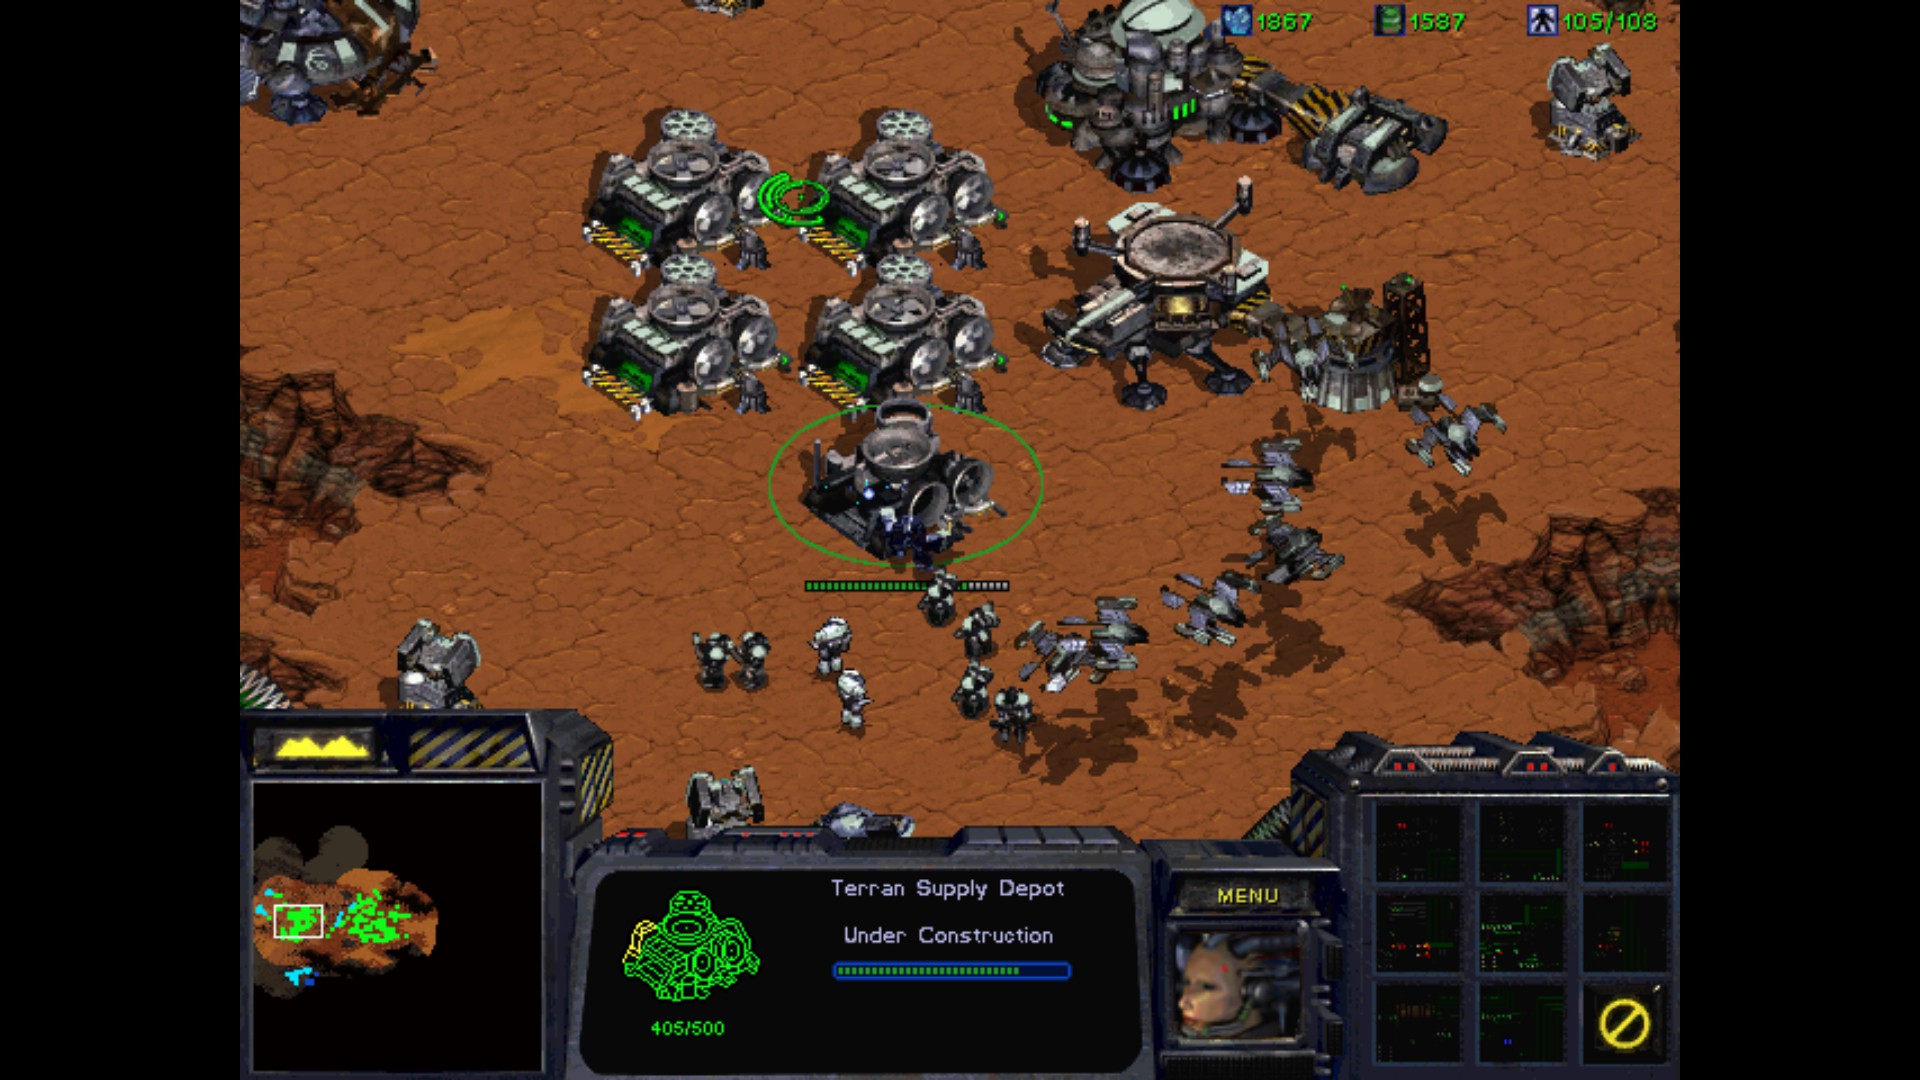
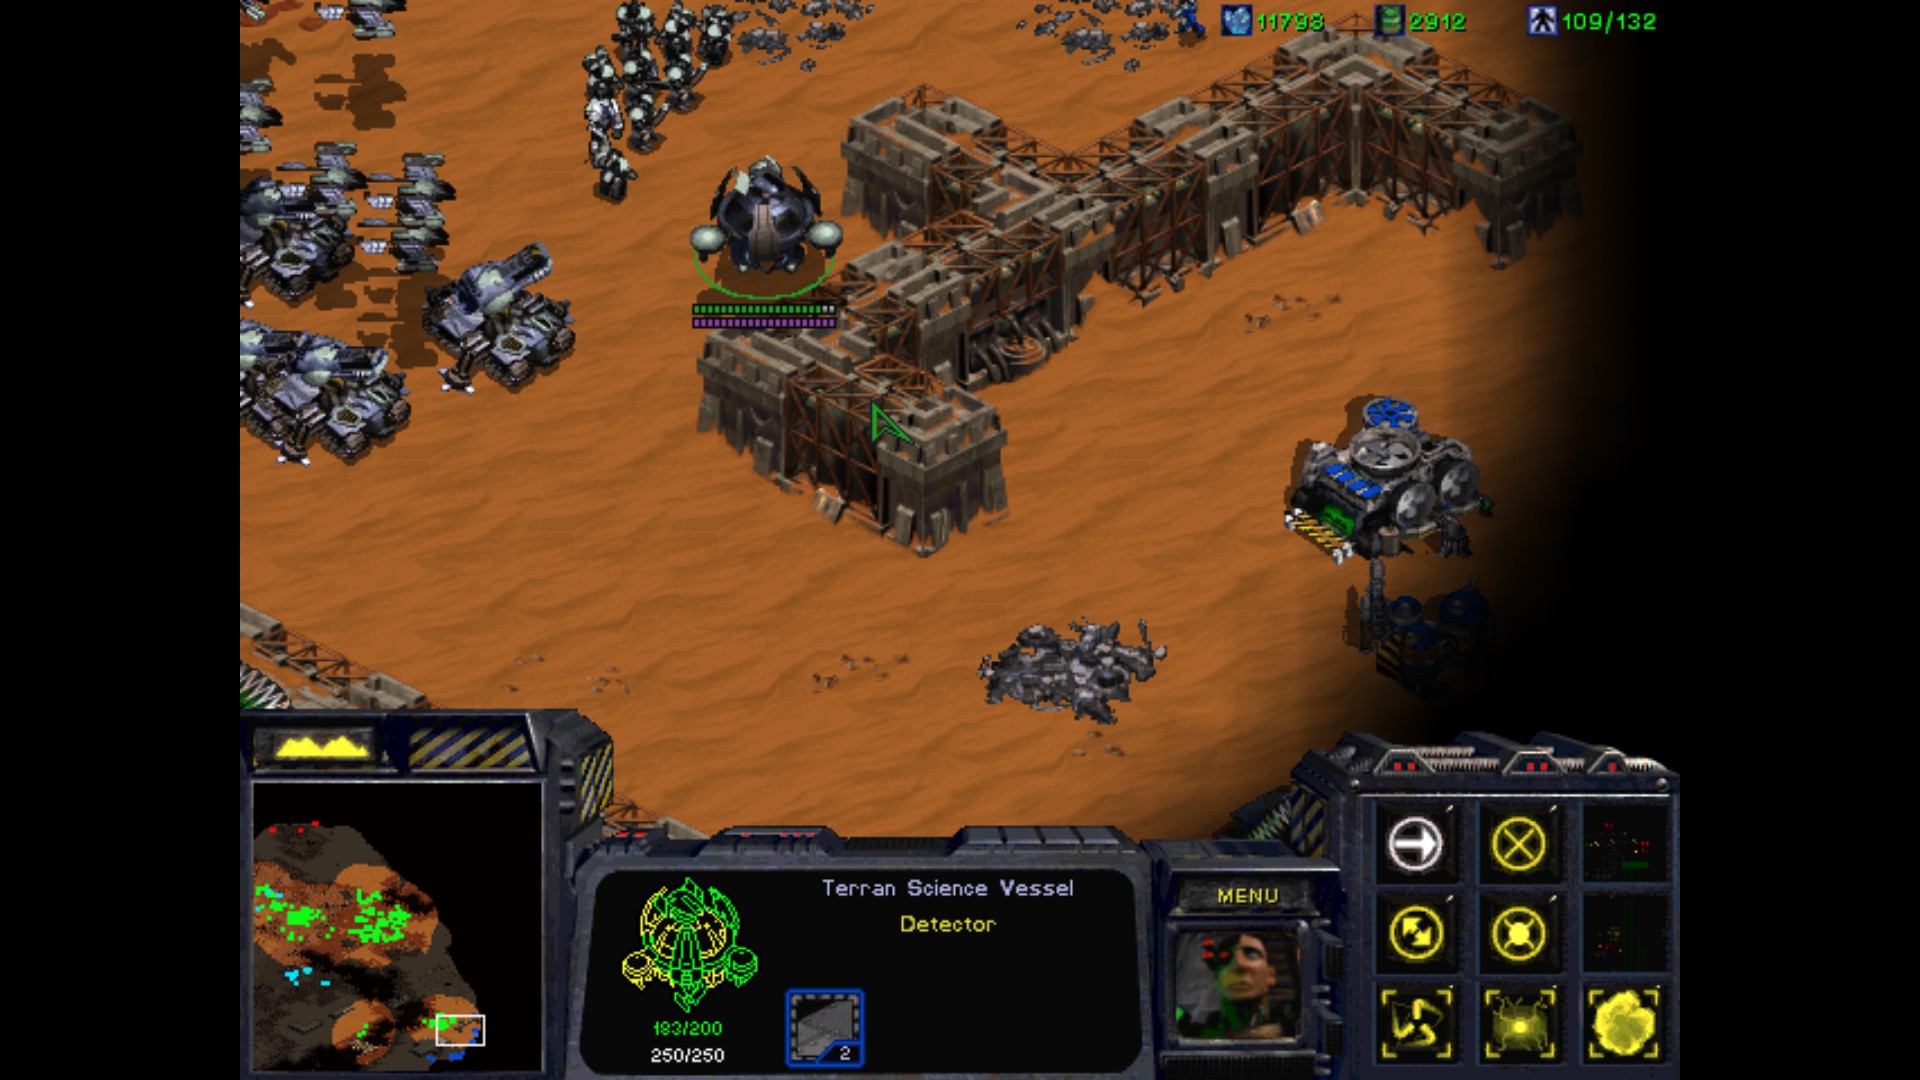
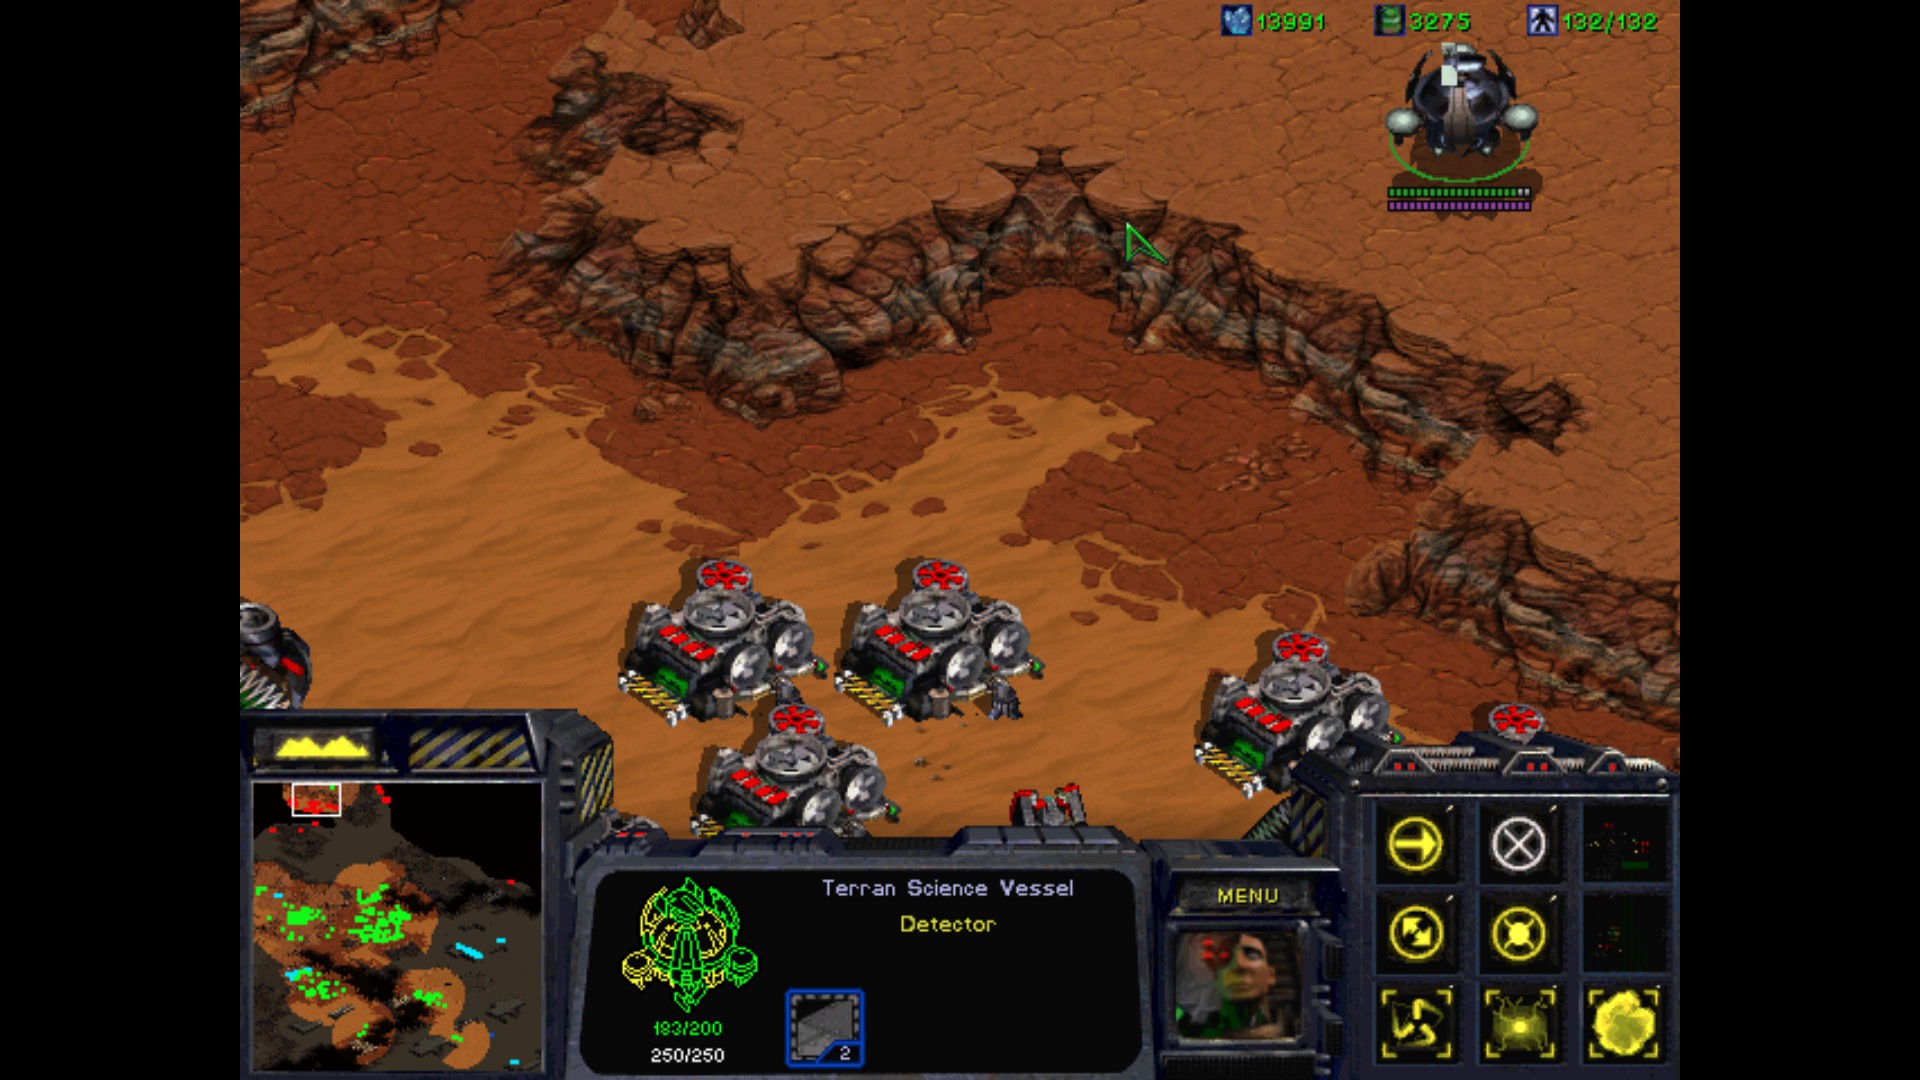
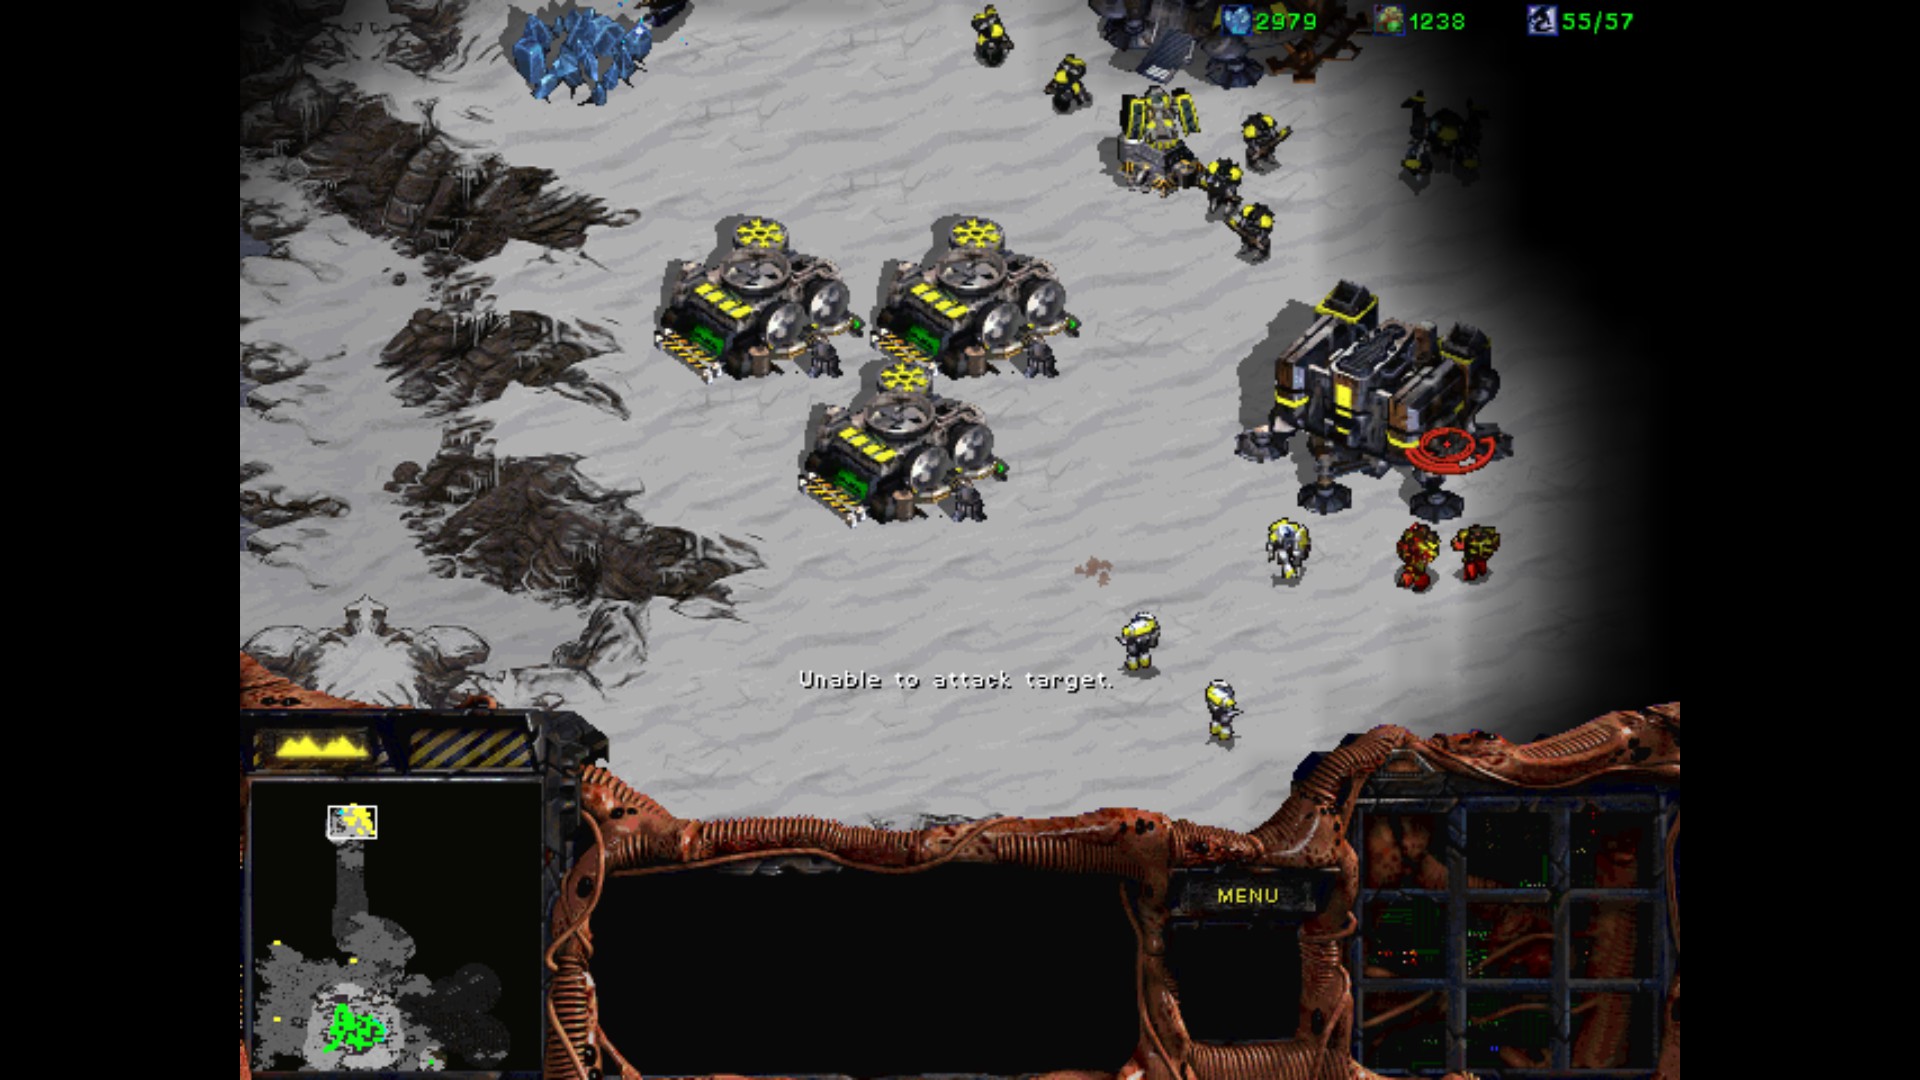
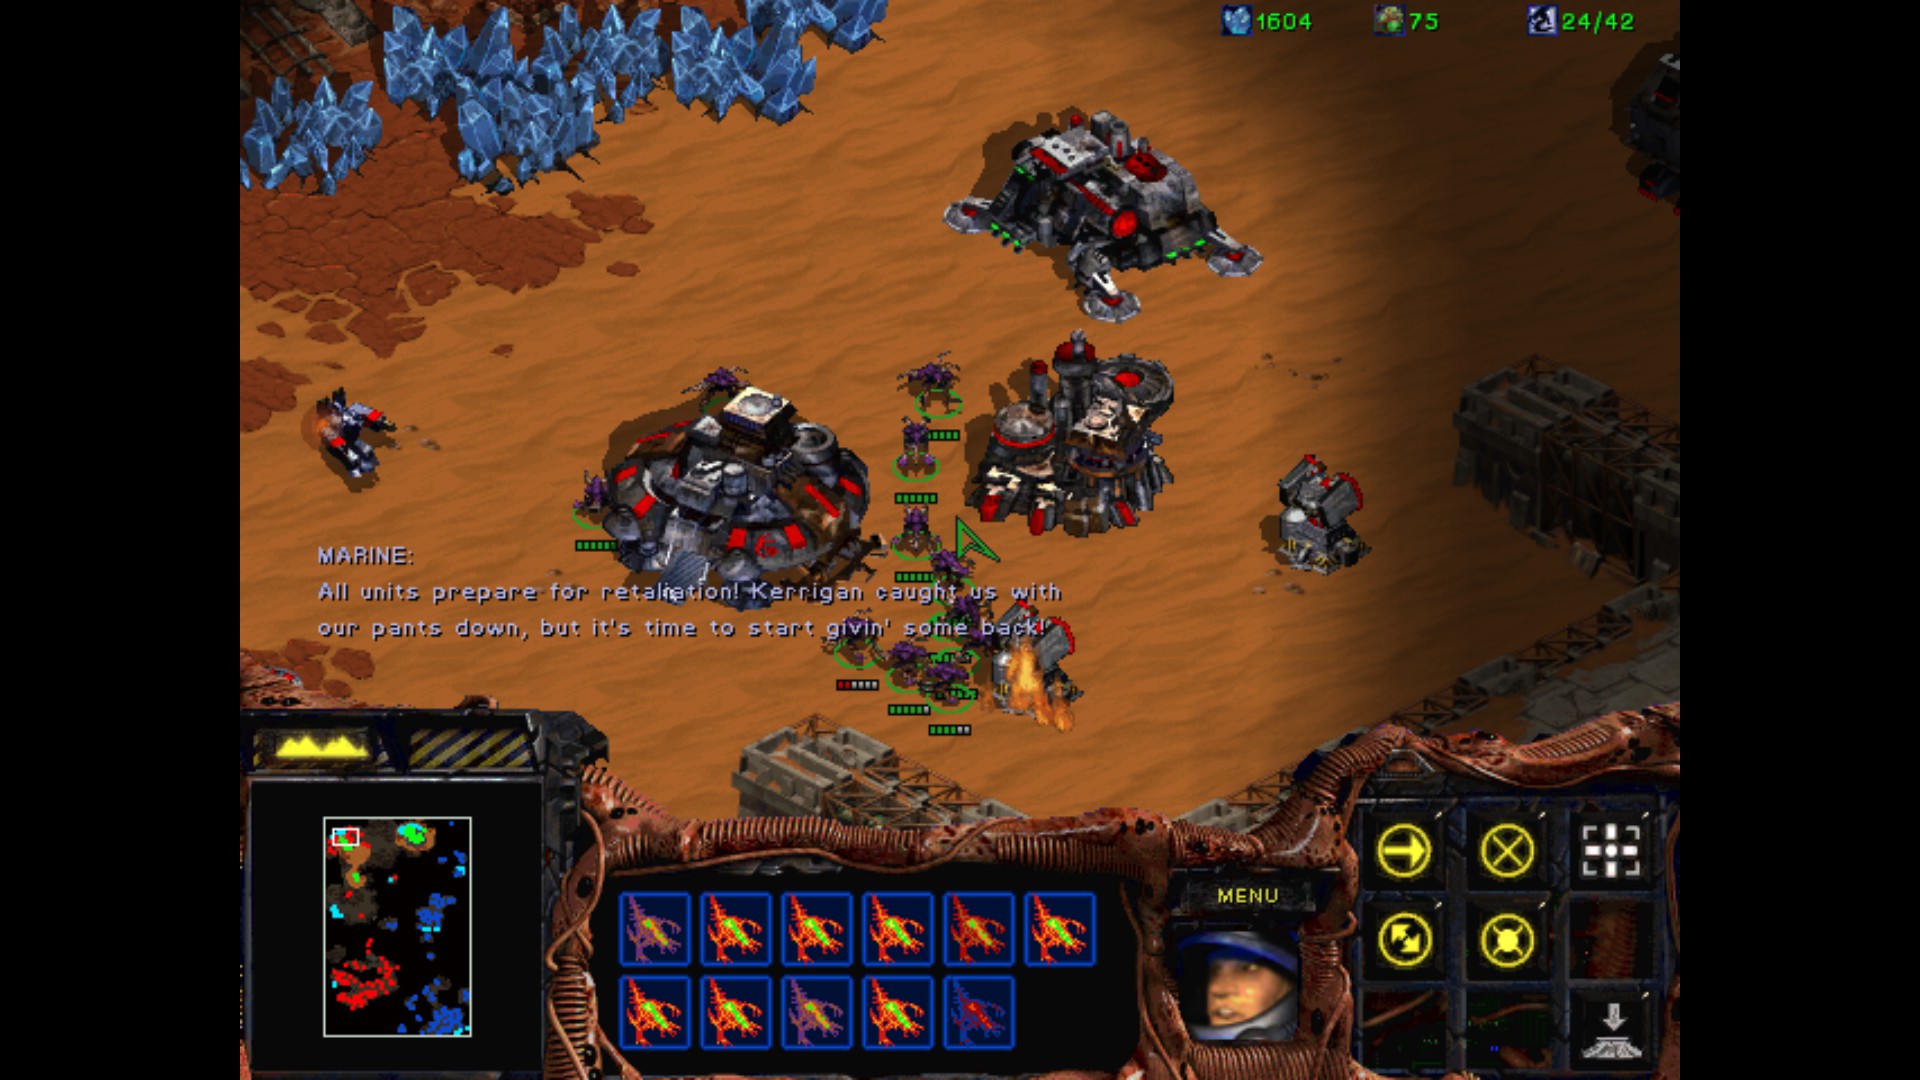
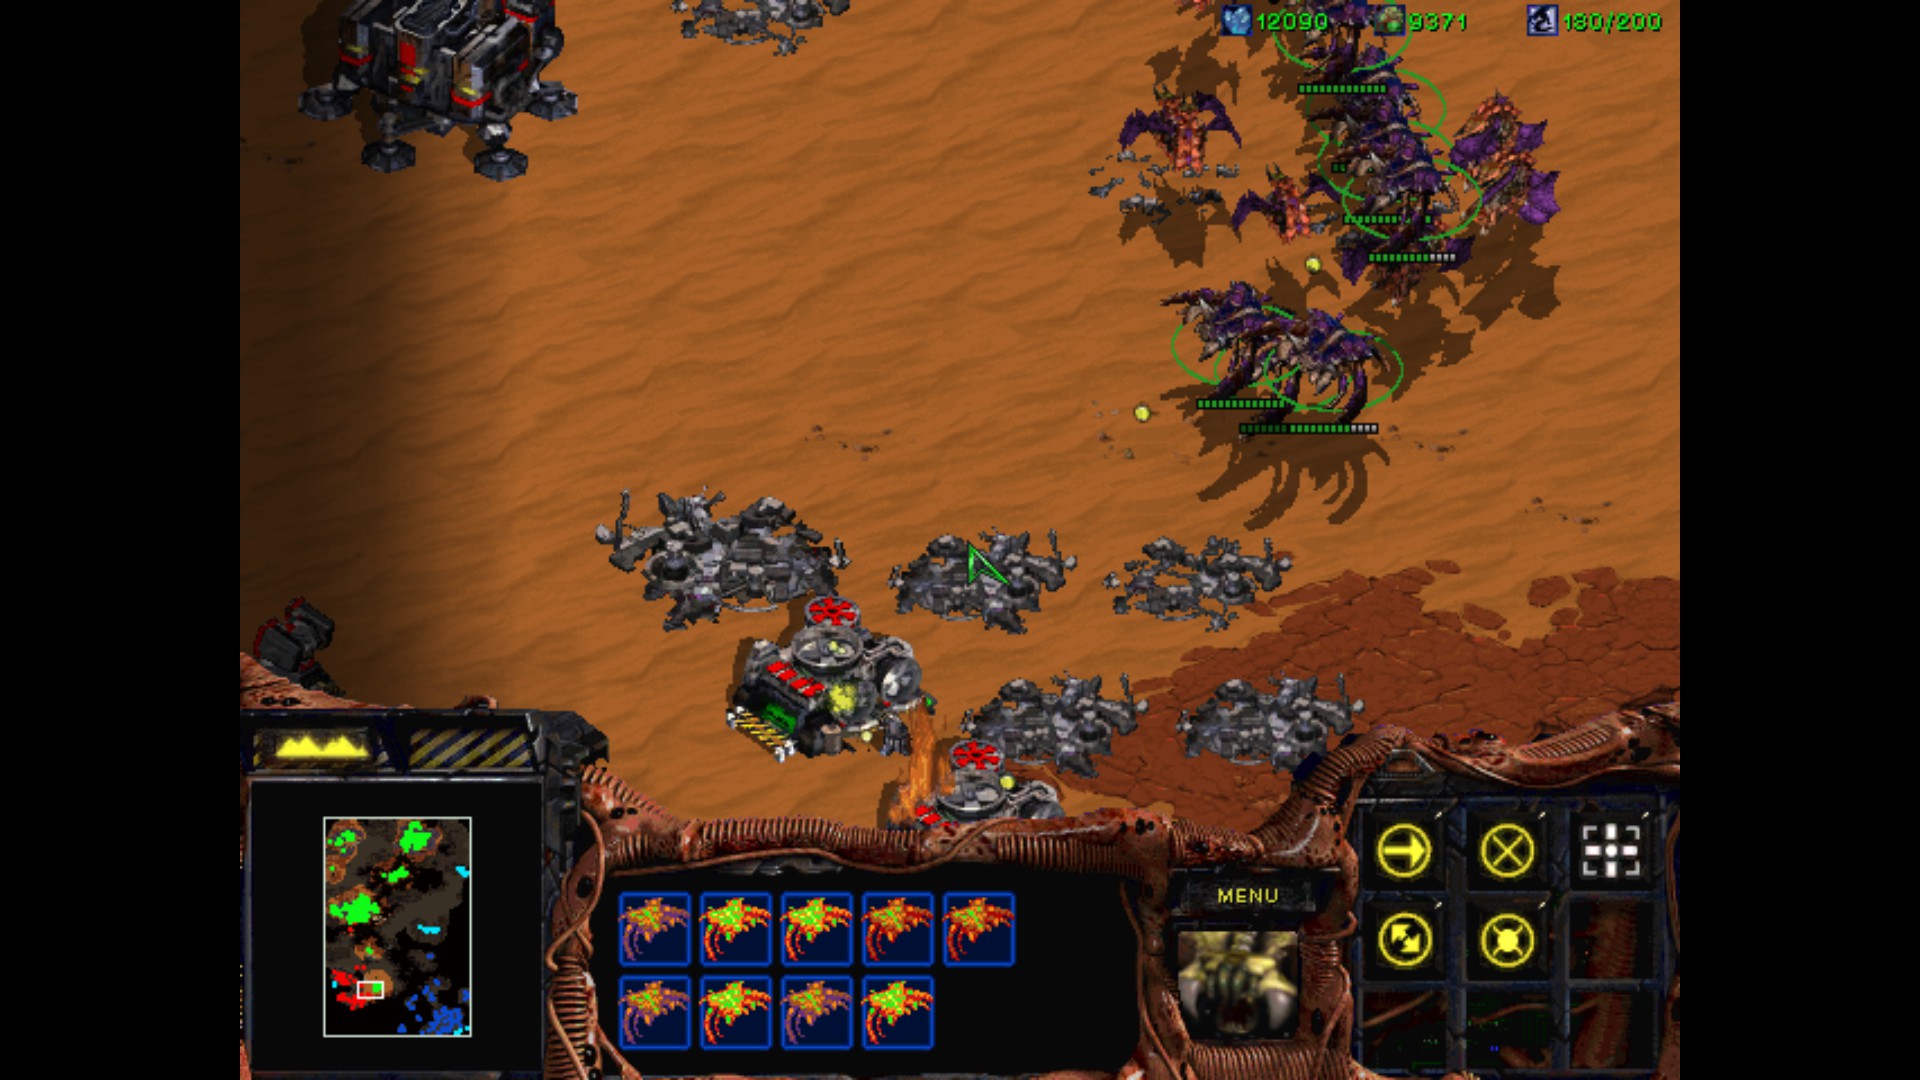
We have a great start. Maximum Supply Depots, so I have a great star....

Somebody call for an exterminator ?
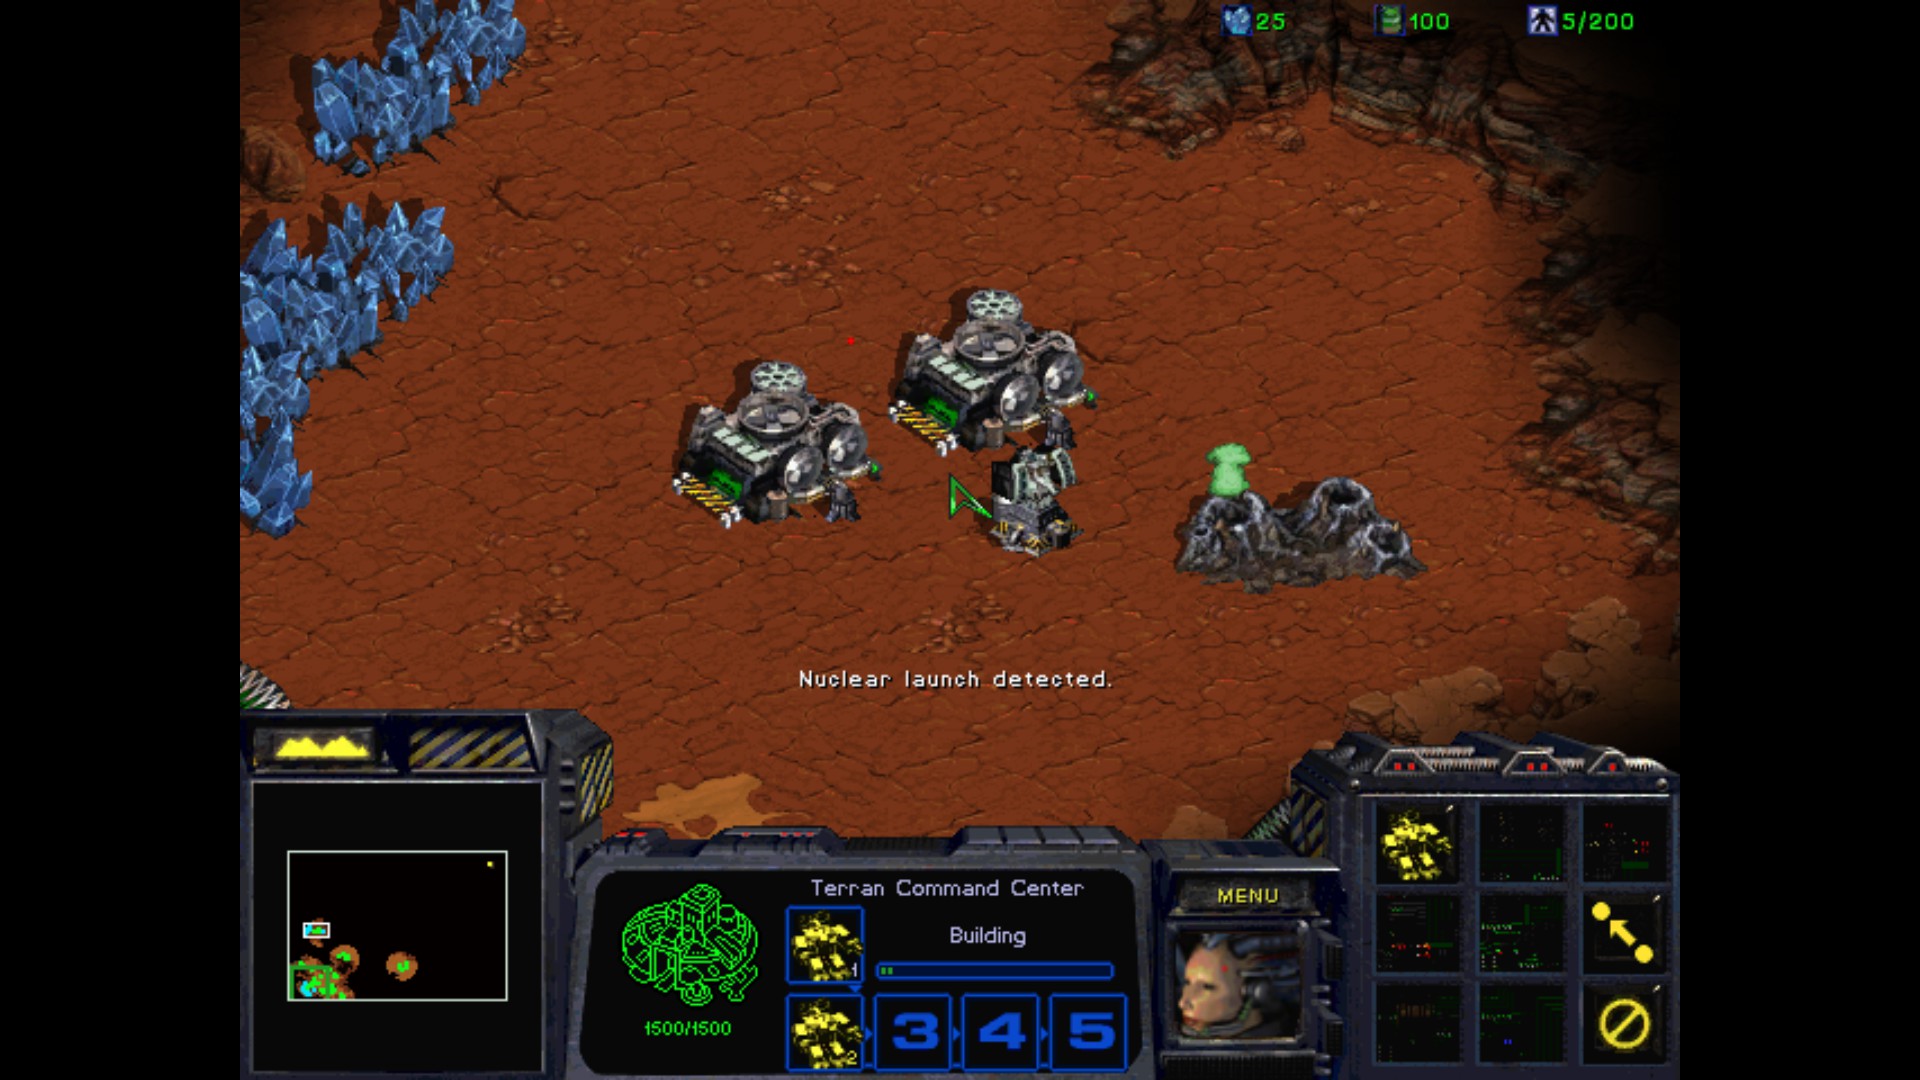


I guess I should have expected something like this. A rather brutal waking up. I start almost from a scratch and need to knock on Mengk's doors personally to deliver him a very special message.
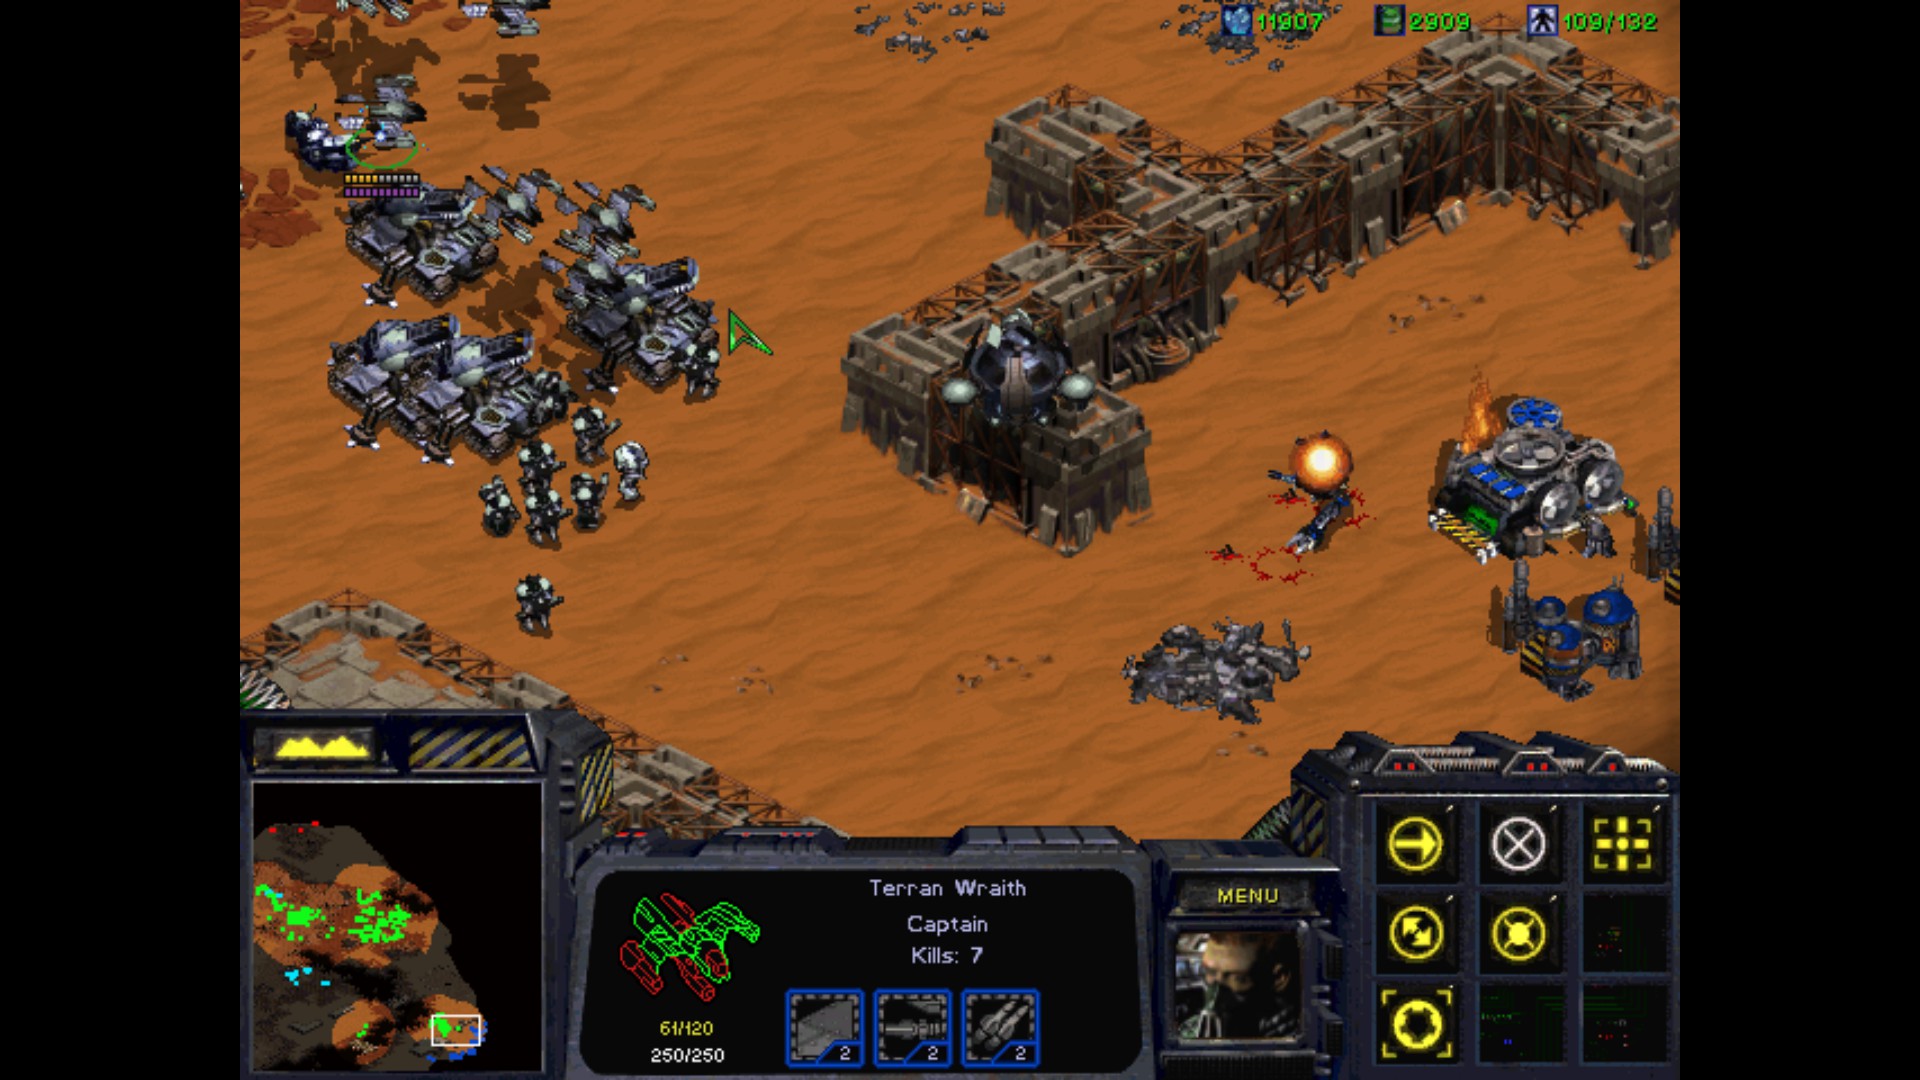
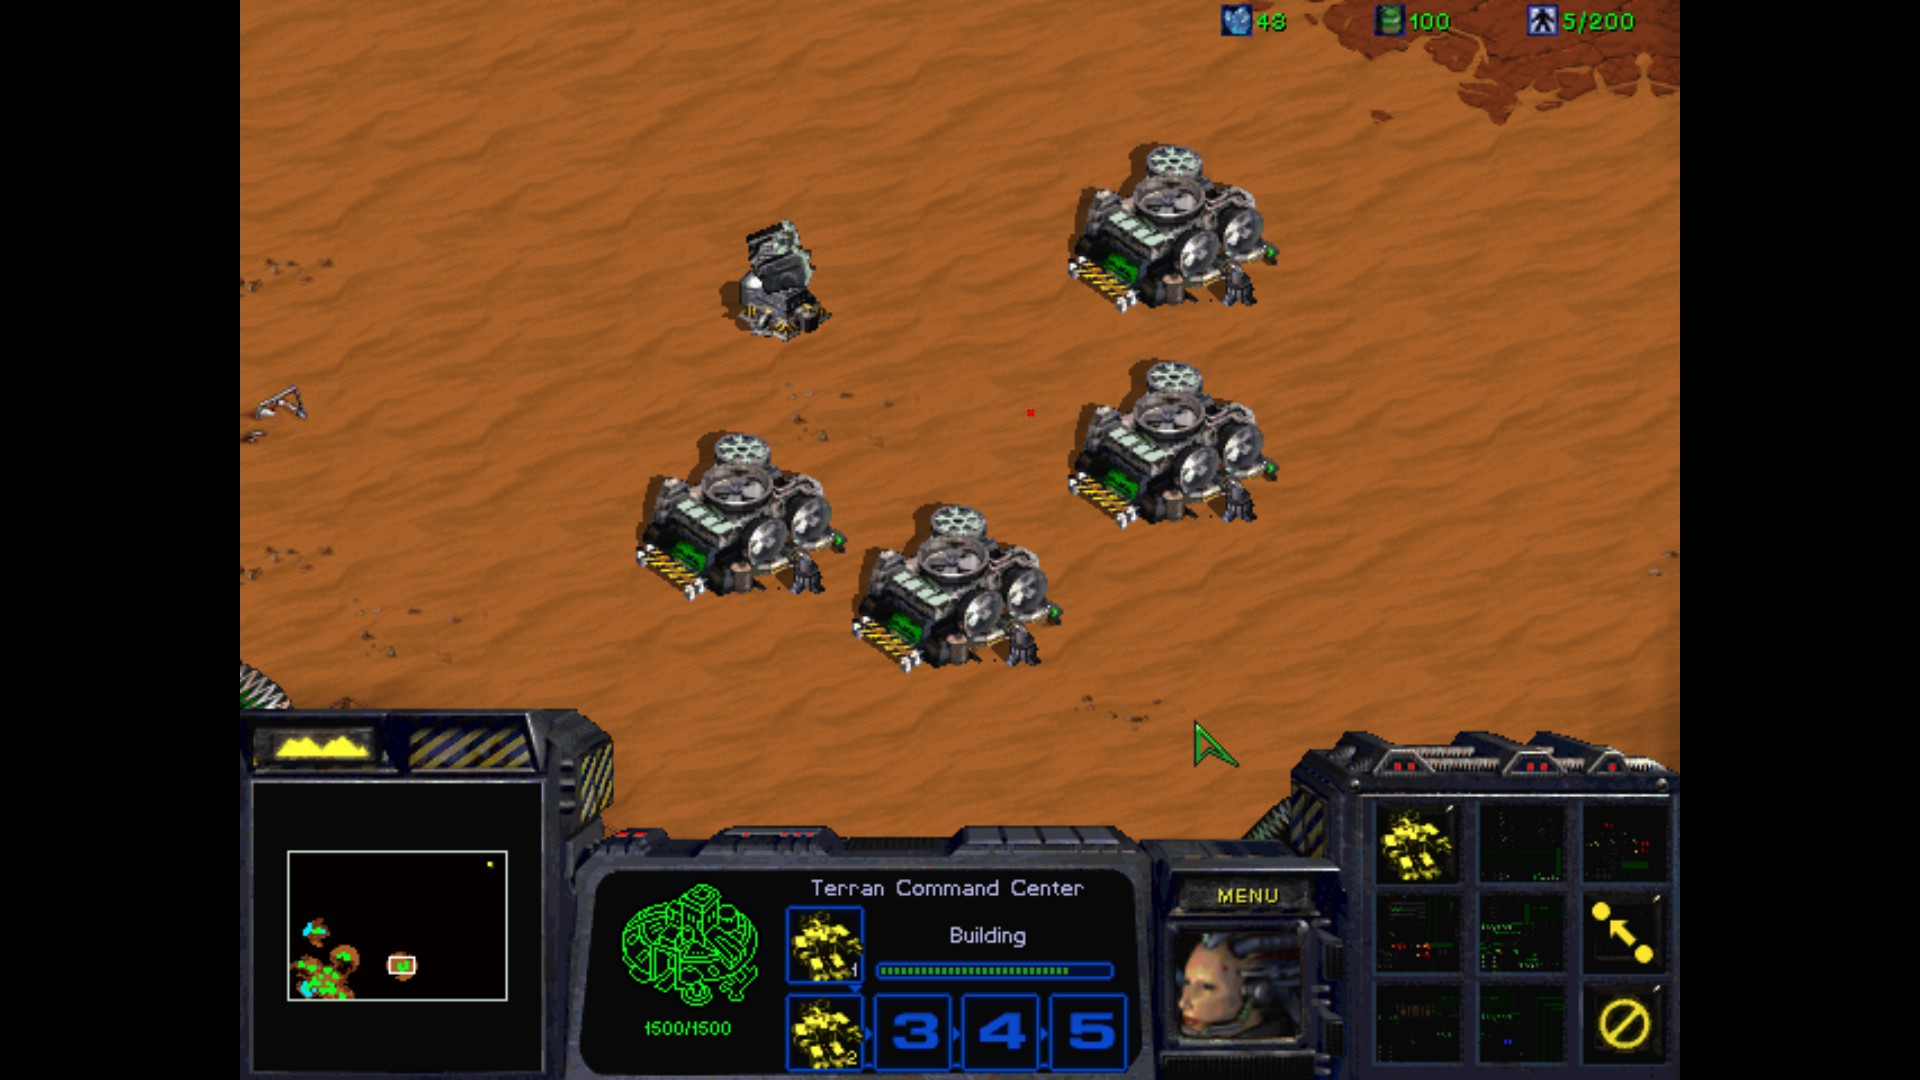
I need to prepare for upcoming attacks and Ghosts. Luckily only the north and east sides are vulnerable so I can prepare in a quick time manner.
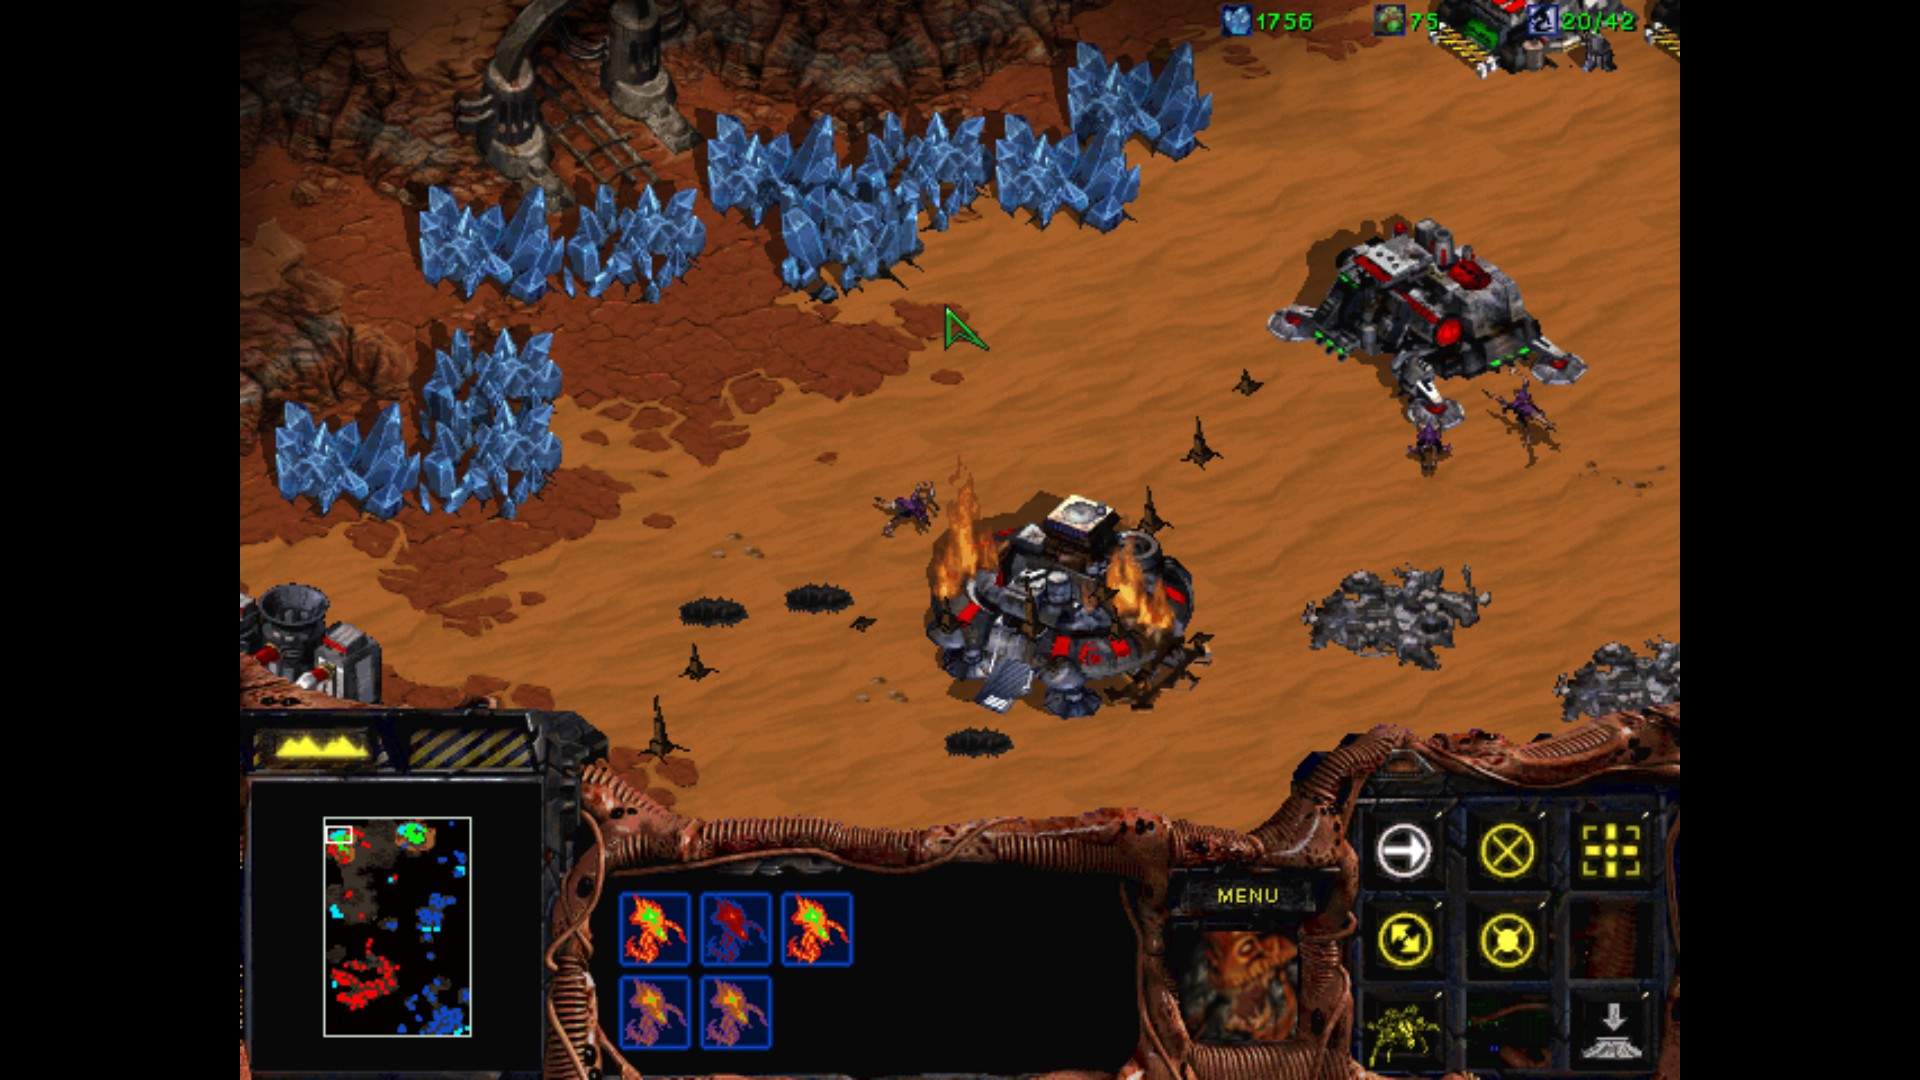
It already started, and I still have little to nothing when it comes to Tanks. I'm making Turrets all over the place for the obvious reasons.
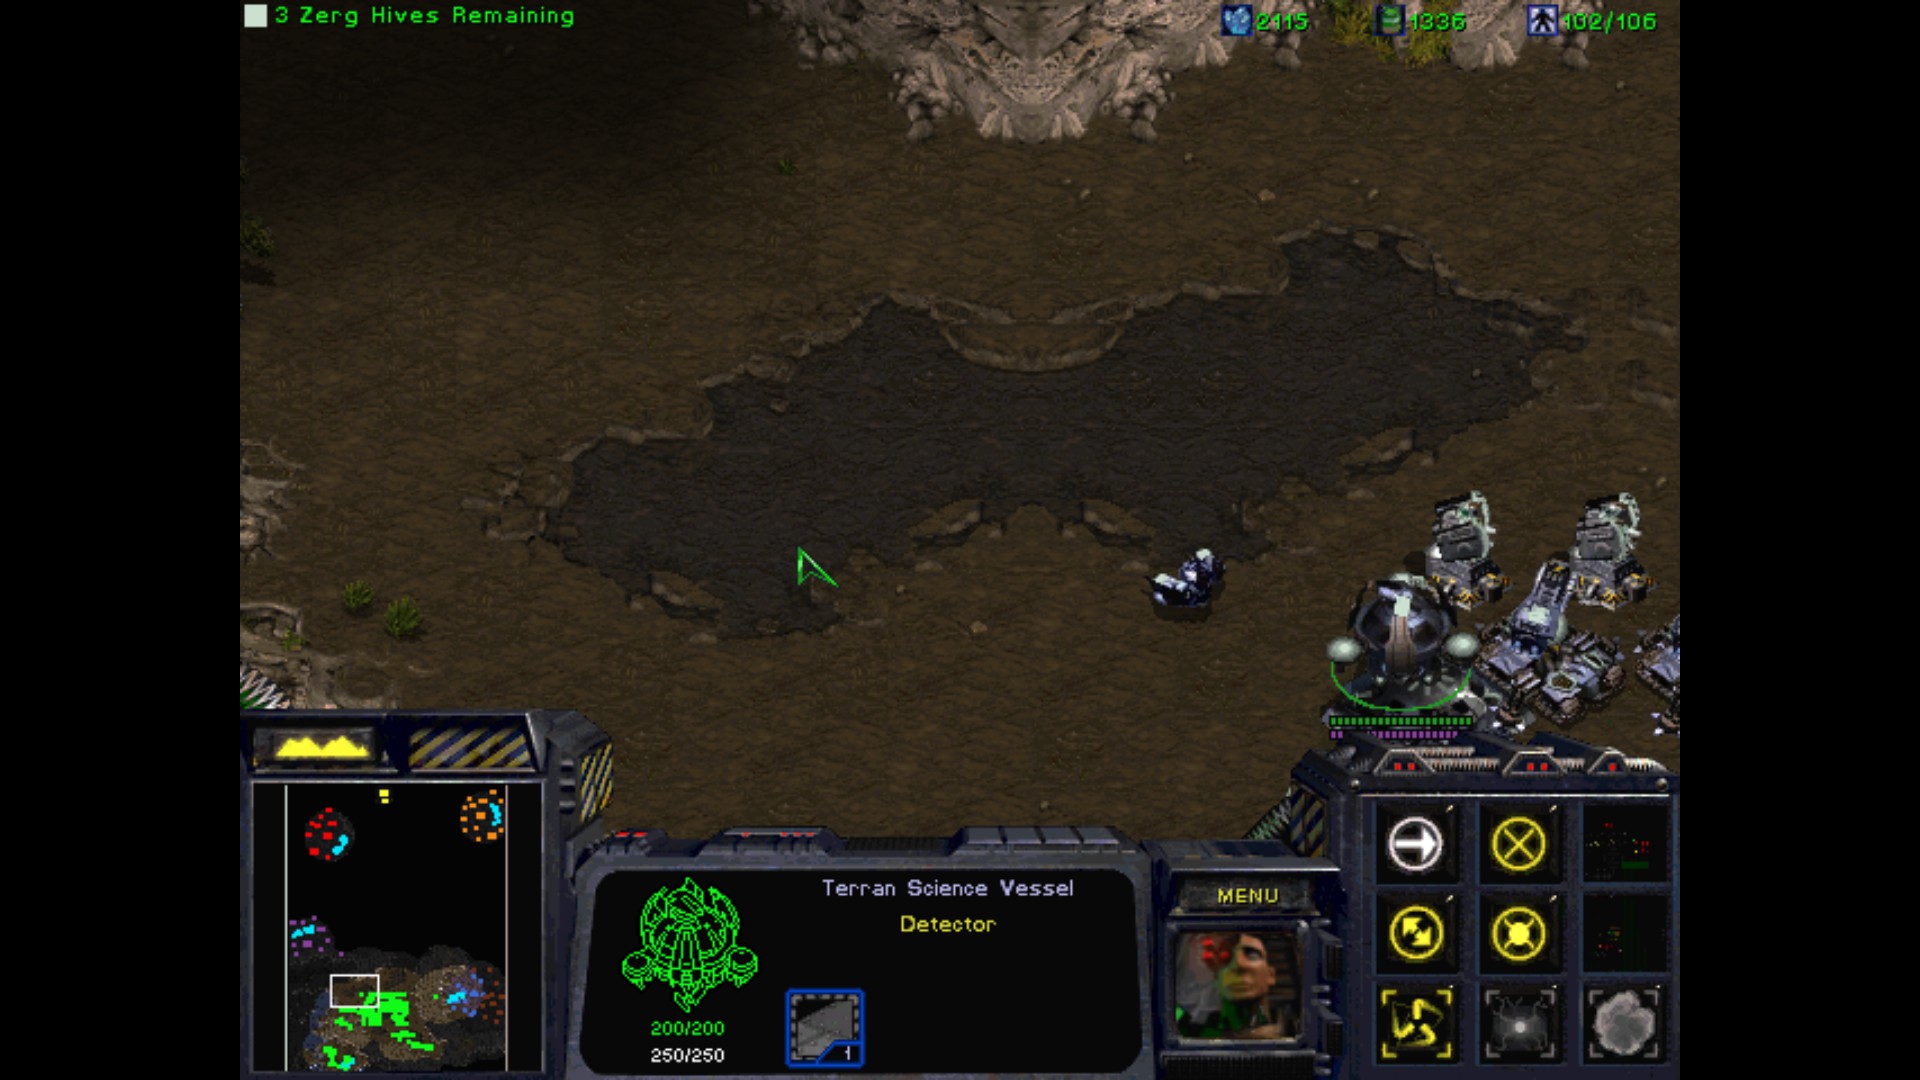
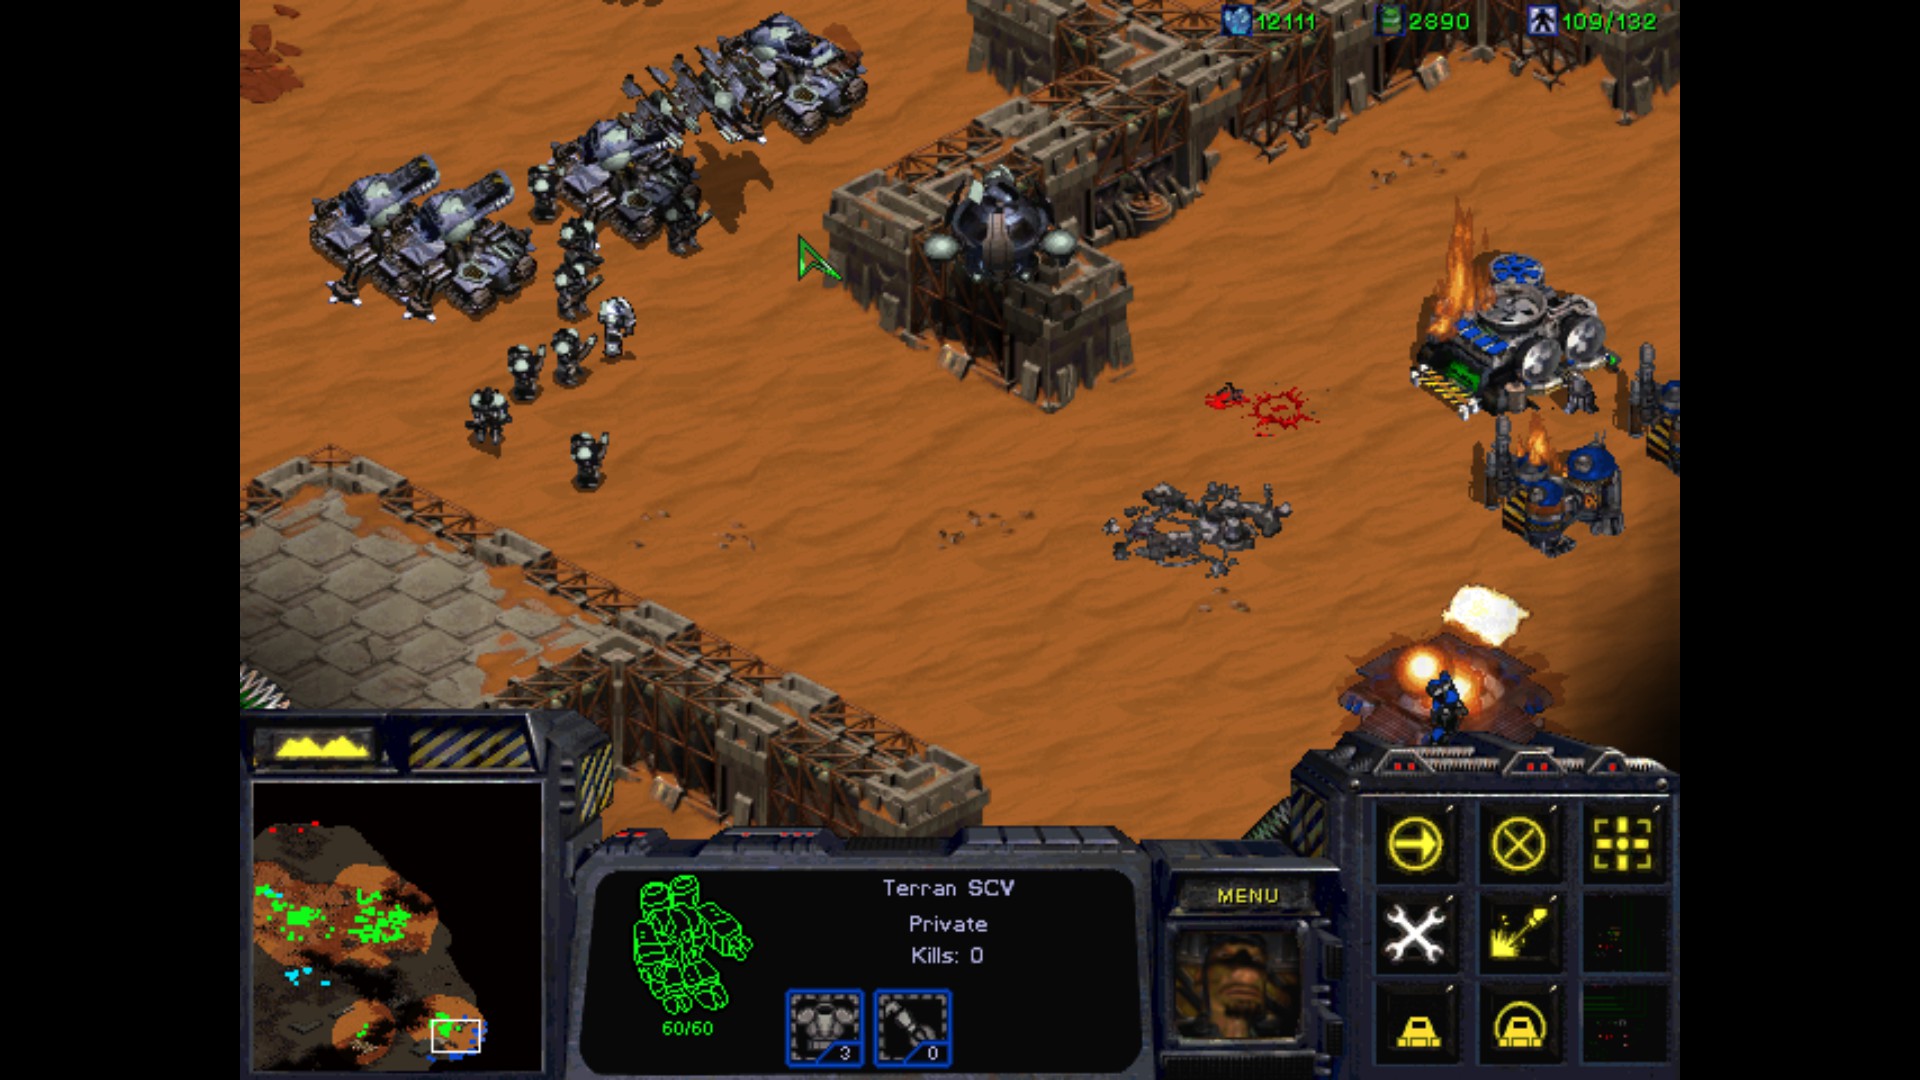
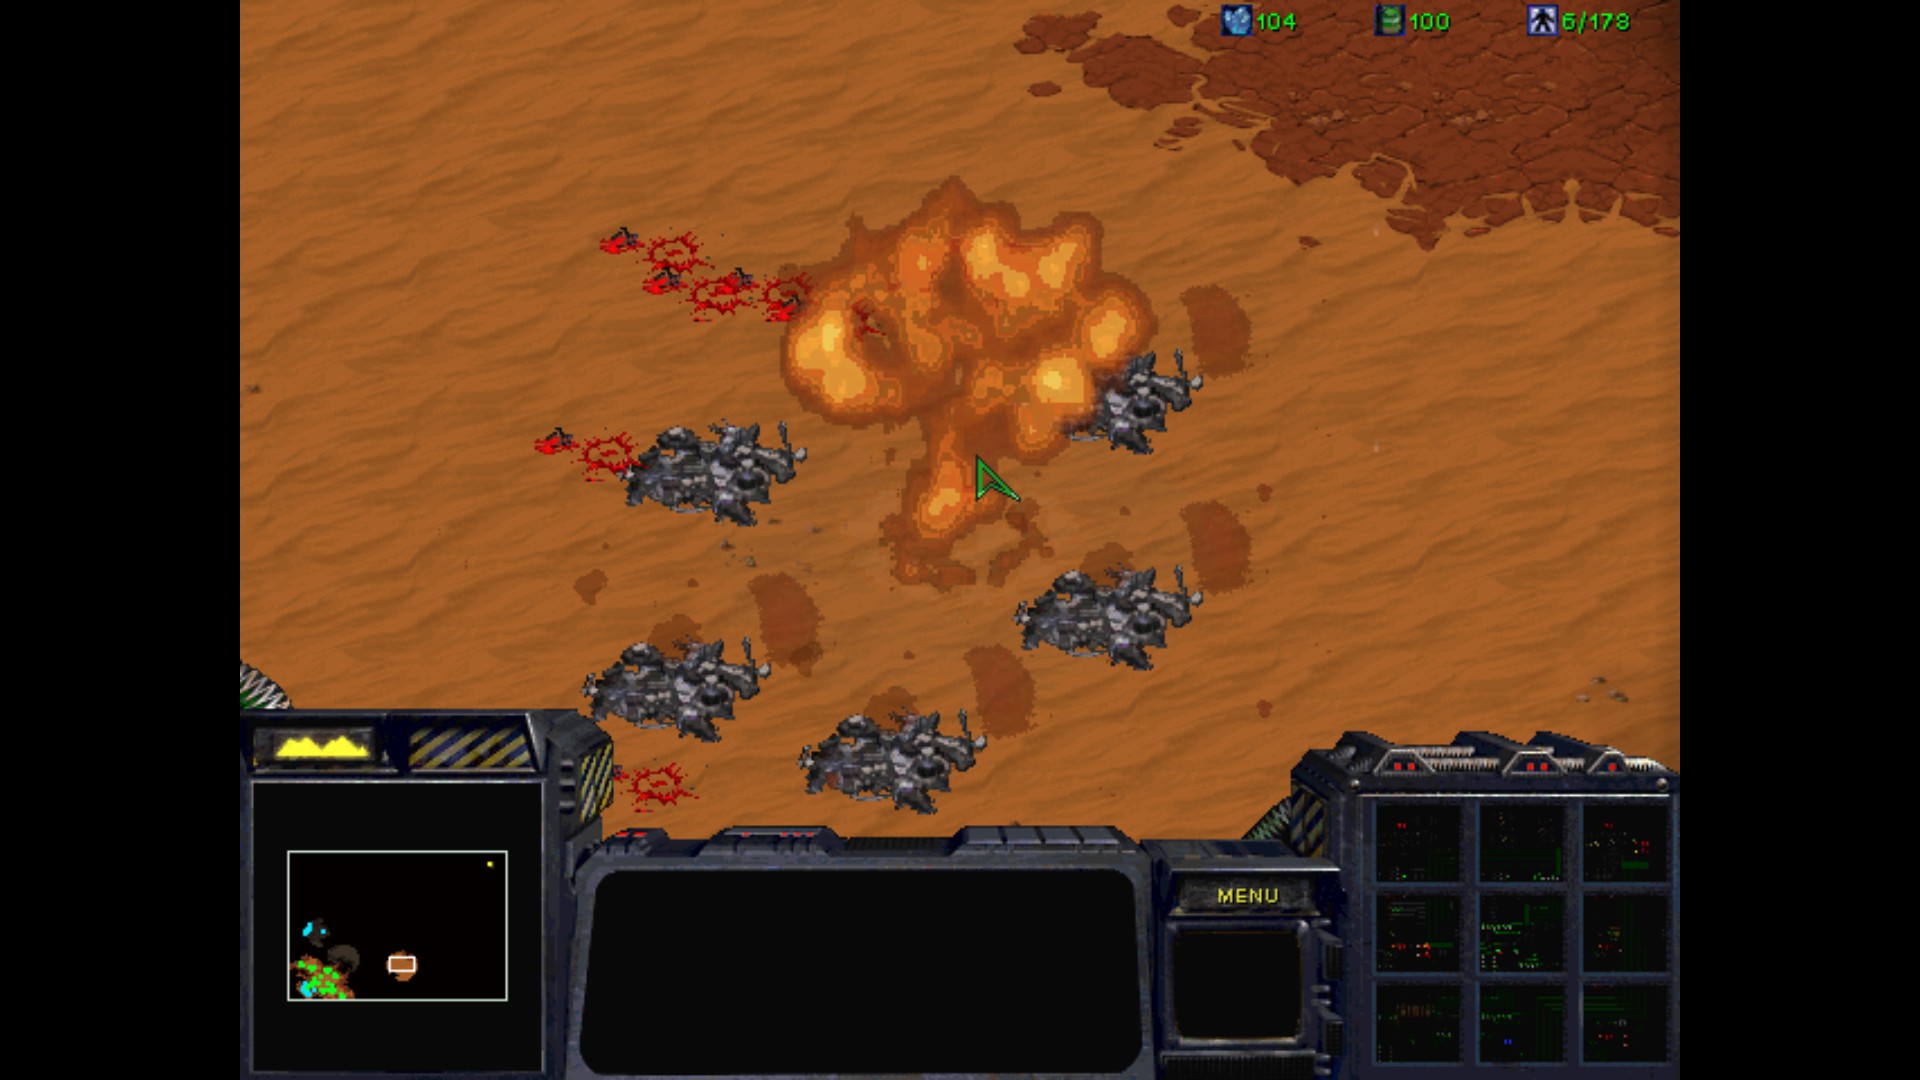
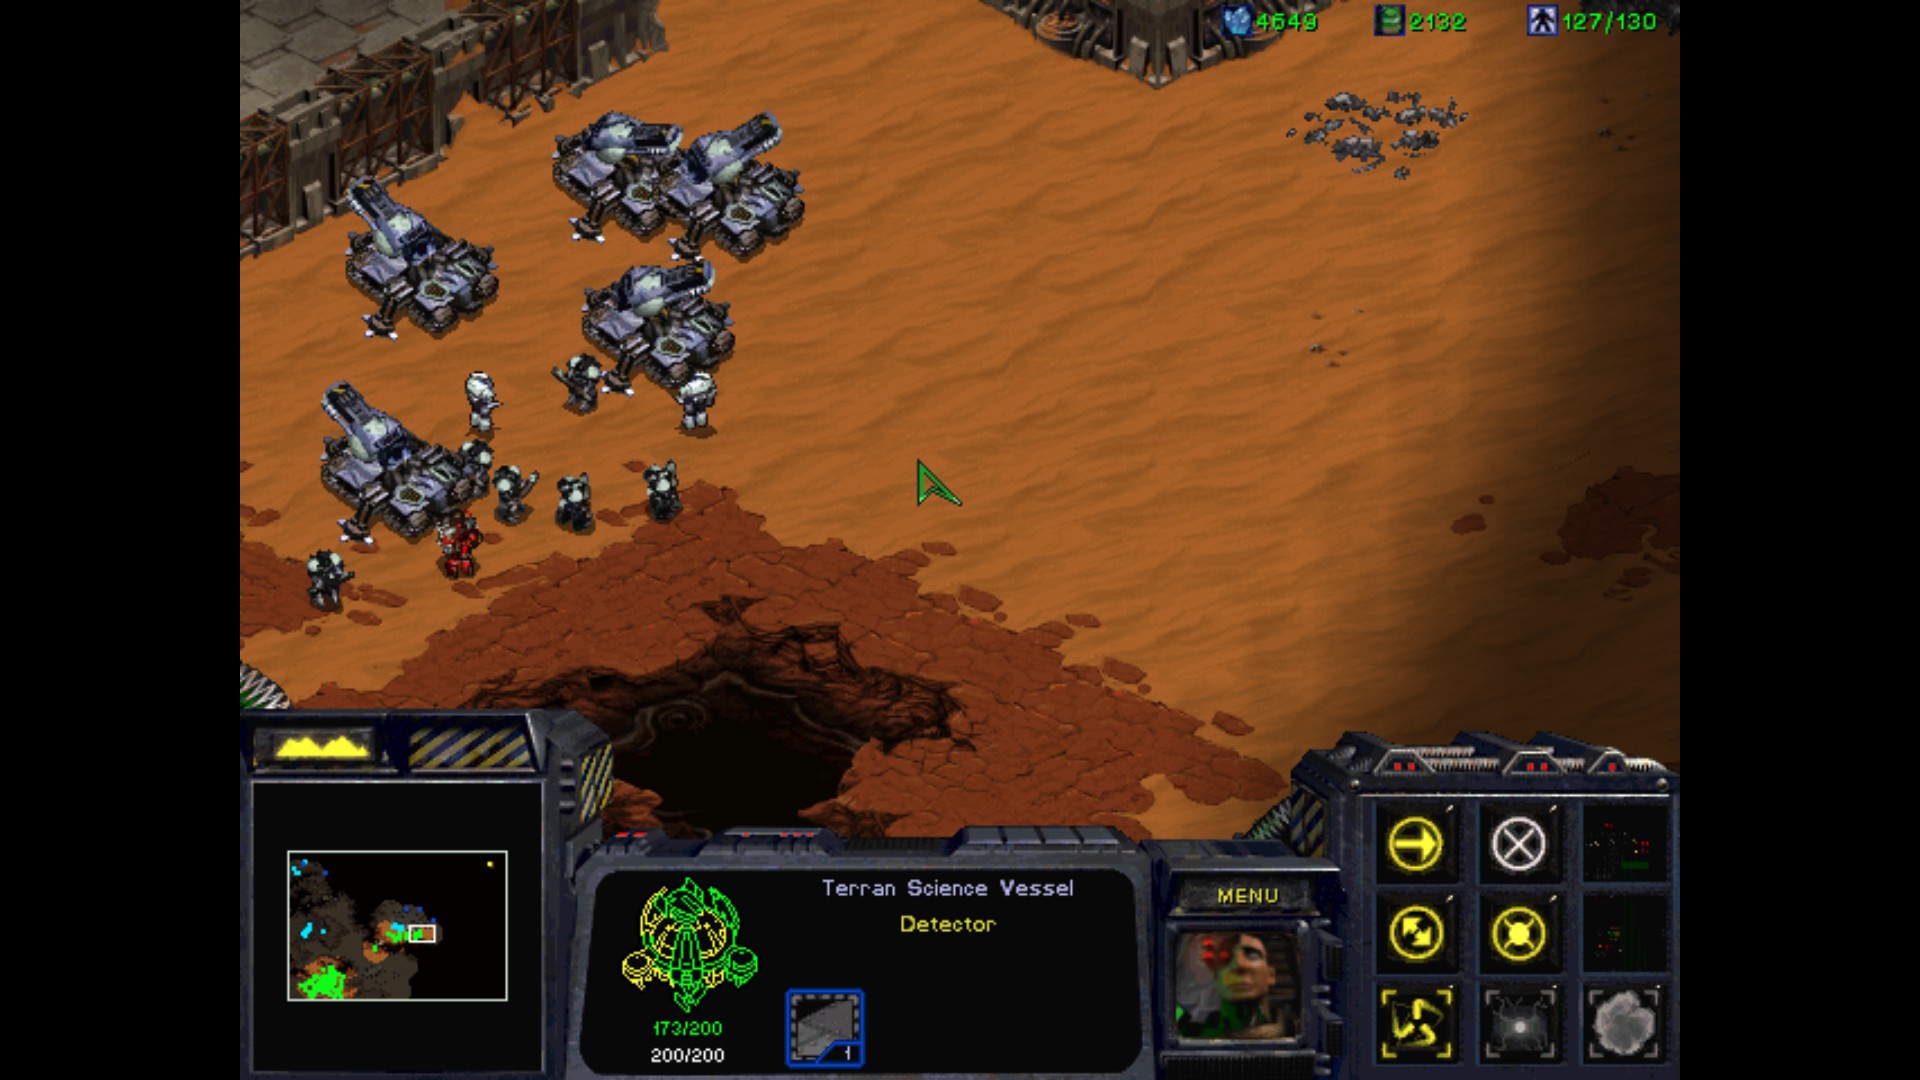
If it wasn't obvious by now, I need to keep Science Vessels all over to detect Ghosts and keep the Tanks happy by pointing the upcoming waves combined forces of Mengsk. Also, another good idea is to make a one or two extra SV just in case of emergency. The Ghosts like to drop up in the north and laser point for nuclear launch through the black lake that you see. Mengsk is a really tough enemy, and I'm constantly reminded how much he wants me seeing dead.
This spot is easier to defend, and I'm keeping ground troops with some medics to help if necessary.
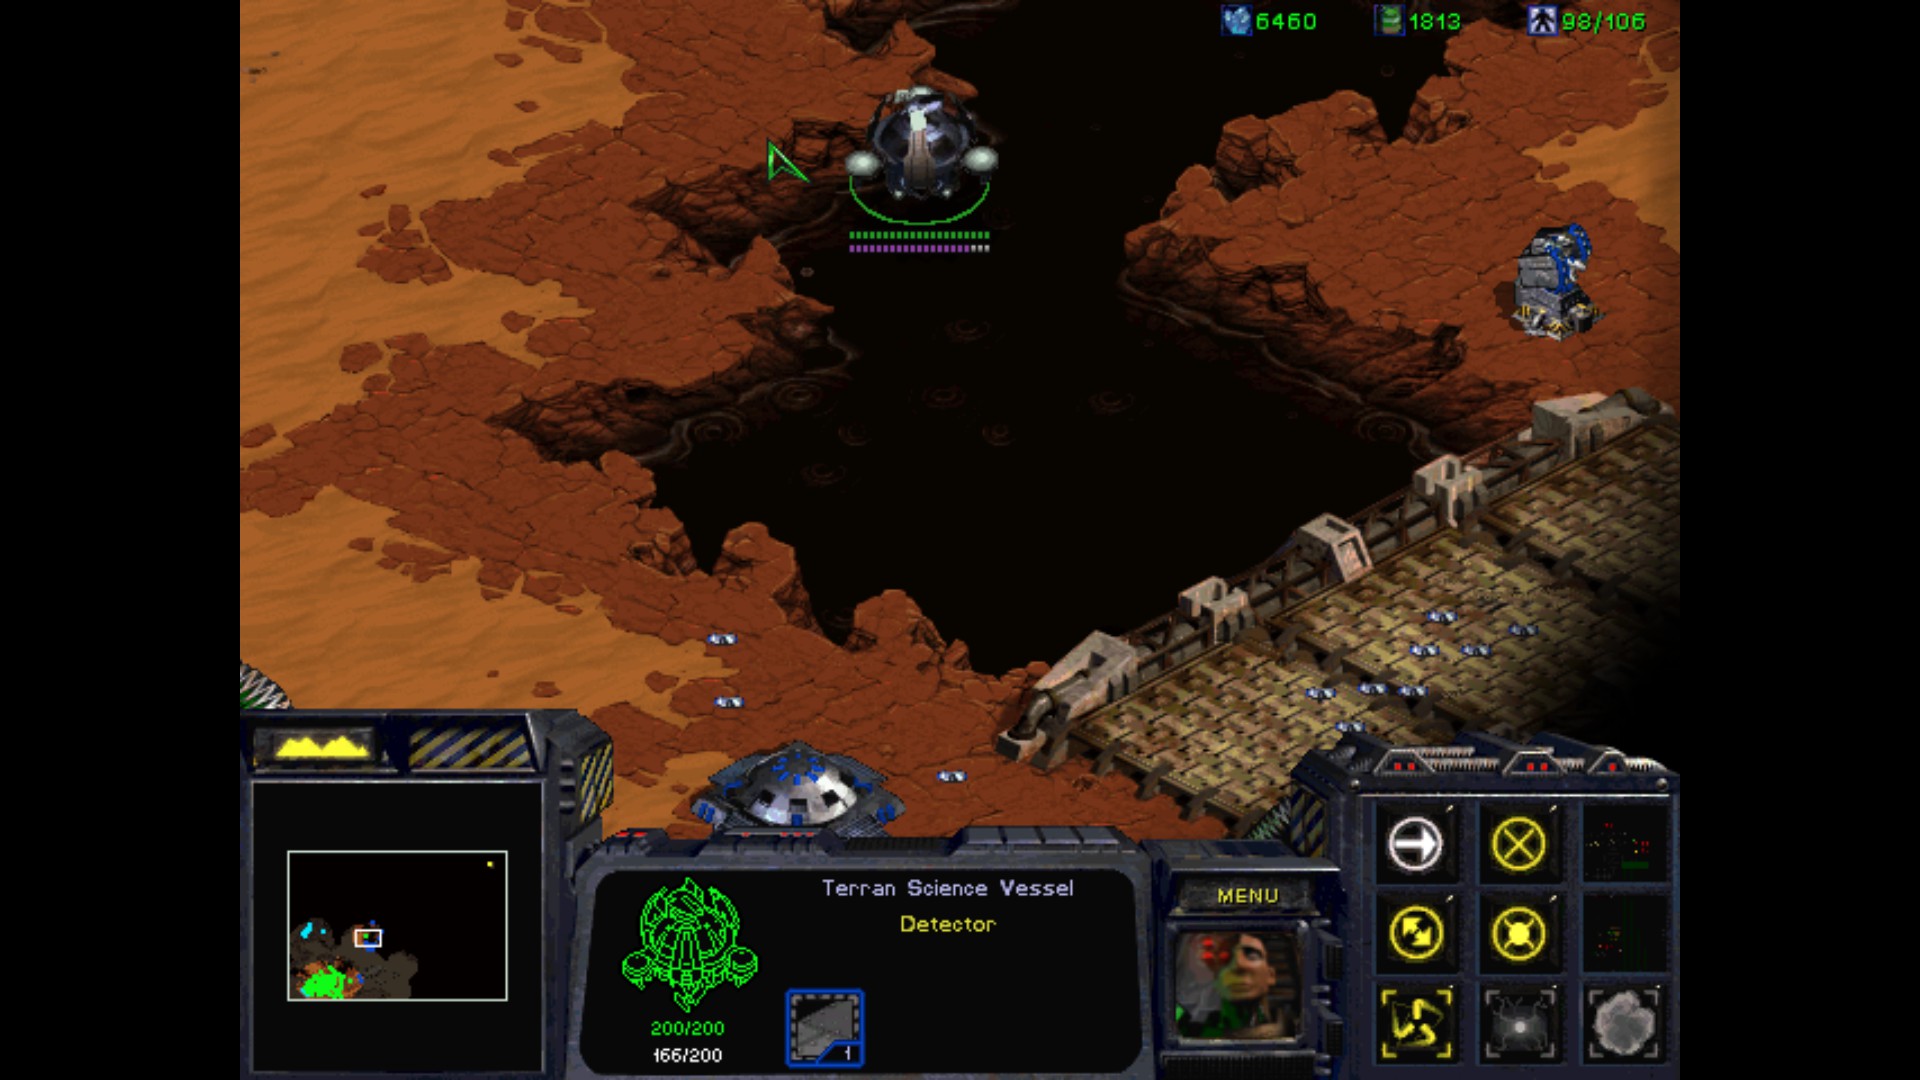
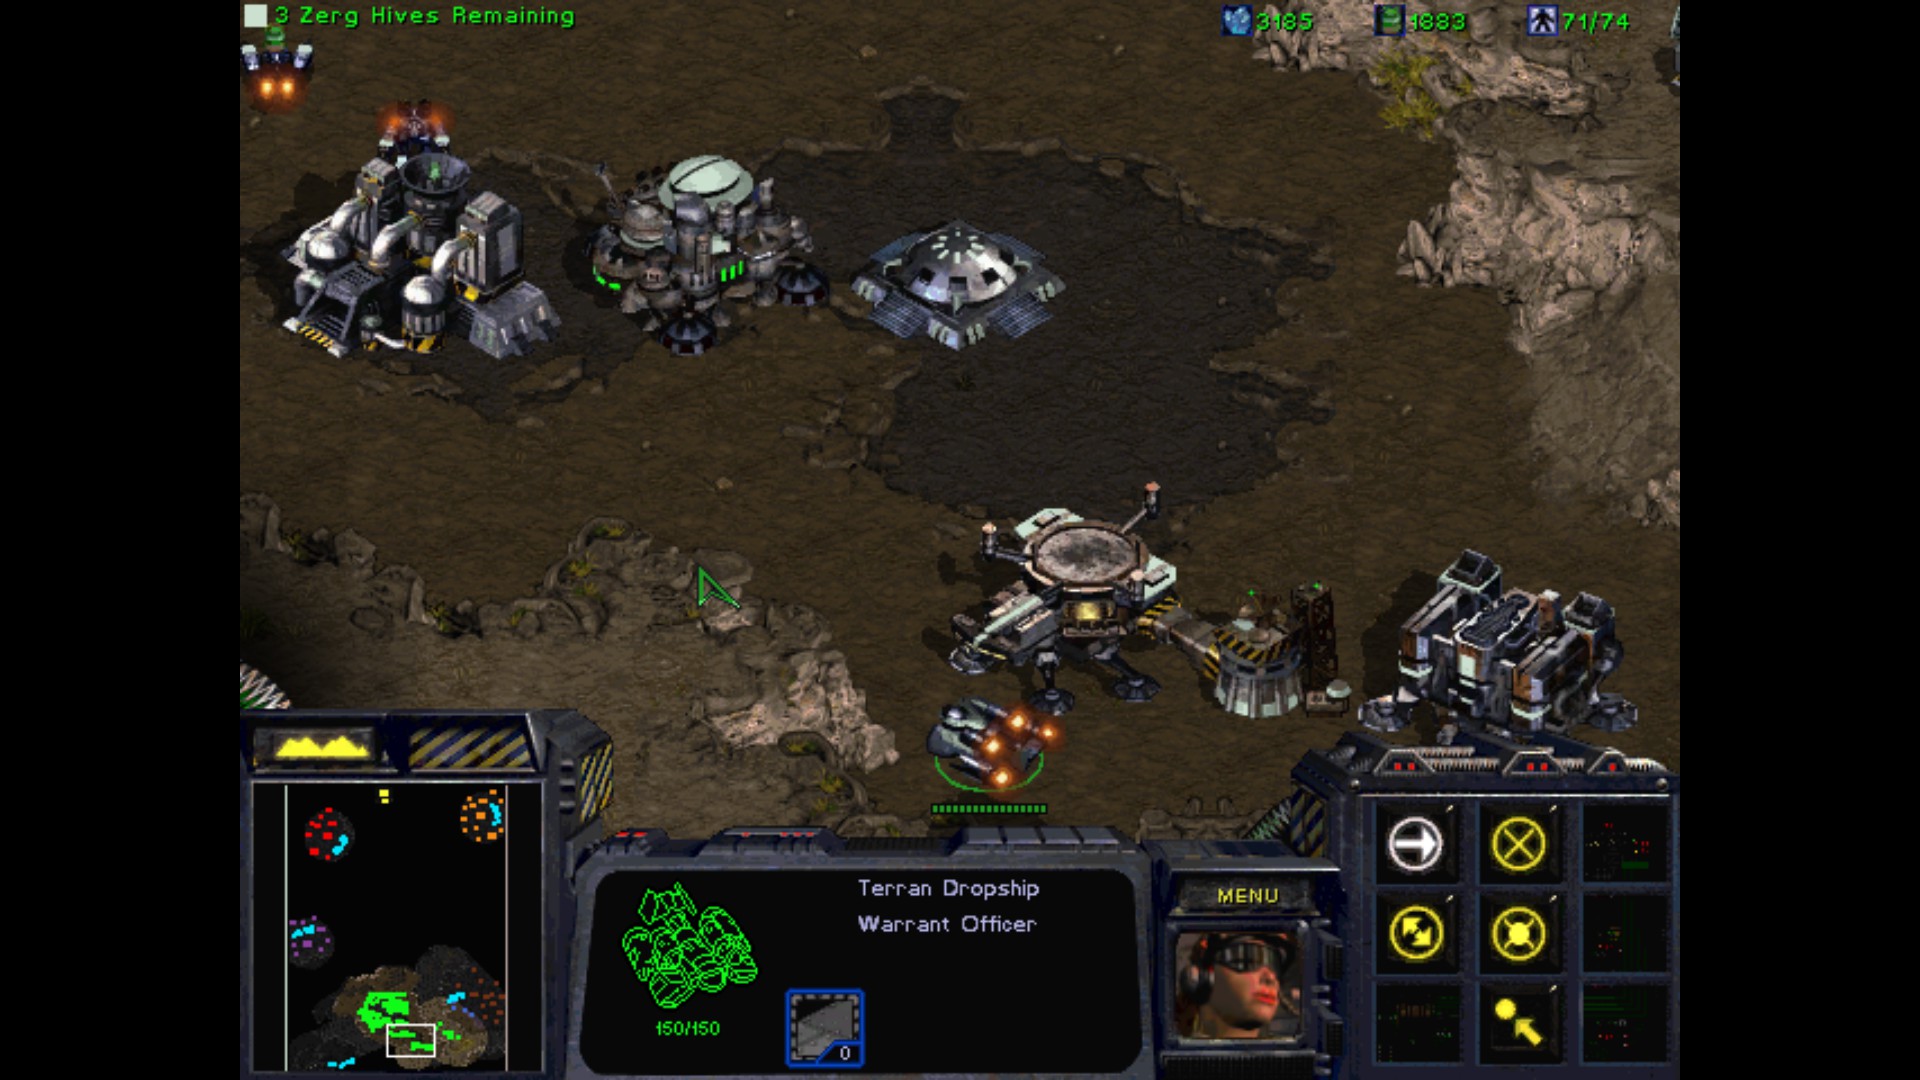
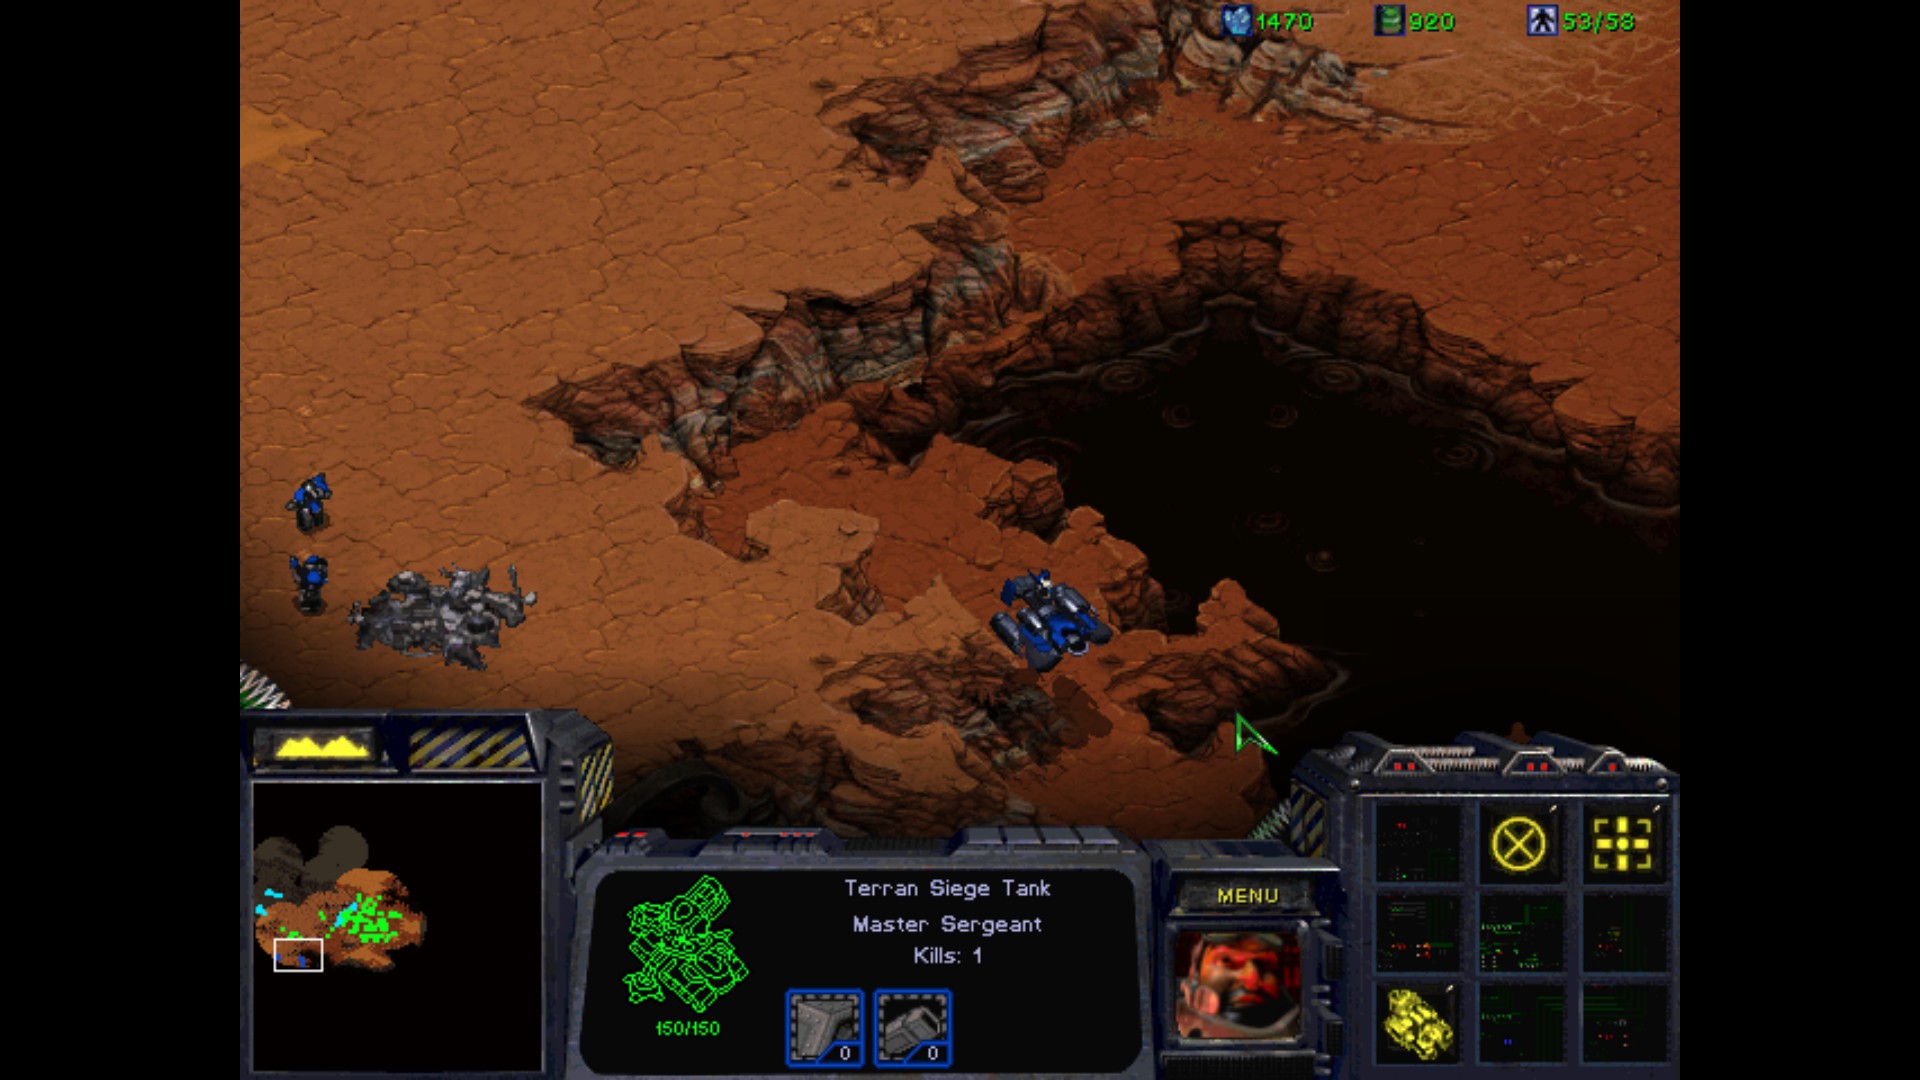
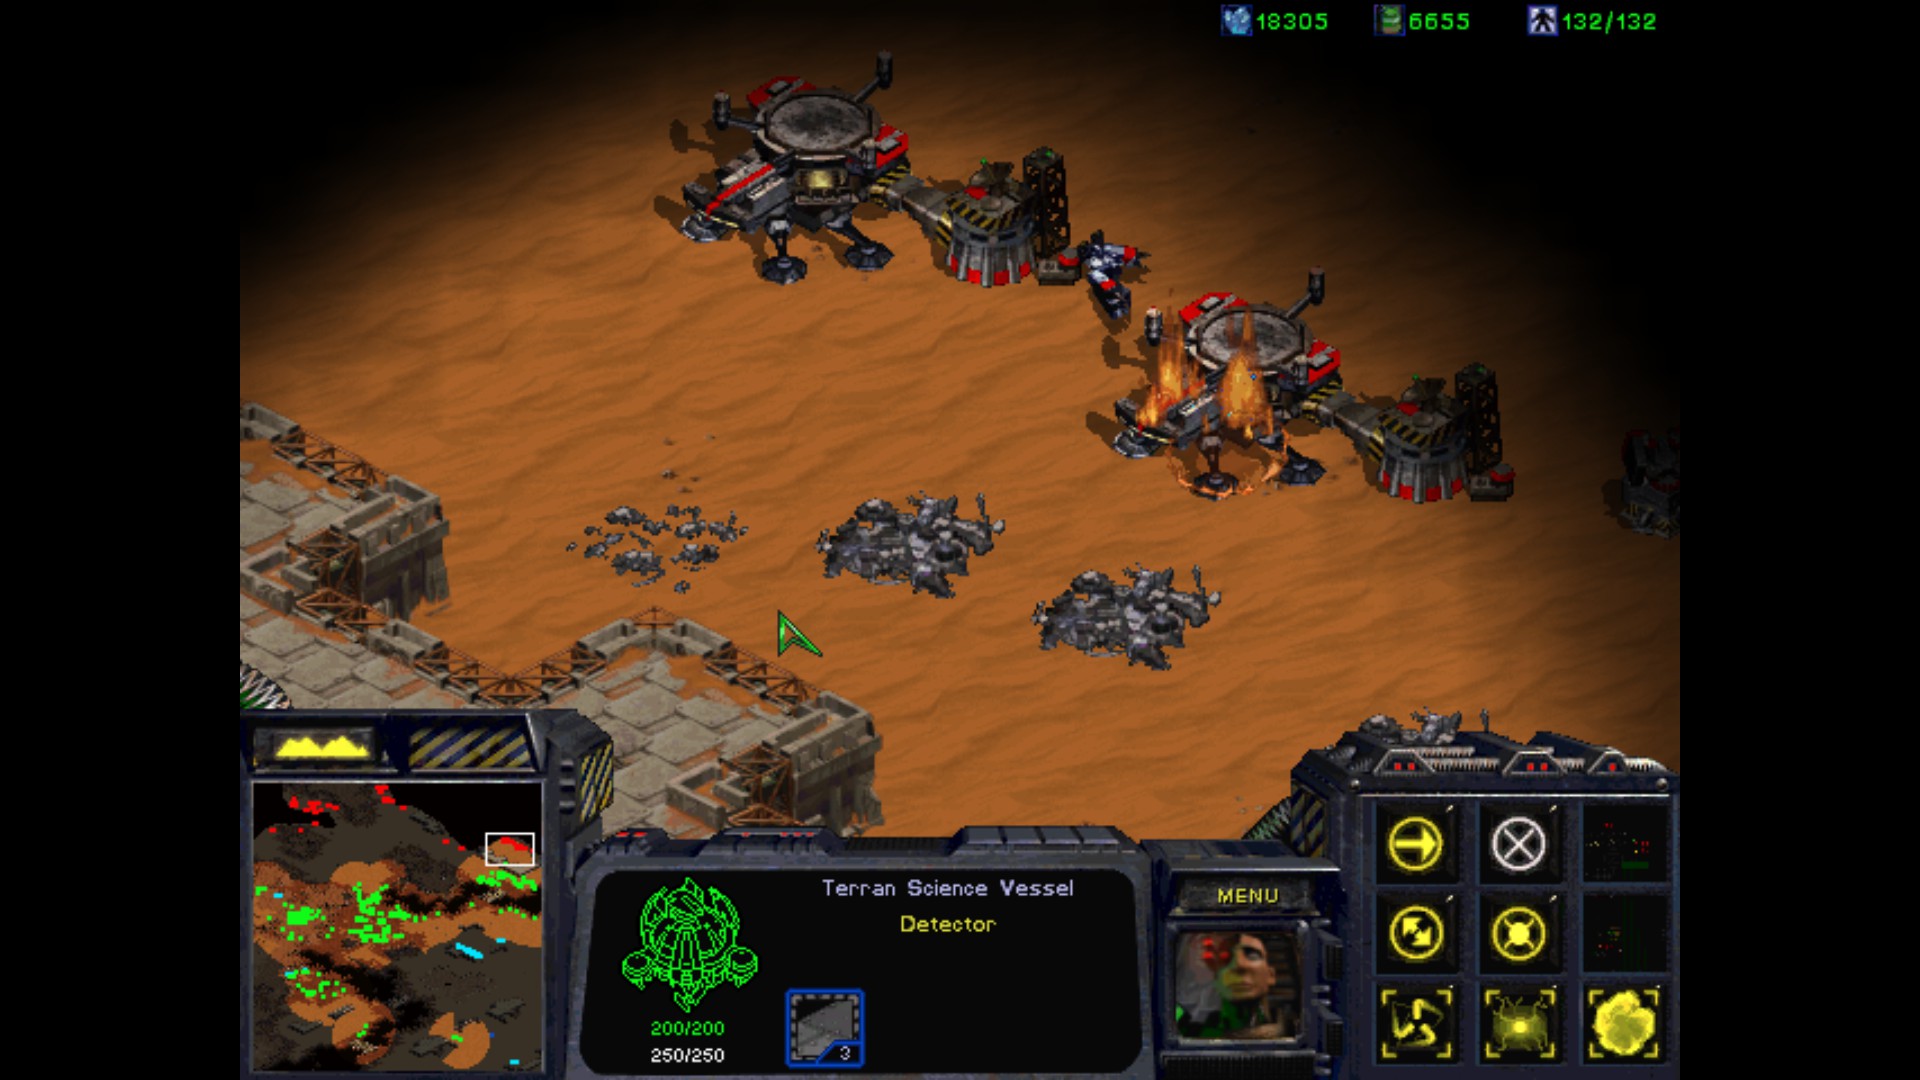
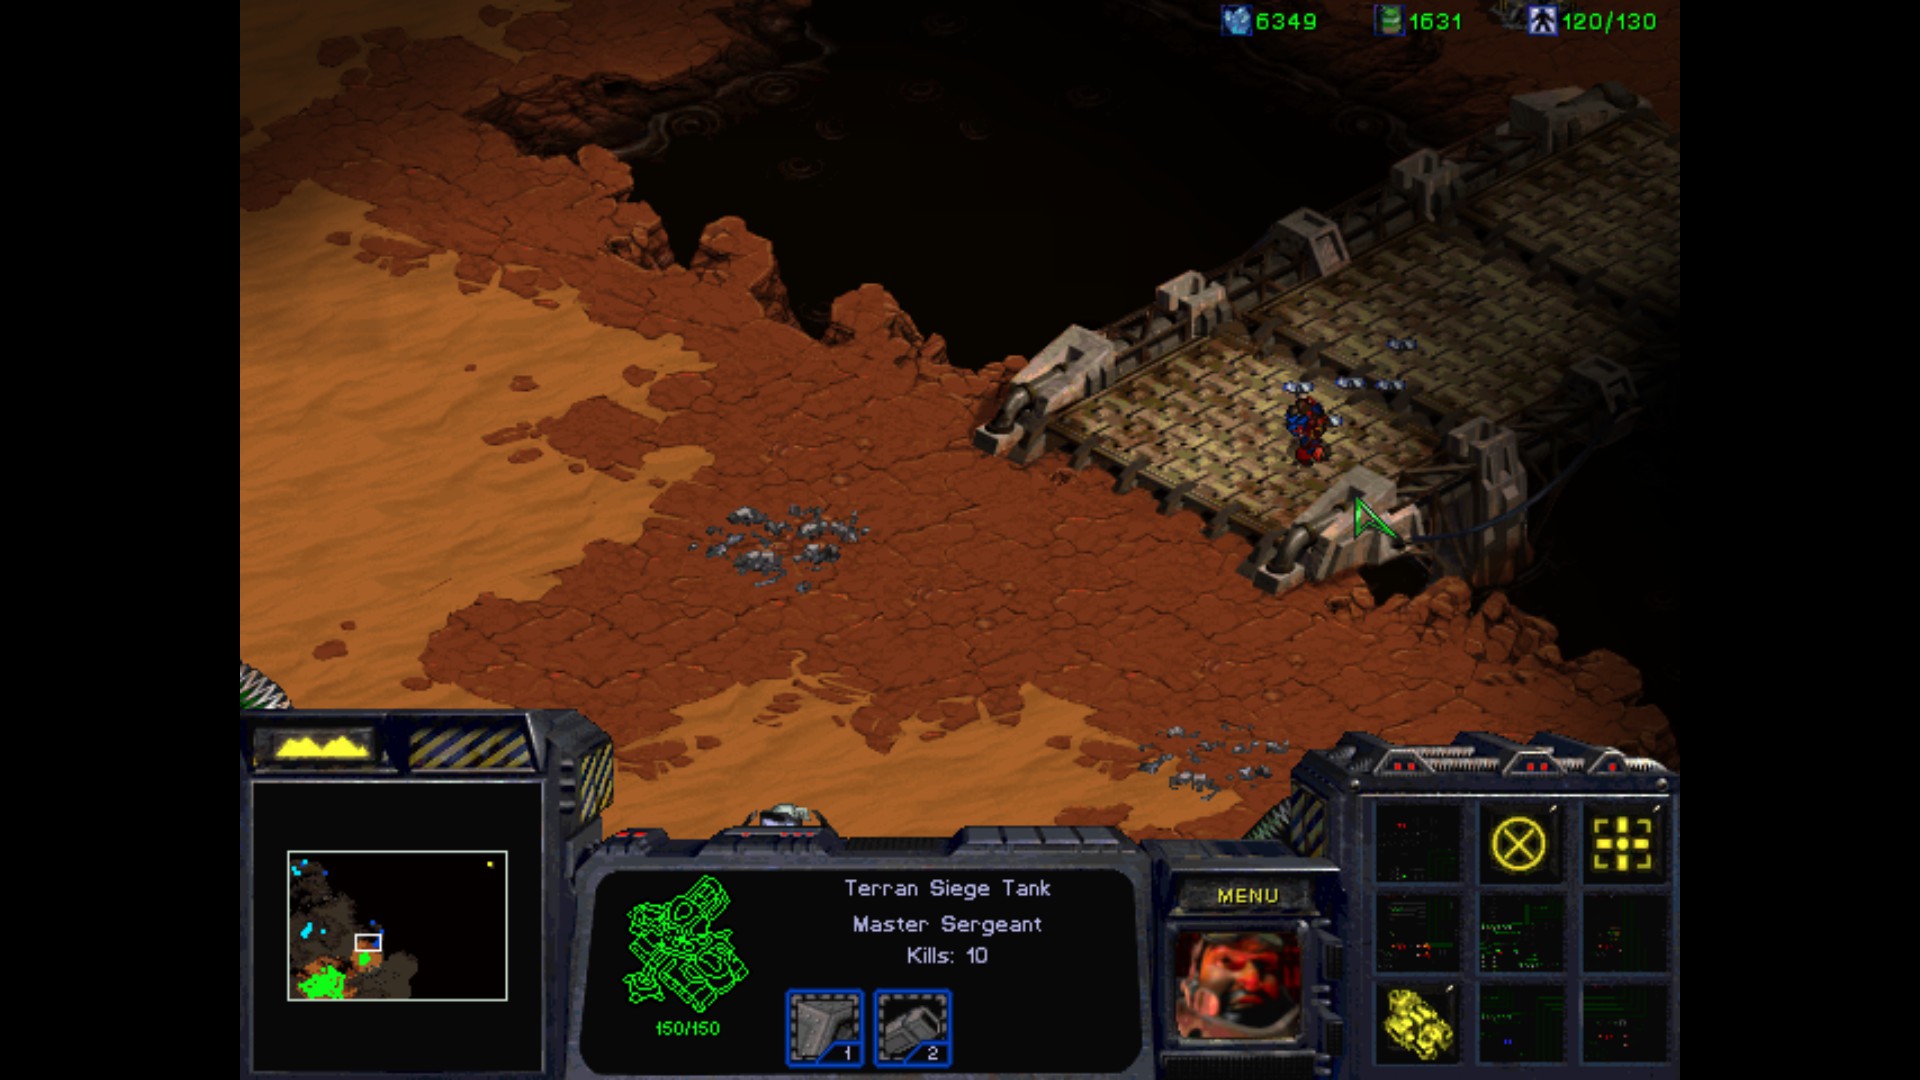
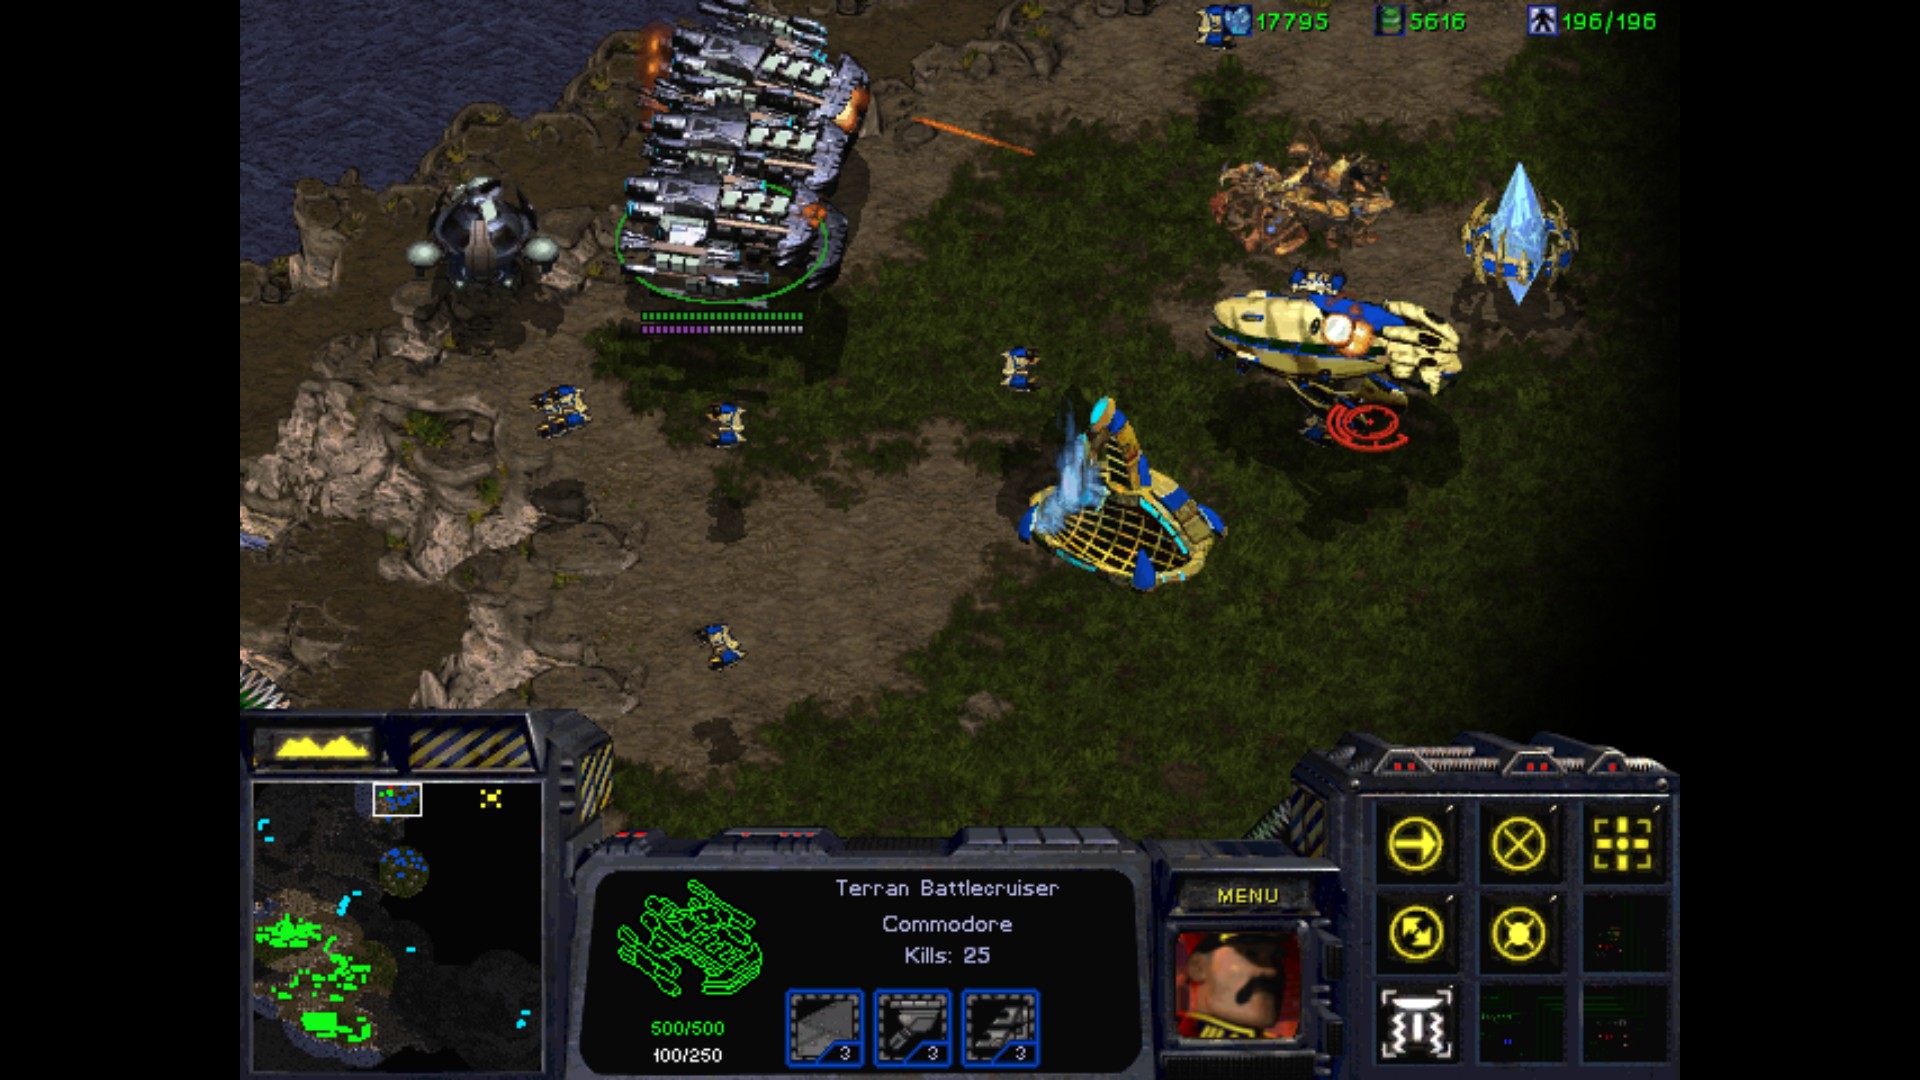
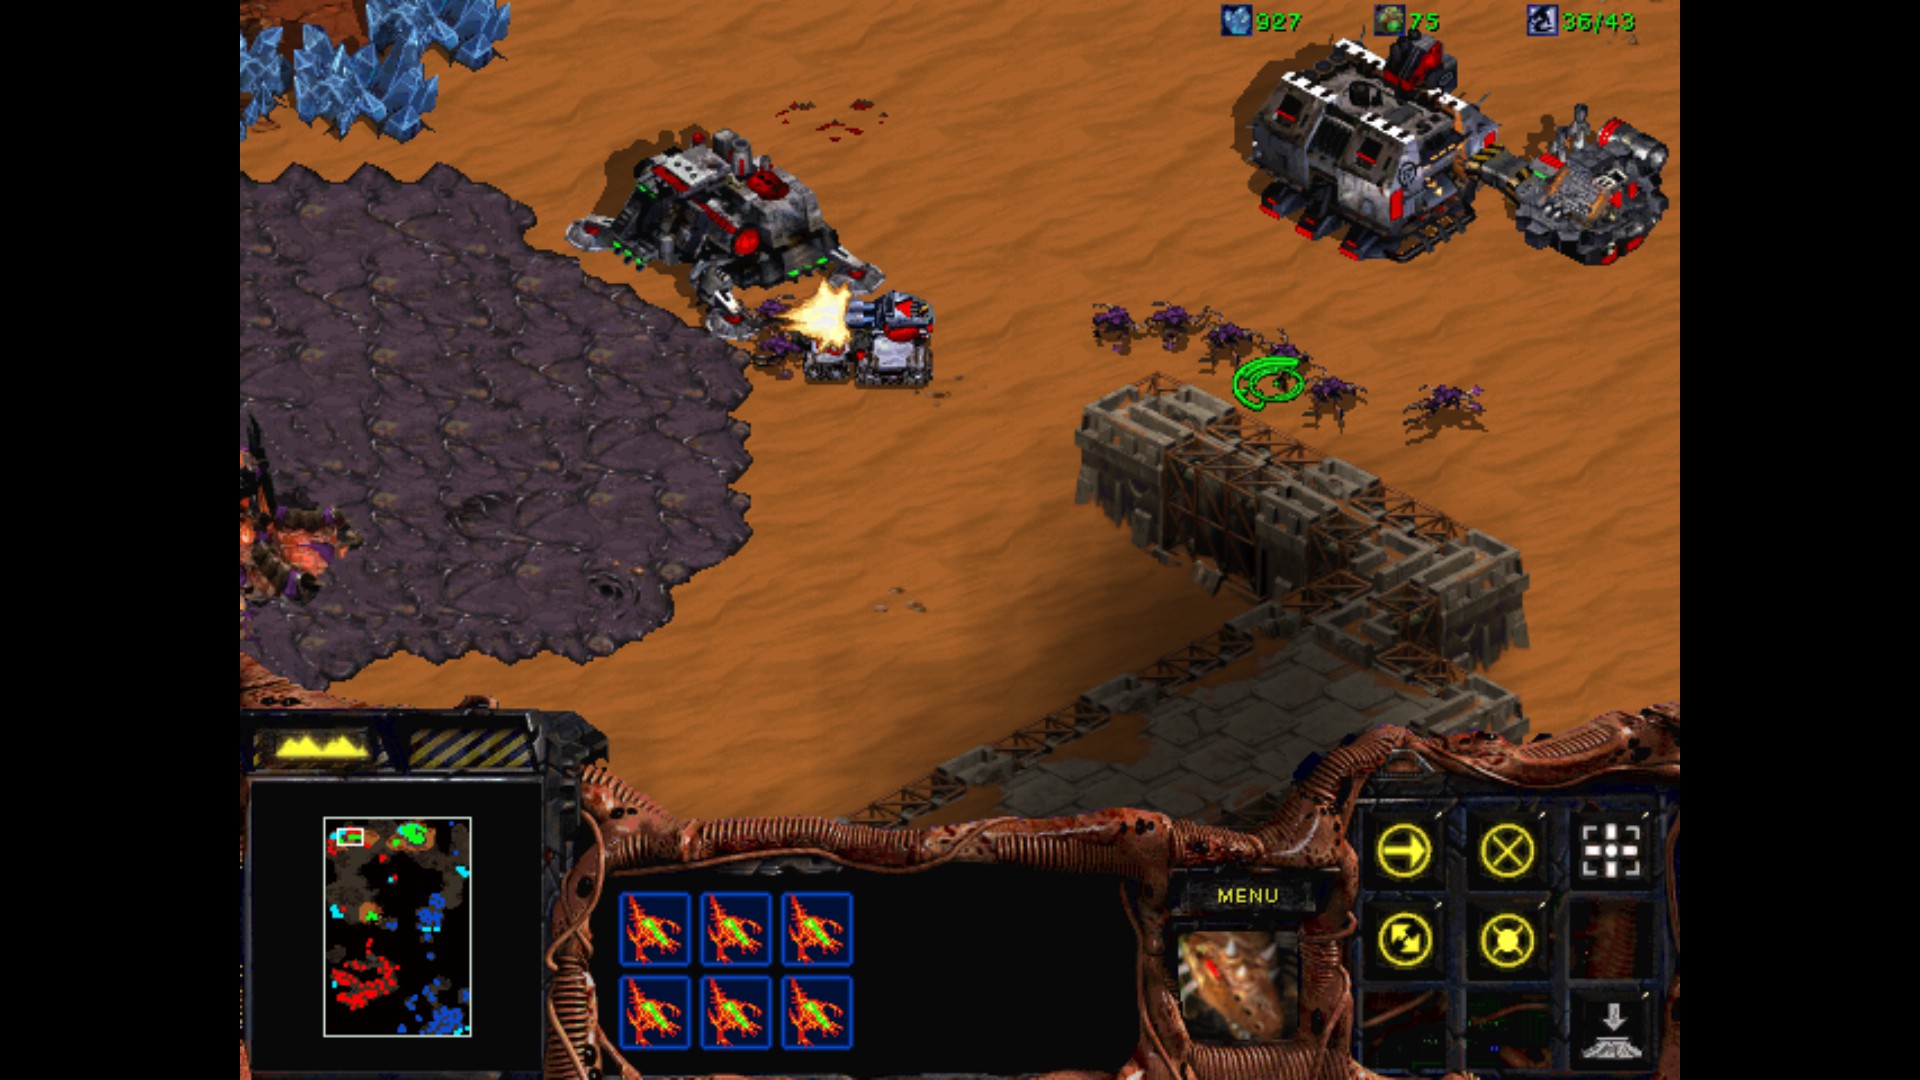
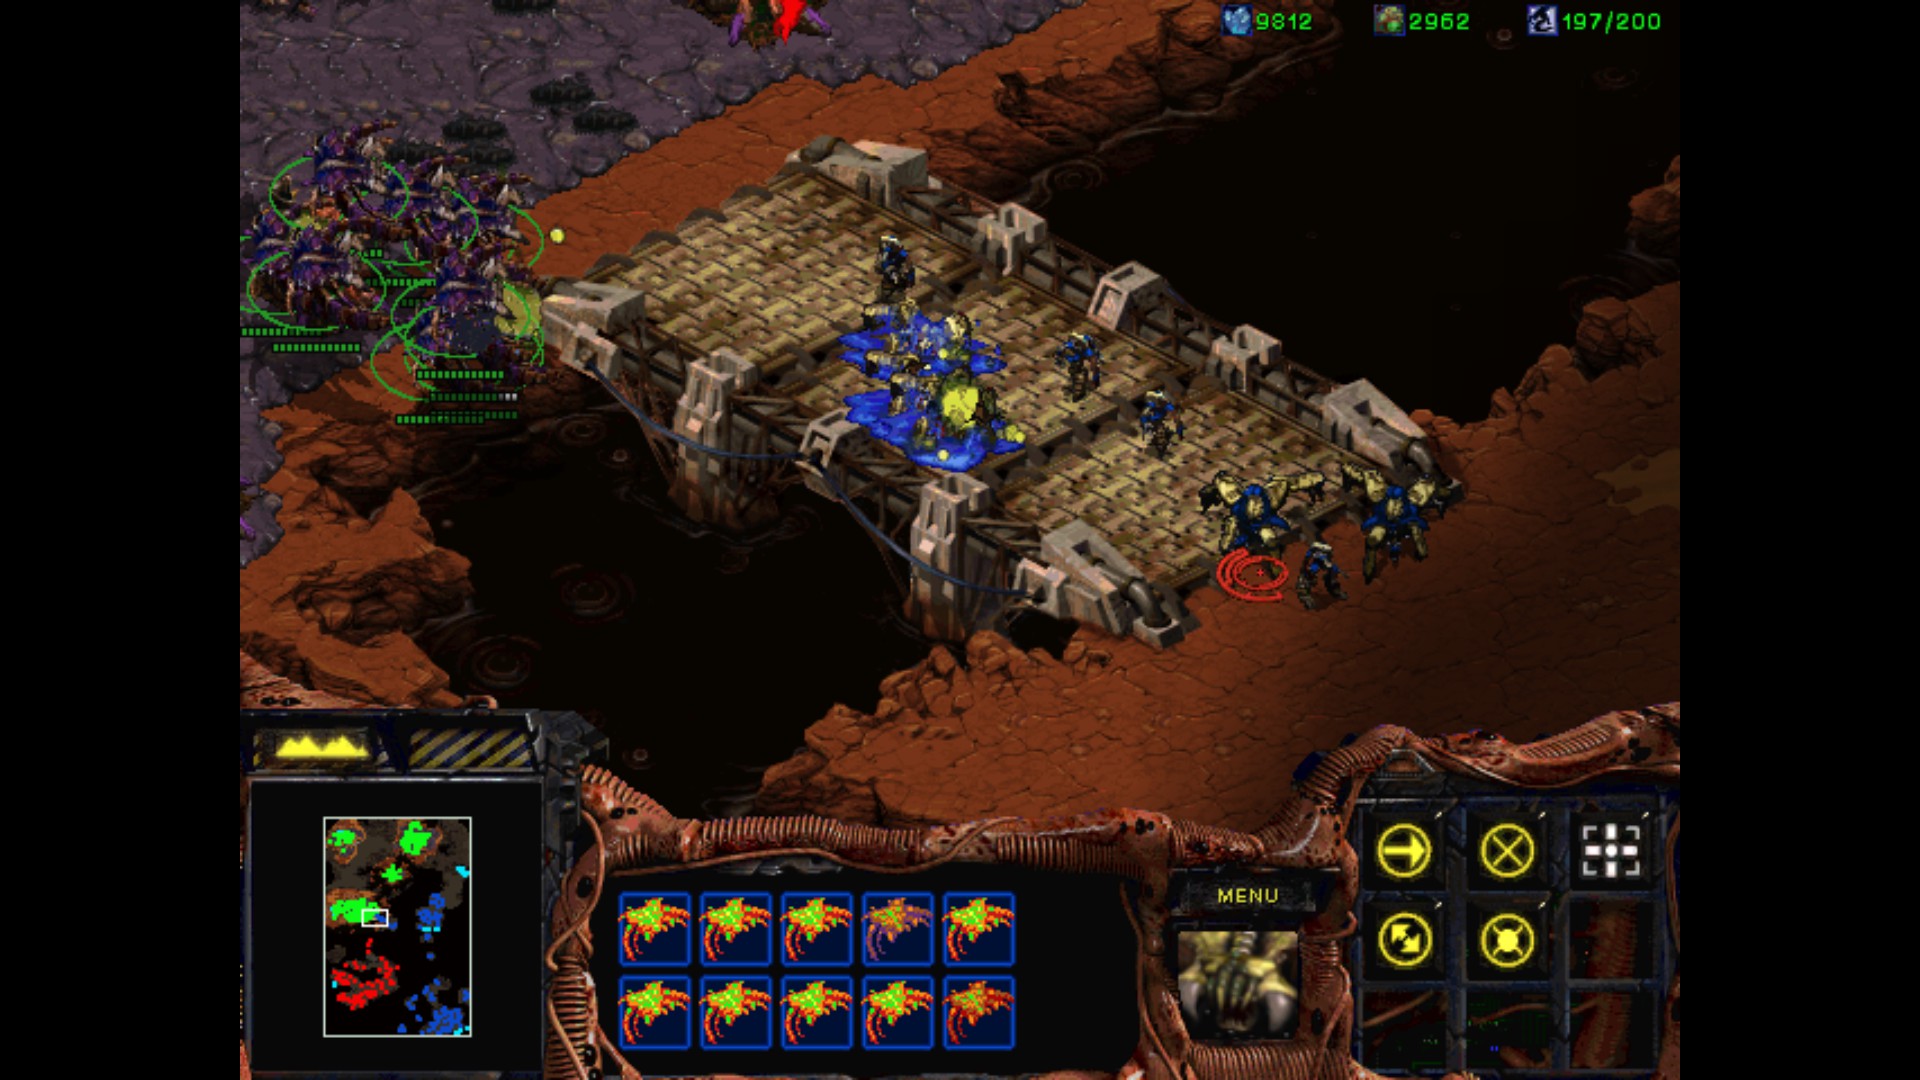
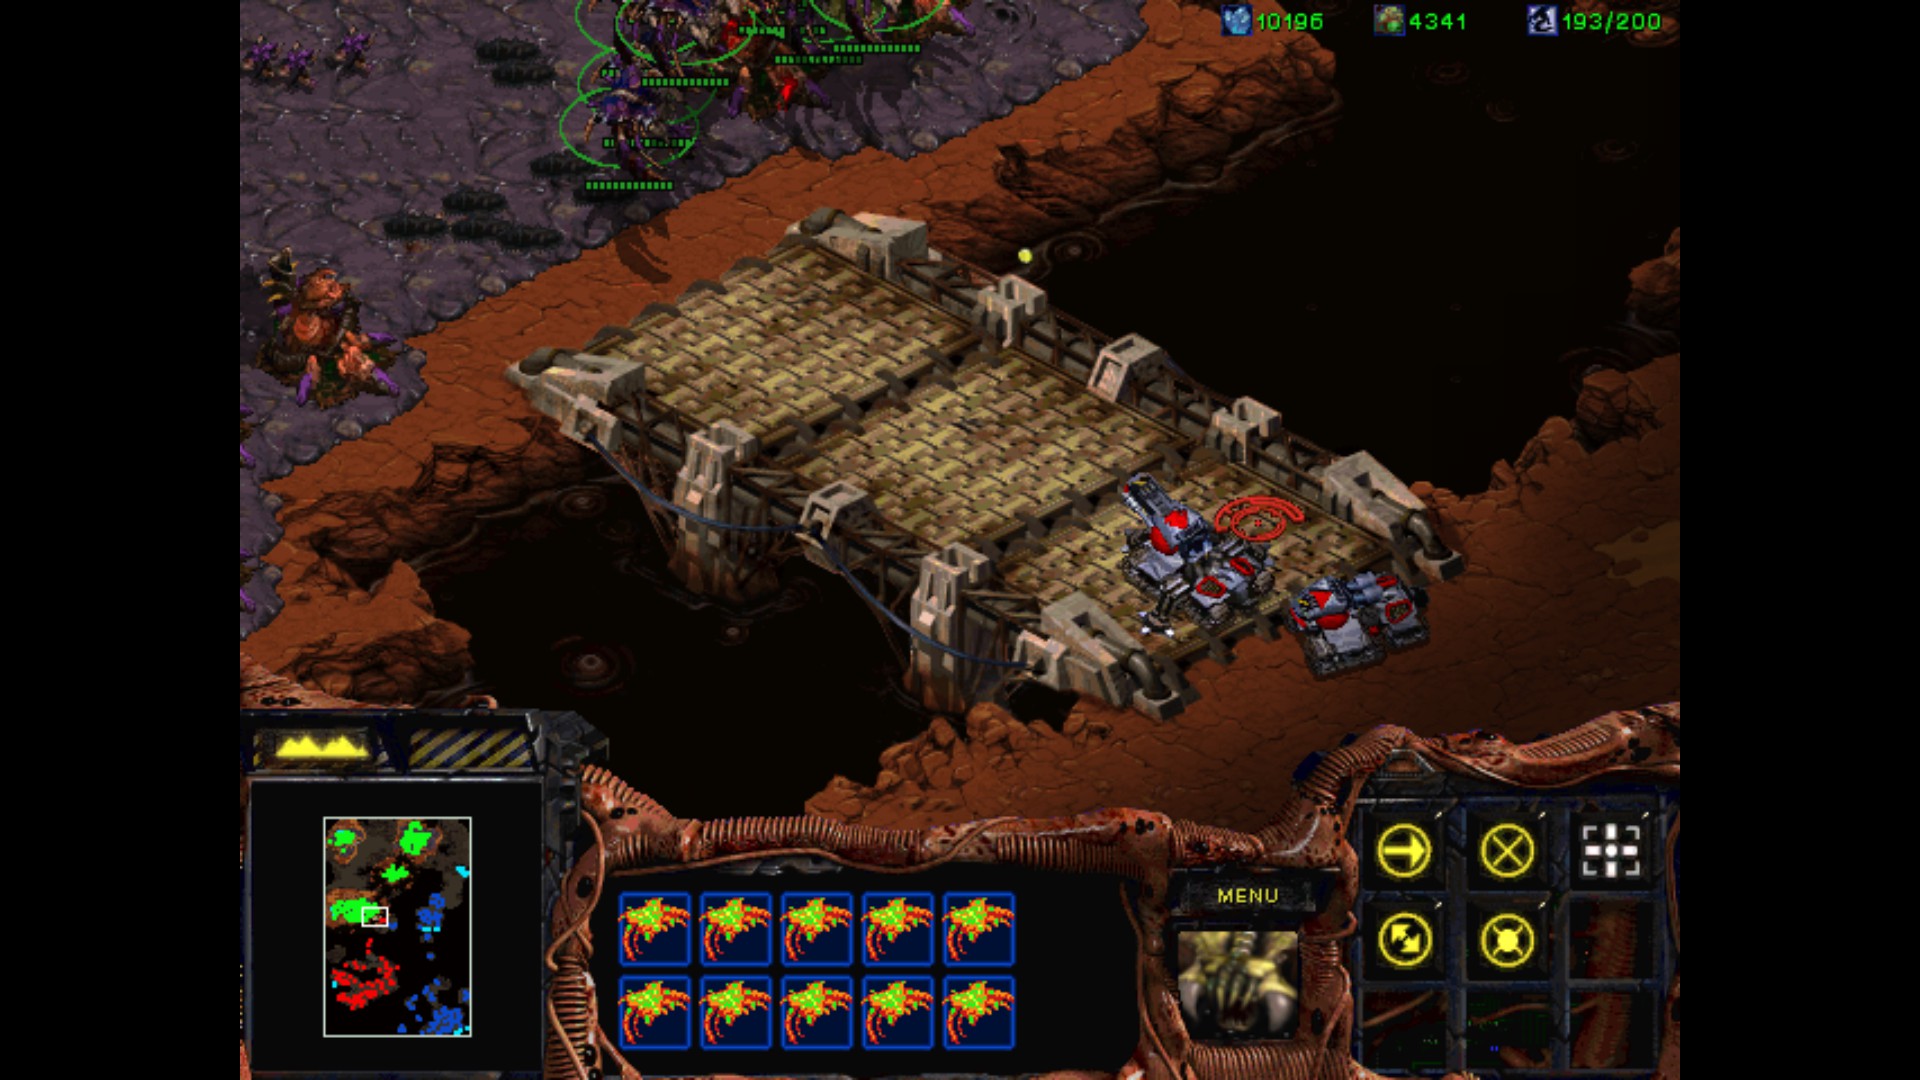
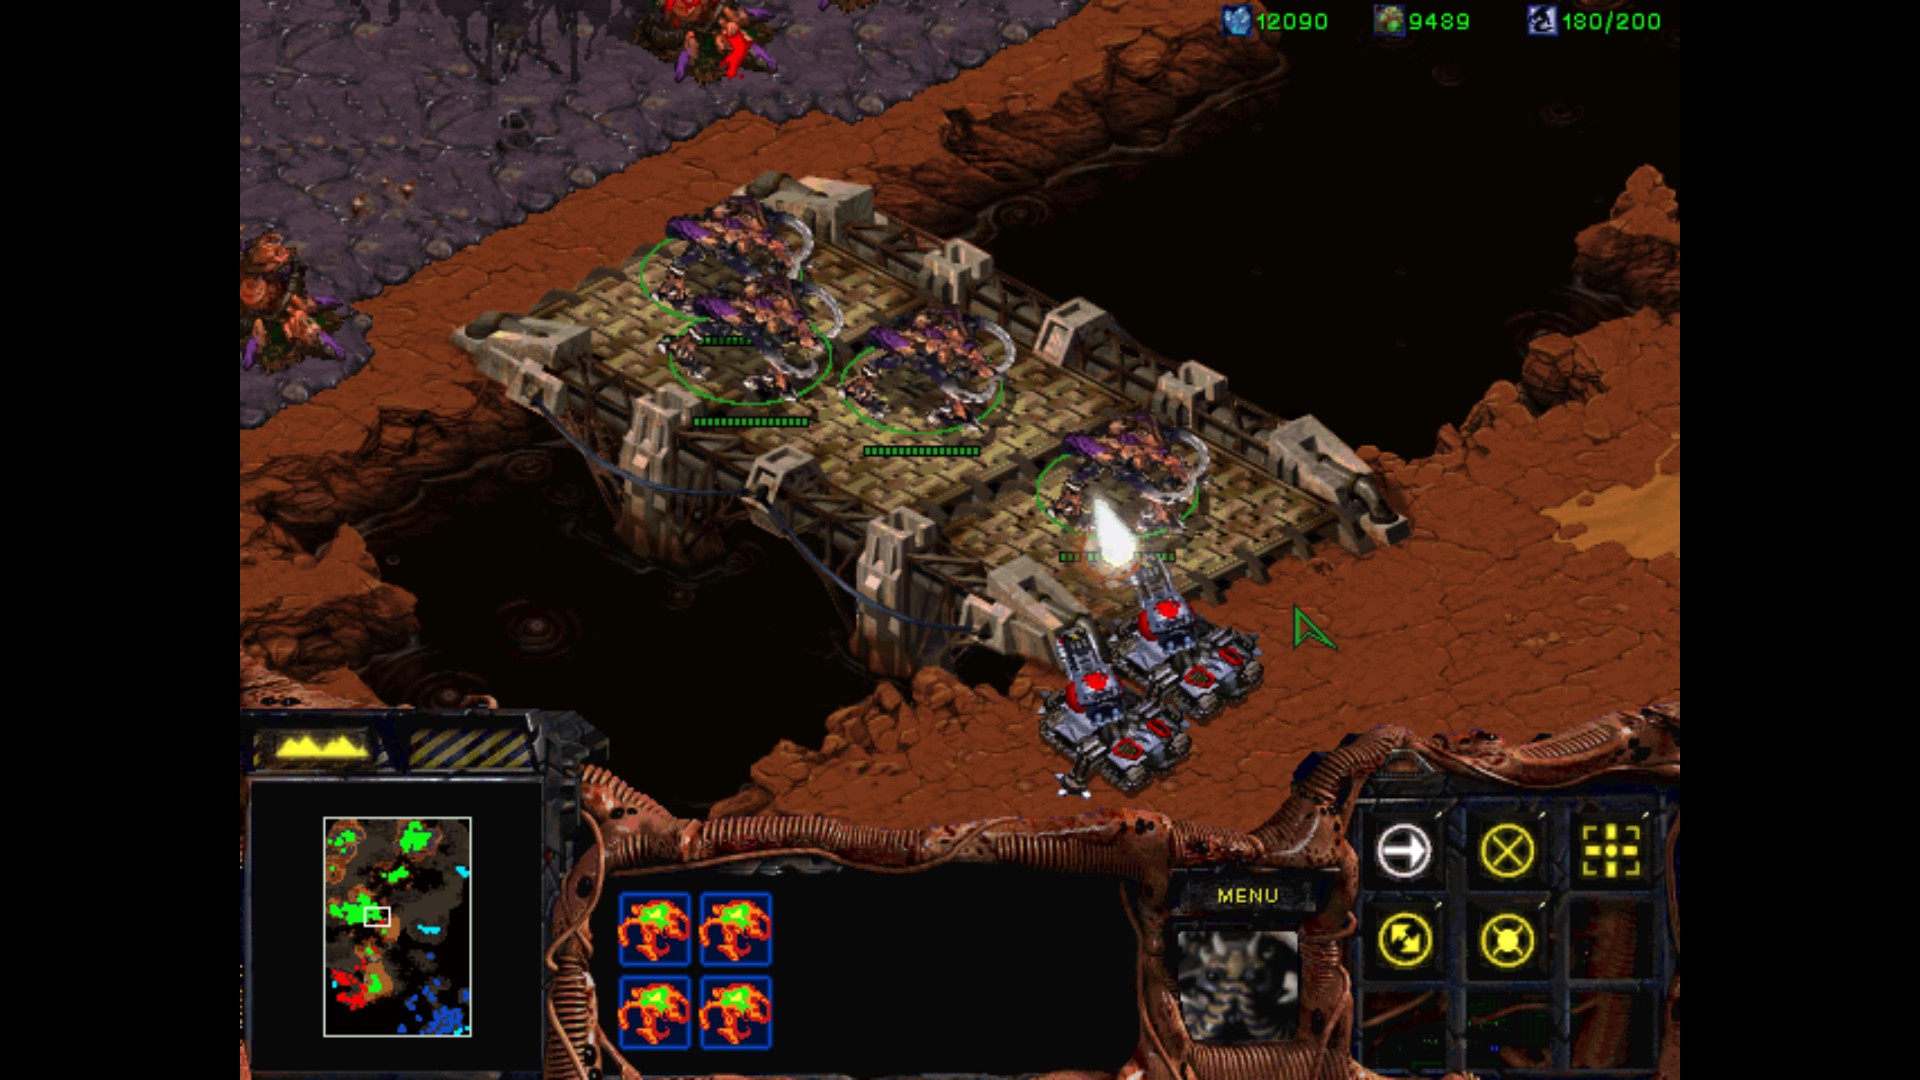
After many attacks it is time to push back. I move with one of my Science Vessel to see where is the base of the blue Terran. The bridge leading to his base is filled with the mines. I guess I will need to do methodically without speeding up to much.
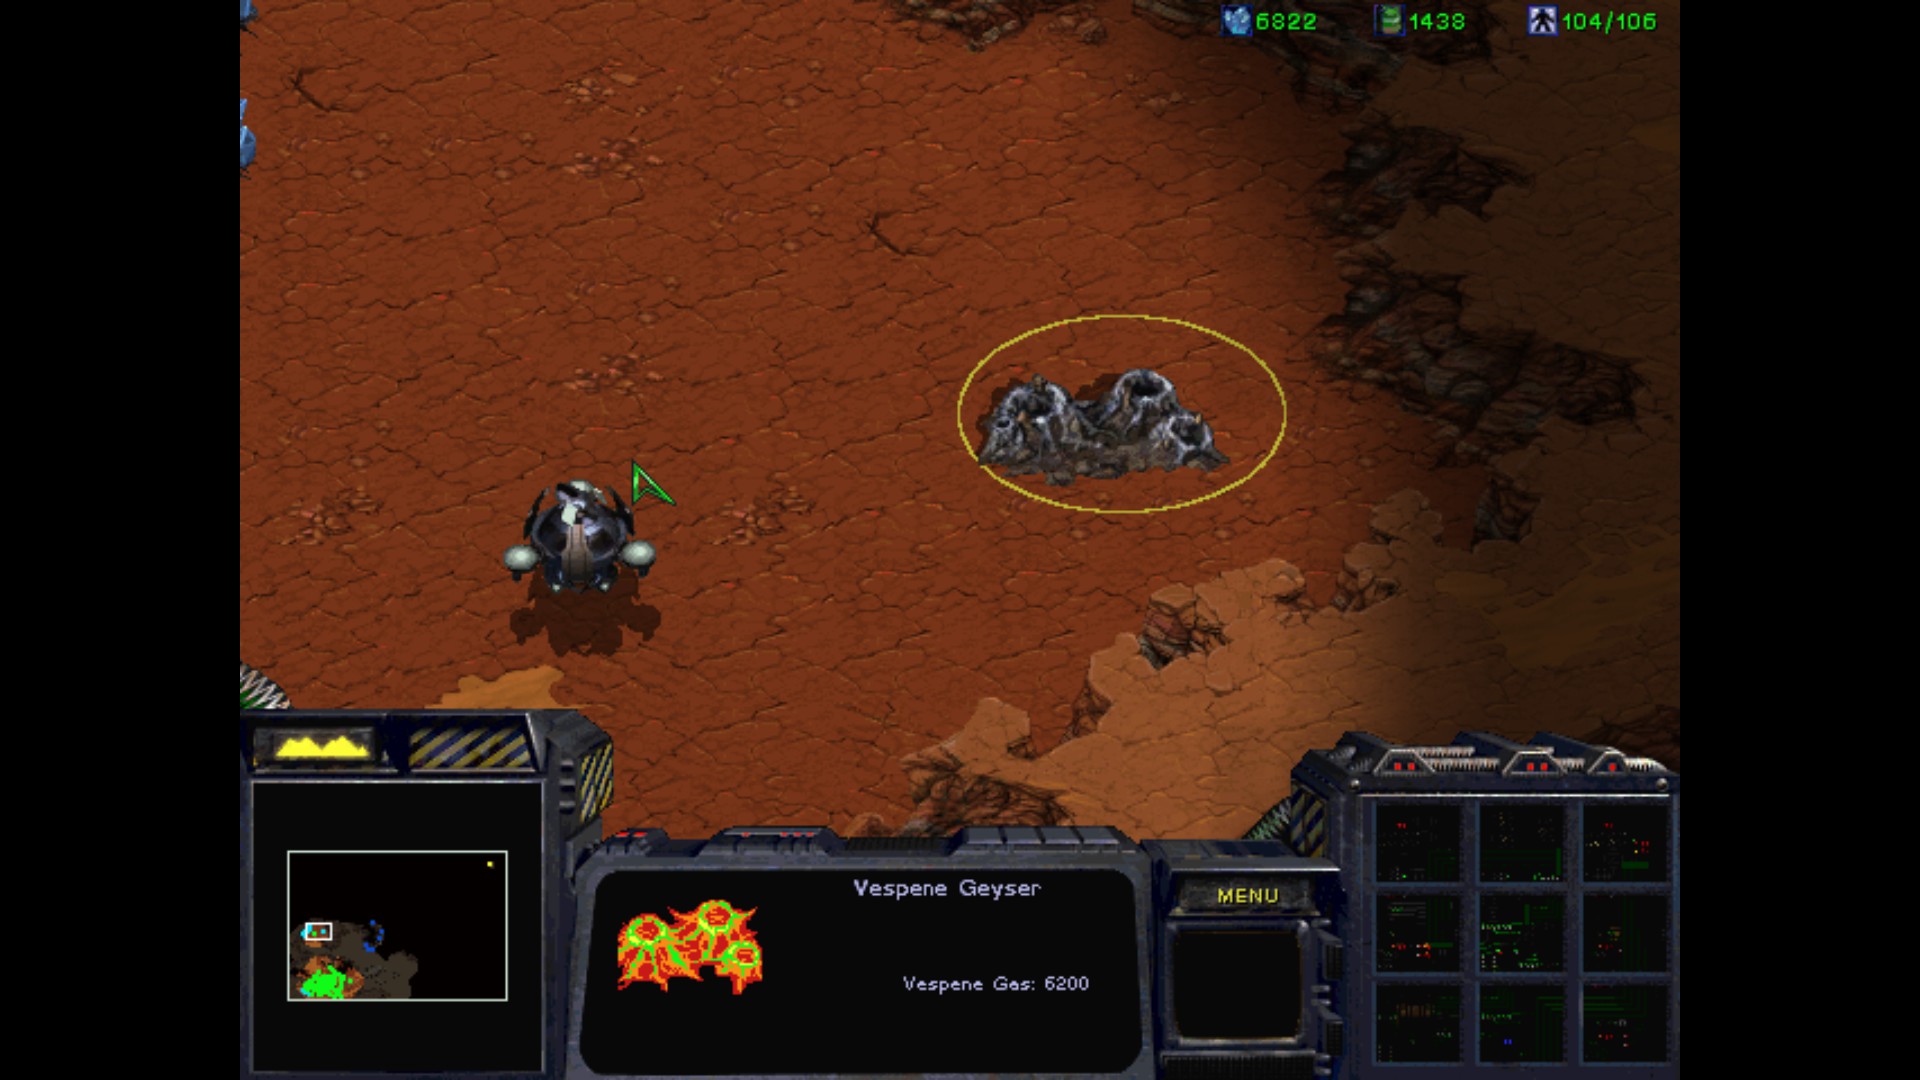
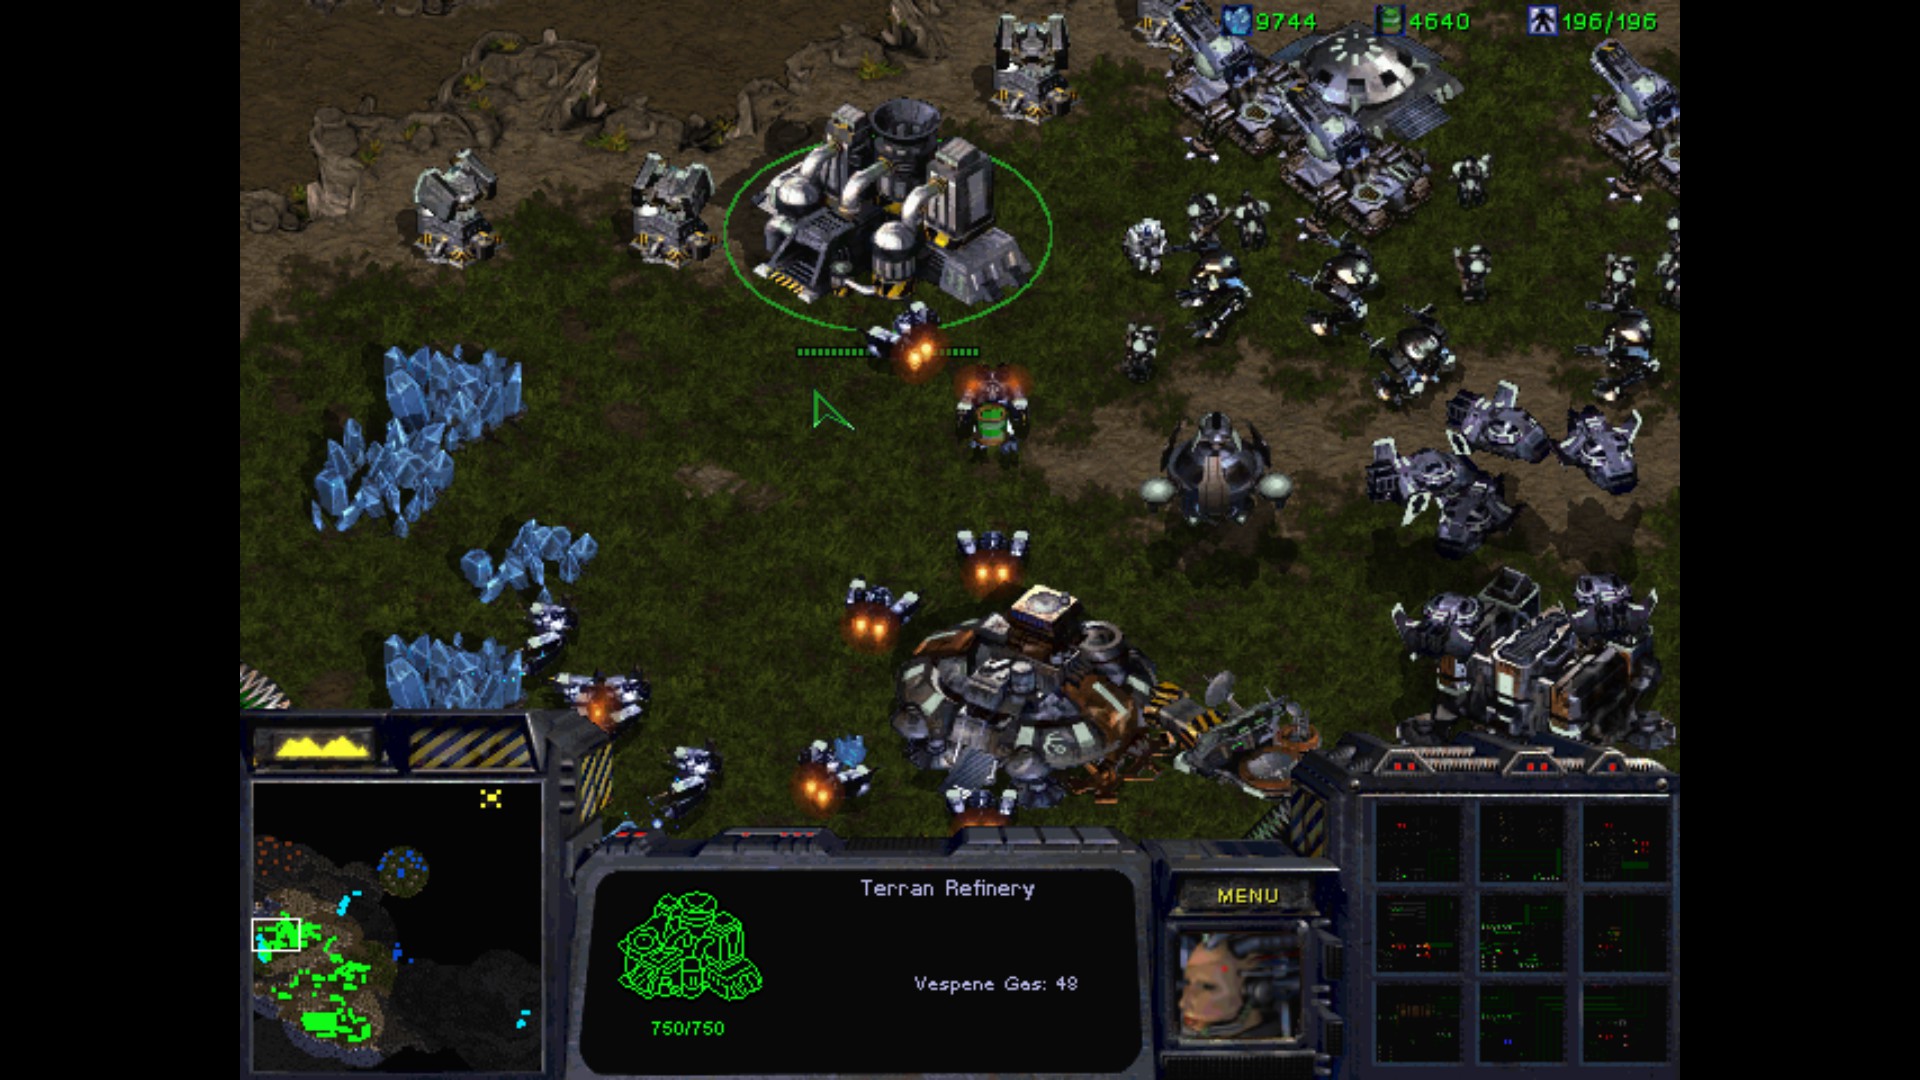
Nice, an emergency Vespene Geyser. Knowing how much the better units cost, this will be very helpful.
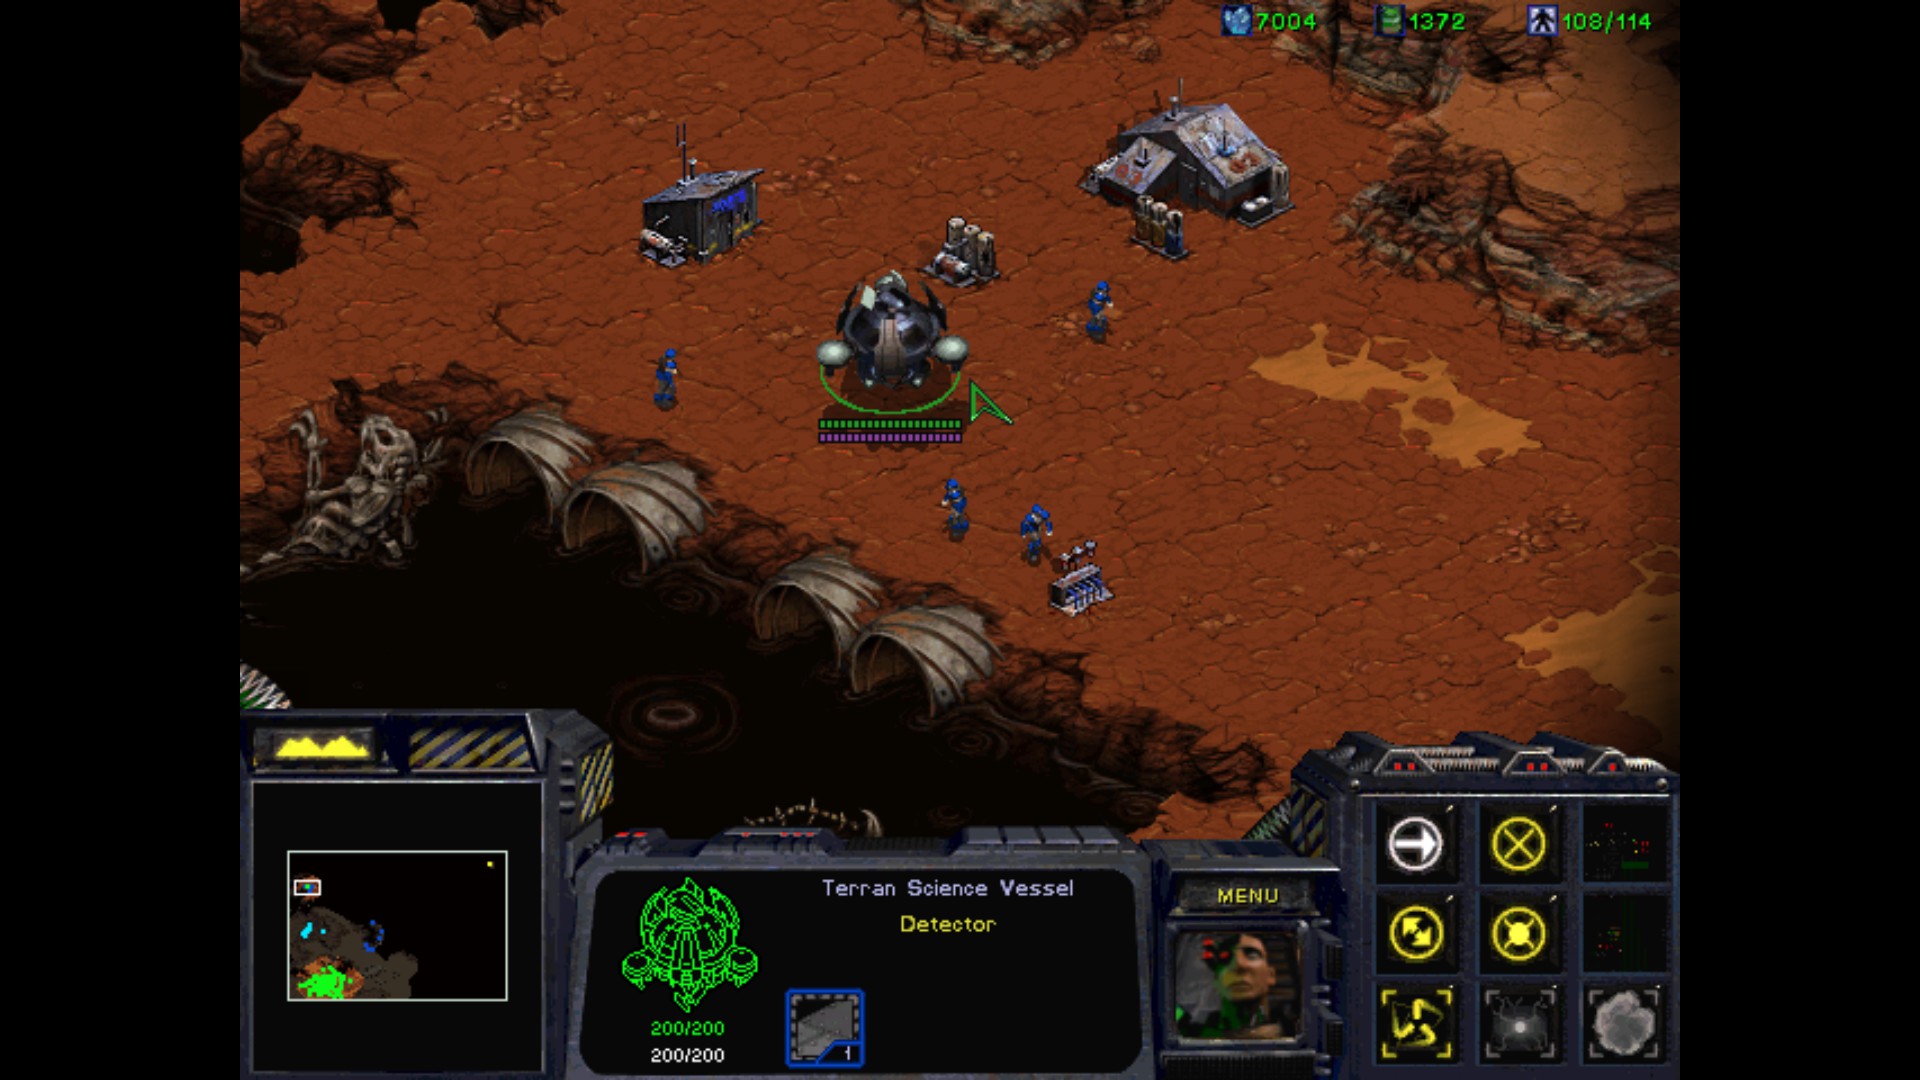
Hmm, what is this place? A fuel station or shacks in which they are making booze.
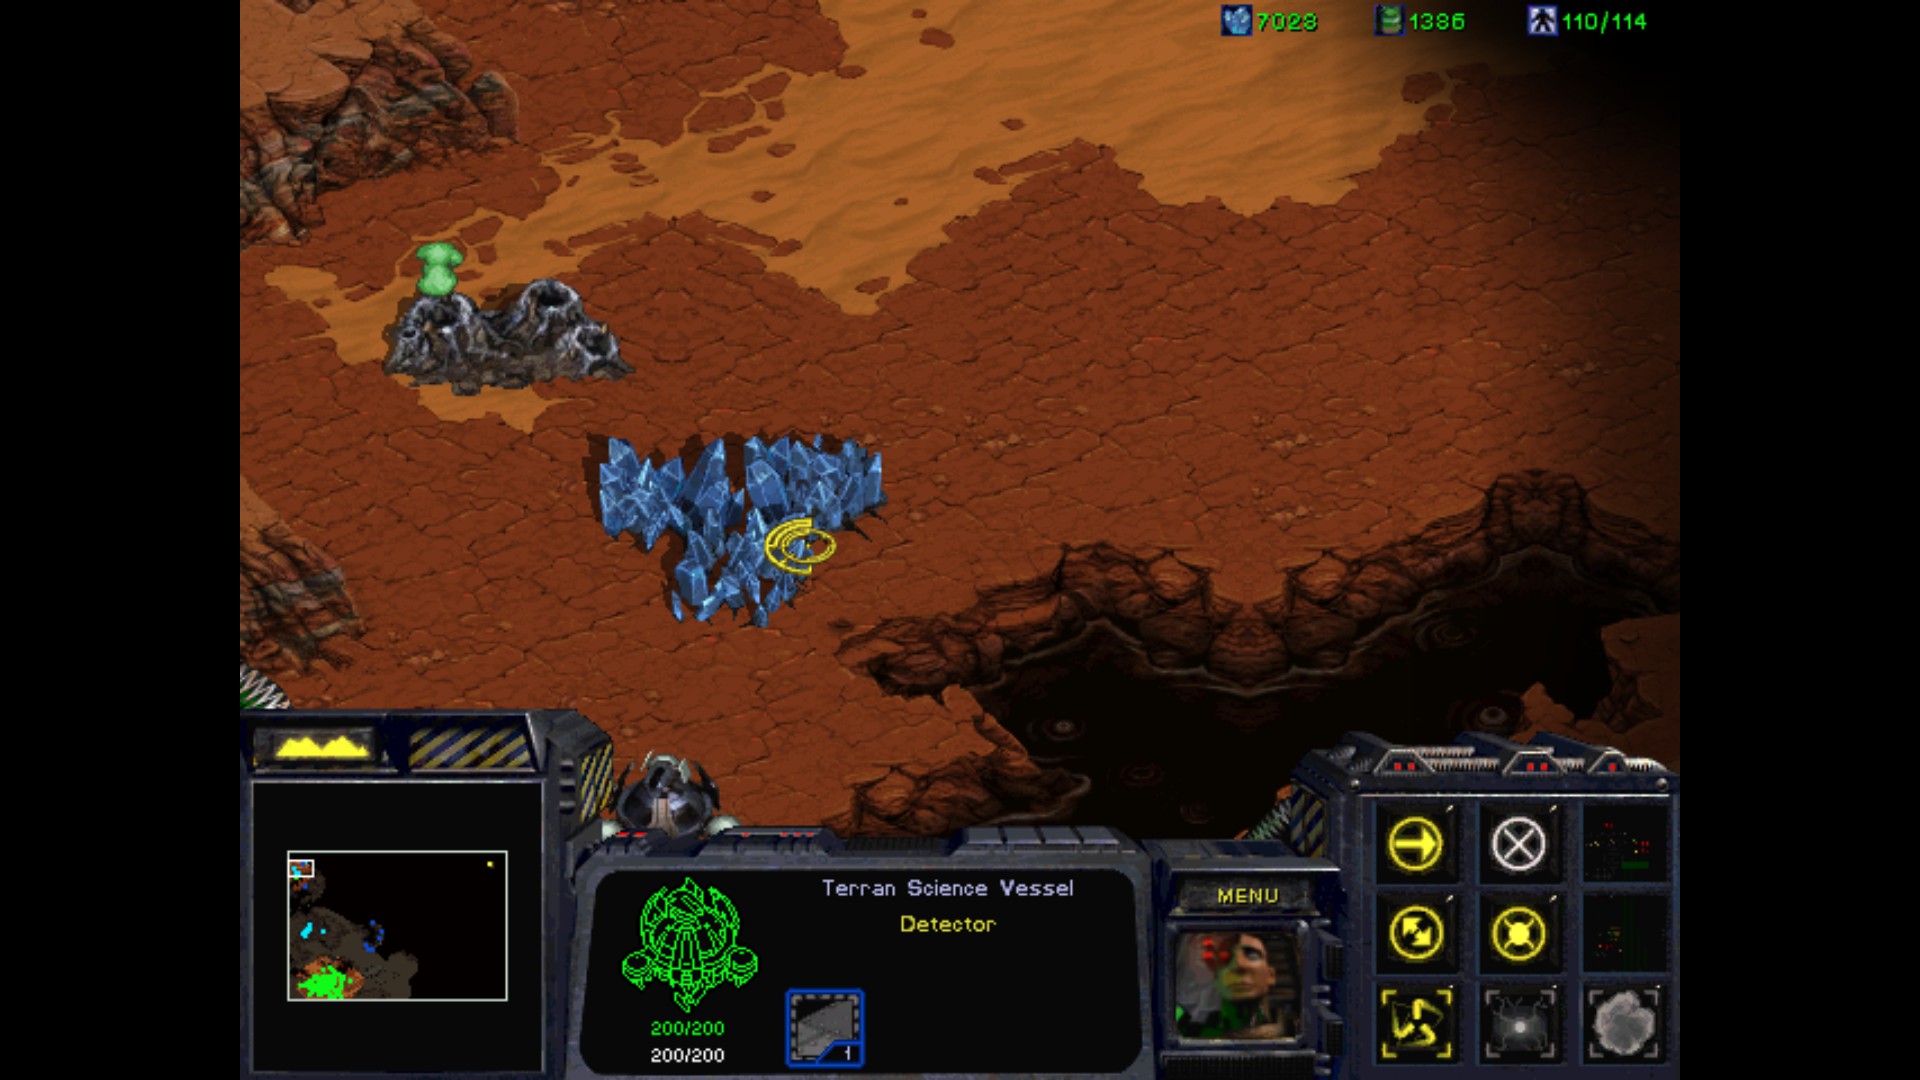
Another spot with resources. That's it for now. I'm going to secure the bridge and move into the base of blue Terran.
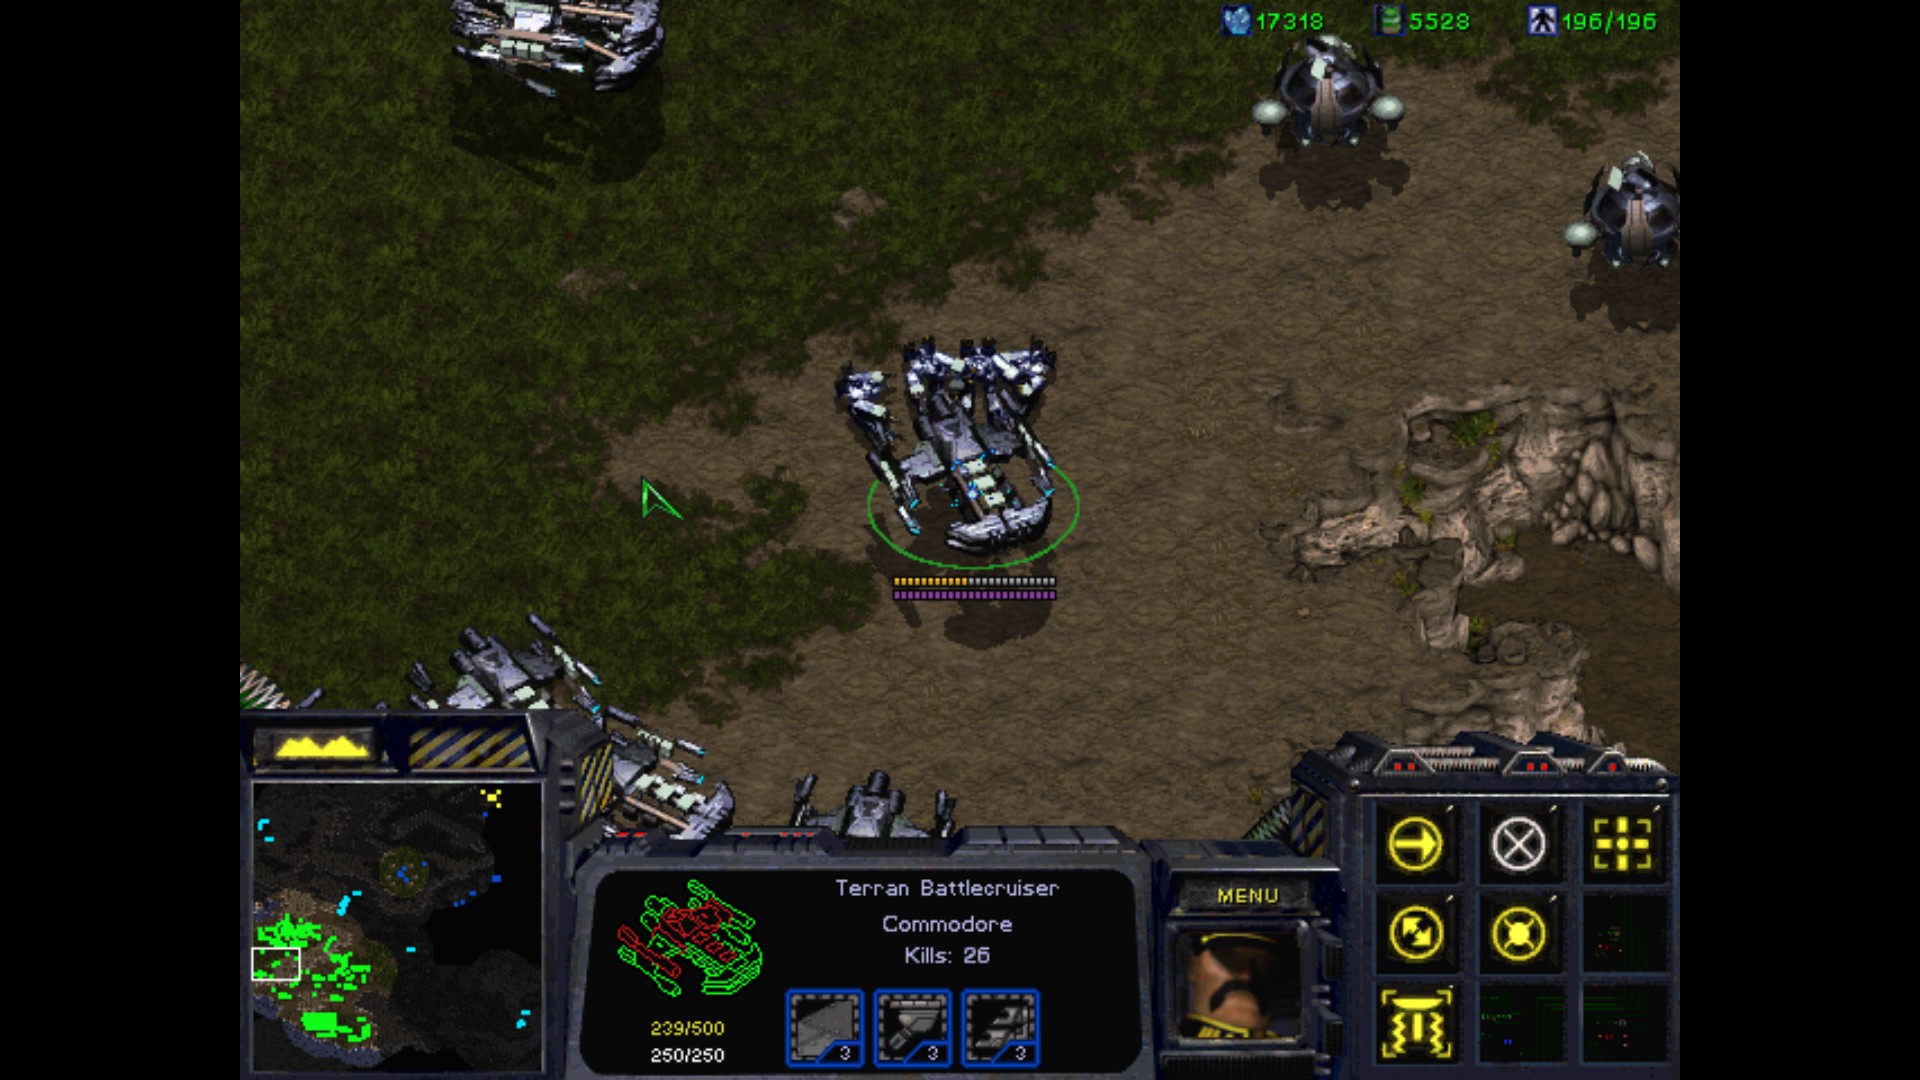
I'm moving step by step and closing in. The map is huge and the structures are scattered all over.
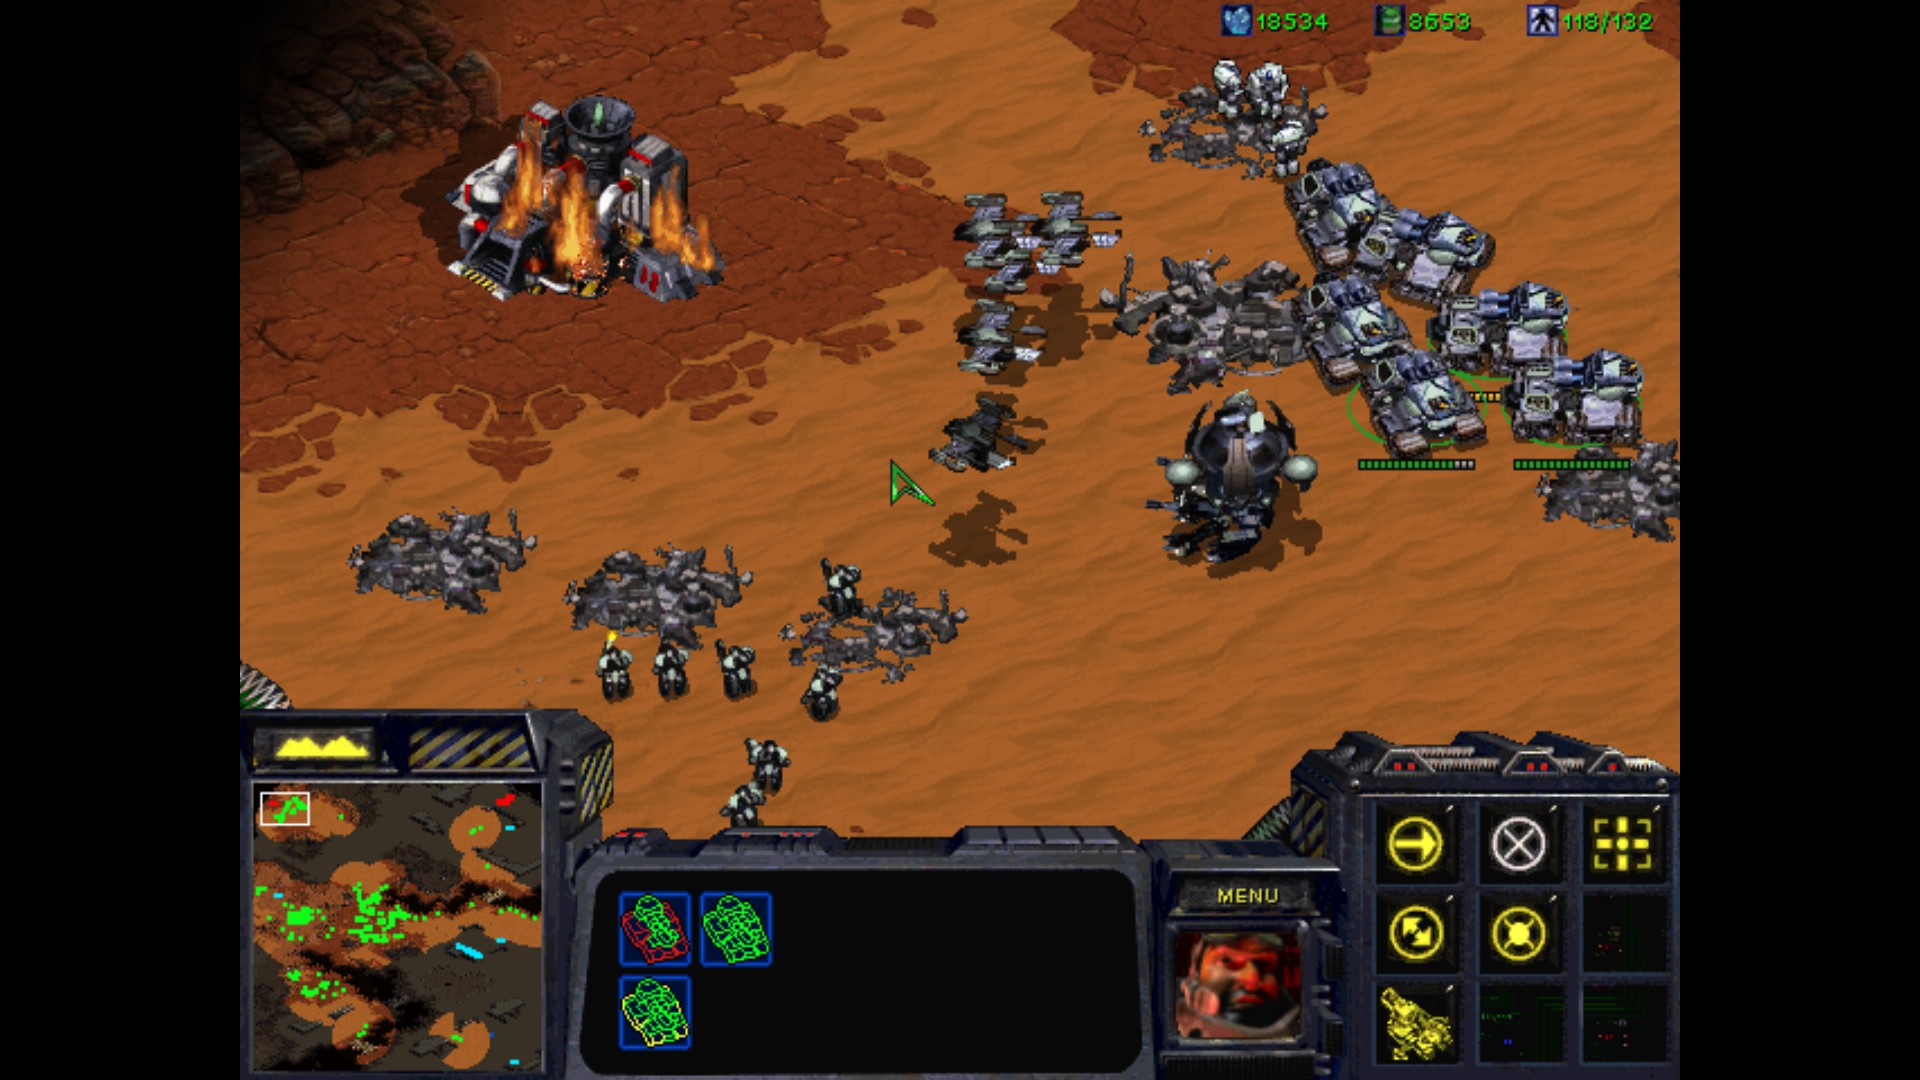
That was a hard battle, and I lost most of my ground support but I wanted to finish here already and after that - see what is in the south to concentrate afterwards on the huge northern black undiscovered patch of land.
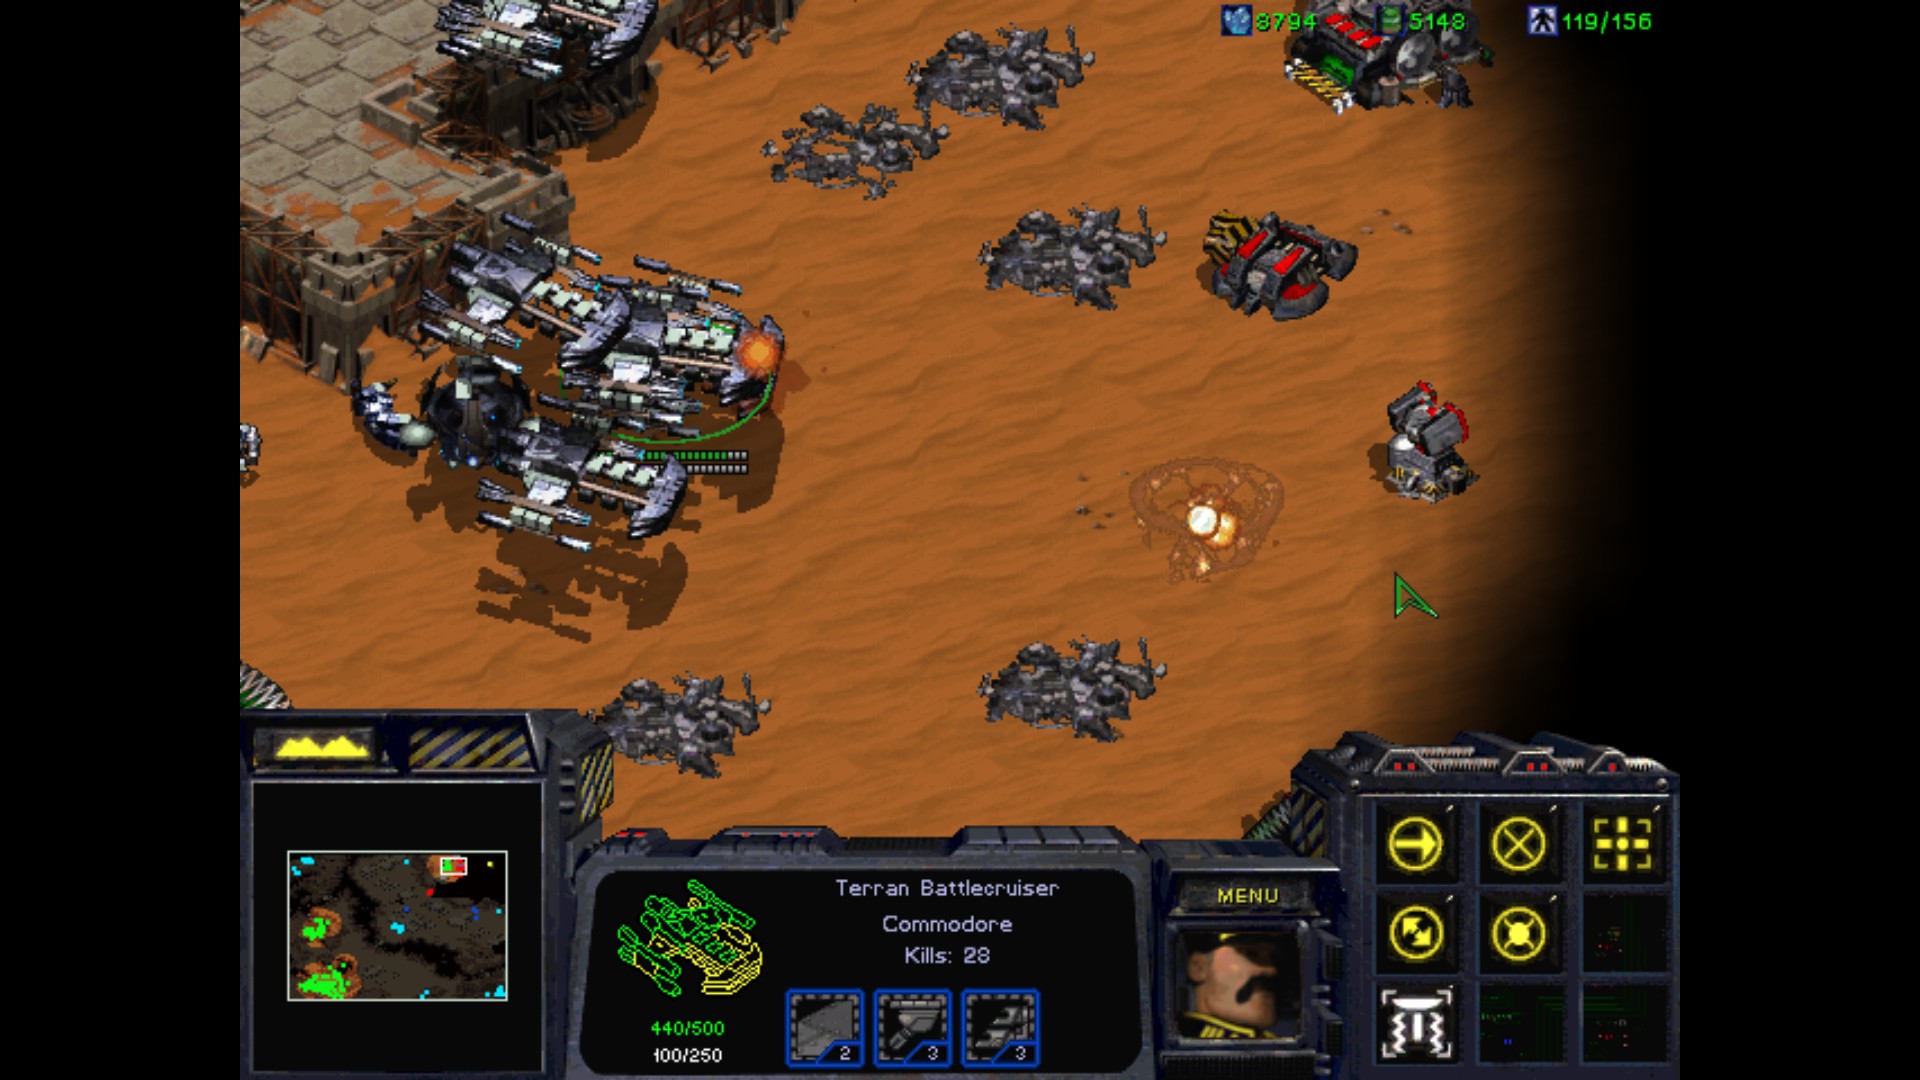
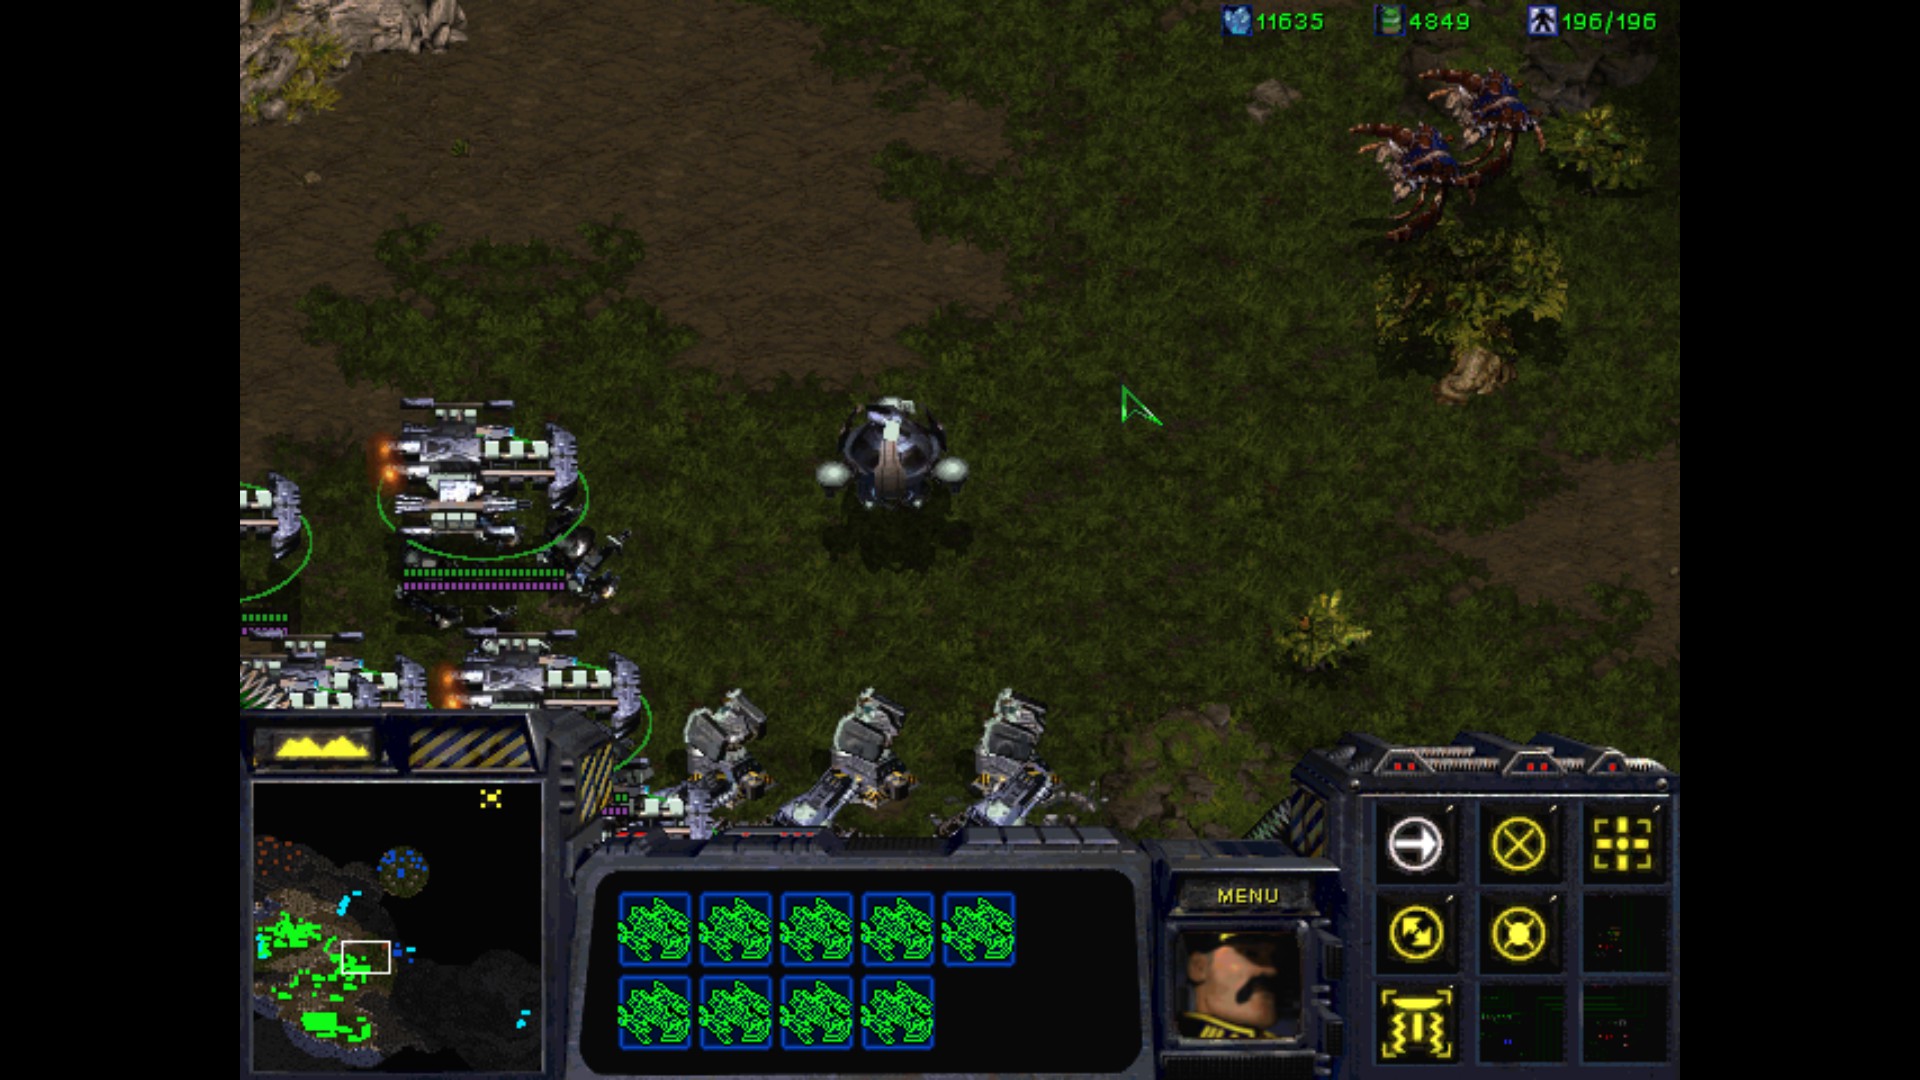
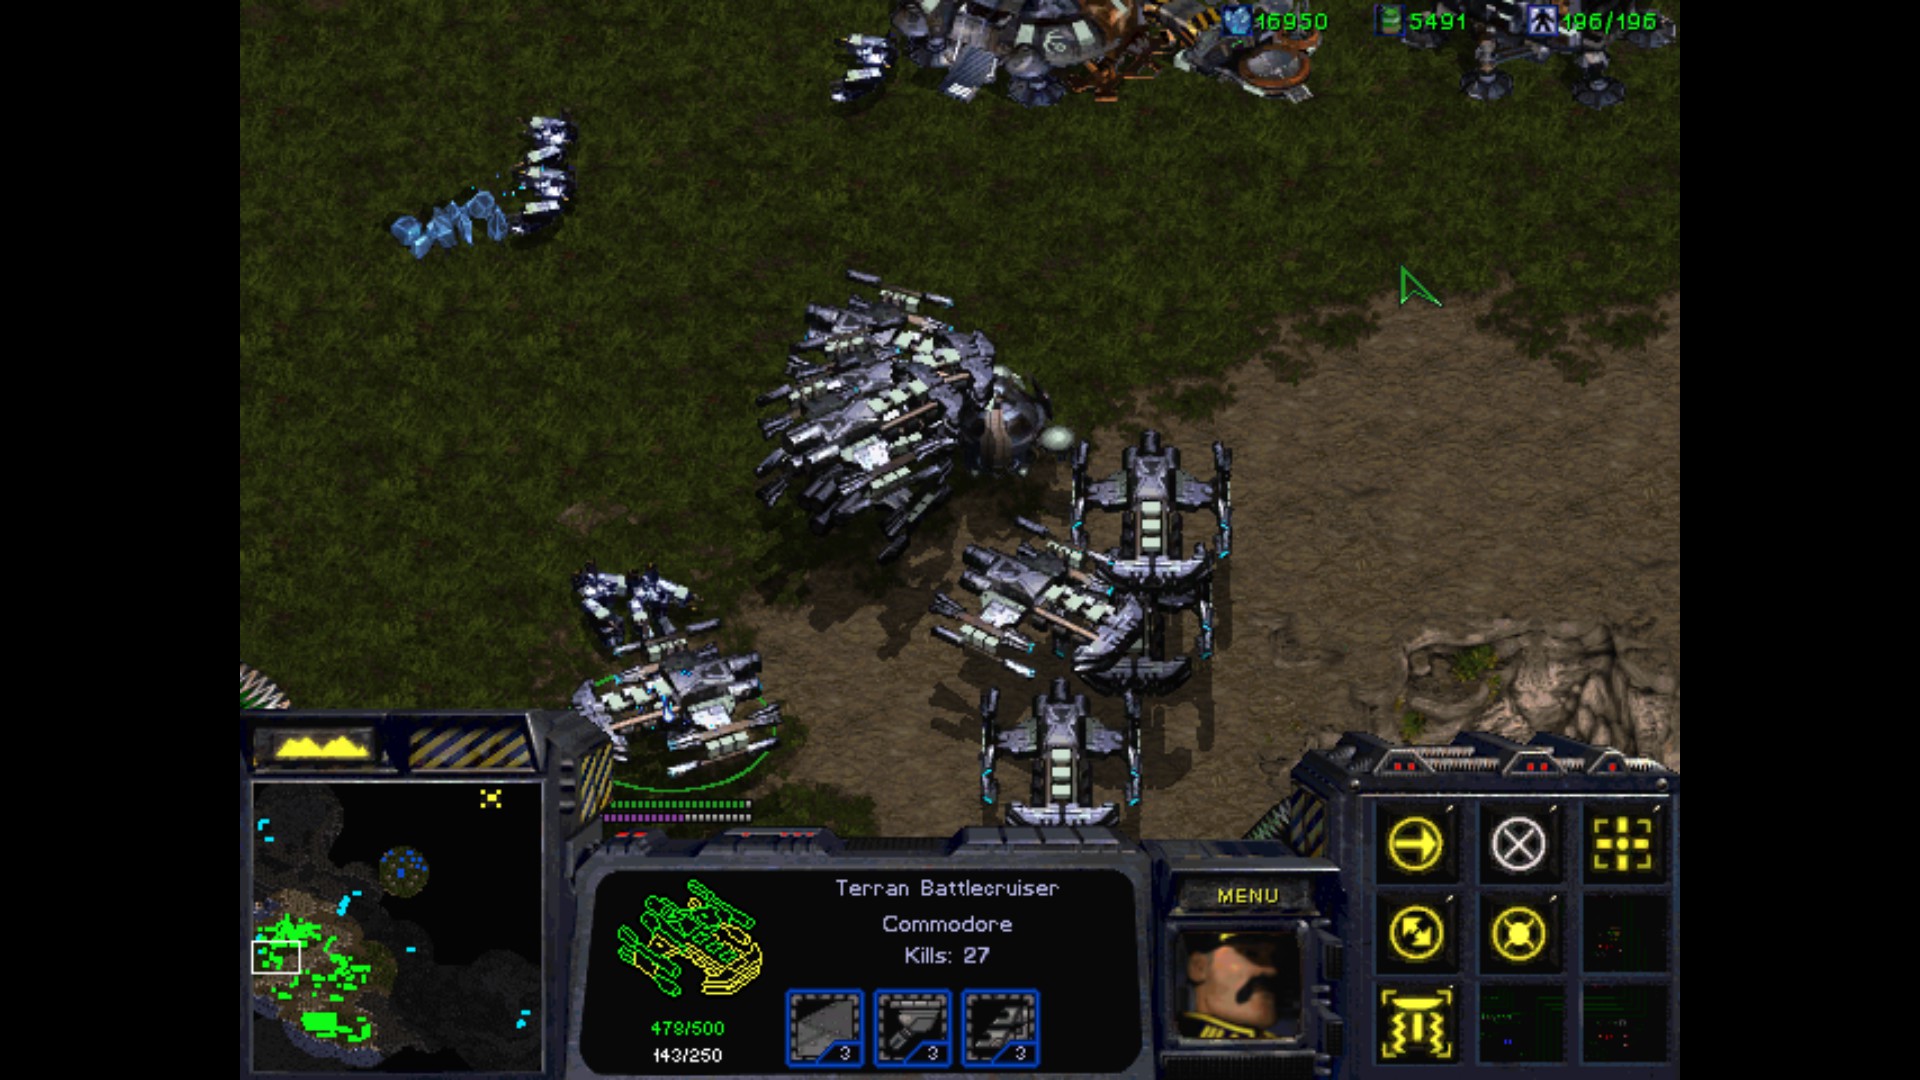
I'm starting Battlecruisers production. I thought they could come in handy as an air support. I'm not making any new Wraiths.
Good choice, I destroy the Tanks who are guarding the minerals nearby. They would massacre my Marines and Medics.
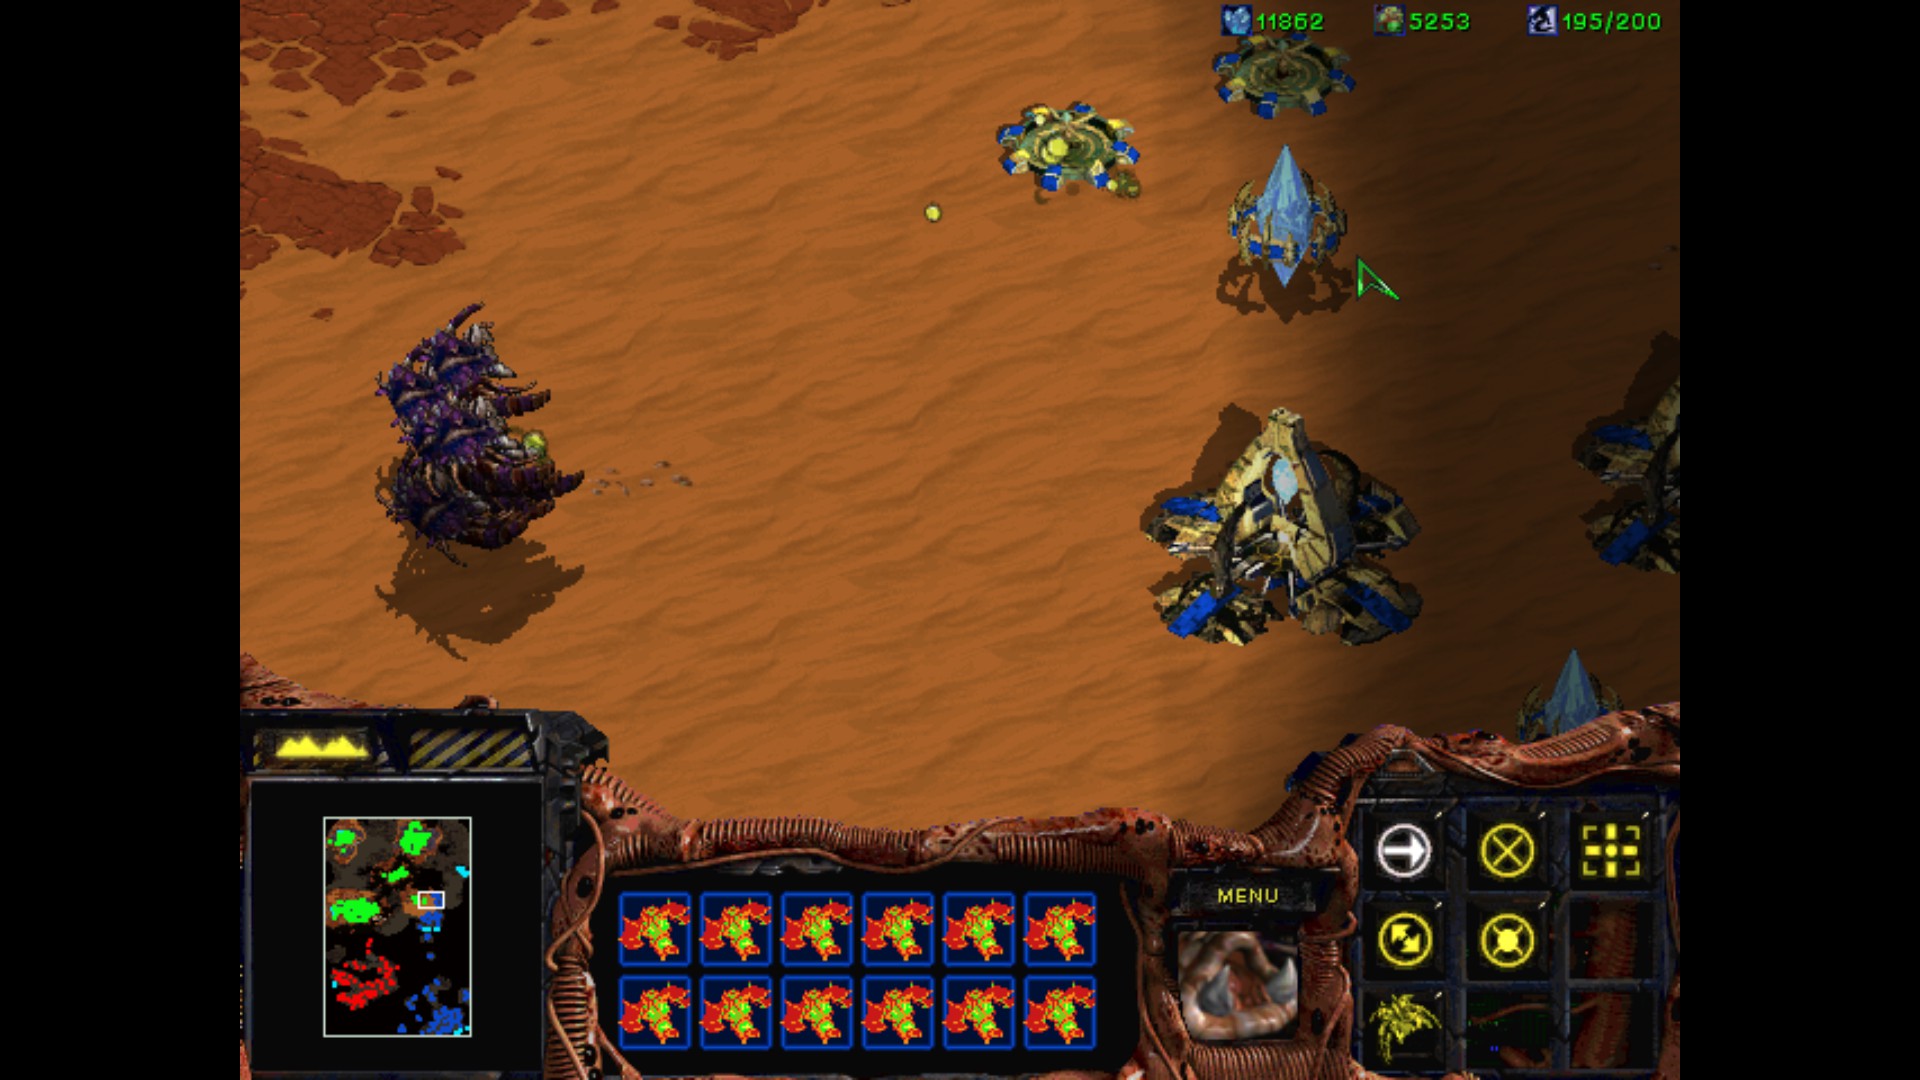
Time to move to another base since the main one has got nothing left when it comes to resources.
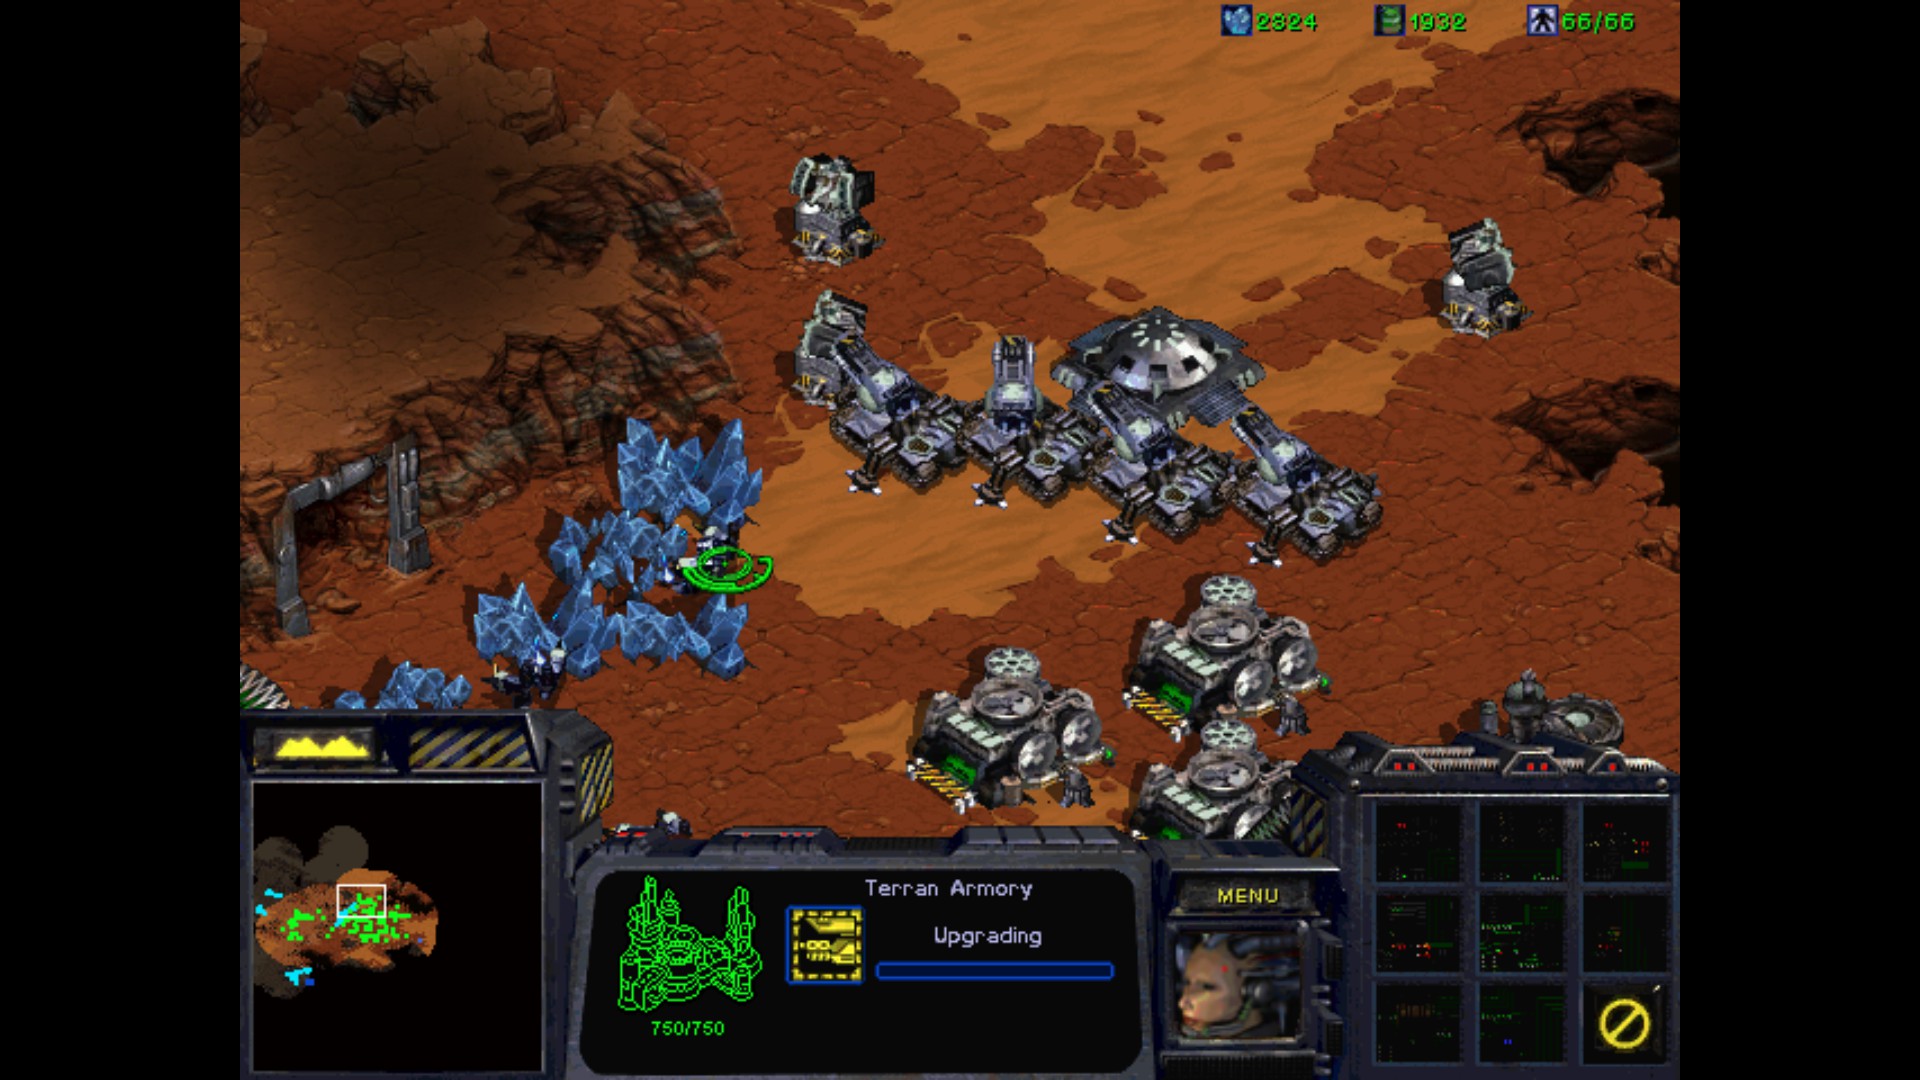
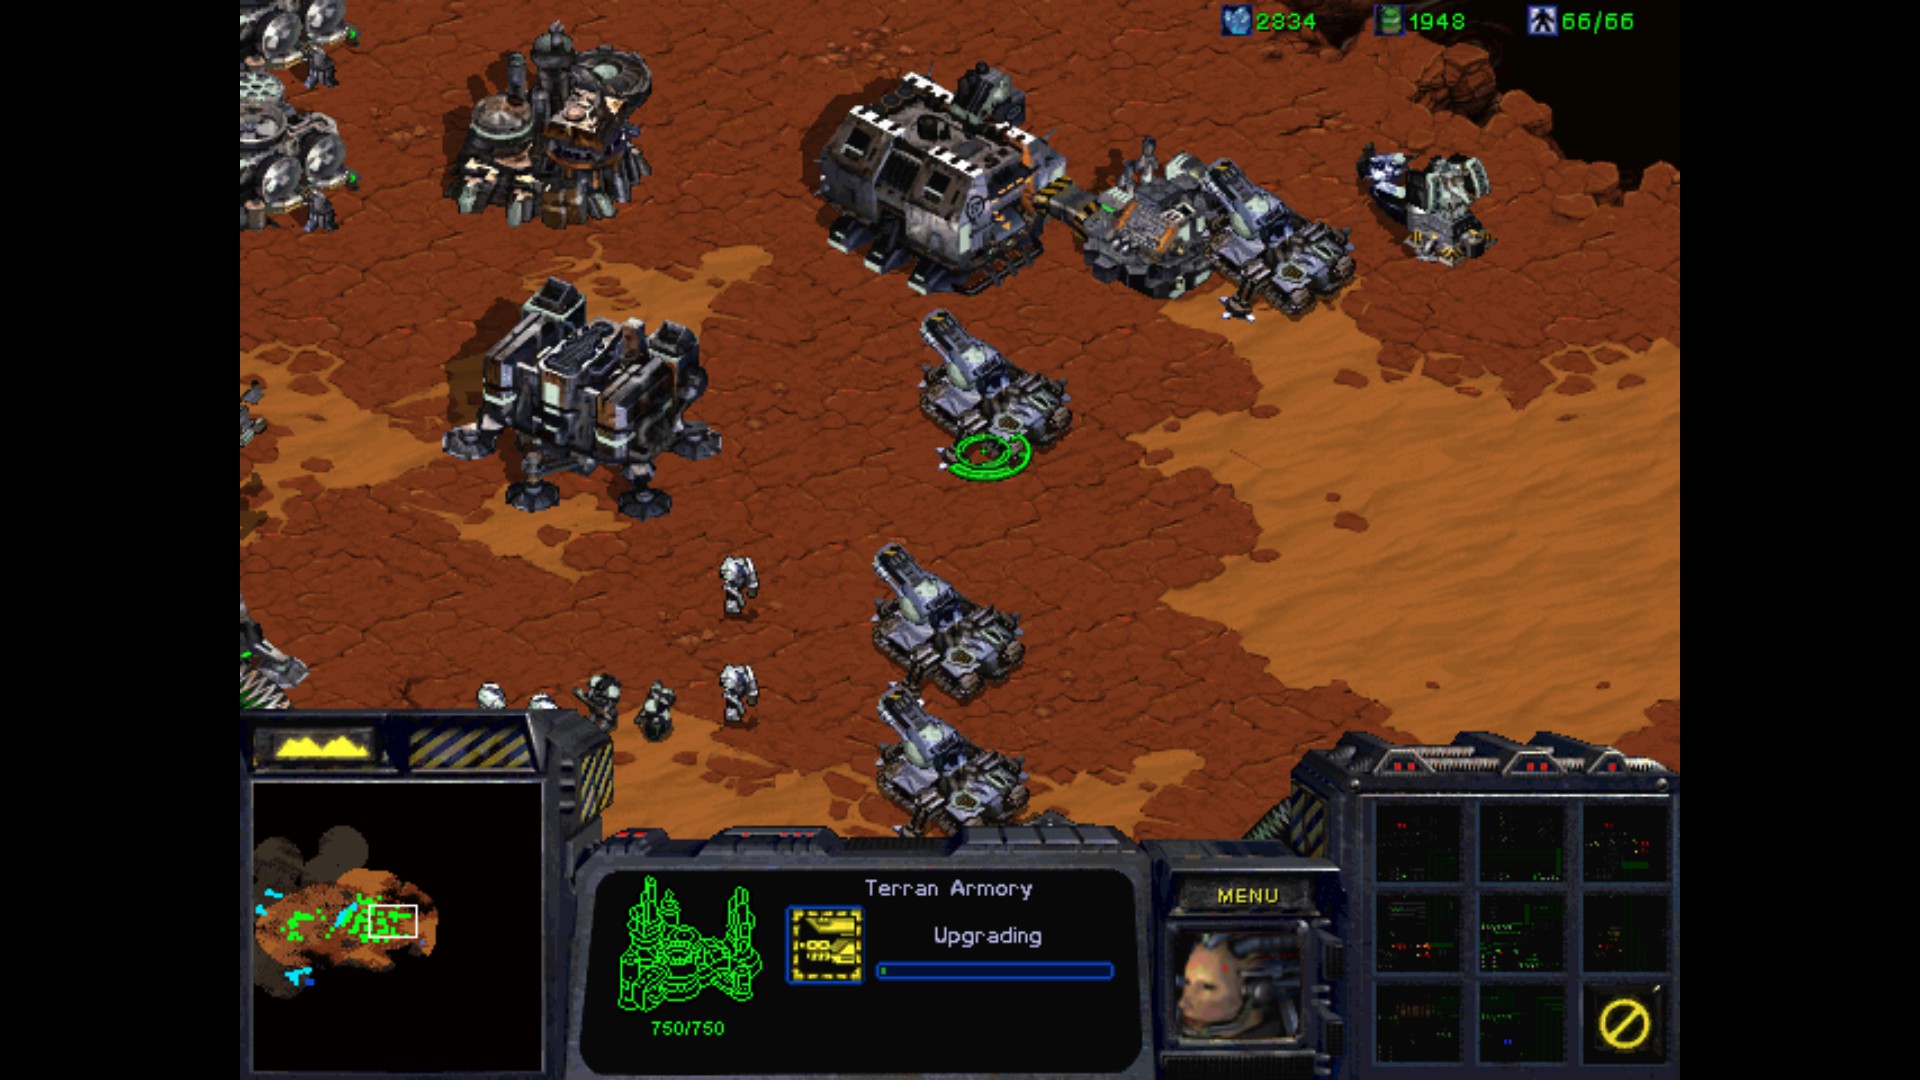
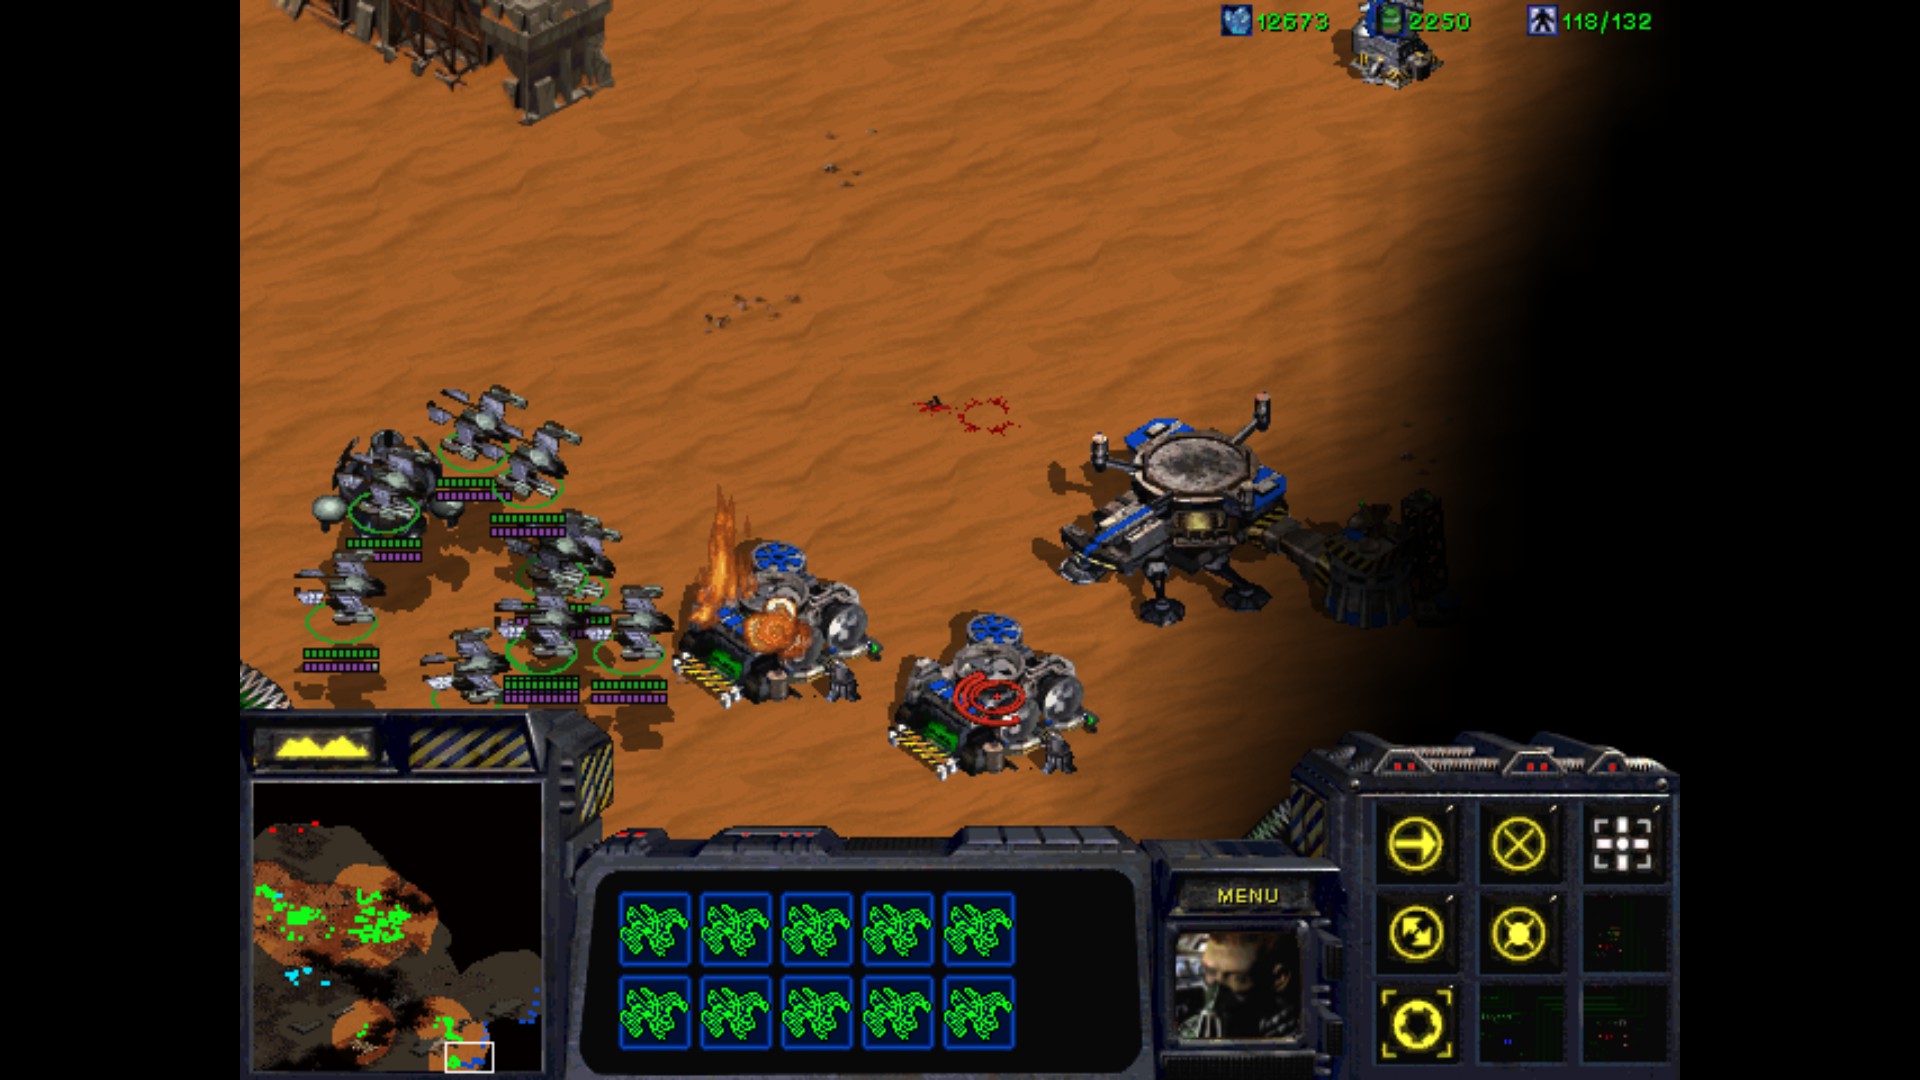
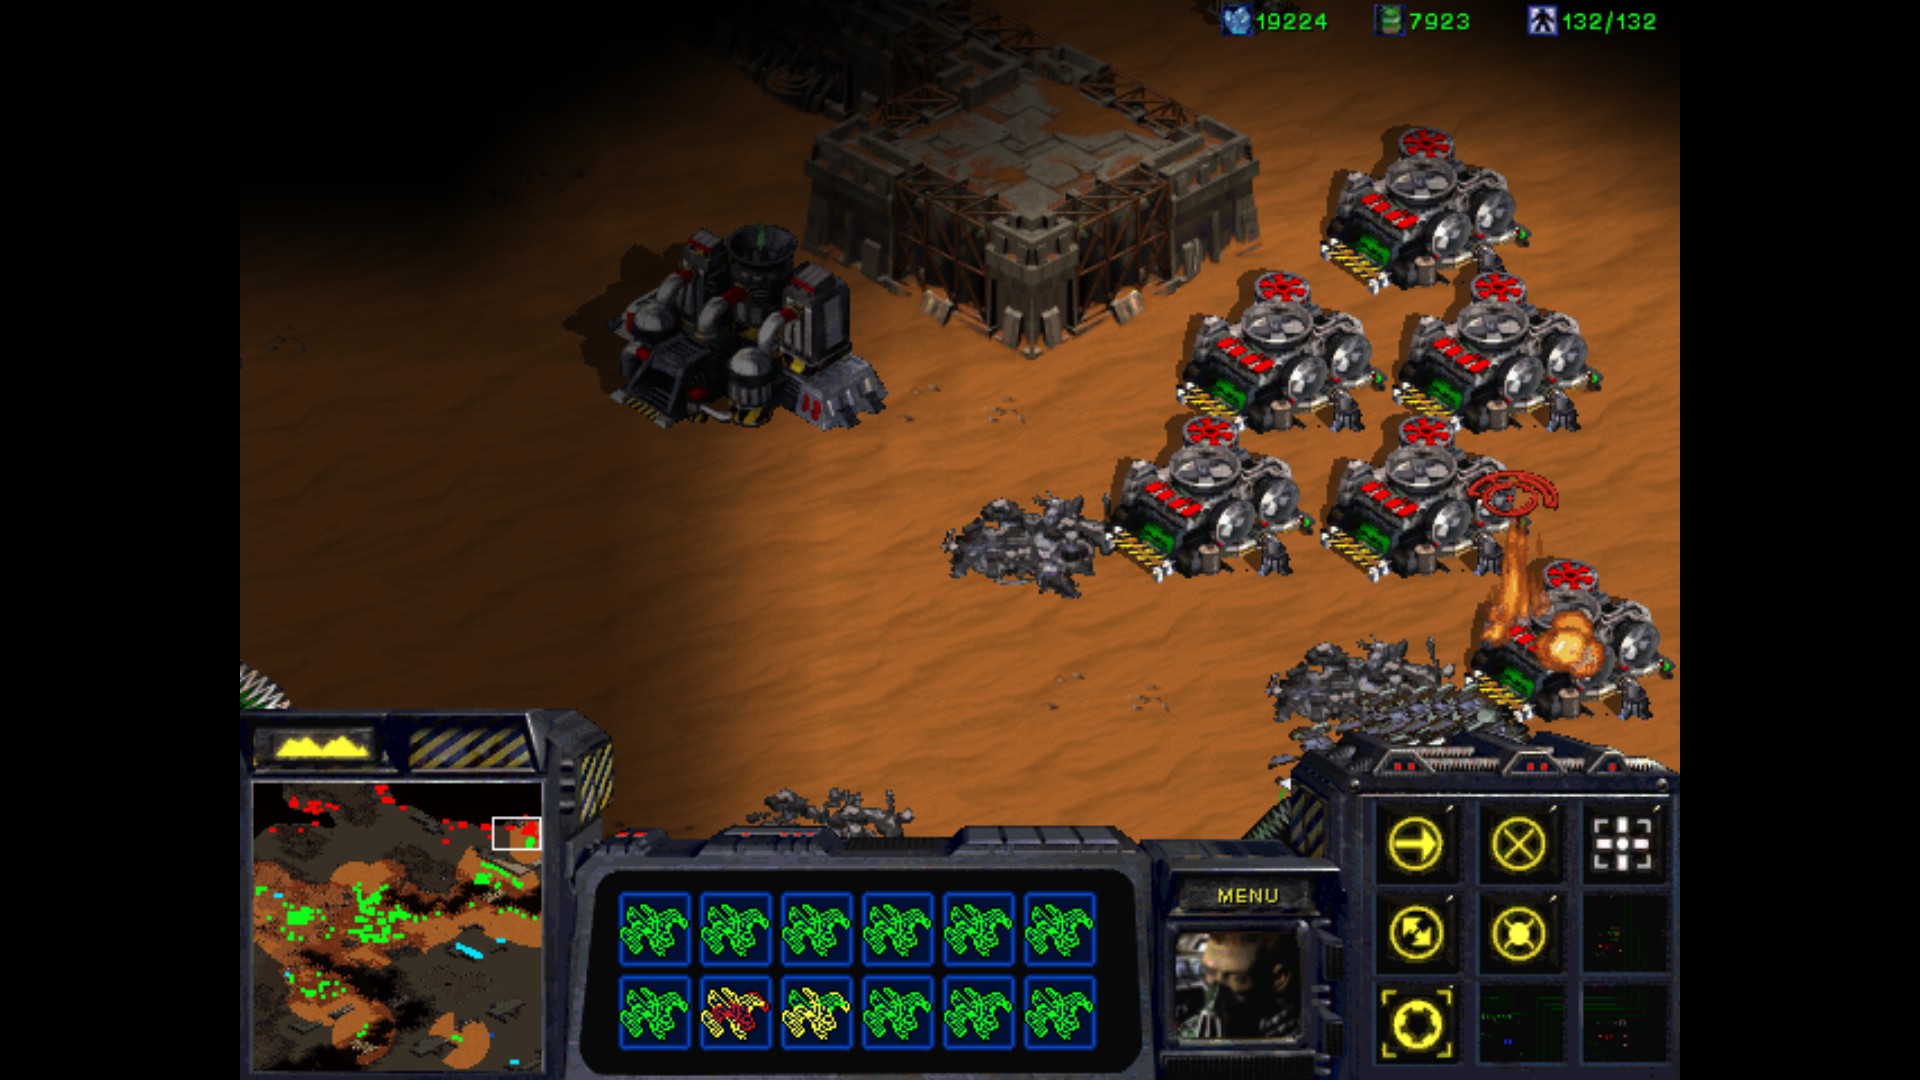
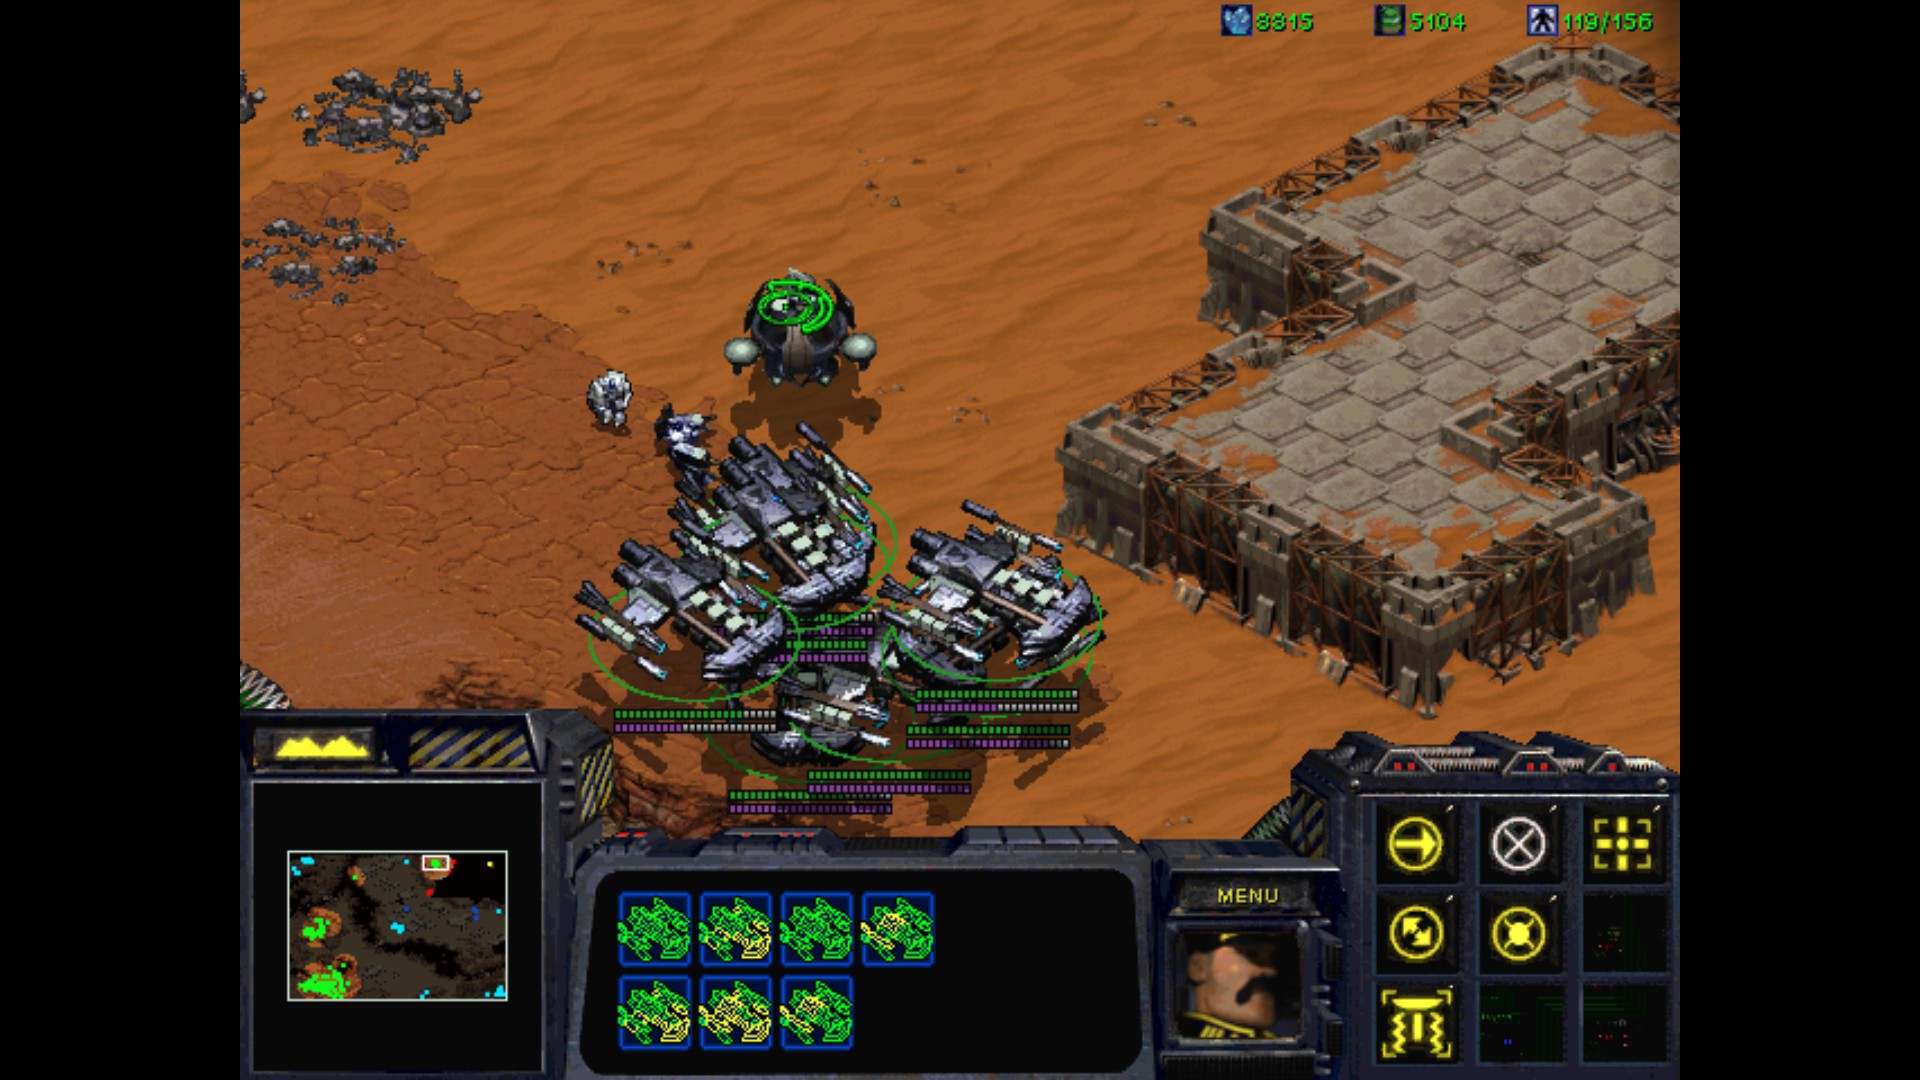
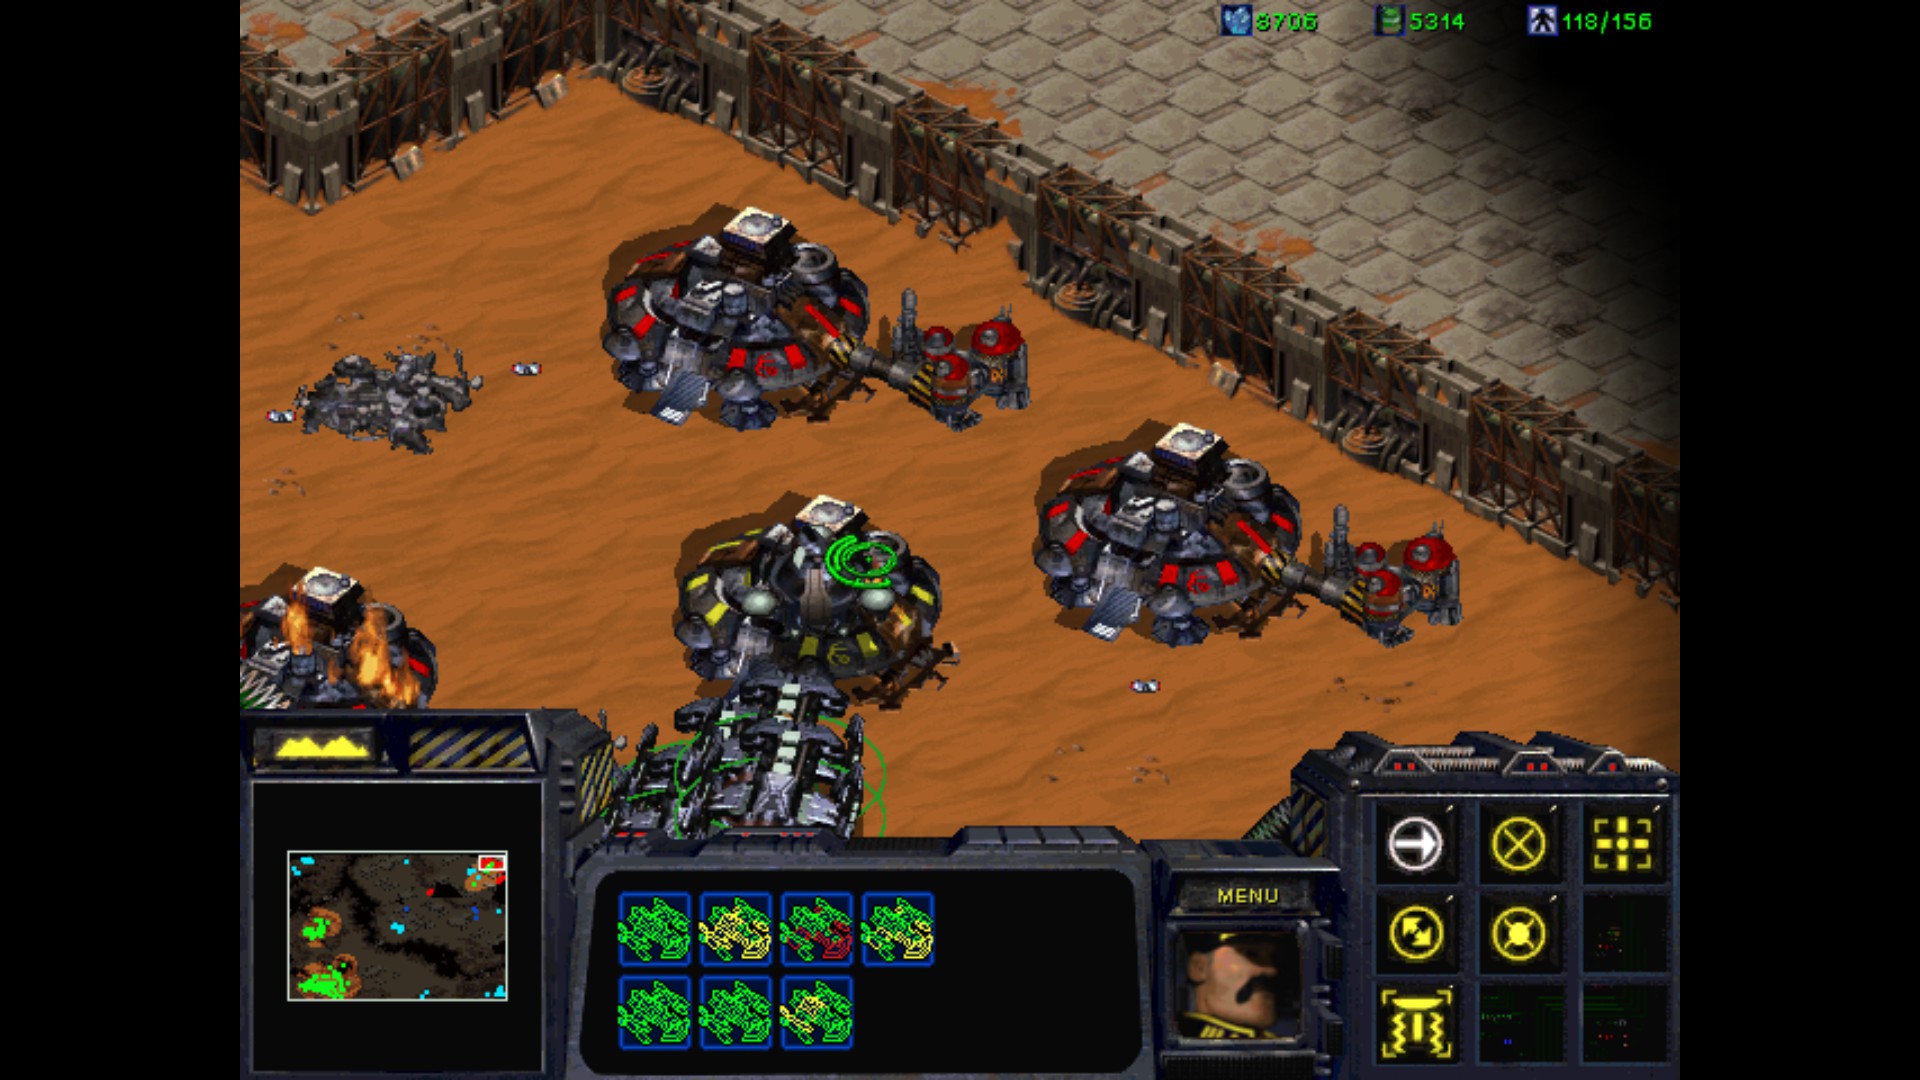
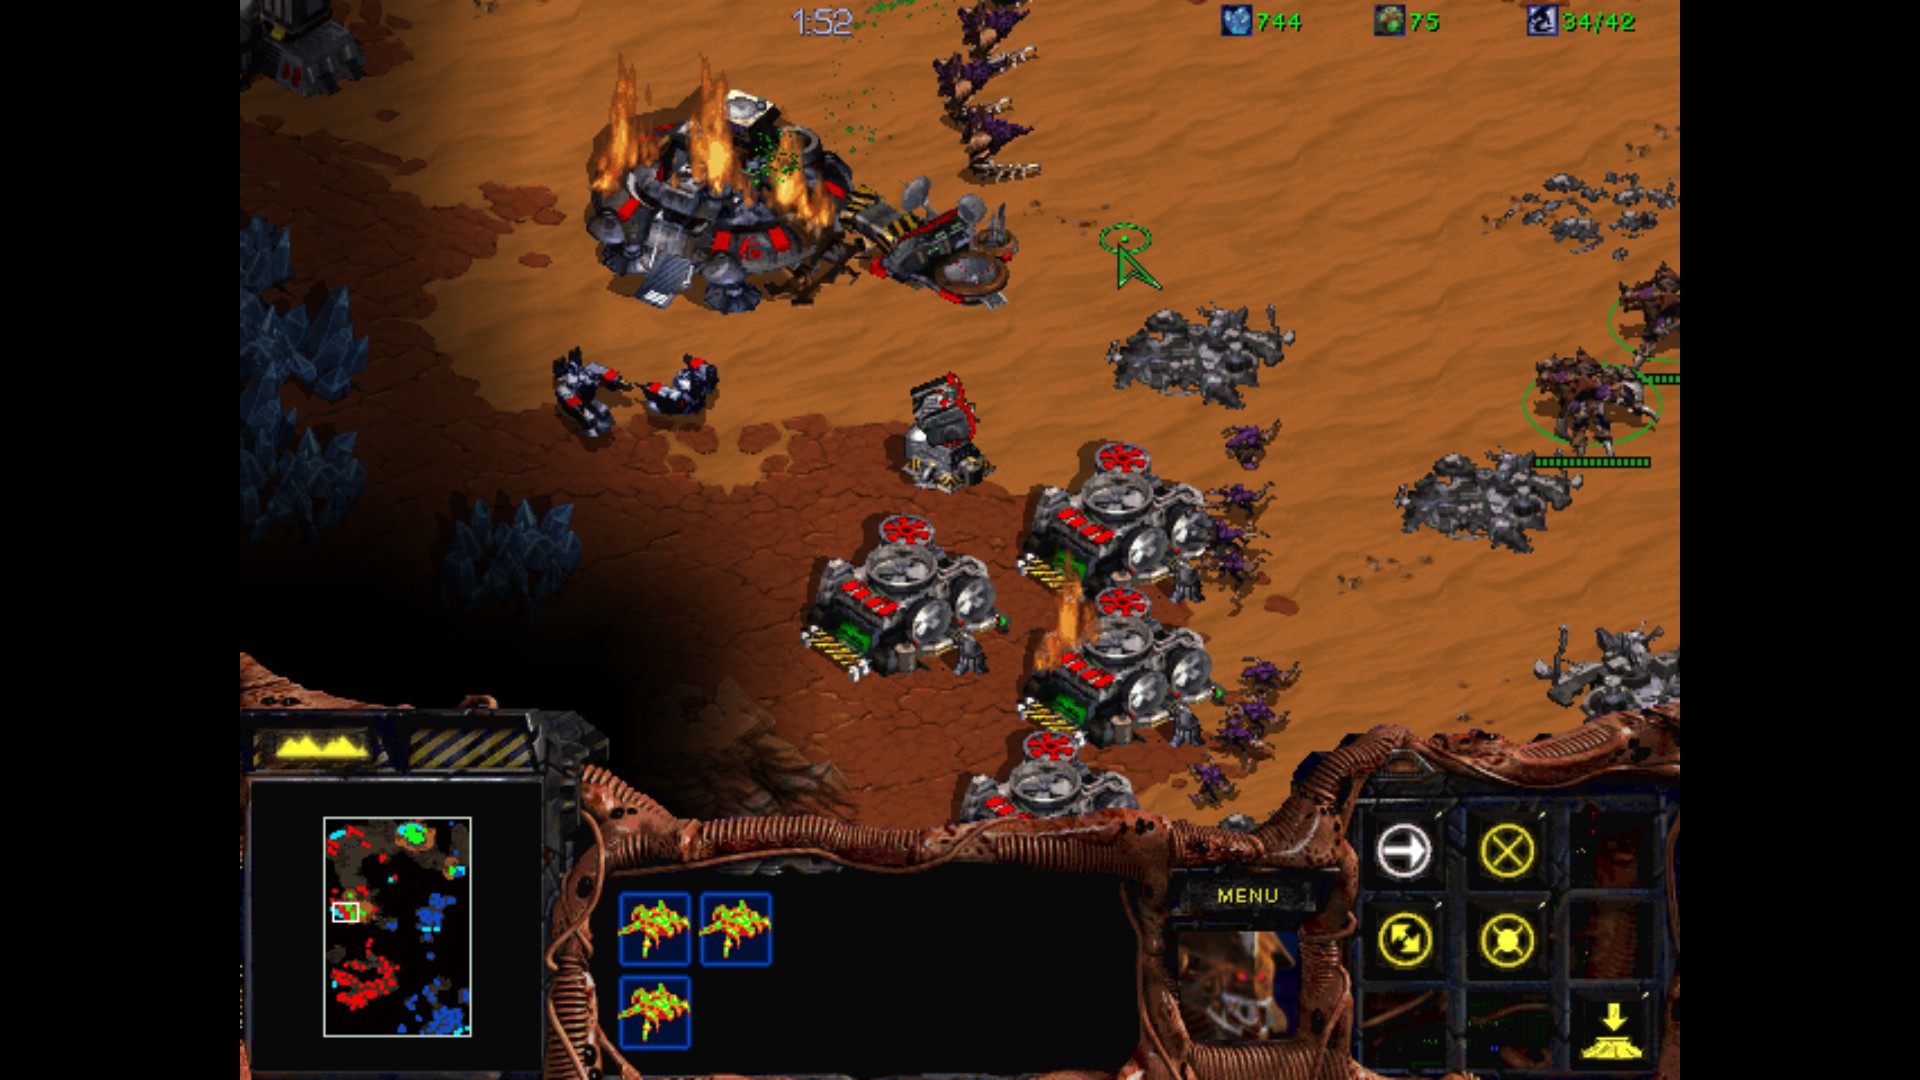
Nice, I've got a spot that can be easily defended. I'm preparing the Battlecruisers armada and add Tanks / Marines / Medics plus Science Vessels. The perimeter in the north west is heavily fortified, so I'm making a backdoor entrance from the other way.
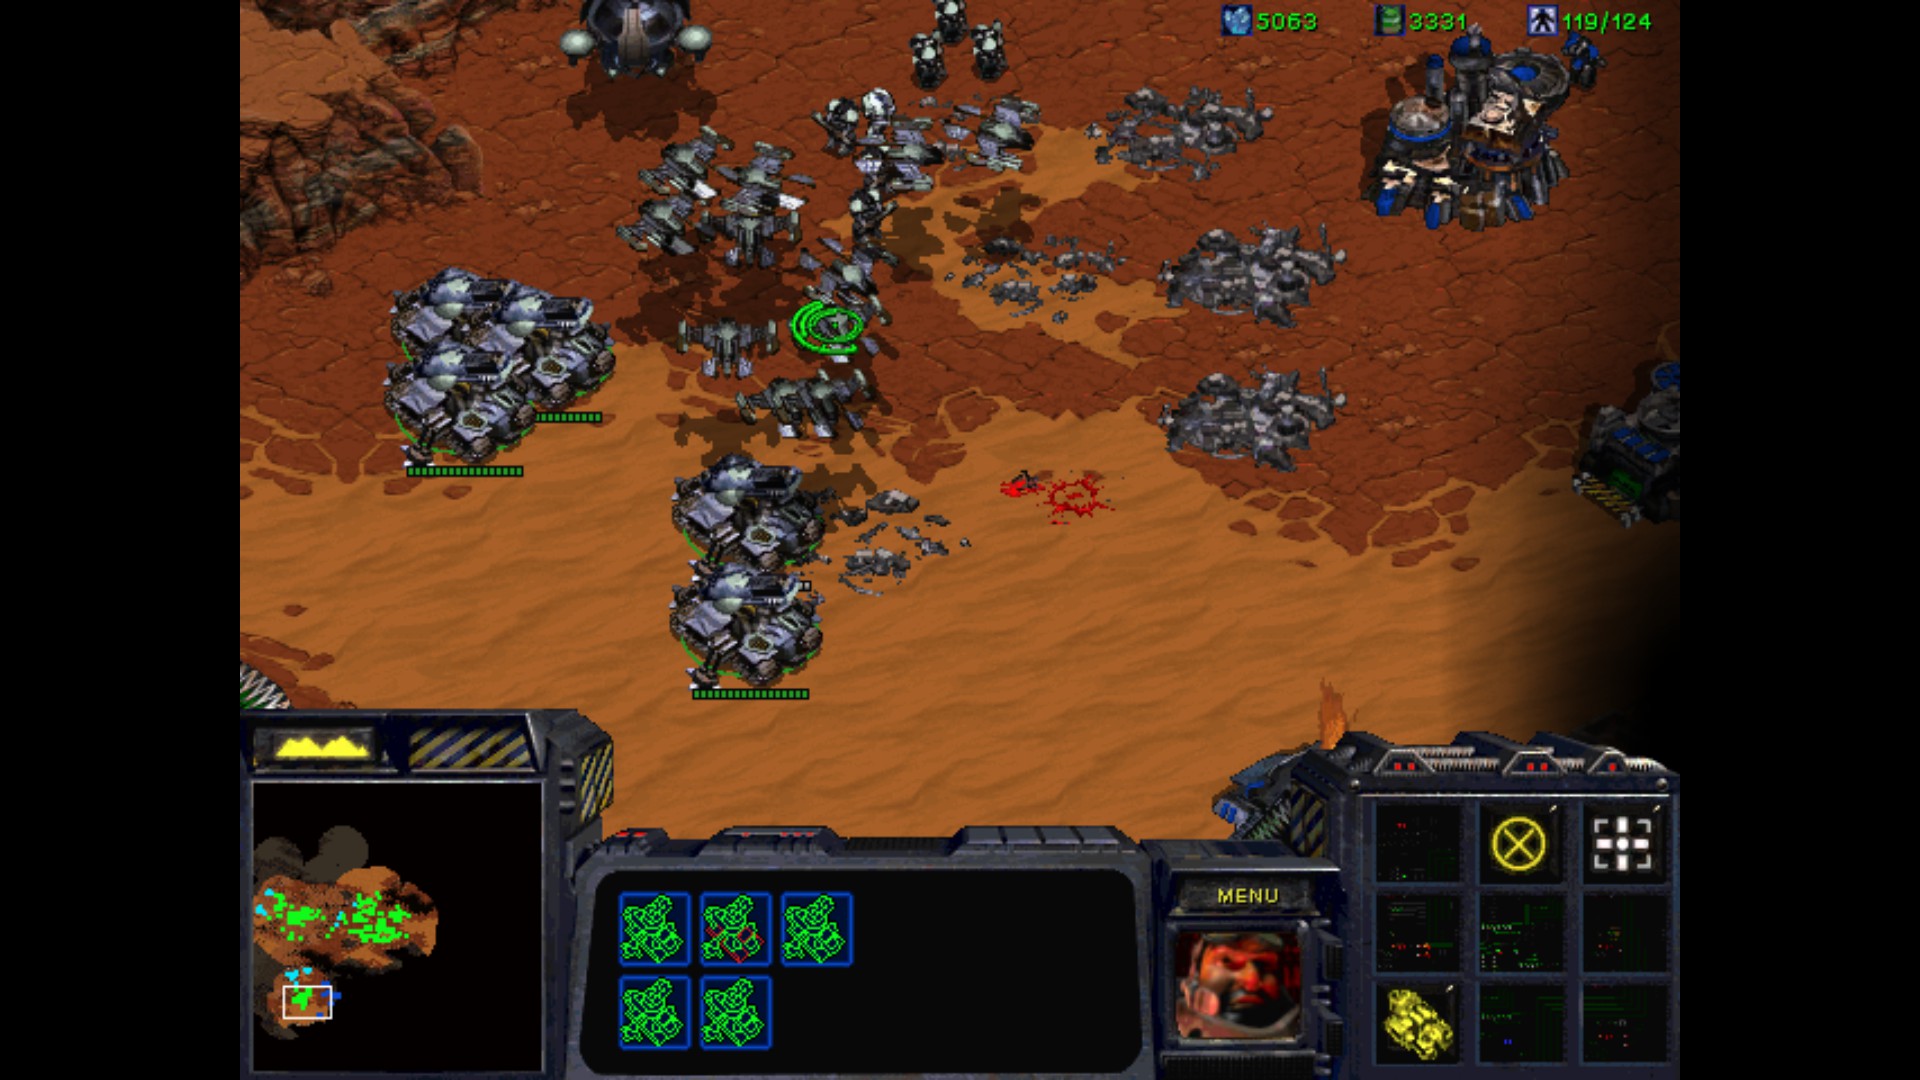
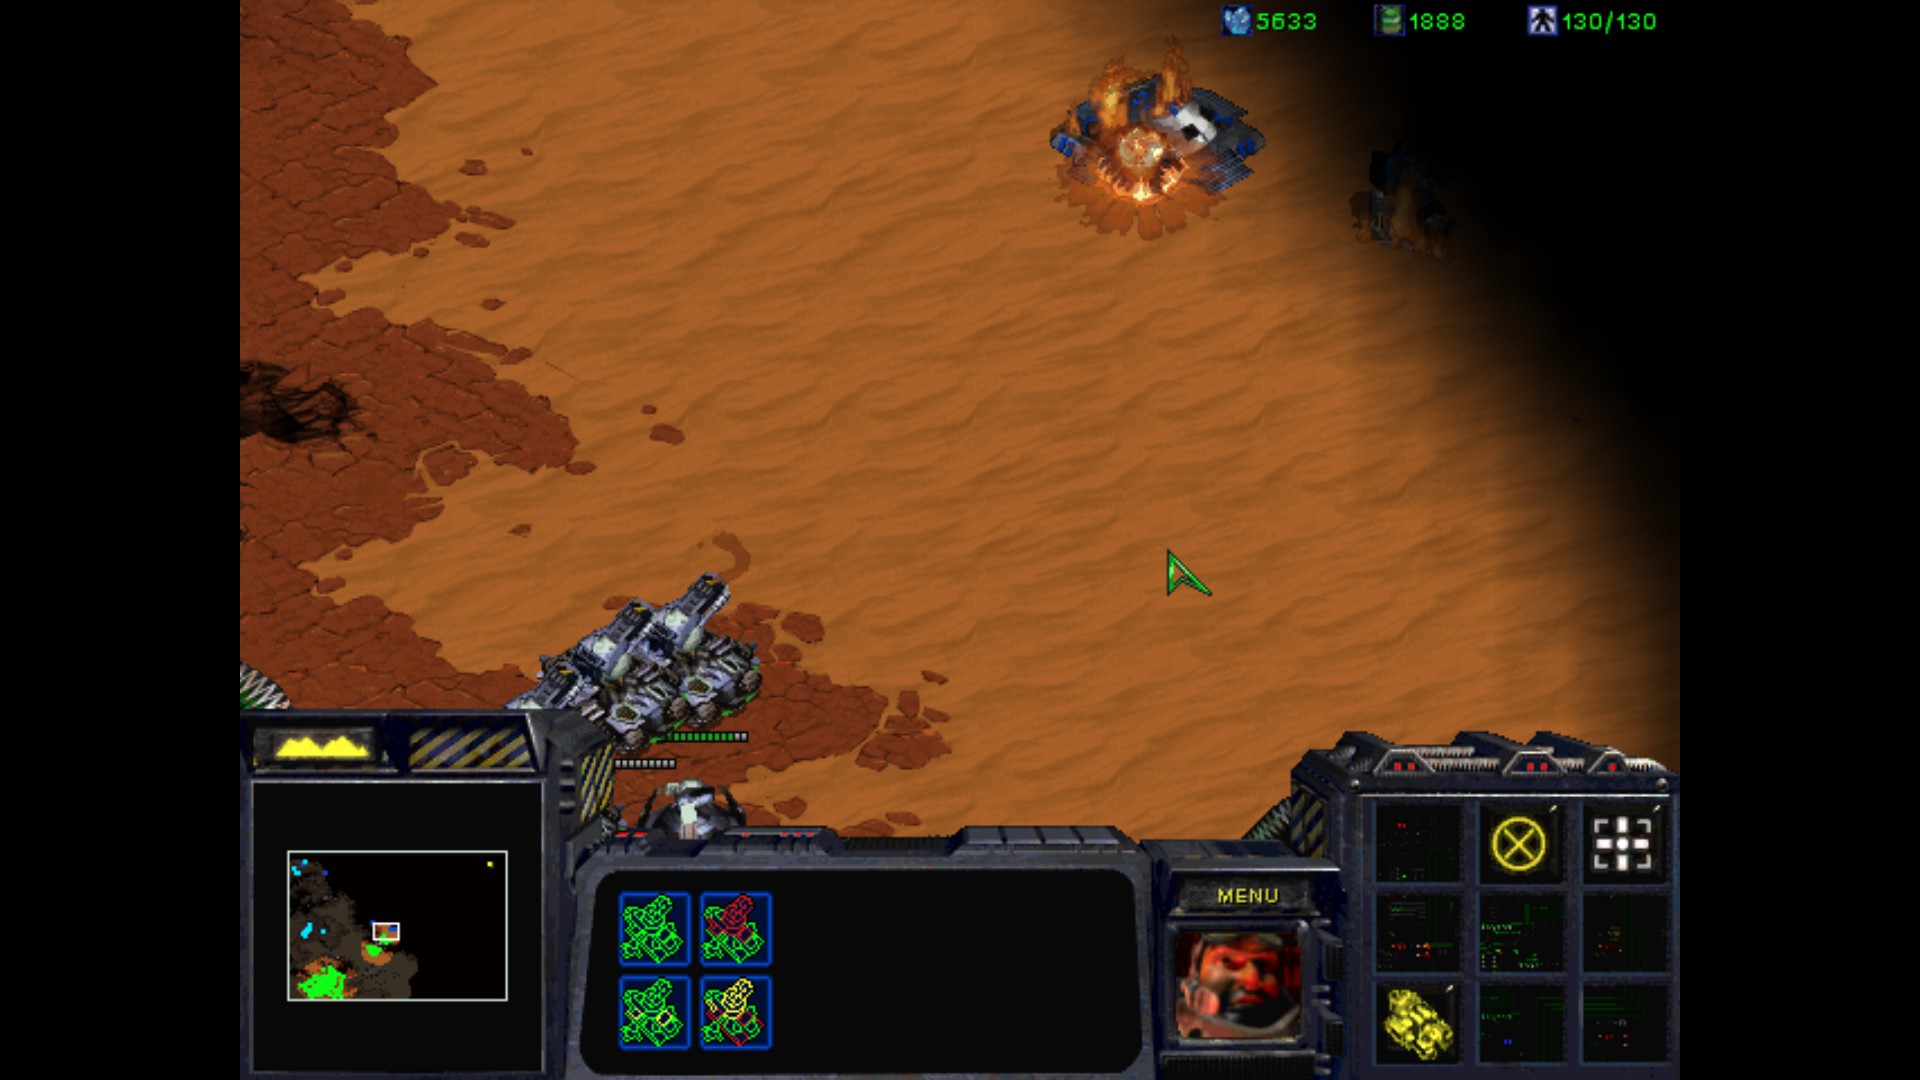
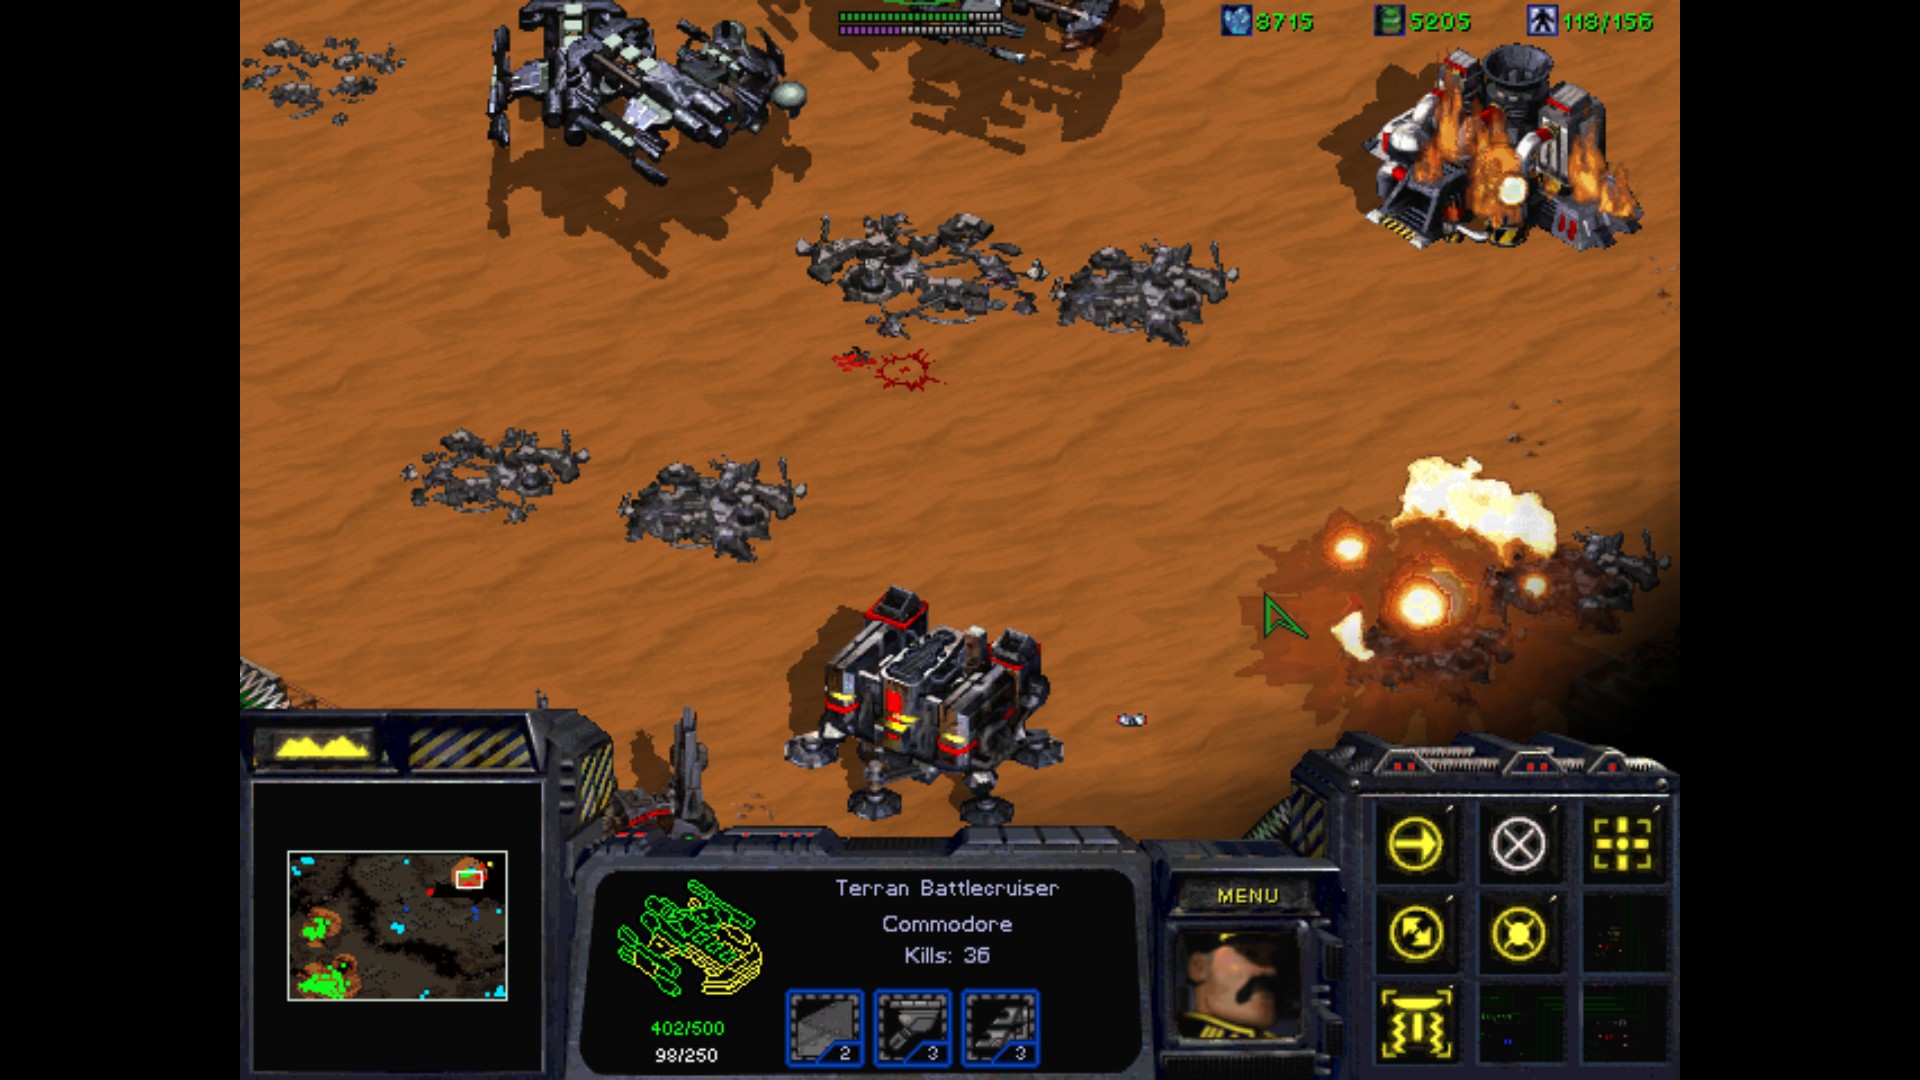
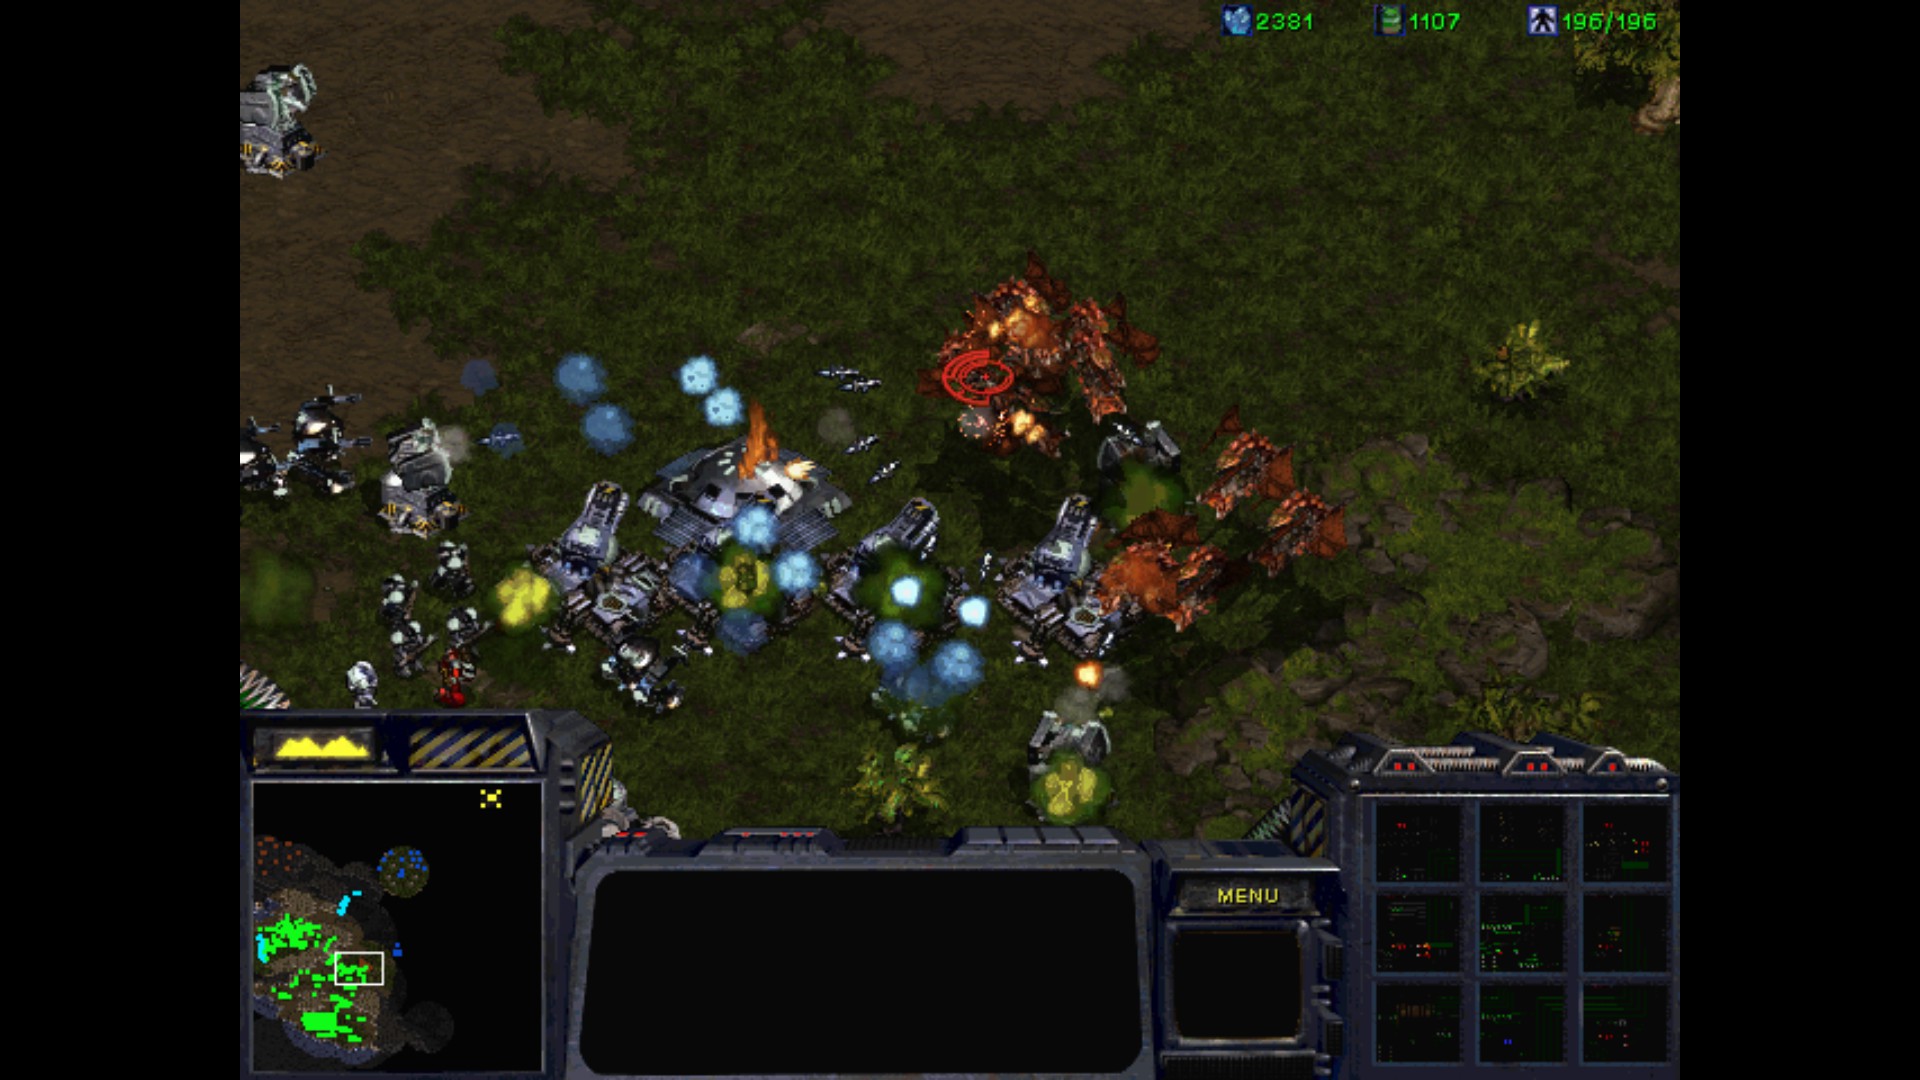
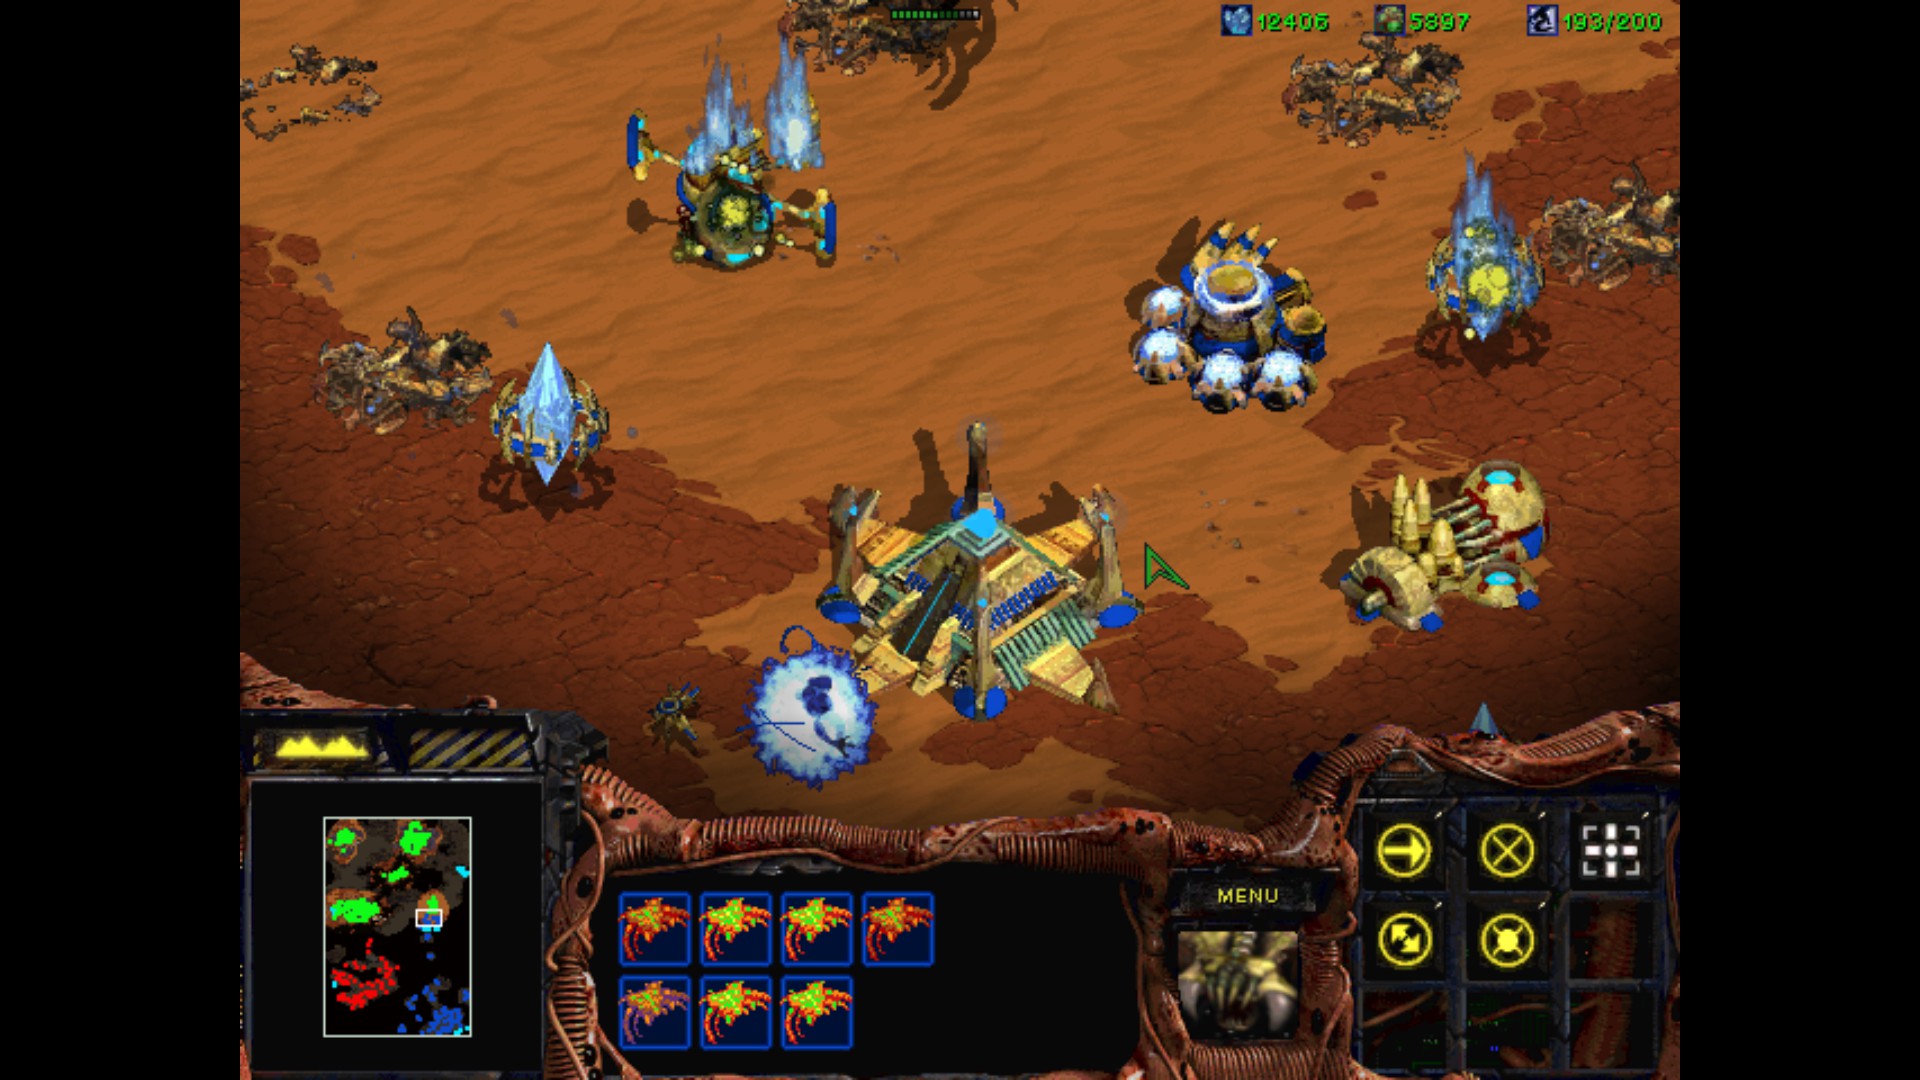
Battlecruisers destroyed all the Tanks and Goliaths on the platform on the left. After that I dropped my Tanks and other ground forces to support the ships. There is a lot of mines here as well, so I need to slowly crawl through the whole base and destroying everything that is shown as red.
I lost all the Tanks and Marines, but I still have SCV and he is doing the repairings. I'm confident that I can win without any reinforcements as the attacks have stopped after initial onslaught.
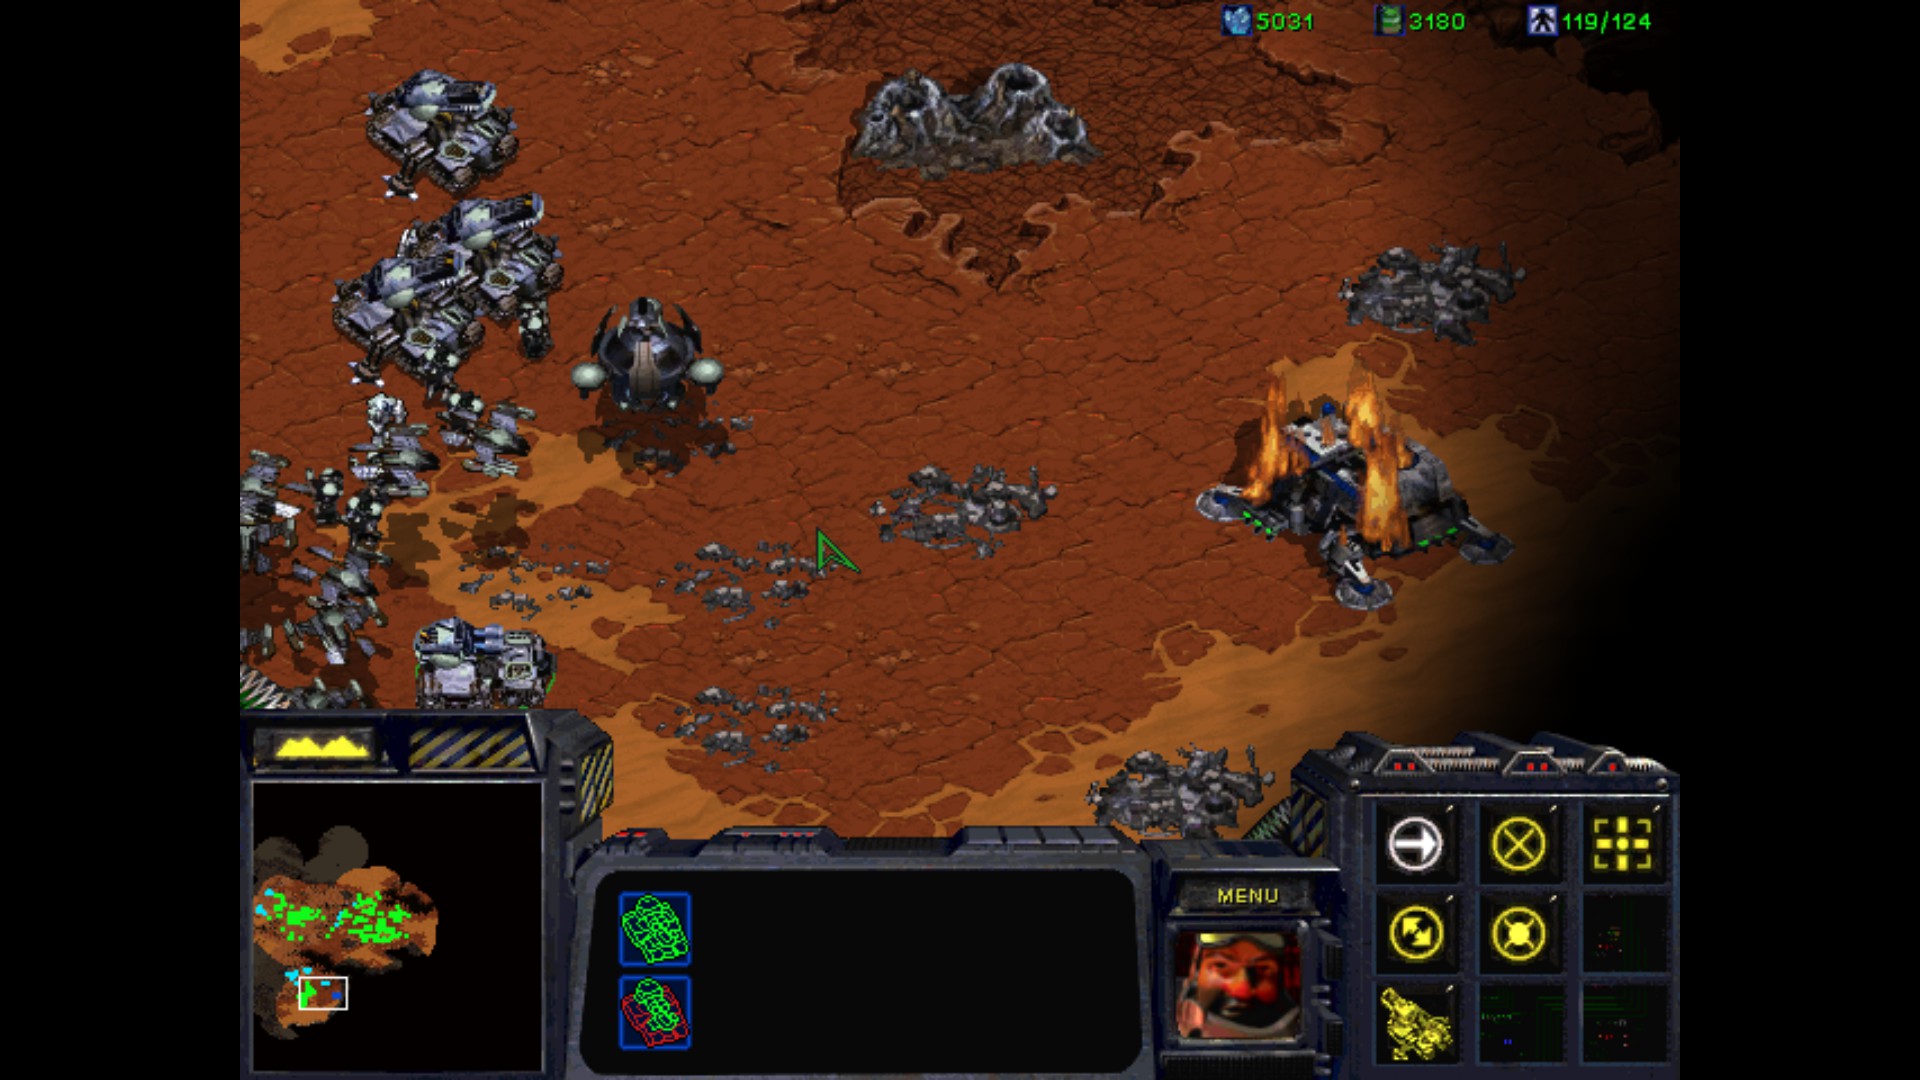
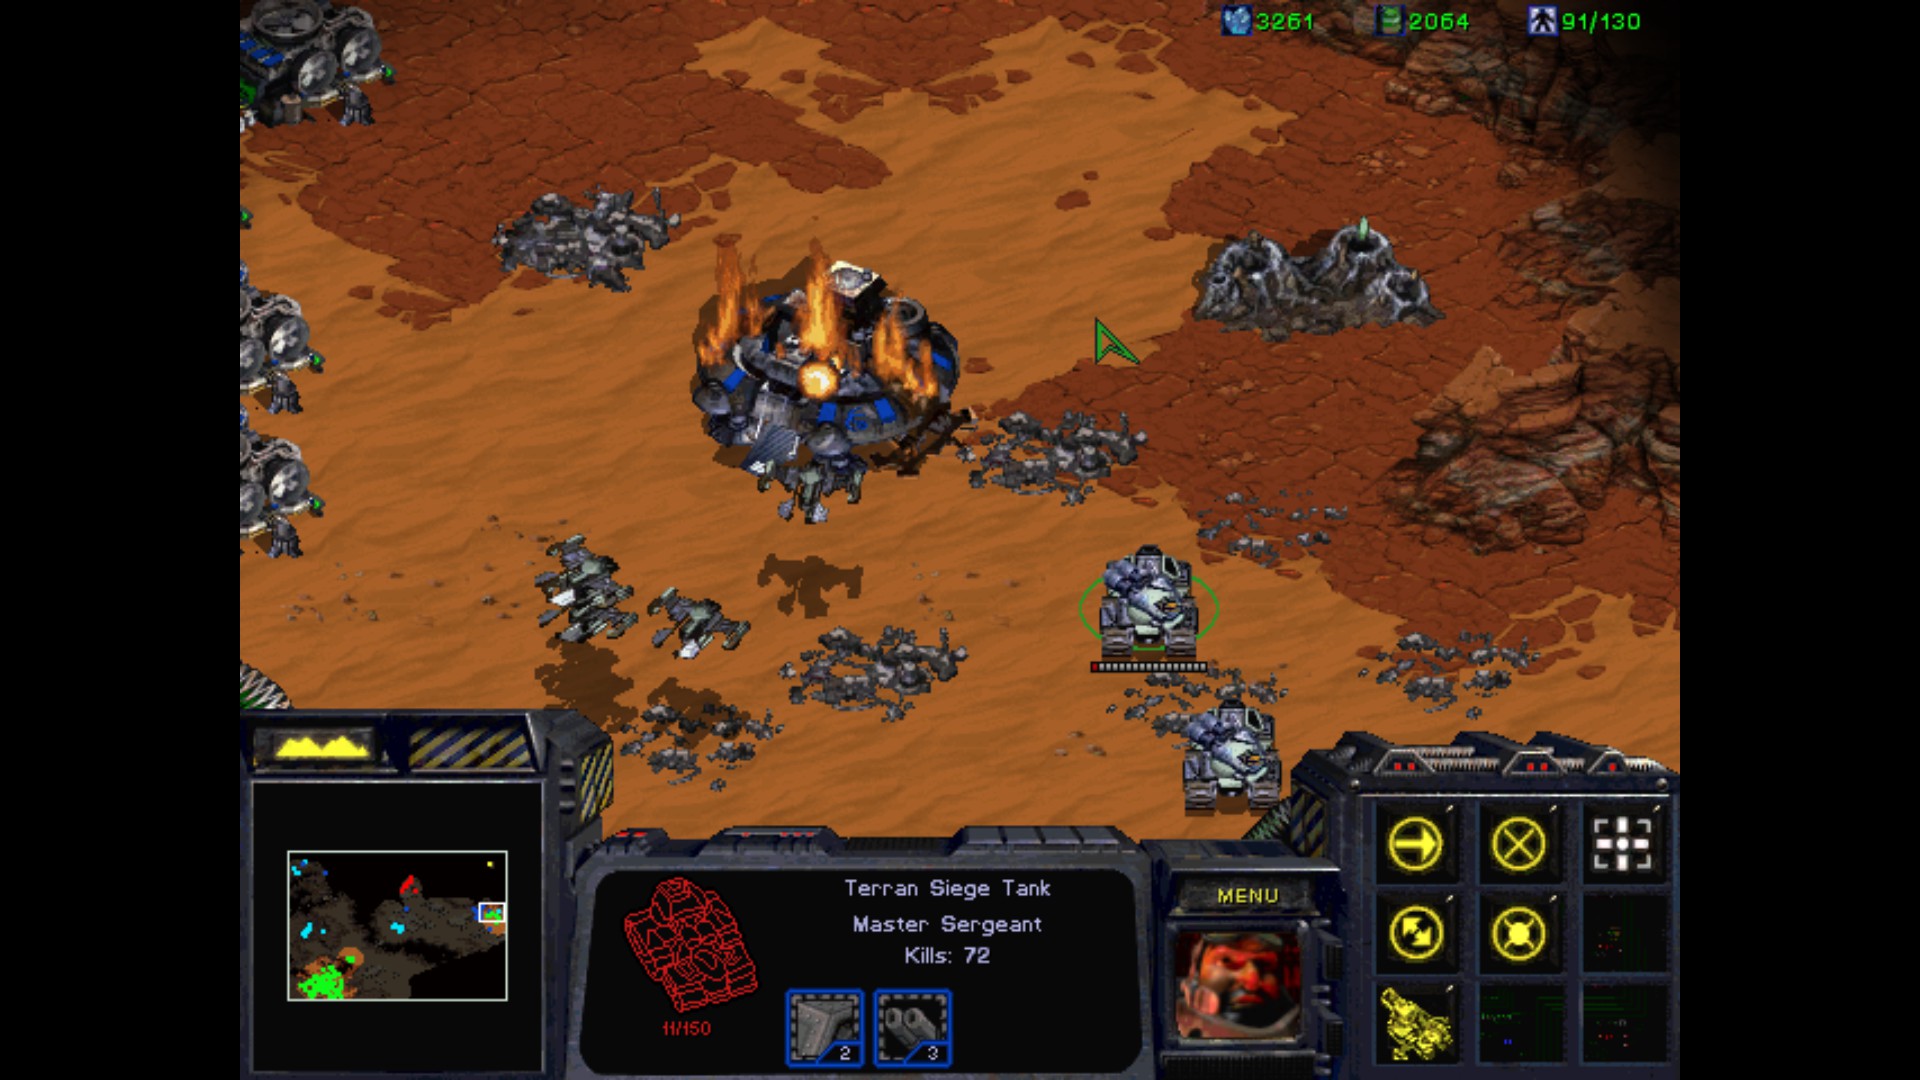
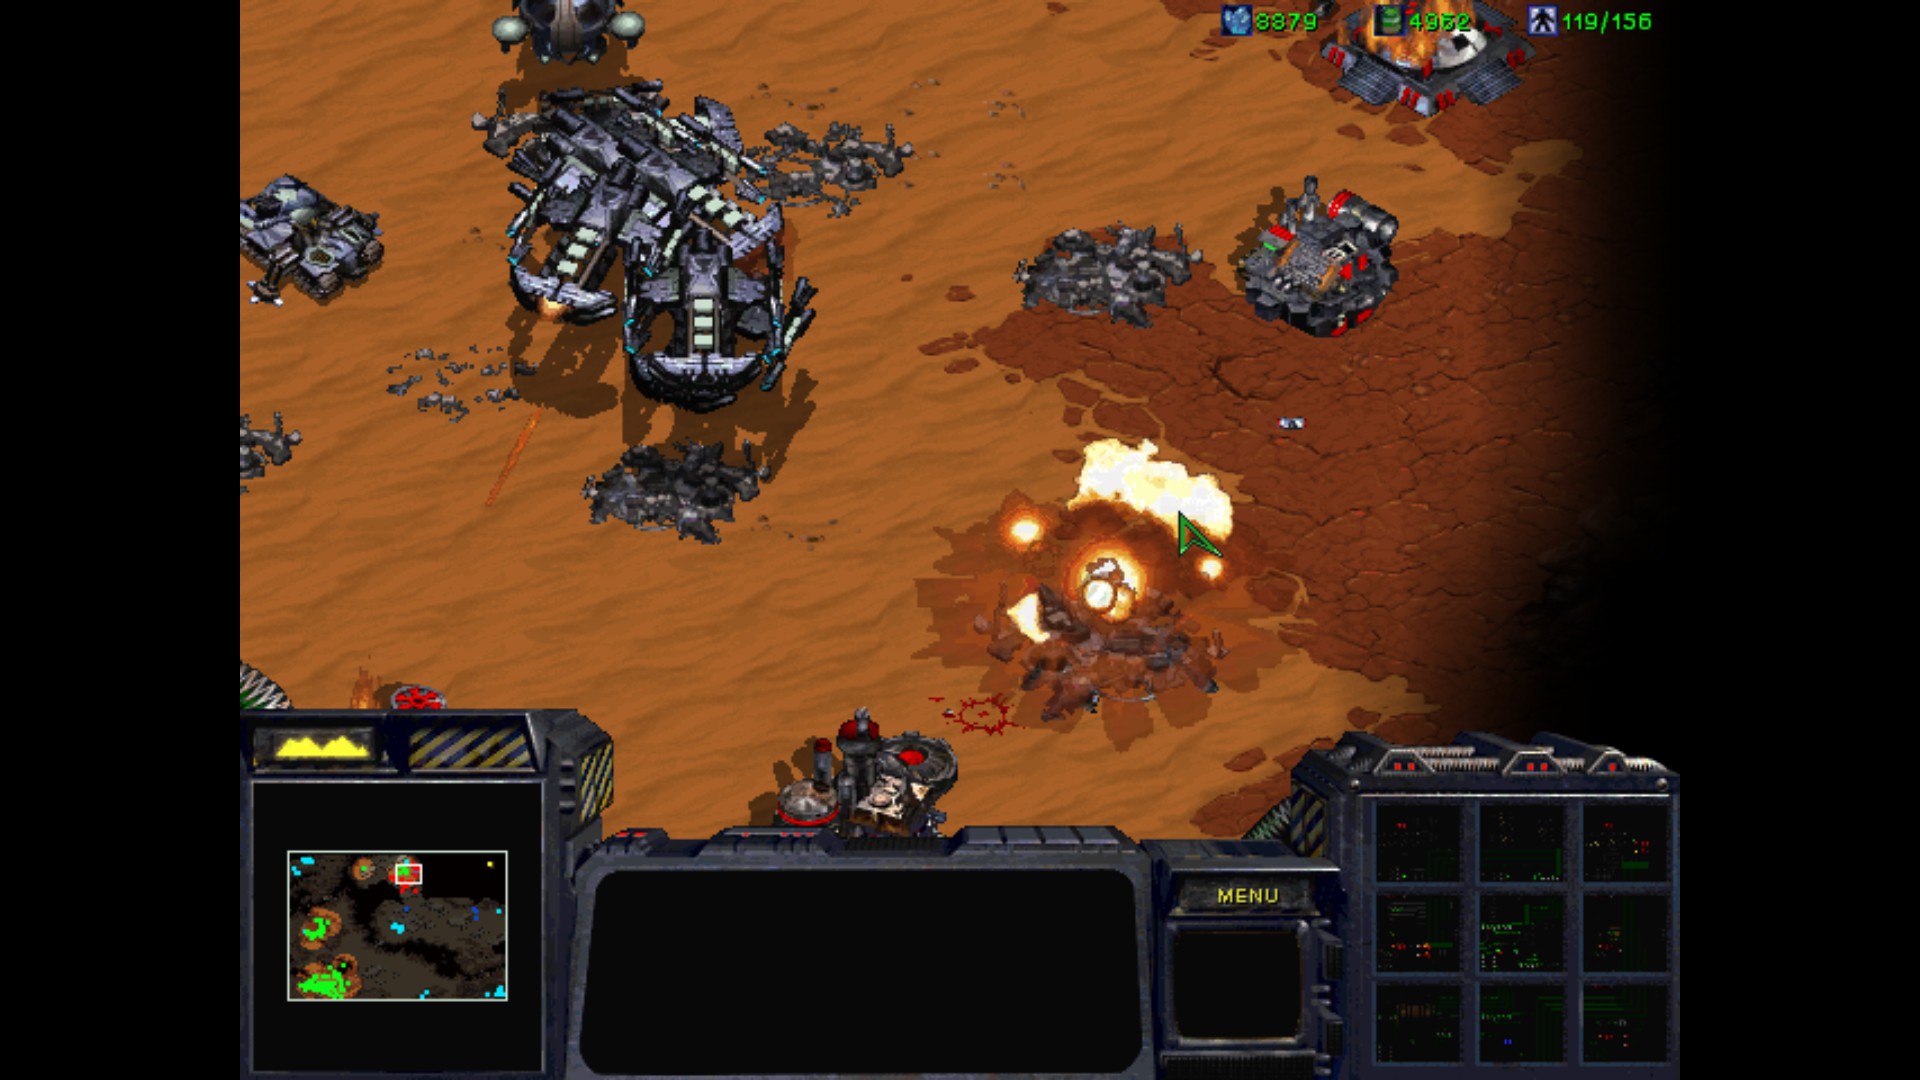
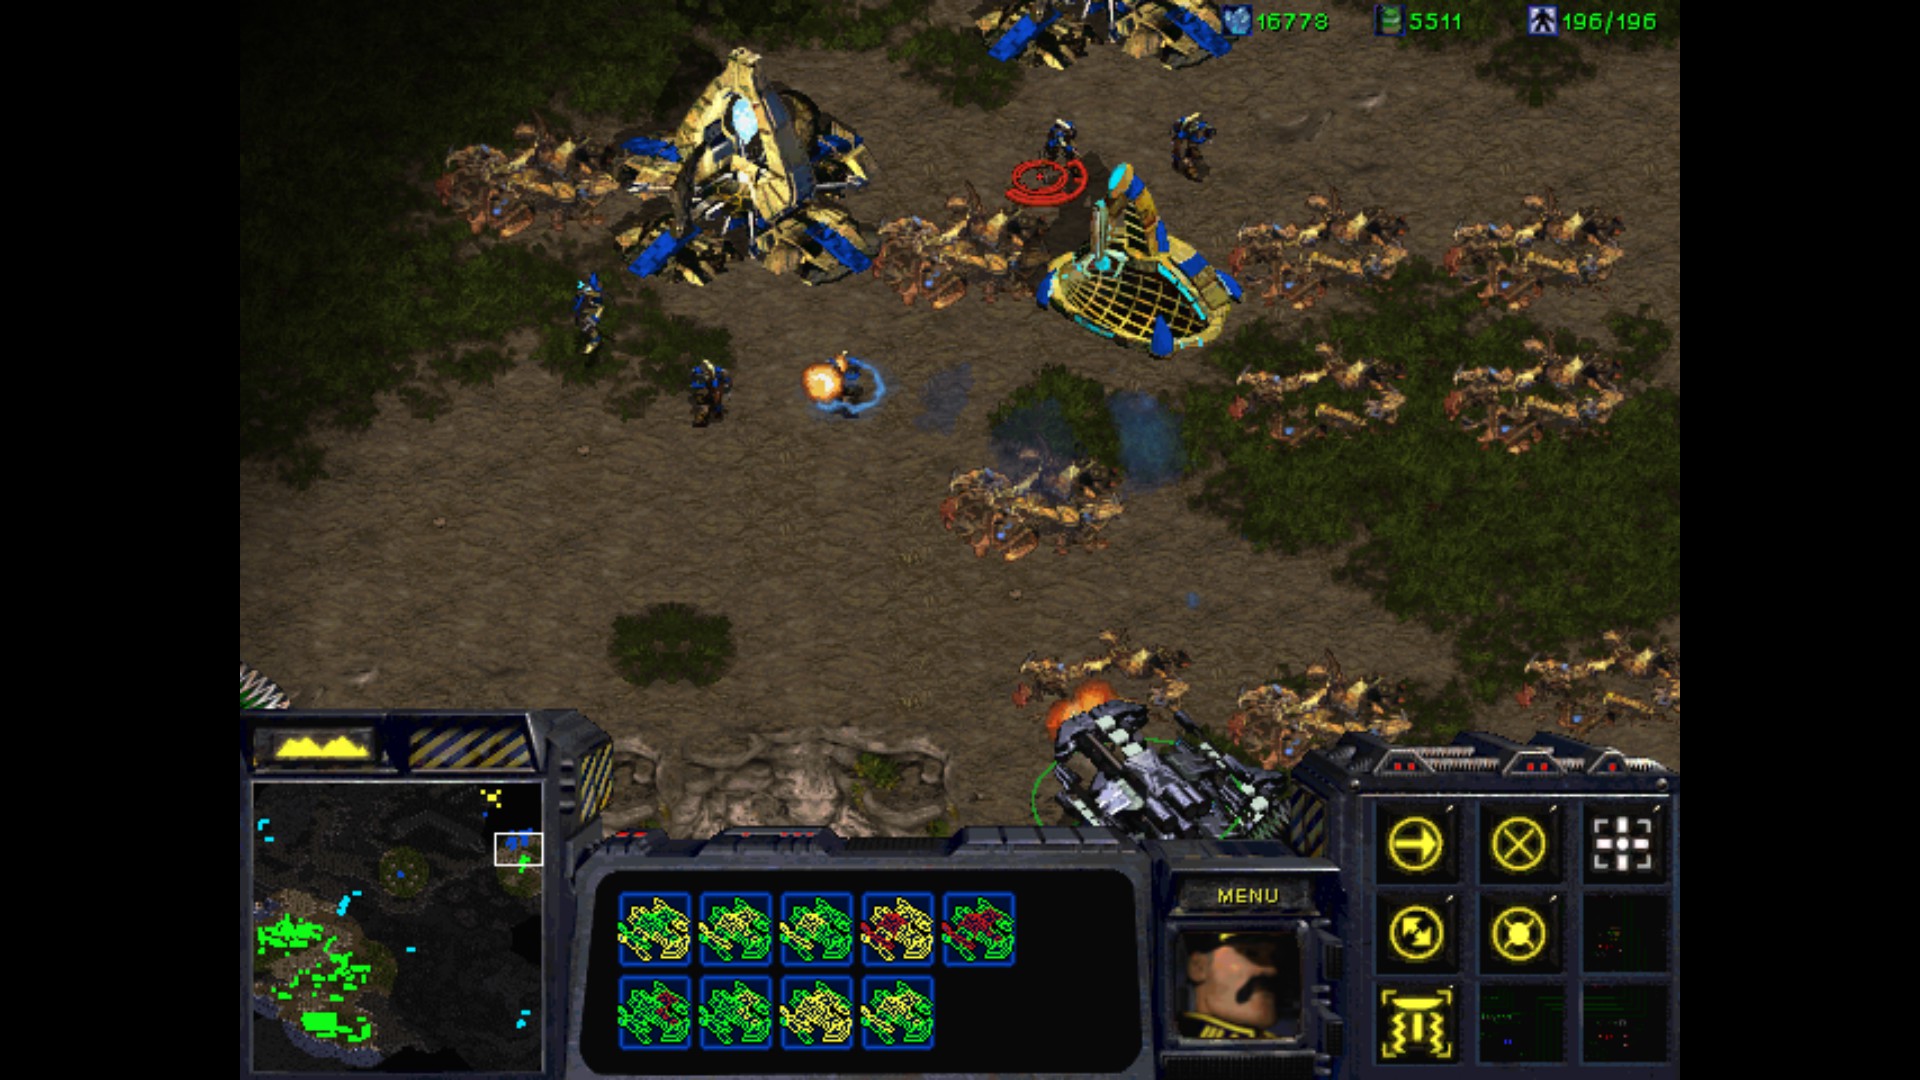
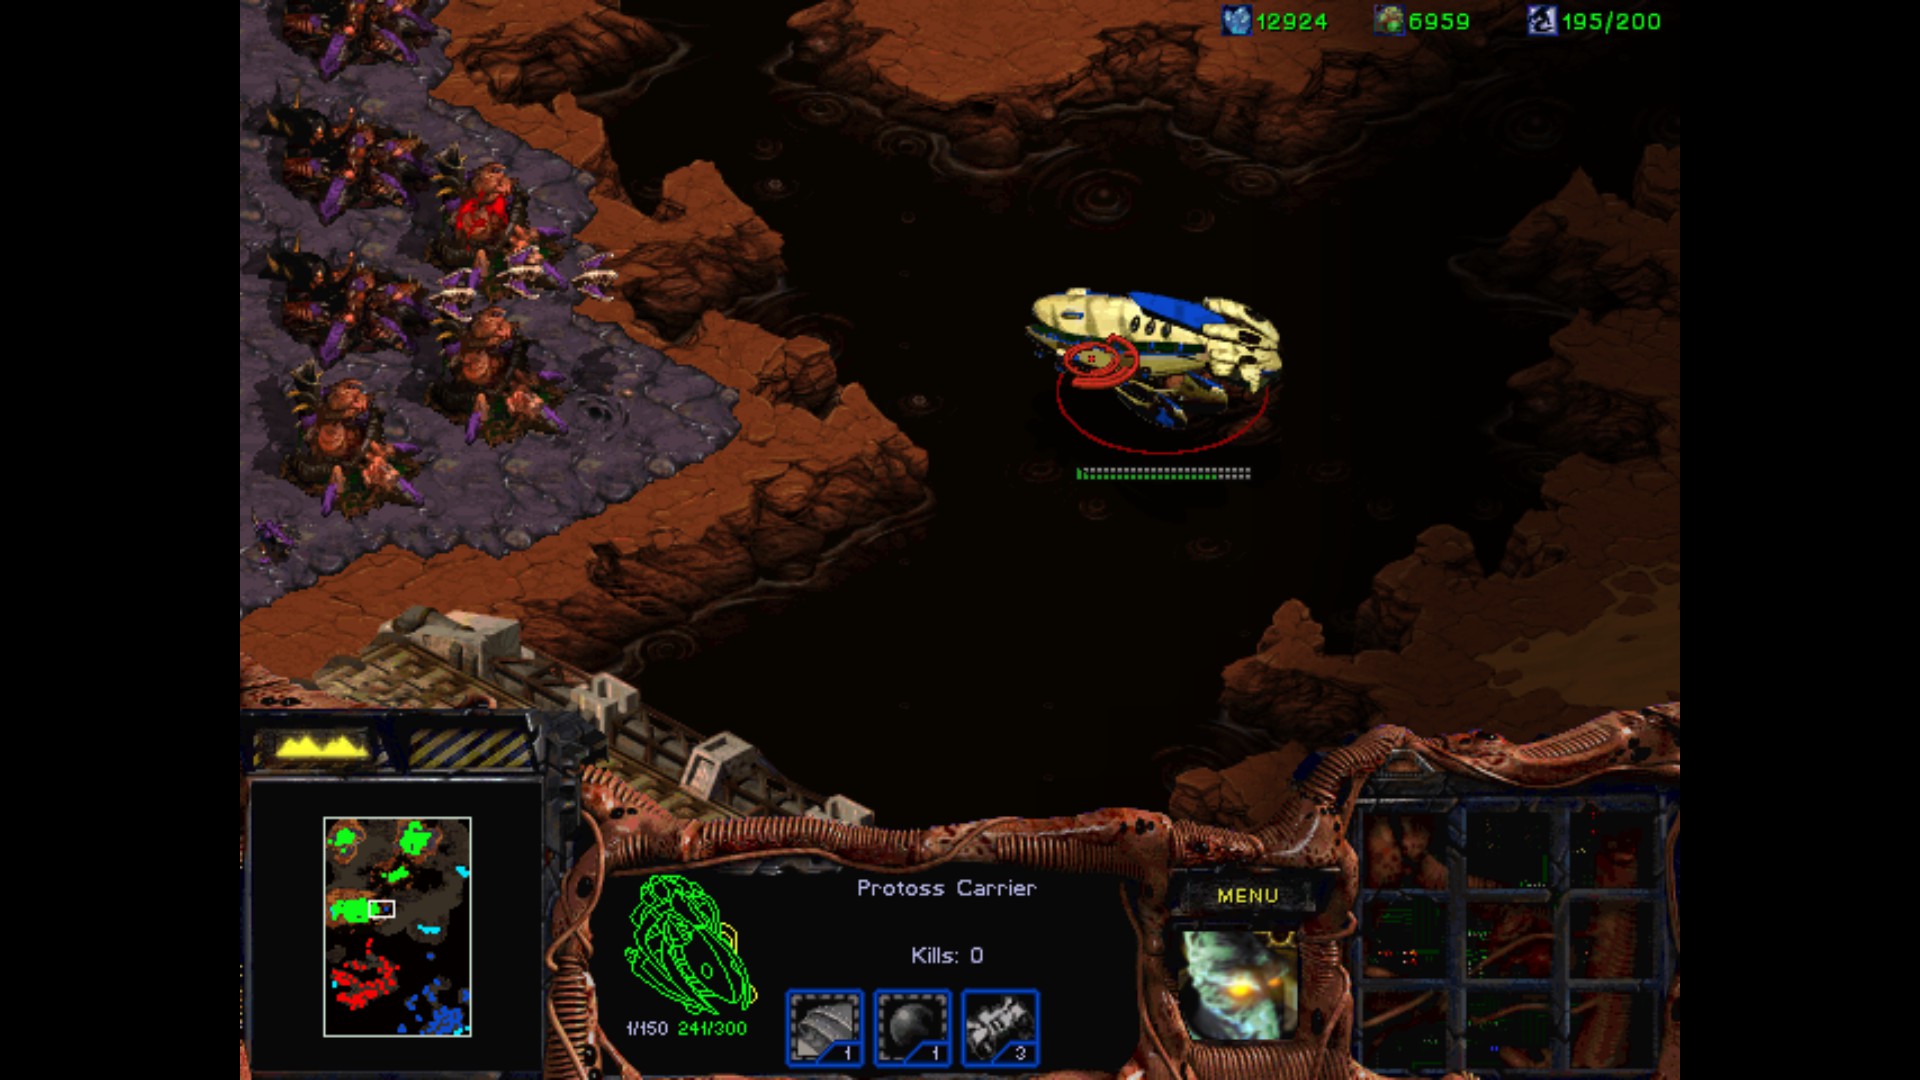
Ah, here you are Mengsk. Time to knock knock with Yamato Guns.
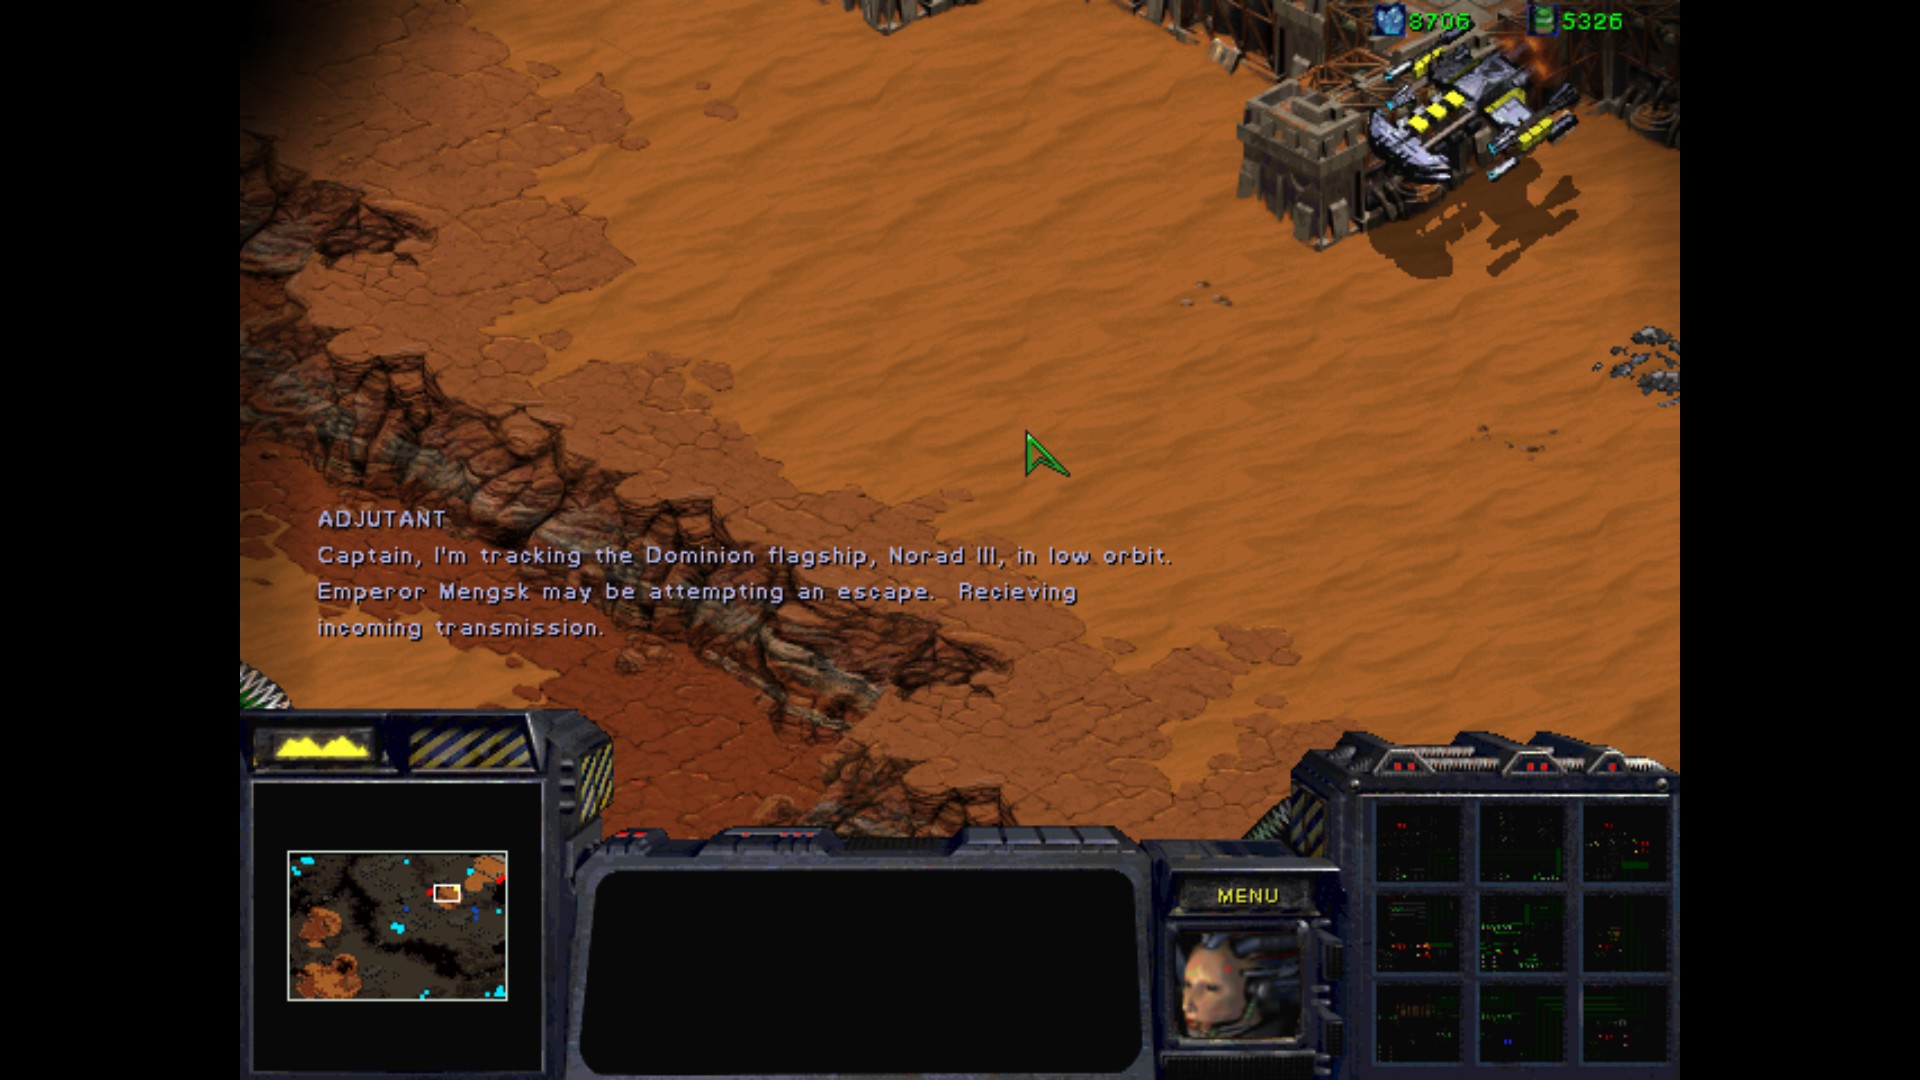

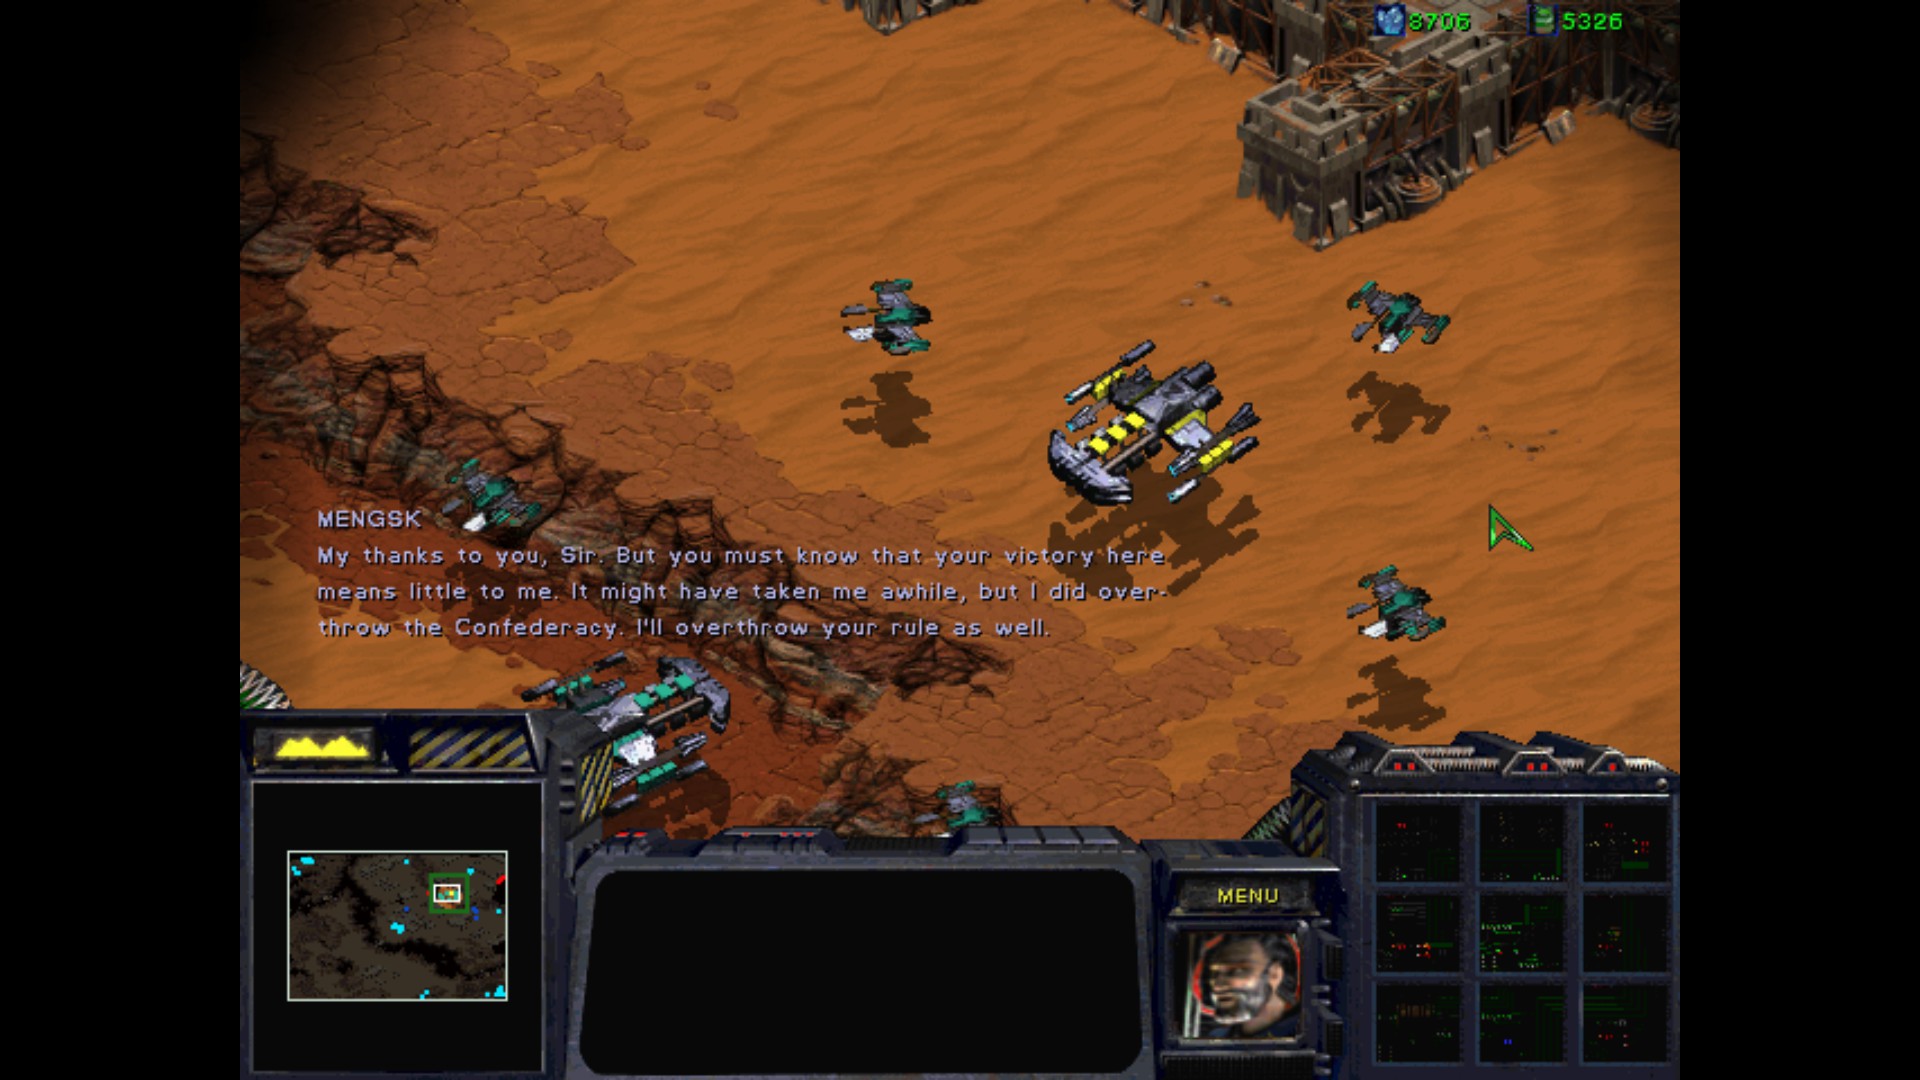

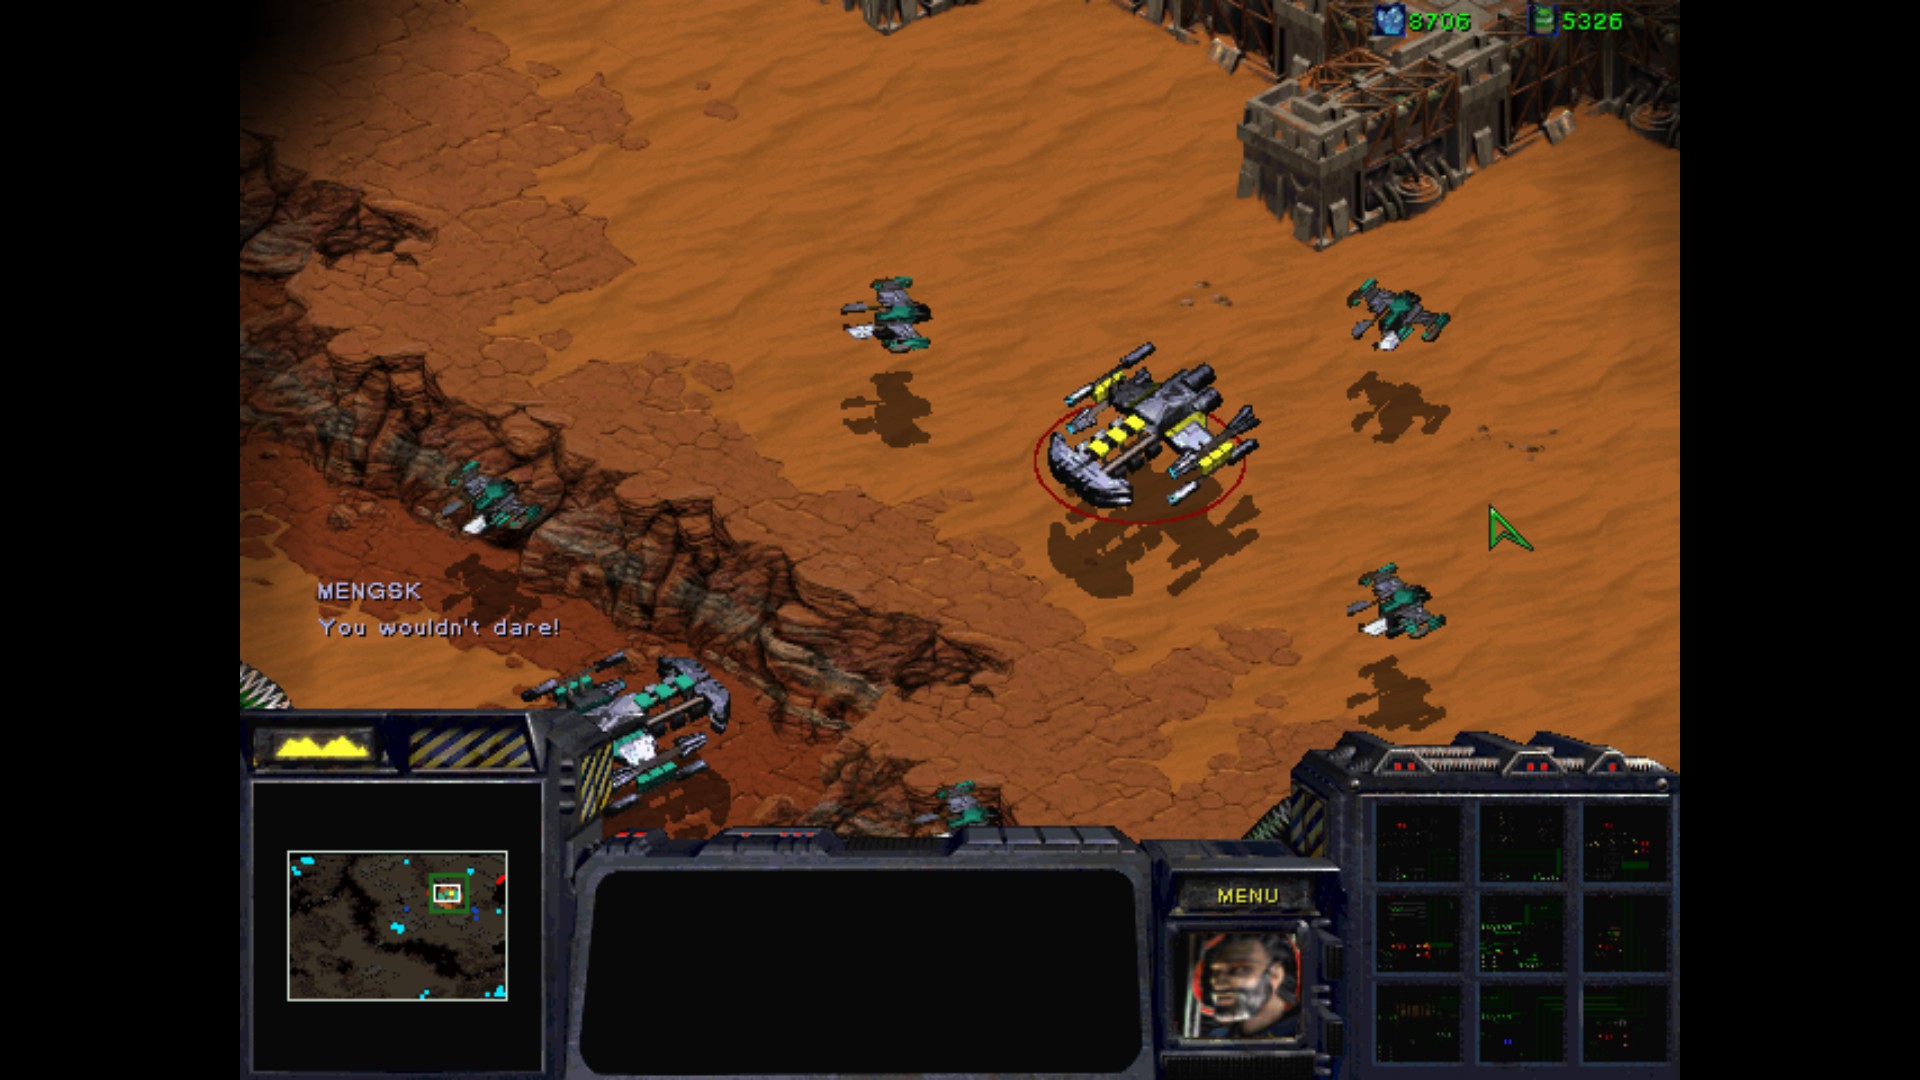
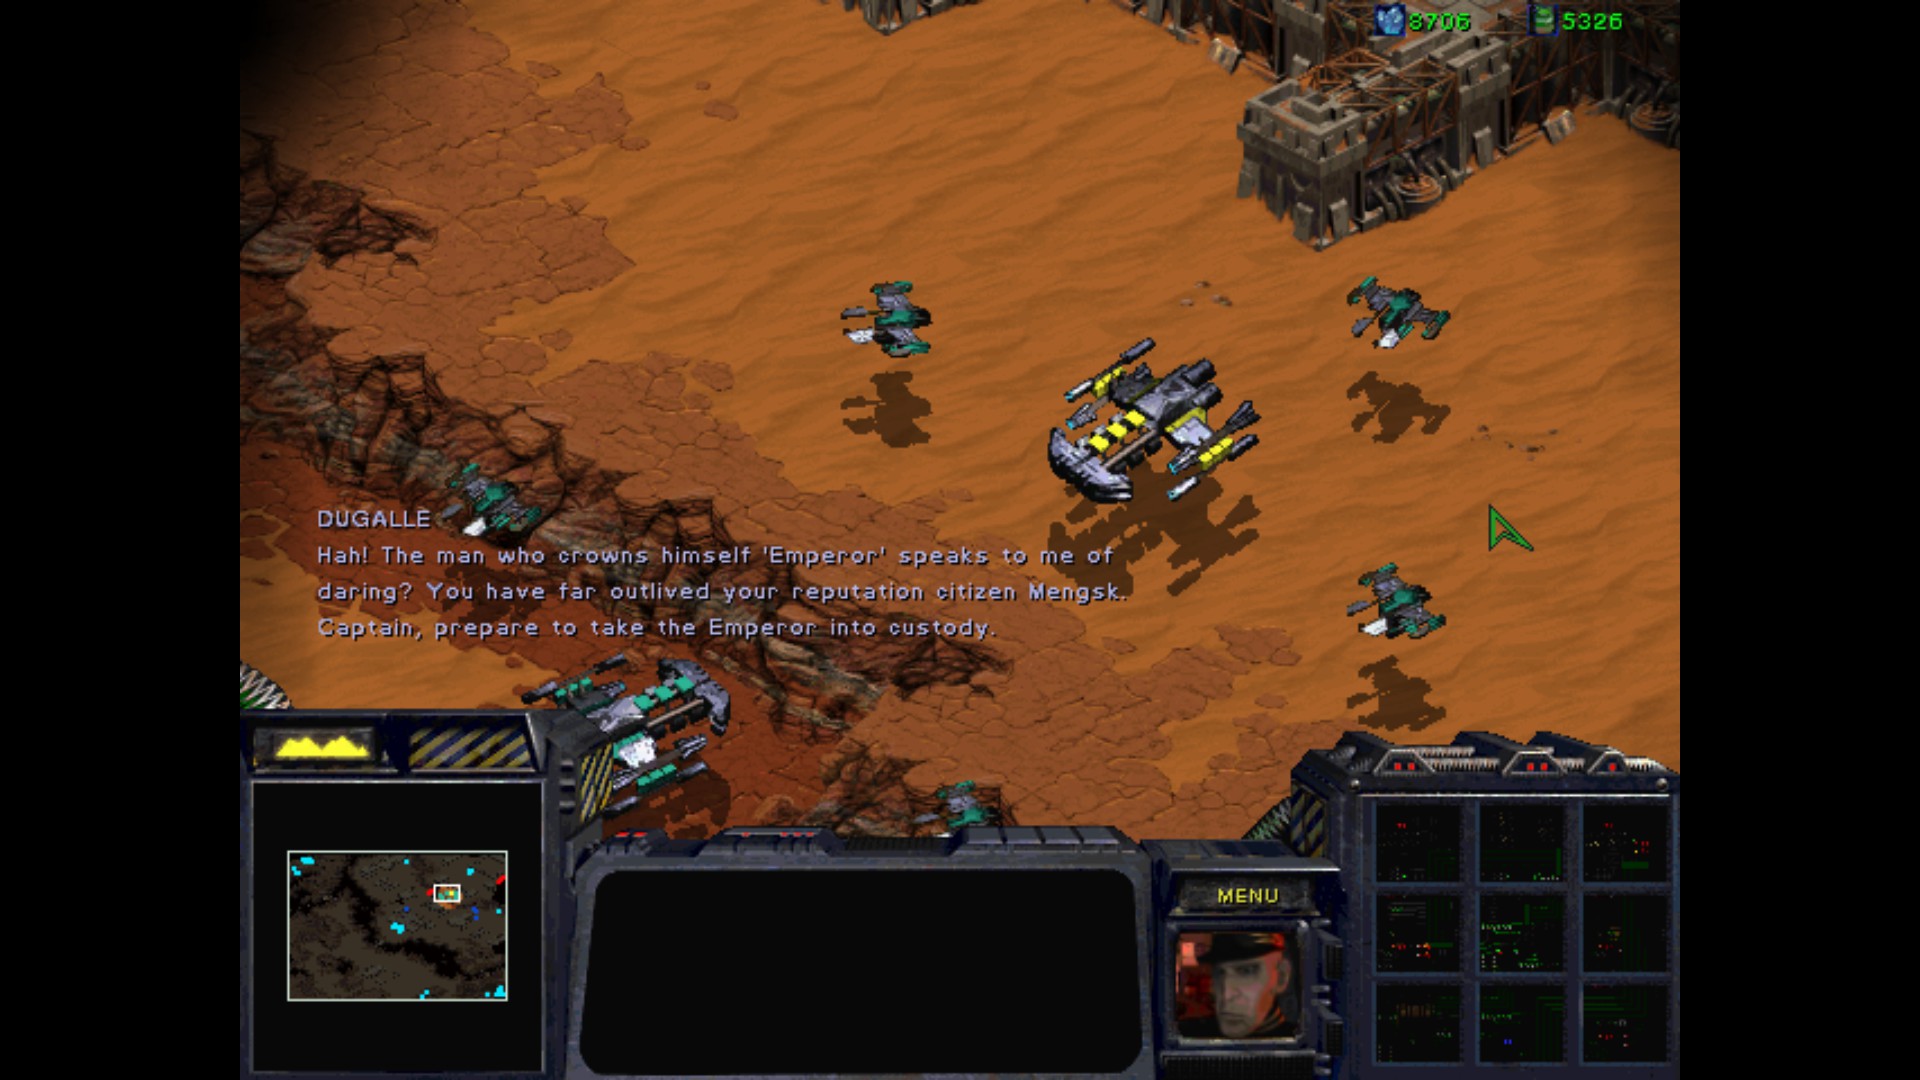
Fuck yeah, thanks Jim for ruining this mission after being stomped on the ground so many times.

Captain, Admiral DuGalle has ordered a final tactical meeting before the siege of Augustgrad commences.
I'll patch you through to his war room.
Ah, Captain, we've been expecting you.
As you may have guessed, we are coordinating our final attack plans.
You should know, that even though Mengsk cannot reinforce his numbers, his standing forces are substantial.
Augustgrad is easily the most heavily fortified city in all of Dominion space.
And remember that Mengsk is an accomplished tactician so you had best be wary of any counter attacks he may attempt.
Also, despite the fact that we have crippled his fleet of battlecruisers, we suspect that Mengsk will unload his nuclear silos whenever the opportunity presents itself. Keep security tight at all of your bases, and watch out for enemy Ghosts.
That should cover it, Captain. Be careful and good luck. By the day's end, the Terran Dominion will be nothing more than a bad memory.
Objectives :
- Destroy Mengsk's Command Center
We have a great start. Maximum Supply Depots, so I have a great star....
Somebody call for an exterminator ?
I guess I should have expected something like this. A rather brutal waking up. I start almost from a scratch and need to knock on Mengk's doors personally to deliver him a very special message.
I need to prepare for upcoming attacks and Ghosts. Luckily only the north and east sides are vulnerable so I can prepare in a quick time manner.
It already started, and I still have little to nothing when it comes to Tanks. I'm making Turrets all over the place for the obvious reasons.
If it wasn't obvious by now, I need to keep Science Vessels all over to detect Ghosts and keep the Tanks happy by pointing the upcoming waves combined forces of Mengsk. Also, another good idea is to make a one or two extra SV just in case of emergency. The Ghosts like to drop up in the north and laser point for nuclear launch through the black lake that you see. Mengsk is a really tough enemy, and I'm constantly reminded how much he wants me seeing dead.
This spot is easier to defend, and I'm keeping ground troops with some medics to help if necessary.
After many attacks it is time to push back. I move with one of my Science Vessel to see where is the base of the blue Terran. The bridge leading to his base is filled with the mines. I guess I will need to do methodically without speeding up to much.
Nice, an emergency Vespene Geyser. Knowing how much the better units cost, this will be very helpful.
Hmm, what is this place? A fuel station or shacks in which they are making booze.
Another spot with resources. That's it for now. I'm going to secure the bridge and move into the base of blue Terran.
I'm moving step by step and closing in. The map is huge and the structures are scattered all over.
That was a hard battle, and I lost most of my ground support but I wanted to finish here already and after that - see what is in the south to concentrate afterwards on the huge northern black undiscovered patch of land.
I'm starting Battlecruisers production. I thought they could come in handy as an air support. I'm not making any new Wraiths.
Good choice, I destroy the Tanks who are guarding the minerals nearby. They would massacre my Marines and Medics.
Time to move to another base since the main one has got nothing left when it comes to resources.
Nice, I've got a spot that can be easily defended. I'm preparing the Battlecruisers armada and add Tanks / Marines / Medics plus Science Vessels. The perimeter in the north west is heavily fortified, so I'm making a backdoor entrance from the other way.
Battlecruisers destroyed all the Tanks and Goliaths on the platform on the left. After that I dropped my Tanks and other ground forces to support the ships. There is a lot of mines here as well, so I need to slowly crawl through the whole base and destroying everything that is shown as red.
I lost all the Tanks and Marines, but I still have SCV and he is doing the repairings. I'm confident that I can win without any reinforcements as the attacks have stopped after initial onslaught.
Ah, here you are Mengsk. Time to knock knock with Yamato Guns.
Fuck yeah, thanks Jim for ruining this mission after being stomped on the ground so many times.
the protoss and terran campaigns of both oc and brood war are like huge retardolympics
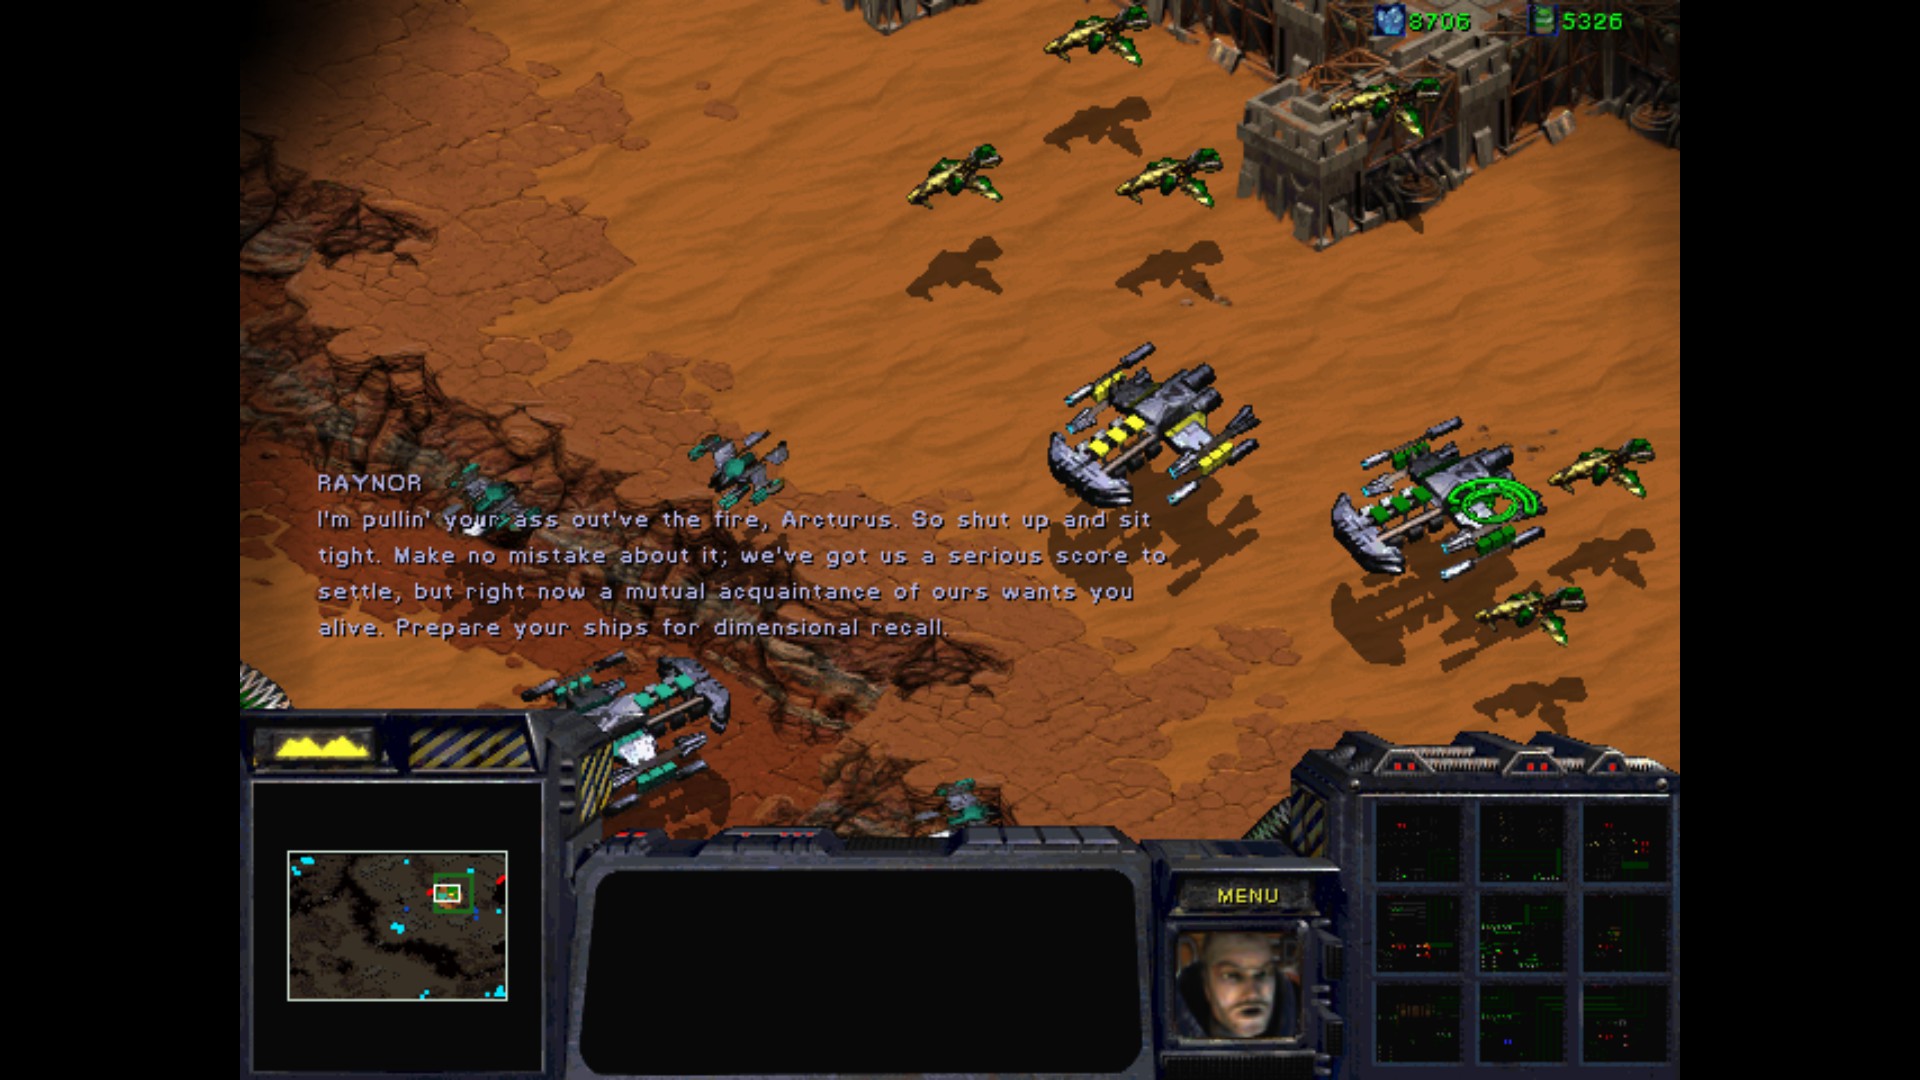
Mission VI : Emperor's Flight

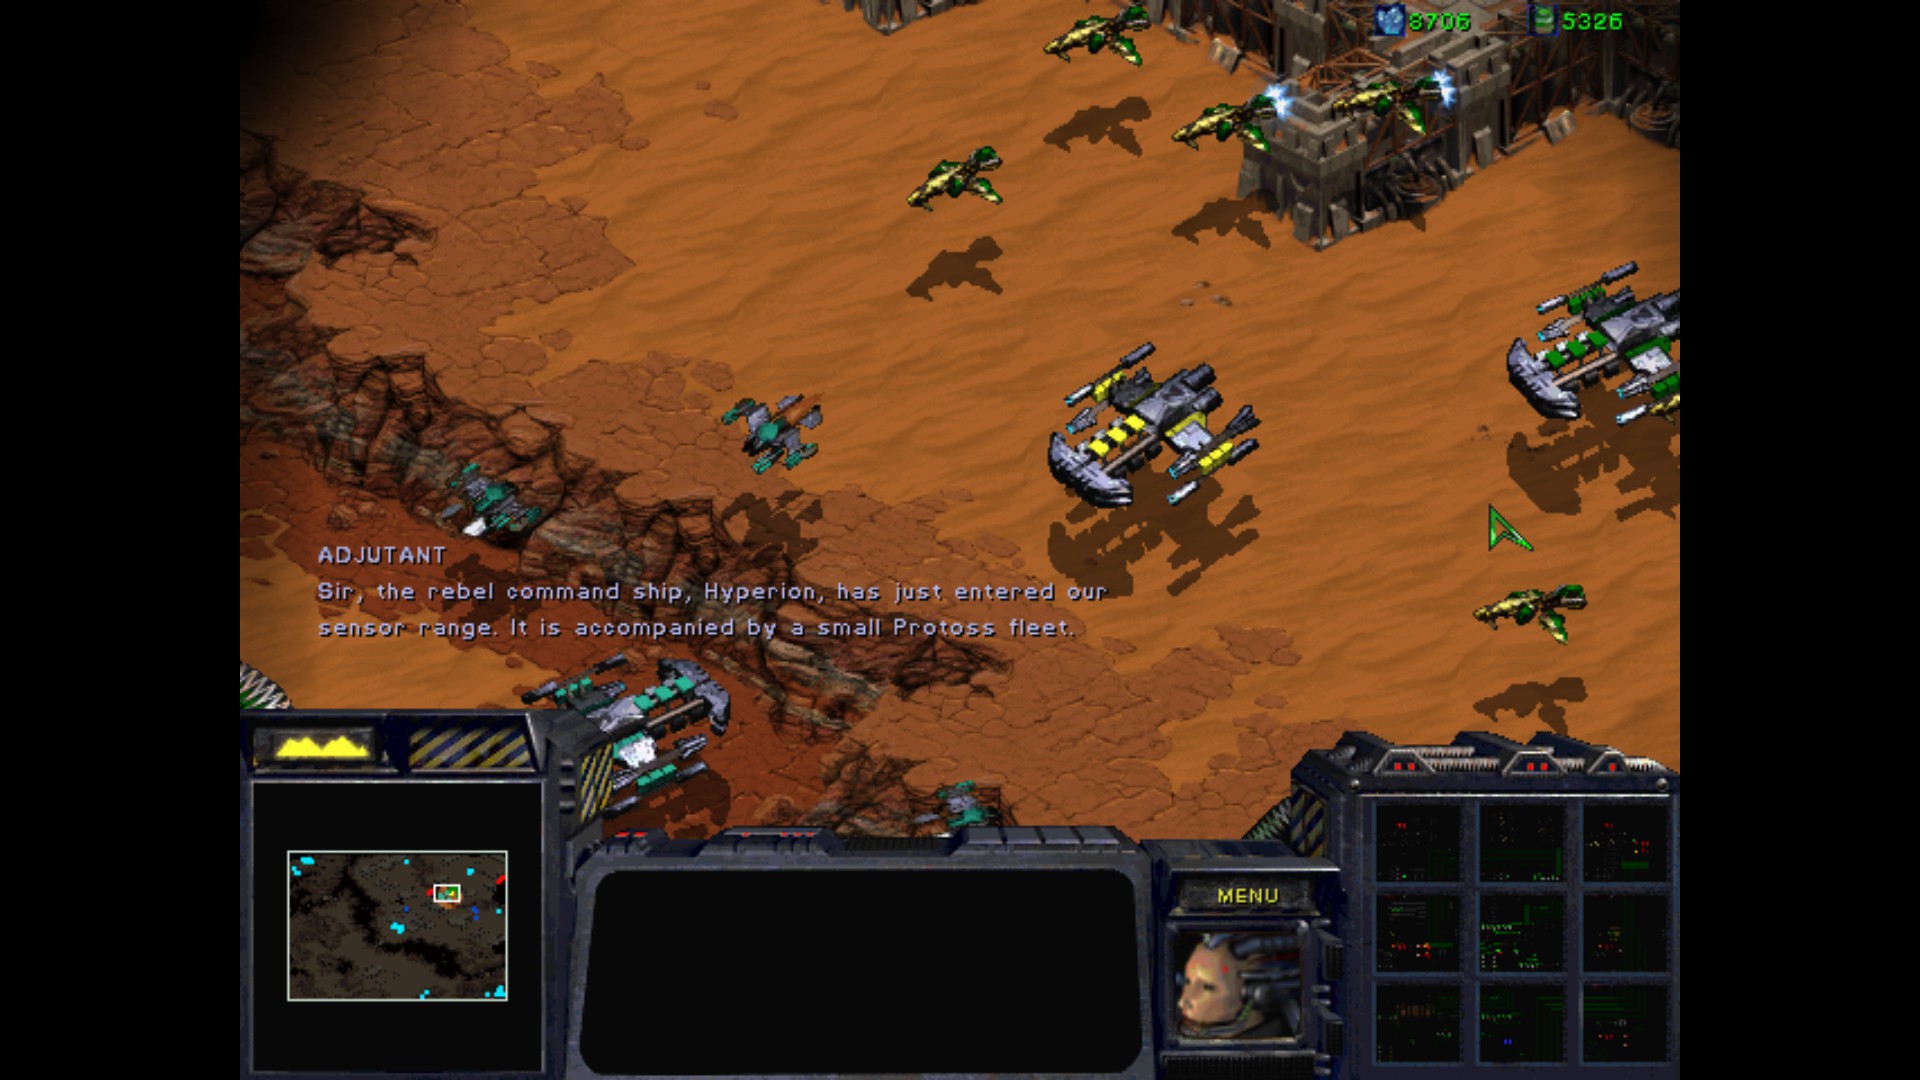
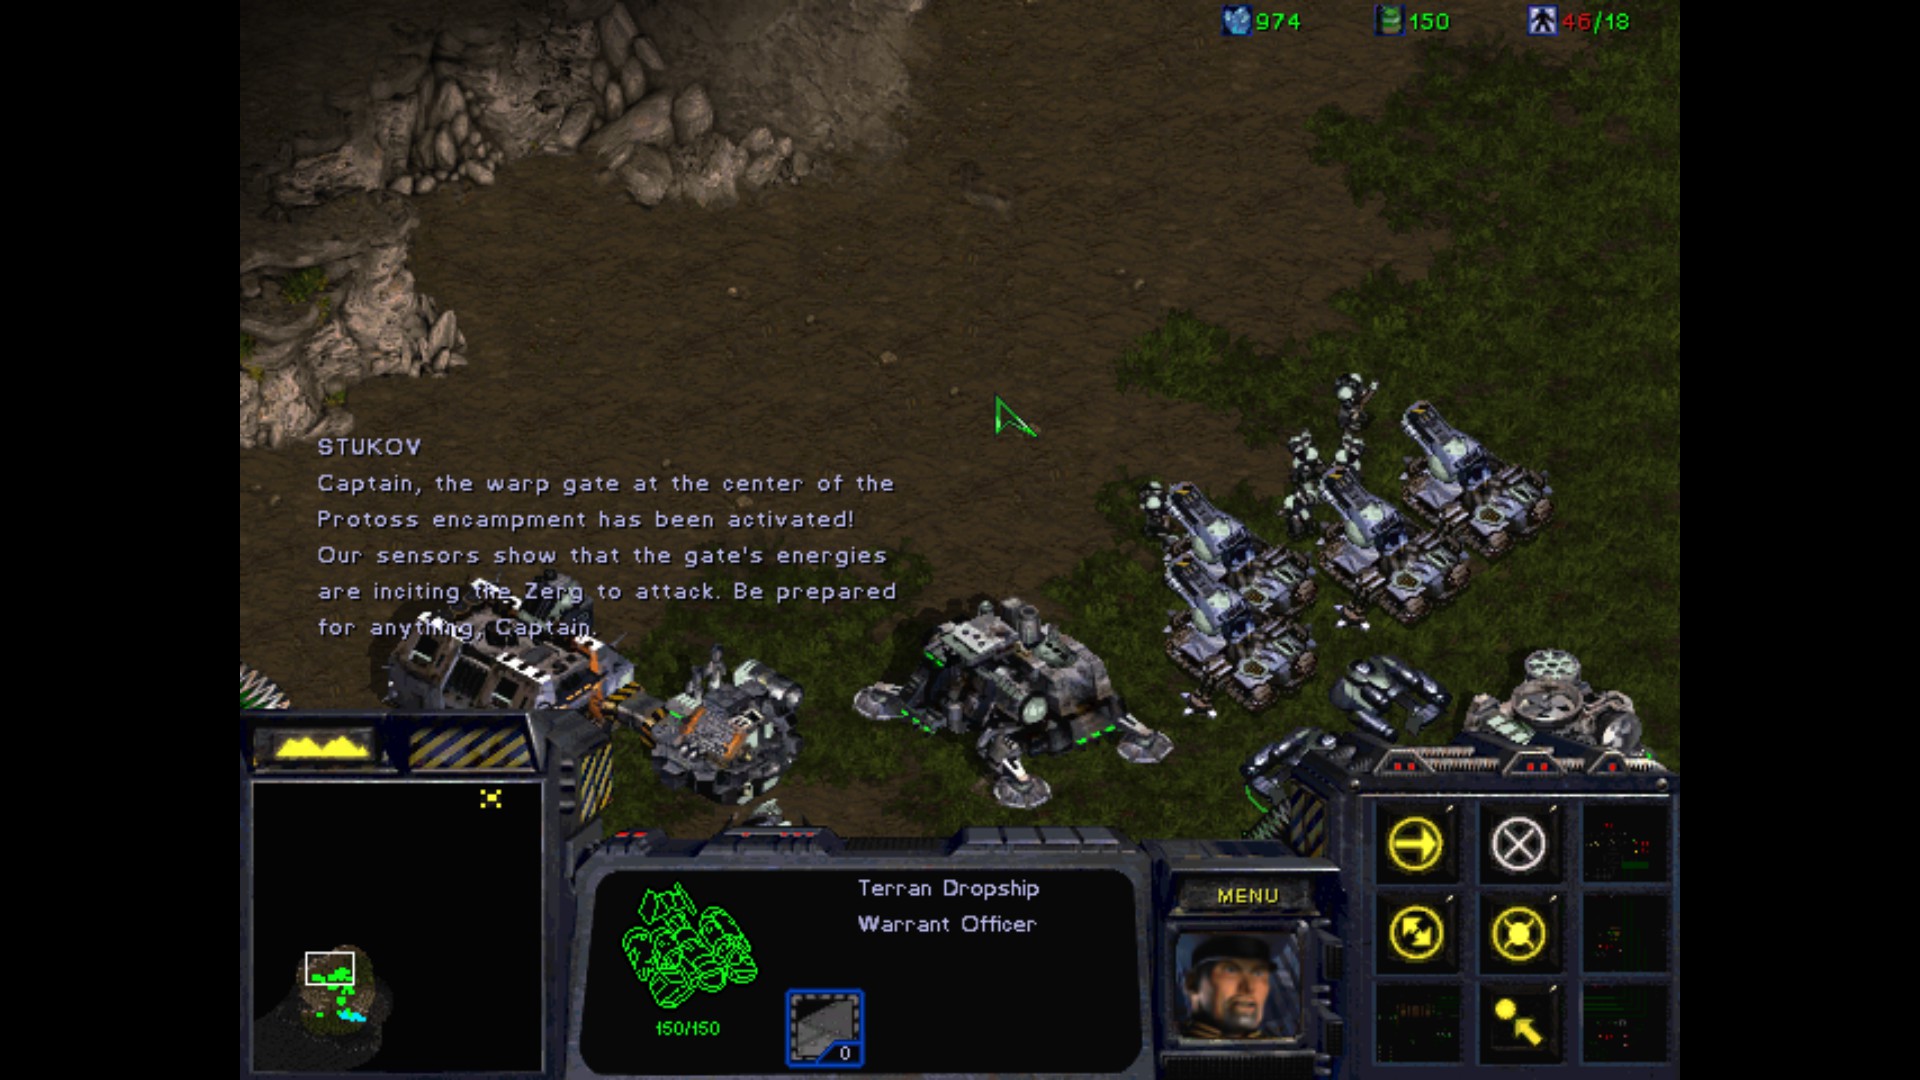
Captain, we have tracked the fugitives Mengsk and Raynor to the devastated Protoss homeworld of Aiur.
Apparently, these two have taken shelter within a fortified Protoss encampment that lies at the base of a fully functional warp gate...
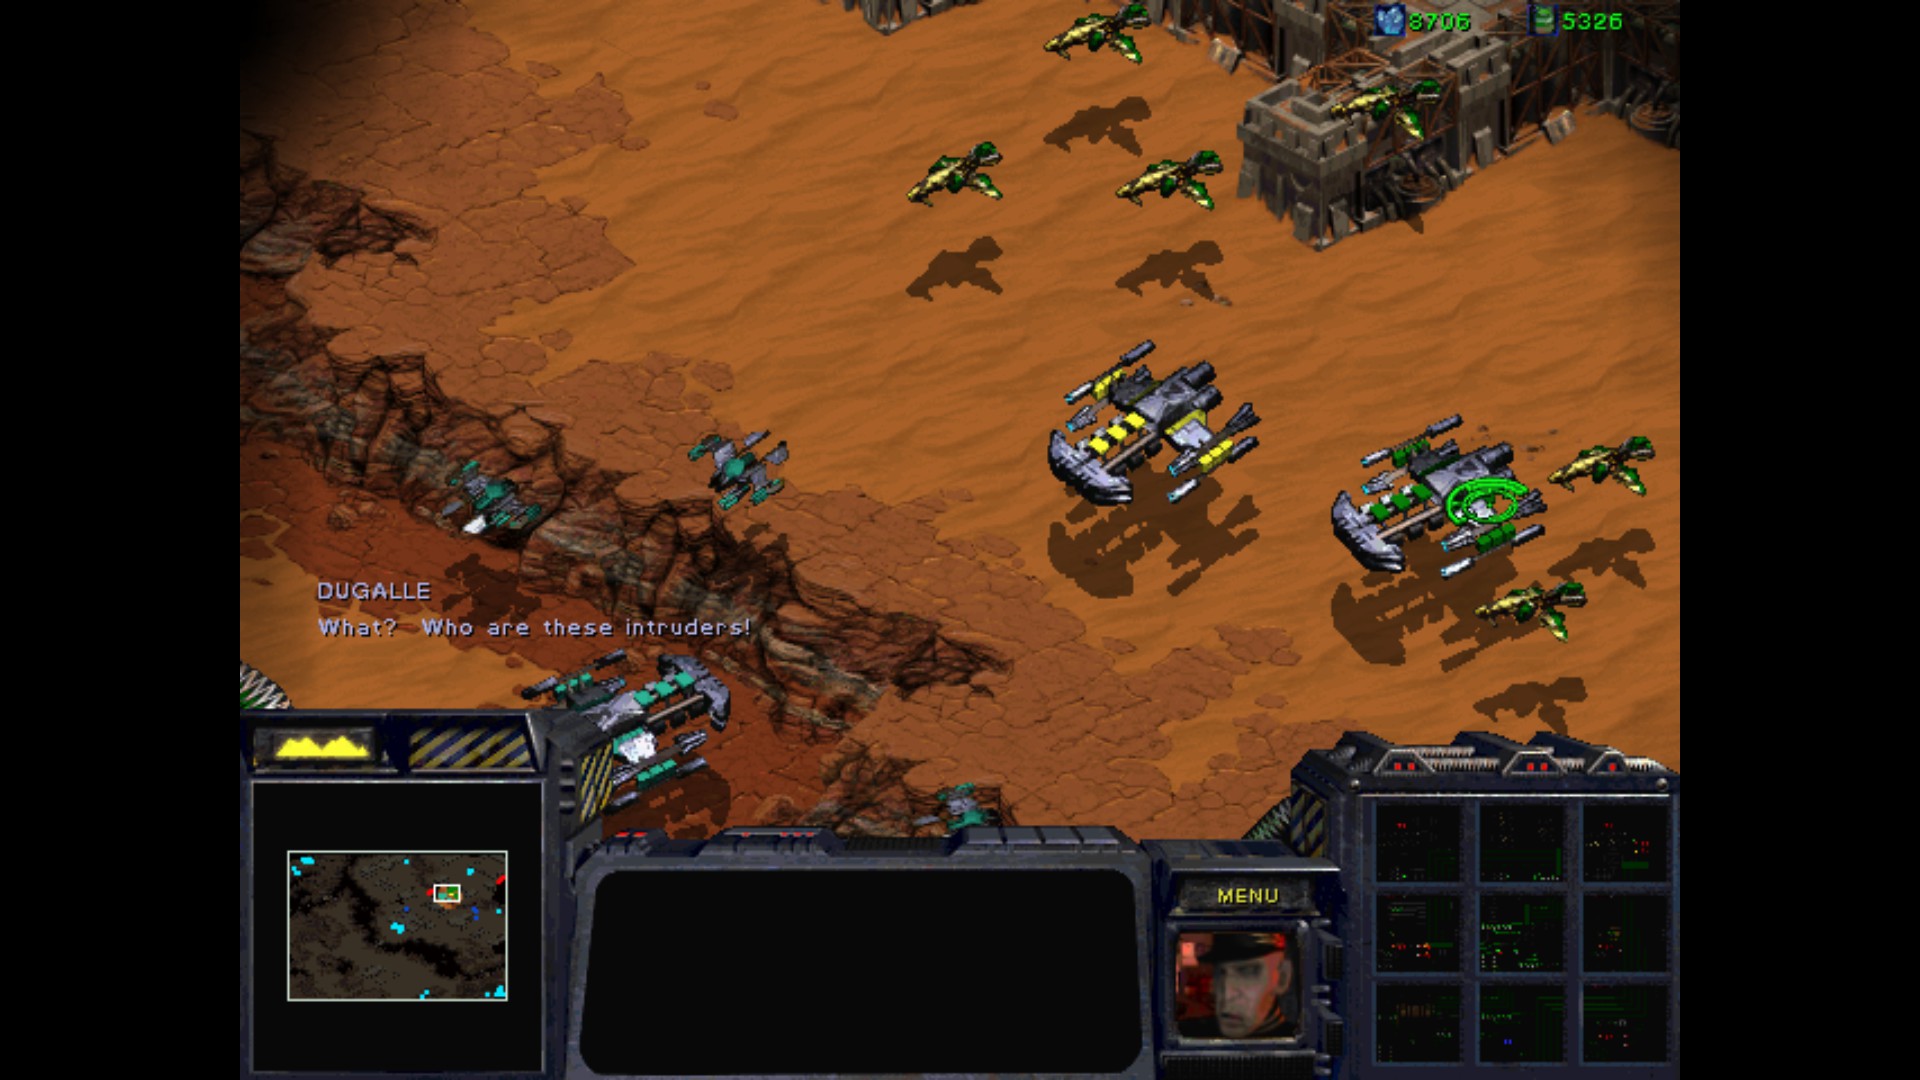
I don't understand this. Why would the Protoss harbor these men?
I have no idea, Gerard, but the Protoss aren't our only problem.
Our sensors have identified multiple Zerg broods surrounding the Protoss base.
Presently, the broods seem to be passive, but there's no telling what might set them off.
Should the broods attack, we'd be hard pressed to hold them at bay.
I see. It is a risk we'll need to take.
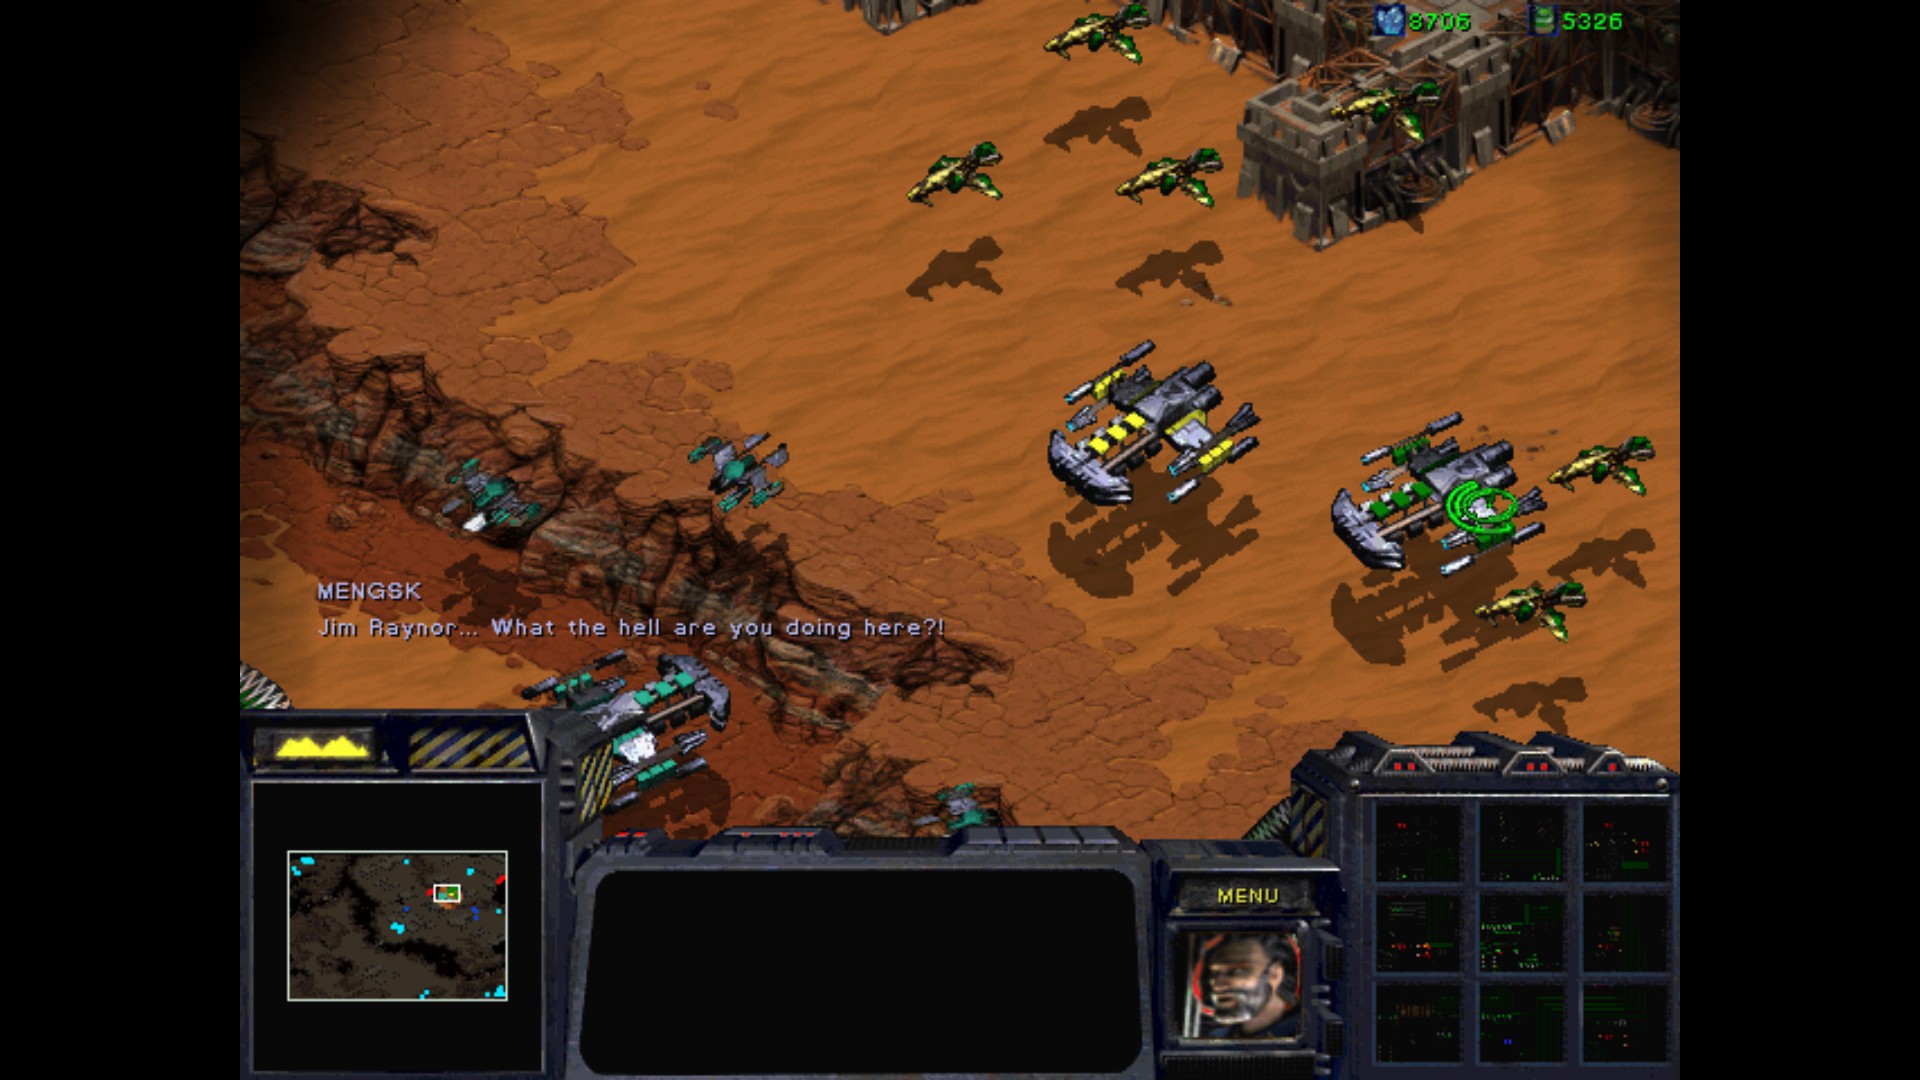
Mengsk represents a considerable threat to our agenda and must be eliminated.
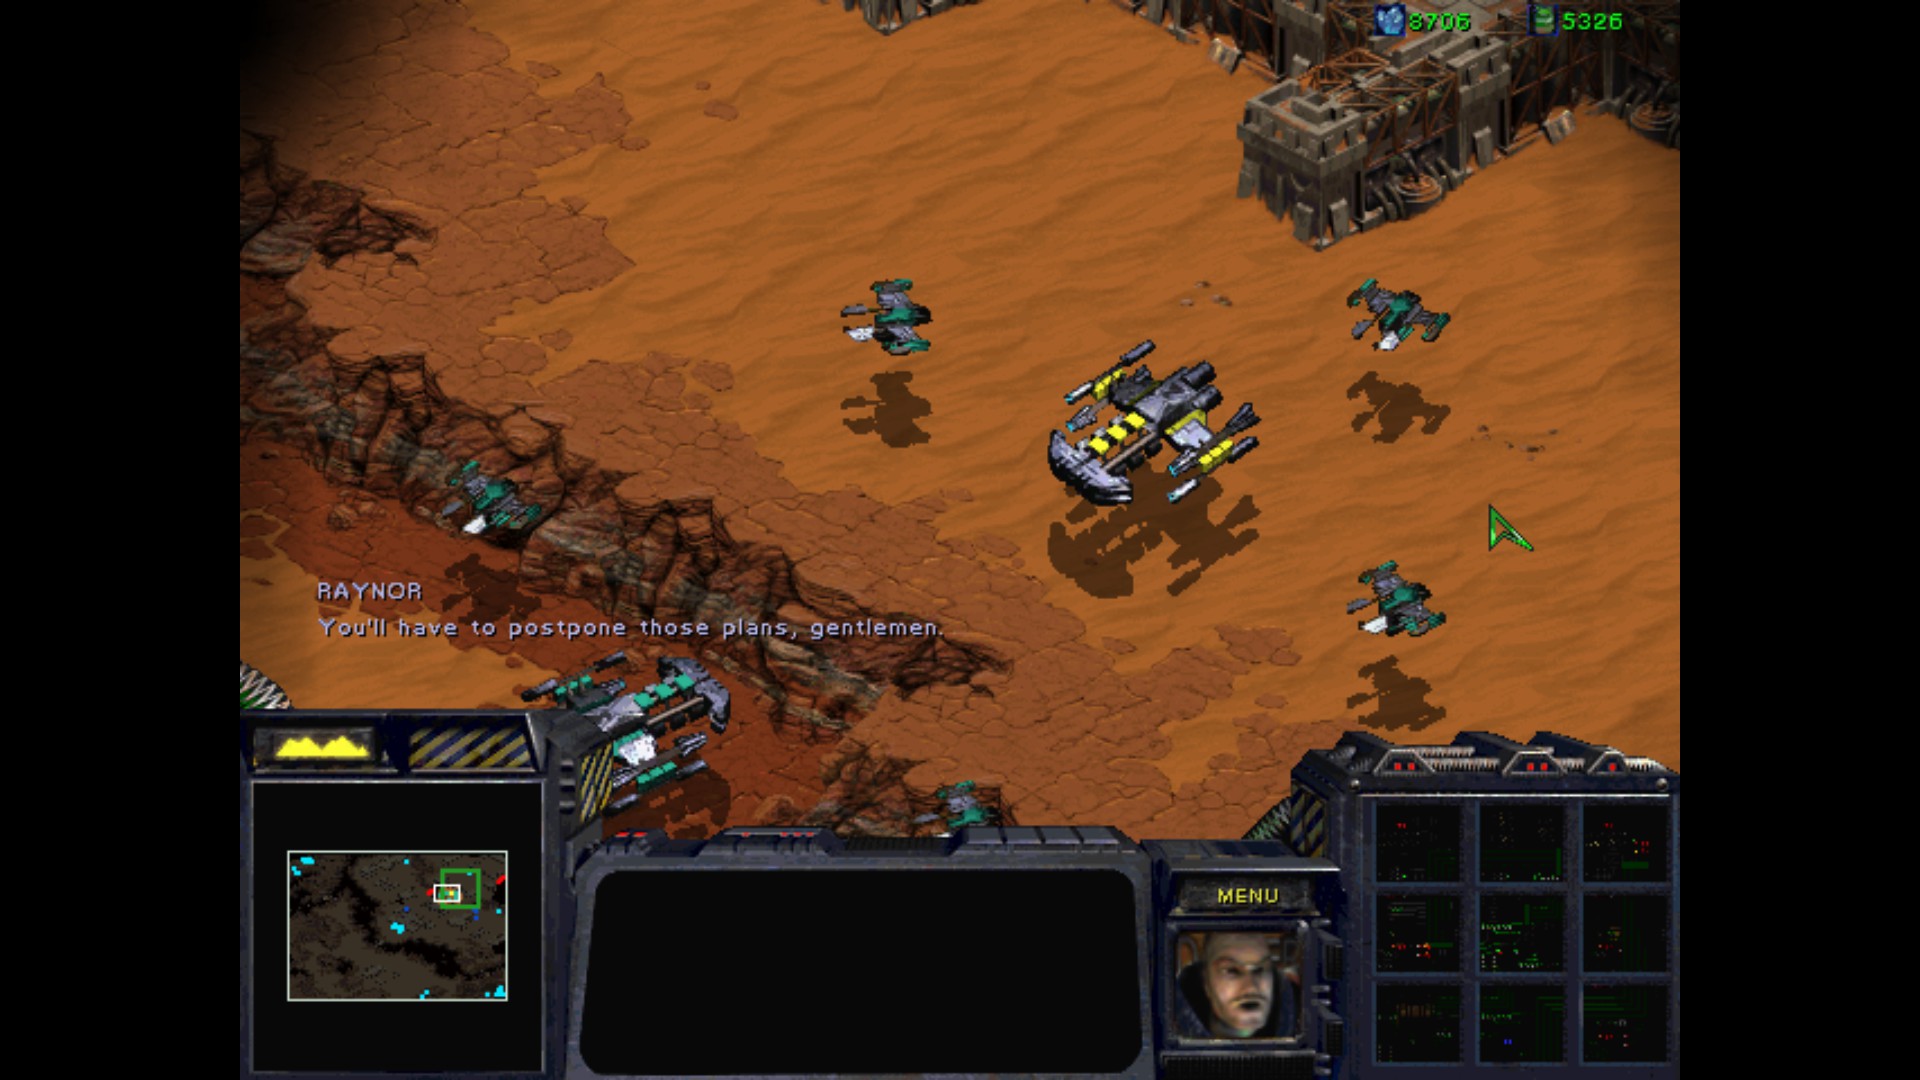
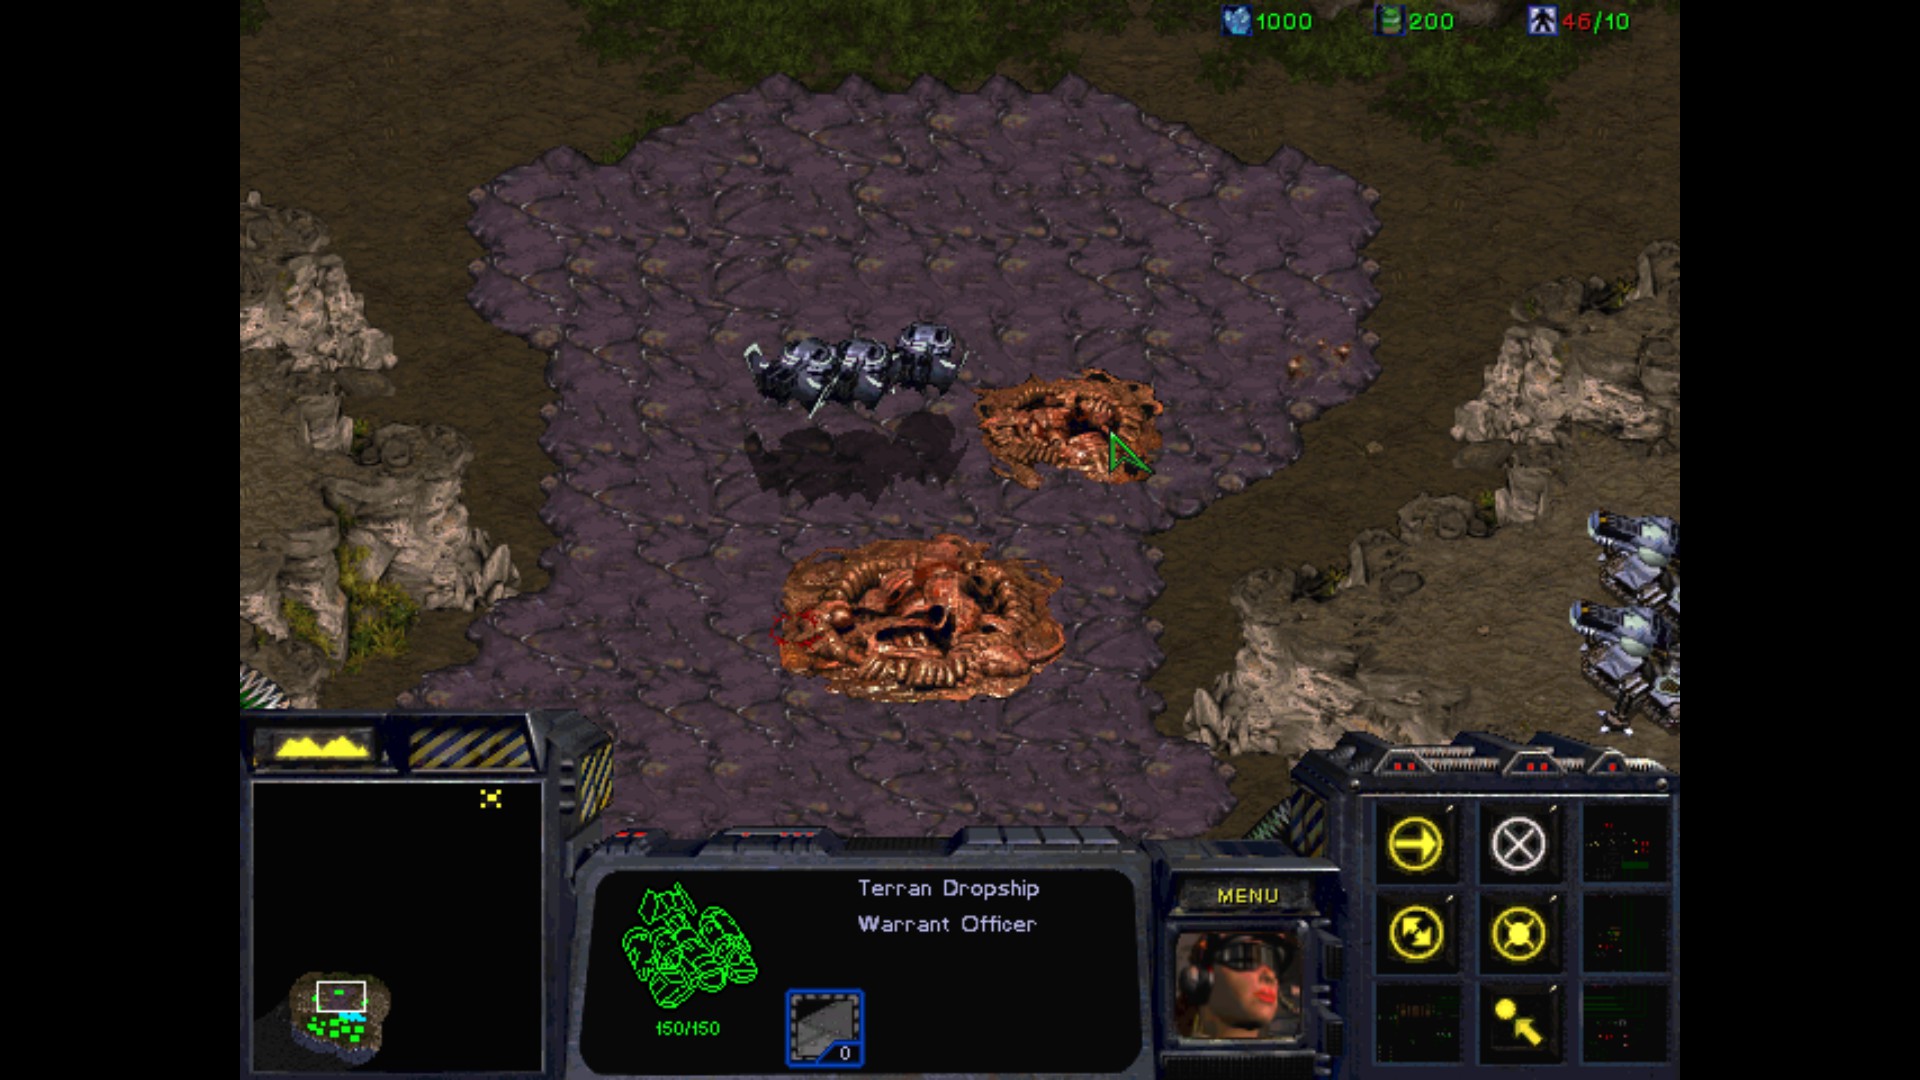
Captain, you will focus your attack against the rebel command center in the middle of the Protoss encampment.
That must be where Mengsk and Raynor are hiding. We will deploy our own Valkyrie frigates and tighten up our air defenses.
Vice Admiral Stukov and Lieutenant Duran will provide cover for your forces, and insure that no external threats interfere with your mission.
Objectives :
- Destroy Raynor's command center
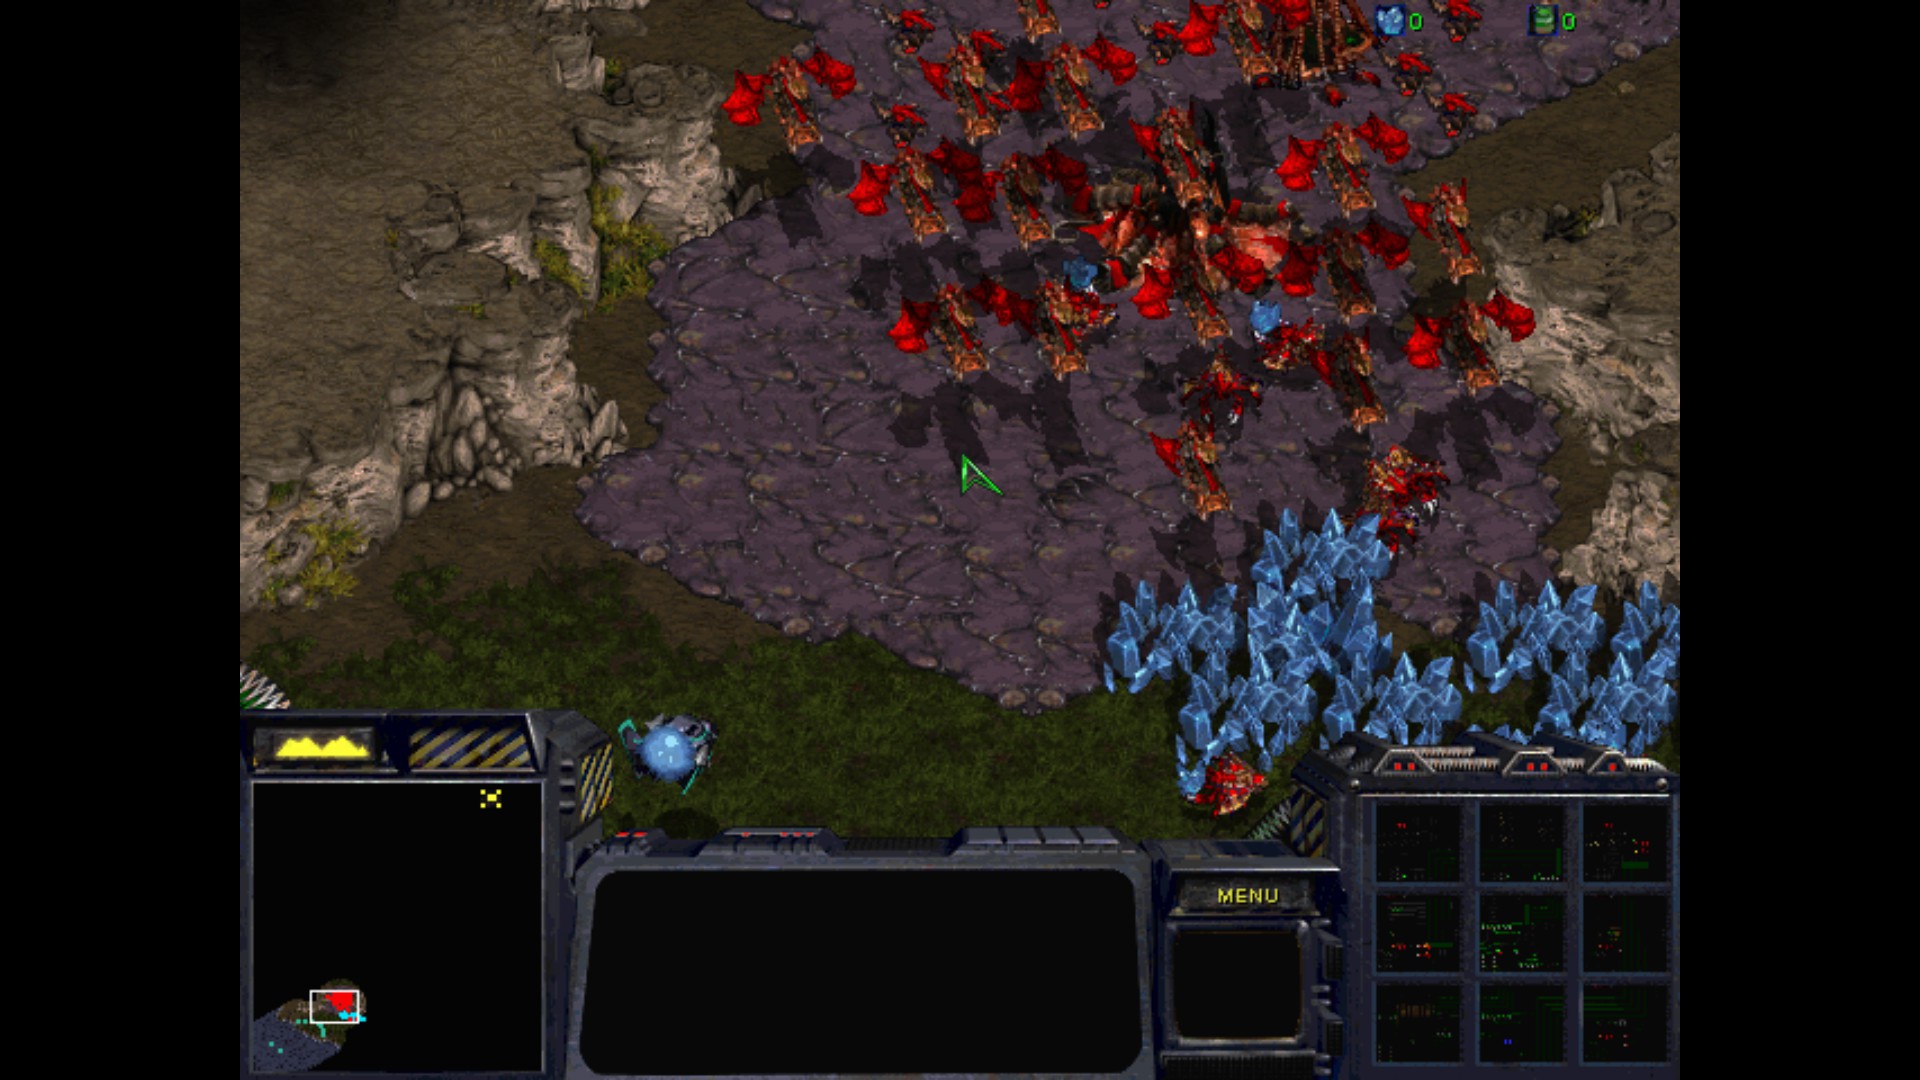
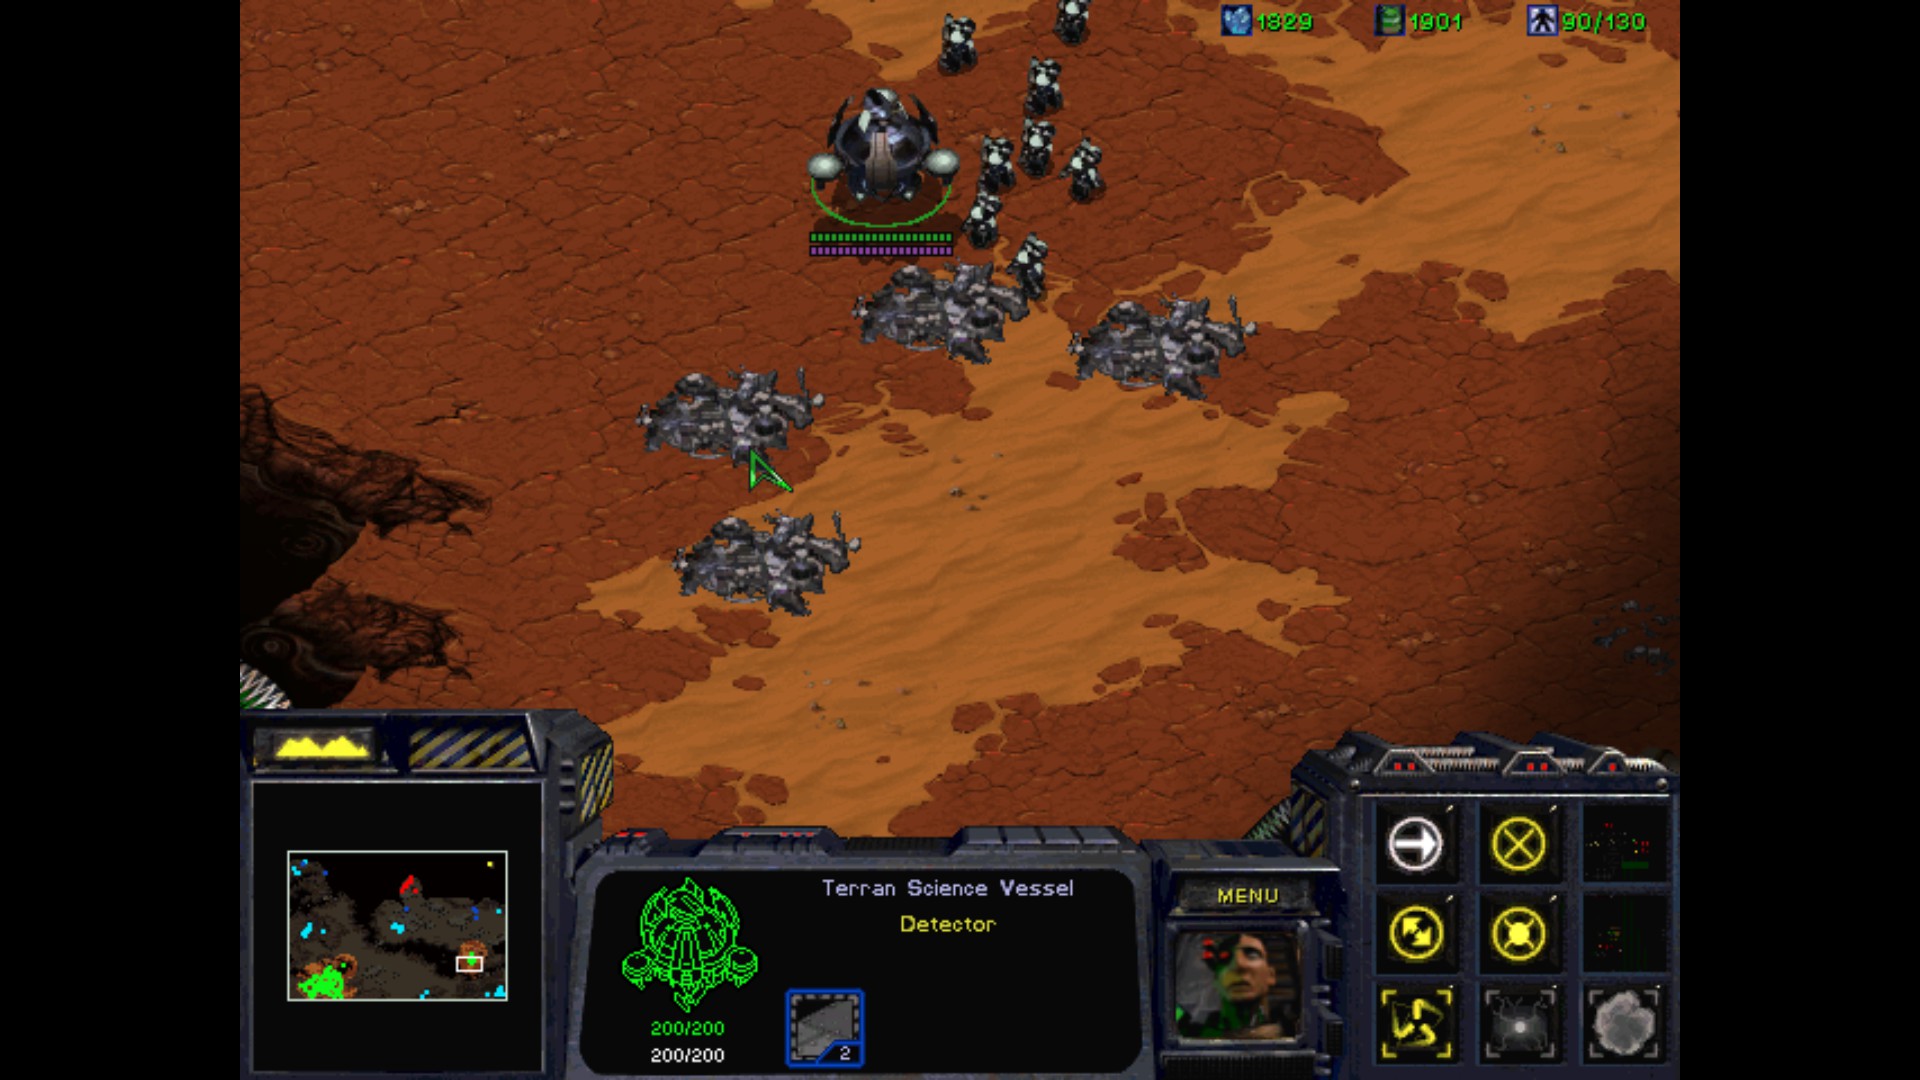
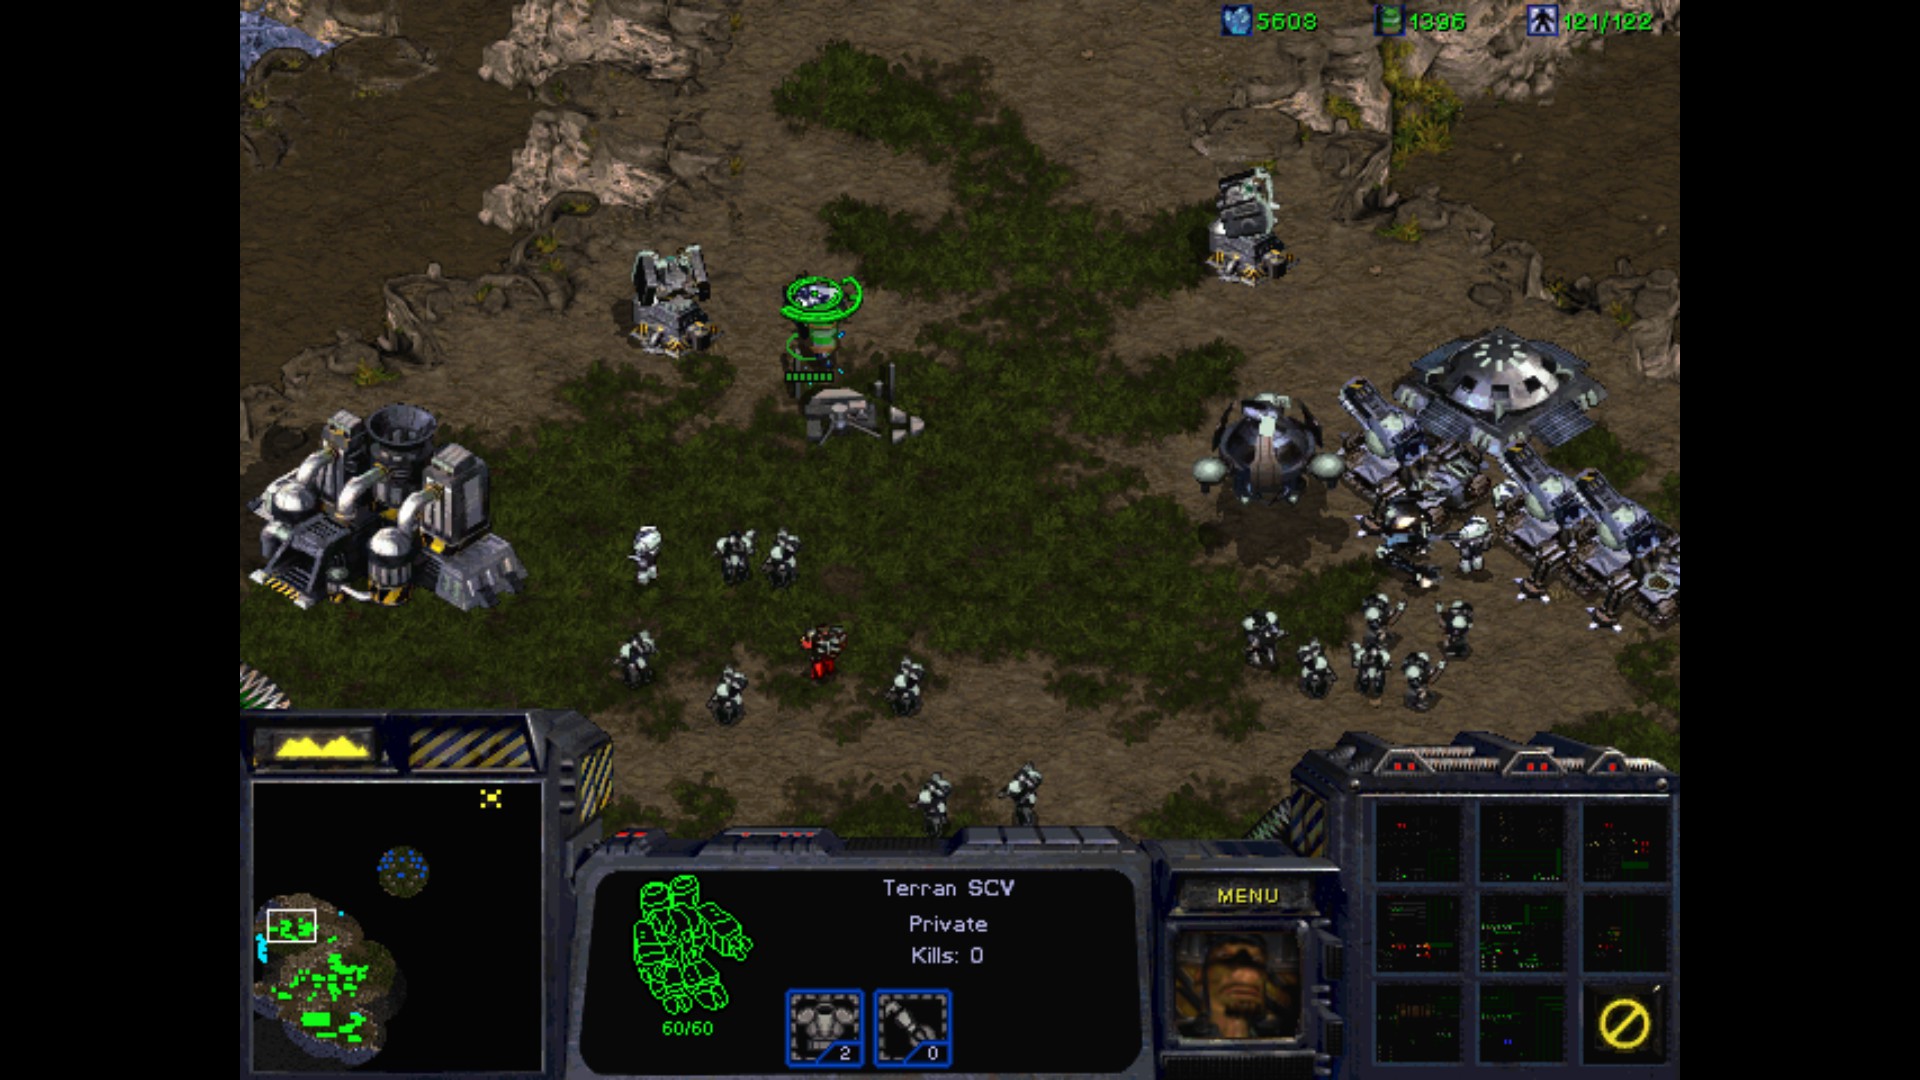
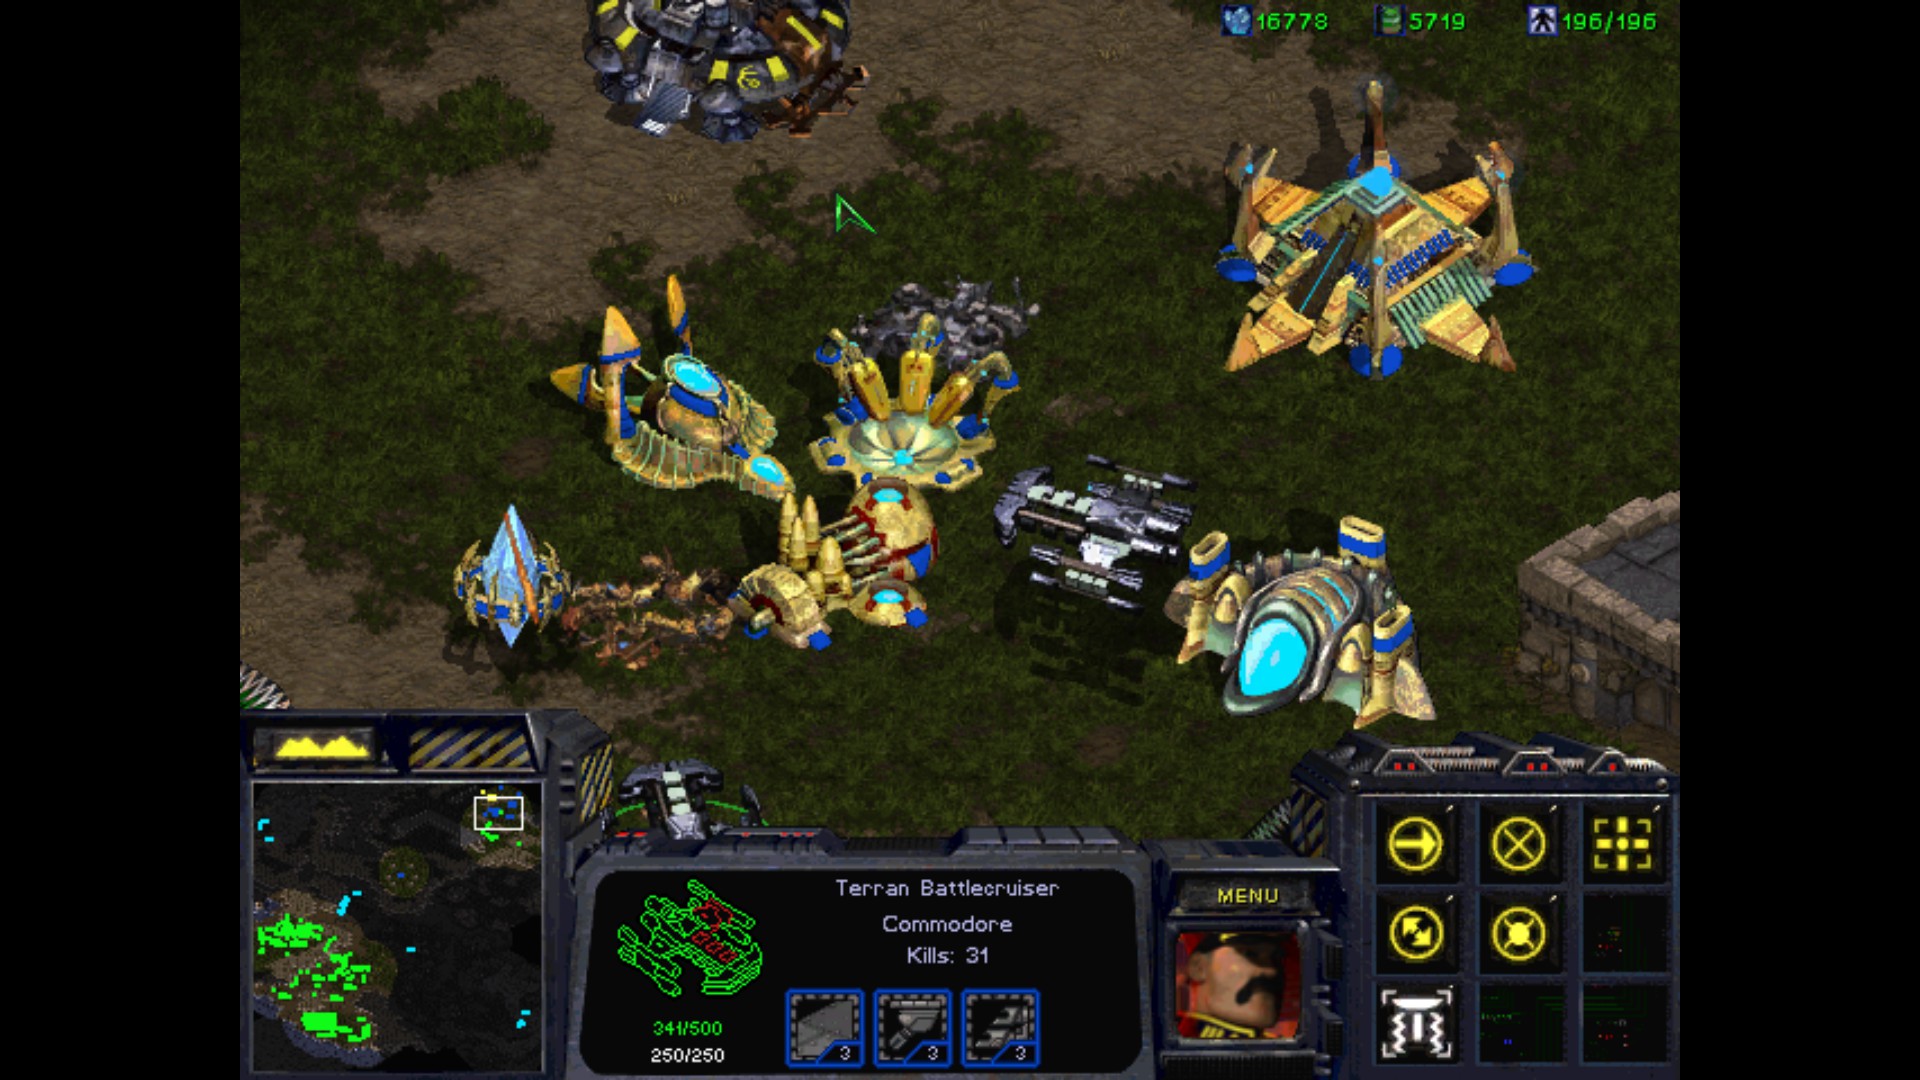
The mission starts with a scripted sequence, where we see Valkyries blasting their way through the huge Mutalisks group. After that we see Tanks being dropped on left and right hills to destroy the ground units and structures. This will be our main base soon enough.

I can quickly make a small base thanks to the resources available right now. As I don't know what to expect, I quickly move my units to the northern entrance to engage the enemy's forces if needed.
The good thing is that Protoss is fighting with Zerg, so they bleed each other out a little while I can make a preparations being disturbed only from time to time.
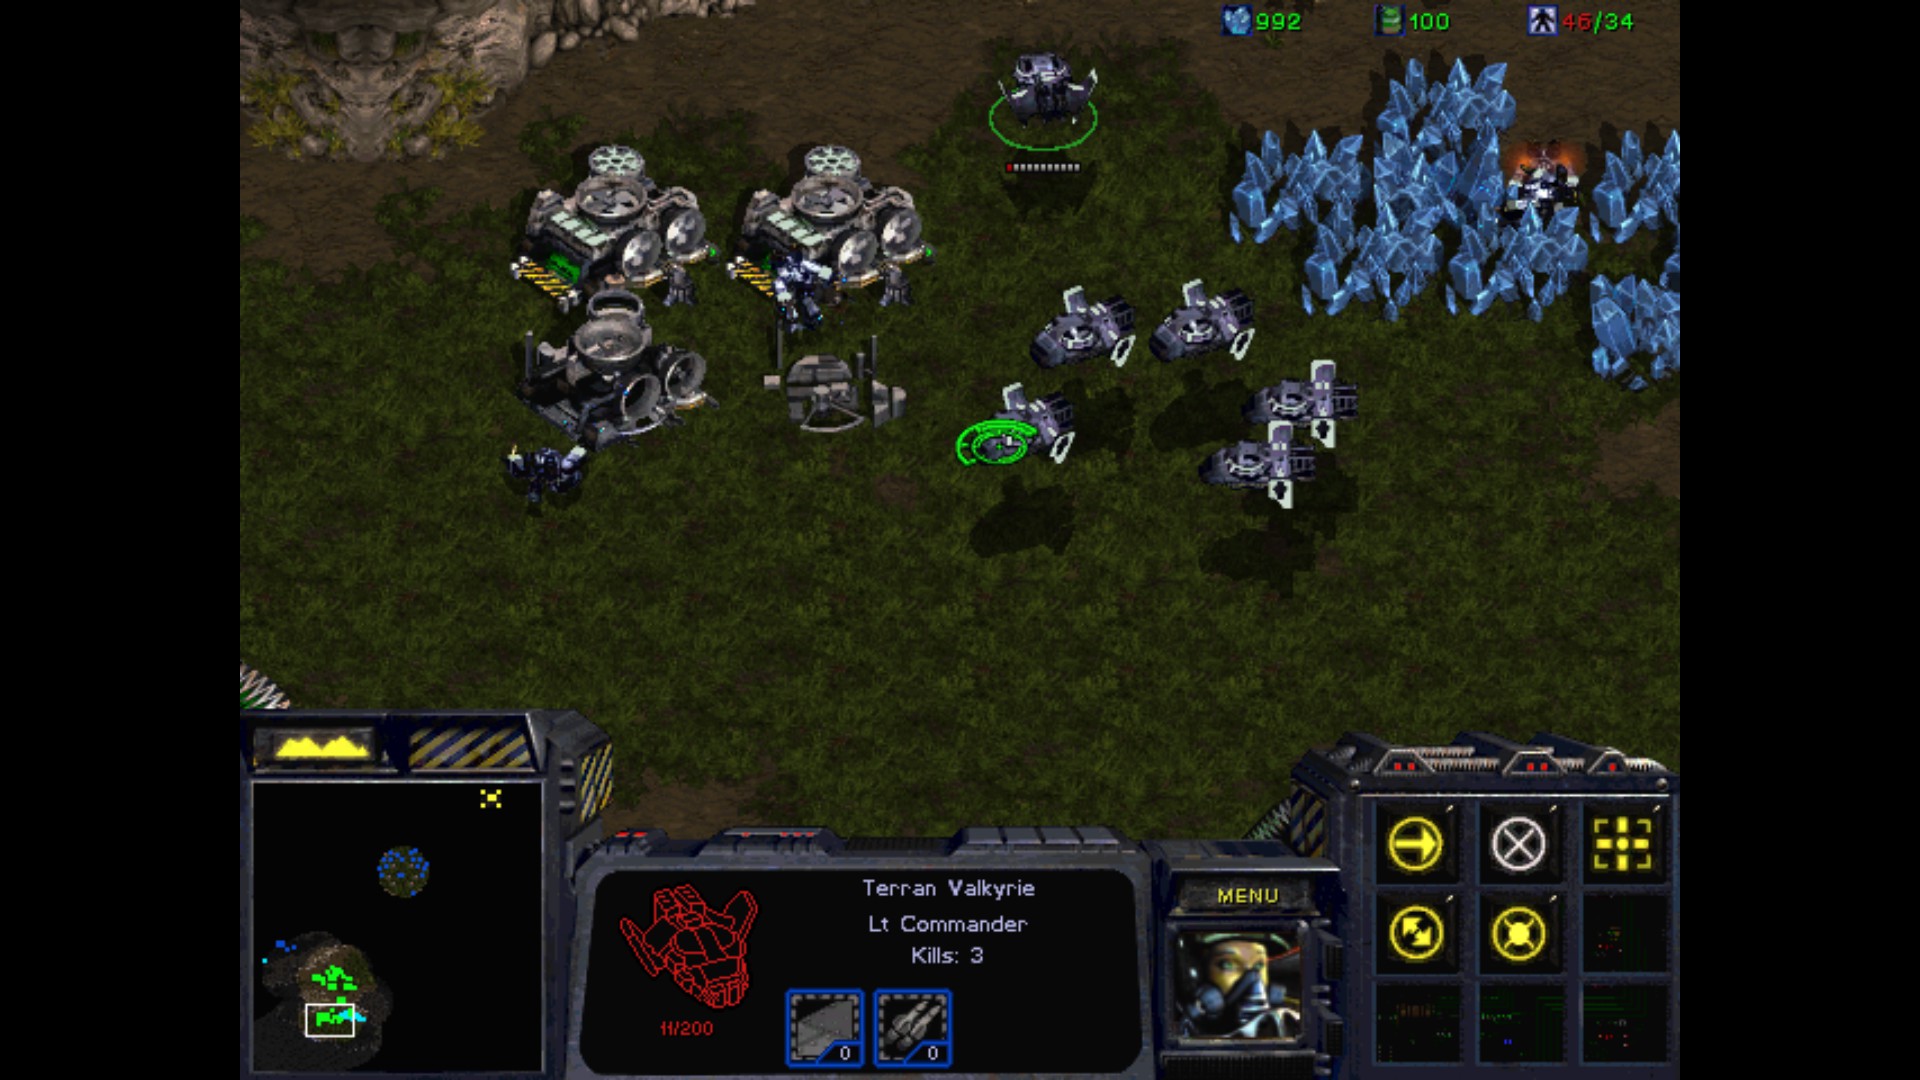
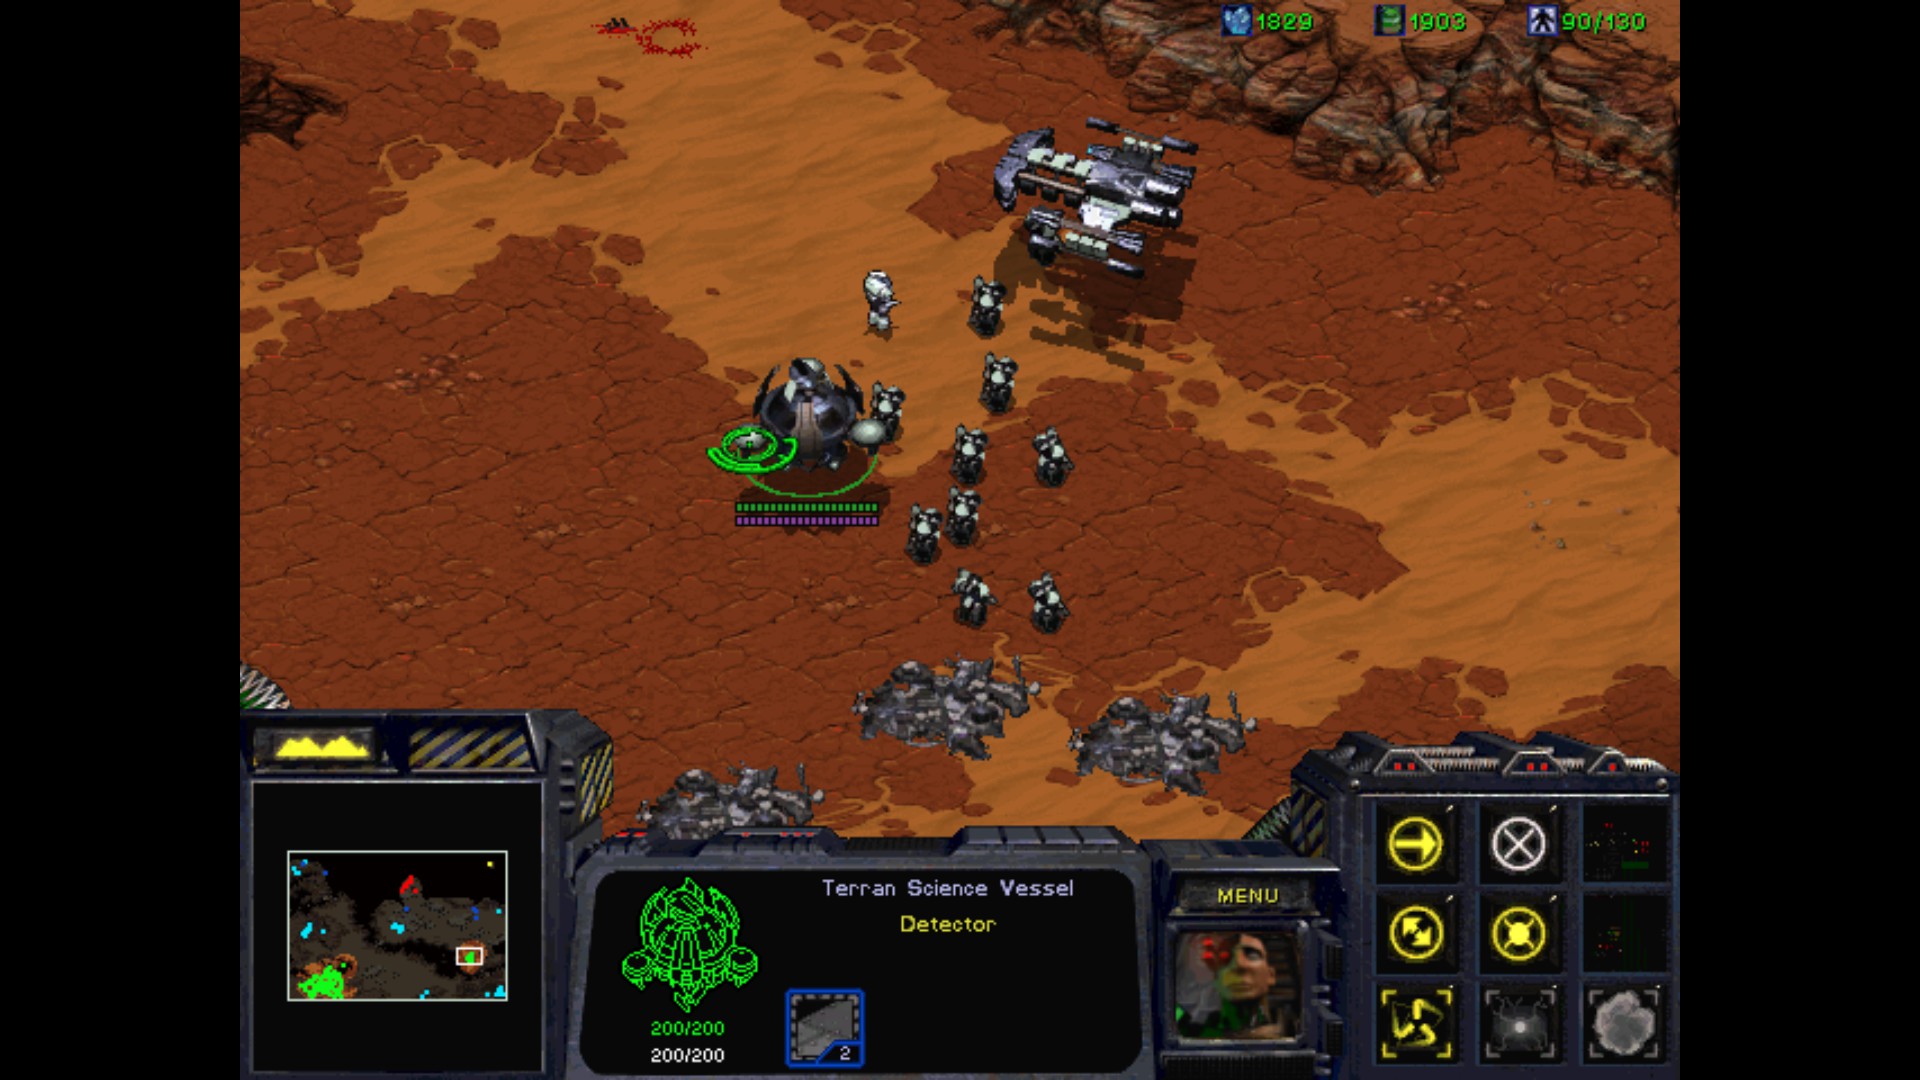
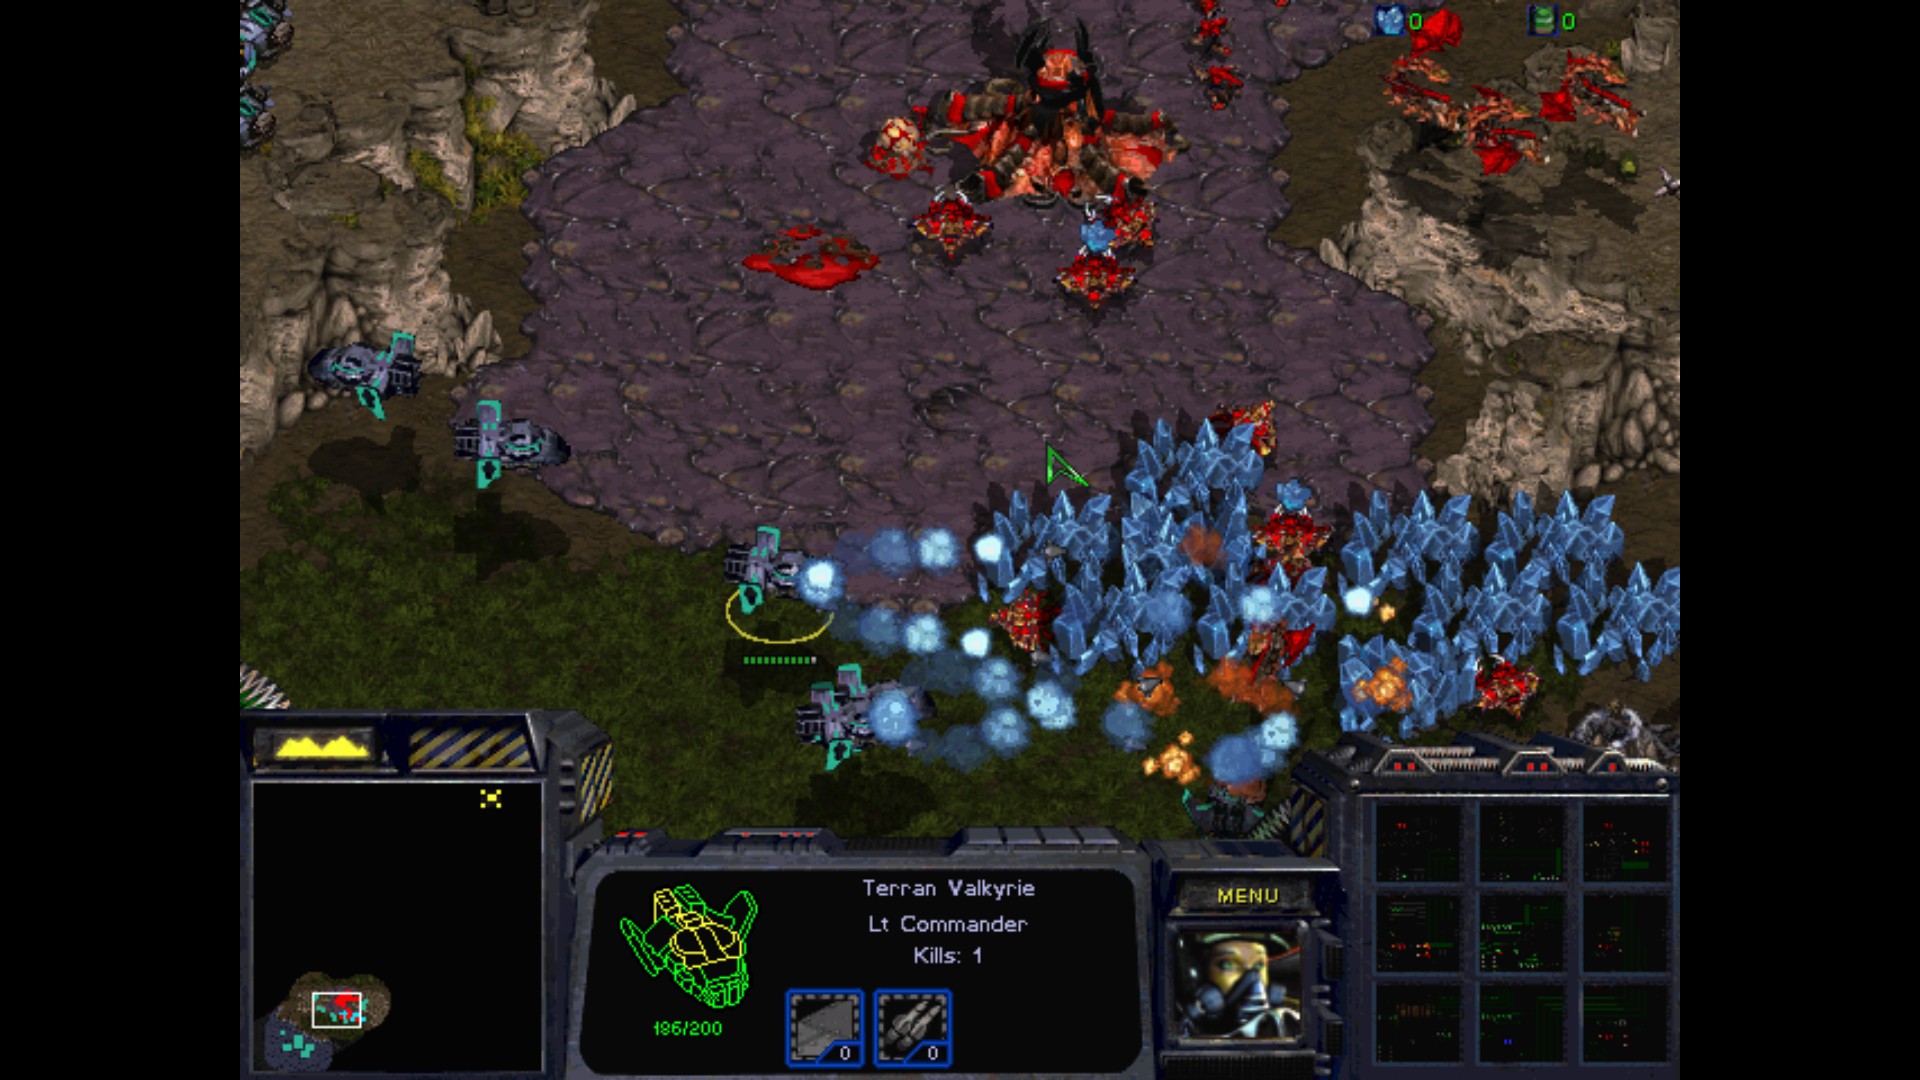
I'm keeping the remaining Valkyries in a good shape to kill any Mutalisks and Guardians who try to attack me from the east.
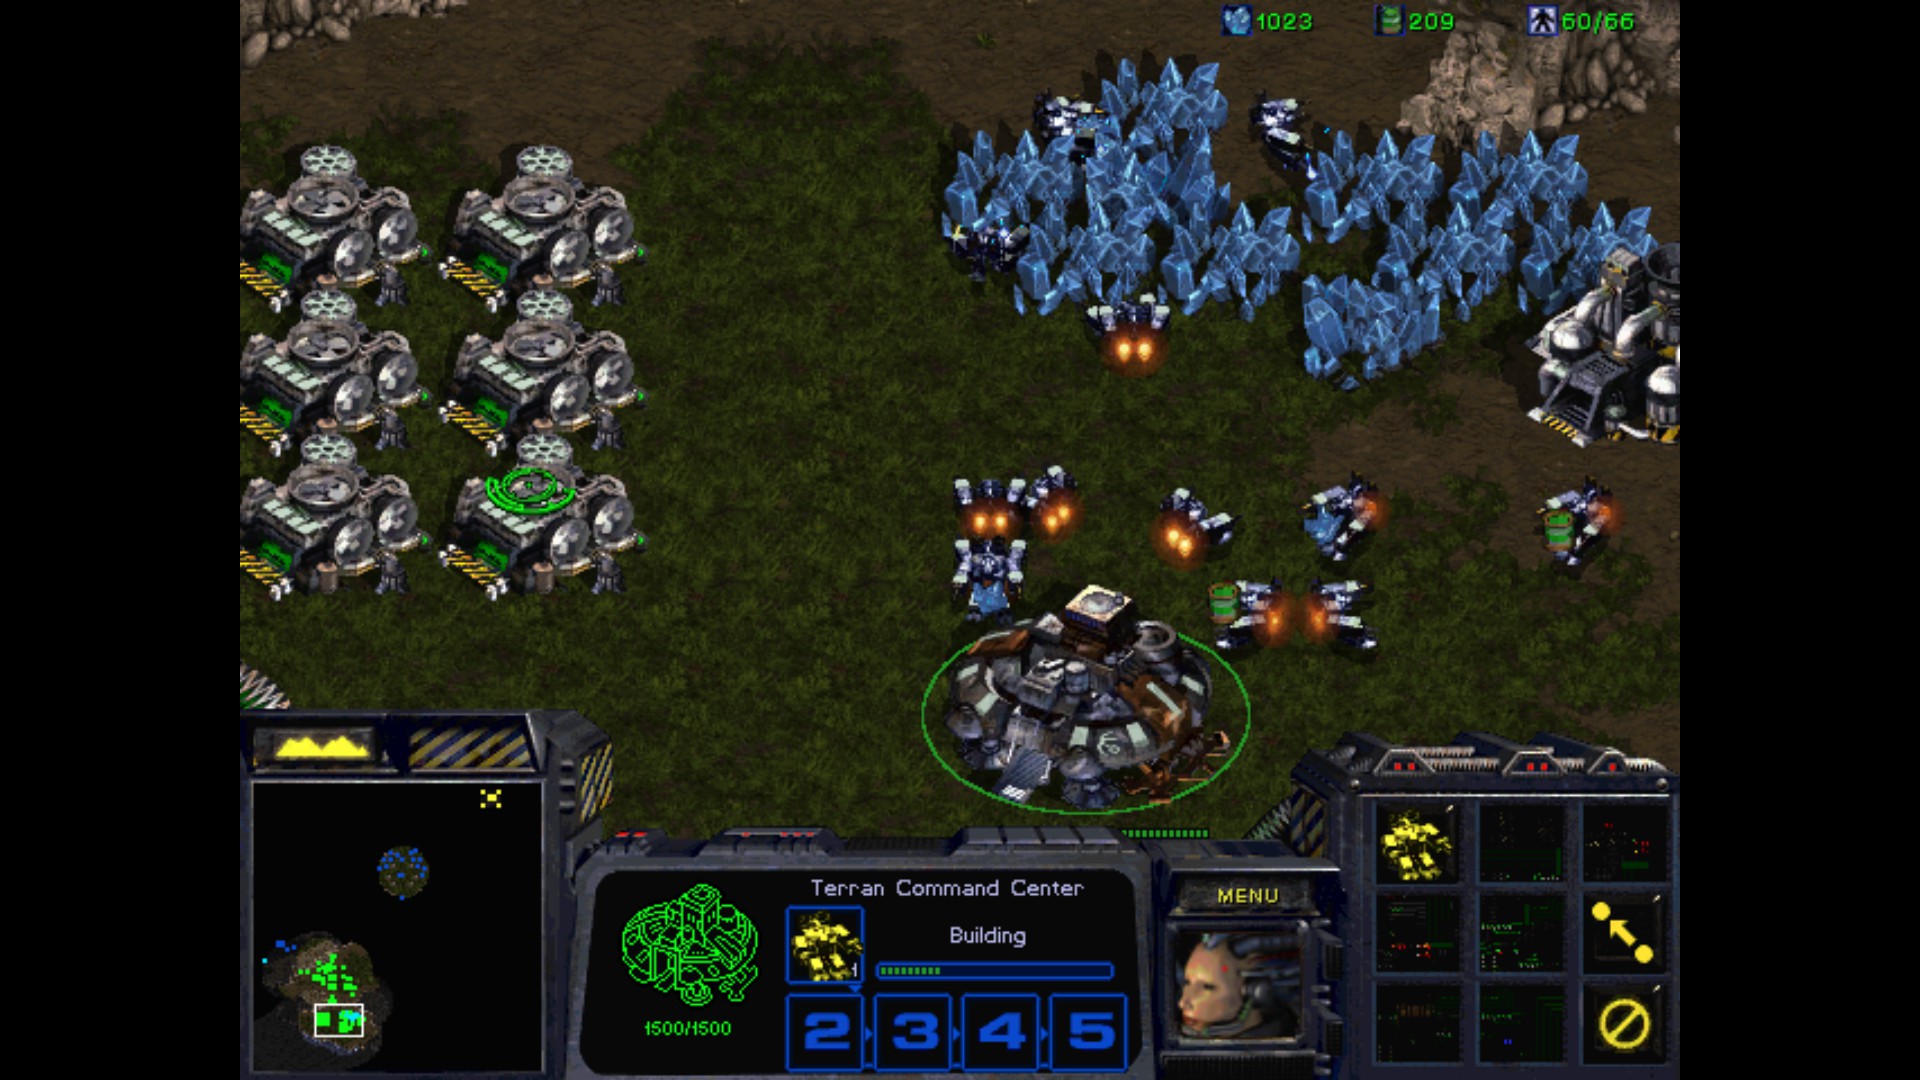
The spot with blue units all around is the Warp Gate being guarded by Protoss. Here you can see some of the Dragoons that are trying get close enough to attack my Tanks. On the left I found another good spot for a base which can be easily defended.
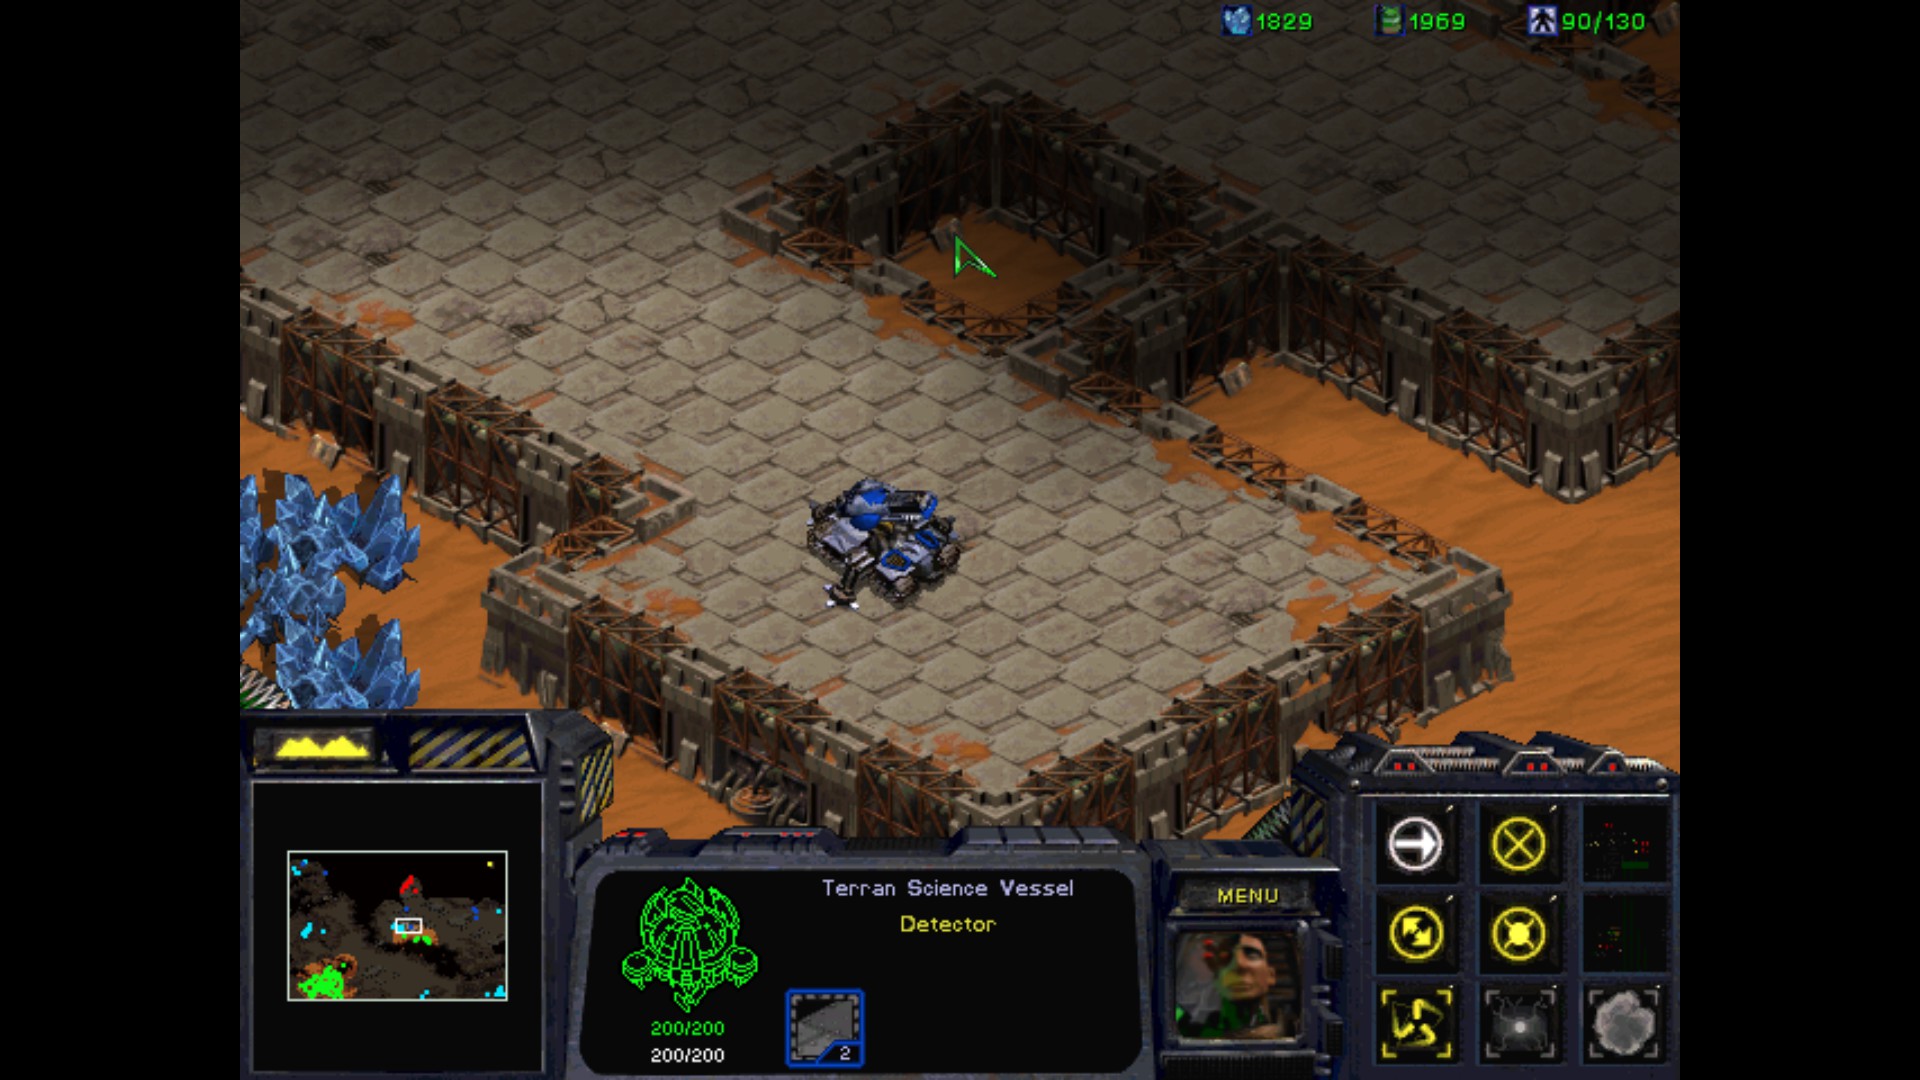
Without using any observers, I can see what is happening near the Warp Gate.
My Comsat Station sweep detects the big base of brown brood. I'll be making another Battlecruiser armada to squash them. I just need to be careful with the Scourge. Time for some Supply Depots!
YUGE!
Perfect timing. Once I kill all the Mutalisks I will be making my own attack.
There is also the orange brood, of which I forgot to mention earlier. He is a real pain in the ass, because he likes to make Guardians and attack in bigger numbers with them on my right flank. Time for some payback.

That's it, go ahead and run. Run home and cry to mama!
A perfect dessert after the main dish. The Defilers could really messed up my fleet in no time.

Meanwhile the Protoss is trying to impress me with this ?
Everything is going great. I can concentrate on the other Zerg. Protoss will be the last to fall.
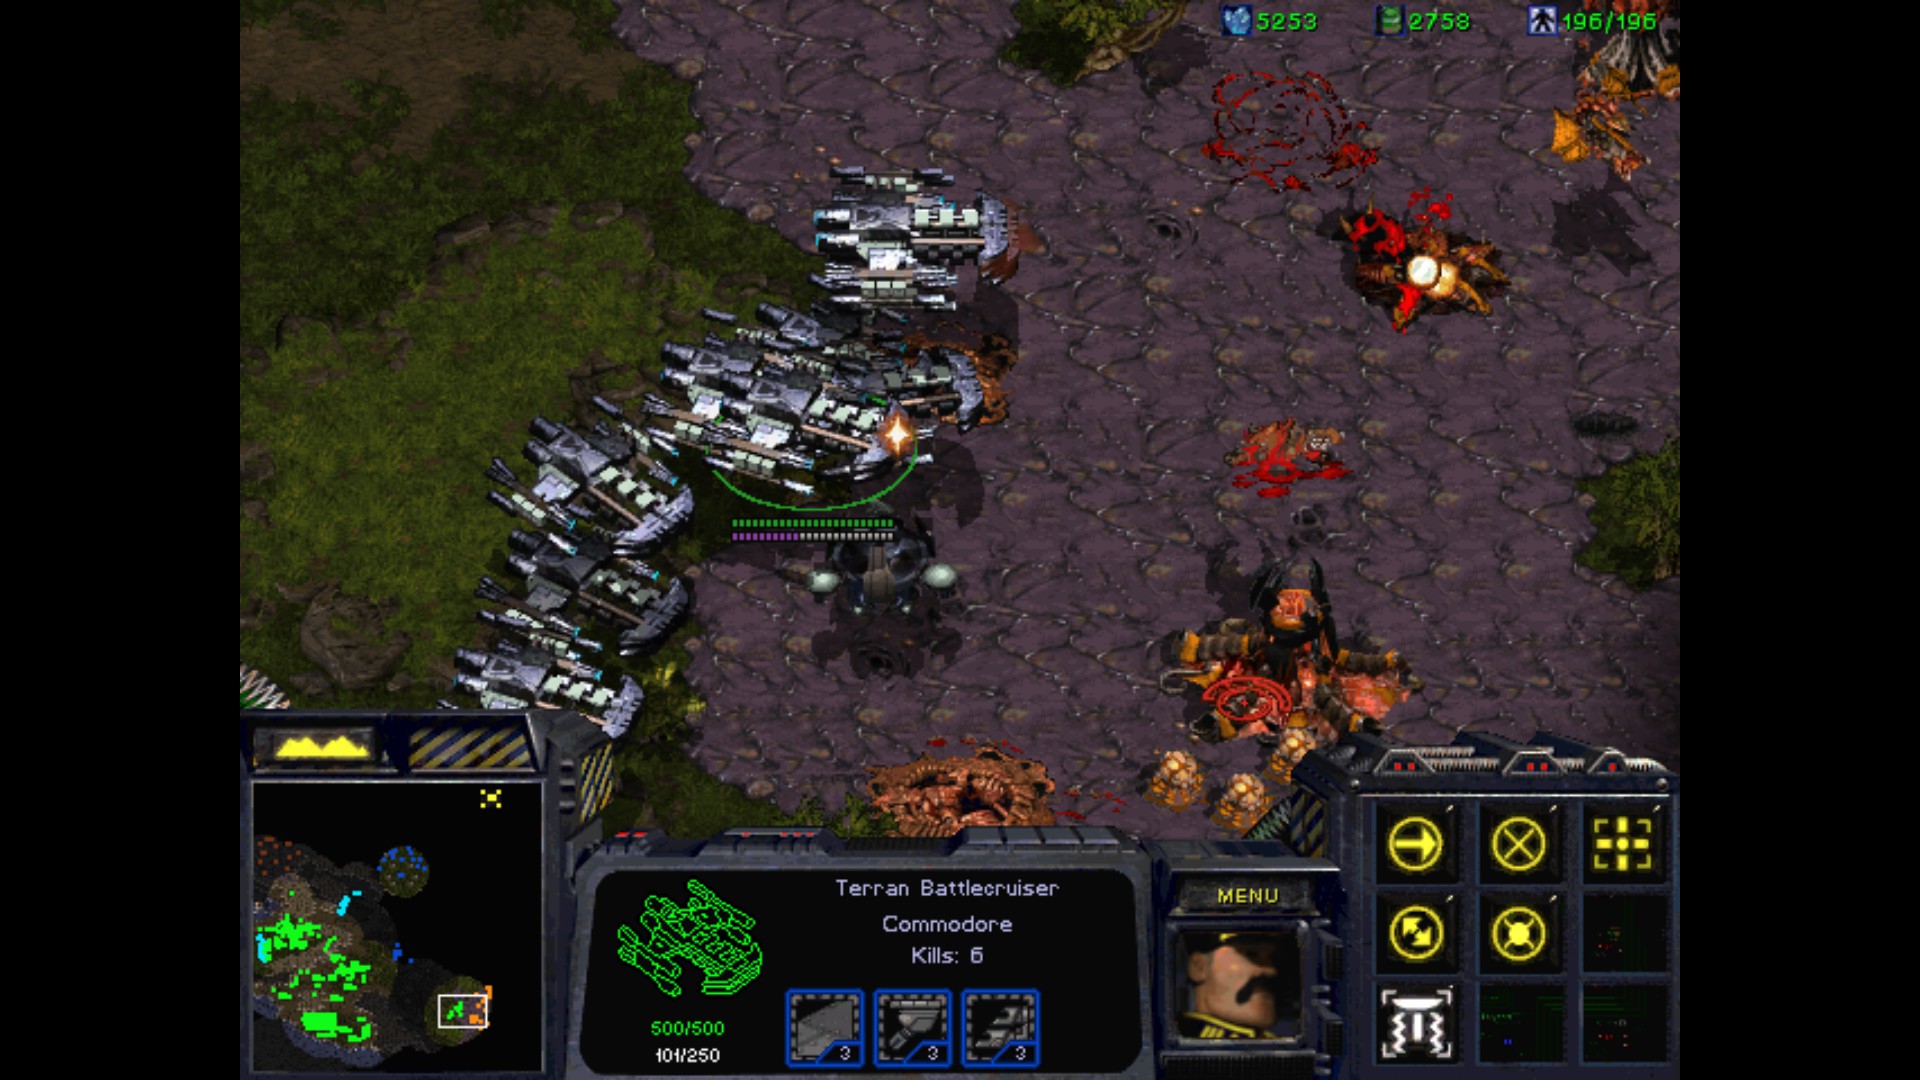
Battlecruisers are upgraded to the maximum. There is no reason to postpone the inevitable. Even without huge Hydralisks burrowed the fleet is moving like a hot knife through butter.

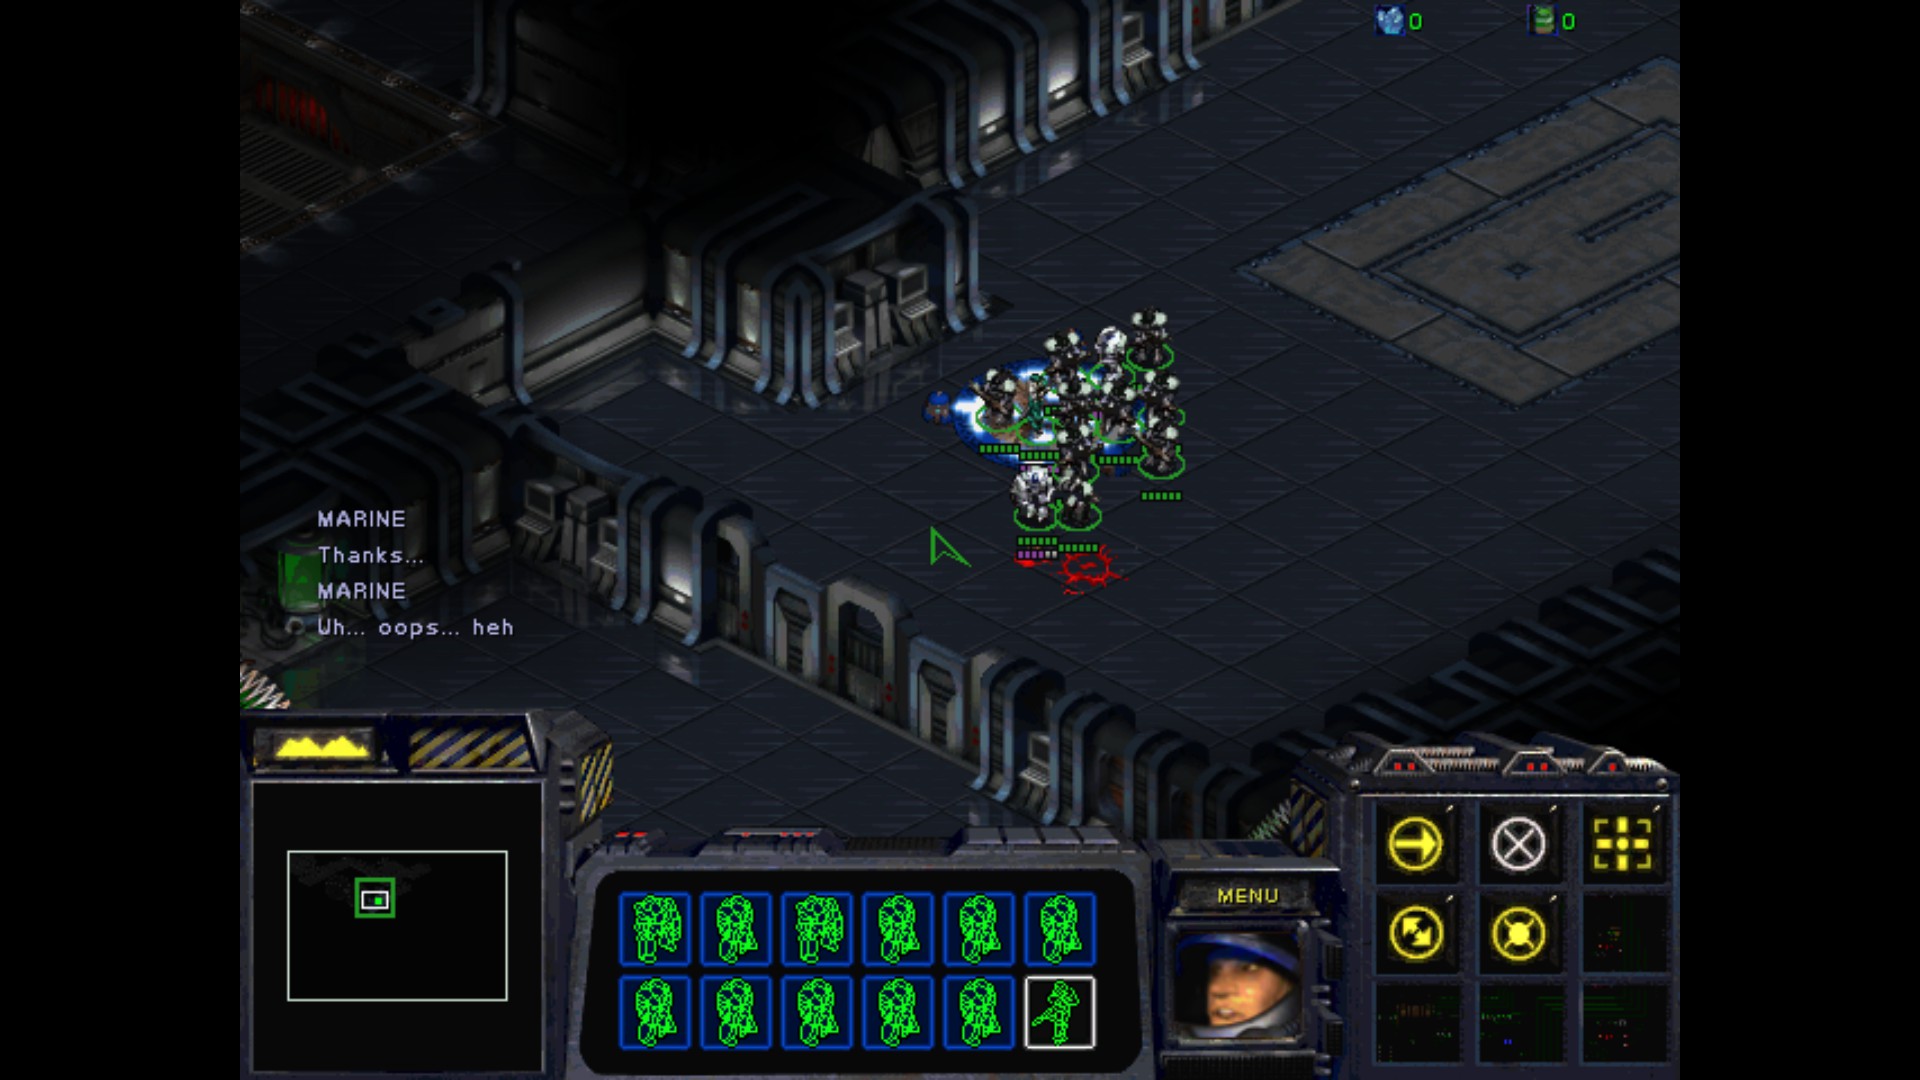
Oops, hehe. Funny situation as I've been catched into the crossfire. I kill Dragoon but leave Zealots intact.

They've destroyed the remaining Spore Colonies and helped me out with the ground forces. That was a really good idea.
Time for some repairing in a quick mode and flush the Protoss from here as well.
Grrr, they are more hard to hit as expected.
Still, quickly destroying pylons and other structures quickly changed the tides of battle.

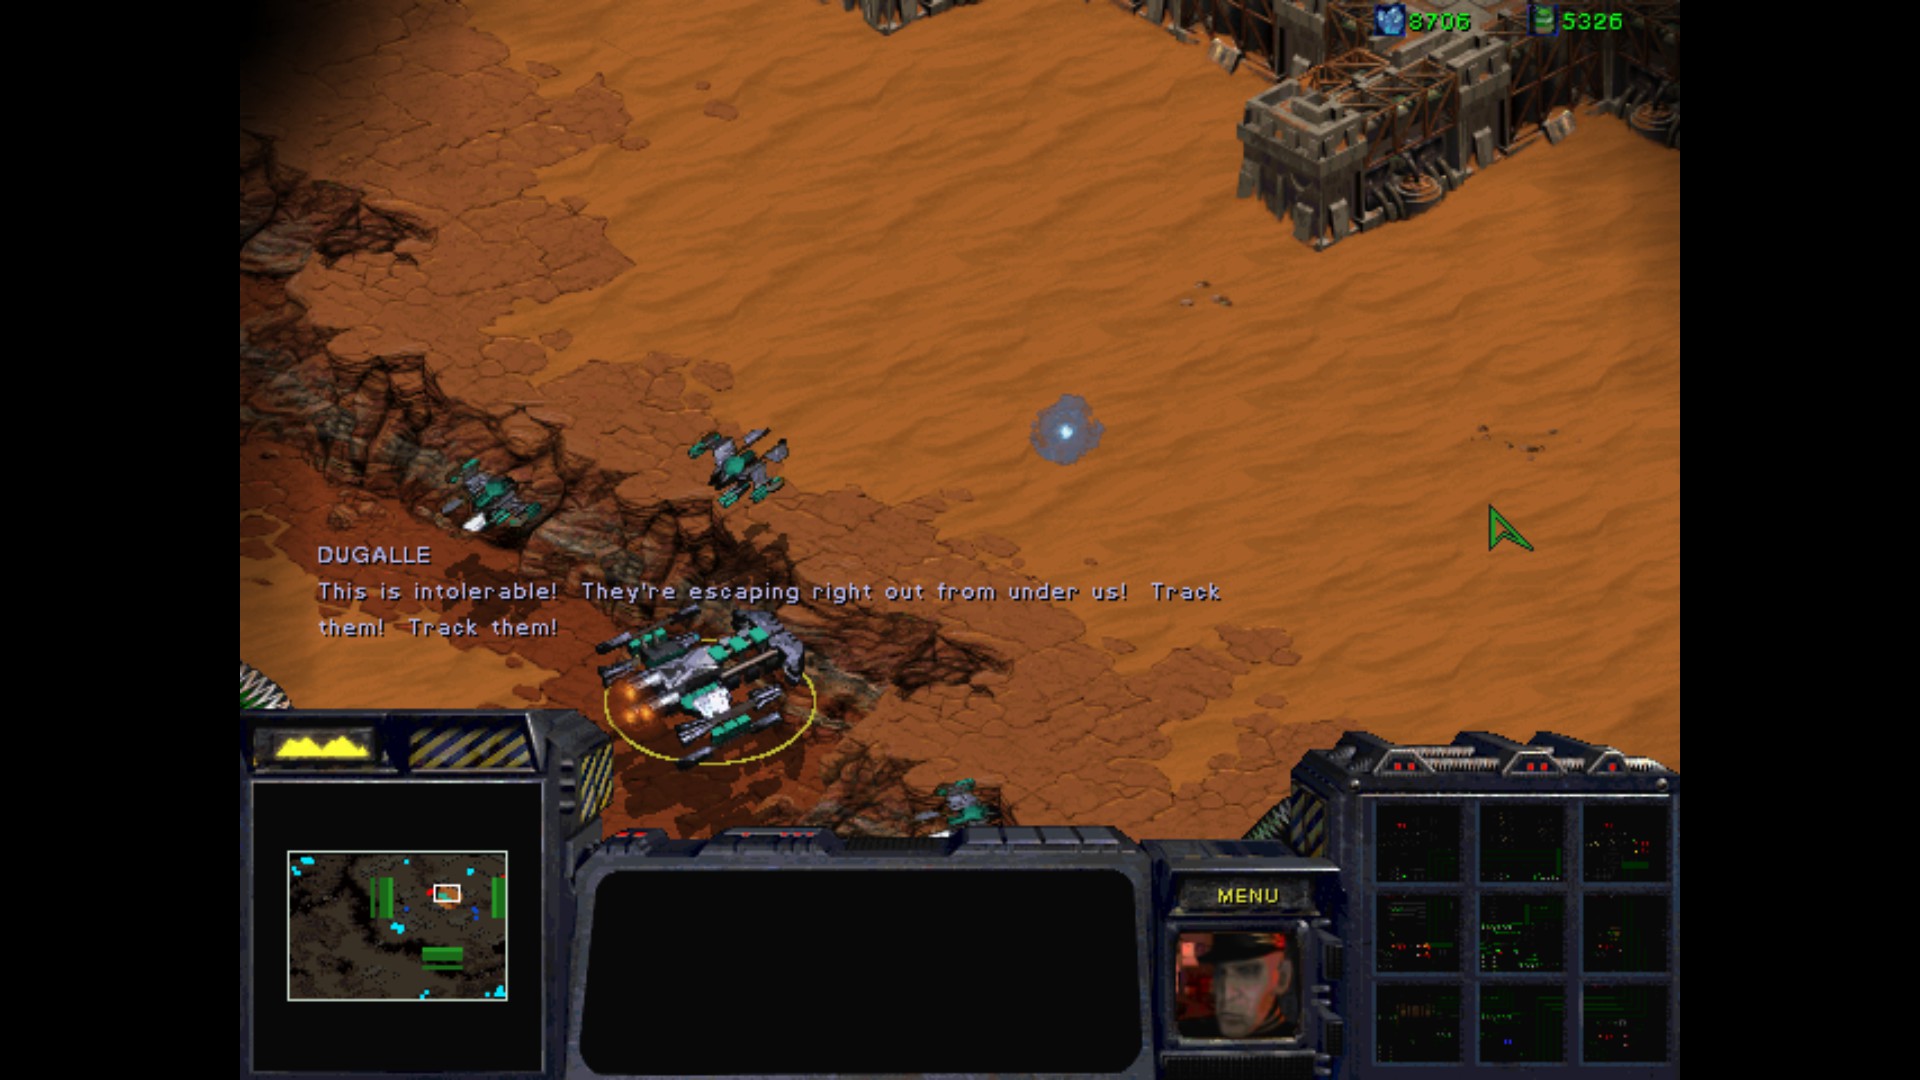
Ah, here it is. Hi Jim, missed me ?

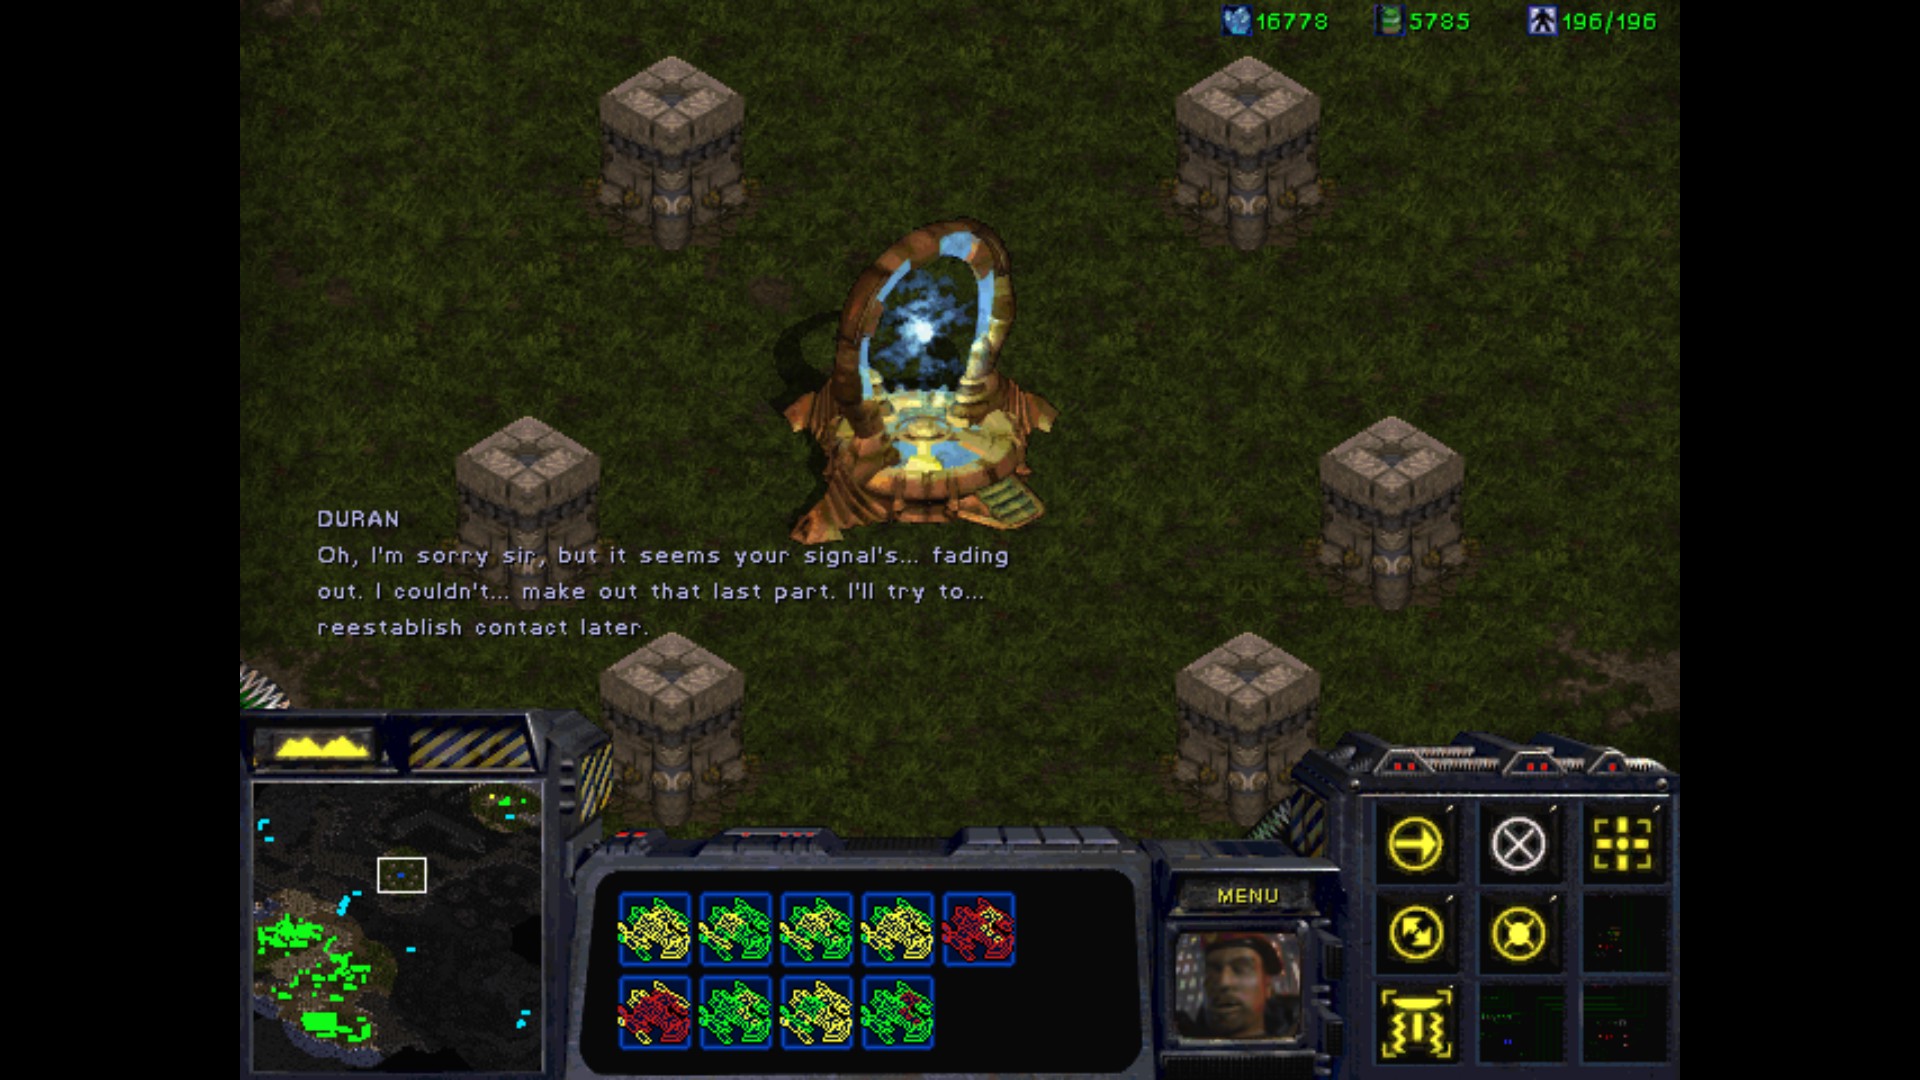


Bzz.... signal fading out...
That's it for today. Duran has shown that he really isn't playing for UED team from the start. We shall see, how it develops later on.
Logging out.
I'm keeping the remaining Valkyries in a good shape
:pic of 11 hp valkyrie:
That's because Ilsa was waiting to be repaired by SCV 
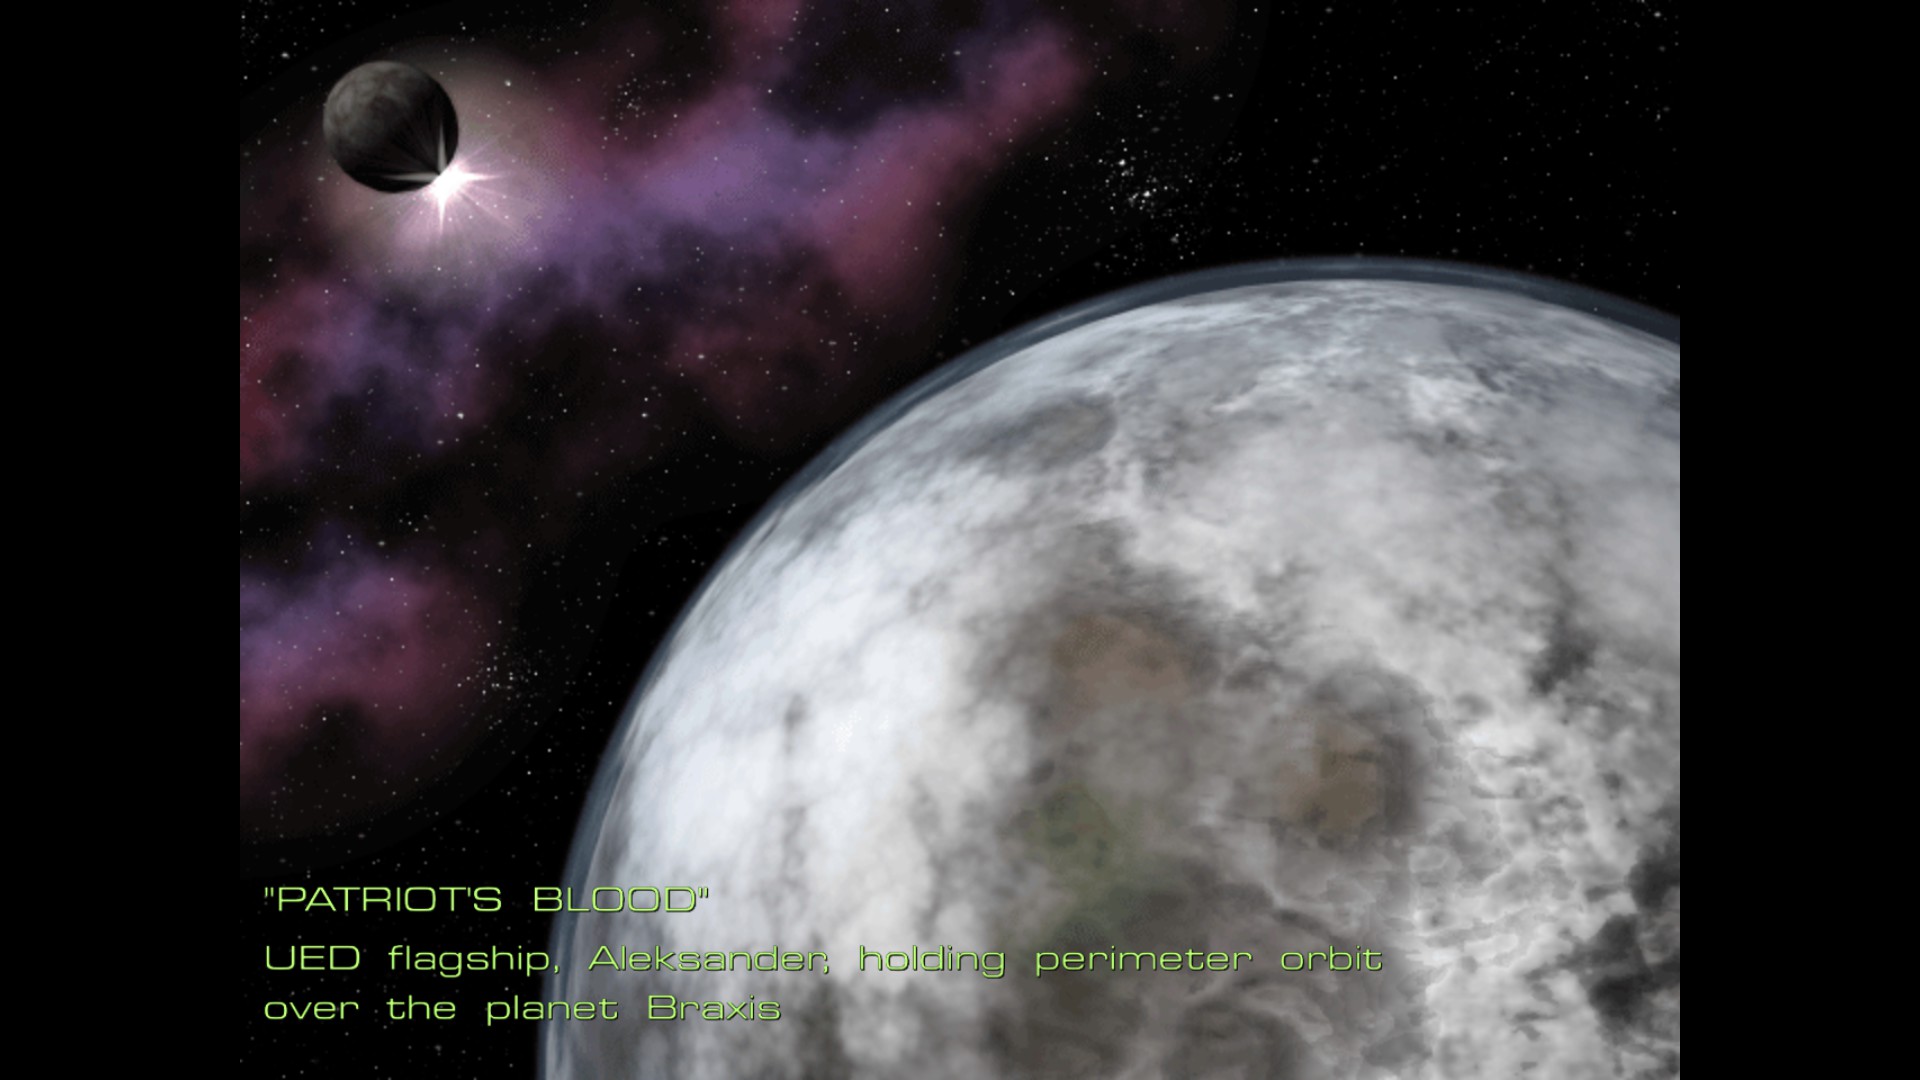
Mission VII : Patriot's Blood
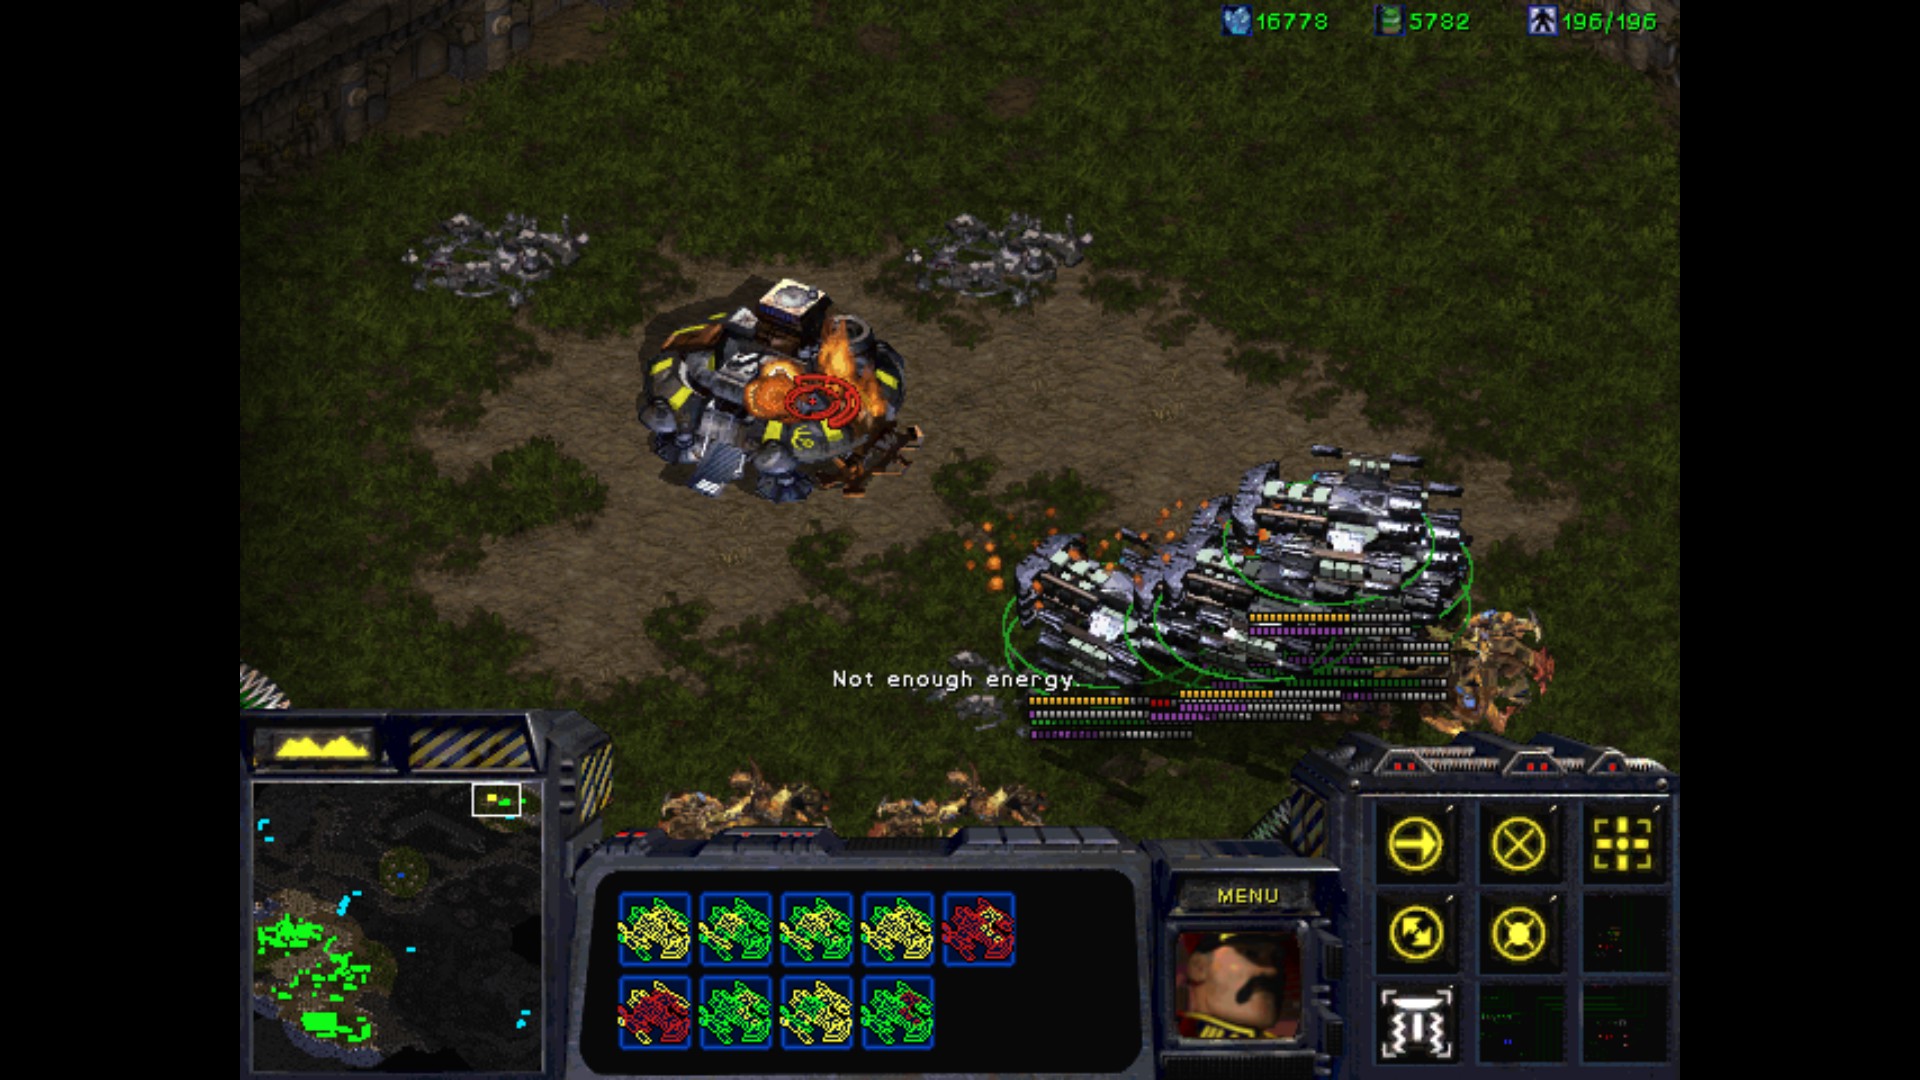
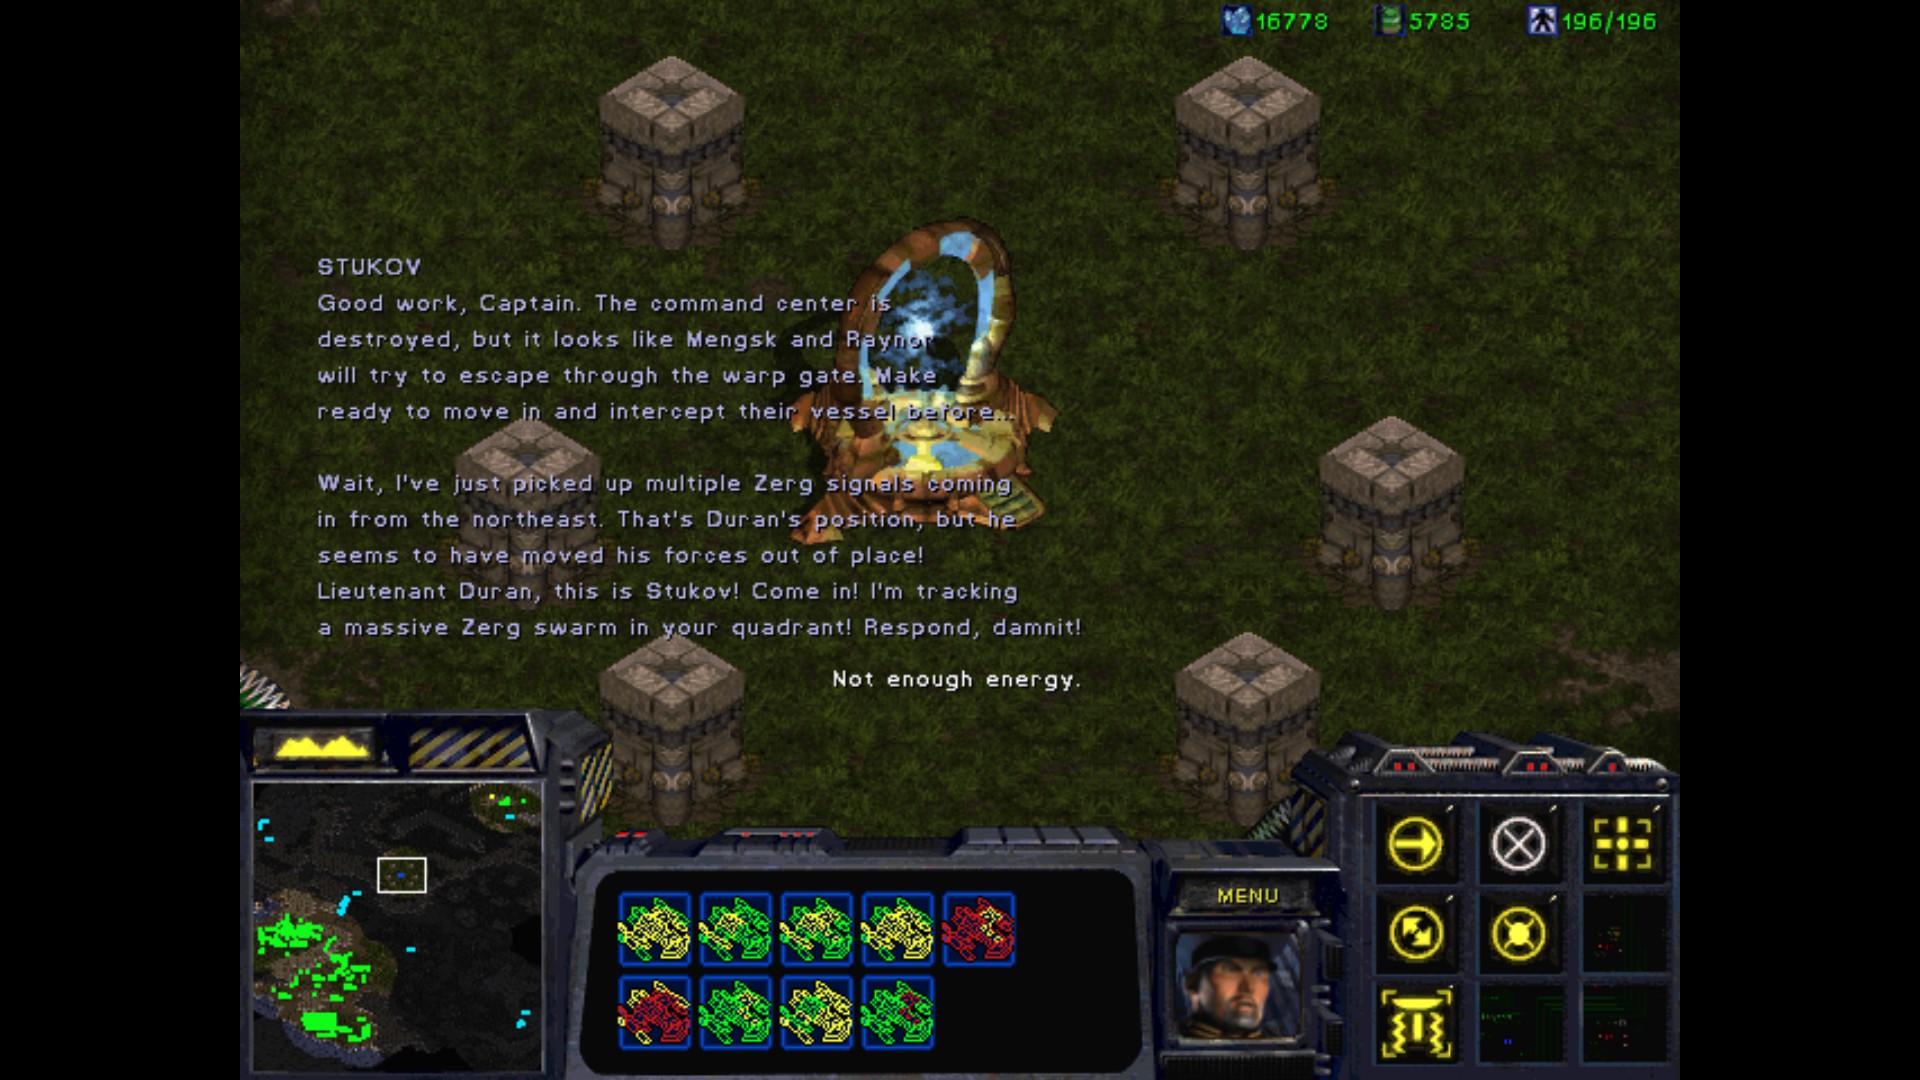
Admiral, the fugitive Mengsk and Raynor escaped through the warp gate due to the intervention of the Zerg.
But shortly before our forces were overrun, Vice Admiral Stukov took control of a large contingent of troops and came here to the planet Braxis.
Why would he abandon the battle on Aiur?
Why has he come back to Braxis?
I mean no offense, Admiral. But perhaps Stukov's loyalties are not as strong as you once believed.
Because you are young and foolish, Lieutenant, I will pardon that insult.
Alexei and I have been friends since long before you were born.
However, he must be found. If Stukov is here, he will account for his actions.
Admiral, our sensors have detected a fully functional Psi Disrupter on the planet's surface directly below our position.
It would appear that the Vice Admiral did not destroy the Psi Disrupter on Tarsonis as was ordered.
What? Impossible!
I warned you Admiral! Stukov has betrayed you! He's reconstructed the Psi Disrupter in order to sabotage your mission in this sector!
I can't believe it. Yet the evidence is incontrovertible. Alexei, what have you done?
Perhaps you've been right all along, Lieutenant. On my authority, enter the Psi Disrupter... and... deal with the Vice Admiral appropriately...
Of course, Admiral.
Objectives :
- Find and kill Admiral Stukov
- Duran must survive
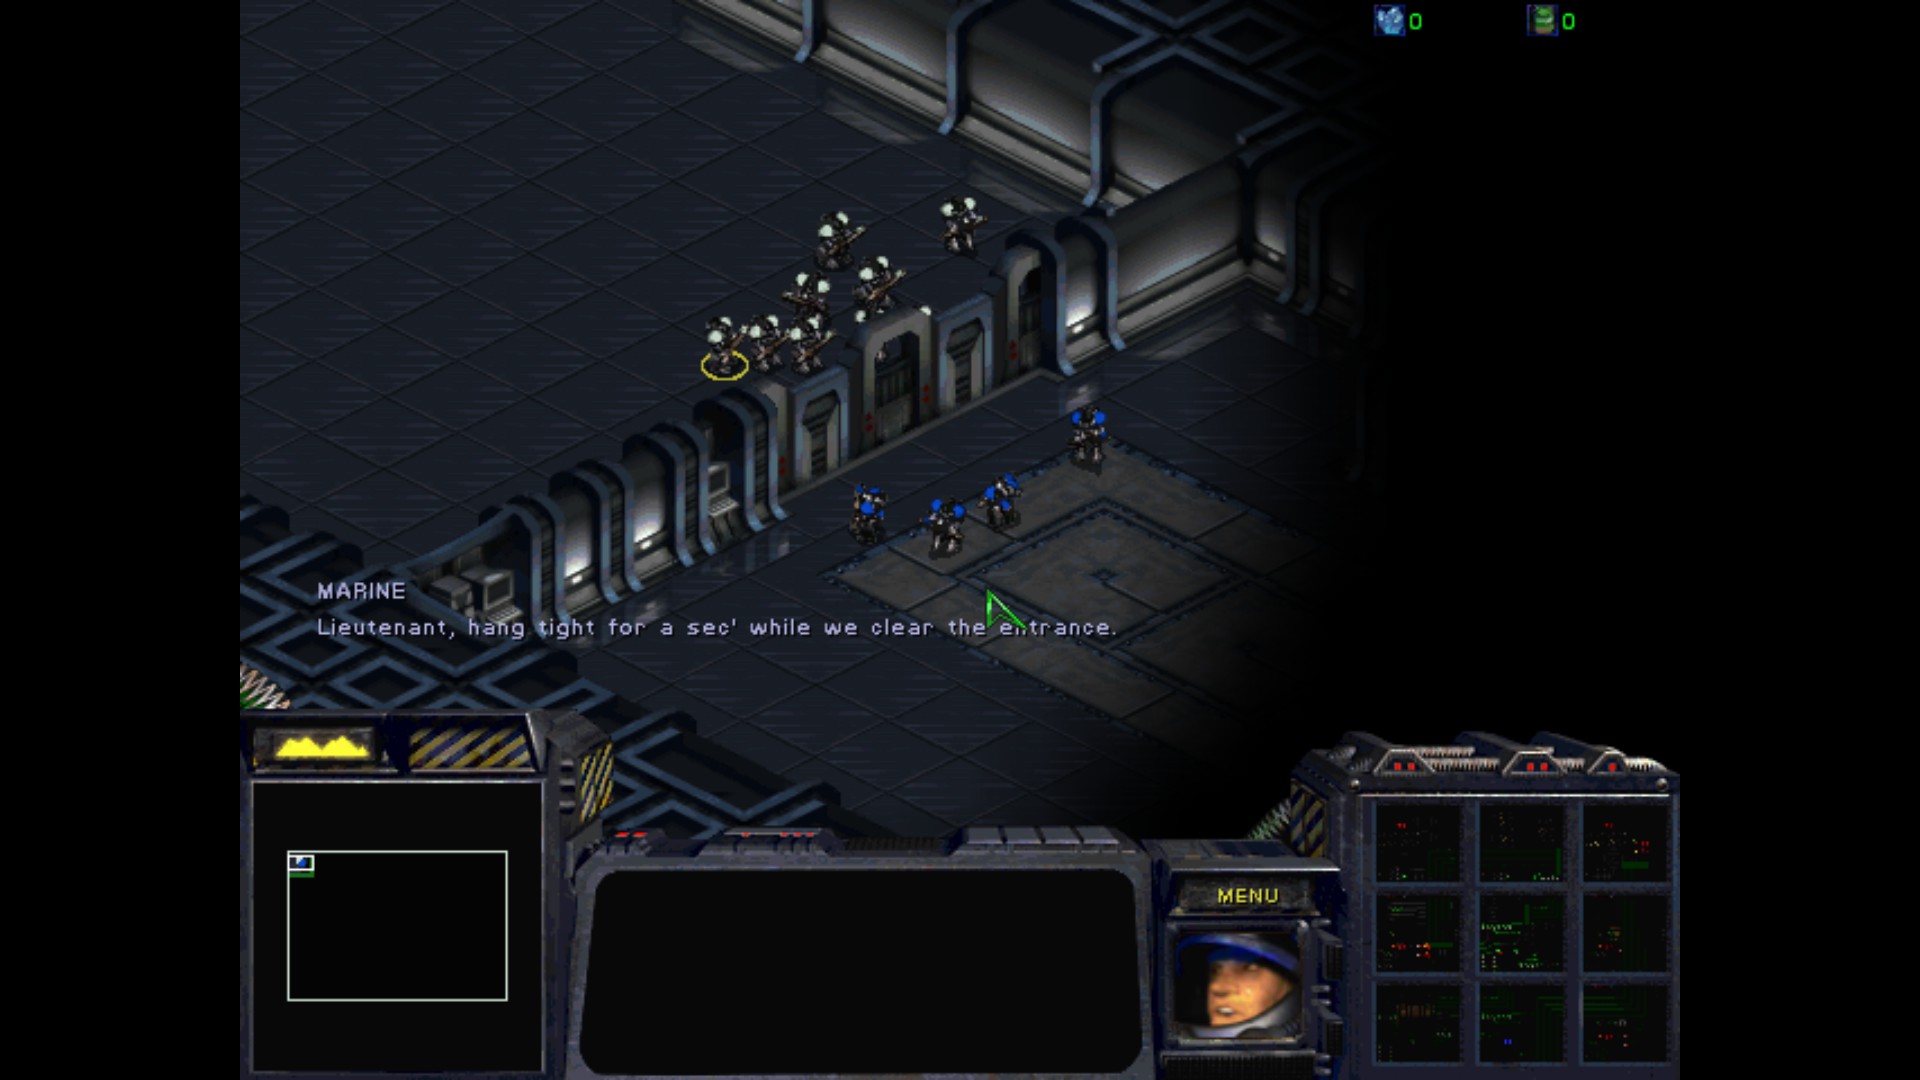
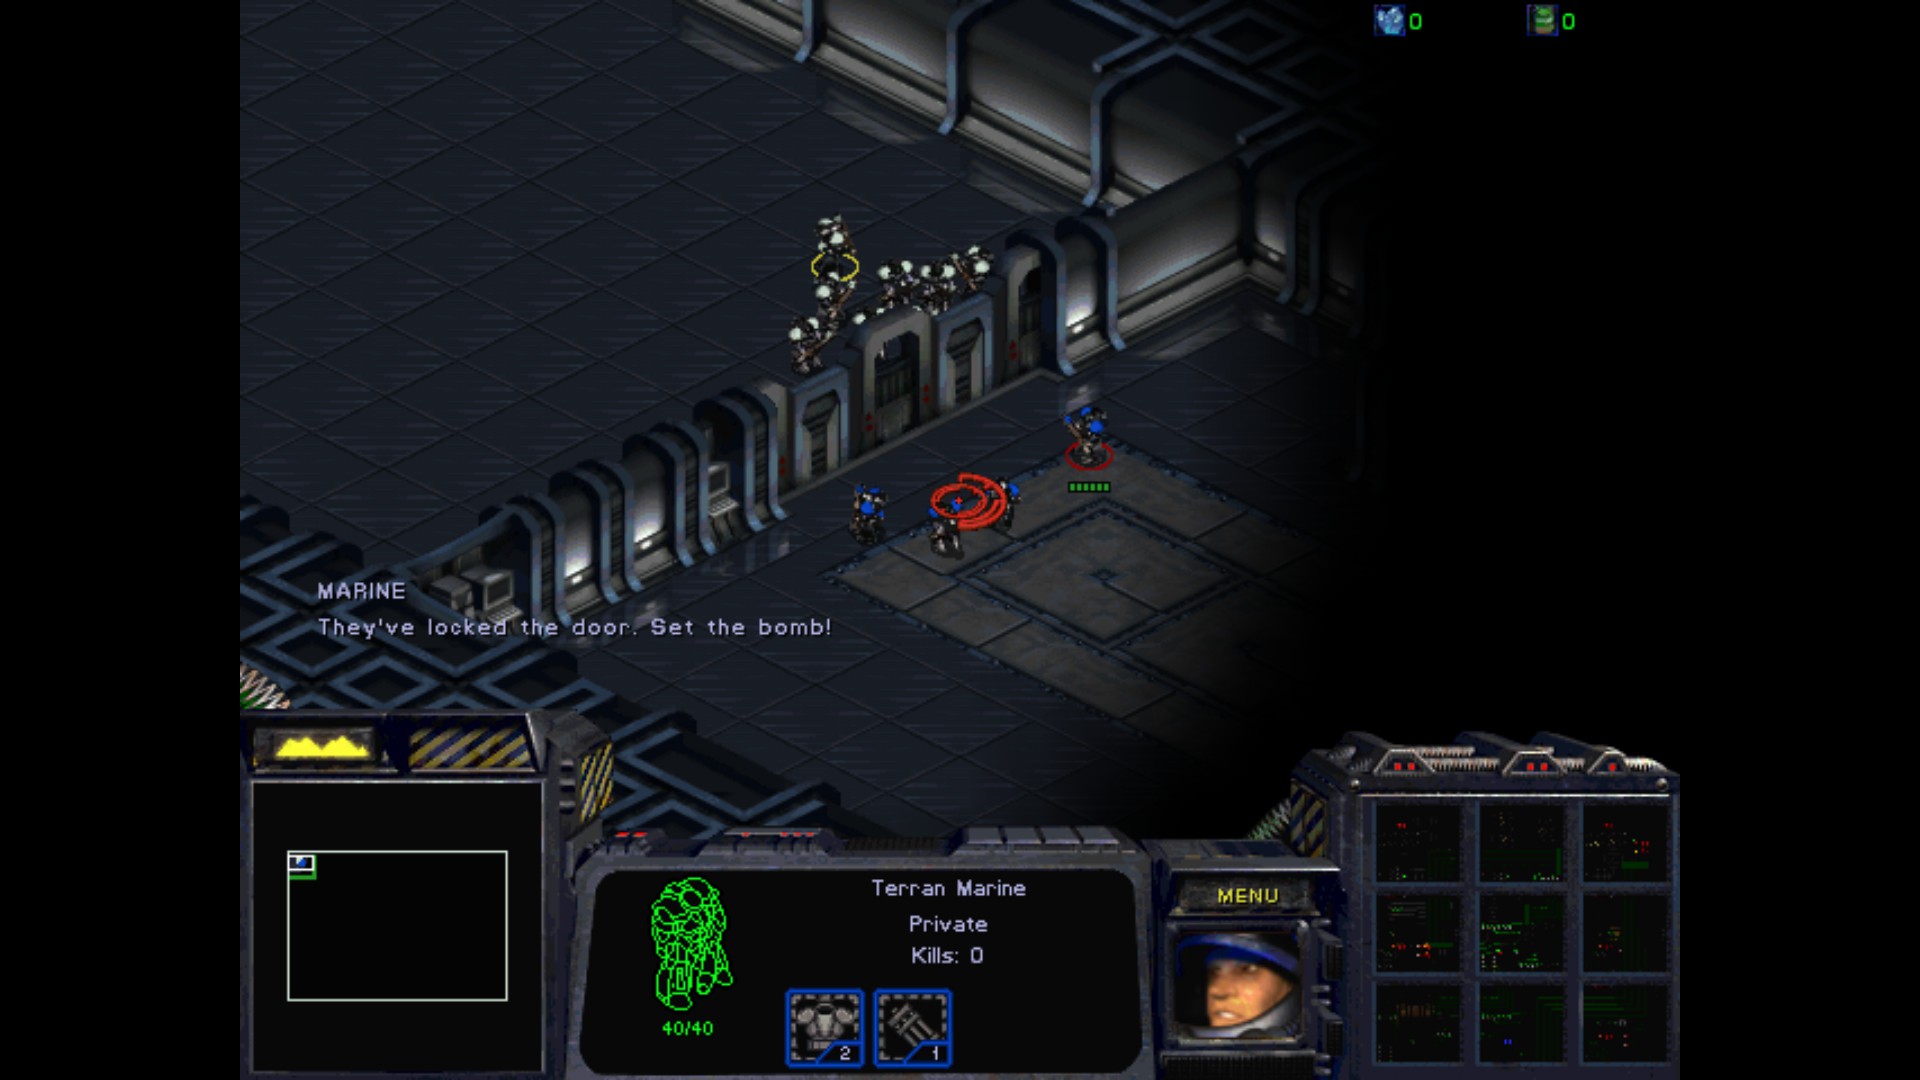
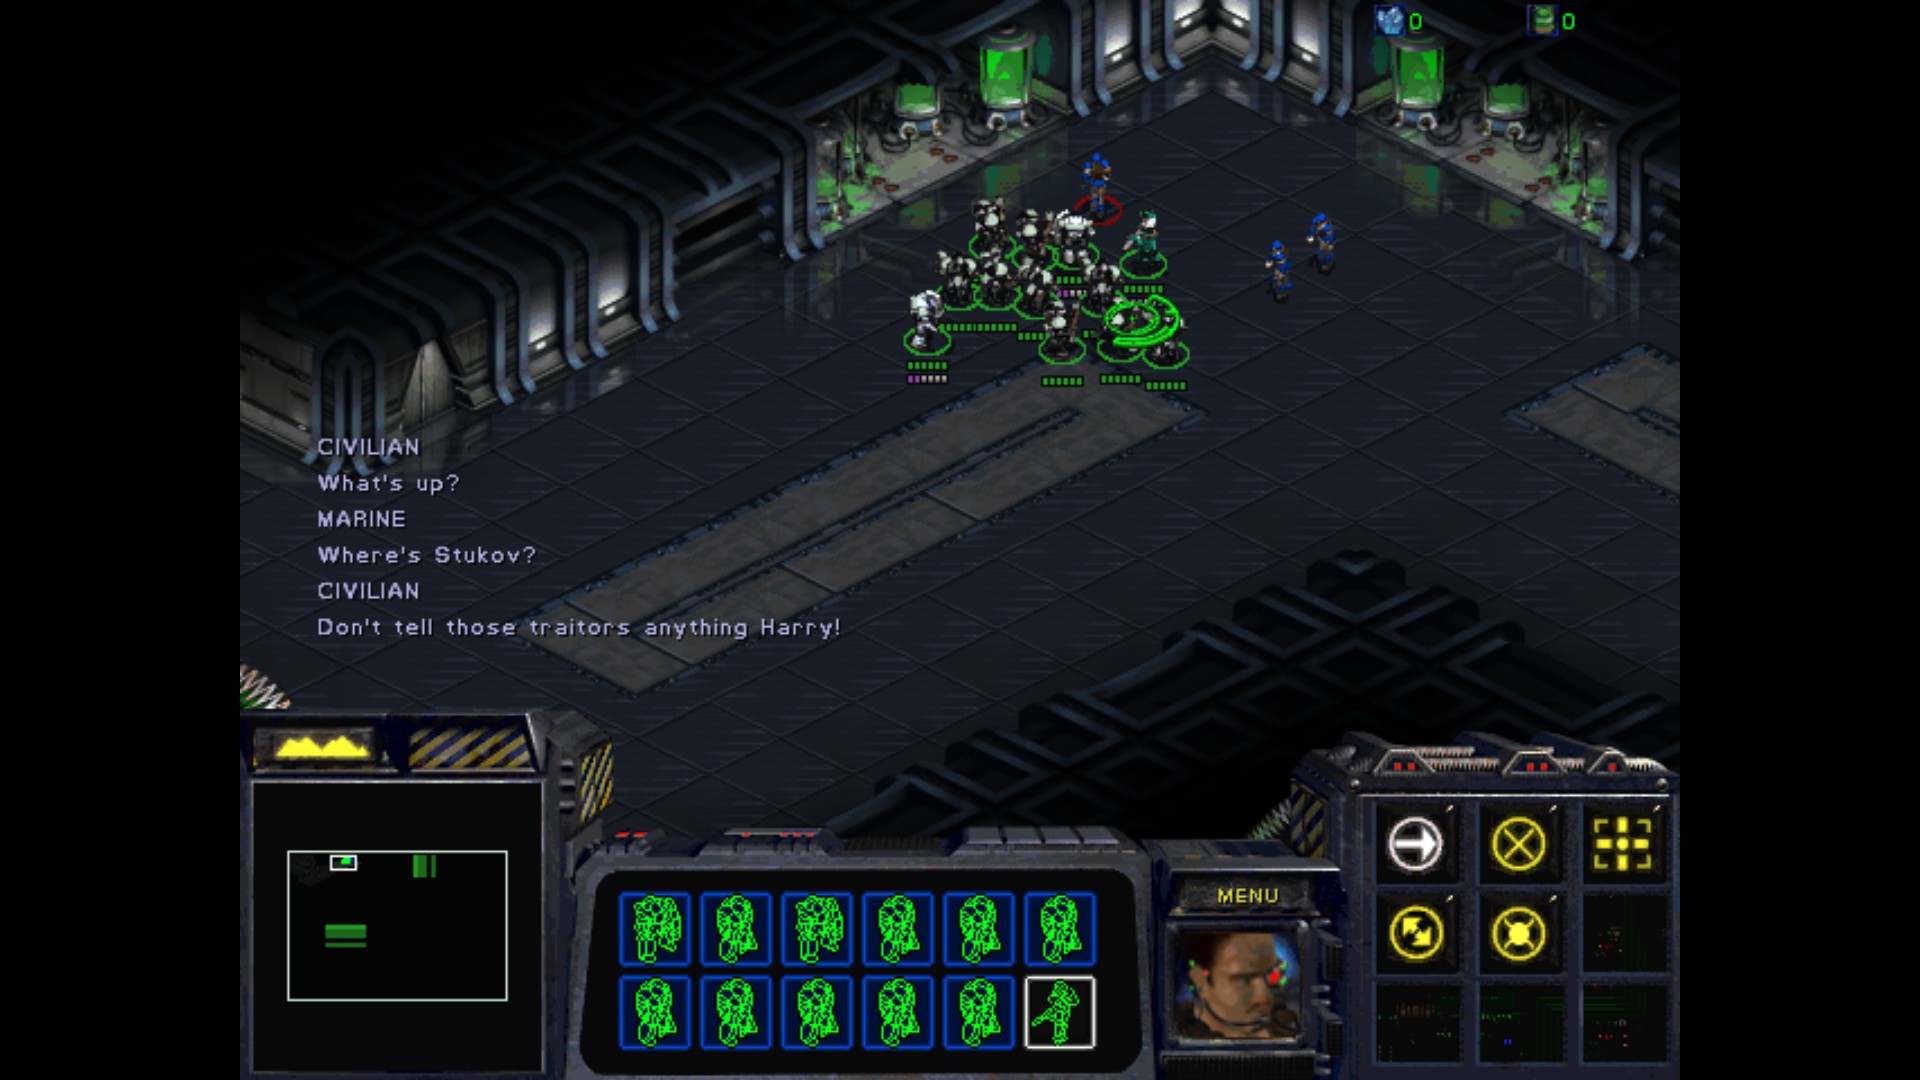
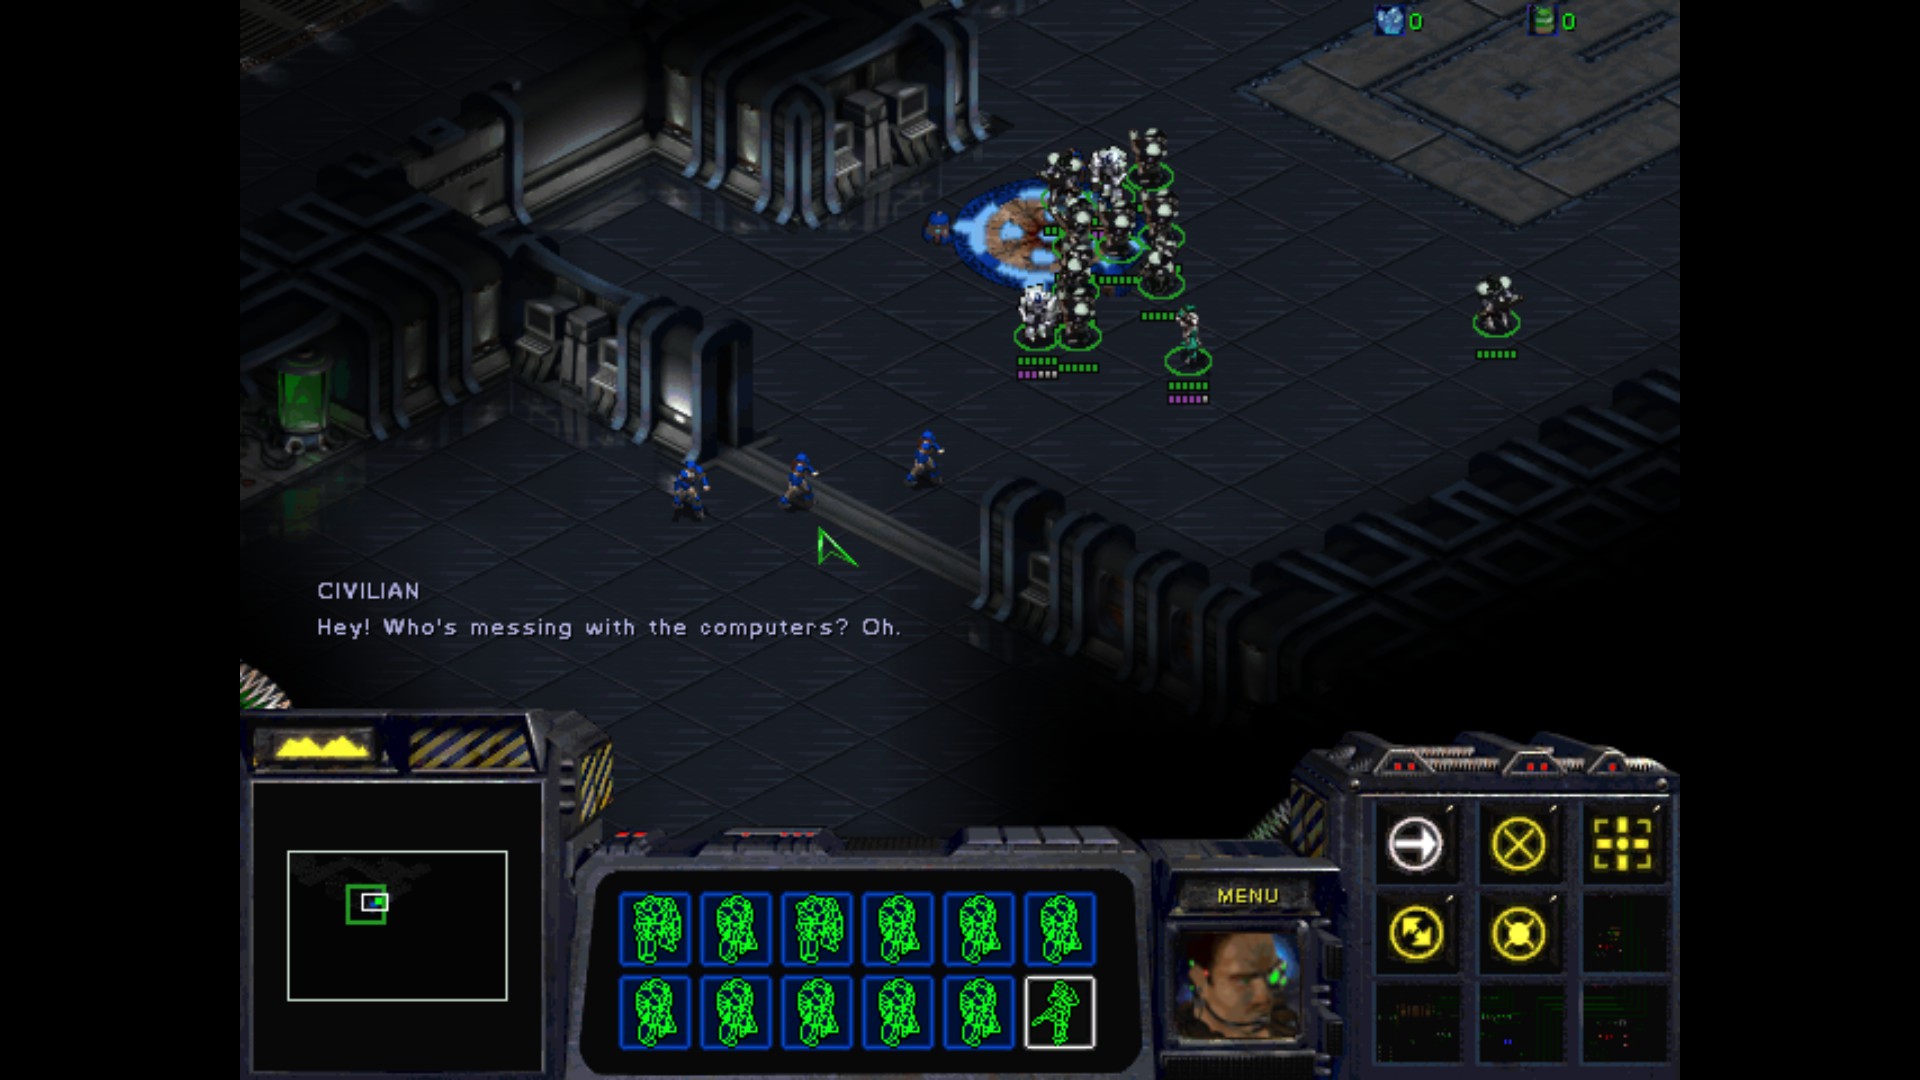
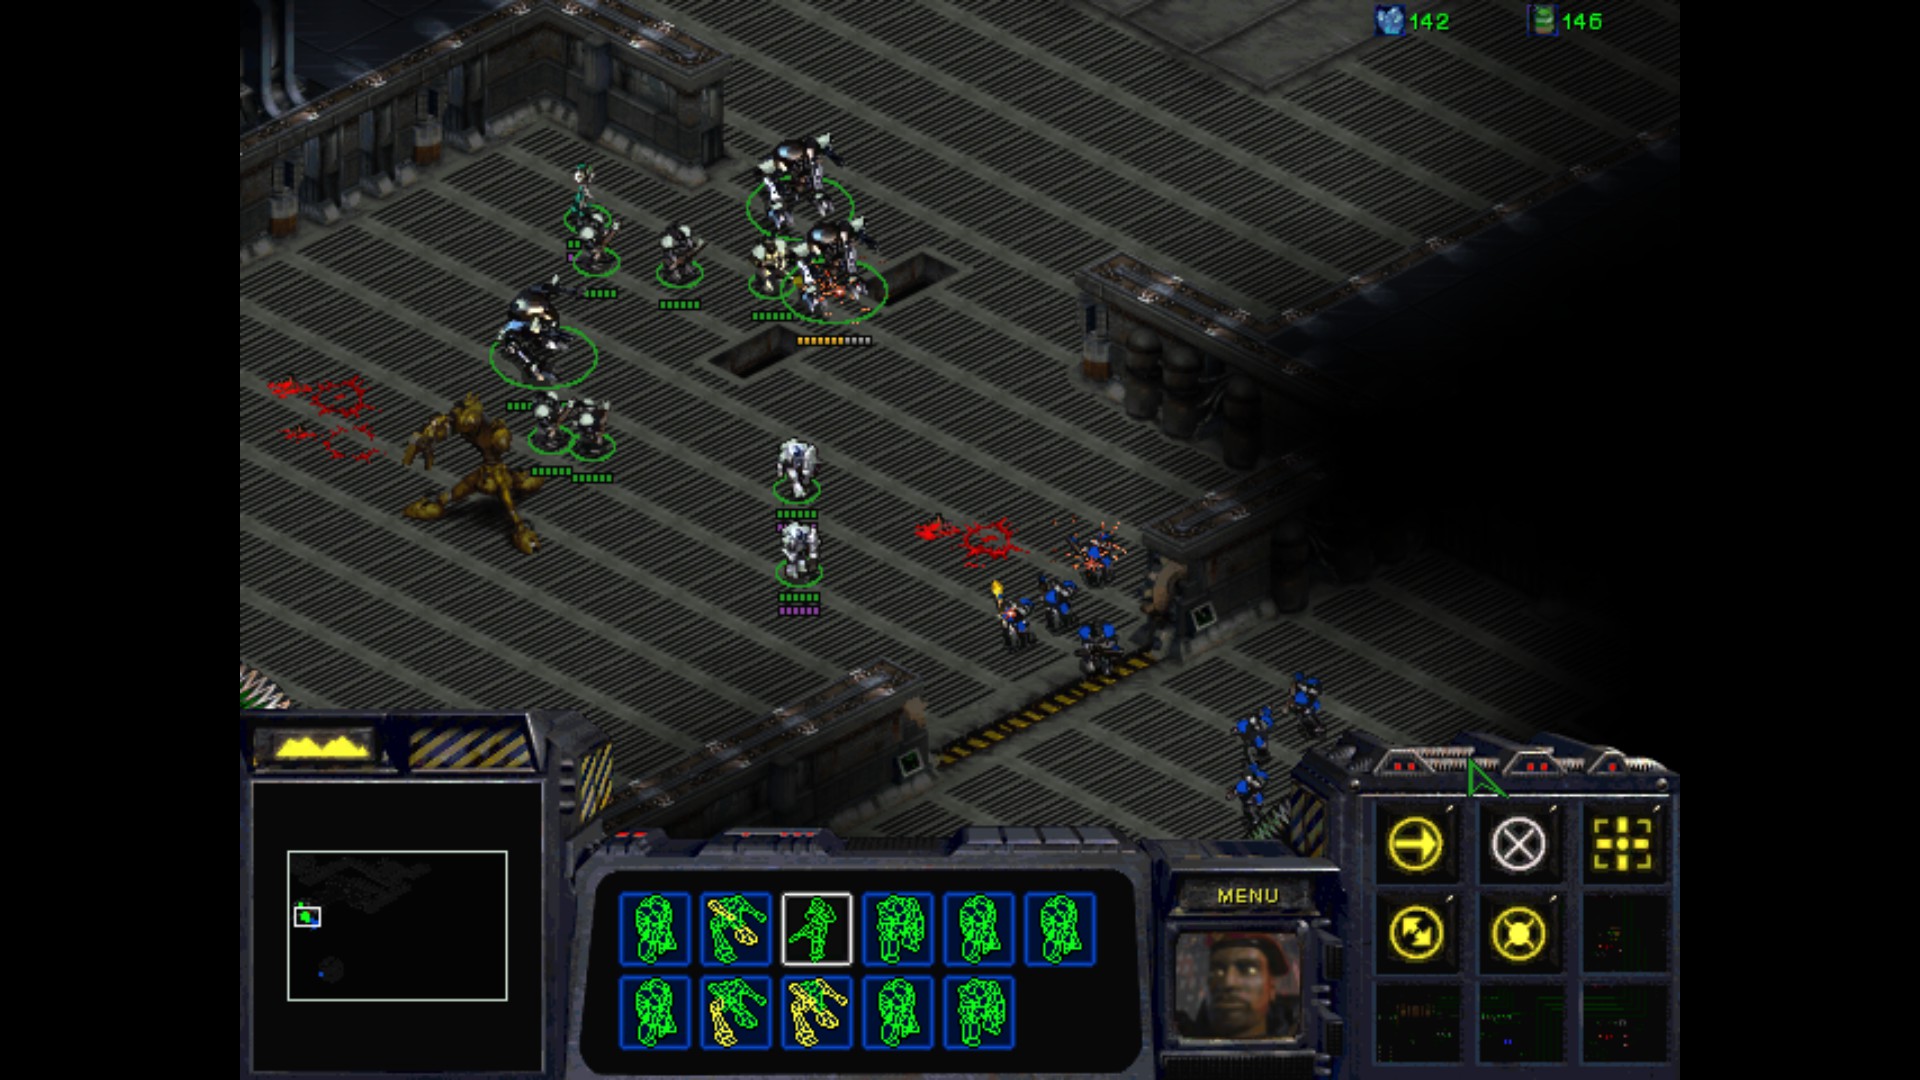
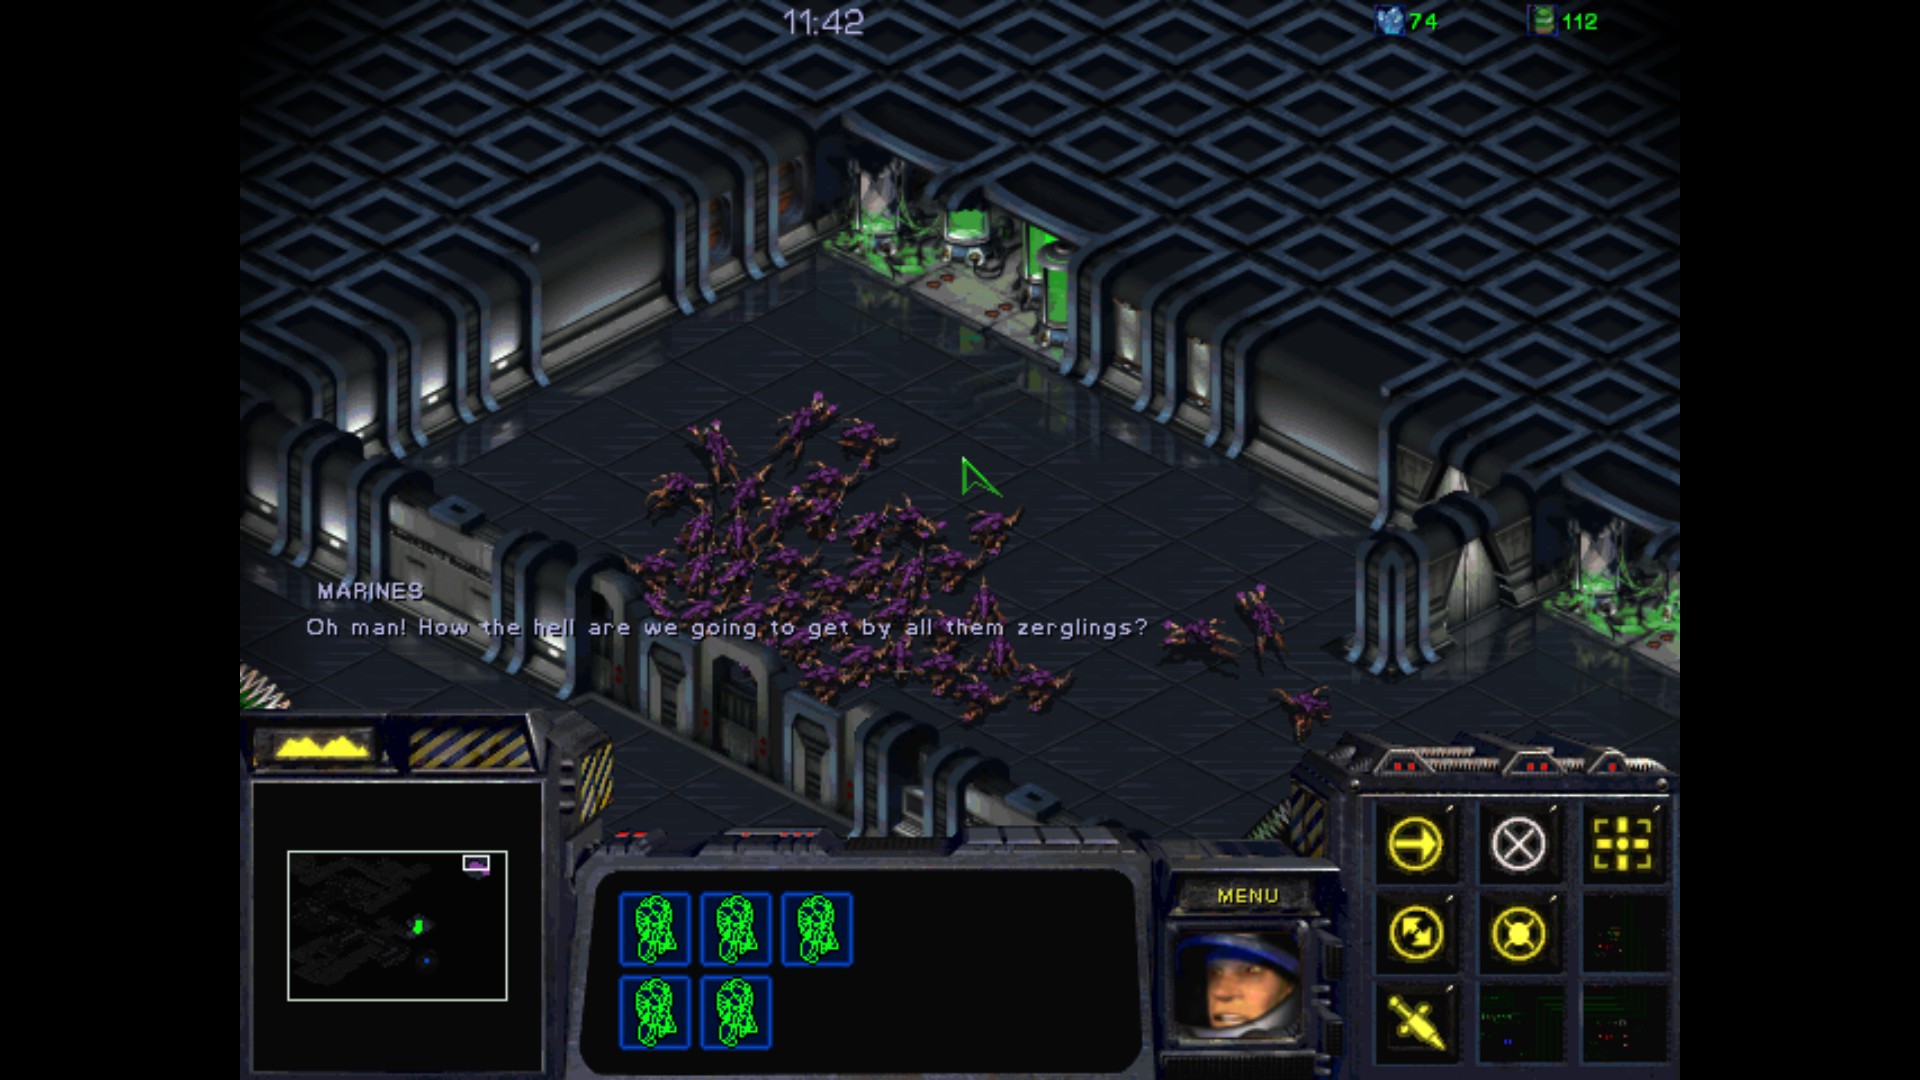
"Patriot's Blood" is another mission without any resources. It's time to detonate the BOMB at the gates and start moving through the huge installation, in which we need to find Stukov.


After that we got additional Medics and Duran as well to our team. Time to move up and find some terminal which could lead us into some specific location.
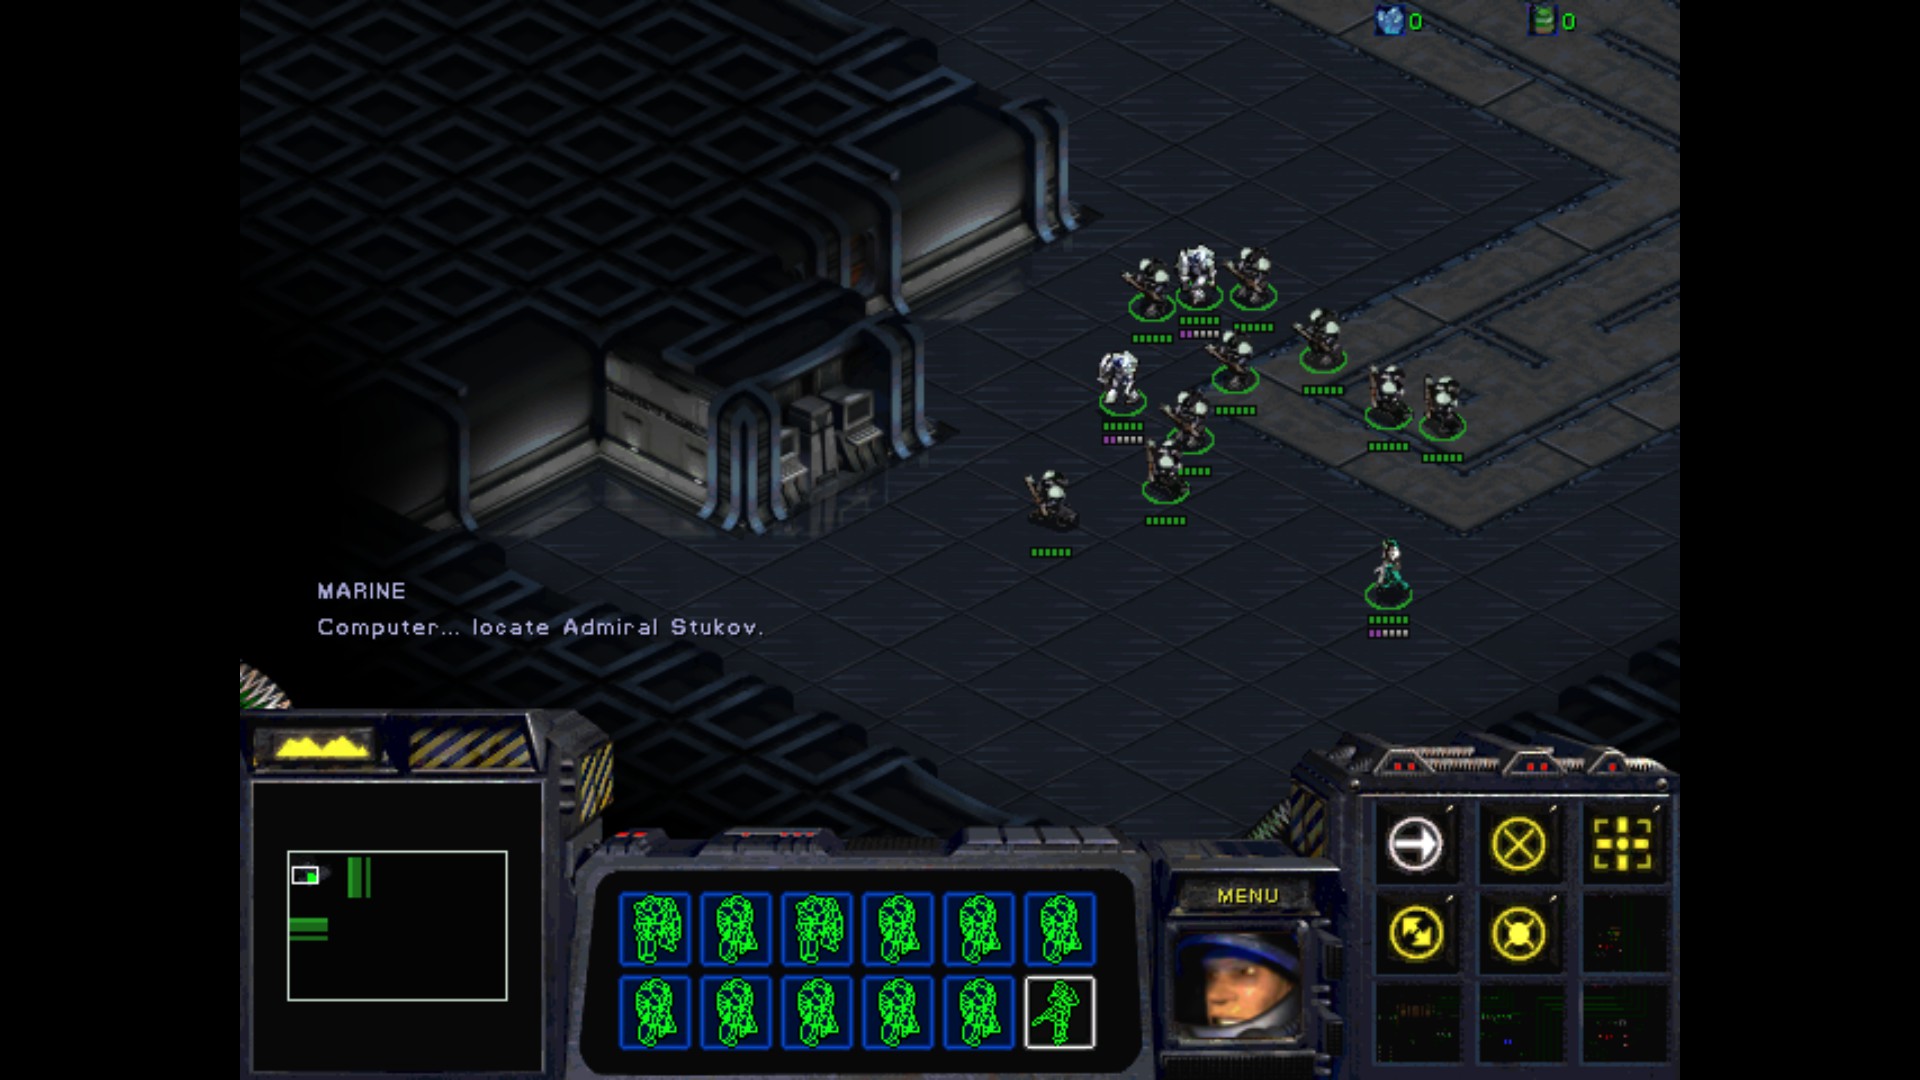
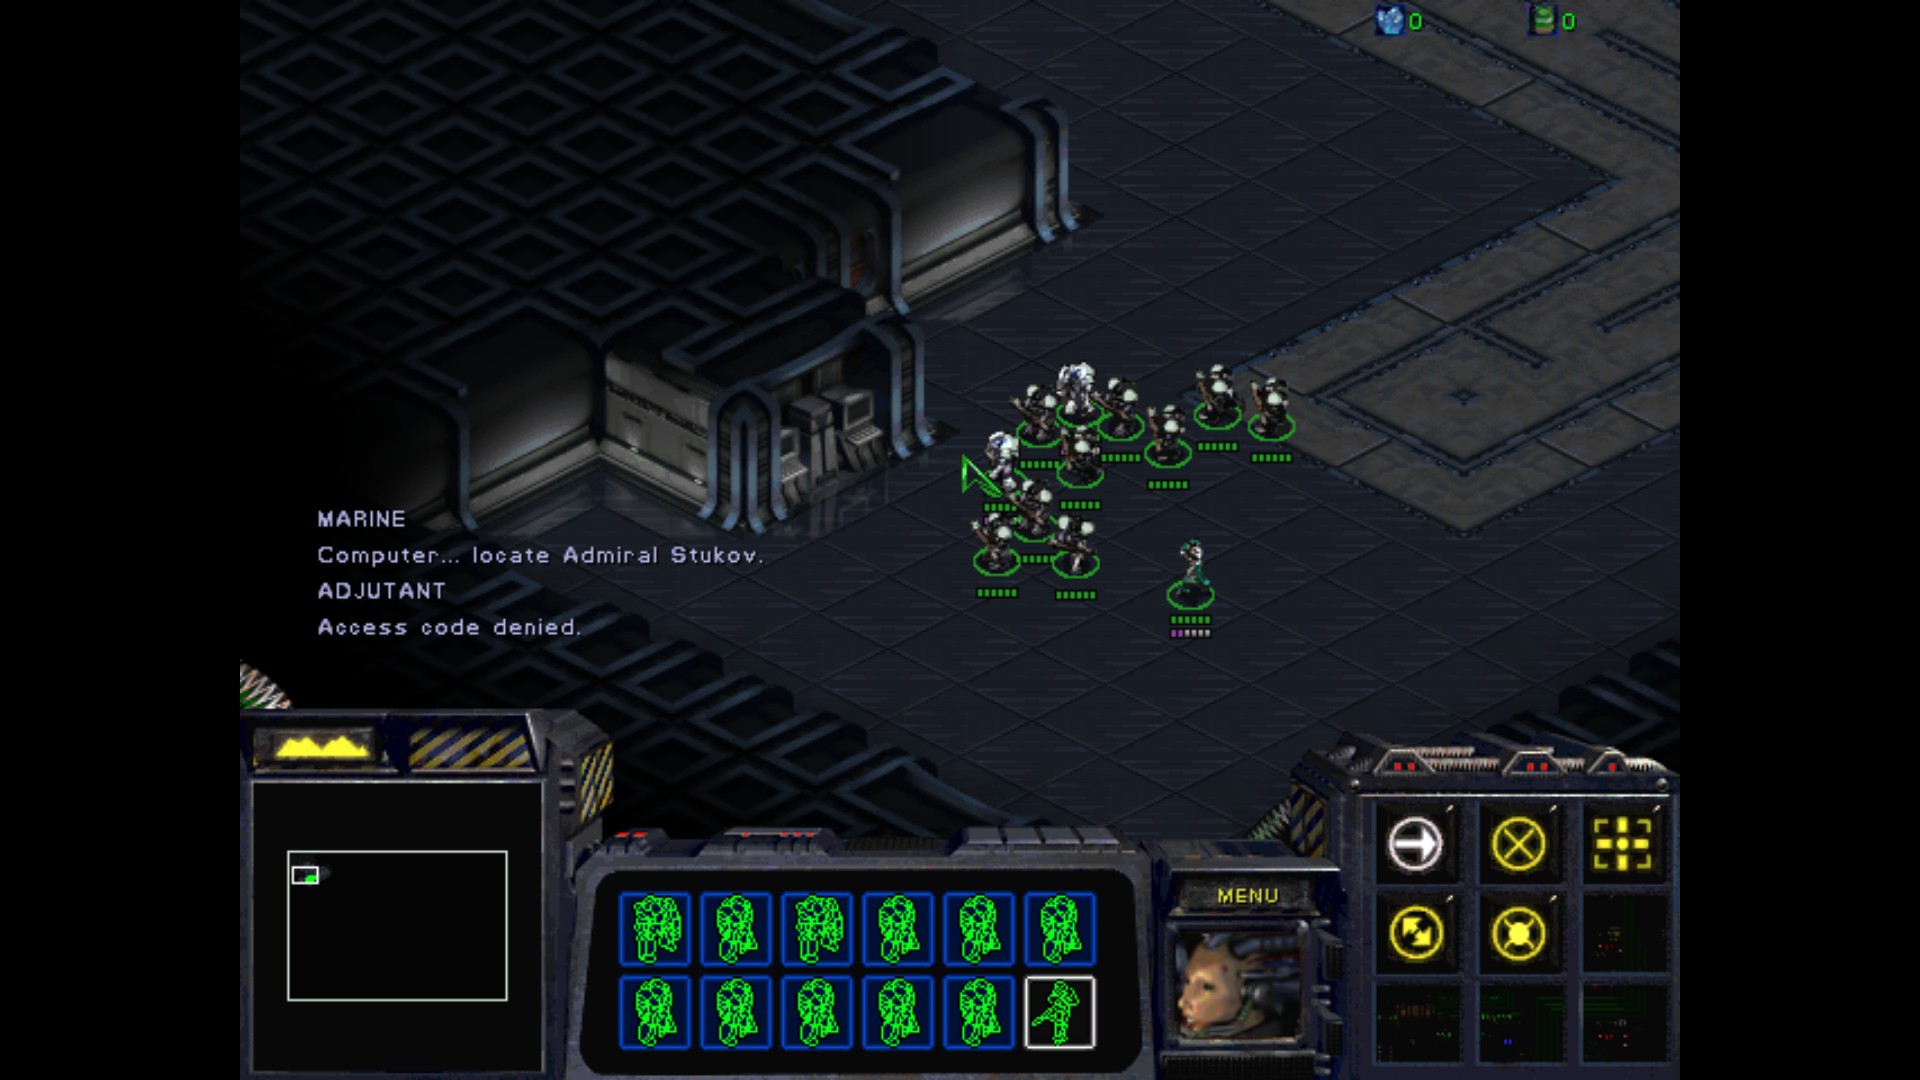
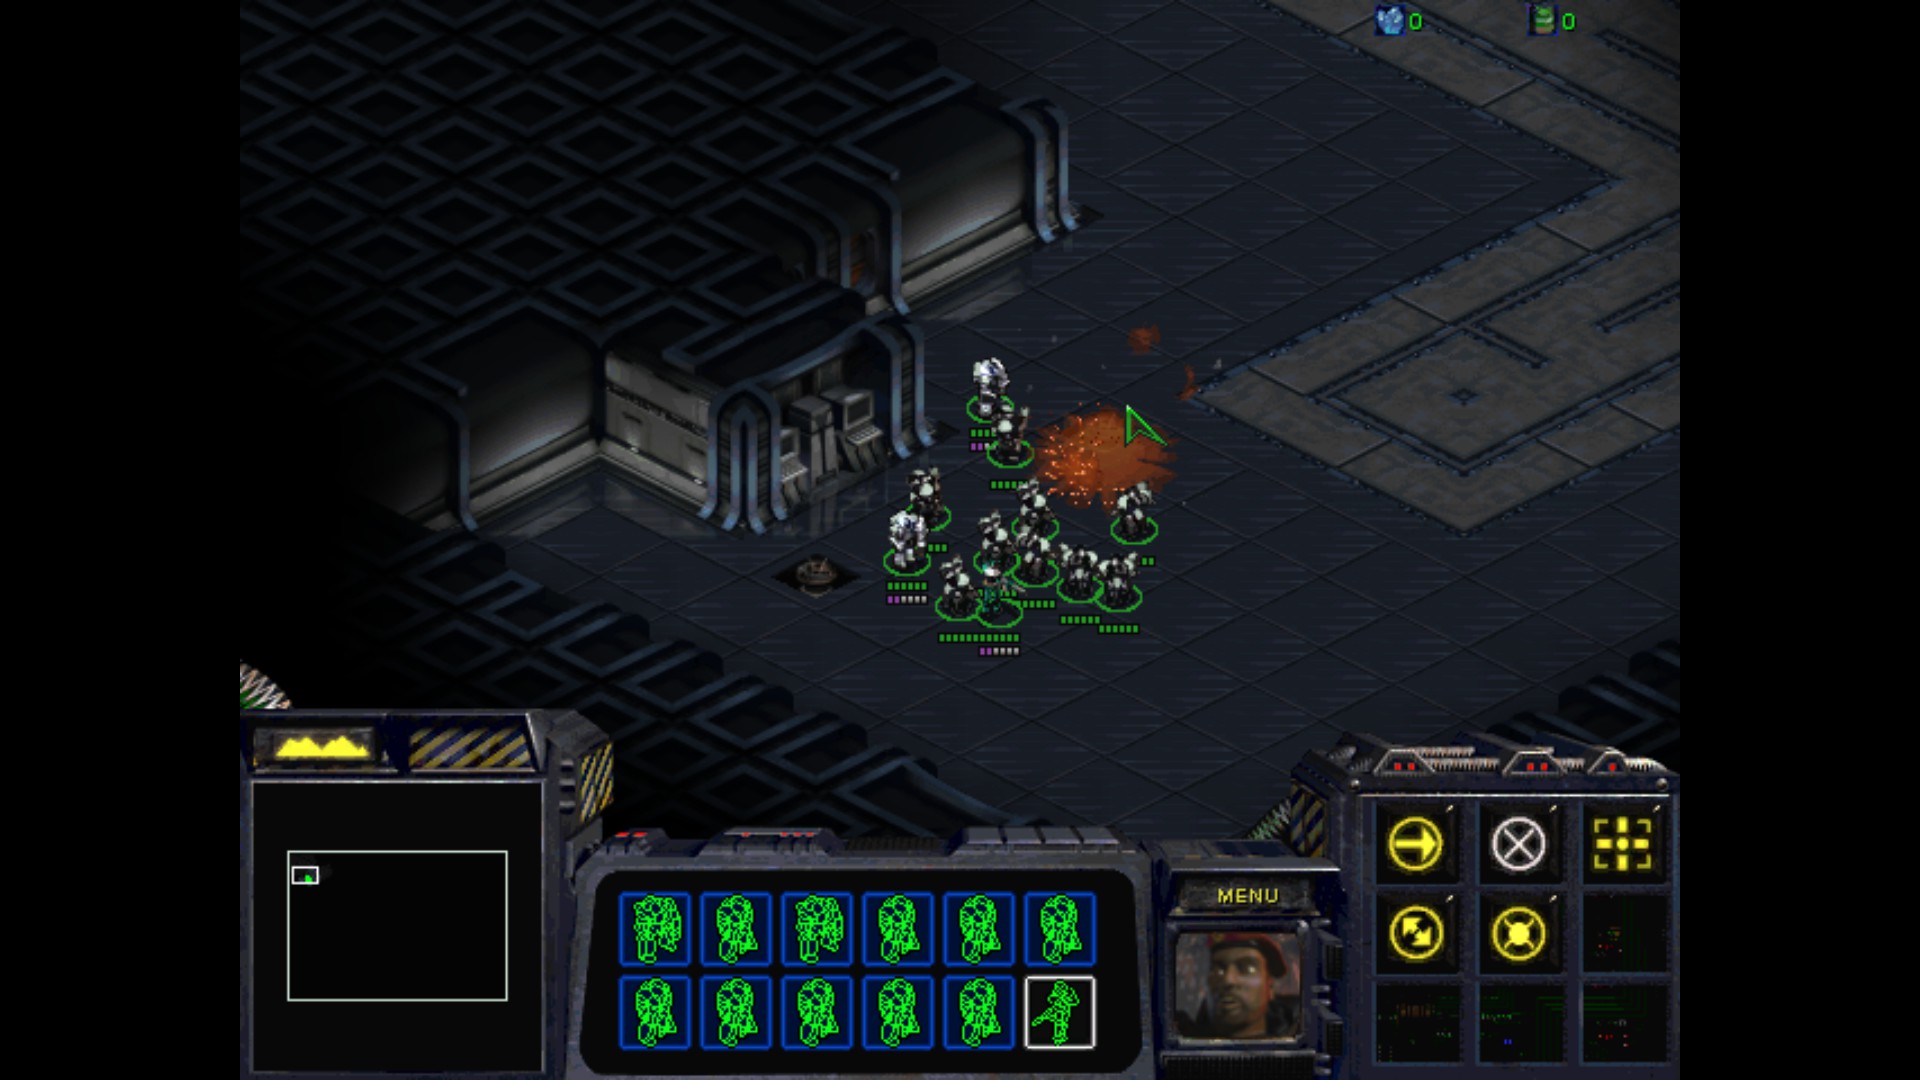
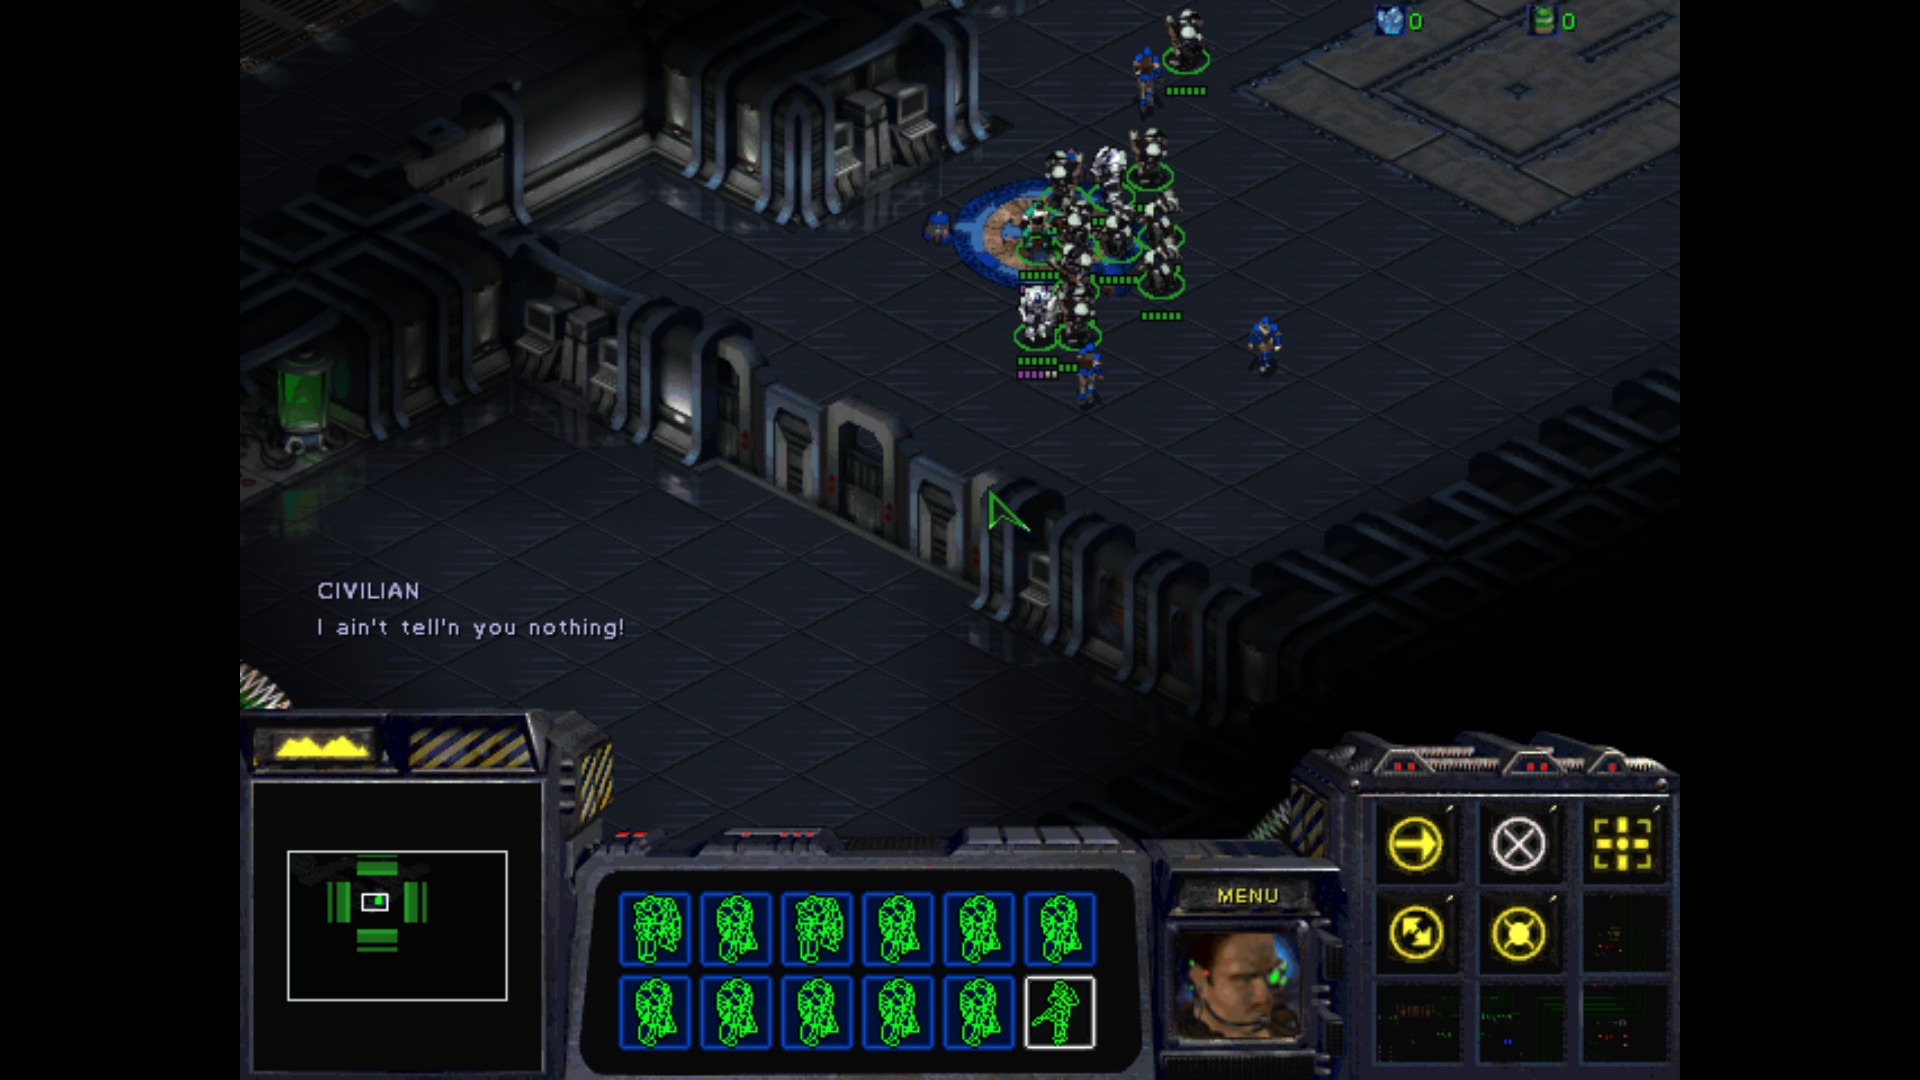
Tell me about it. No luck, I need to move on. Maybe some civilians will be more eager to help when I "negotiate" with them.
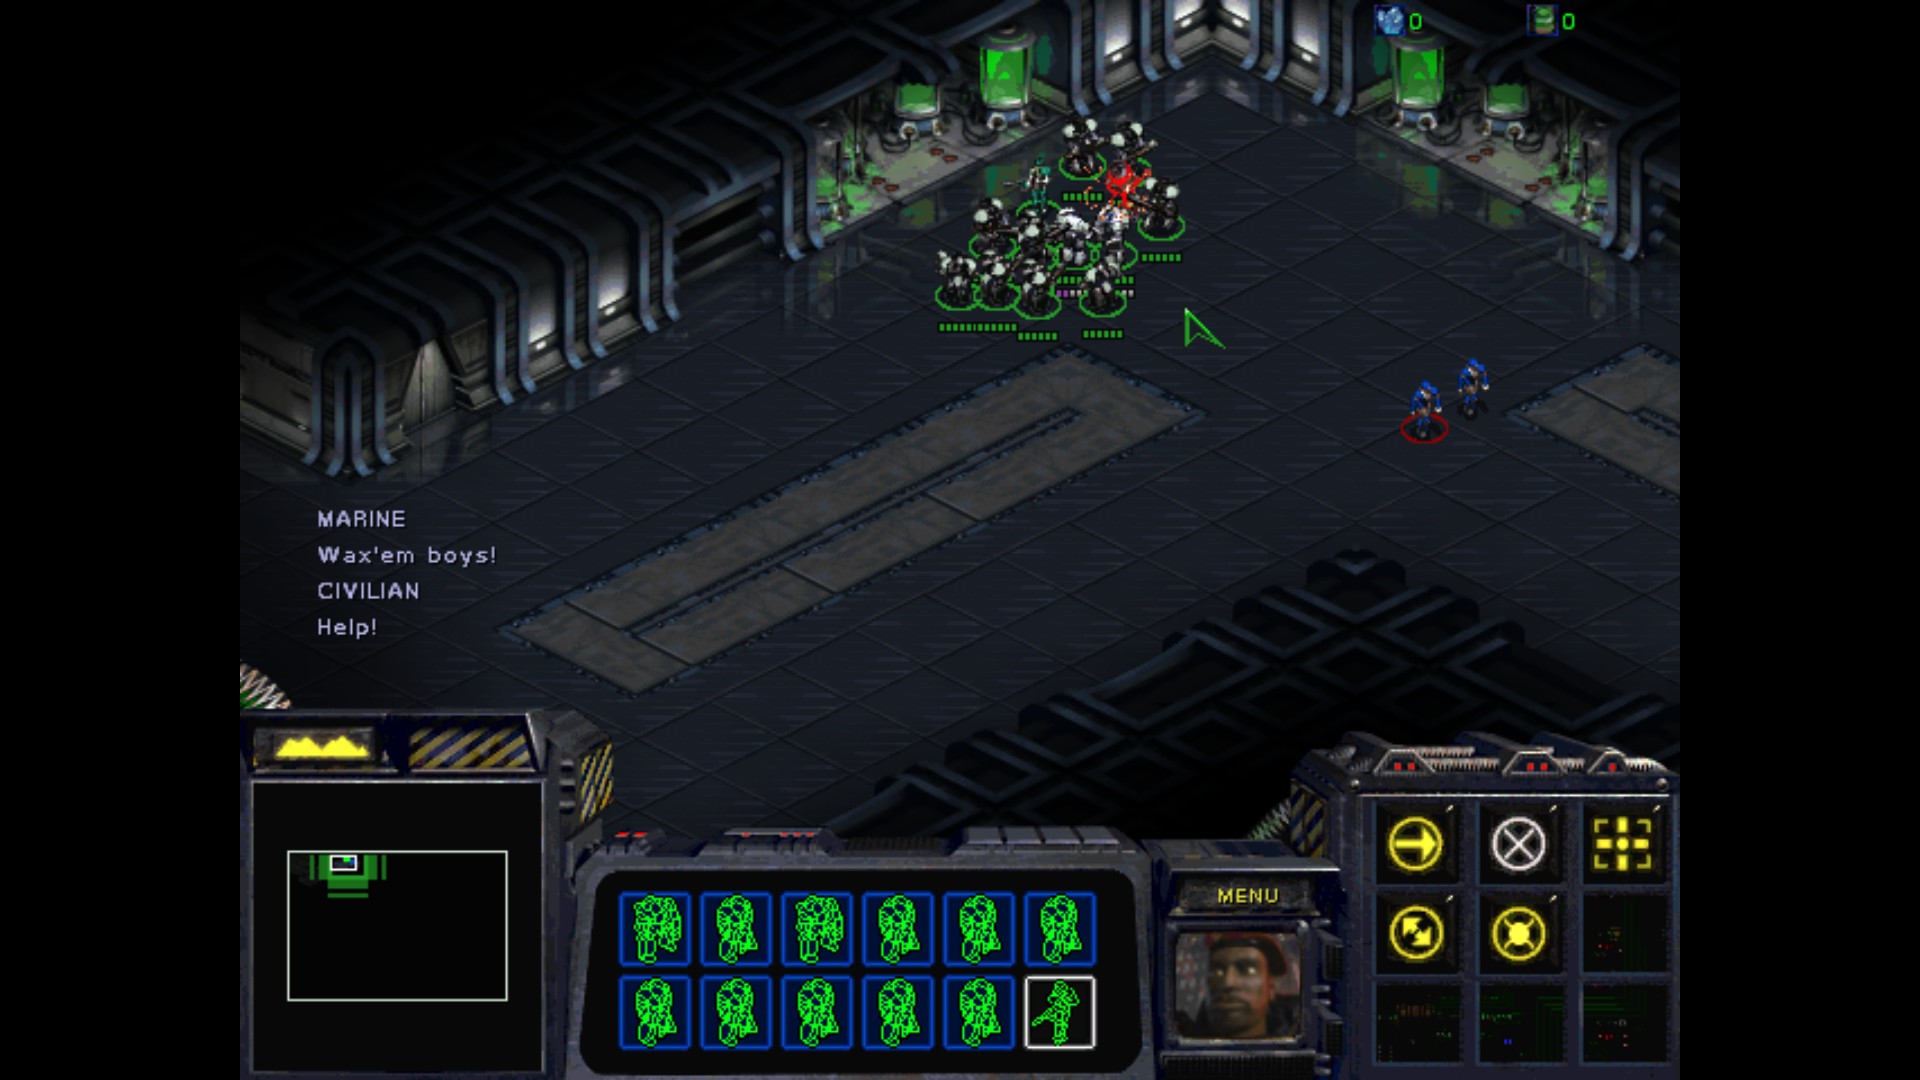
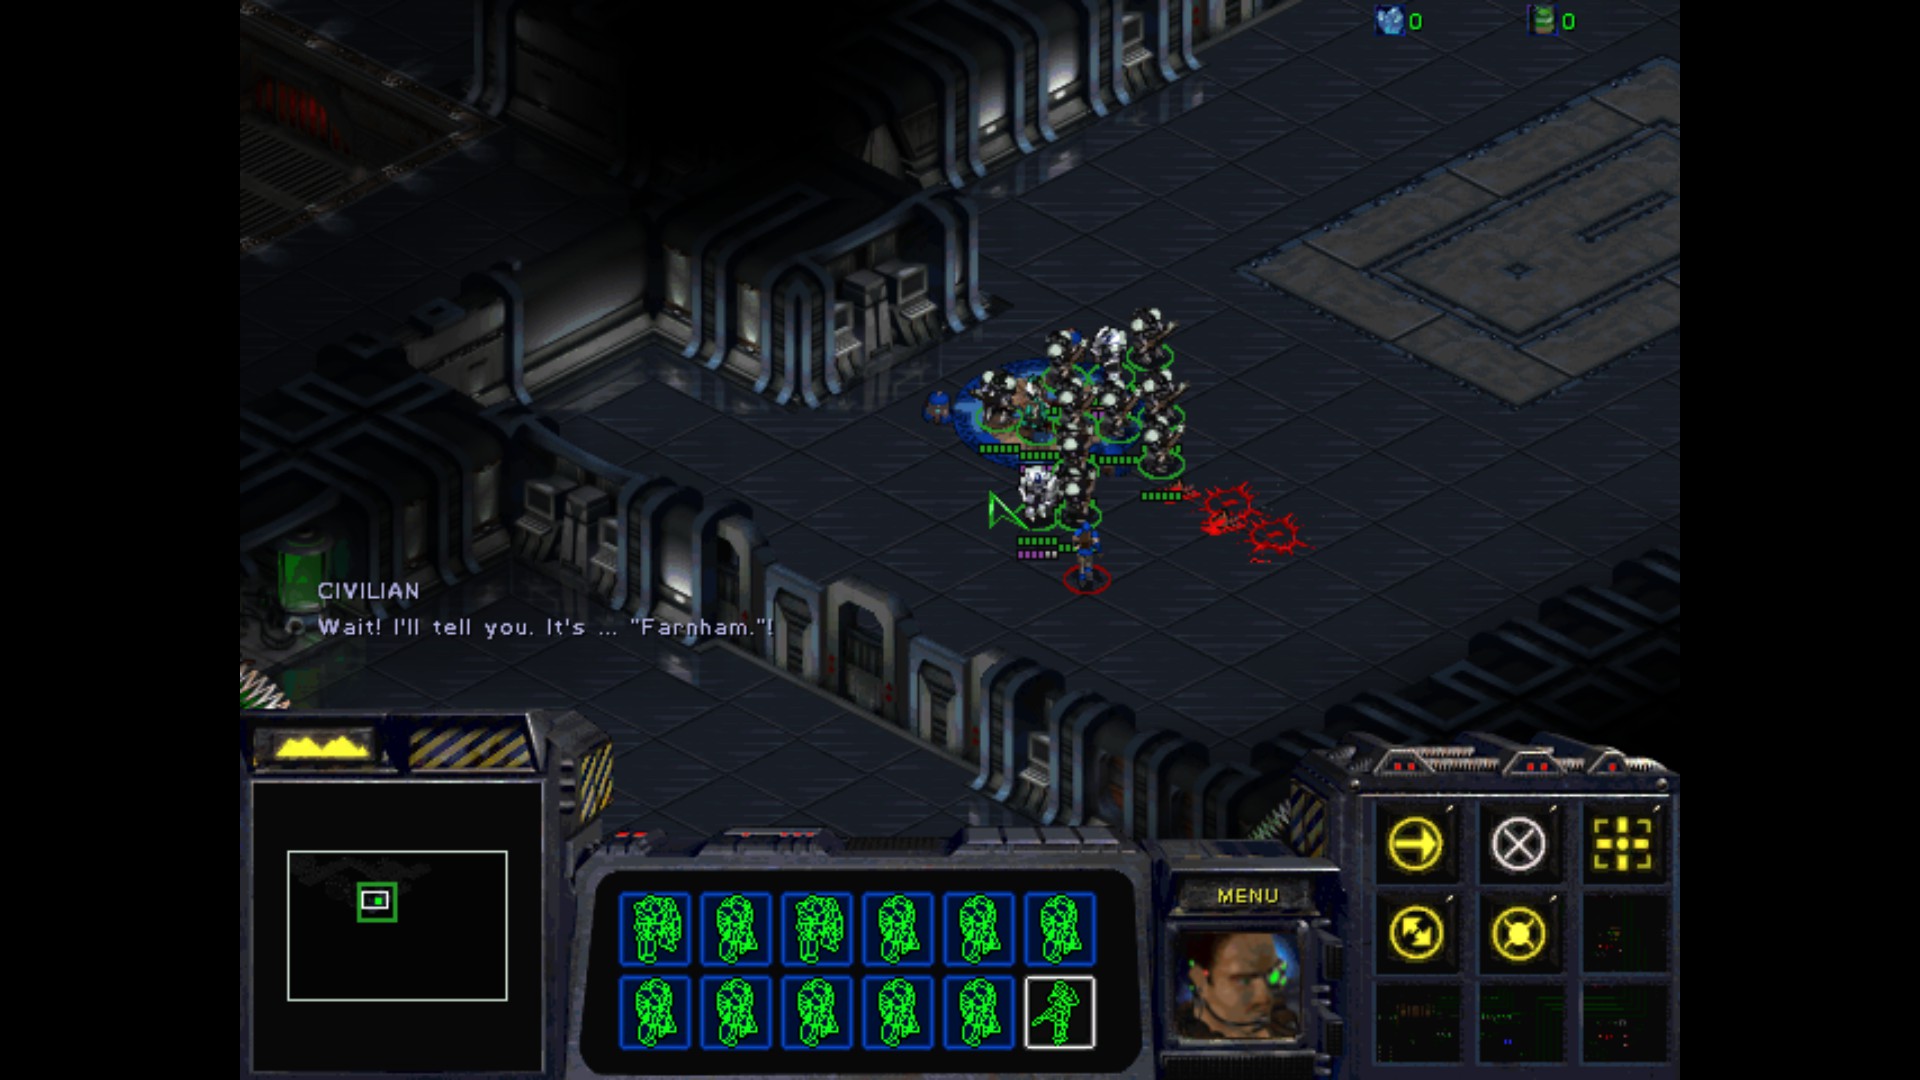
Well, that was quick. Too bad that we failed. Oh well, he wasn't probably the only civvie here.


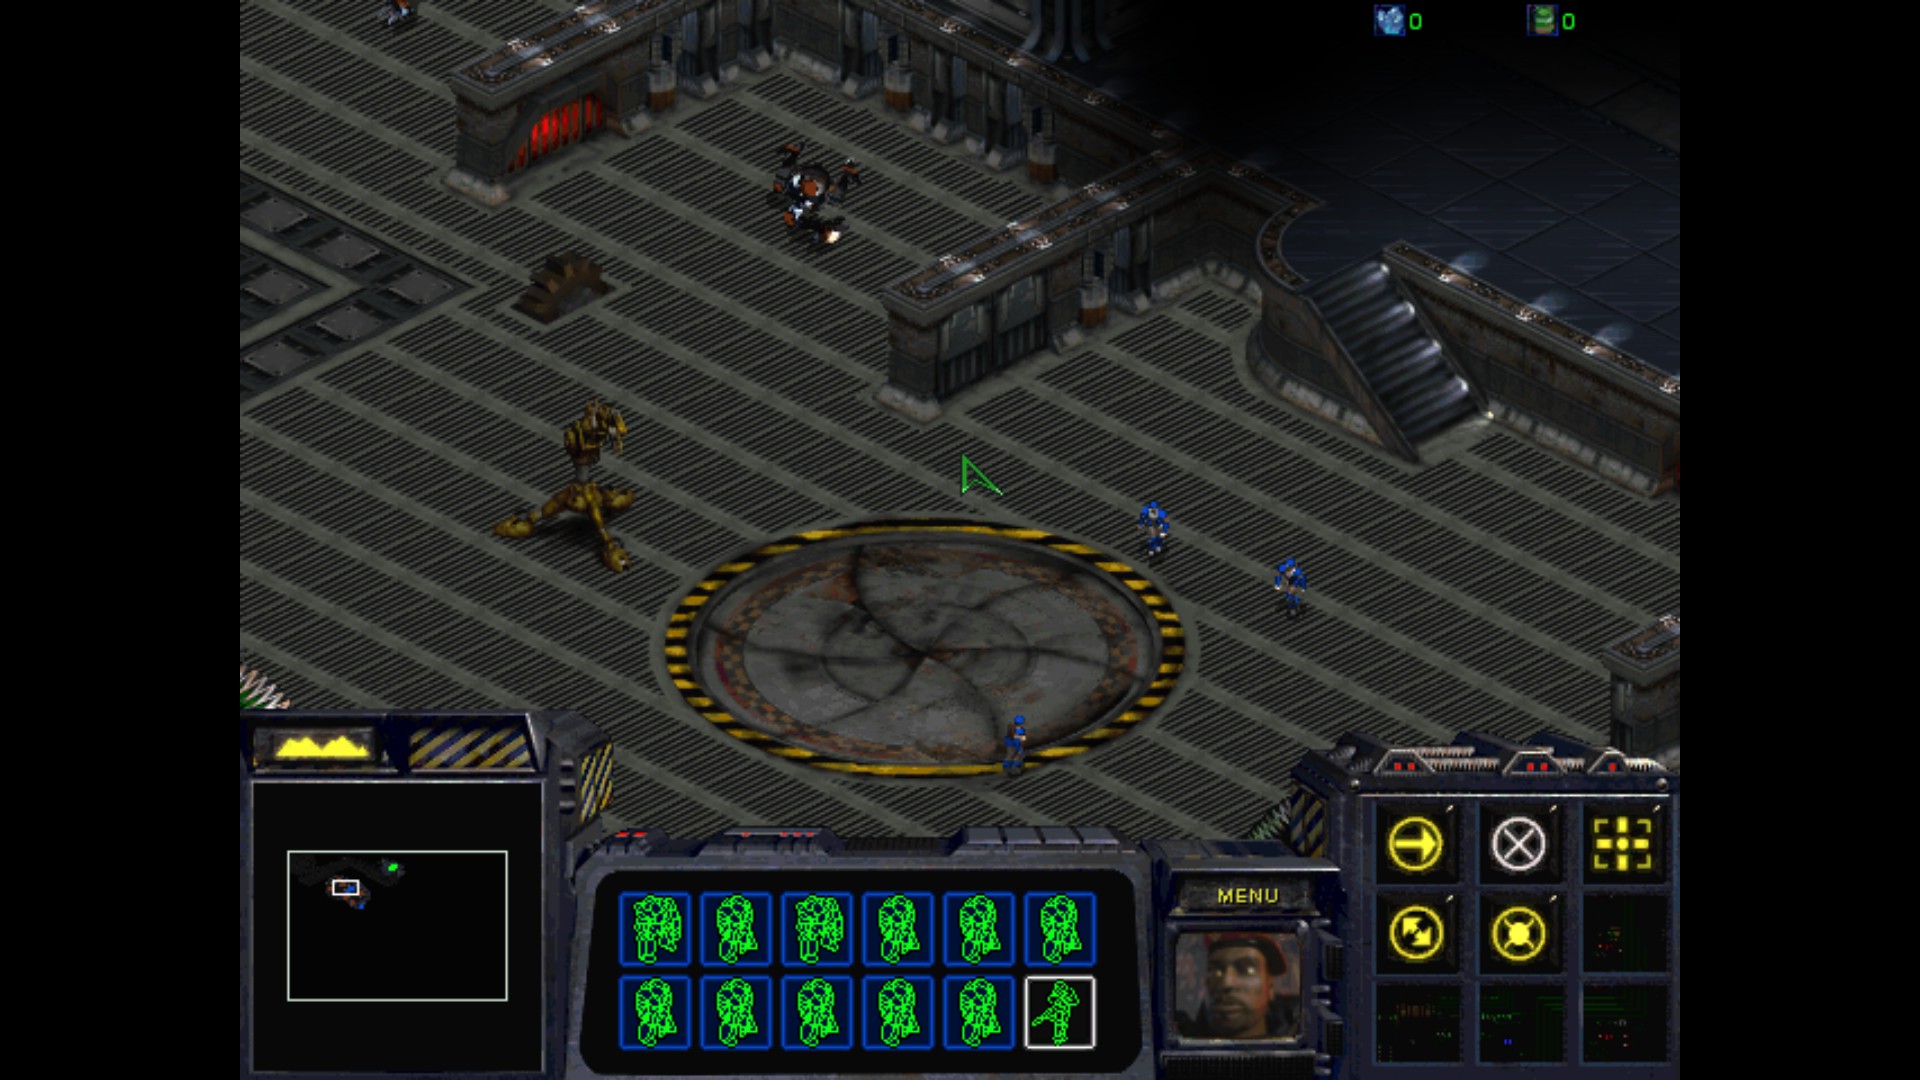
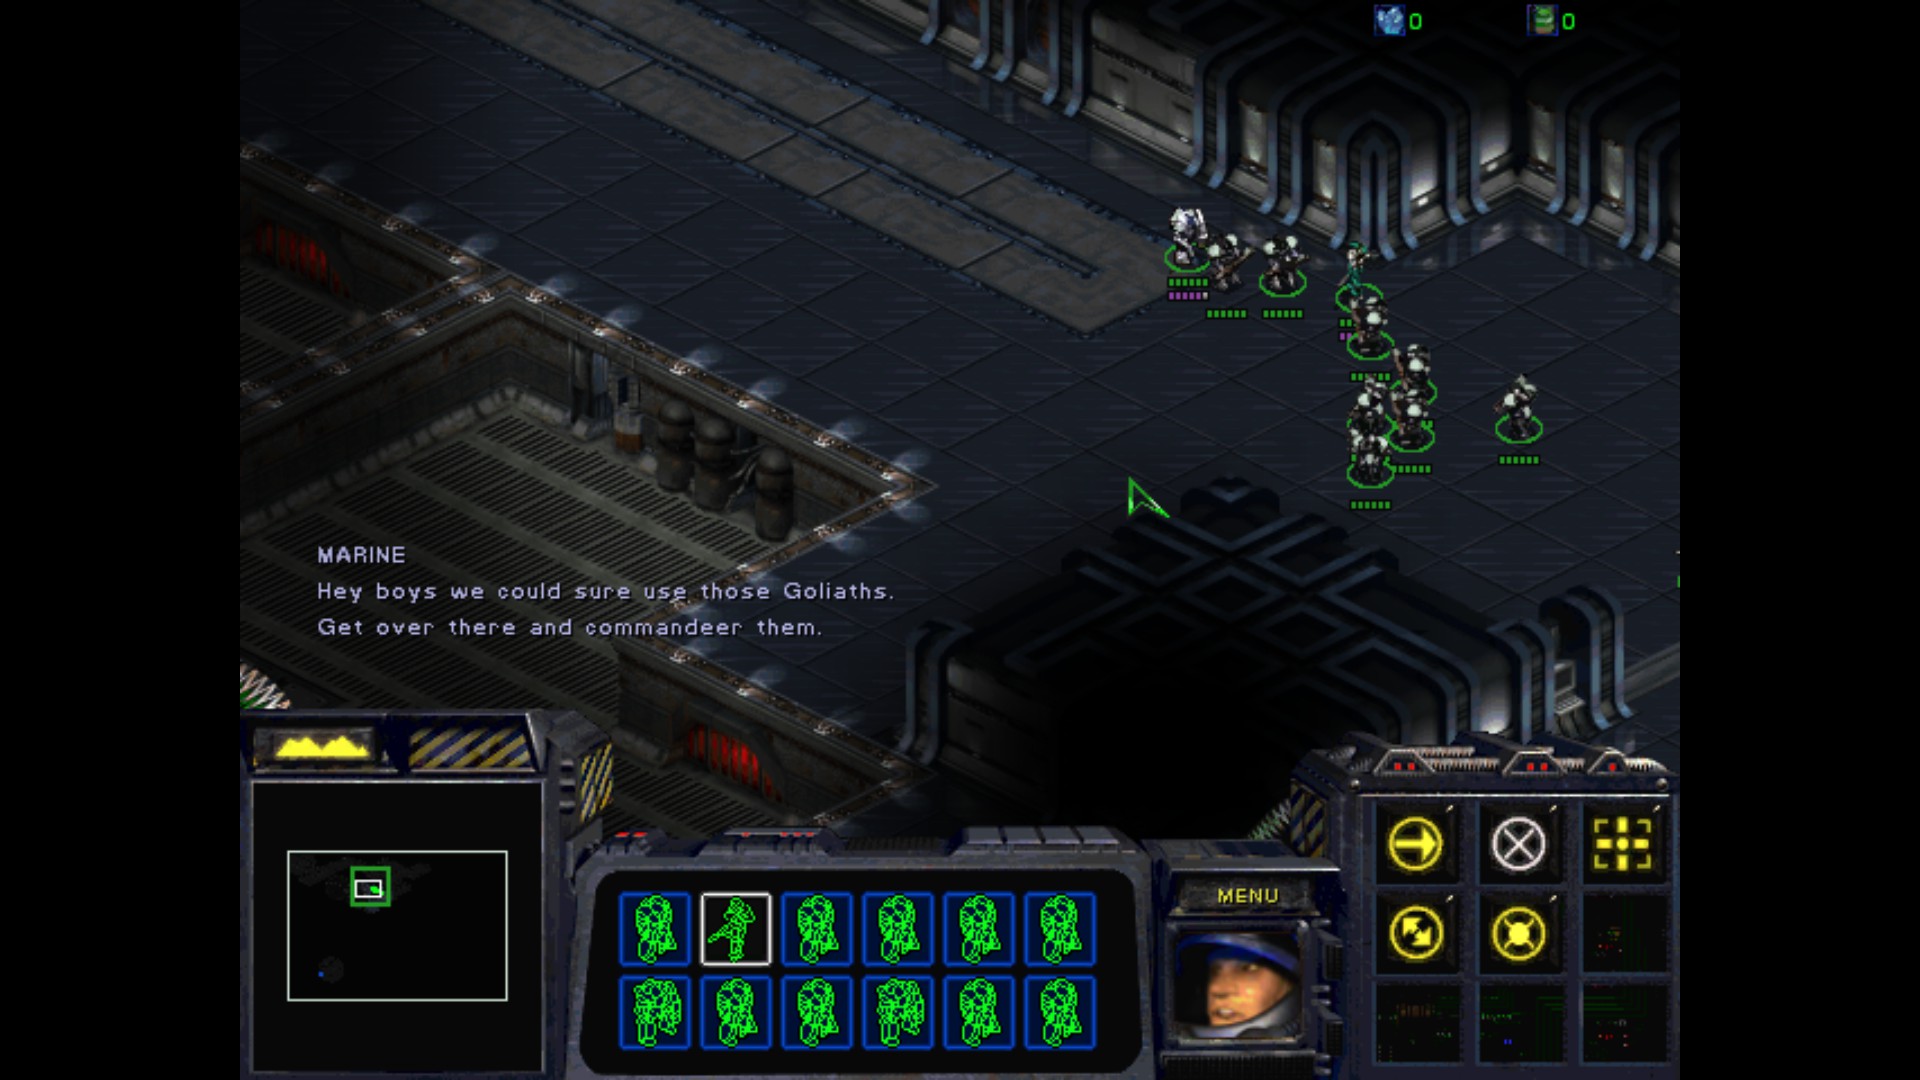
Cool, I have some Goliaths that I can use later on. Very nice.
So far the opposition isn't very noticeable. My Medics keep the gang with no bruises.
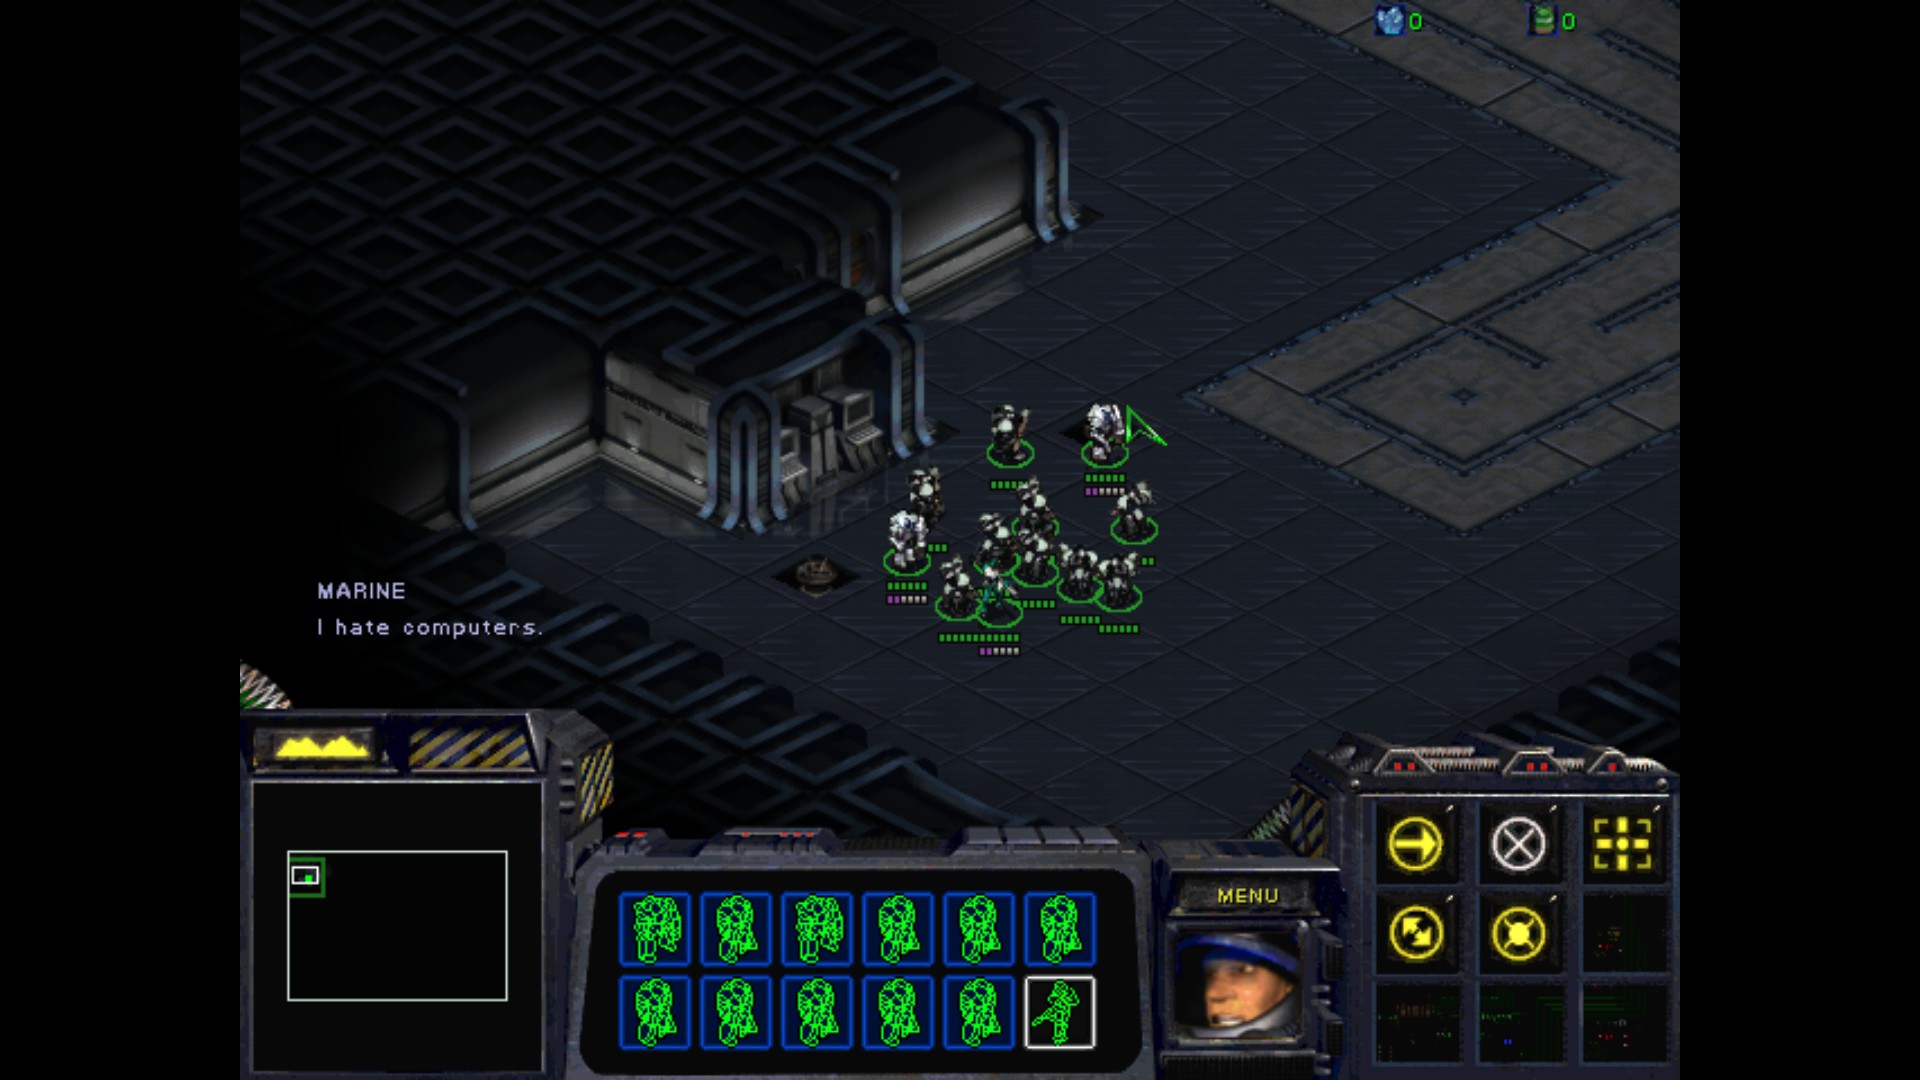
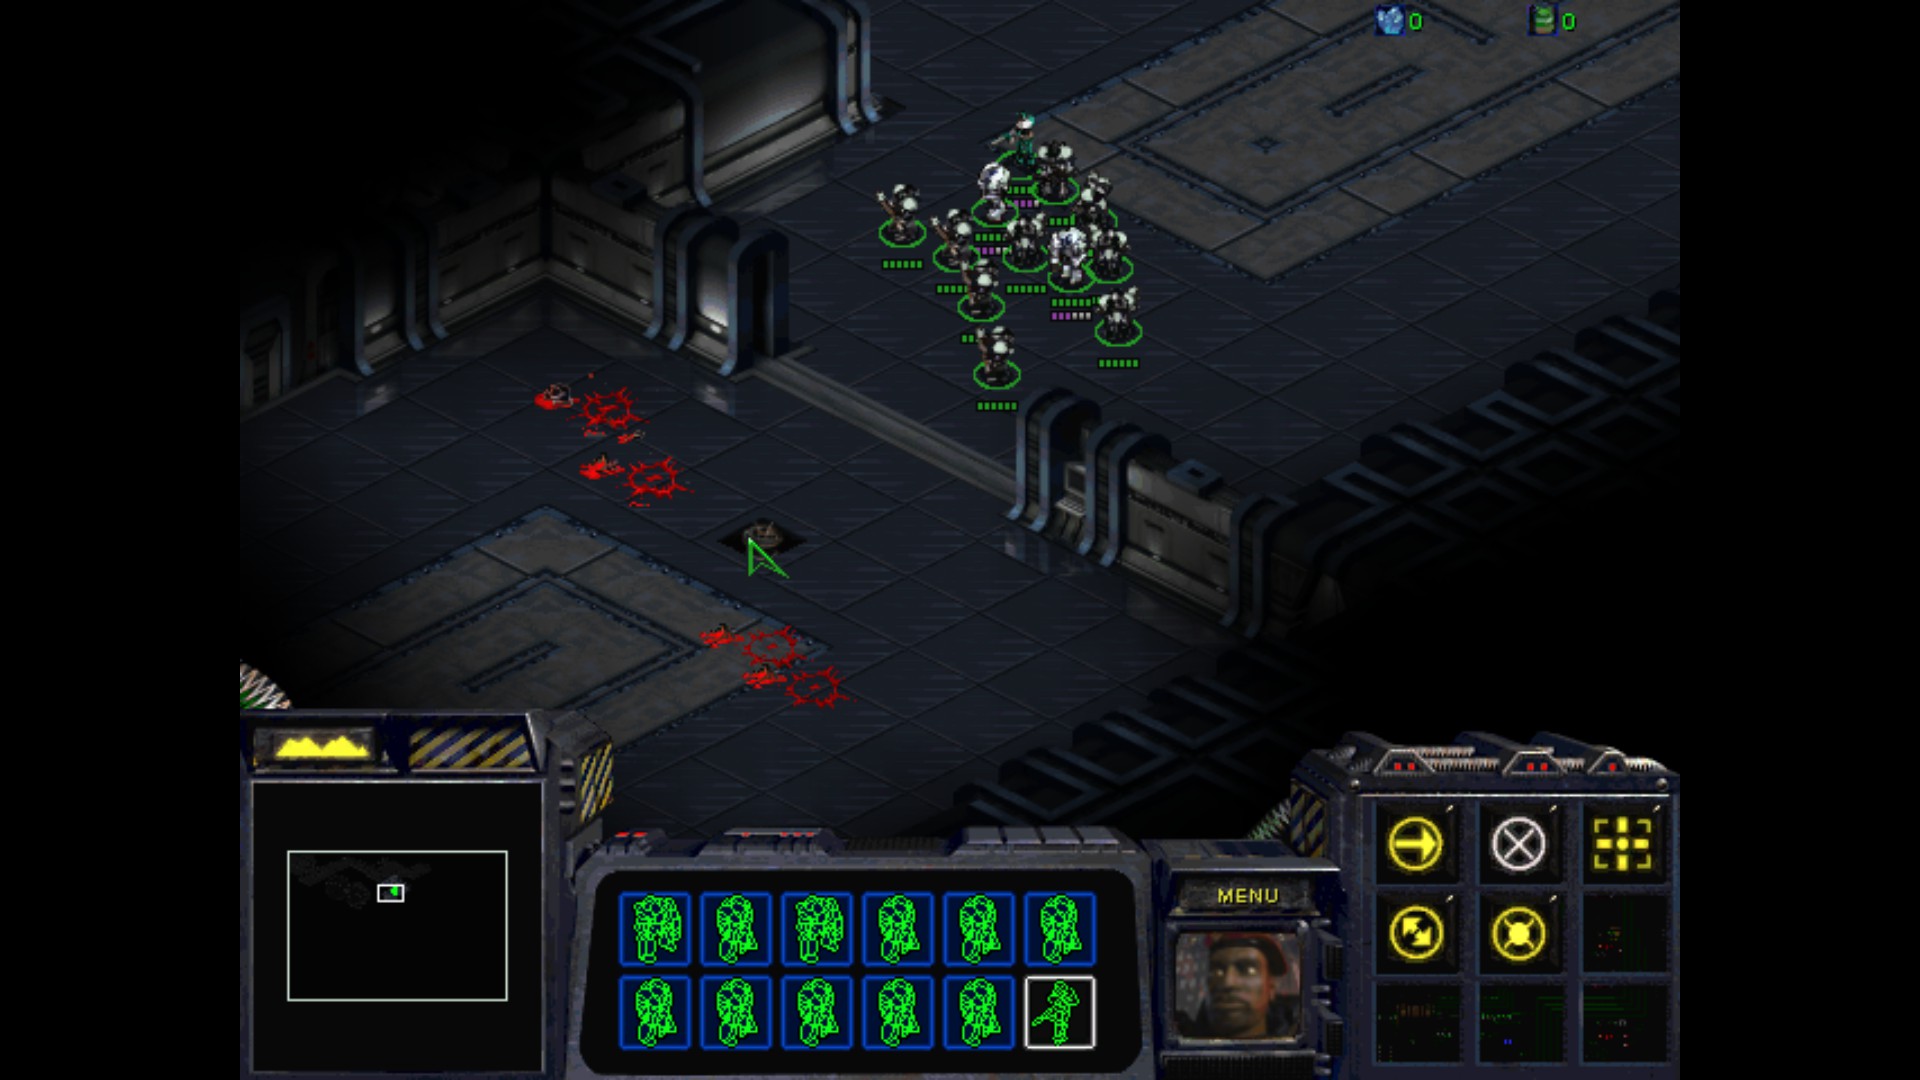
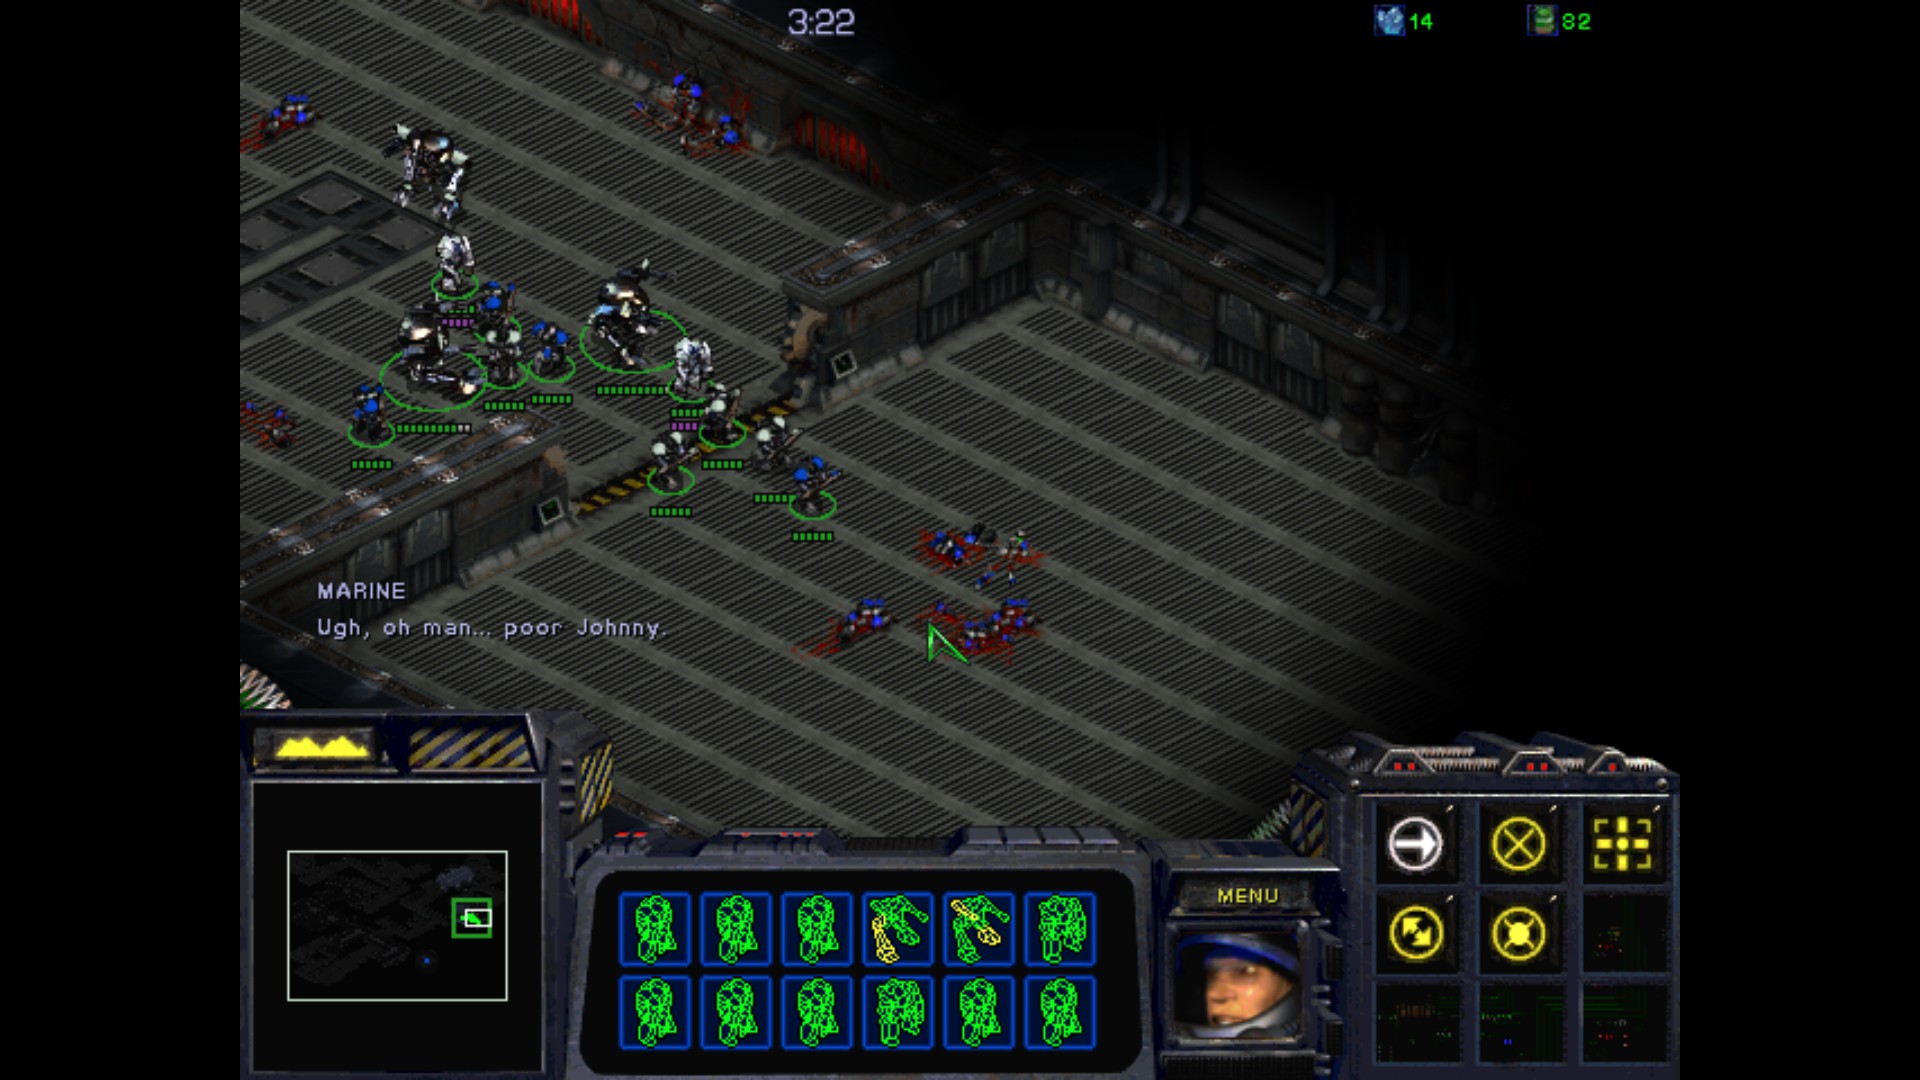
Oh indeed.
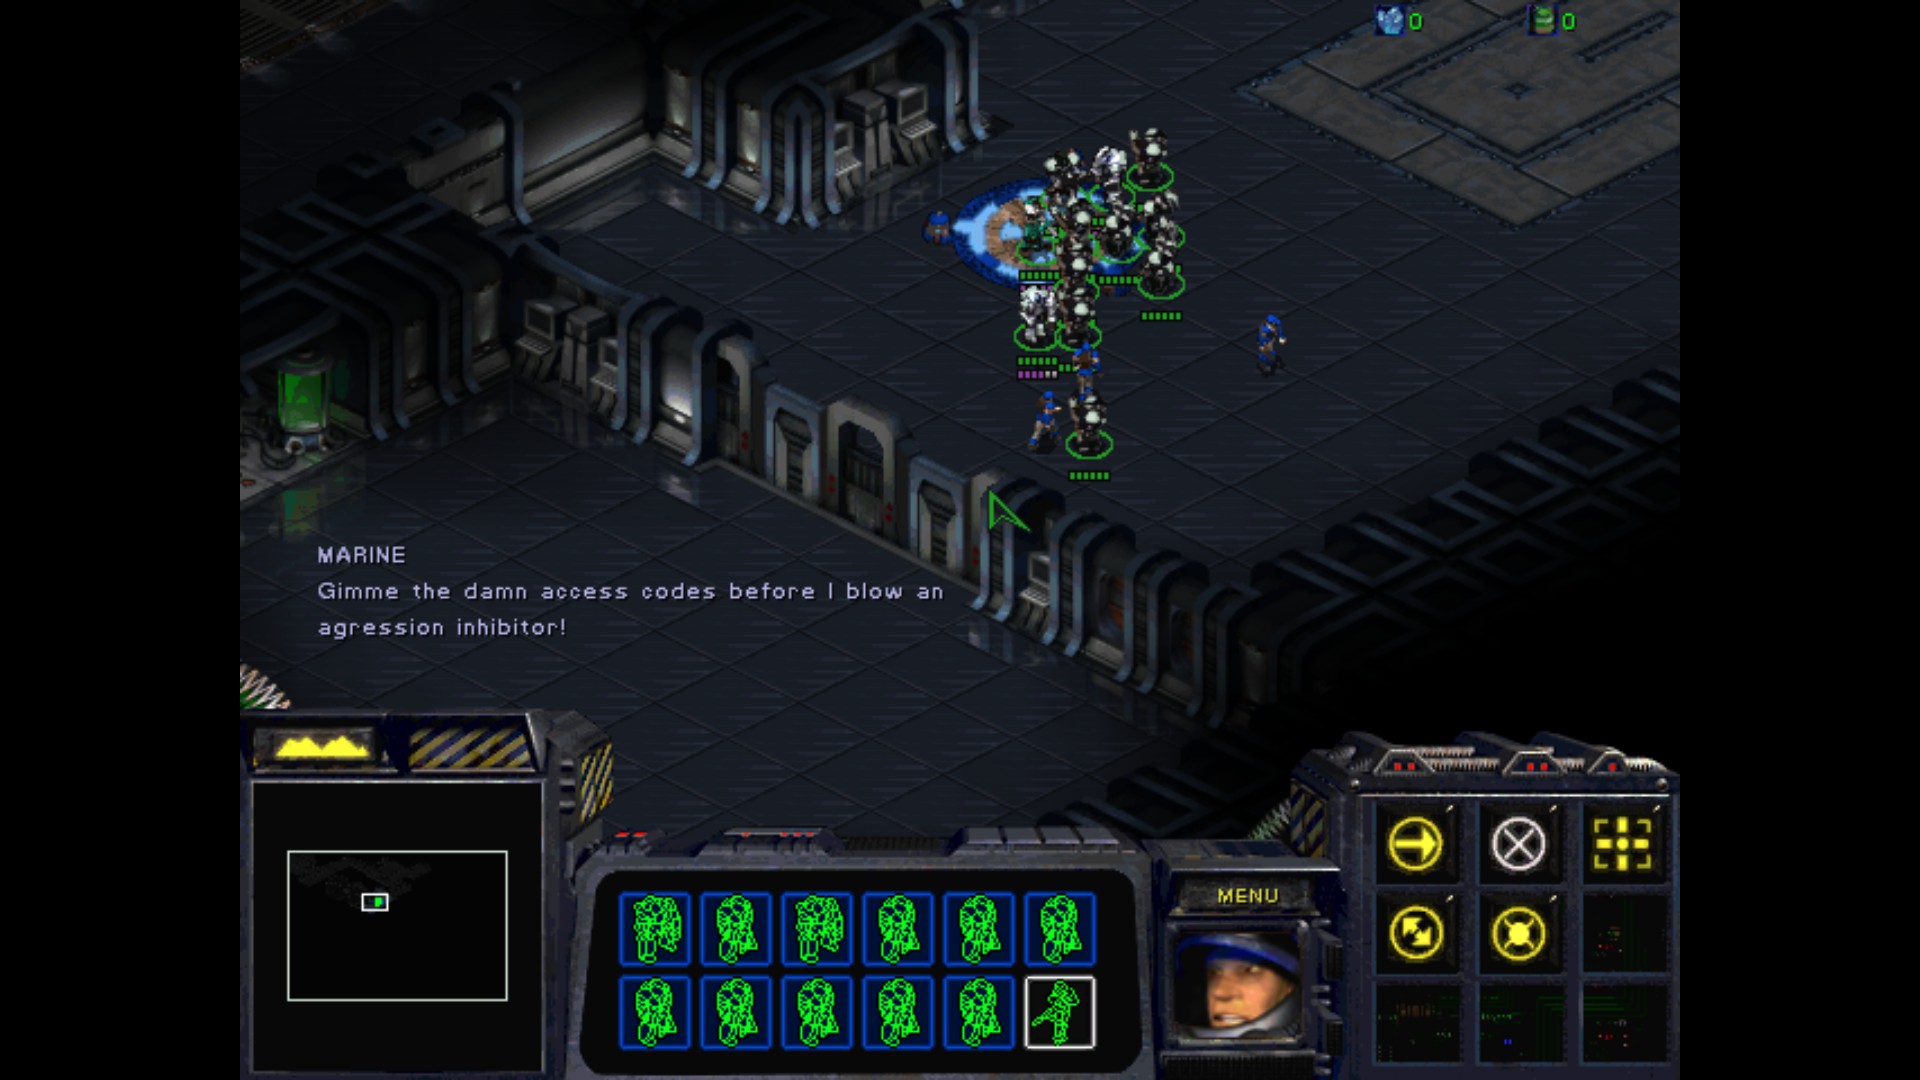
This isn't the last Marine moment in this mission.
All right, I've located Stukov. Damn, this will be a long walk.
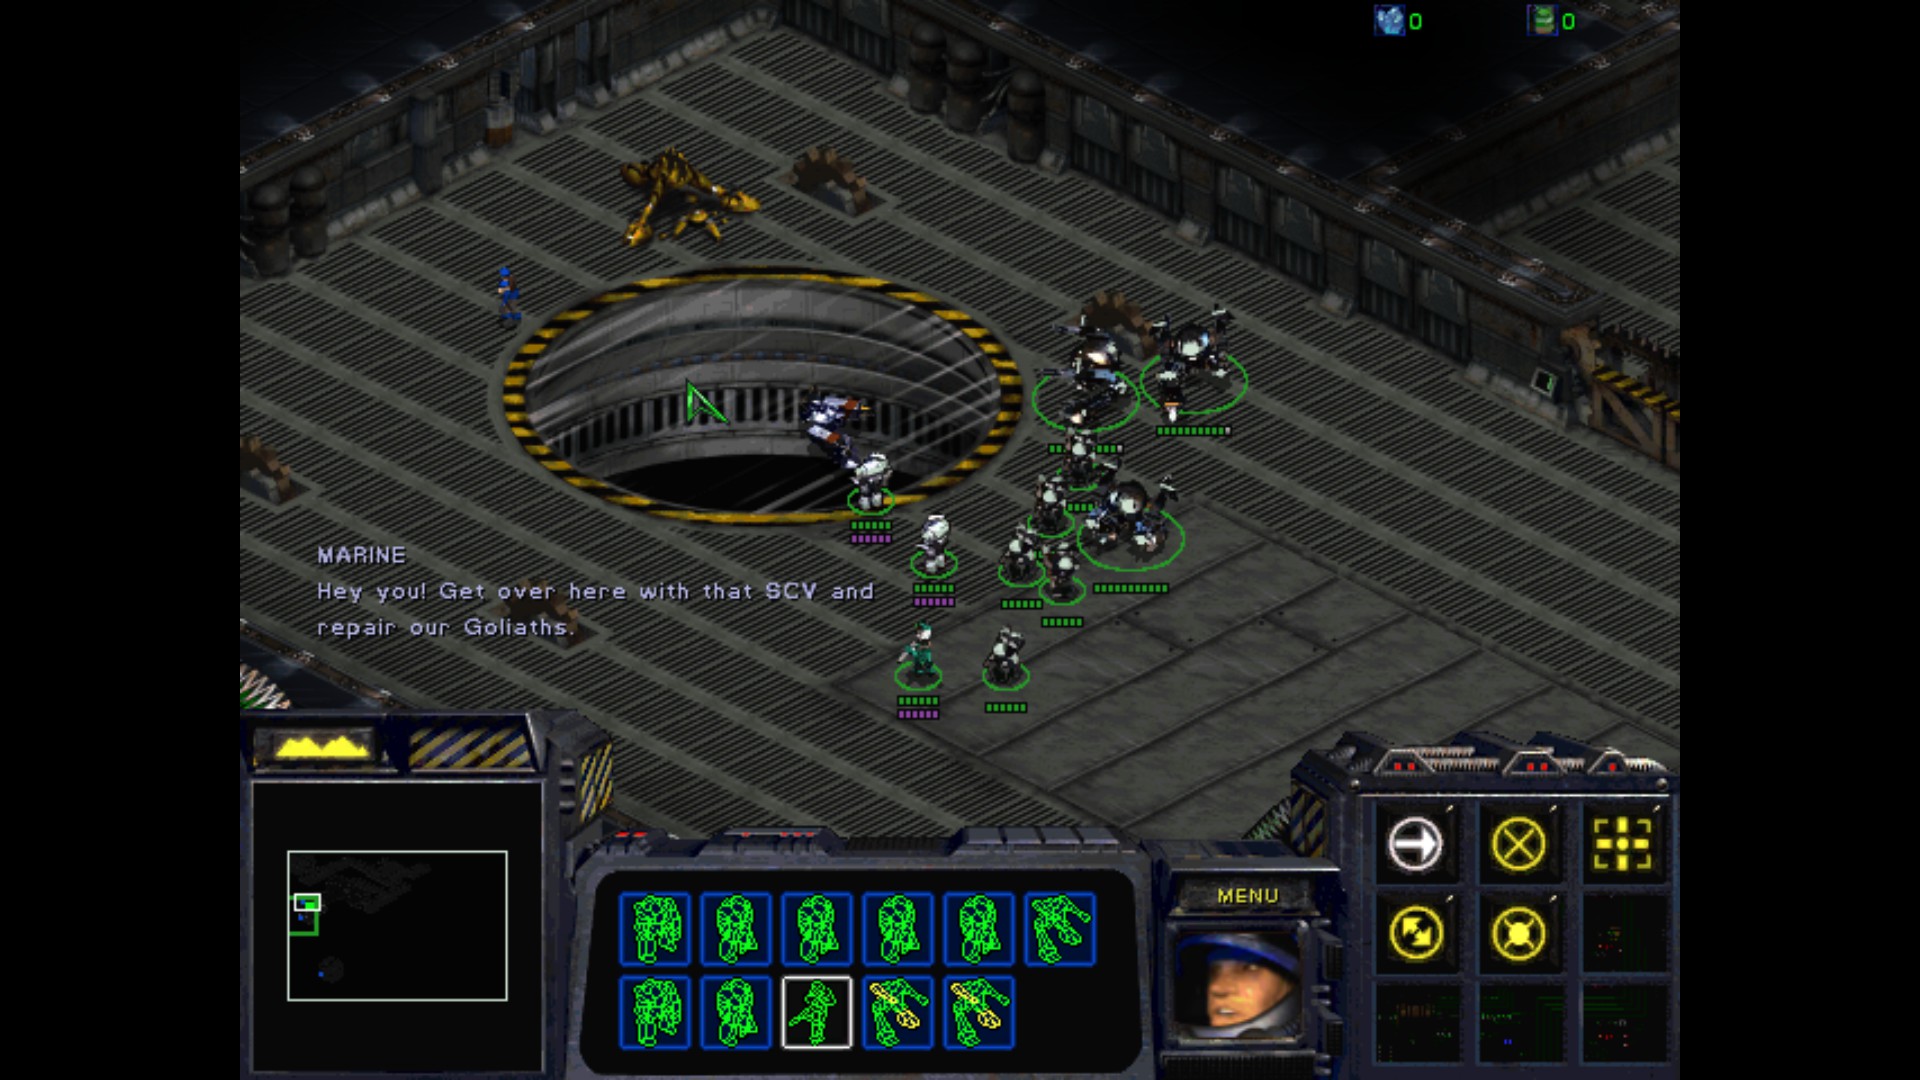
I take the SCV with the rest of the team. Thanks to some resource pool added I can repair them as well. Groovy!
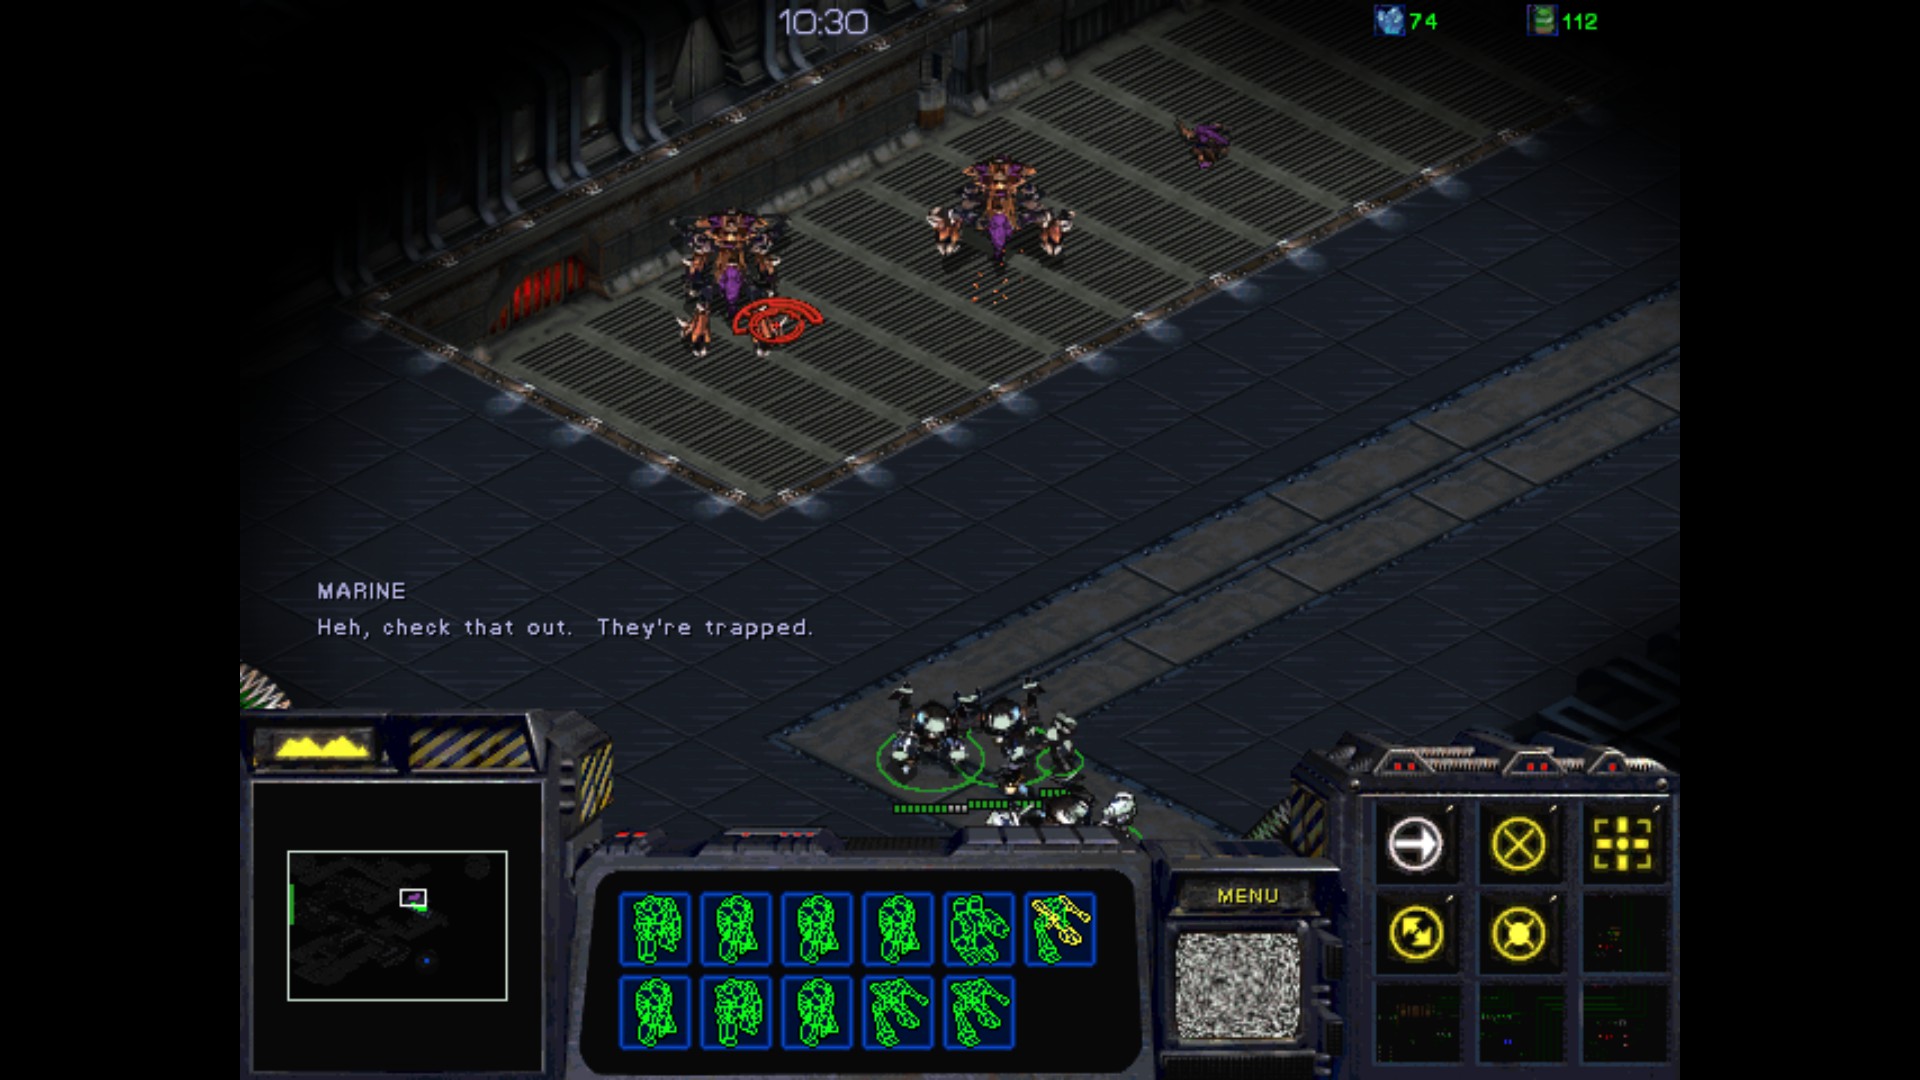
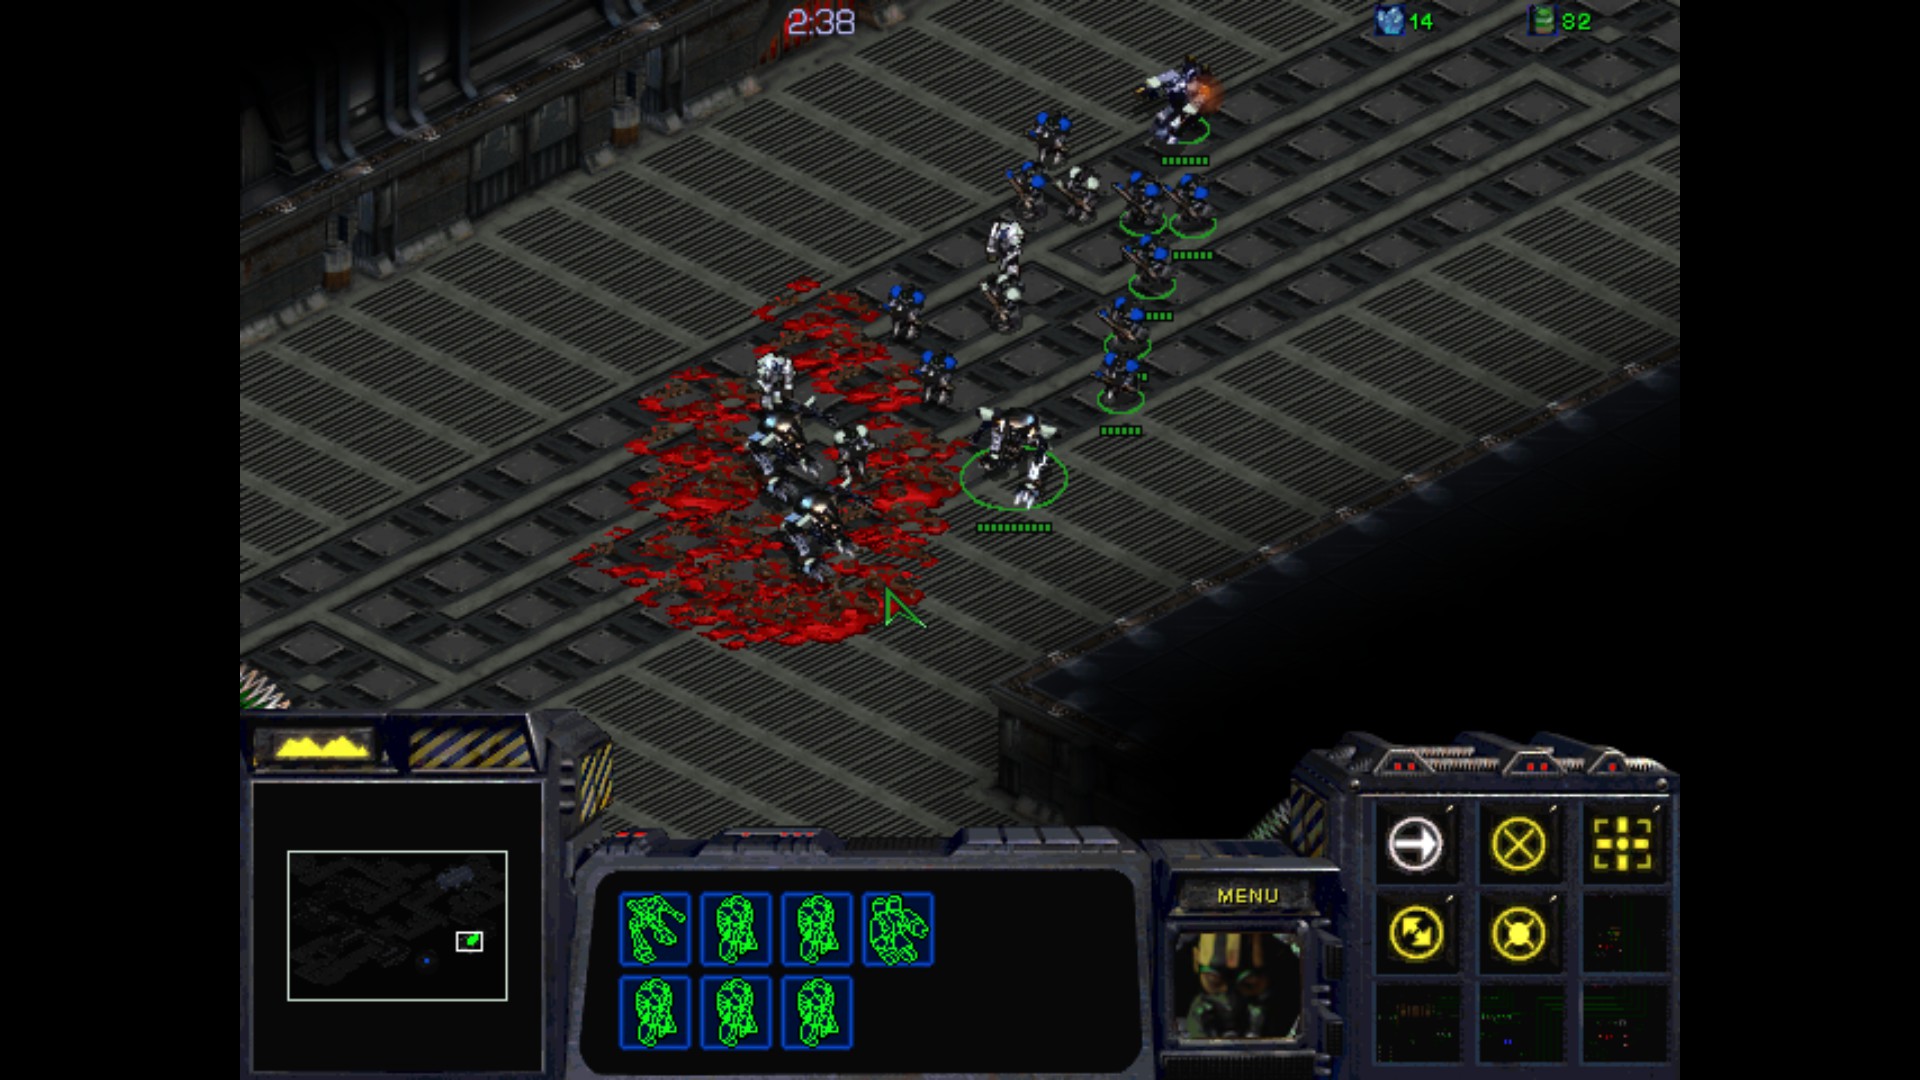
After some time and a couple skirmishes like this...
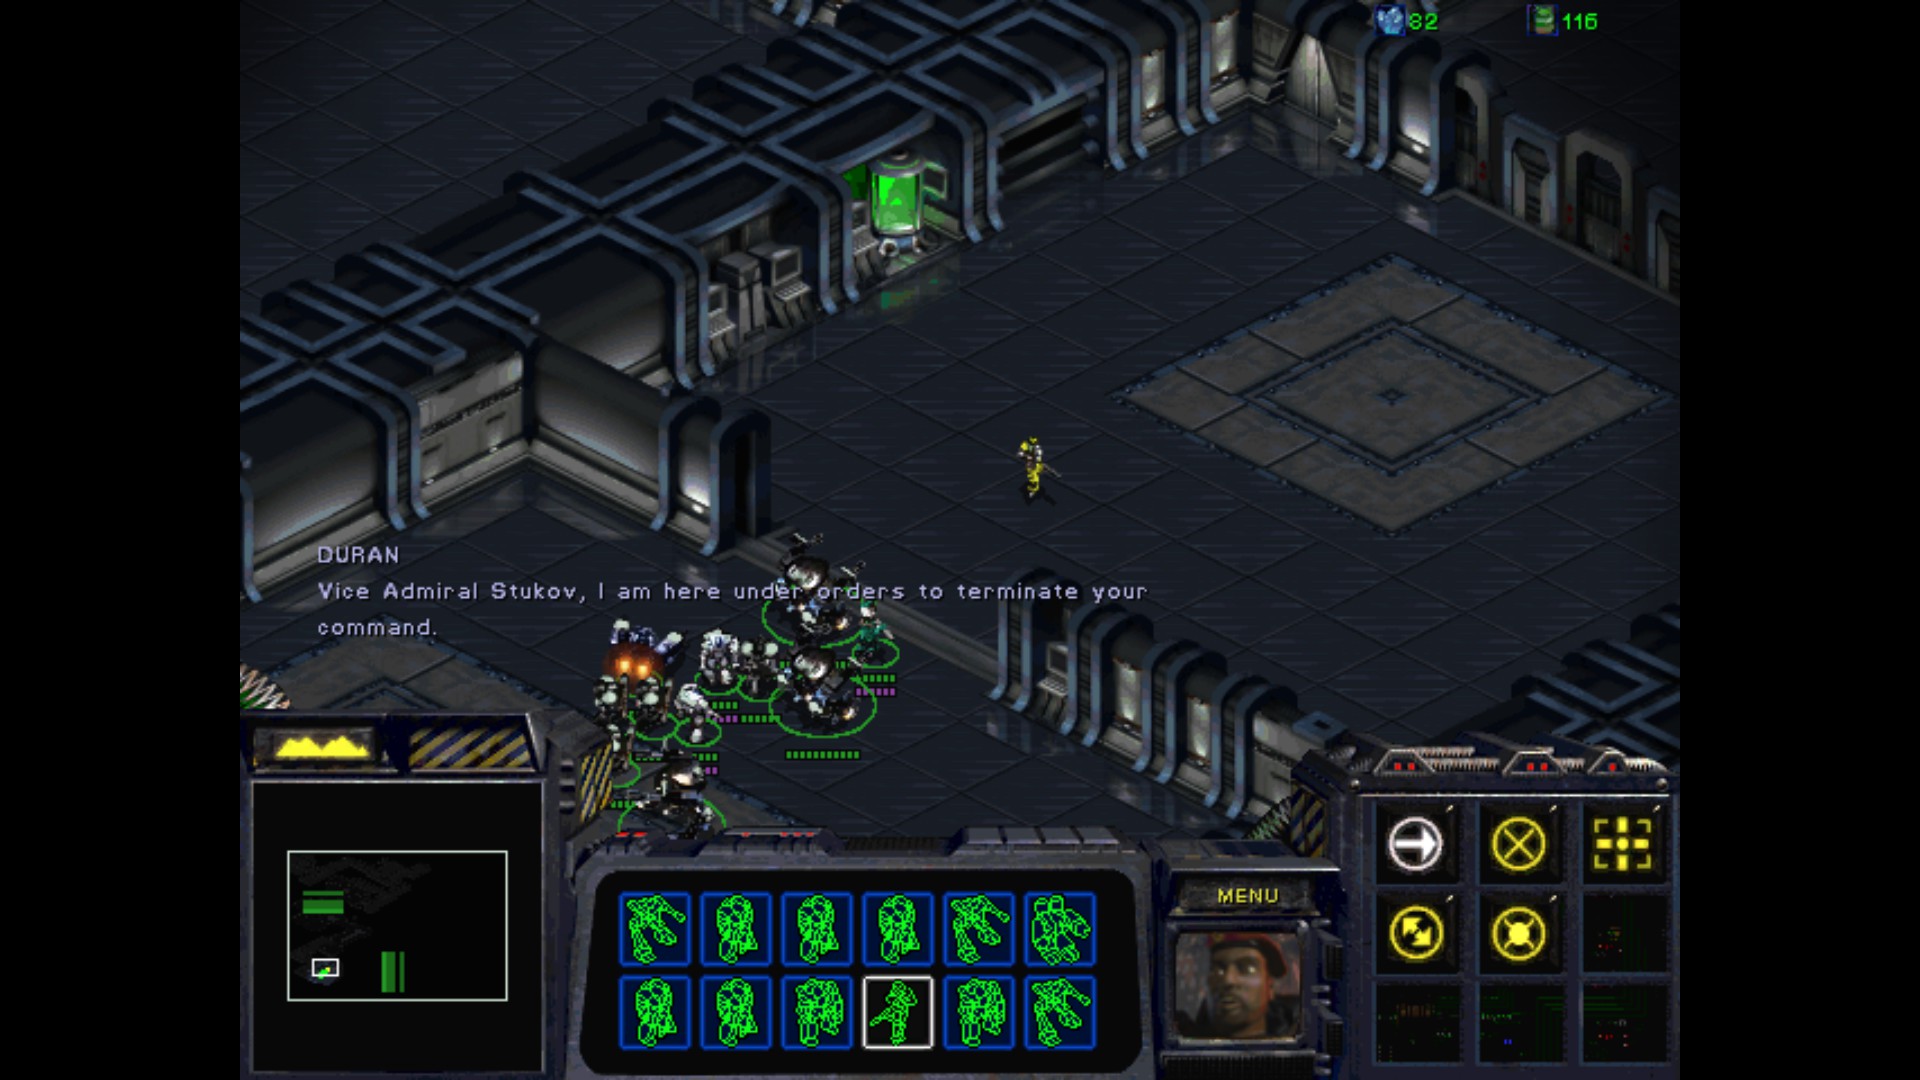
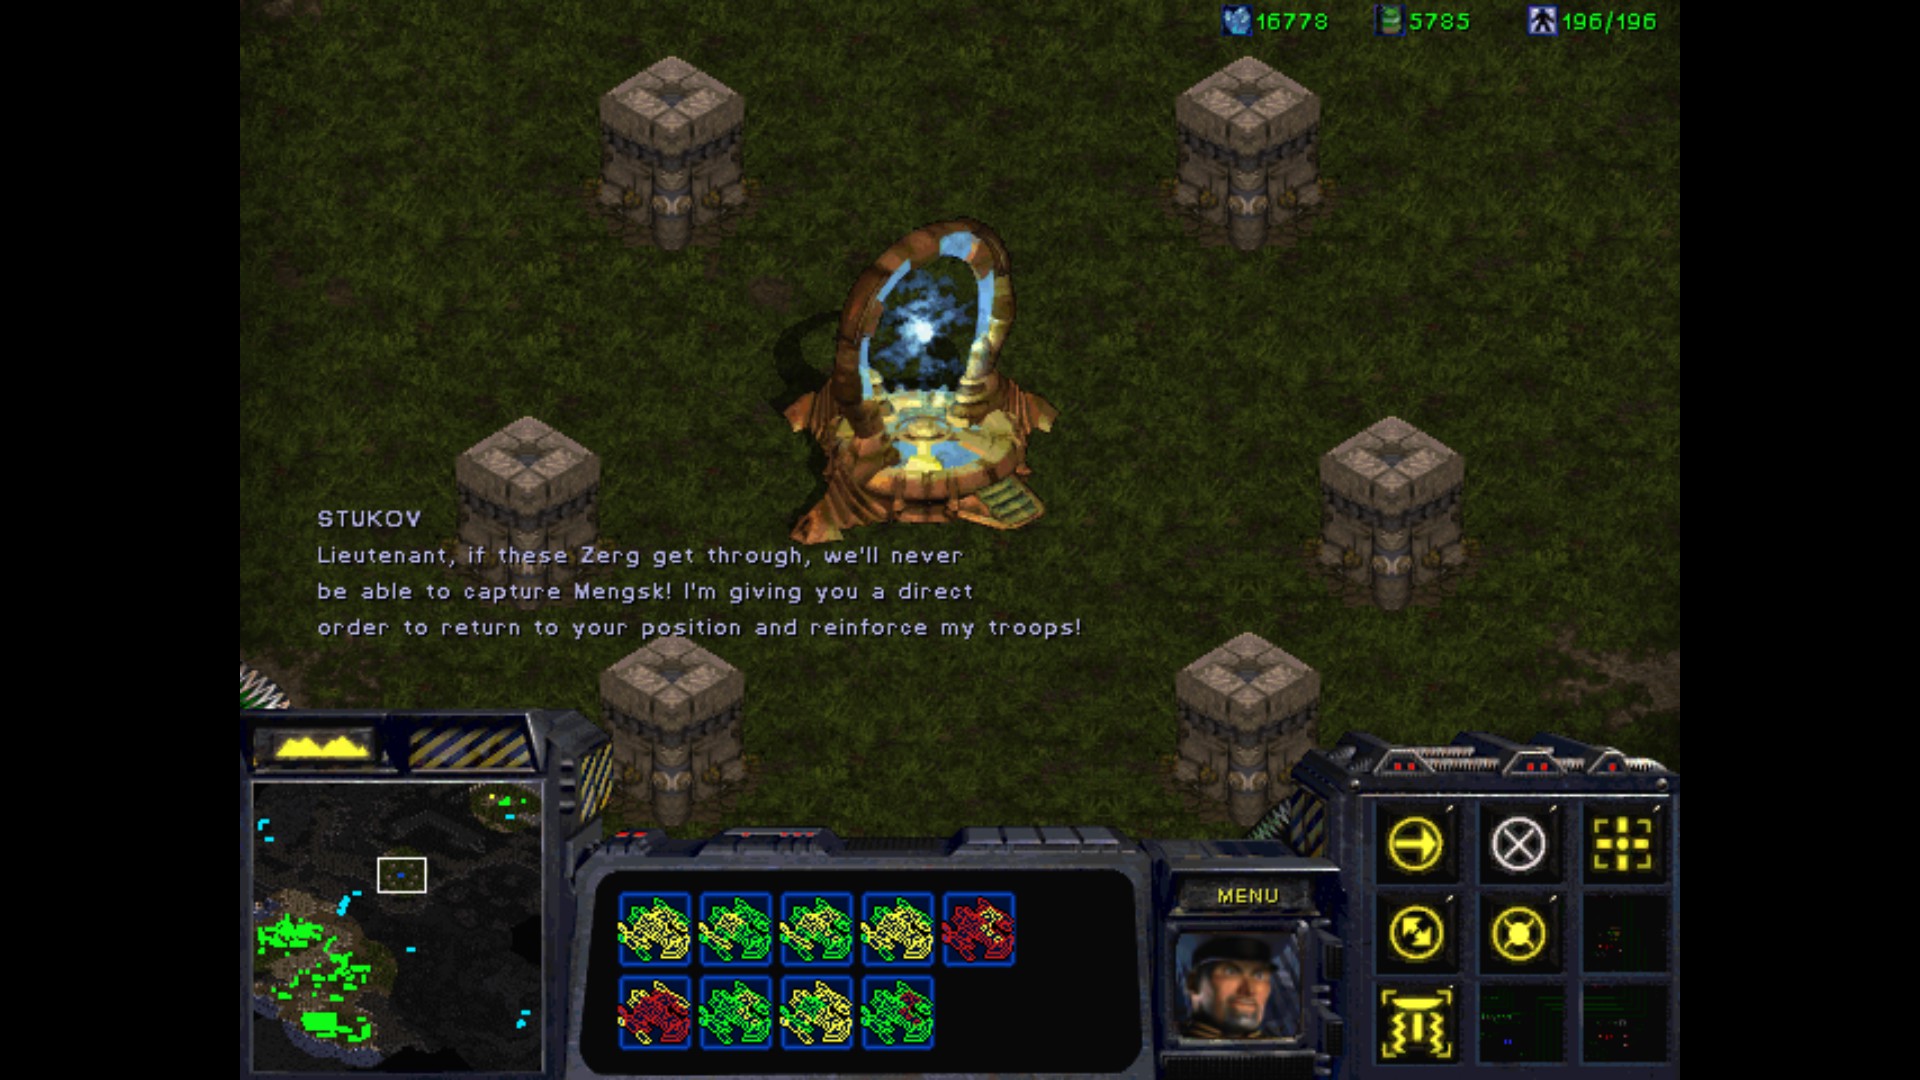
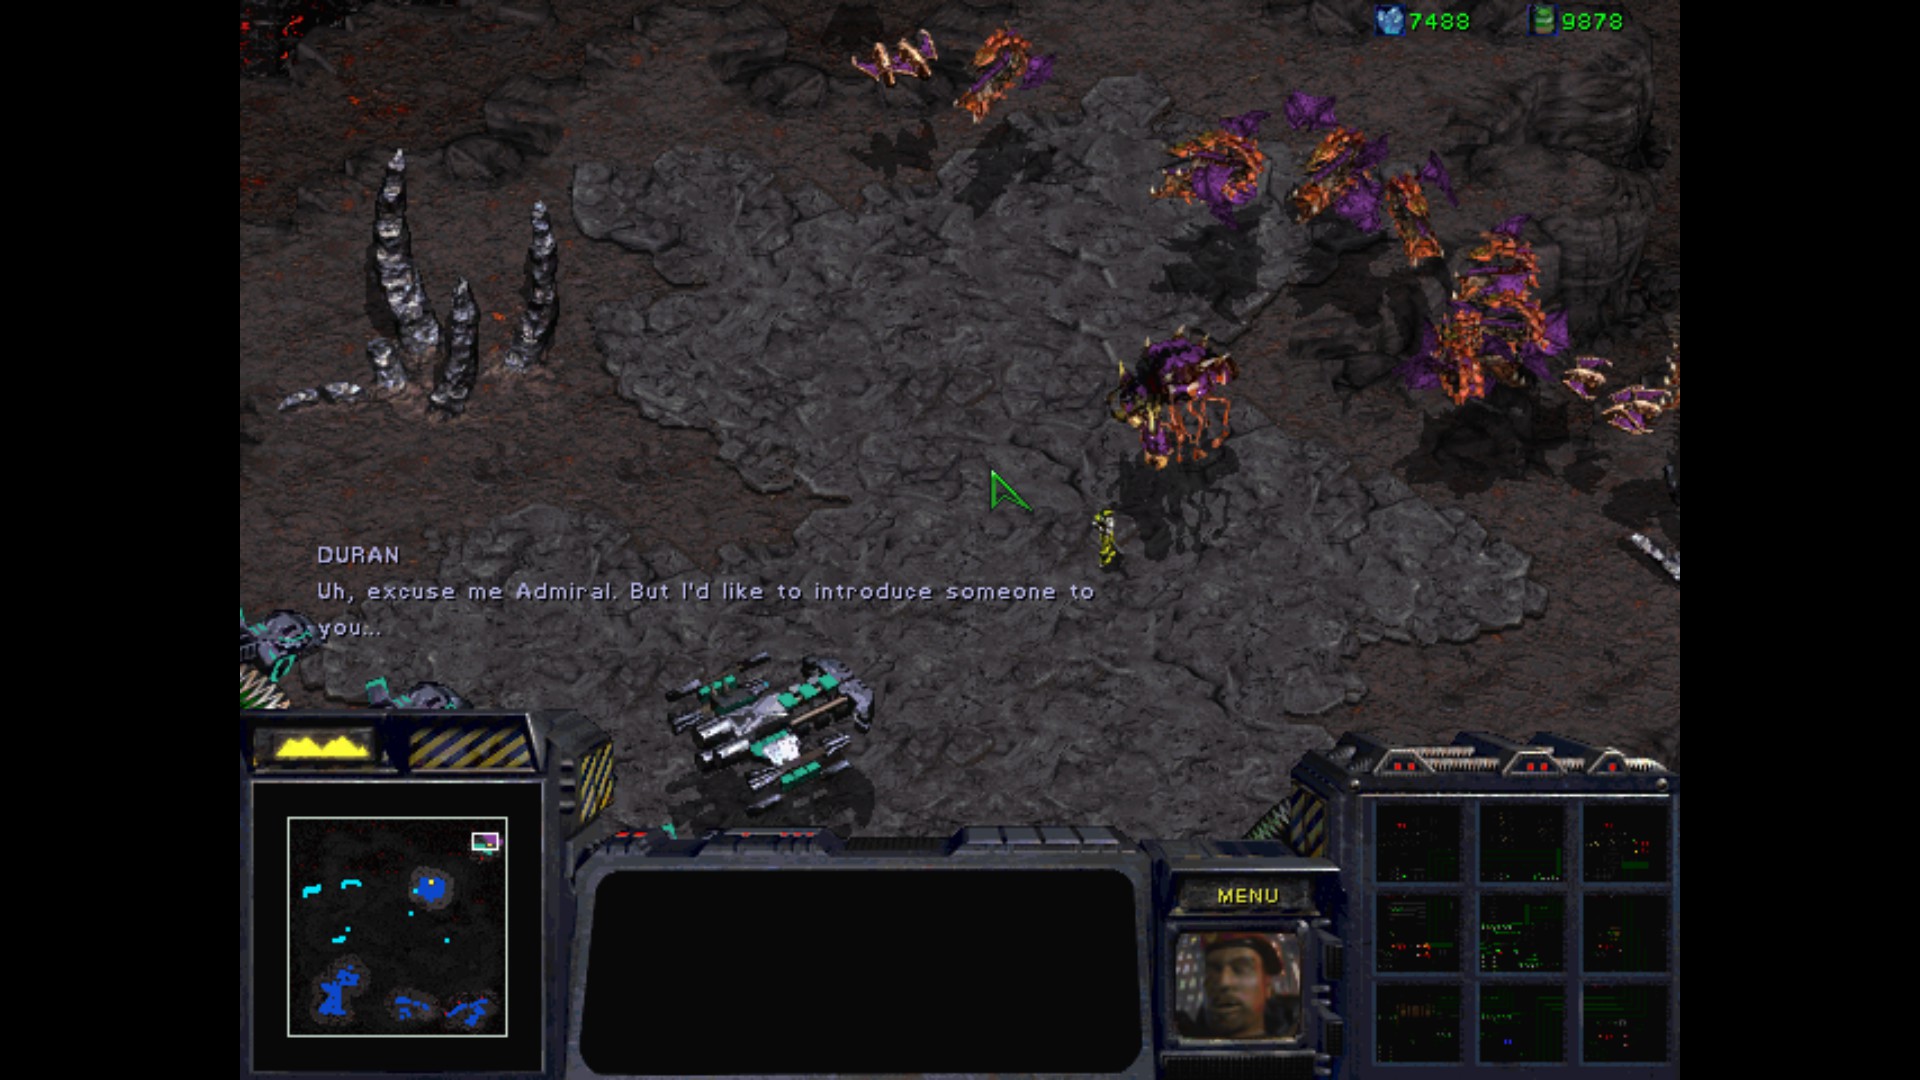
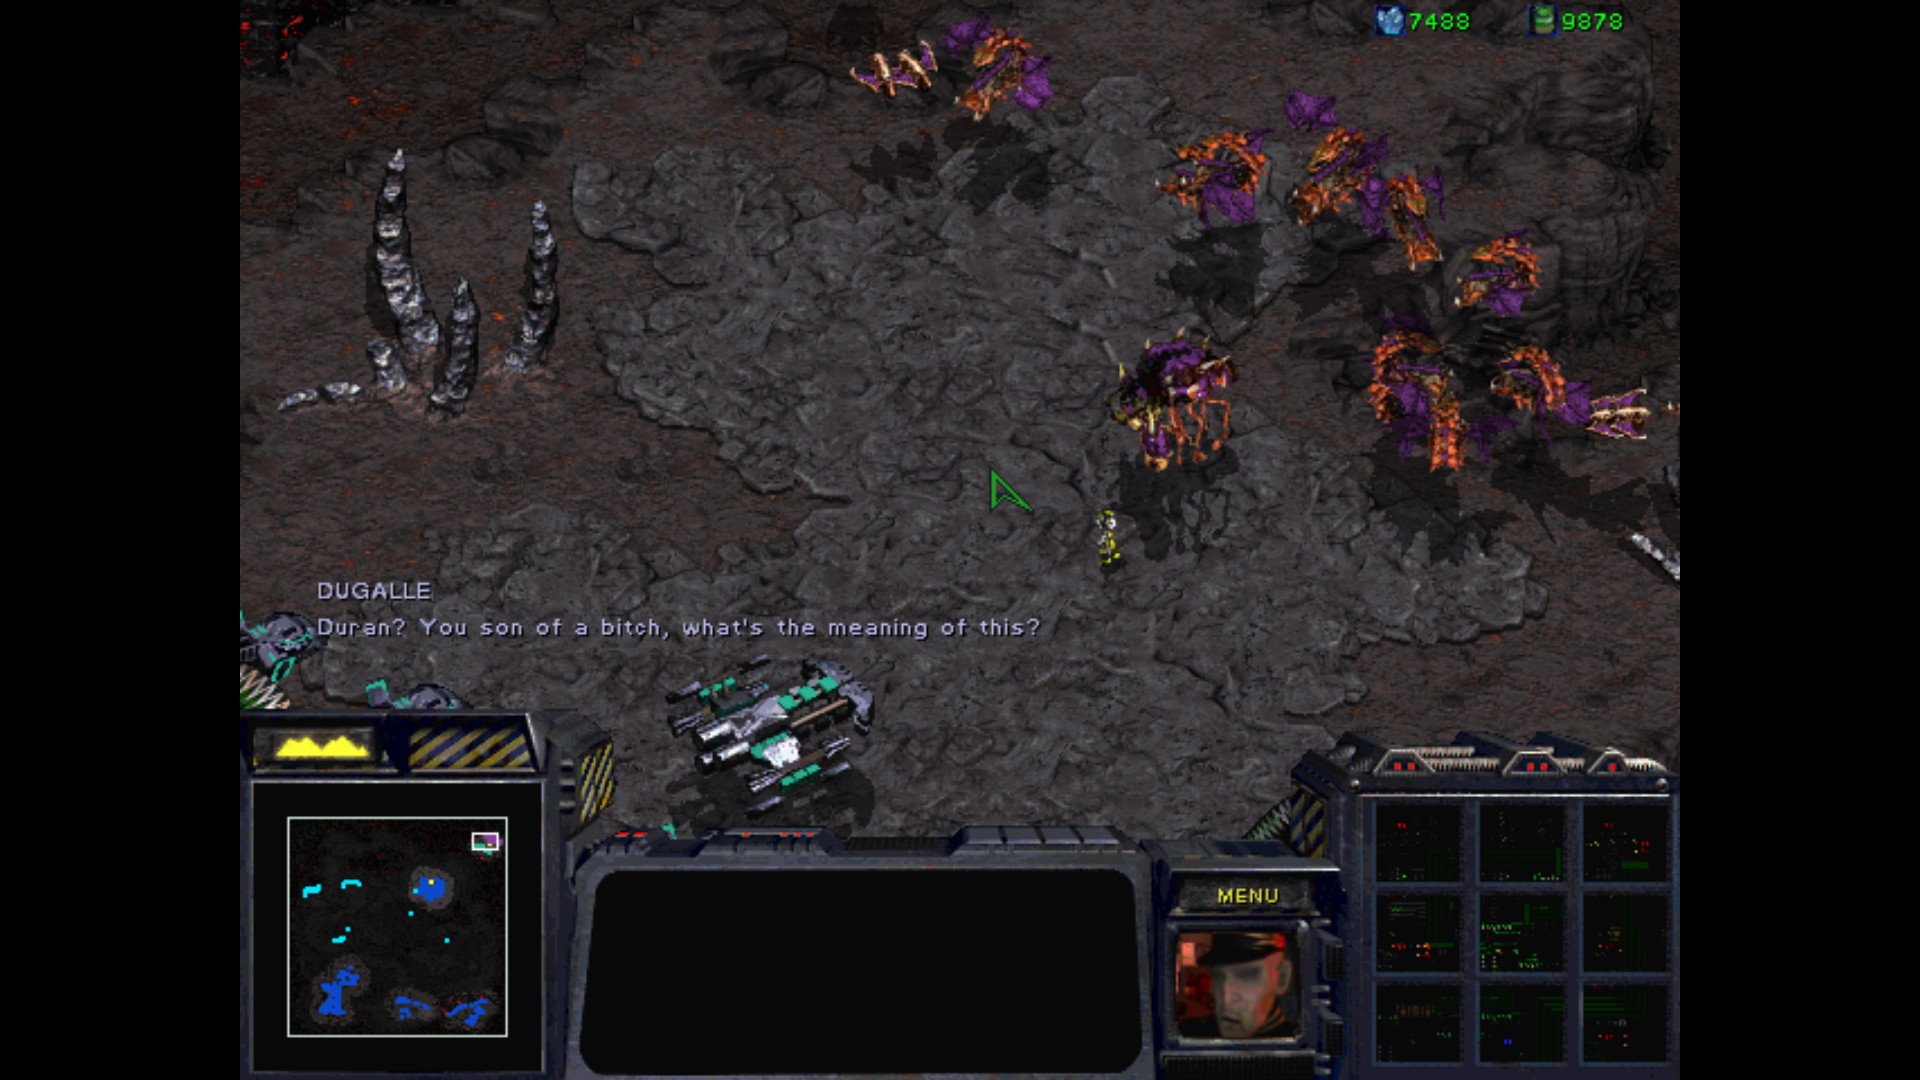
Finally. We get a small dialogue between Duran and Stukov.
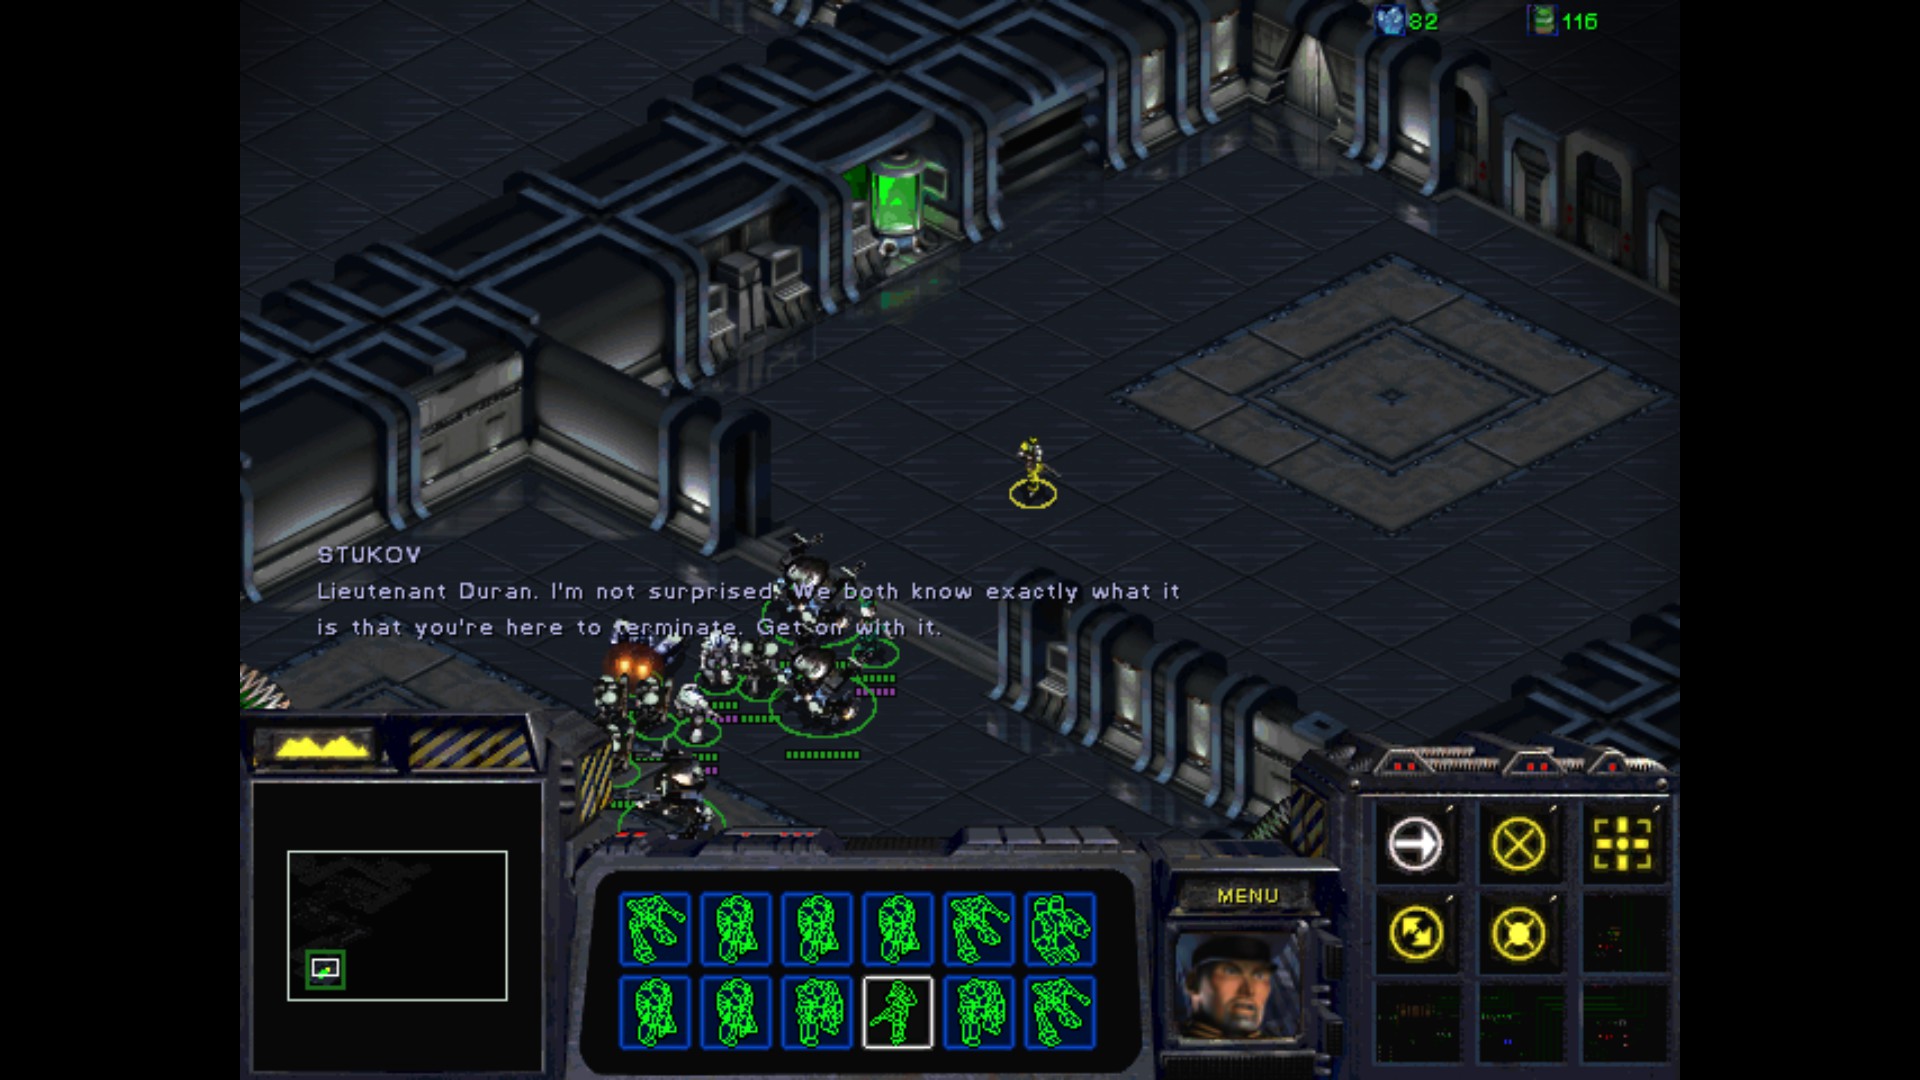
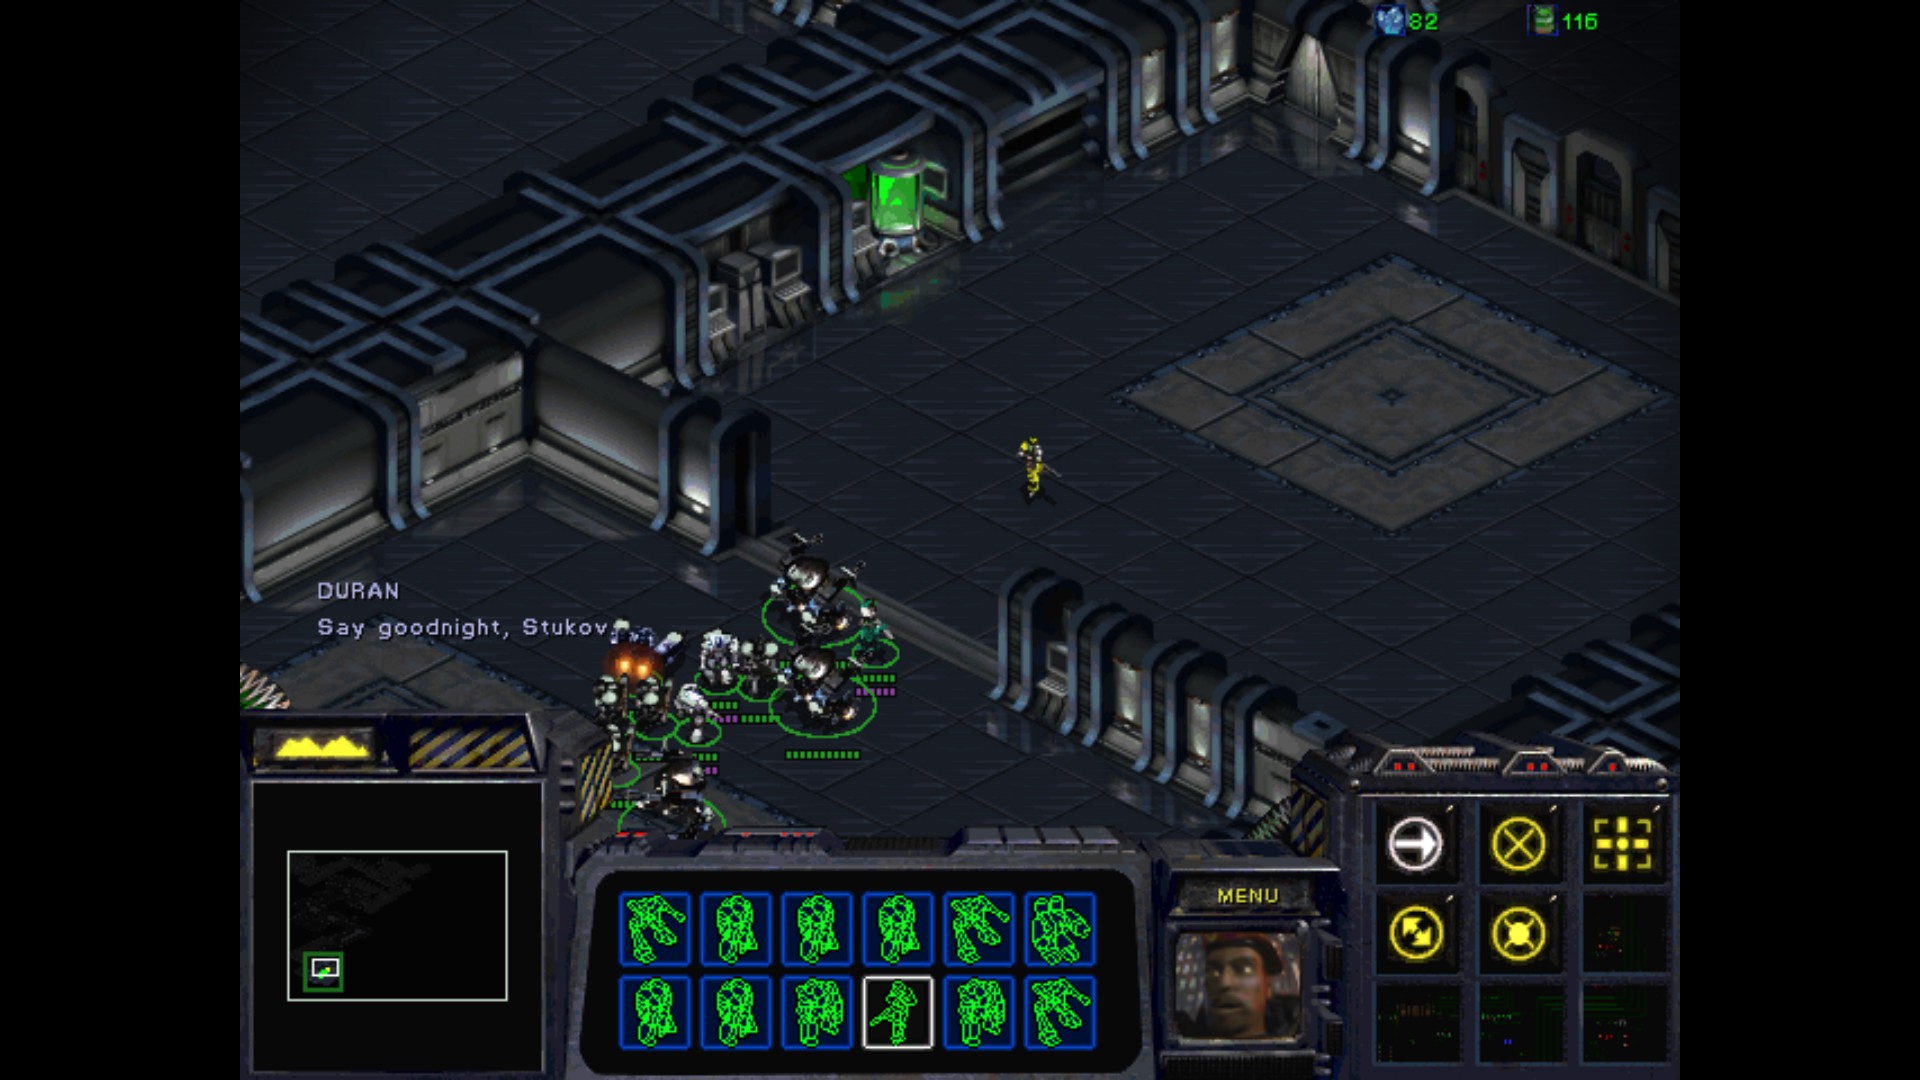


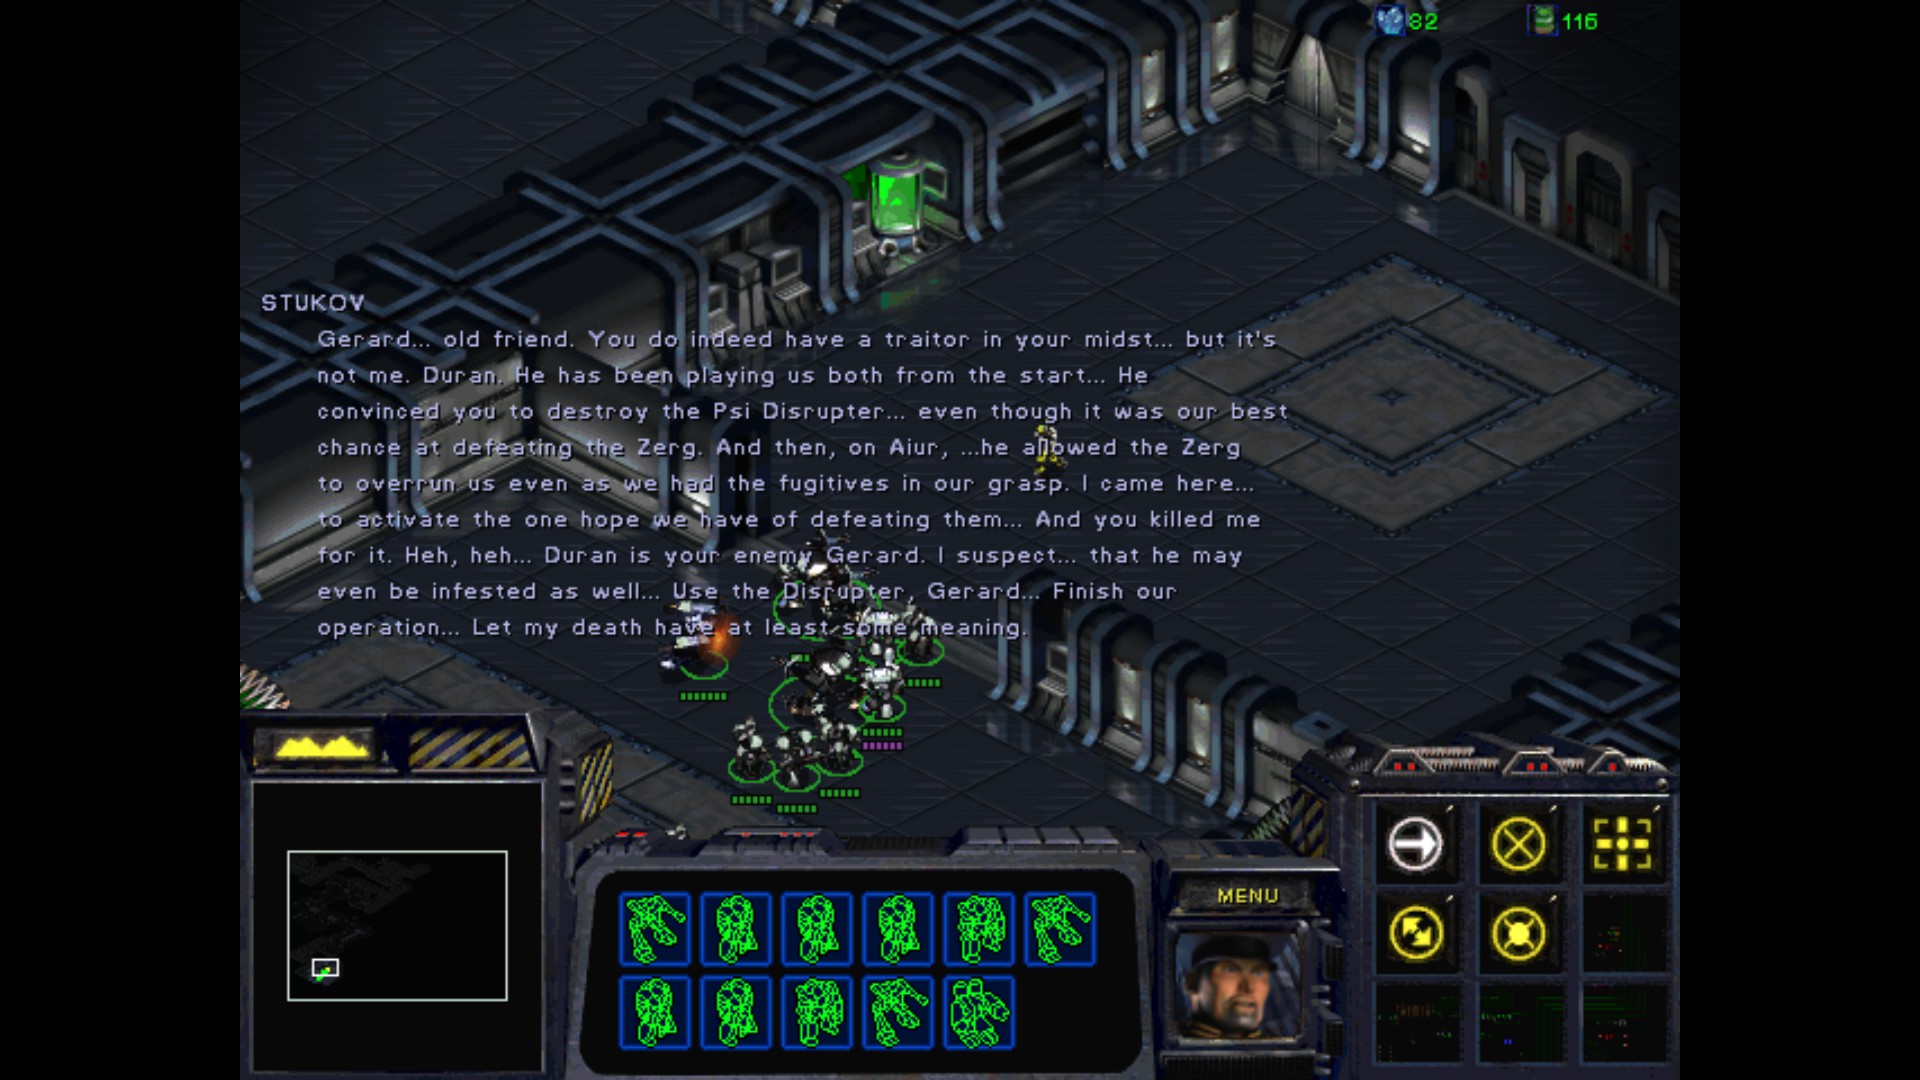
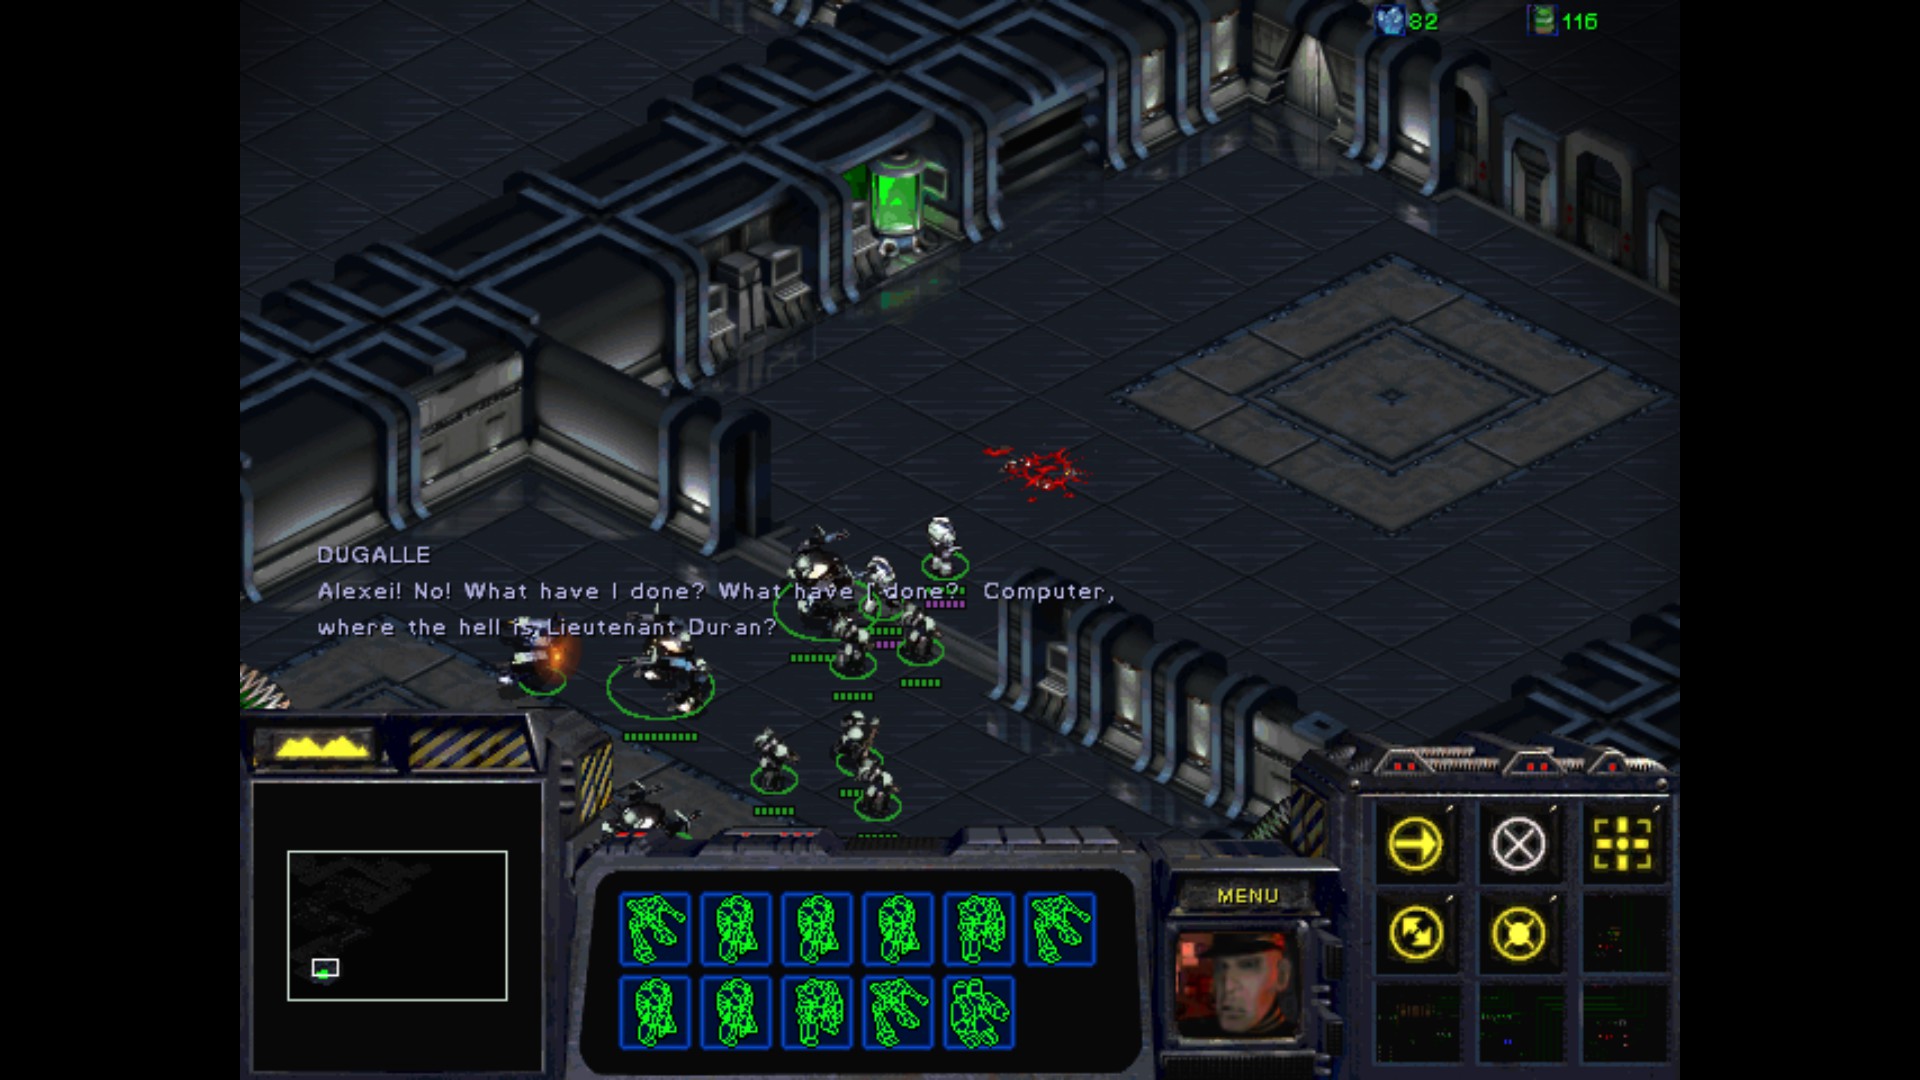


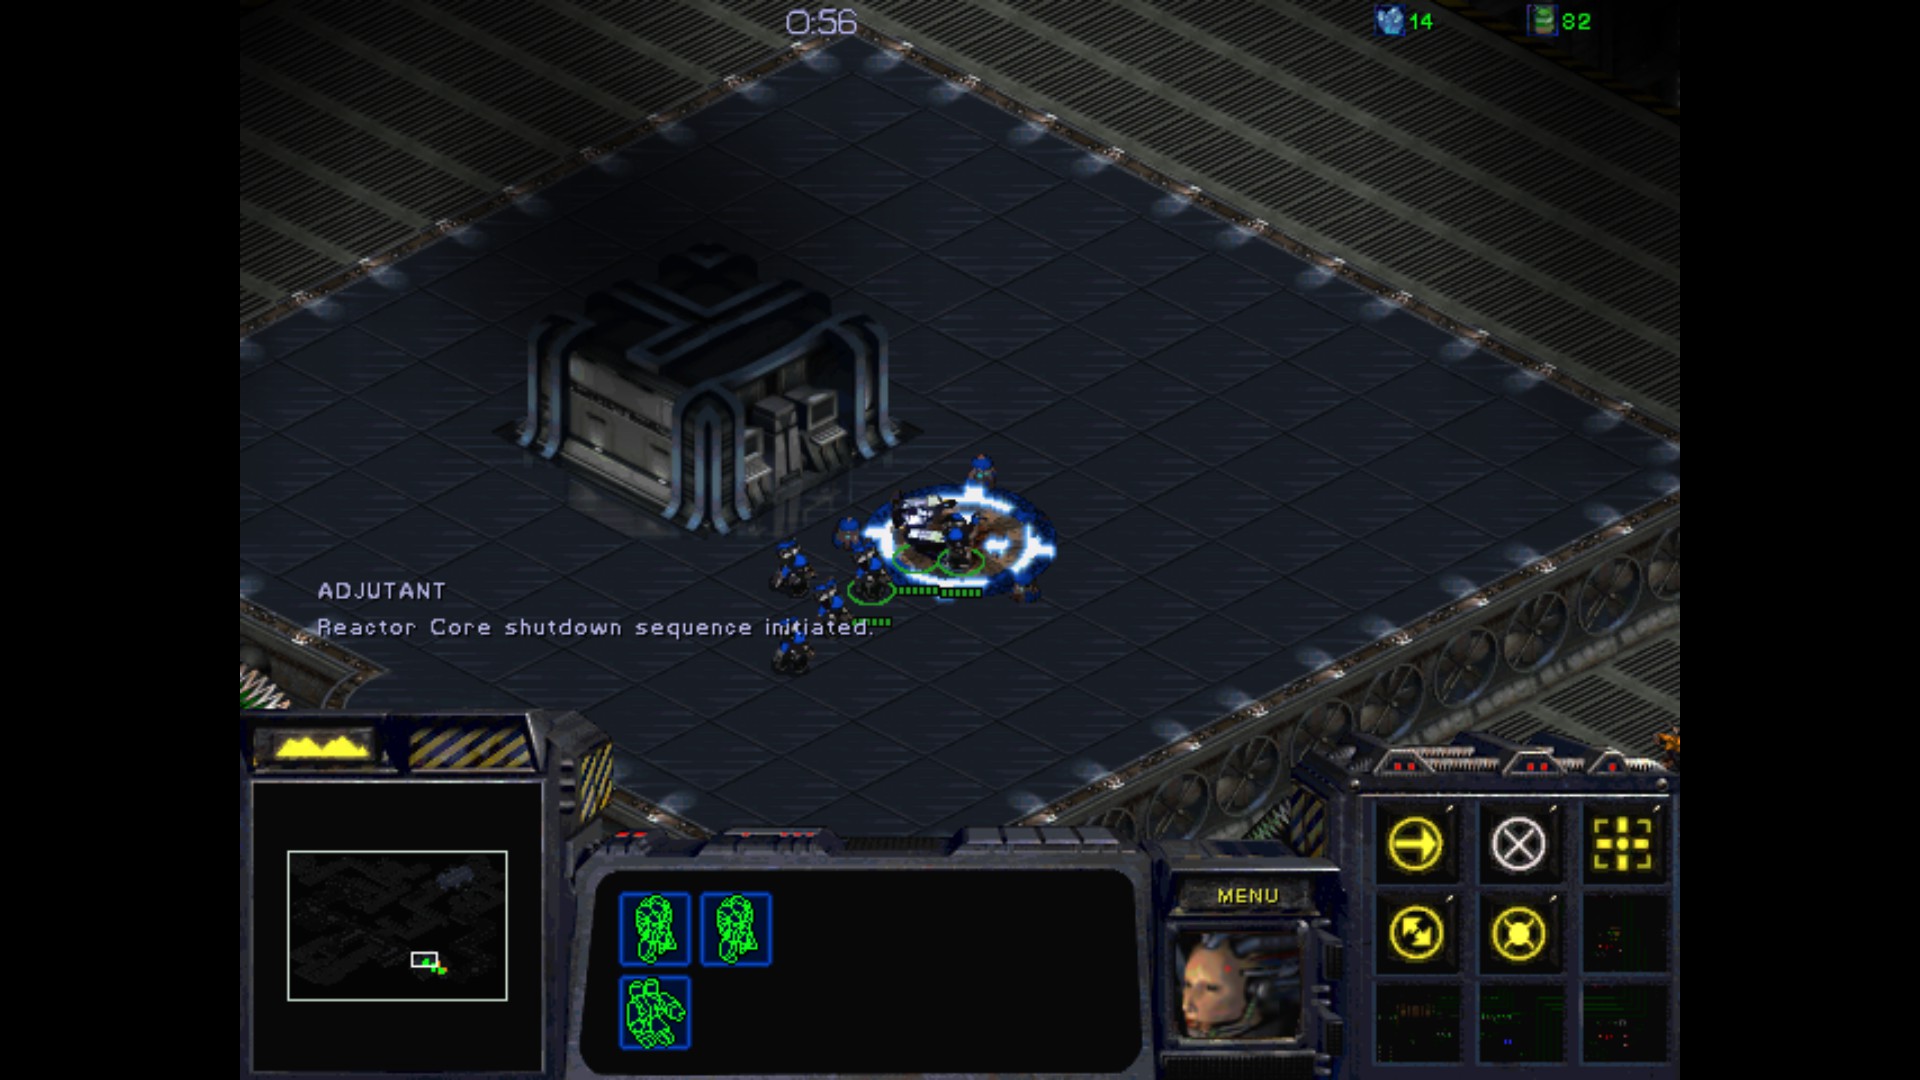
DuGalle, khem. Maybe you shouldn't JUMP TO THE FUCKING CONCLUSIONS SO QUICKLY ?
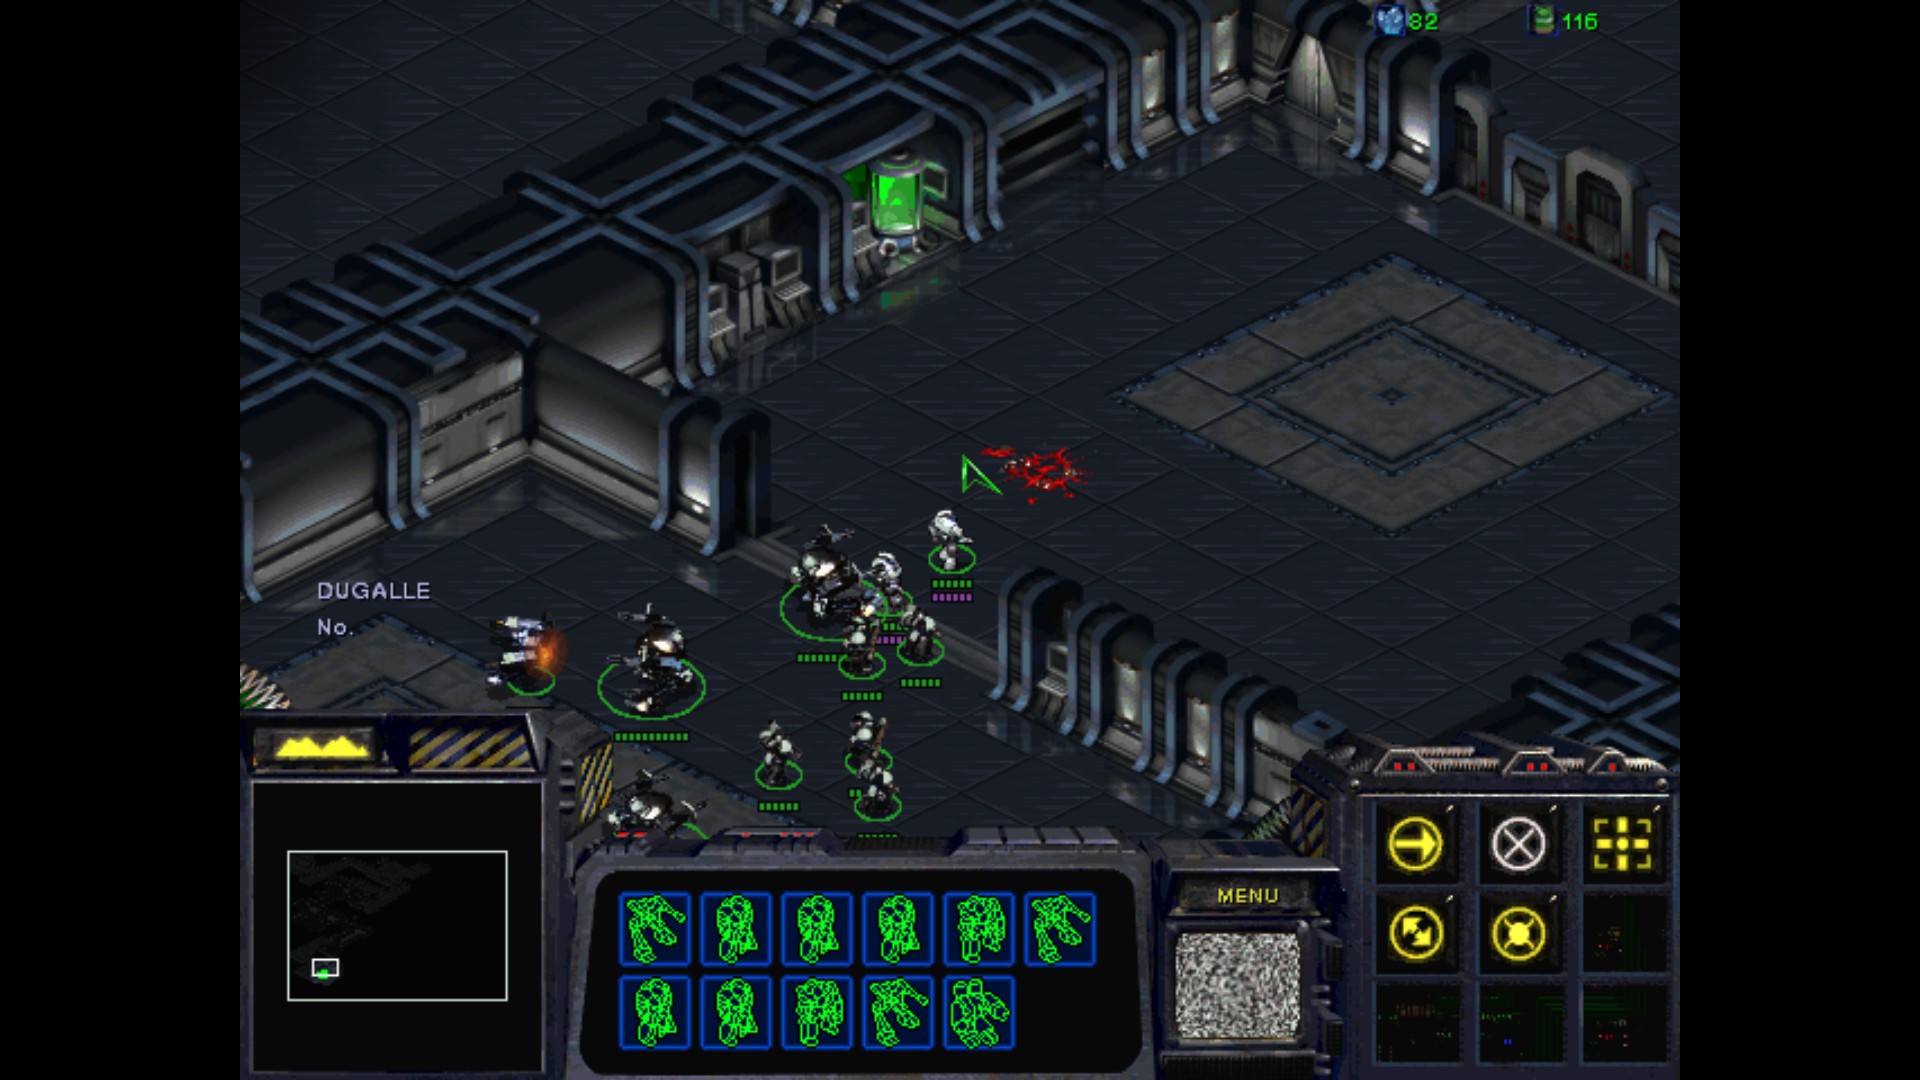
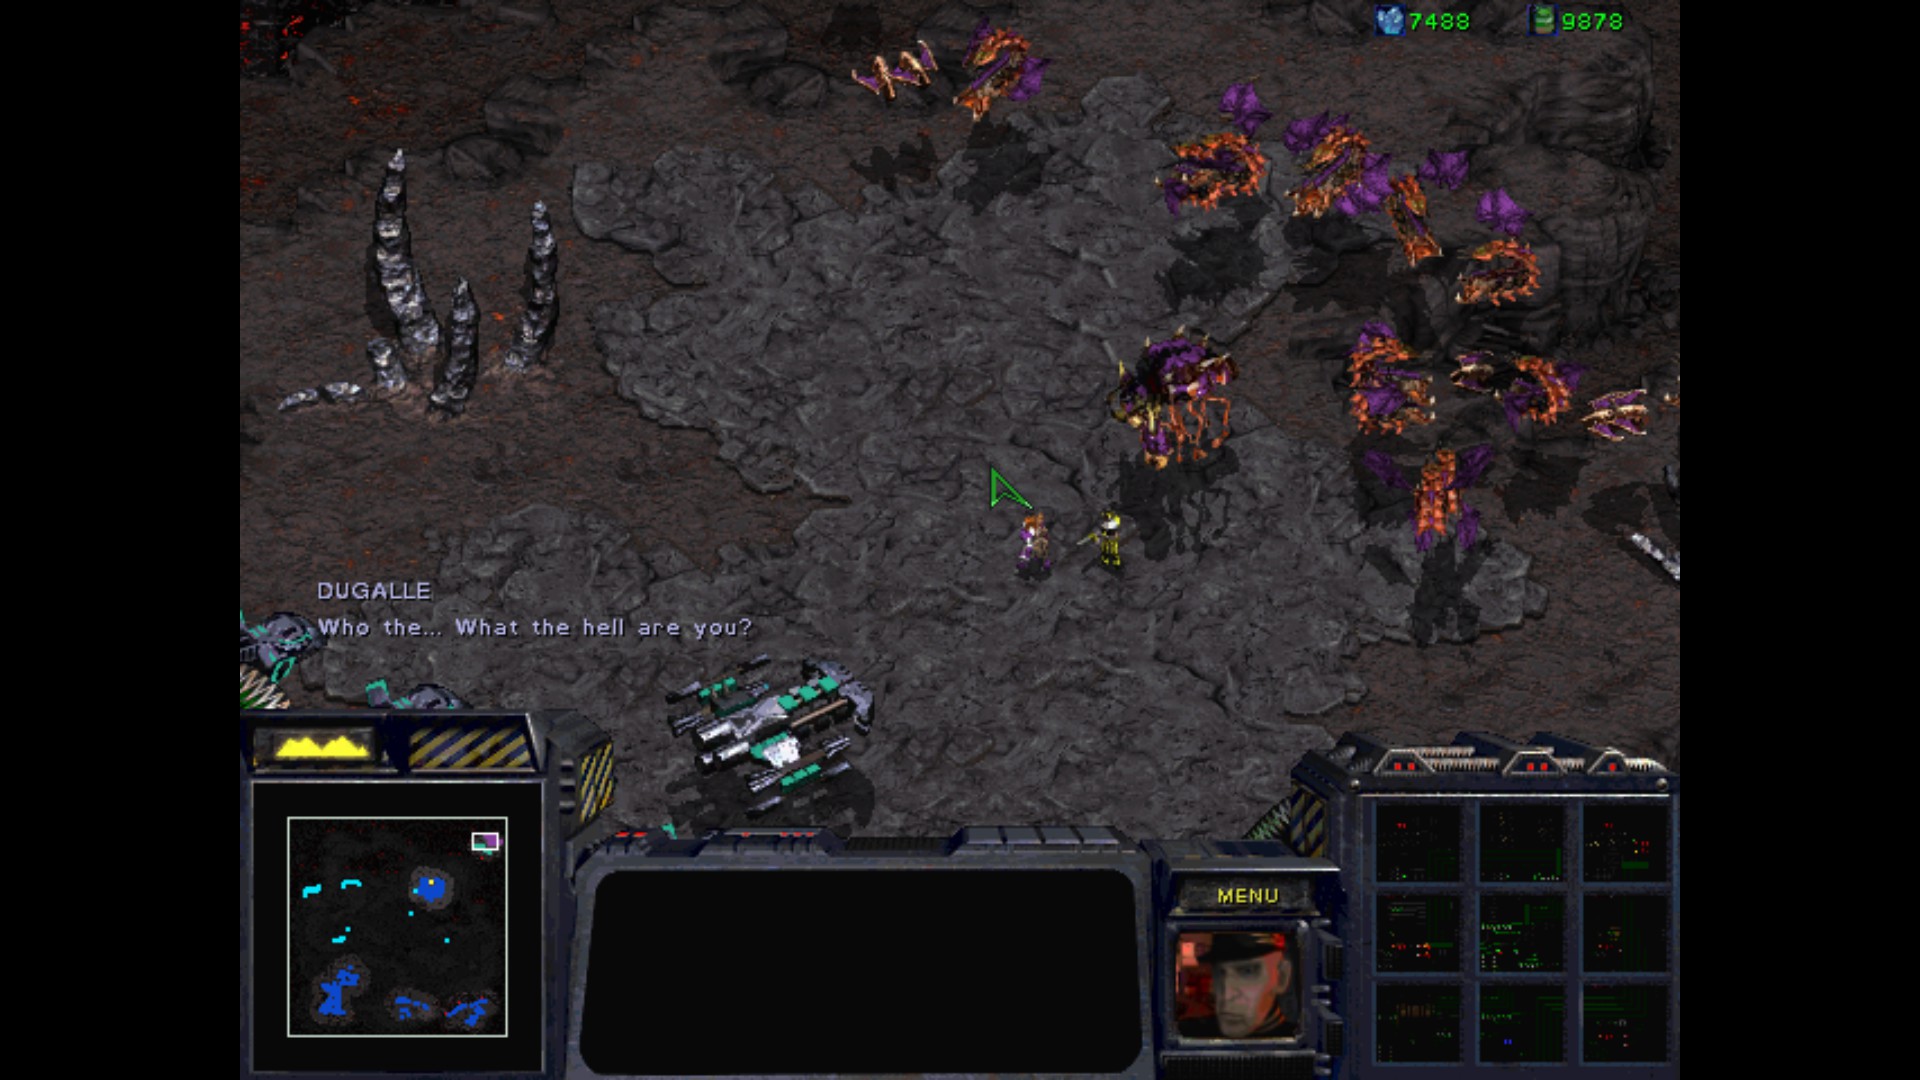
I thought the Protoss kill their friends quicker than their enemies, but just takes the cake. Not checking up on Duran the whole time, who just happened to be at planet surface while UED was invading it. Gah, is the mission over?
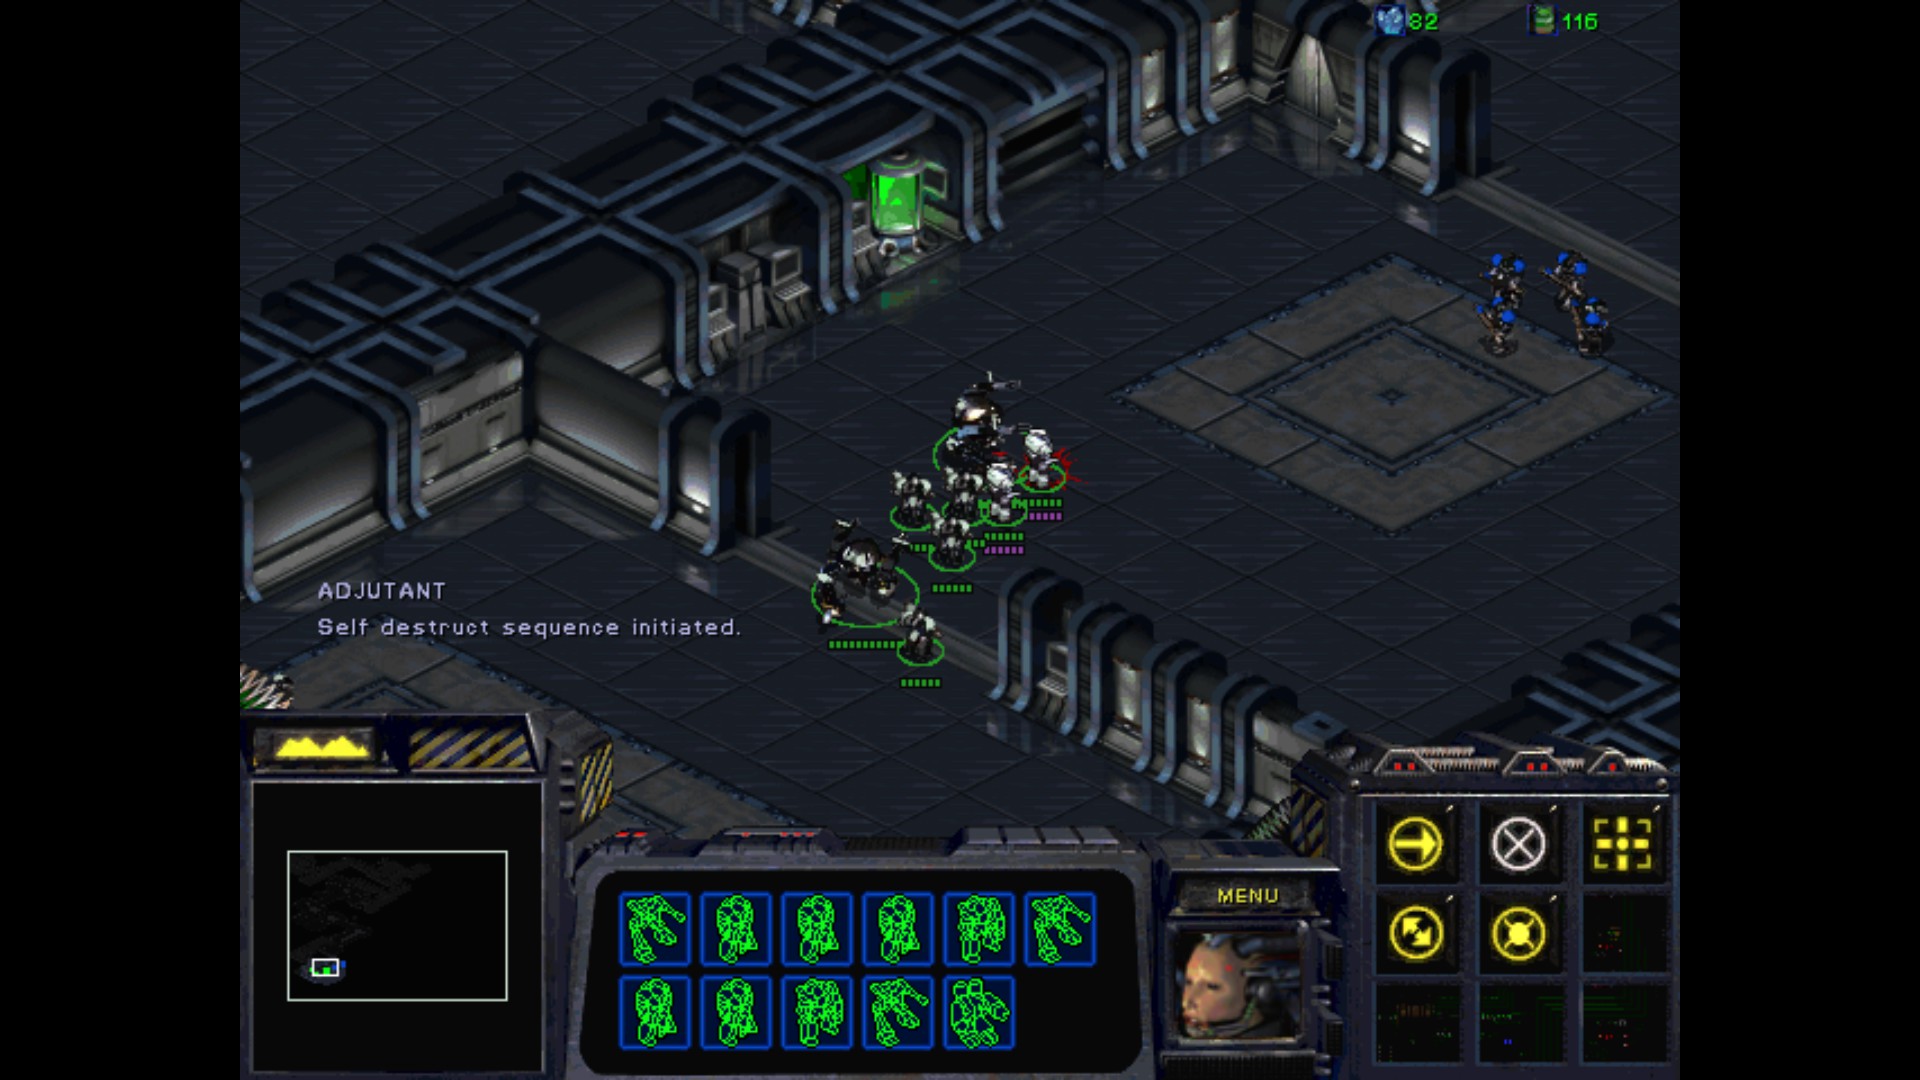

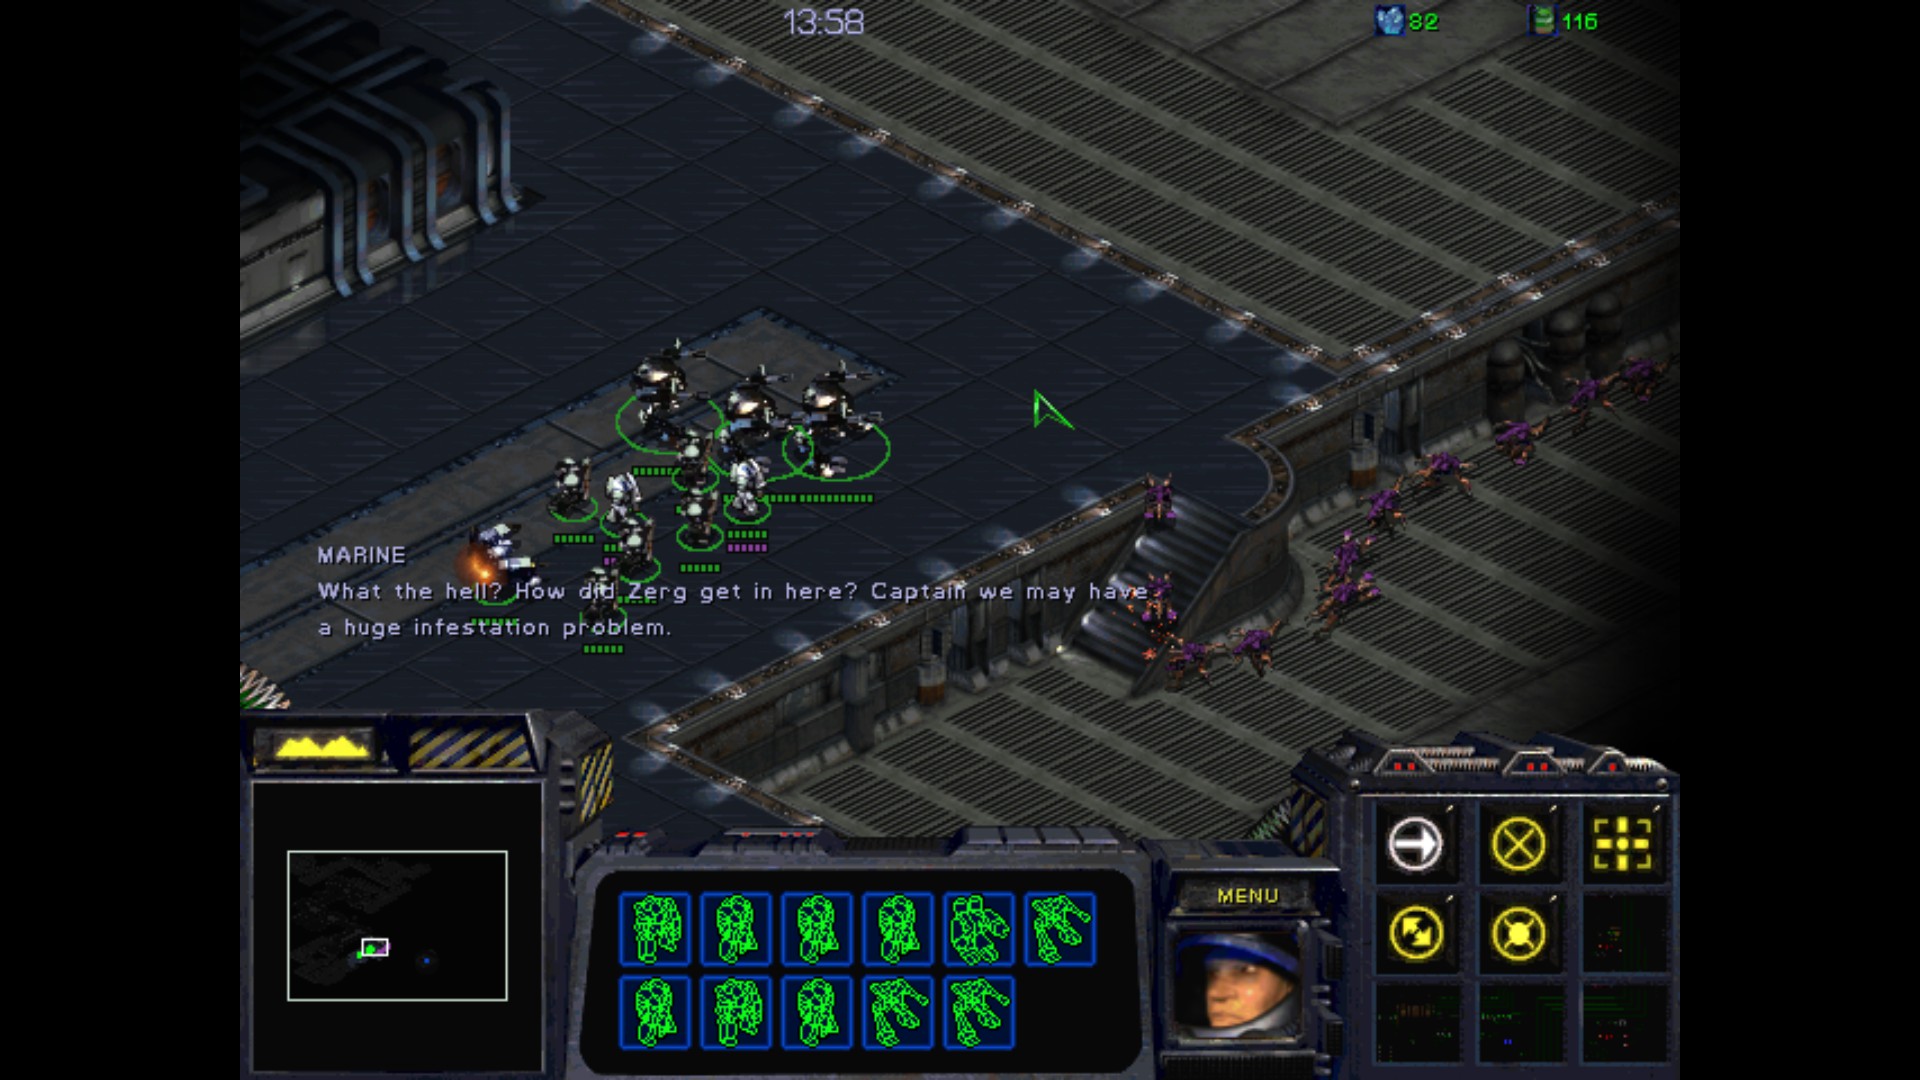
Now I have to rush the the rest of the map and cancel the self destruction sequence. The place is swarming with Zergs right now. I guess Duran wasn't 100 % human after all.
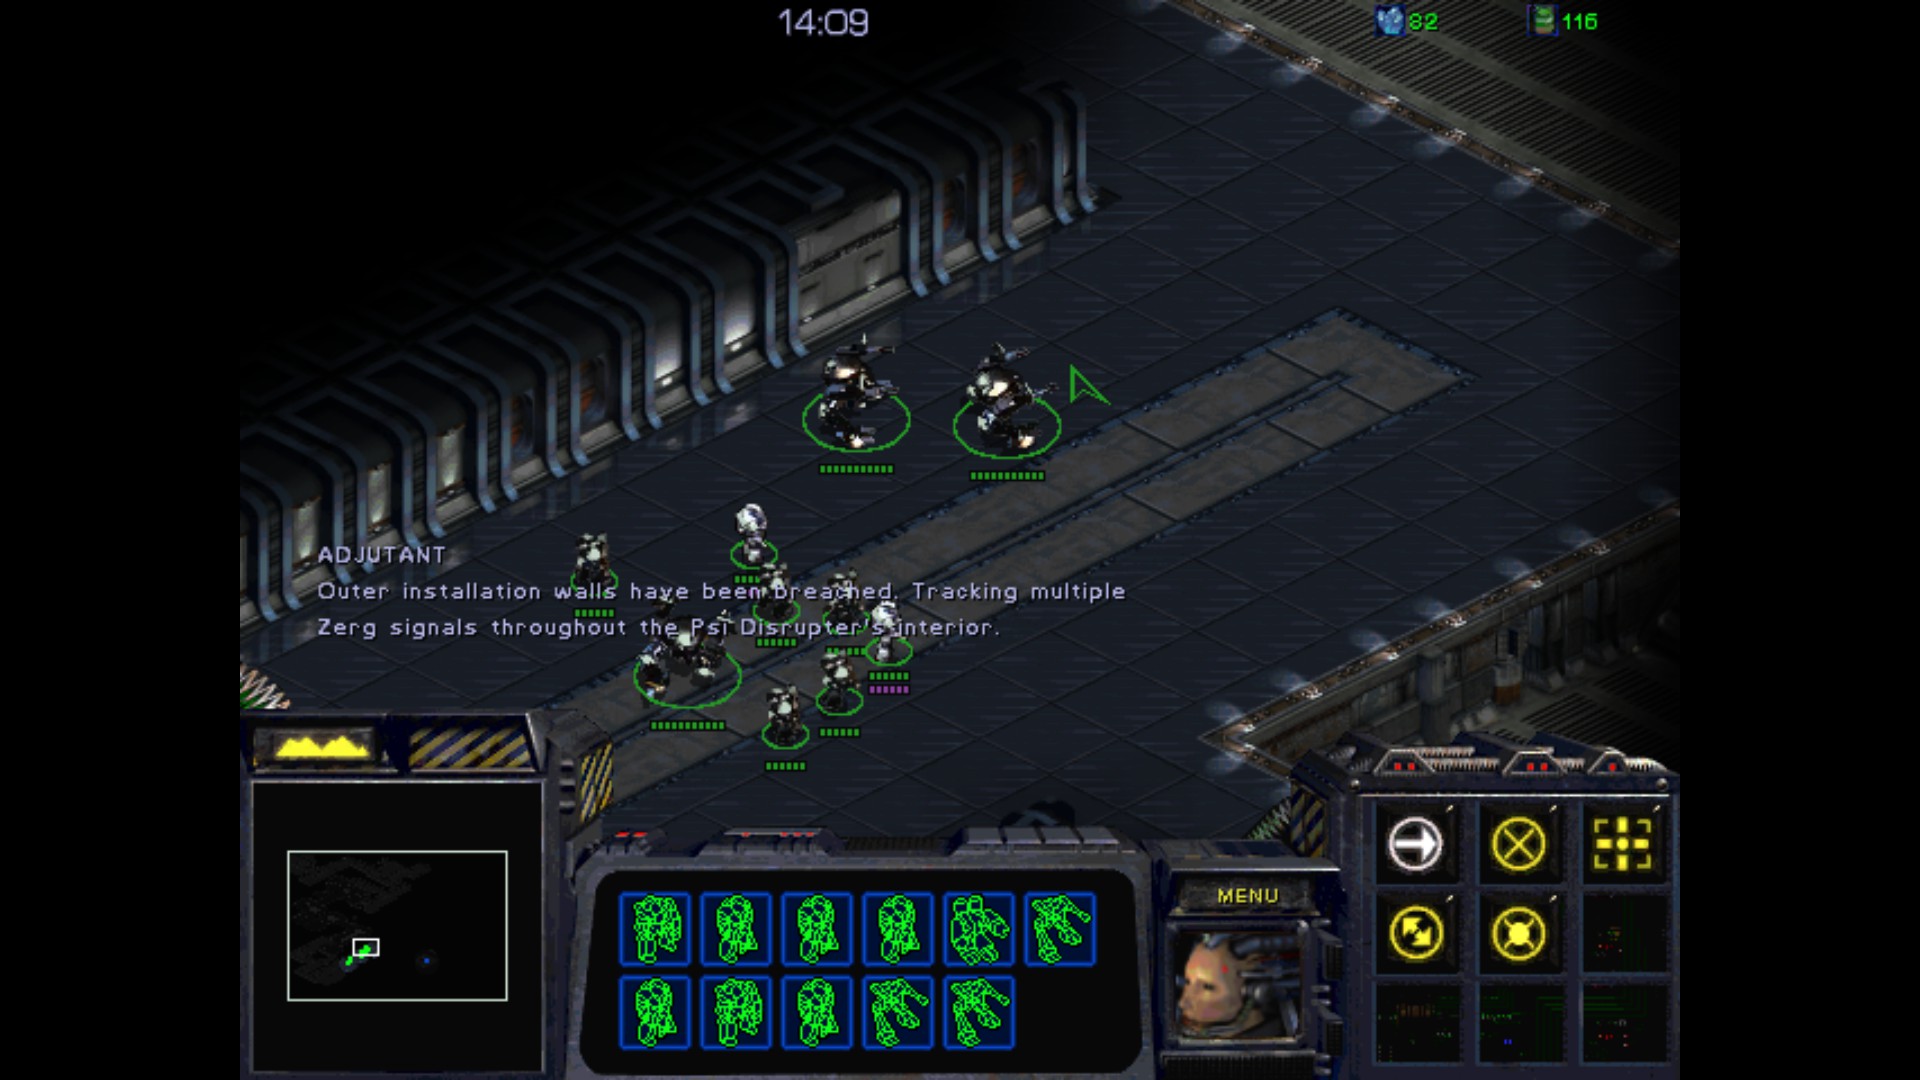
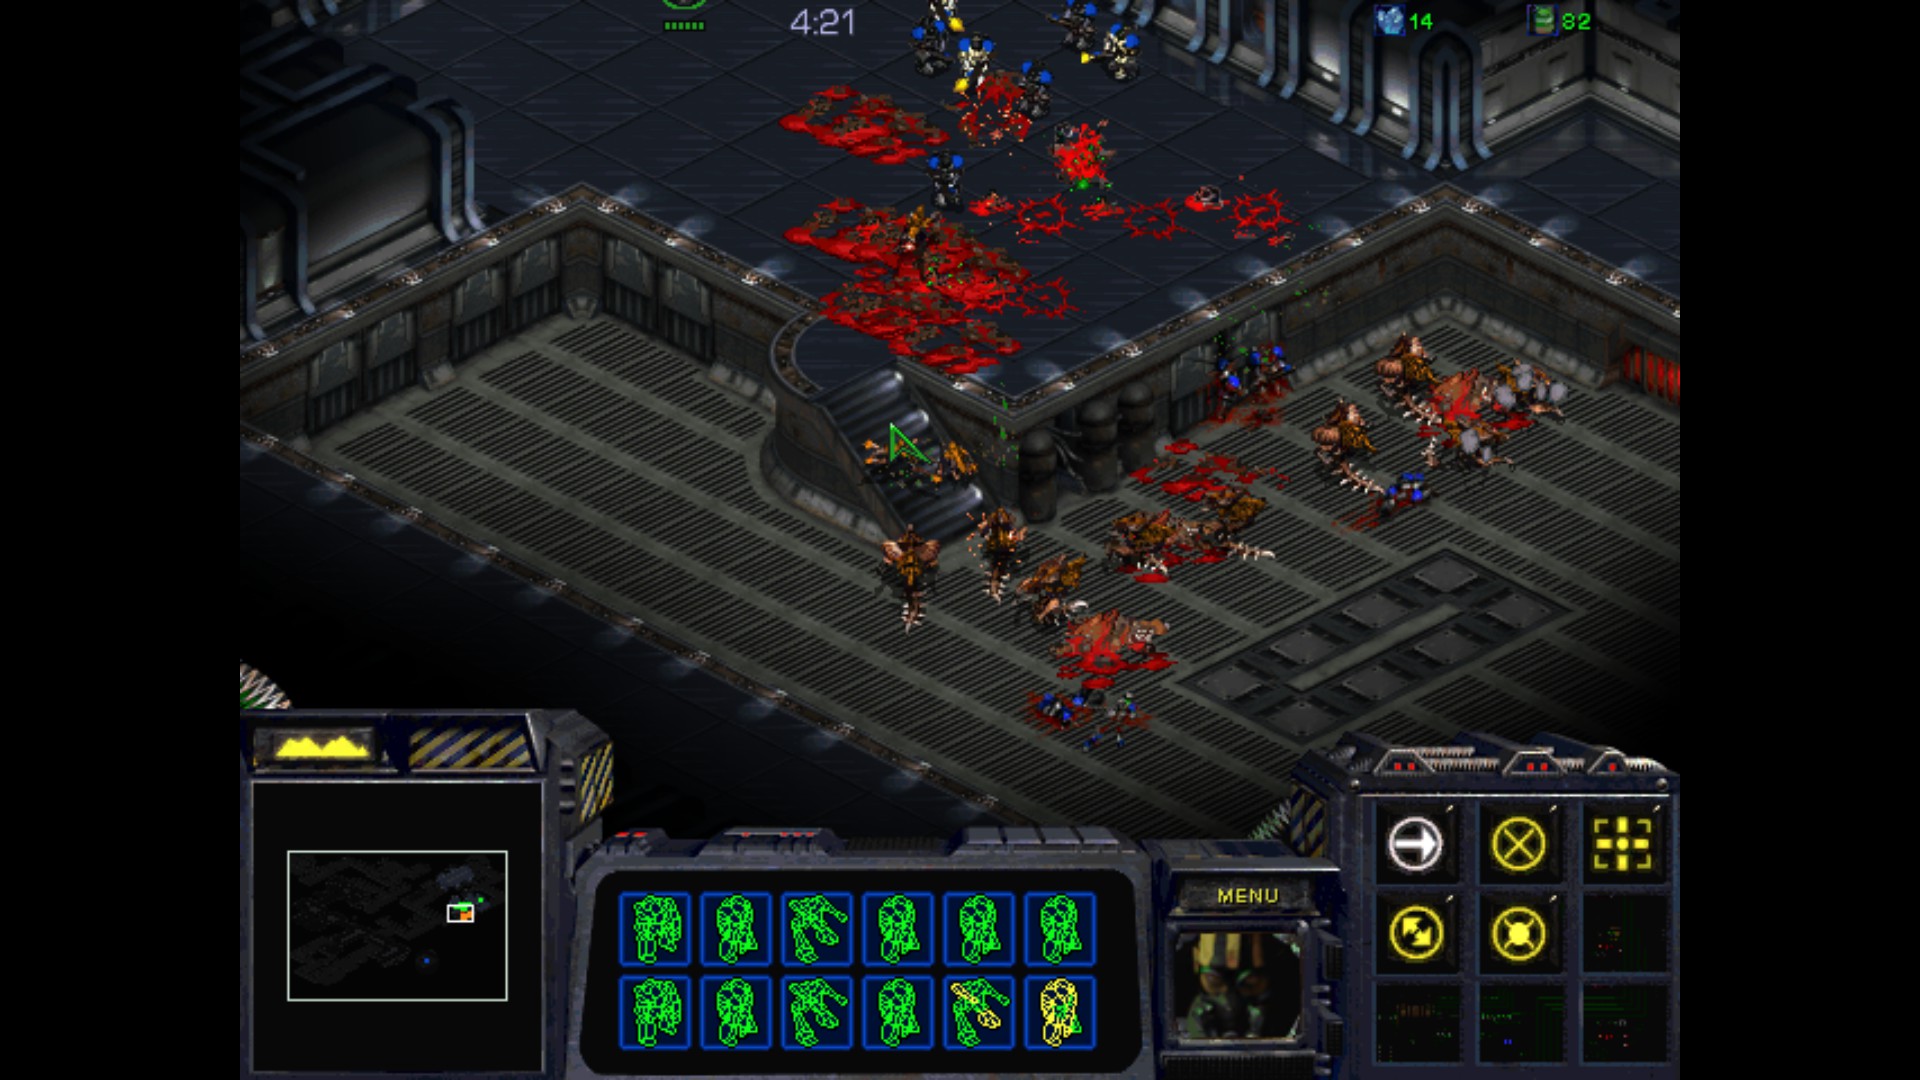
It's like the second part of the mission compensates the earlier smaller number of enemies. Holy shit!

Looks like I am lucky this time. Ah, at least this ...

Or so I thought. Still with the Medics, it's not a big problem.
That's the most efficient strategy for the upcoming little hoard that we meet.
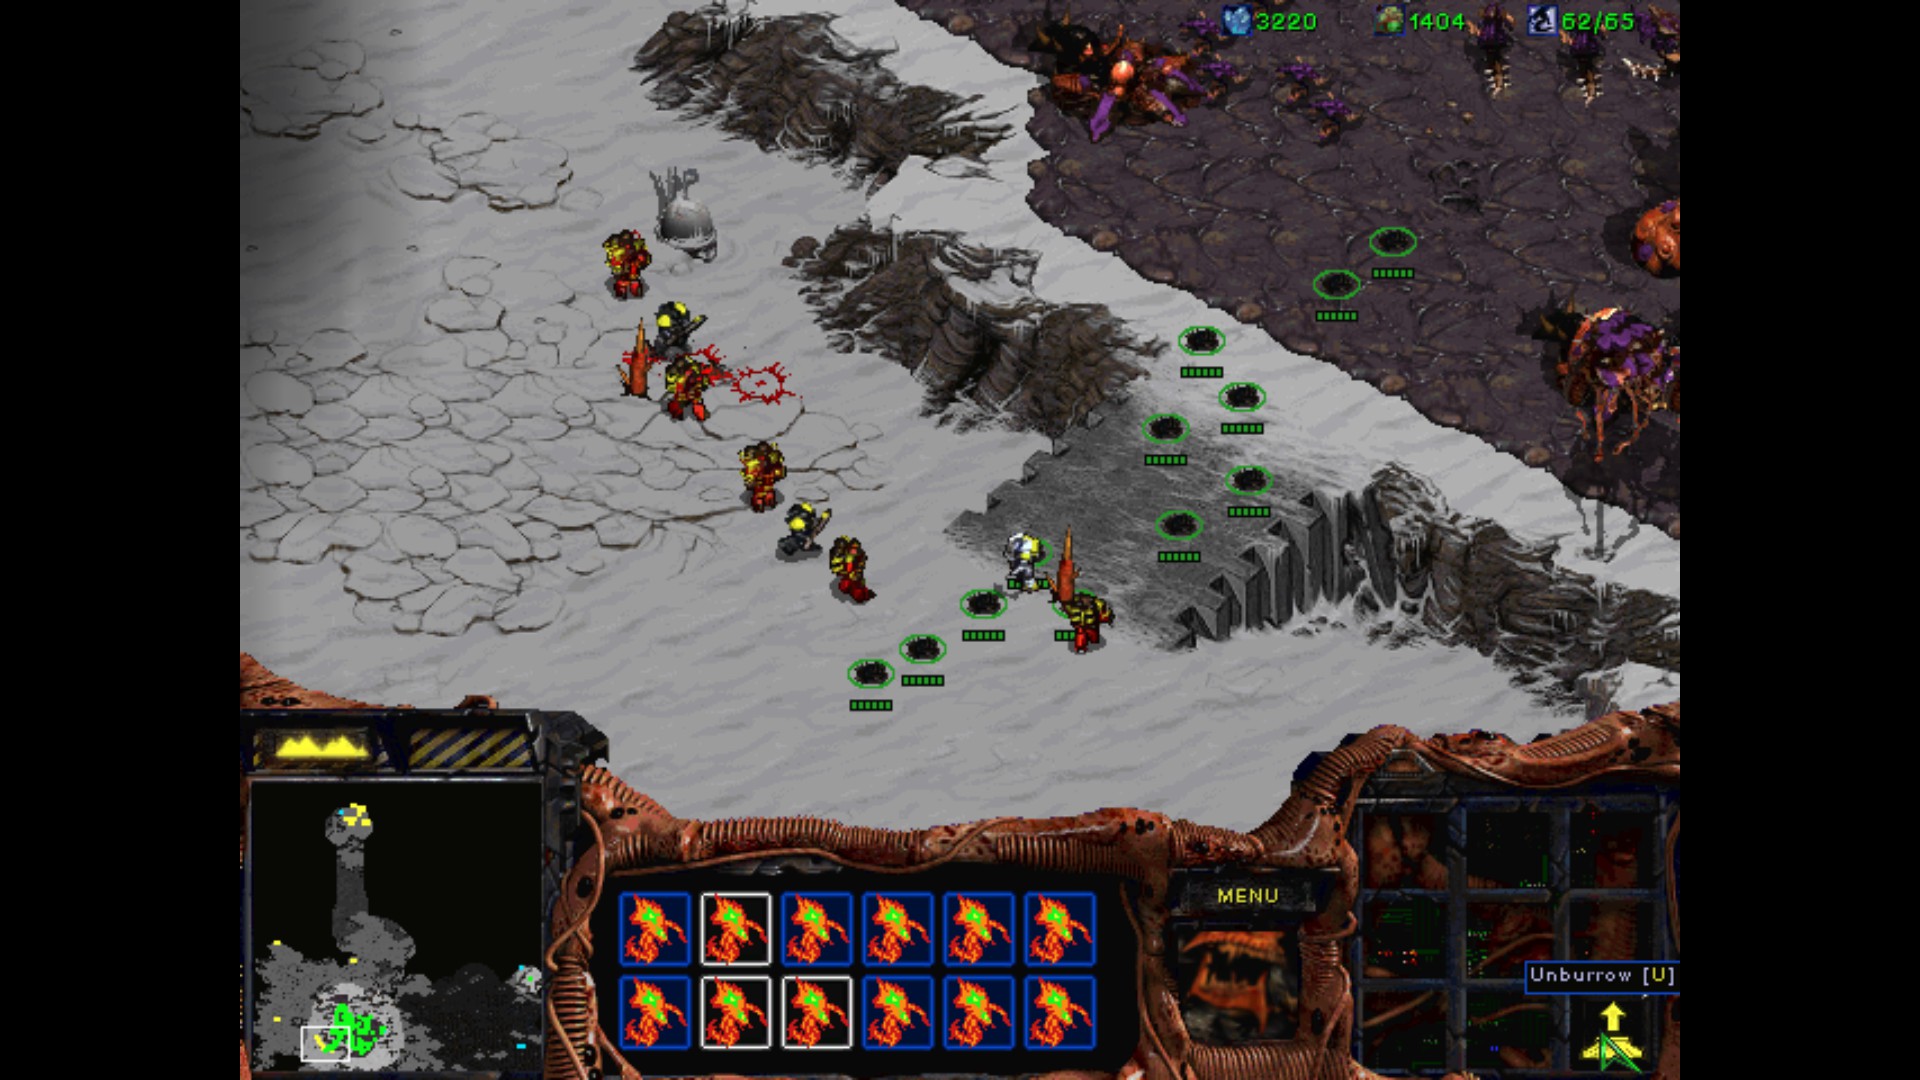
Marines are in the "Nope! Nope! Nope!" mode.

What a bloodbath, it's still a long way to the computer.
The fights are very intense and there is a lot of Zergs awaiting for the squad. My minerals are close to zero, so I won't be able to repair them very soon.


I was just rushing through to make it to the finish line.
:vivelafrance:
It's time to prepare for the final mission.

dumbest 'twists' ever lol
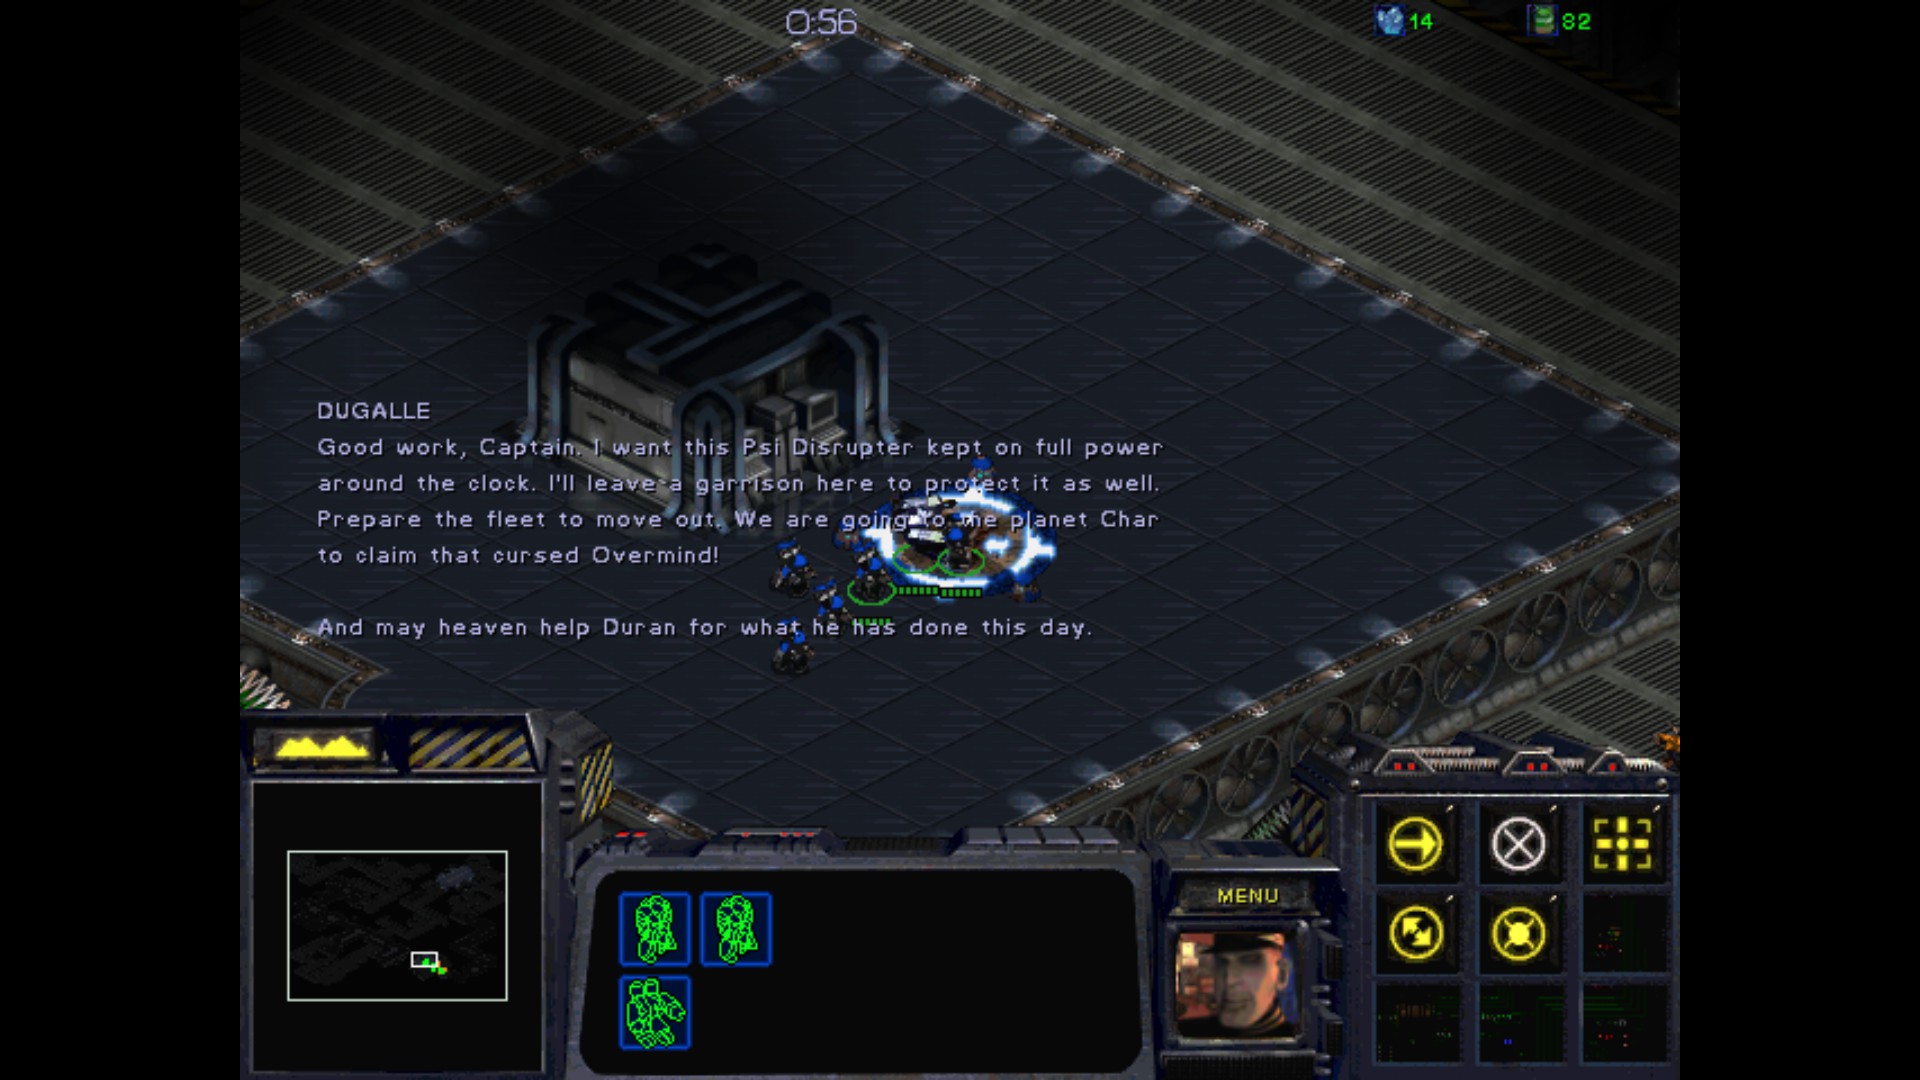
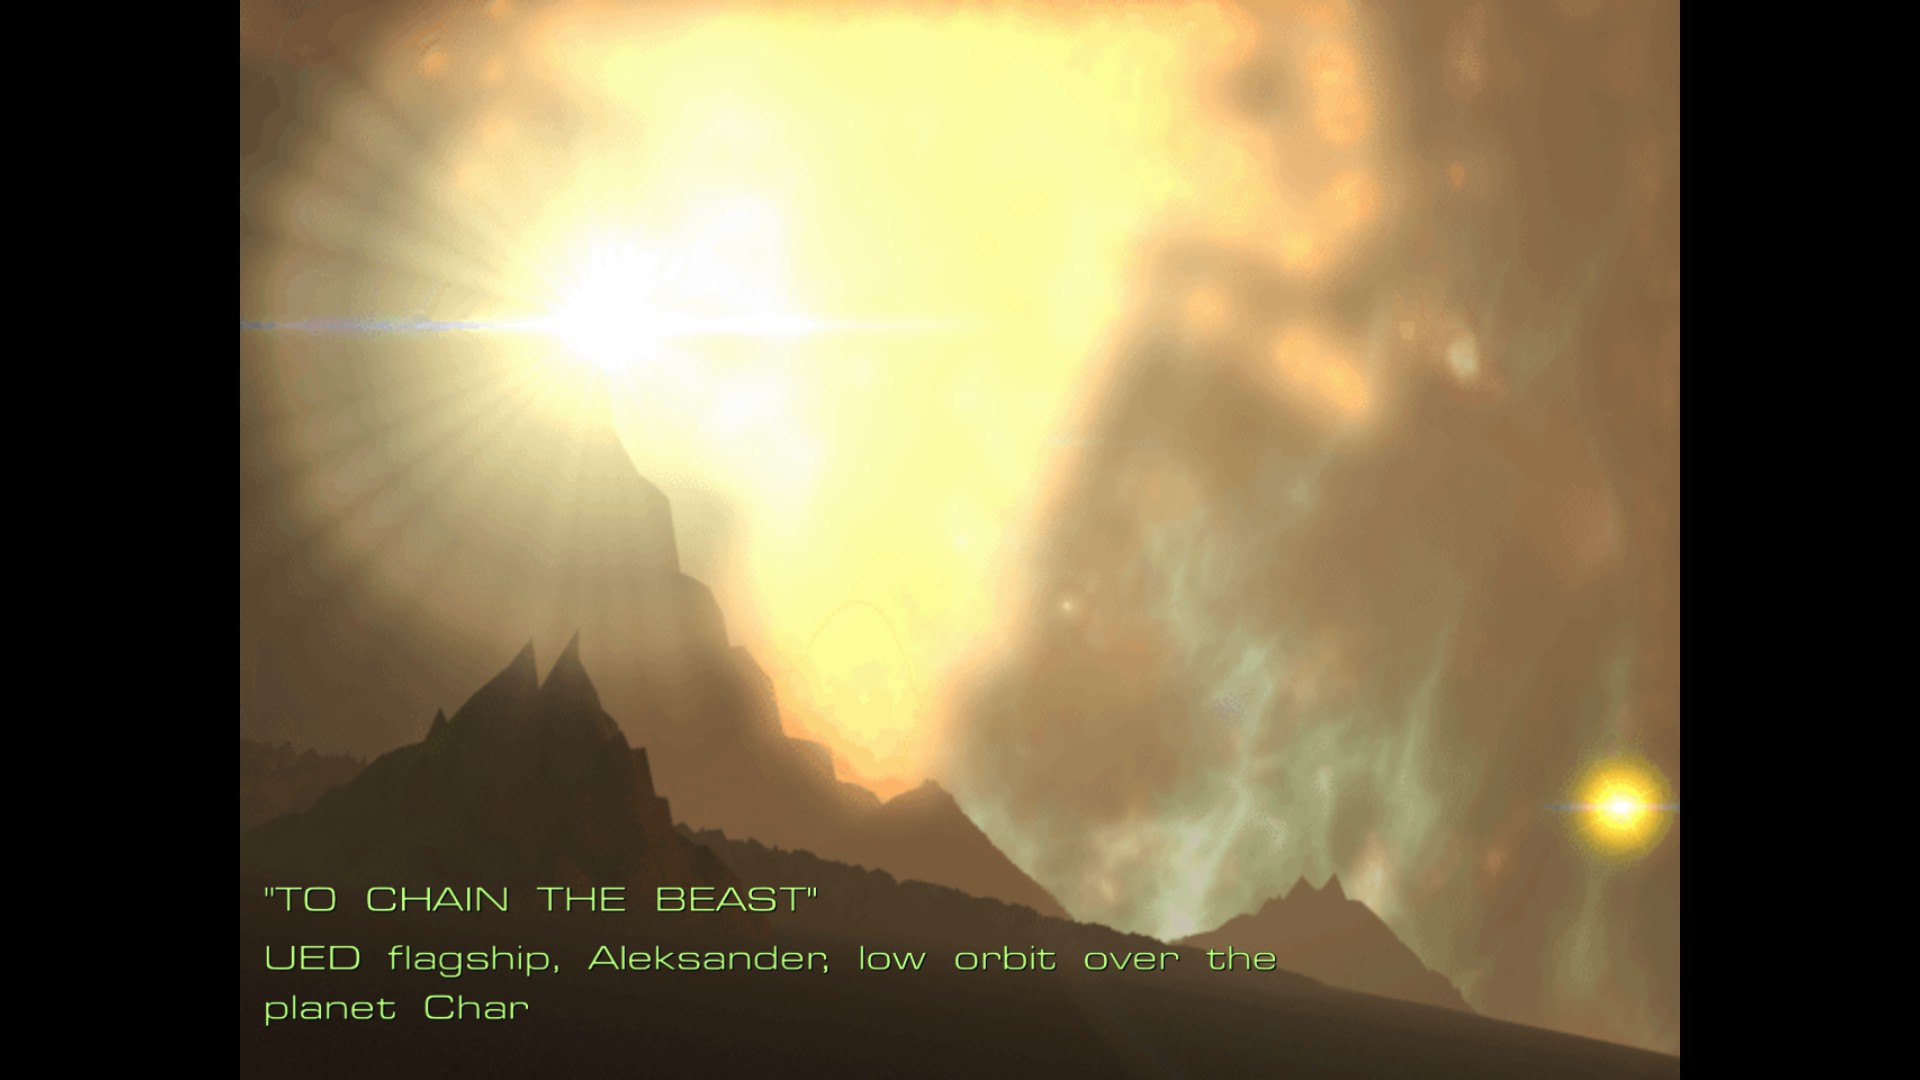
Mission VIII : To Chain The Beast
Captain, with the Psi Disrupter's signal hampering the Zergs' communications to one another, the Swarms over Char have scattered in disarray, allowing the fleet to penetrate to the planet's surface. However, there is still a considerable number of defenders nestled around the fledgling Overmind.
Alexei was right. The Disrupter is the key to victory here.
If I had destroyed the machine as Duran suggested we would never have made it this far... Nevertheless, the time is upon us, Captain, to do what we came here for. We will claim the Overmind in the name of Humanity!
Be advised, Captain: our sensors have identified three cerebrates who constitute the core of the Overmind's defenses.
Each cerebrate's distinct capabilities are still unknown, so proceed with extreme caution.
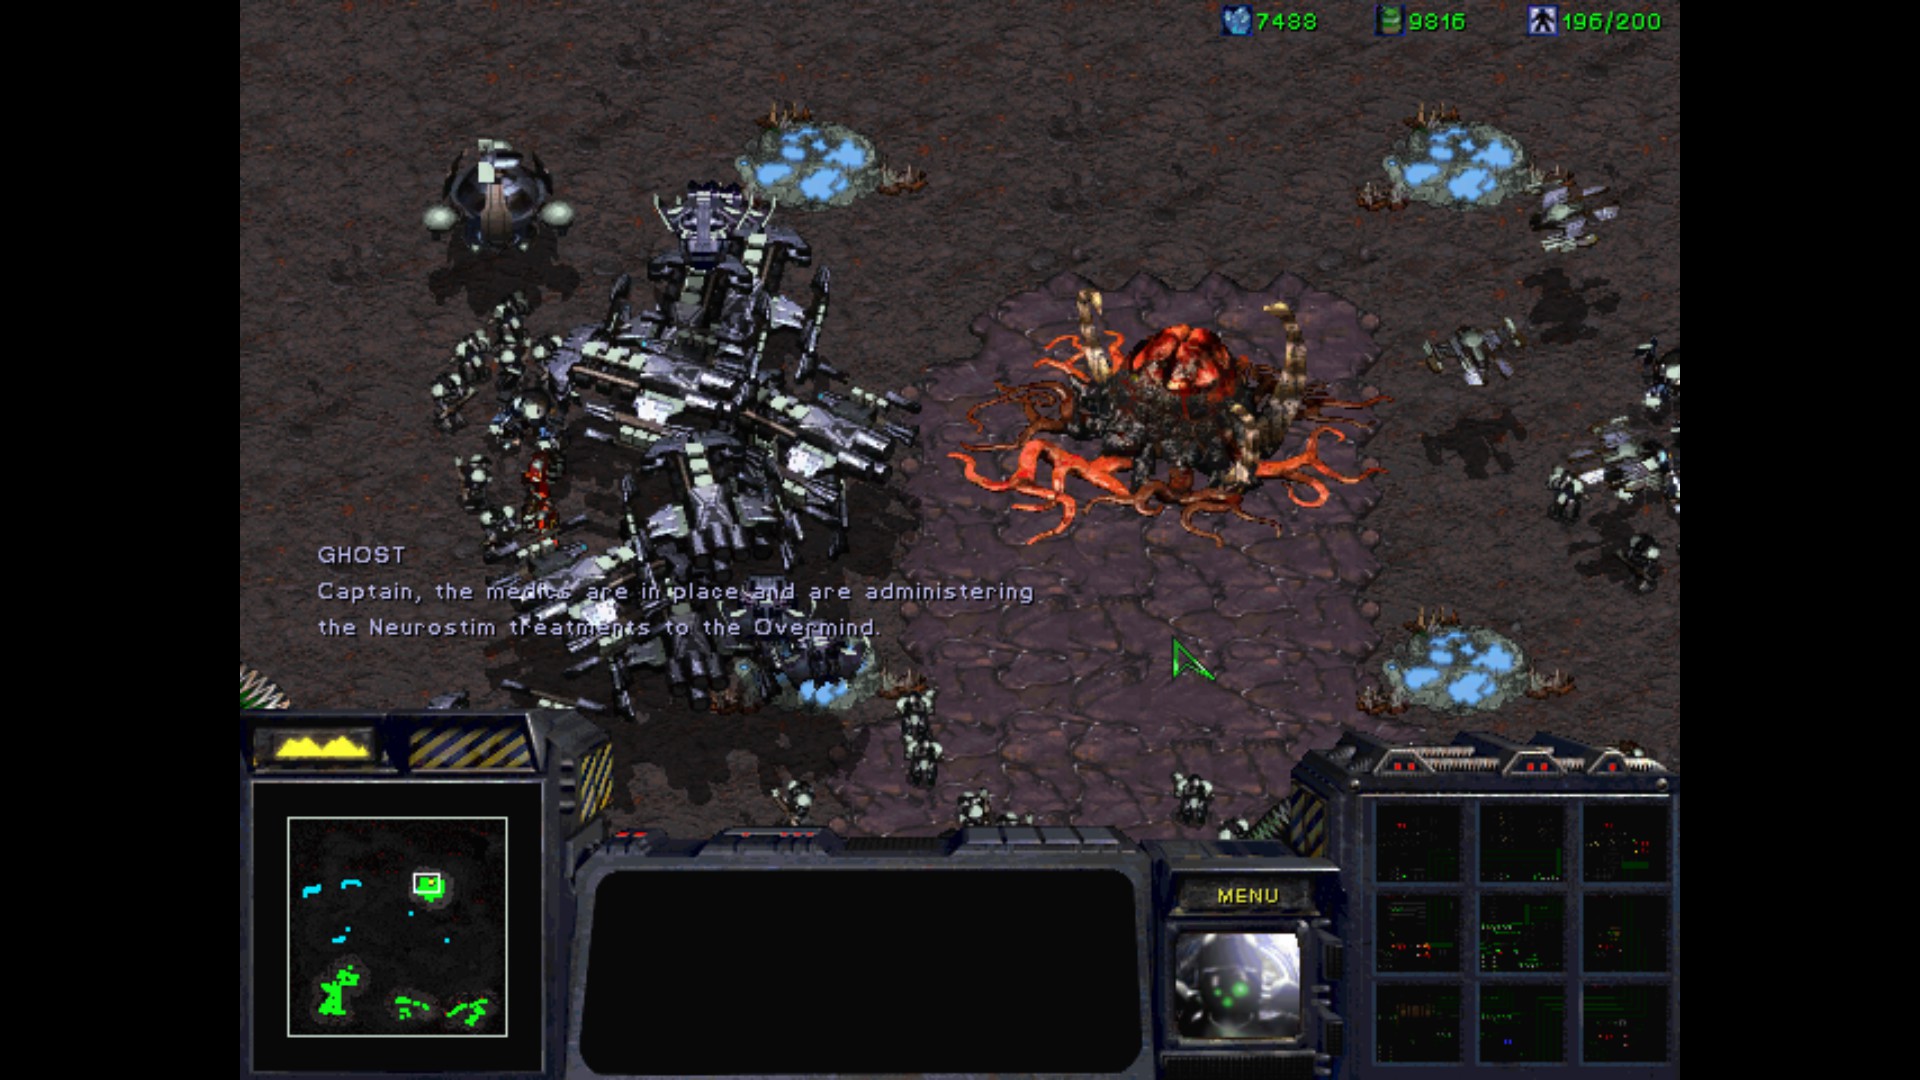
Launch your forces and let not a Zerg survive! Once you have reached the Overmind and crushed its defenders, you are to send in specially trained medics who will pacify the creature with potent Neurostim drugs. Only then will our victory be assured.
And Captain, remember that Duran is still out there somewhere. I'd venture a guess that his treachery has only just begun. Be careful and good luck.
I am sure that this will be our finest hour.
Objectives :
- Bring a medic to each of the beacons surrounding the Overmind
- Kill Zerg cerebrates to weaken the Overmind's defenses
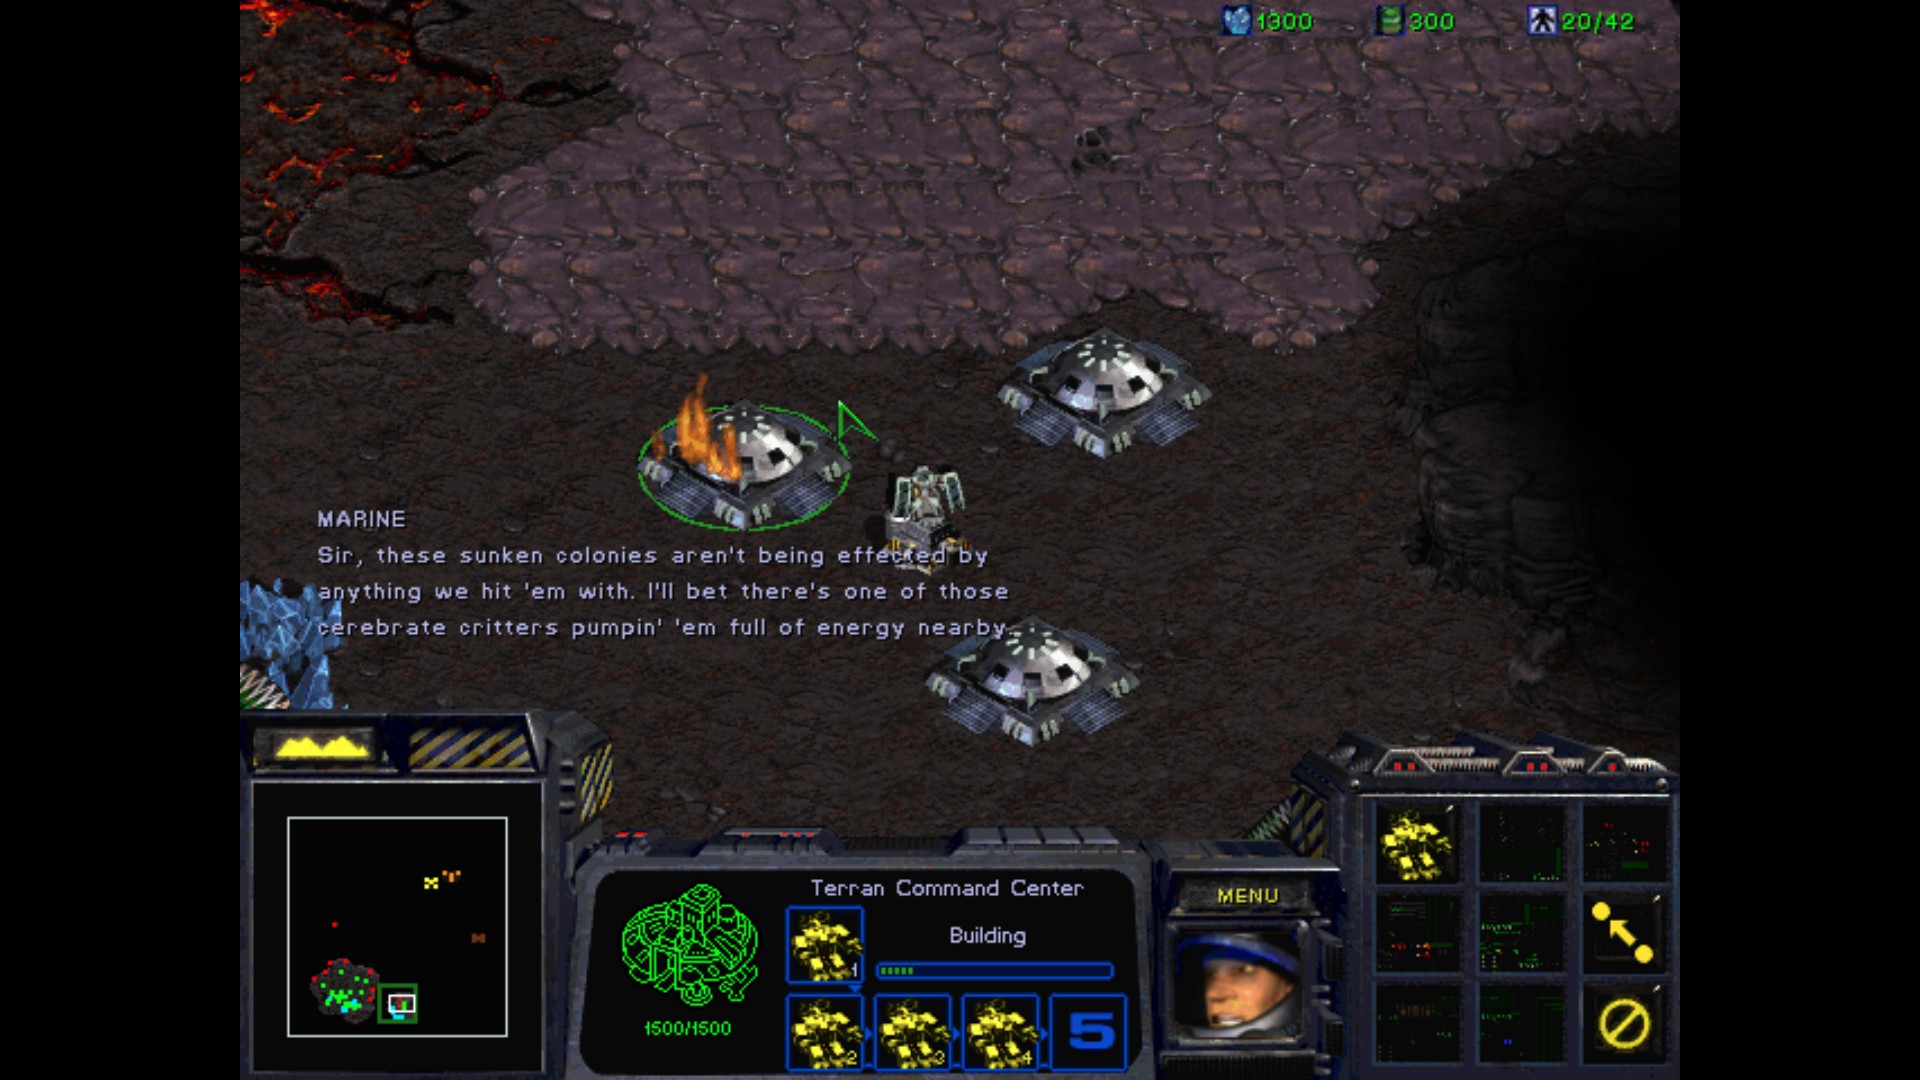
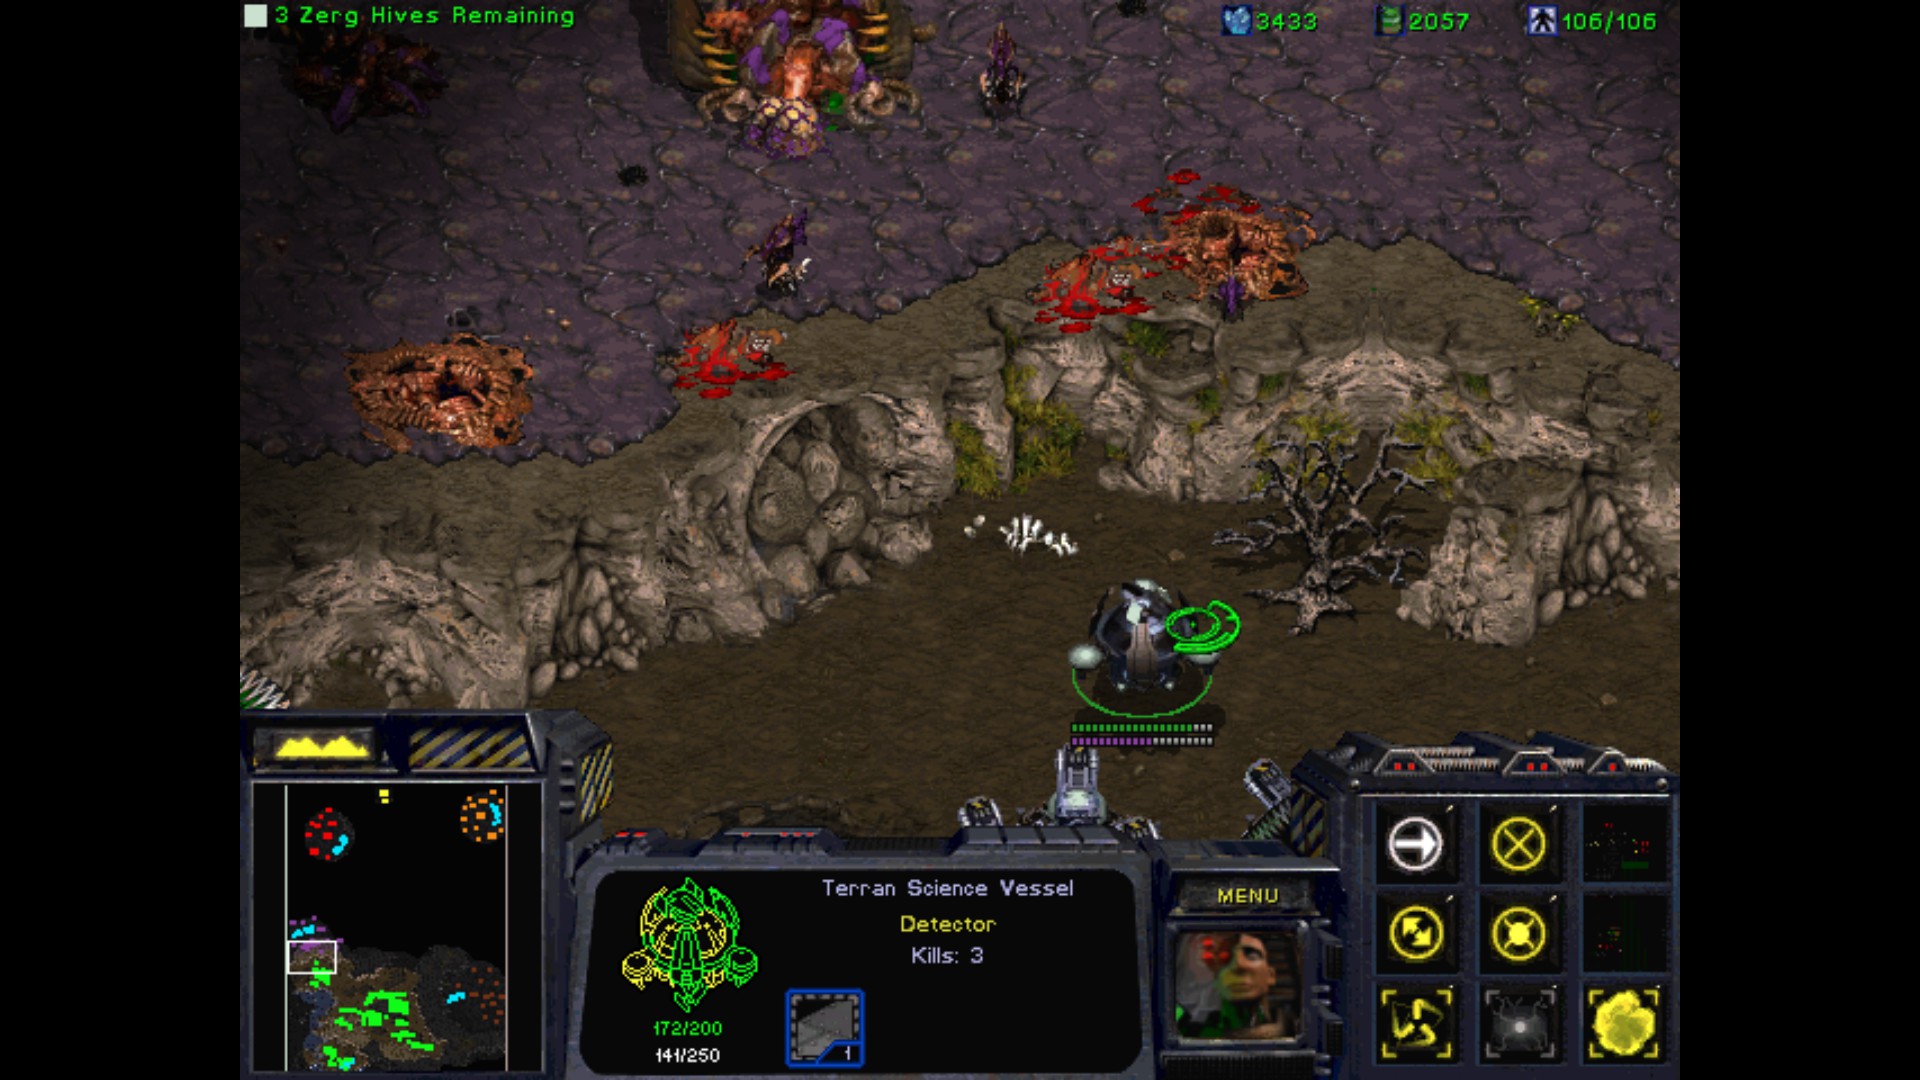
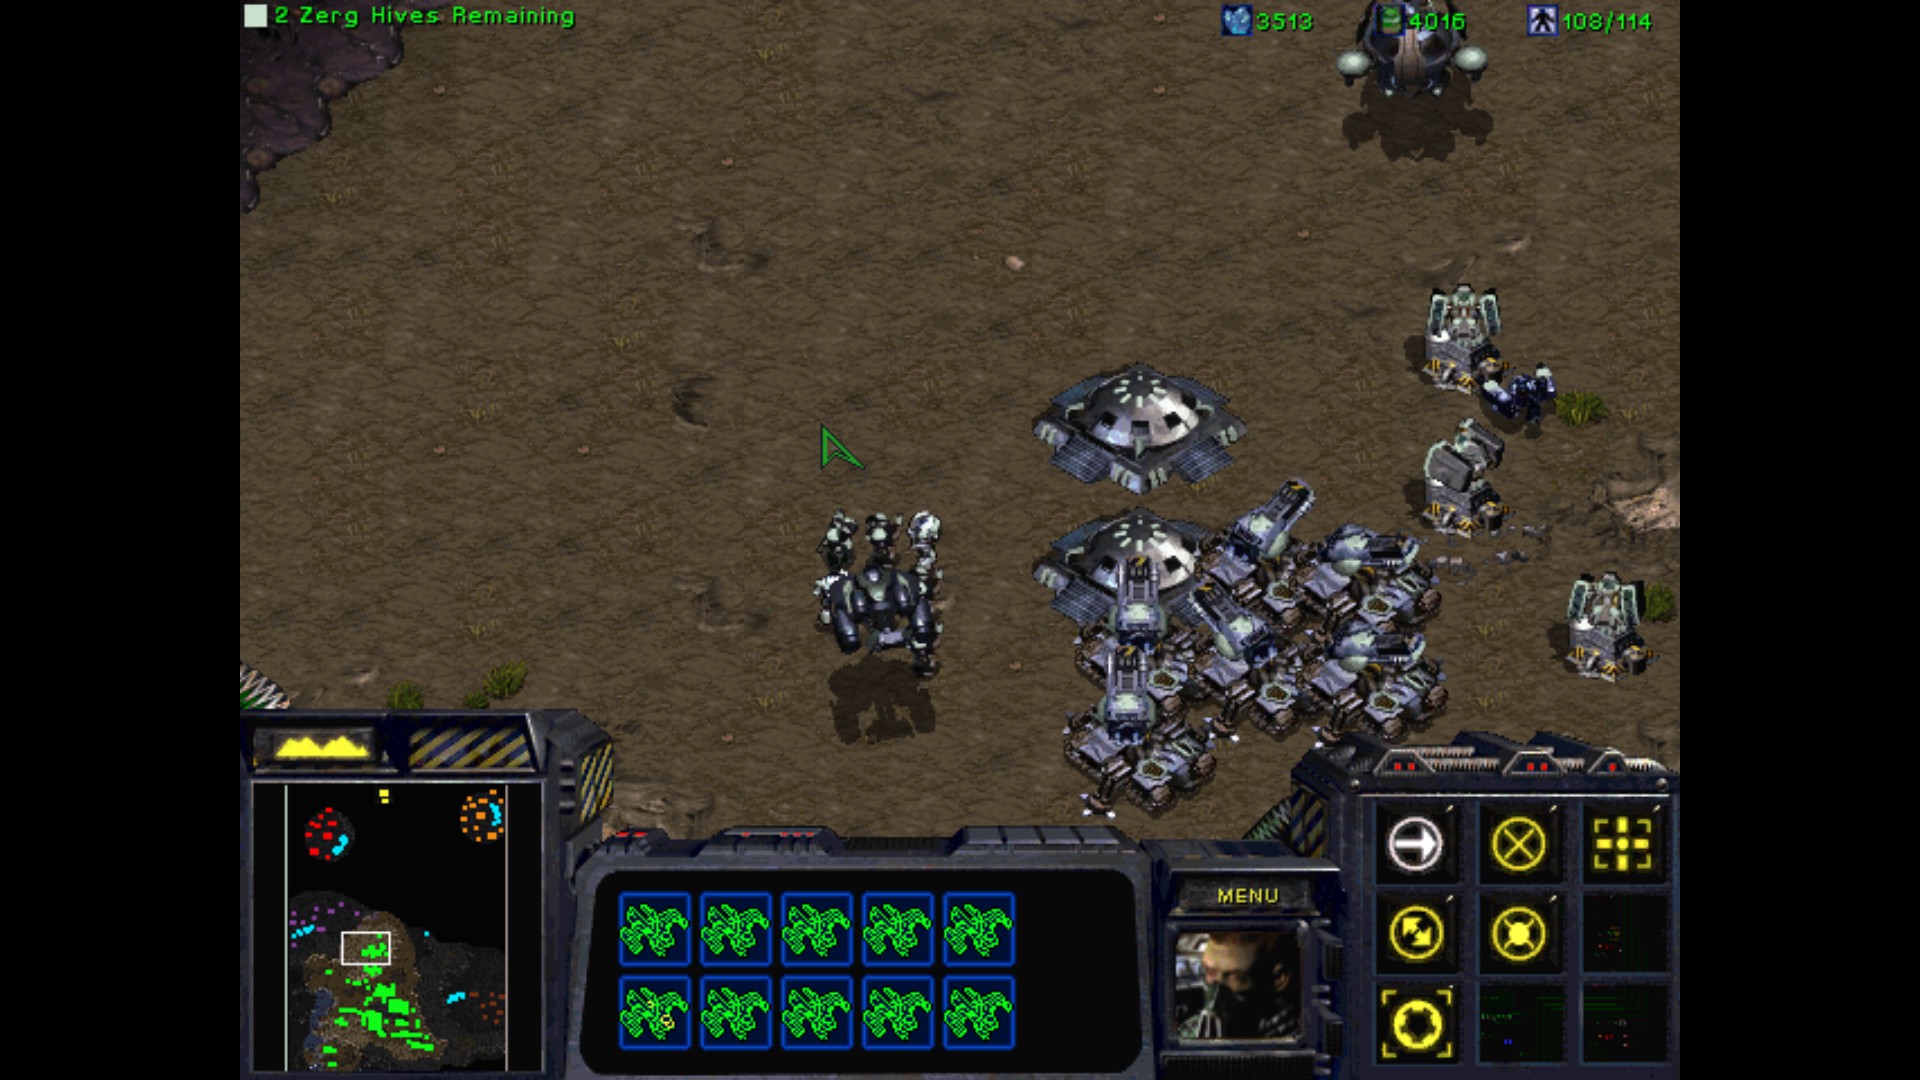
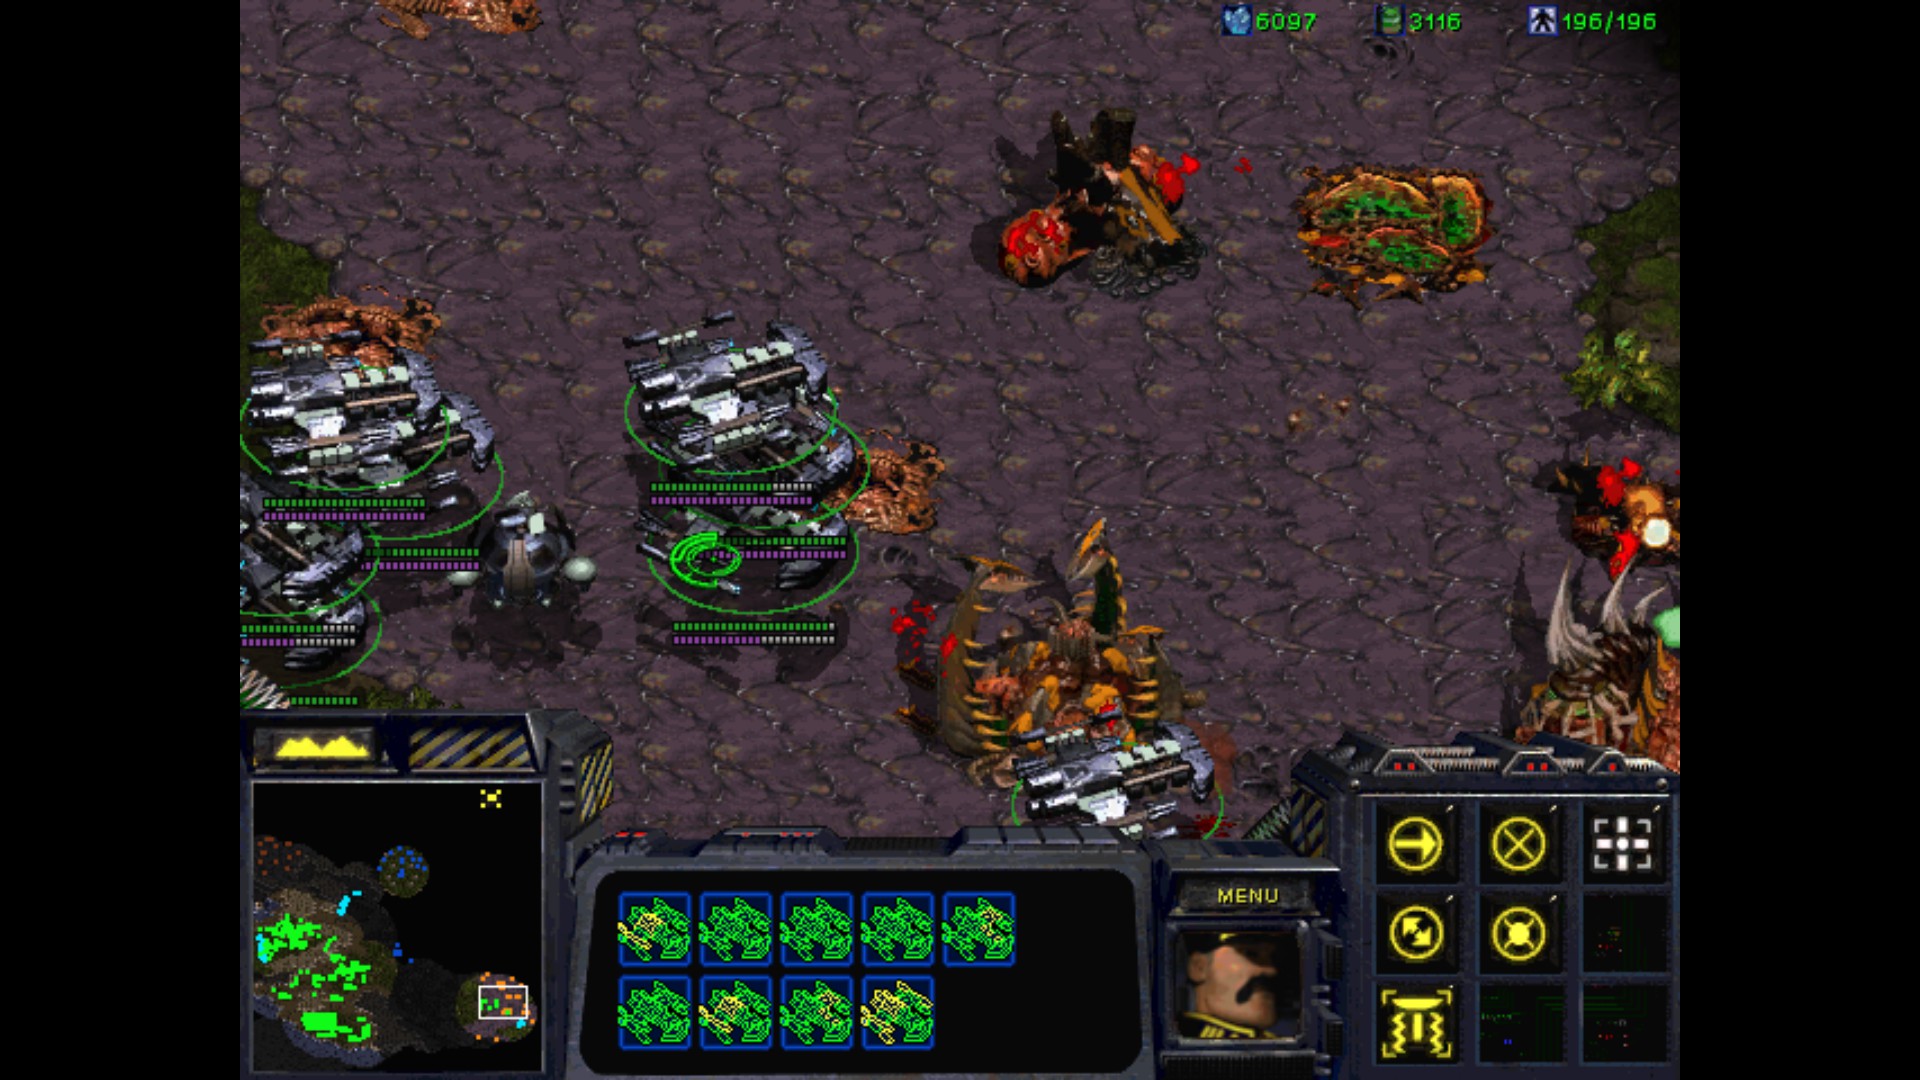
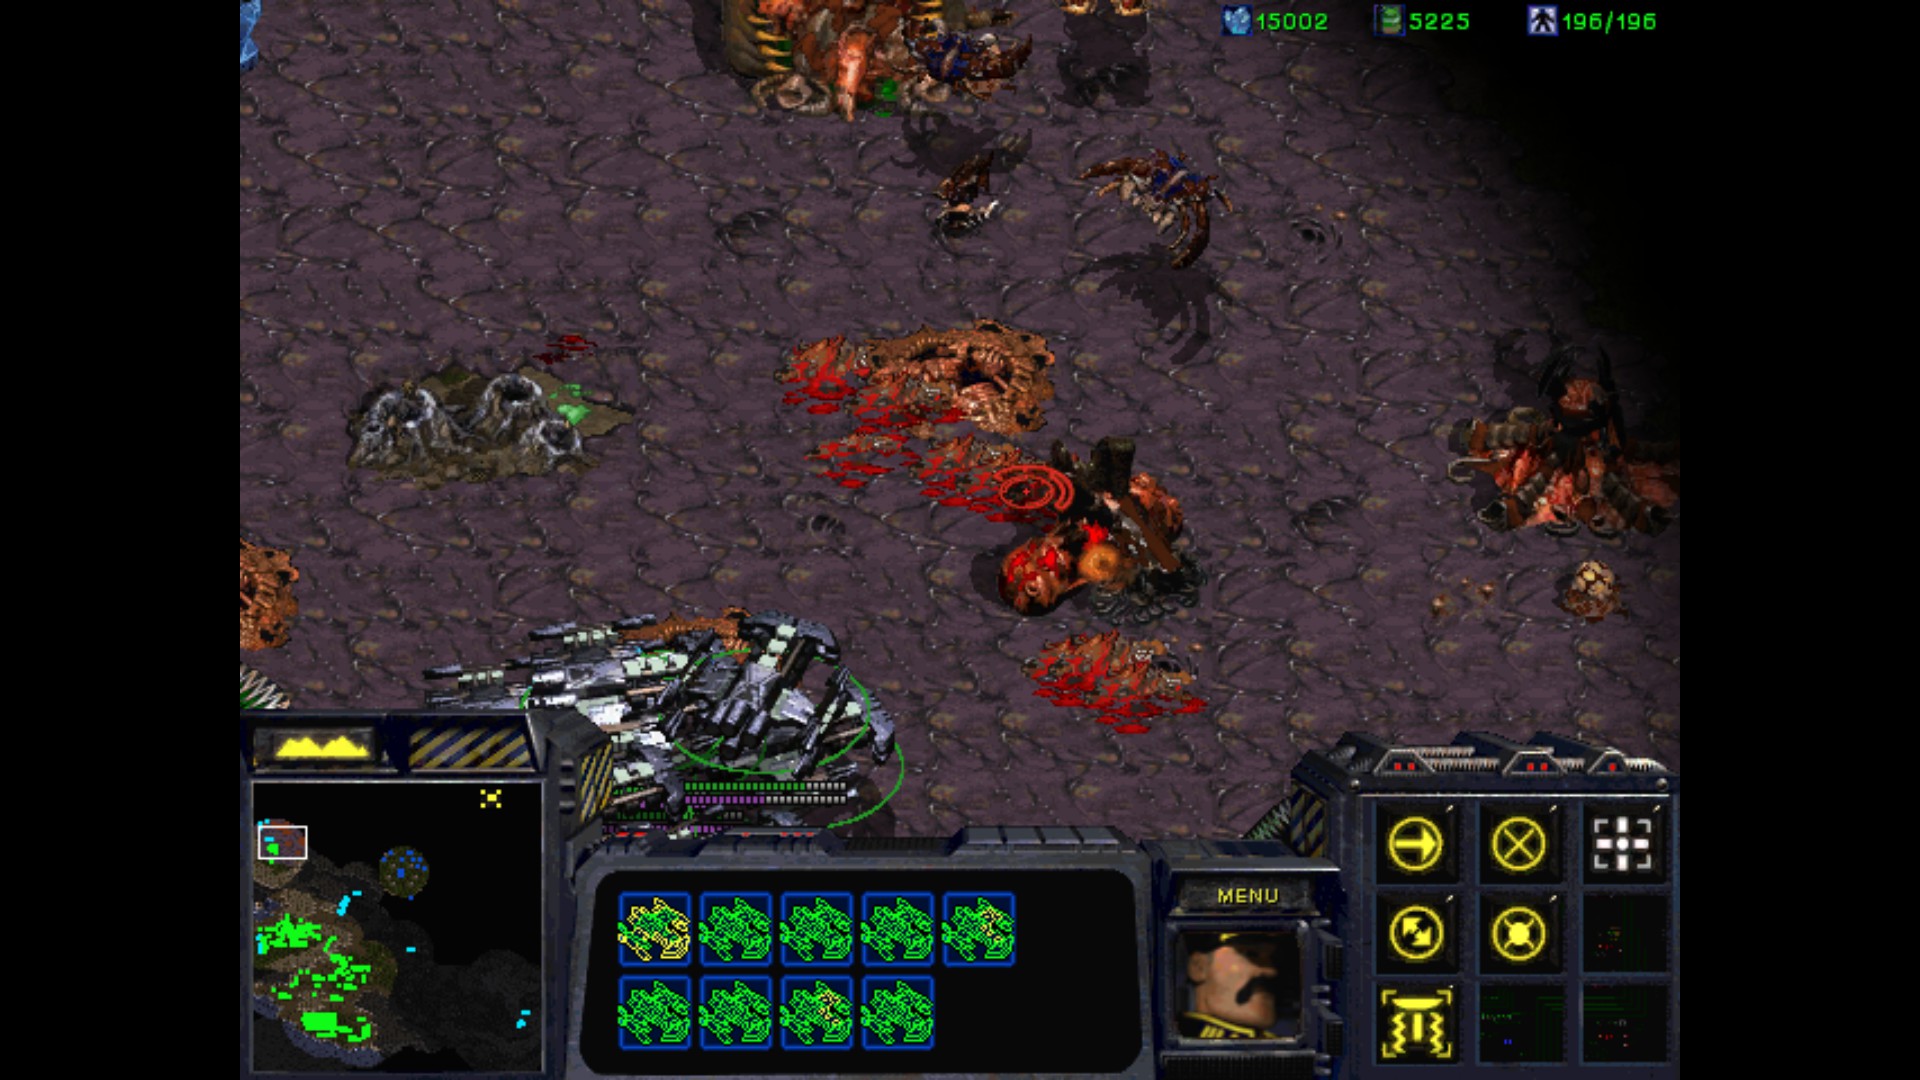
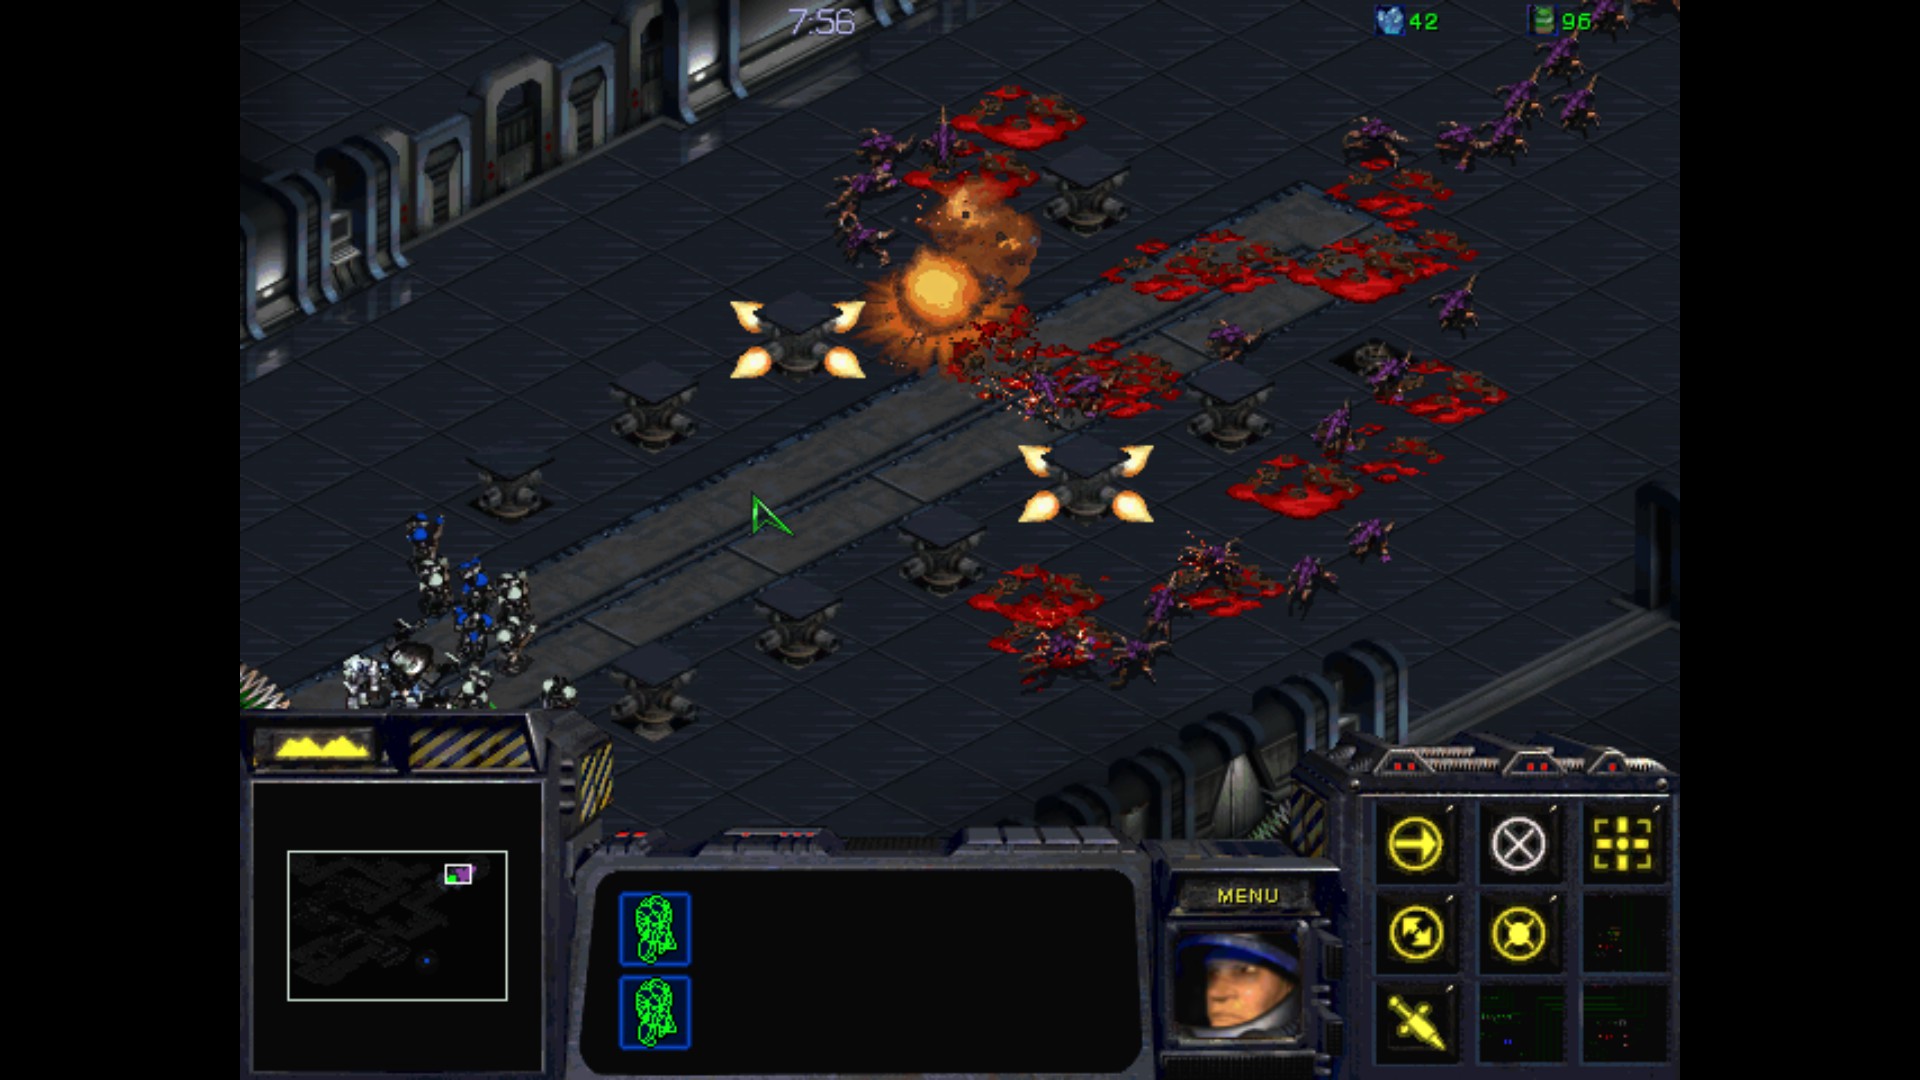
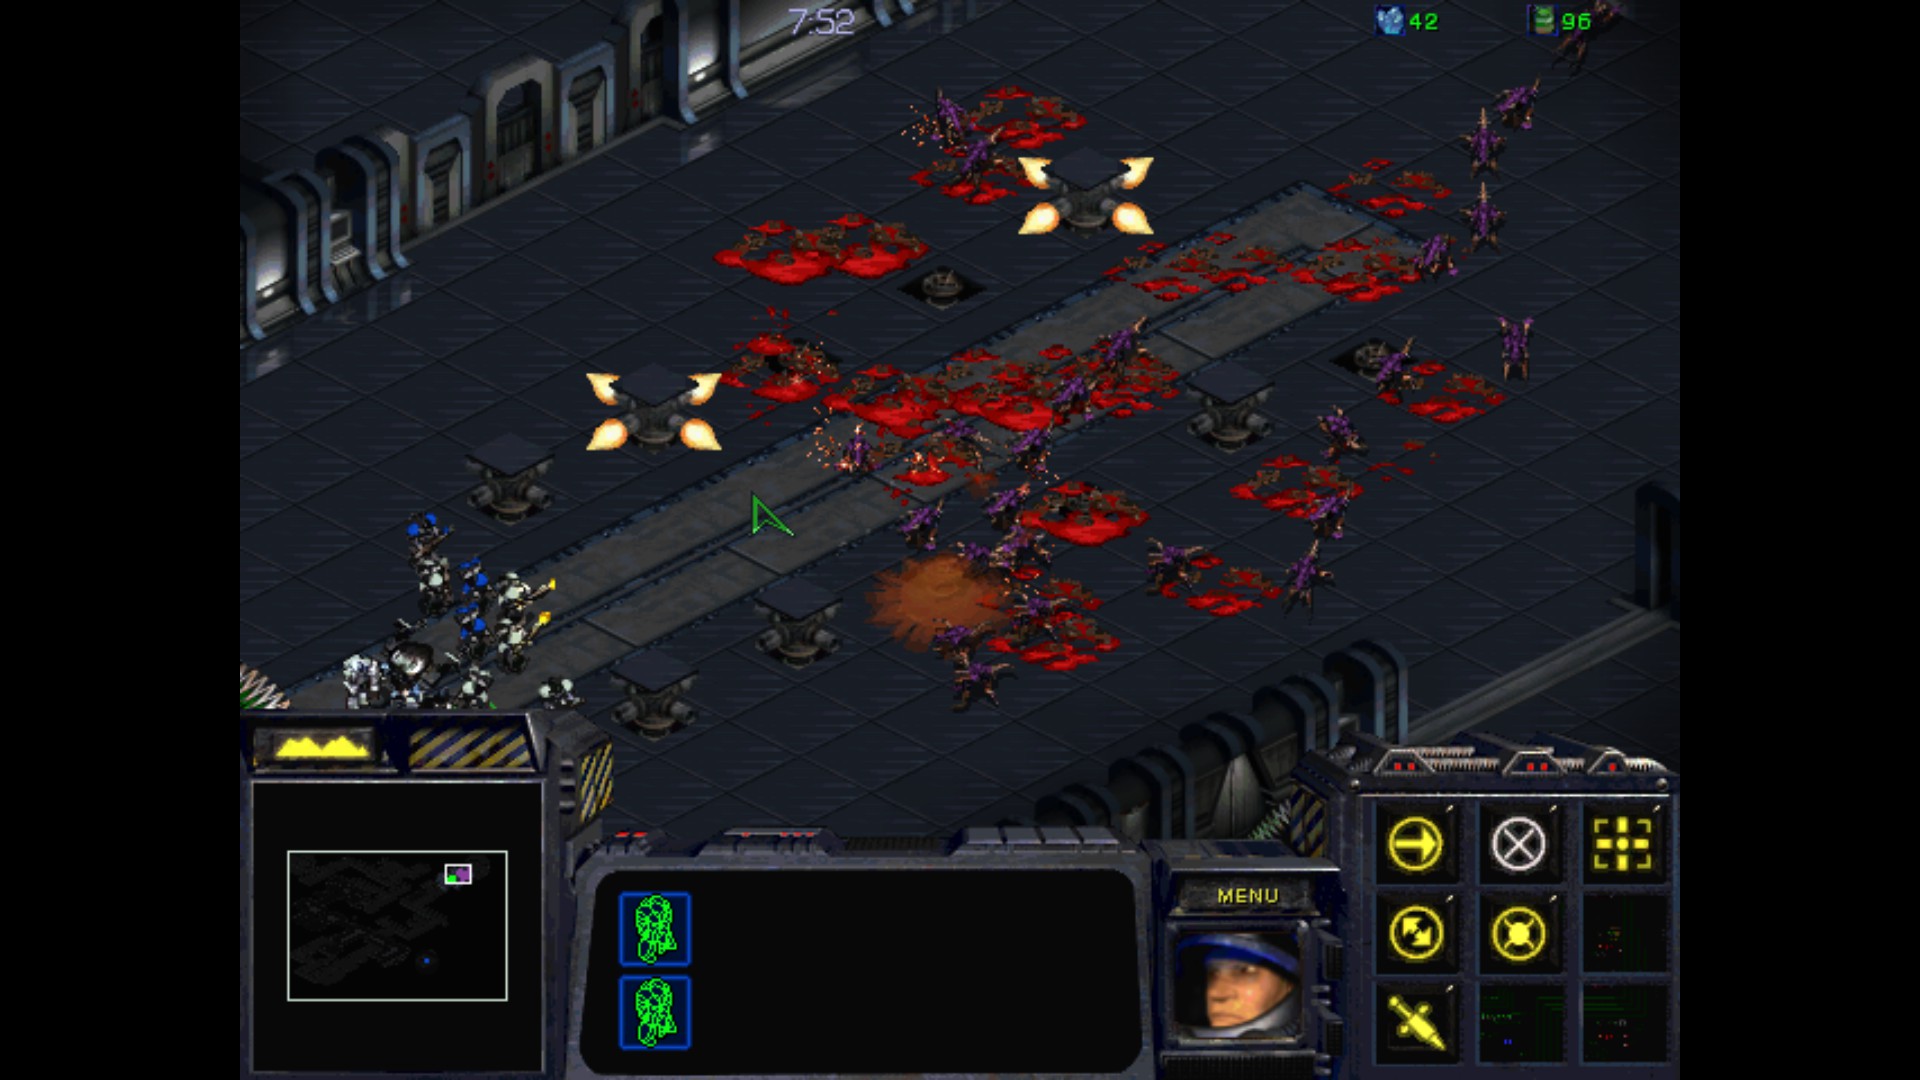
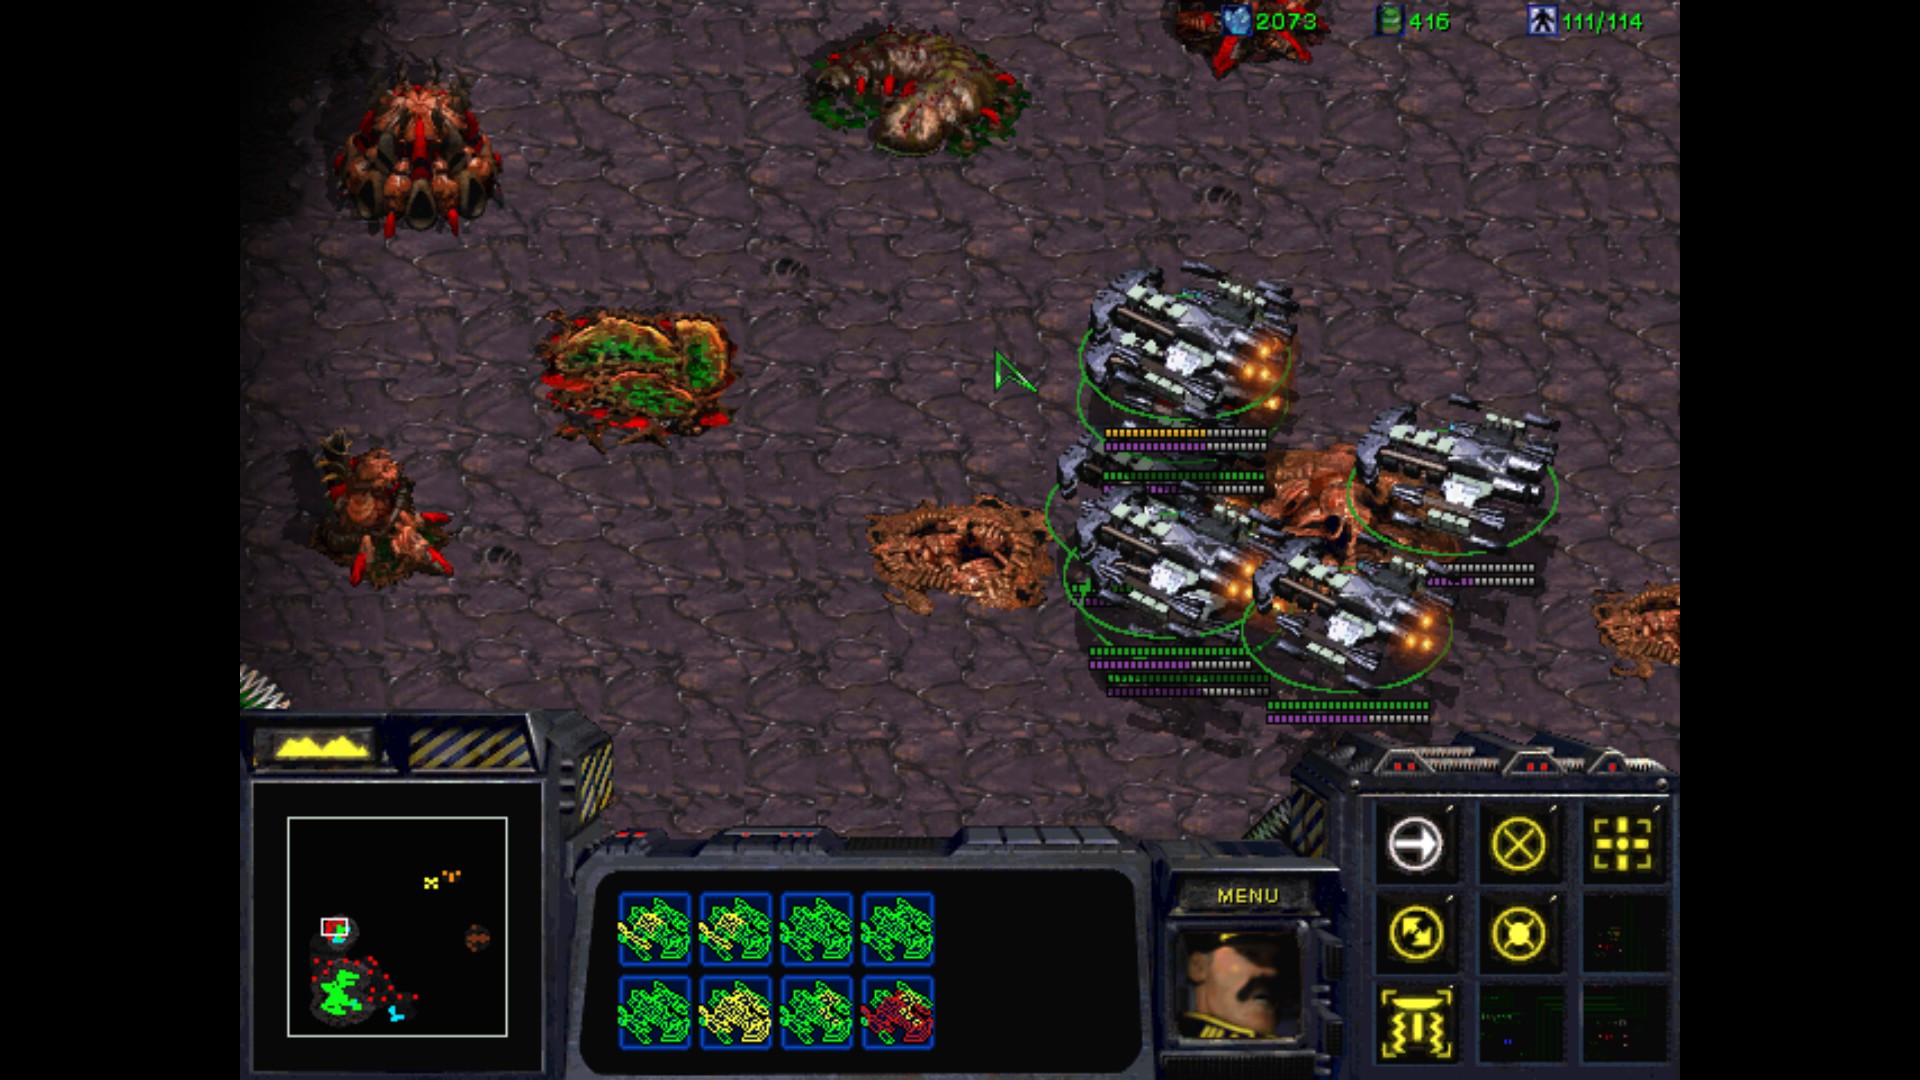
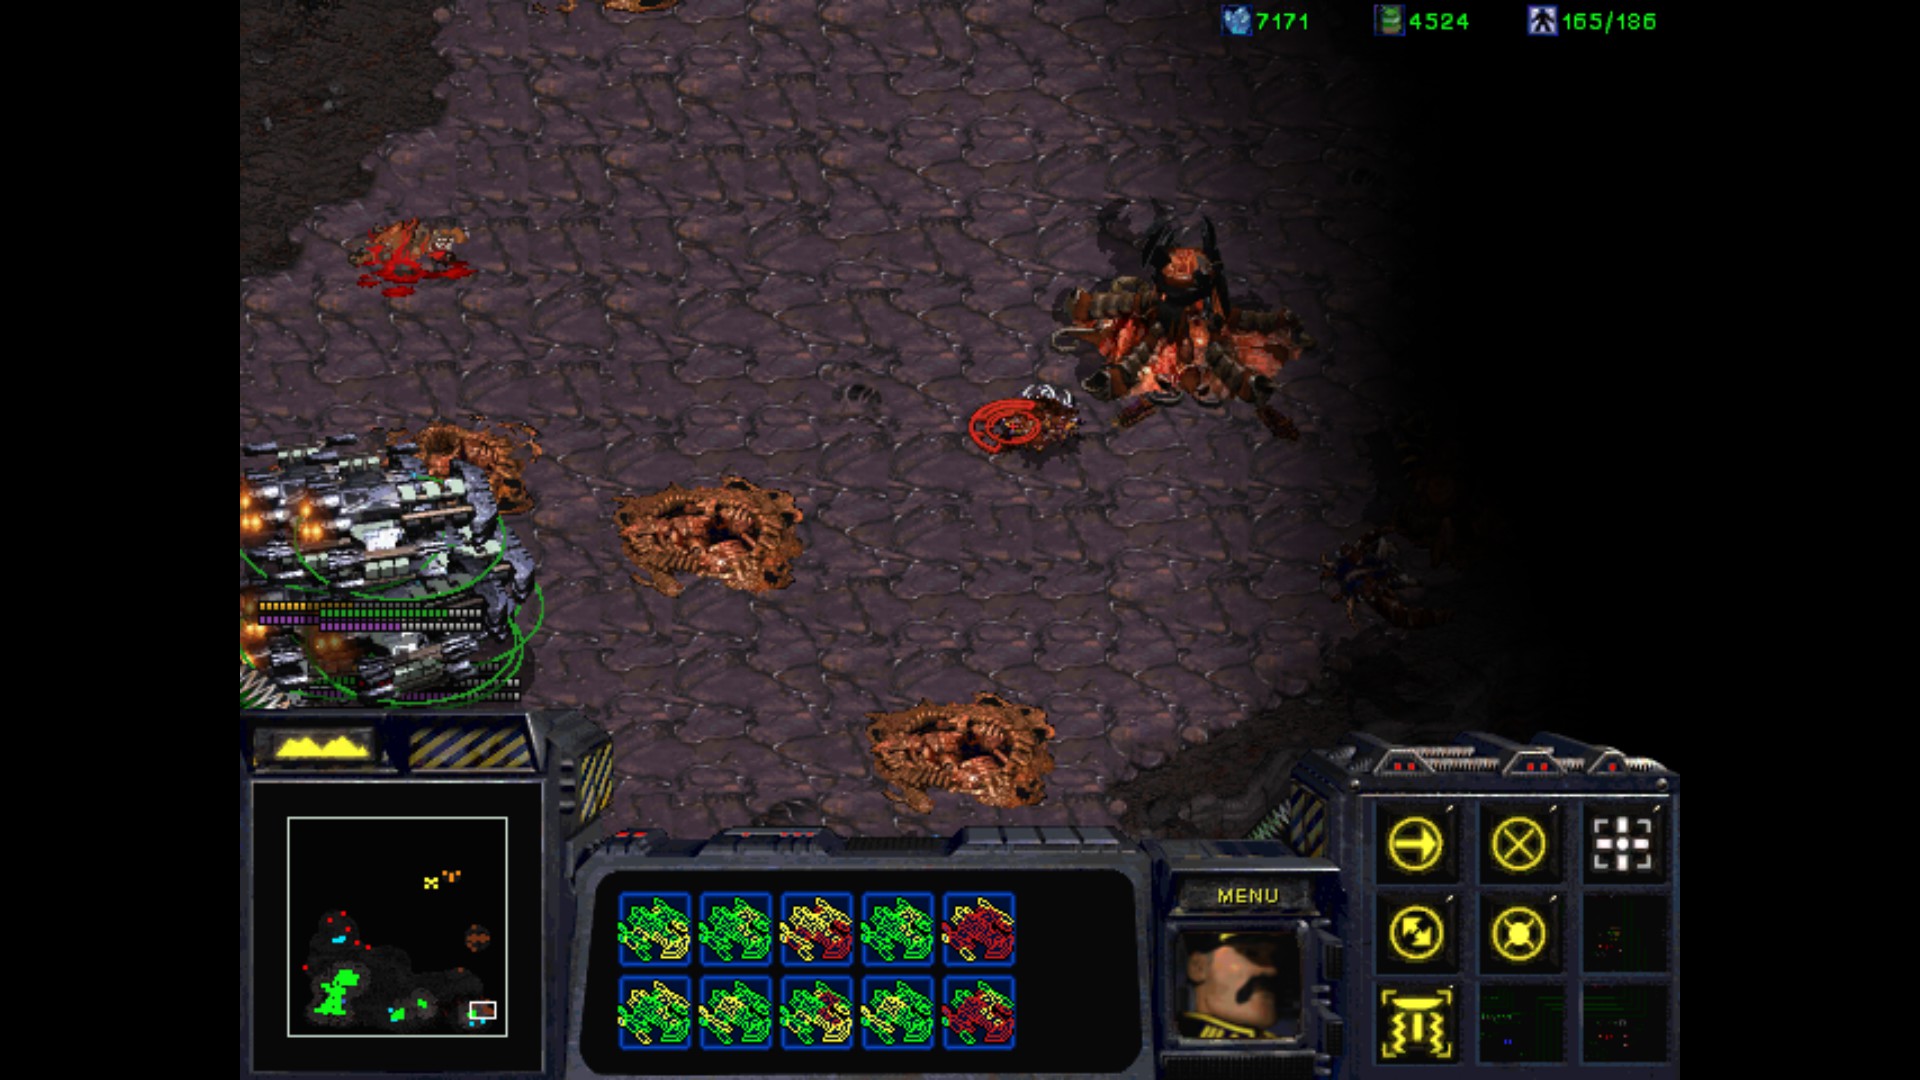
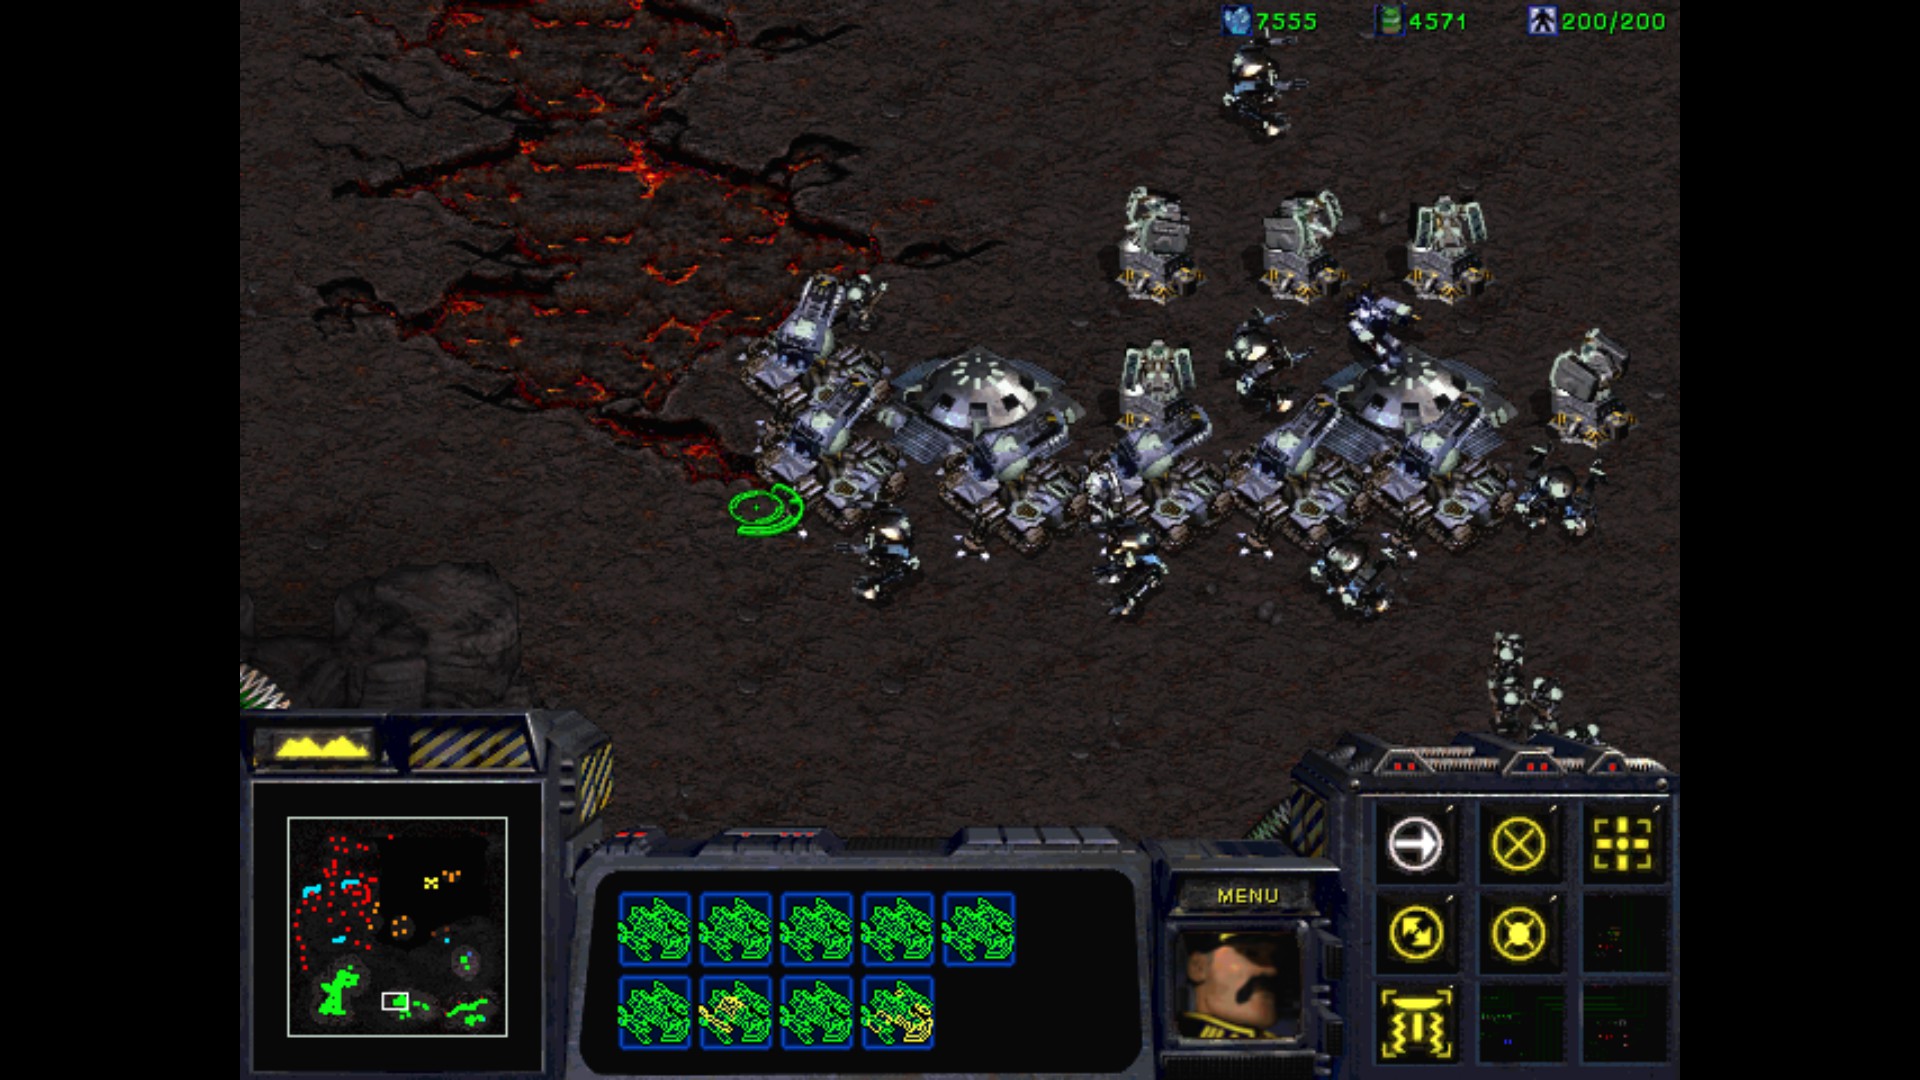
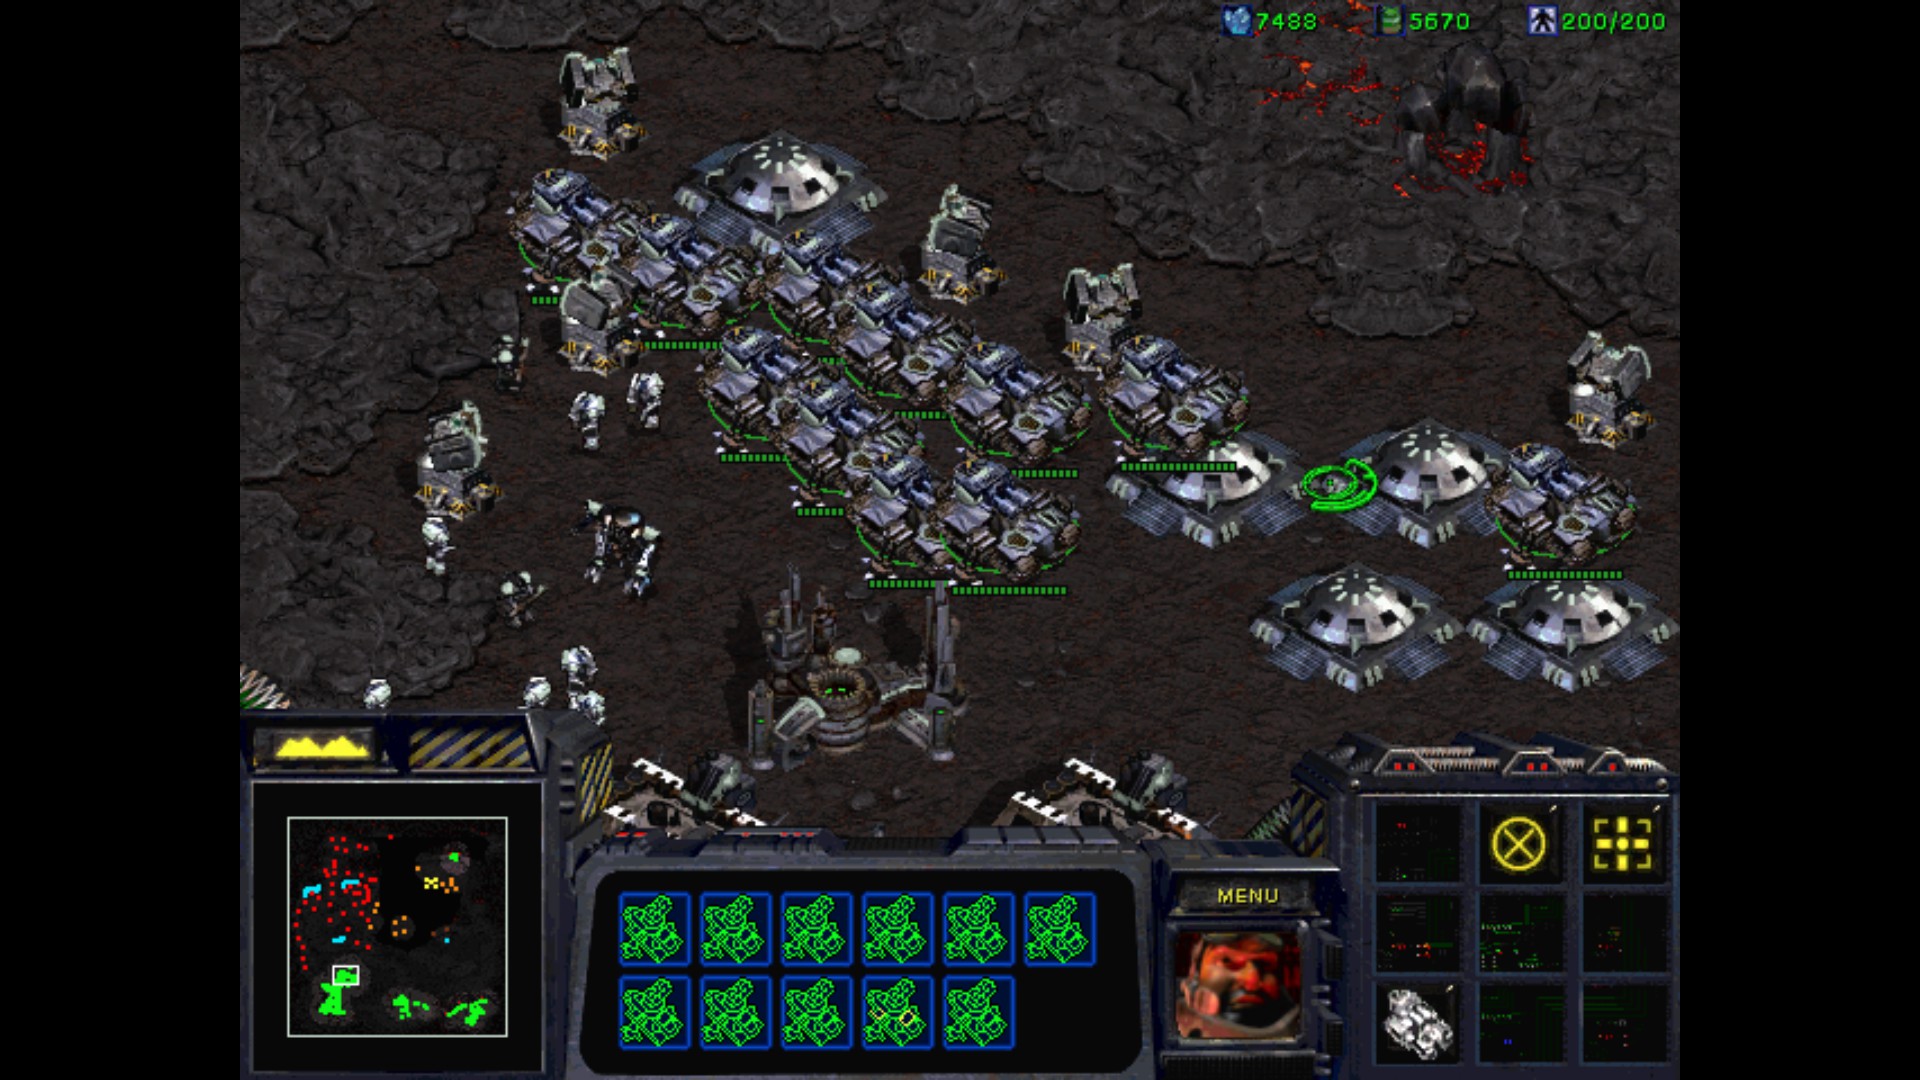
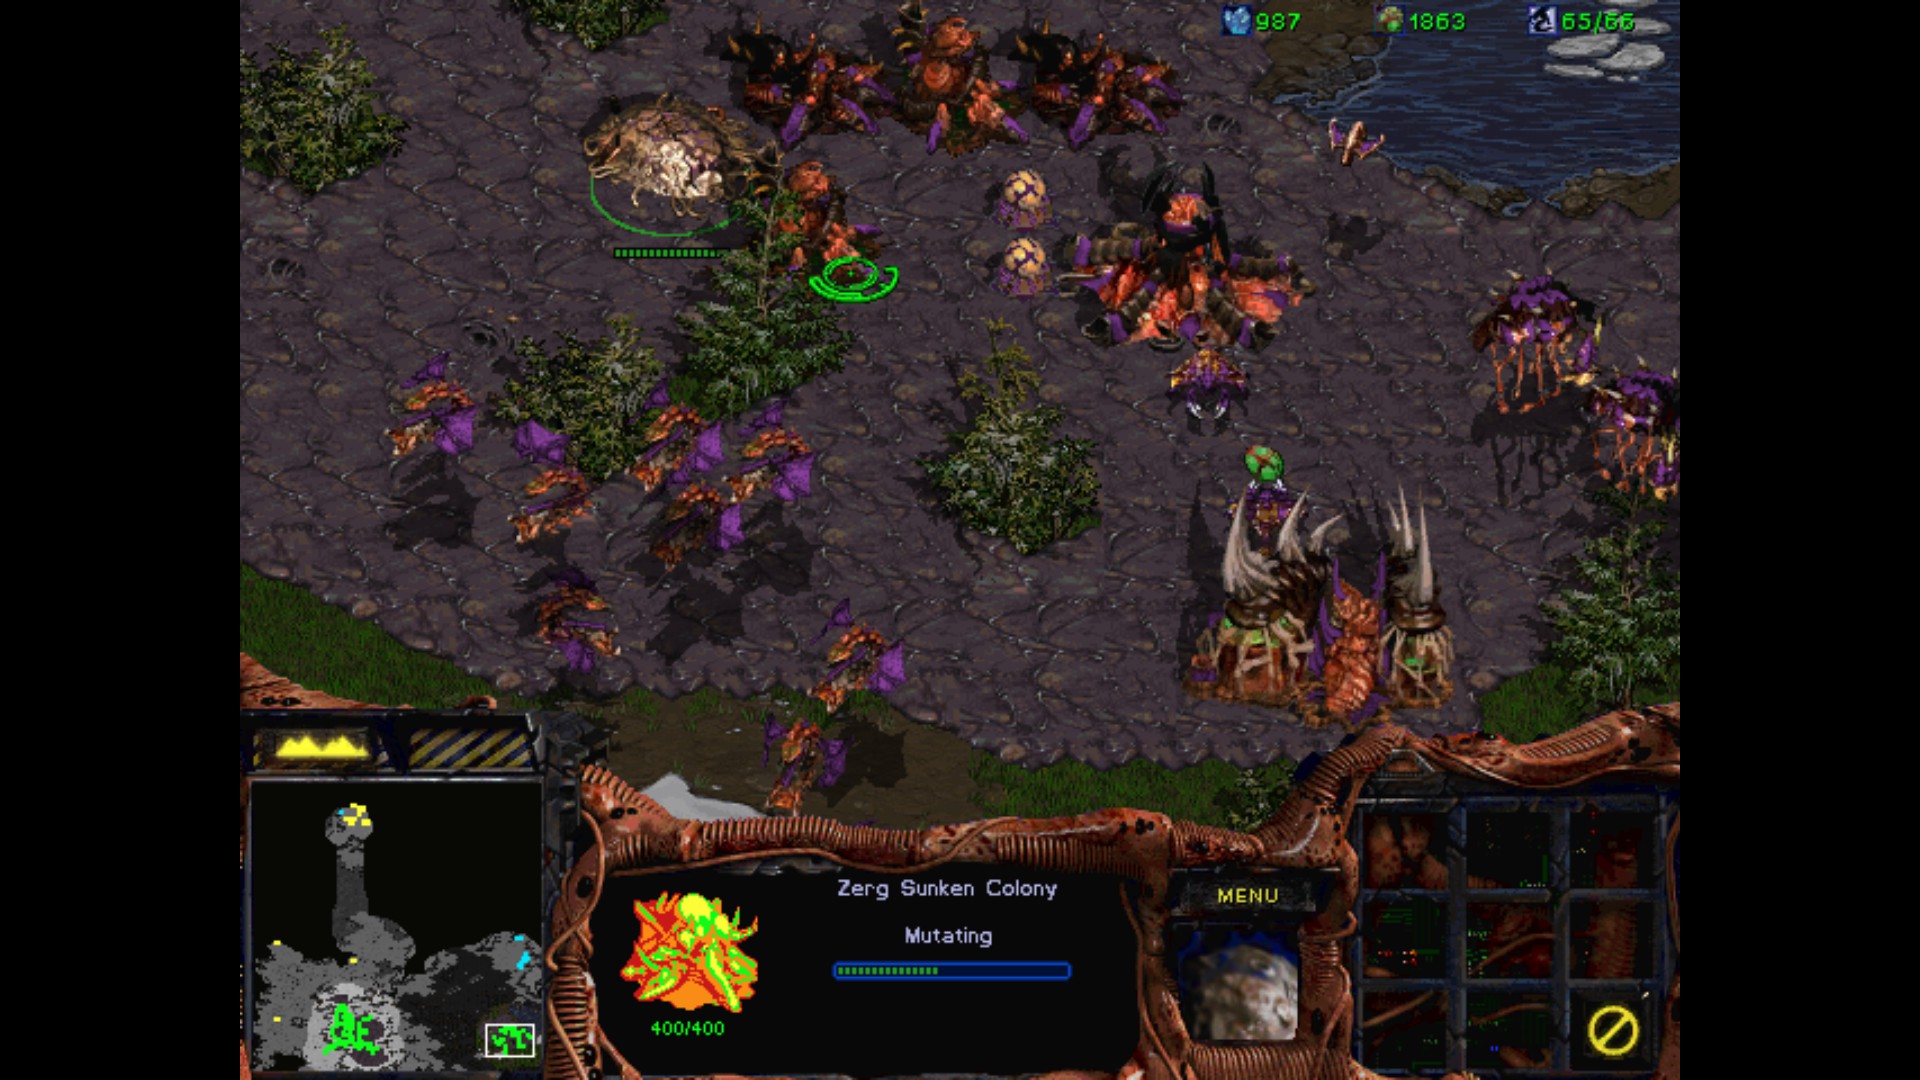
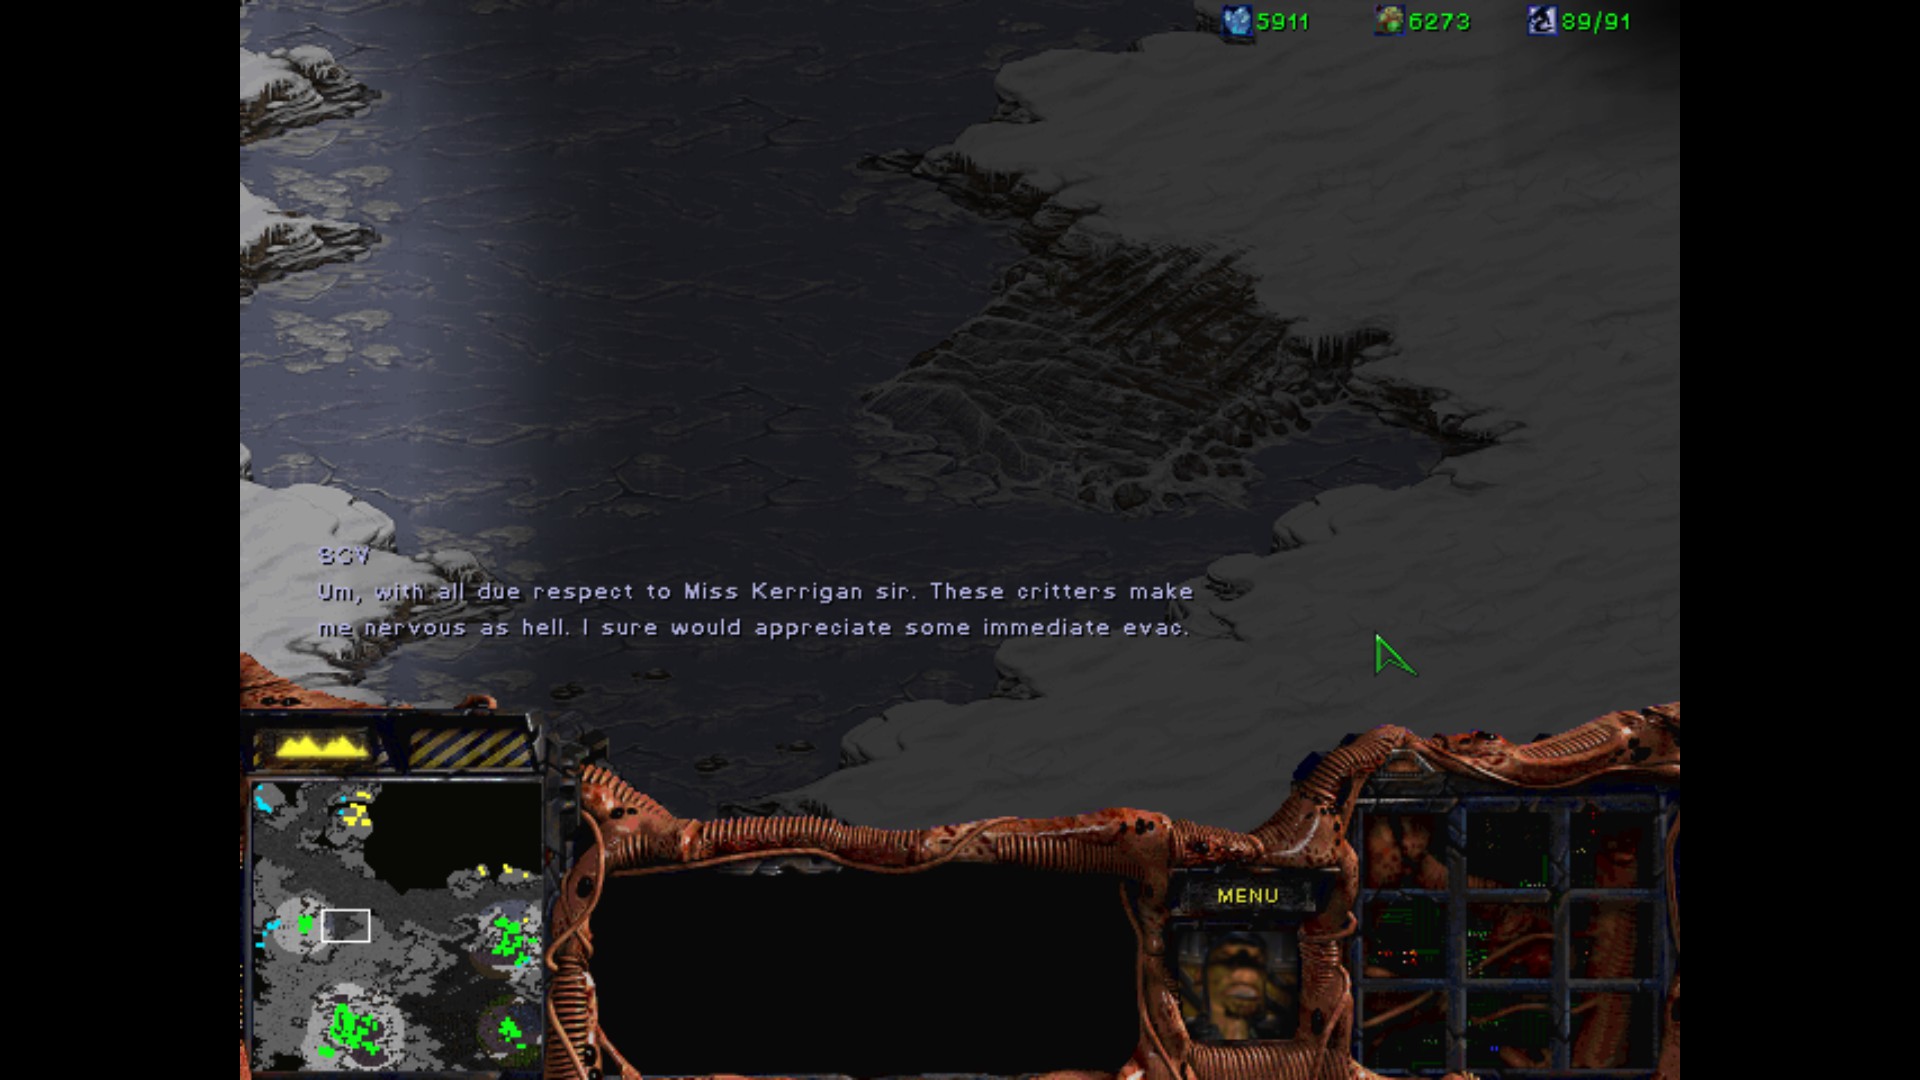
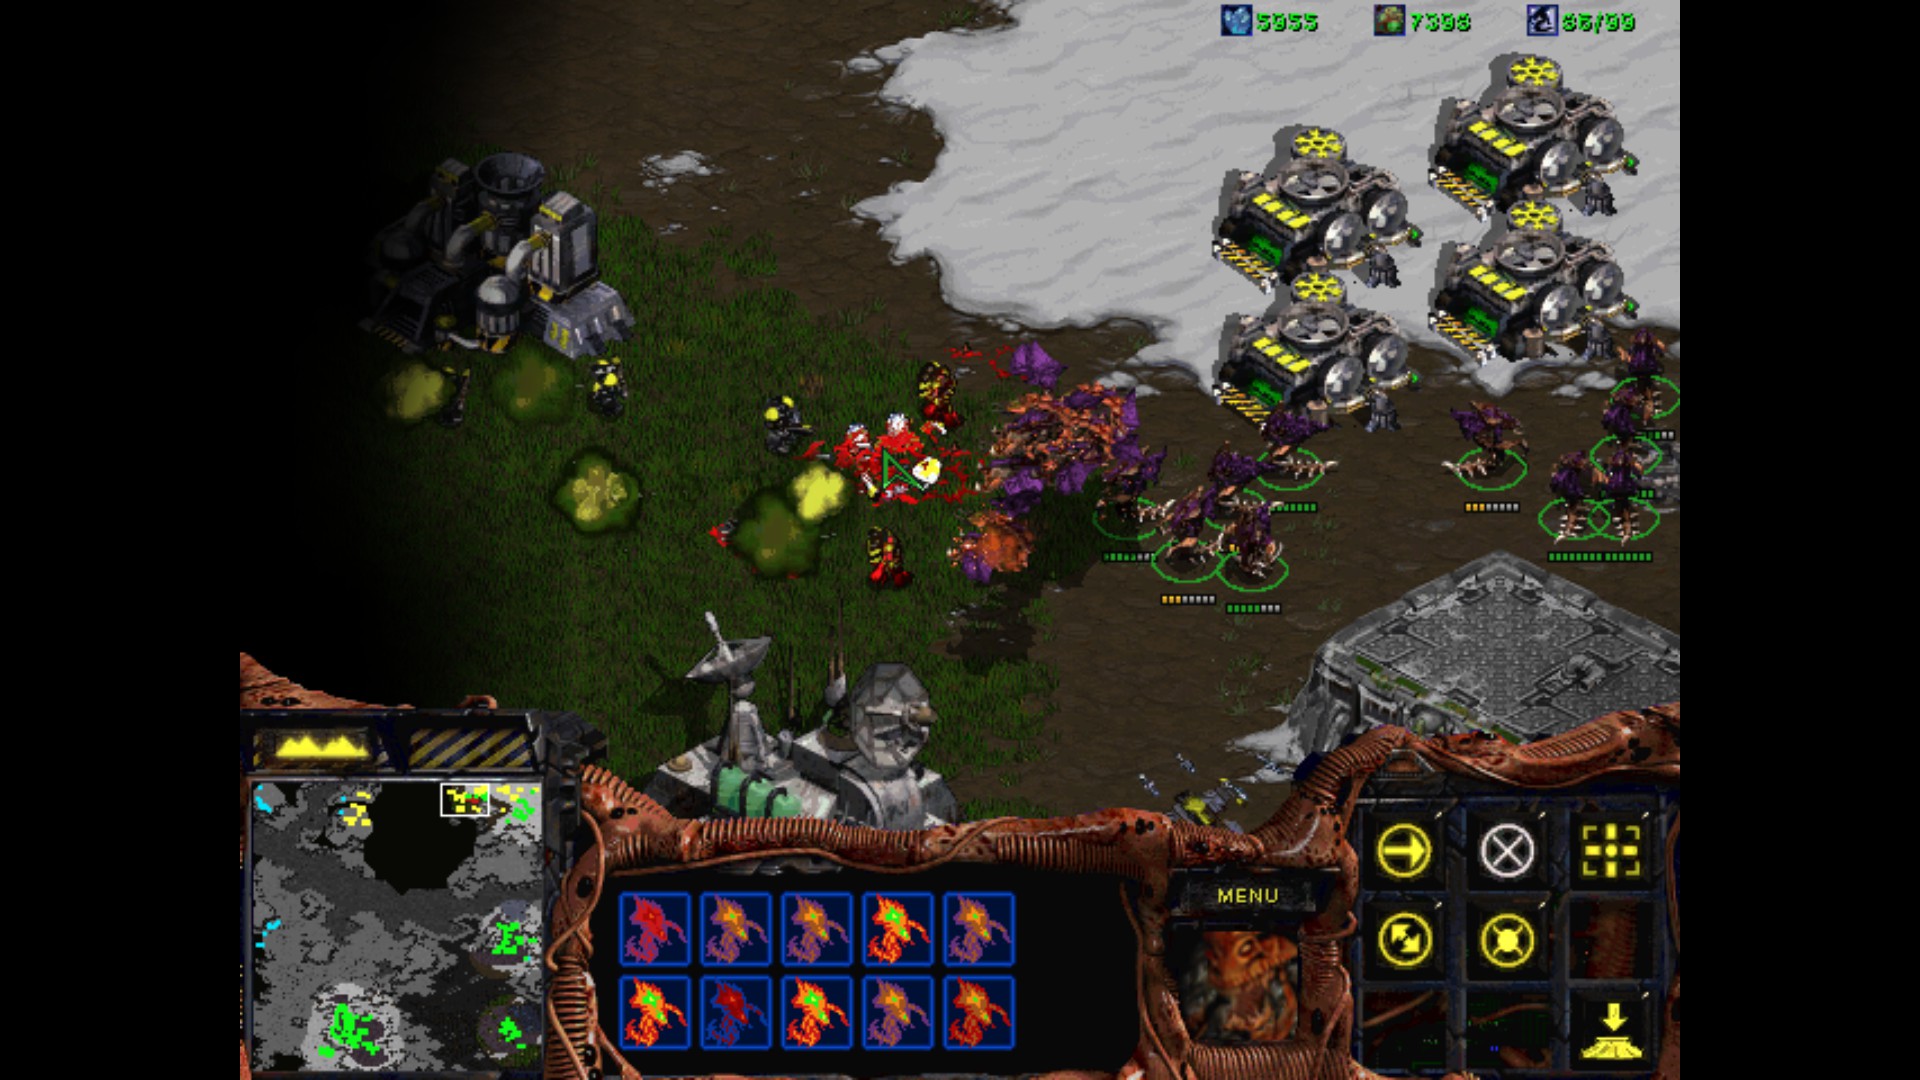
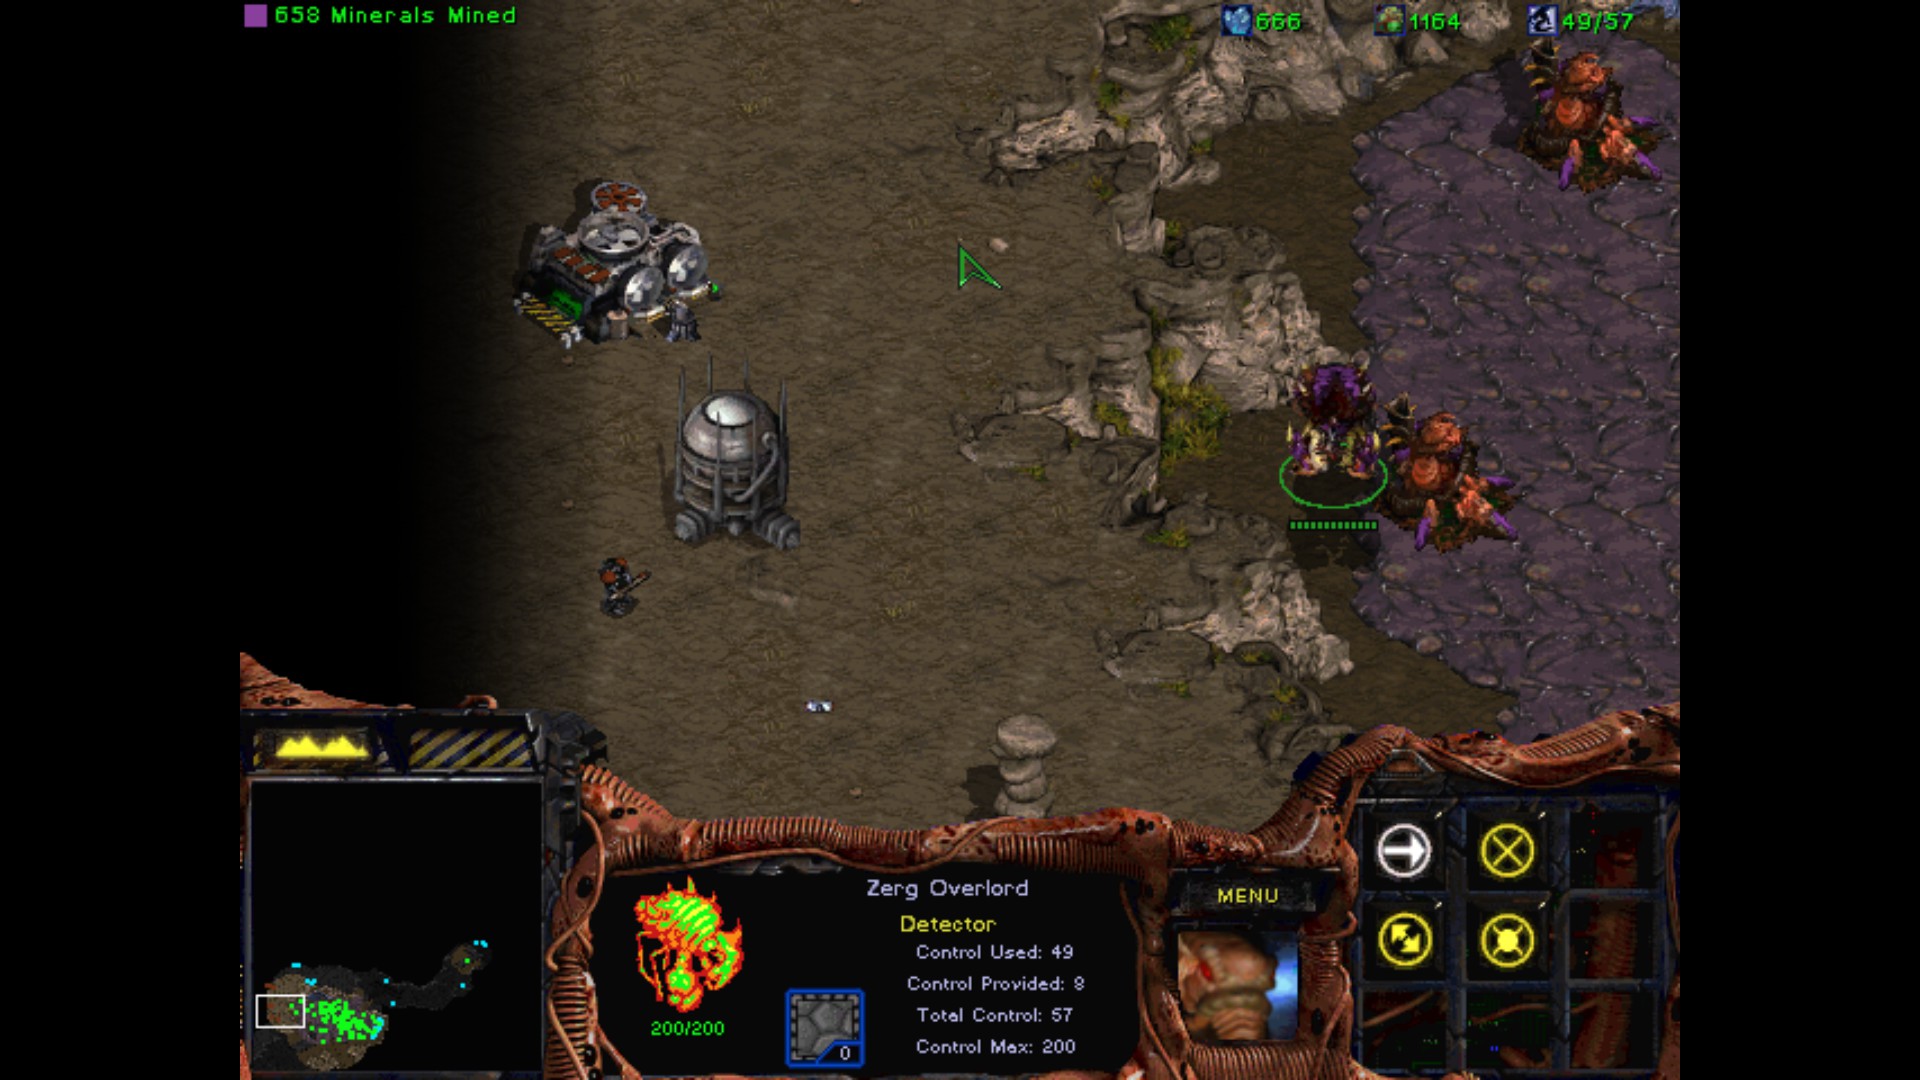
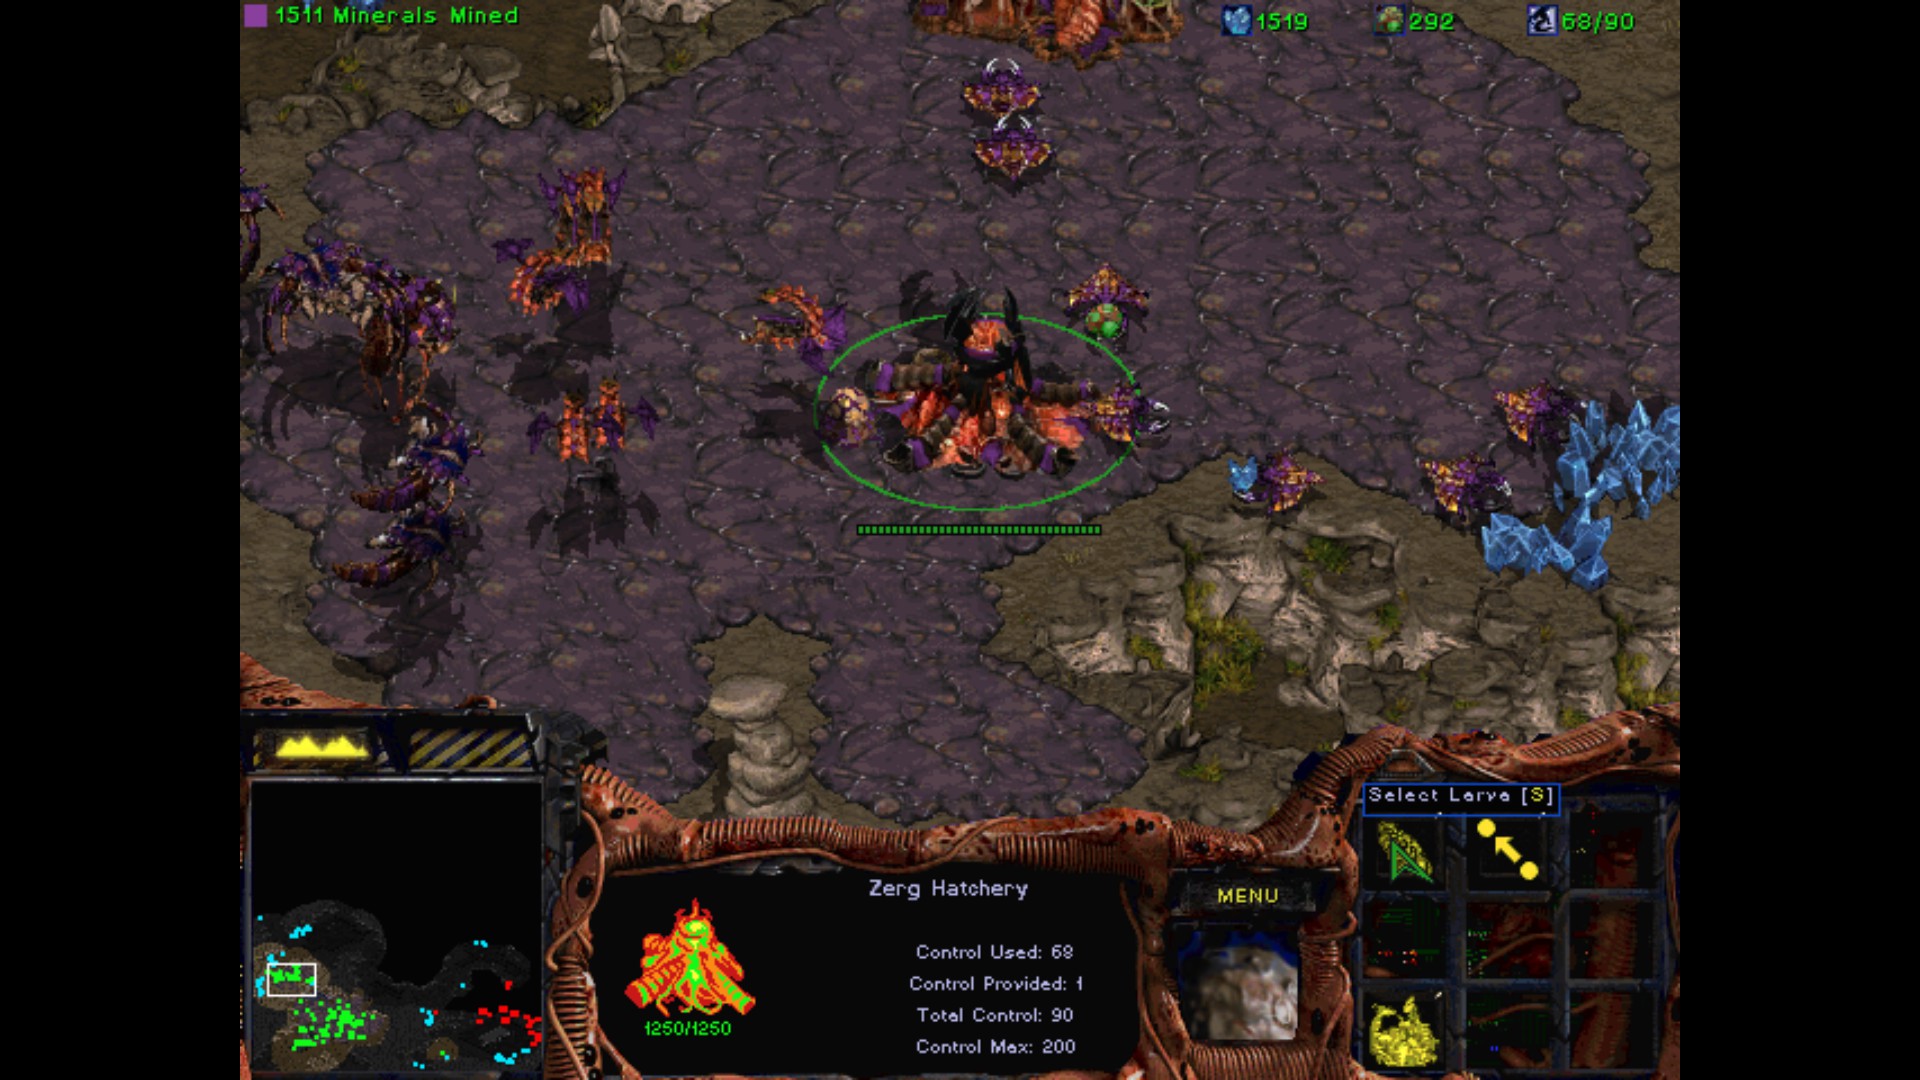
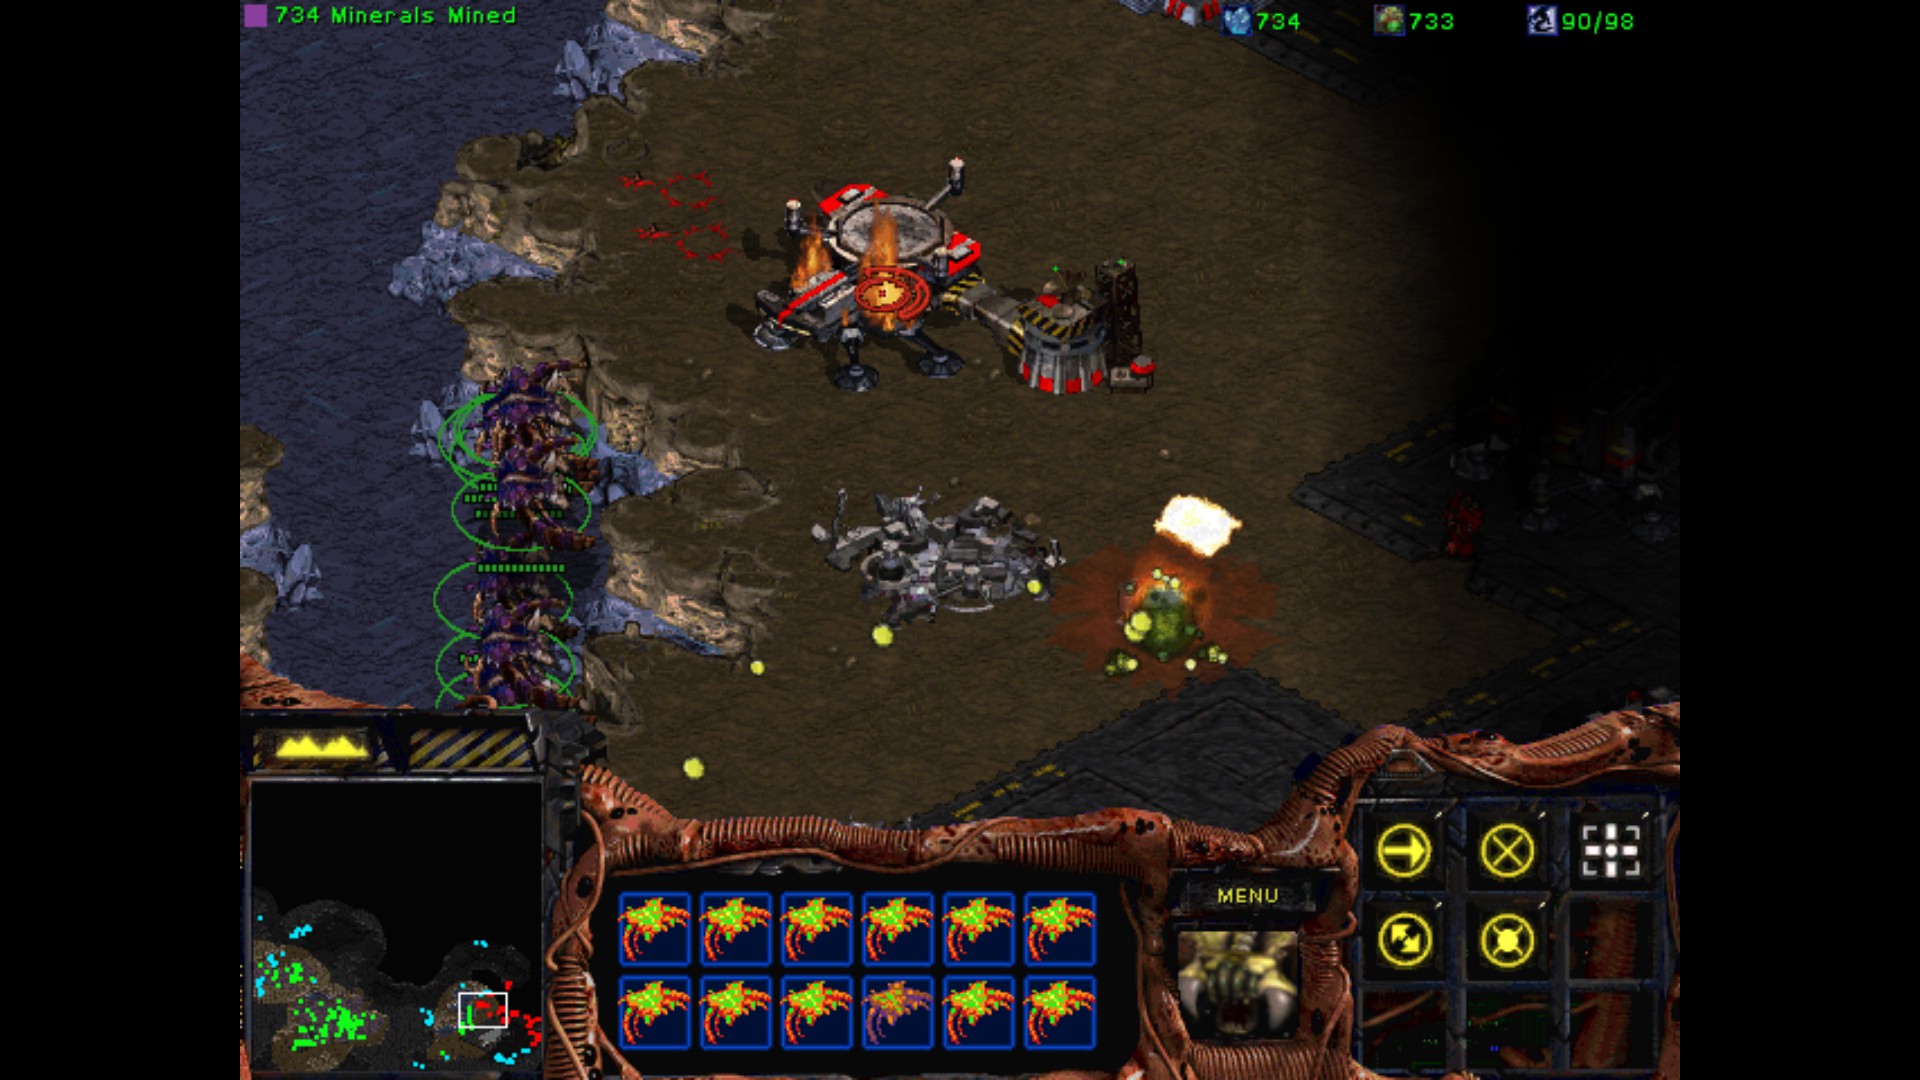
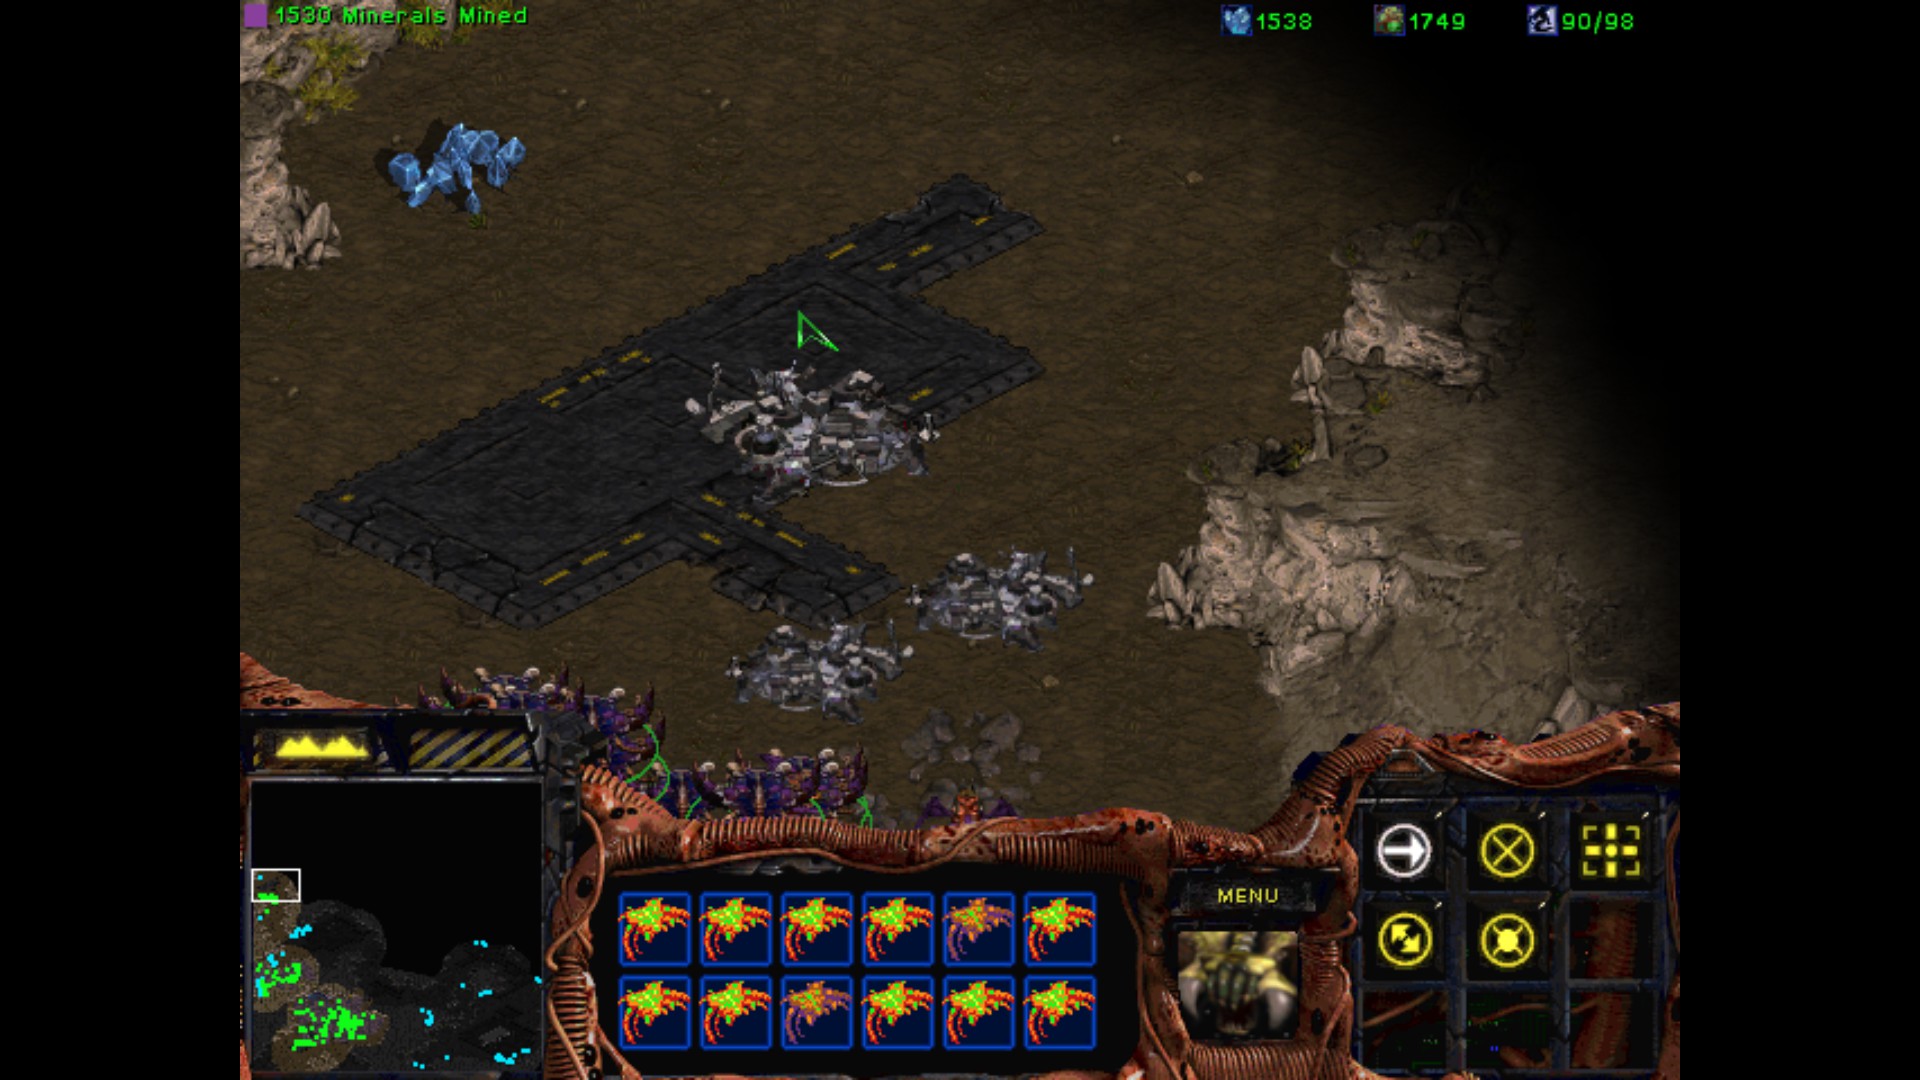
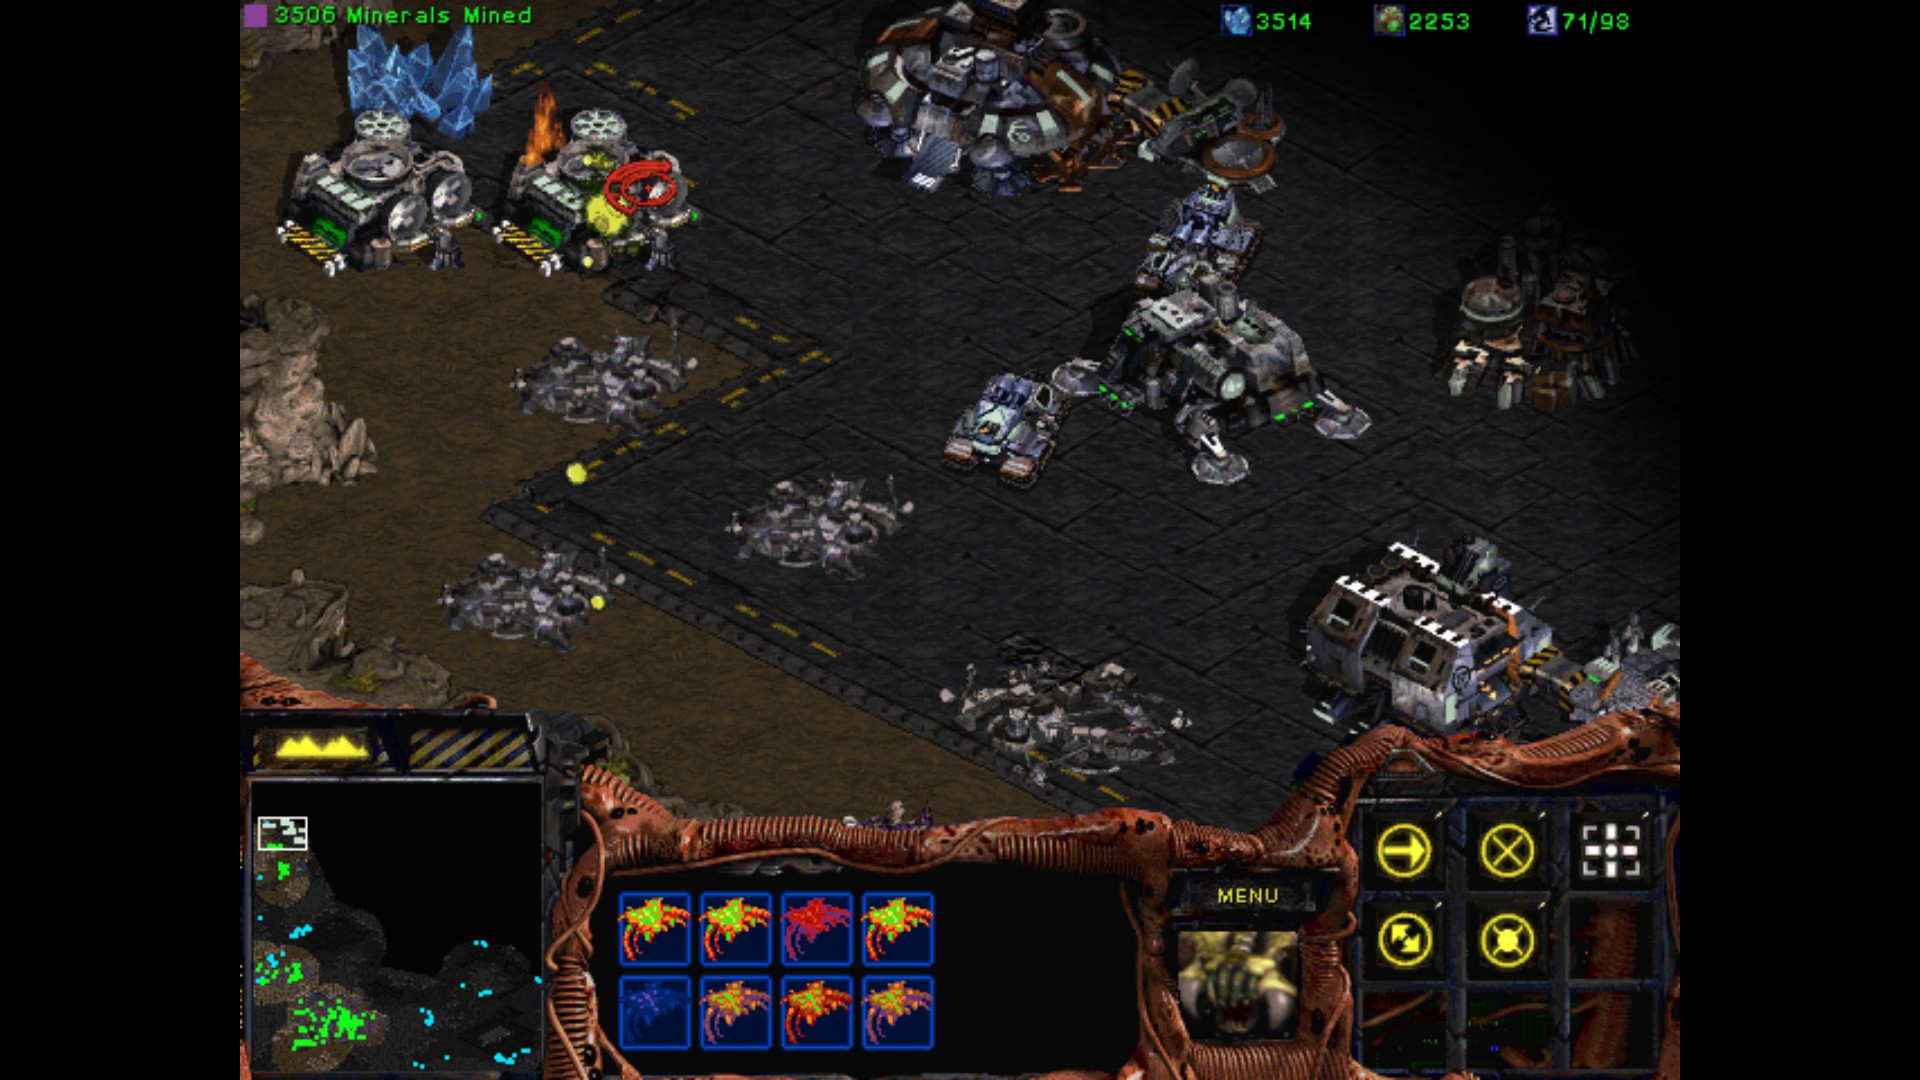
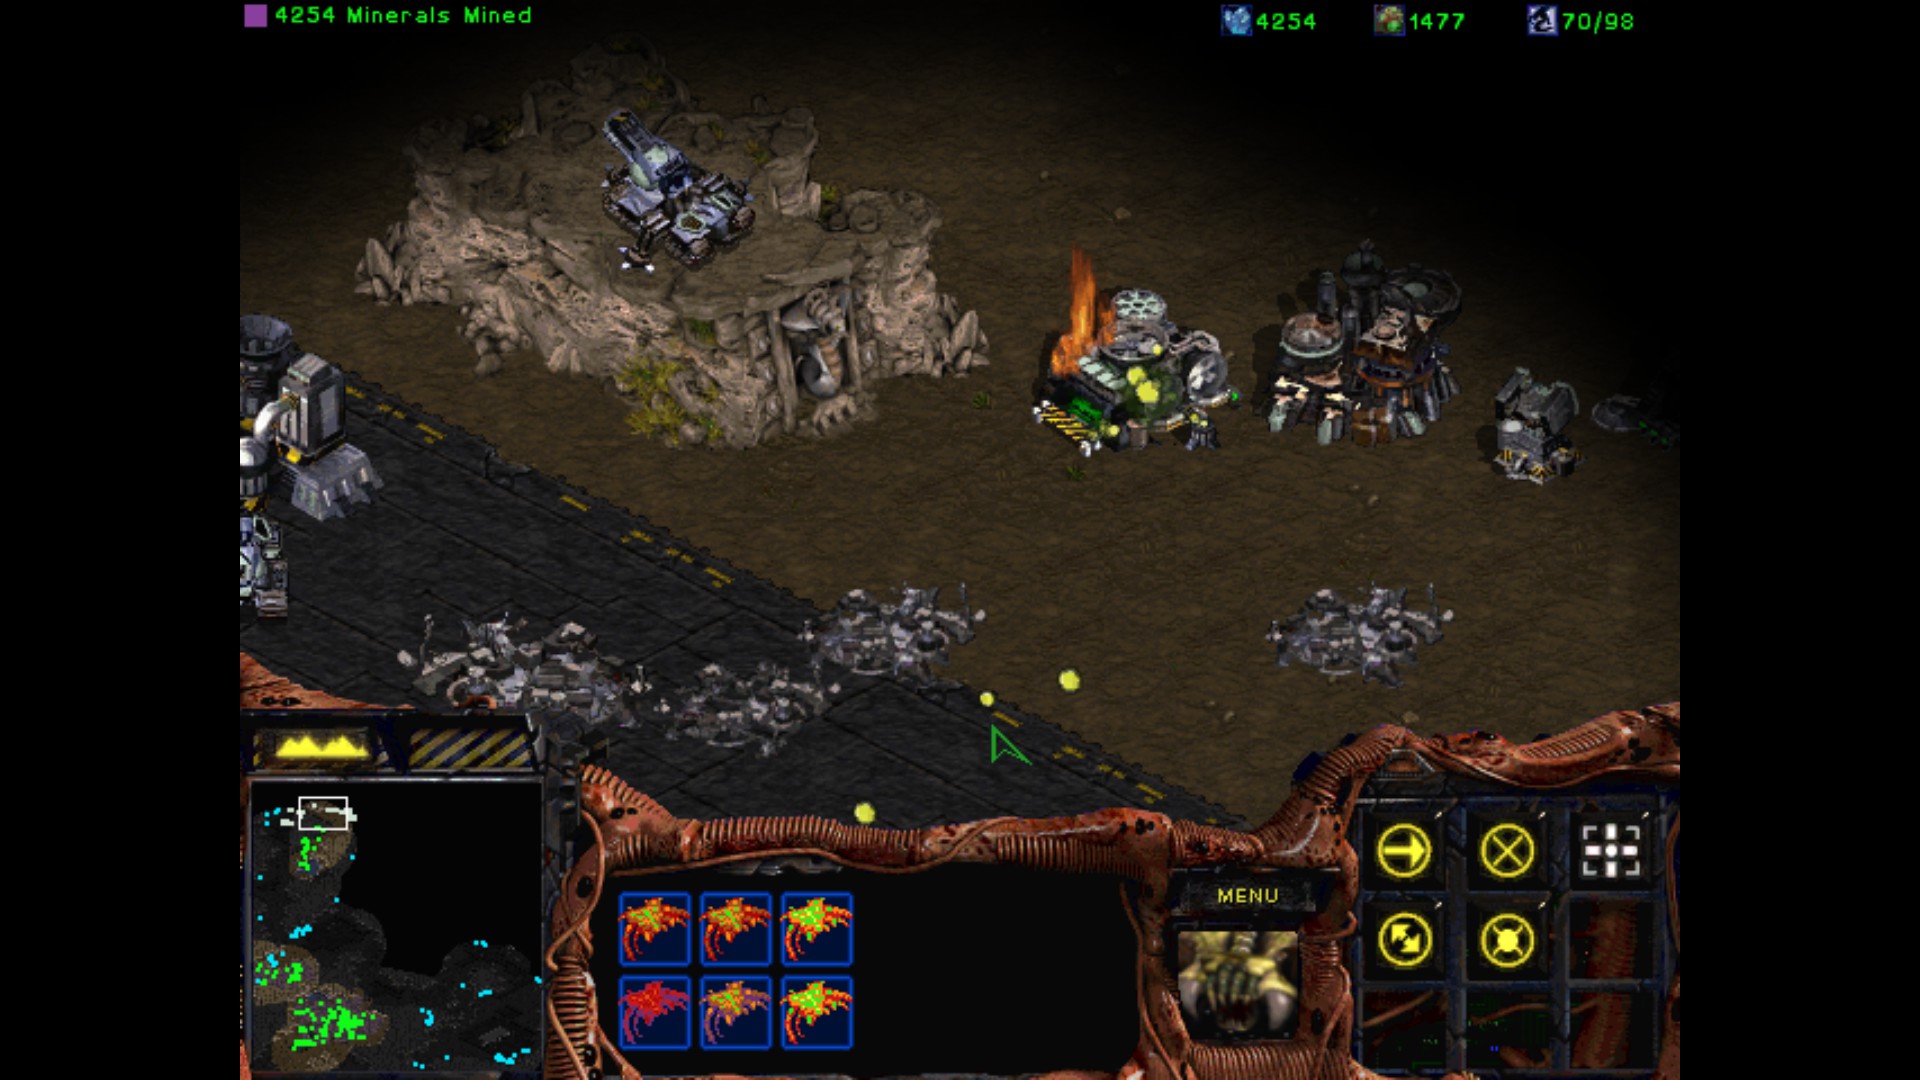
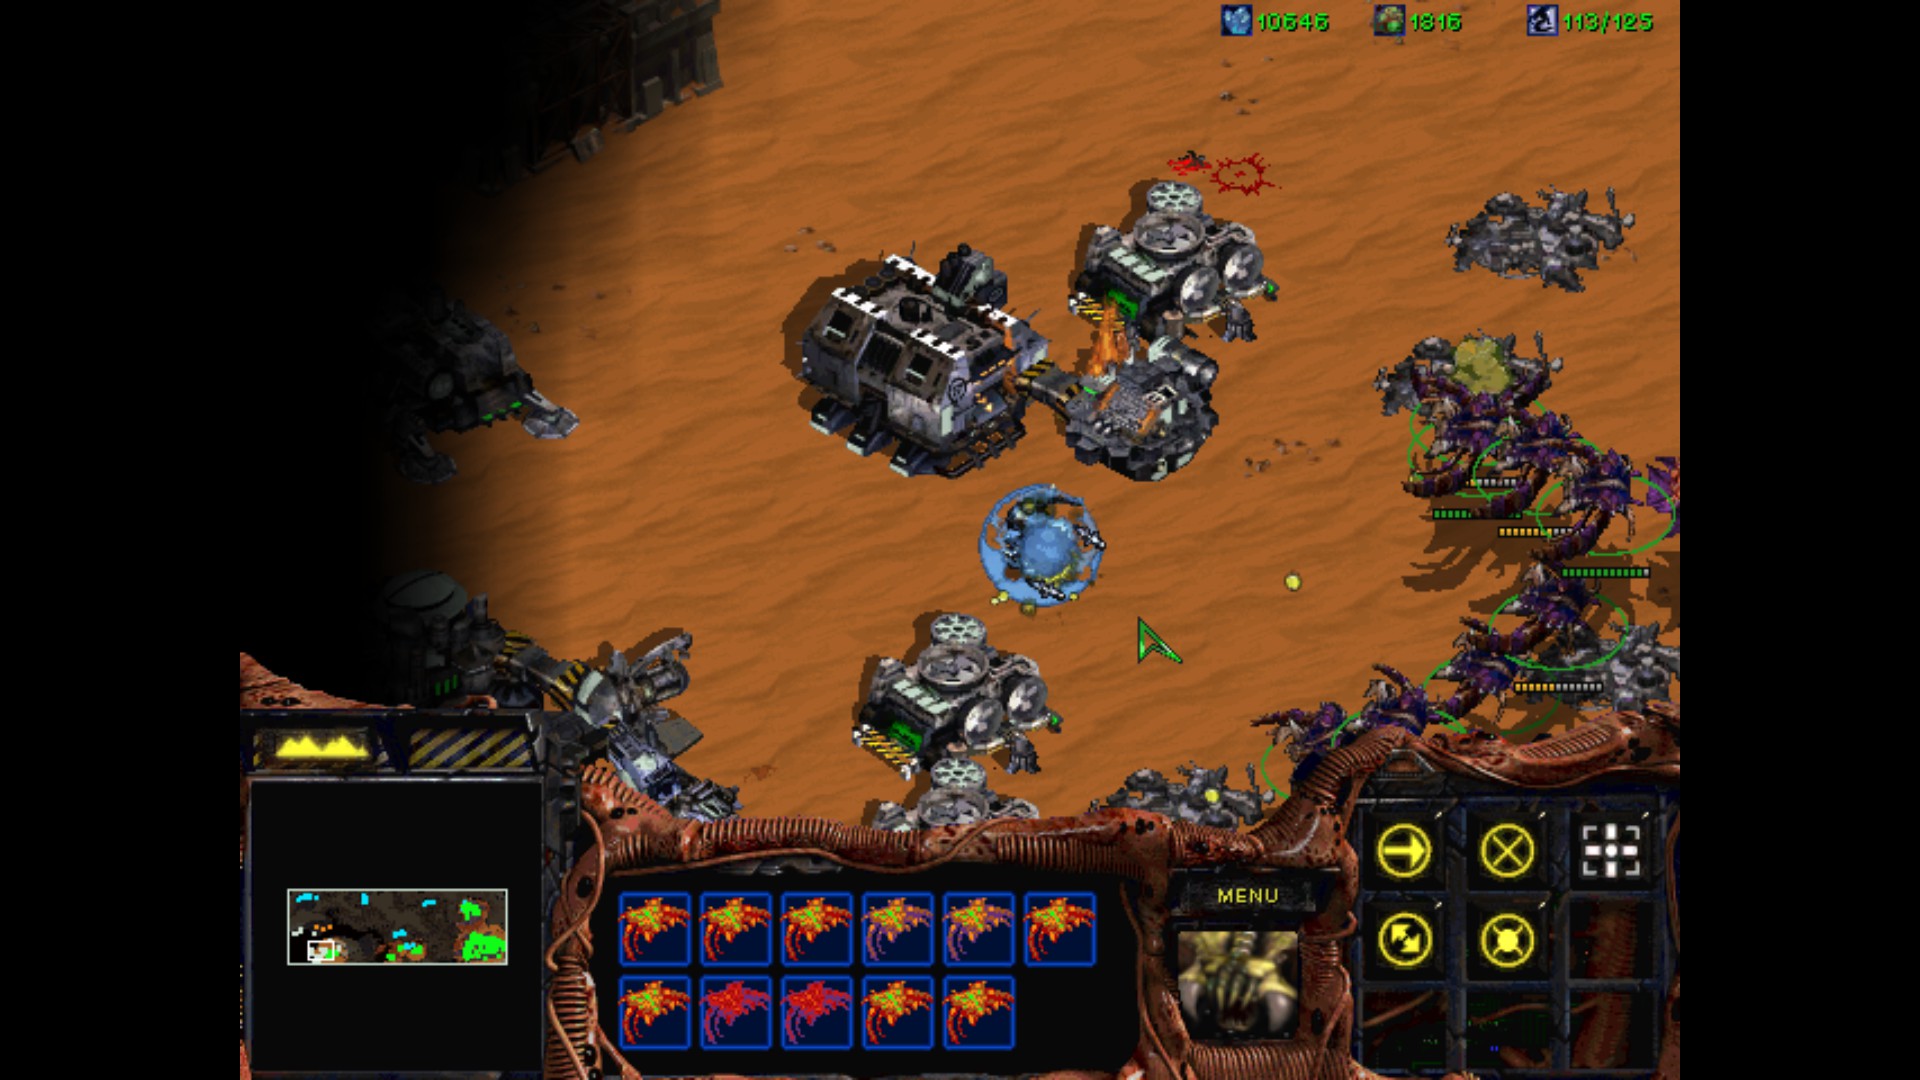
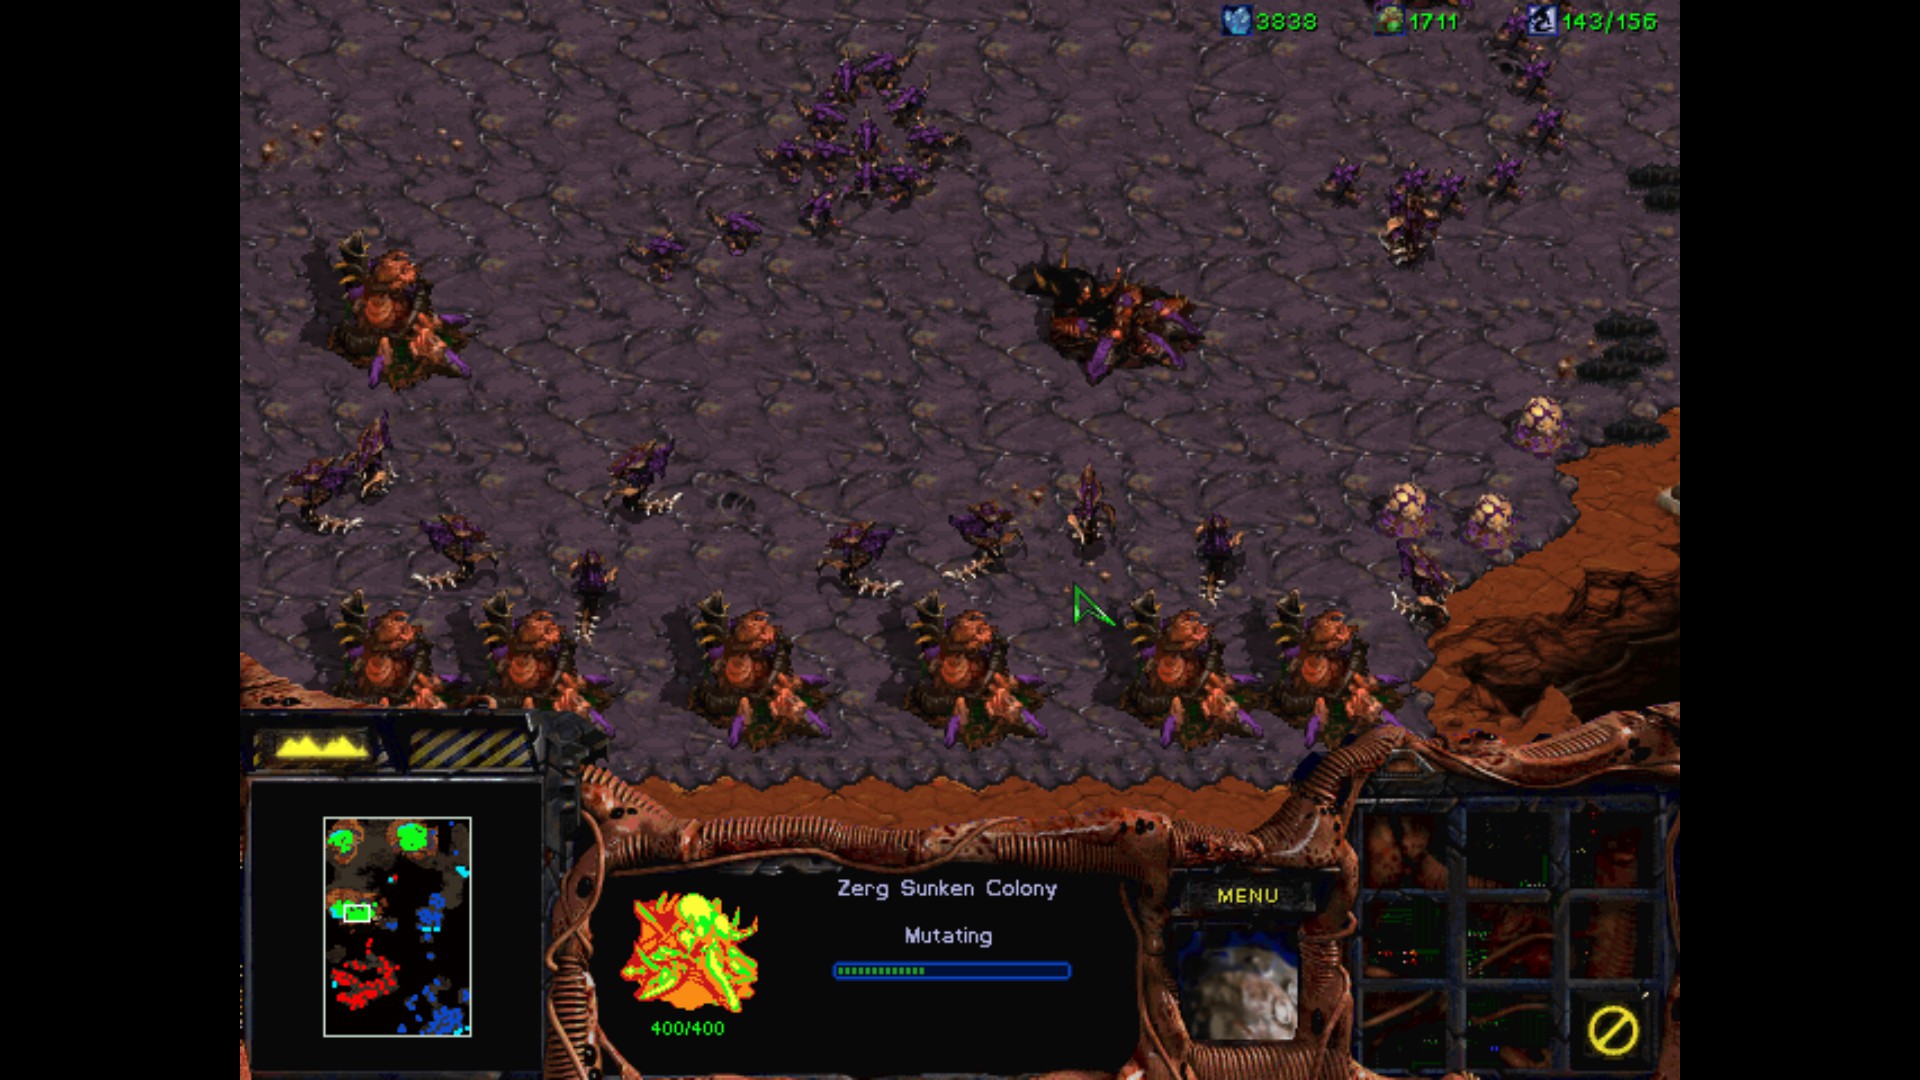
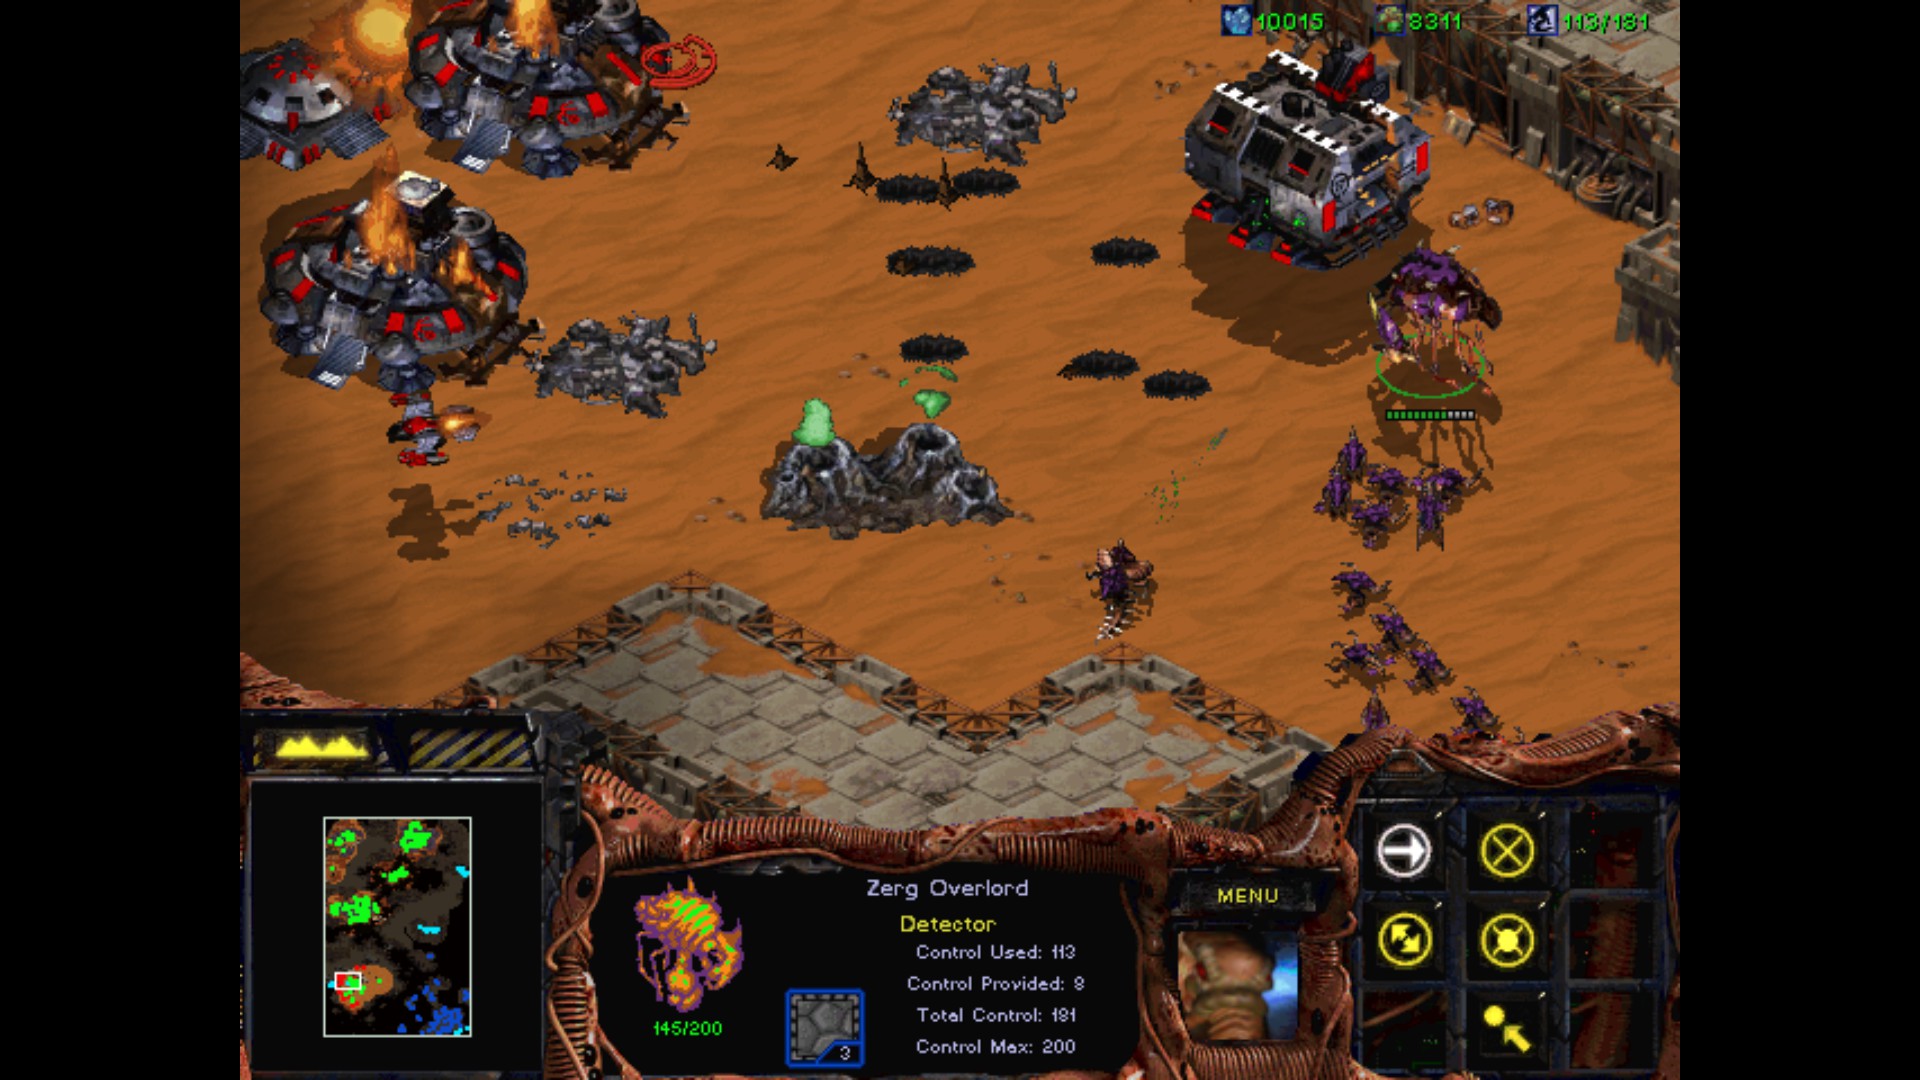
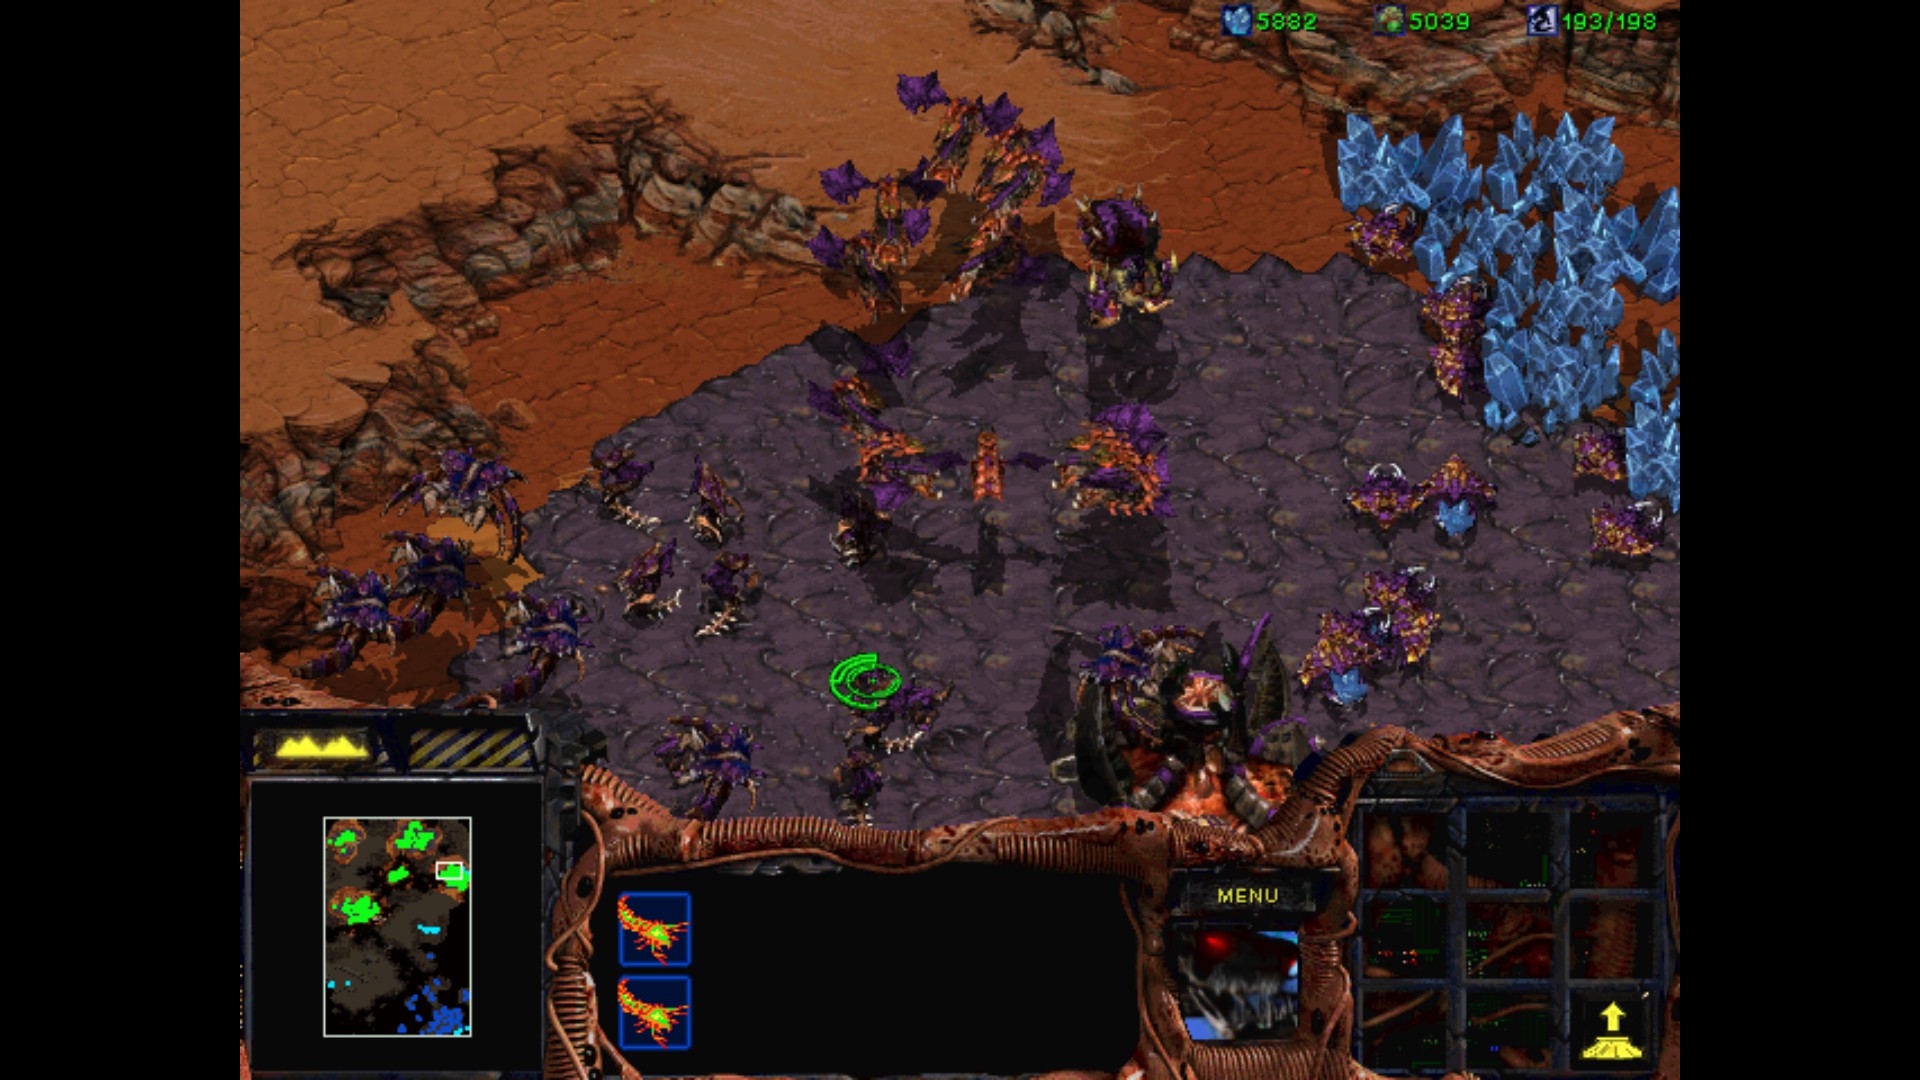
We start the last mission of UED campaign with a quick interruption. The three bunkers nearby are being attacked by the Sunken Colonies. We are being told, that the enemy's Hive is making them full of energy. In practice it means, that I can't destroy them right now. I'm surrounded by them and need to destroy the red dot on the northern west that you can see on the map. It's not that bad at the beginning, since there is still a lot of space, and I can make more than enough buildings. Judging from the distance it would be a good move to make it my first target once I've built the base.
What is the most important thing, is that you must make the defense, even the most basic - a bunker plus a couple Marines because the attacks start really quick. Each Zerg brood has the preferred batch of units that he moves towards our base. The red one is dropping and burrowing Hydralisks and Zerglings nearby, and rushes into our positions. Dangerous at the beginning, but after I had the Tanks and buffed ground soldiers plus Medics they weren't a big problem. The problem is with other two broods - brown and orange. I tell you about them soon.
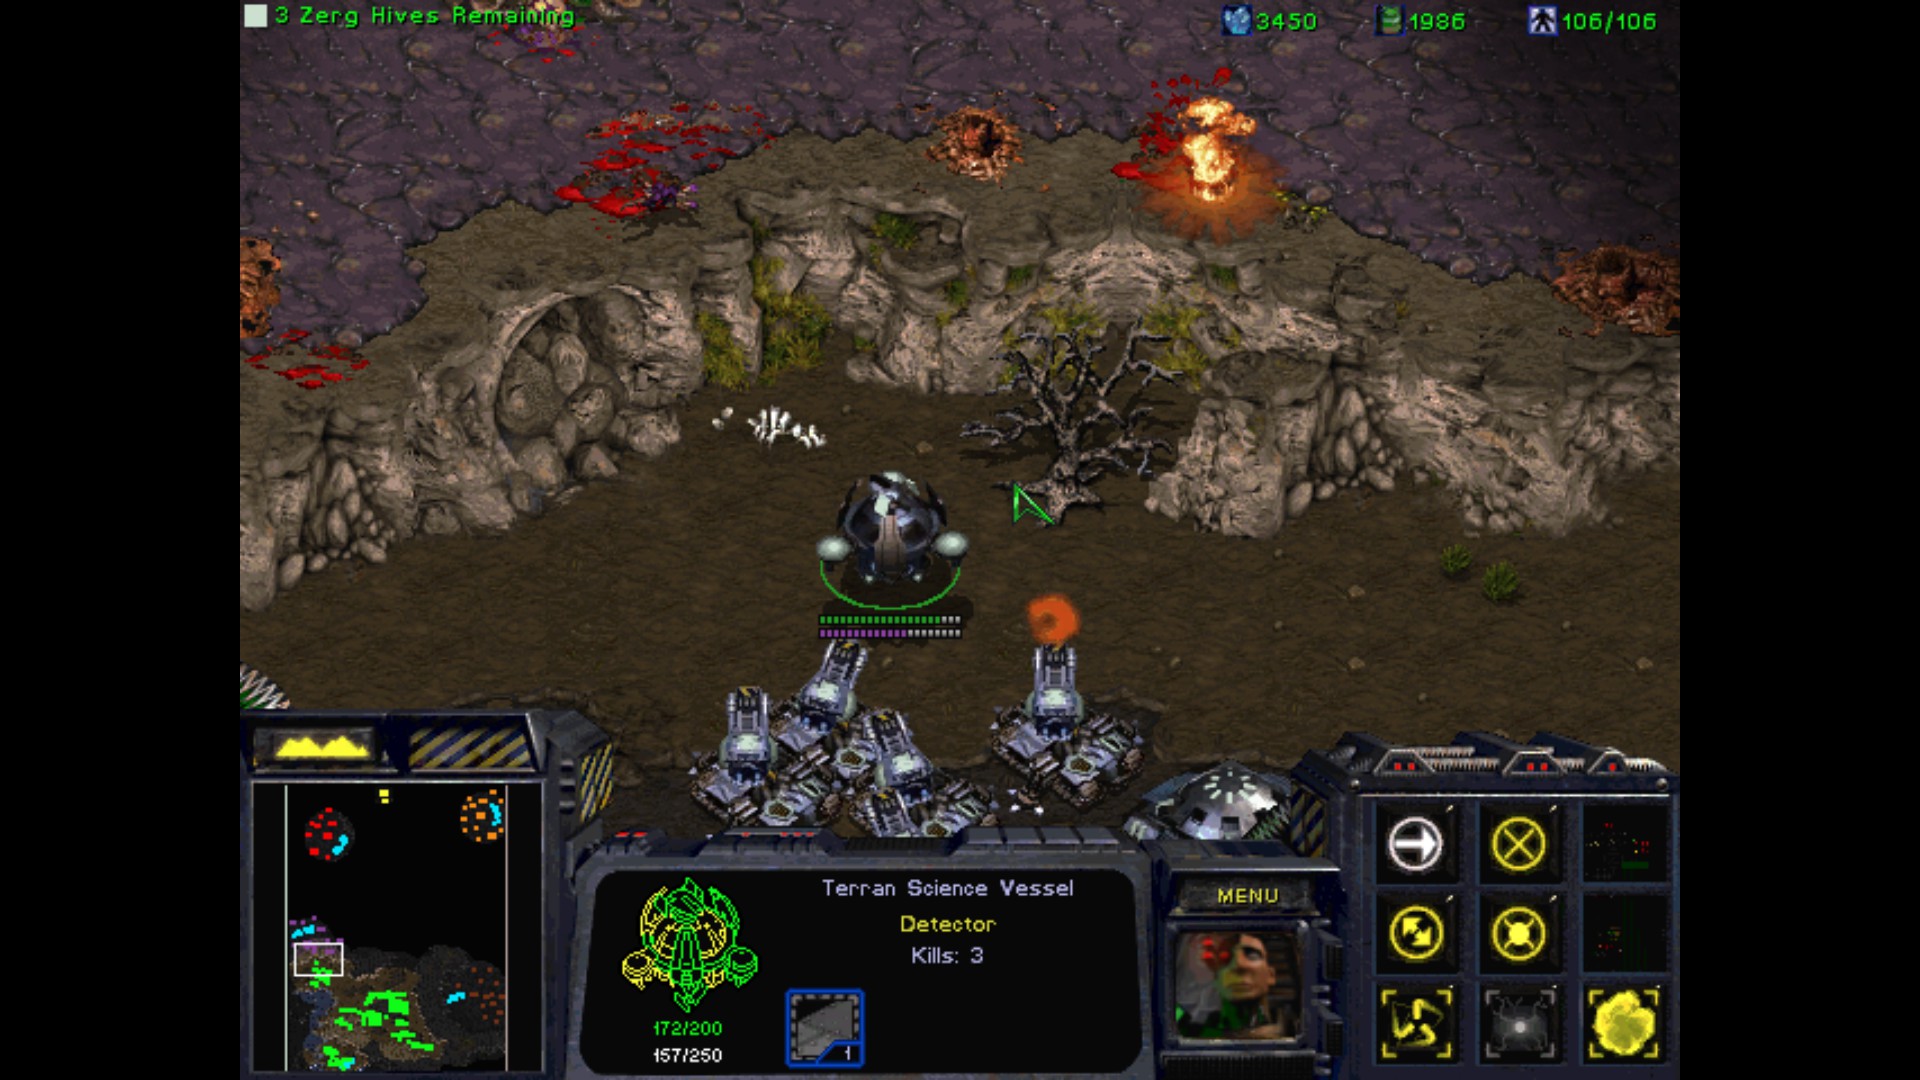
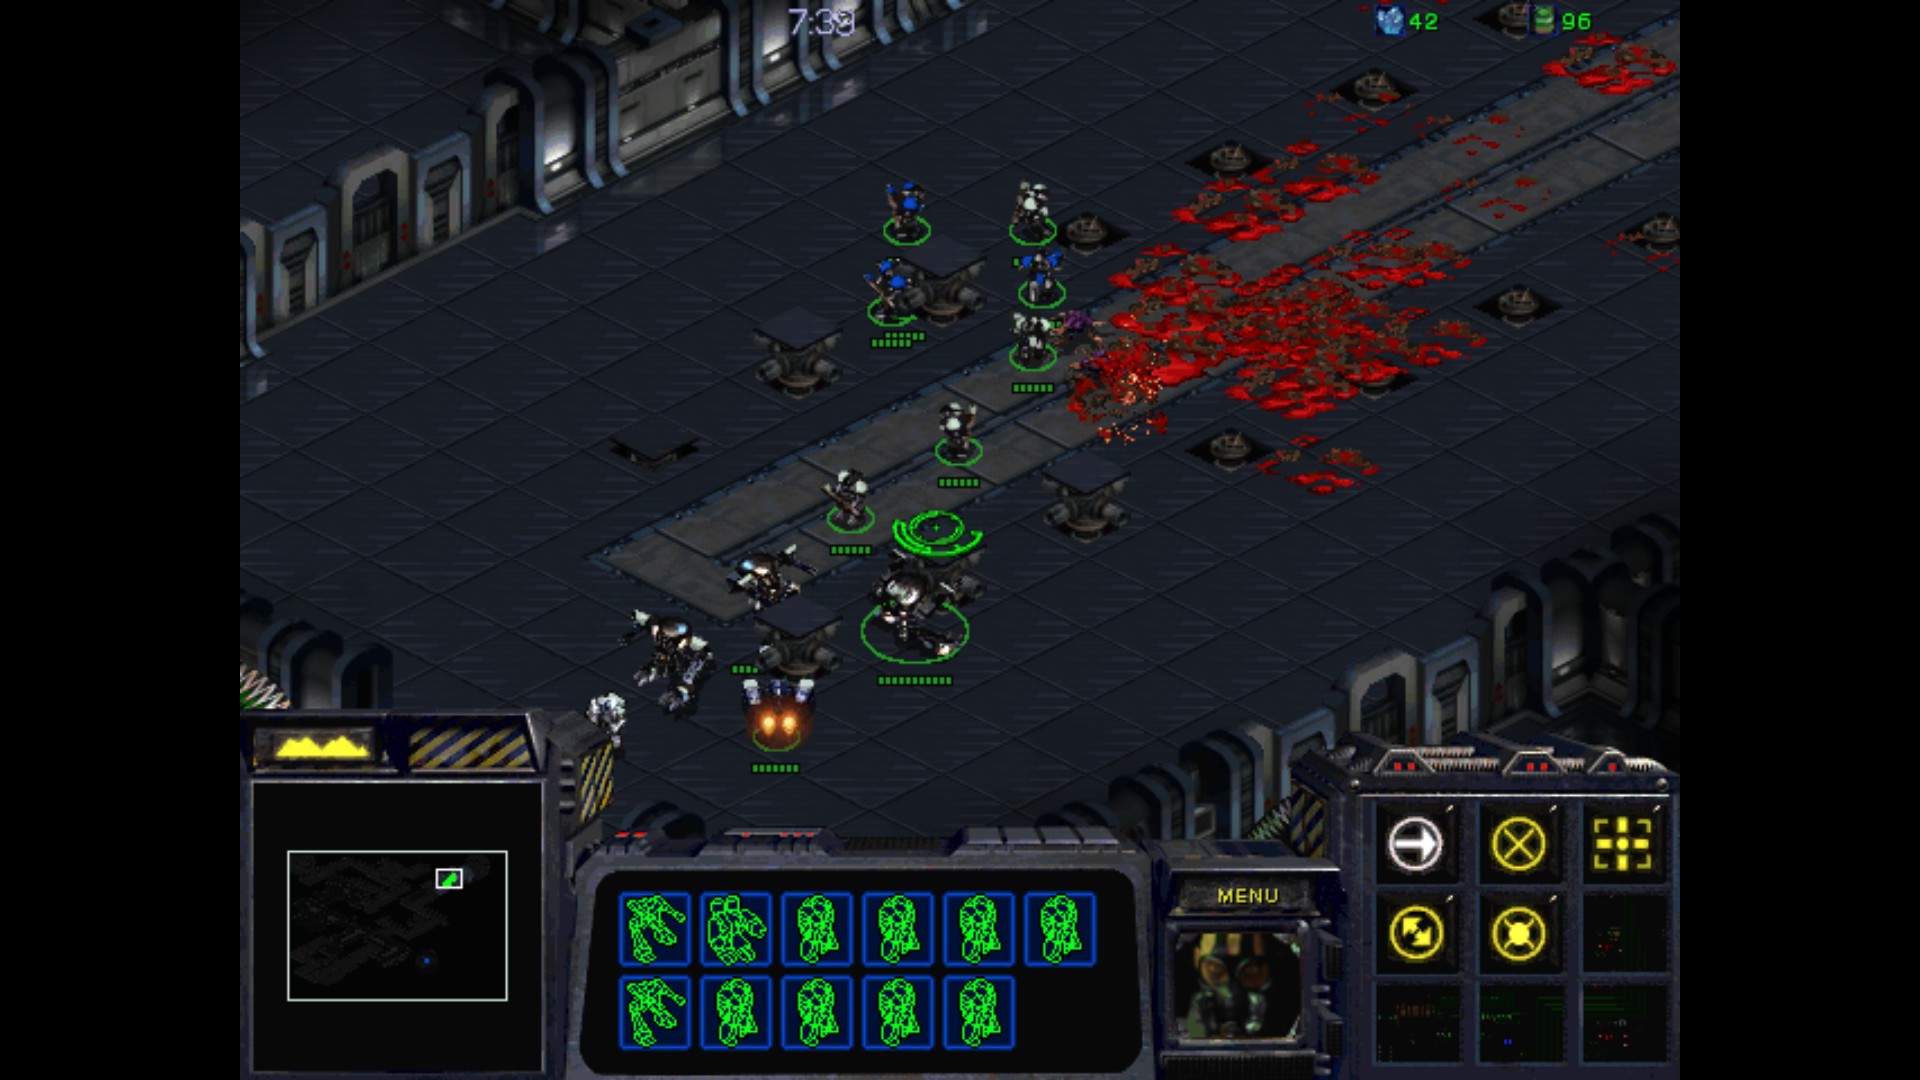
First attack, and I had to use SCV to help my Marines. Unfortunatelly, the Bunker was still destroyed due to the next raid of Zerglings that came after that.
Now that I have two bunker in the north I build another one on west. Sometimes the Zergs are splitting up their squads and try to attack at the same time fro different directions. It's good to keep my workers safe, and the Bunkers aren't expensive.
All right, time to build two Factories. This is the minimum for the mission. Keeping the production of Tanks and Goliaths is crucial. Same goes for the Barracks. I make some Turrets near each Bunker. The Mutalisks have began attacking, and as I expect the worst, it means Guardians later on.
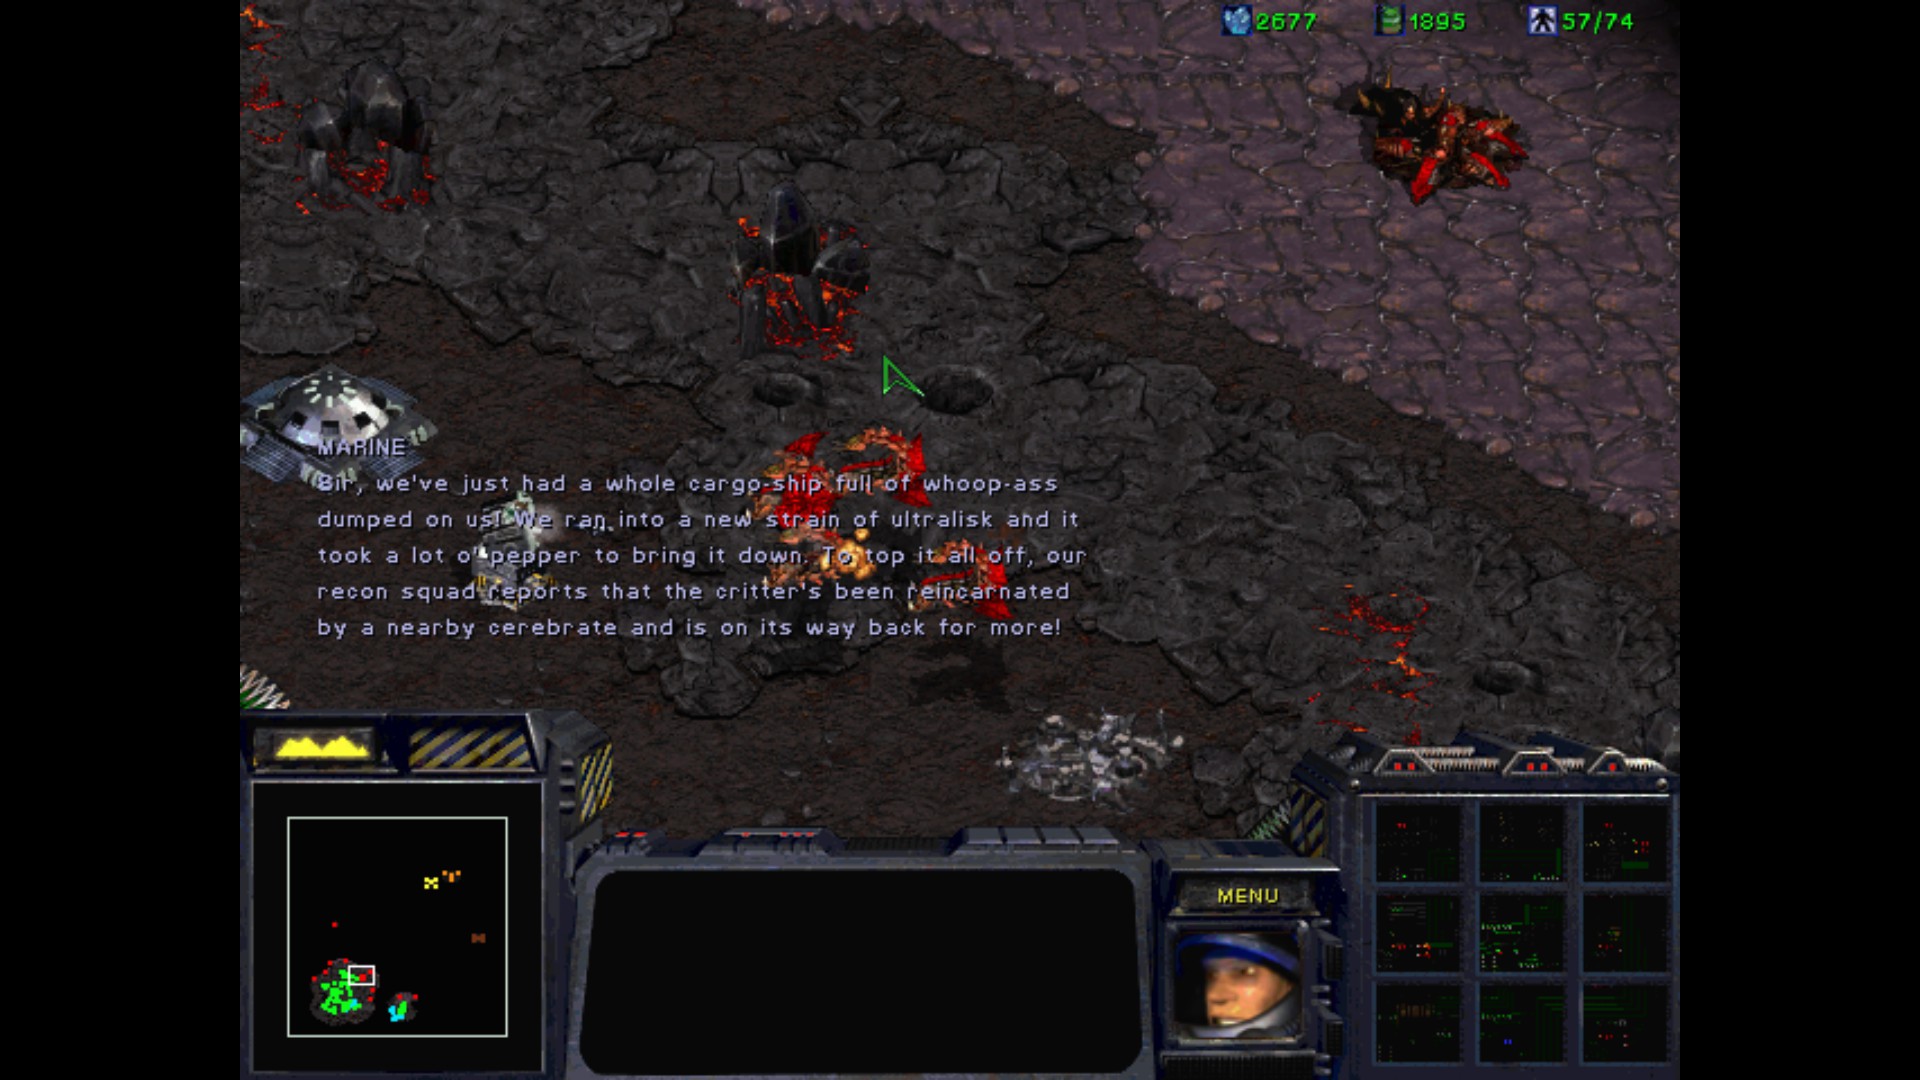
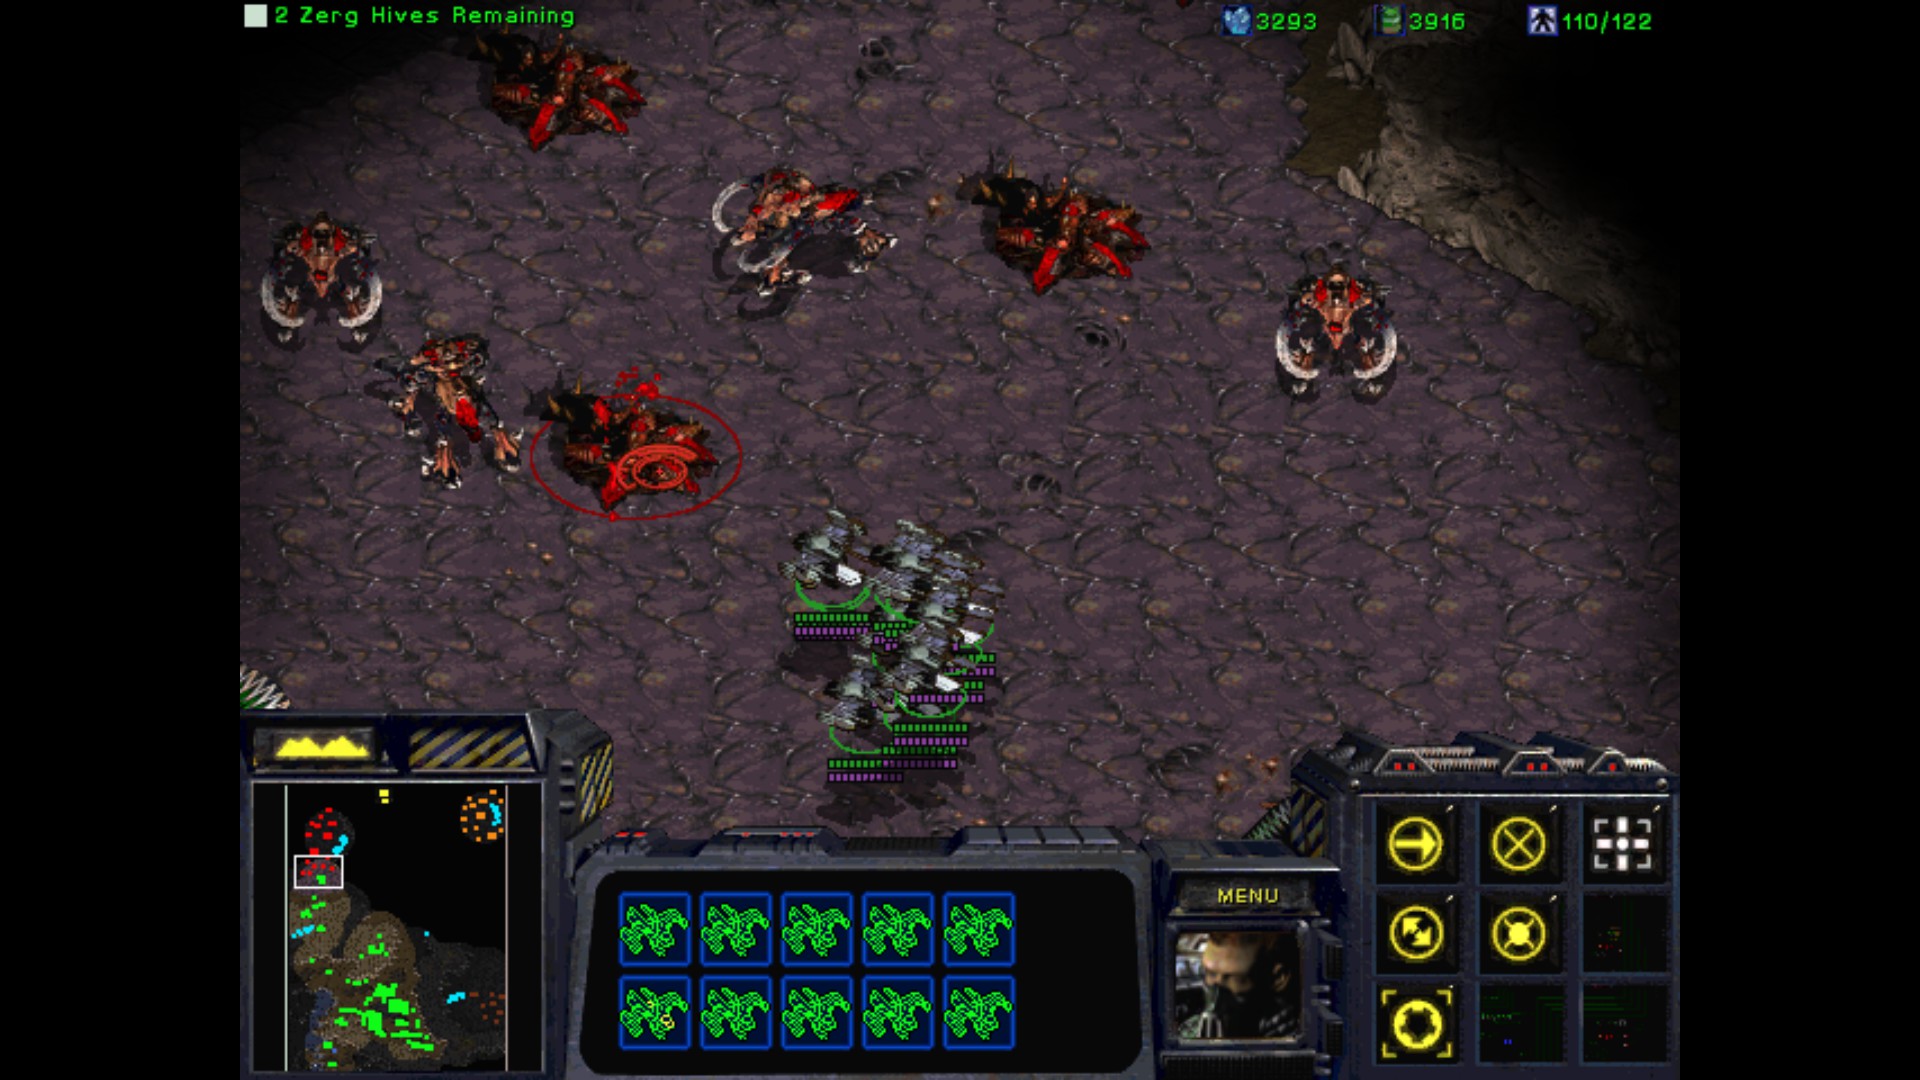
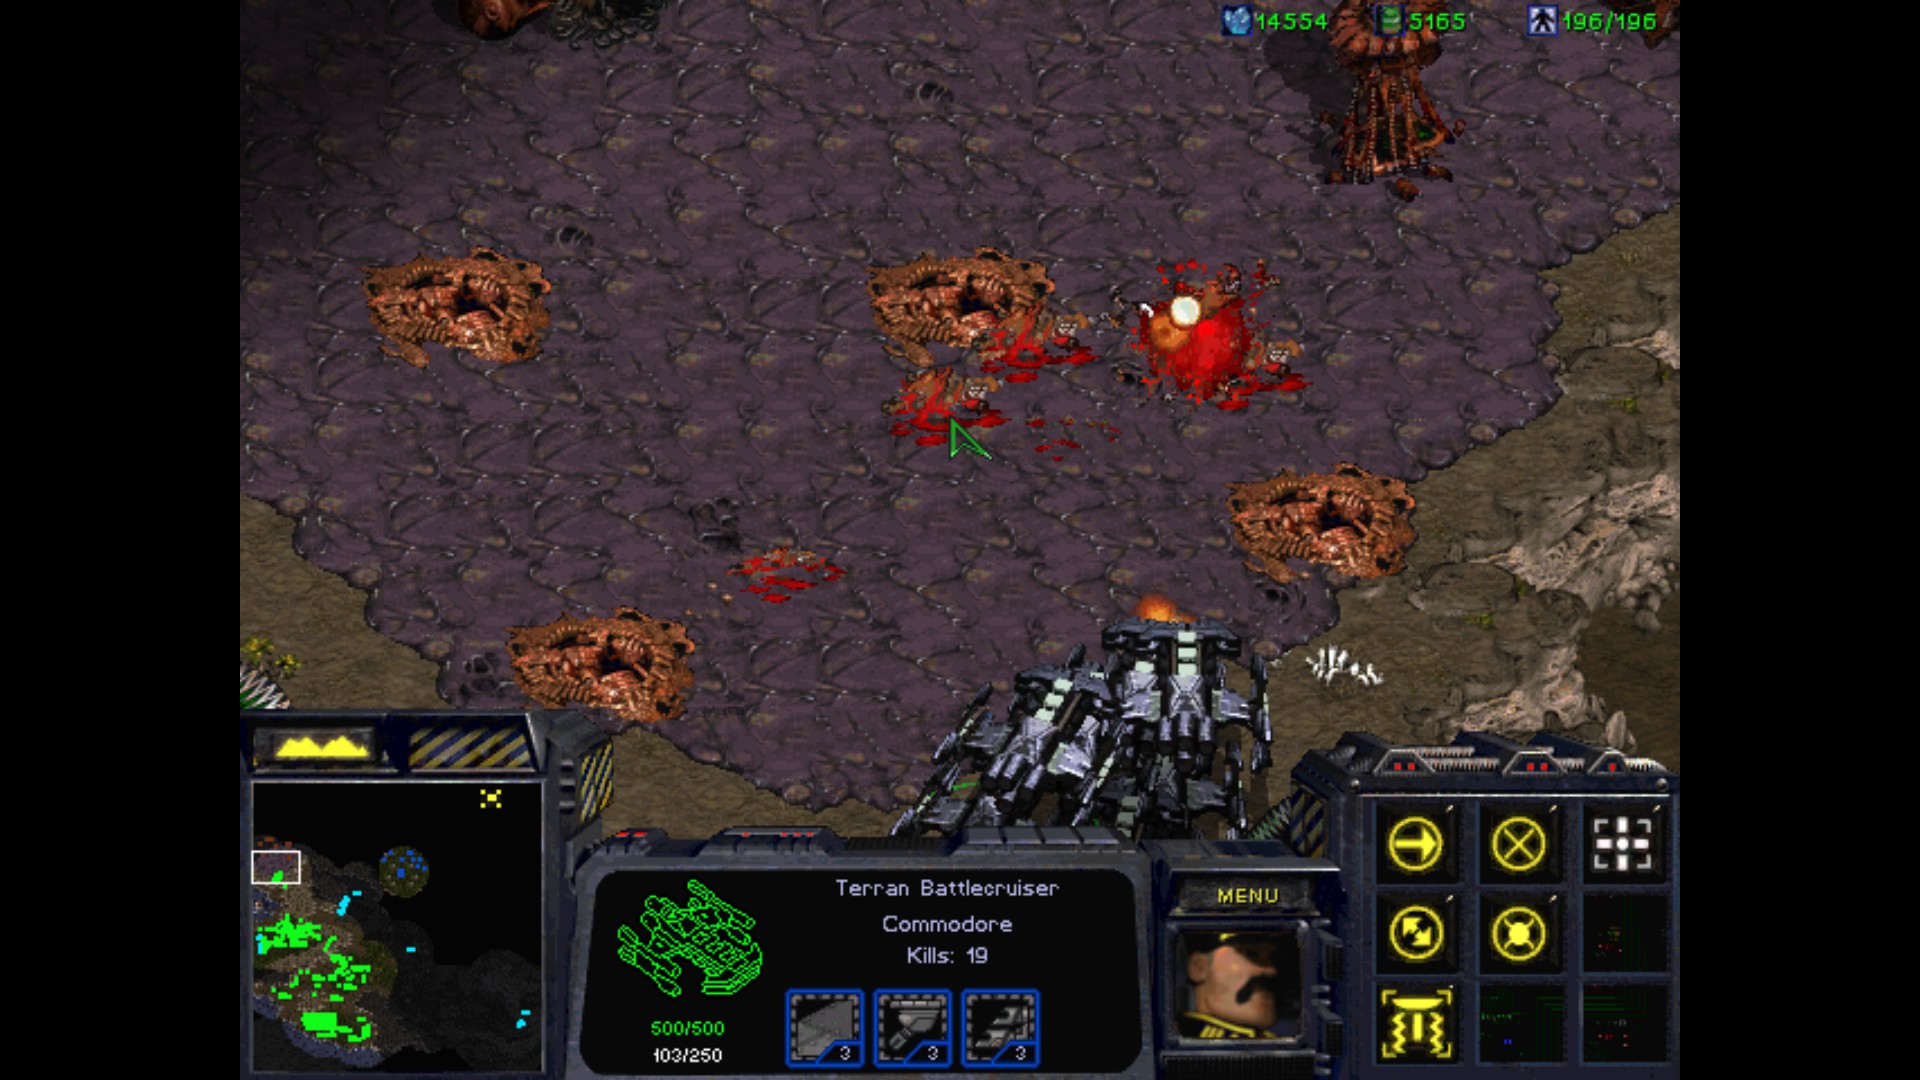
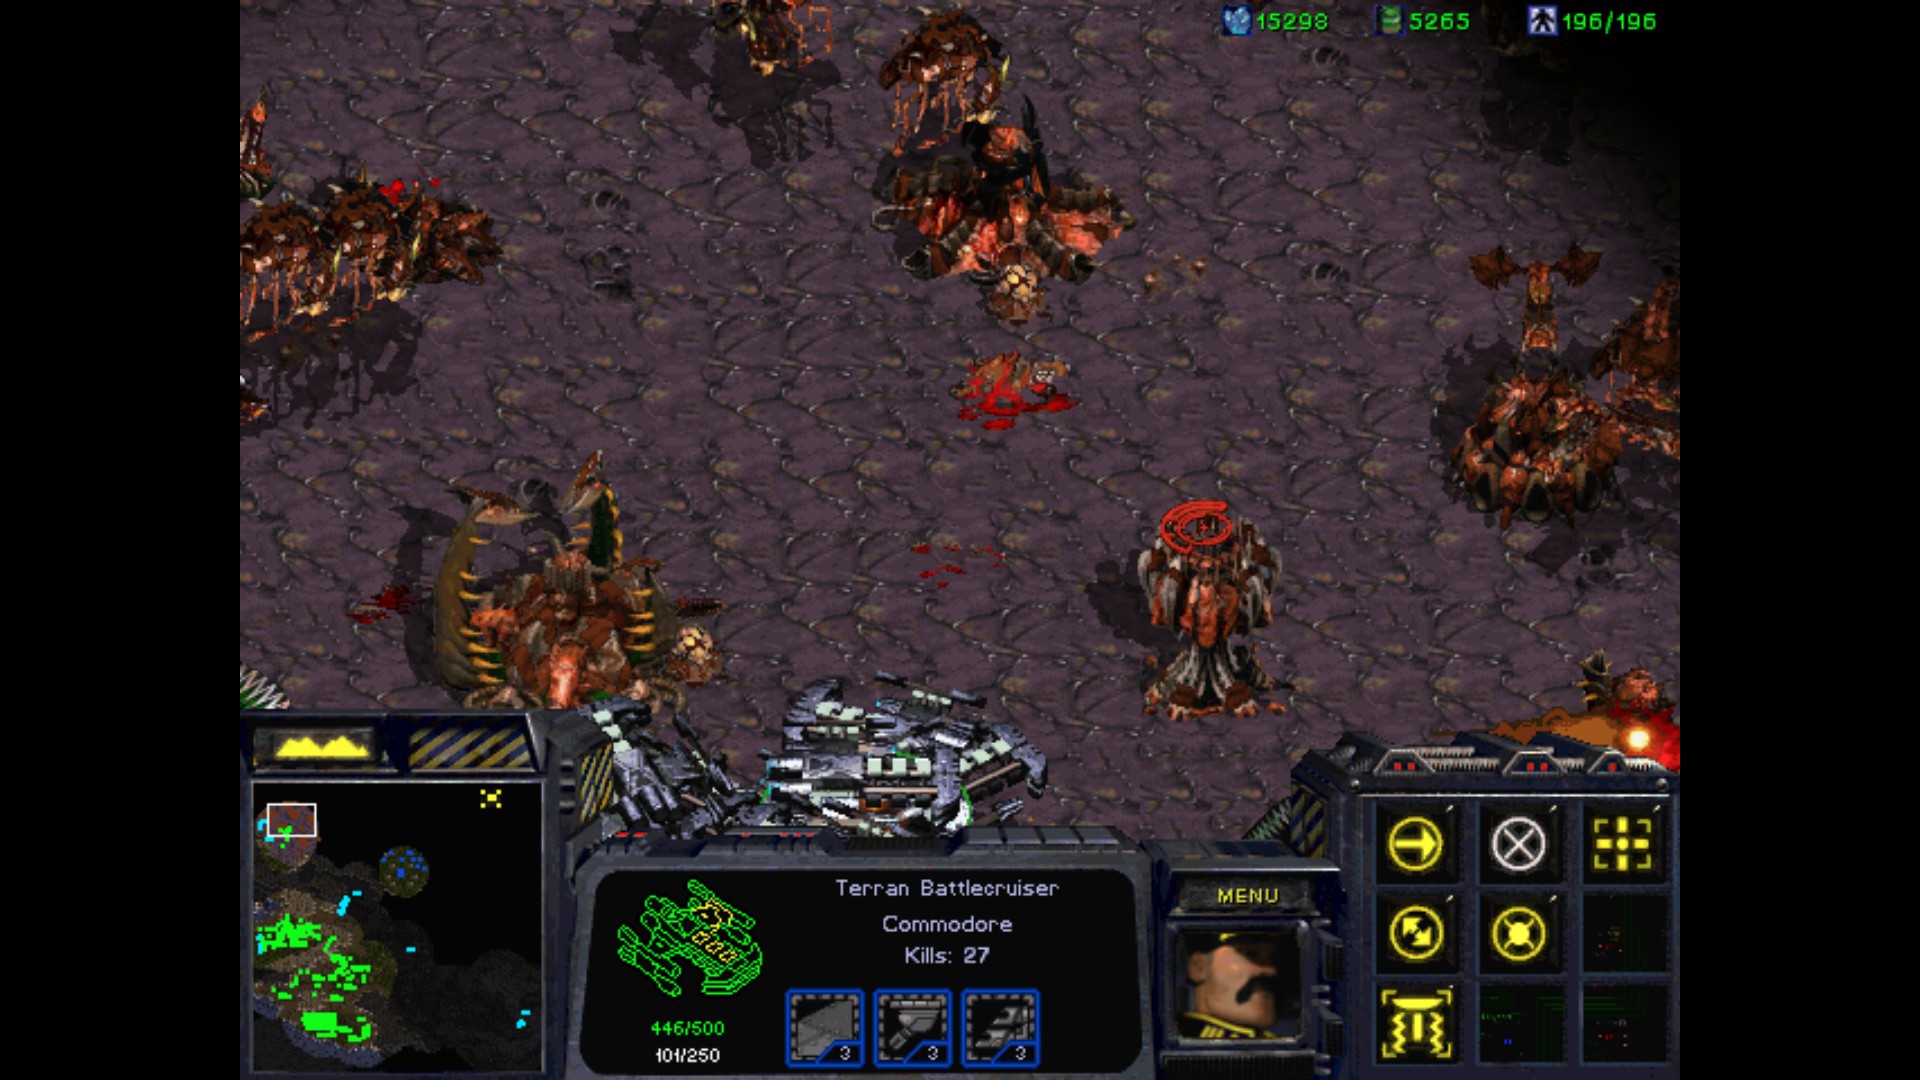
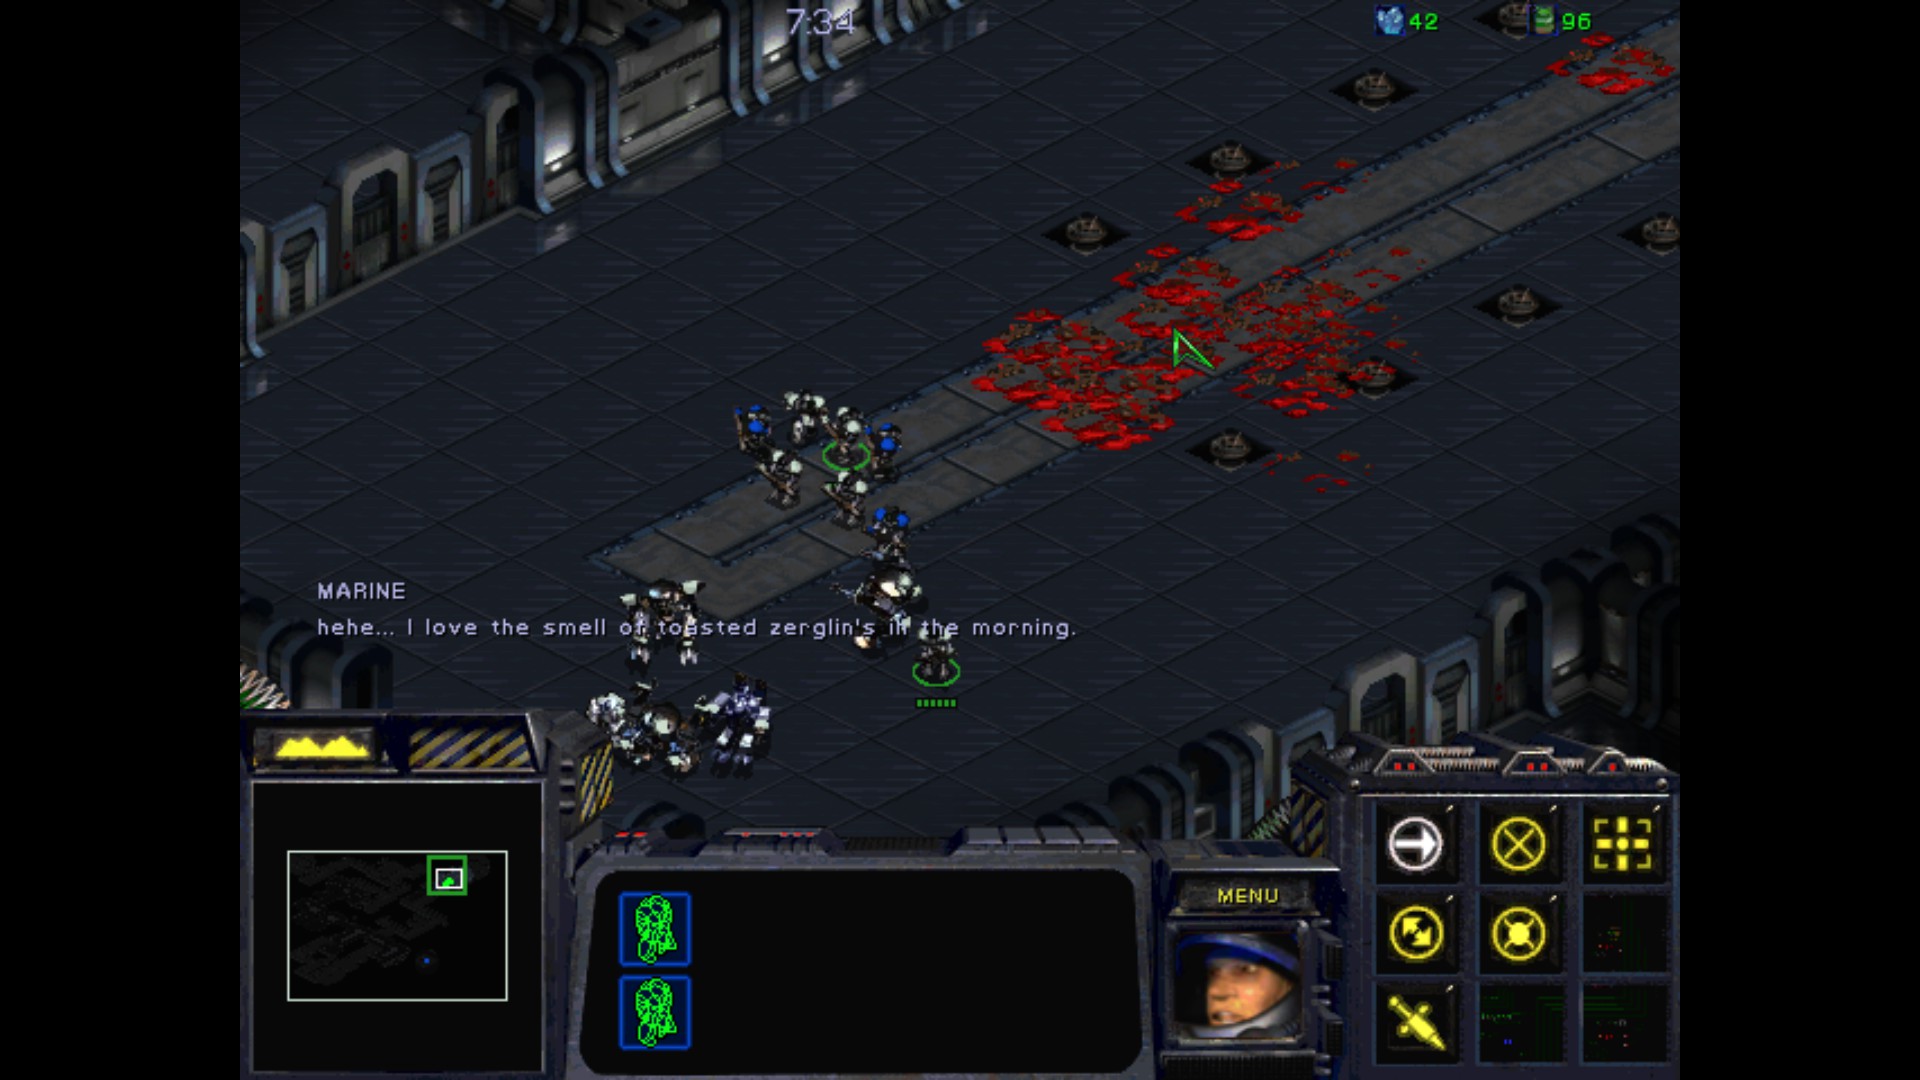
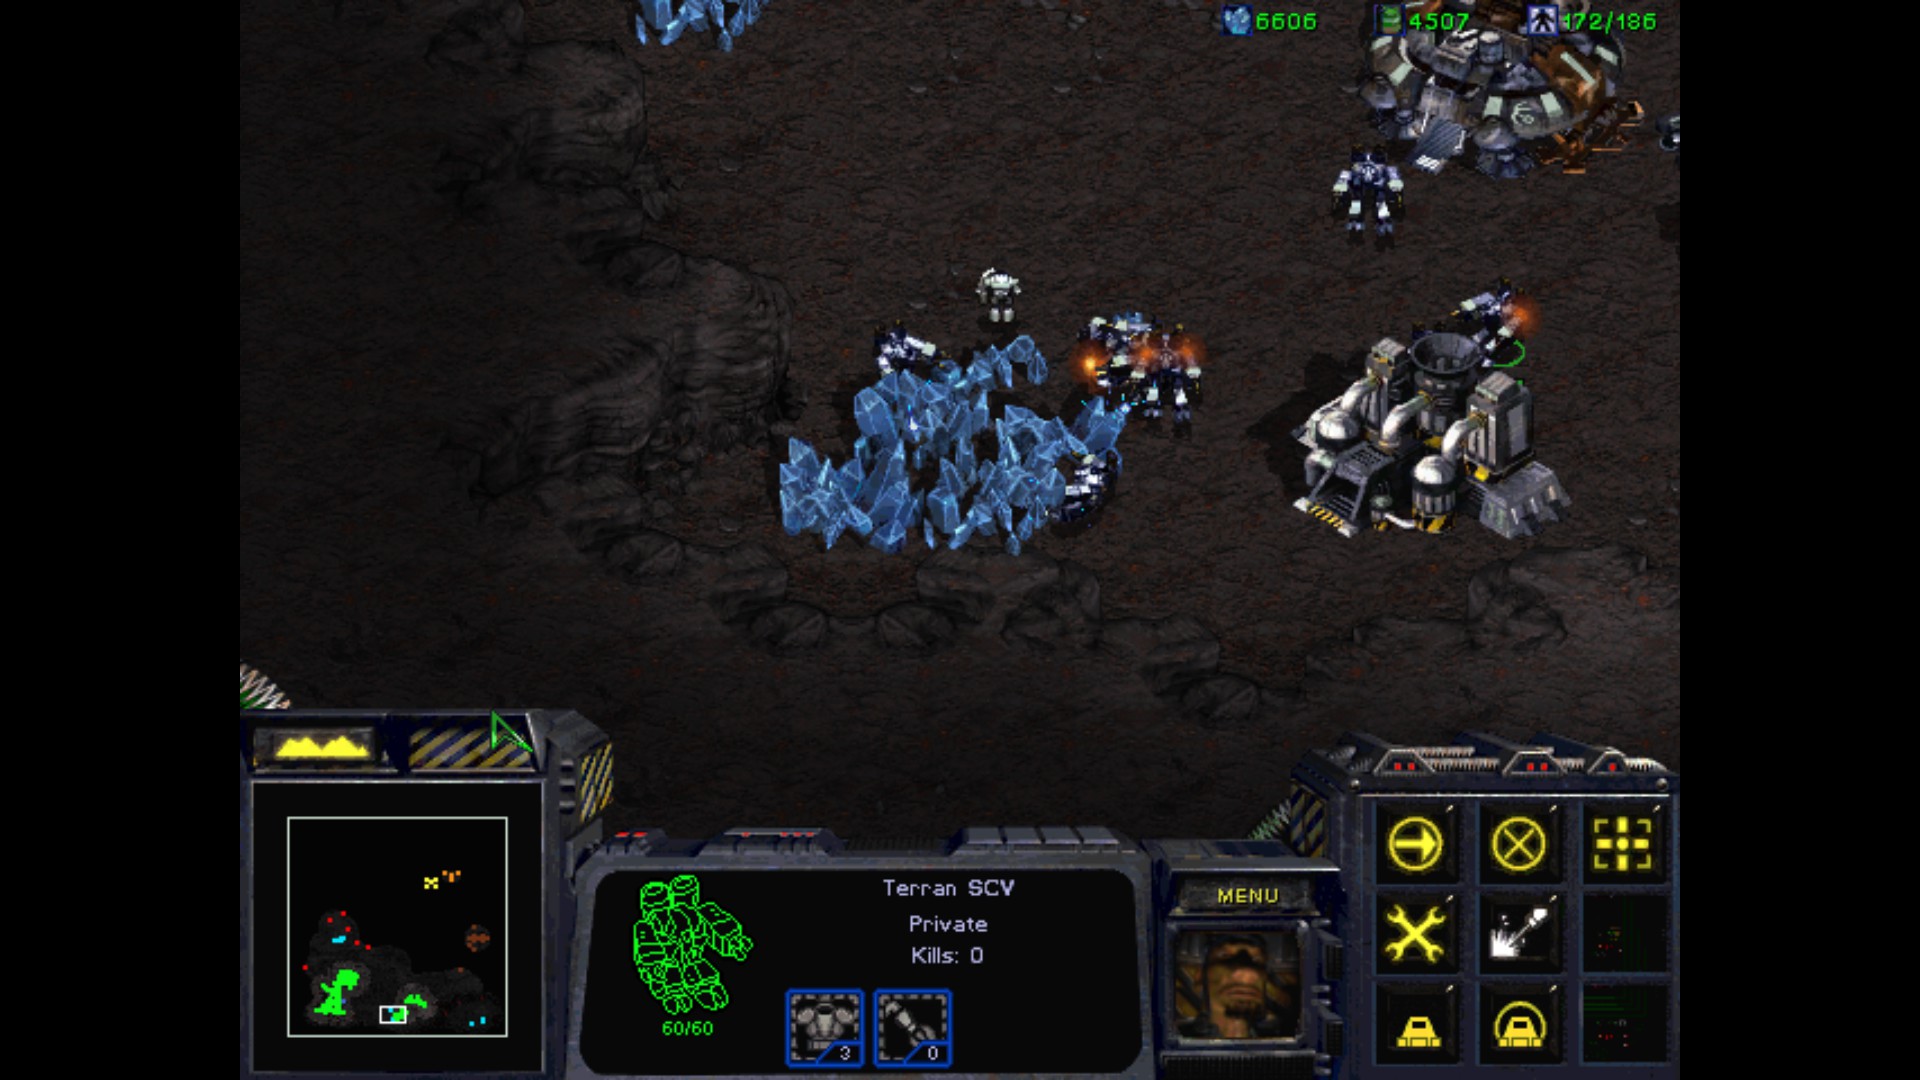
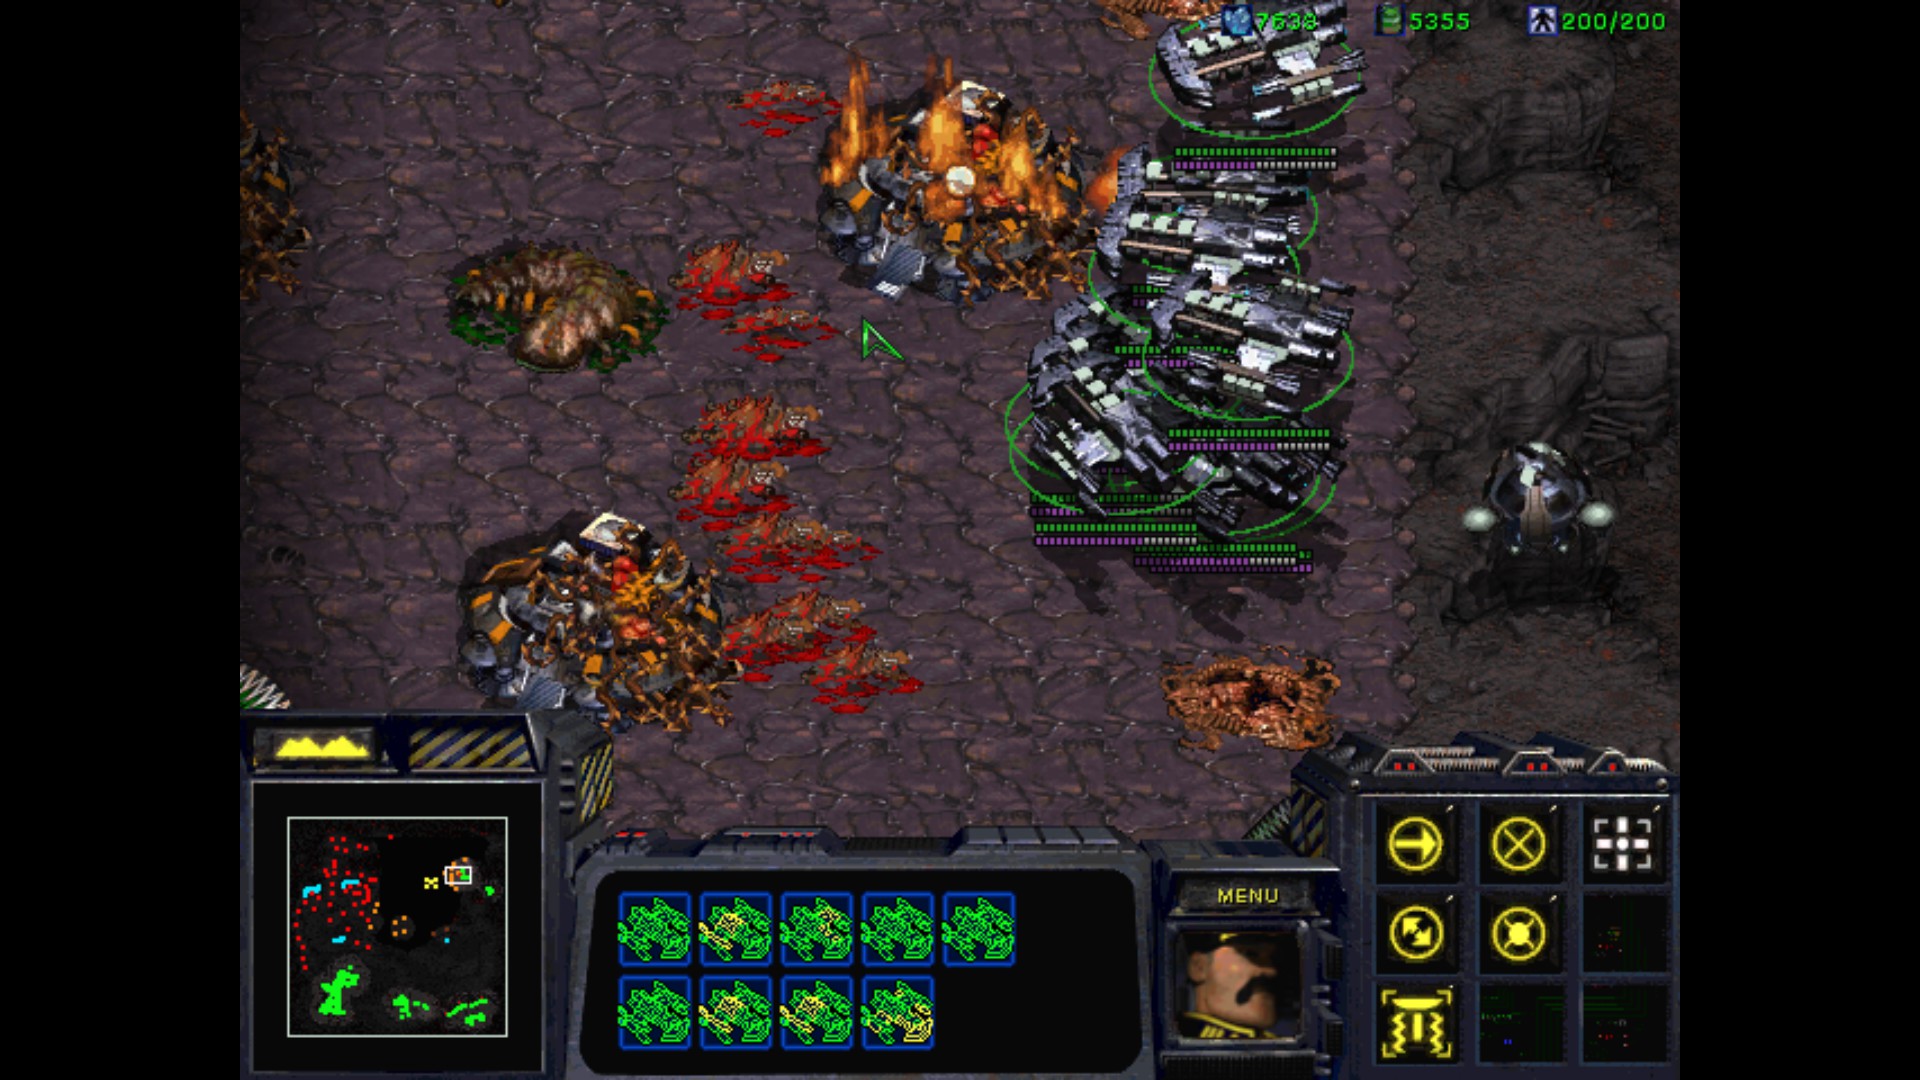
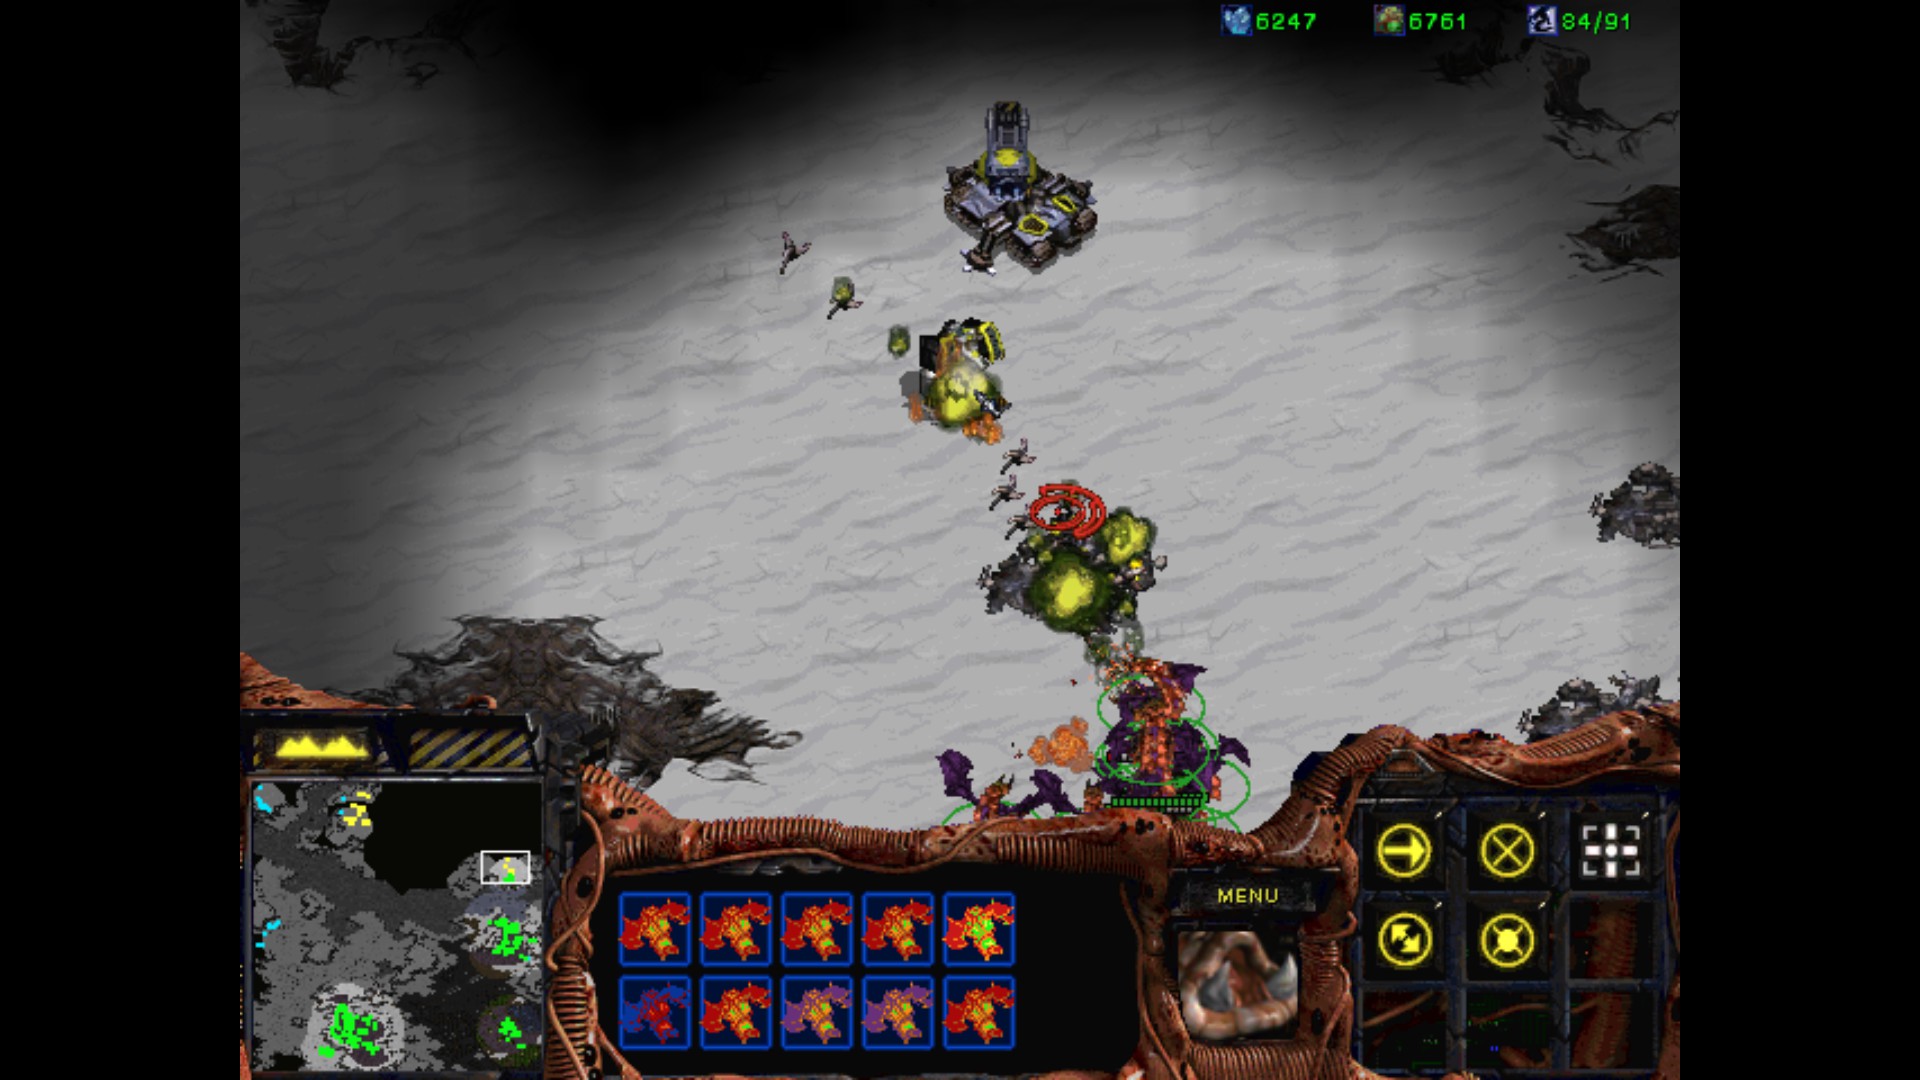
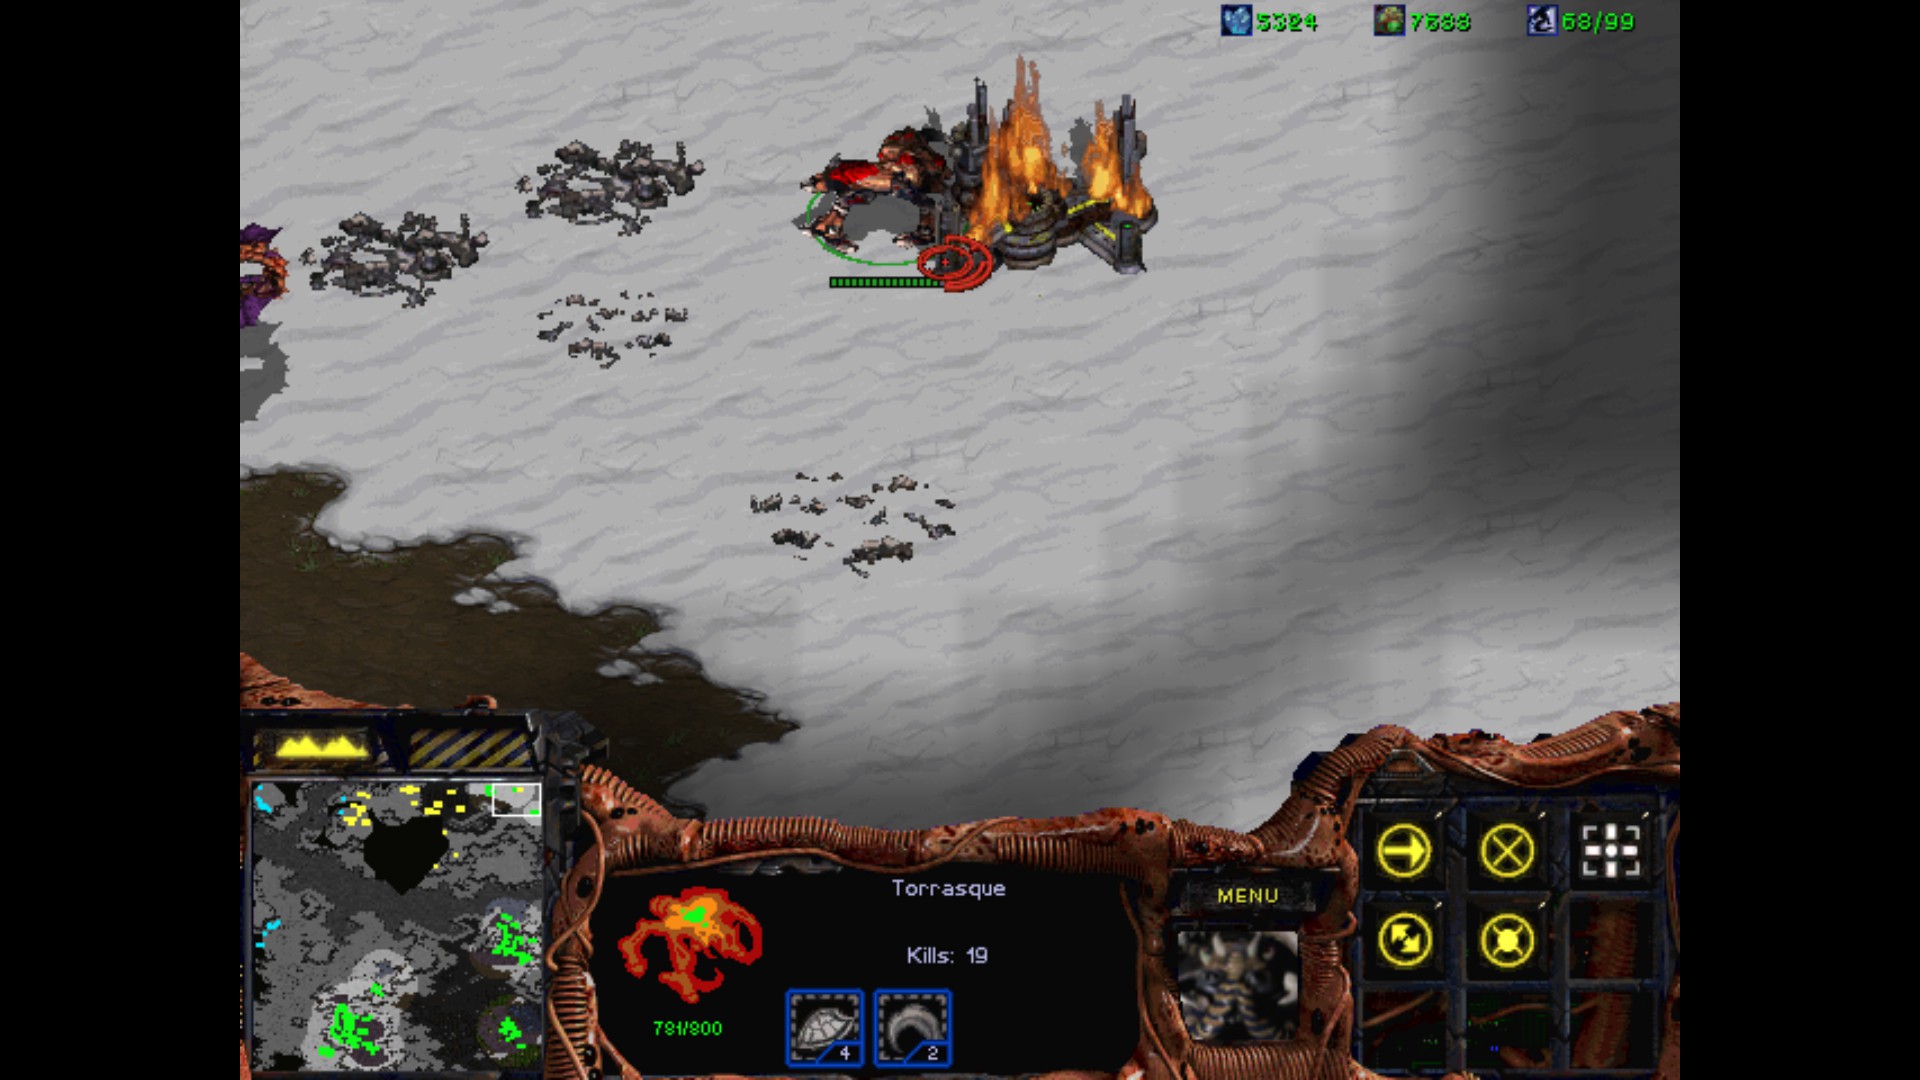
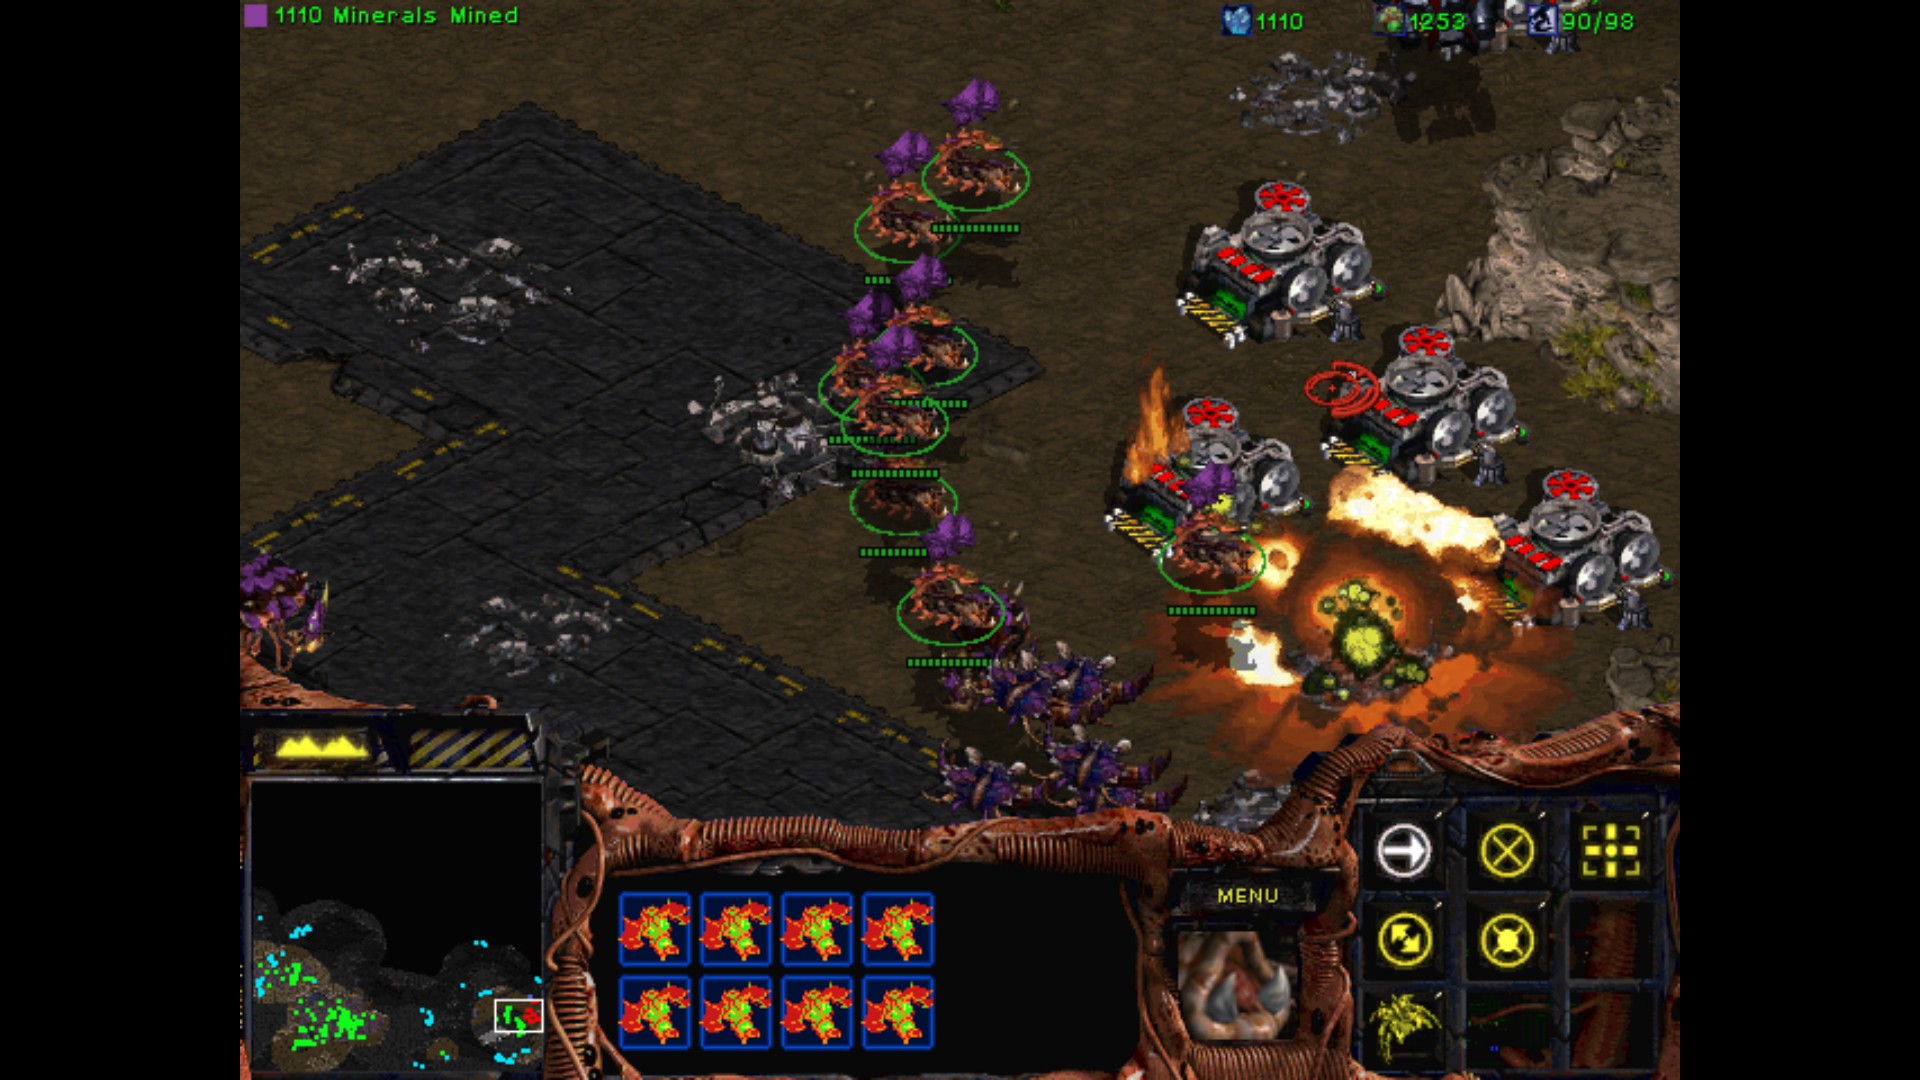
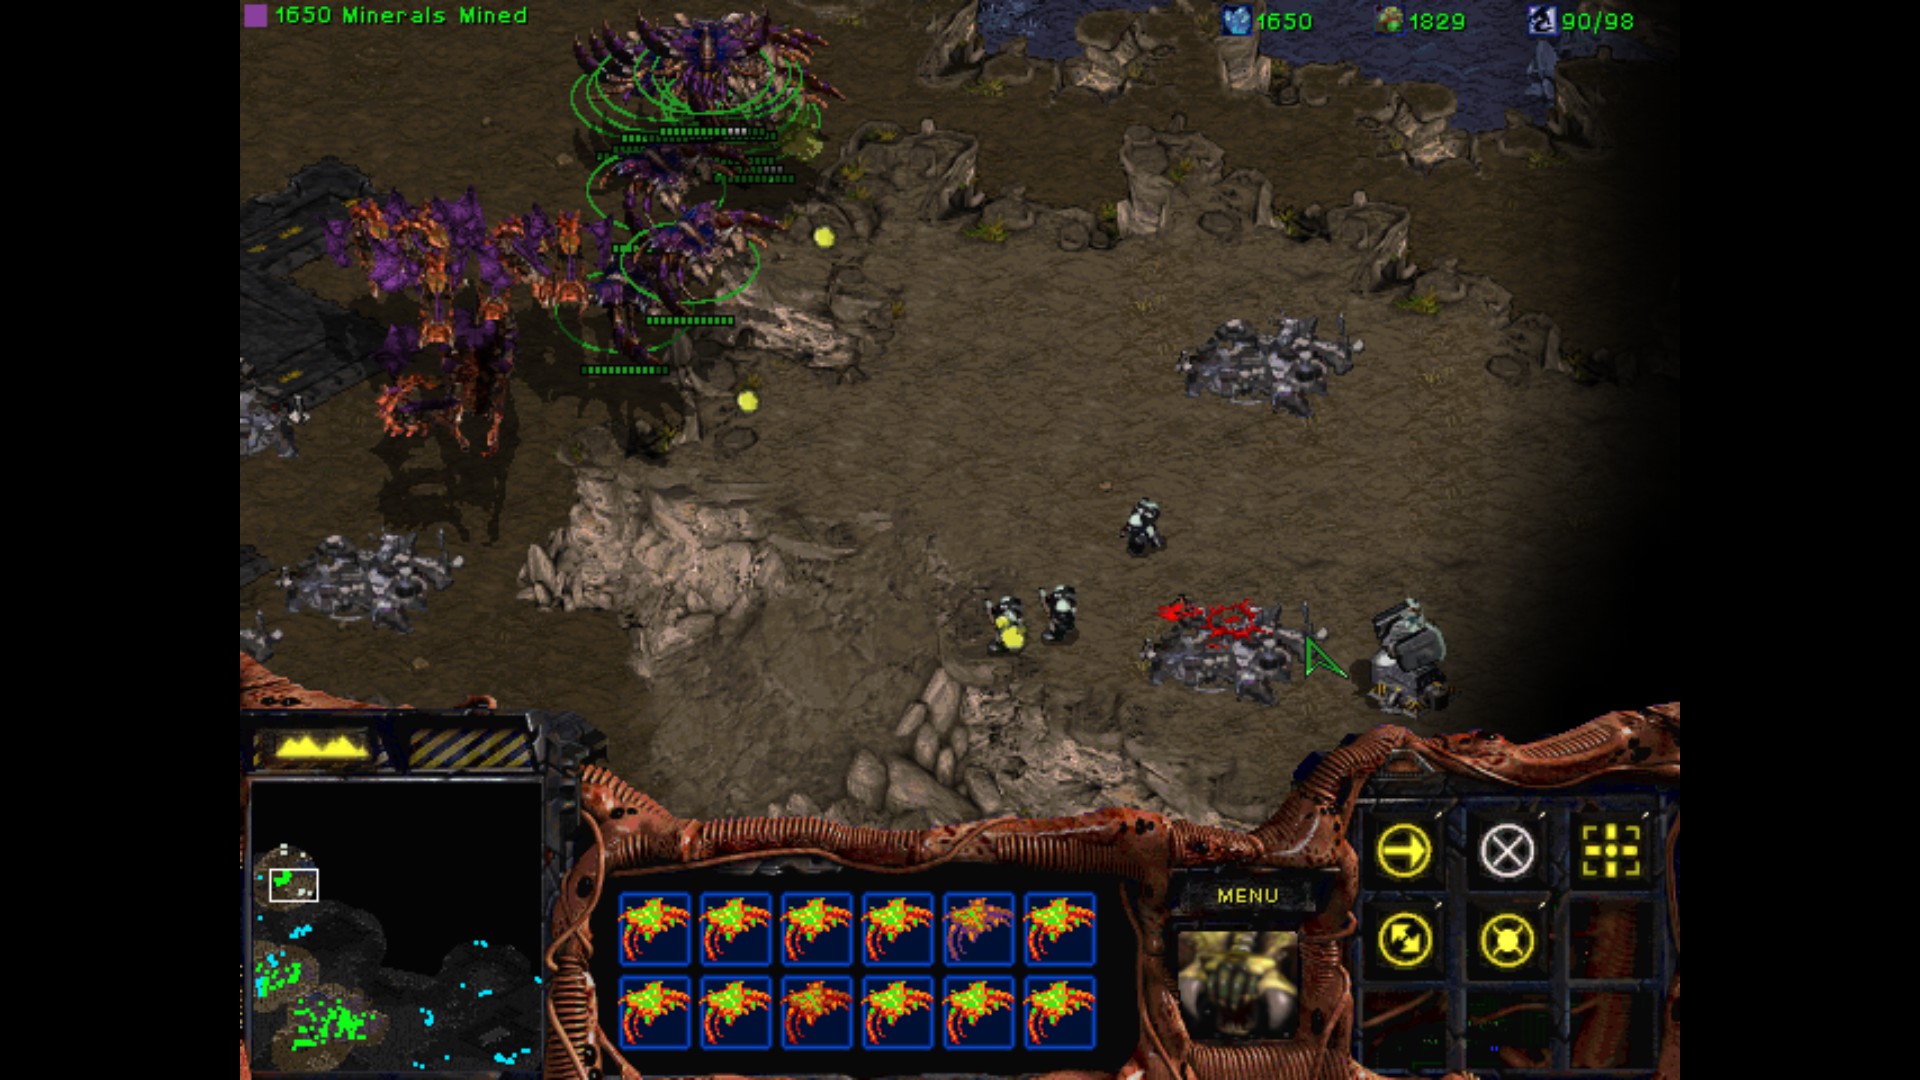
At first I thought that Marine is exaggerating but no. The unique Ultralisk will make you sweat once you have to confront him. This fucker is tough as nails, has an upgraded damage, health, and his armor/crust is way better. He can survive the ongoing blasting from many Tanks, and he is really quick considering how huge he is. His name is Torrasque. Learn it well. For it's the chilling sound of your doom, if you aren't prepared.
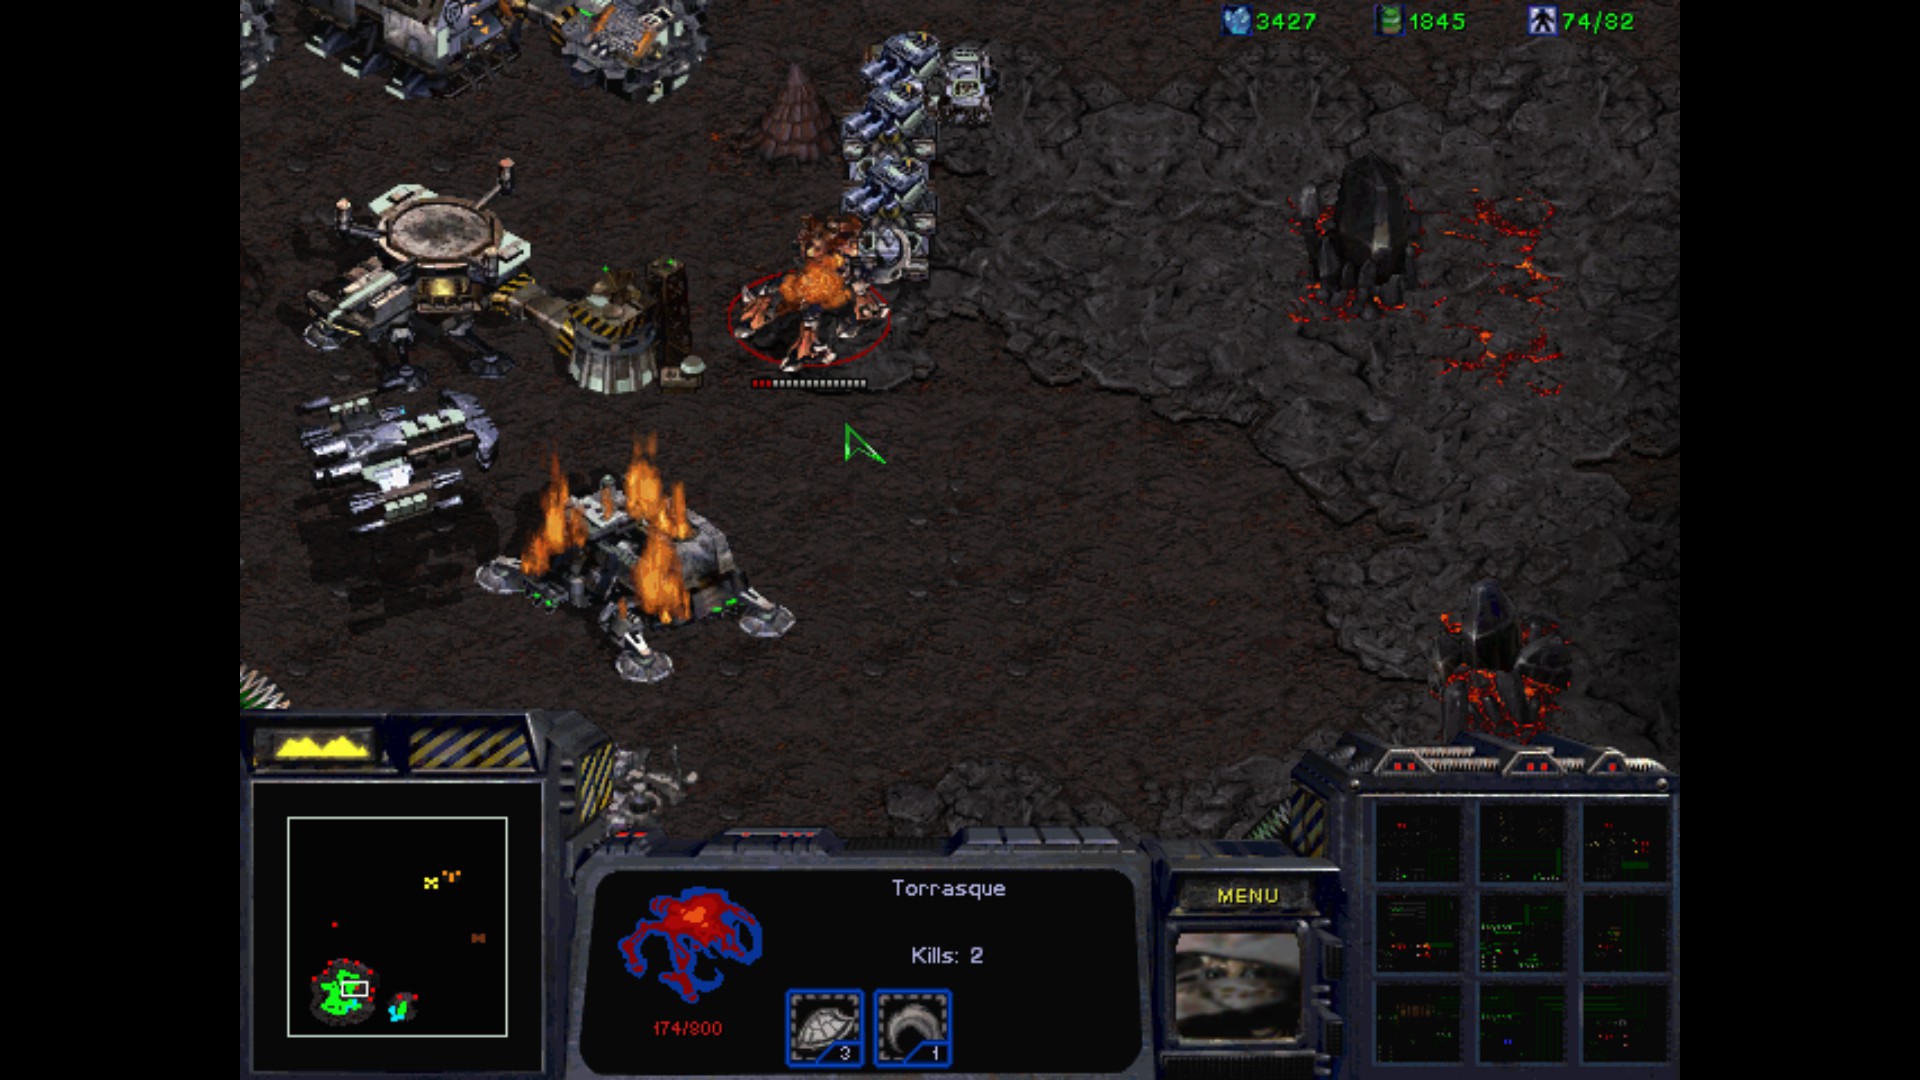
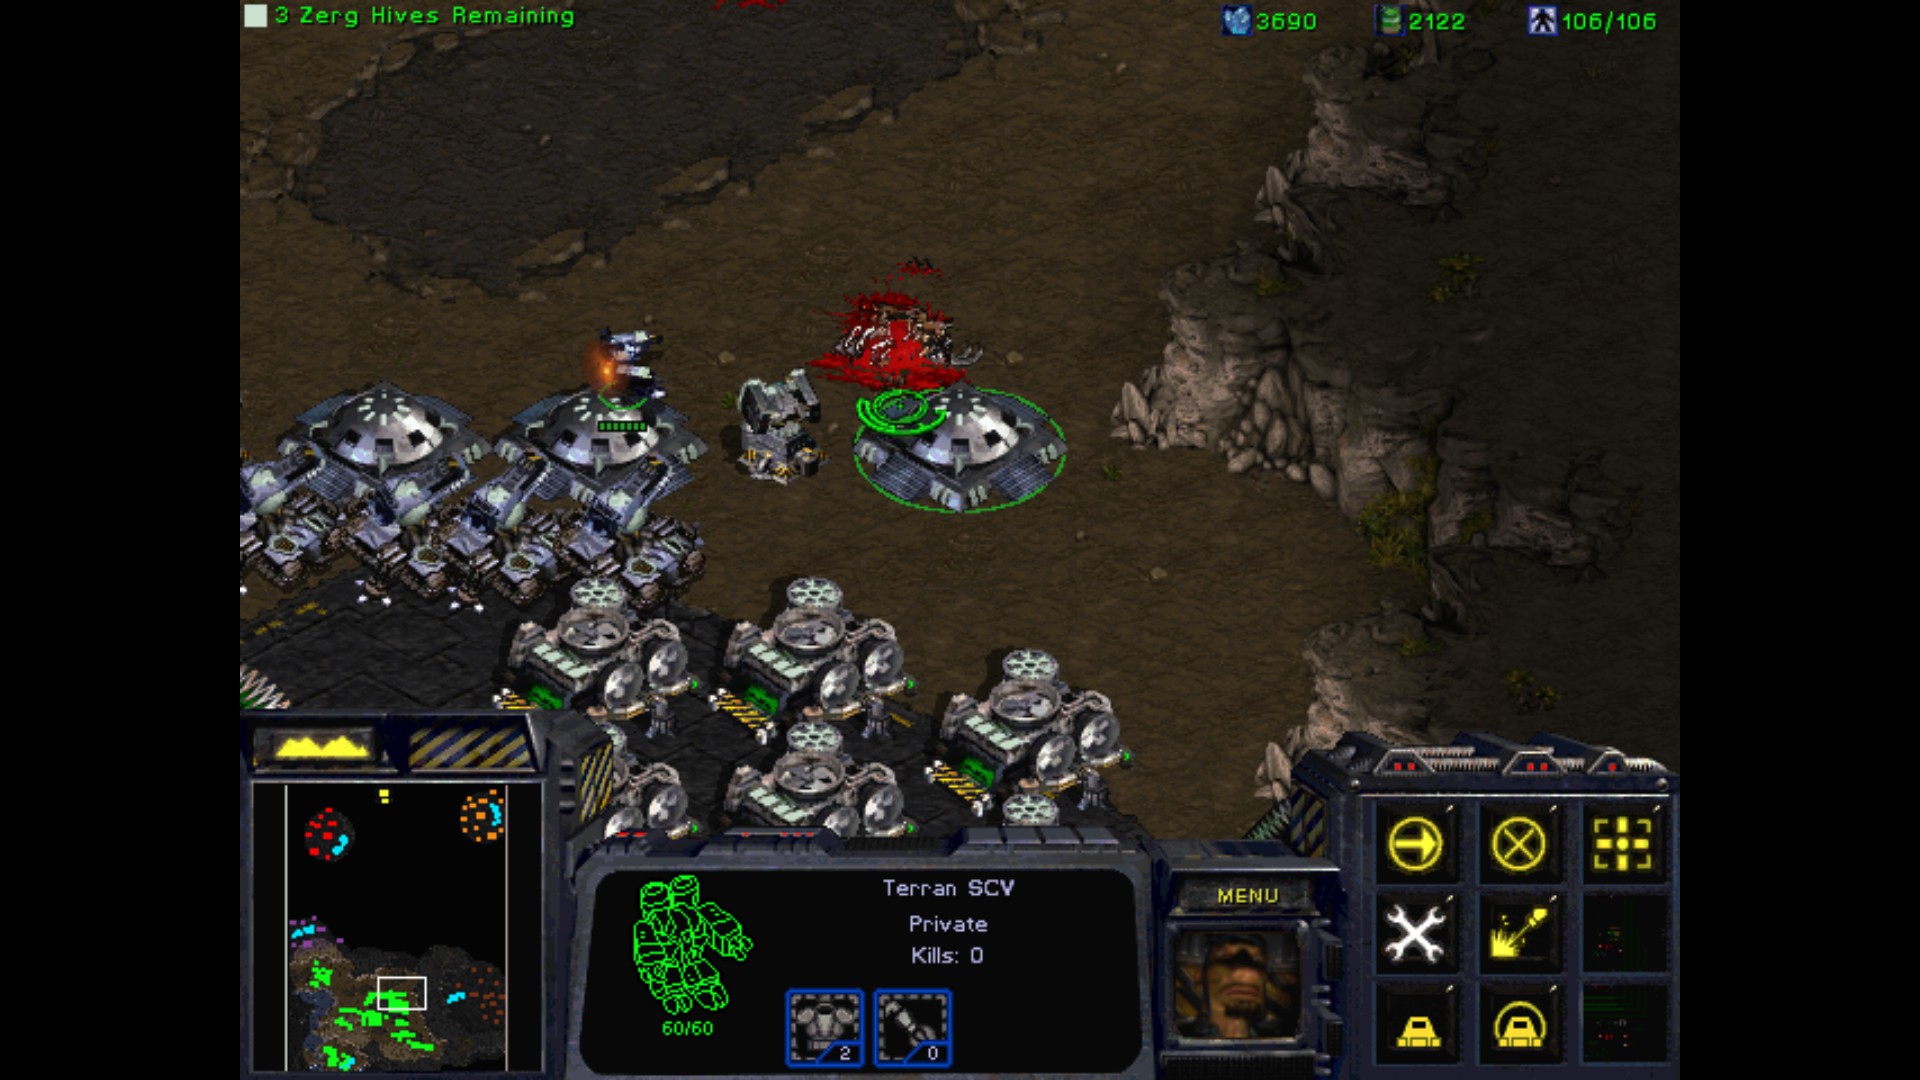
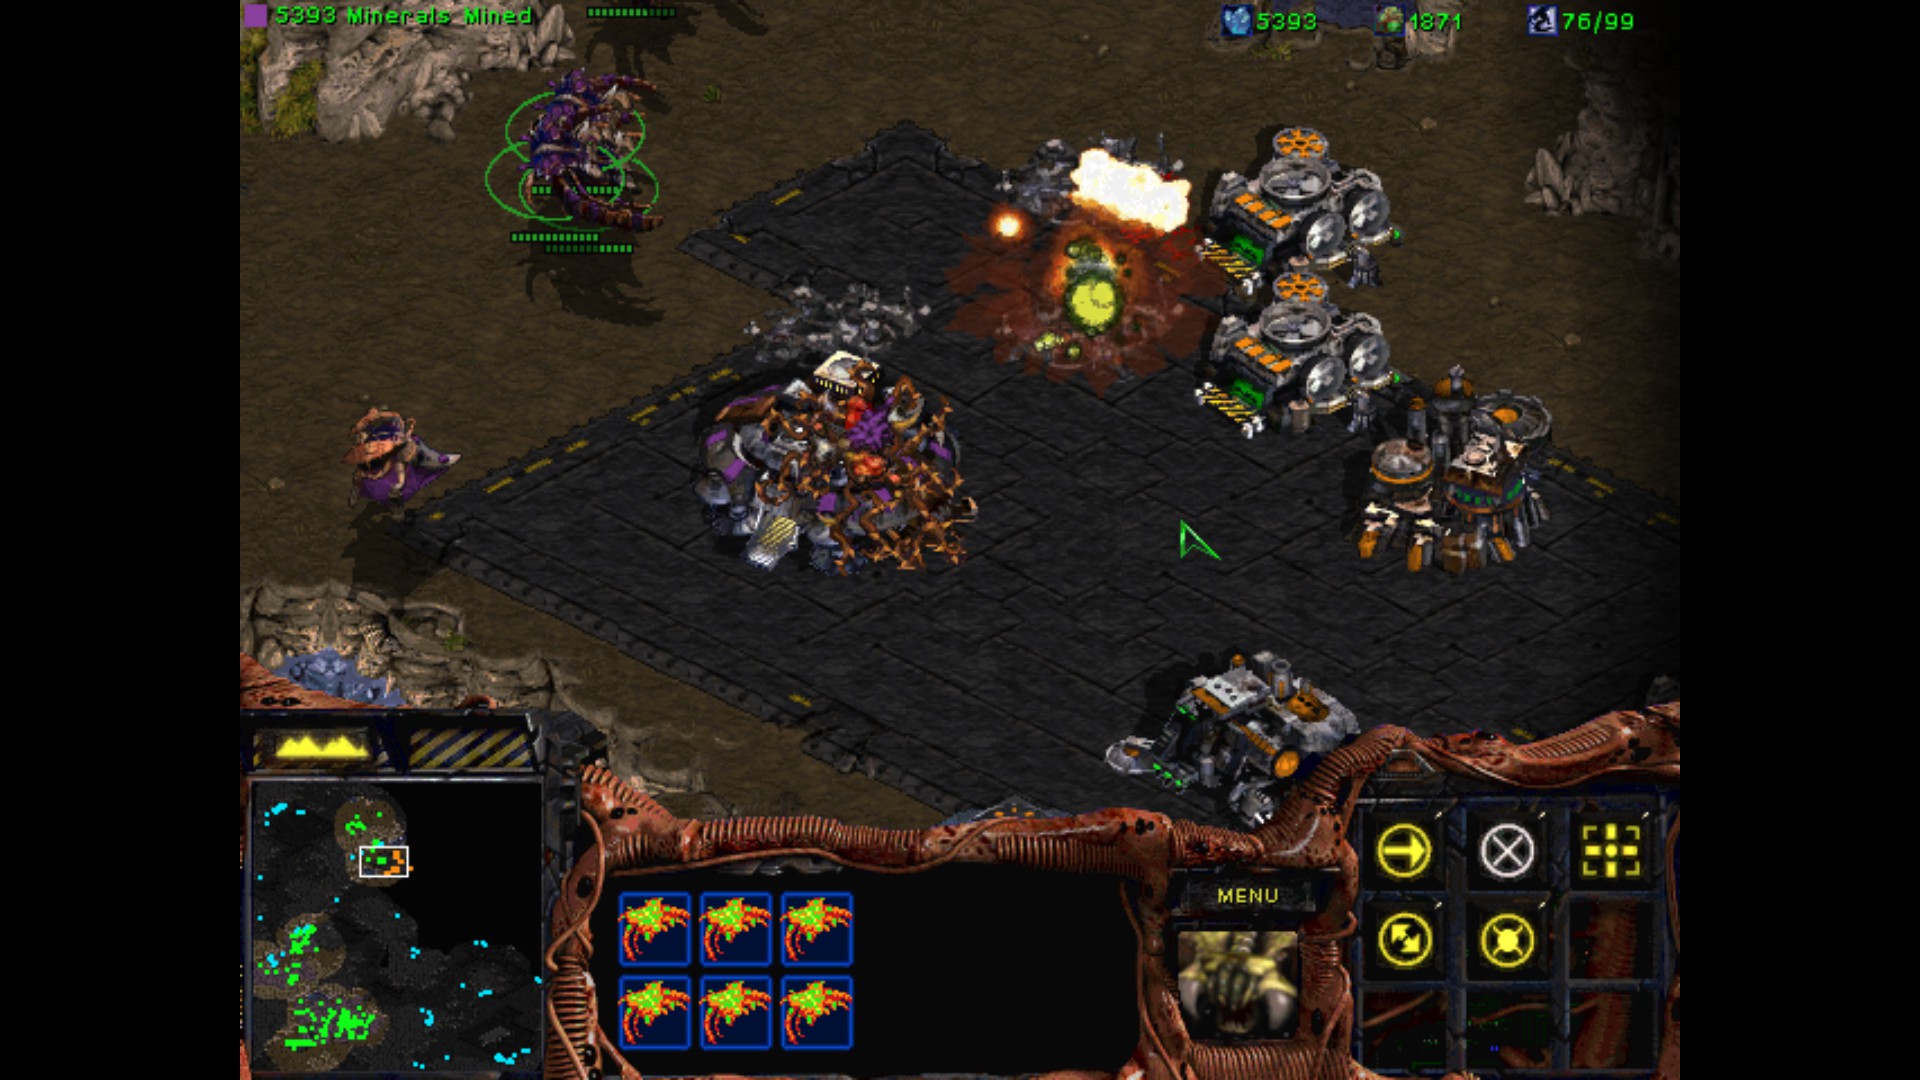
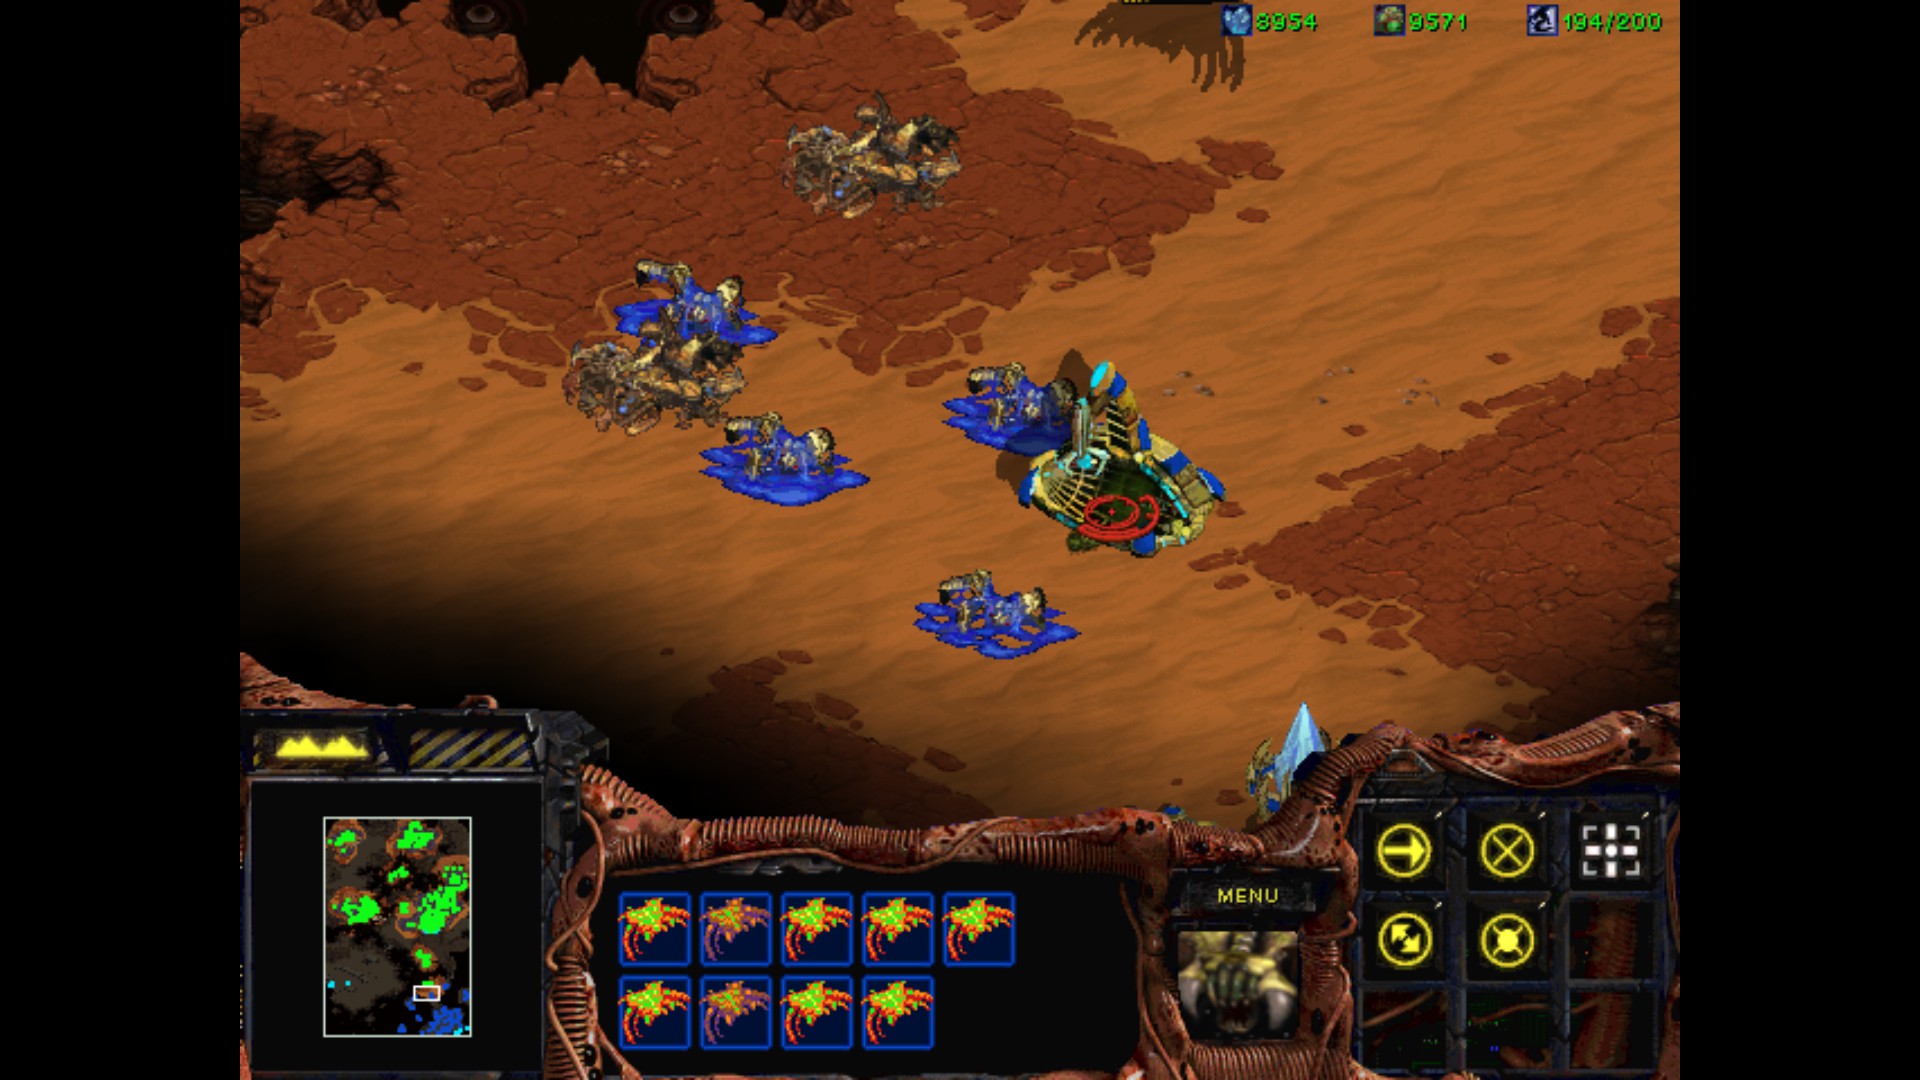
I had to move all my buildings to the west to let the Tanks attack him every time he shows up. Also, air support is a must. I've never made Battlecruiser so early but it's necessary to give all other units some advantage and soften him a little bit before he is near the base. Torrasque has a couple of favourite attack points. In the beginning it's mainly the north east. He likes to rush to SCV's and killing them. The key here is to engage in combat with him, any unit is ok. Even Marine will suffice. Torrasque will start rushing immediately. He is a great motivator for upgrading the damage of both troops and vehicles, believe me.
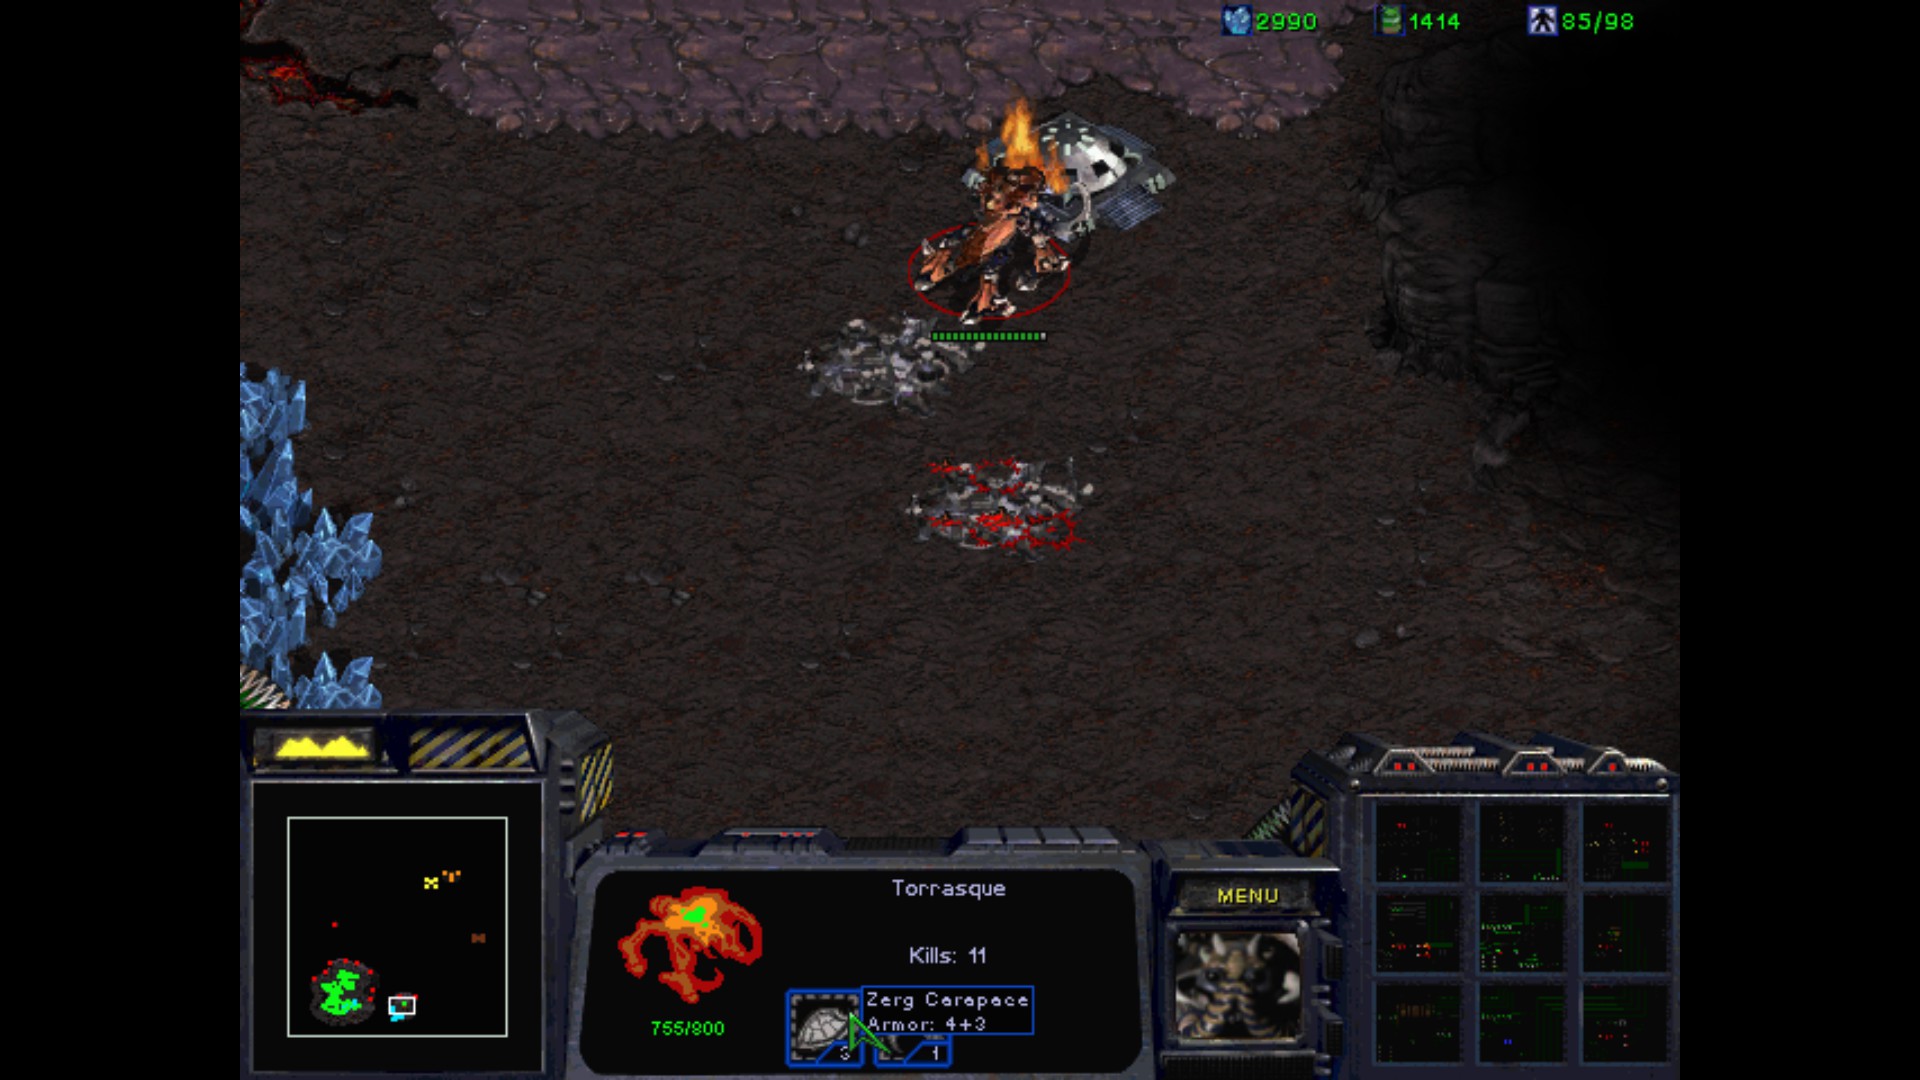
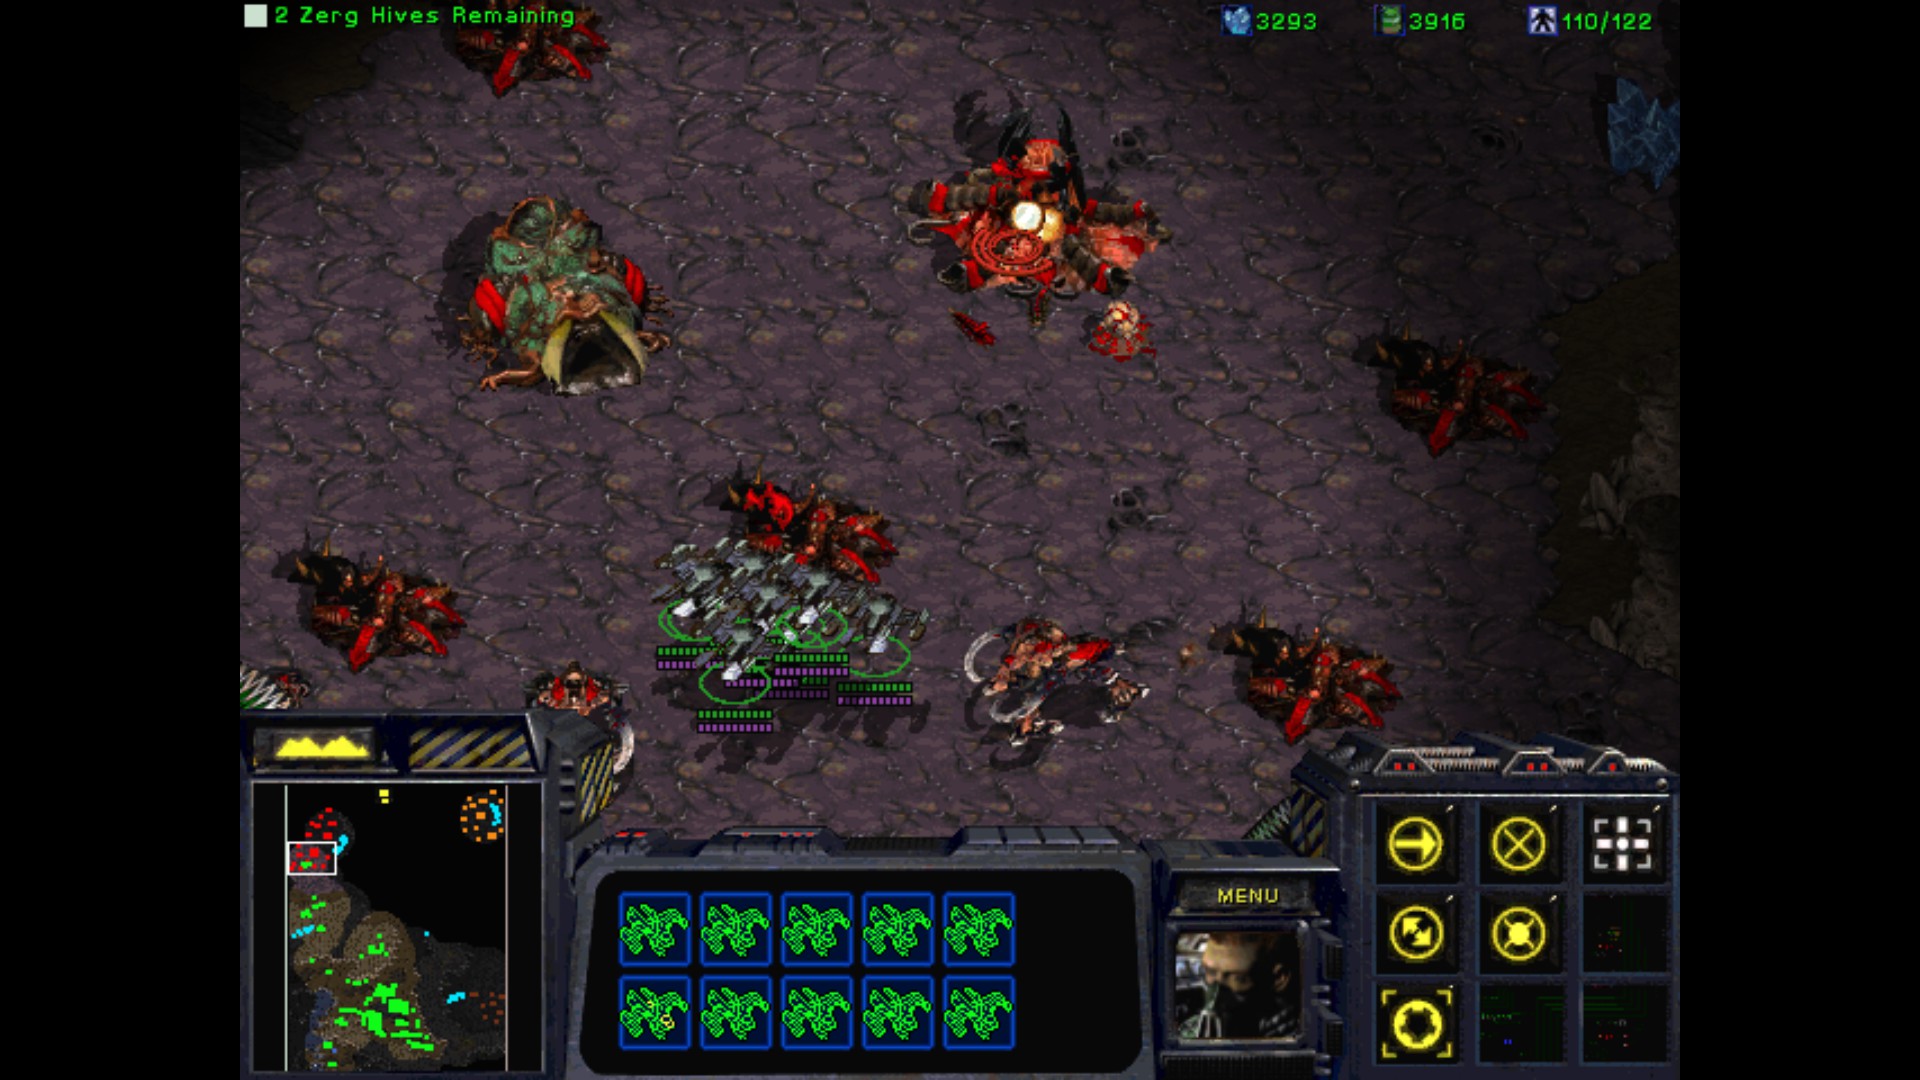
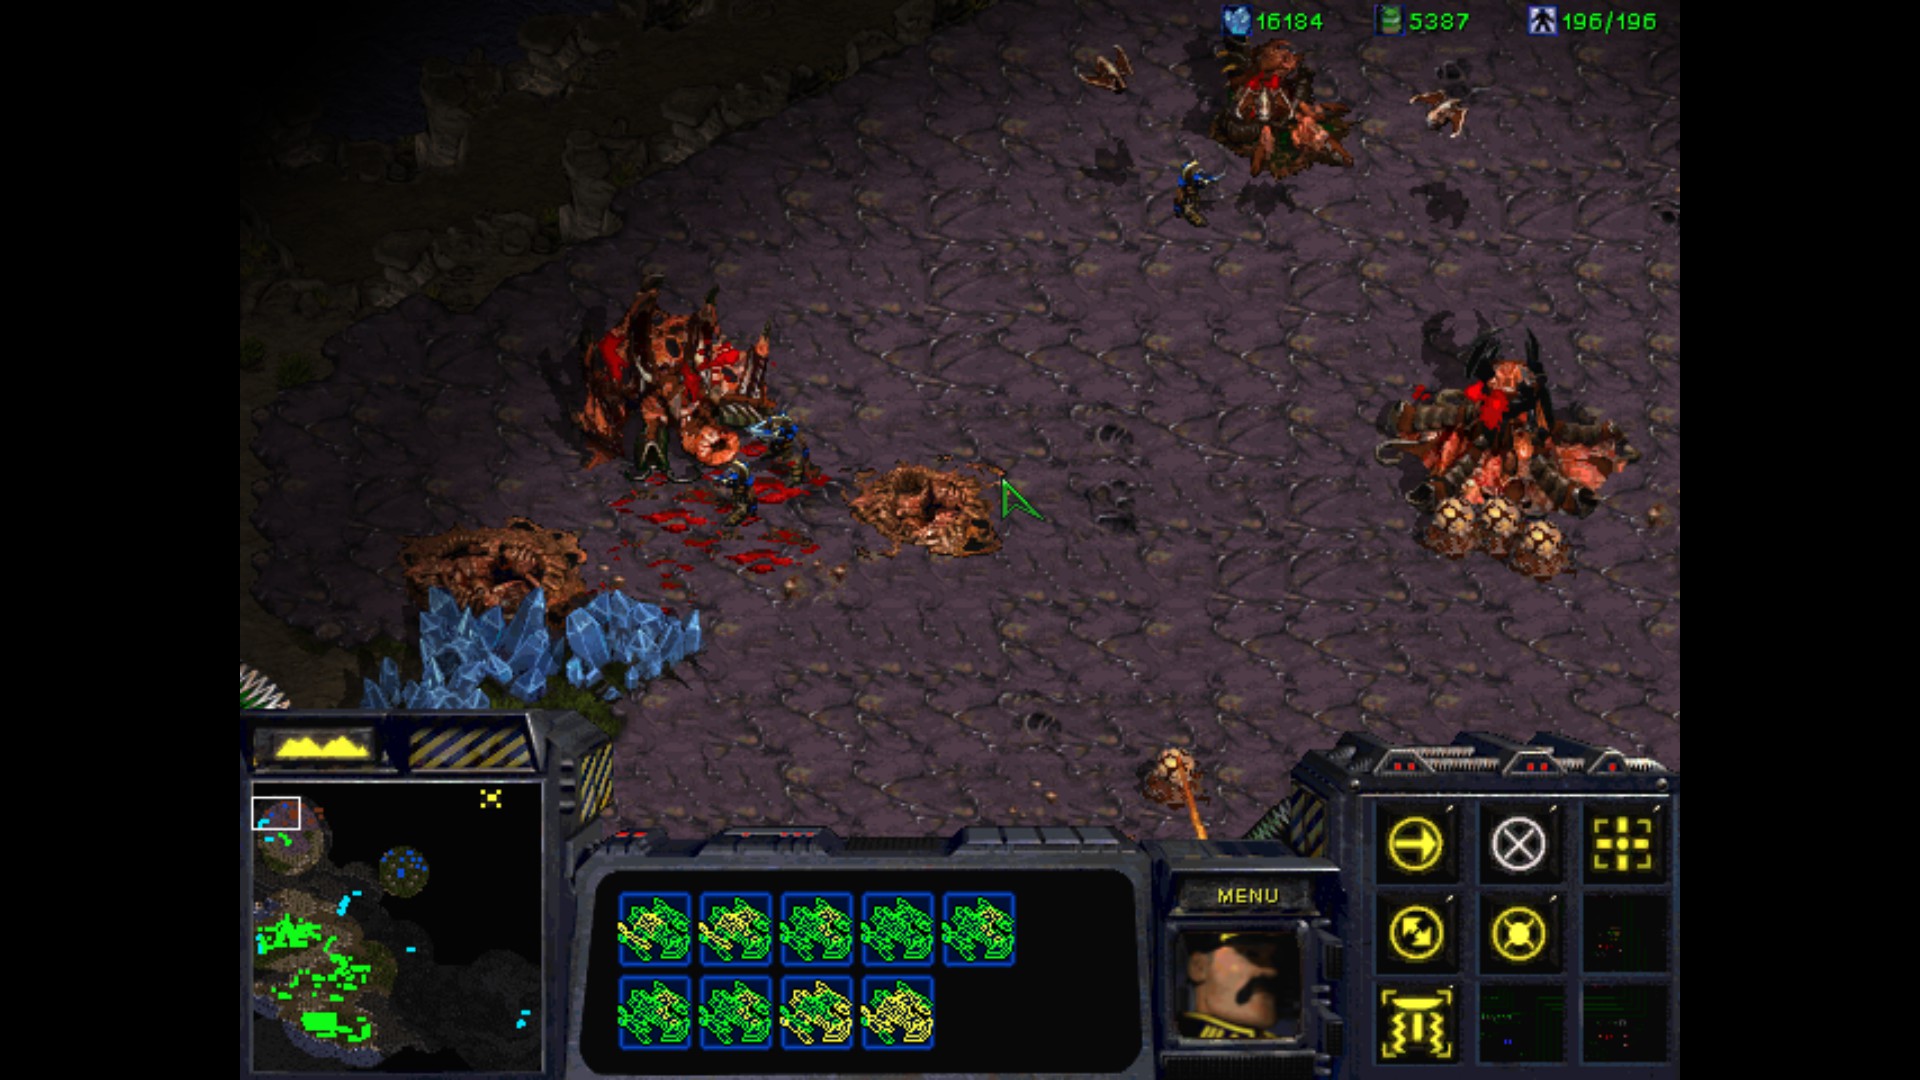
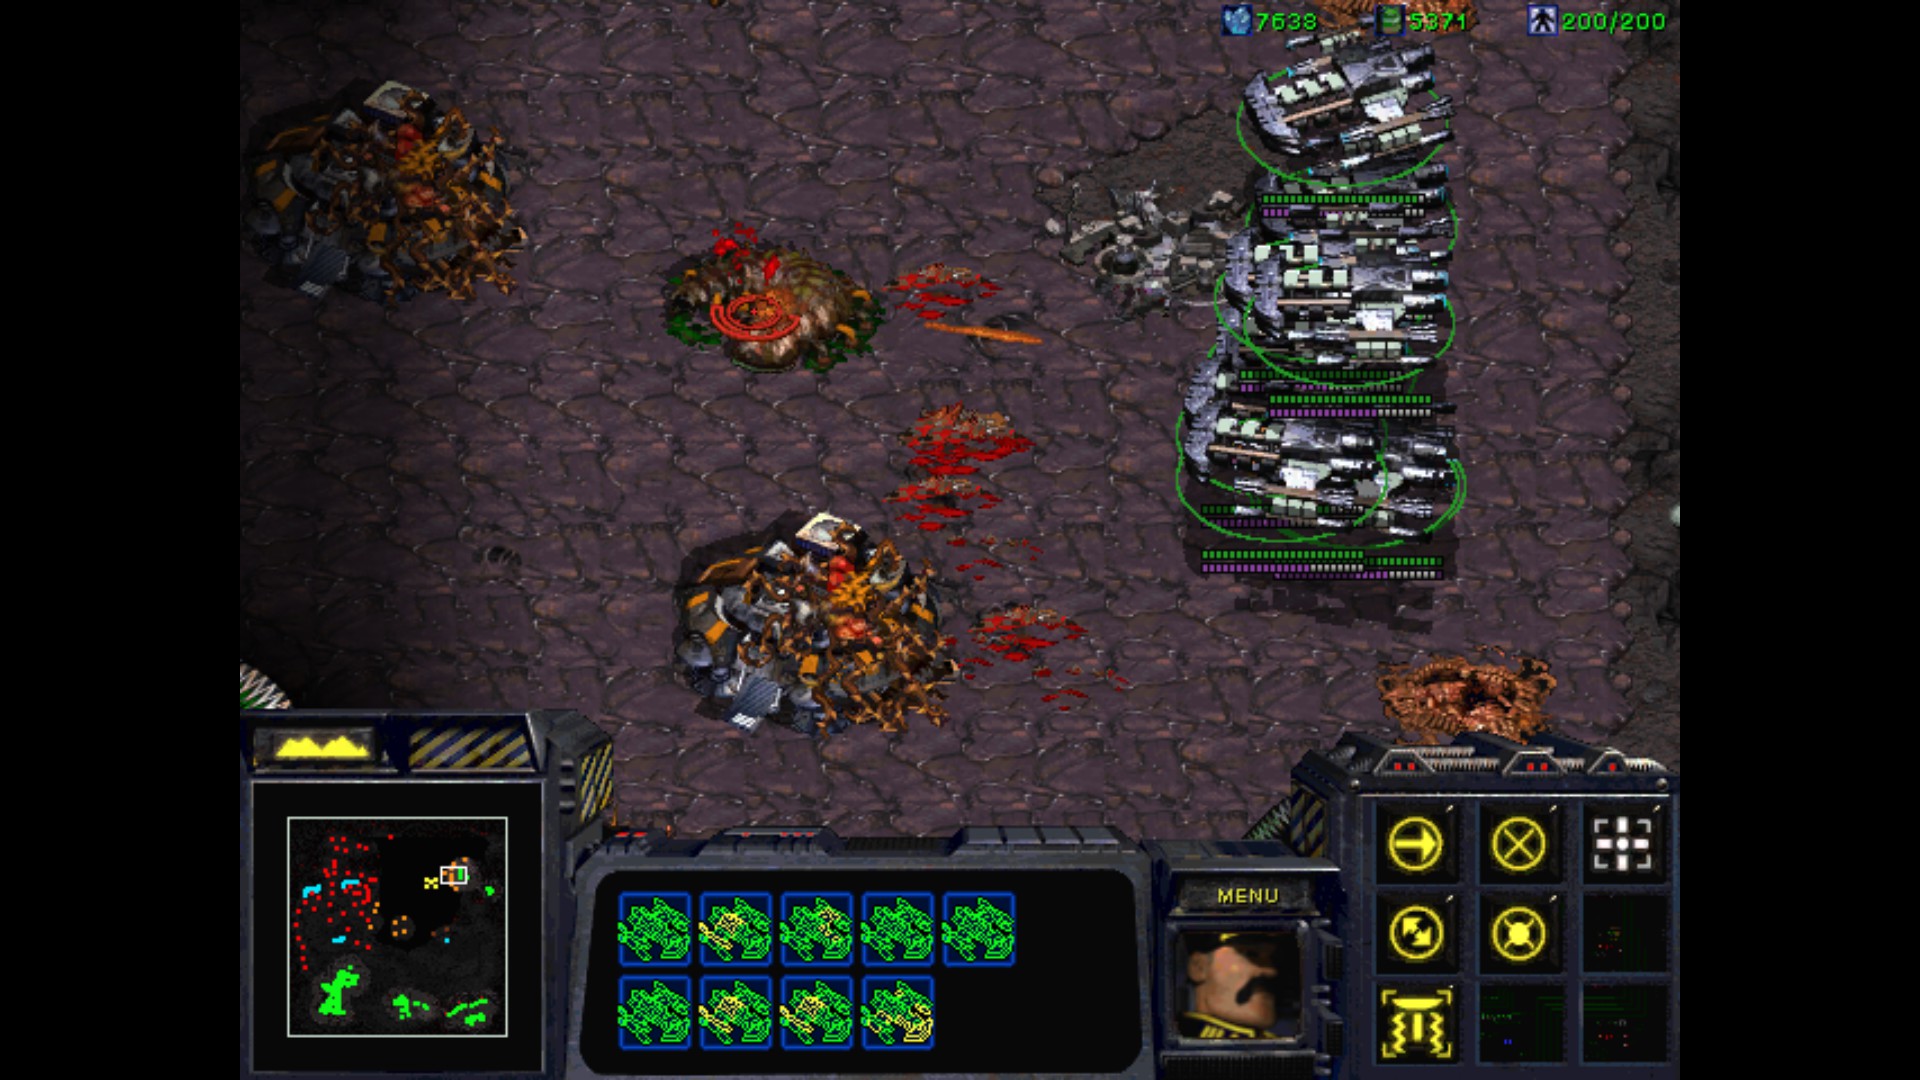
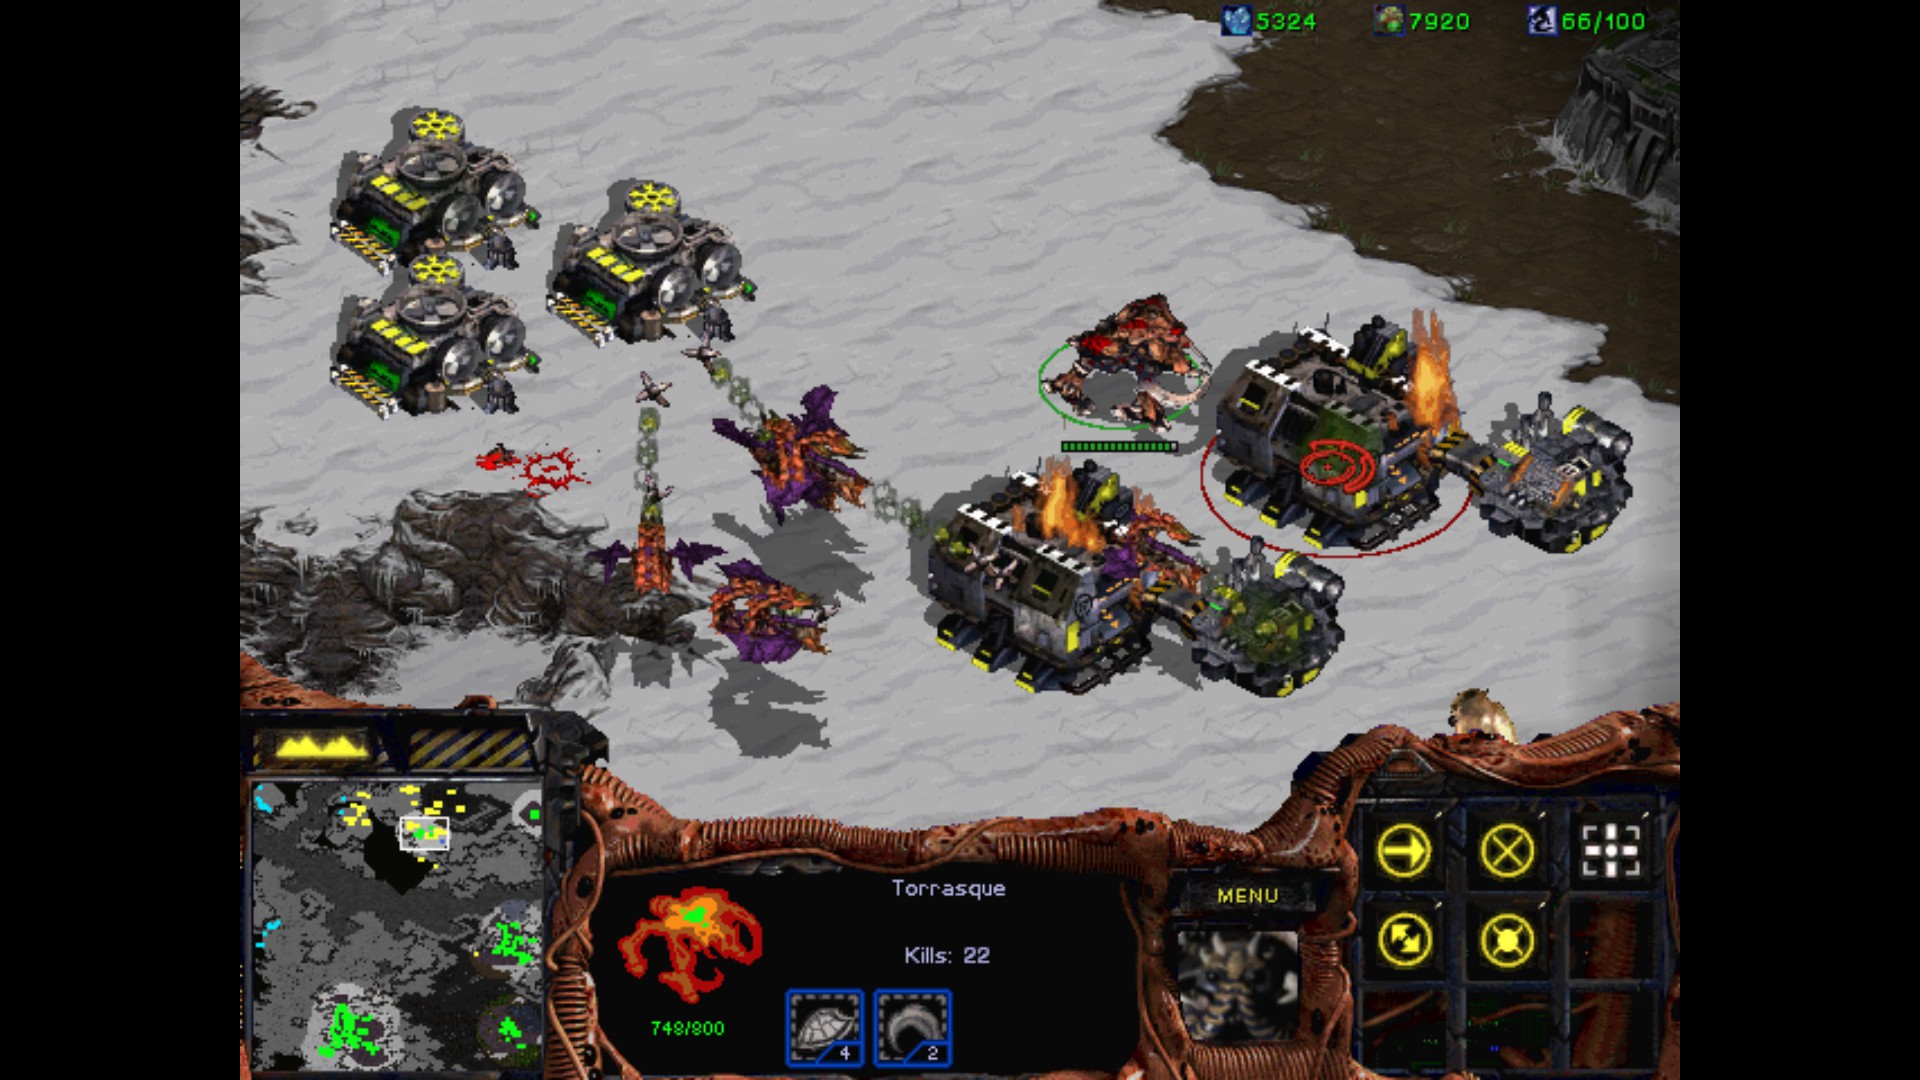
In one instance, he changed his mind and attack the lonely Bunkers that were attacked in the beginning near the mineral field. As you can see he is really having a great time here. The good thing, is that he is only a single unit. The bad is obvious - you will be constantly reminded that he respawned. And then he rushes, and he won't stop killing unless I kill the Cerebrate there. But as I said, I have an easier way with the red Zerg, who is closer.
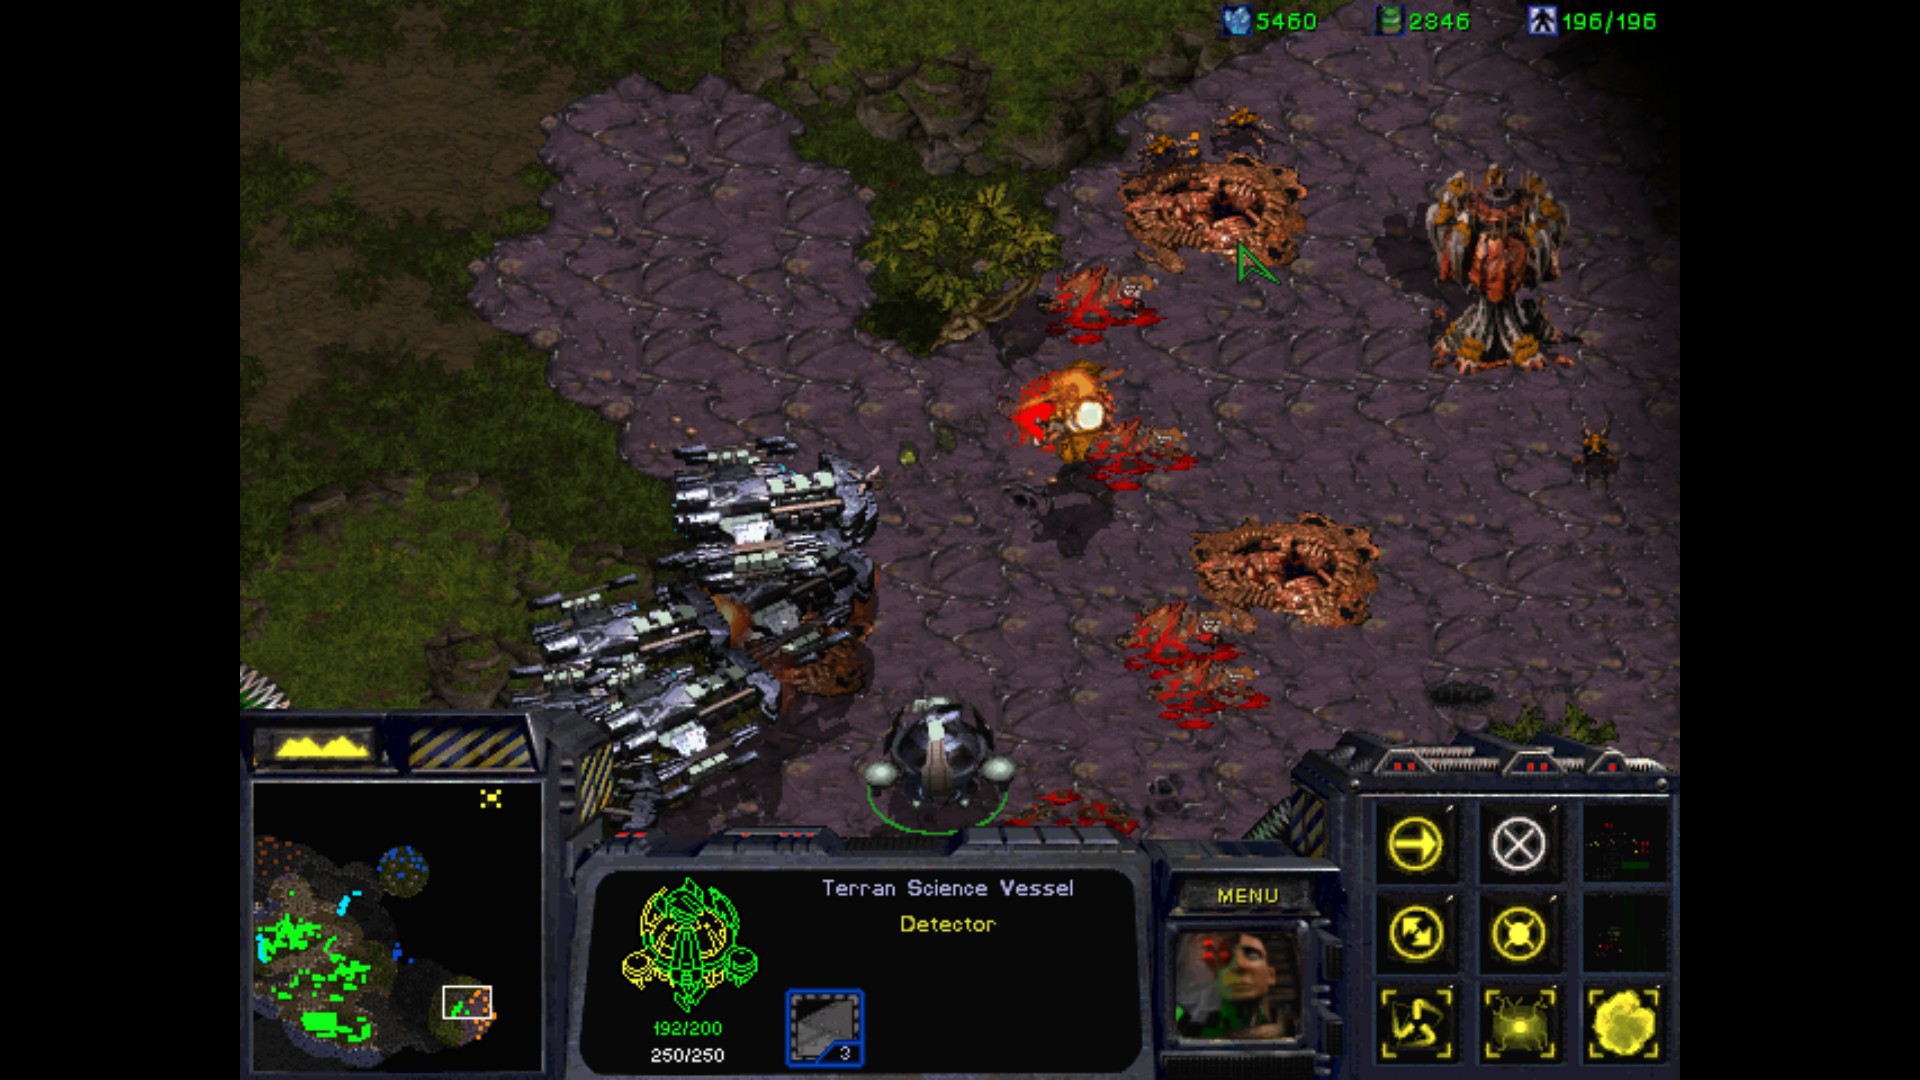
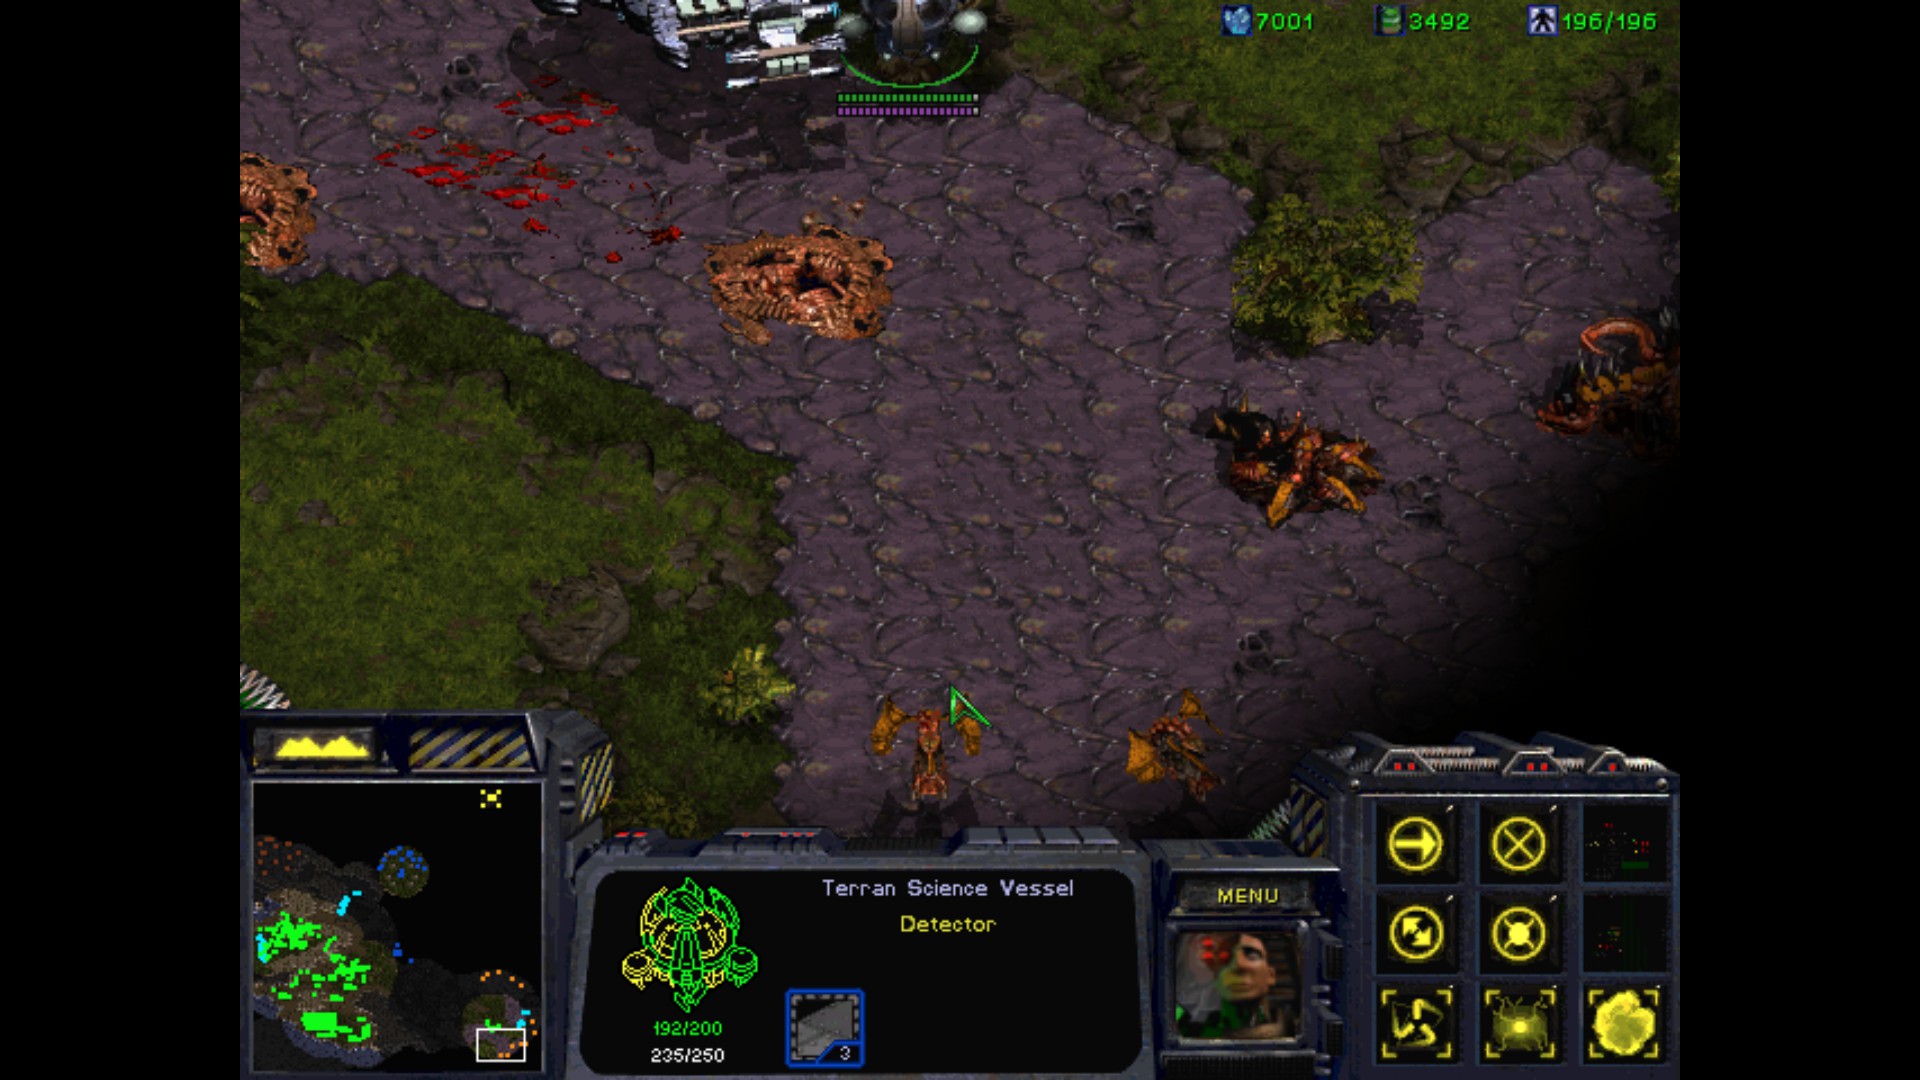
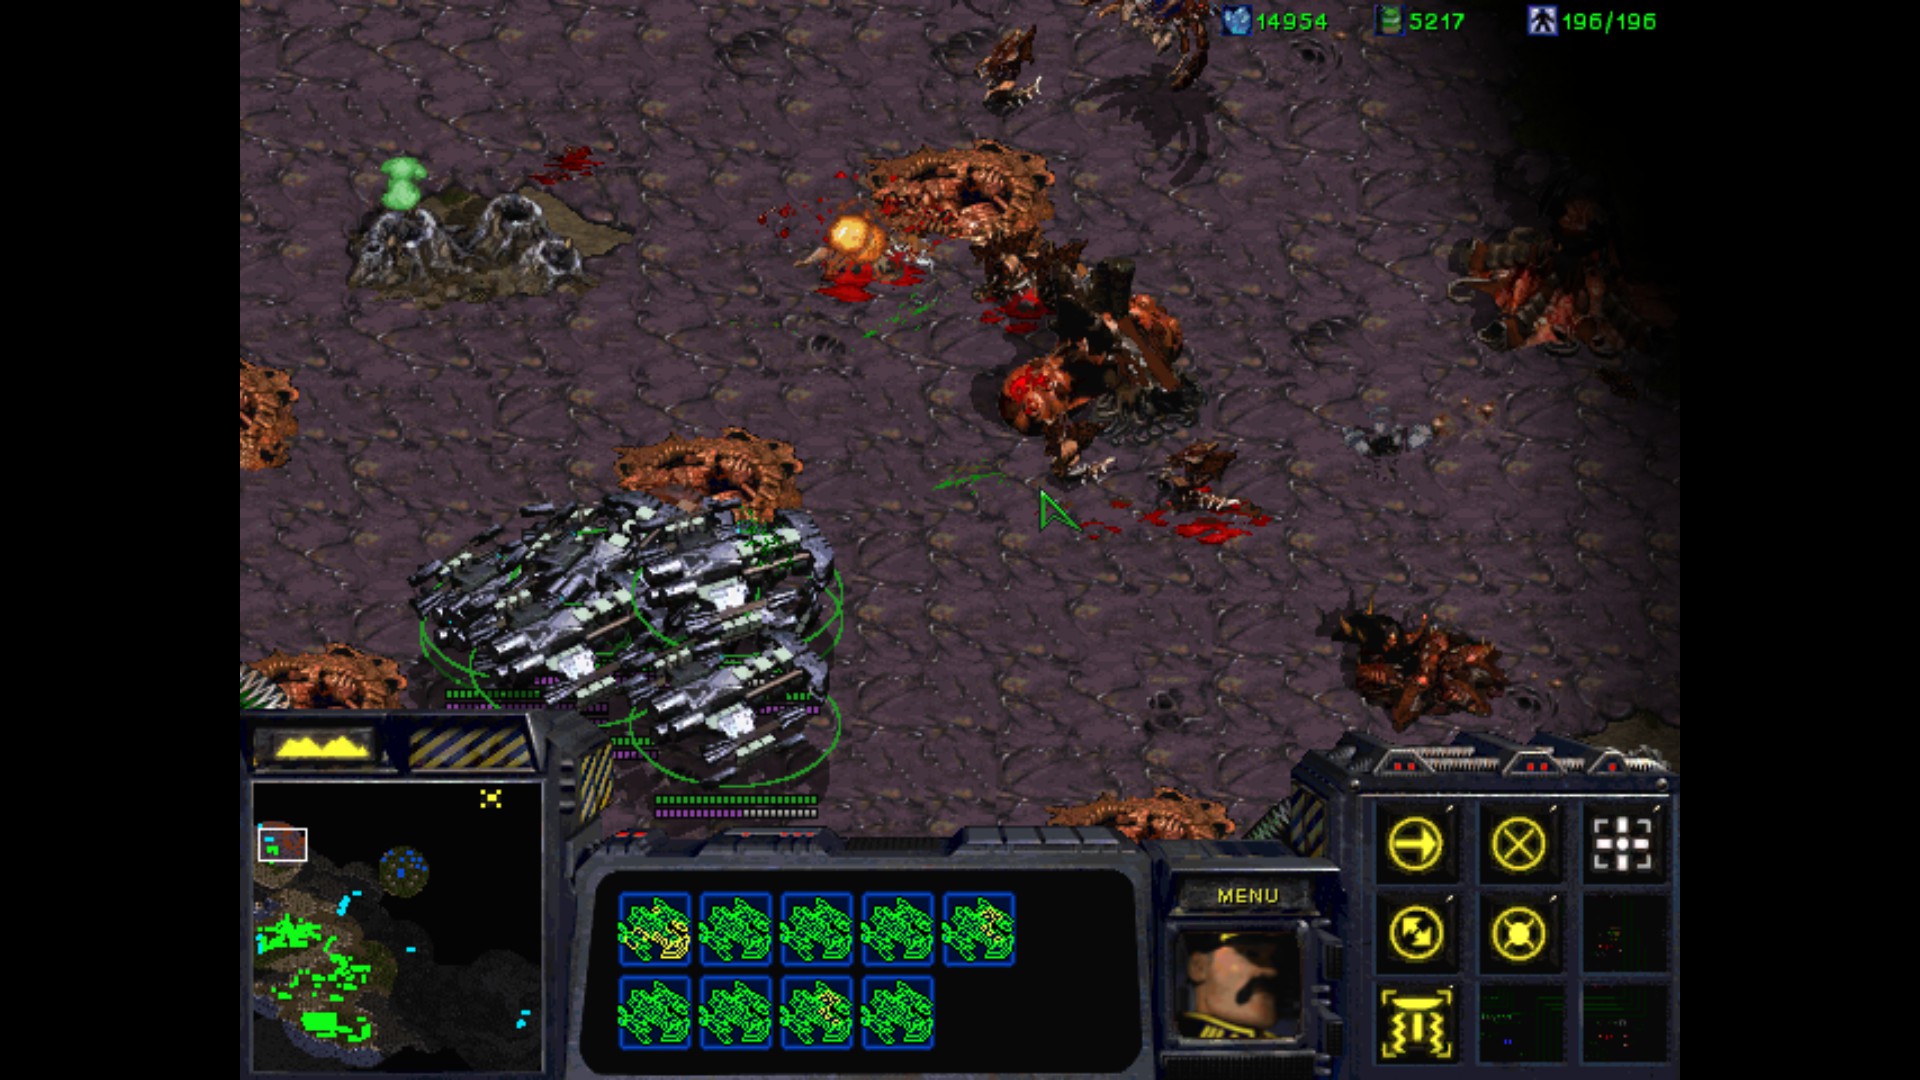
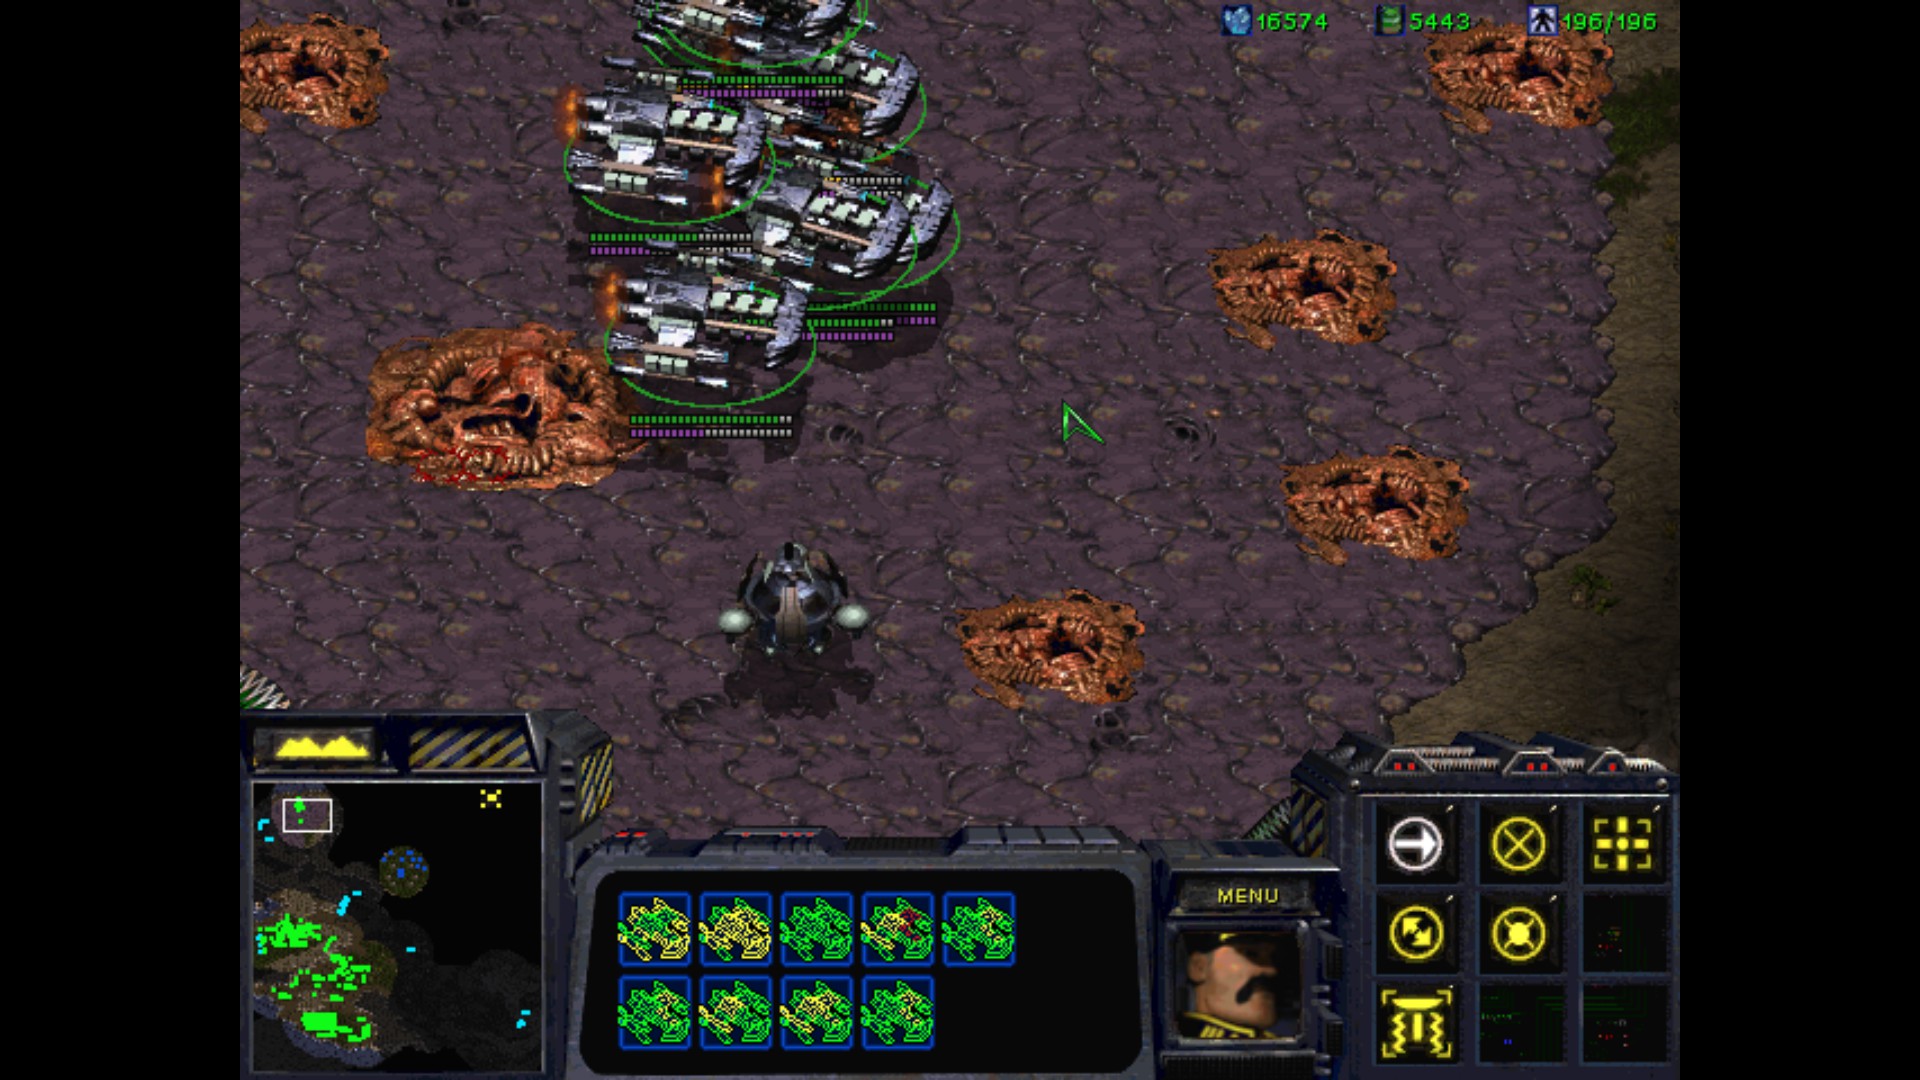
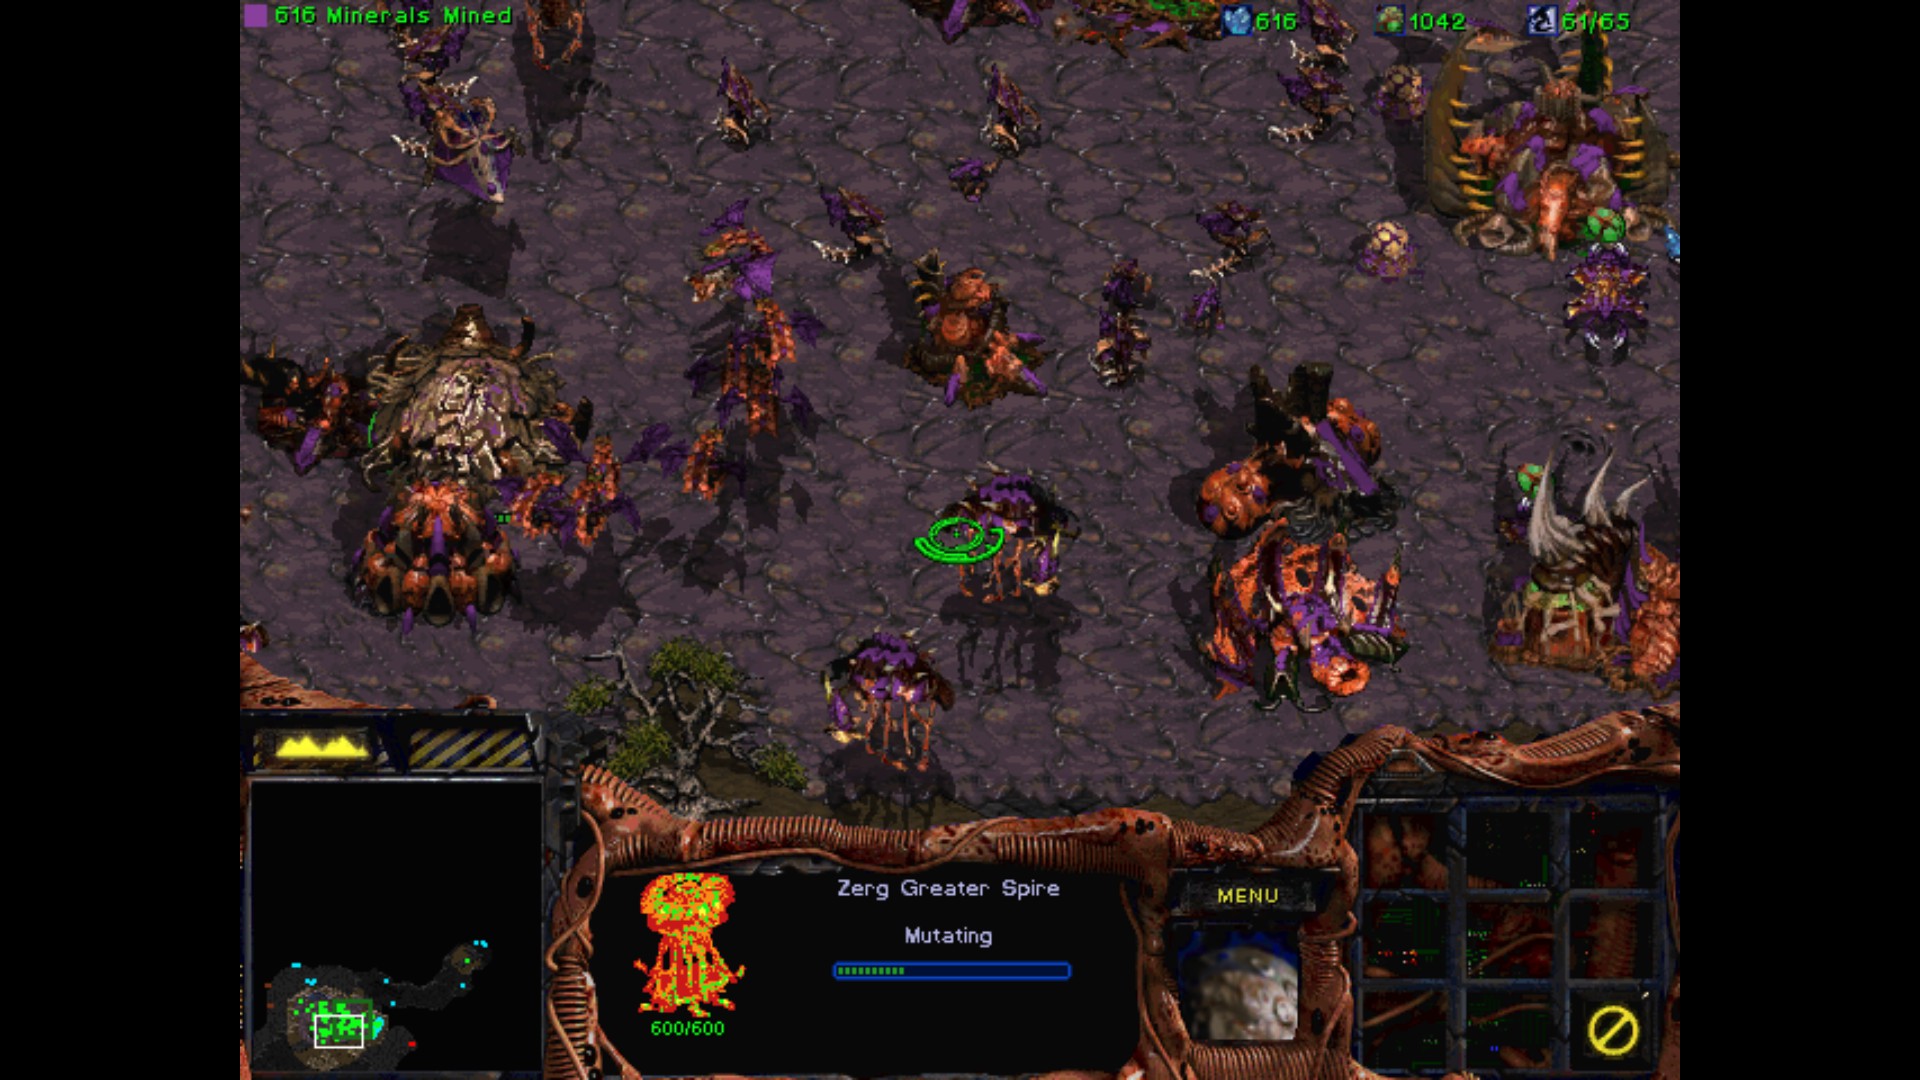
The attacks are now very quick and bigger in numbers. I put most of my resources to make a strong fleet consisting only of Battlecruisers and Science Vessels for detection of Defilers and Lurkers.
Time to unleash hell.
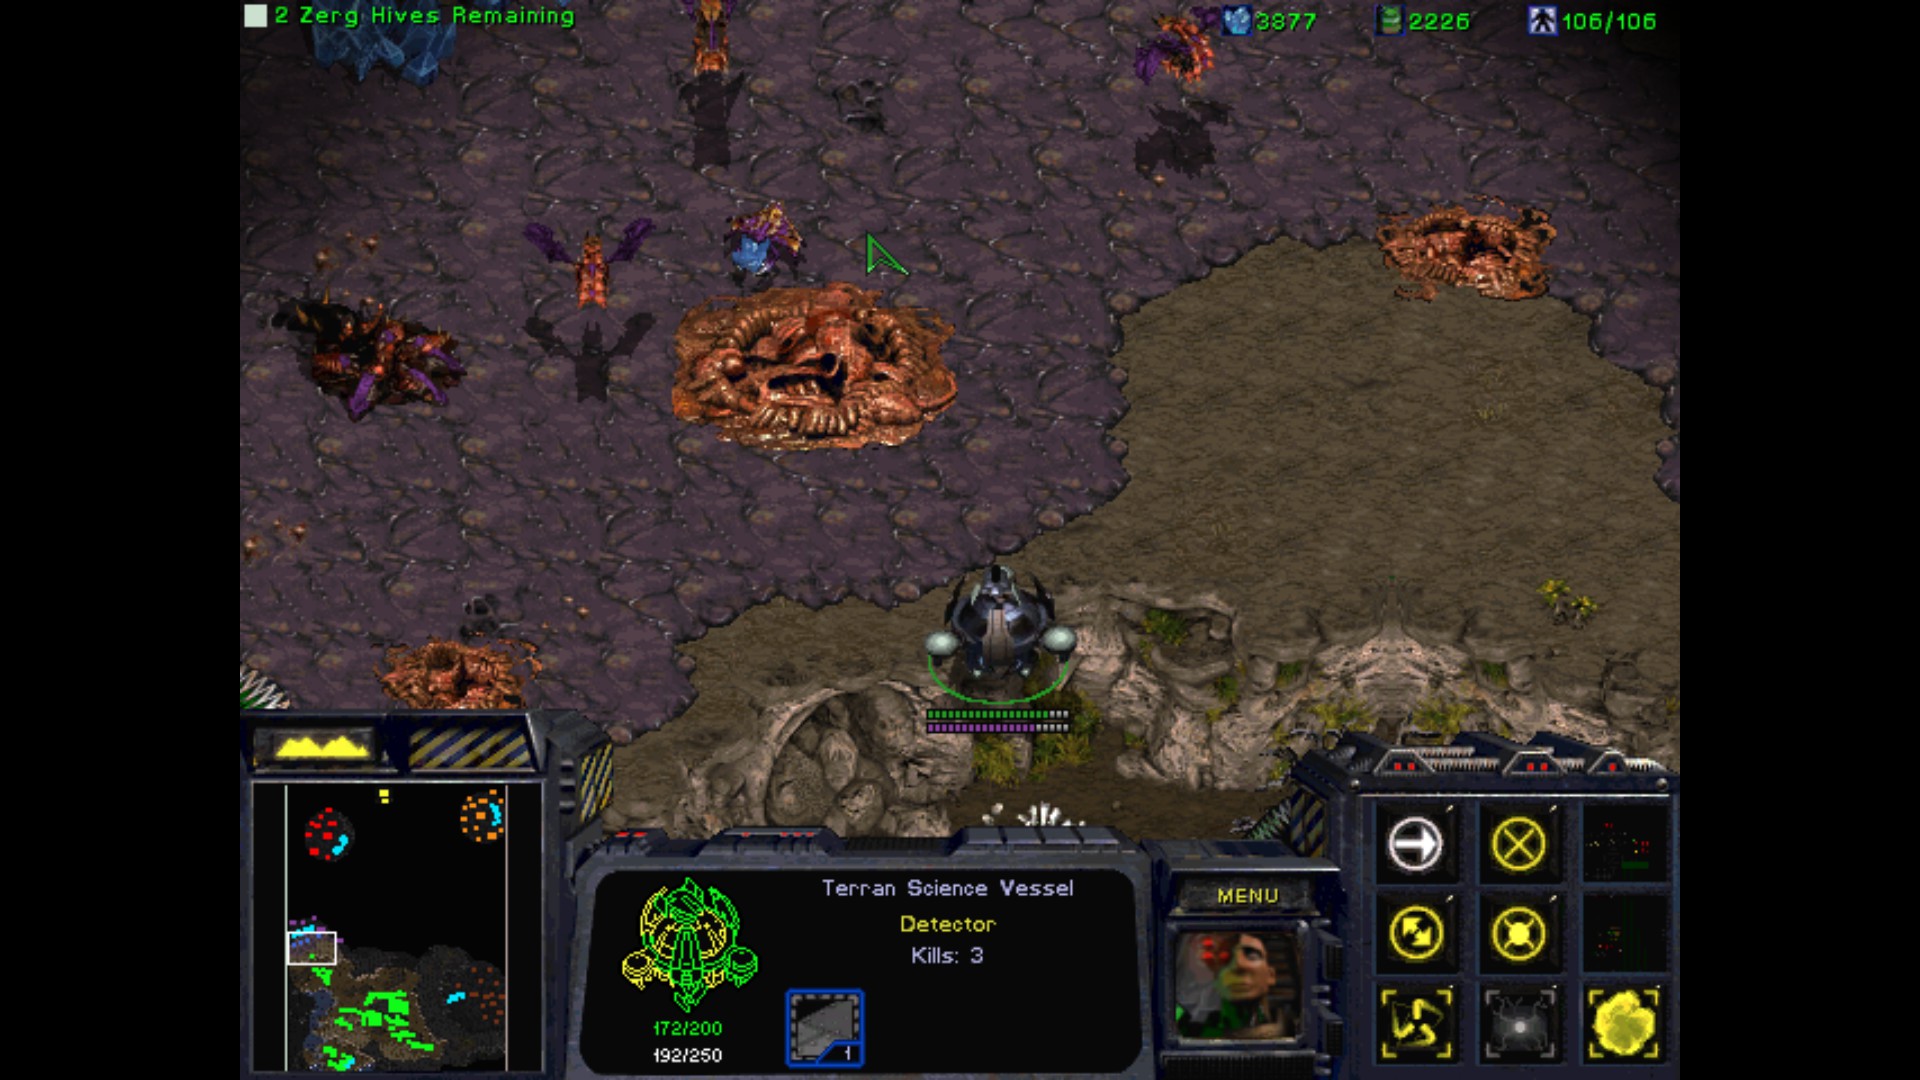
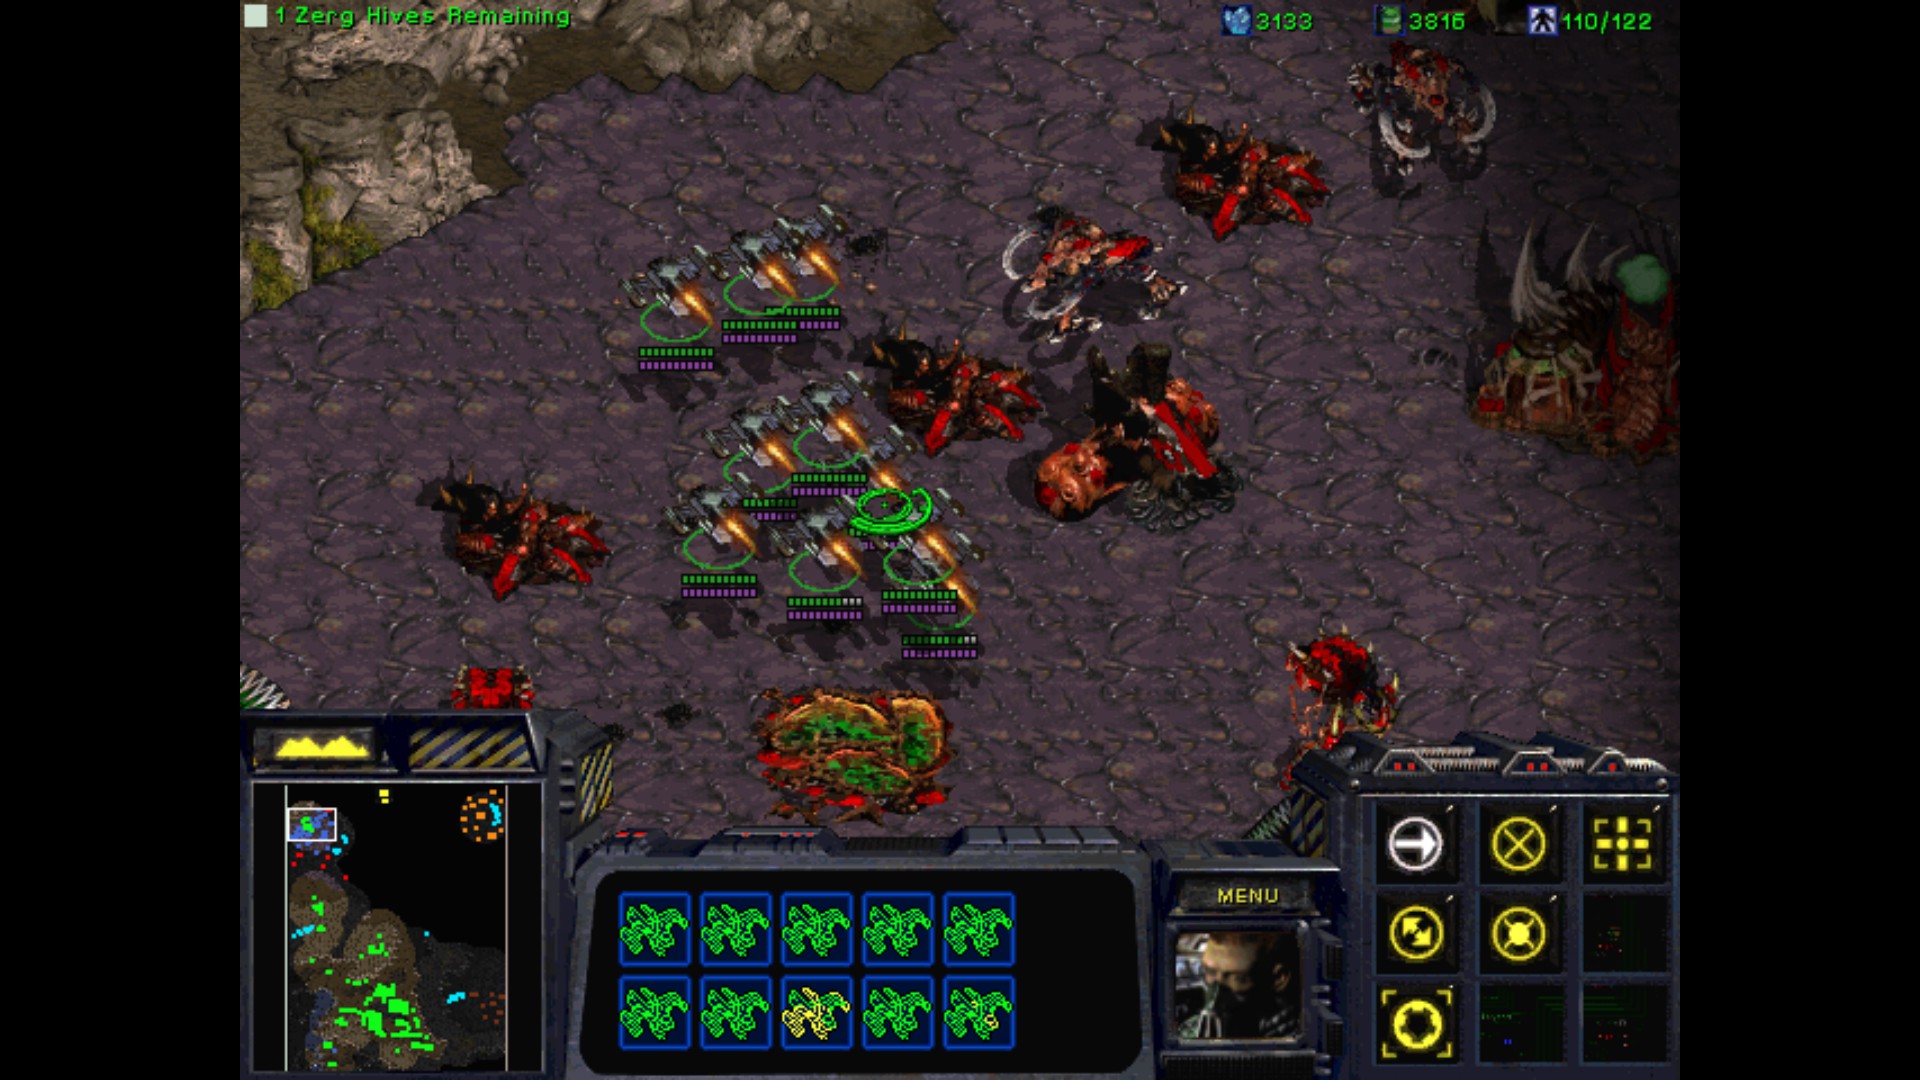
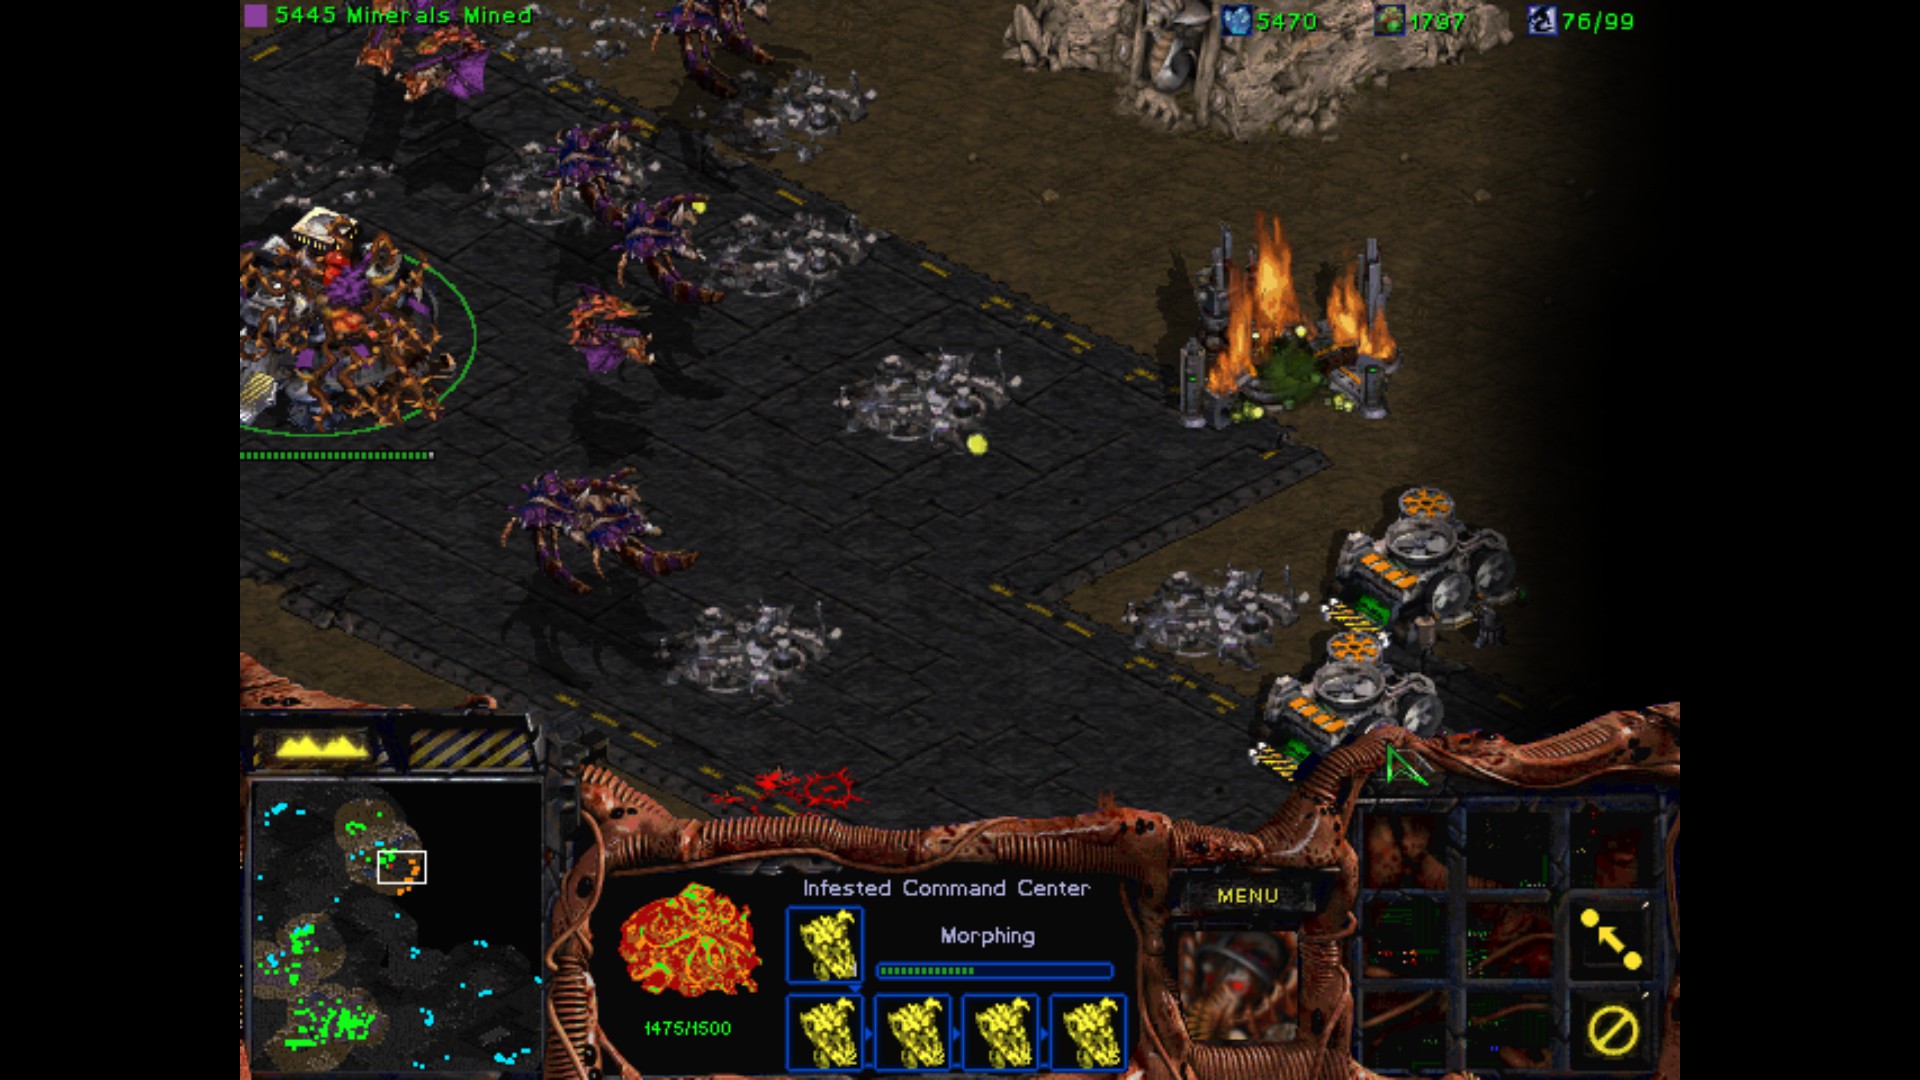
Very important - I can't rush through the base. While this Zerg doesn't like Mutalisks so much, he has many Hydralisks buried beneath.
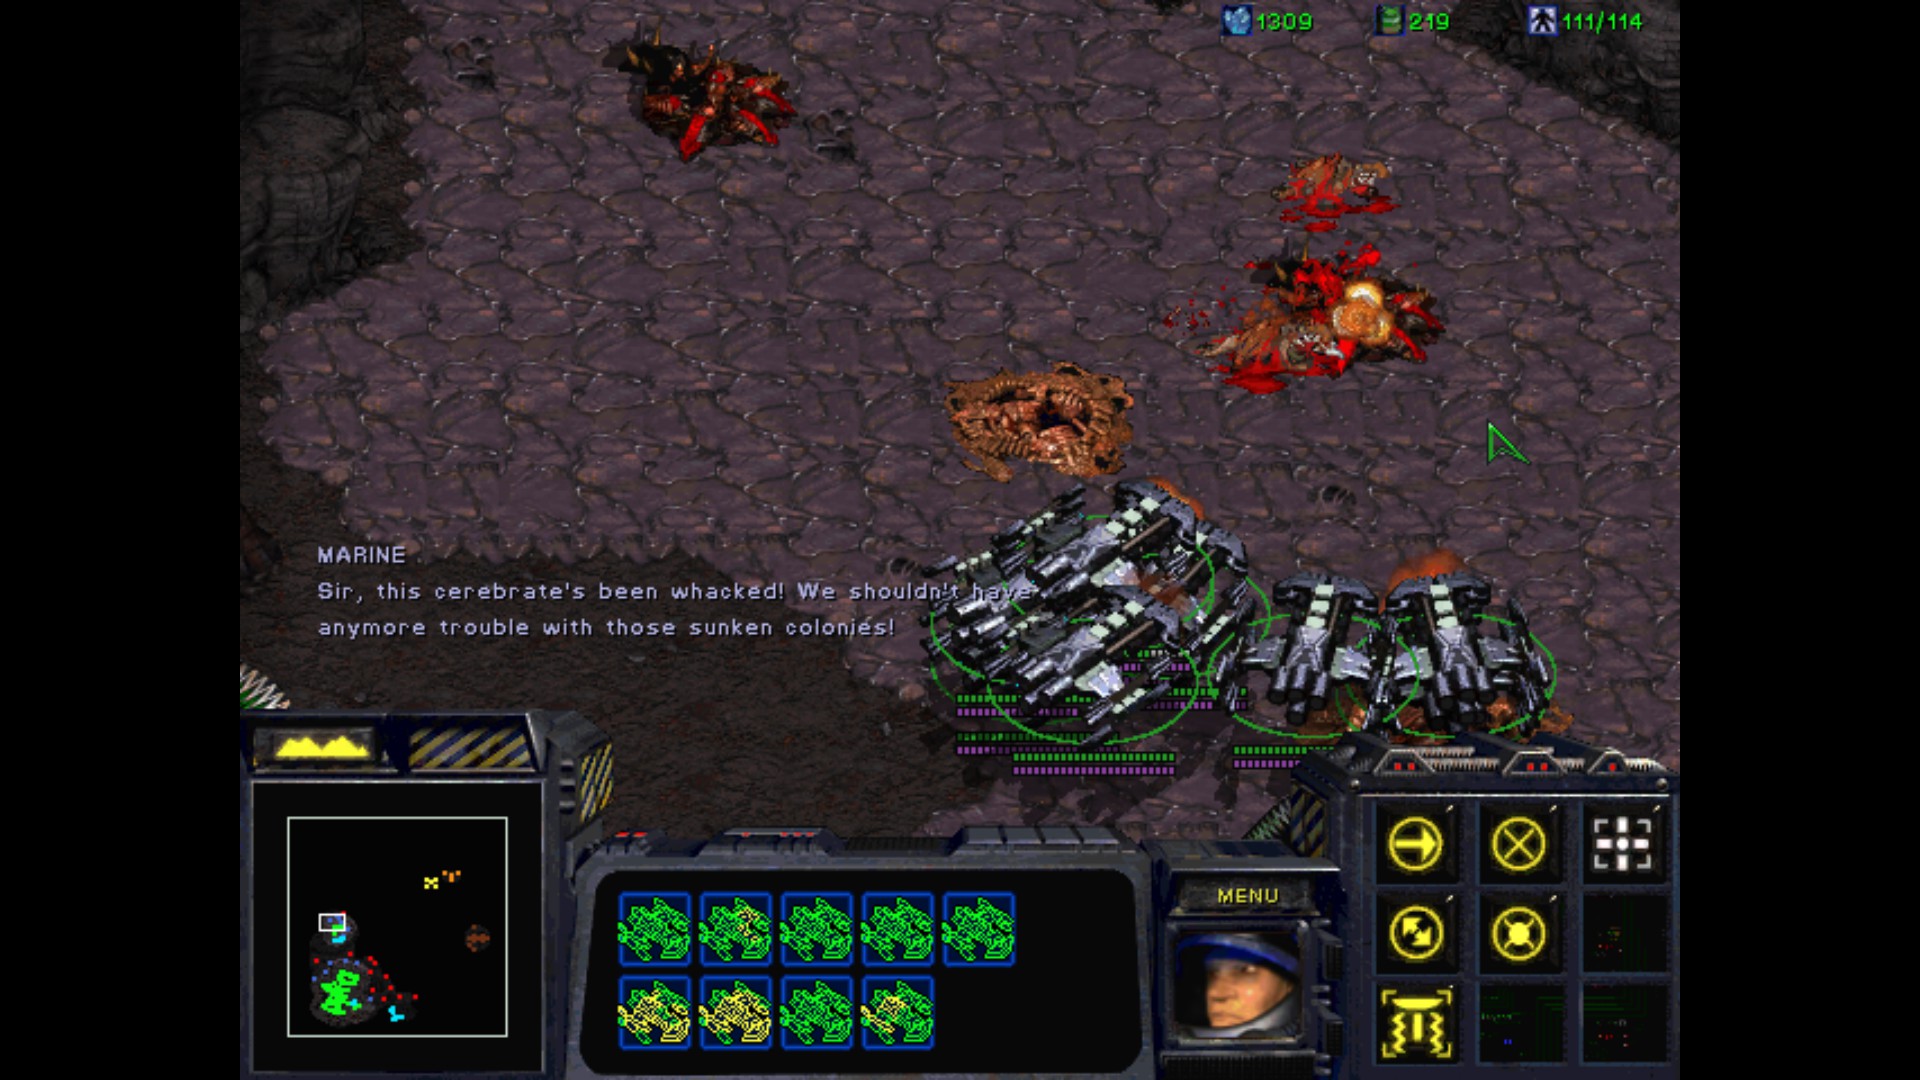
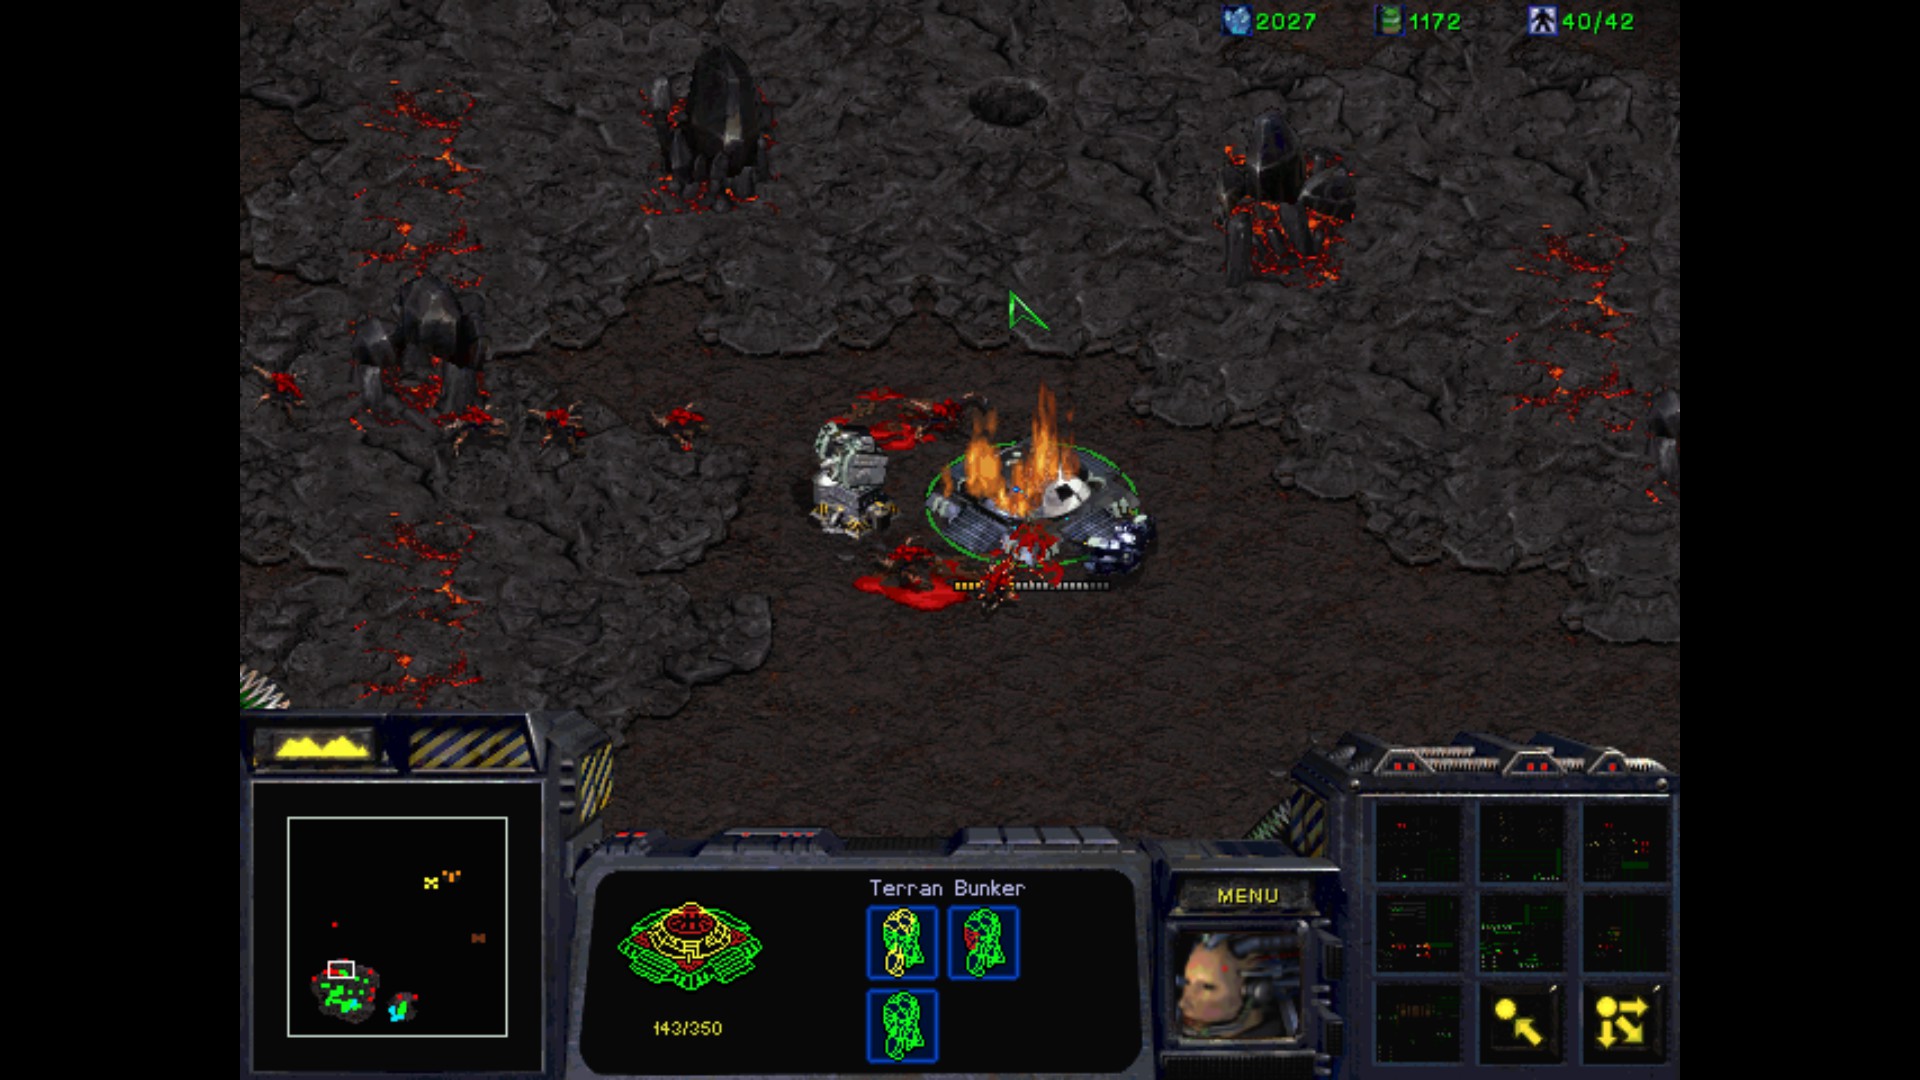
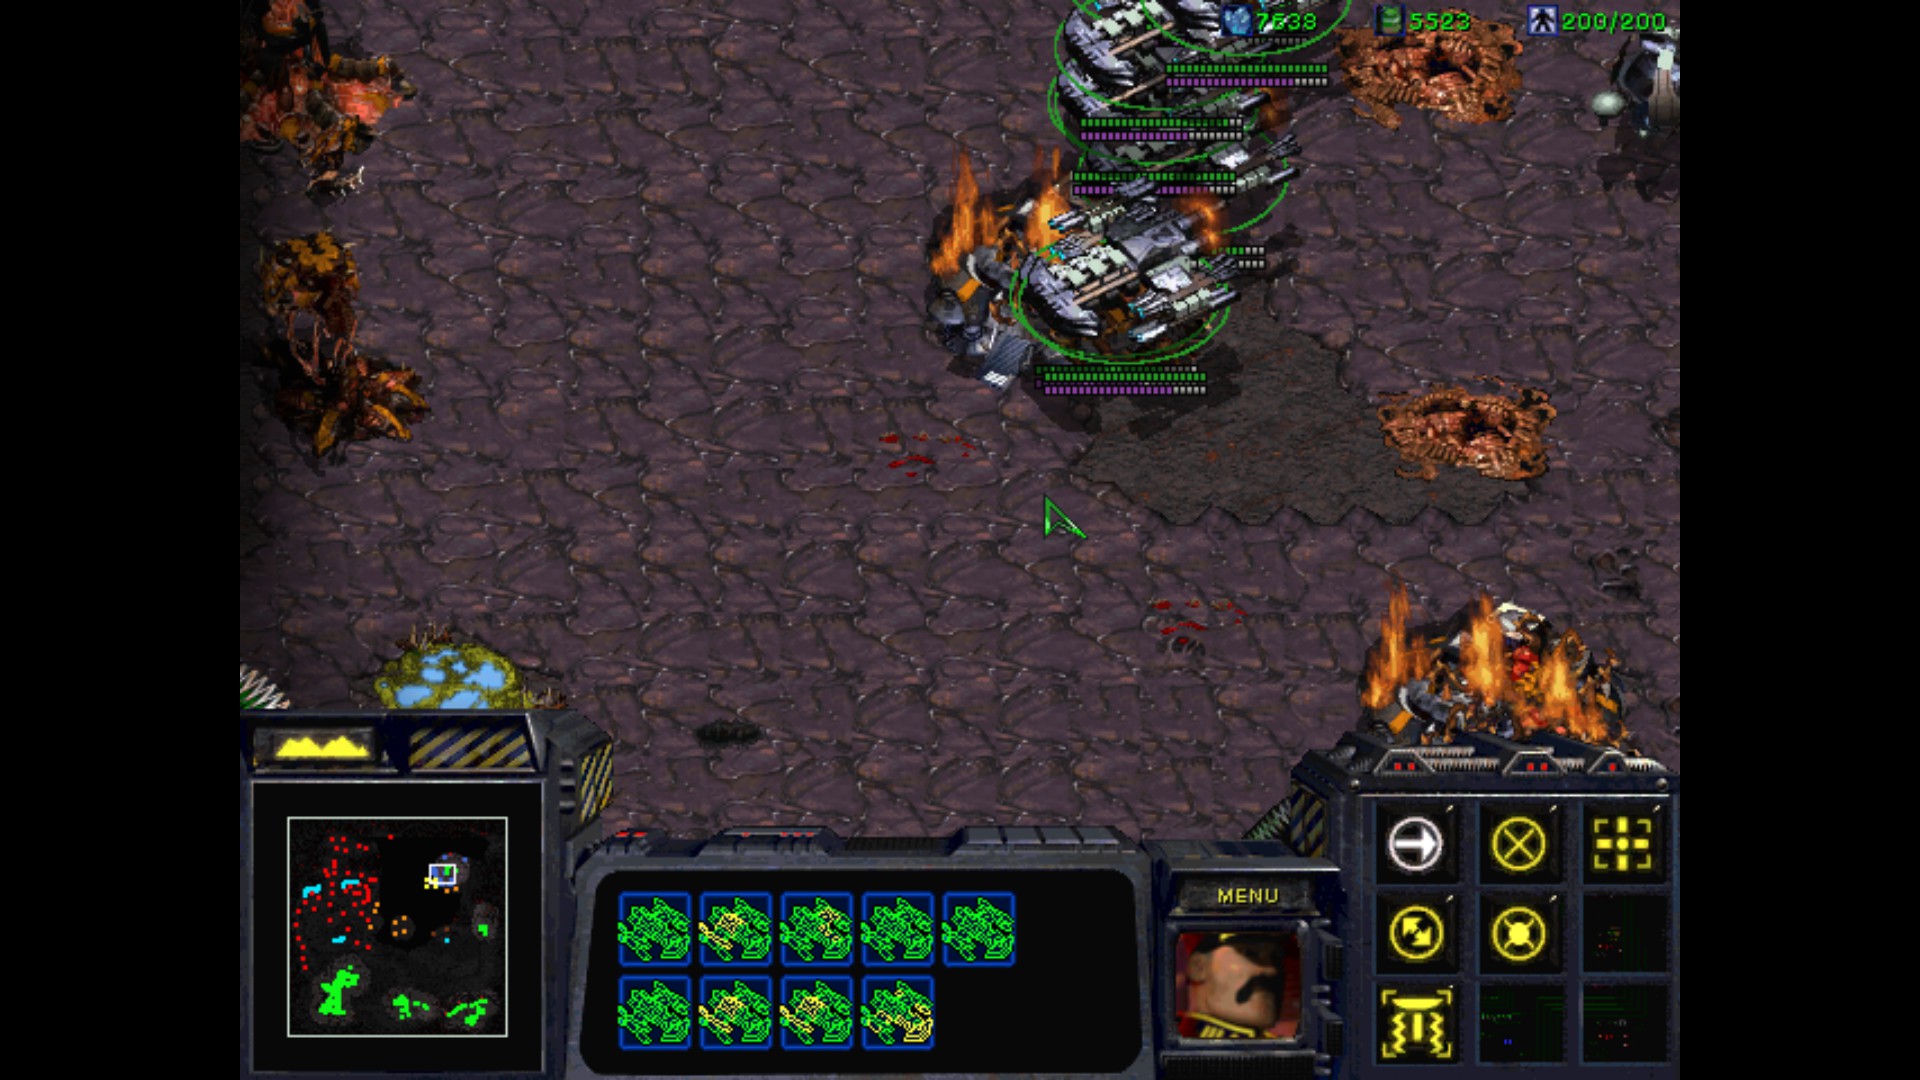
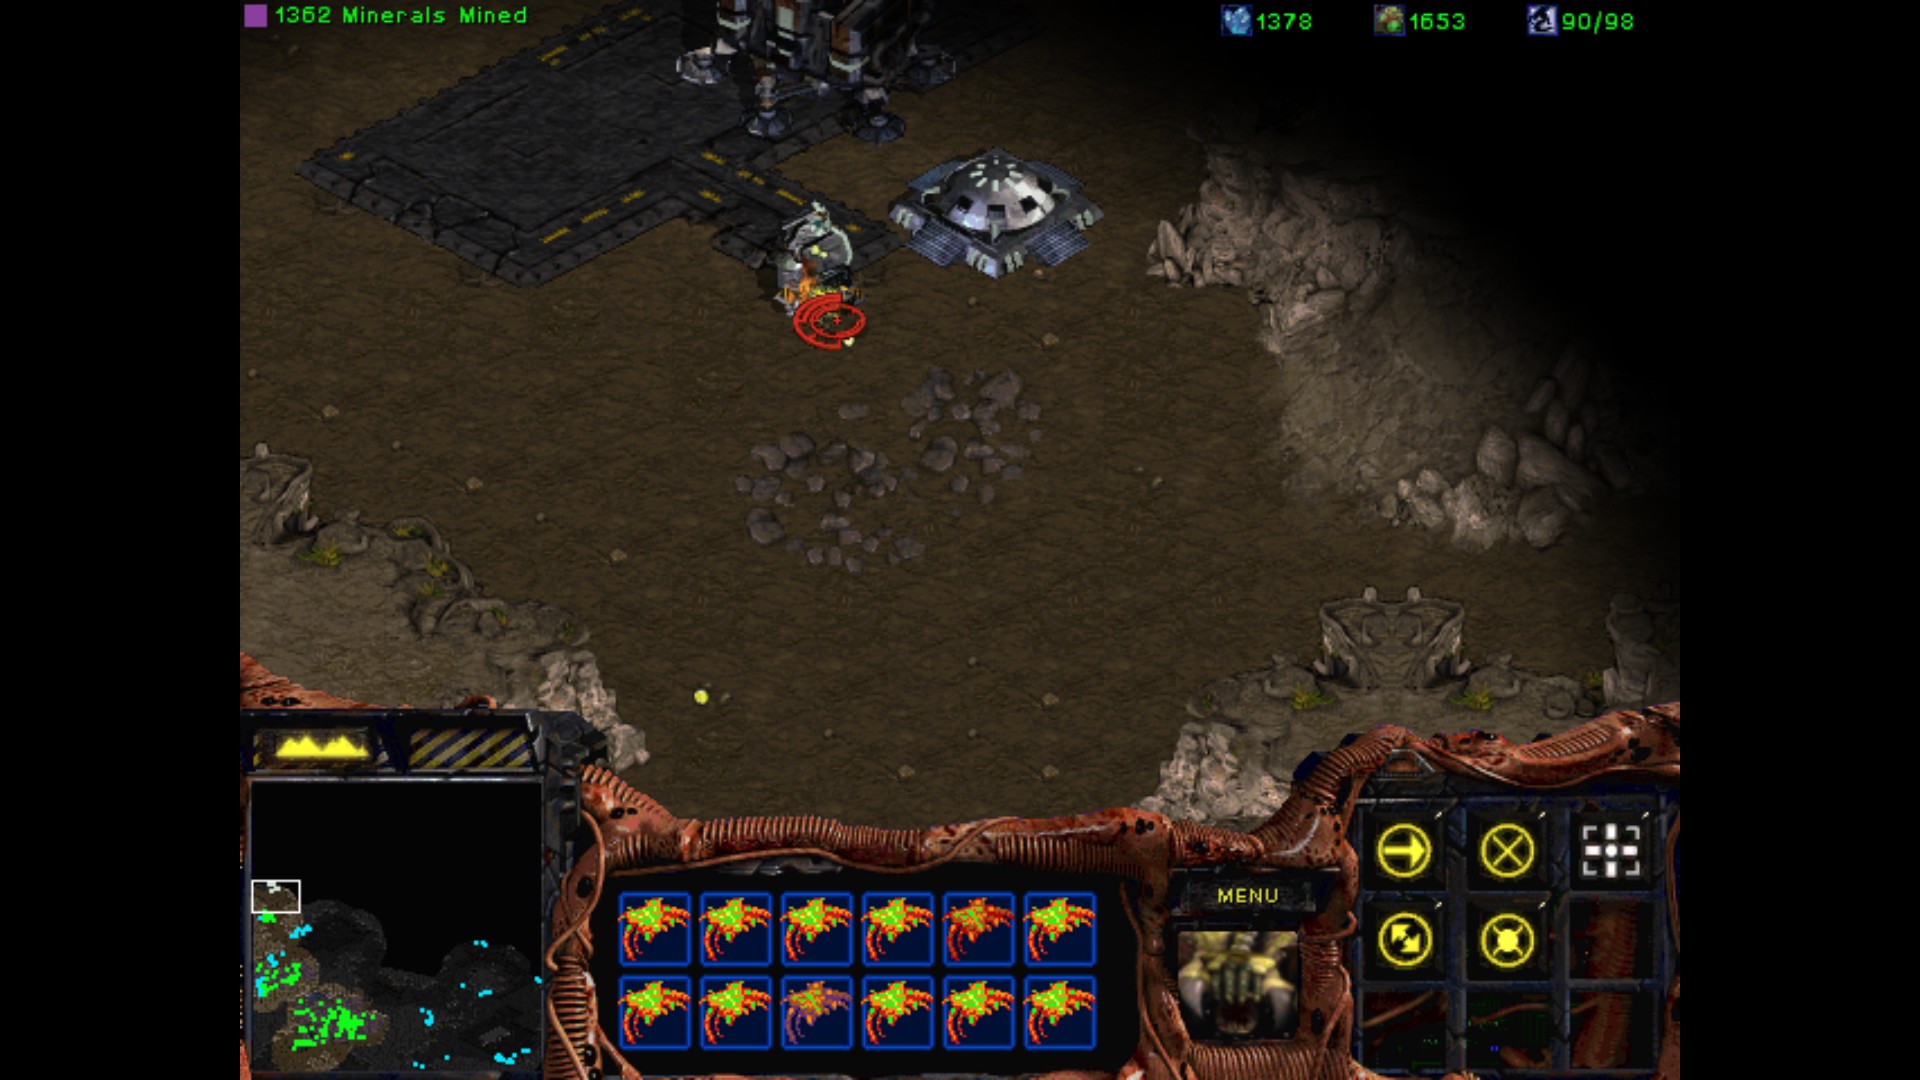
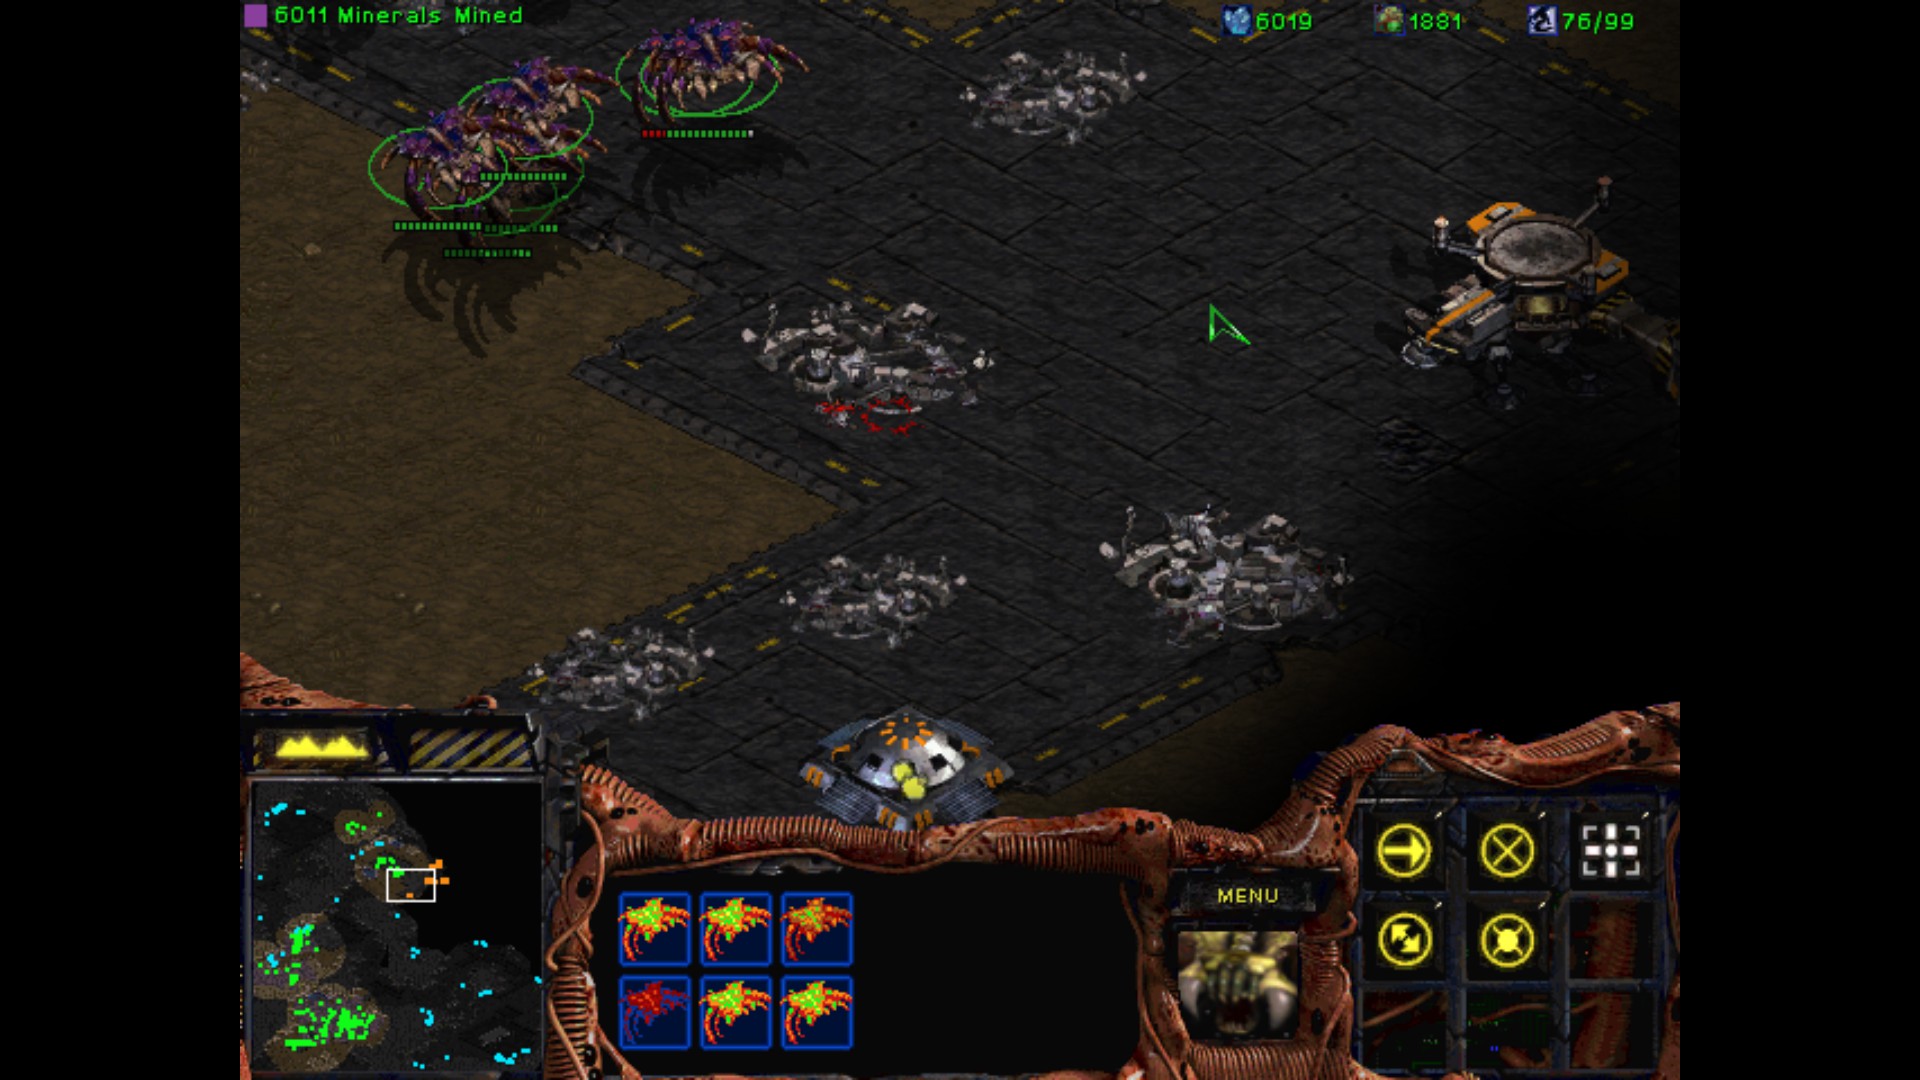
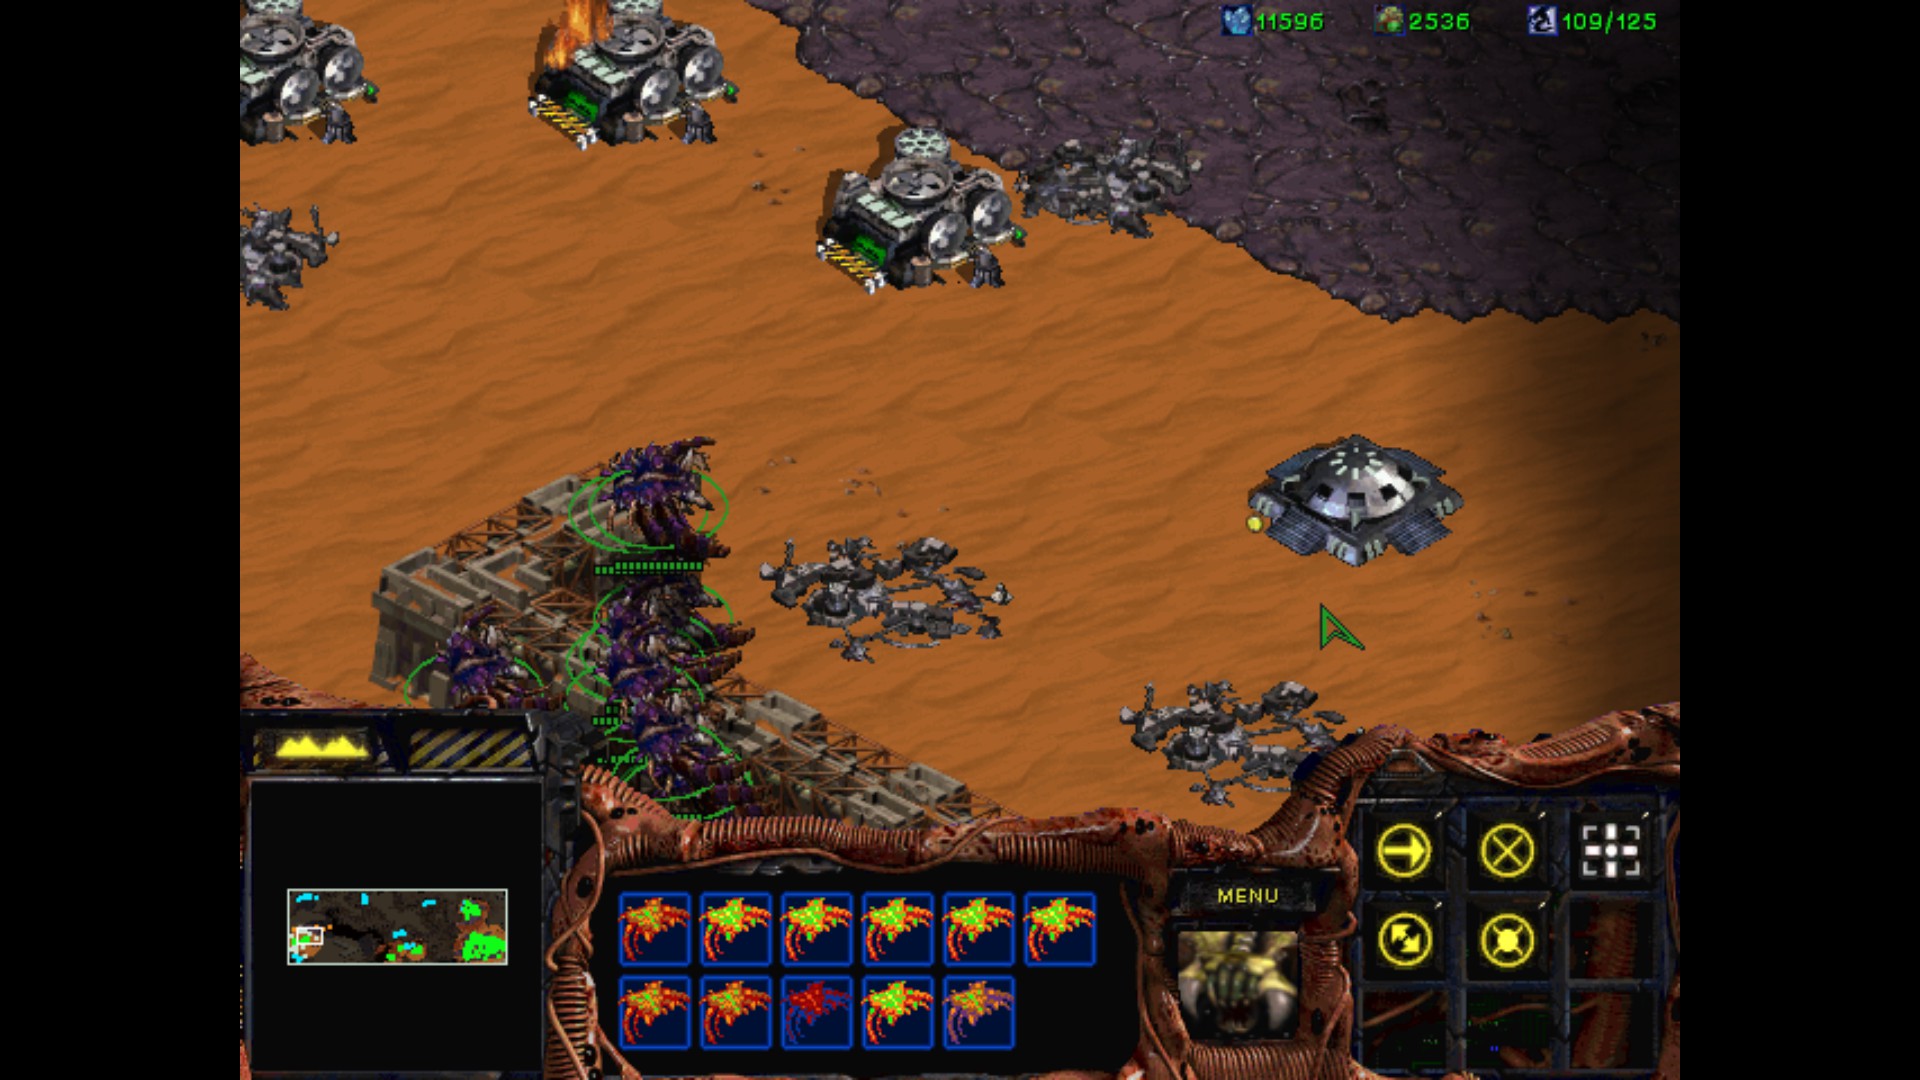
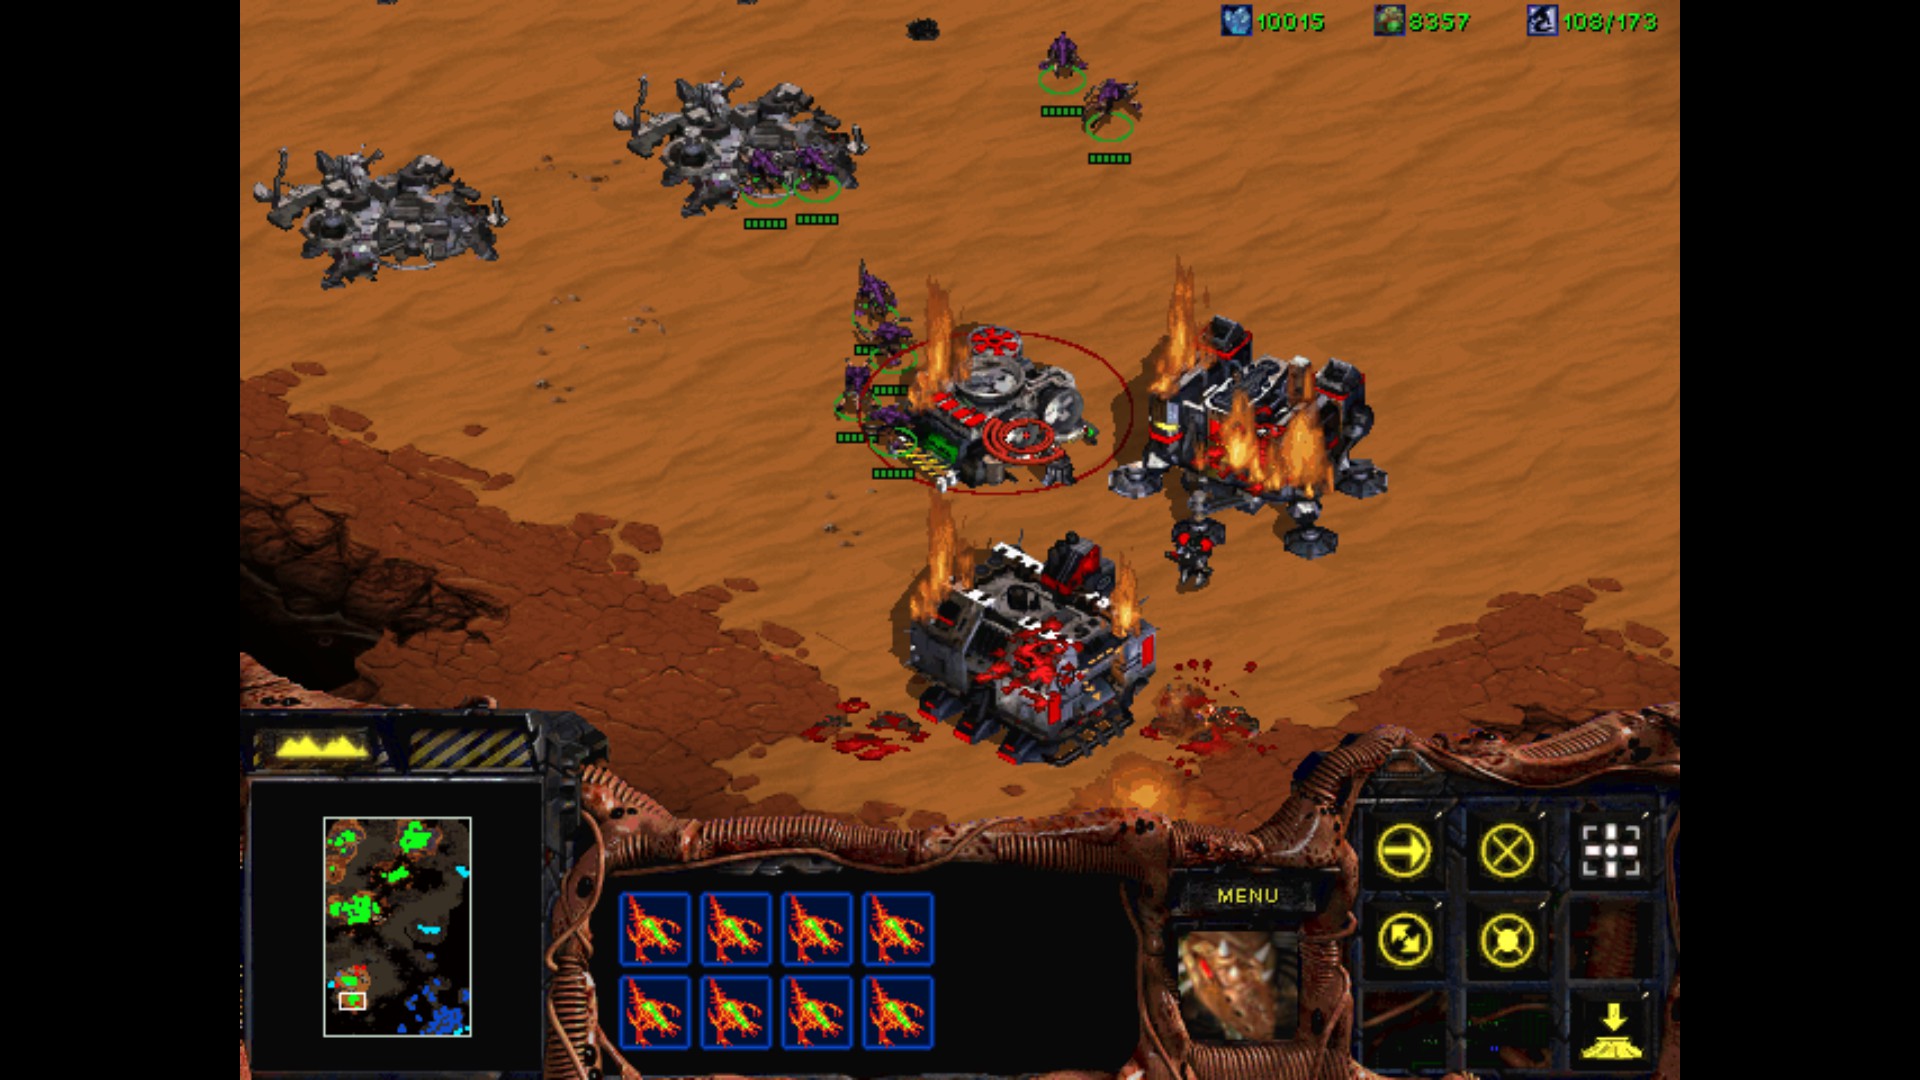
Excellent news, one problem has been resolved. I finally can reclaim some land from now on. I destroy some of the Sunken Colonies which remained.
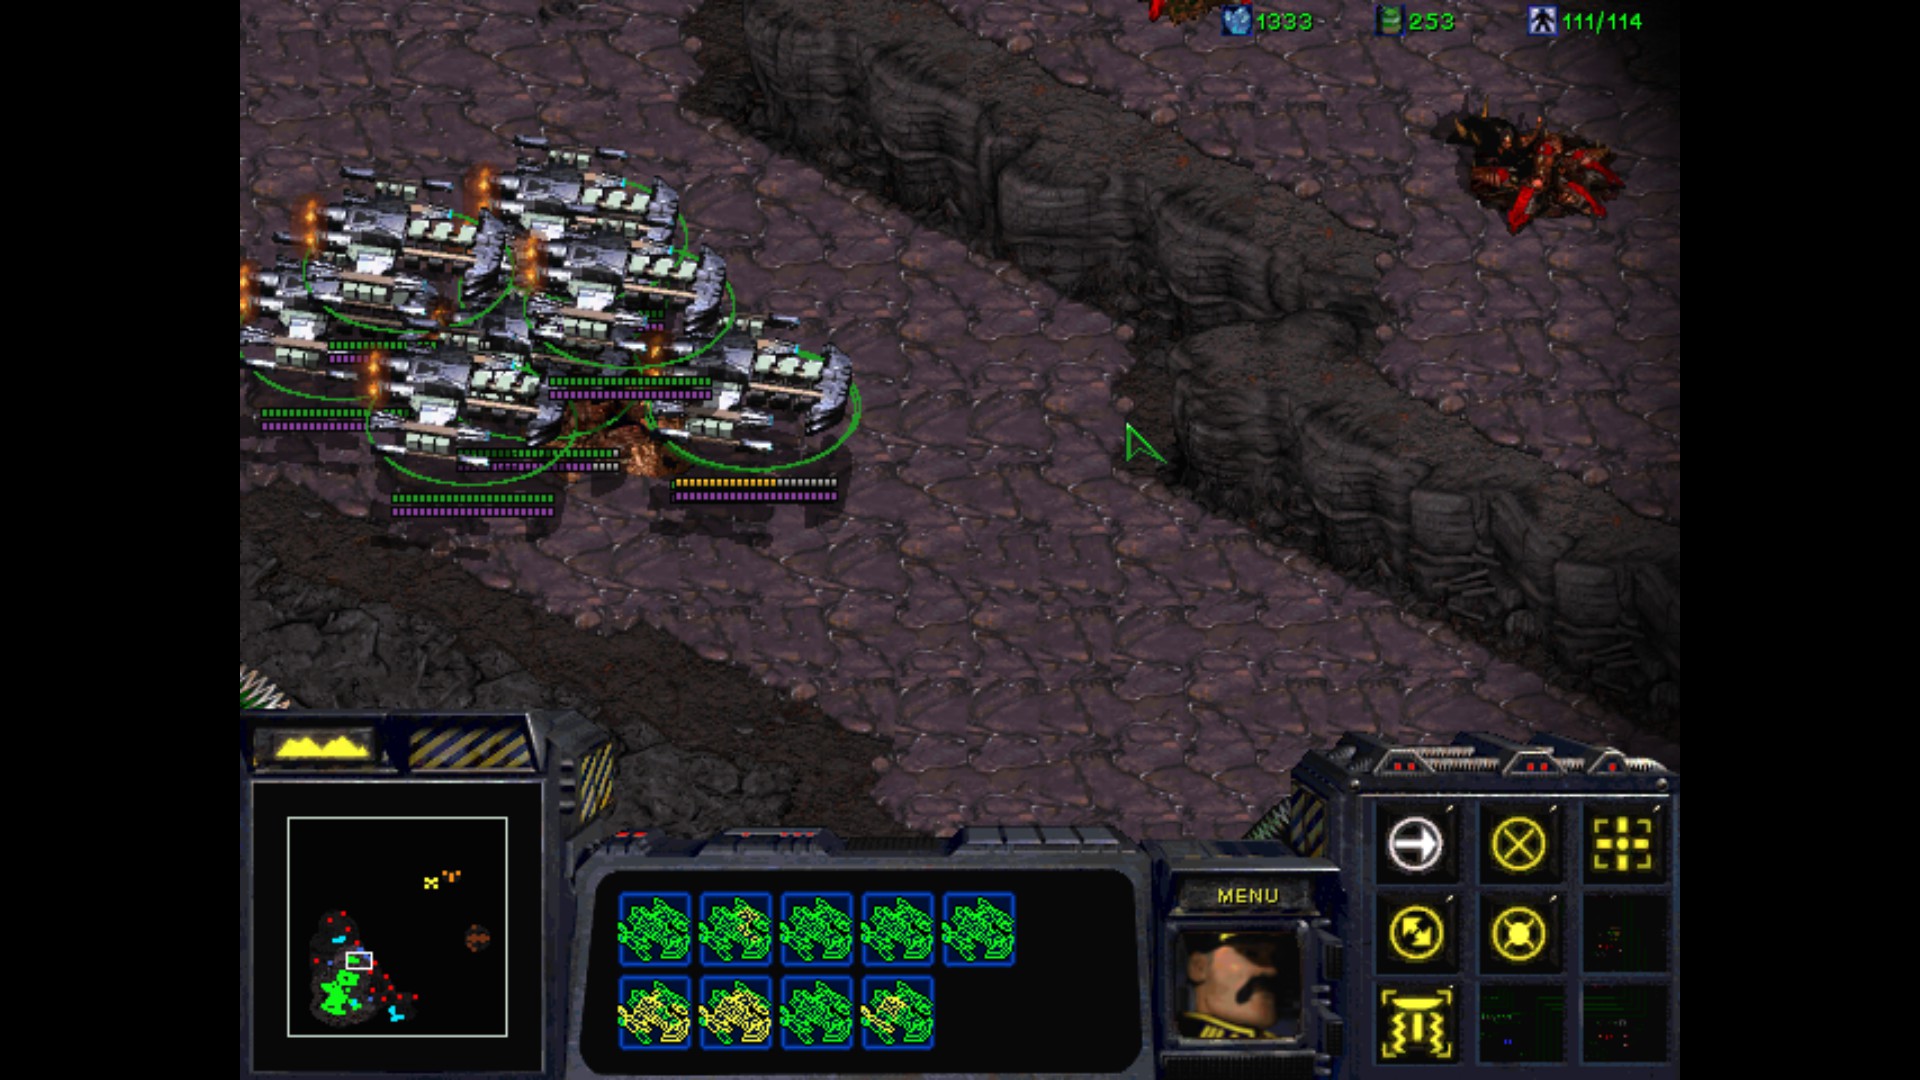
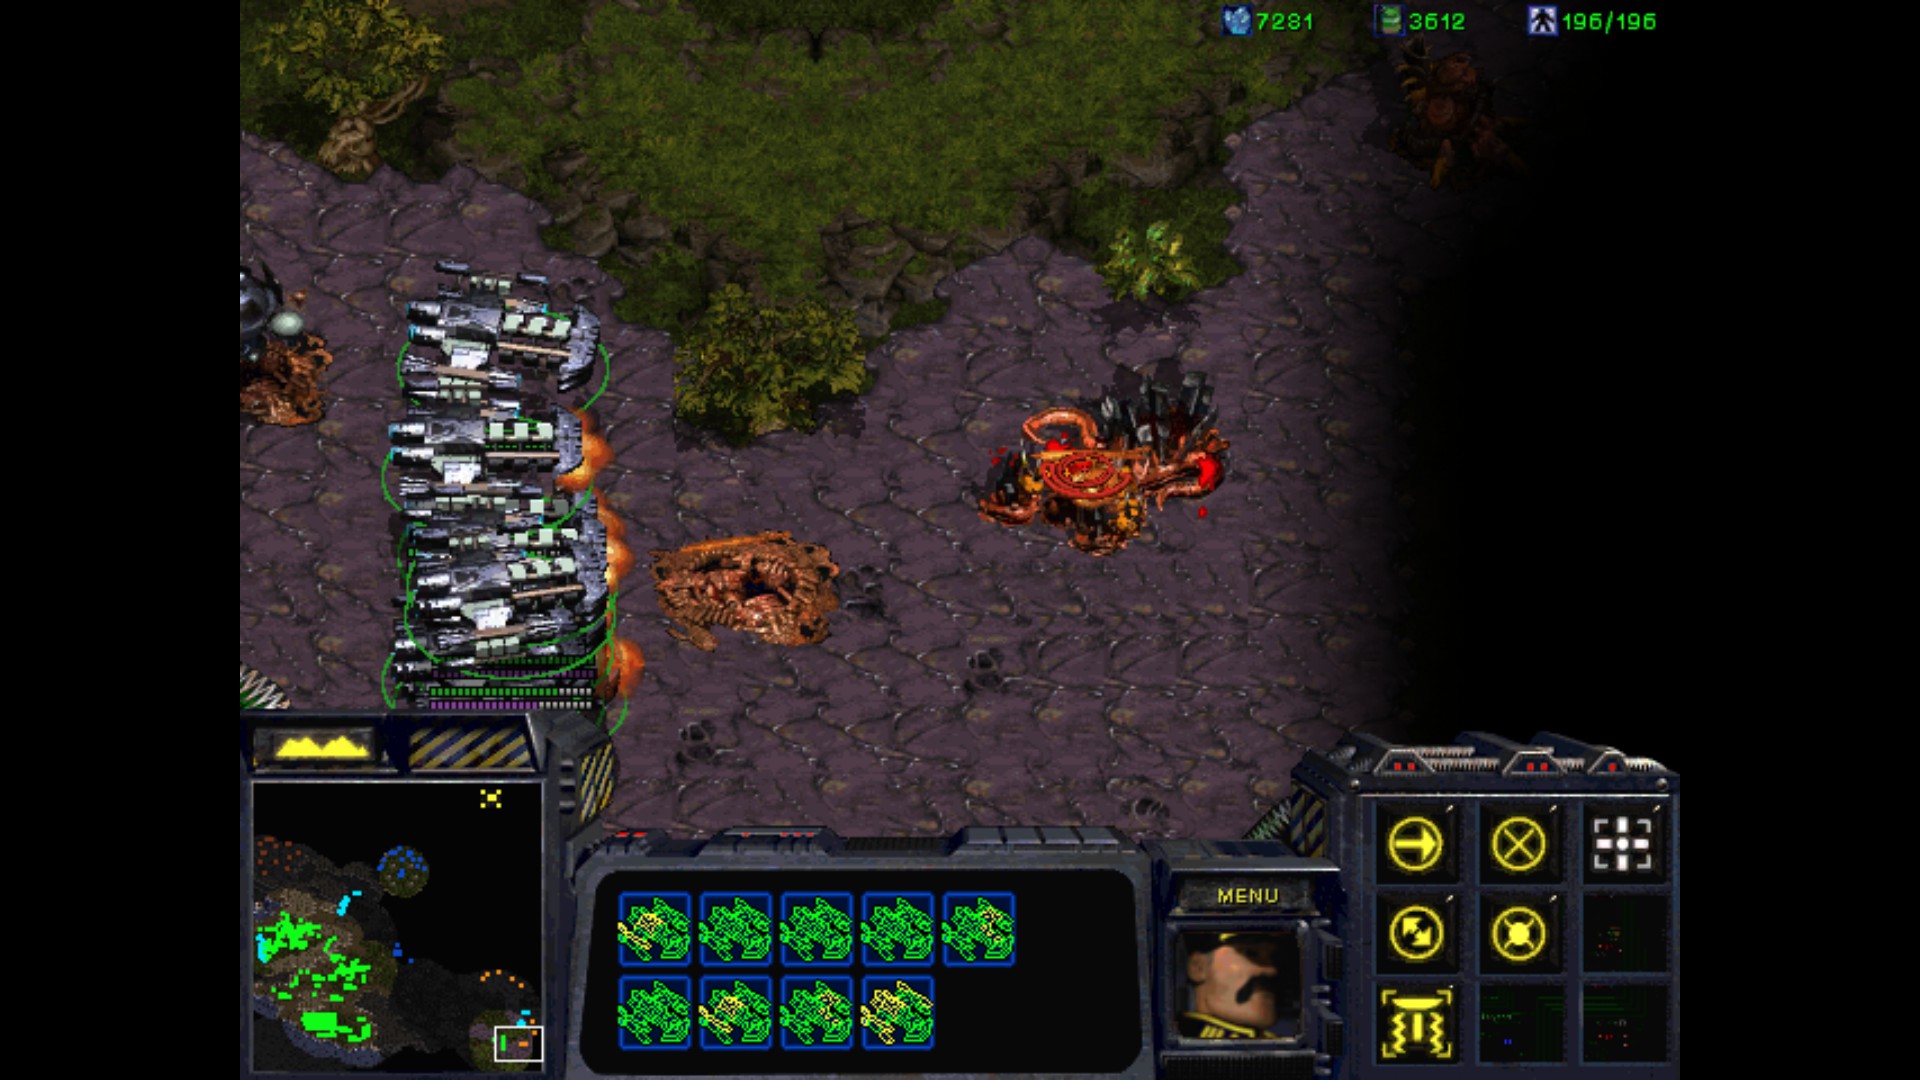
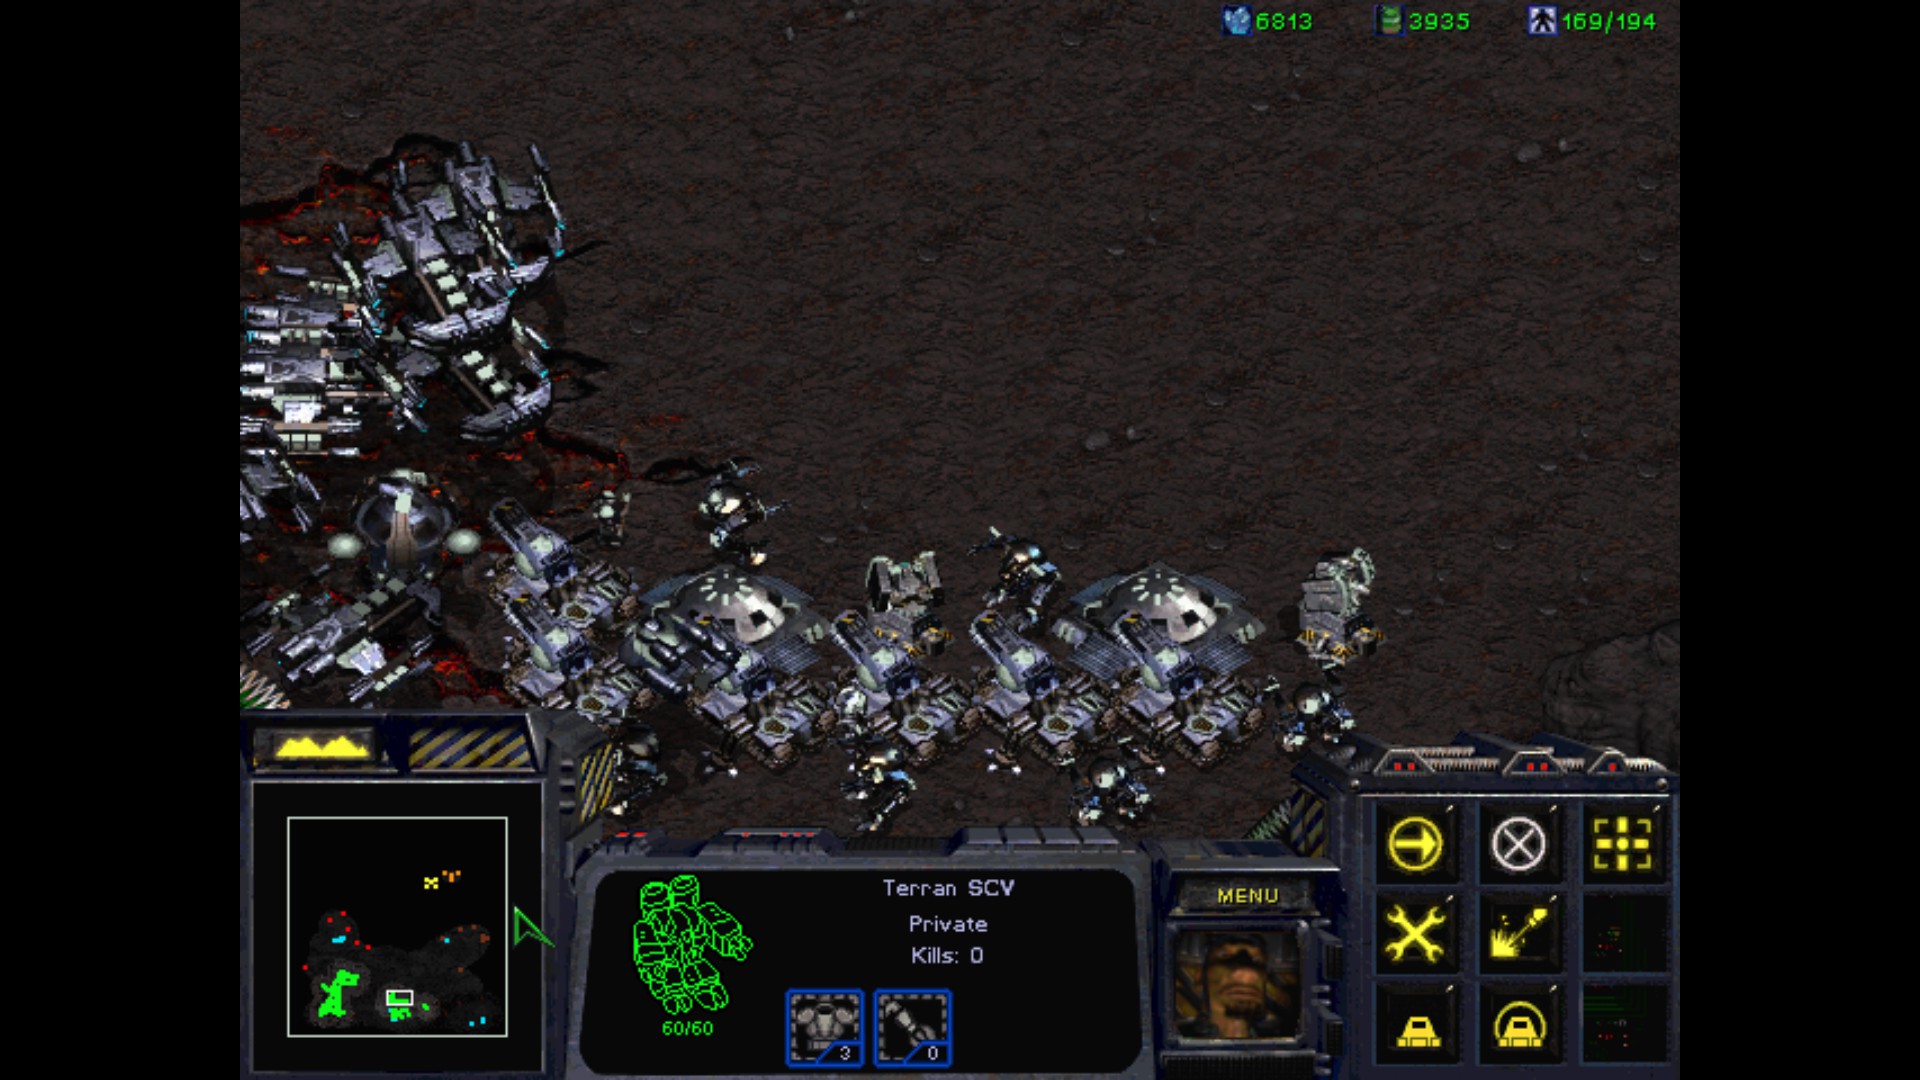
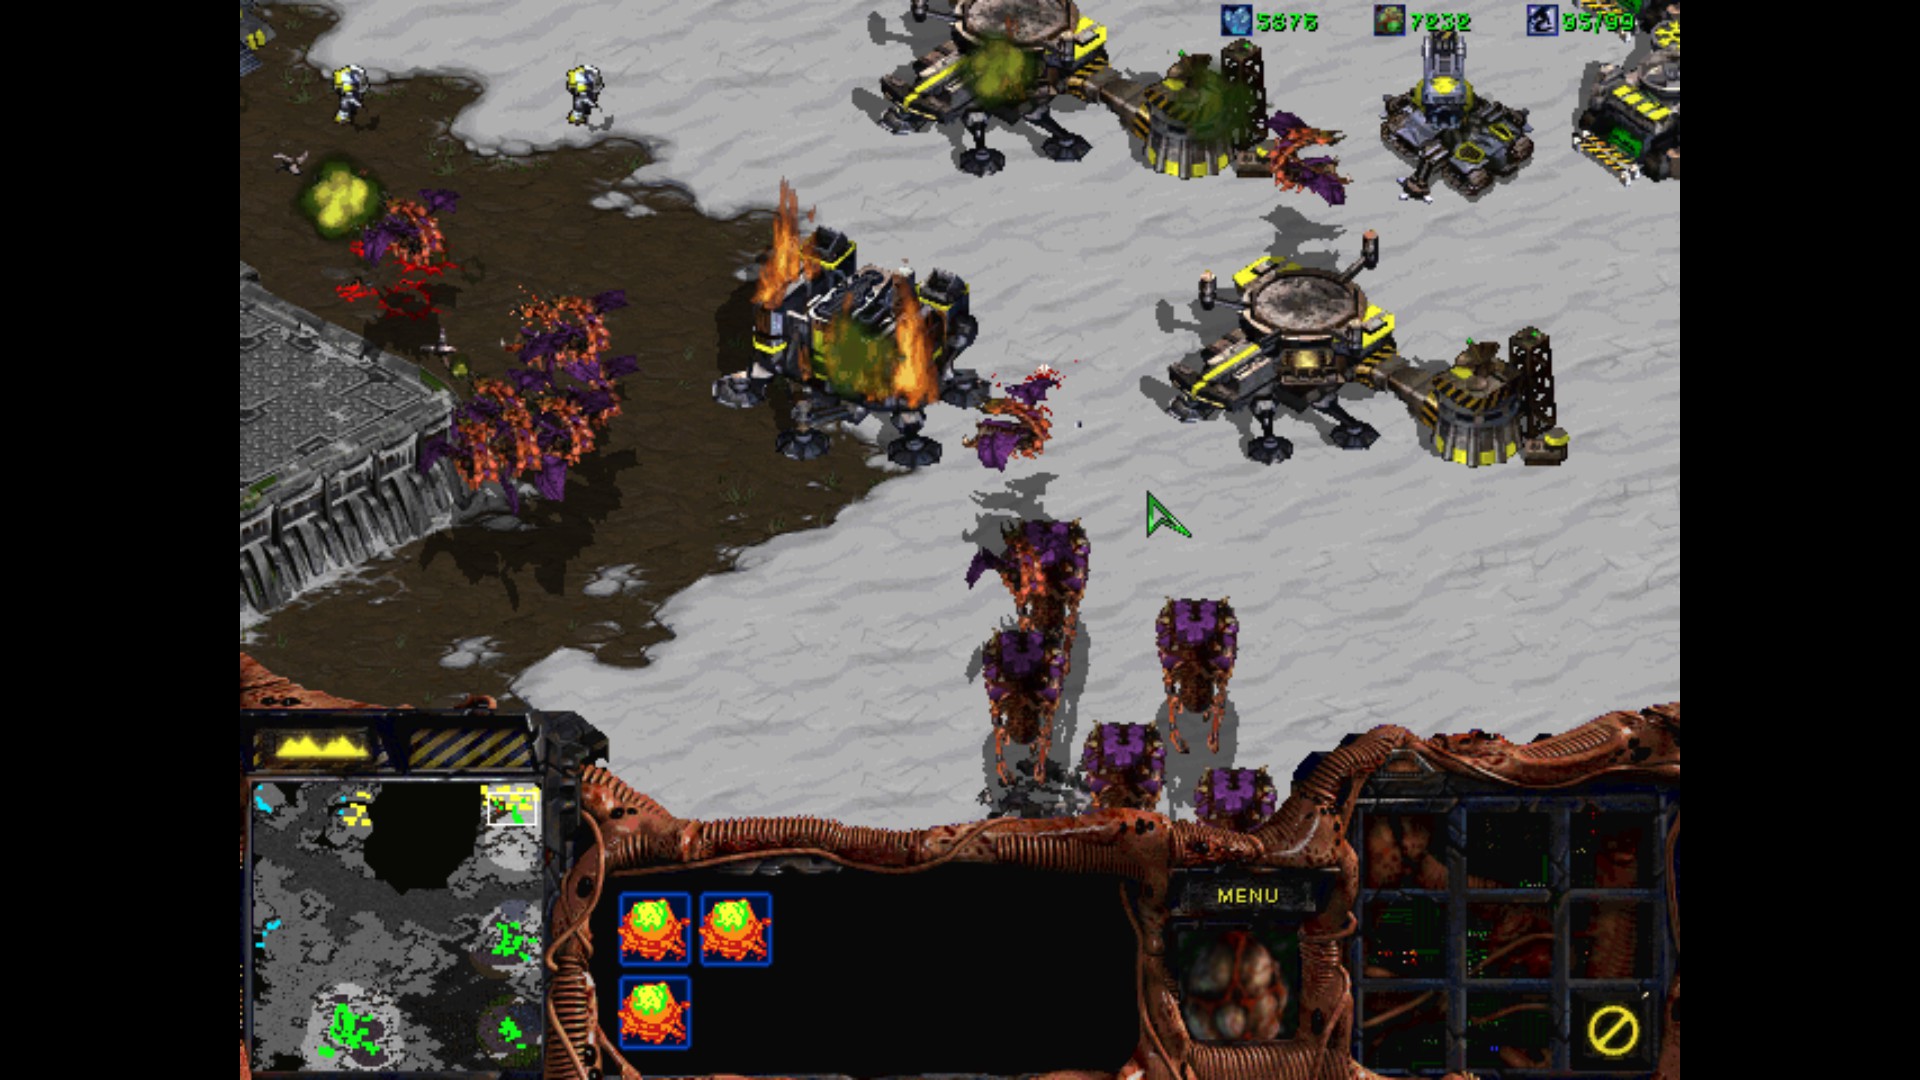
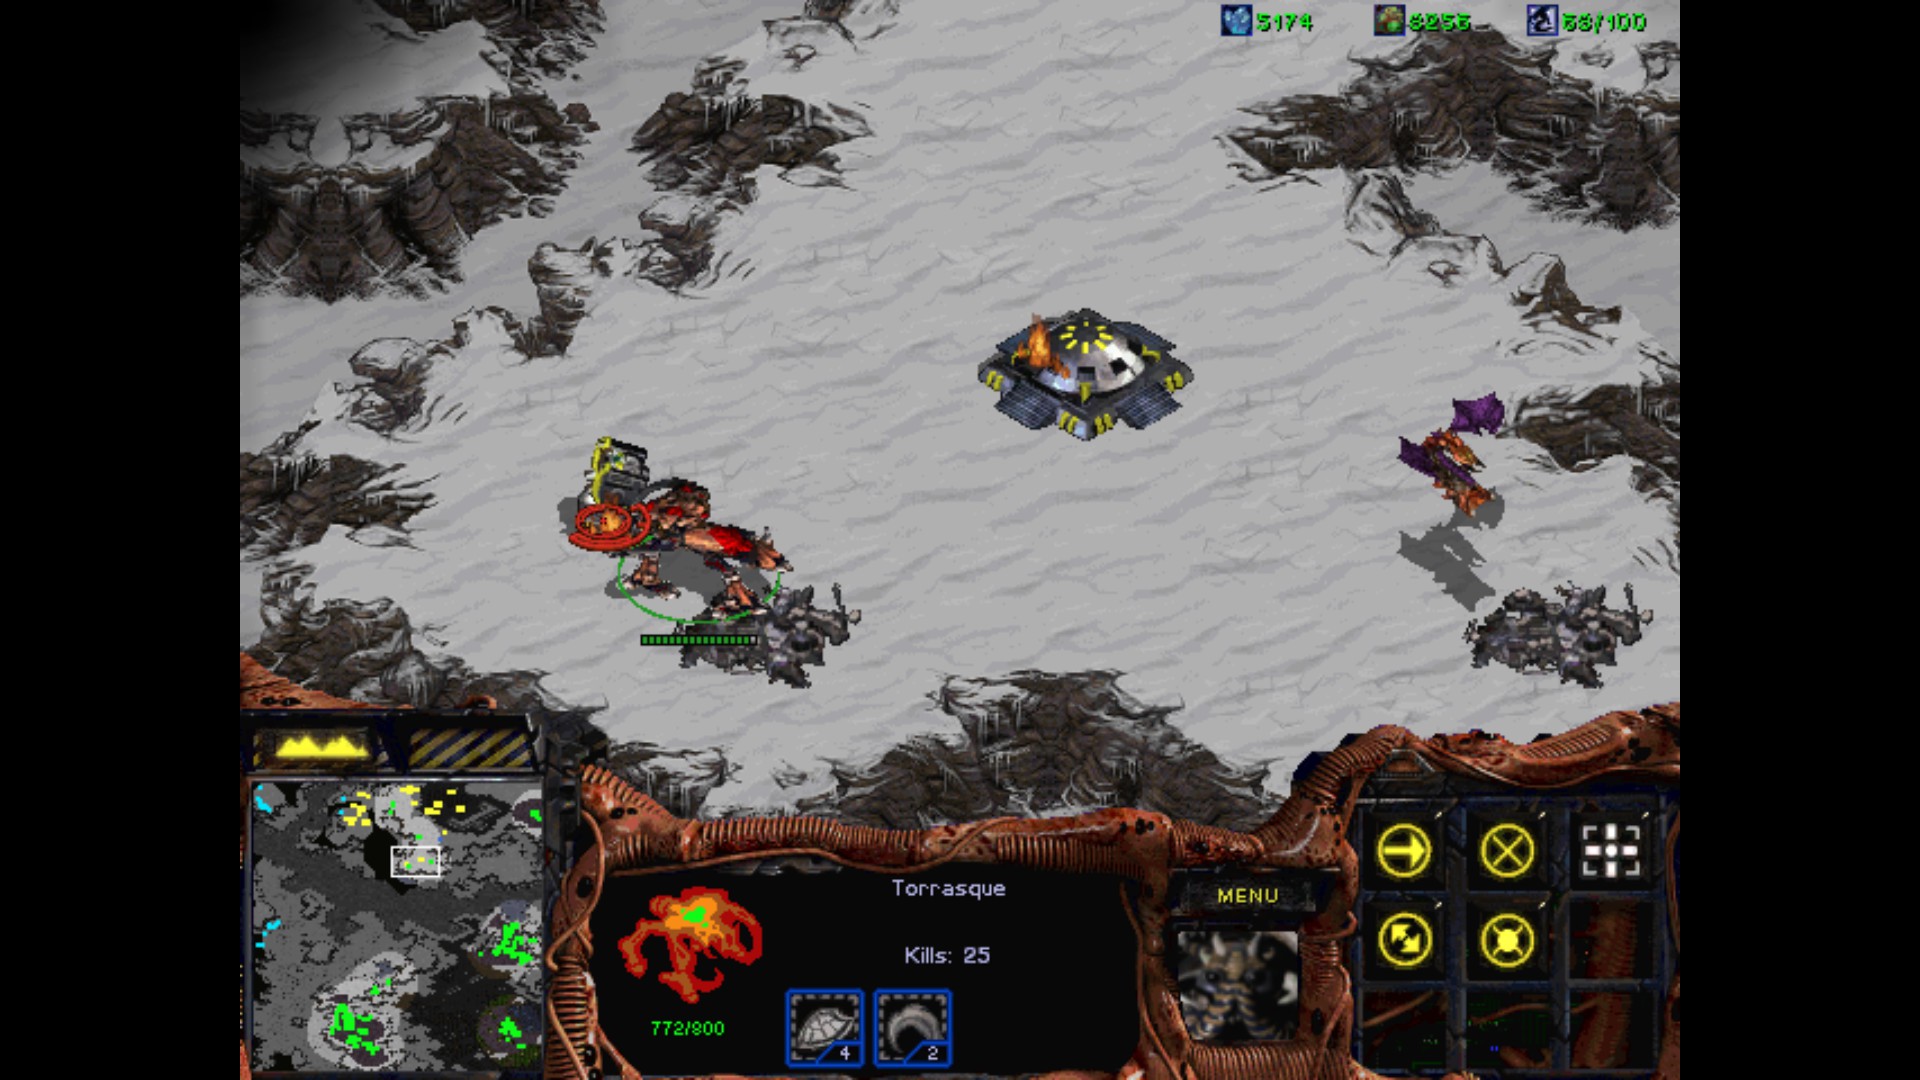
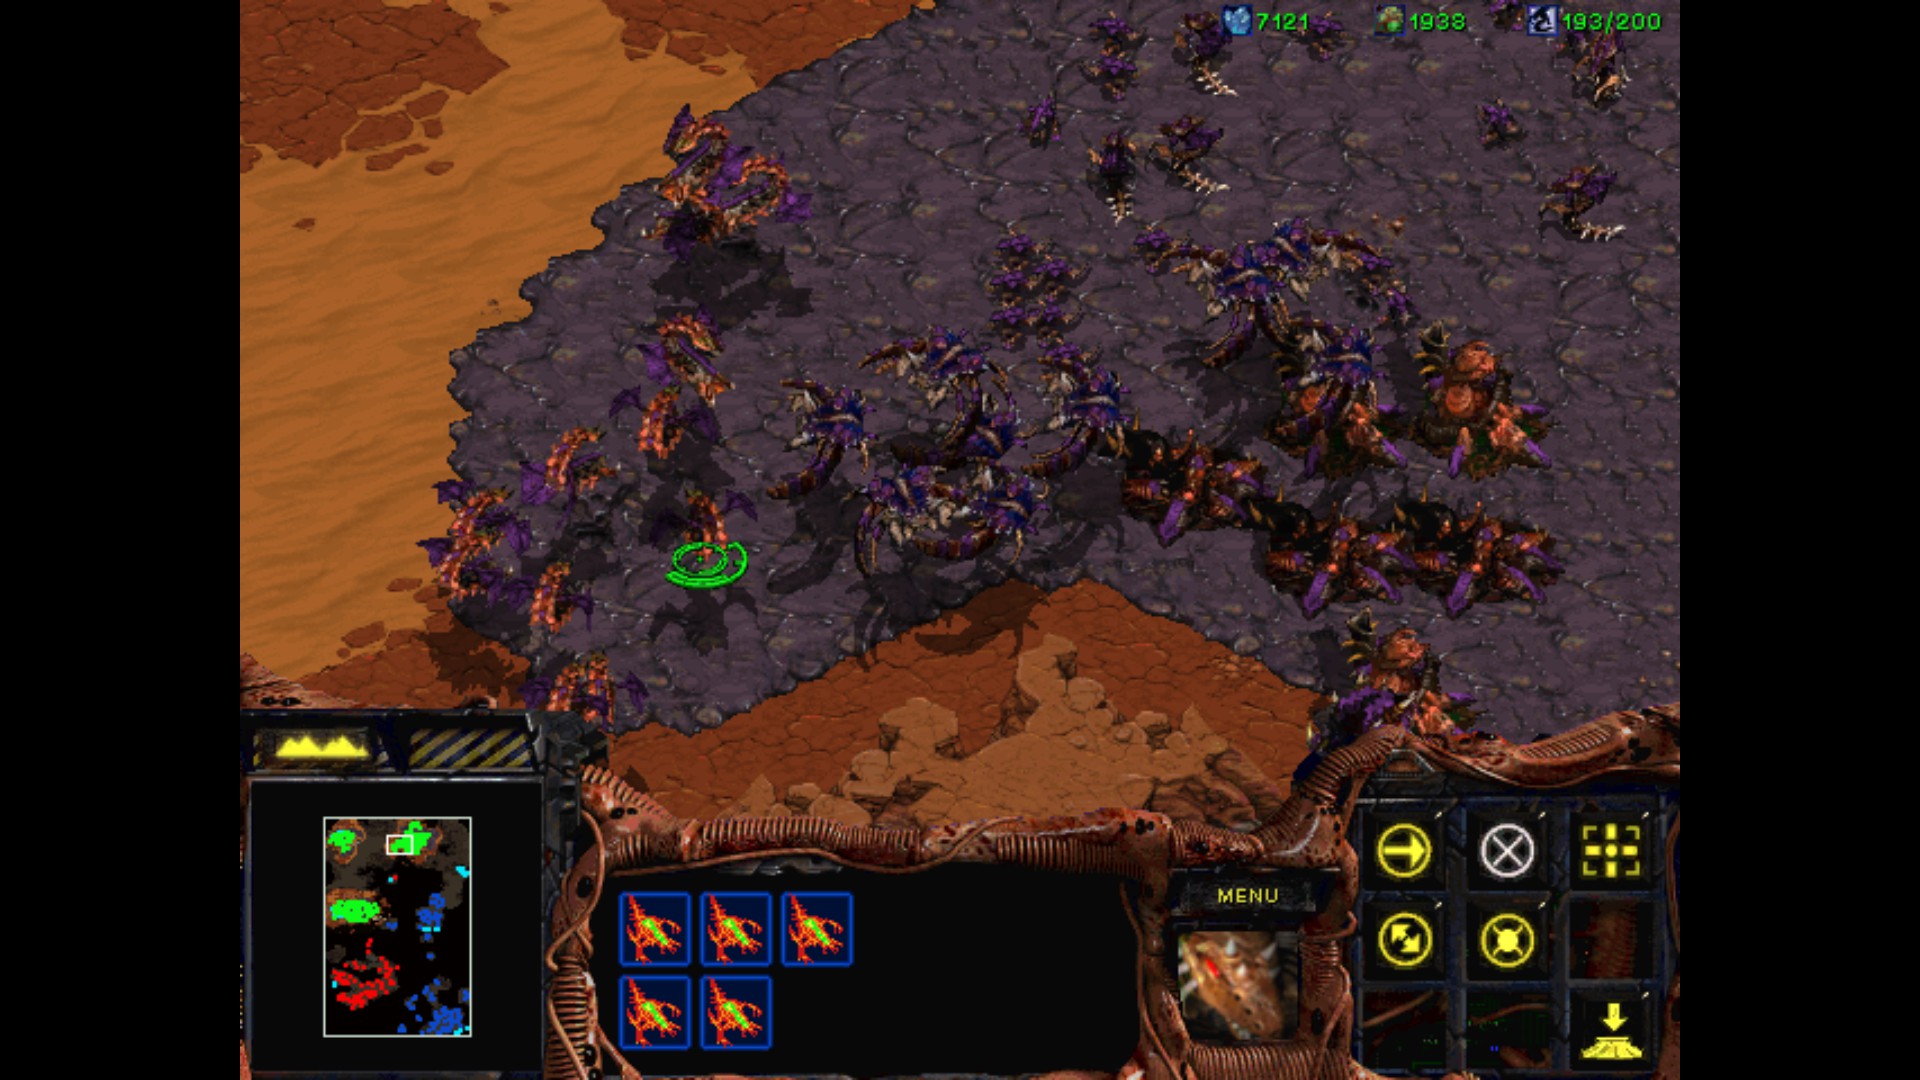
I make another base, where the three bunkers were situated. The Torrasque is still haunting me, but here it's really easier to defend. You can see a part of the hill on the right. I've moved some Tanks on the hill, and left Bunkers plus Science Vessel to scout the area. If the Ultralisk goes here, he will be blasted from below, and the Battlecruisers plus soldiers can finish him really quick. Still, he sometimes likes to take a longer walk and move to a first base though. It's like flipping a coin.
I move all the Battlecruisers into the south east. The brown Brood has many Spore Colonies and uses Scourge as well. I had some Tanks earlier who were blasting the Colonies, but the enemy isn't stupid and uses the Queens to spawn Broodlings, so I evacuated them early on. I need to repair all my ships. It was worth it though, the Vespene Gas reserve here is huge, and I still got some minerals left. Not to mention, that I have a quicker route to the Hive.


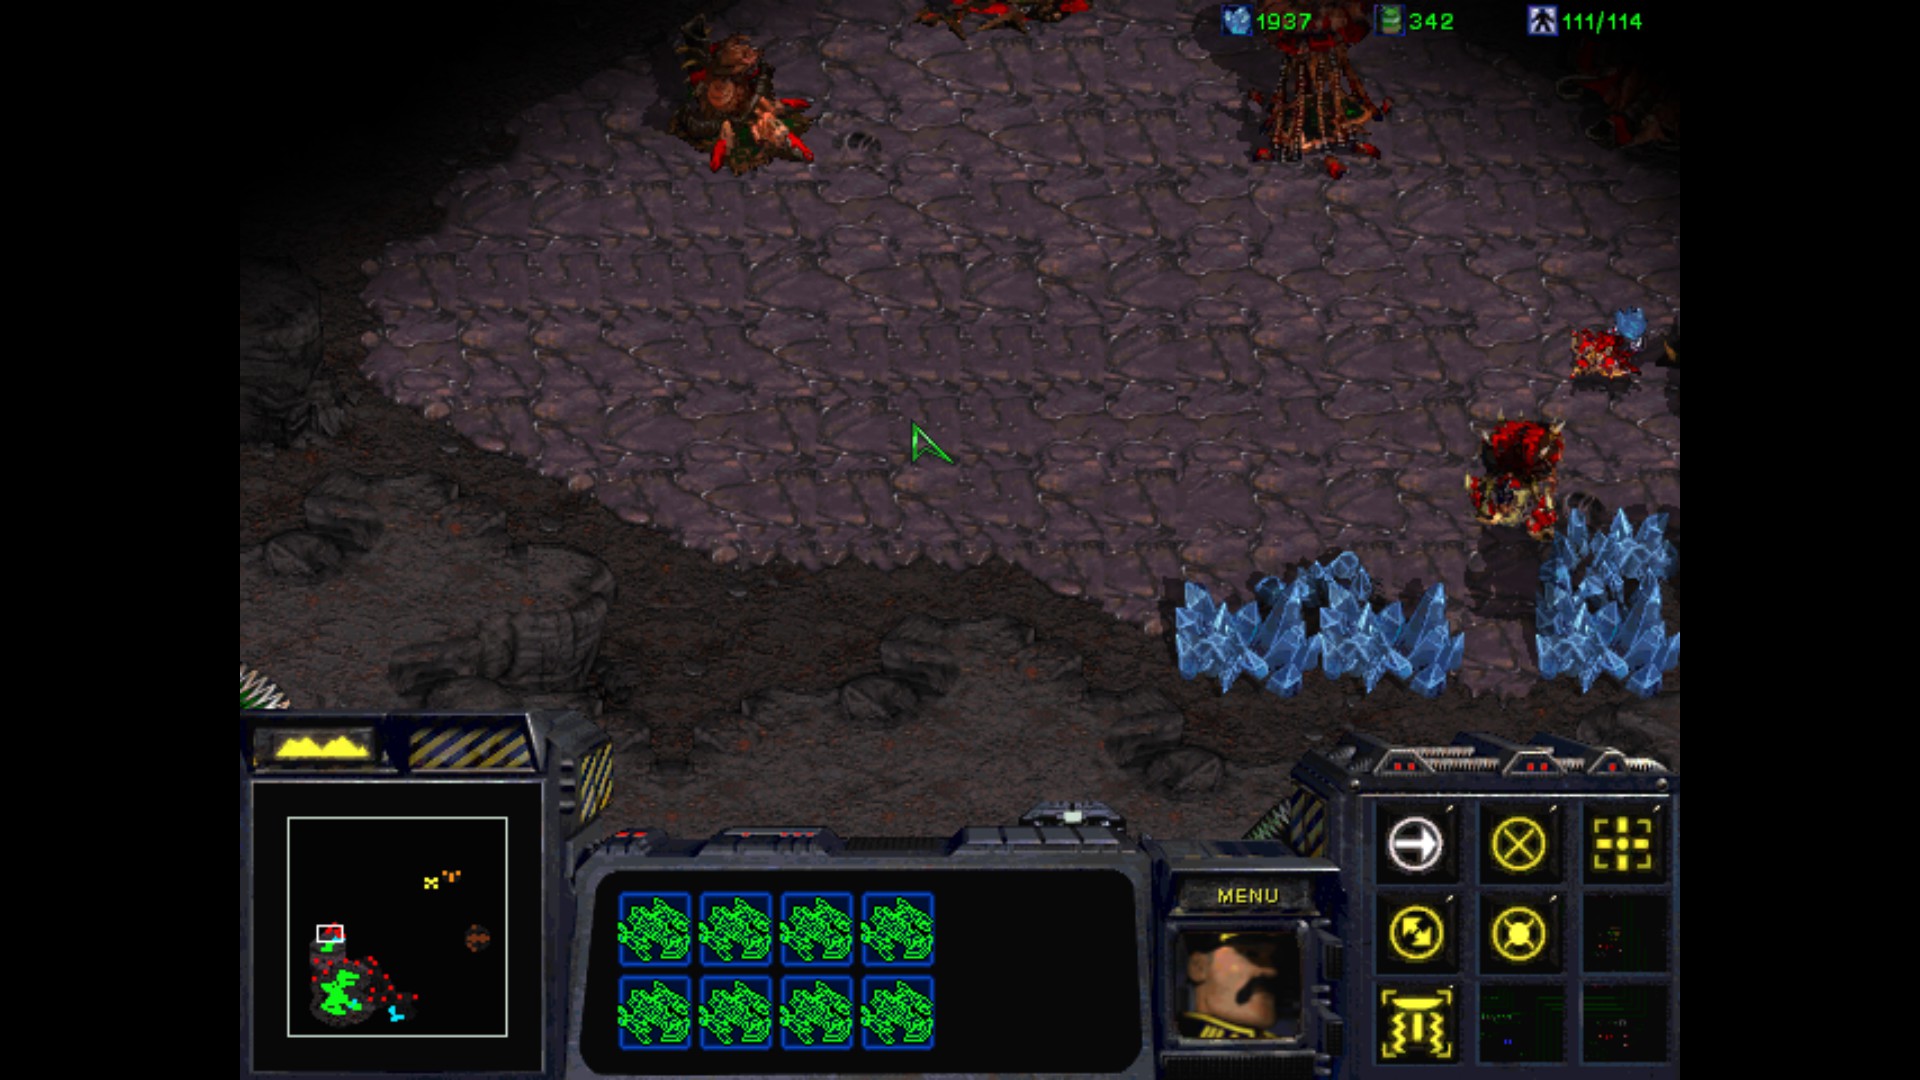
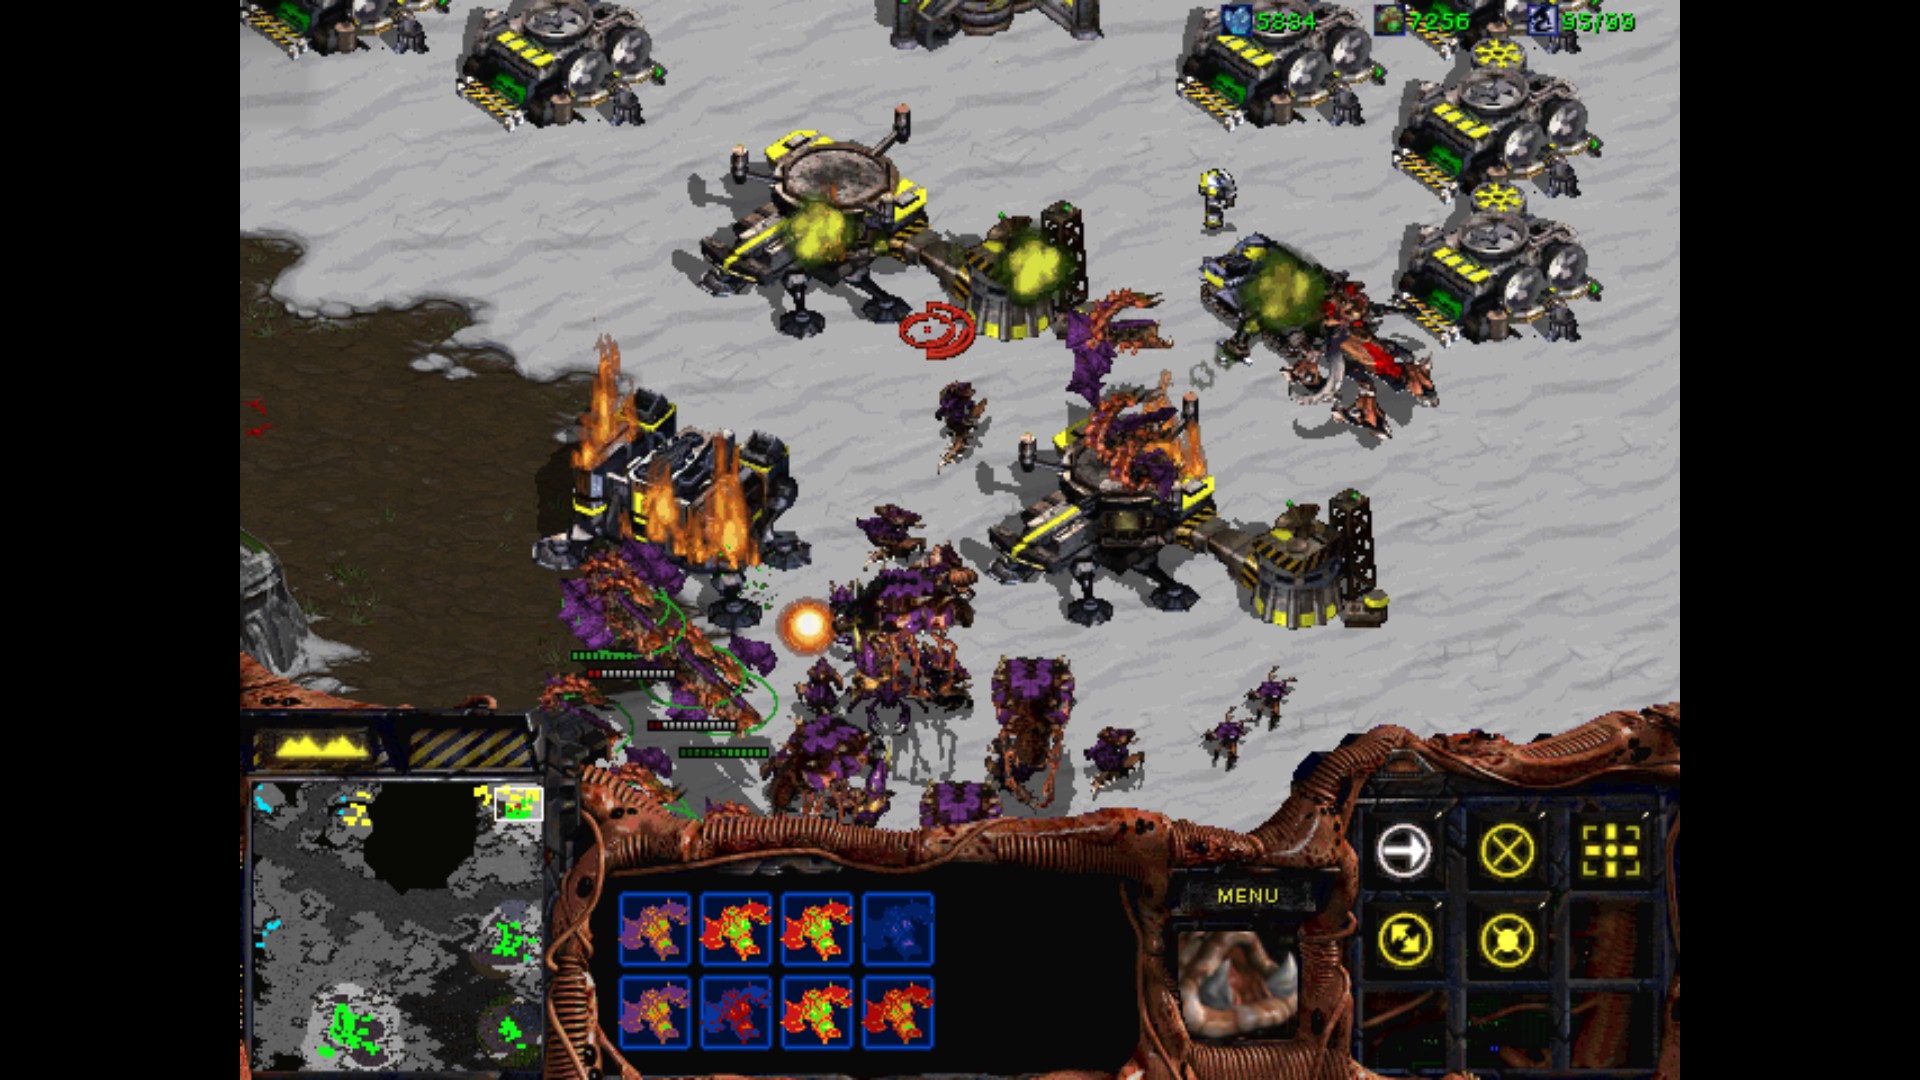
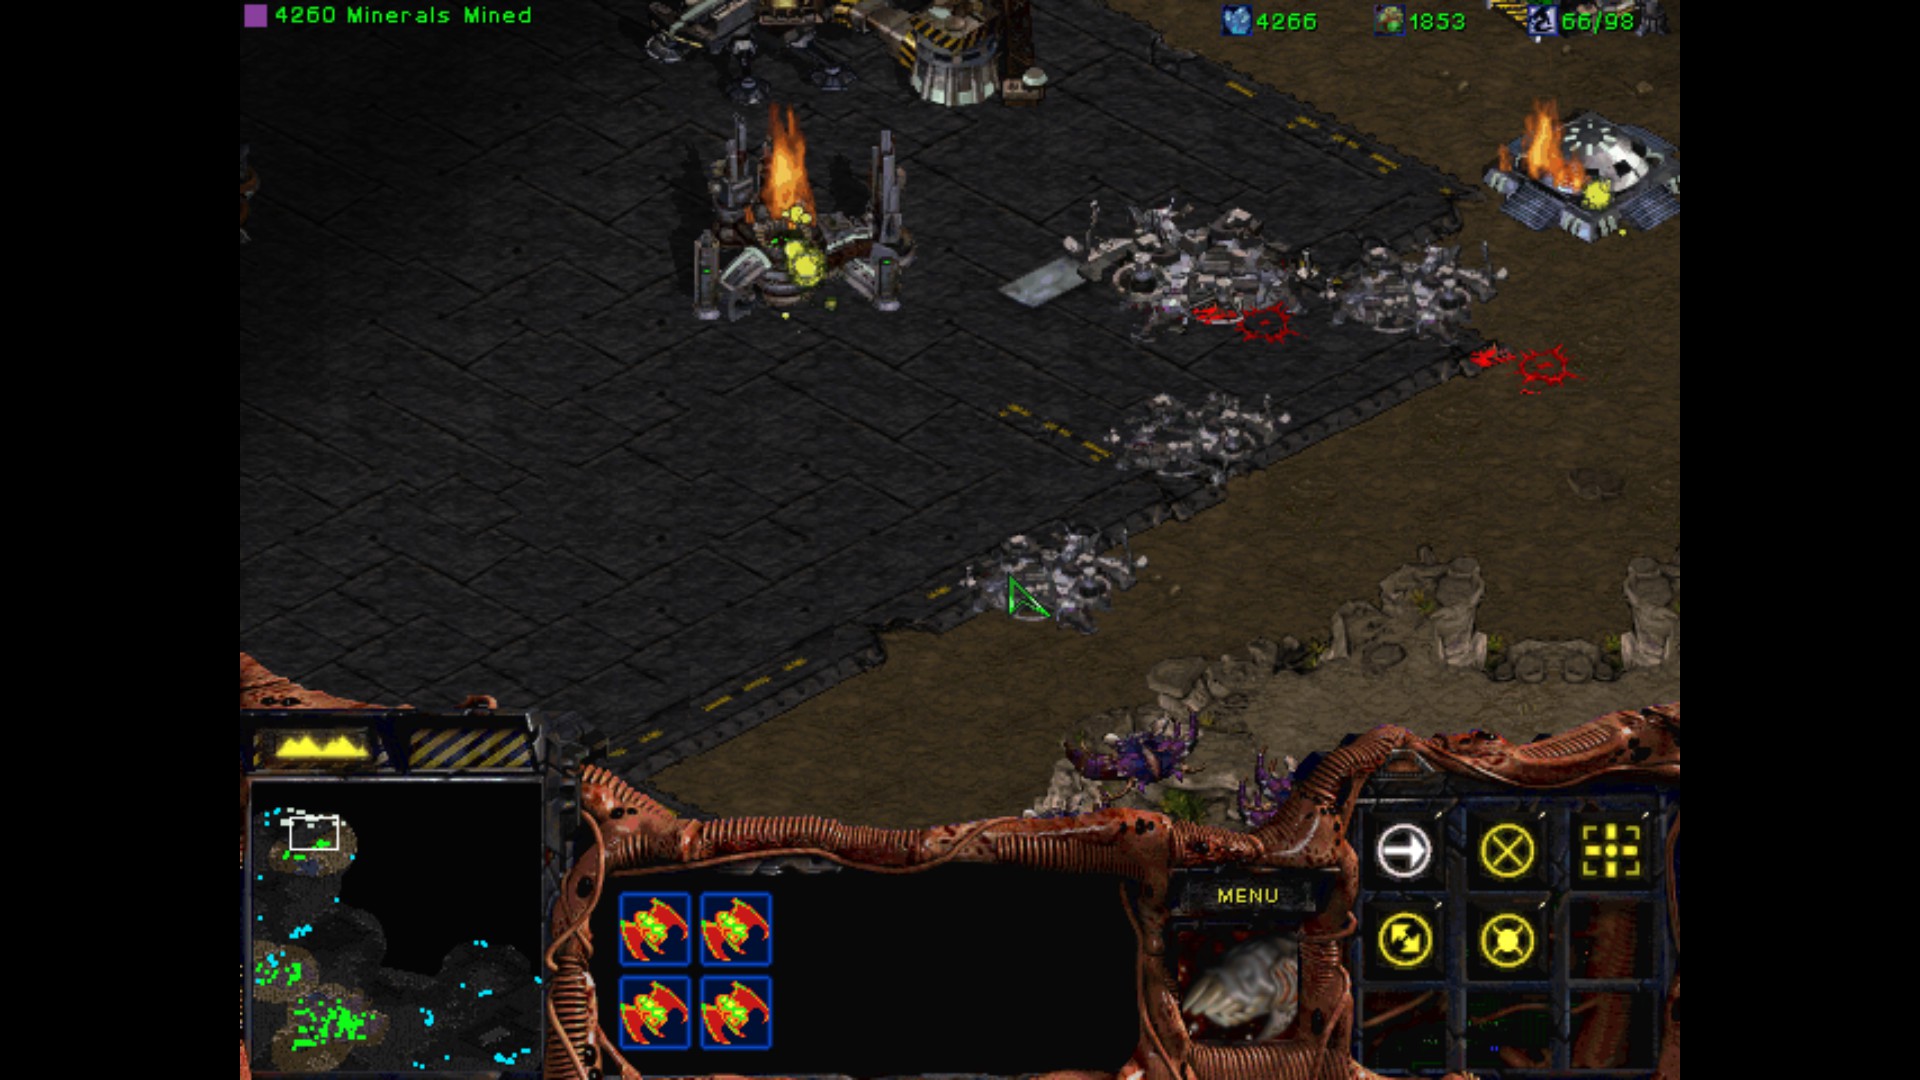
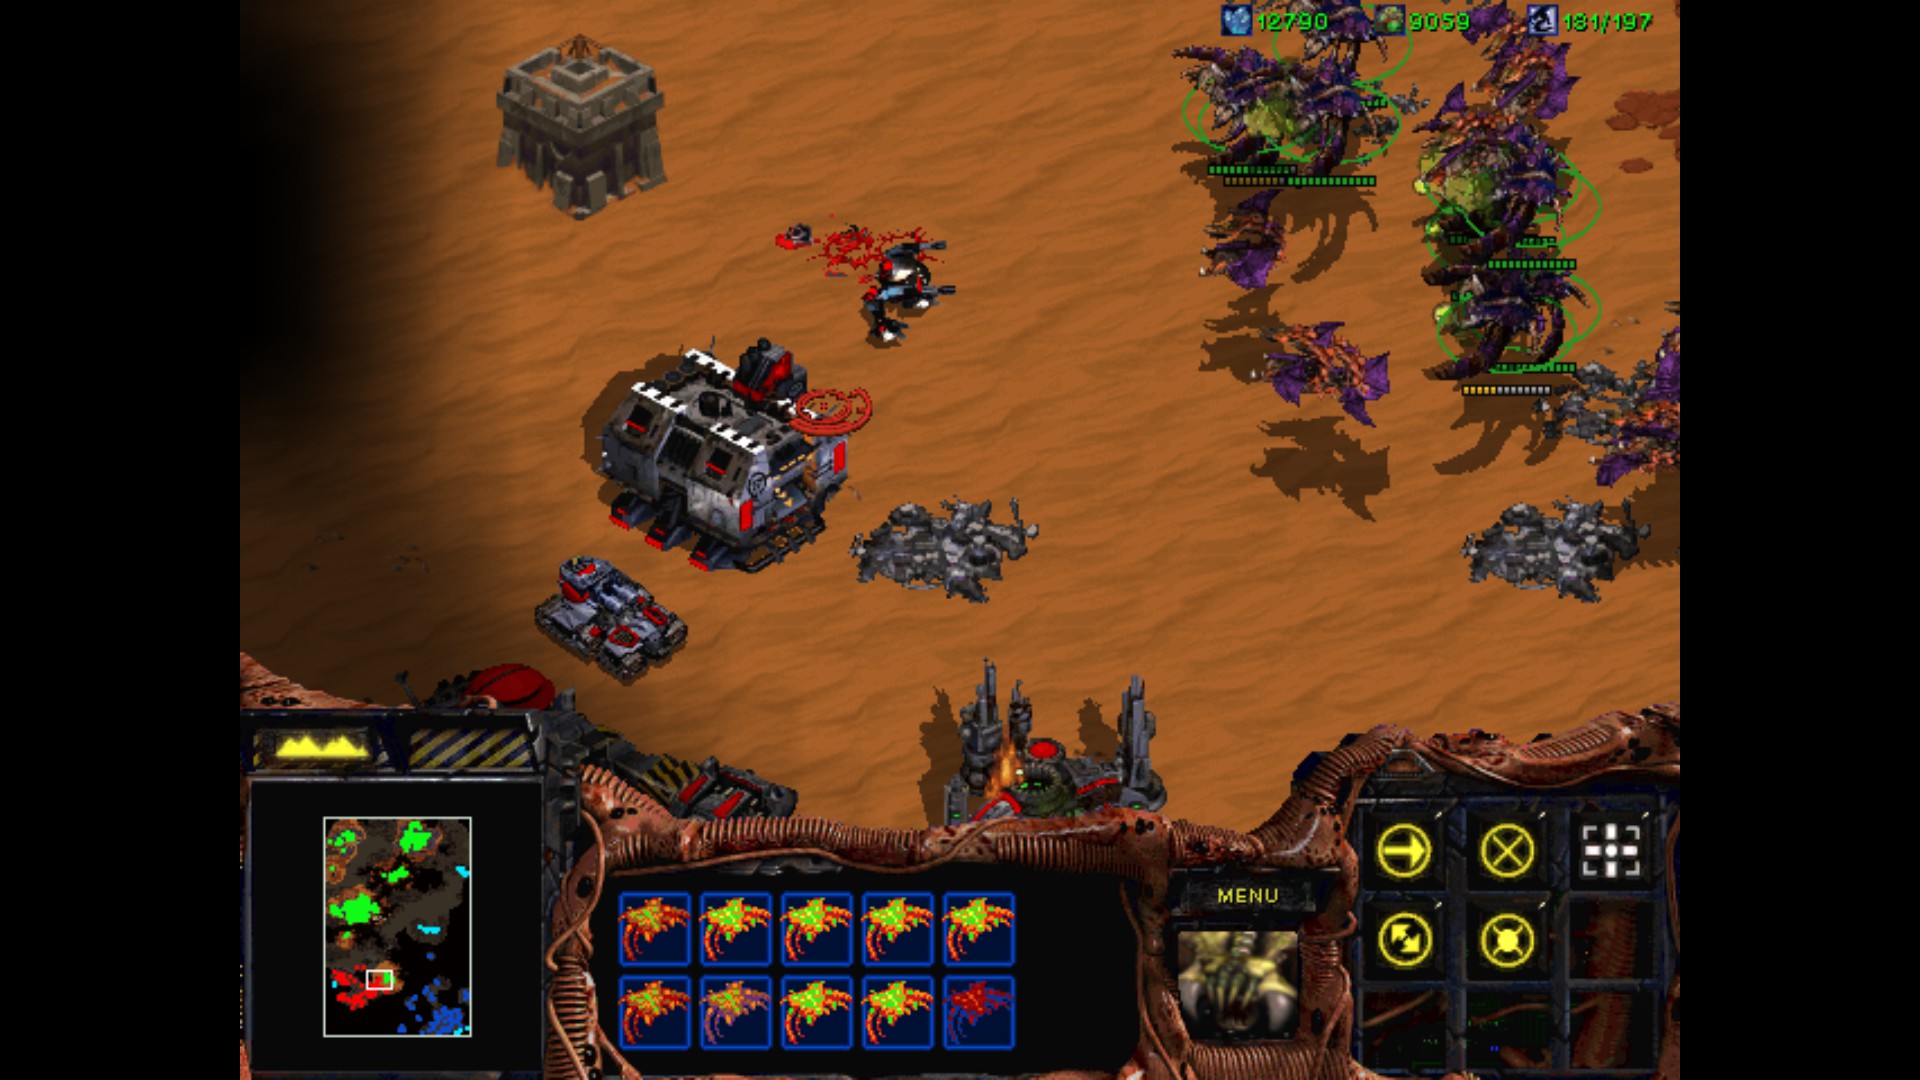
Here, I used Tanks, plus some Marines/Medics who were dispatched on the hills and were helping with destroying Spore Colonies. Later on, with more clean air road I moved my Battlecruisers to deal with the resistance and finally kill another Cerebrate and say adieu to the wretched Torrasque.

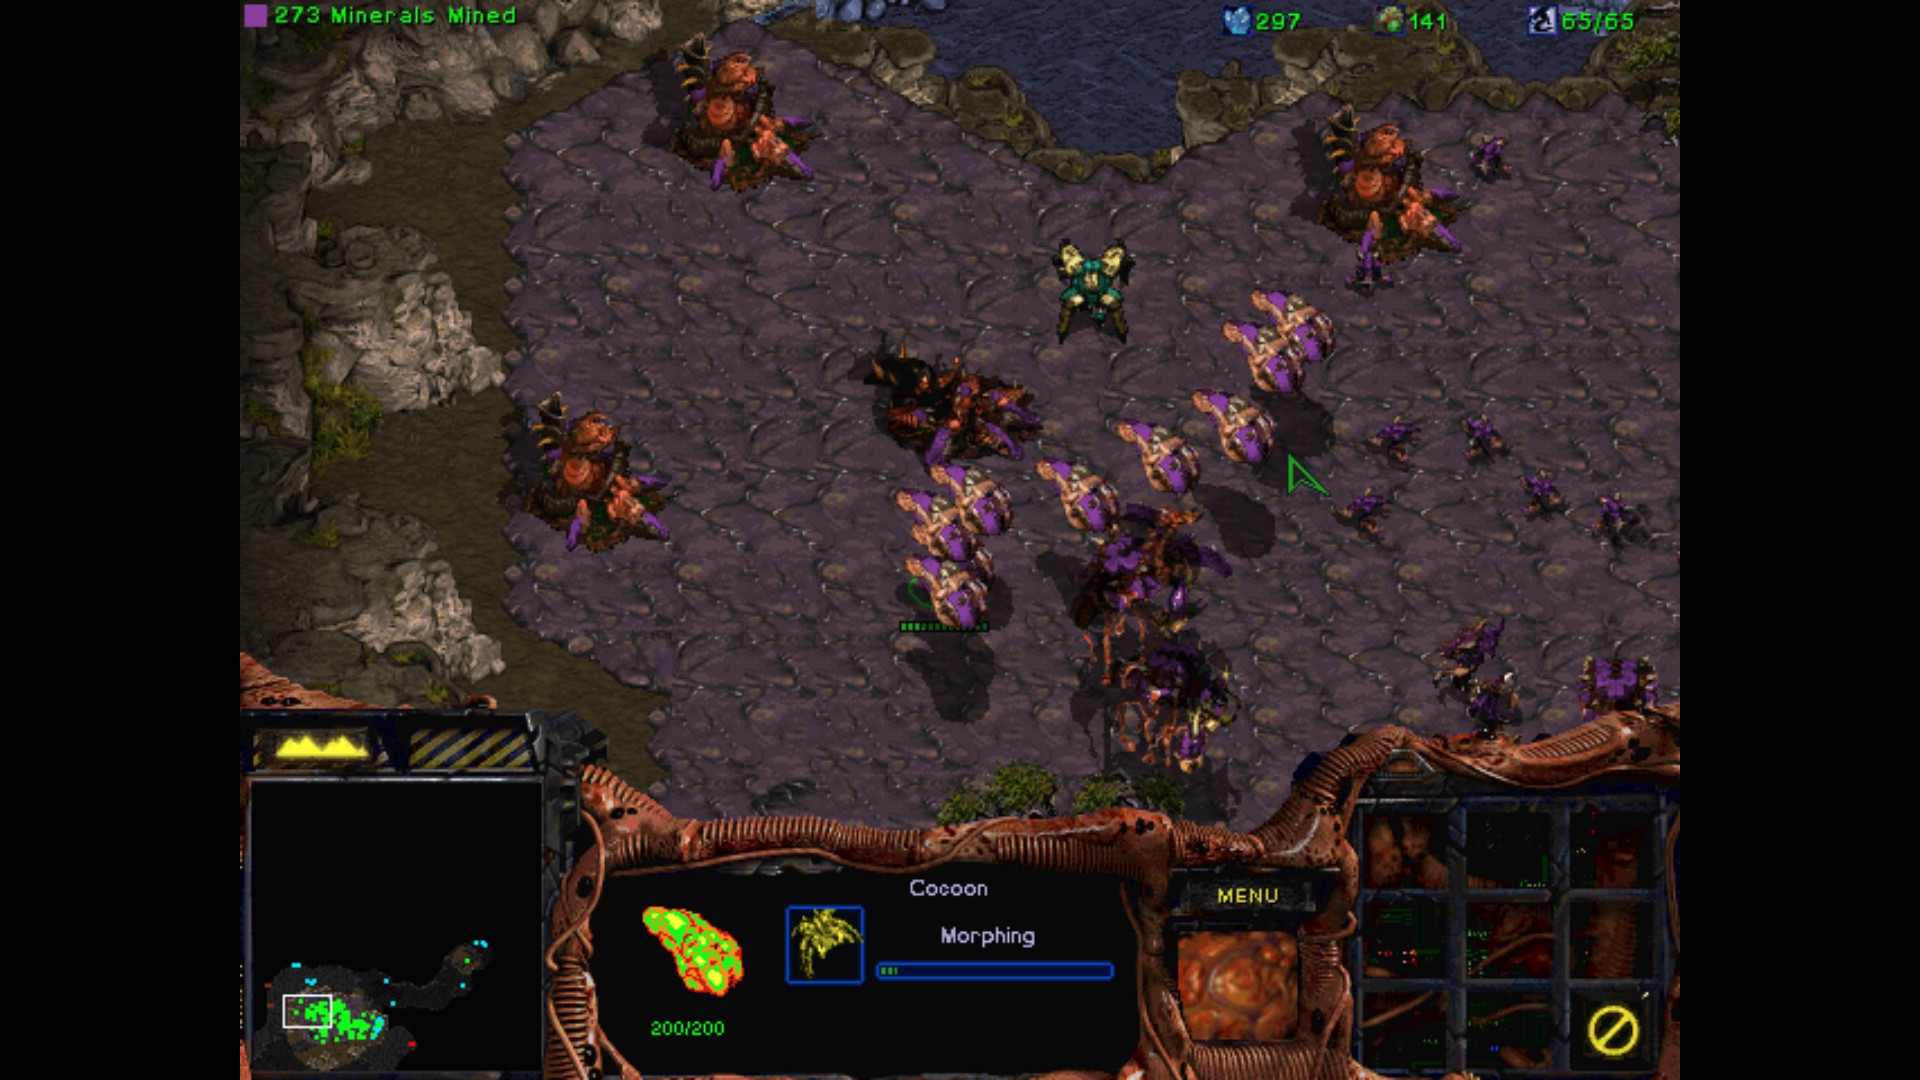
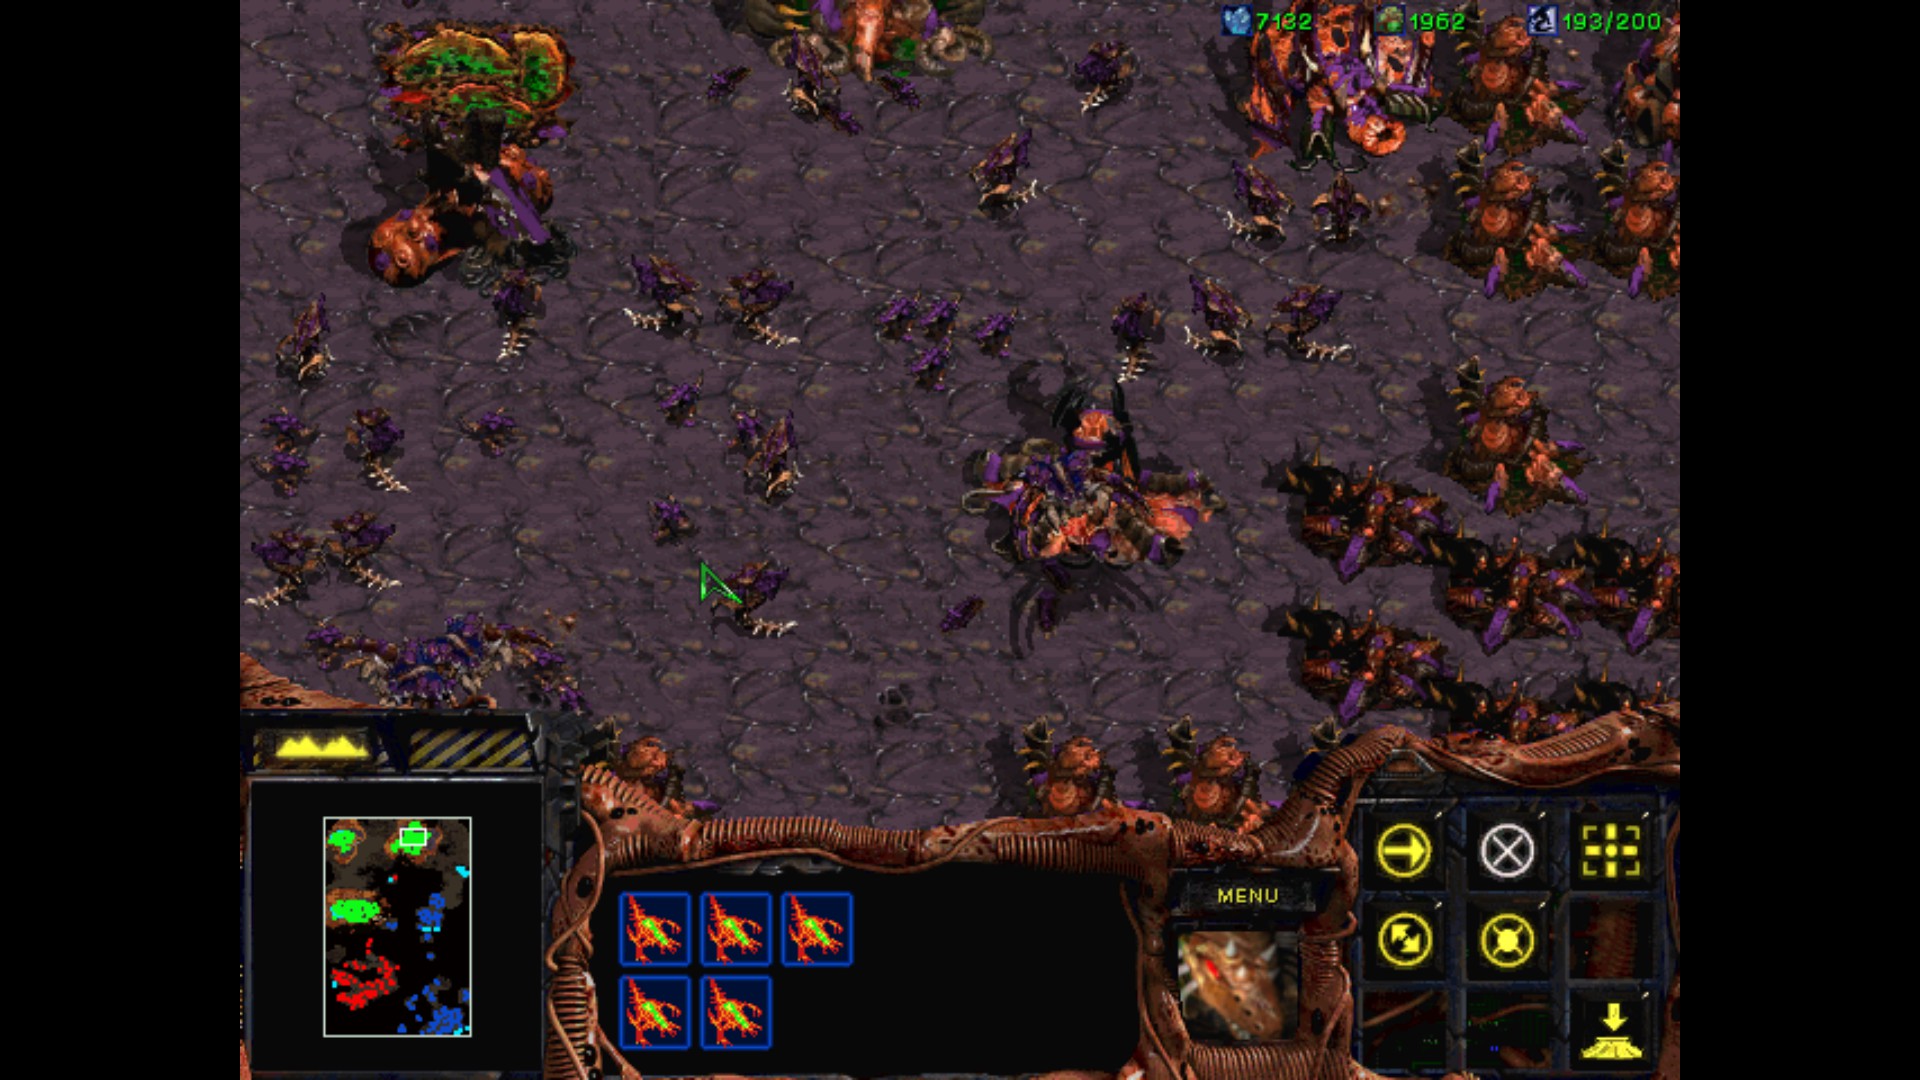
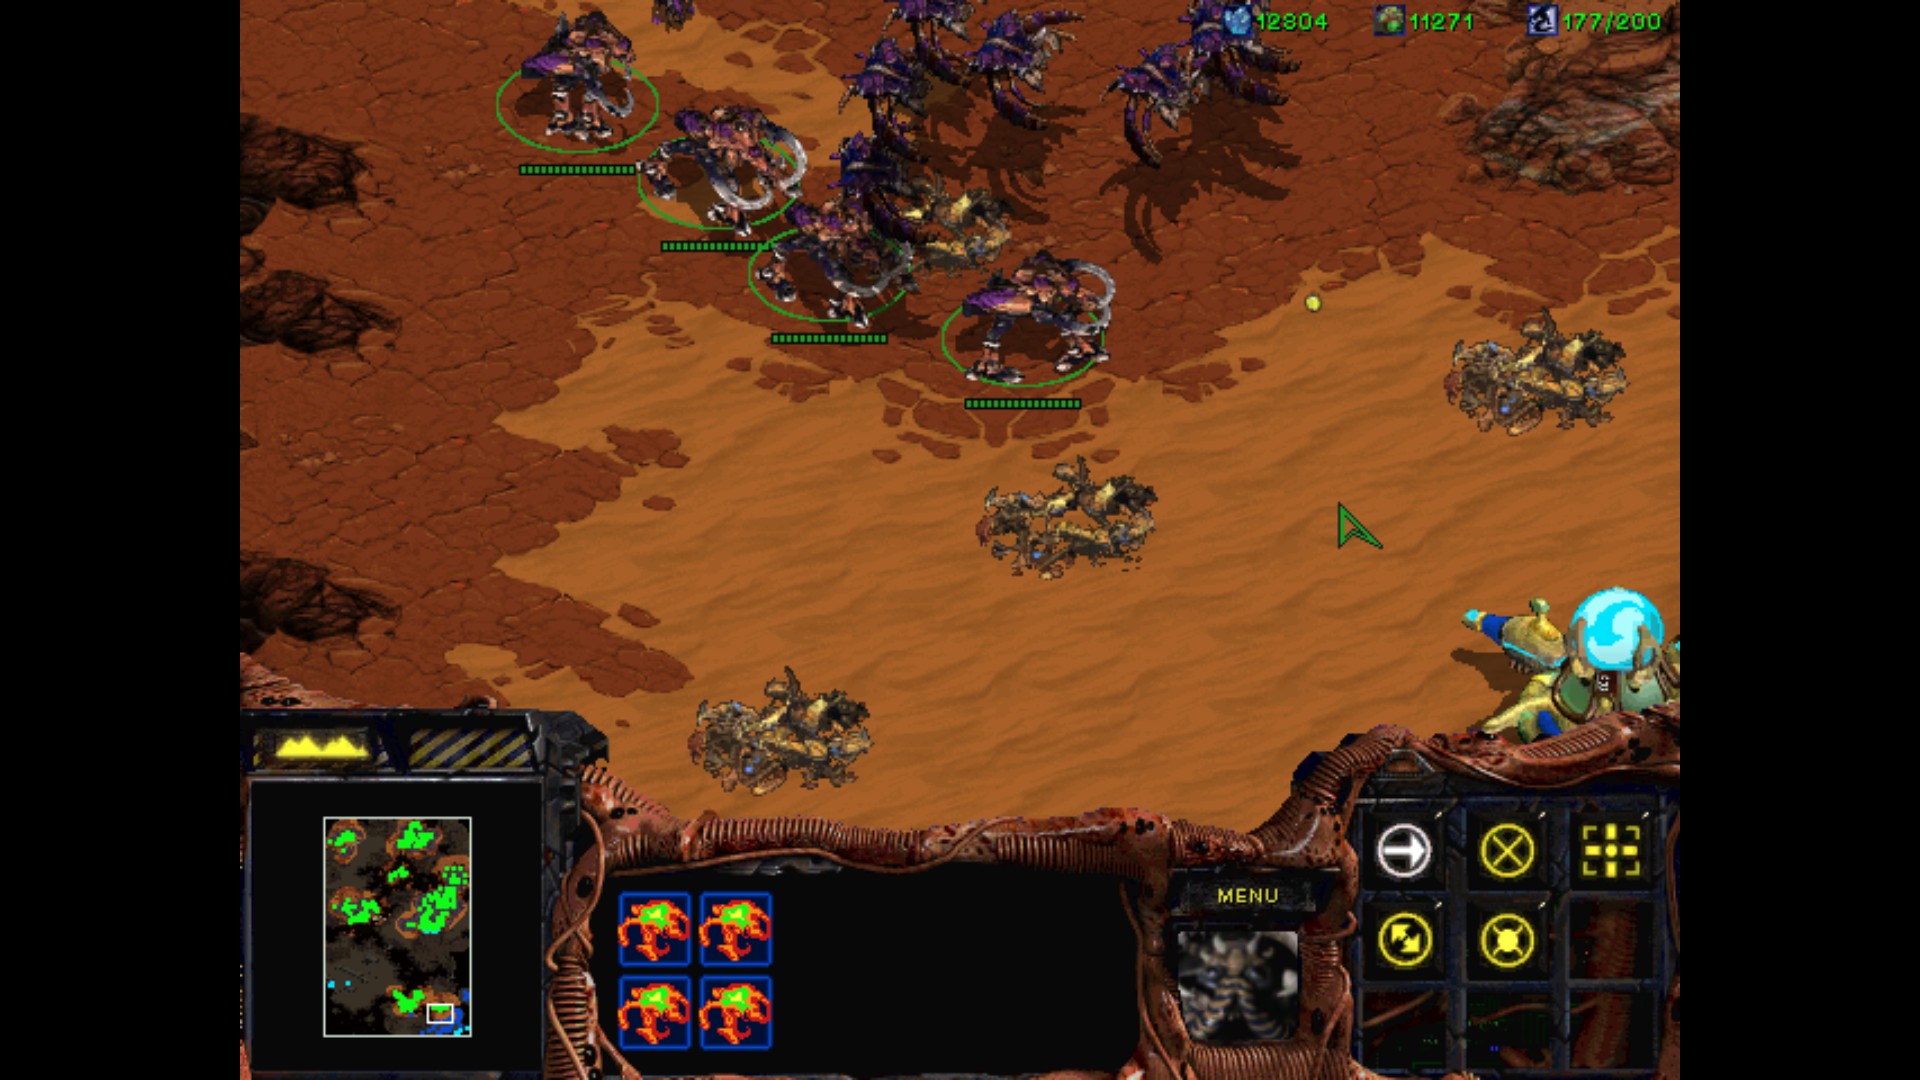
I move my Tanks and Goliaths to the second base. The last remaining Zerg is sending to me big numbers of Mutalisks and Guardians, like he knows what is coming for him.
I build many Turrets which will defend my last additional Command Center.
I've dealt with the biggest problems for now. I can now check part of the map, to see how big the base of the orange brood is.
Holy molly, the red Zerg really had his ground checked in case of any intrusion. The base of the remaining forces that I need to defeat is scattered as well through the big patch of land. I need to concentrate on the Cerebrate and forget the rest for now. South east seems to be the best starting position.

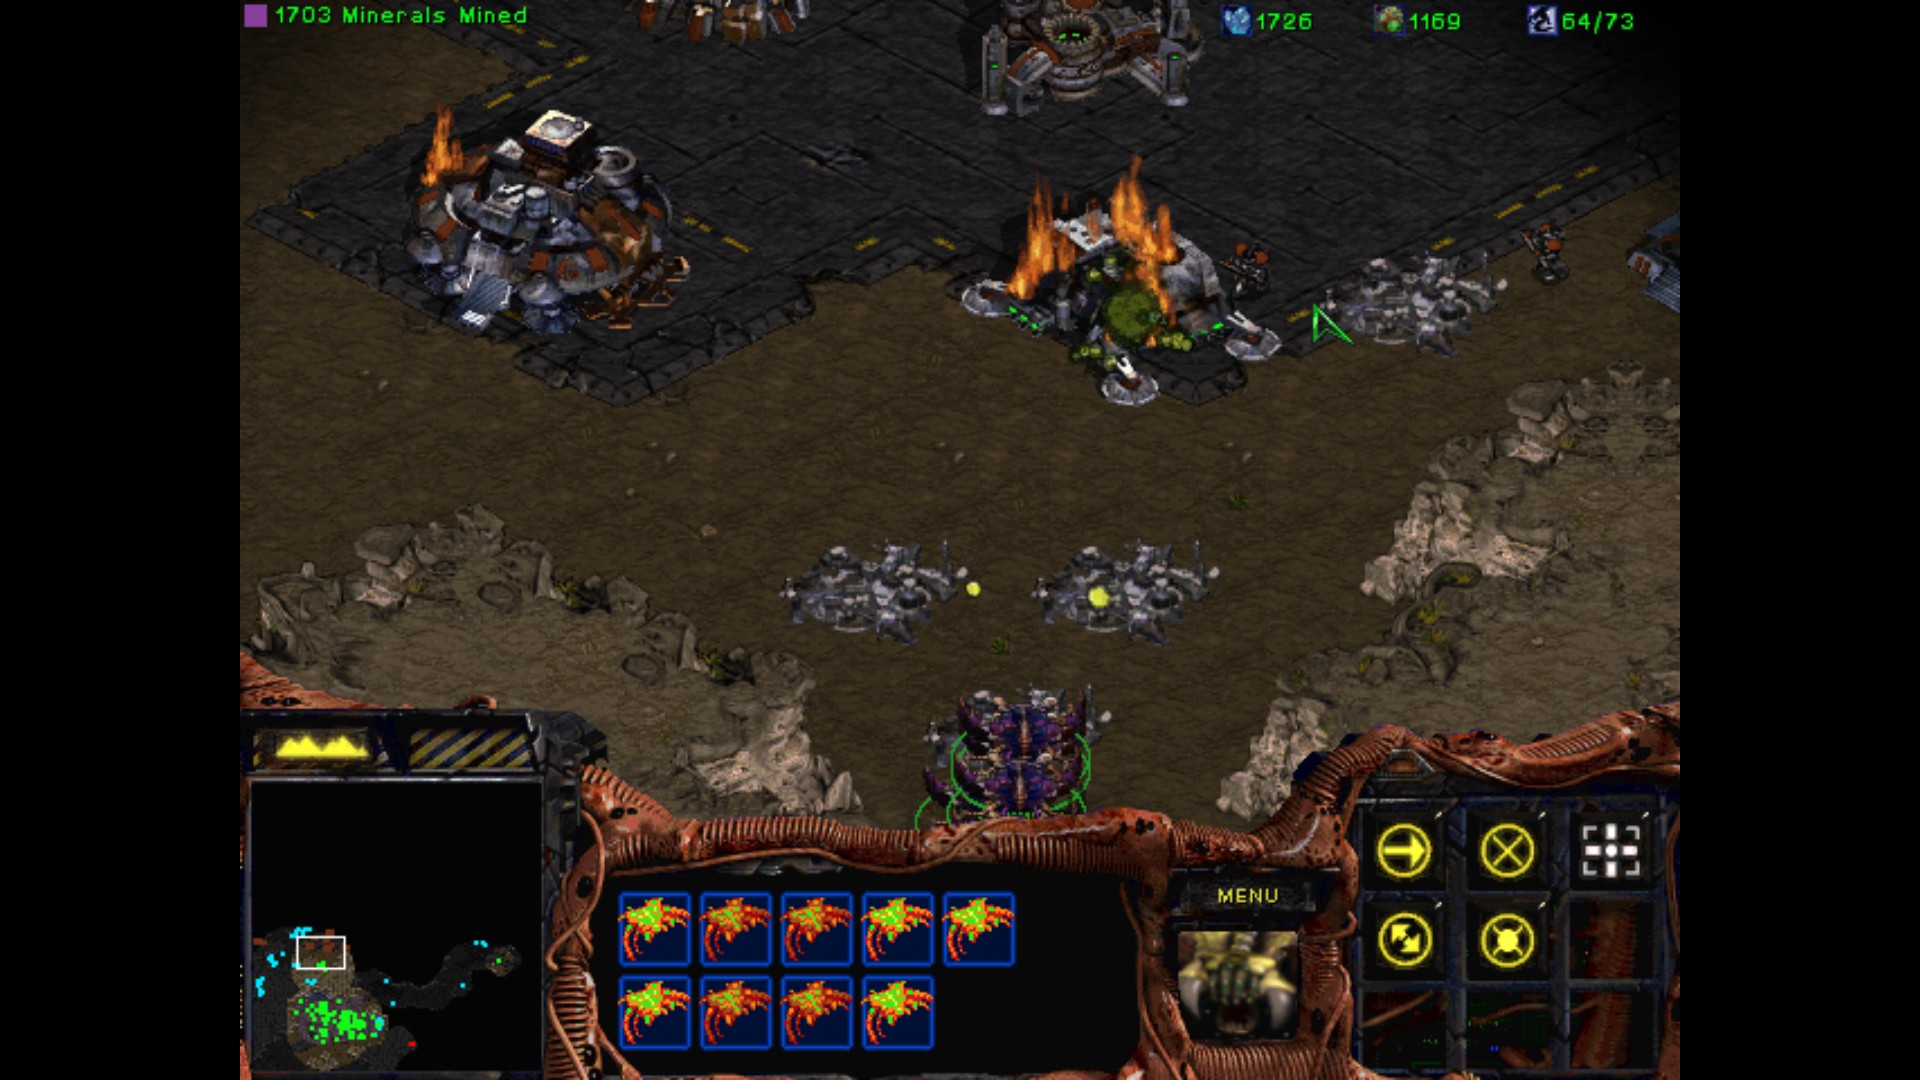
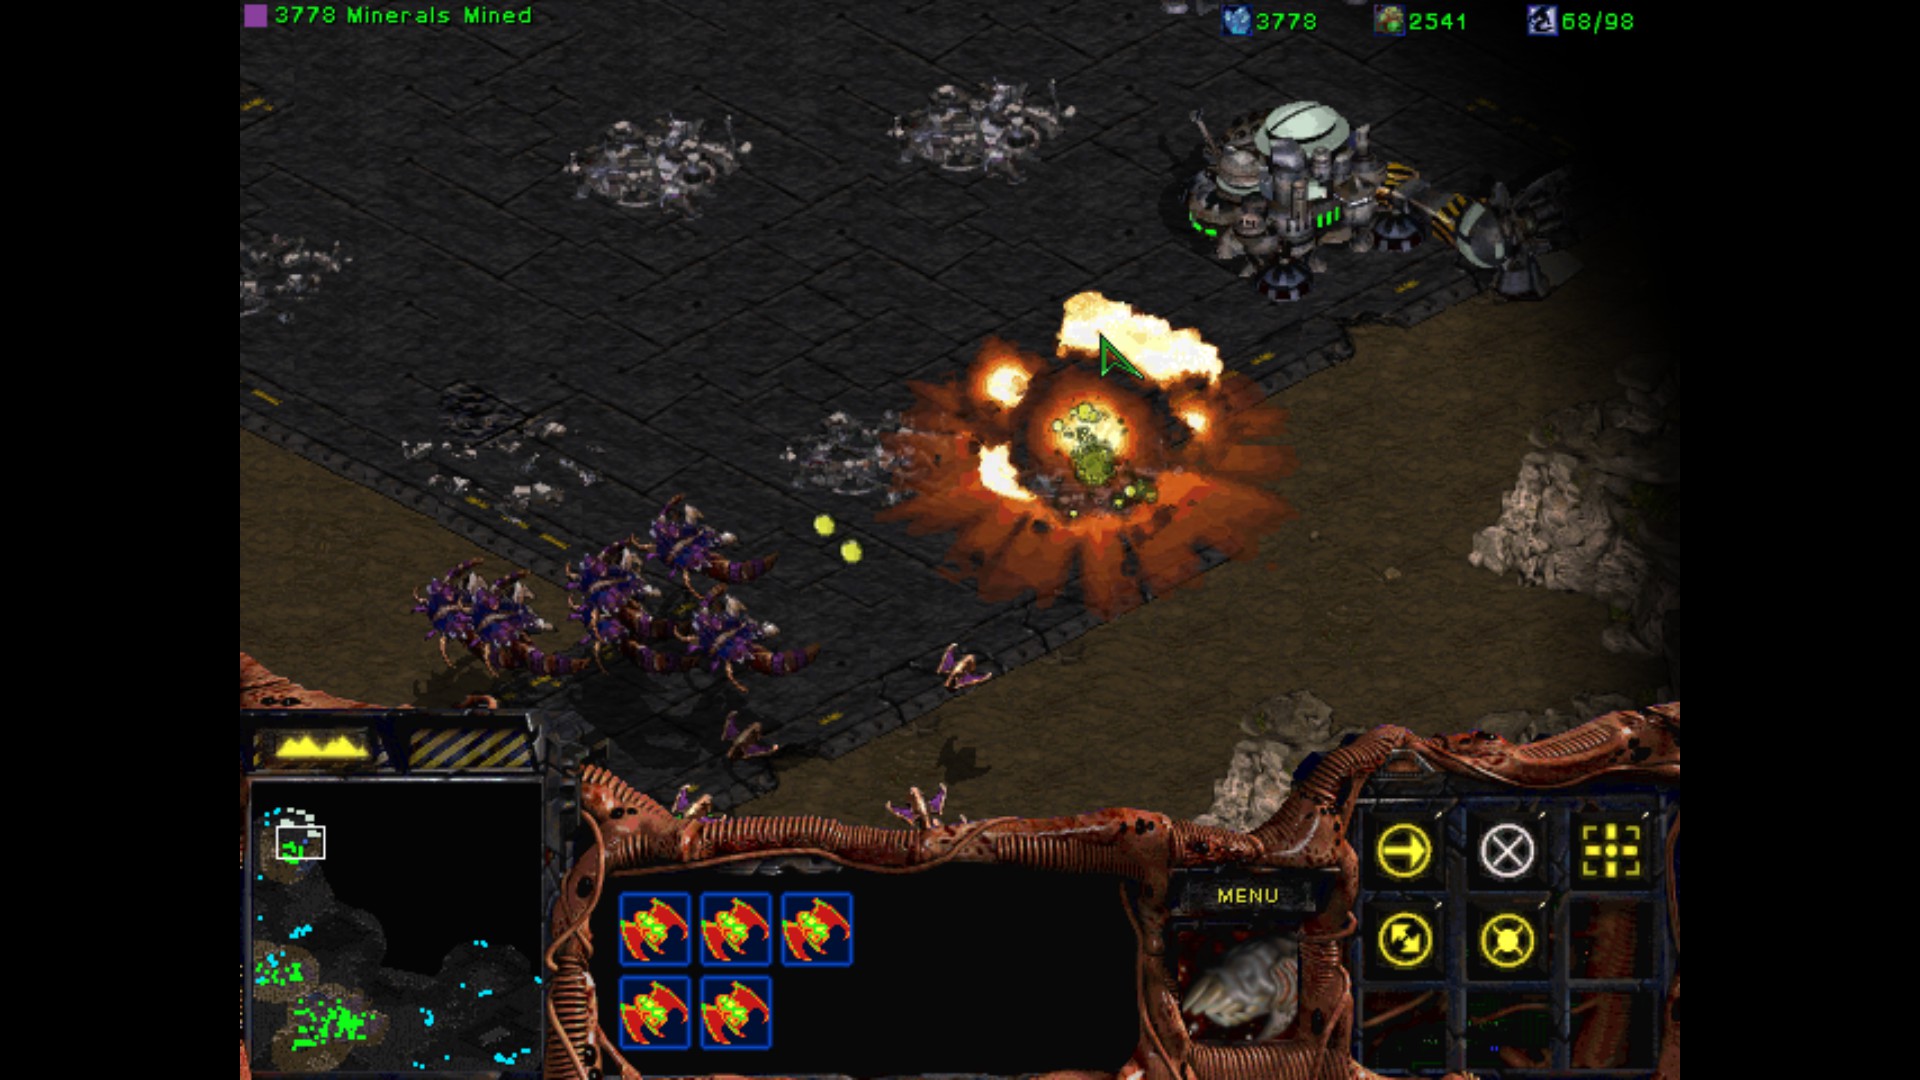
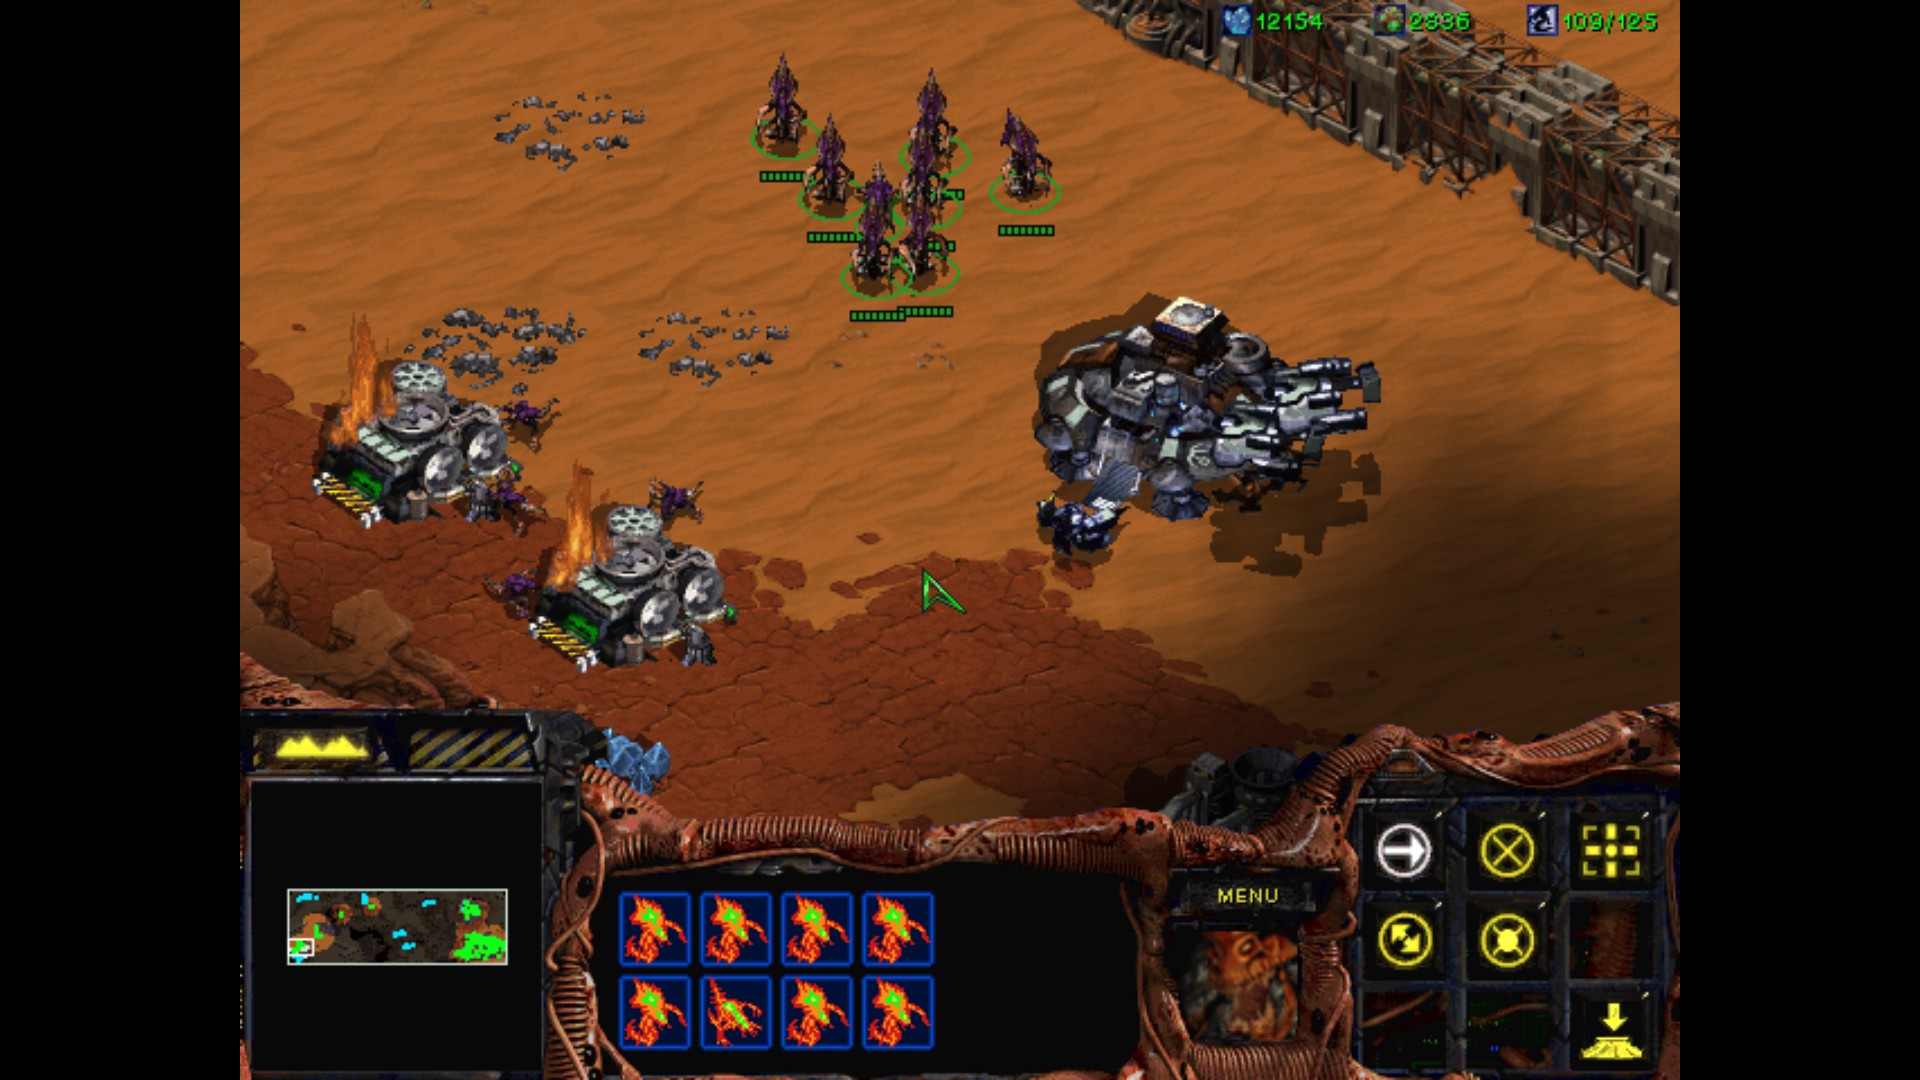
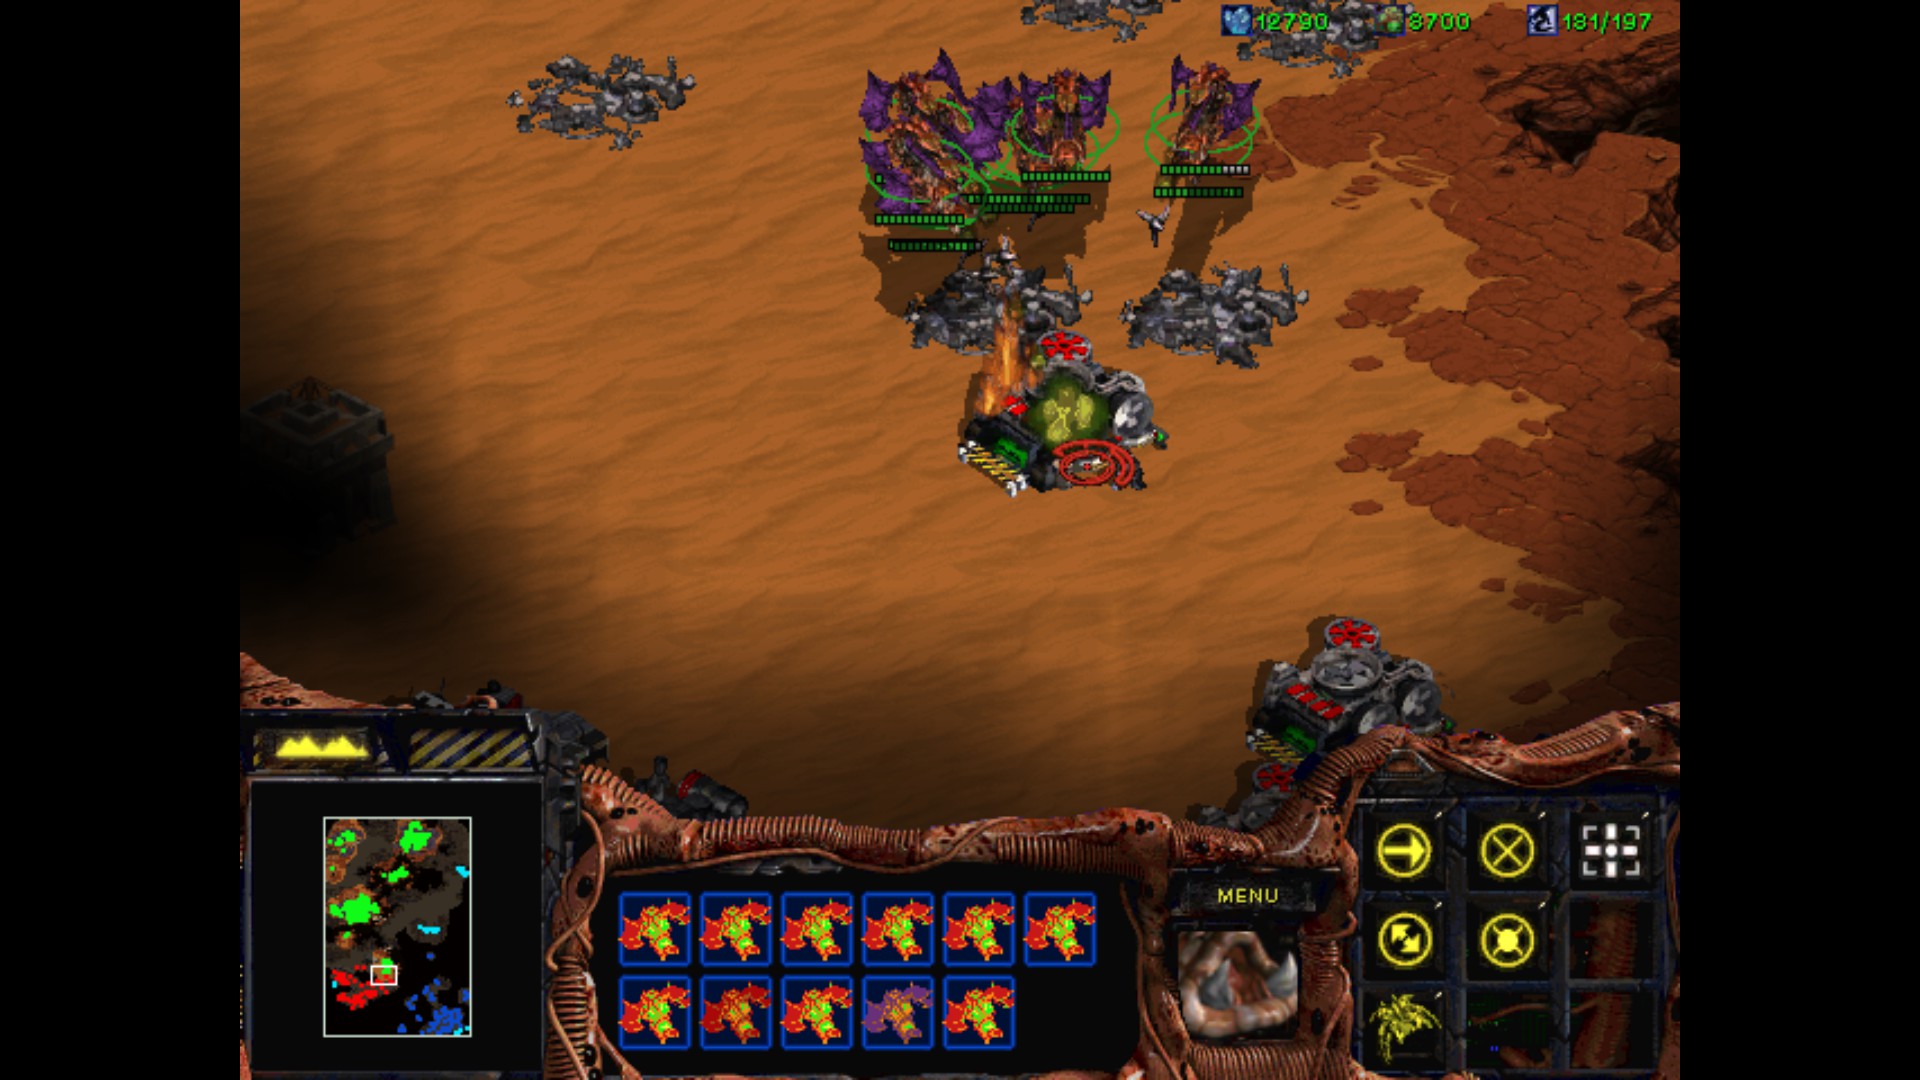
I've used some Tanks and Goliaths to clean the entrance. After that my fully upgraded Battlecruisers massacred the Hydralisks burrowed beneath. I have a clean shot right now. This Cerebrate is going down. I need to be quick because probably reinforcements will come really quick.
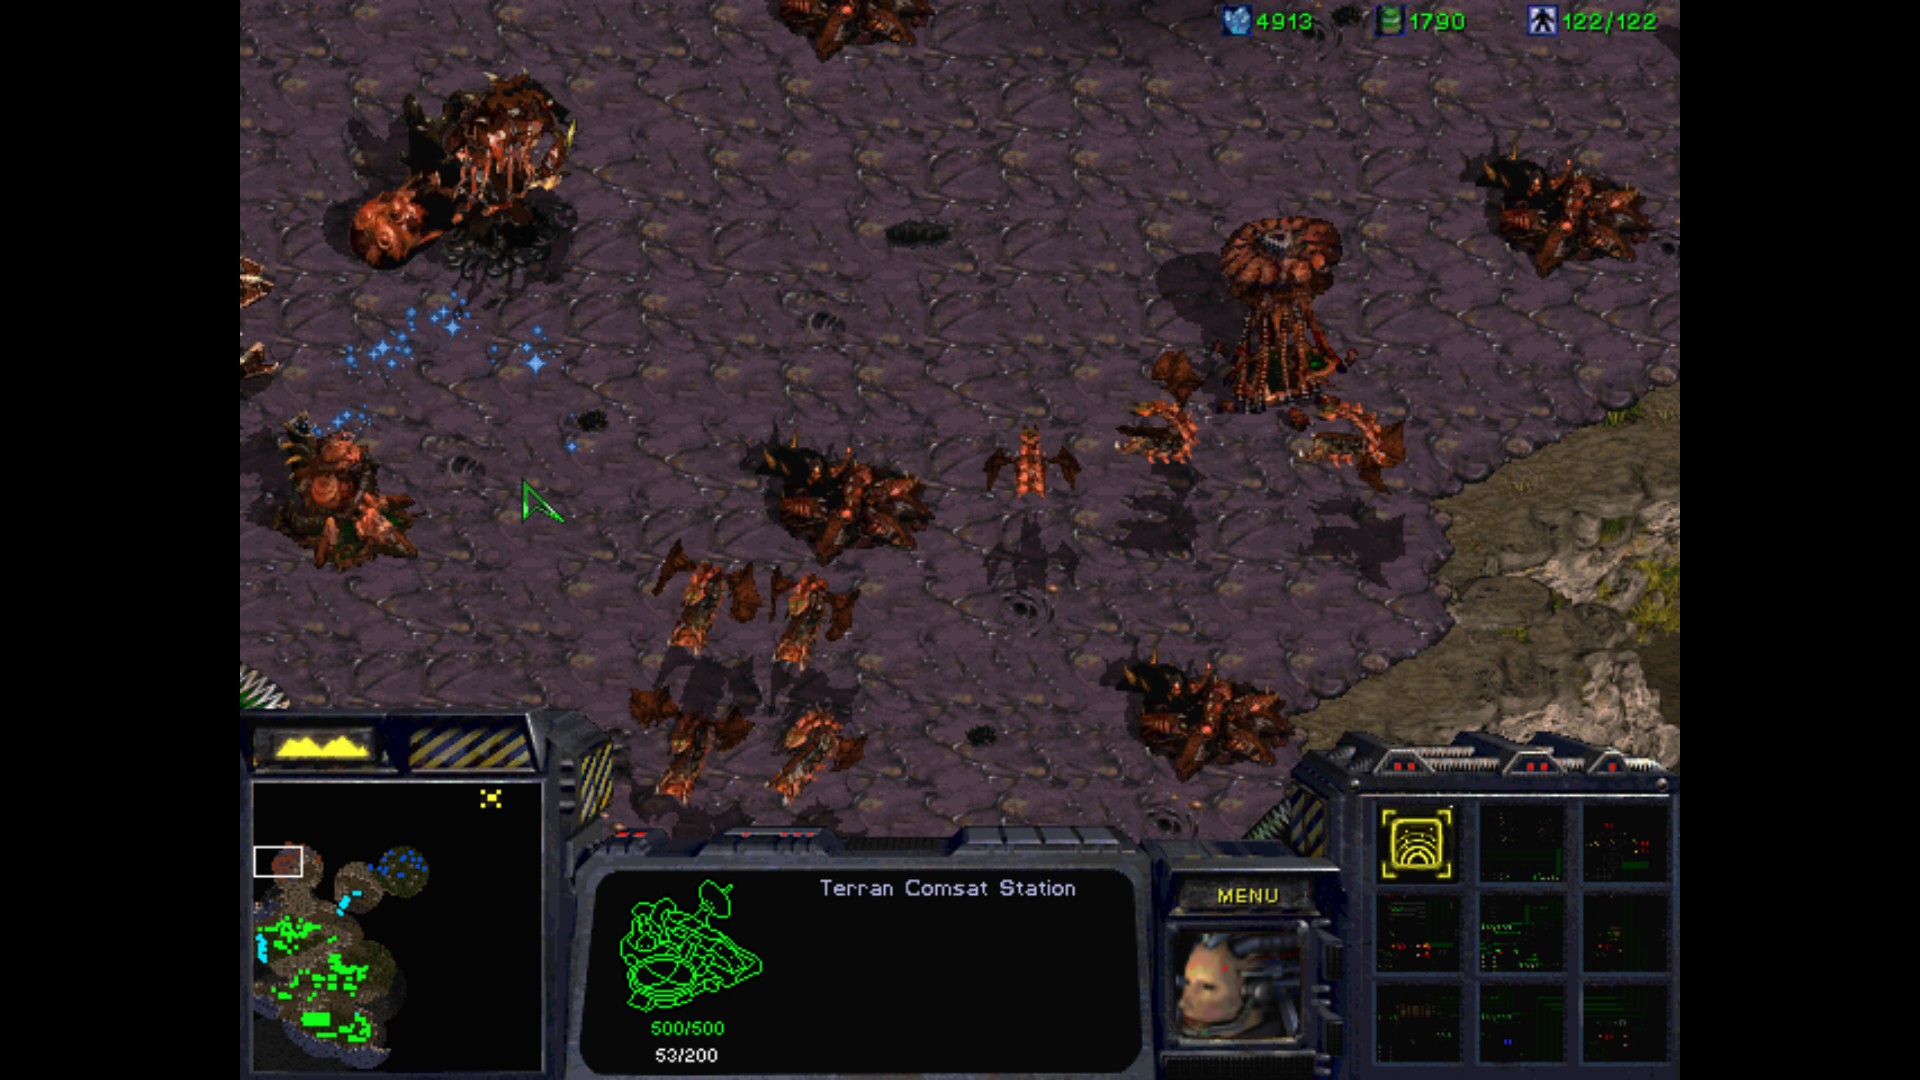
Swee, all of the Zergs are now destroyed. Operation full clean initiated.
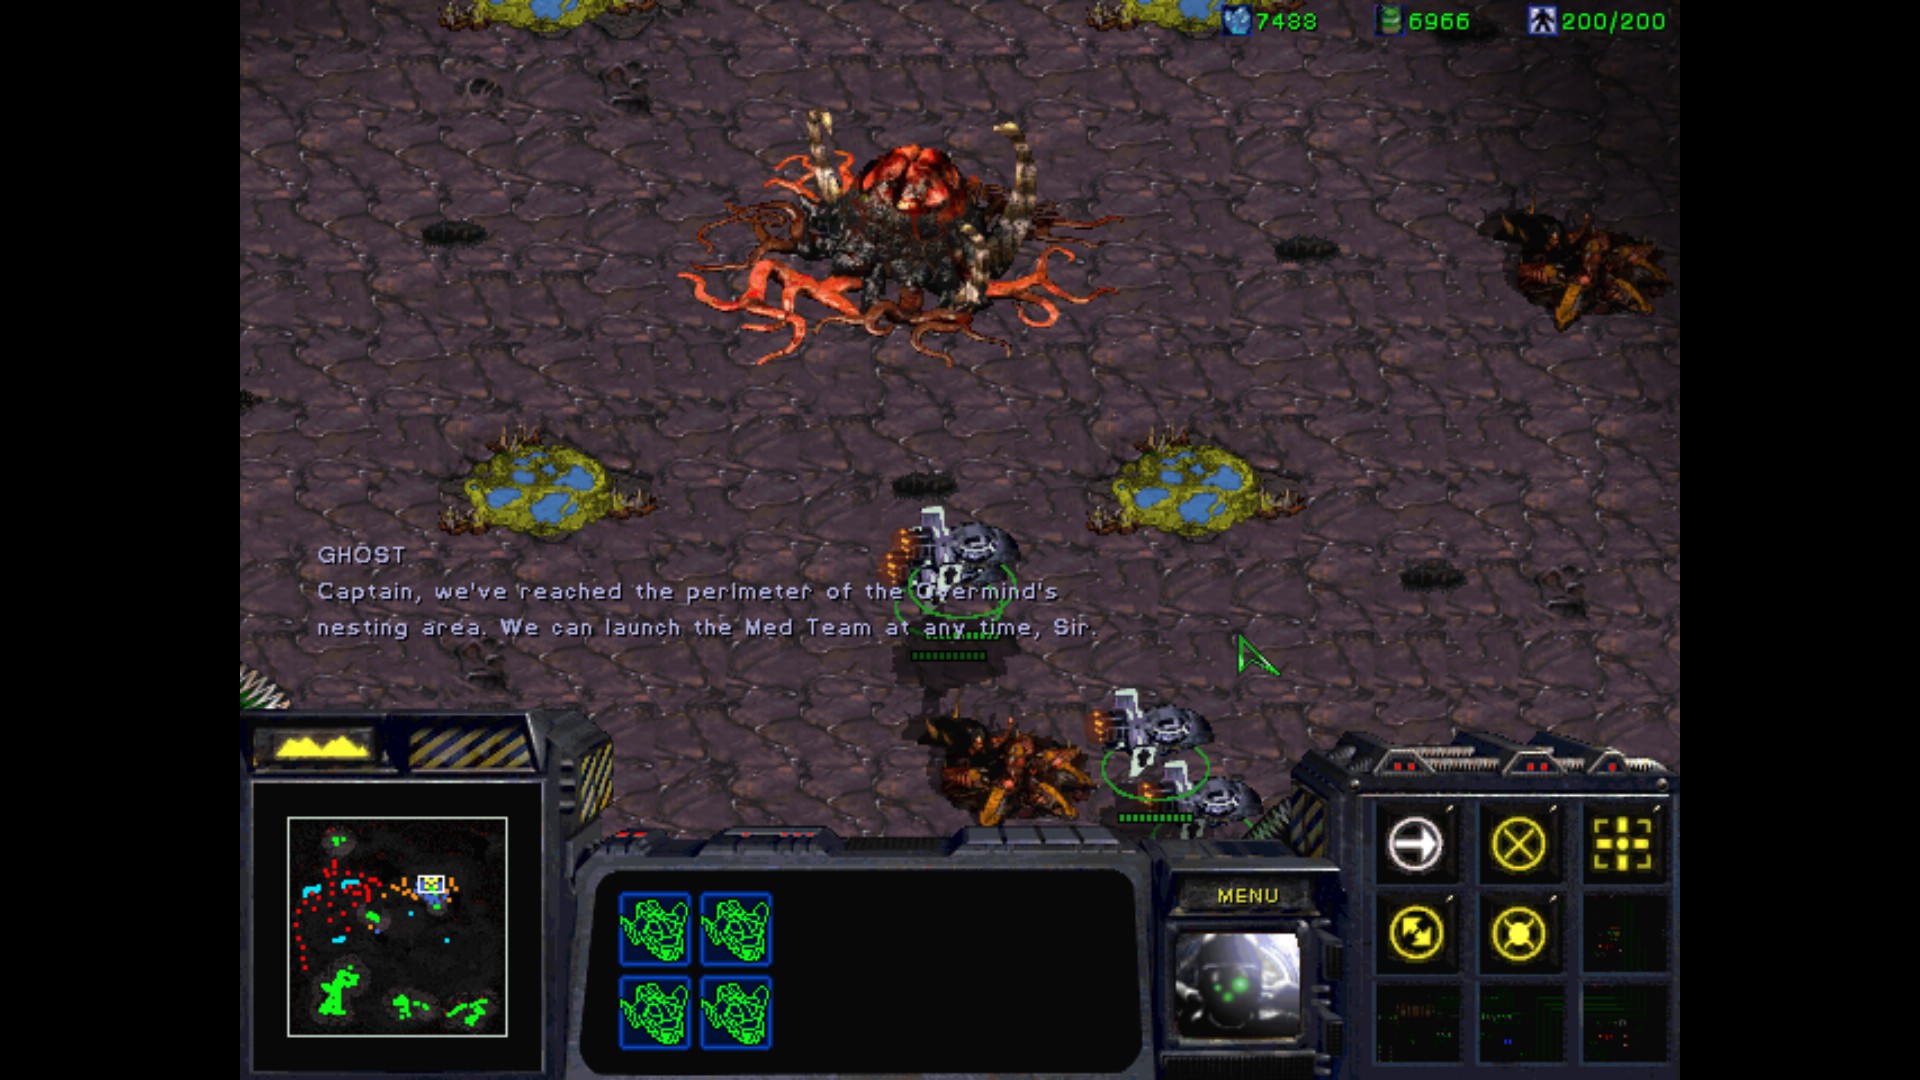
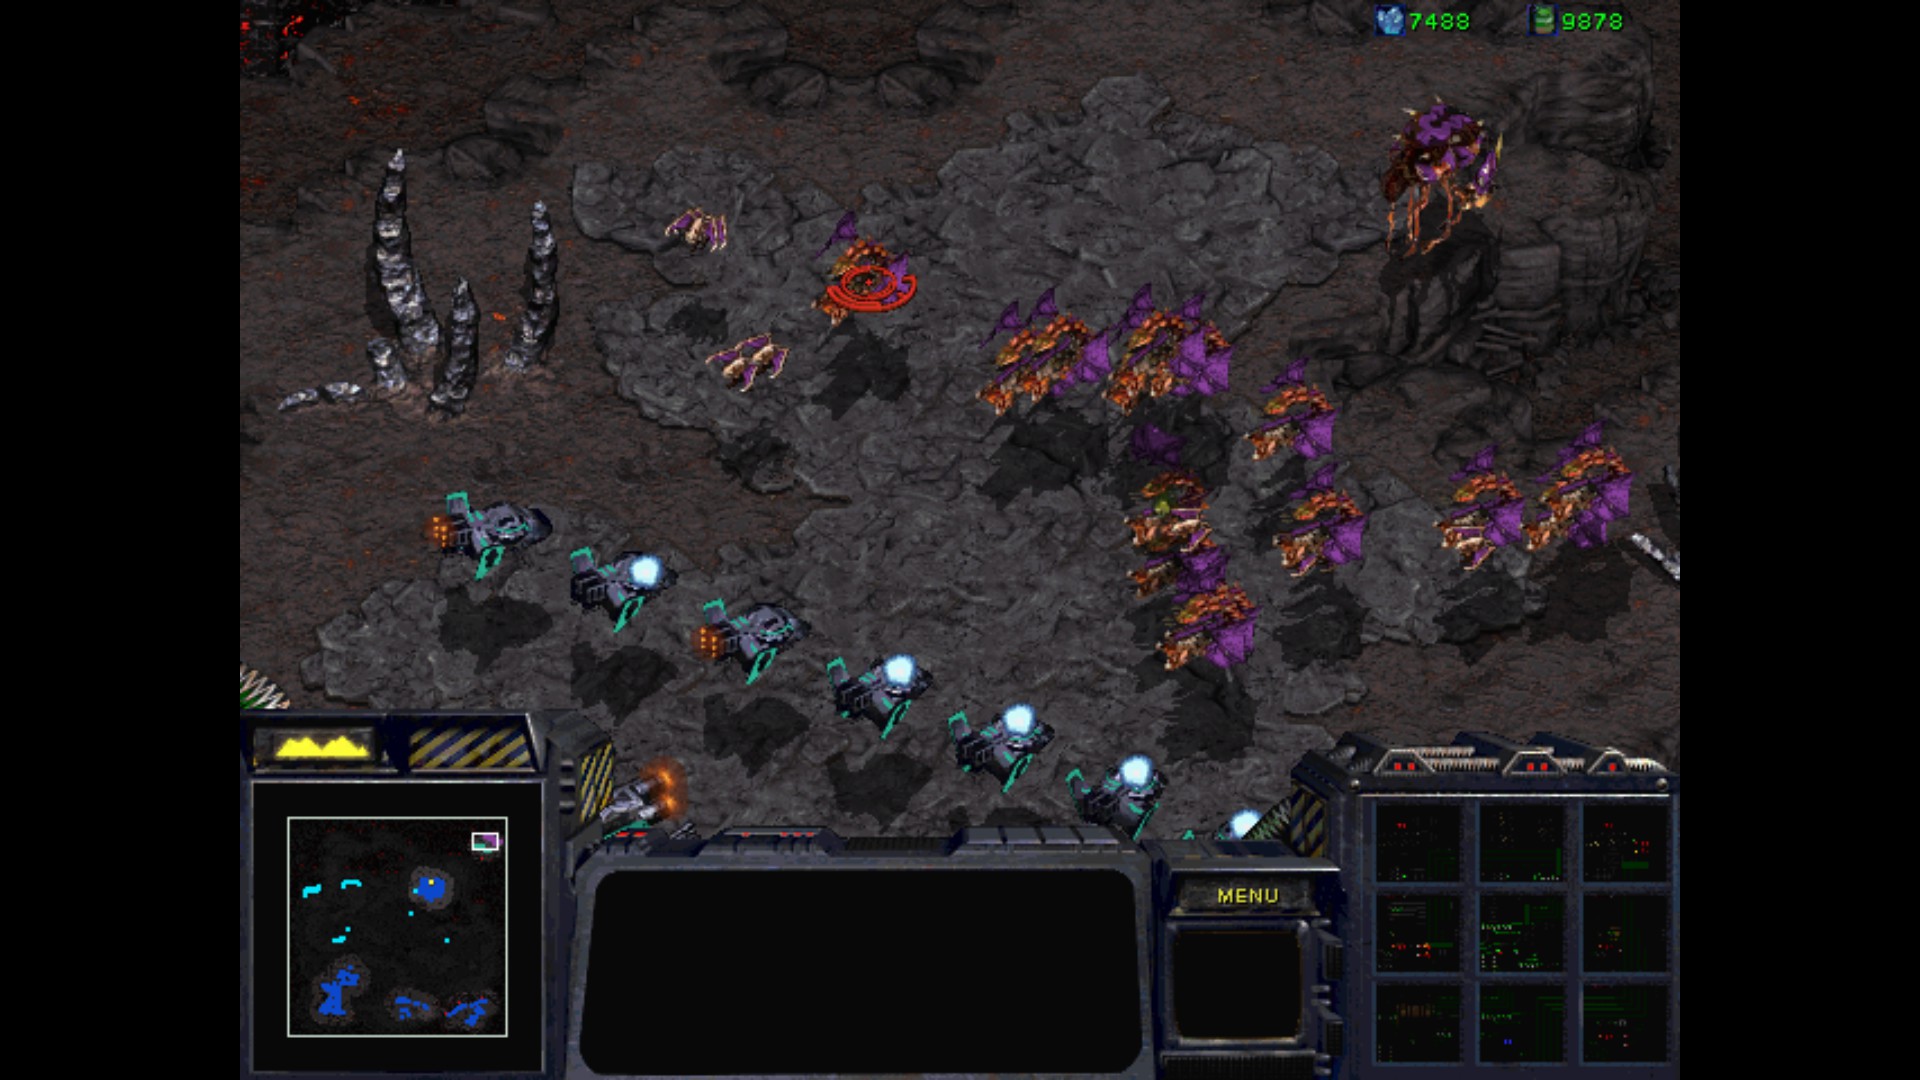
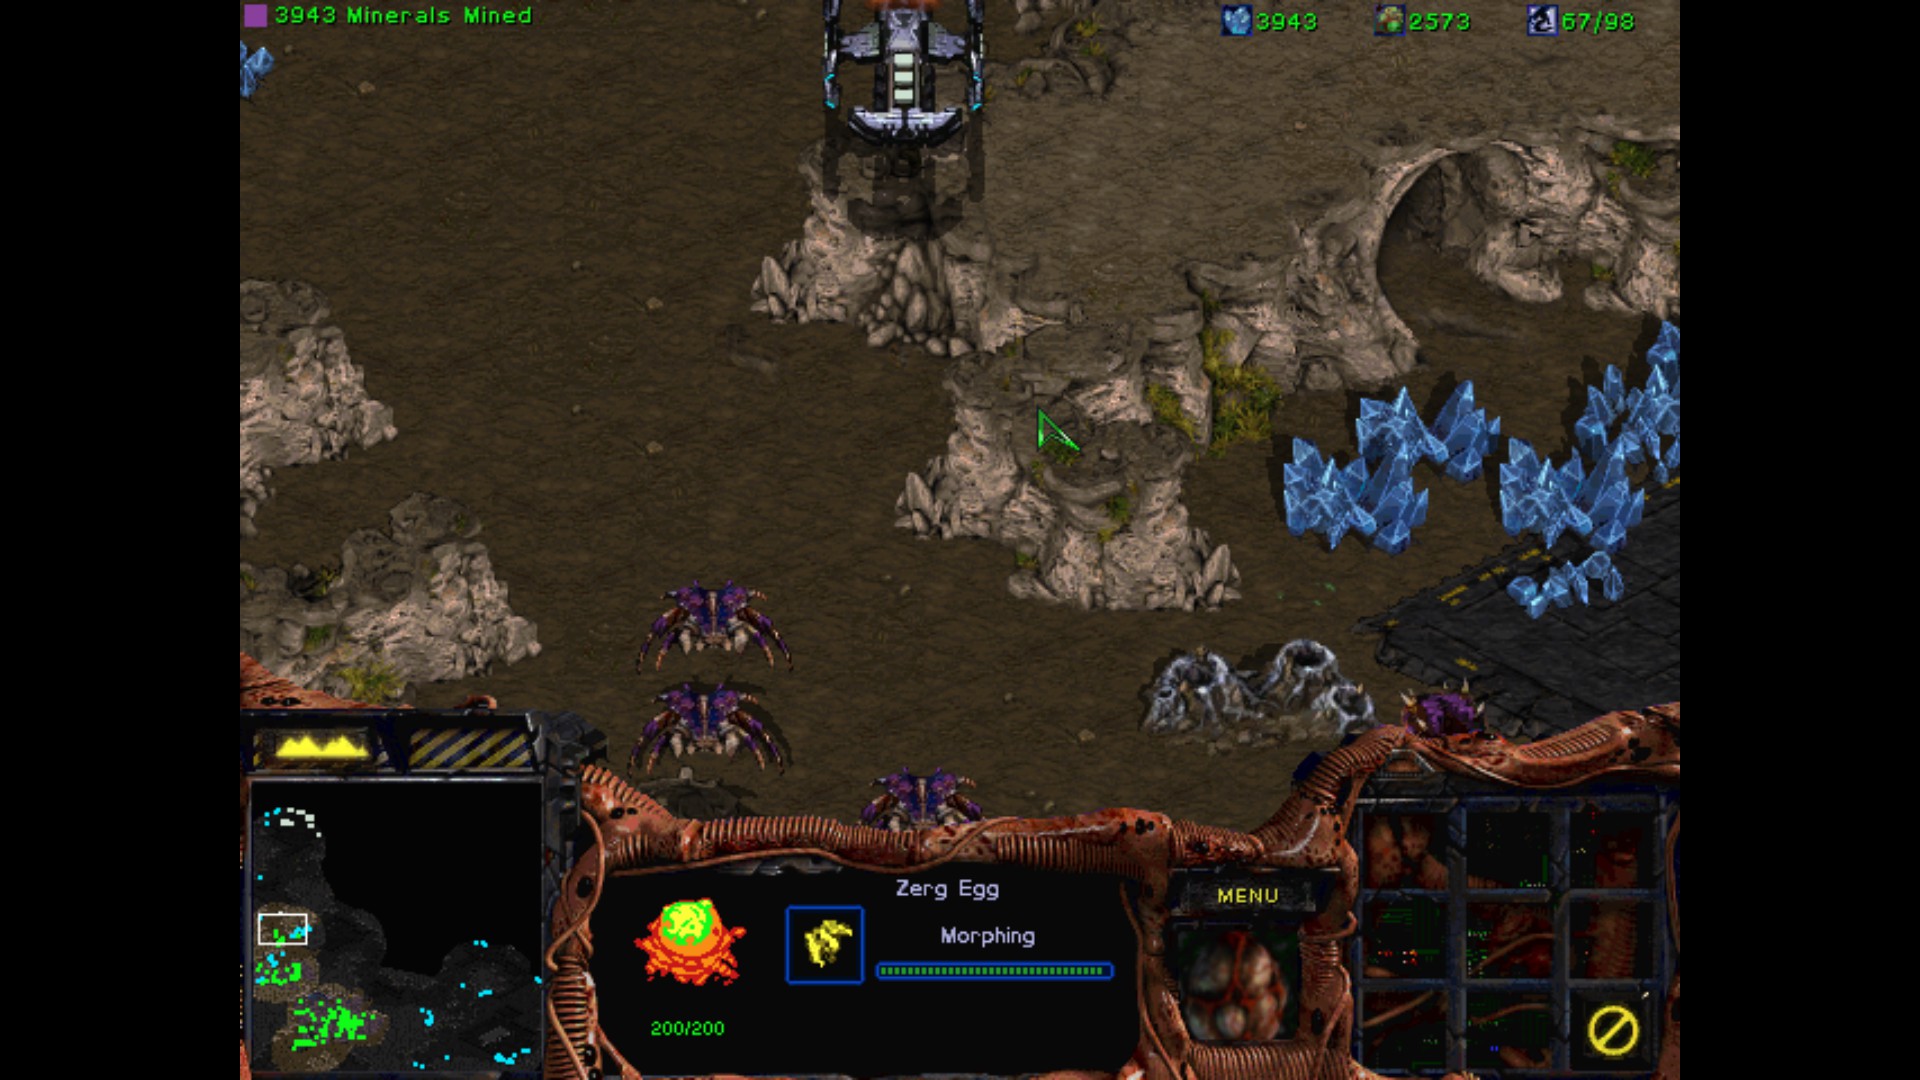
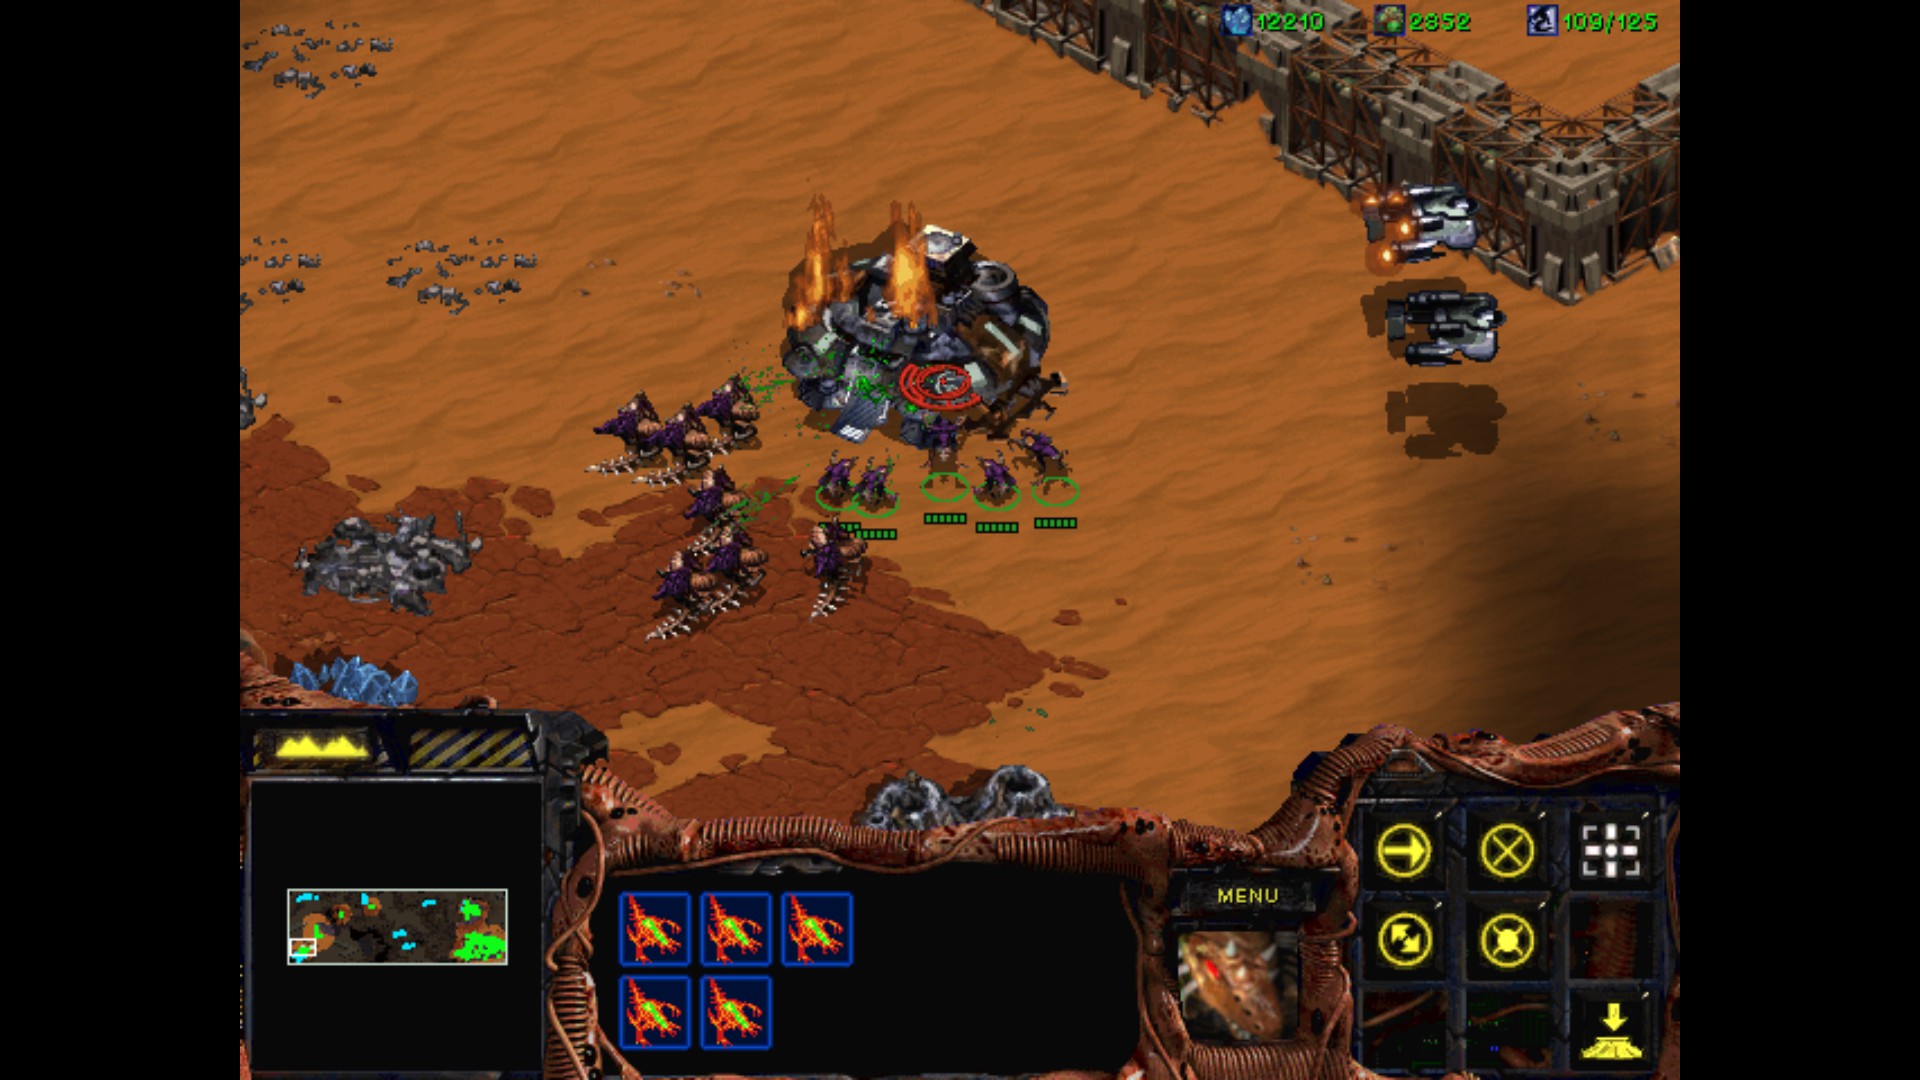
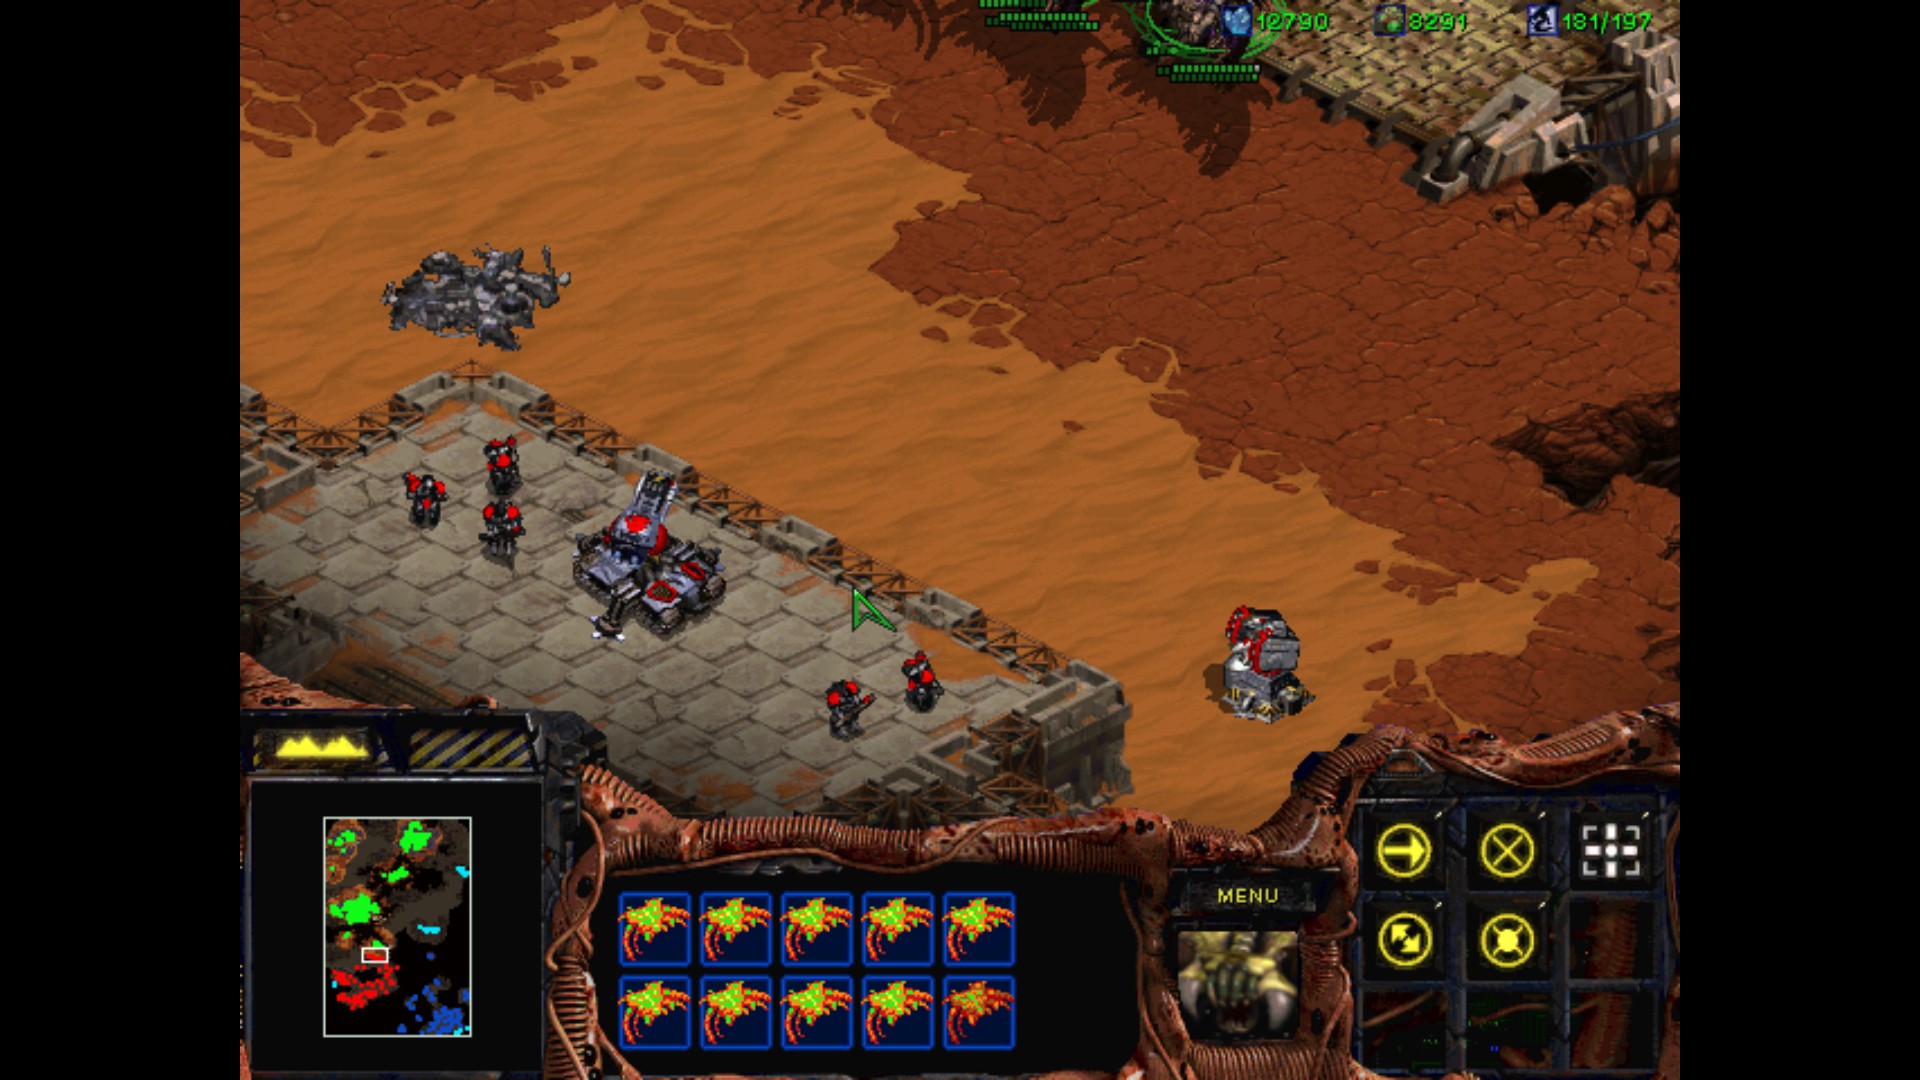
During my preparations, since I don't remember what to expect at the end I pull most of my forces into the place where Overmind is located. Just in case. My Battlecruisers and Tanks are destroying the remains of the Zerg structures in this region.

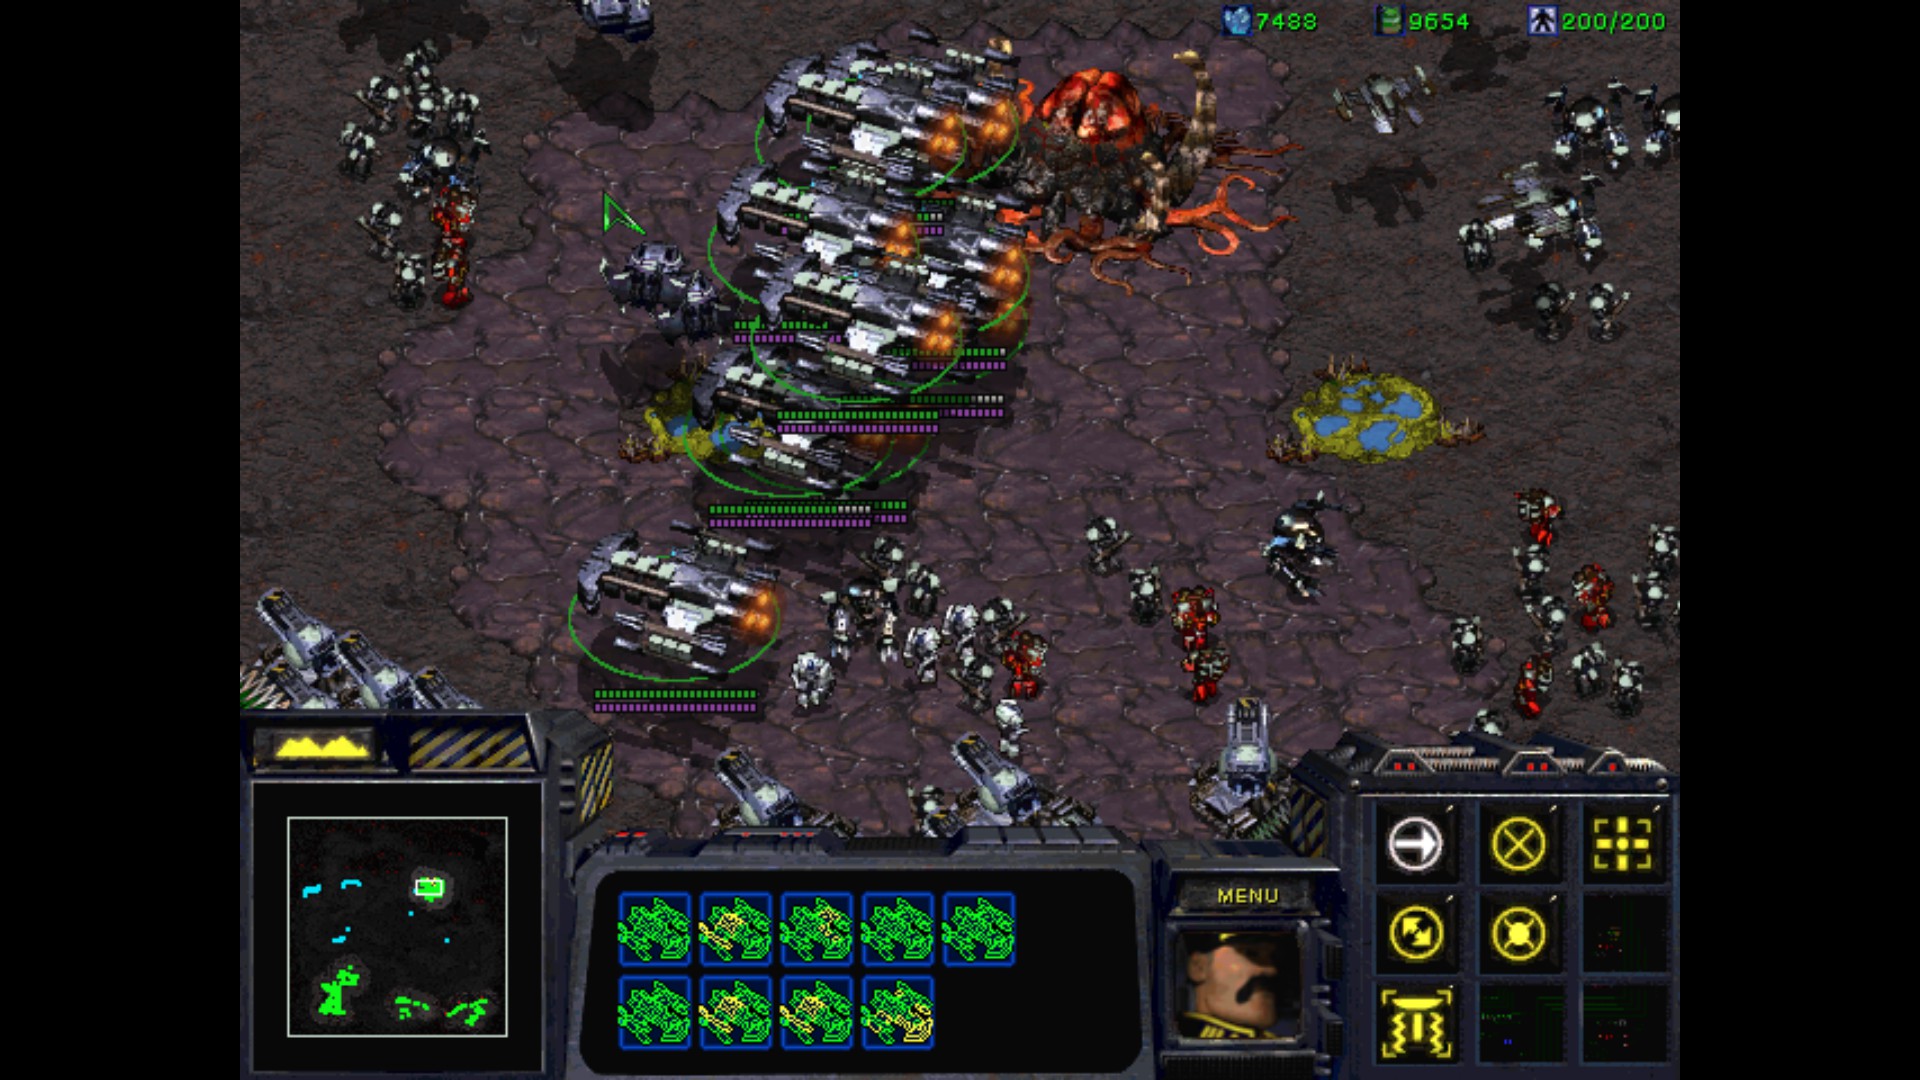
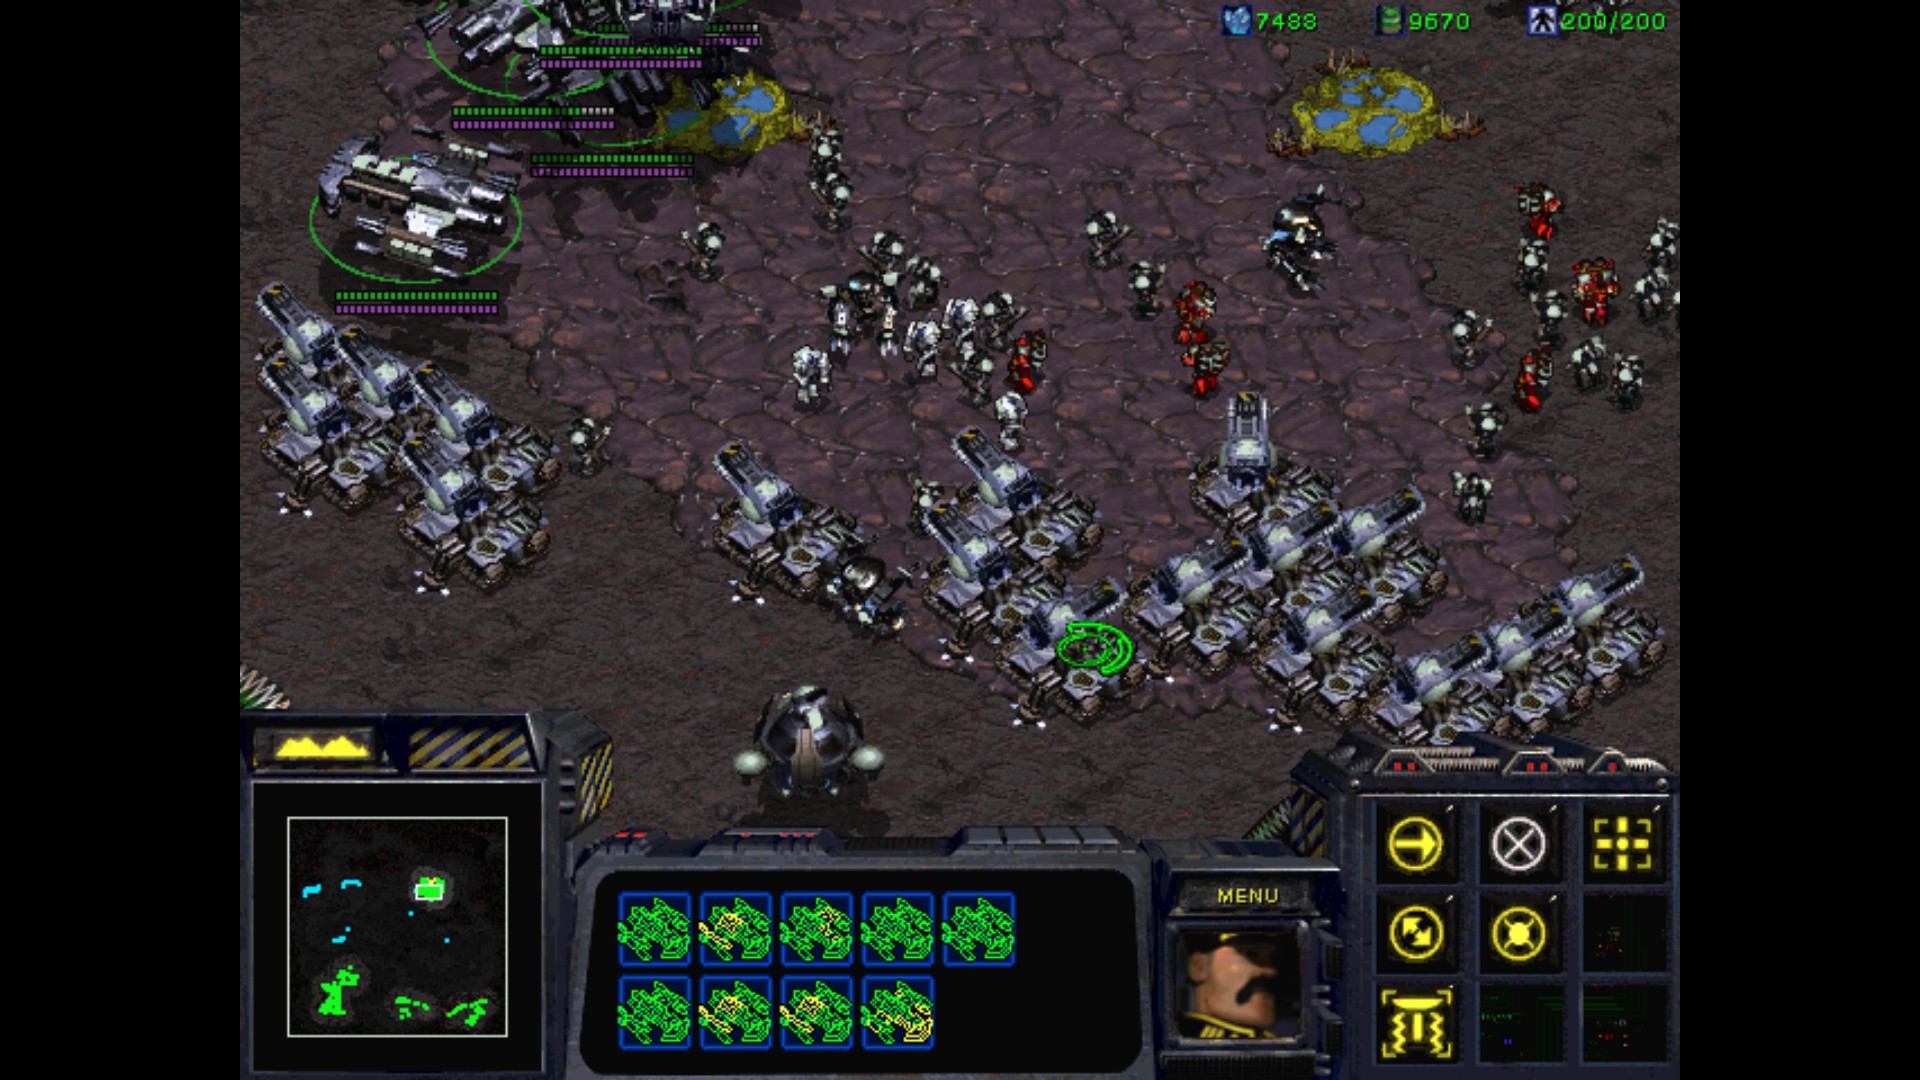
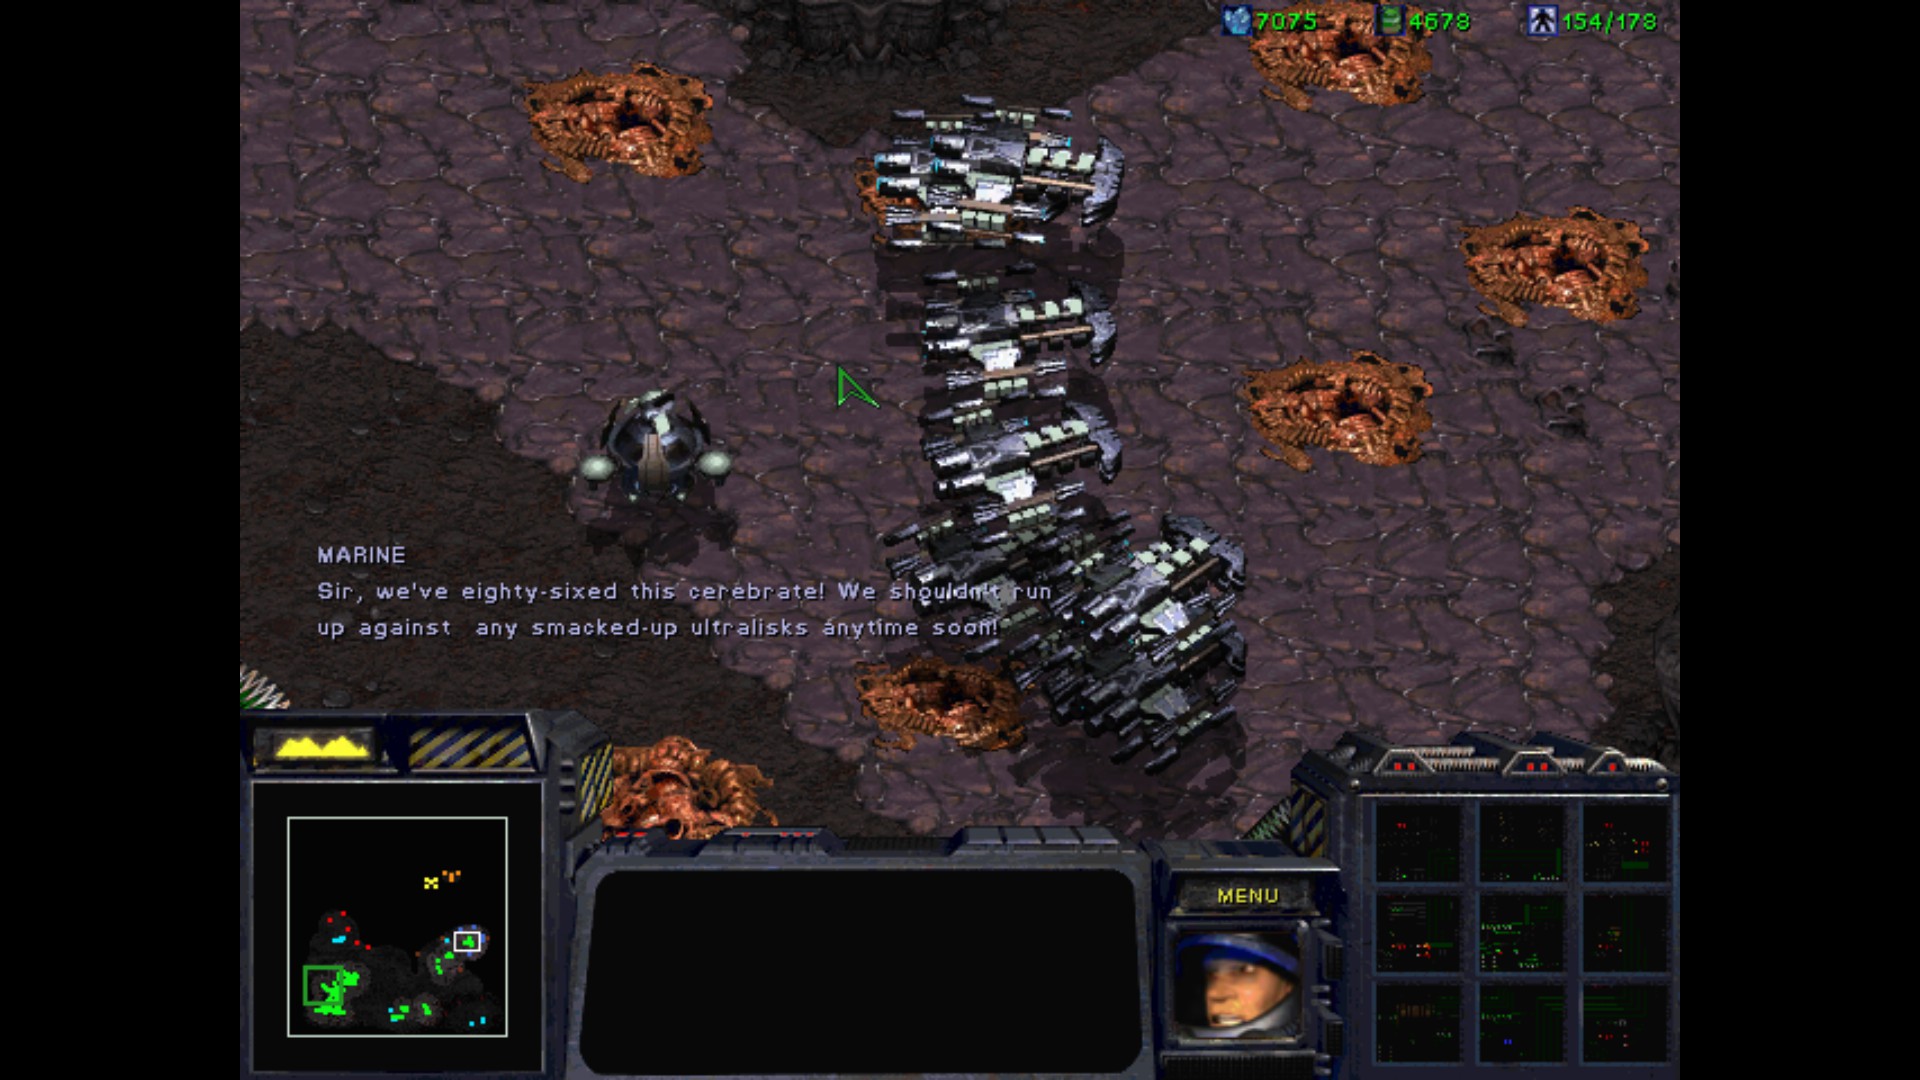
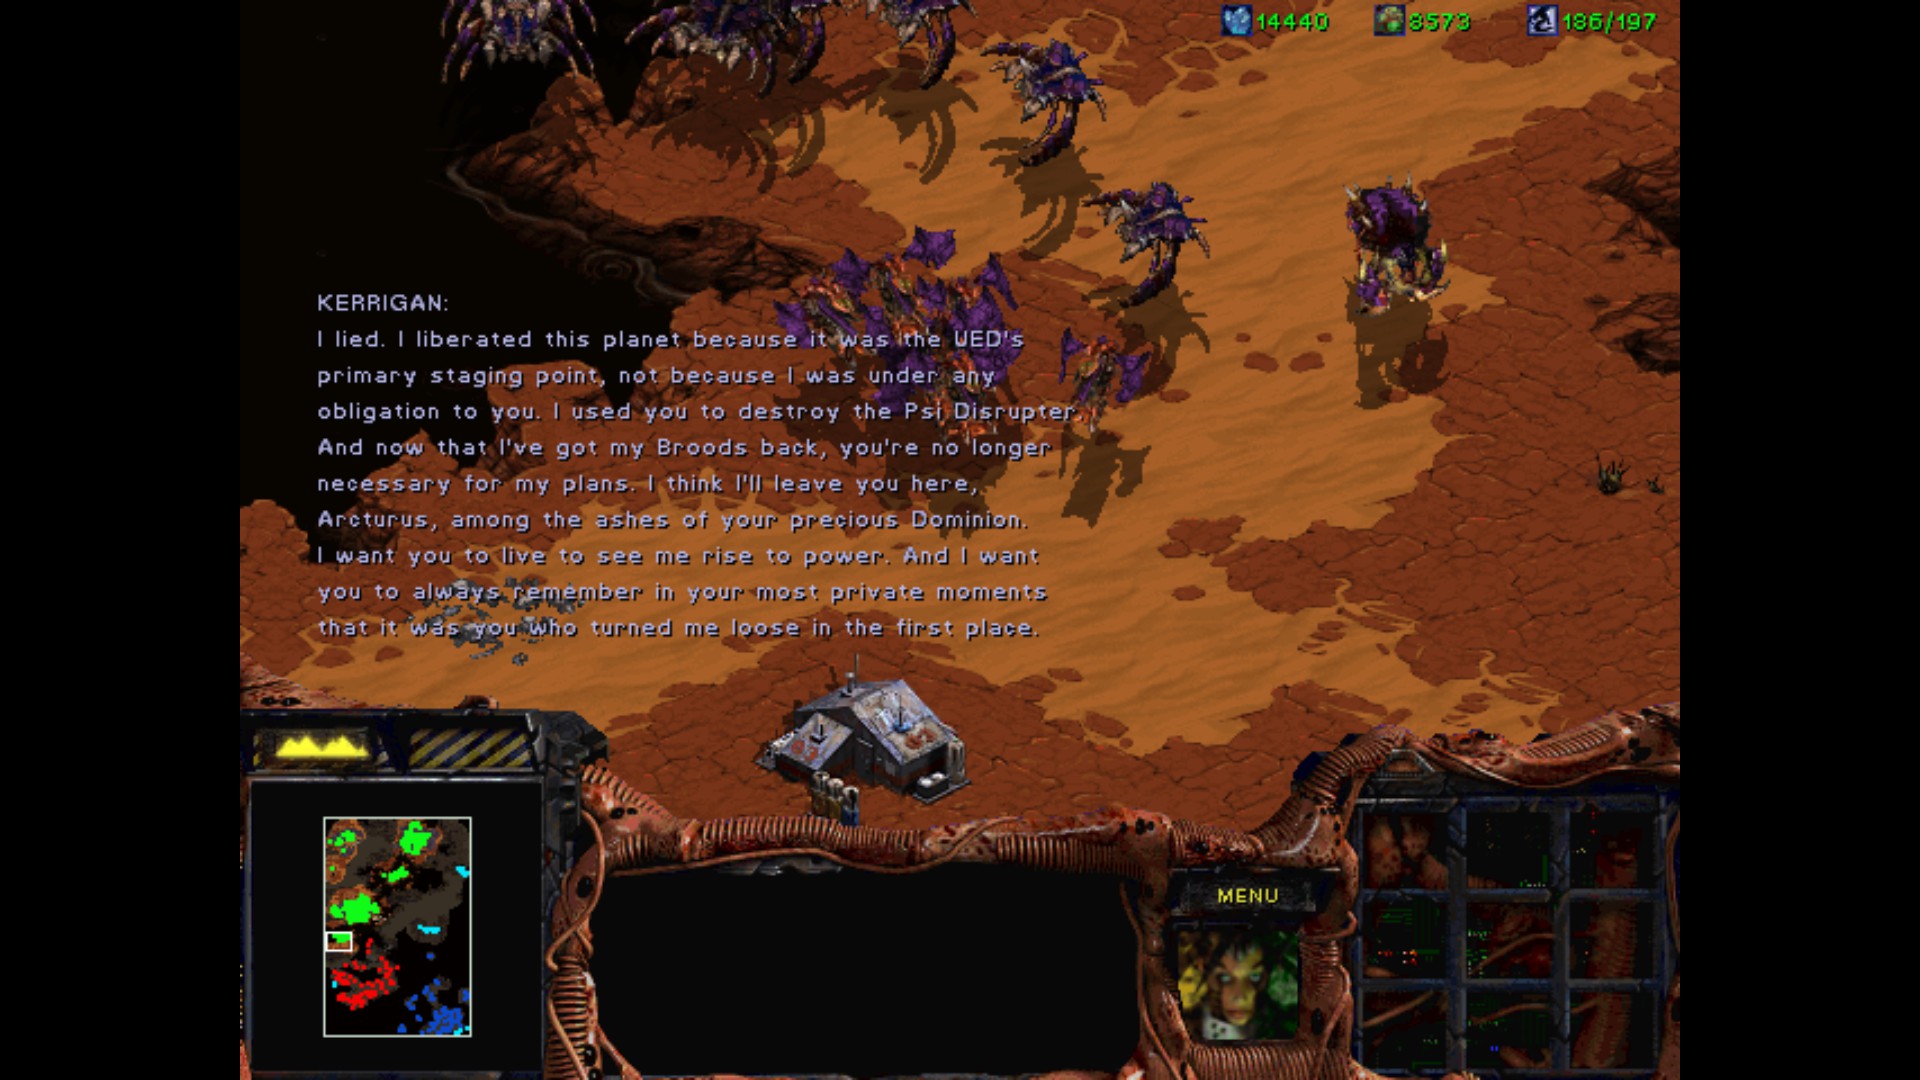
Mission accomplished, or so I thought!
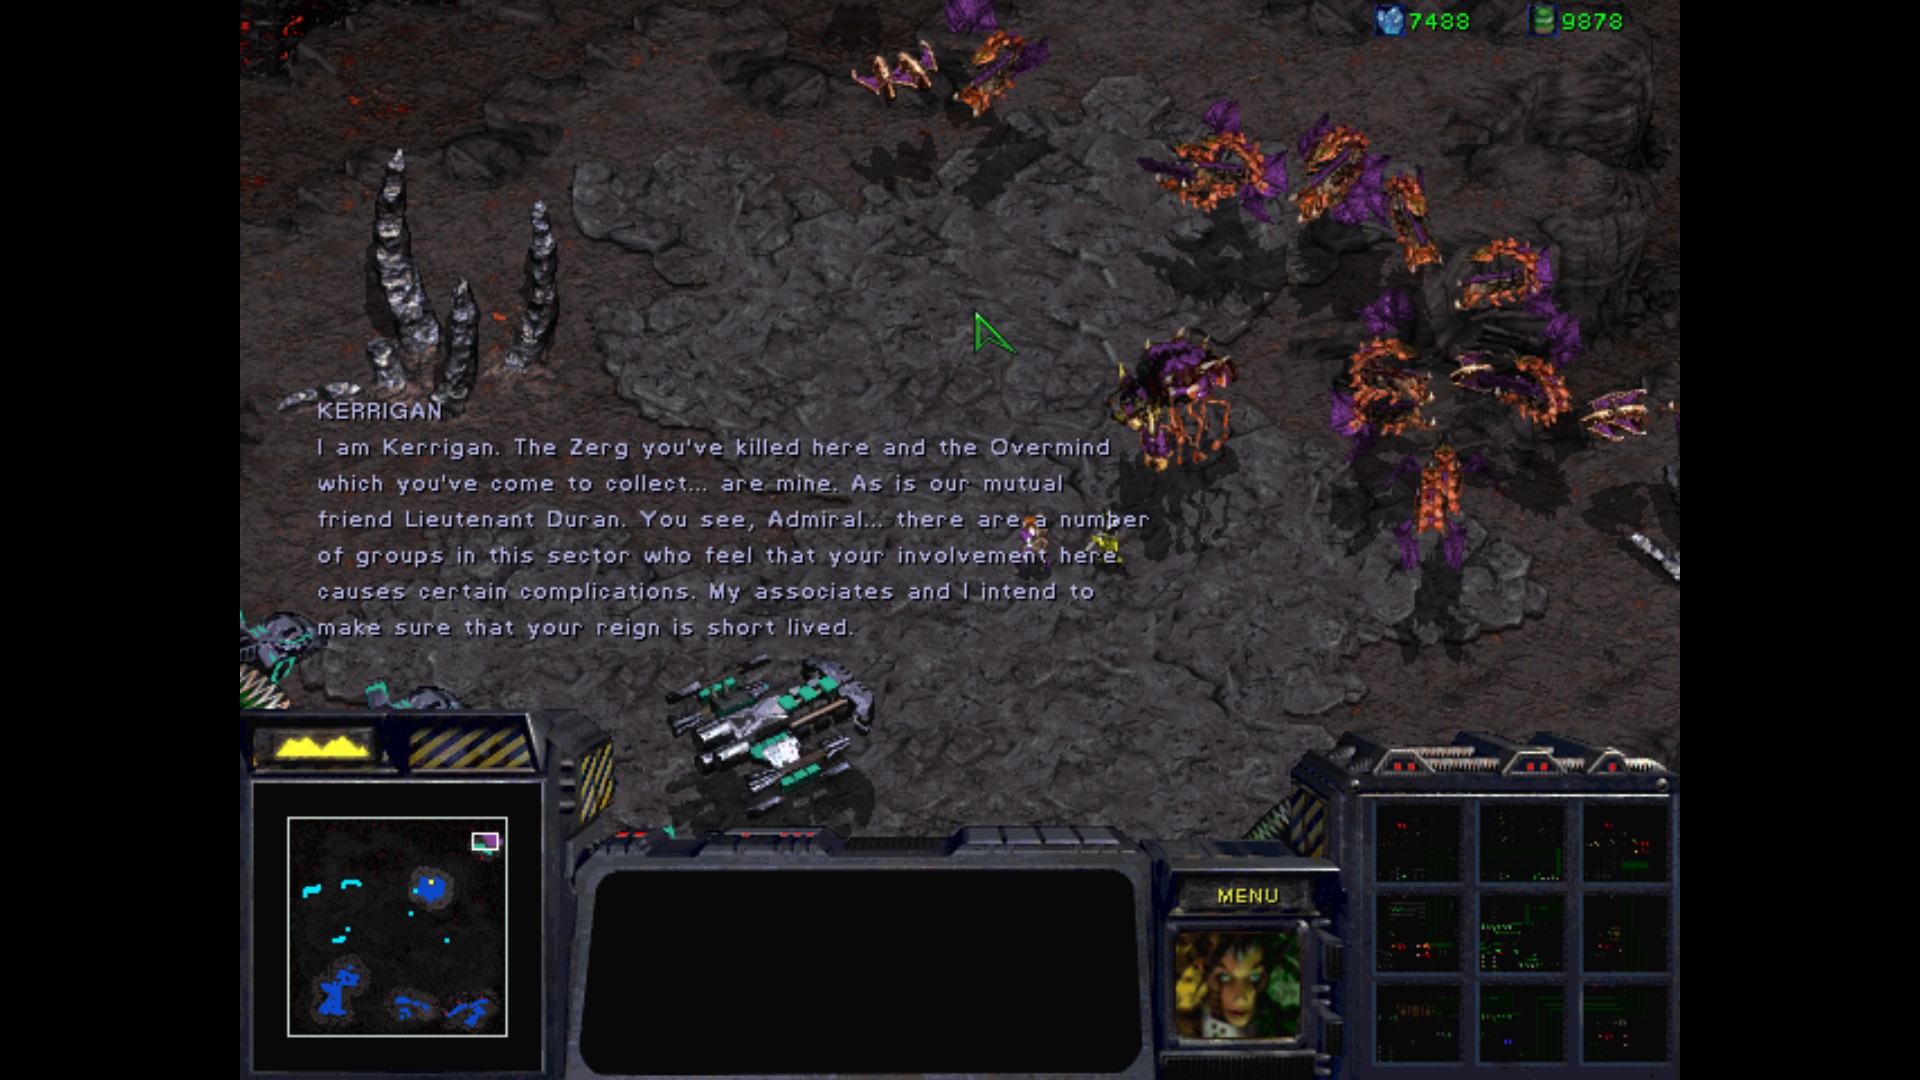
For now Kerrigan and Duran are running away. We have chained the beast, and the bittersweet victory is ours to celebrate.
I love this 50's era monster movies tribute in the UED ending.
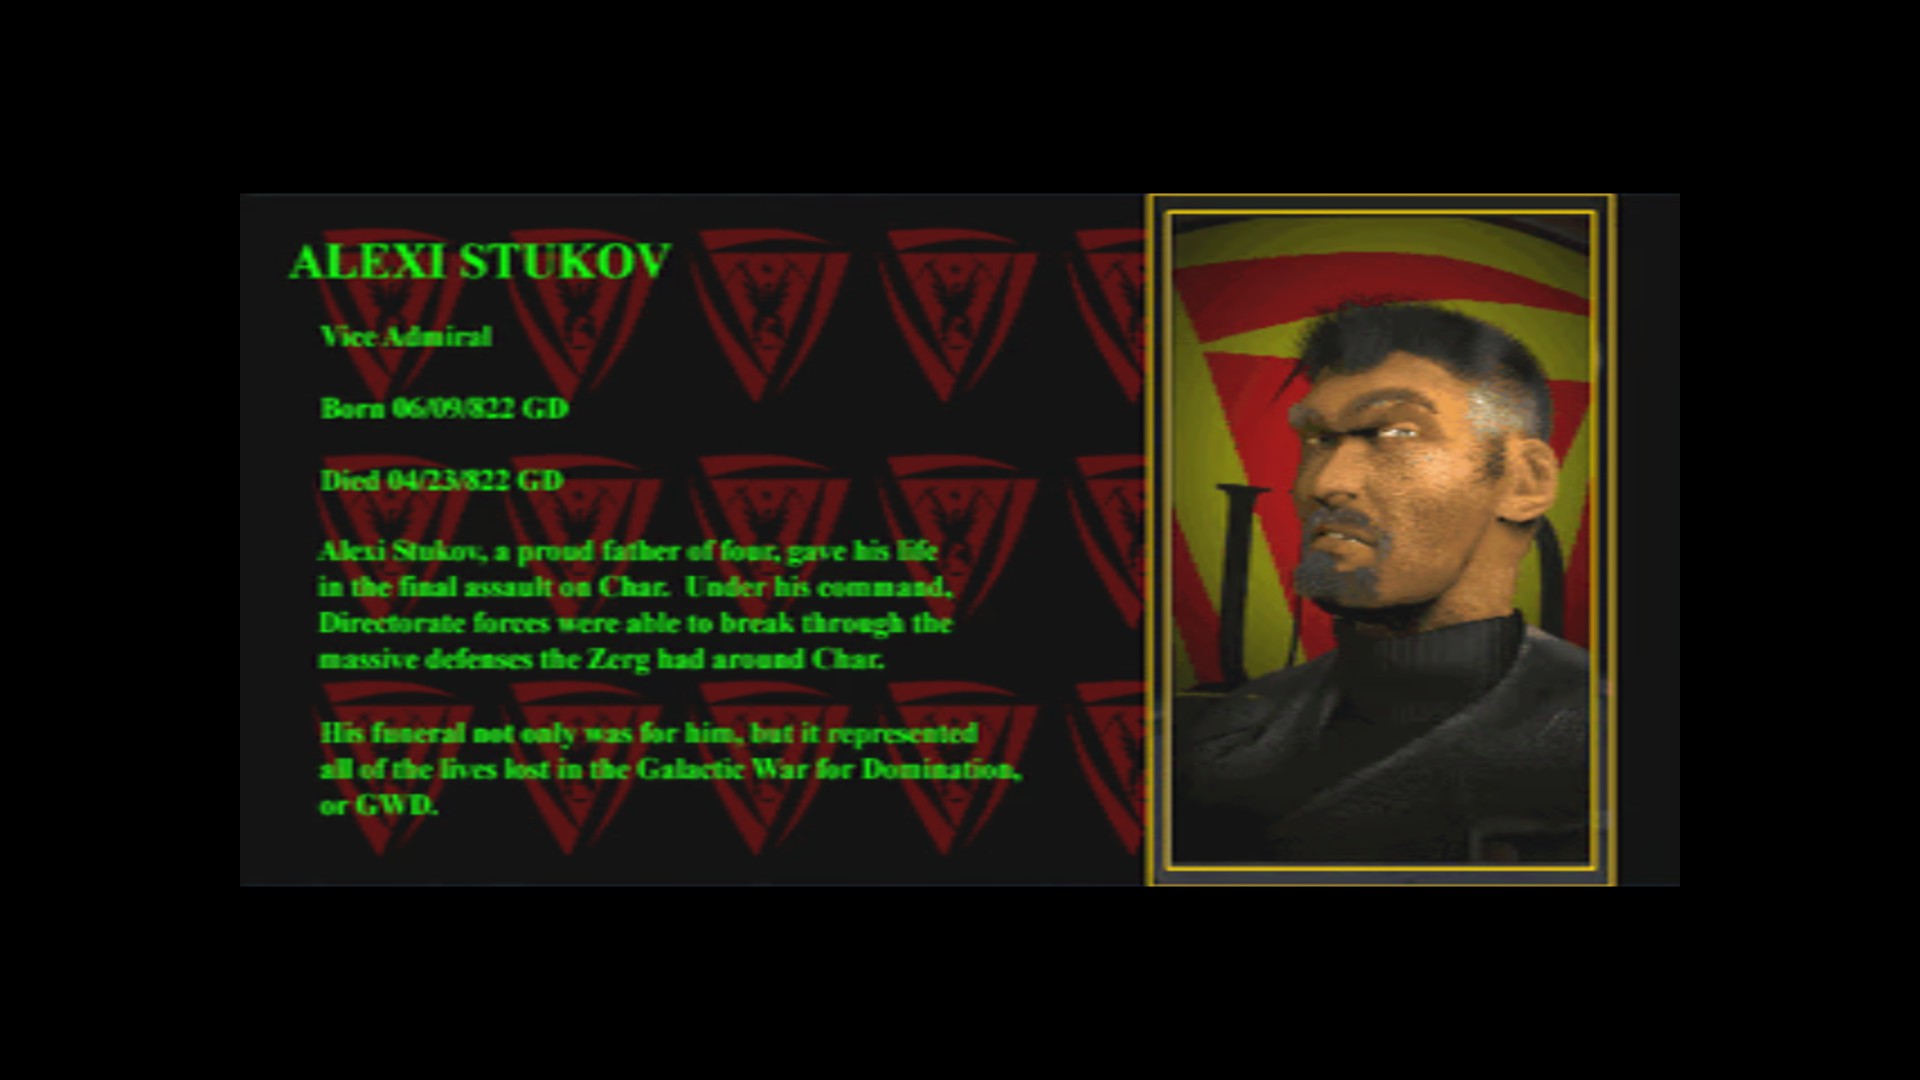
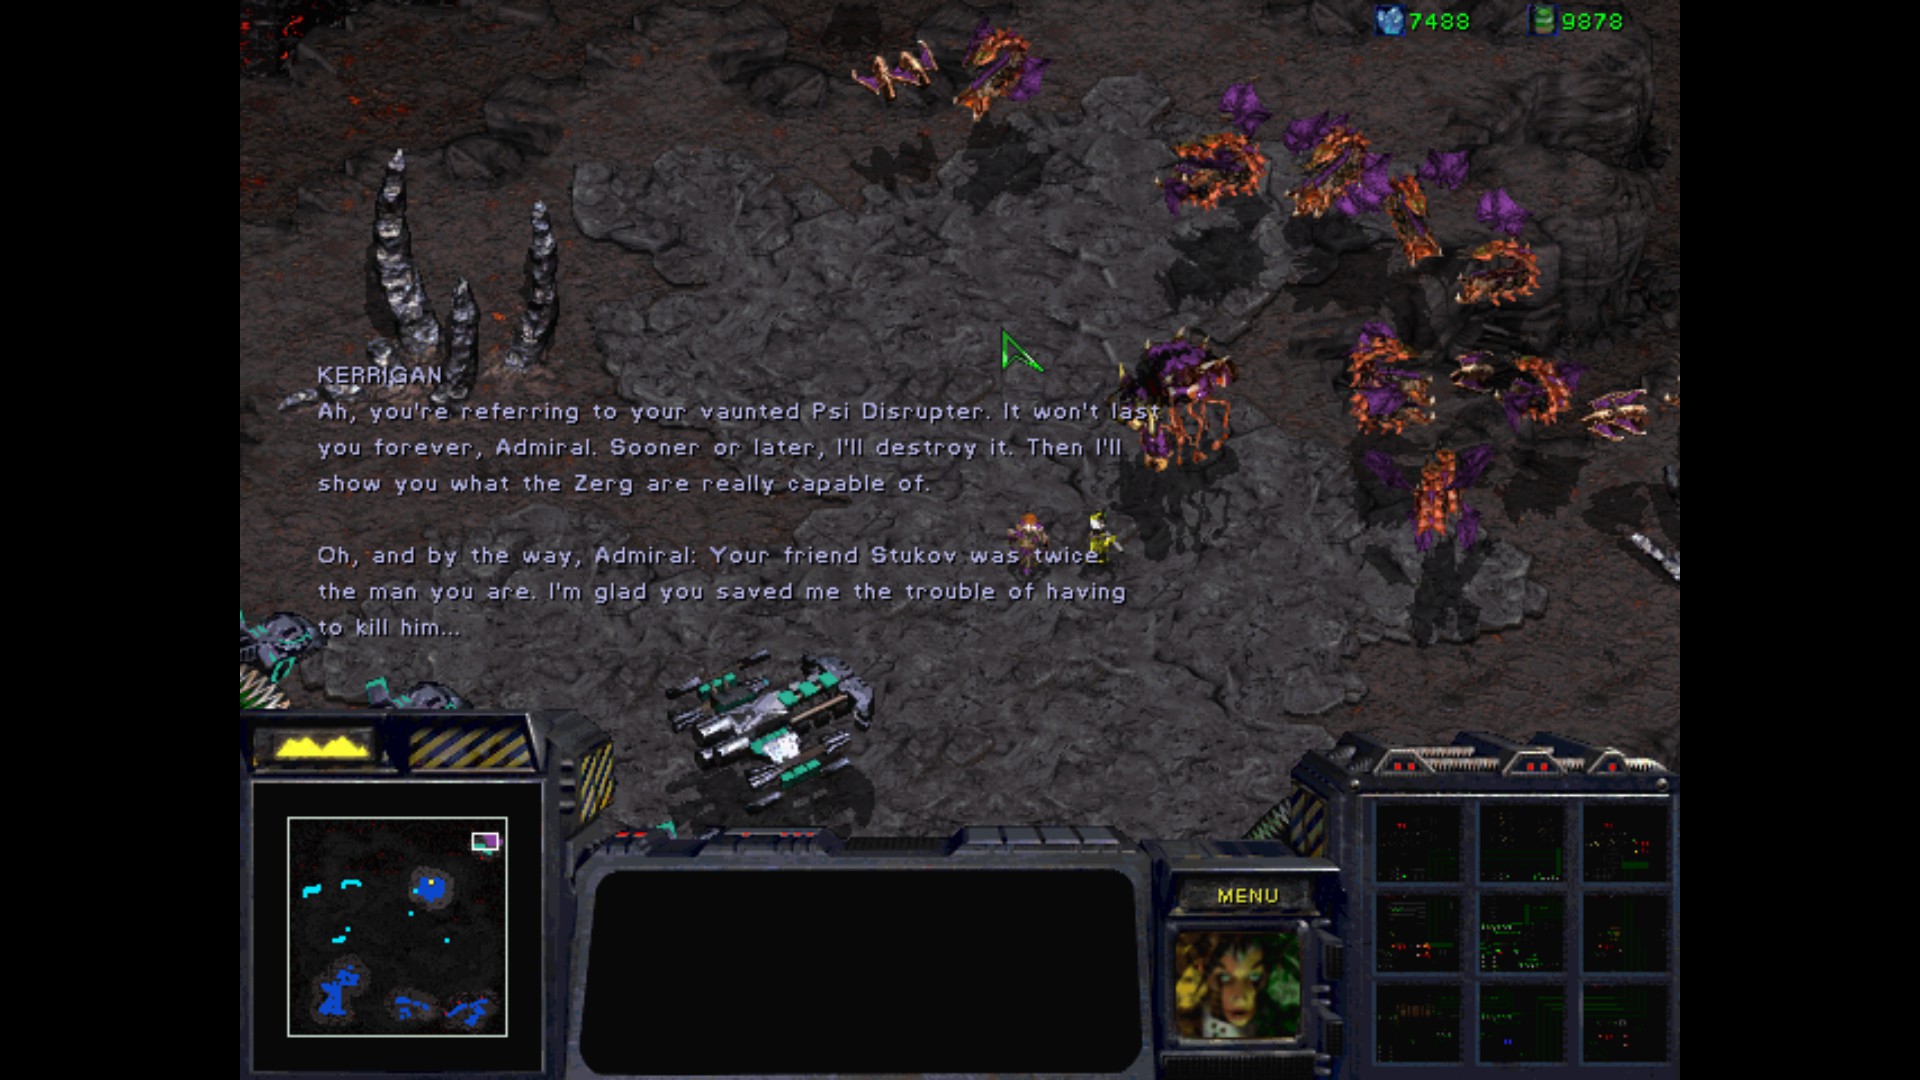
R.I.P Admiral Alexi Stukov. It's a shame, that we weren't given the opportunity to lead him in the battle.

Next stop - Zerg campaign. I wonder what is Kerrigan preparing for others in her twisted mind.
these sudden (dis)appearances of various dramatis personae as they arrive into the middle of things without any trubble and then just leg it without anyone chasing are p. ridiculous
Zerg campaign

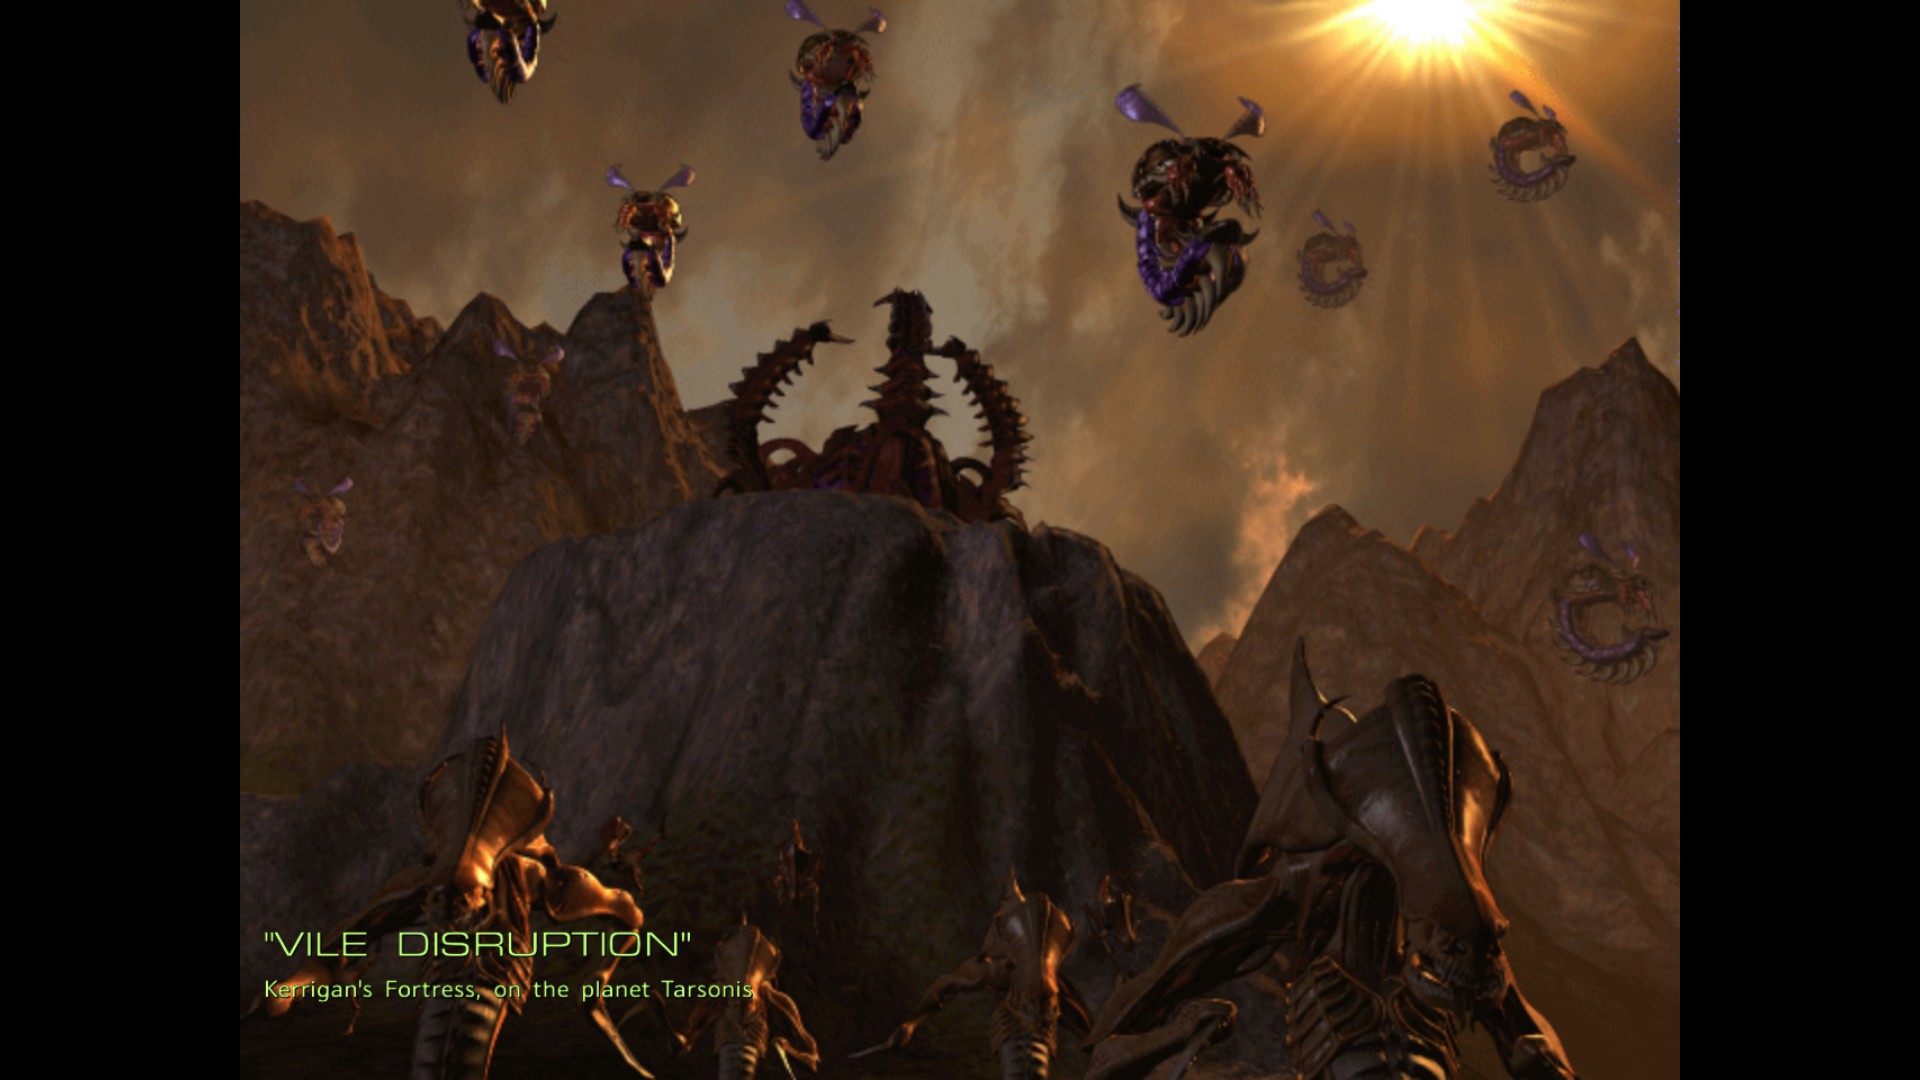
Mission I : Vile Disruption


Greetings, Cerebrate. By now you've realized that I've severed your connection with the Overmind and your renegade brethren.
Understand, it's nothing personal. I just can't risk you falling under their influence. You're mine now.
Serve me unquestioningly, and I'll let you live.
My Queen, pardon me for interrupting, but the visitors you have been expecting have arrived.
Finally. They certainly took their time.

Yeah, well none of us were in any real hurry to get here, Sarah.
Still suspicious of my motives, Jimmy?
Always.
Heh. When I contacted you both on Aiur, I told you about the new Overmind and about the UED that seeks to control it.
Well, the UED has done it. They've tame the Overmind and now control most of the Zerg broods in this sector.
That's why I've asked for your help.

You want us to help you defeat the UED so that you alone will rule the Zerg!
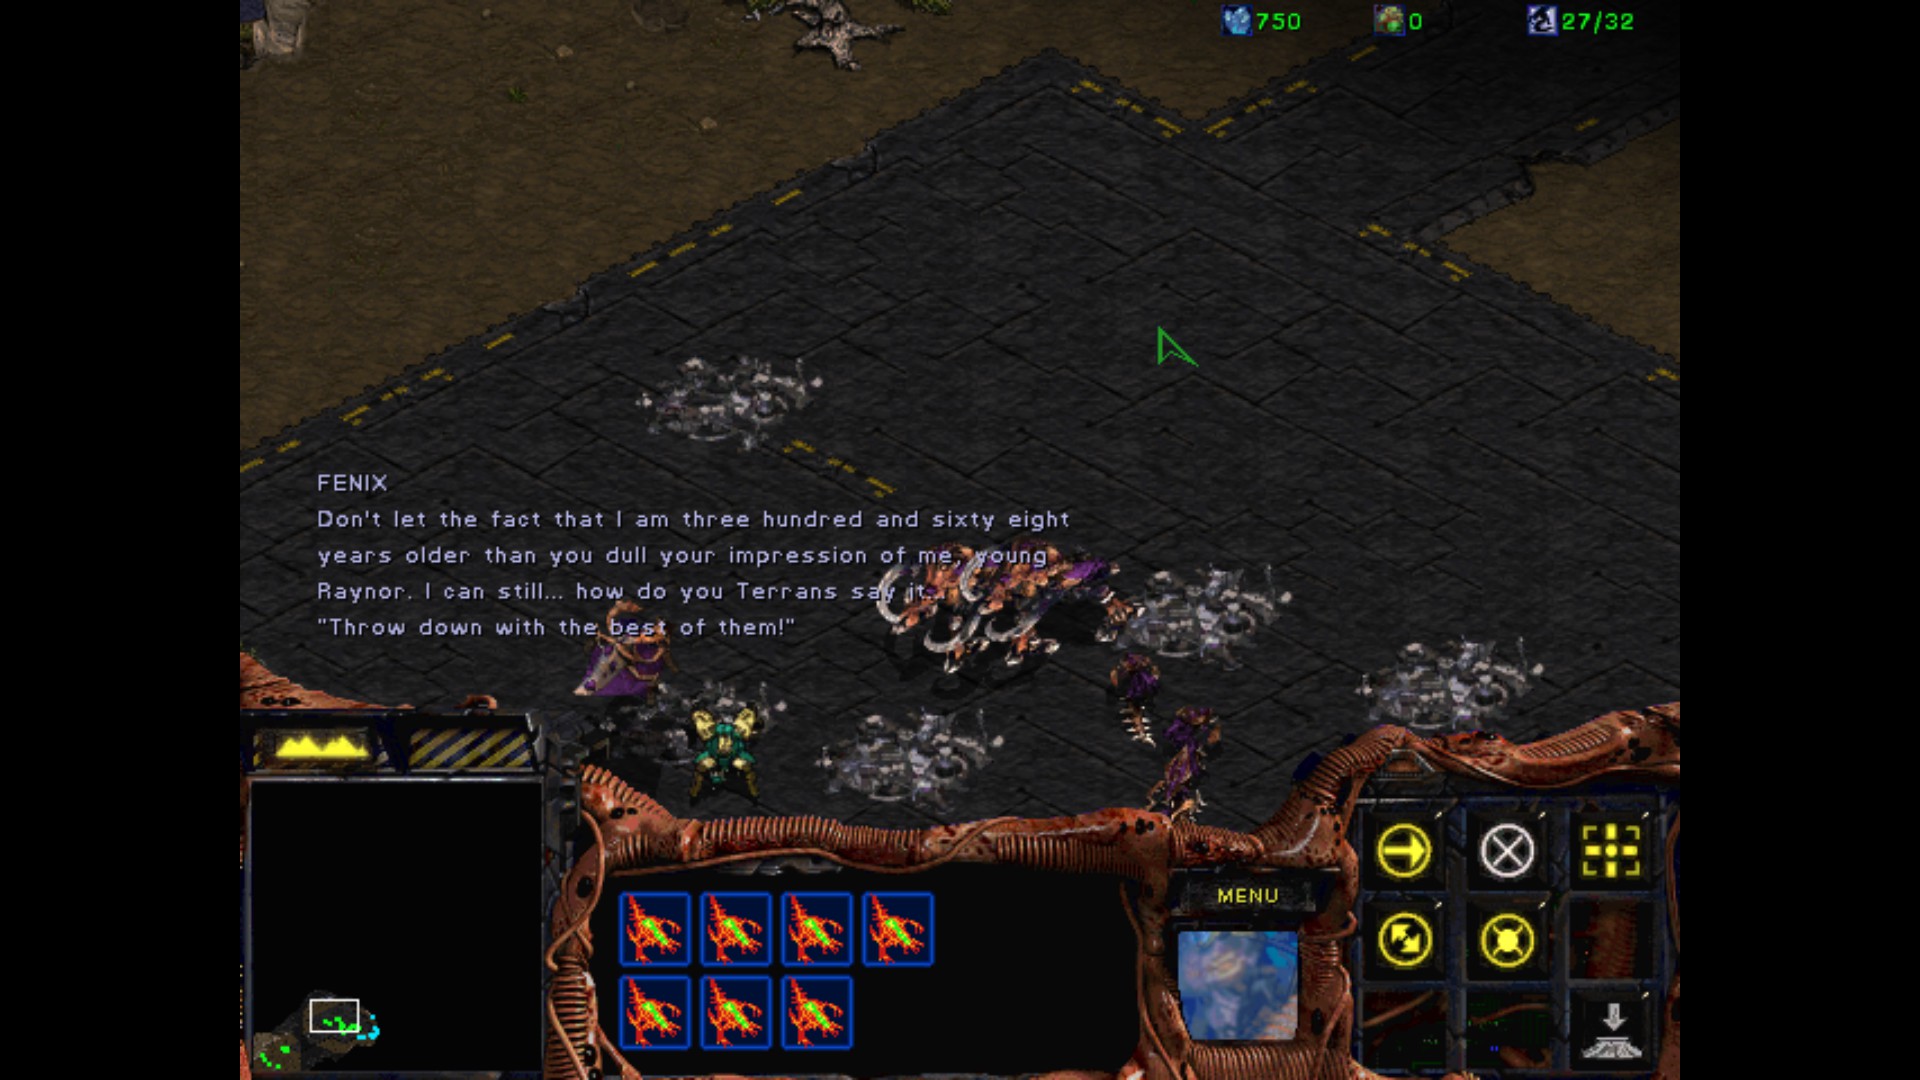
Wrong, Fenix. I want to defeat them because if we don't, they'll clamp down on this sector, and enslave us all! You know I'm right Jim.
You've studied the history of Earth, you know what the UED's agenda is. Taking control of the Zerg is only the beginning for them.
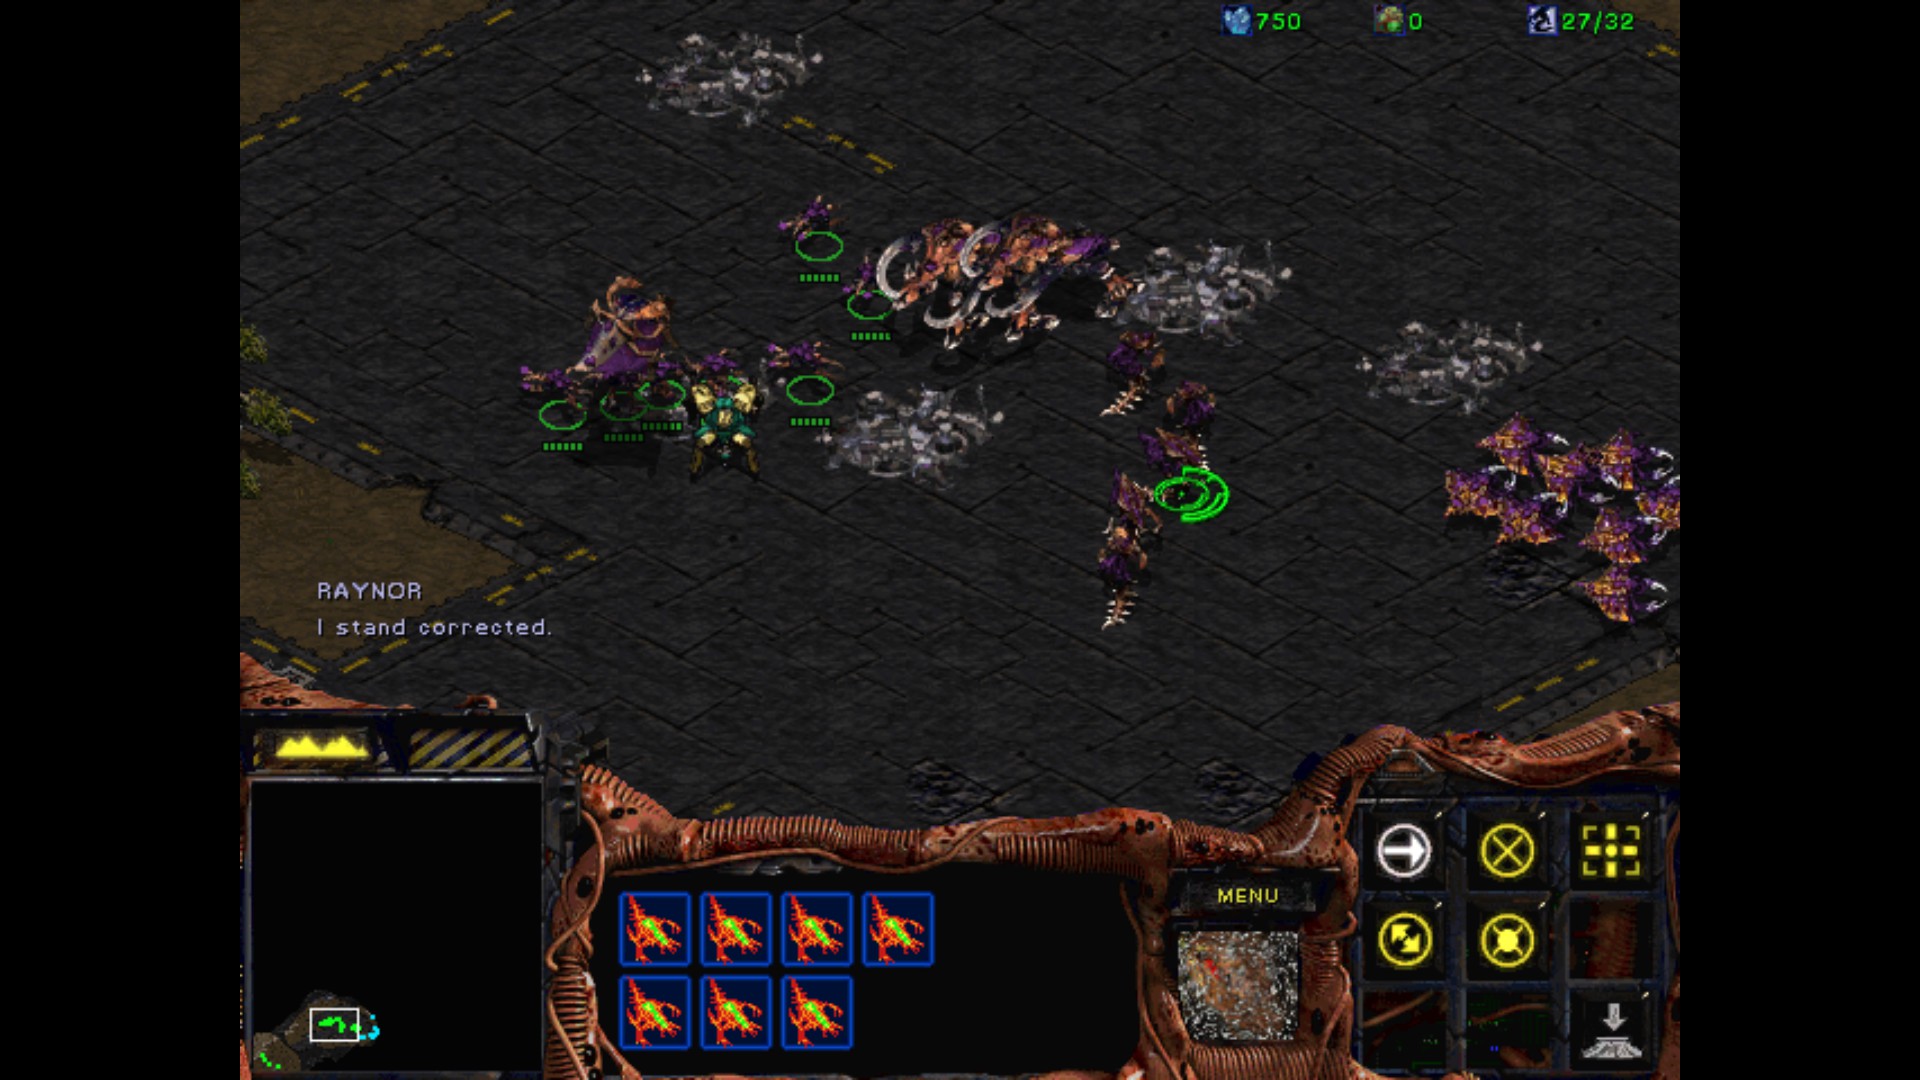
Maybe... I don't know...
My Queen, again I beg your pardon for this interruption, but we have a very serious problem!
Perfect timing... Gentlemen, we'll need to finish this conversation later... continue, Duran.
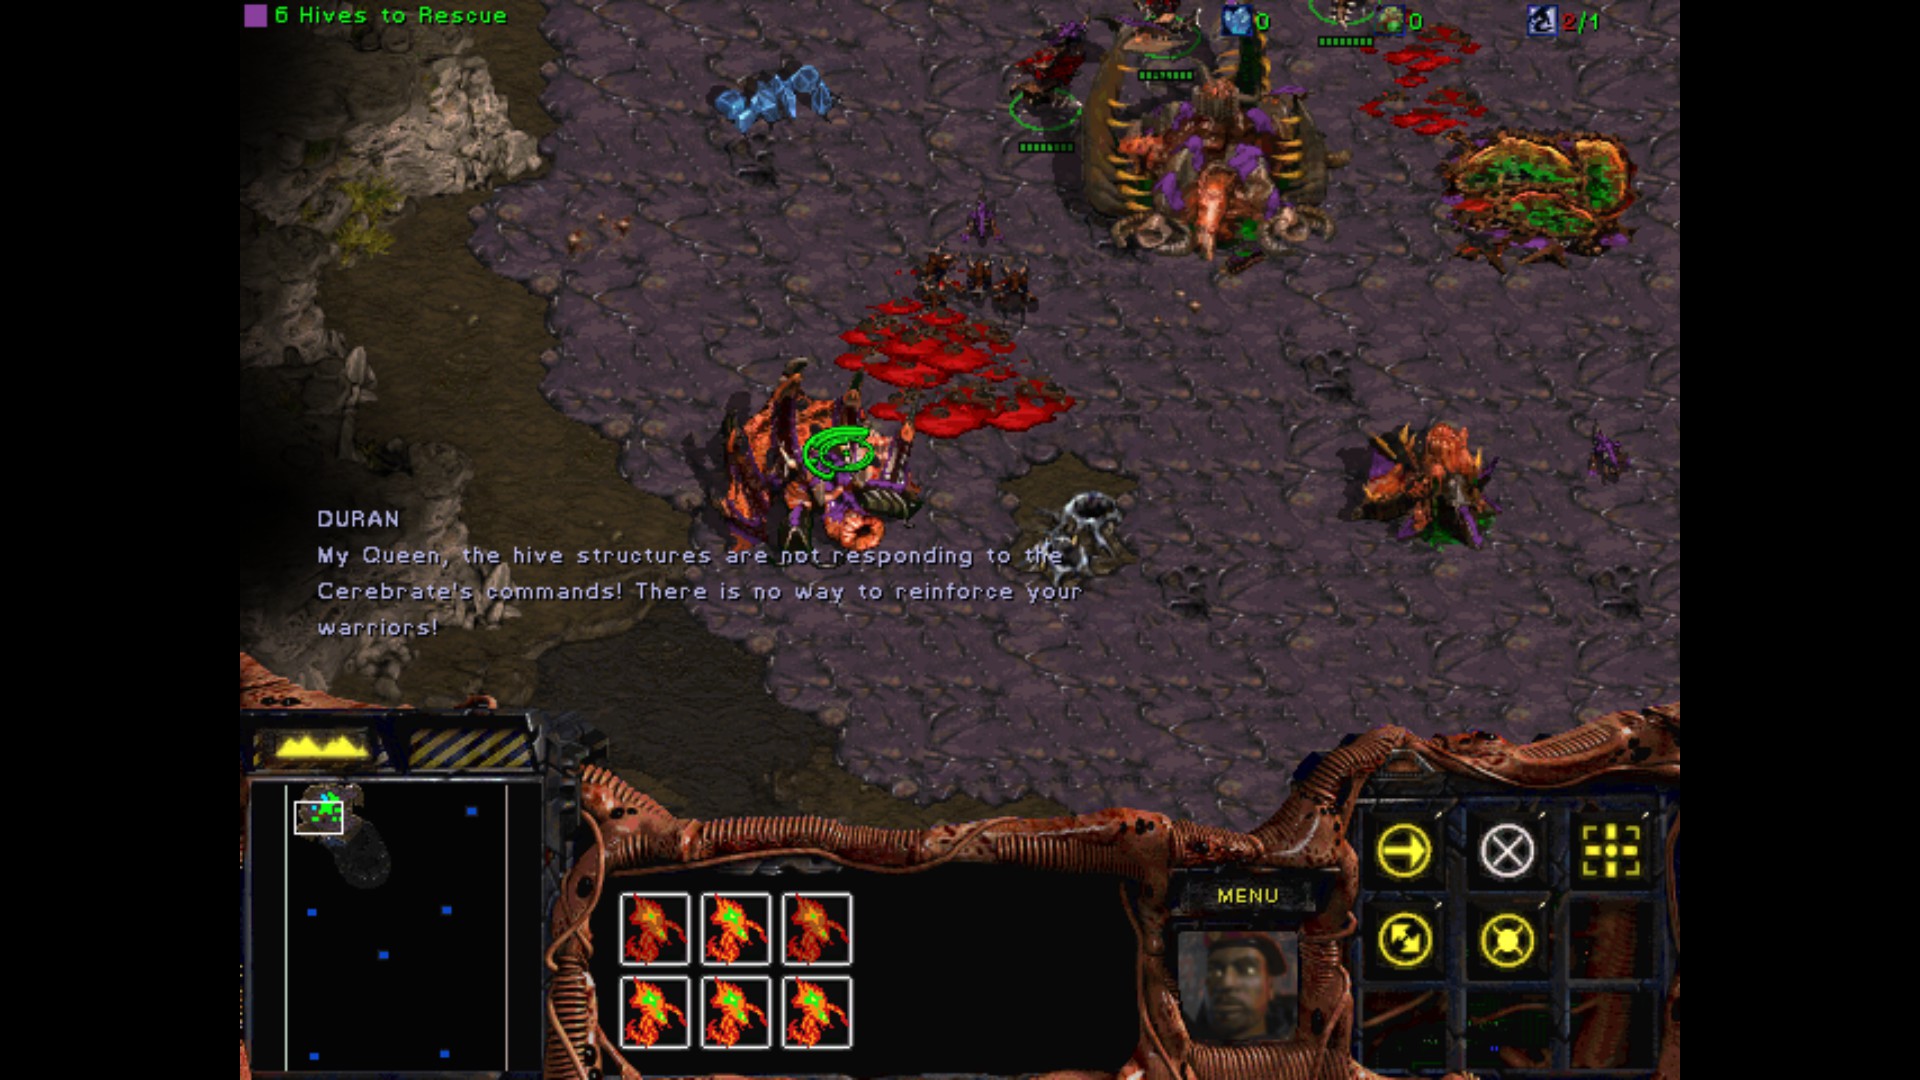
The Psi Disrupter's signal has reached us here on Tarsonis and shattered the unity of your broods!
Within the past few hours, your minions have turned on each other and left their hive clusters to run out of control!
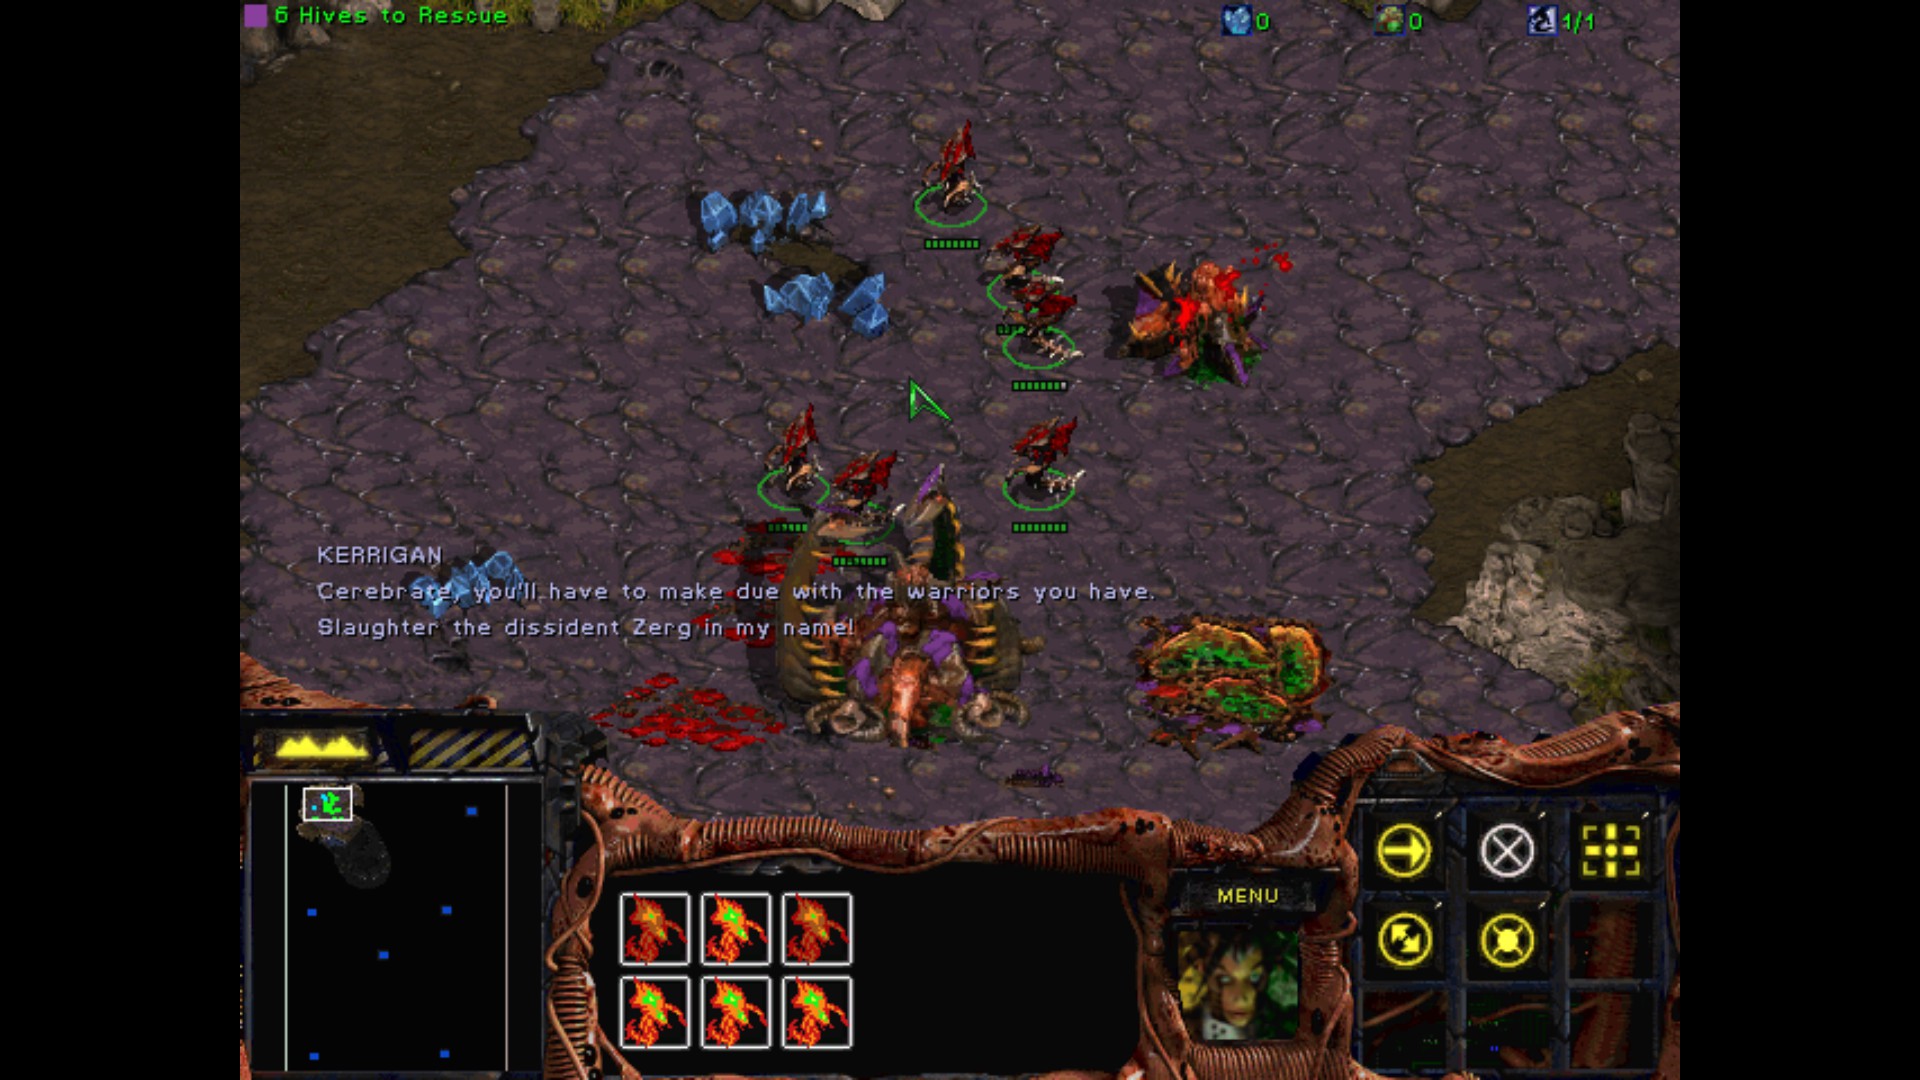
This is just what I need. Cerebrate, take the few Zerg still under my control and do what you can to stem any further damage to the hive clusters.
I can't afford to have them destroyed by my own minions!
Objectives :
- Rescue all hives from destruction
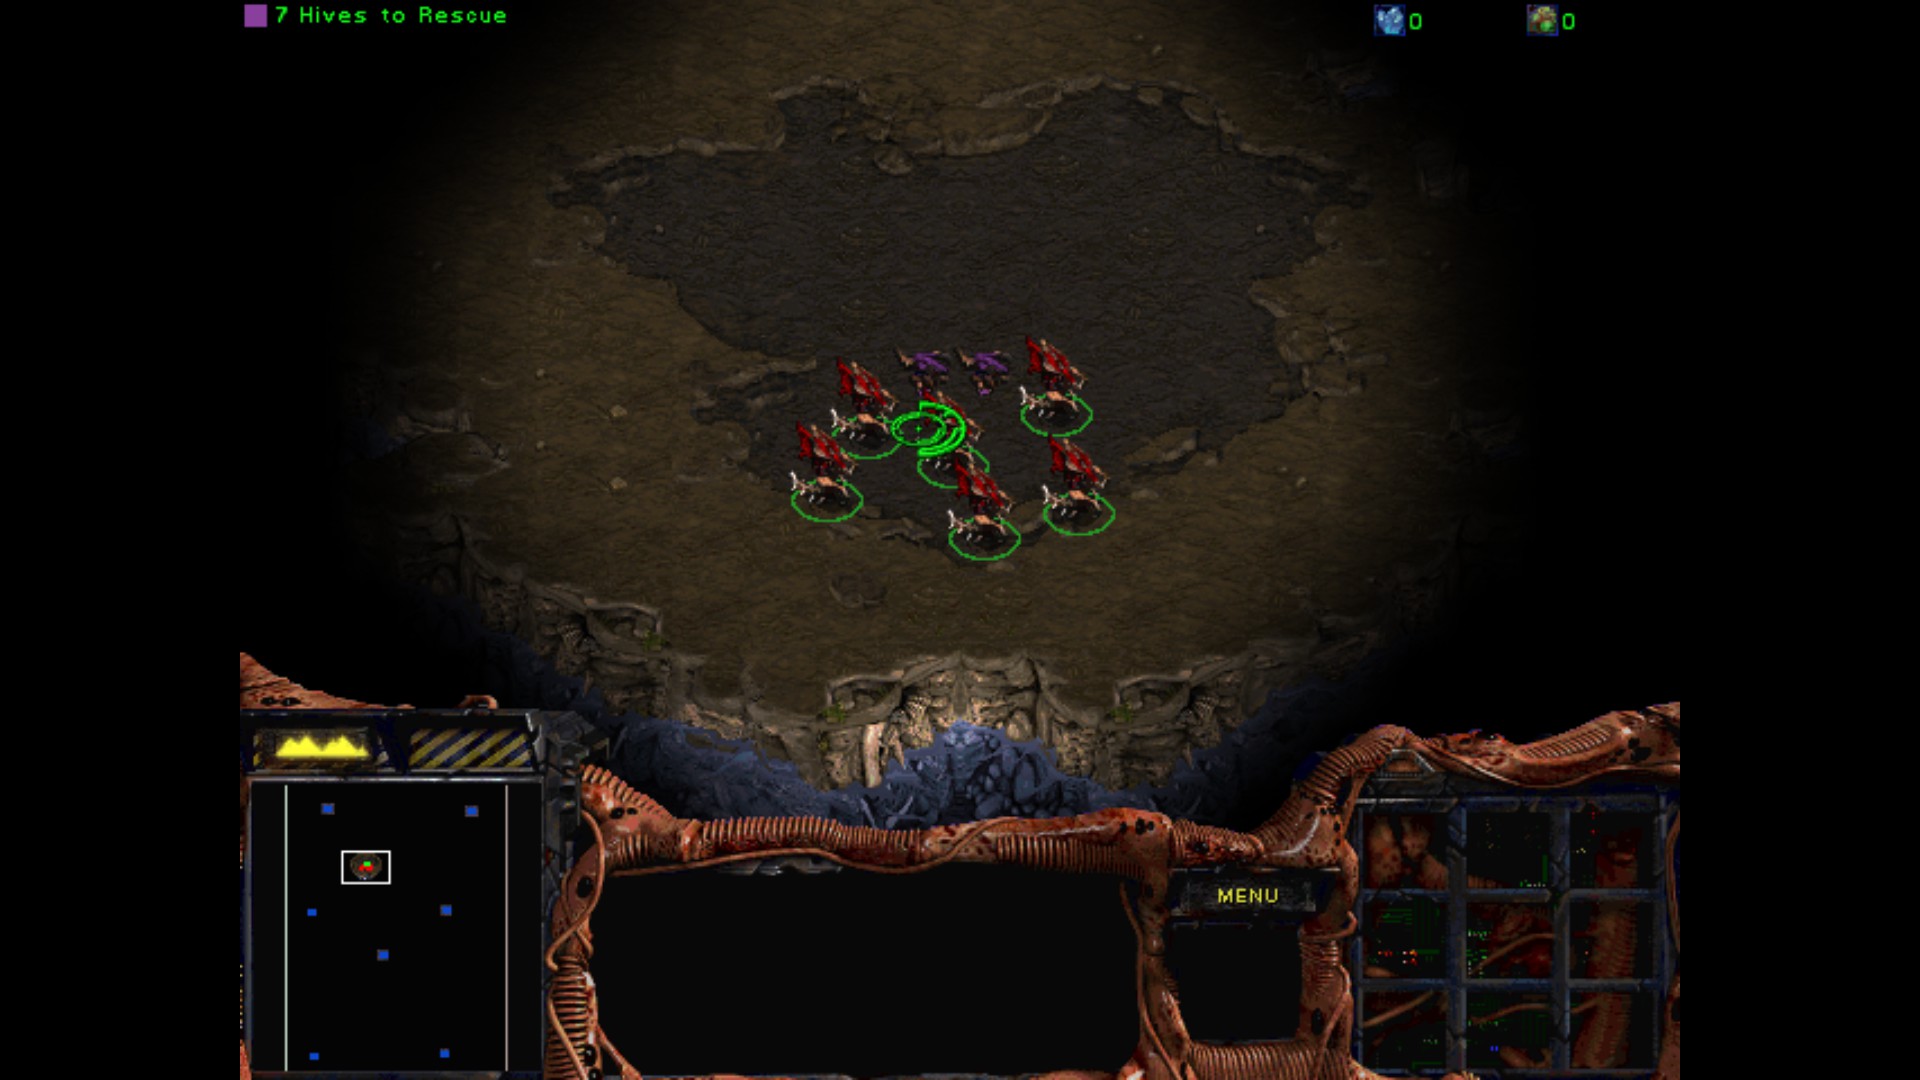
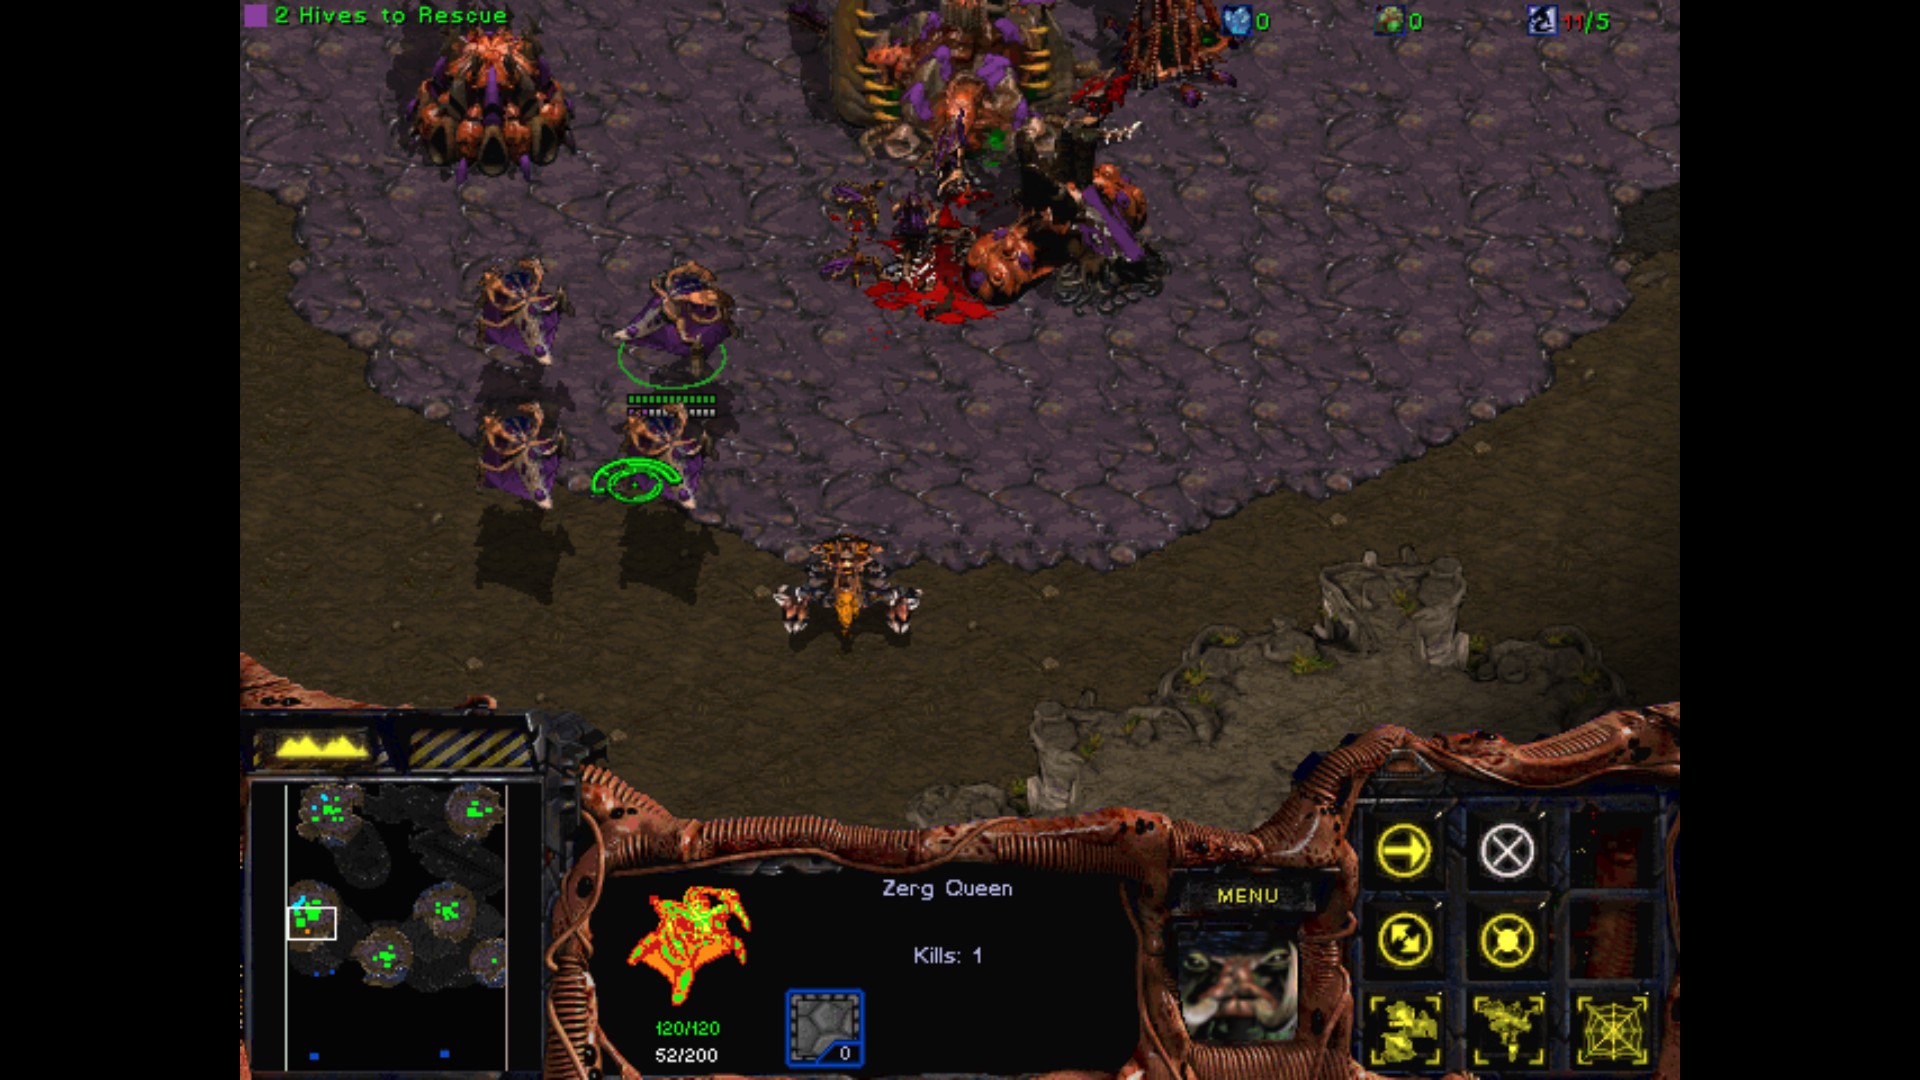
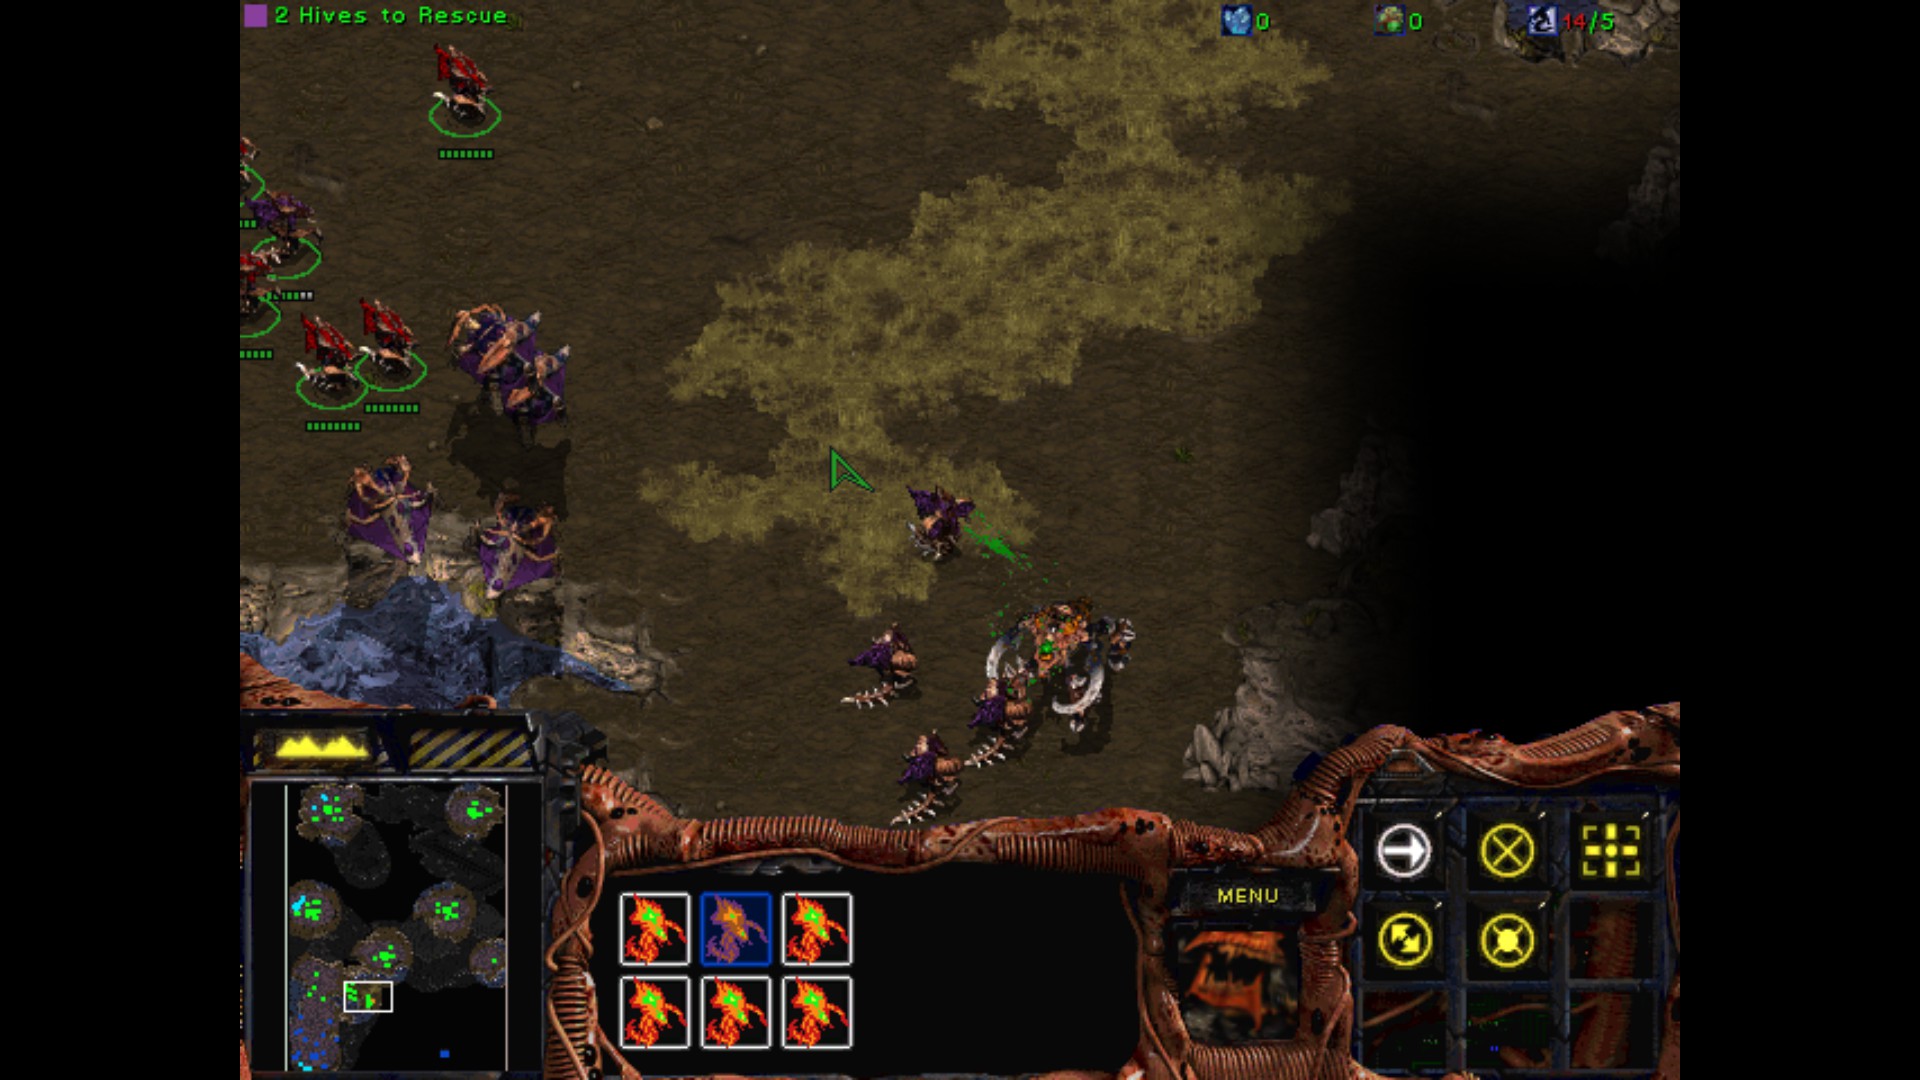
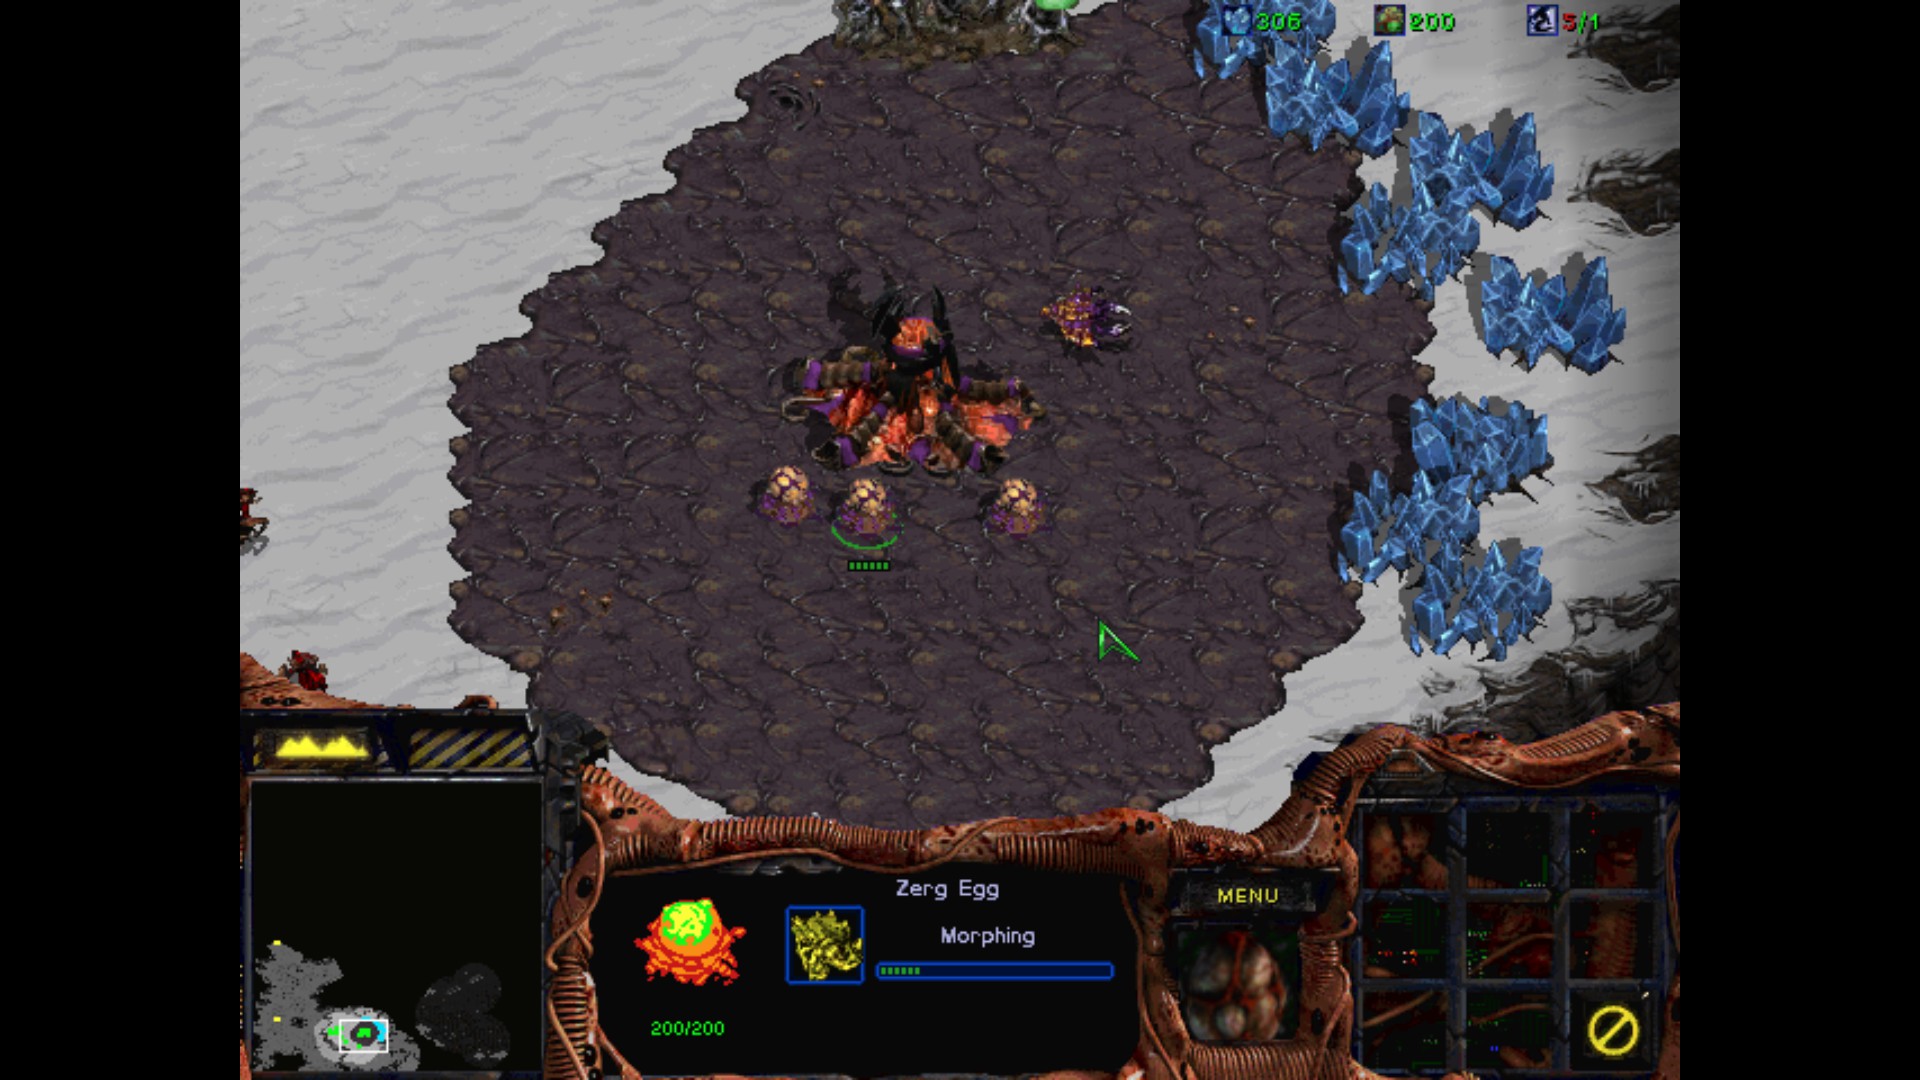
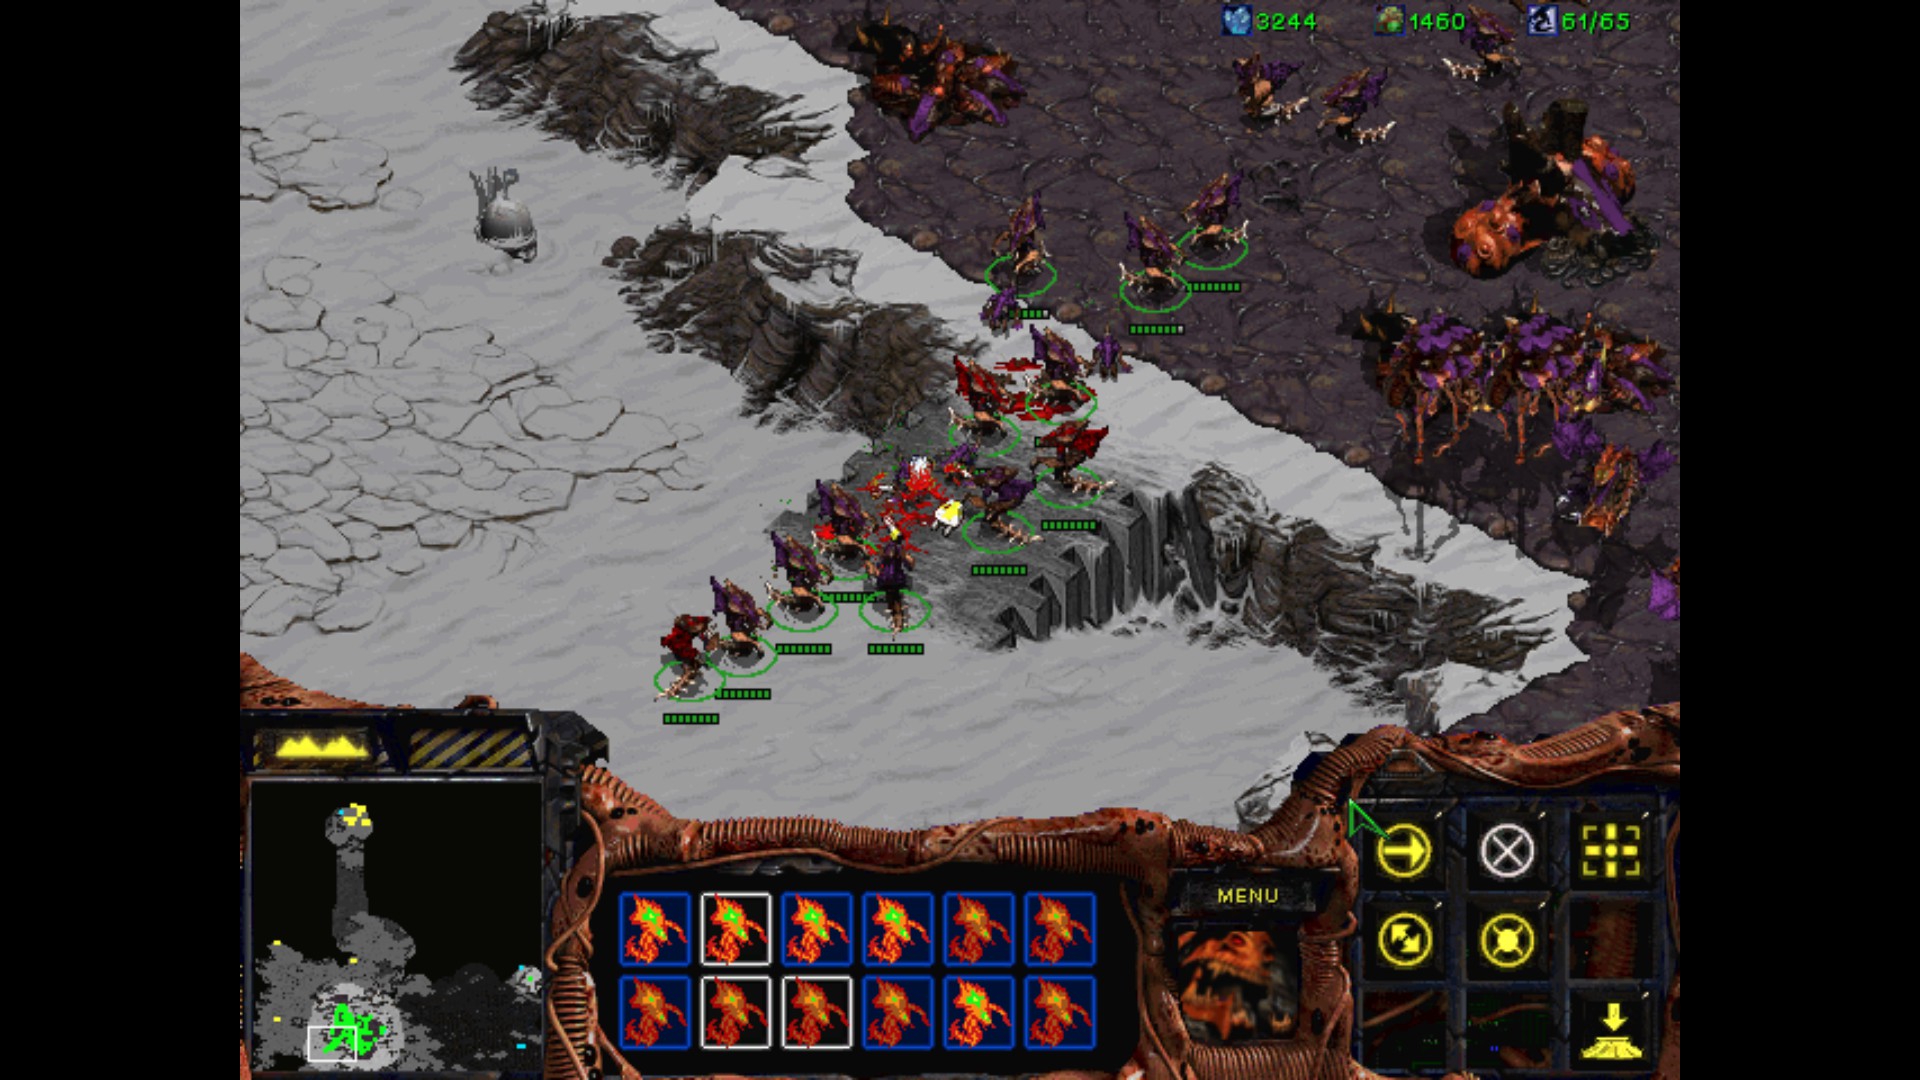
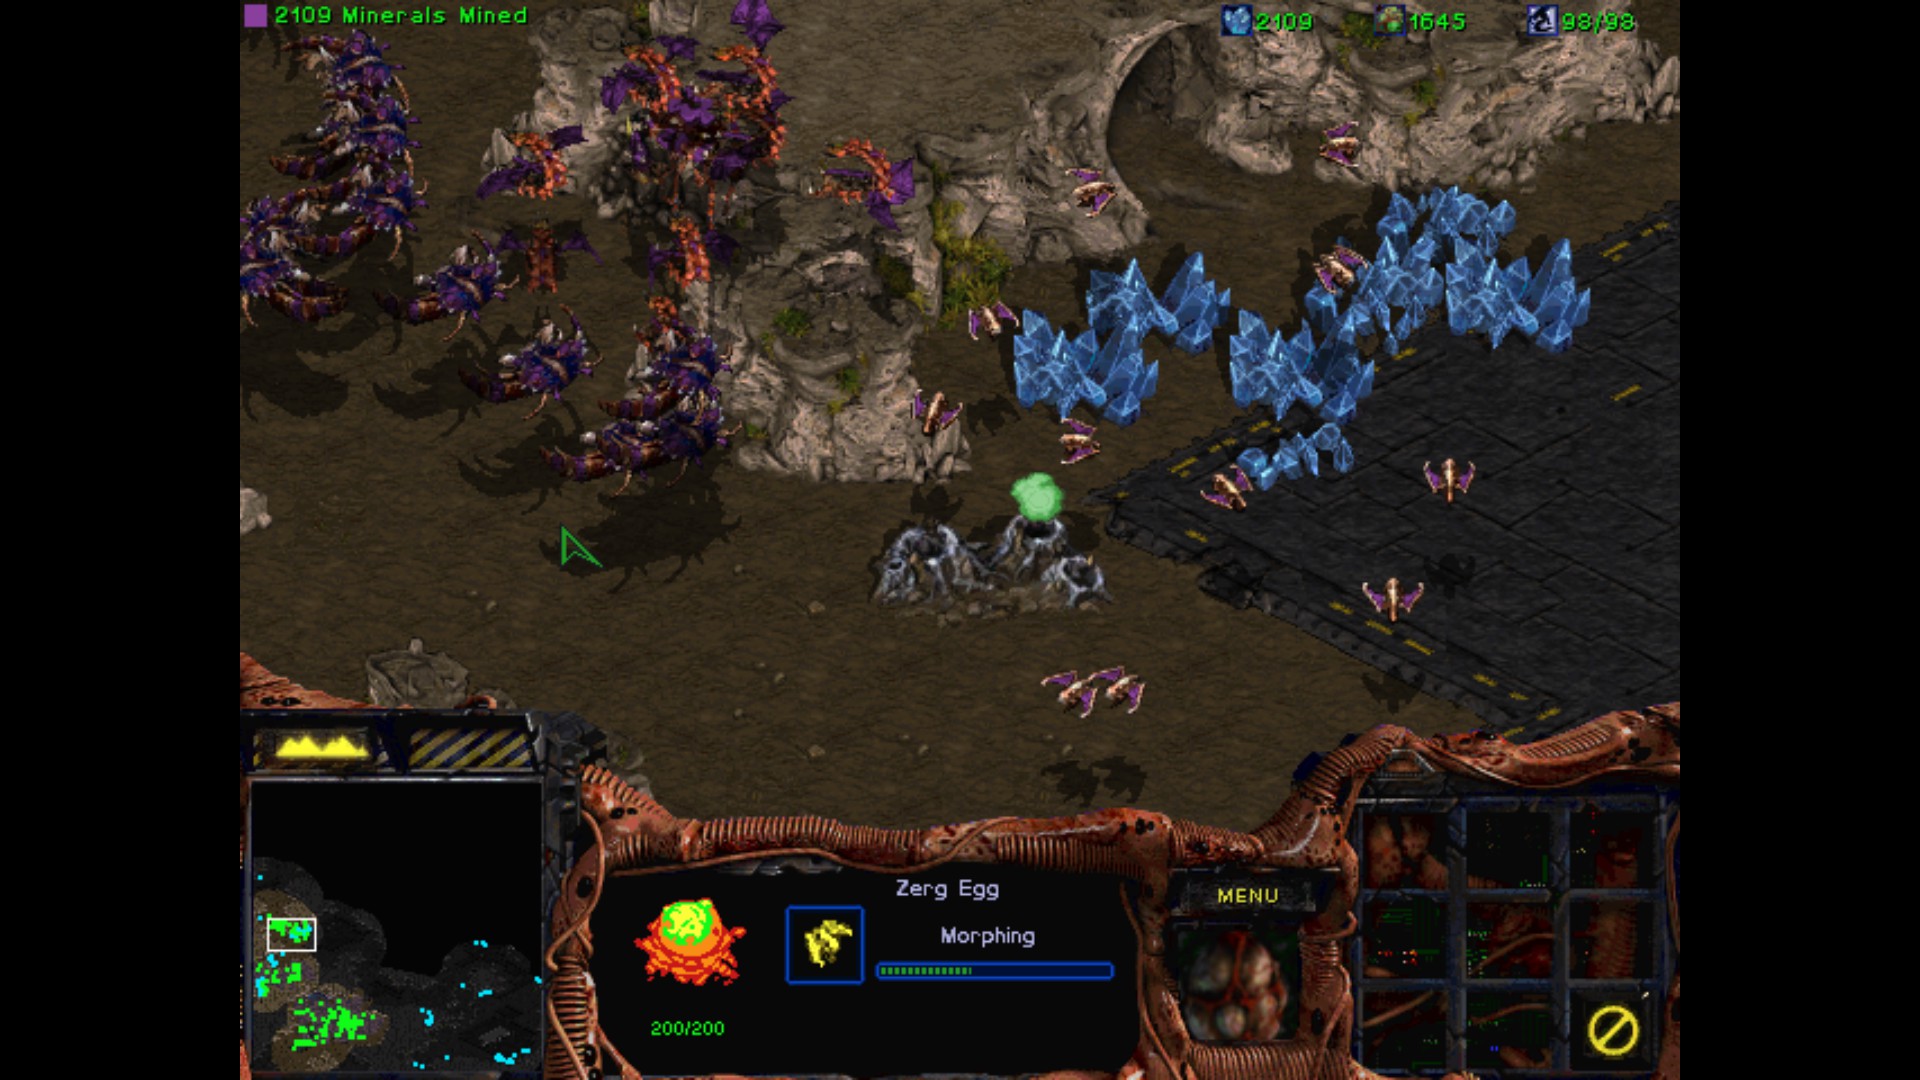
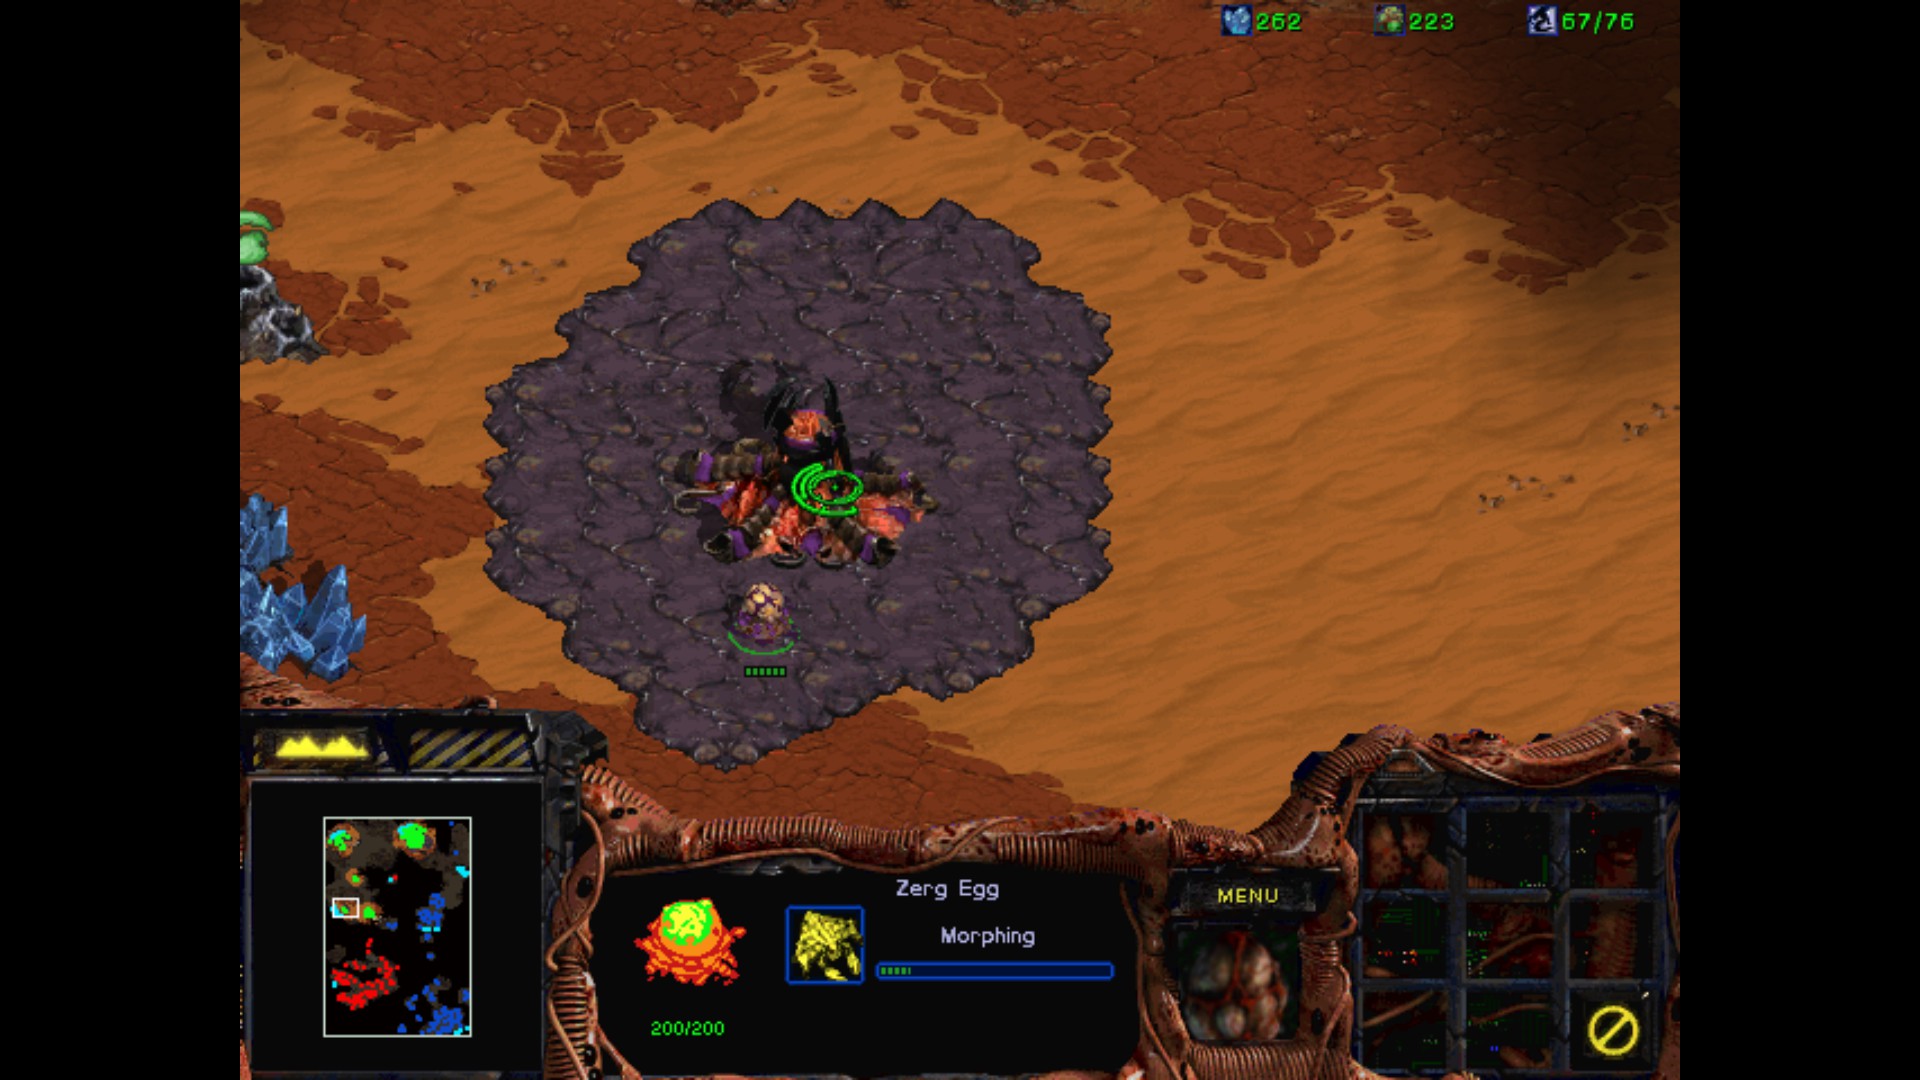
The first Zerg mission is simple and straightforward. We start with Hunter Killers and two Zerglings. I need to rescue all the Hives that we can see on the map.

Zerglings die quickly, but Hunter Killers continue the deadly march.
What I already suspected, has been confirmed by Duran. We've got no resources and workers so we need to find any allies during the mission.
First Hive is ours.
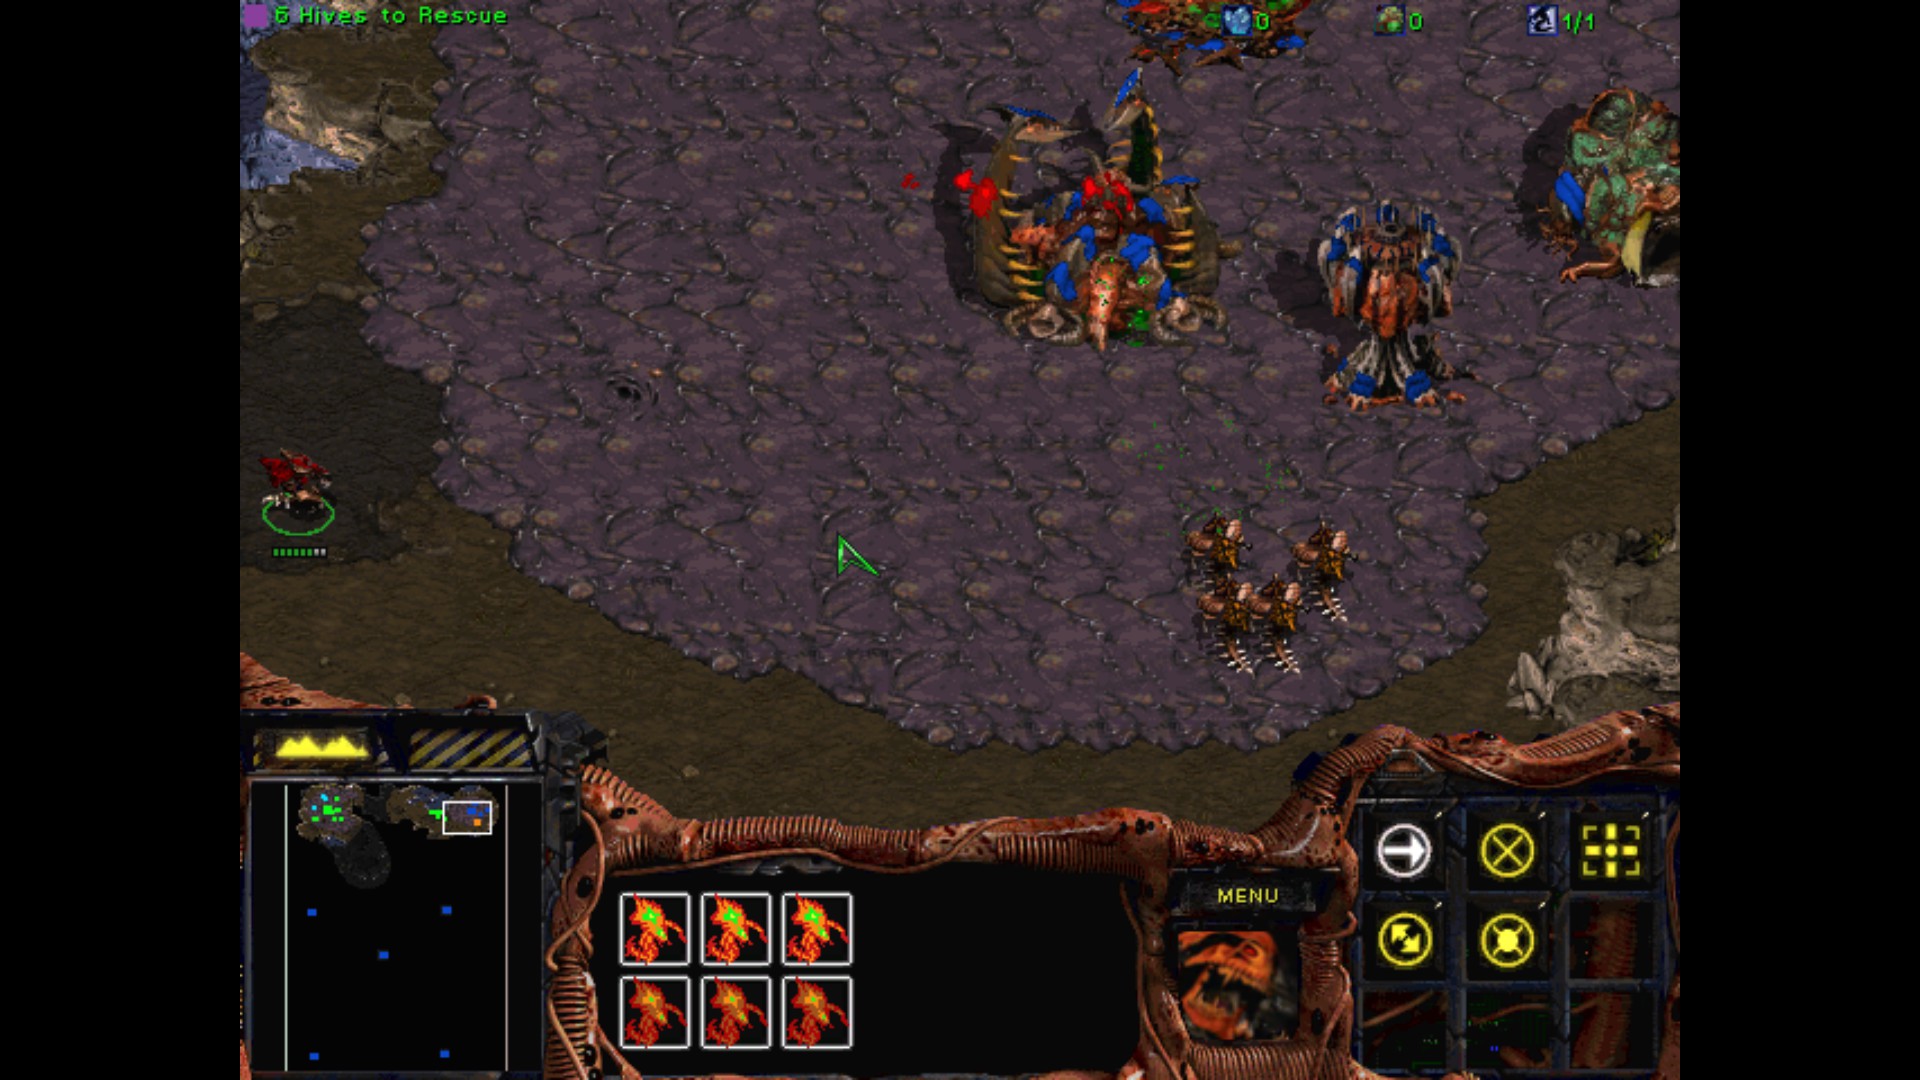
So far I only got HK, but they are great and the whole pack would be too OP.

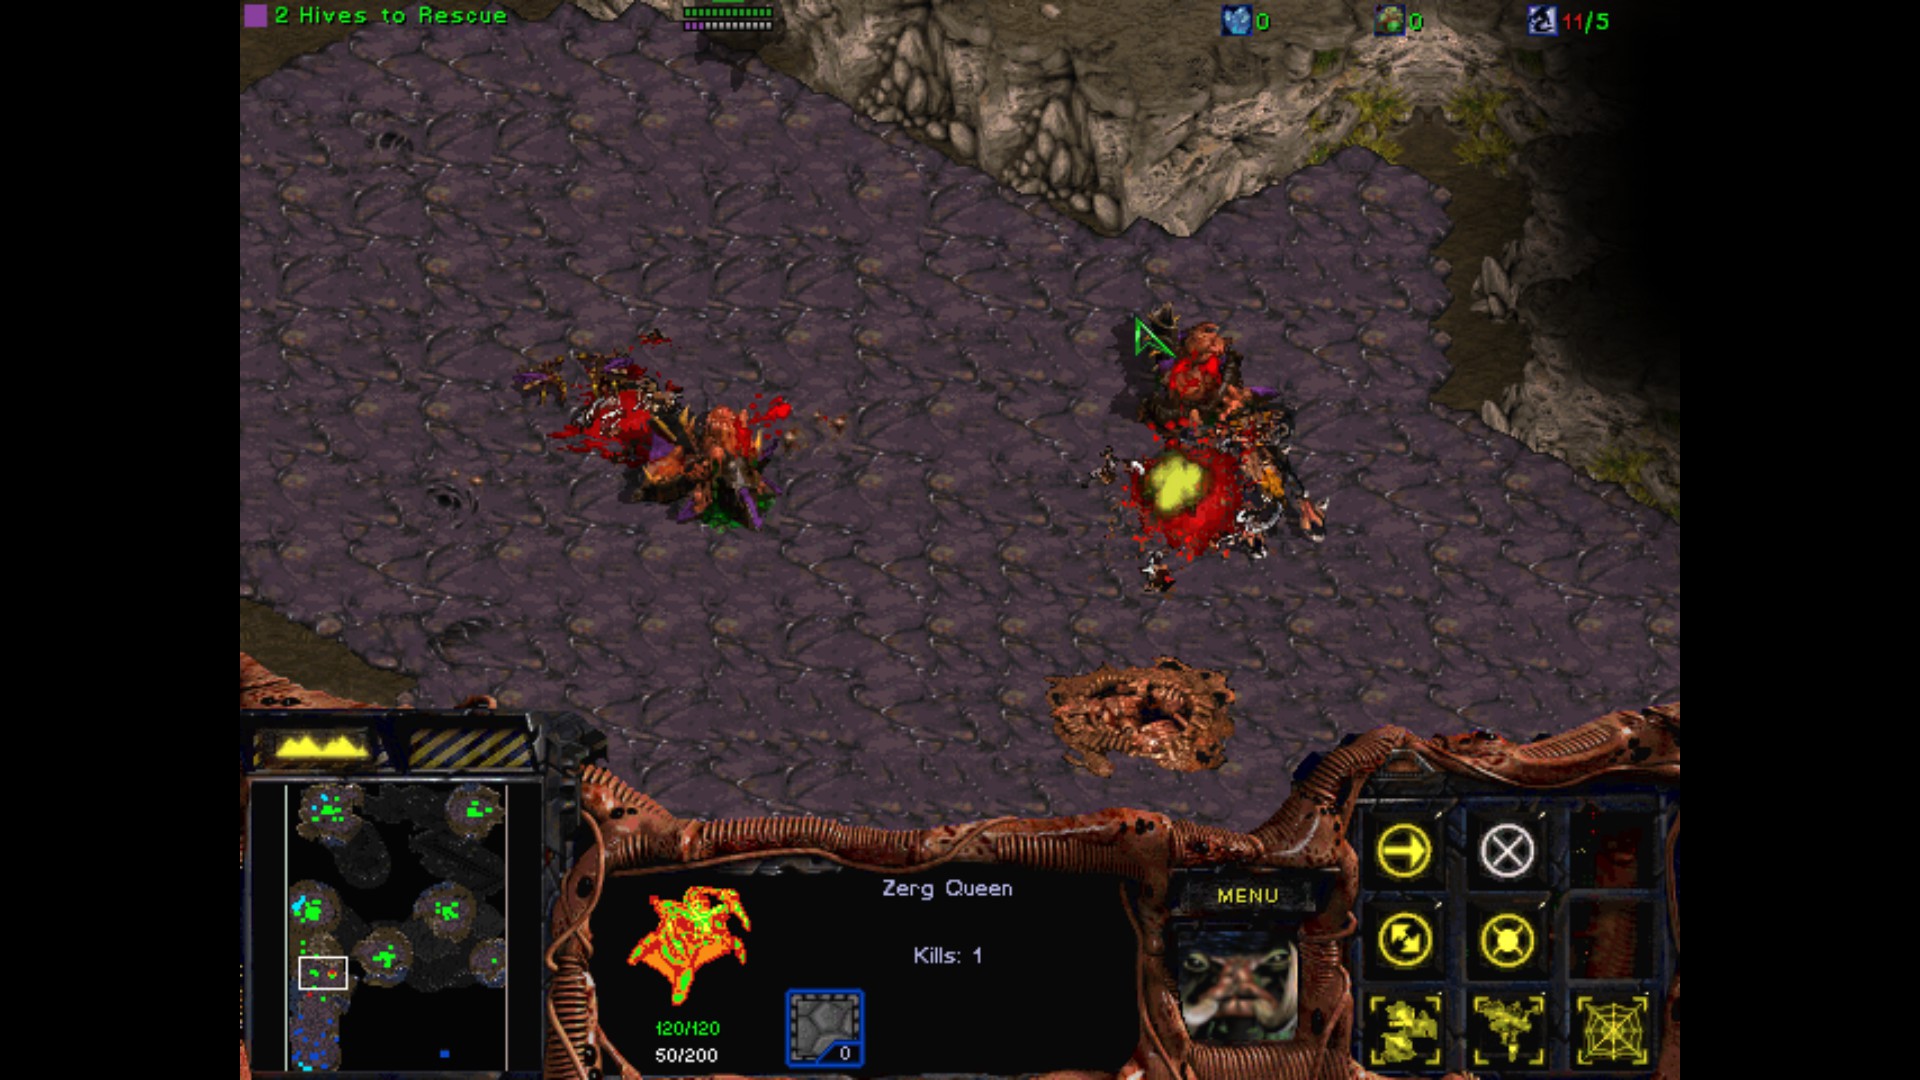
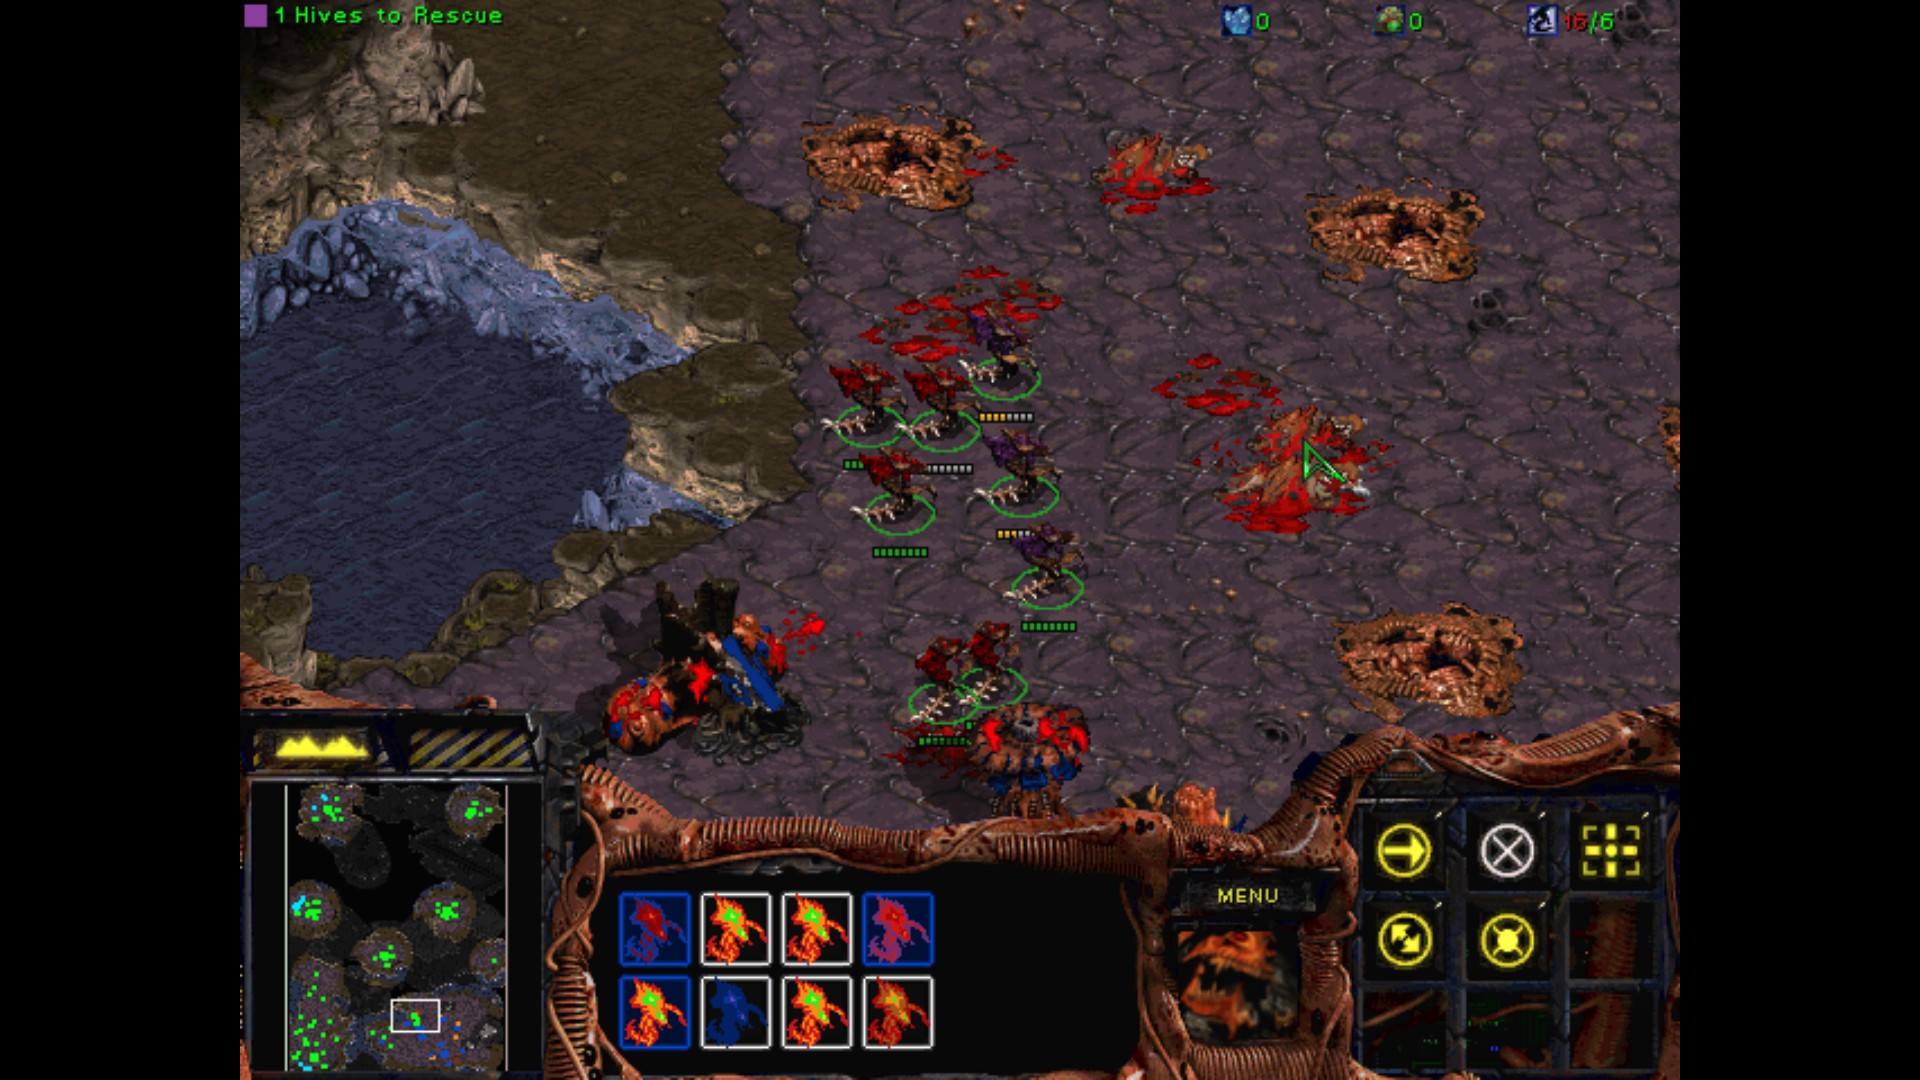
Finally, some additional Hydralisks to my little team. Two Hives rescued.

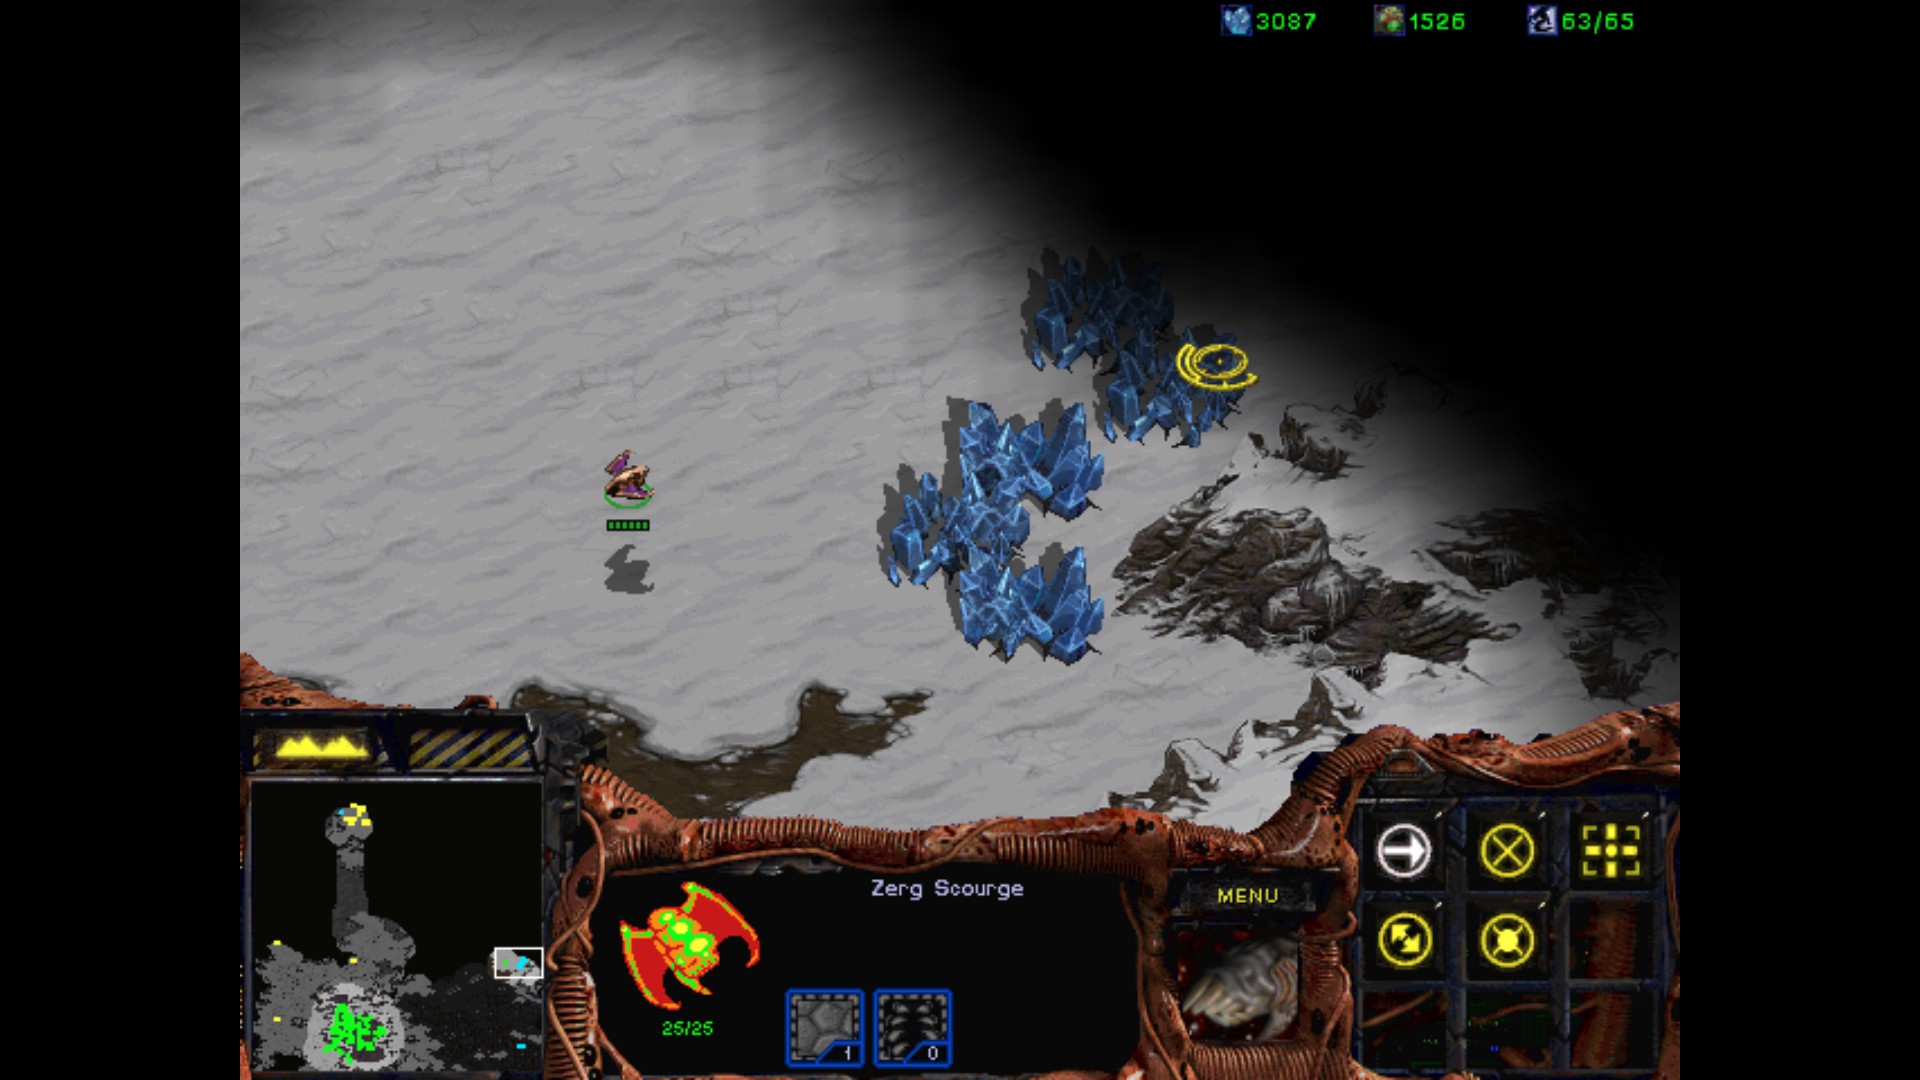
After defeating the enemy in the next Hive, there appear little Scourge air support pack.
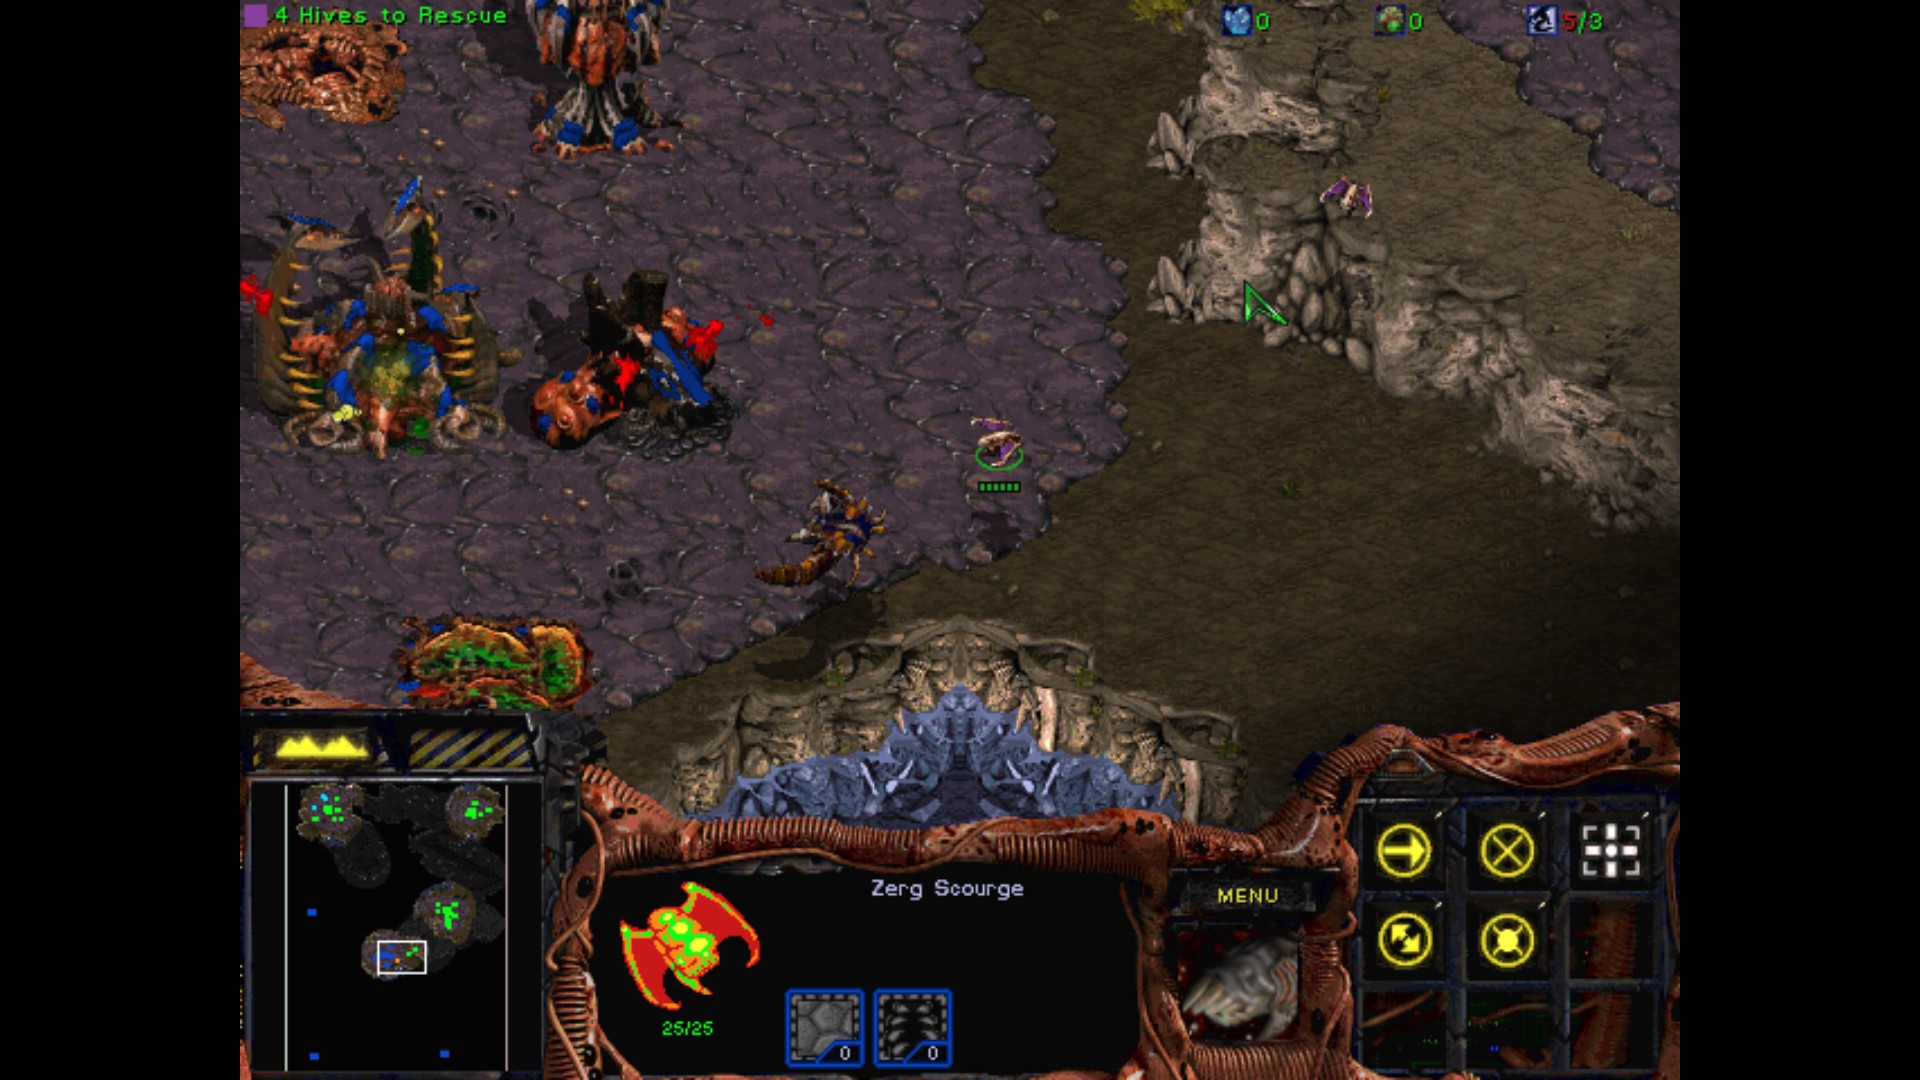
I immediately use them on Guardians shooting my next Hive.
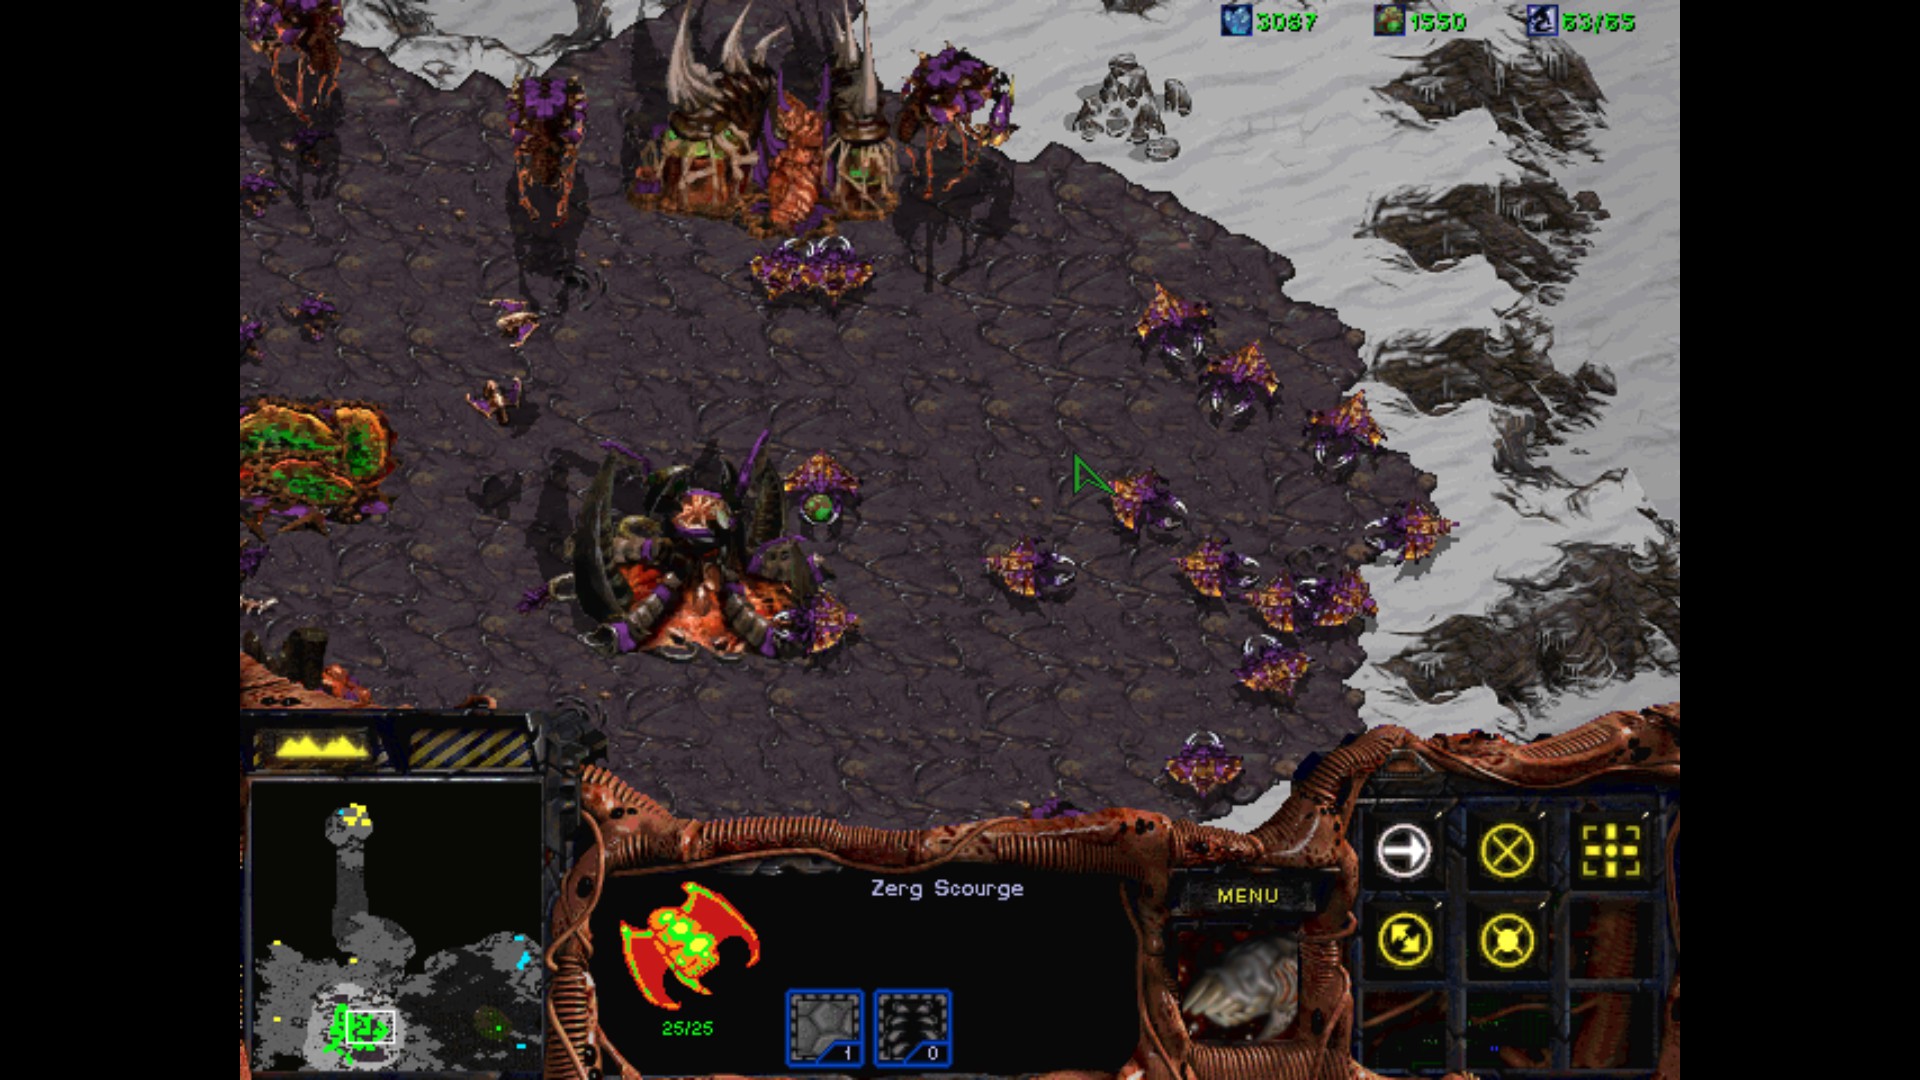
Now I can kill all the Hydralisks that have appeared and move on.
This situation looks bad, but I've got four Queens which have full energy each. Spawning Broodlings is the most obvious strategy for this small Ultralisk pack.
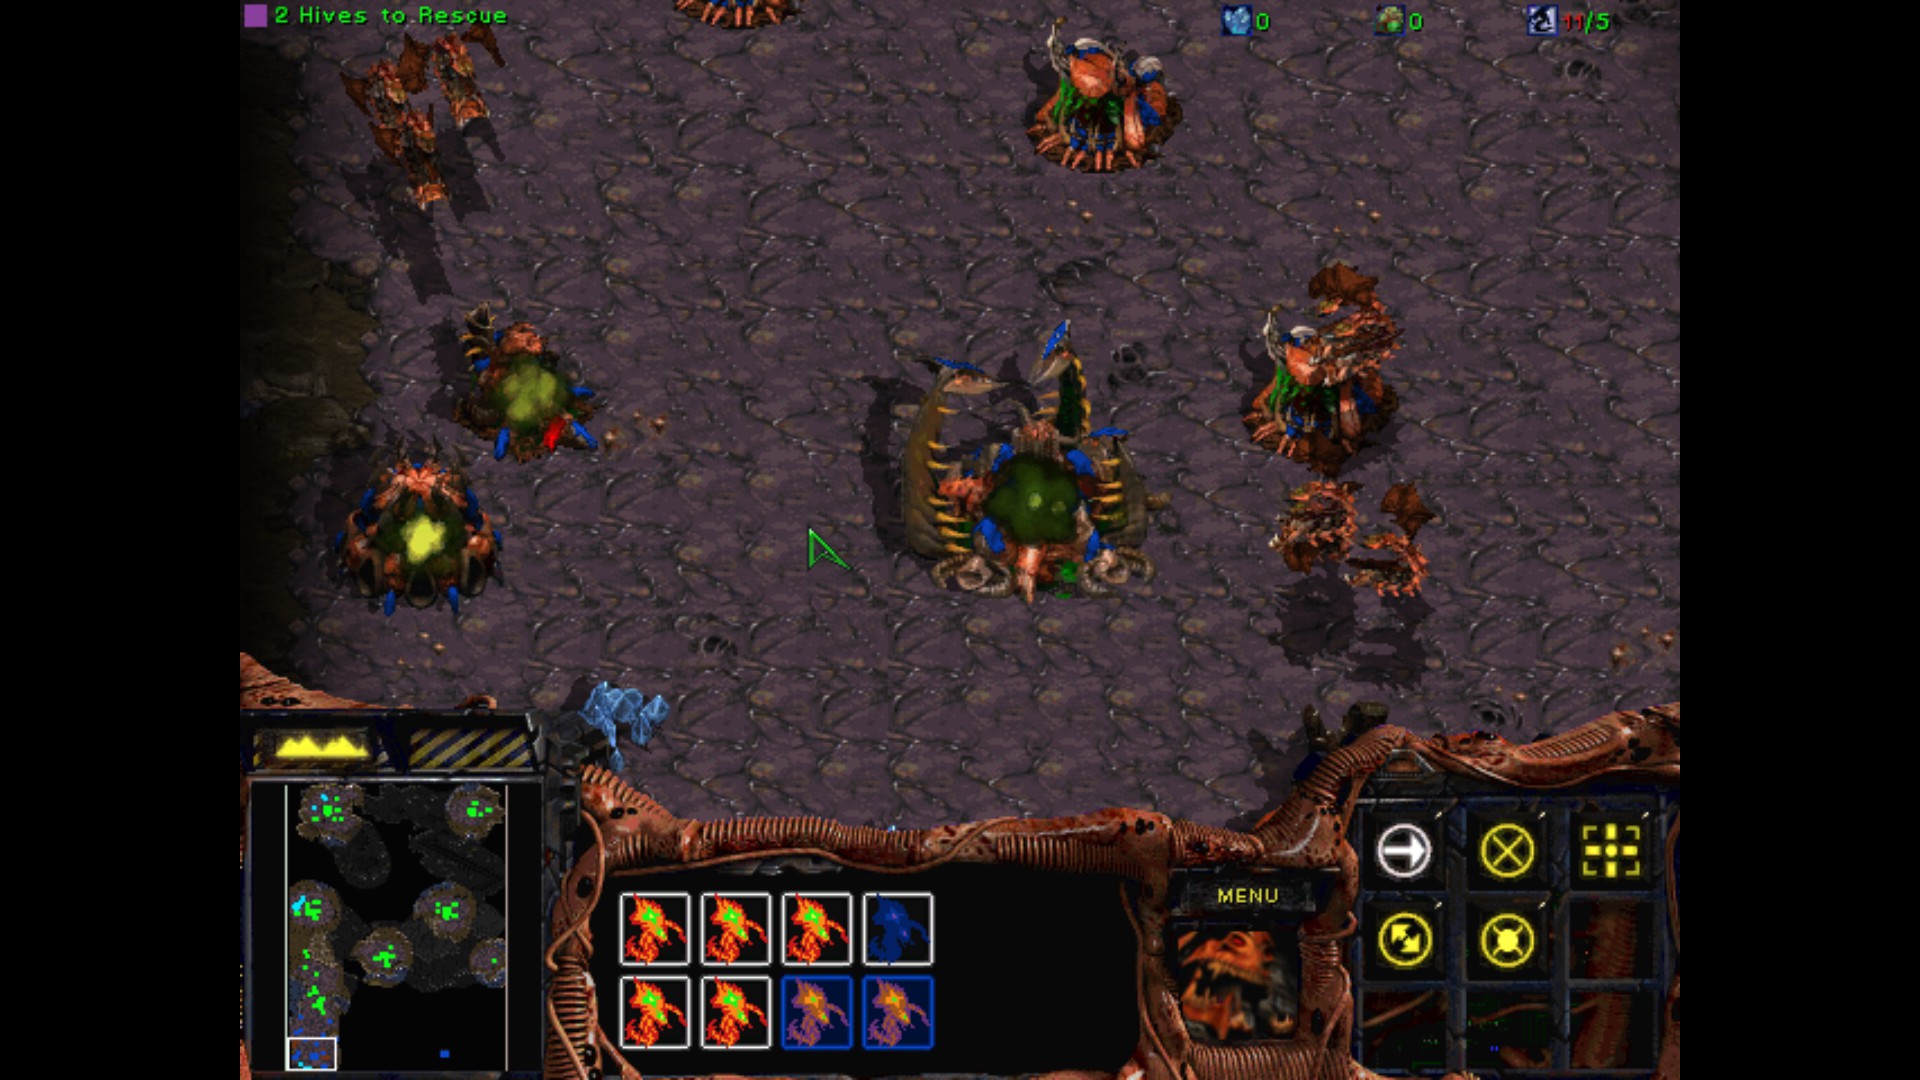
Some of my minions were defeated during the counterattack on the Mutalisks. Oh well, I have only two Hives to rescue right now so no biggie. I'm sure something will be added to my unit pool.
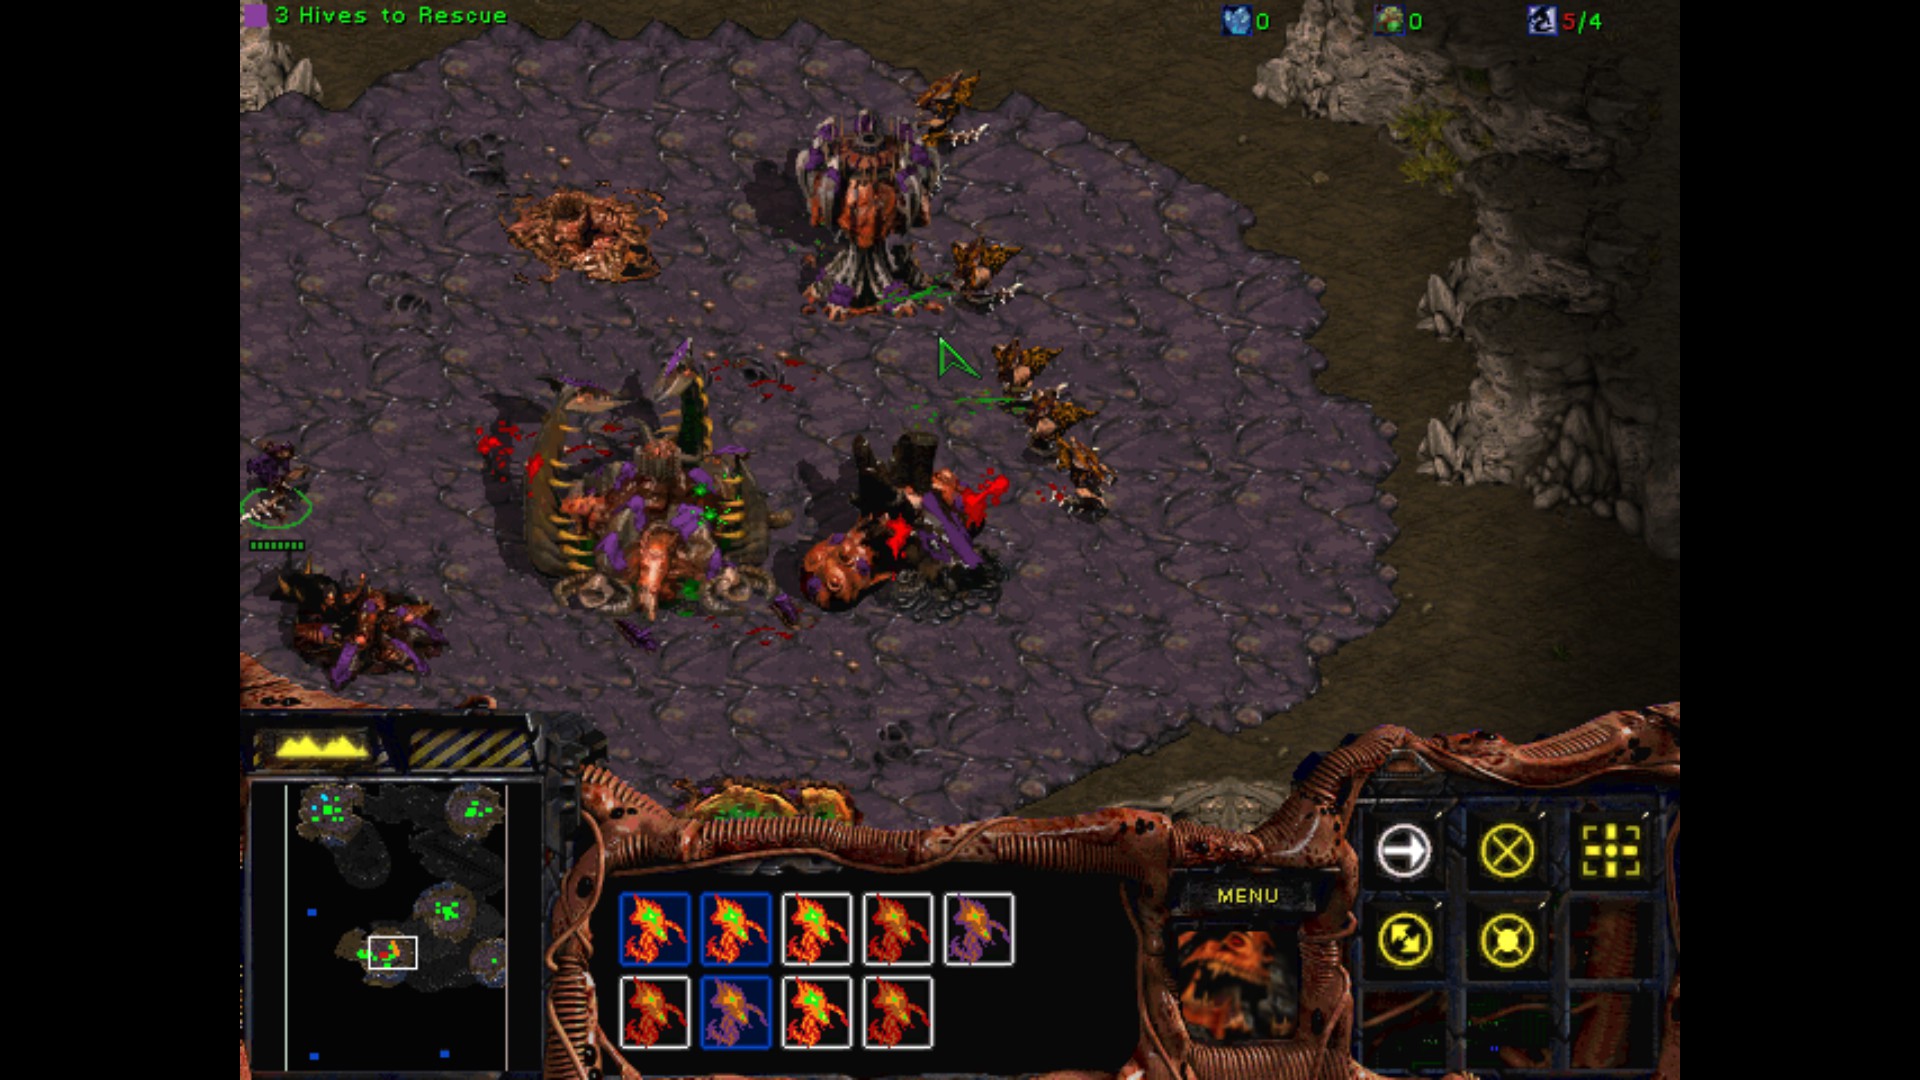
Another 4 pack of Hydralisks that I can add to my collection. One of the Queen quickly kills the Ultralisk
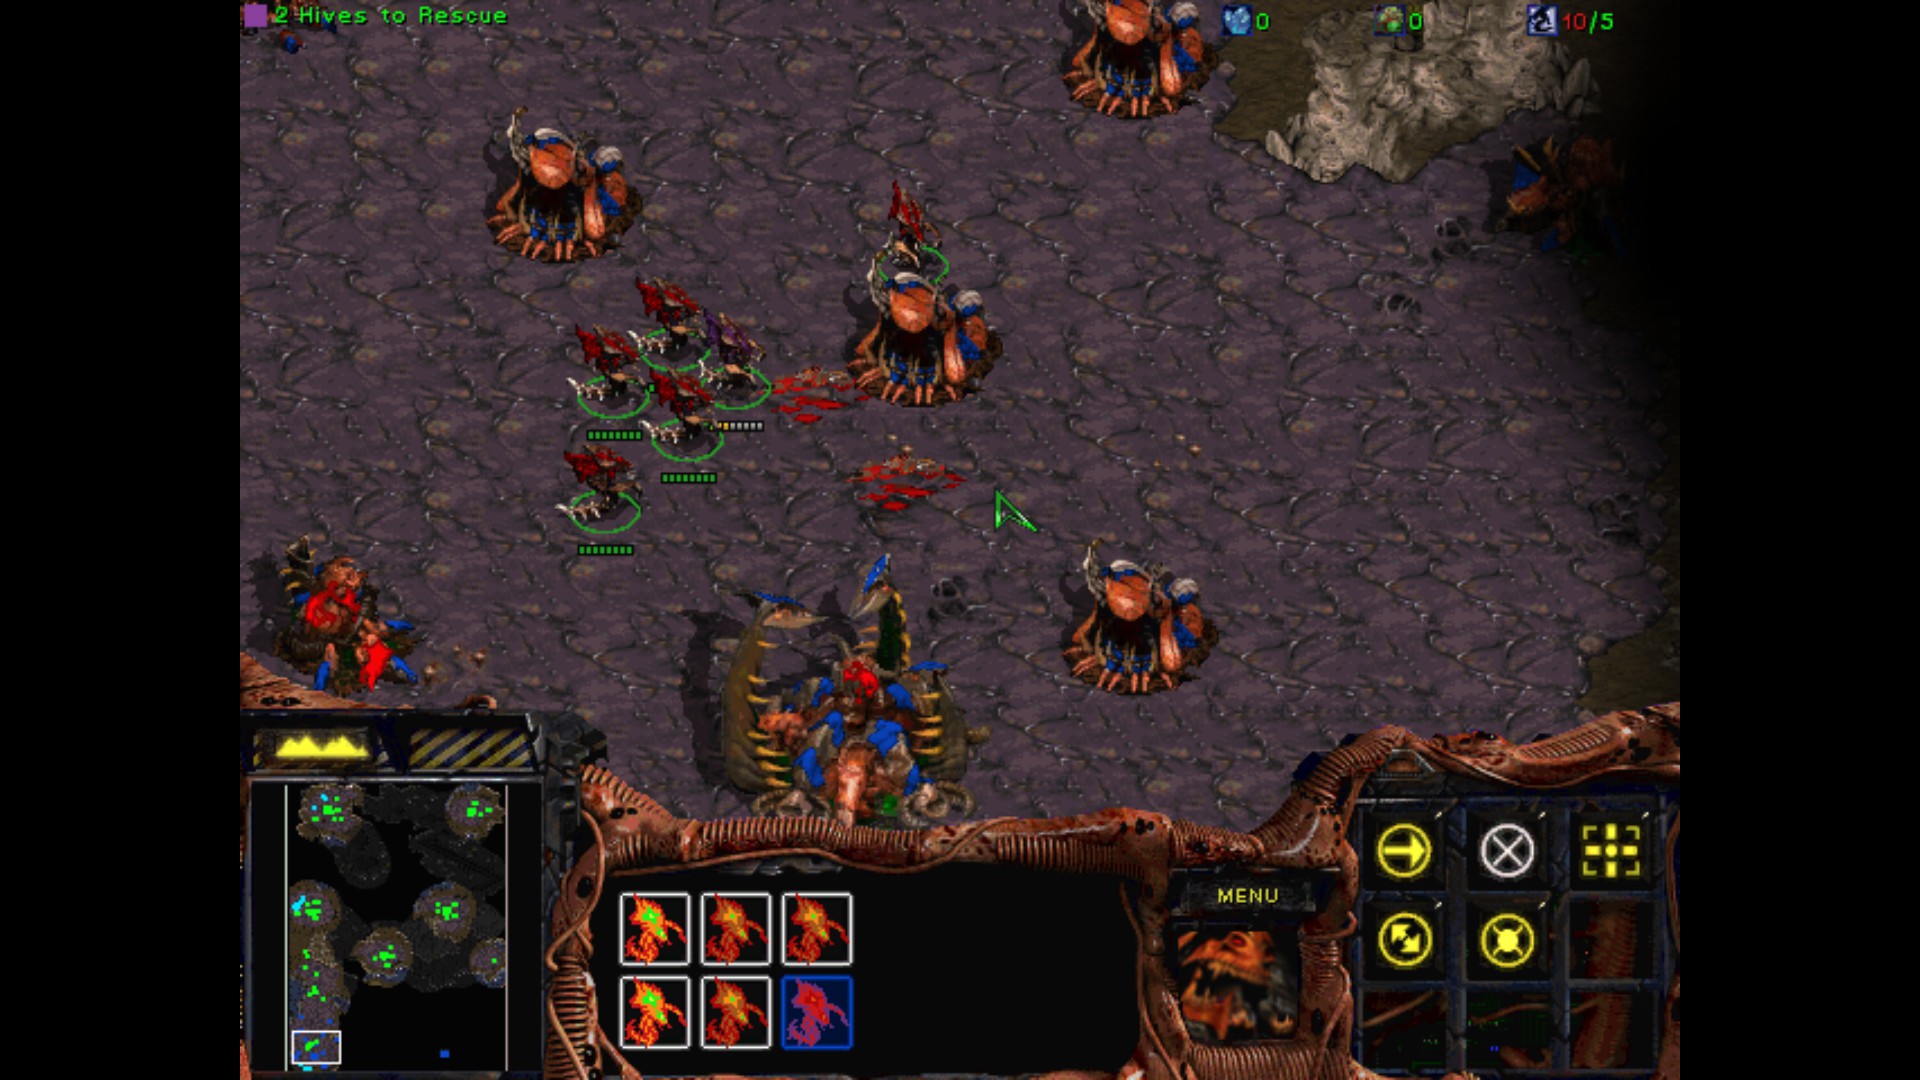
Last Hive. I suspect so heavy resistance.
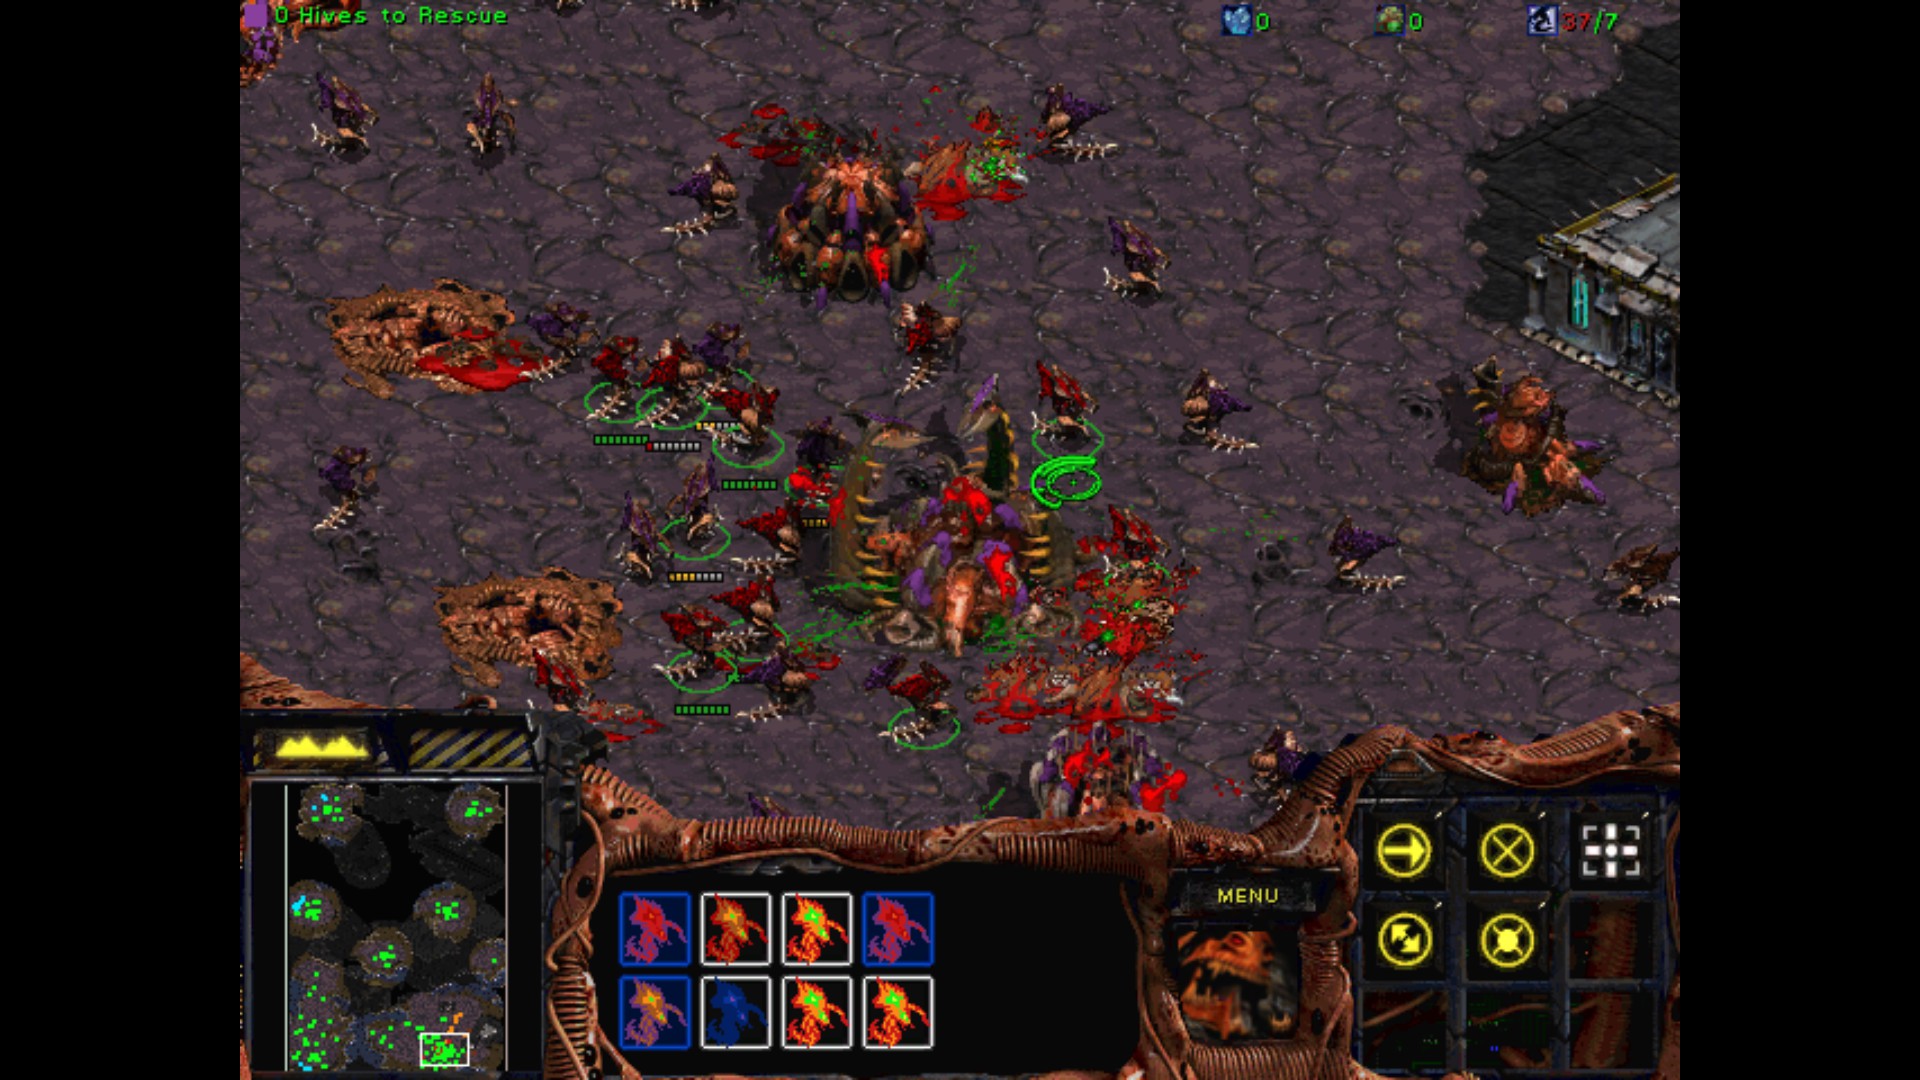
Wow, the battle is really intense and the numbers on both sides really big. Total Hydralisks War!
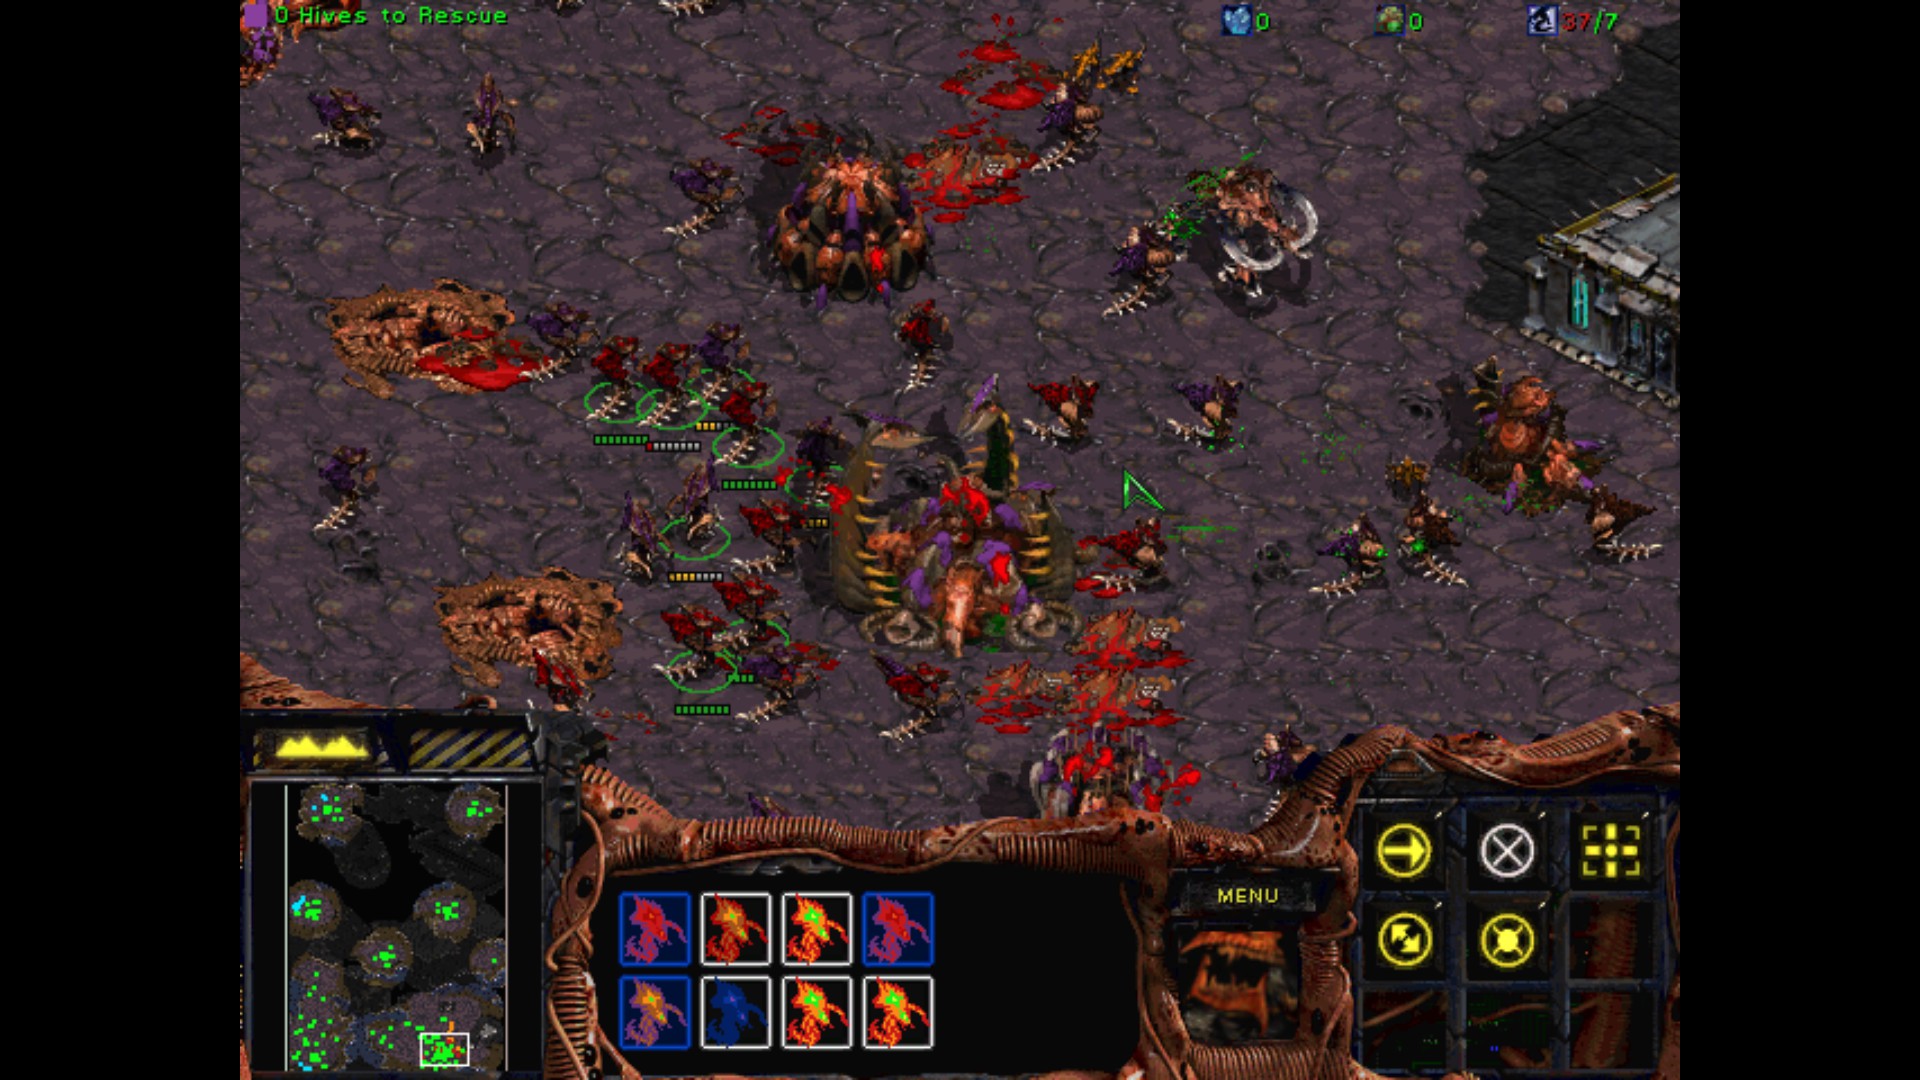
Here comes the wild Ultralisk. At least it's not Torrasque!
Phew, that was great. I've all the Hives secured. Great warm up for next missions.
ued did nothing wrong
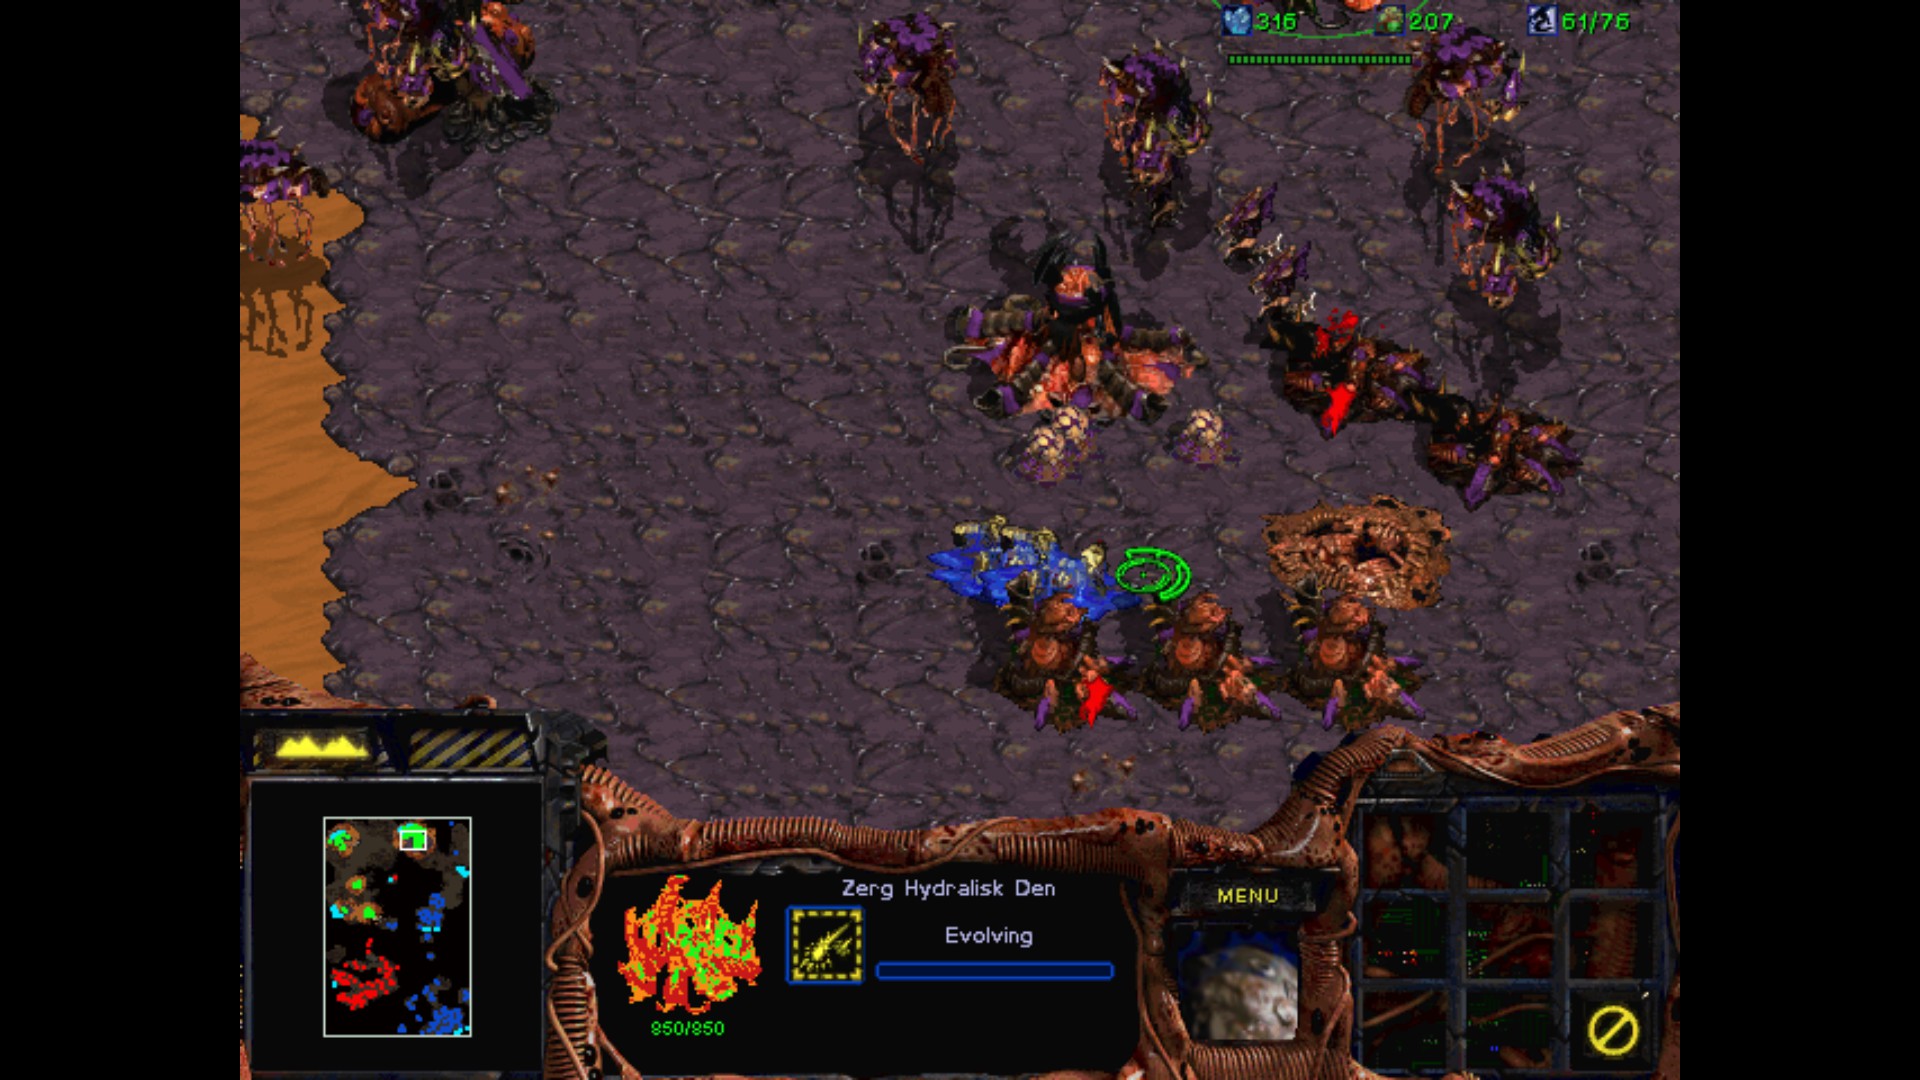
Mission II : Reign Of Fire

The Psi Disrupter is causing me some very serious problems.
Although I've regained control of my forces here, it's taking more and more concentration just to keep them in line.
Aww... My heart's breaking for you, Kerrigan.
Now exactly why was it that you asked Fenix and I to bring Mengsk to you?
Are you still suspicious that I'll kill him for abandoning me to the Zerg?
I've gotten over it, Jim. We can't afford to let petty hatreds jeopardize our plans for the UED.

That's reassuring.
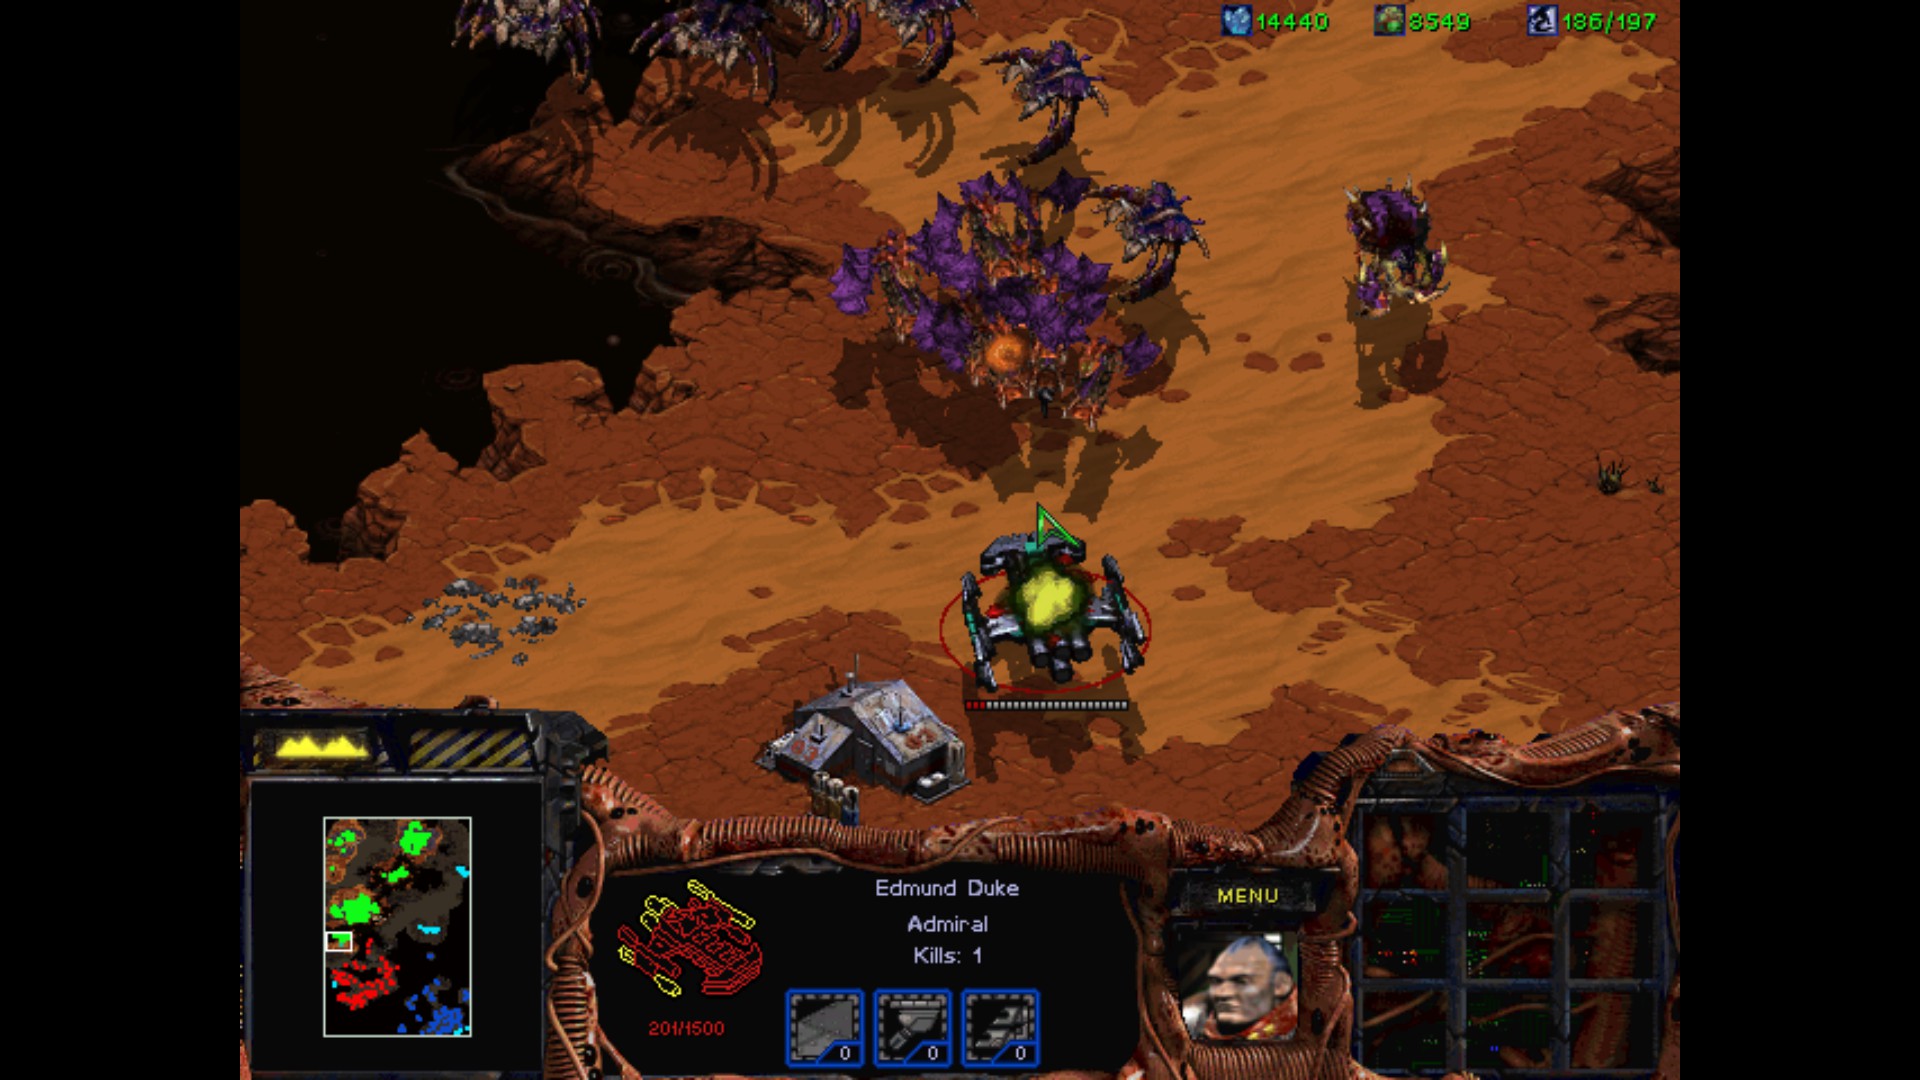
Arcturus... I pressume you found your cold-sleep chamber... accommodating?
What is the meaning of this, Kerrigan?
Straight to the point, huh? I was hoping to chat. It's been awhile.
Not long enough. Why have I been brought here?
I need your Psi Emmiters, Arcturus.
Why?
Remember the Confederate Psi Disrupter that you could never find?
Well, the UED found it. And it's preventing me from controlling my minions.
With the help of your Psi Emmiters, I can gather up enough Zerg to destroy the Disrupter and confront the UED.
And what are you offering me in return?
Hah. Ever the politician. All right, 'Emperor', if you help me destroy the Disrupter, I'll help you retake Korhal from the UED.
Hmm... a tempting offer. What assurances do I have of you fulfilling your end of the bargain?
The only thing I can assure you of, Arcturus, is that without my help, you'll be the Emperor of your own little eight by eight cell for the rest of your life.
I see that you're still a persuasive speaker.
All right, Kerrigan. I'll lend you some Emitters, but this had better be worth it.
Objectives :
- Destroy the Psi Disrupter
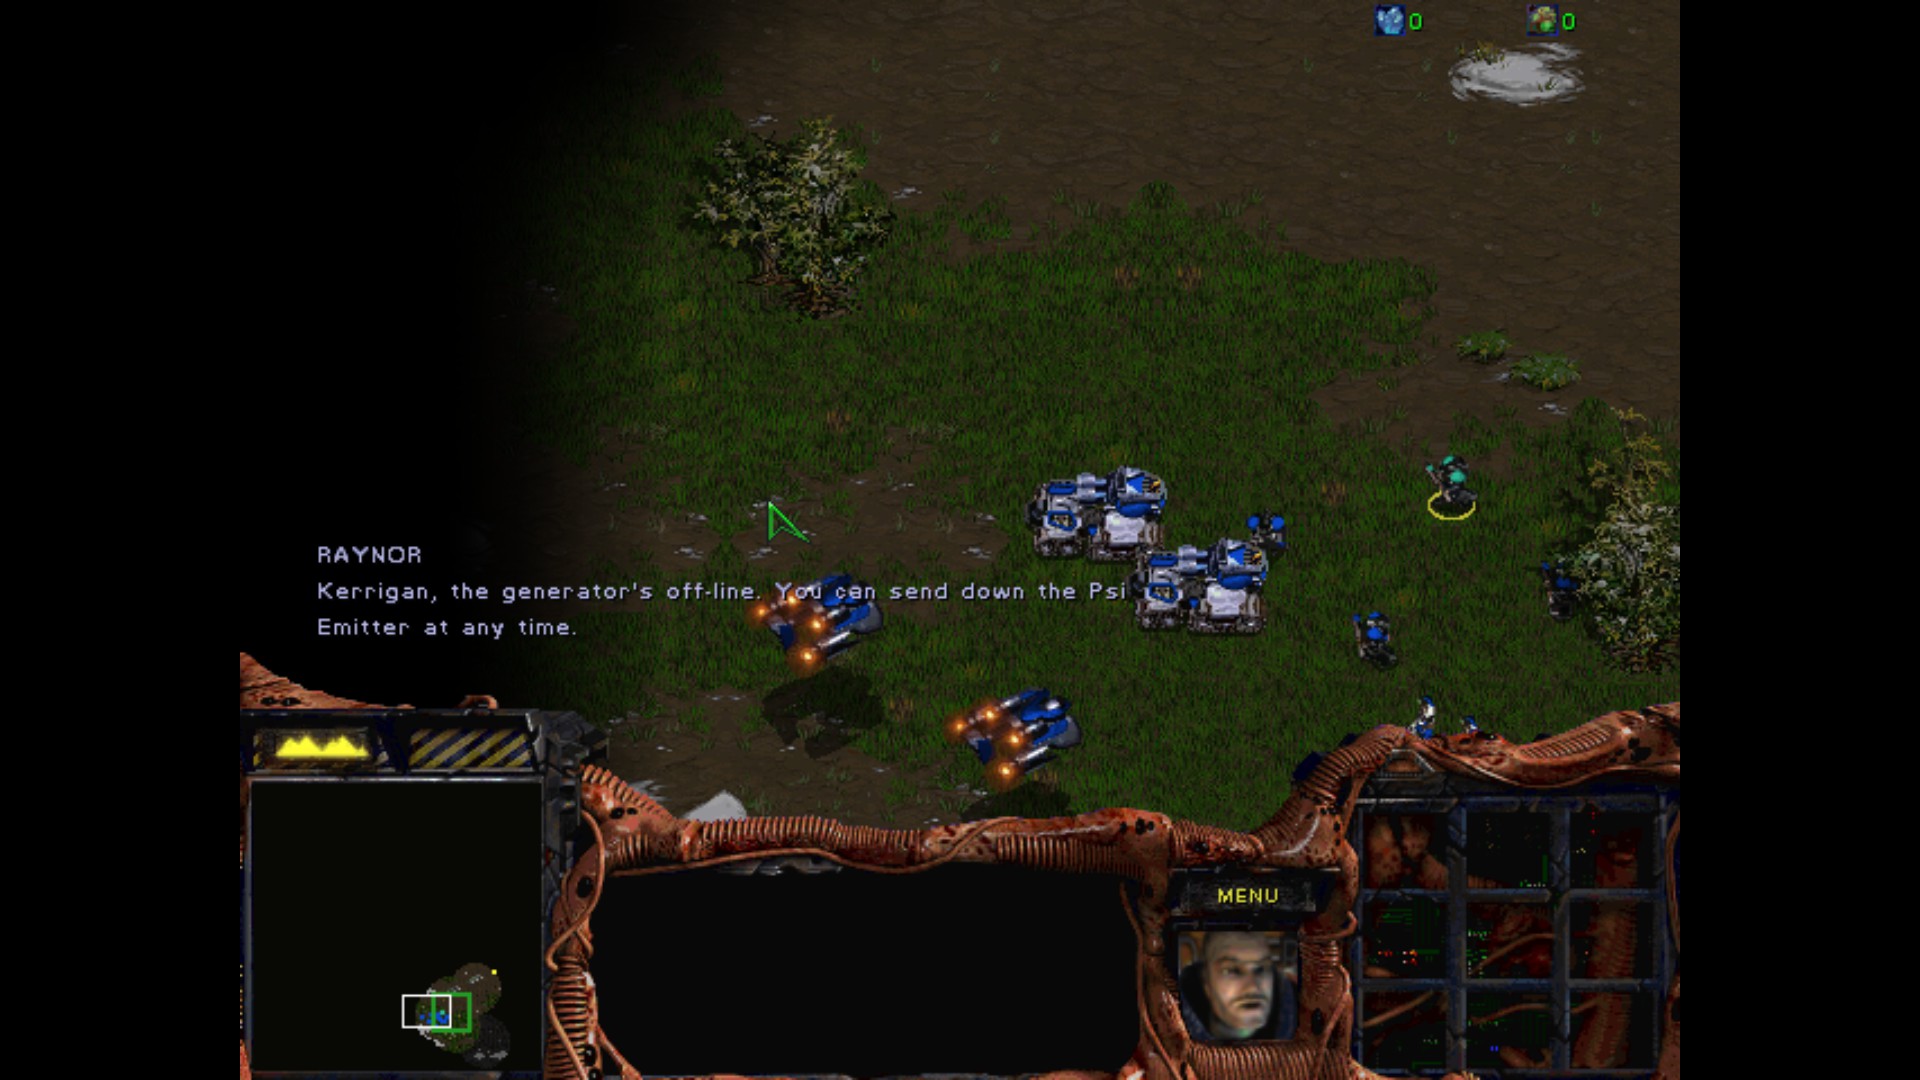
The missions starts with a scripted sequence, where we see Jim and some ground support destroying the Energy Generators.
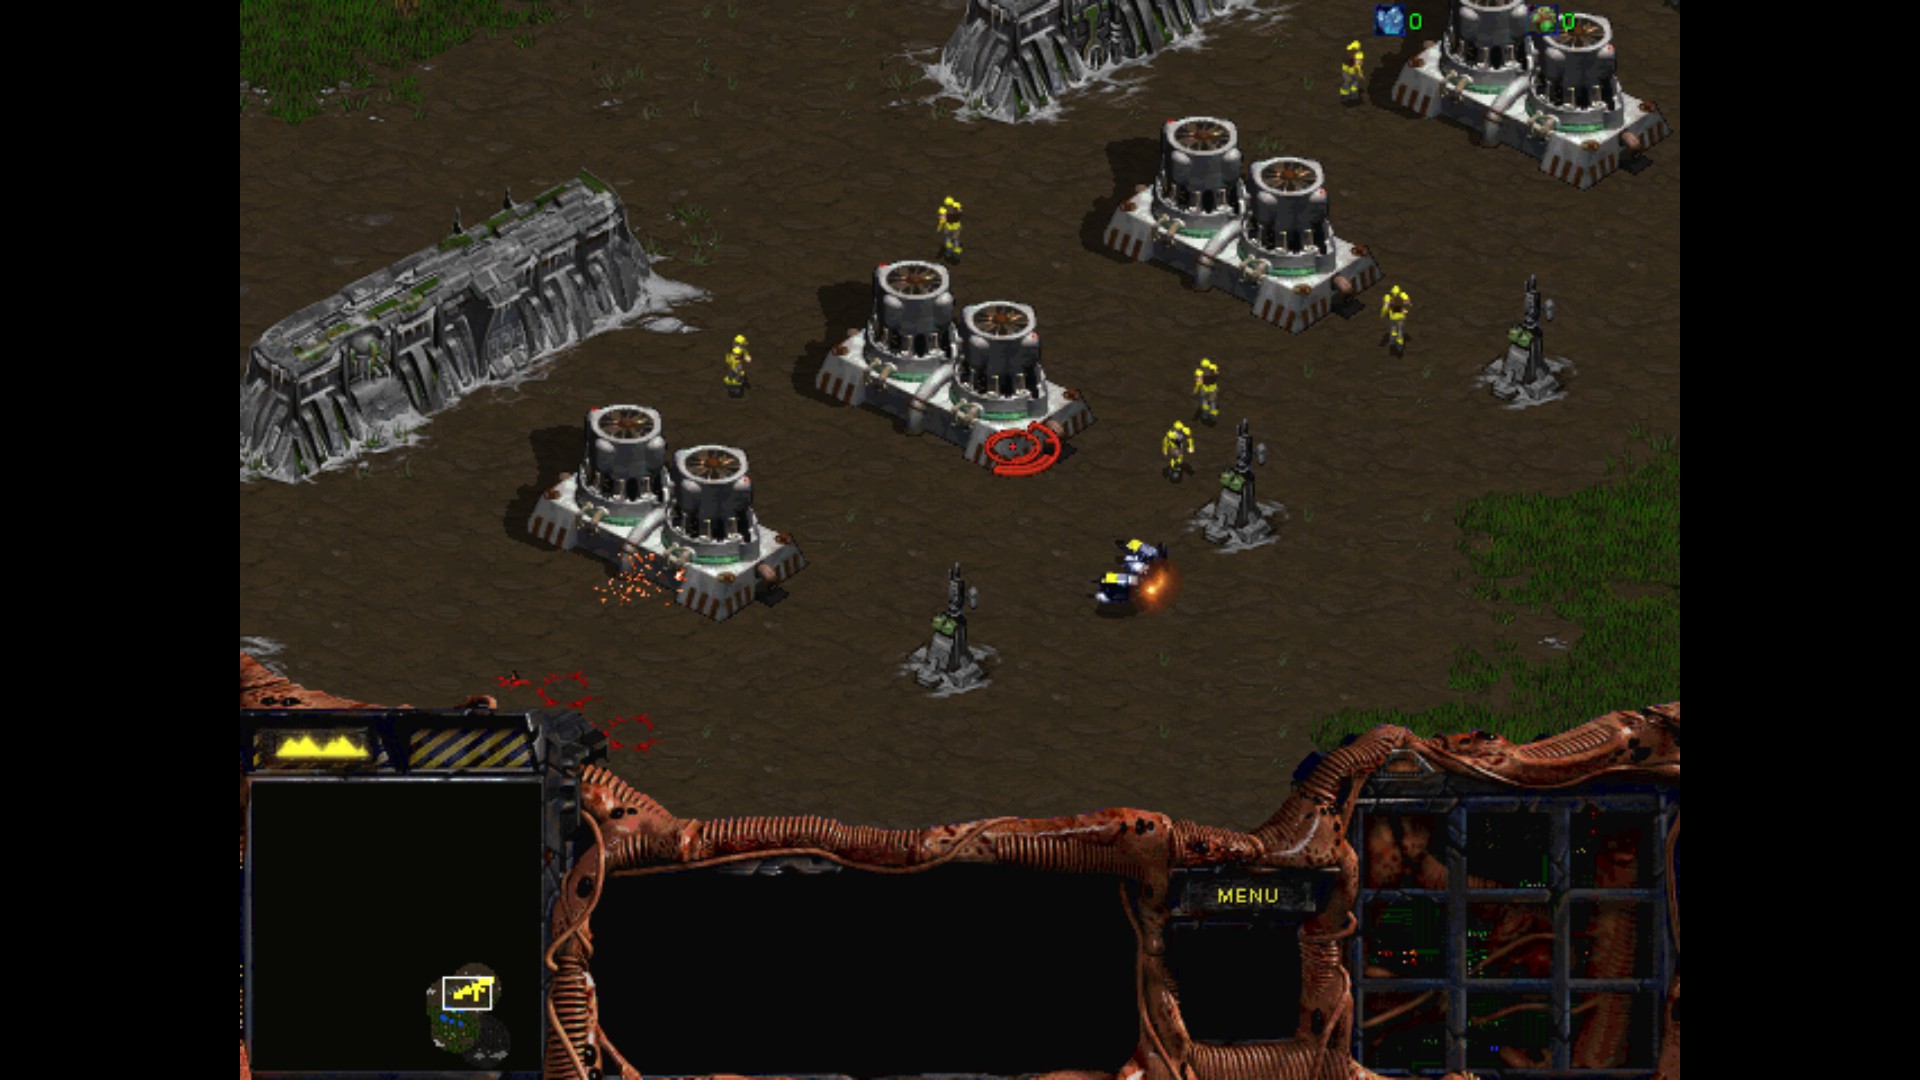
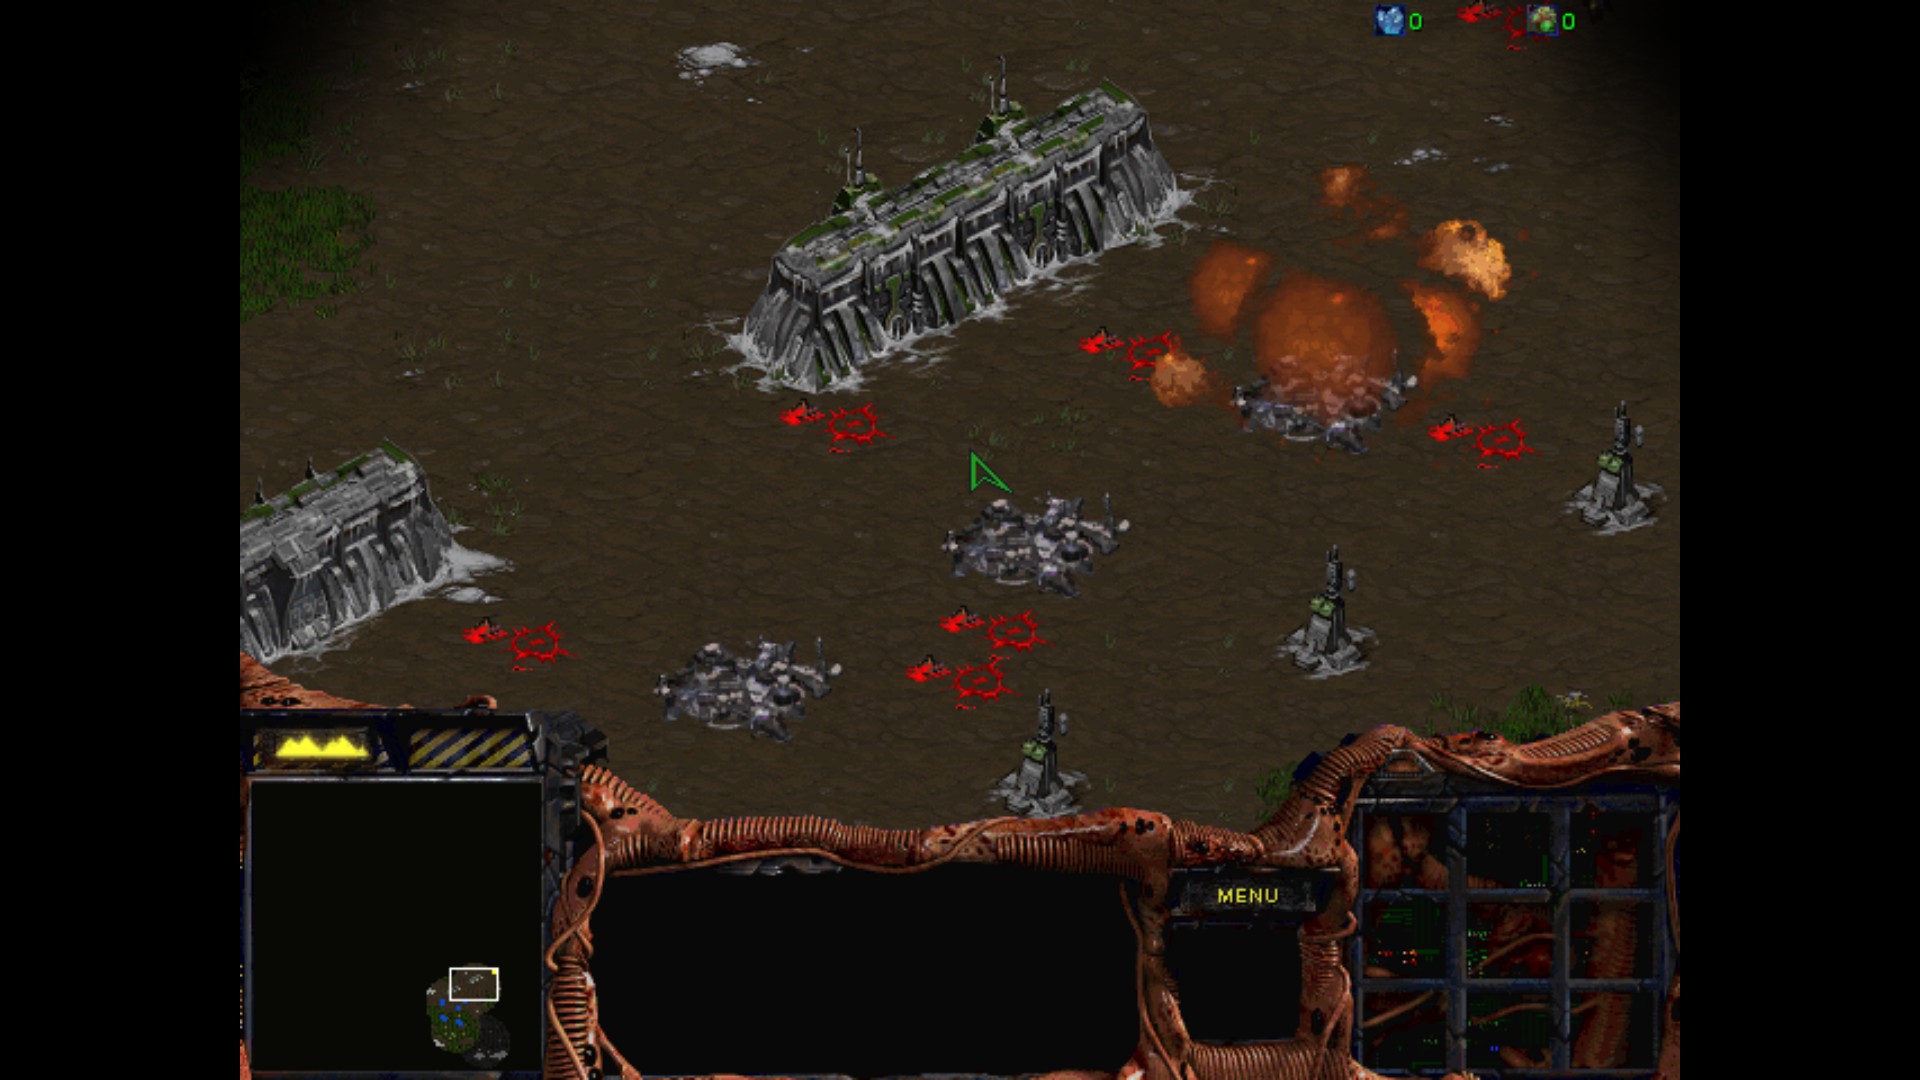
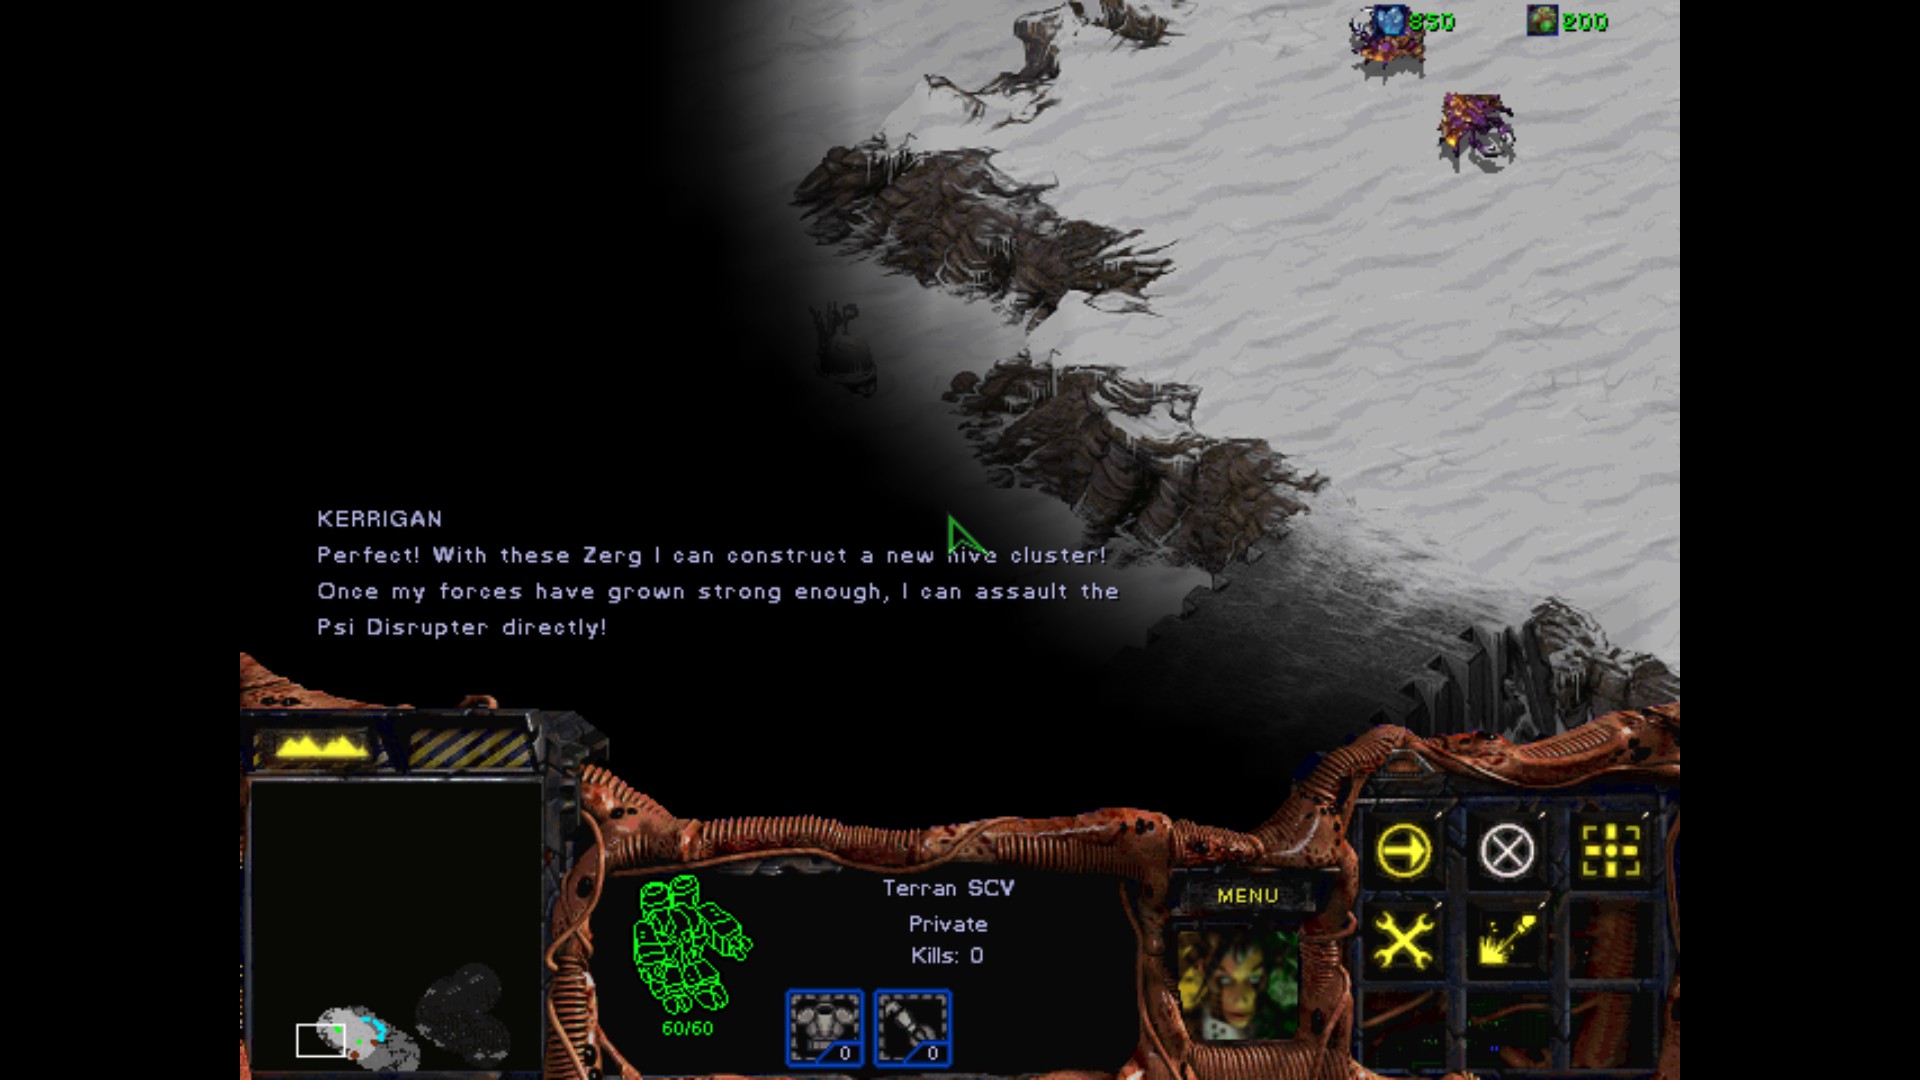
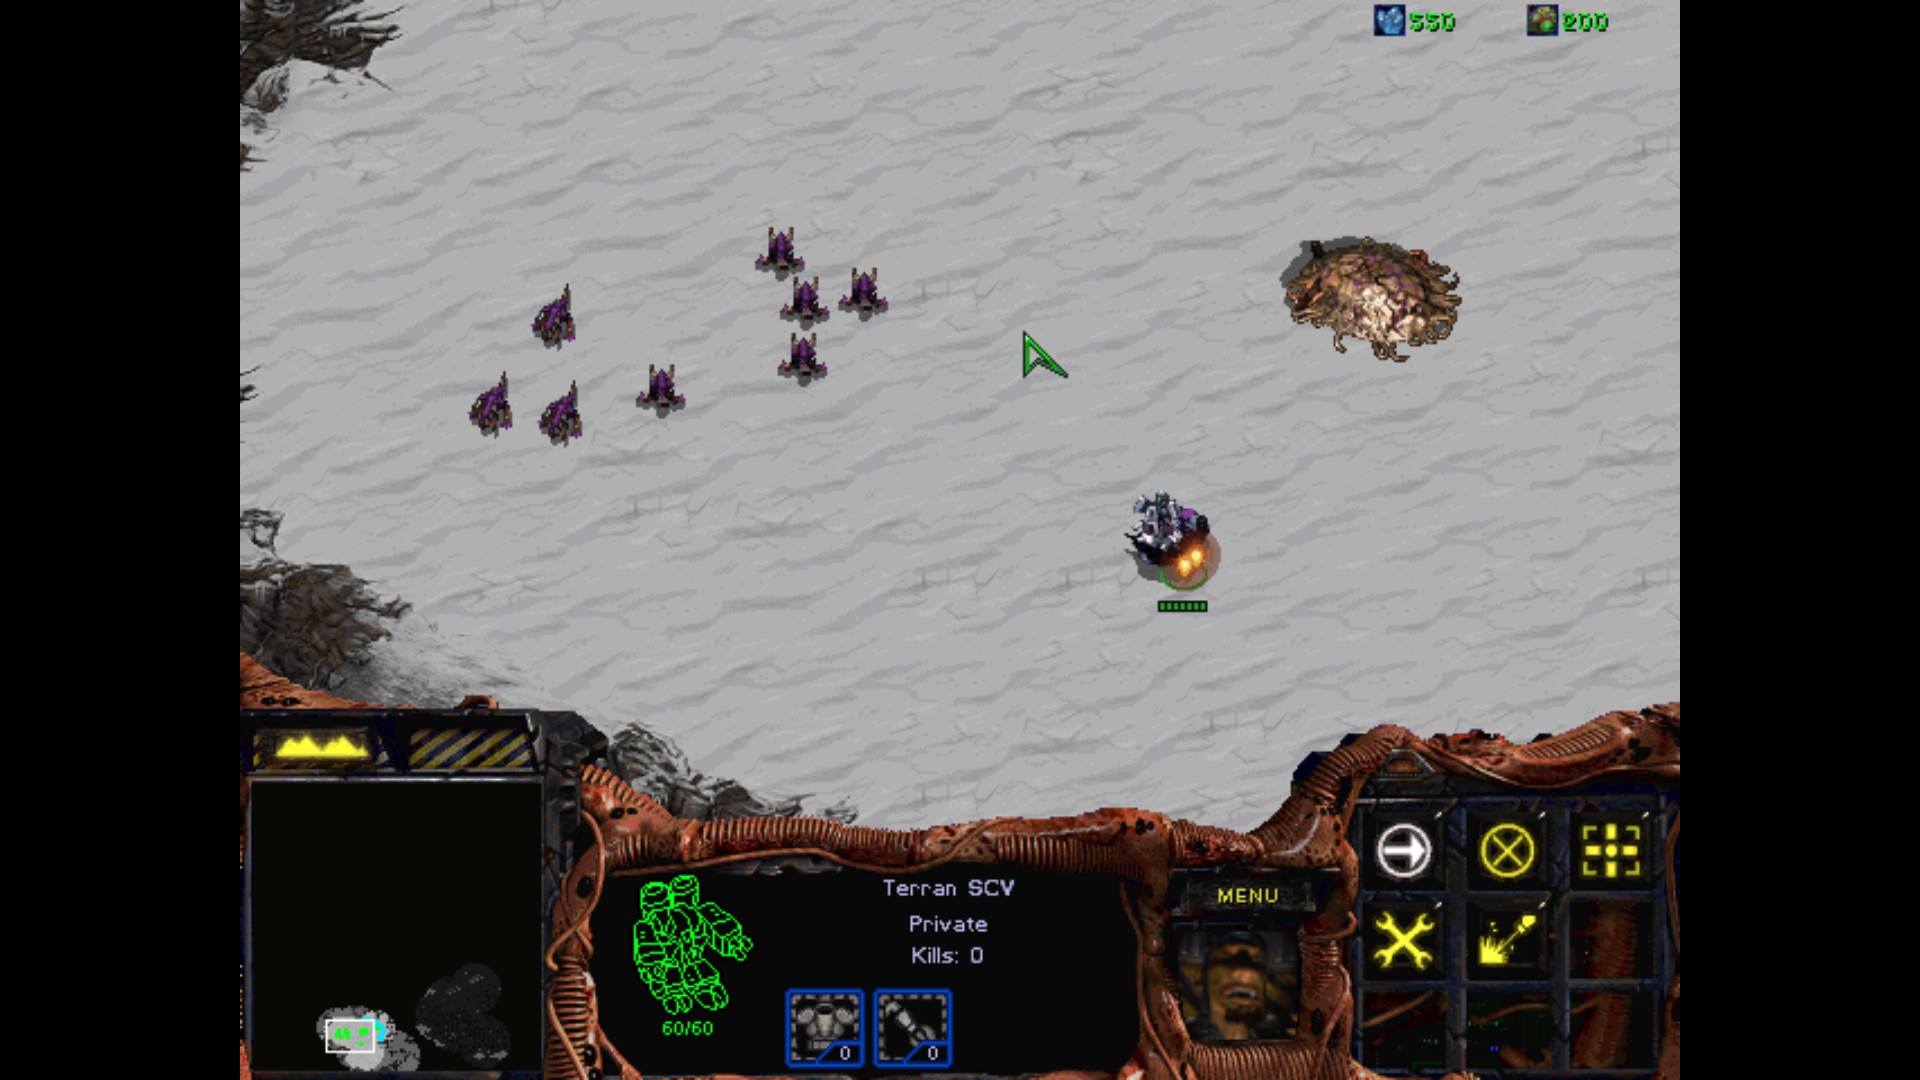
The single SCV that has the PSI emitter isn't here for moral support. There are unique Zerg units scattered all over the place that will join us if we use the emitter on them.

Just to see the nearby terrain, I have acquired three Hunter Killers. They will be a great support through the whole mission.
Not yet my little beast, I need to make a base that is able to defend itself and then start attacking.
Before...
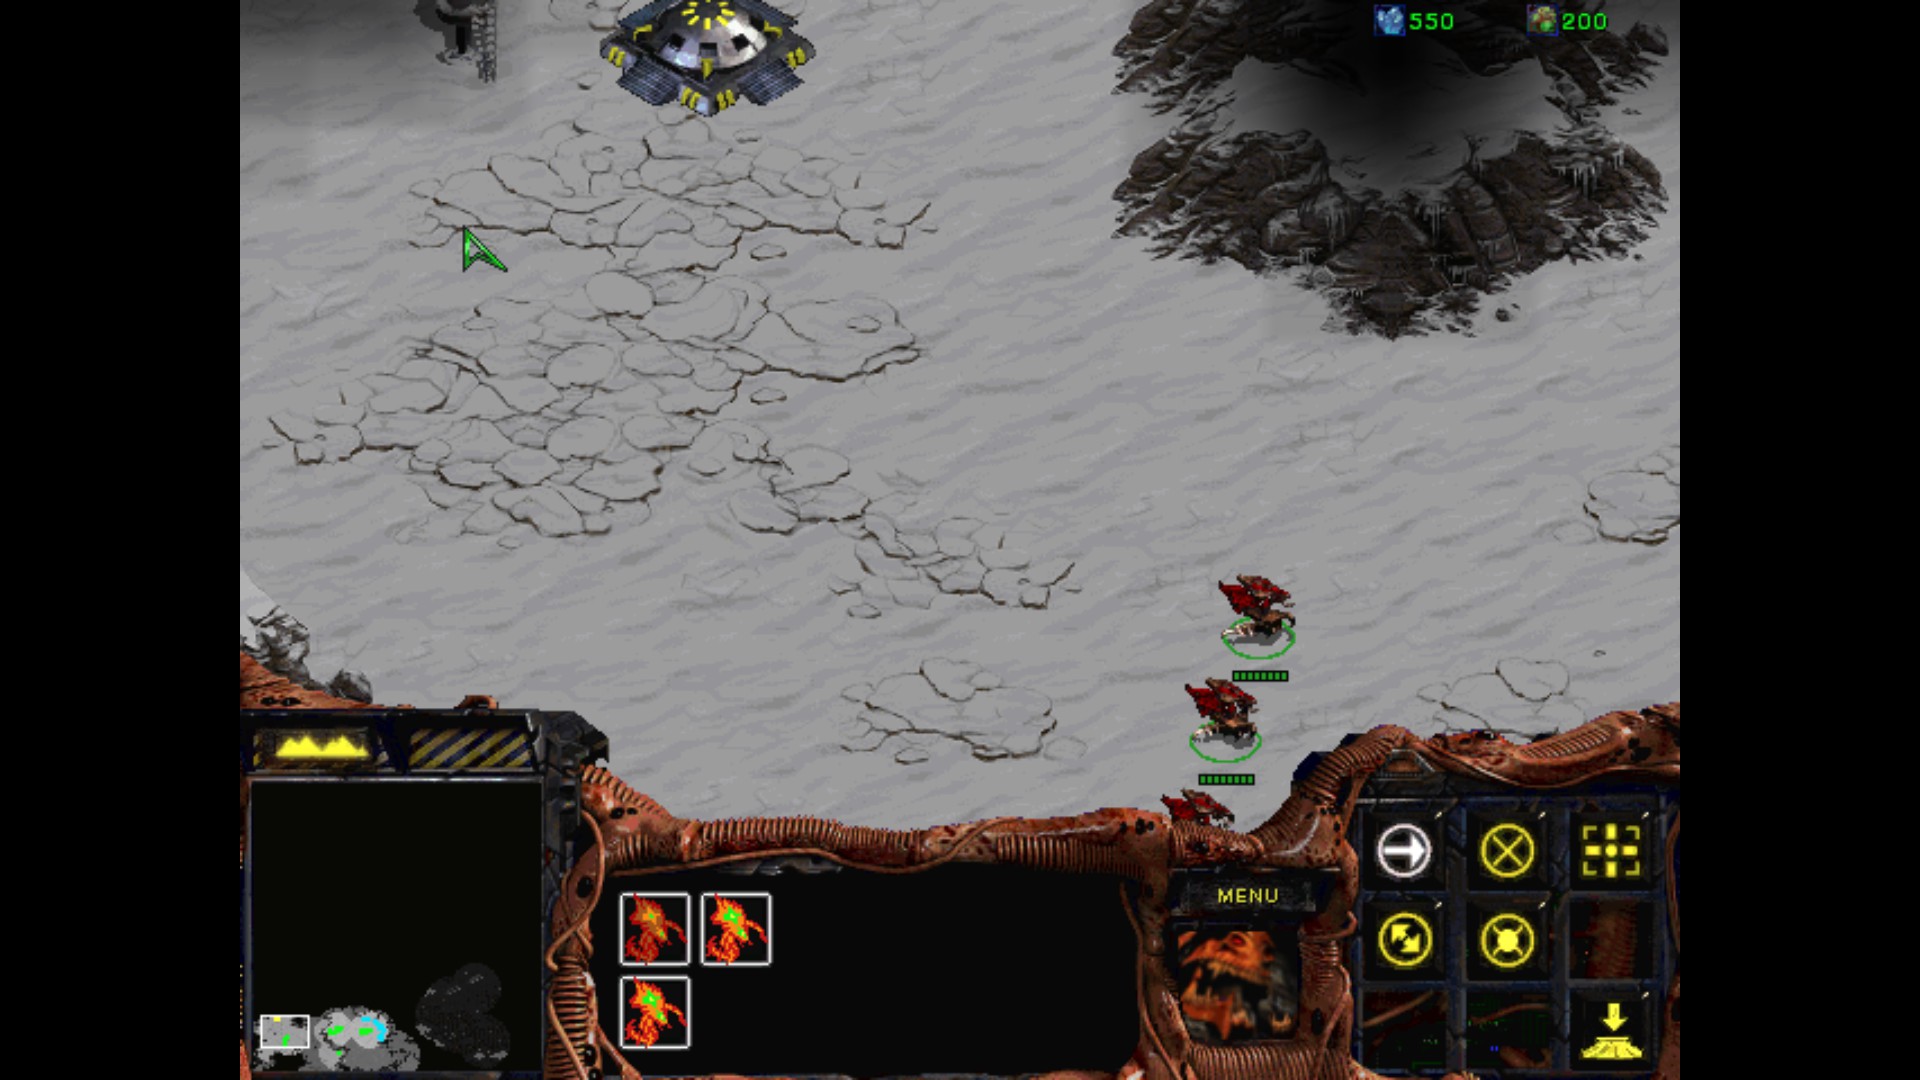
After! Great, I can send some Scourge for a cheap scouting, and see where is the main base of Terran located.
Bingo, straight to the north. But I must check the eastern and western parts as well.
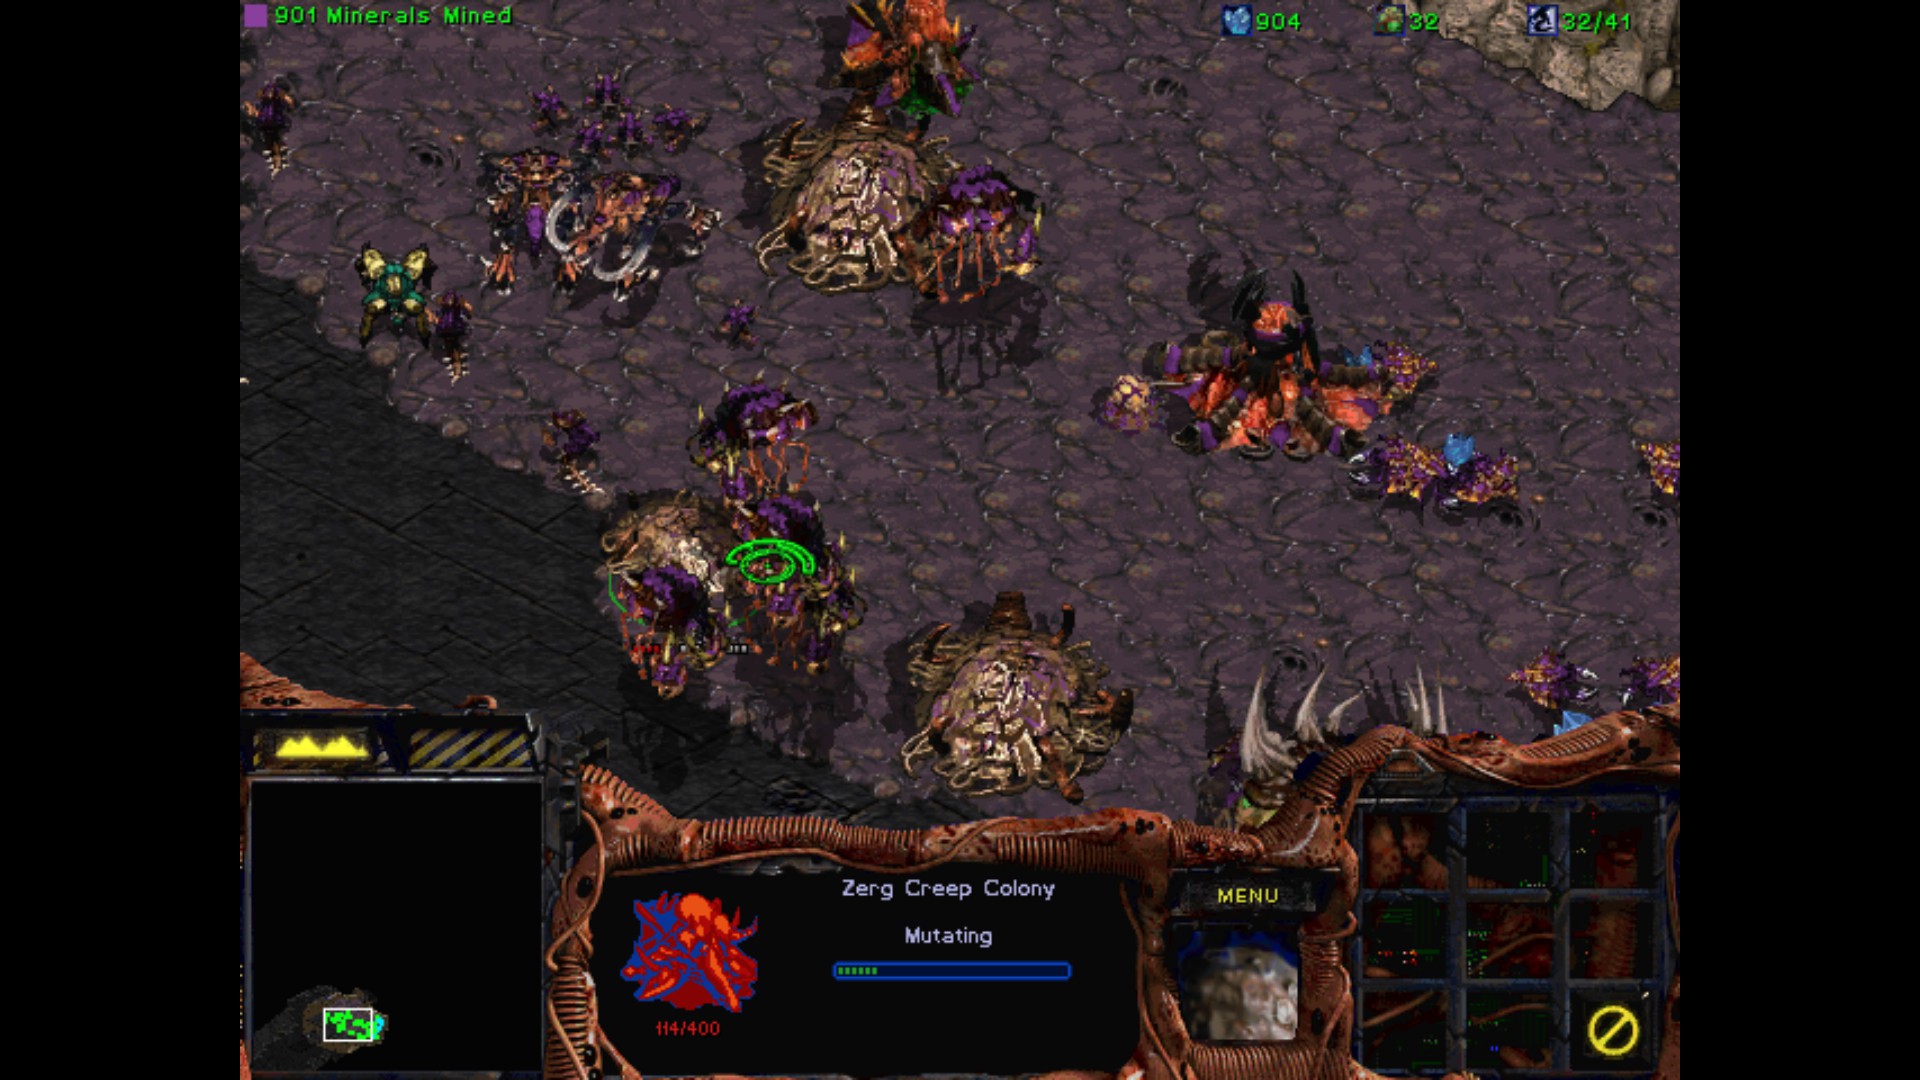
Best strategy for making a defense - create a couple of Sunken Colonies near the entry, bury a group of Hydralisks / Hunter Killers for assistance.
Works every time!
I'm continuing scouting. There is a nice Vespene Gas geyser on the south east and minerals up in the north. I'll make Hatcheries in both locations.
The enemy moved his attention from my main base to this one. He is sending big groups of Firebats / Marines / Medics and Wraiths to soften me up.
Here it will be a perfect point to move with my attacks on the Terran's base. As you can see, the whole base is bigger than I though. I will start the attacks on the north from here. I use the Scourge to discover most of the black area and see, if I can find any additional help in this snowy location.
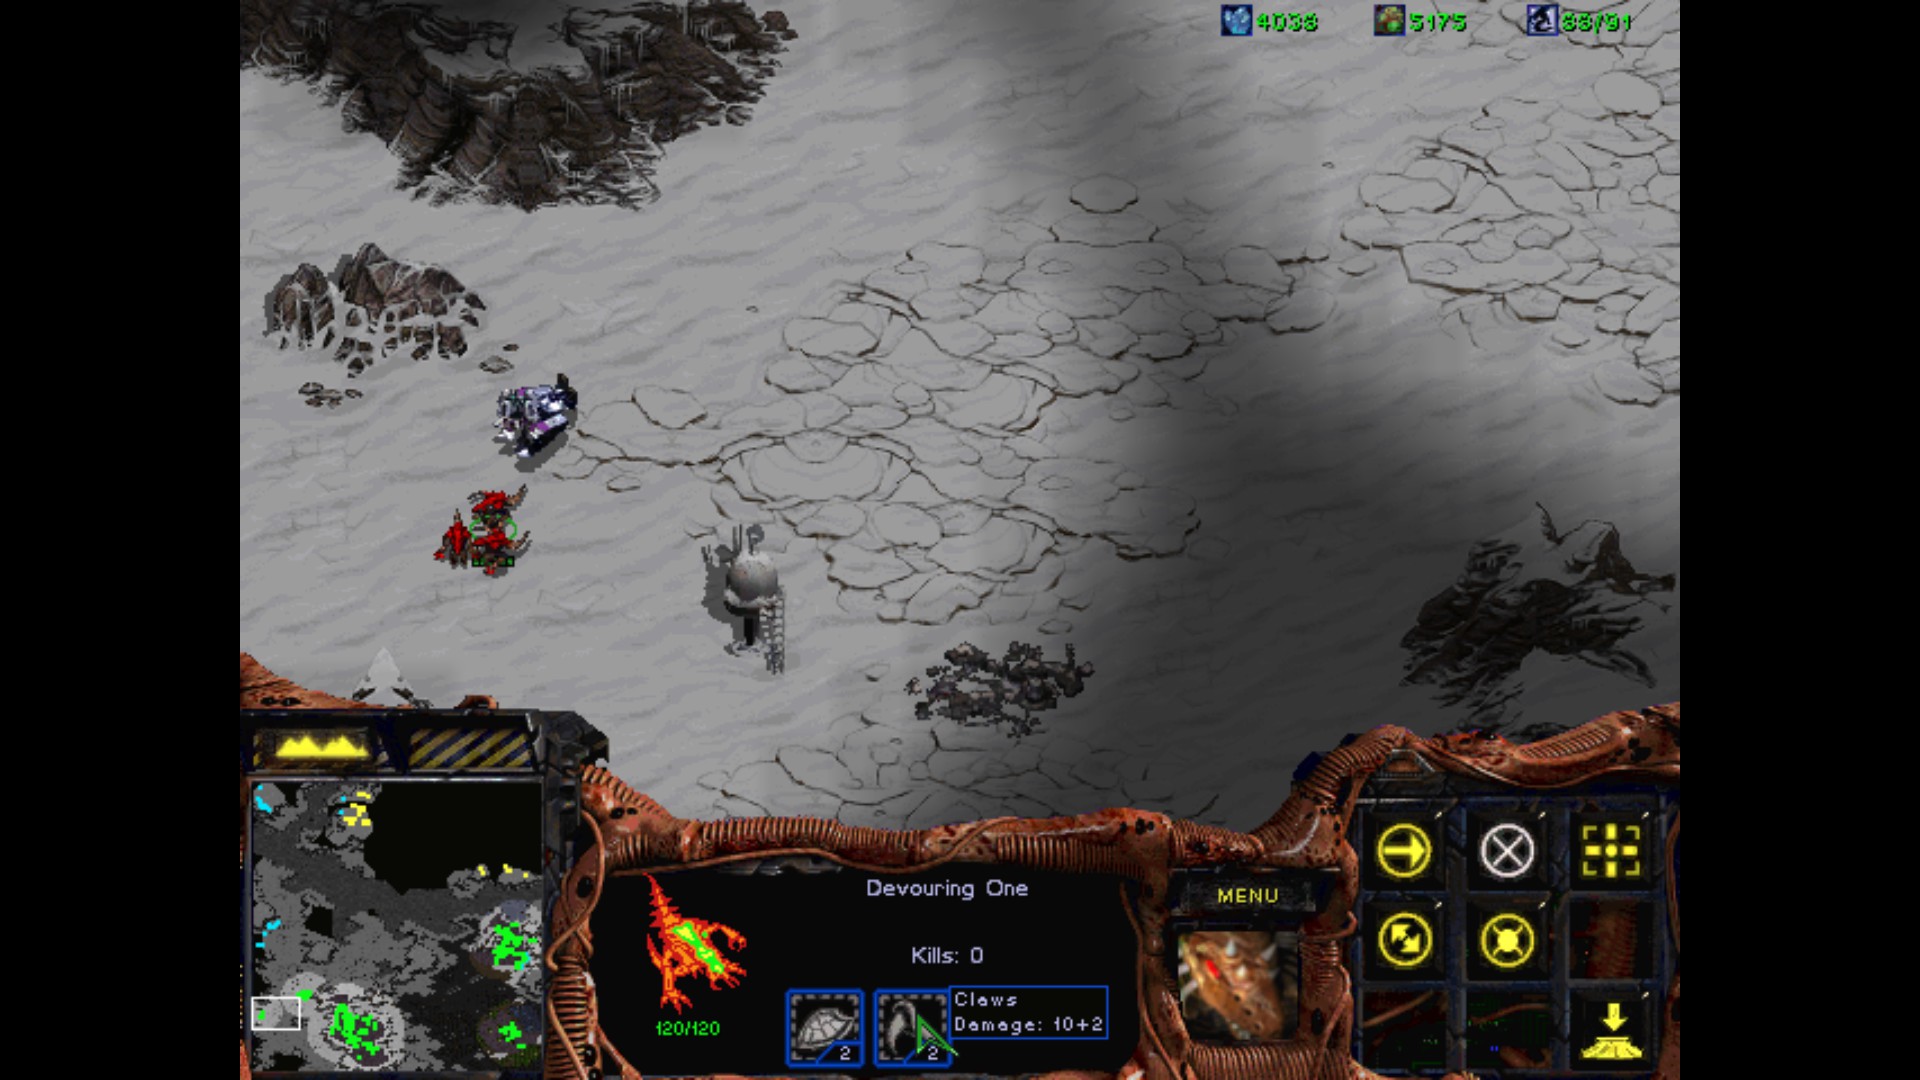
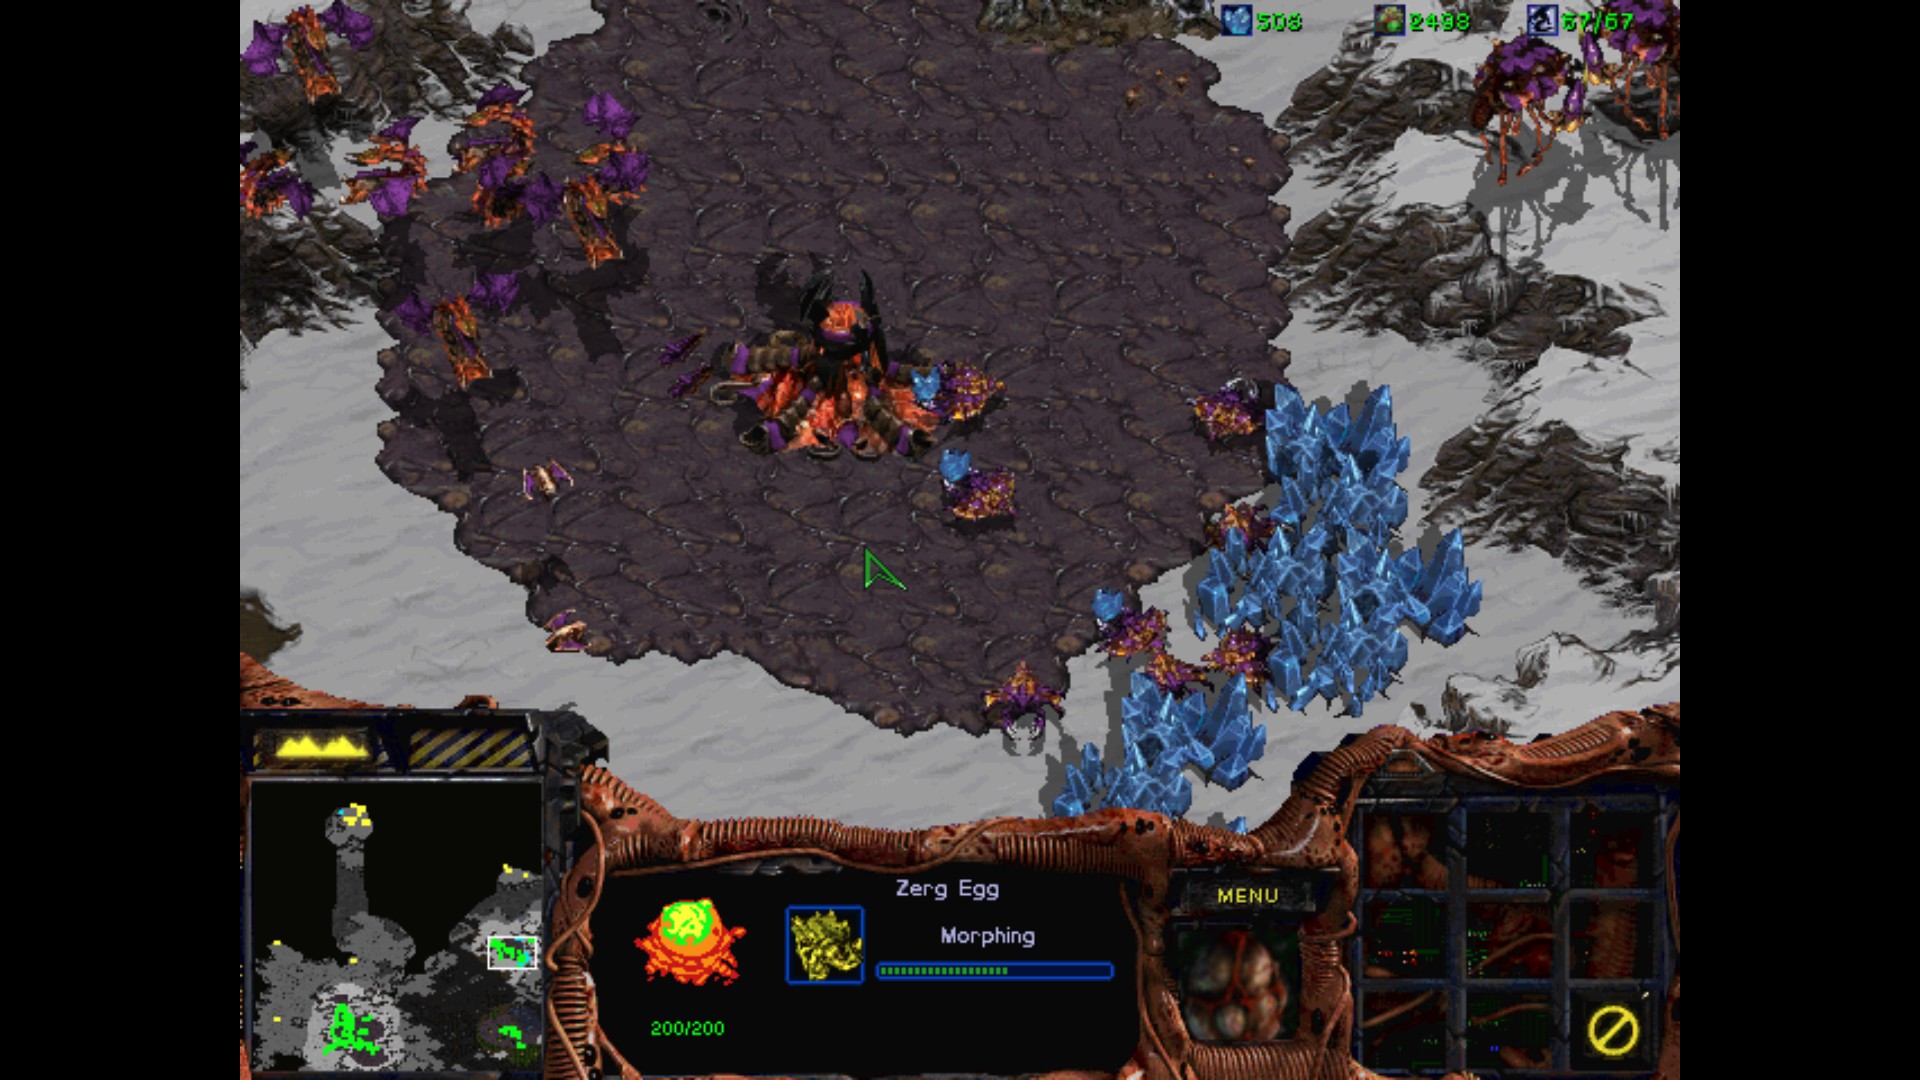
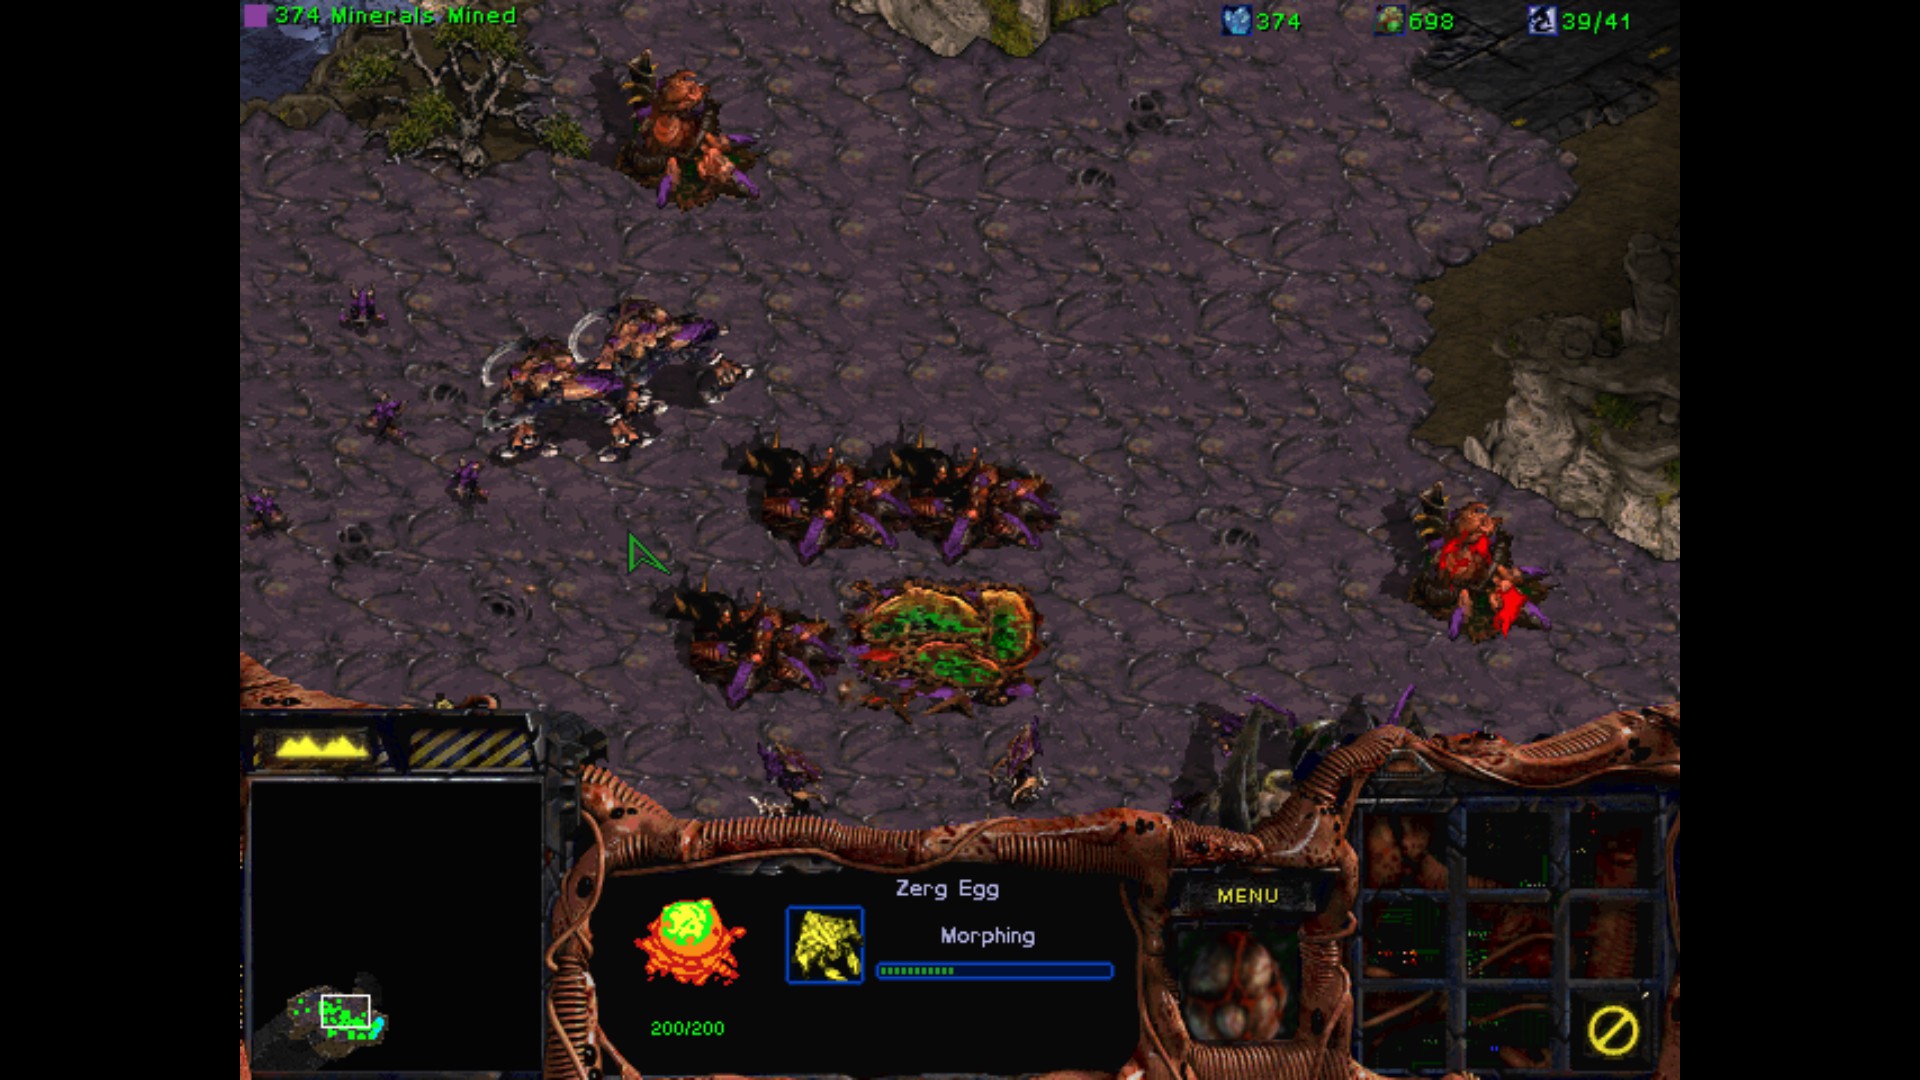
Heh, a unique Zerglings called Devouring Ones. Eh, if only we could make them on our own.
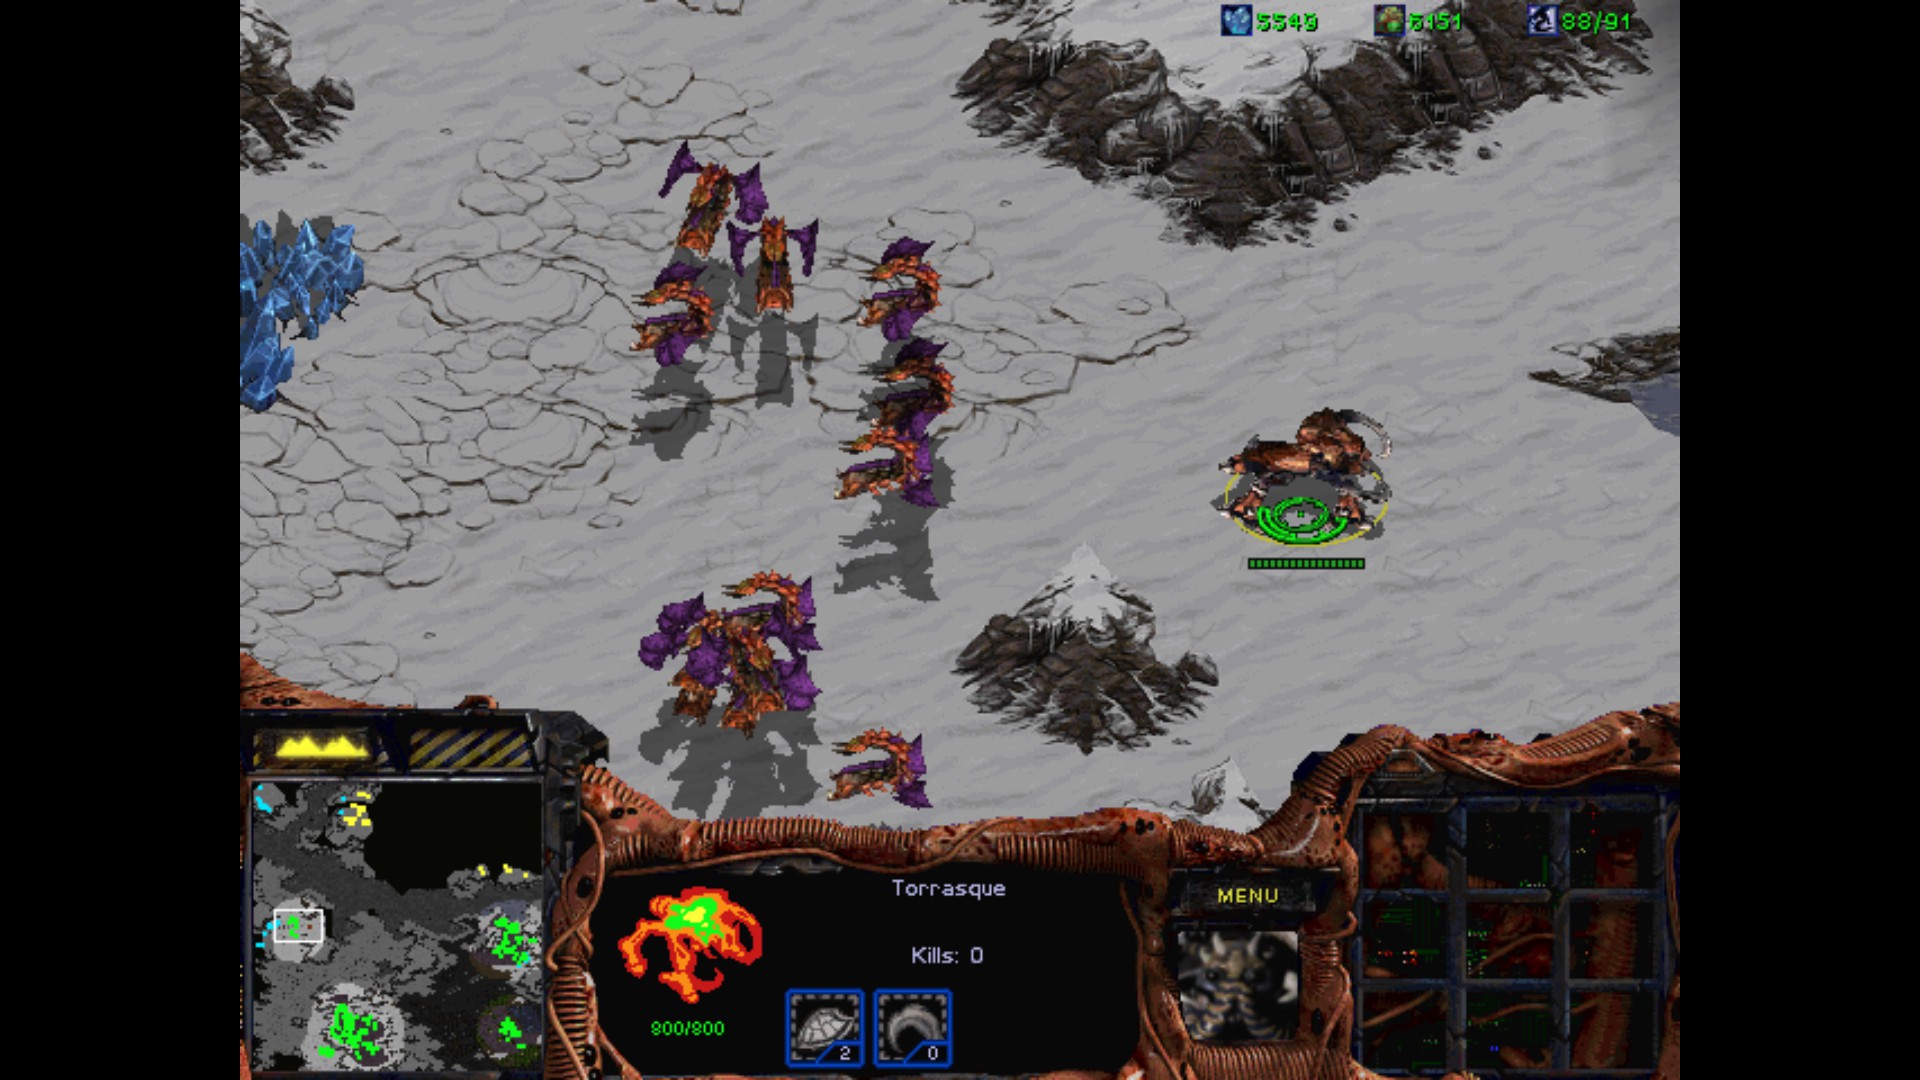

Come here Torrasque, I'm you new daddy. This caught me by a surprise, he will be a great addition to my Hydralisks.
Even guy in the SCV is afraid of him. I don't blame him.
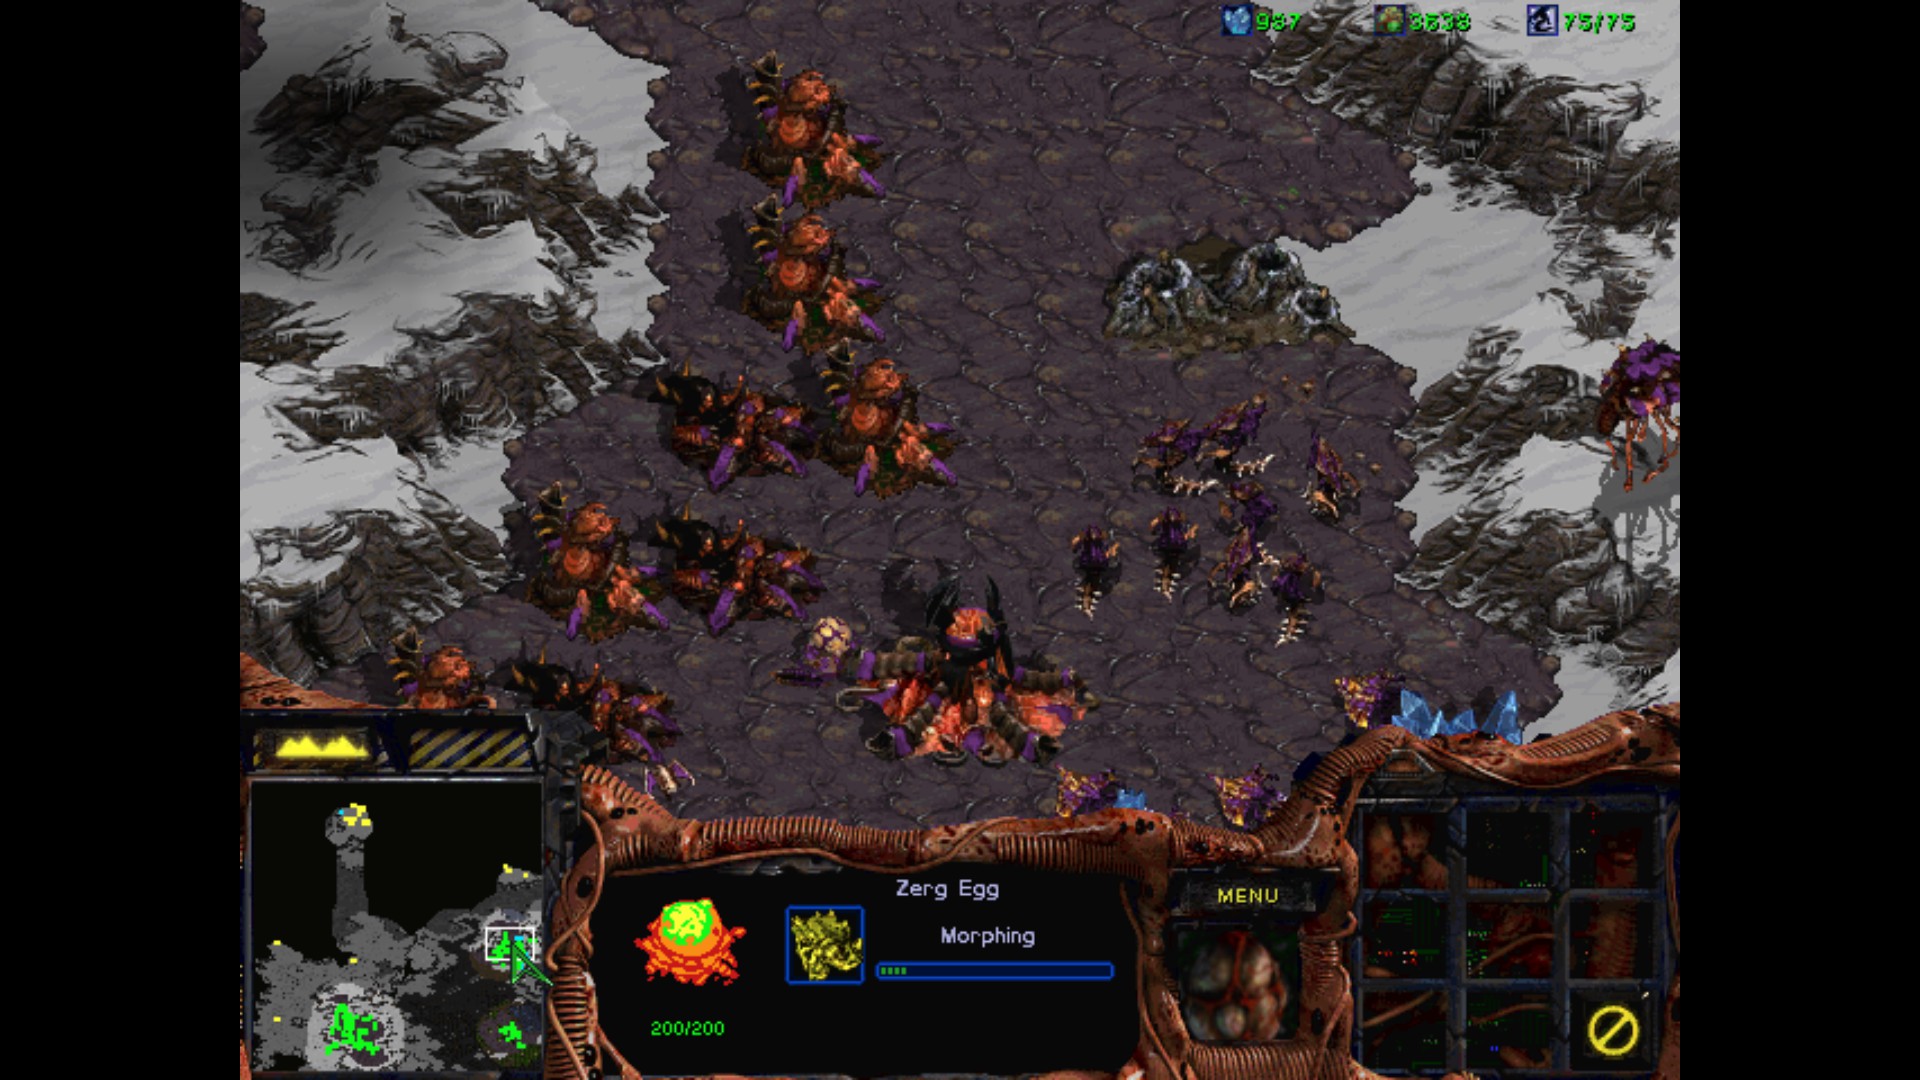
Time to start the final attack. First my Mutalisks check the south perimeter.

Nothing big, but I clean the hill to help me with the Overlord raid. 3...2...1... Unleash hell!

He has so much fun killing and destroying everything in his path.
I could finish the mission right now, but I need to give UED a proper punishment. No one stays alive!

It's over. With support from unique units I have stomped the enemy to the ground. One less problem to deal with.
Victory!
Mission III : The Kel-Morian Combine

Now that the Psi Disrupter has been destroyed and Kerrigan has regained control of her minions, I fear that she will forget our pact and turn on us.
I know what you mean, Fenix. I'd love to believe that she's on the level, but there's a part of me that just knows better.
However, I do believe that she's serious about taking out the UED.
The only real question left is what happens to us when she wins.
If you ask me, she's completely untrustworthy.
But, so long as she'll help me retake Korhal, I'll work with her.
Shut up, Arcturus. If I wanted your damn opinion, I would've beaten it out of ya'.
And in case you forgot, you're the reason she became what she is in the first place!
You boys should really learn to play nice with each other.
Kerrigan, are your forces ready to assault Korhal as we planned?
Nearly. I still need a substantial cache of resources in order to build up my primary hive clusters.
I'm wondering if you gentlemen wouldn't mind going on a fuel raid for me?
It sounds like you've already got a plan. What are ya' thinkin'?
I'm thinking that we should pay the Kel-Morian Combine a little visit.
Moria is one of the largest resource nodes in the sector.
If you can bypass their defenses, and steal enough resources from them, we'll be able to afford a full-scale assault on Korhal.
It's risky, but I think we can handle it. Fenix, are you into this?
If it betters our chances, I will lead the assault myself.
Great. Let's get moving.
Do you think they suspect anything, my Queen?
Of course. They aren't stupid, Duran. They're siding with the evil they know over the evil they don't... They simply don't yet realize what it will cost them.
Objectives :
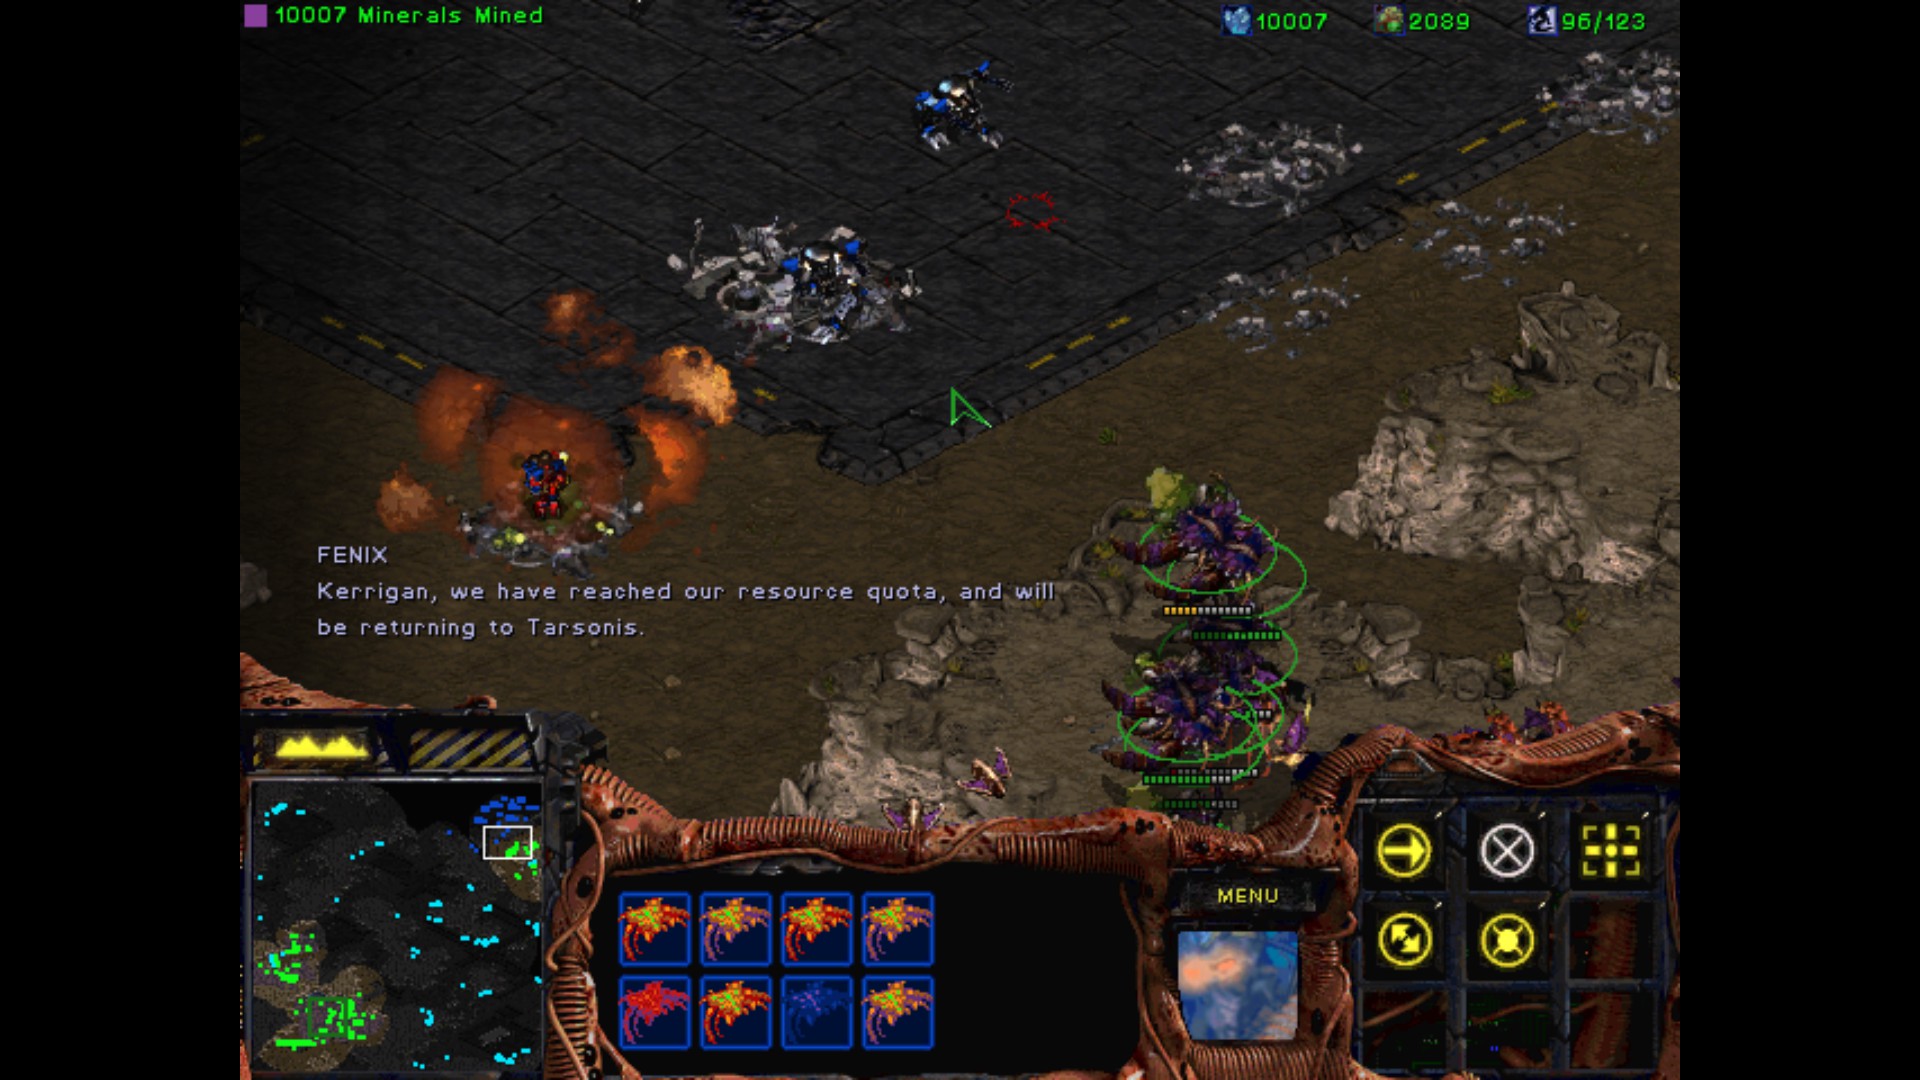
- Obtain 10,000 minerals
- Fenix must survive
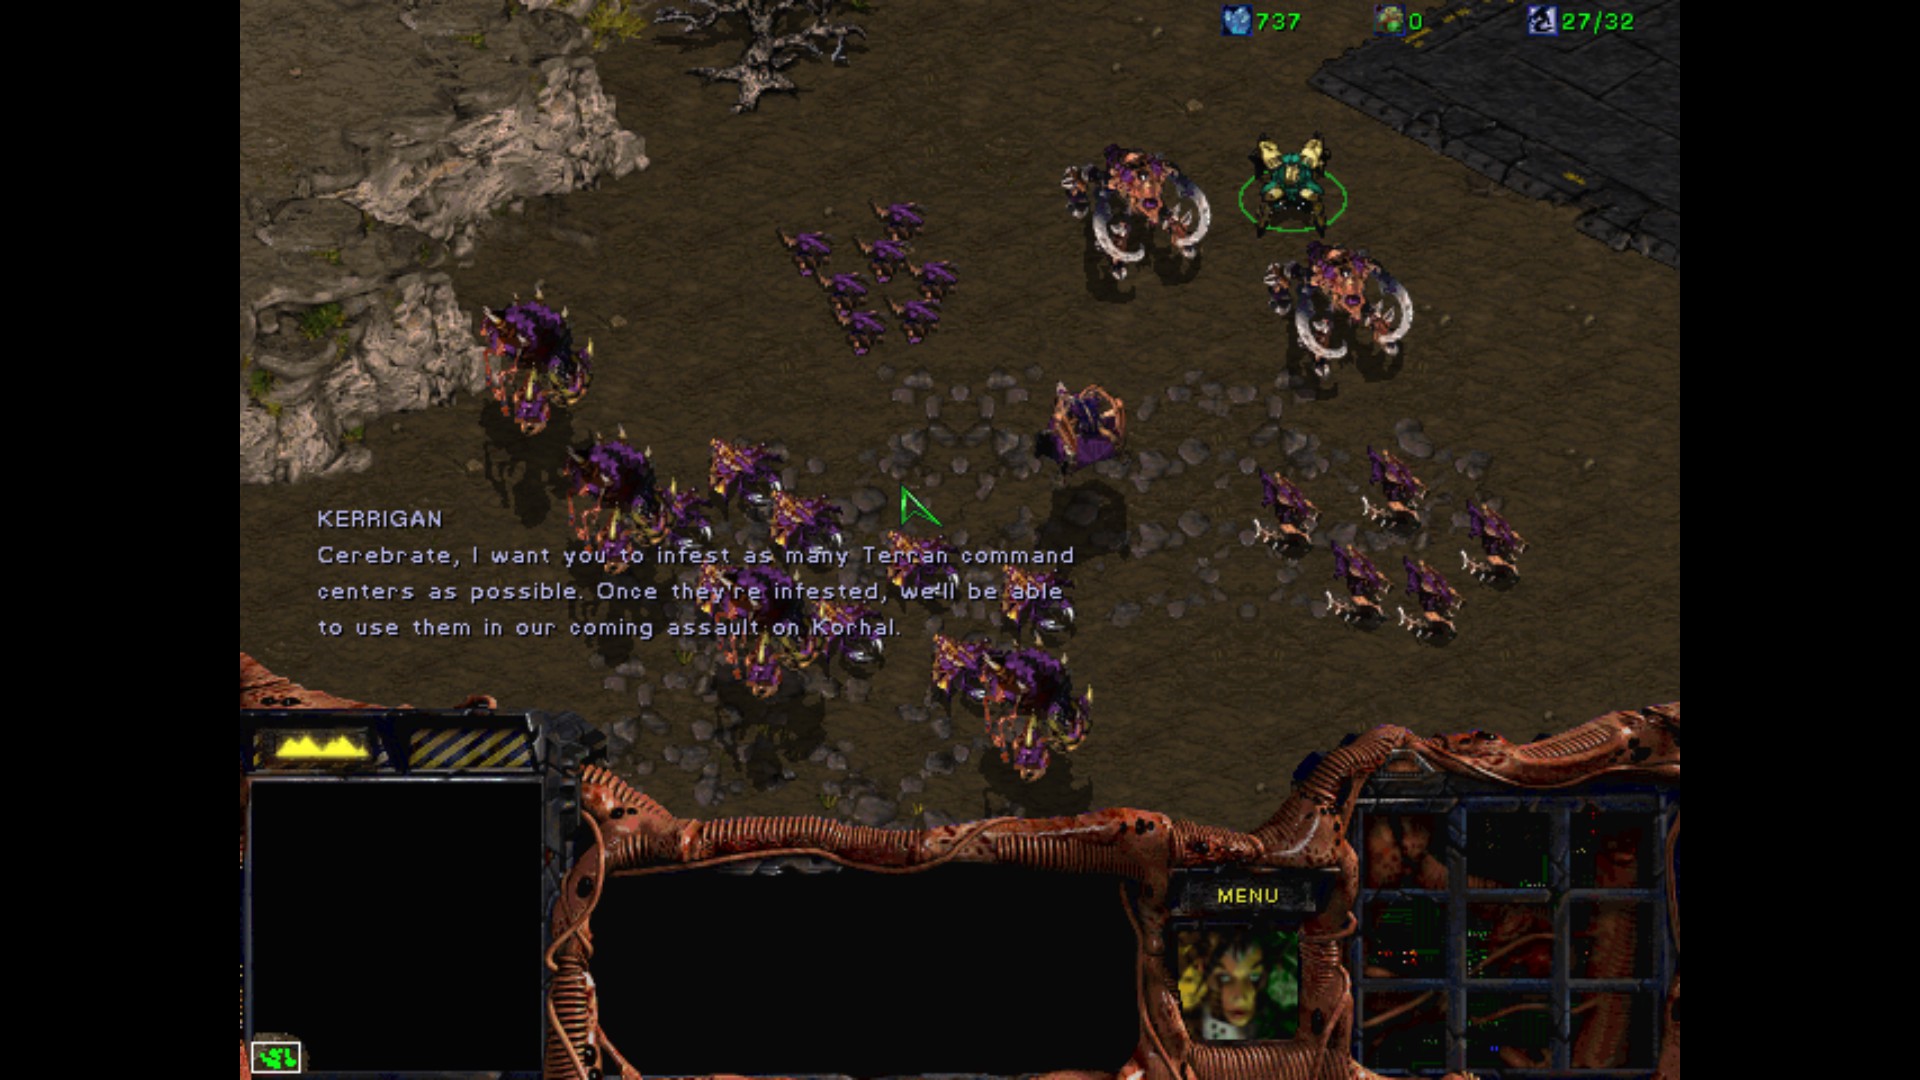
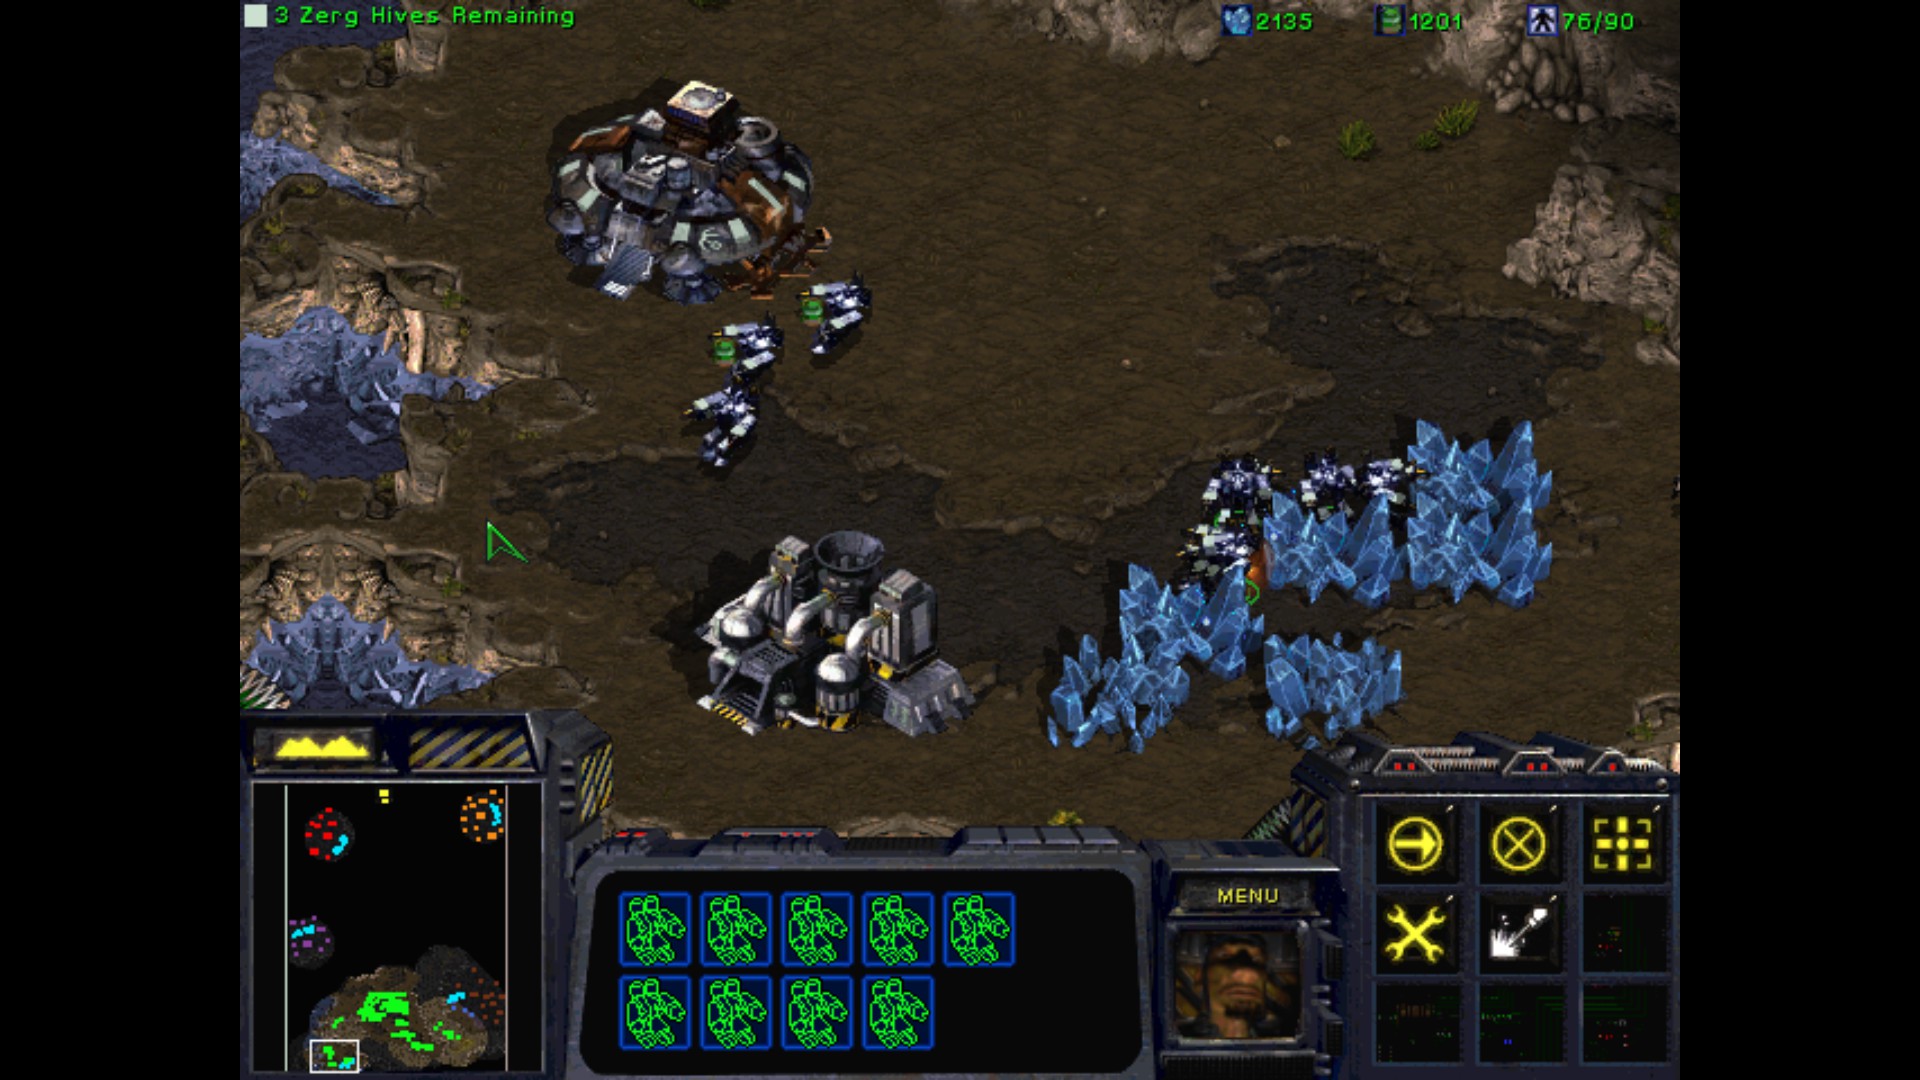
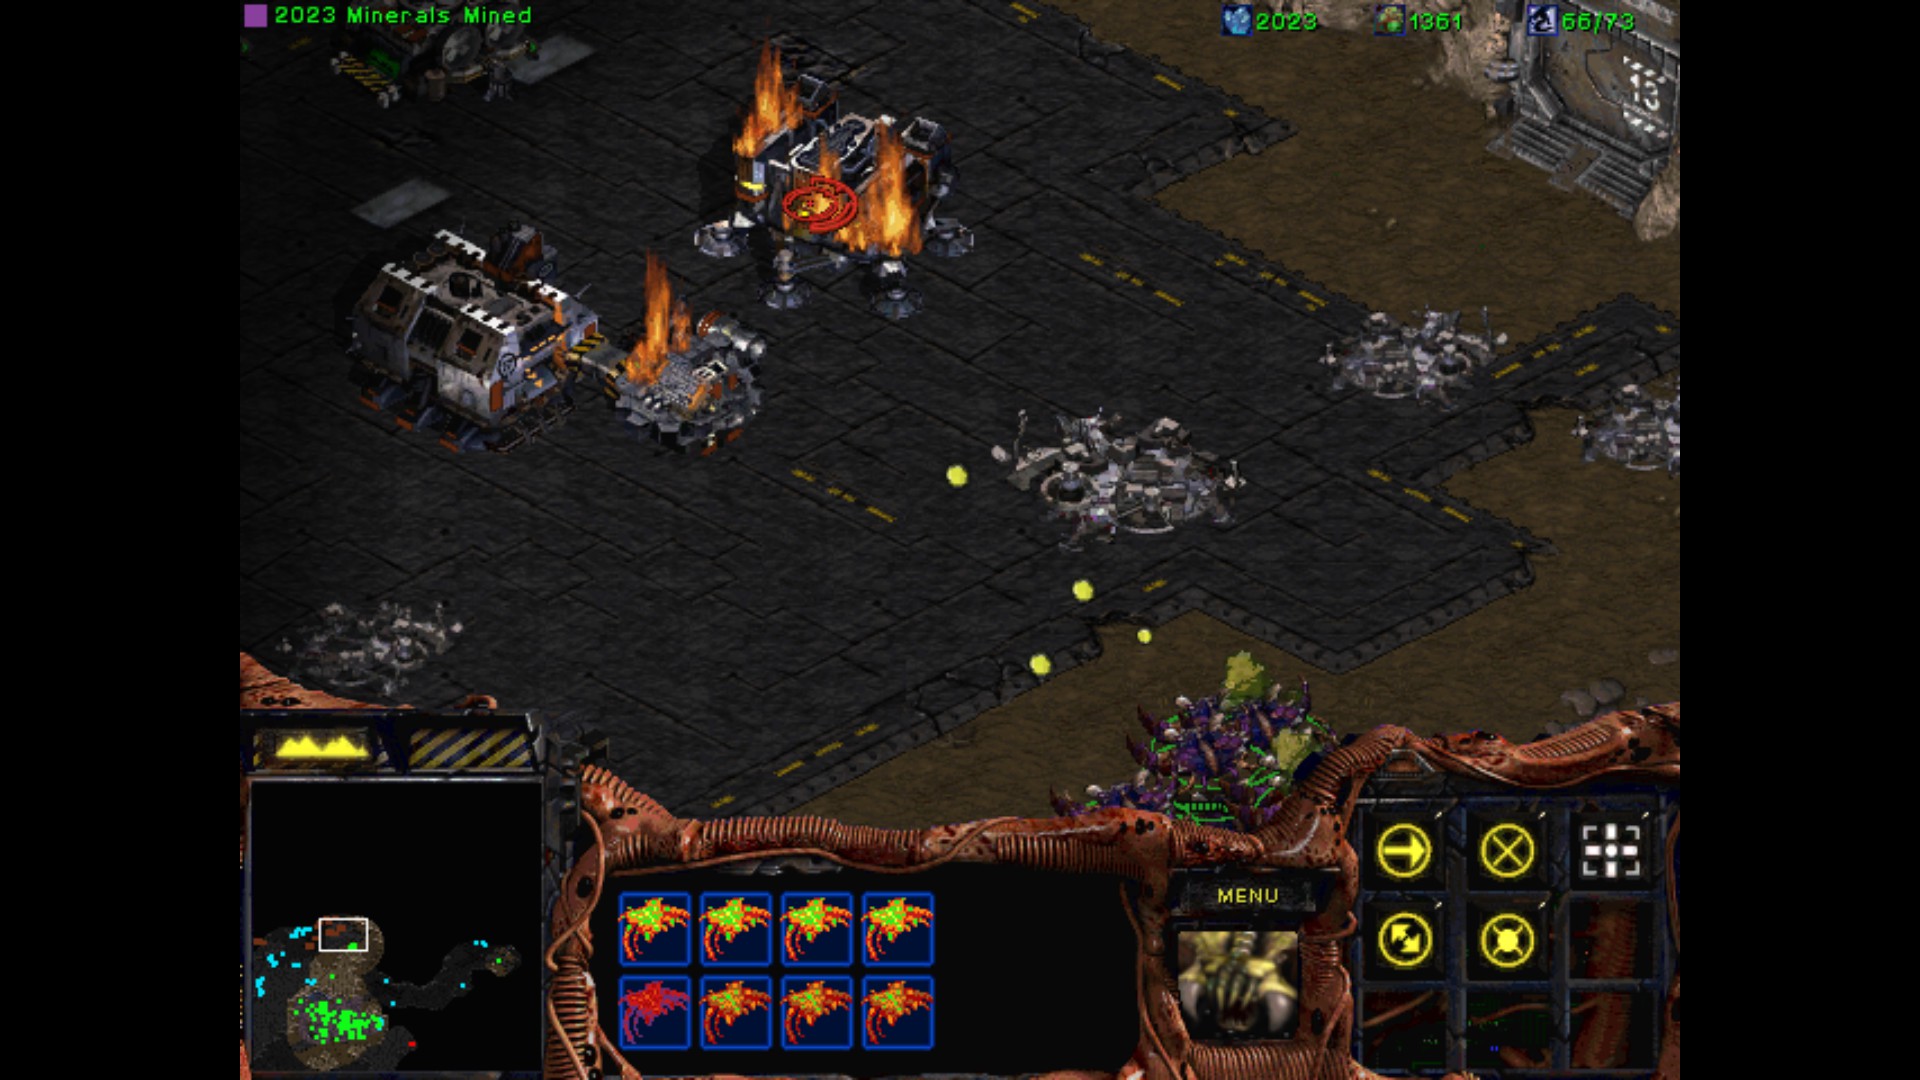
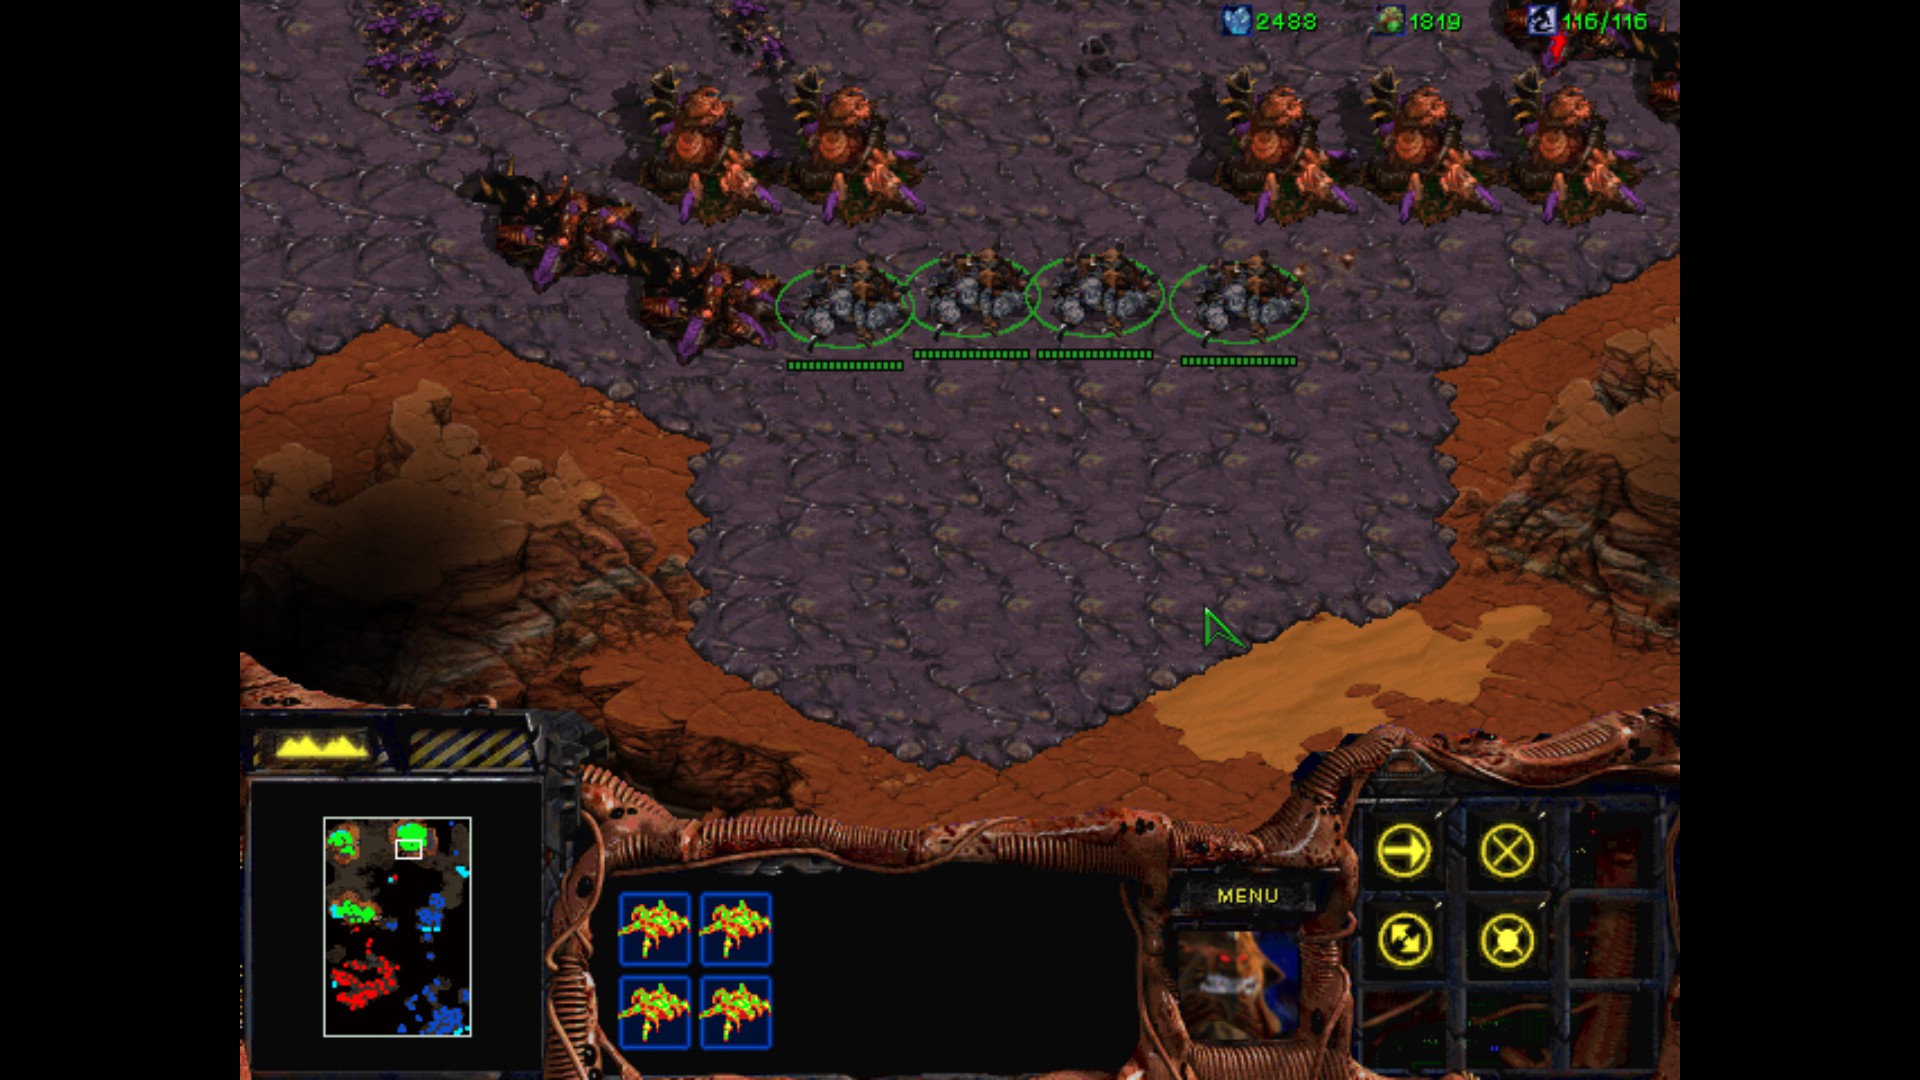
We start the mission with a nice pack of units available from the start, with Fenix being the only hero that we can control. Kerrigan tells me, that I should infect Command Centers for the next mission. Sure, I can use infected Terrans as well, no problem.
My Ultralisks and Hydralisks are taking care of little Terran base that will be used by me from now on.

Enough talk, time to build the proper base and start digging. It is obvious that these minerals won't suffice and I need some dosh to spend on defenses, so I need to prepare an attack later on and reclaim some resources from the enemy's forces.
This will be a perfect first target. Very close to home, and it doesn't seem to be big in numbers. Although seeing this mine, I think I'll make Guardians.
Time to start some scouting. I move Zergling as well to check the path from my base and see if there are any minerals / bases.

The Guardians started attacking the small compound. Meh, there isn't much here.
But scouting the whole terrain corrected my early judgement. This will be a perfect place to continue gathering minerals.
After that I move Guardians to another close location.
It's a little bit more difficult to go through, as the Wraiths and Goliaths are attacking me here.
I make another Hatchery to speed up the mission in a newly claimed part of the map.
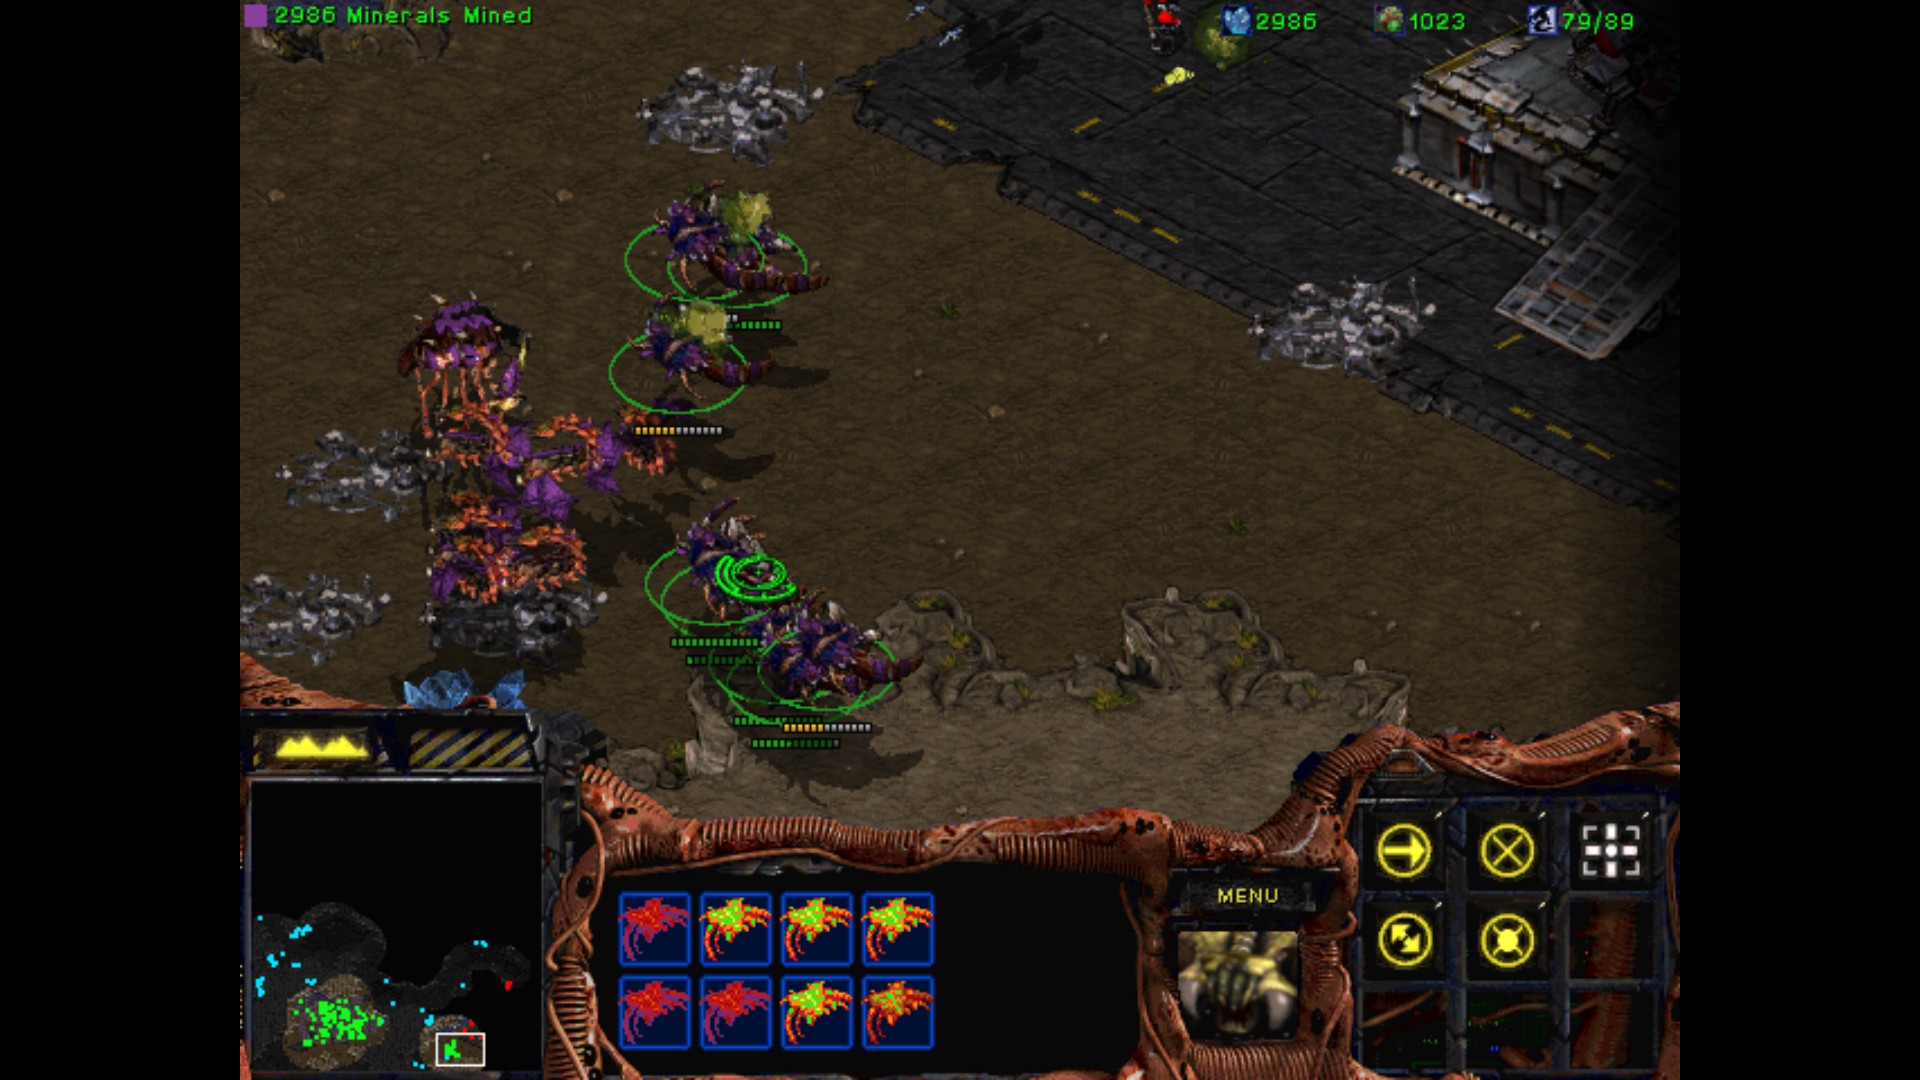
I've got now the whole squad of Guardians, who are destroying the red Terran. Mutalisks are now chilling nearby, because there is no air units left.
A finishing touch to destroy the last buildings here. I've made a big progress.
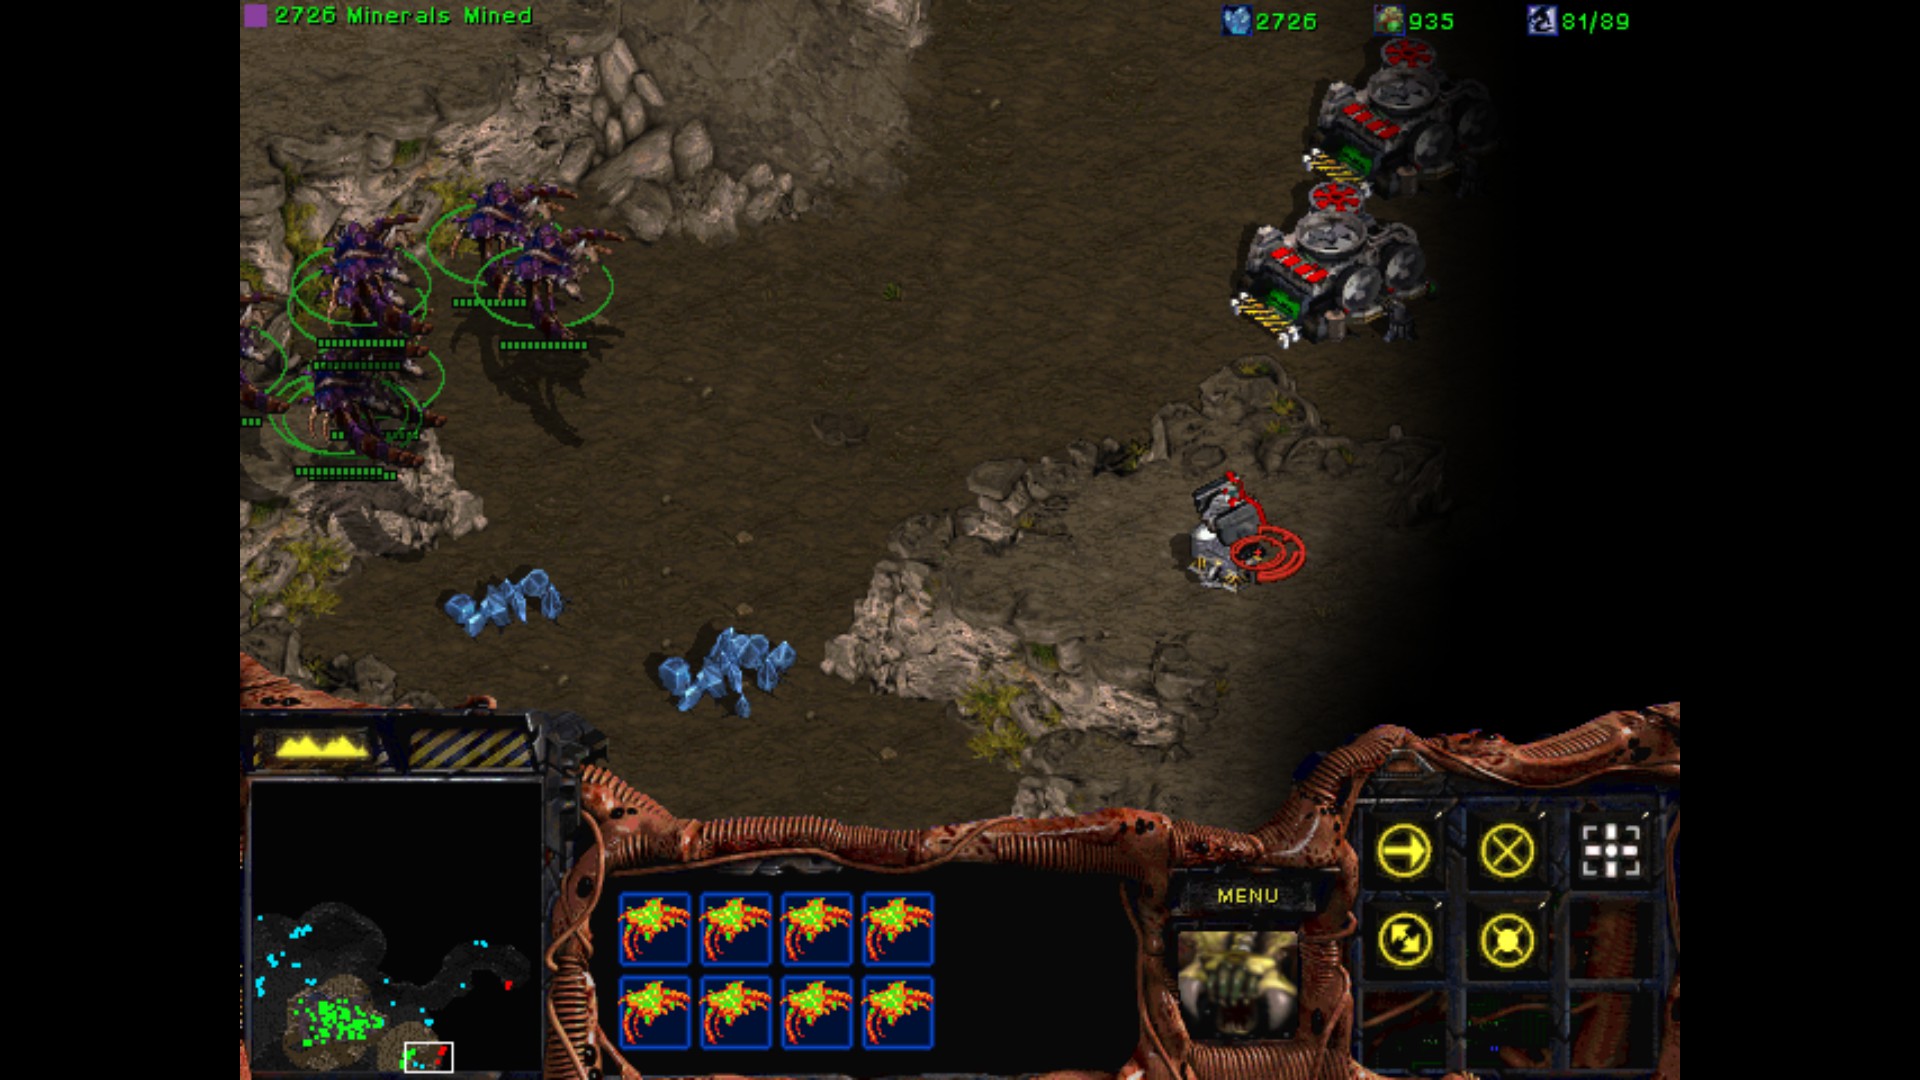
A small base of brown Terran. There are Bunkers on the hill on the right as well. But it's just a remaining outpost and not the main base. I need to go deeper into the north.
I make some Scourge as well, to help Mutalisks with Wraiths.
Oops, not only Wraiths! Time to evacuate and greet this Battlecruiser properly.
After some time I continue my attacks.
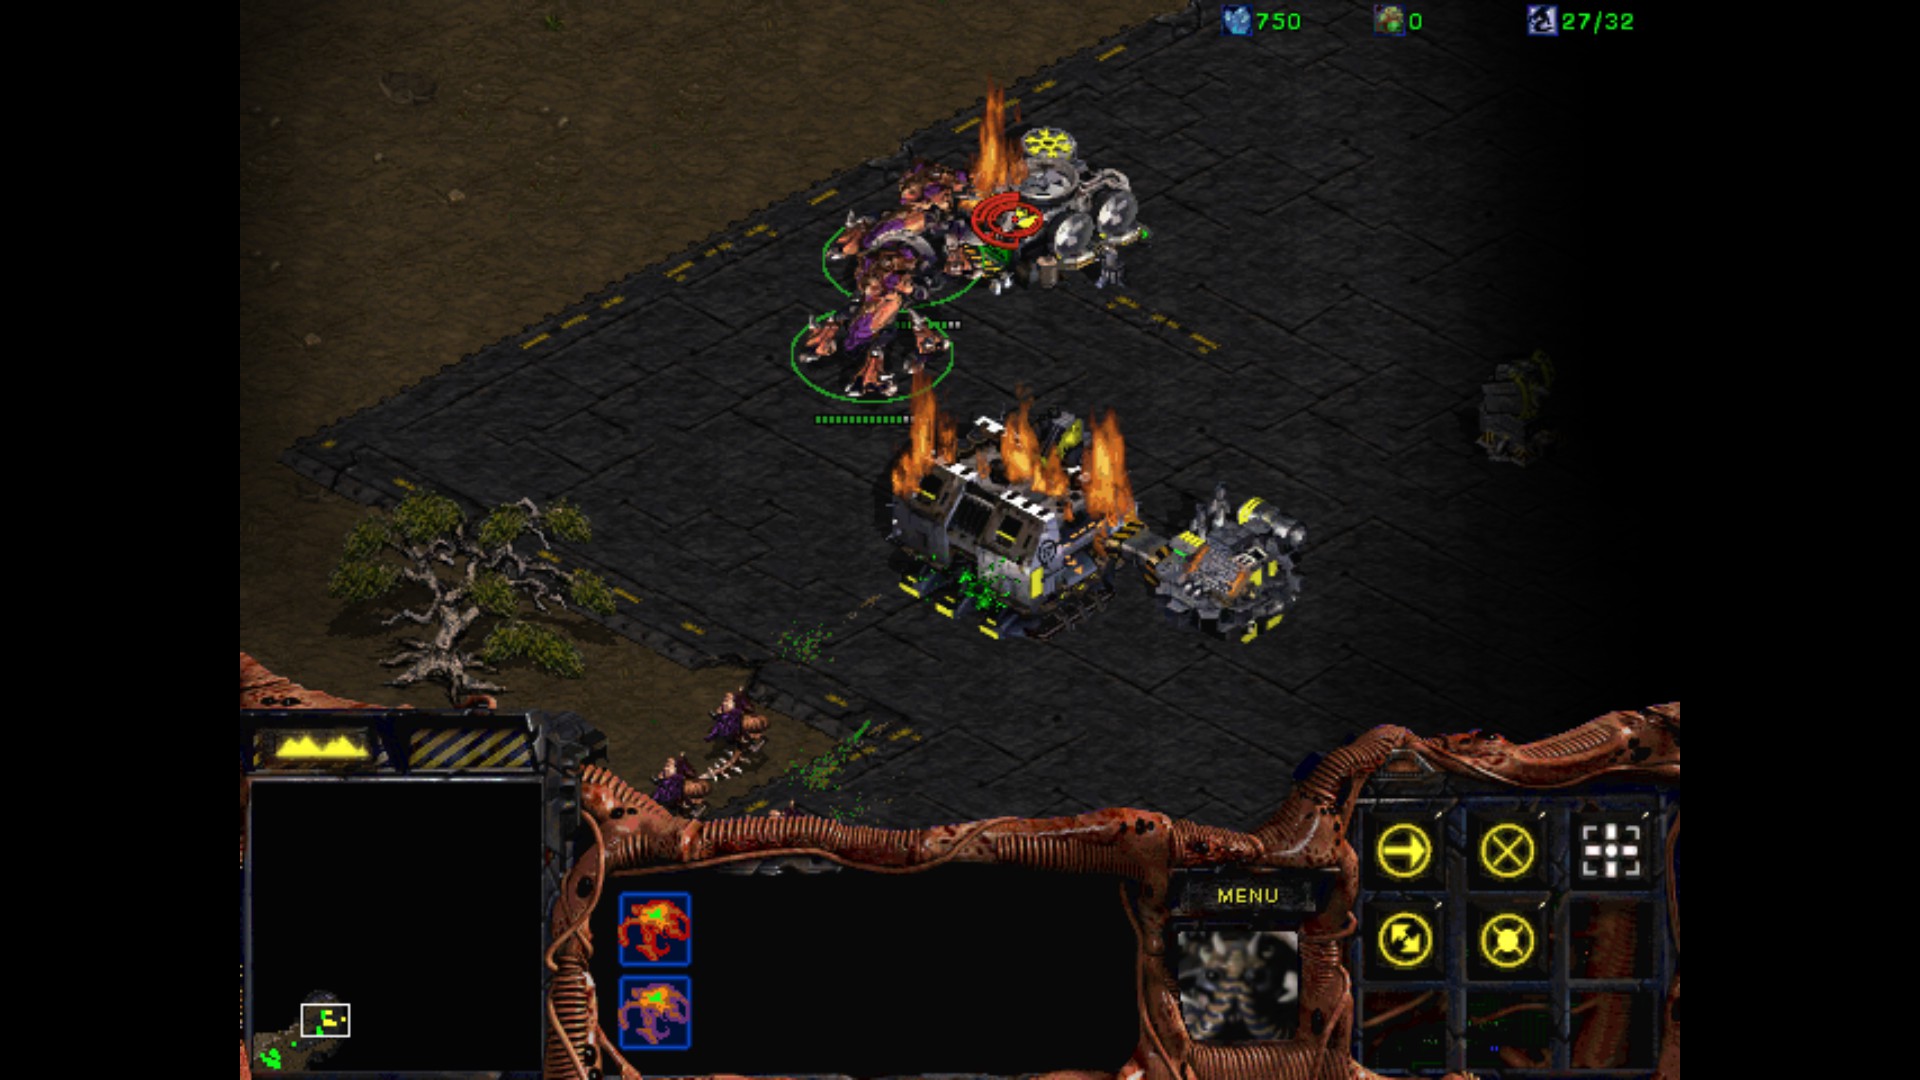
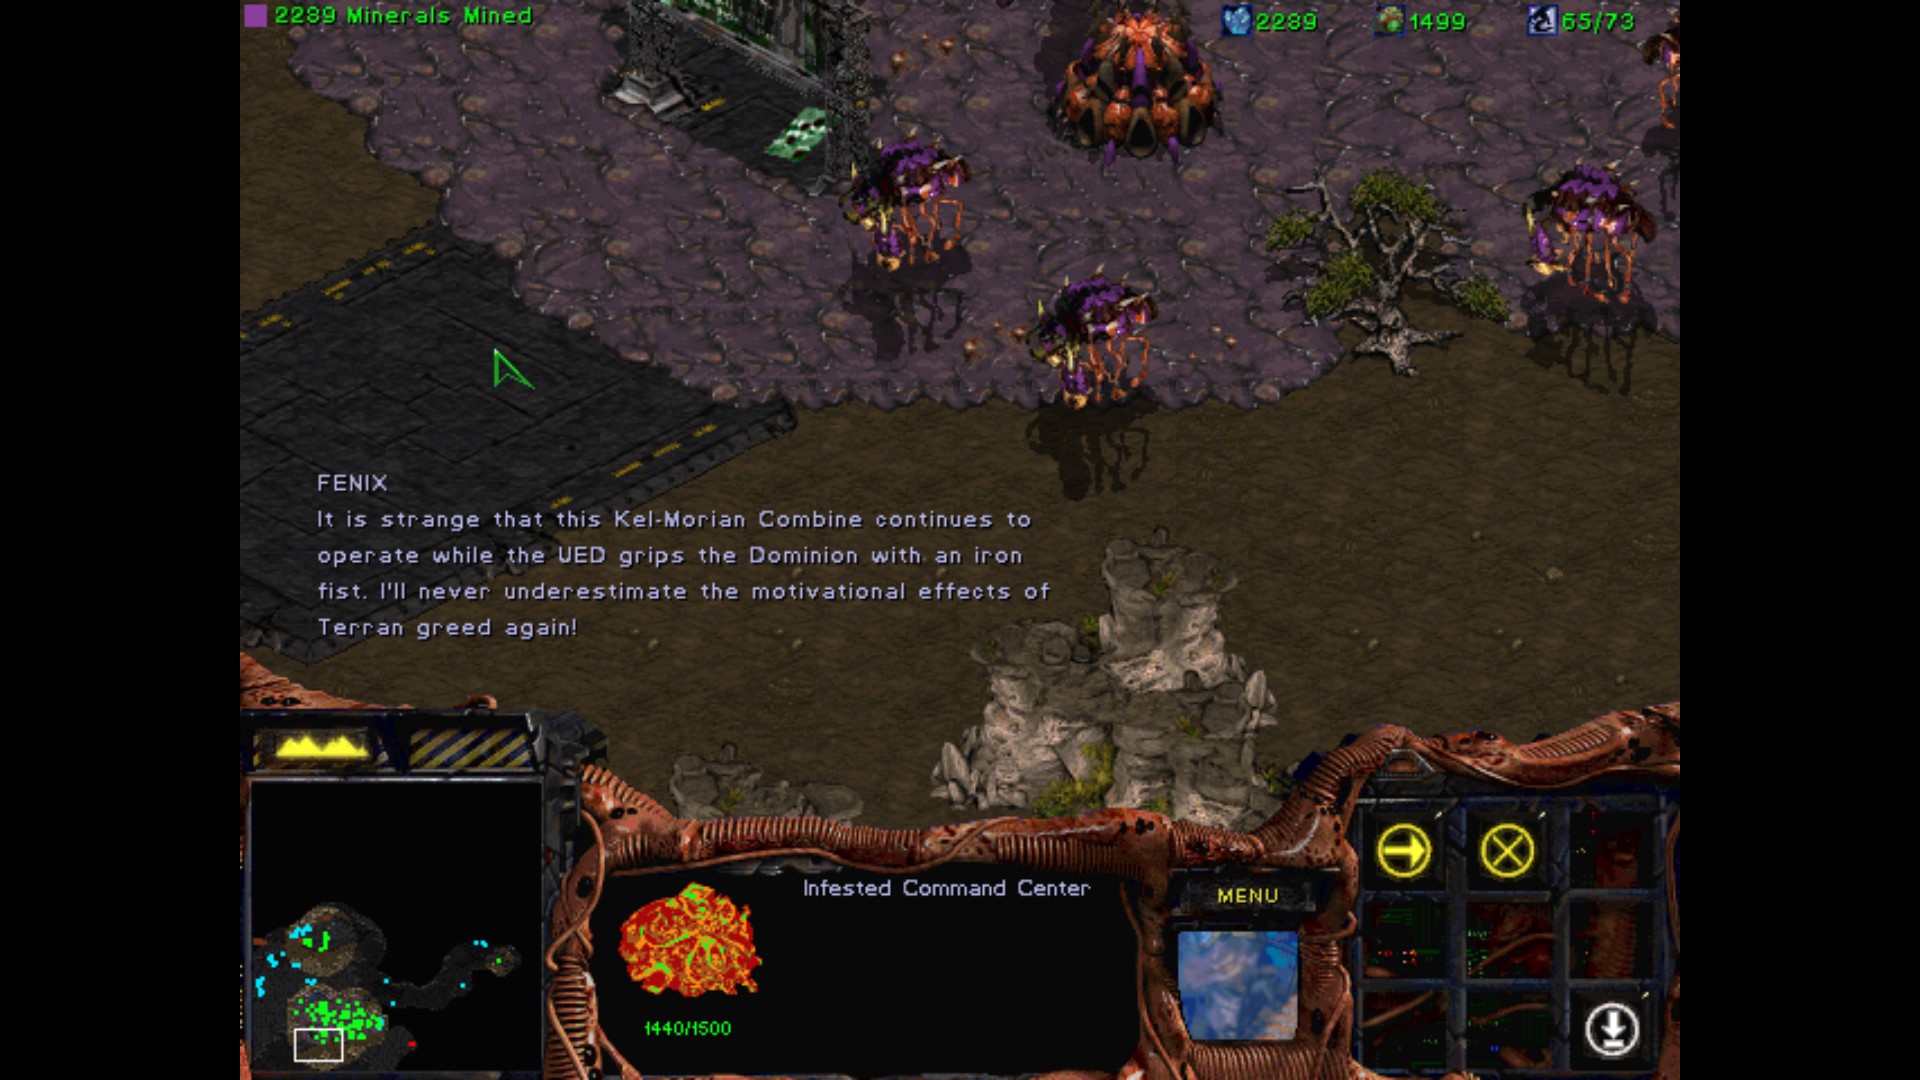
Not far away from the white Terran base, I found another one. This one is very weak and I have no problem with the total annihilation of his base. Another Command Center has been infected!

The blue Terran is sending to my base Ghosts with intention of nuking me from the orbit. Say hello to my Ultralisk buddy.
As I was already planning to defeat the last Terran, I have already gathered enough minerals for the next mission. Oh well, only one Command Center wasn't infected.
finally a new page
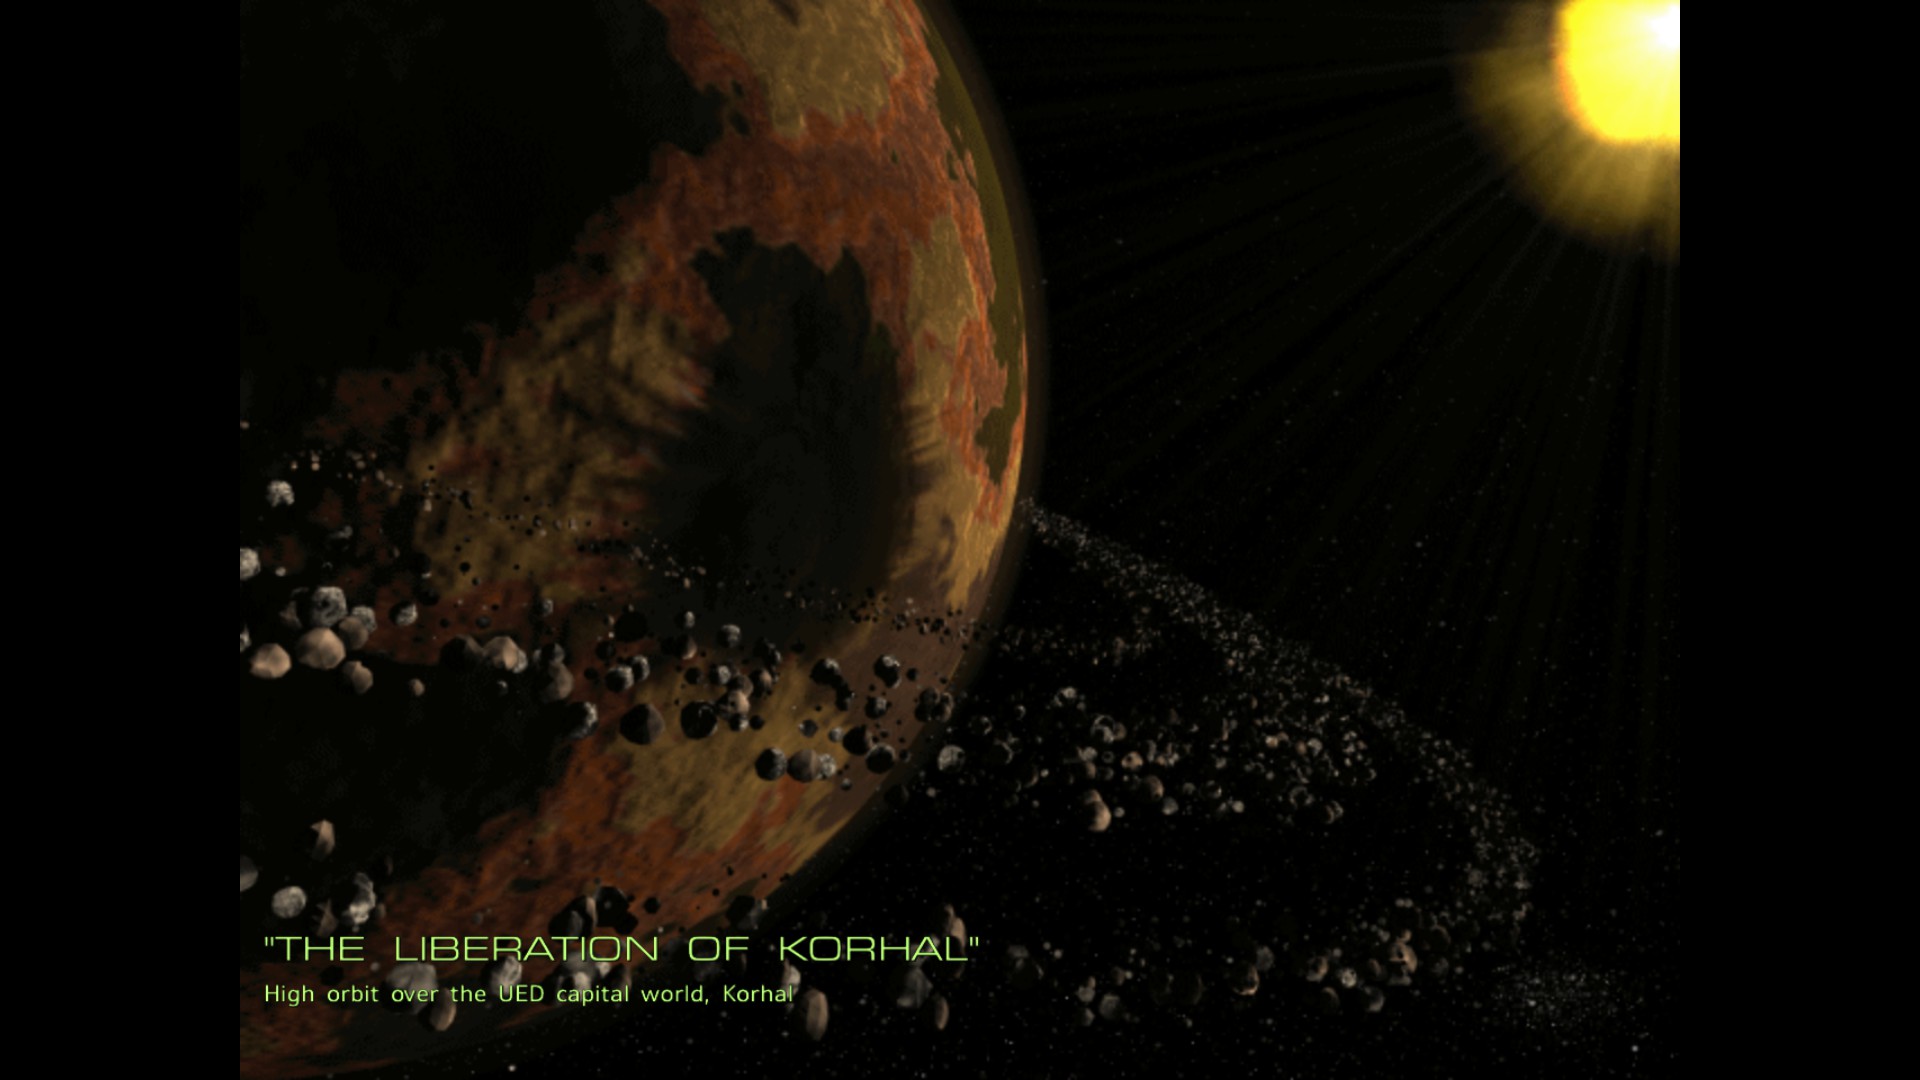
Mission IV : The Liberation Of Korhal
You have all performed superbly. Especially you, Fenix. My hive clusters are brimming with energy and my broods are stronger than ever.
Then let's waste no time! Every moment we sit here means that the UED's defenses will be that much stronger!
And I want nothing to stand between us and the retaking of my planet!
You're right, Arcturus. The time to strike the UED is now.
But remember that we're up against one of the most heavily defended planets in the sector.
Laying siege to Korhal won't be easy. Not only does the UED control a substantial standing army, but may have Zerg reinforcements as well.
Raynor, you and Fenix will strike at the more outlying fortification, while my forces are busy assaulting the main UED base at Augustgrad.
We've discussed this plan a hundred times! Commence the damn attack!
Hah... Very well, Arcturus. Before the next sunrise, Korhal will be yours once again.
Objectives :
- Destroy all enemy bases
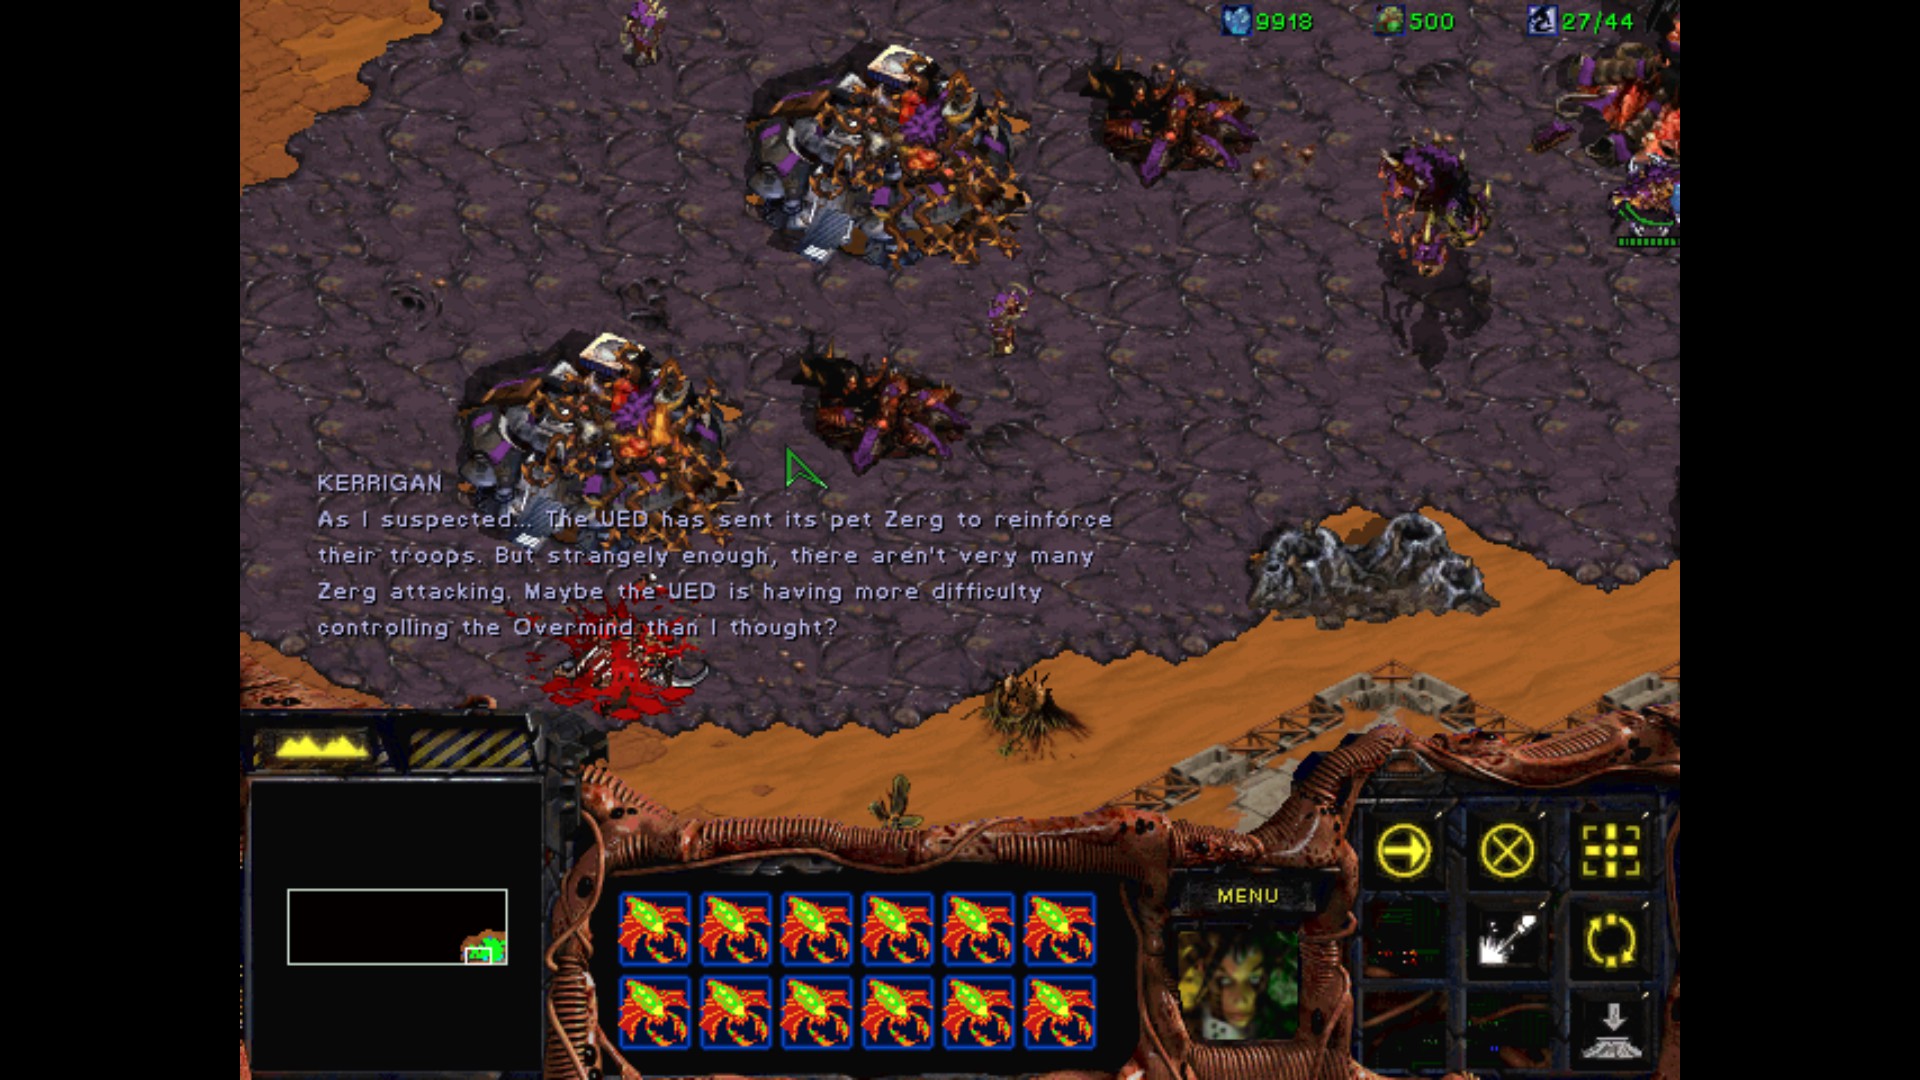
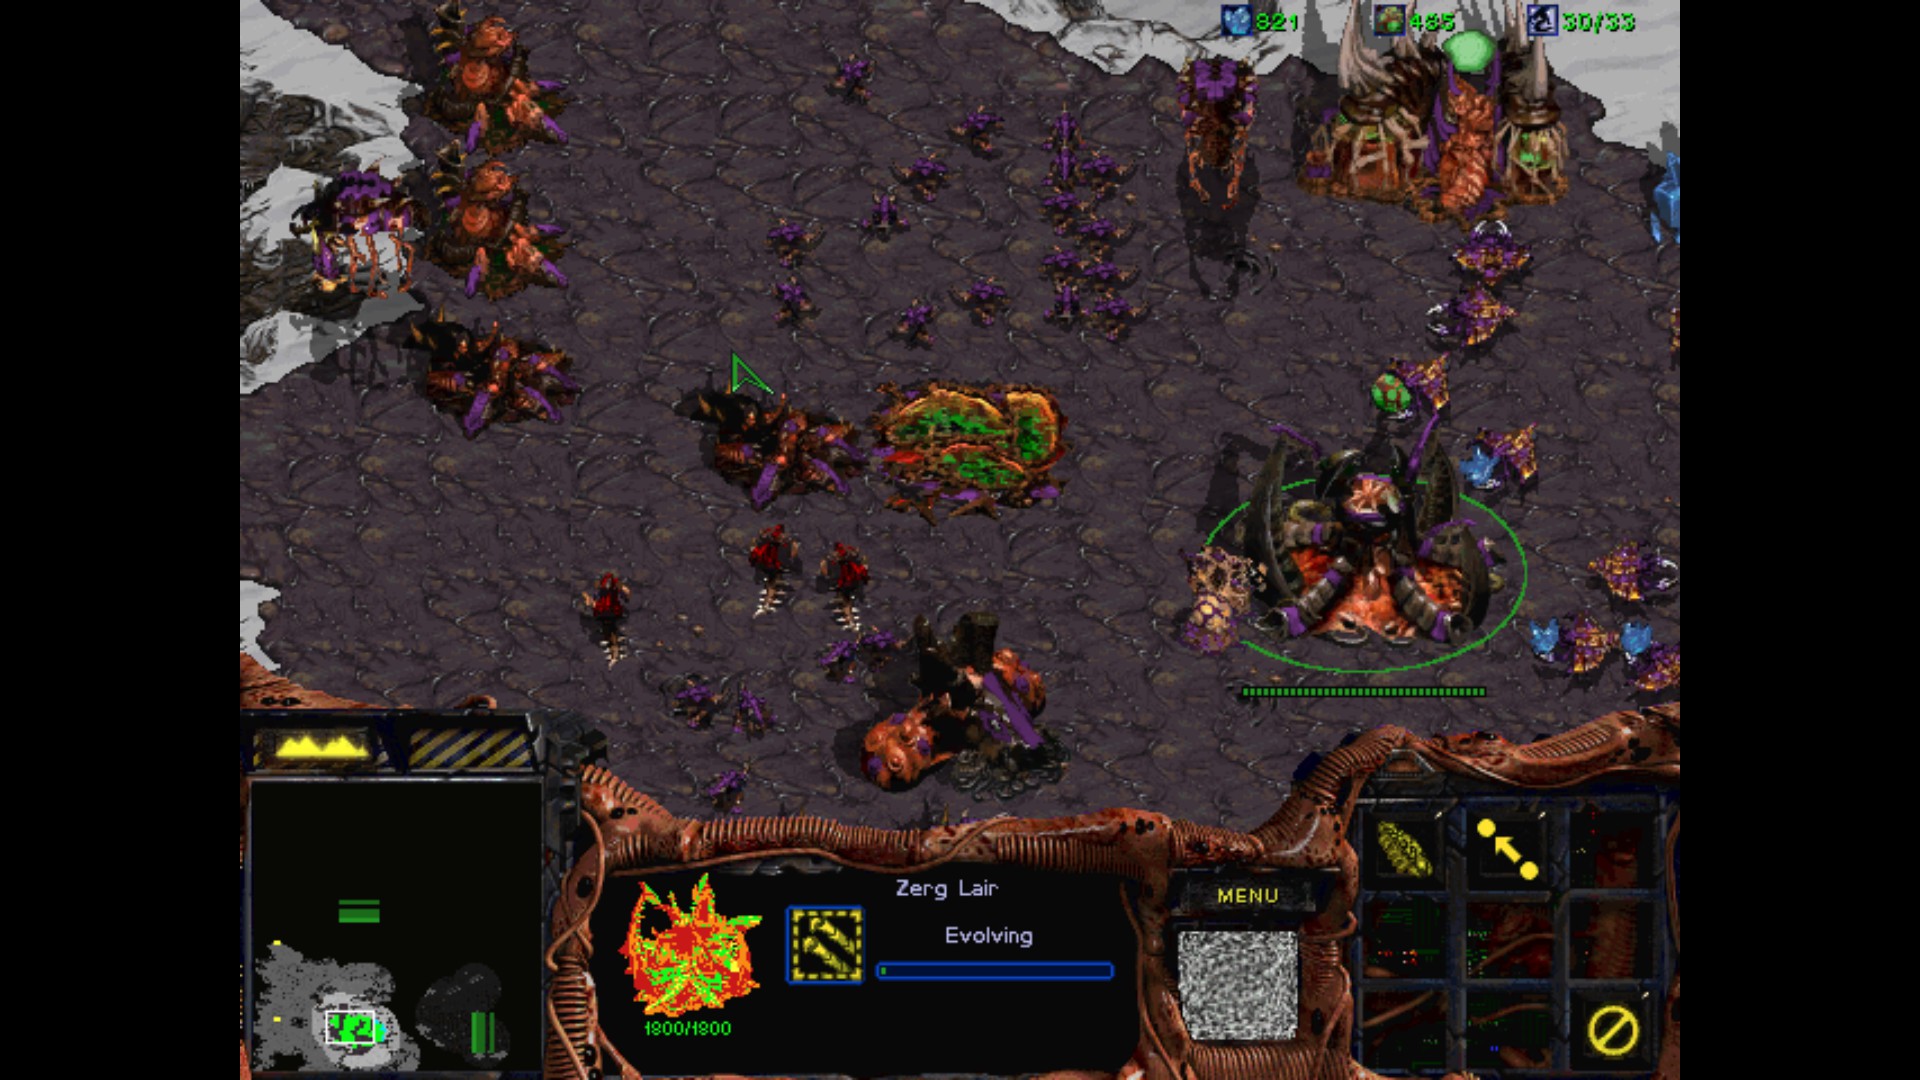
The mission starts with our base located in a good defense point. I need to build more Sunken and Spore Colonies to help with the Terran attacks. Strangely enough, like Kerrigan says in the beginning, the Zerg brood isn't creating big problems for me. Apart from the Ultralisk at the beginning which was killed by Infected Terrans anyway. They are good for quick kills, when they are big groups of soldiers and mechanized units marching towards my base. Later on I will use Guardians, as they are more economical option, plus some Mutalisks. This mission reminds me of a base game.
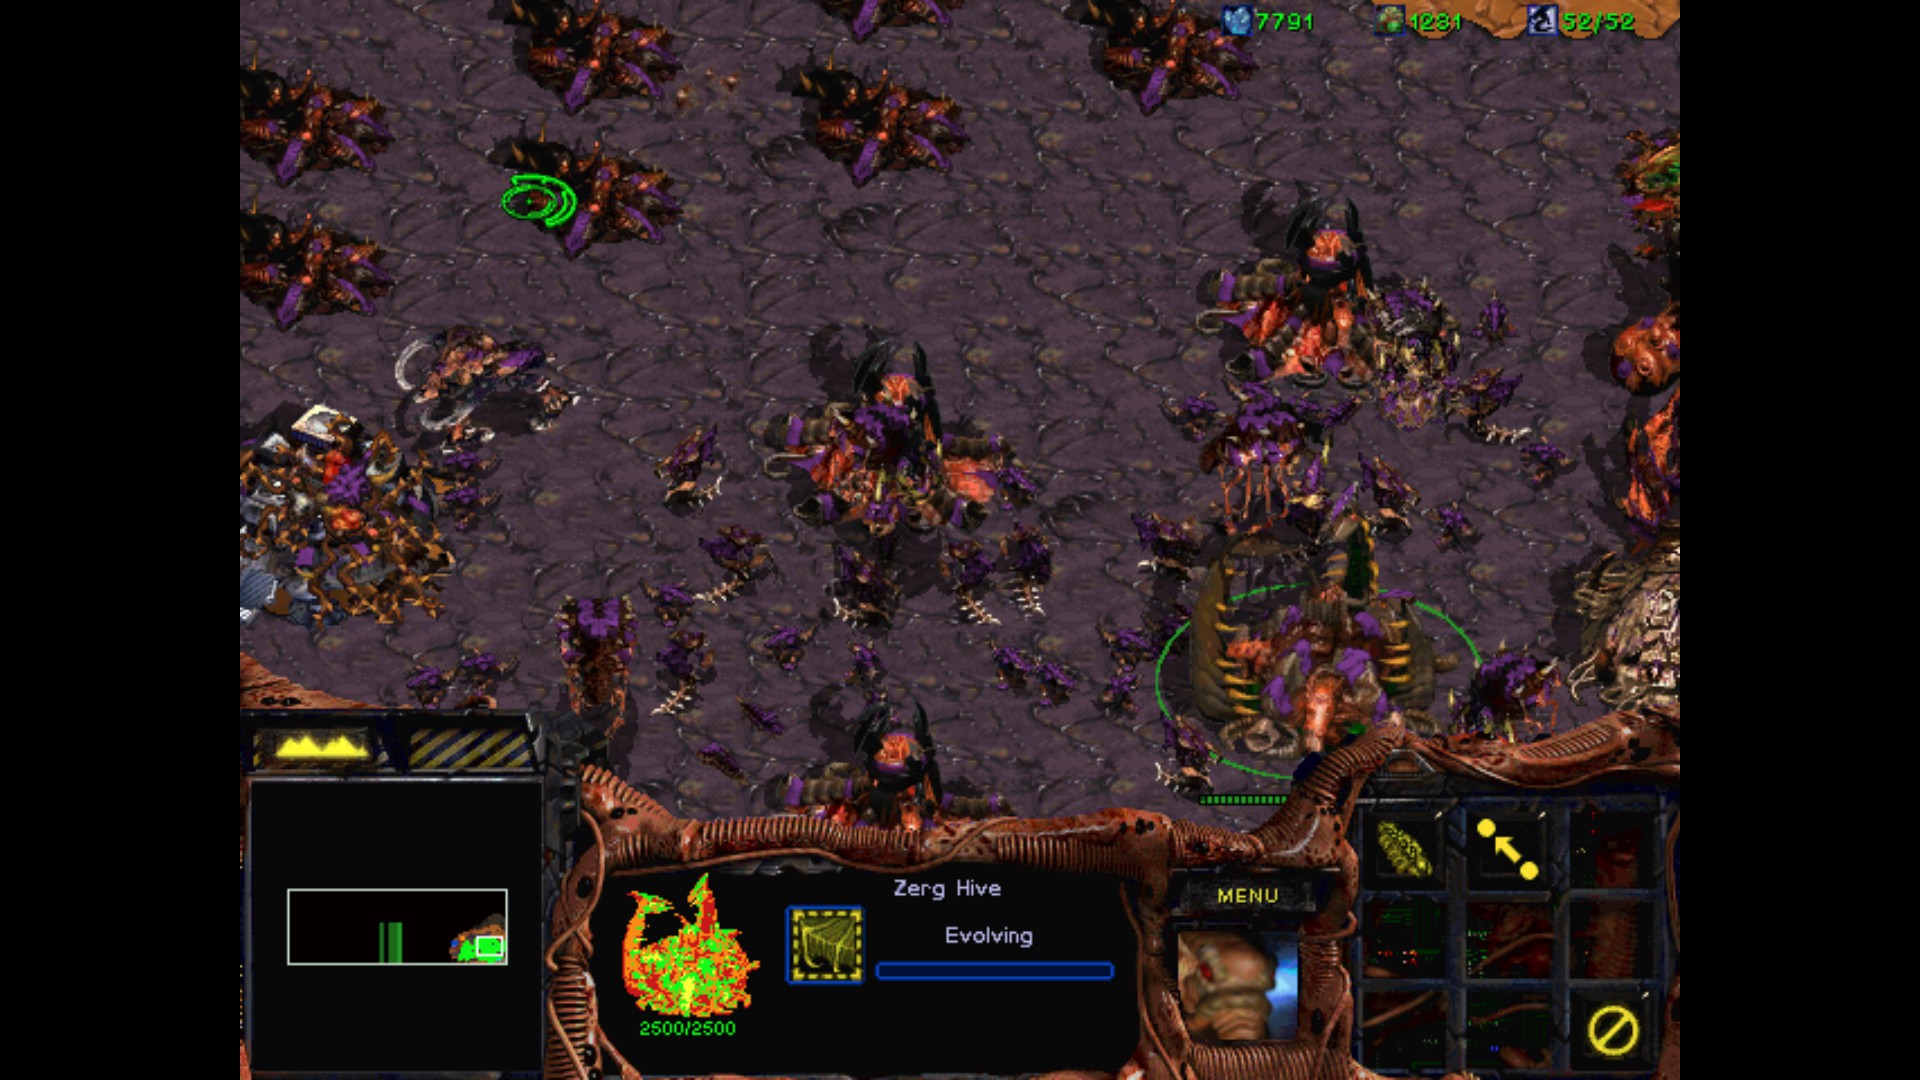
Now it looks much better. Sunken Colonies will engage the enemy and Hydralisks and Zerglings will finish him off. The frequency and the numbers of attacks is really big comparing it to the earlier missions, so I expect some losses when it comes to structures. Lucky for me, those 10000 minerals can be finally used for something.
This is the southern path from which the enemy llikes to attack. Additional Wraiths are making Spore Colonies really fragile.
The northern path is preferred by ground units.
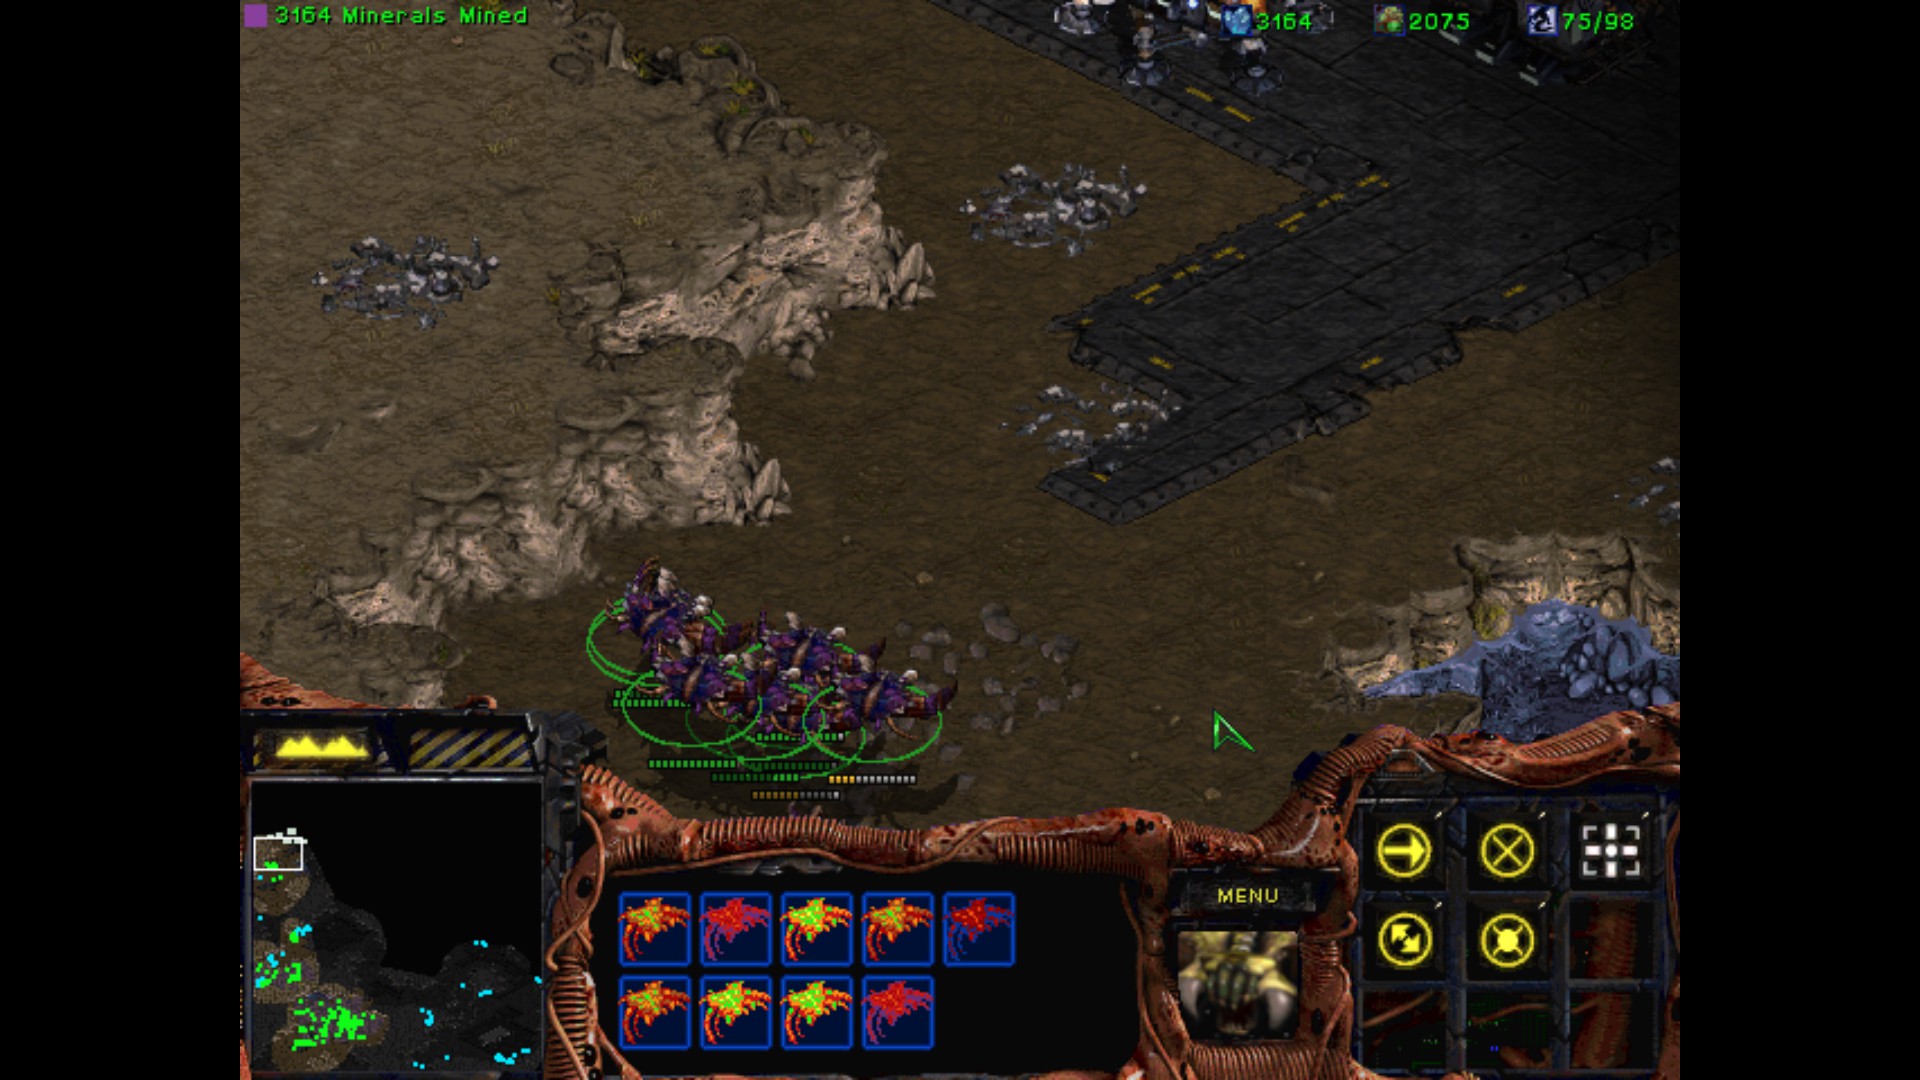
I start the purge with my little Guardian flotilla.
I am making really quick progress here. The defenses near my base have vanished, and the first base of blue Terran is no more as well. Time to add more Guardians and some Mutalisks and move on.
Second base destroyed. Now it's the time for orange Zerg.
Heh, Guardians and Ultralisks. It's funny how the enemy wasn't prepared for this. After my initial attack he wakes up and makes some Hydralisks.

There is only one Terran base remaining, plus some leftovers of the Zerg. It's time to prepare for the final push.

After Guardians finish with the Bunkers, Zerglings and Hydralisks finish the job.

Mengsk is an Emperor once again. But for how long?
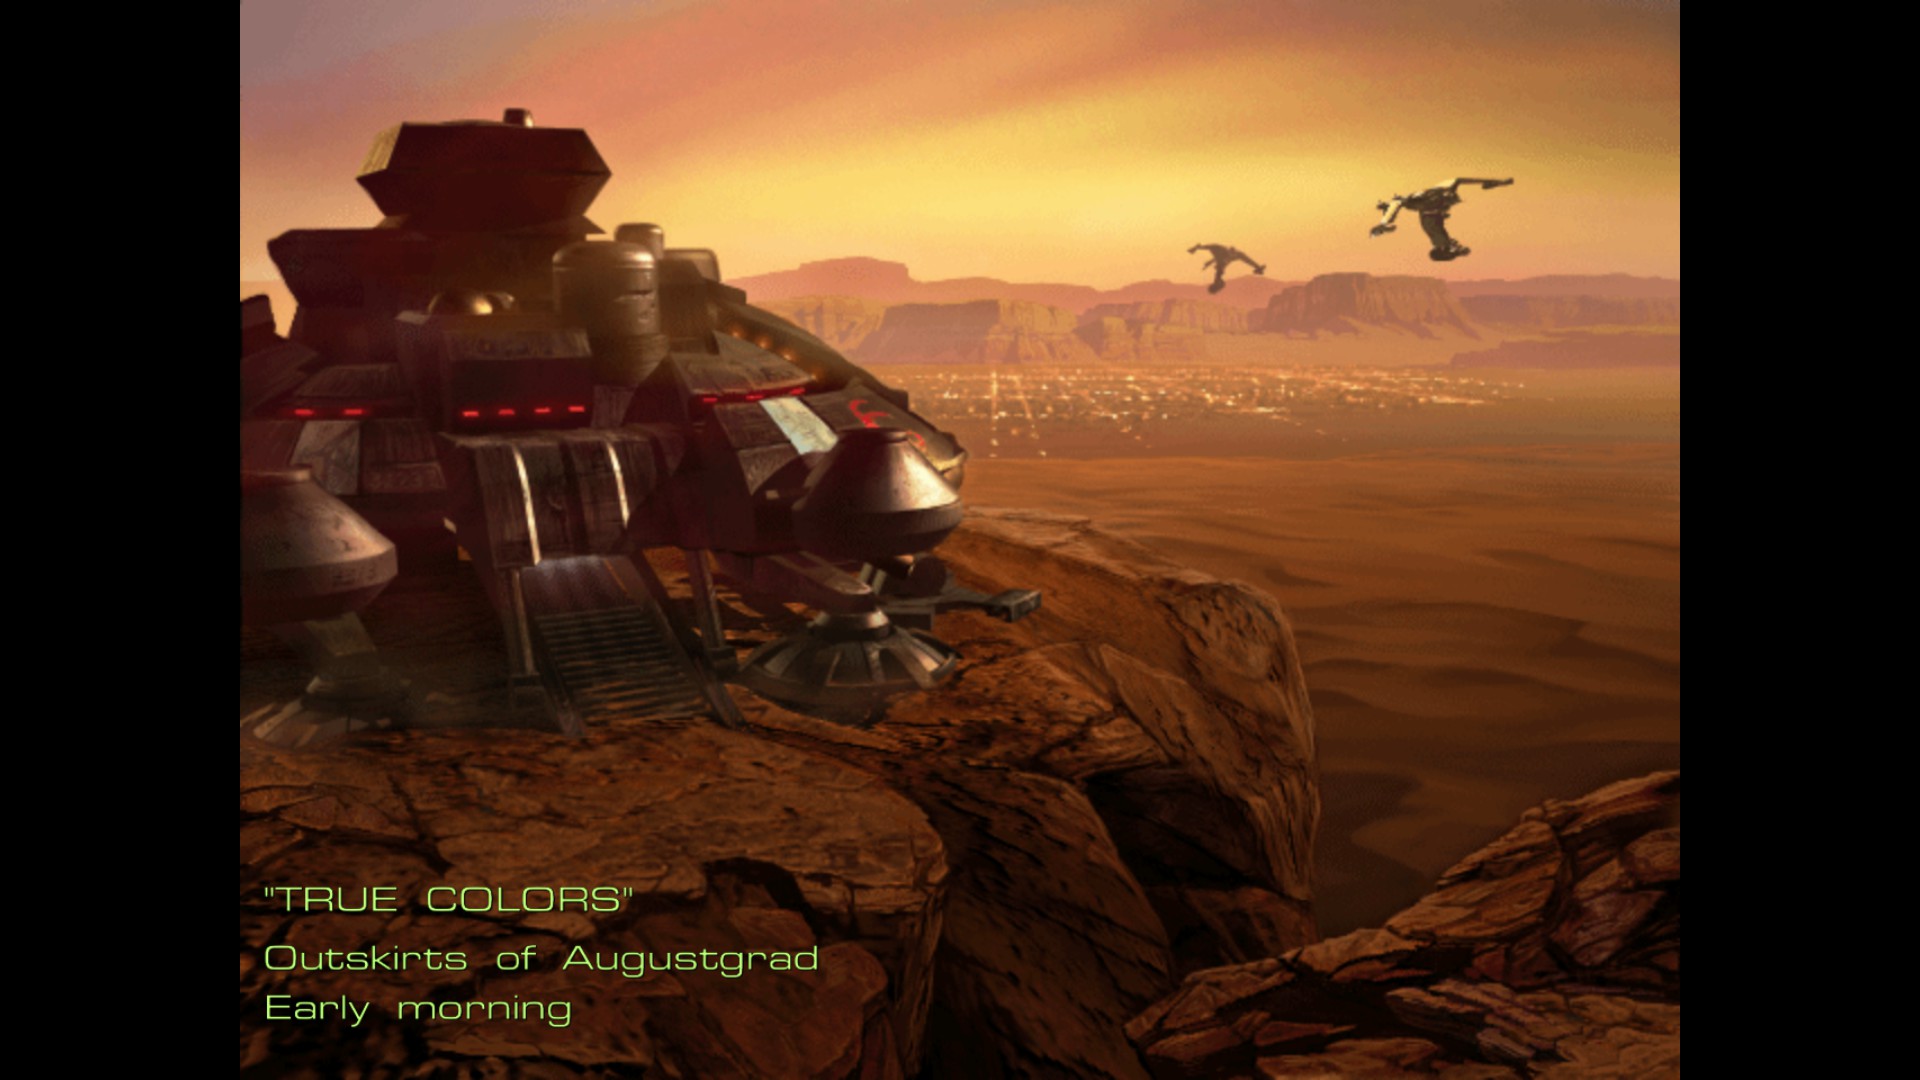
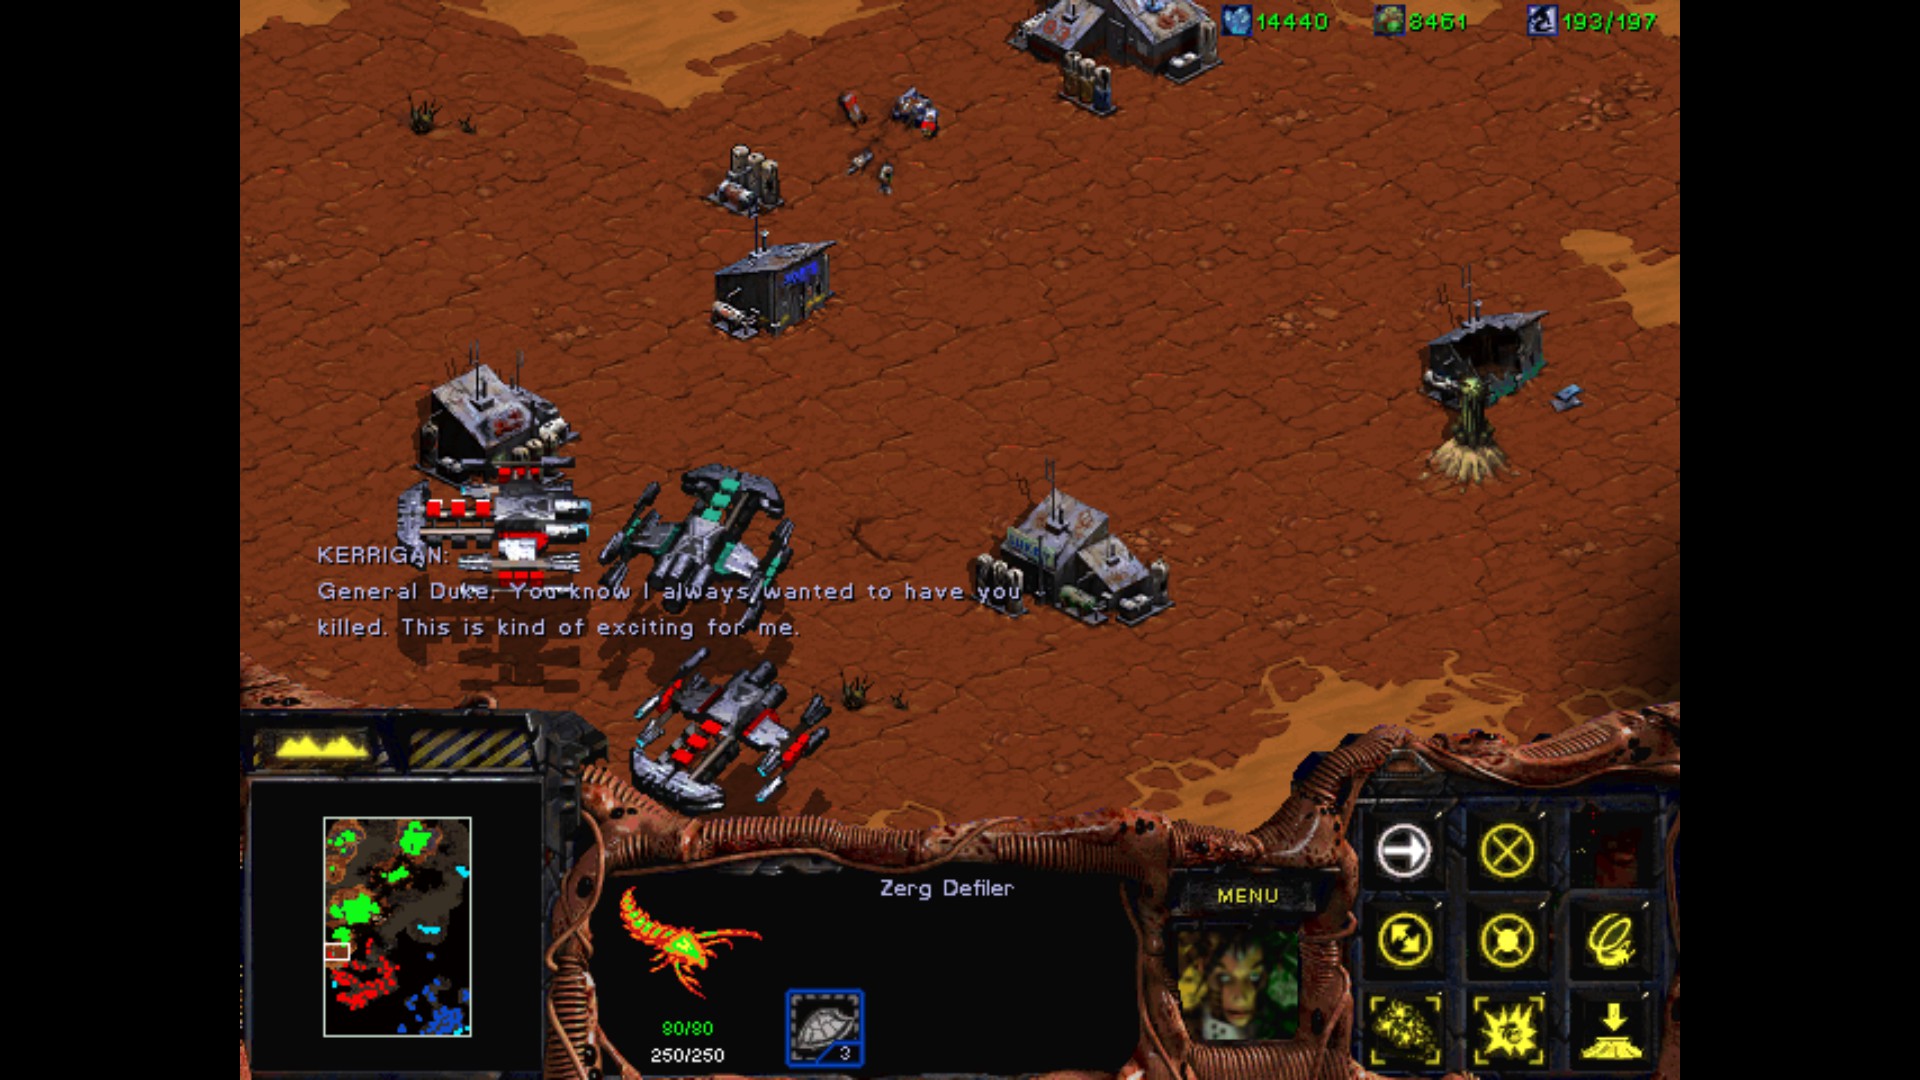
Mission V : True Colors
Cerebrate, Duran, the time has come to separate the chaff from the wheat.
Now that the UED's power base is broken on this world, only their forces on Char pose any significant threat to me.
It's time to move to the second phase of my plan.
And what of your allies here on Korhal, my Queen? What would you have done with them?
They are of no further use to me. Though they have proven themselves useful, it might be dangerous to allow them to live.
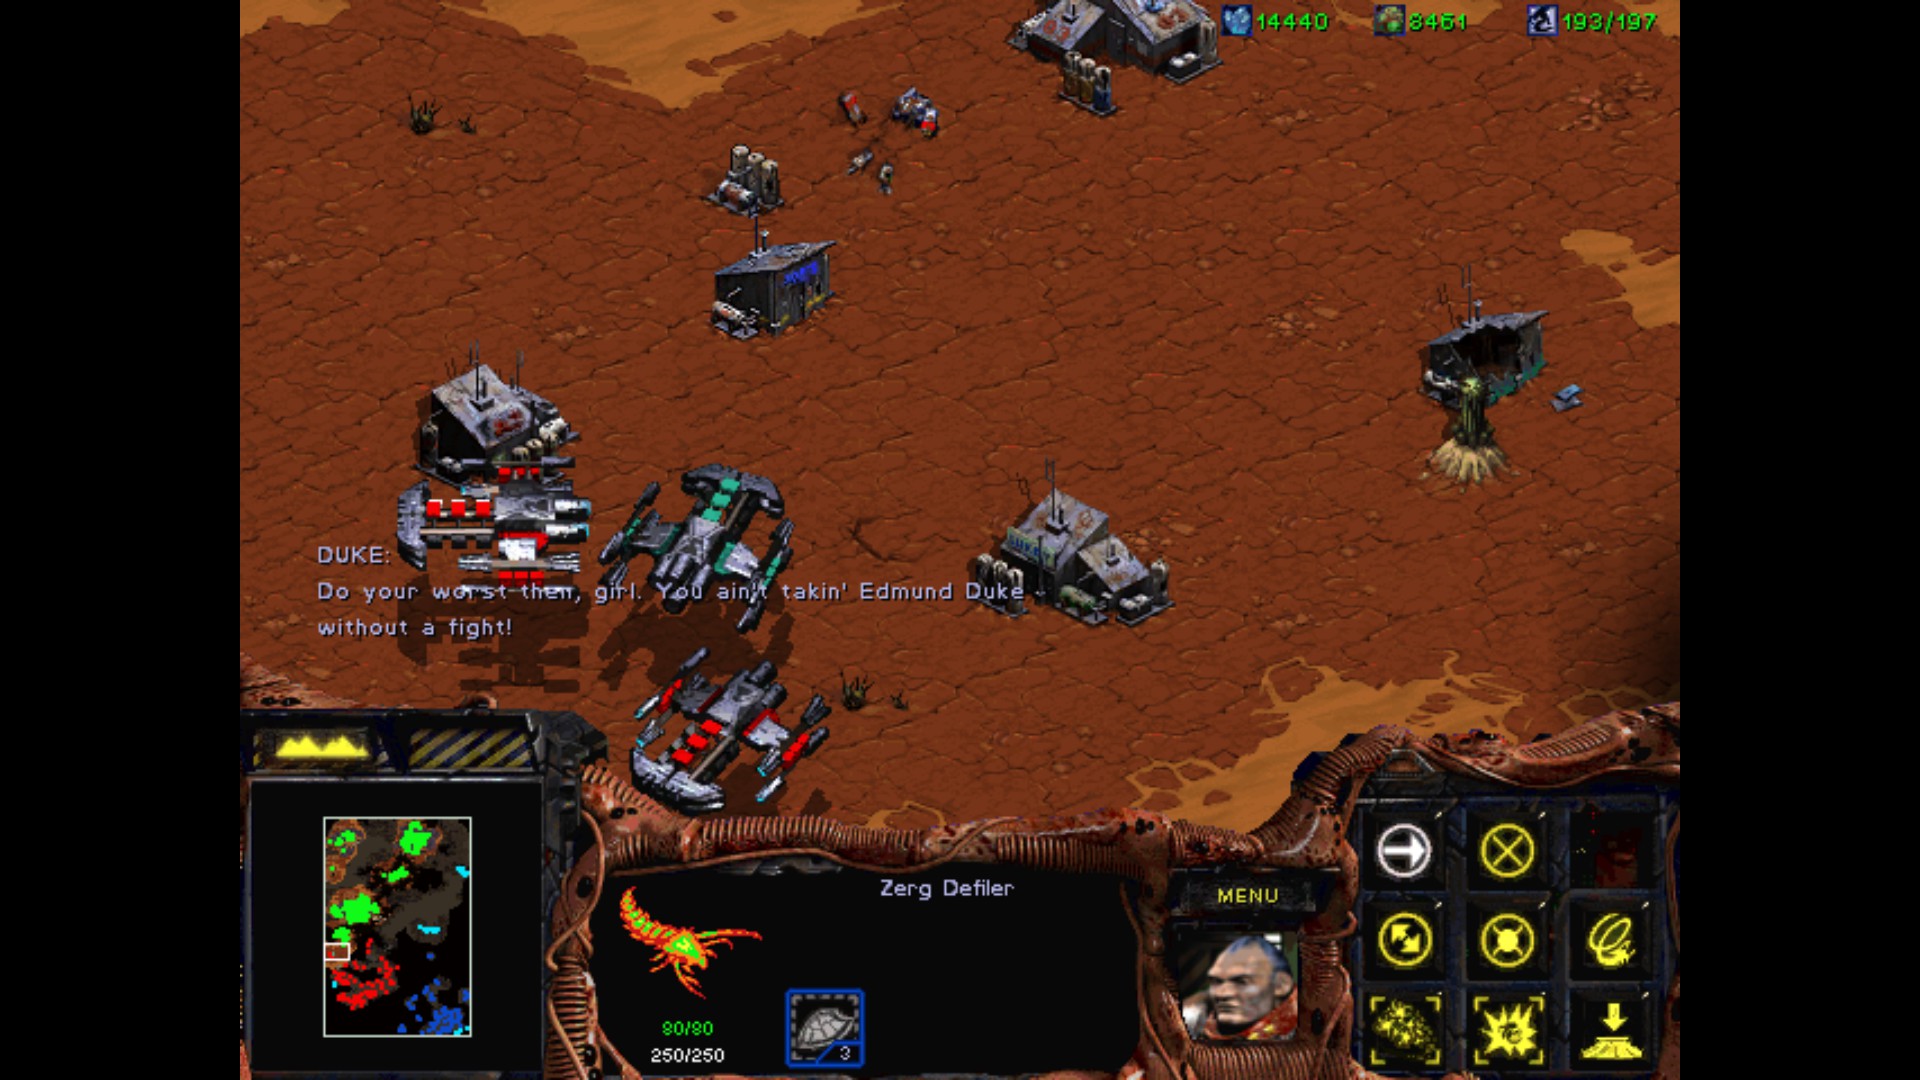
Without the services of General Duke, Mengsk will be easy to deal with.
But Raynor and Fenix are uncannily resourceful. They must all be eradicated. Cerebrate, I want both General Duke's and Fenix's bases destroyed.
Leave no one alive.
My Queen, if I may suggest a strategy? Both the Protoss and Terran forces are resting after our previous victory.
If we attack immediately, while most of them are asleep and unaware, we can whittle down their defenses with relative ease!
Clever. How long after our initial attack can we expect them to regroup and retaliate?
I'd say in 6 minutes.
That only gives us enough time to launch a surprise attack against one base. But it is a sound plan.
Cerebrate, feel free to launch your initial attack against either base. Failure is not an option. Slaughter them all in my name!
Objectives :
- Destroy the enemy bases
- Kill Duke
- Kill Fenix
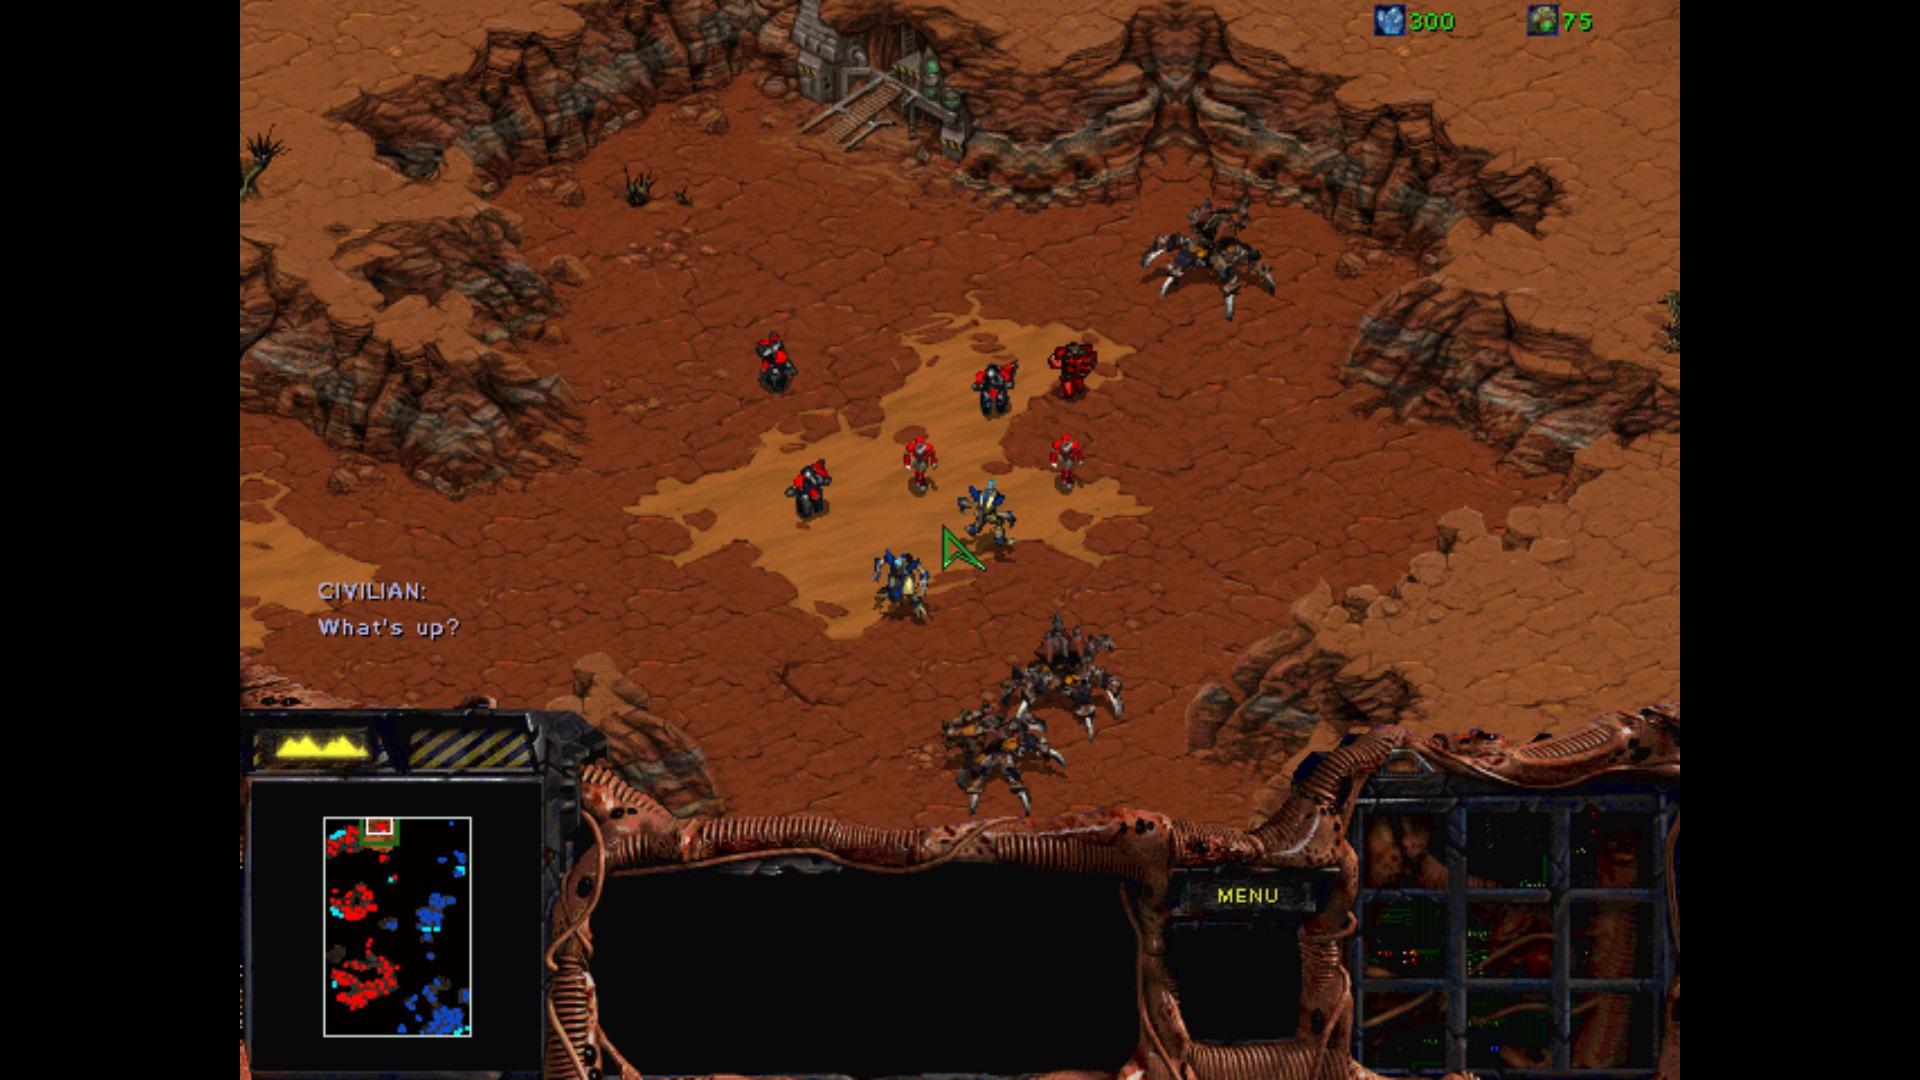

The mission starts with small scripted sequence. While earlier Zerg campaign was moderate, when it comes to difficulty, "True Colors" is a lot more demanding. The first phase, where we need to destroy as much of enemy's structures and units is the yes or no answer to the question, if I survive this whole thing. While during the briefing it is said, that I should concentrate on one base, it's good to attack both Terran and Protoss. This will give us more neutral ground at the beginning and keep the enemy from making quick drops with reinforcements.
Here is the border of the Terran second main base, in which I will make my own. Moving down the south is pointless, as I don't have enough units to divide my attack more. The northern base that you can see on the map is going down as well. Also important - I make new Hatcheries right after that in both locations. This mission demands a lot of resources in a short time manner, so it's important to keep up with the enemy who has already got everything served on a silver plate. Not to mention that I need to be able to defend myself.
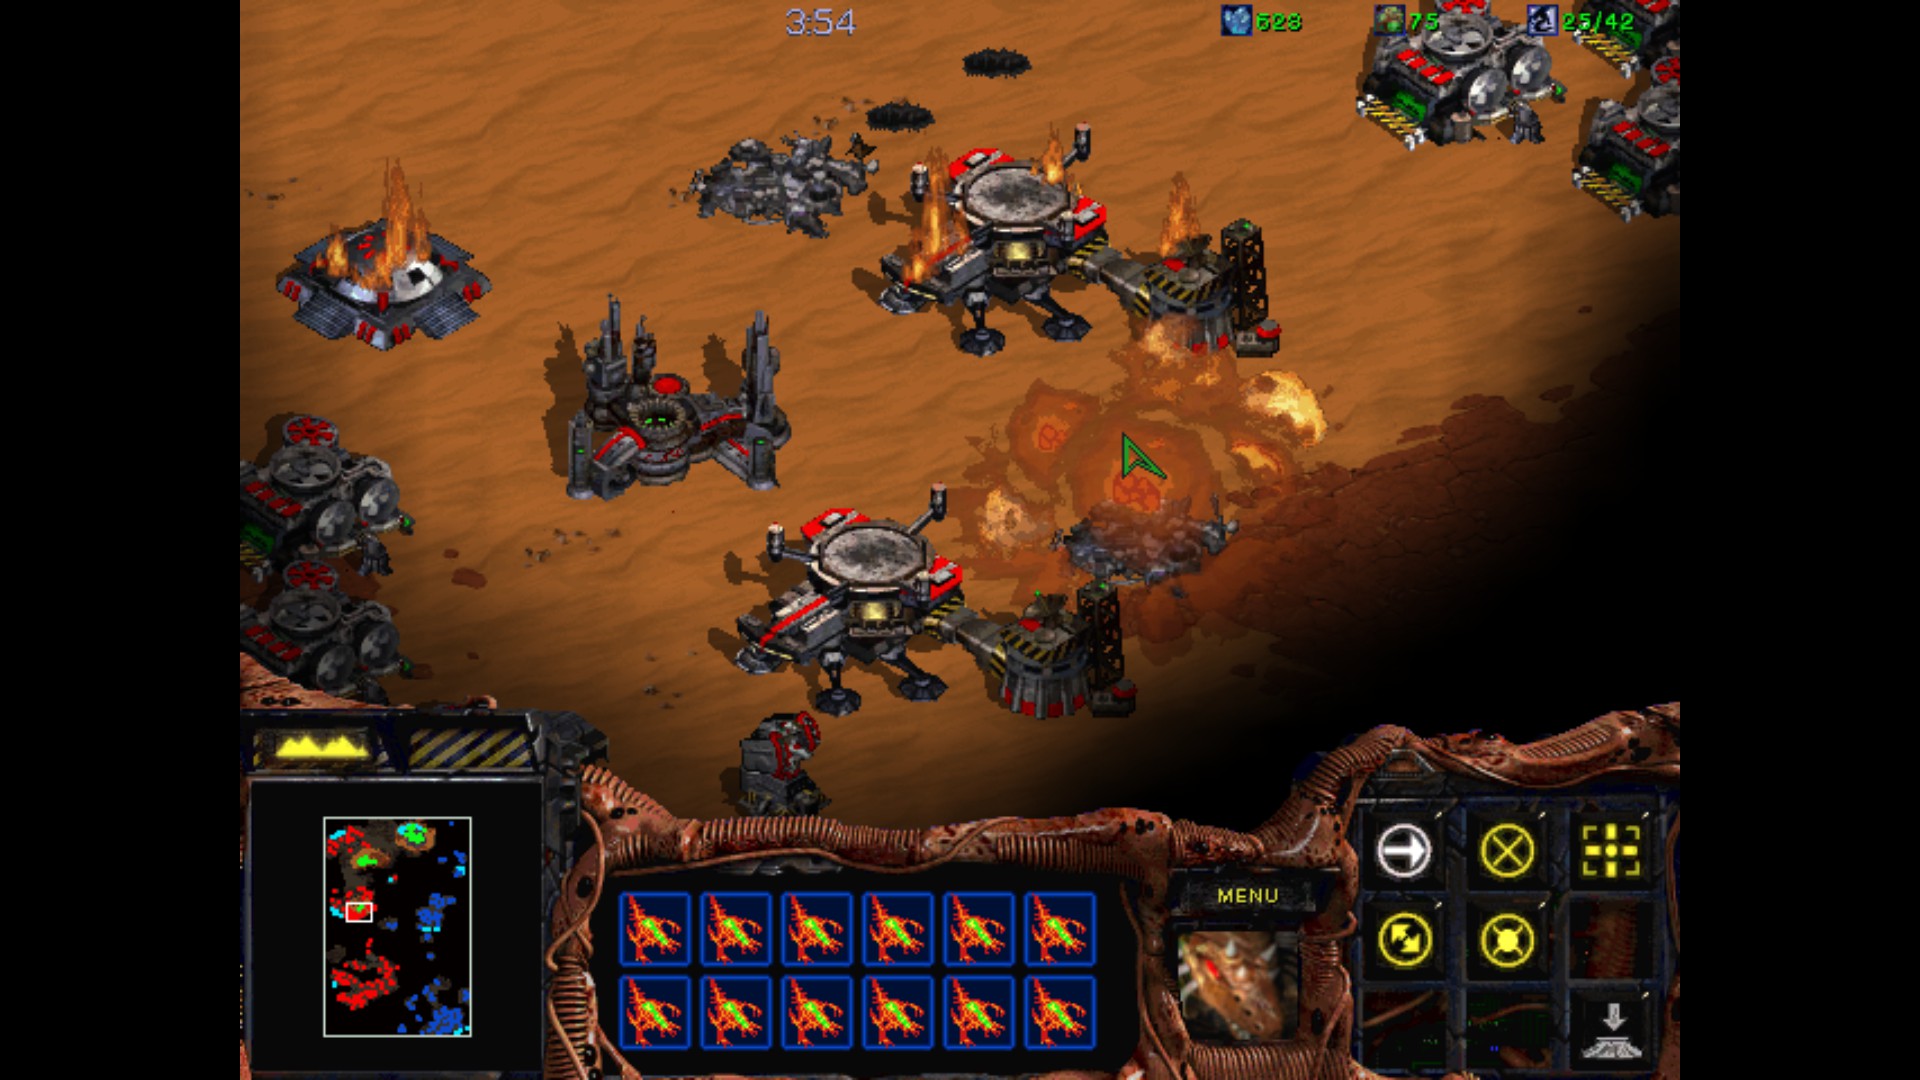
Right now I'm enjoying the onslaught of a huge base with a little to none resistance.
I move some units to the east, where Protoss has made a huge base. Starting from north and going down I will have a safer flank with no big losses.


I'm almost over. There is a Vespene Gas on the small hill, but it will have to wait. The Protoss base has been destroyed to some degree as well. First phase is a complete success. Now for the long and expensive phase two - prepare the defenses for the upcoming huge retaliation from both enemy's and later on prepare to counterattack.
The Hatchery on the north is already operation. I make some Sunken and Spore Colonies to keep safe my workers. I don't invest too much, because it's this Hatchery which is more important and more vulnerable for the attacks. Especially the Mengsk's forces will be coming in high numbers so I need to be prepared for anything.
In the beginning, Protoss will be moving directly to my first original base.
Lurkers are great against them.
The southern base has been closed from aerial attacks. The combinations of Spore Colonies and Hydralisks will make the Wraiths bleed out really quick.

Hah, Science Vessels used irradiated my Drones. I quickly transform them into Creep Colonies. SV can be nasty, especially if we are using Overlords for detection. Also, a good tip - later on the Protoss changes his strategy and starts attacking through the bridge along with the Terran. Make 12 Lurkers and some Spore Colonies and watch a massacre of the squads trying to pour into the base.
I'm pumped up when it comes to units, have most of the upgrades finished. It's time for some payback after all those attacks.

First my Guardians take care of the last Terran structures on the little island with the Vespene Gas geyser. I'll make a Hatchery here as well. I use it mainly for air units. I surround the whole place with Spore/Sunken Colonies.
My Guardians have moved in a good moment to participate in massacre of the Protoss forces.
Oops, looks like Terran is finally catching up, hehe.
It's time to clean some of the Protoss forces to have easier time and make a base in the northern east.
It's good to have at least 12 Scourge units available for situations like this. I will have an easier time with the Protoss from now on, since I've taken his mineral fields. Since the Terran is more pain in the ass, and closer to my base I choose Duke as my first target.

Poor Duke. First I use my Defiler on him. Then the squad of Scourge comes in.
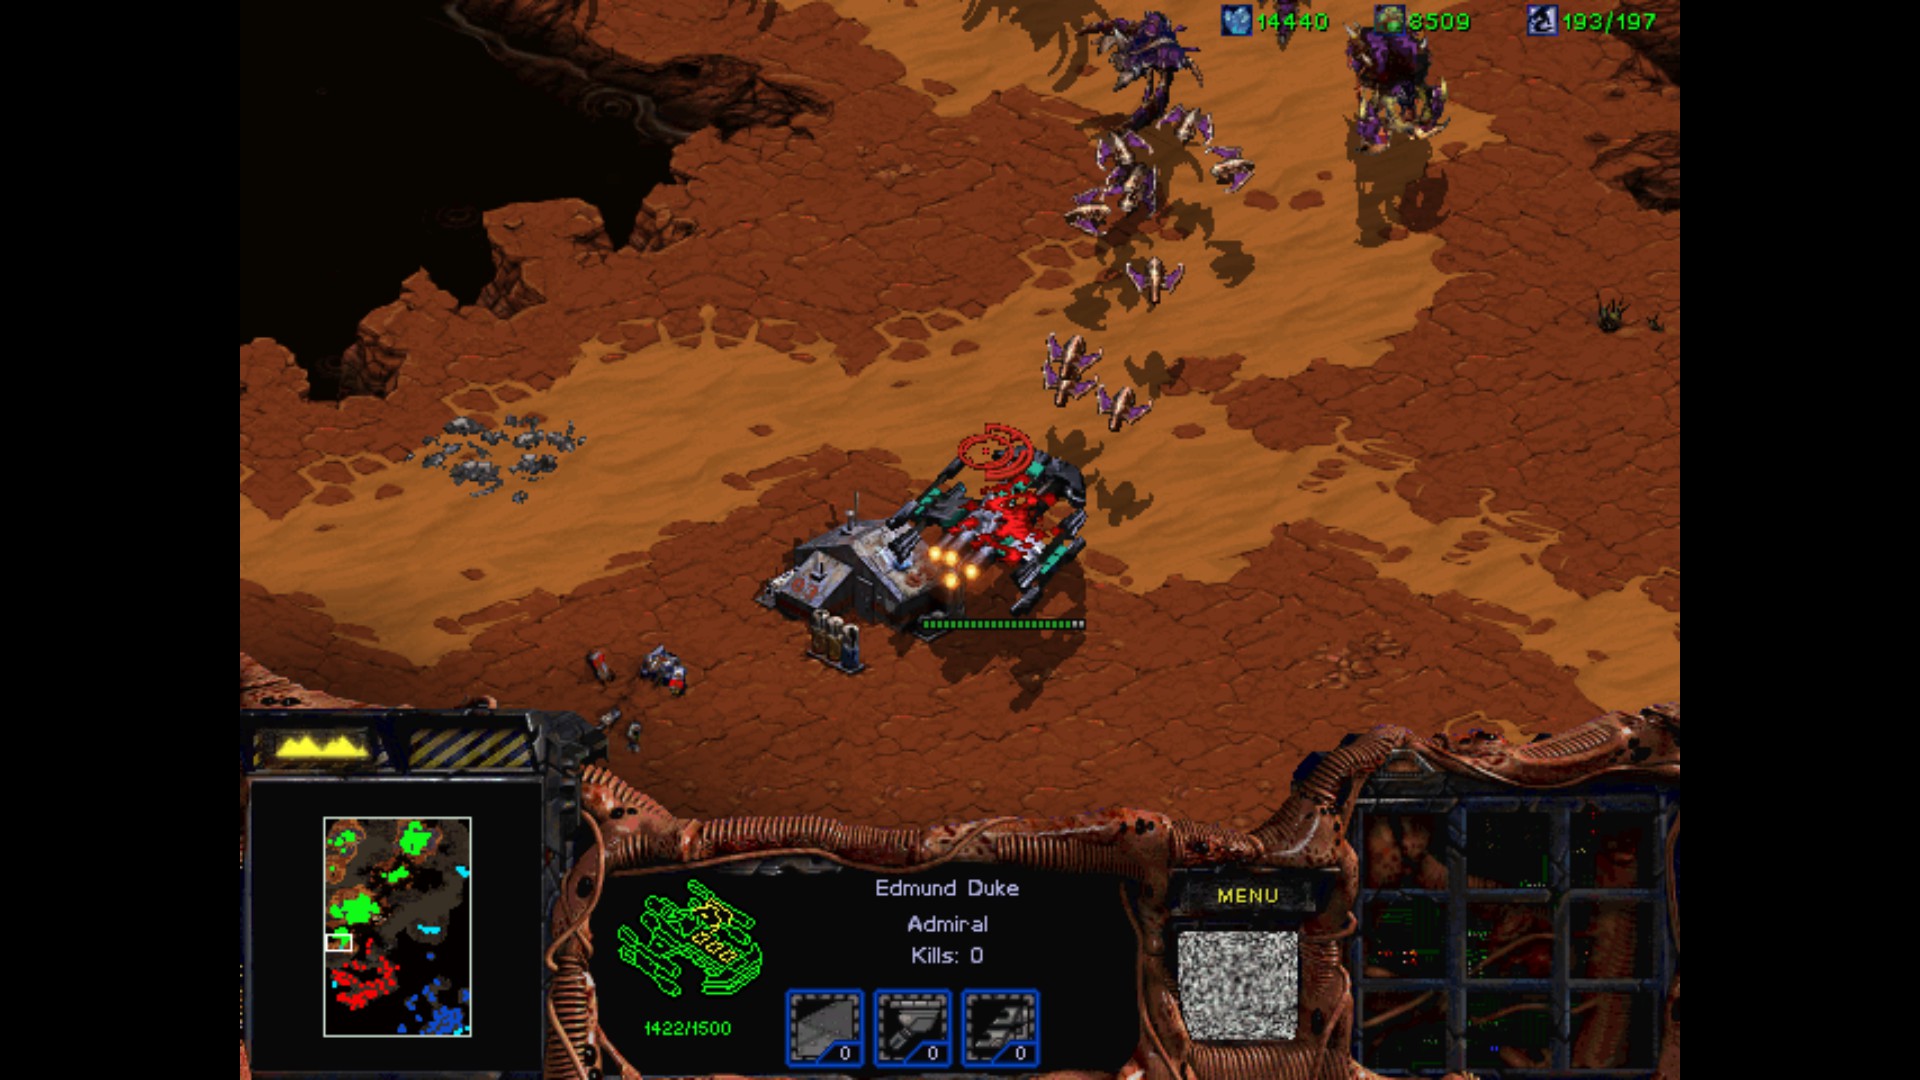
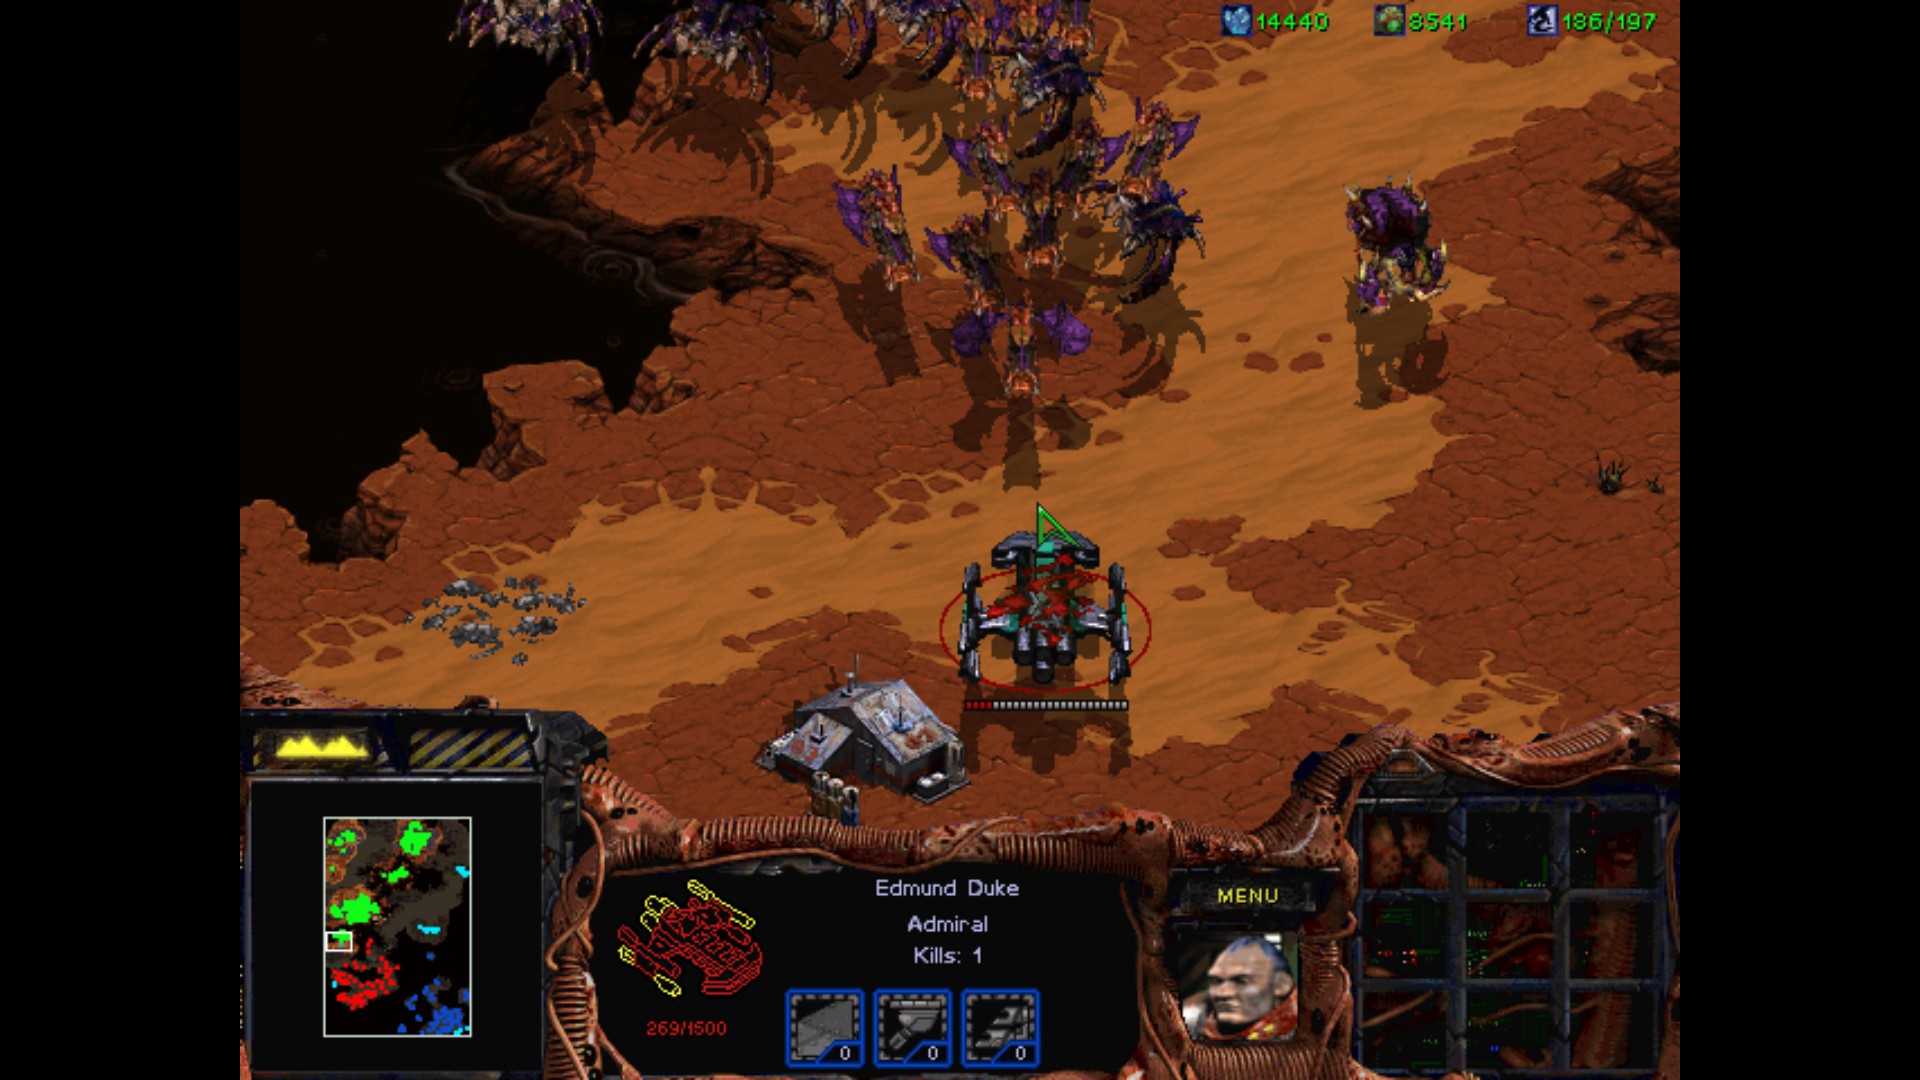
Mutalisks are finishing the job.
After that I must kill all the remaining forces of Mengsk's. Right now it's a total war for them to the last men, and they are putting lots of pressure considering how many times I've punched them. The base is really big, so the best way is to destroy Factories / Starports first and then Barracks because he can produce a nice group of units in a short time.

While I'm busy with the massacre in the south, and my Lurkers are helping there as well, red Terran makes a futile attempt at counterattack. I send my four Ultralisks to teach him a quick lesson.
It's over, the Terran tries to save the building from Lurkers, the SCV's are dying like flies and only a couple of Wraiths and Marines are left.
Terran has been defeated. Now I can concentrate on Protoss.
As I've said before, I'm making another Hatchery and moving all the forces that I can. I make a huge field of Spore / Sunken Colonies that will go down to the south, and "merge" with another base in the south, with the minerals that you can see clearly on the map. I've got so much money that is not a problem.
Enough postponing the inevitable. I move my Guardians to the spot, where is a massive number of Dragoons.
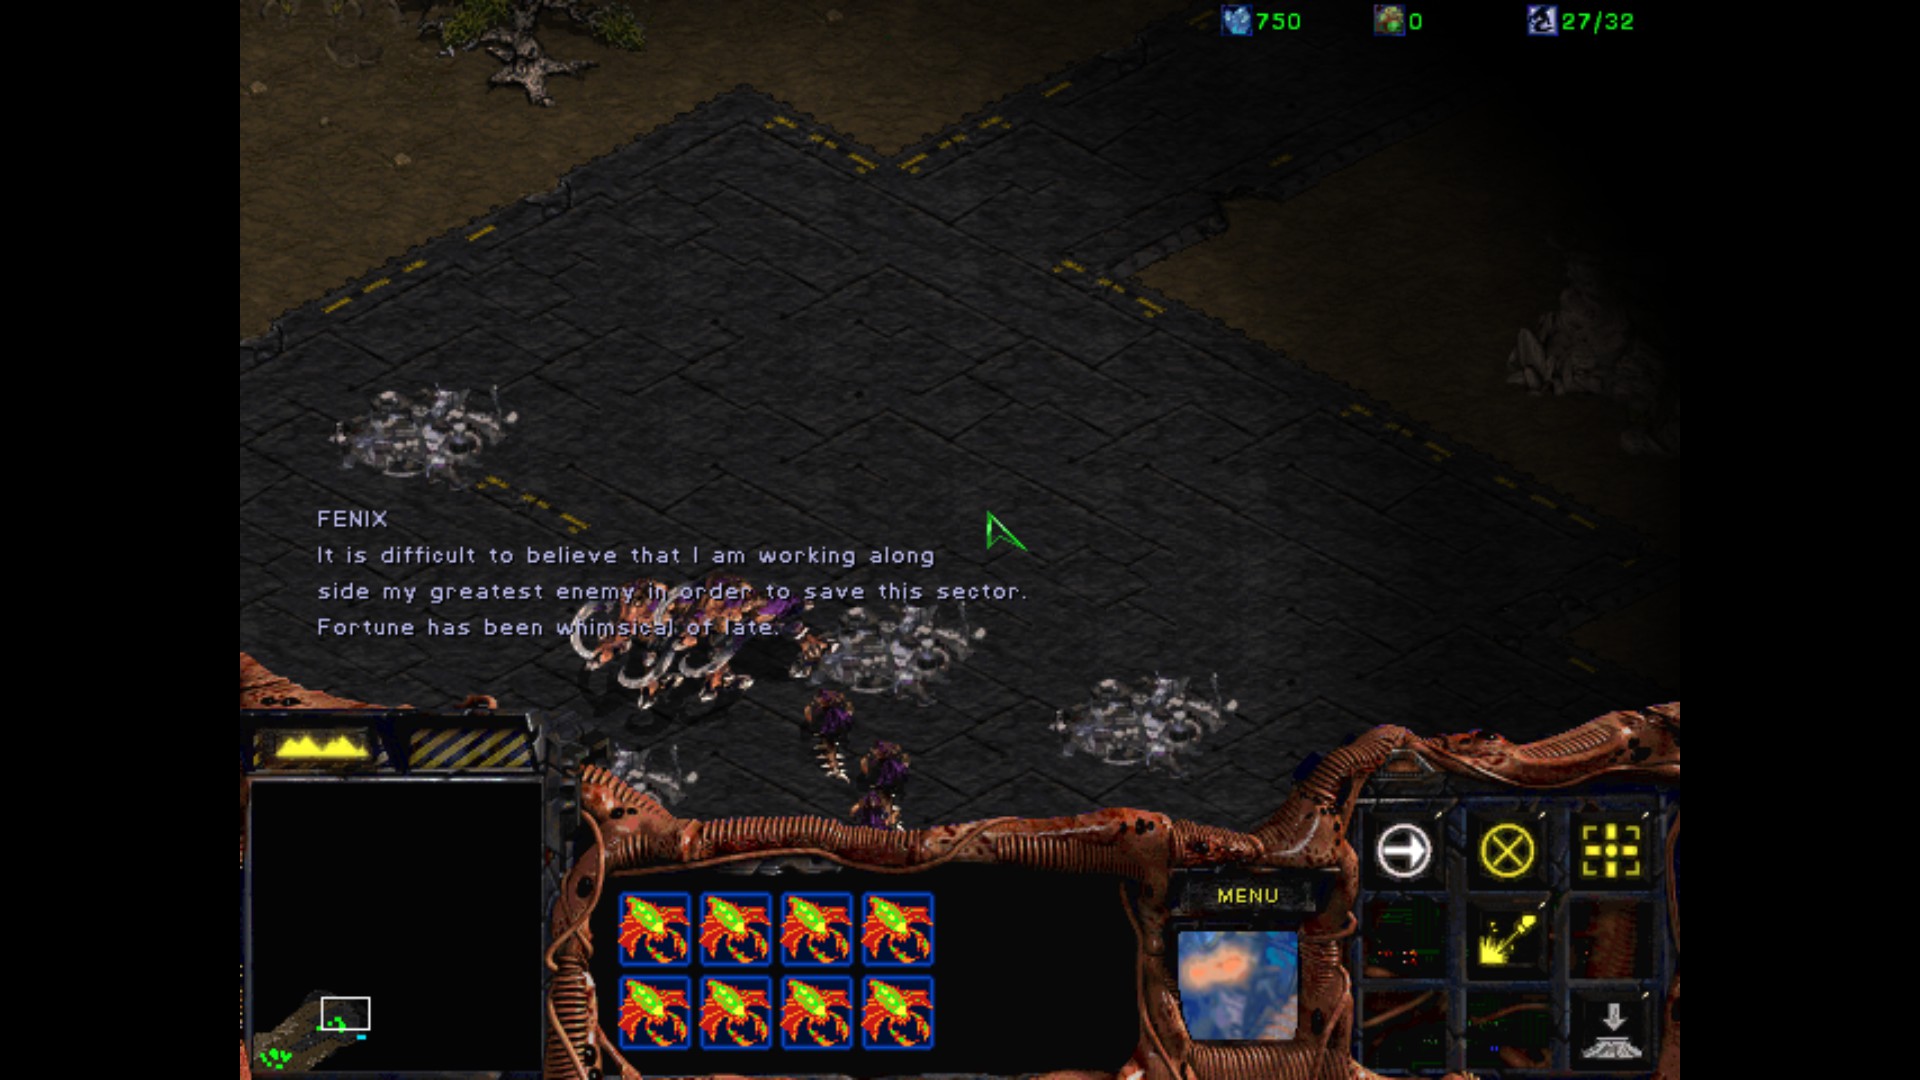
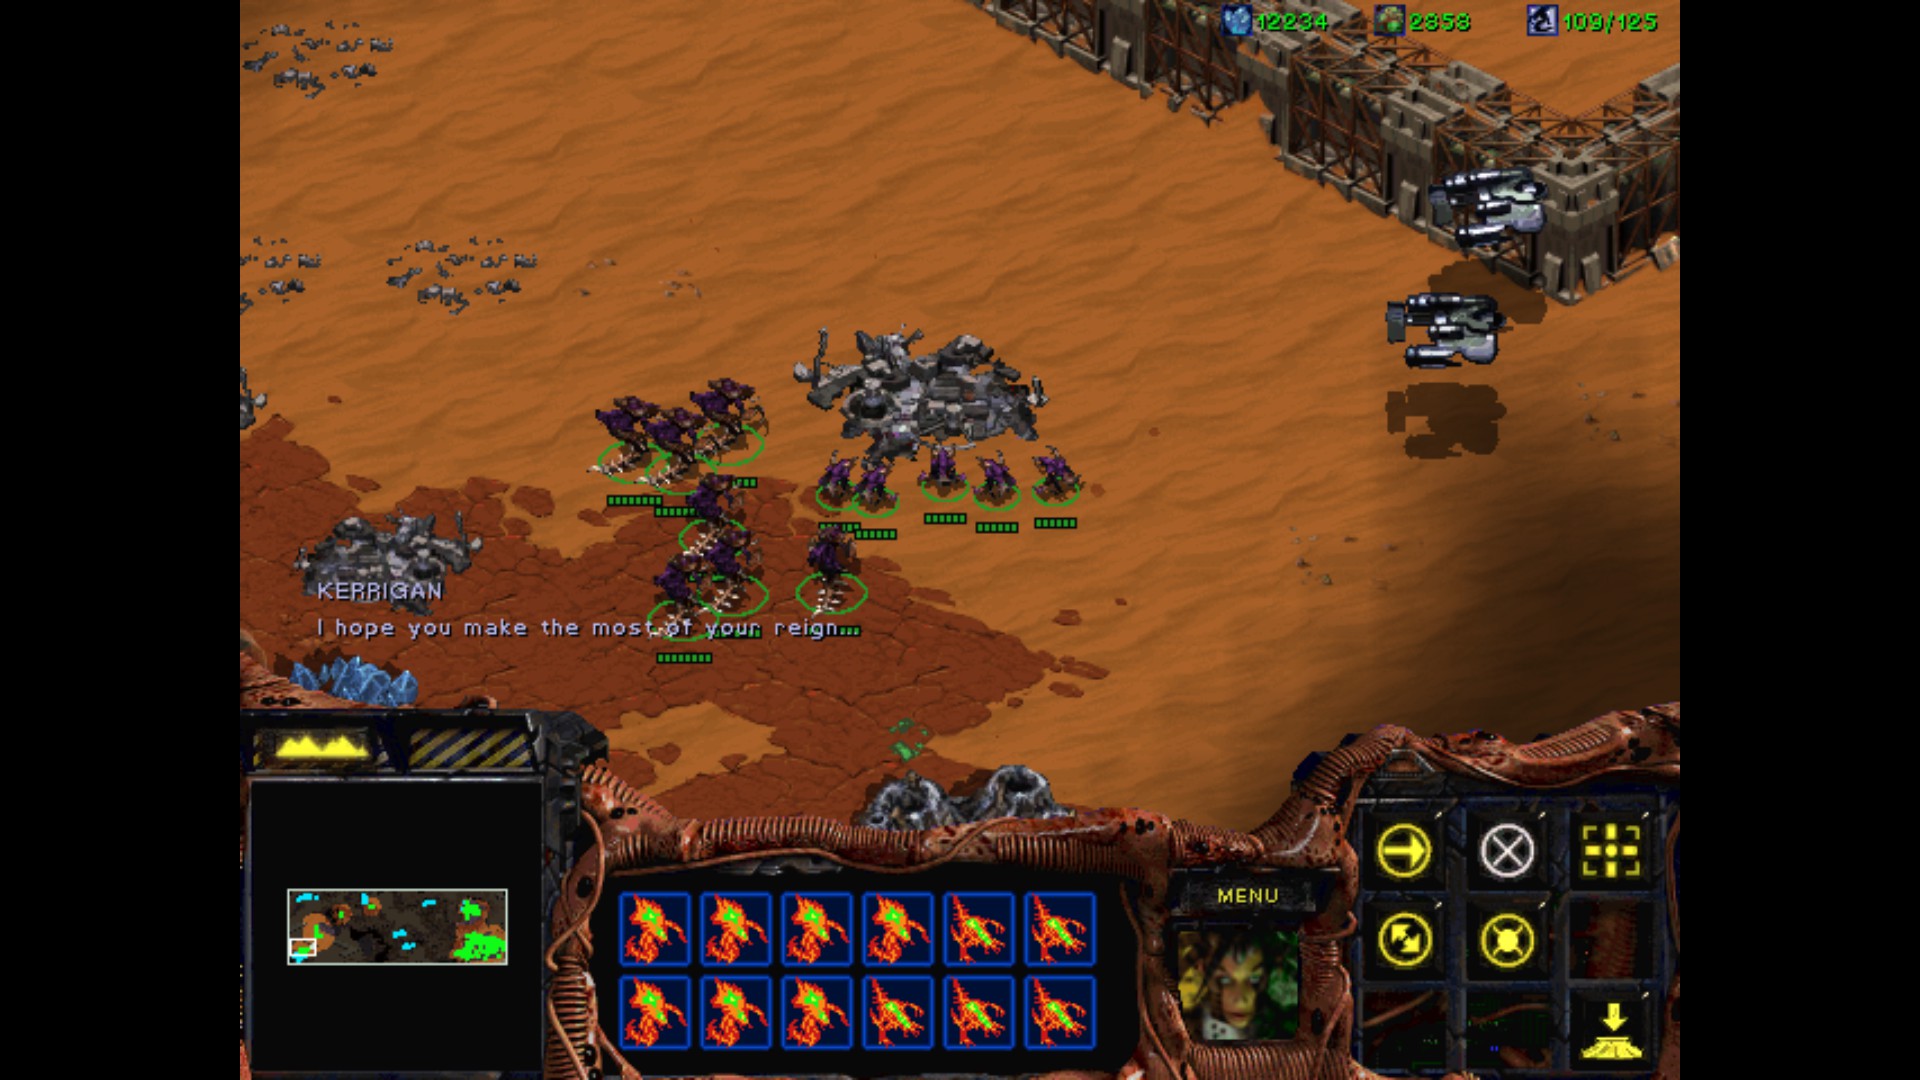
Time to confront Fenix and show him the full rage of the Swarm.


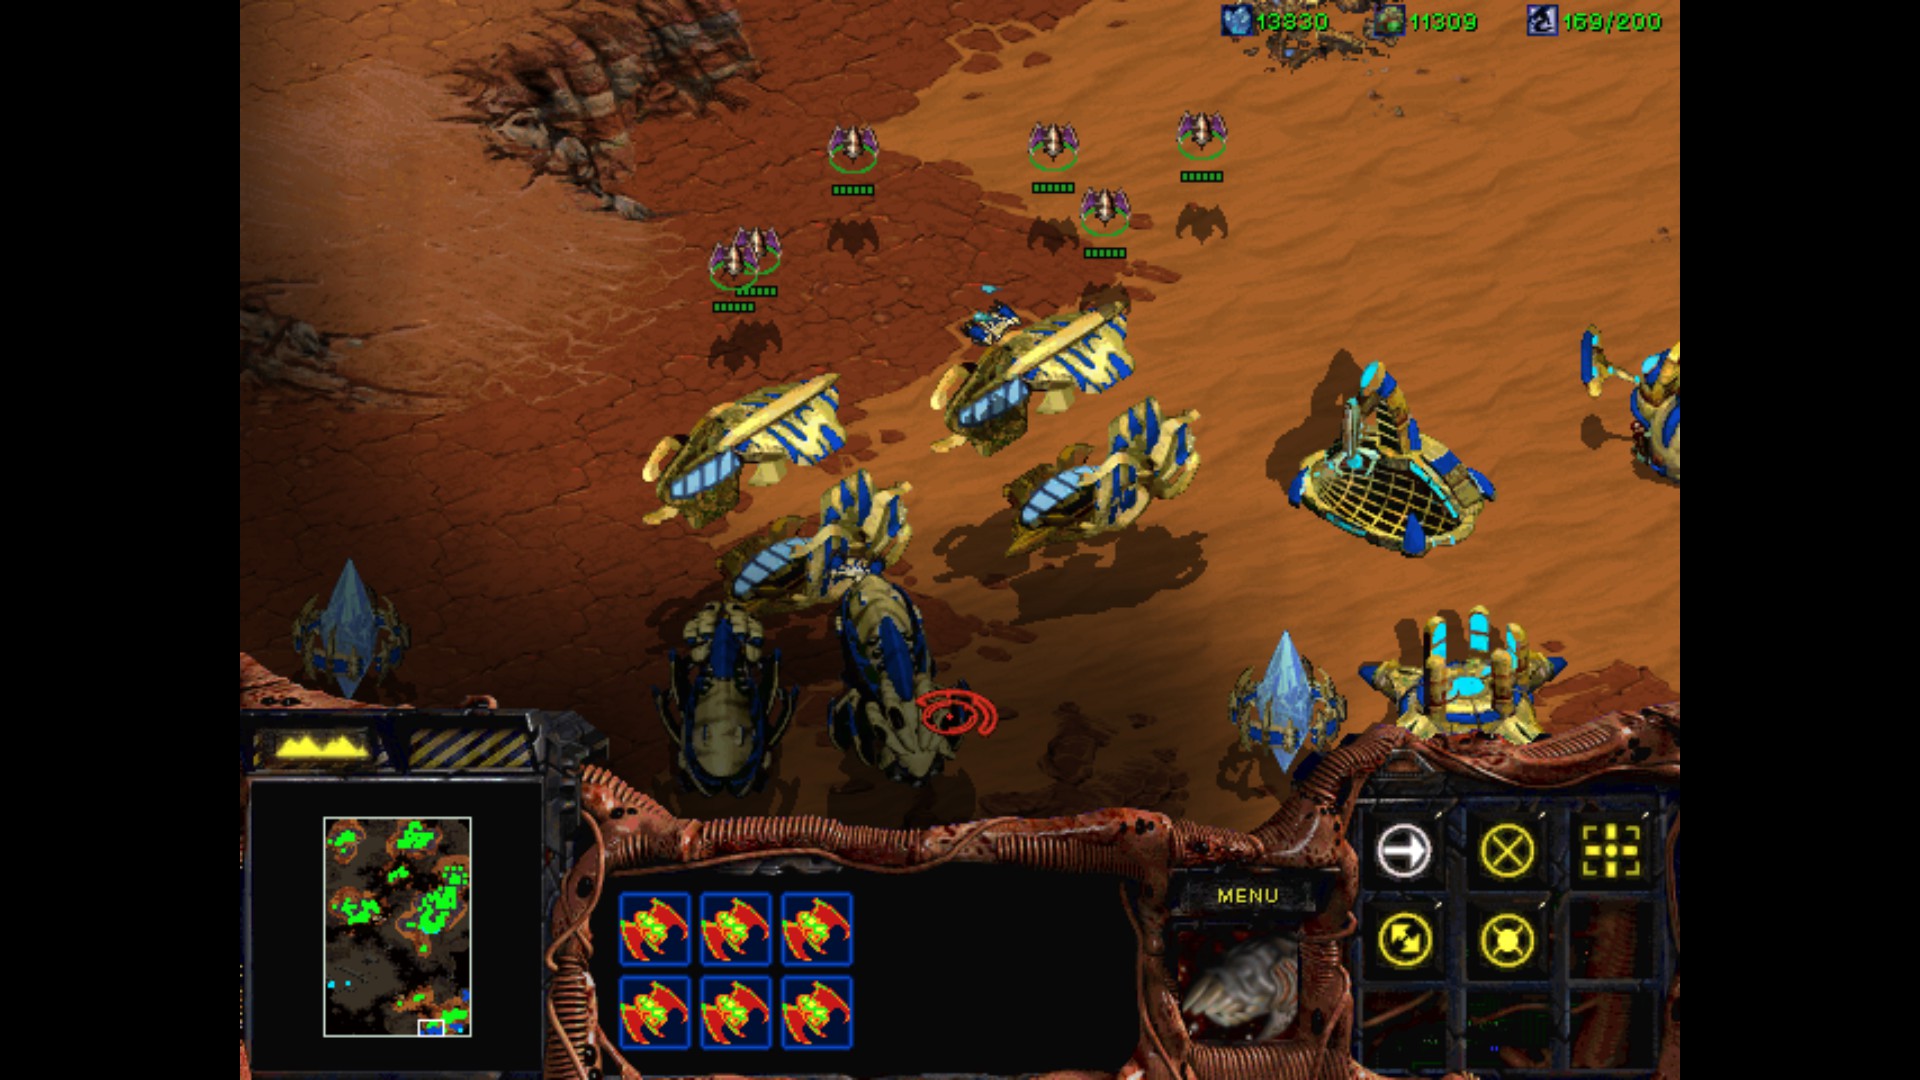
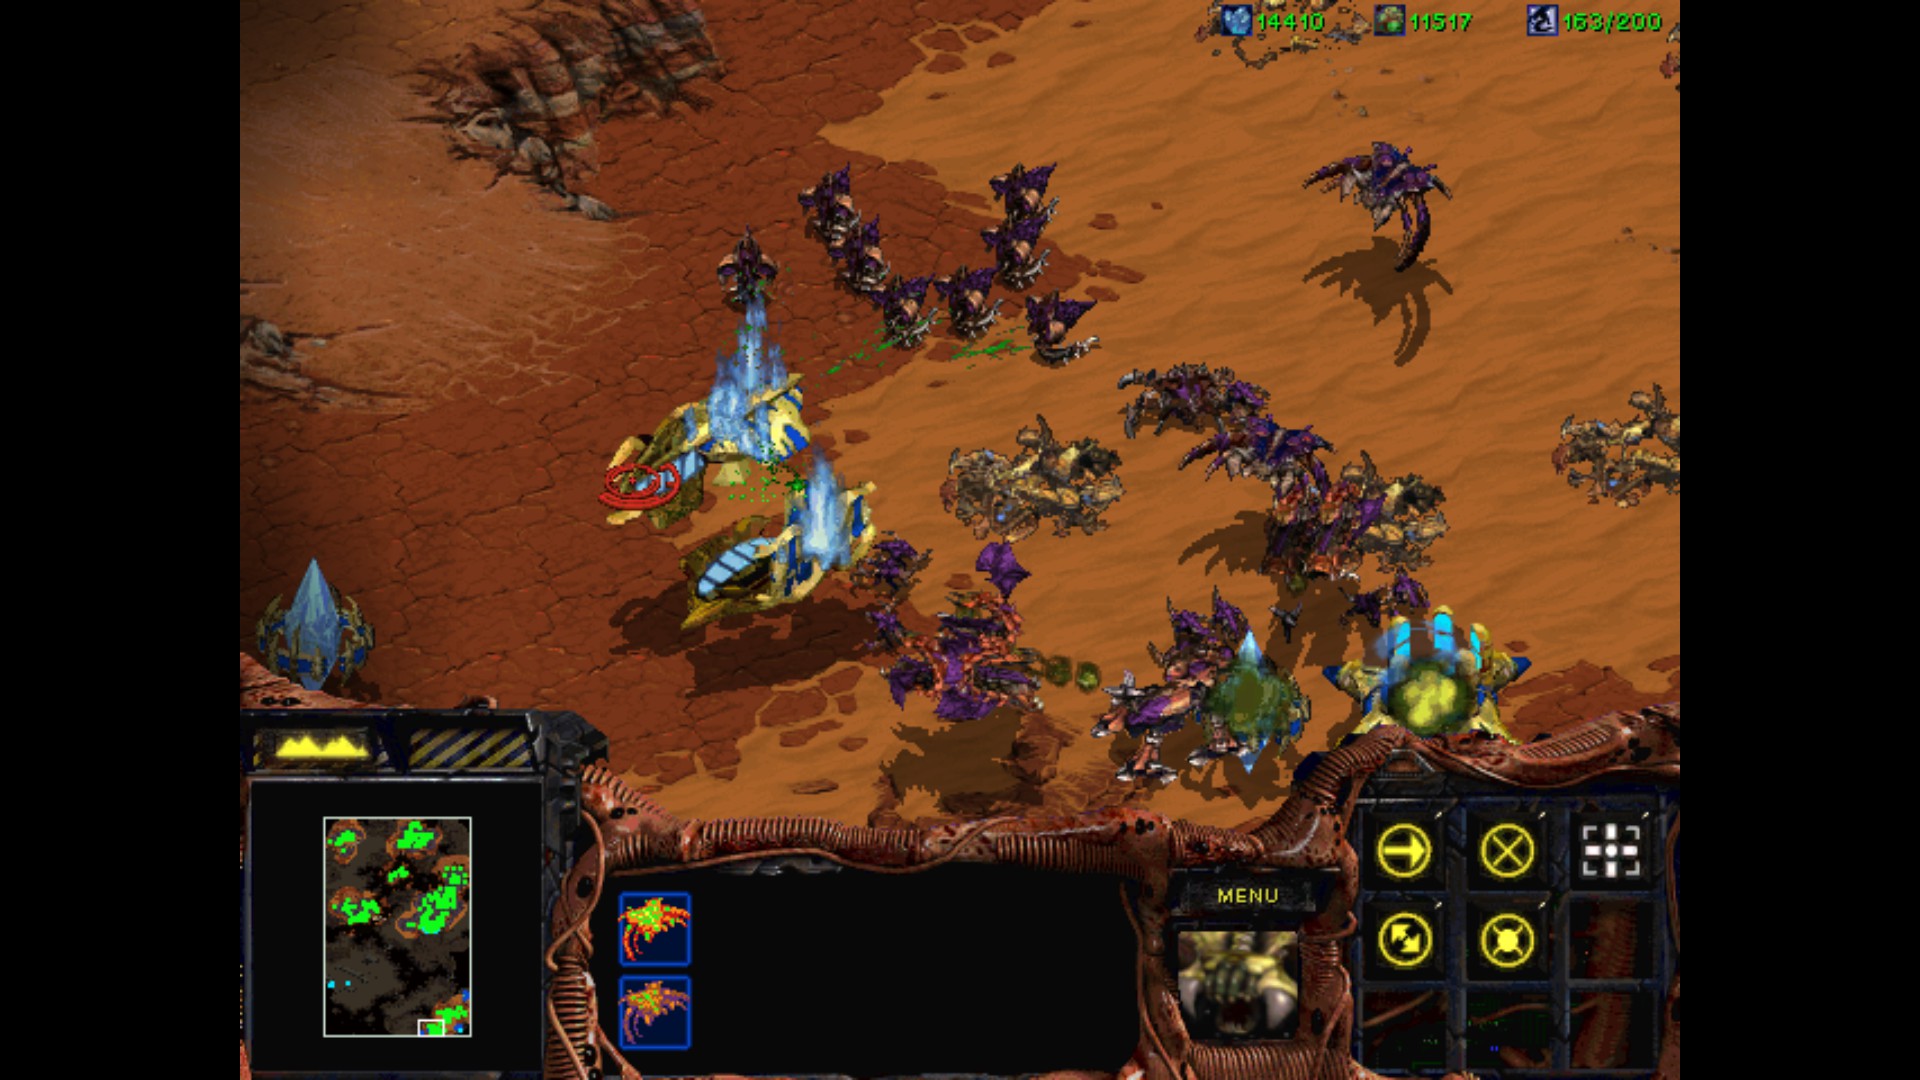
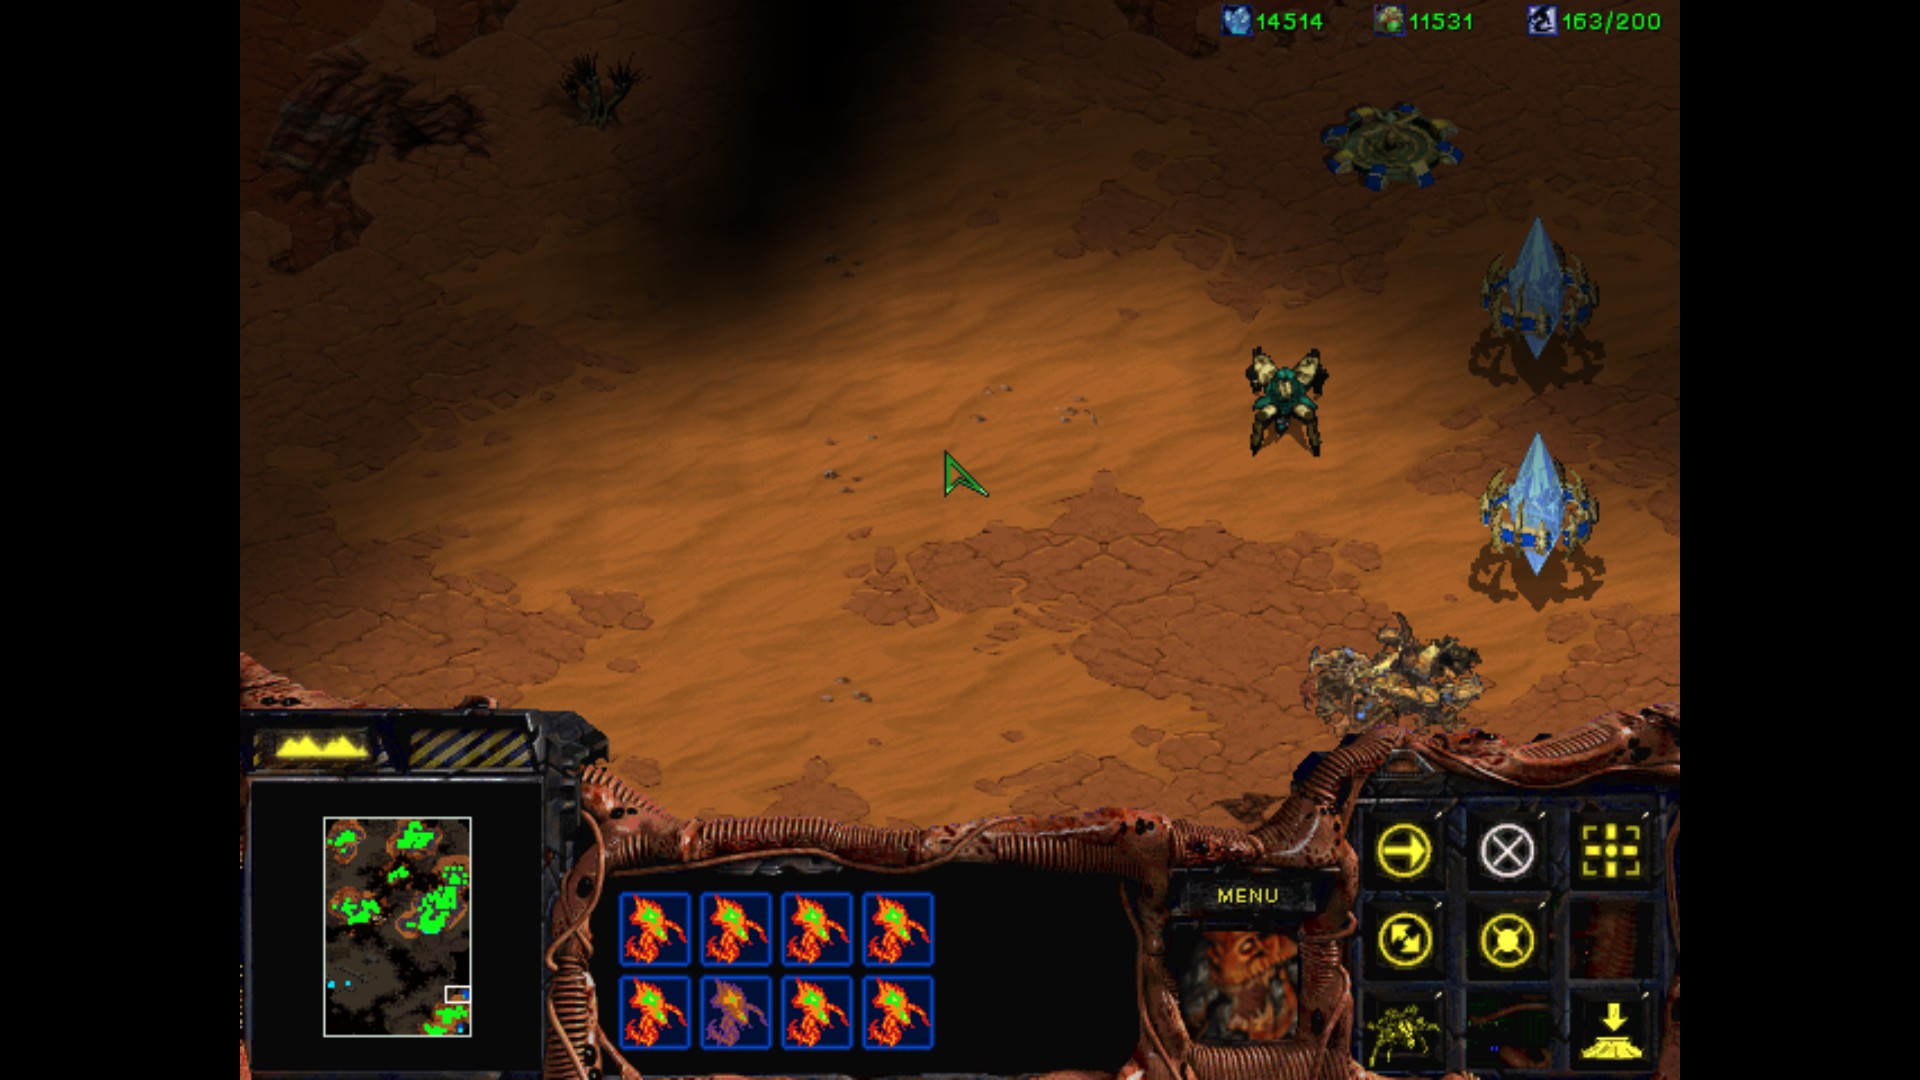
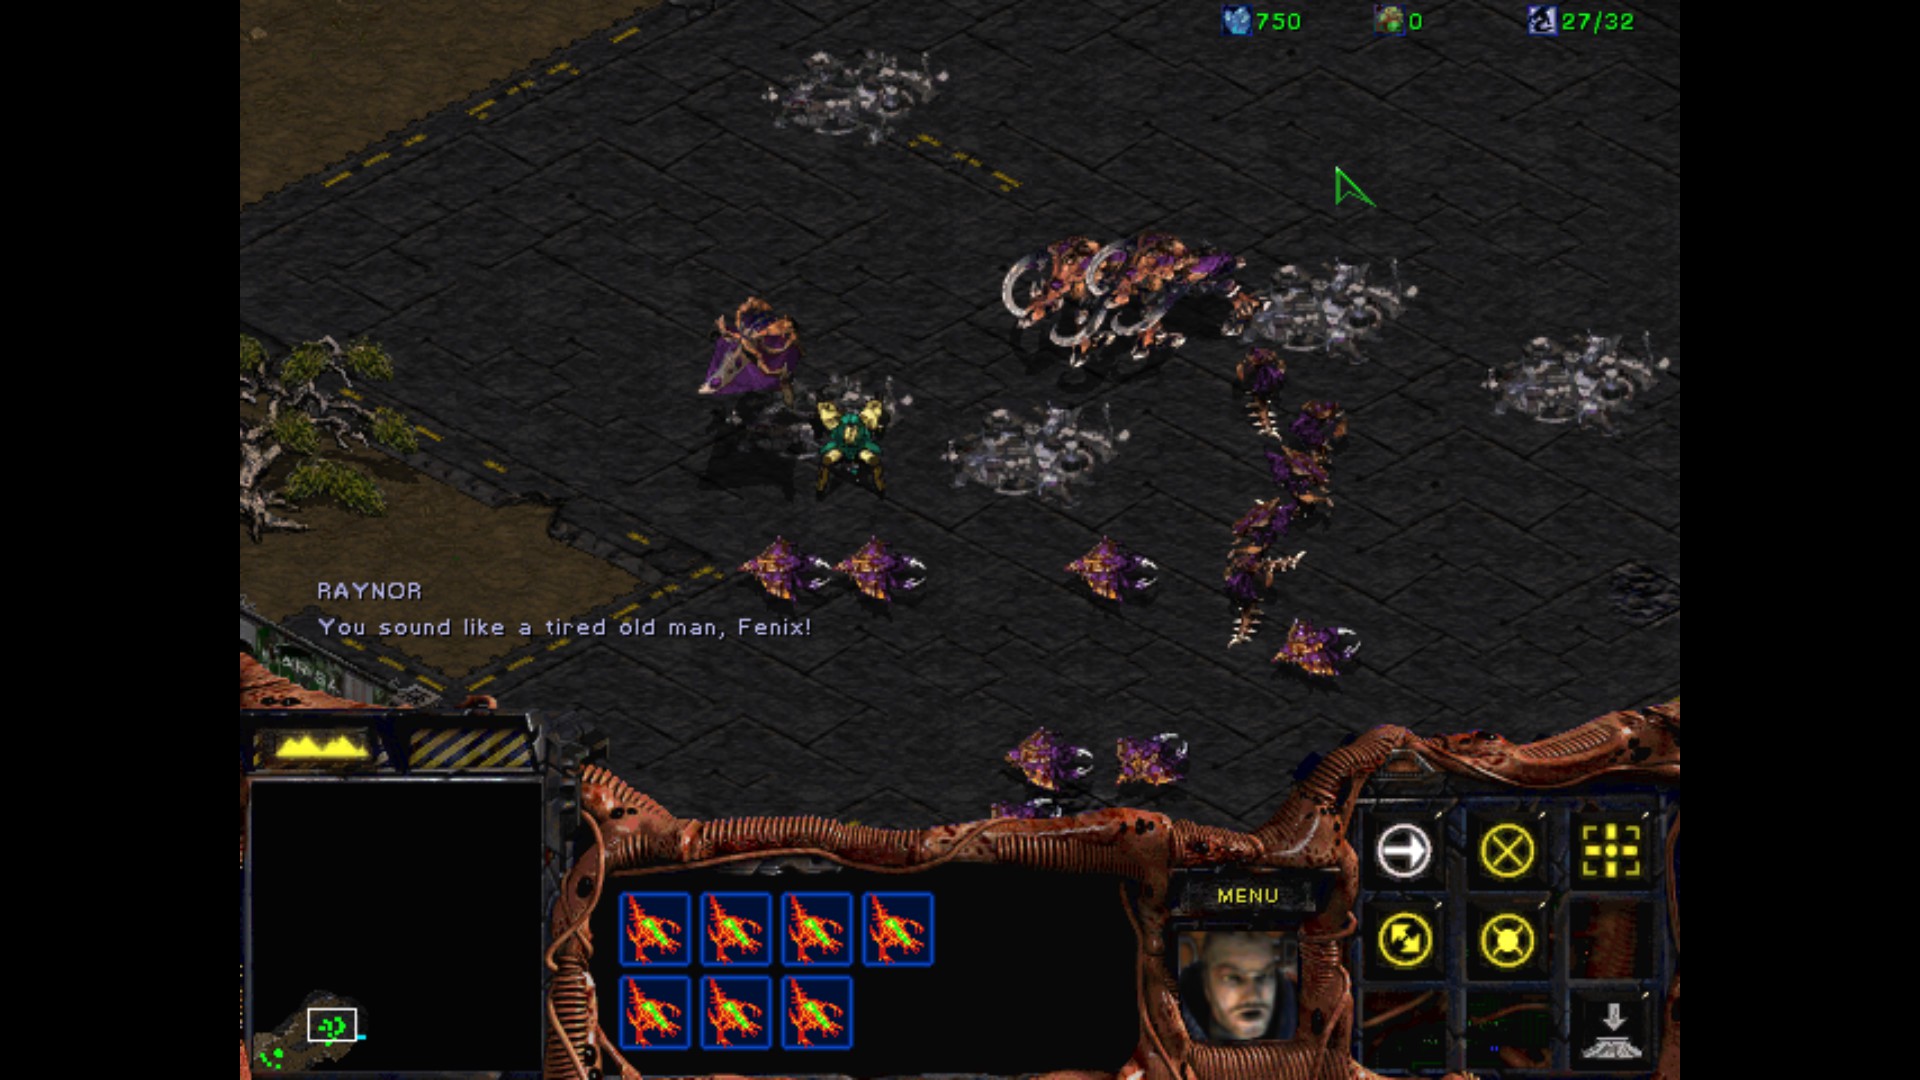
Ah, here is Fenix. Don't worry, I didn't forget about you.

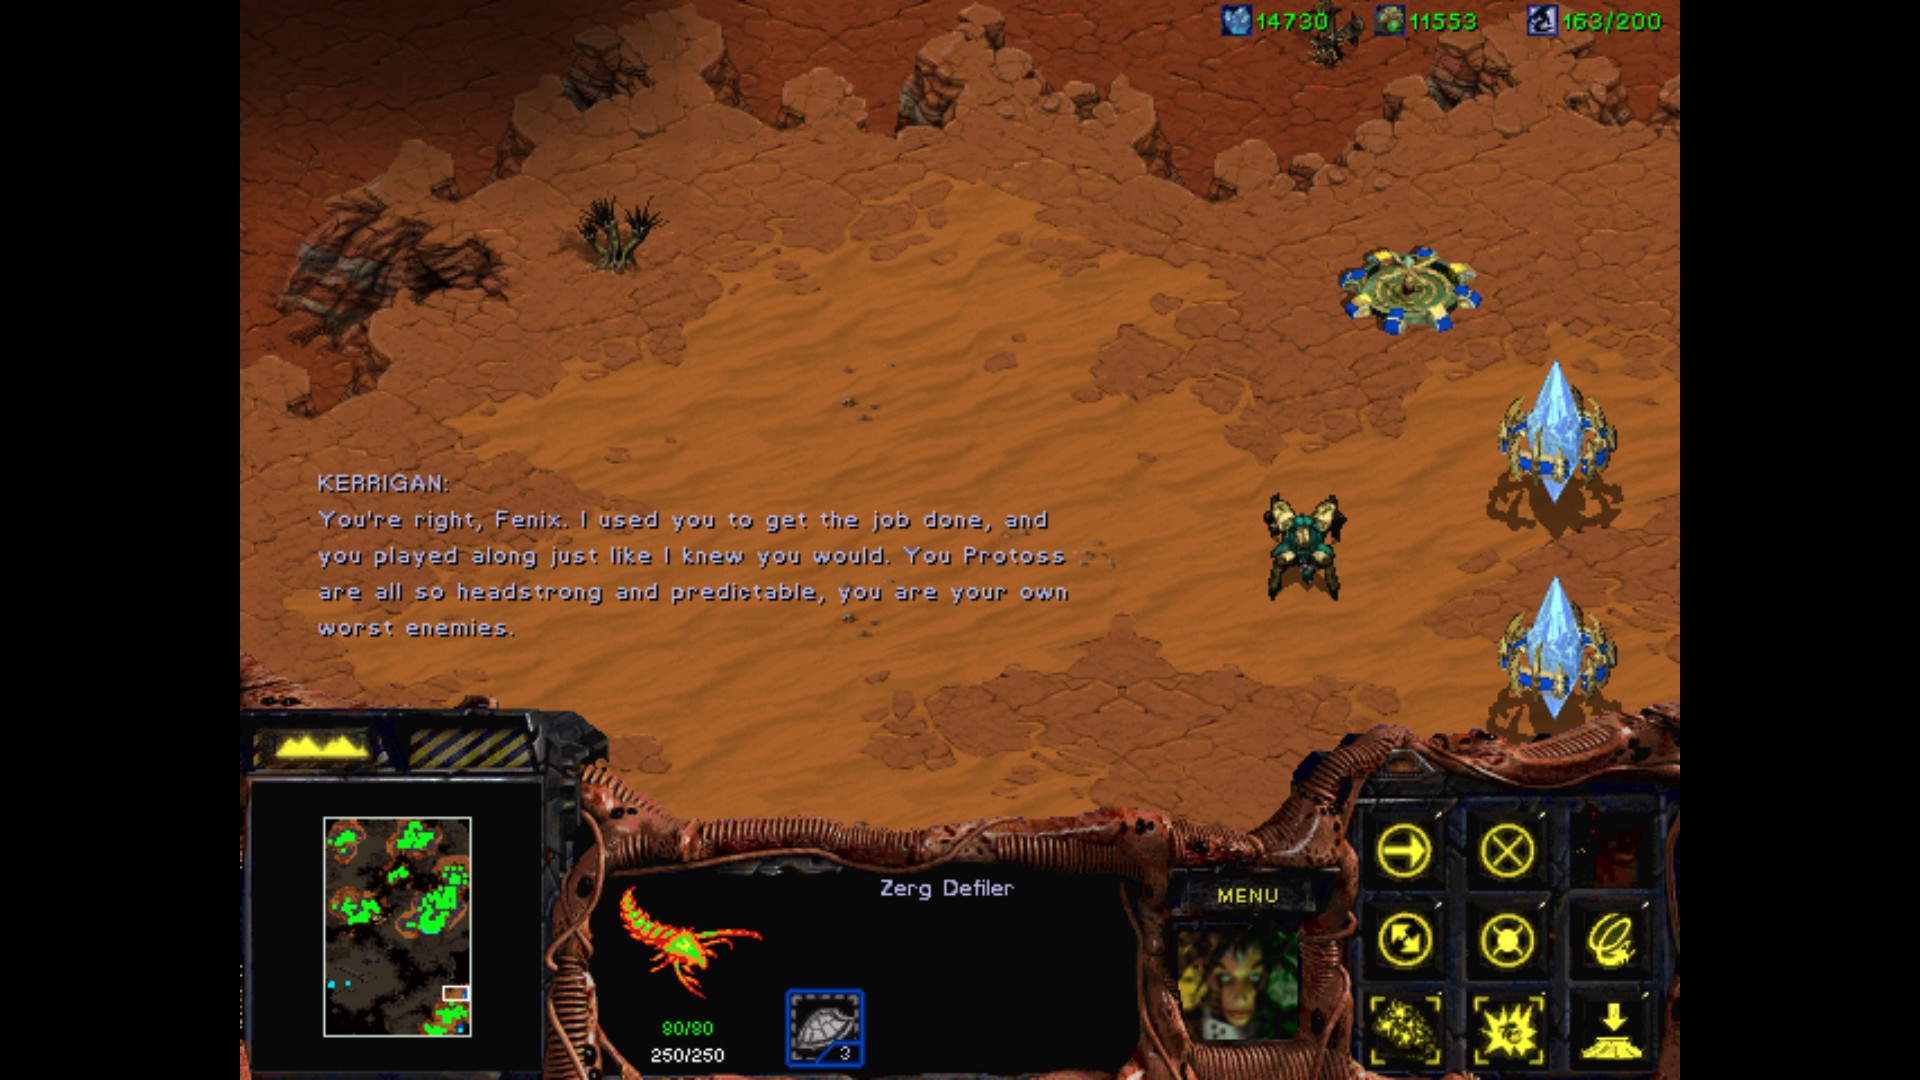
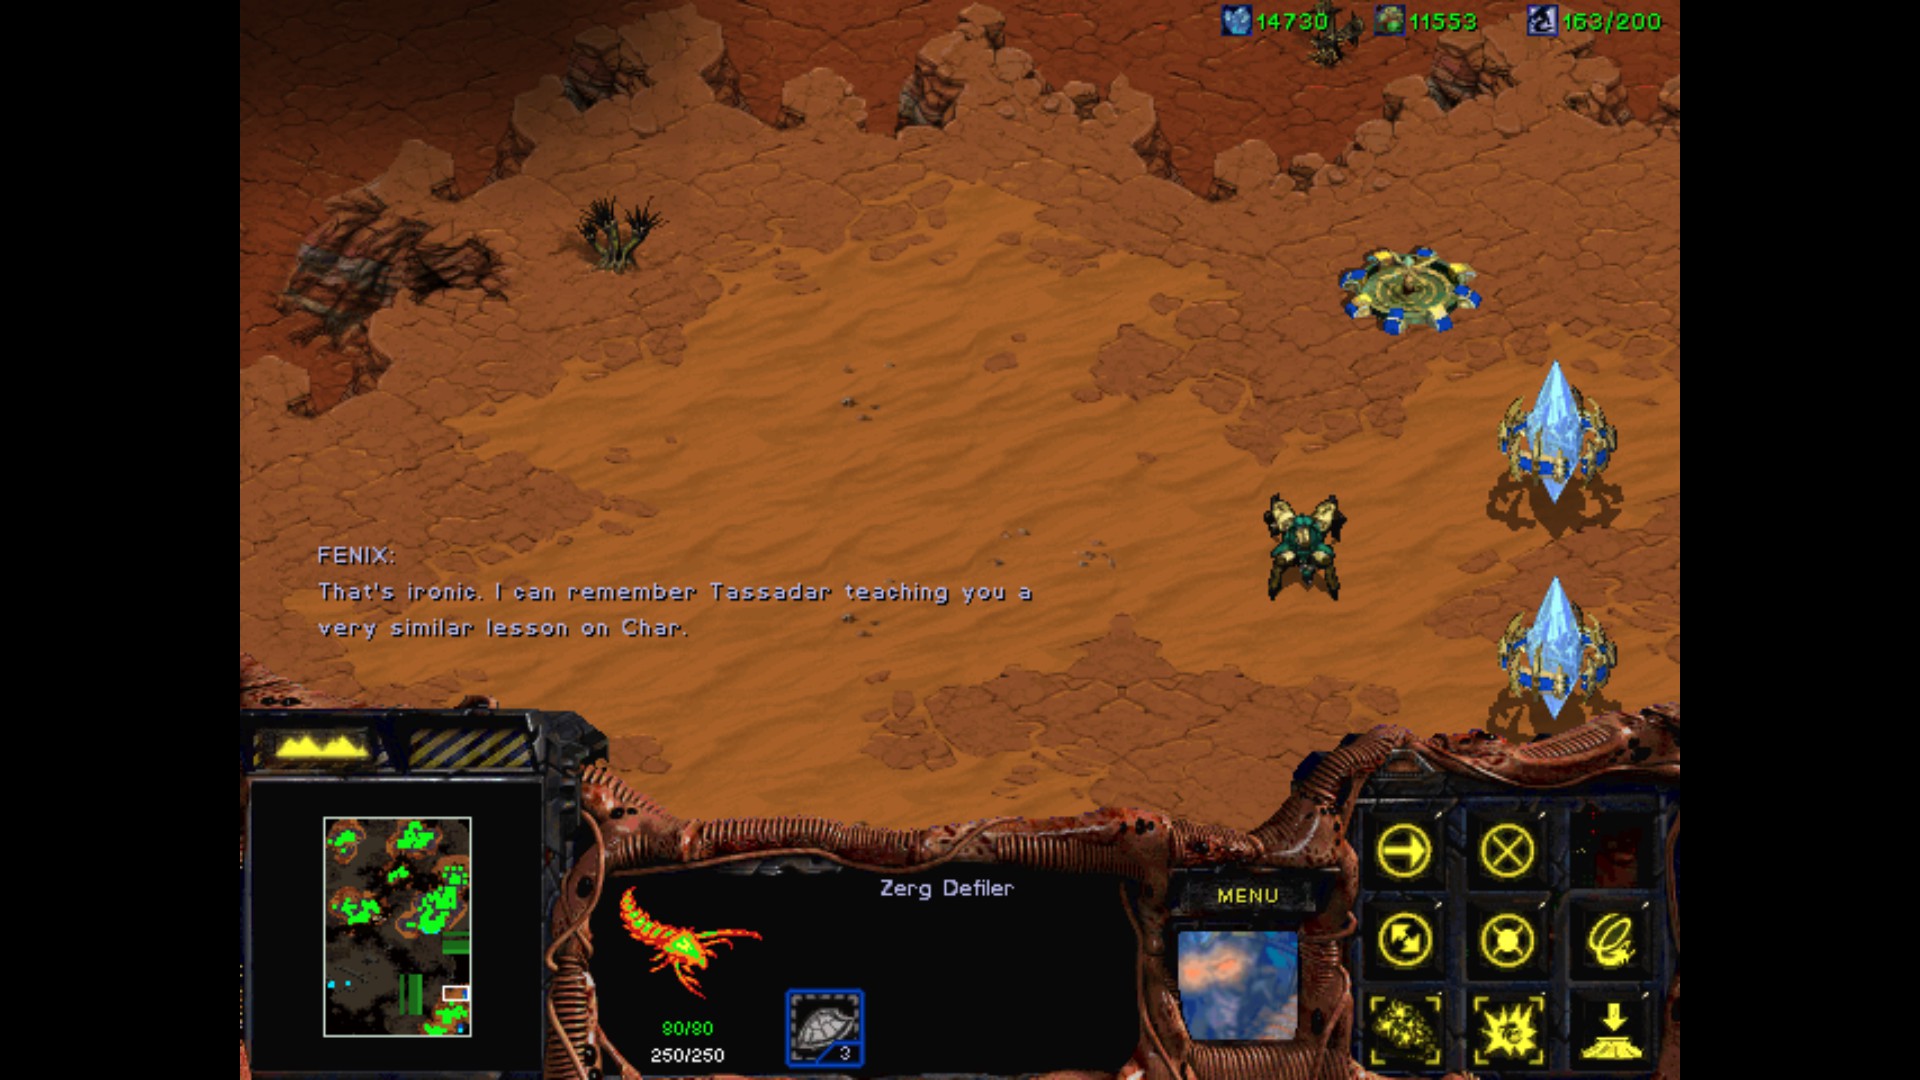


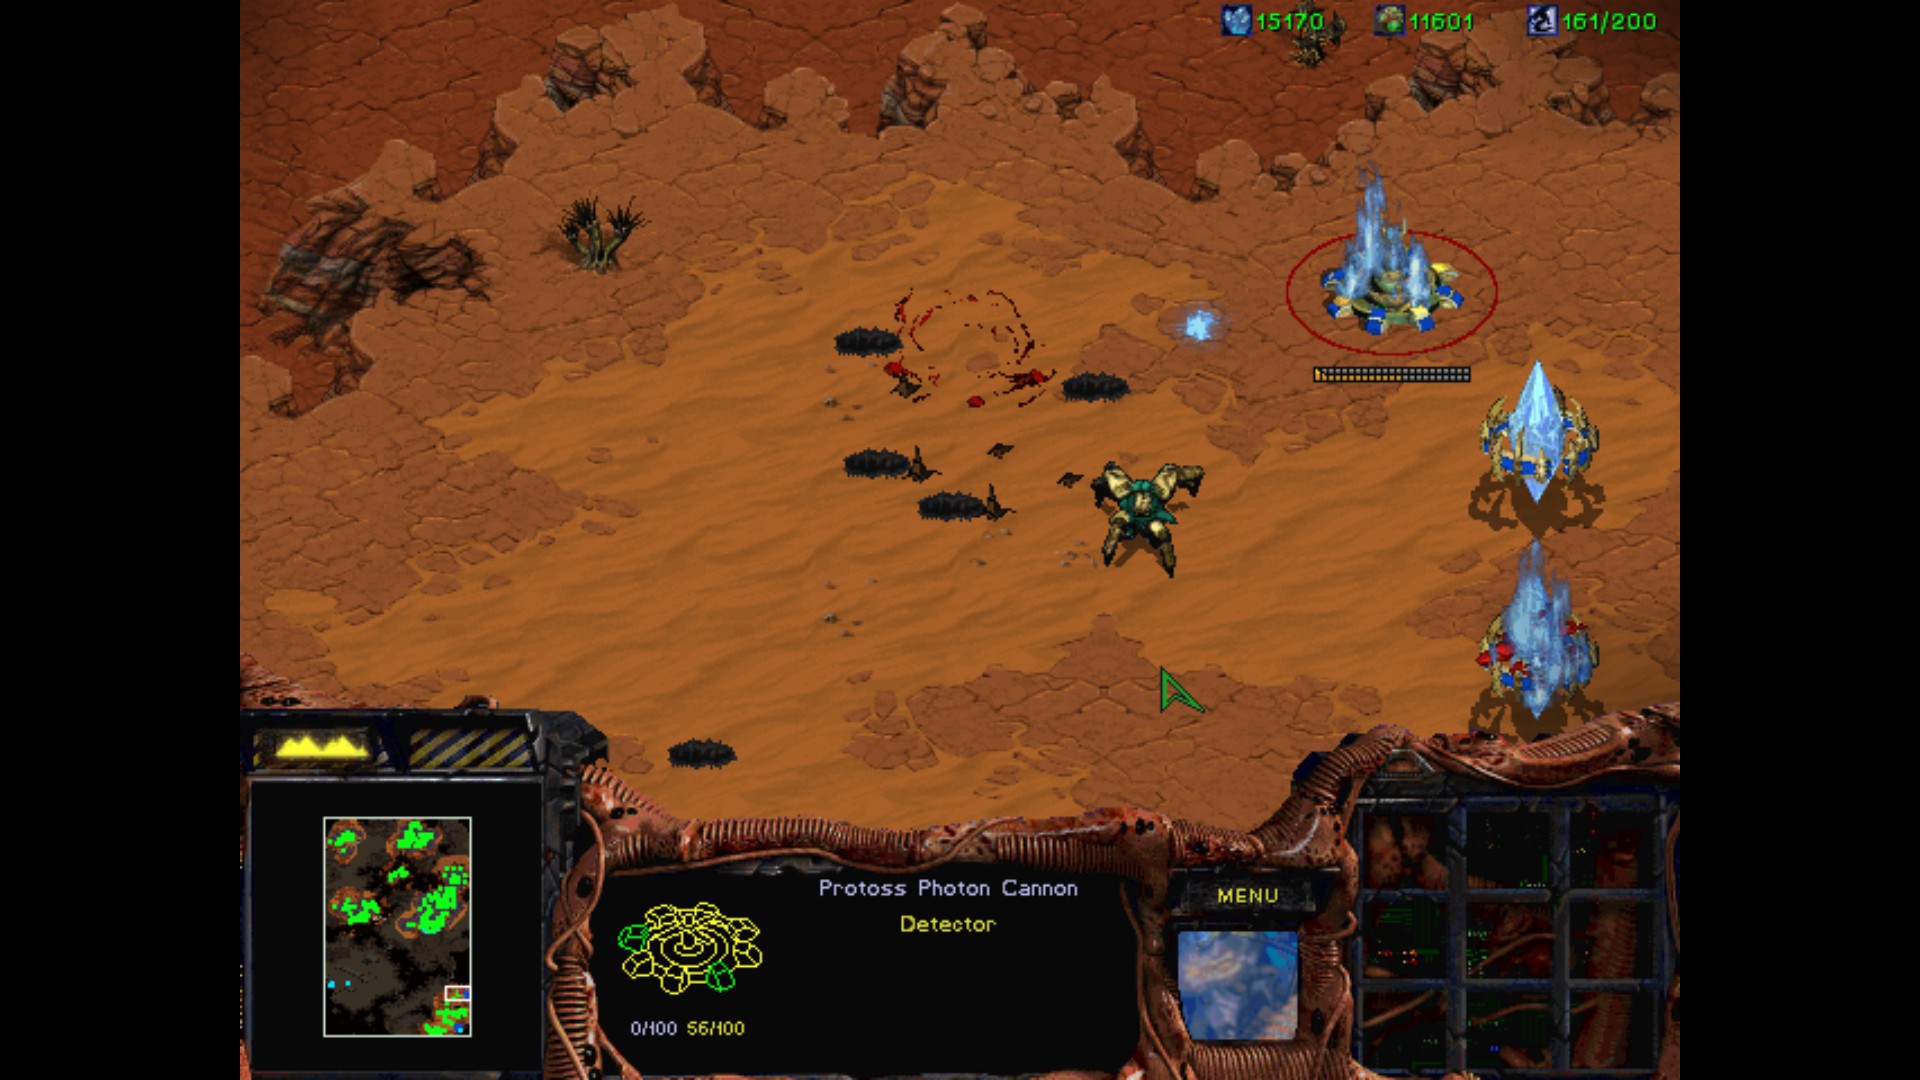
I use Lurkers on him.


My Defiler is waiting to assist with Fenix, but I have used not the intended ability. Gah, who cares. He is already dead, he just don't know it yet.

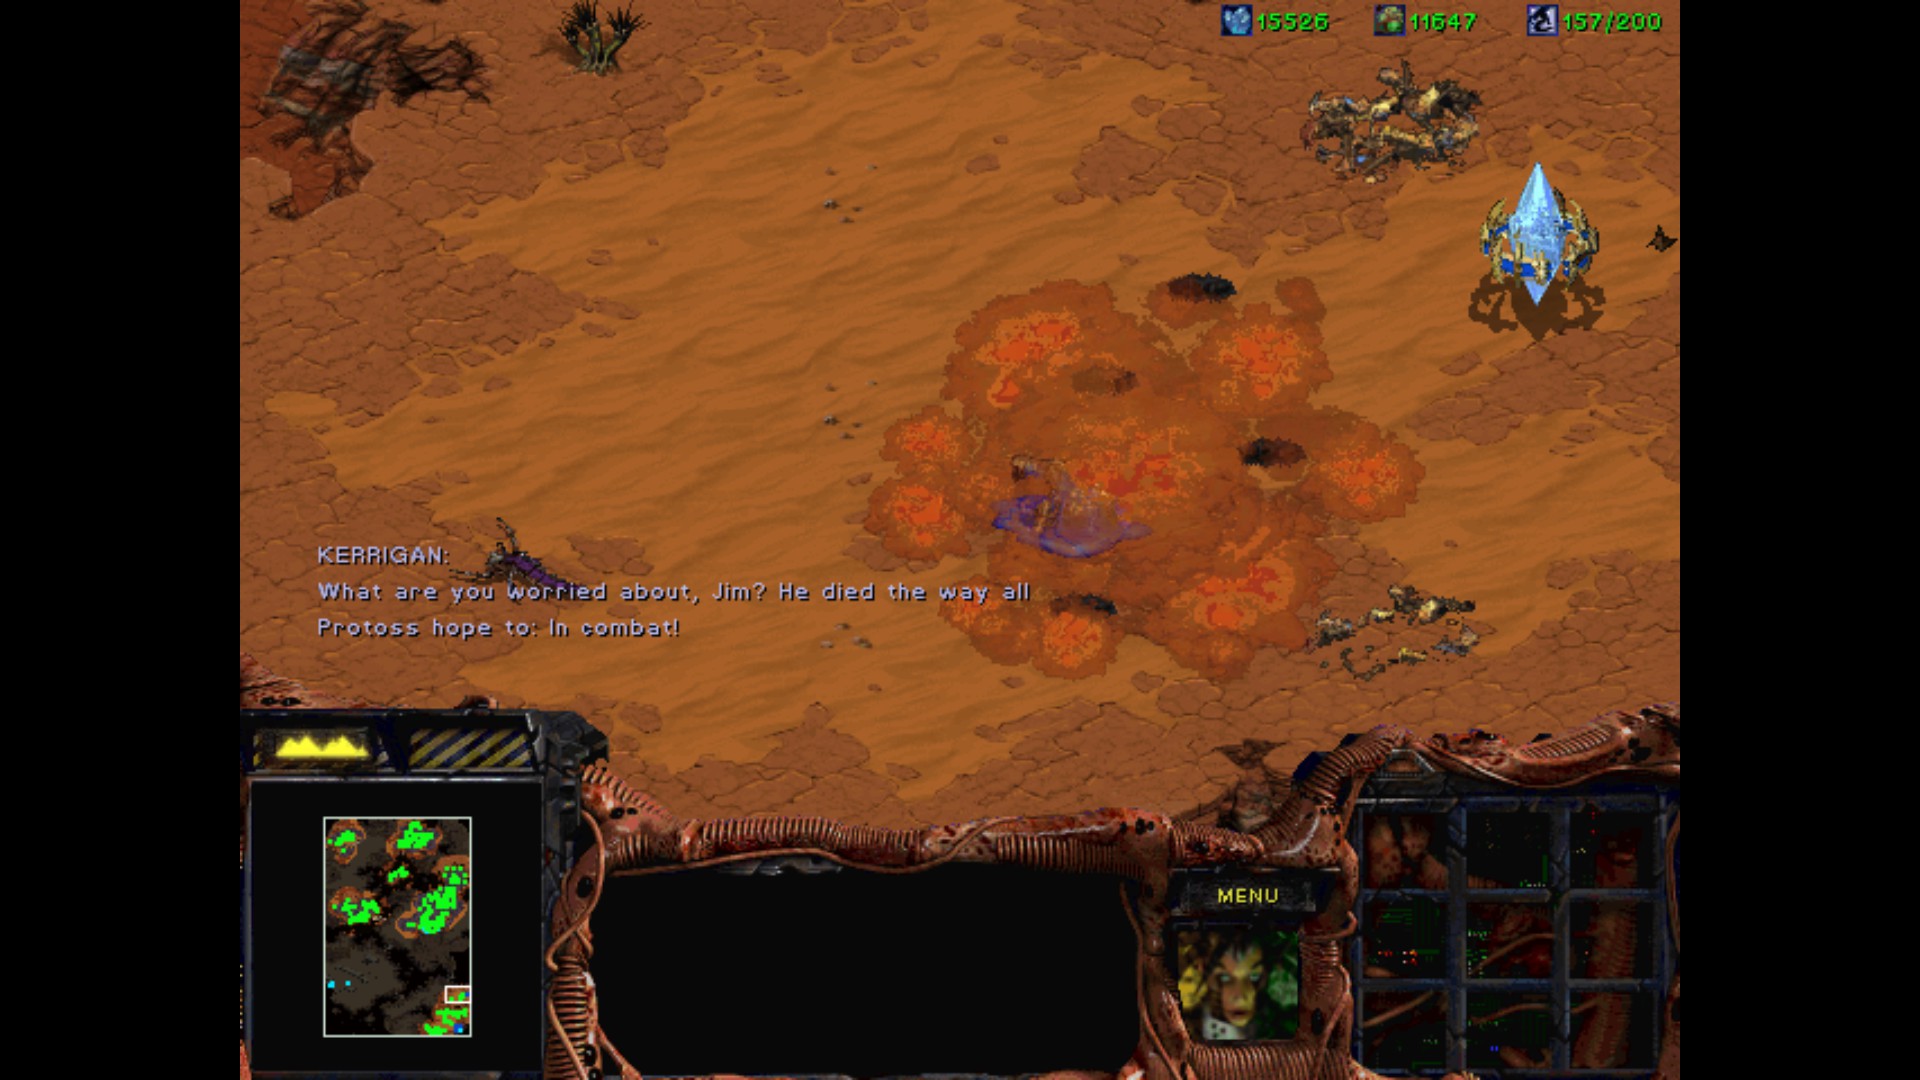
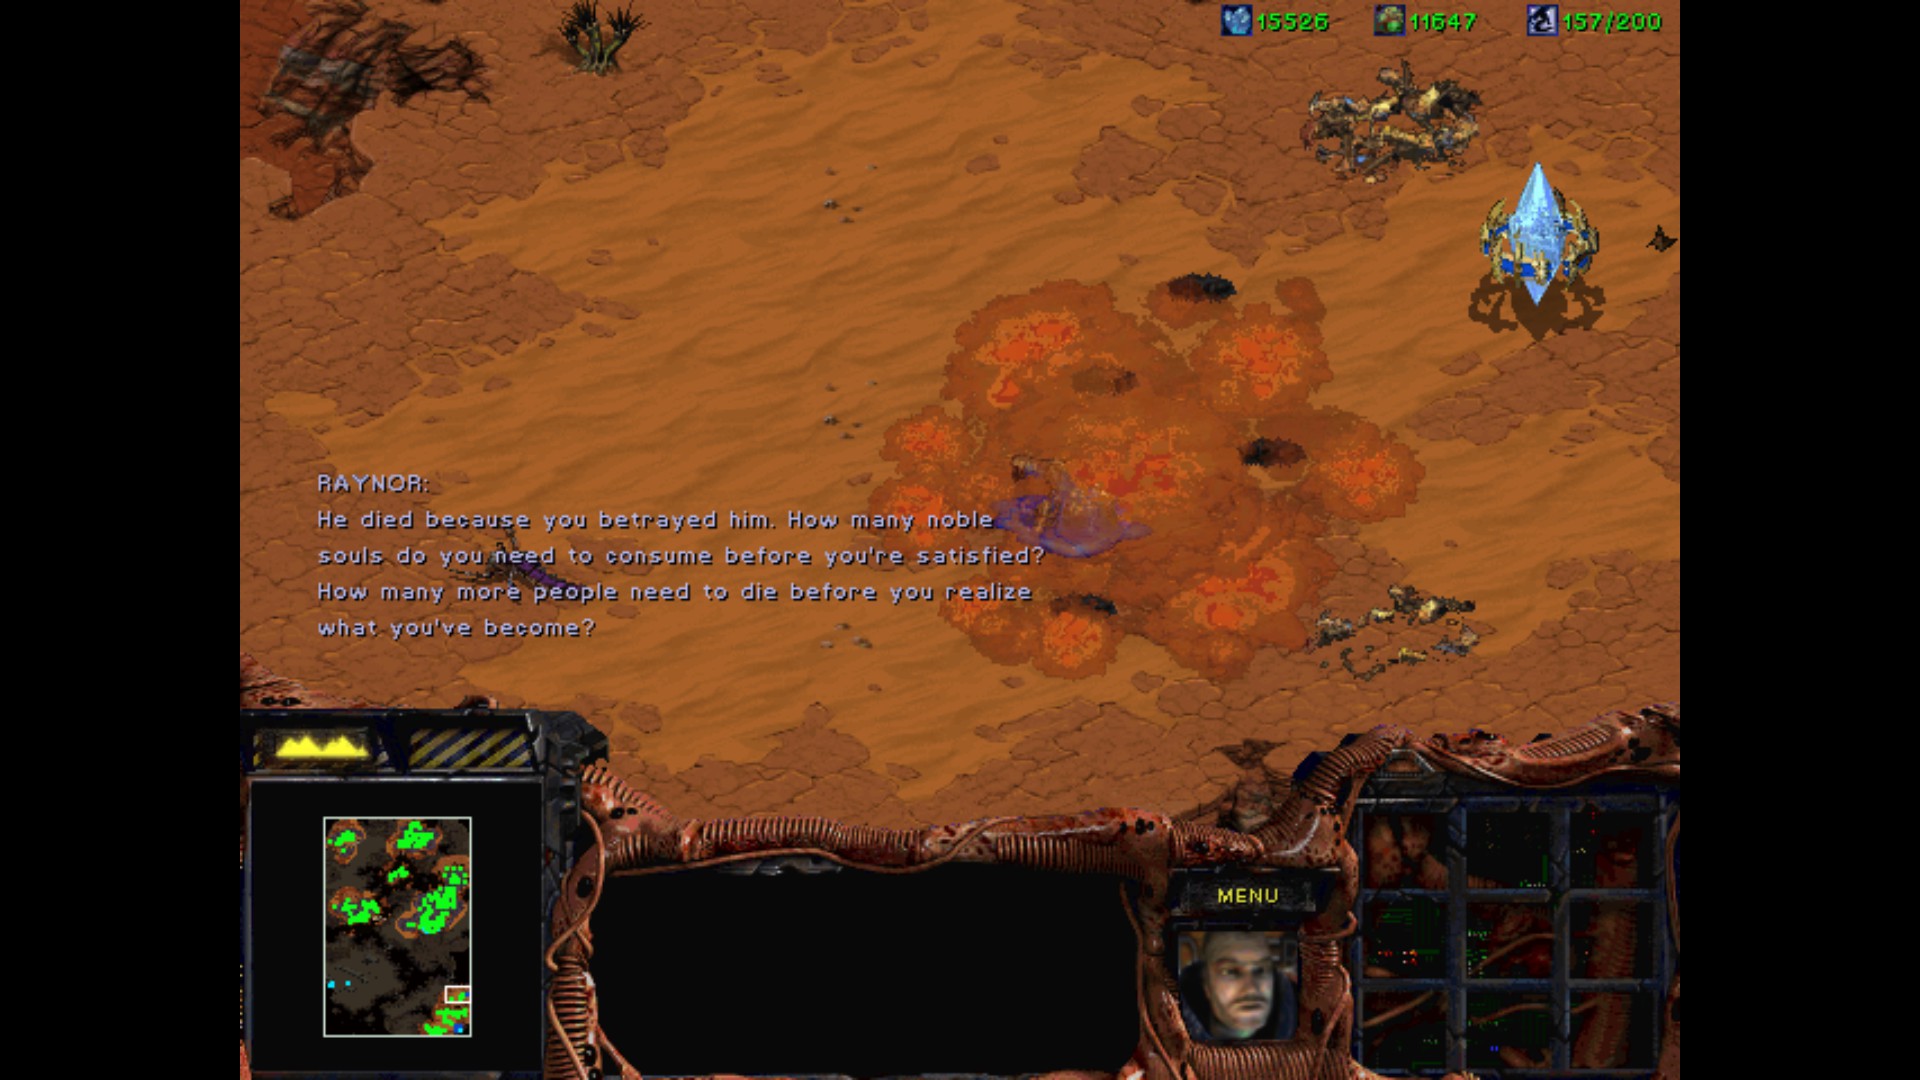


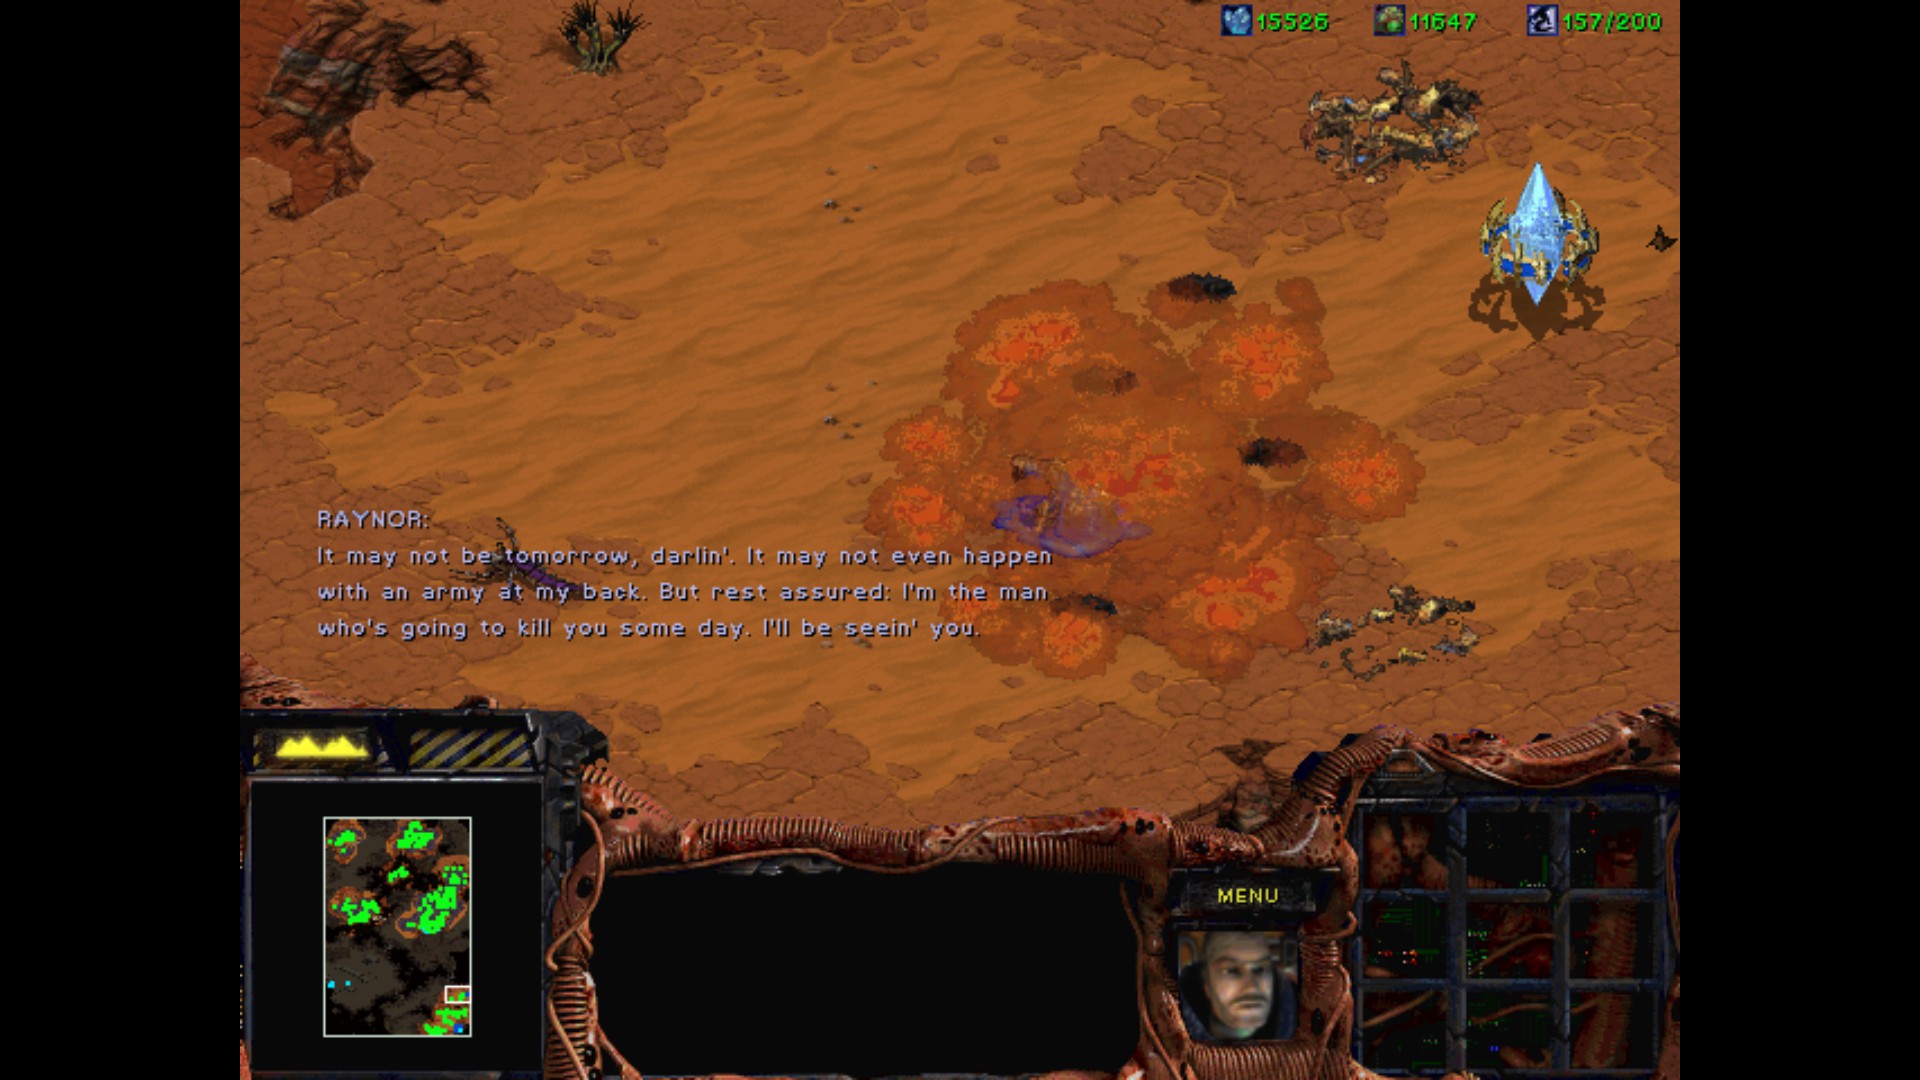

That was one hell of a mission. Victory!

I want muh Stukov and Duke back 


As an Amazon Associate, rpgcodex.net earns from qualifying purchases.