Putting the 'role' back in role-playing games since 2002.
Donate to Codex
Good Old Games
  • Welcome to rpgcodex.net, a site dedicated to discussing computer based role-playing games in a free and open fashion. We're less strict than other forums, but please refer to the rules.

    "This message is awaiting moderator approval": All new users must pass through our moderation queue before they will be able to post normally. Until your account has "passed" your posts will only be visible to yourself (and moderators) until they are approved. Give us a week to get around to approving / deleting / ignoring your mundane opinion on crap before hassling us about it. Once you have passed the moderation period (think of it as a test), you will be able to post normally, just like all the other retards.

In Progress Let's Play 7.62HC again, Total Eclipse of the Blue Sun[SSLP]

R@S

Scholar
Joined
Jun 30, 2012
Messages
179
**********************
Session 18: Saving Armenso
**********************
- The Convoy Ambush - Picking the Right Side - Why LMG's are Worth it - Kestrel Moves Around the Rocks -
- Corpses Blocking the Gap - Two Birds with One Burst - Overheating the SG552 - Back to the Blue Sun Base -
**********************

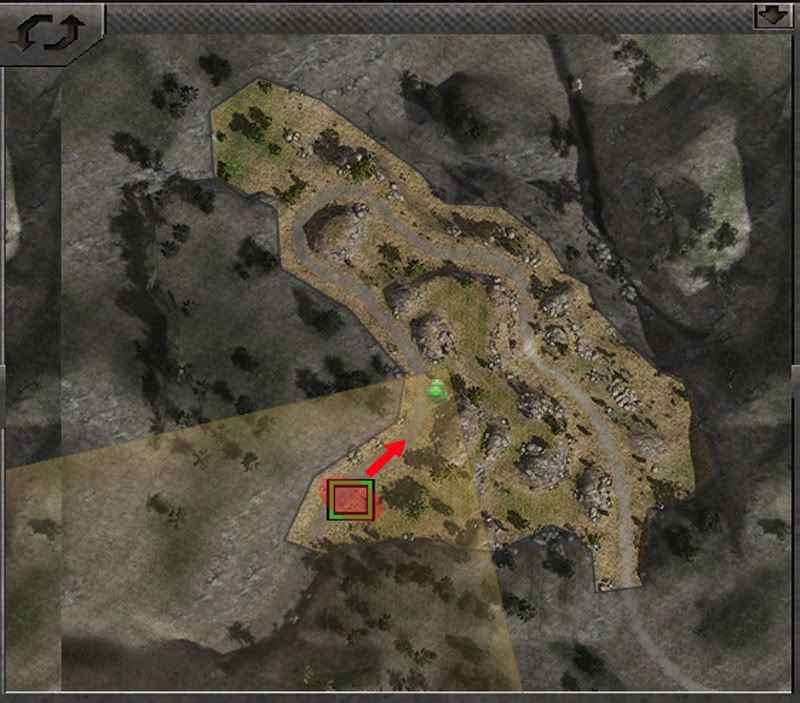
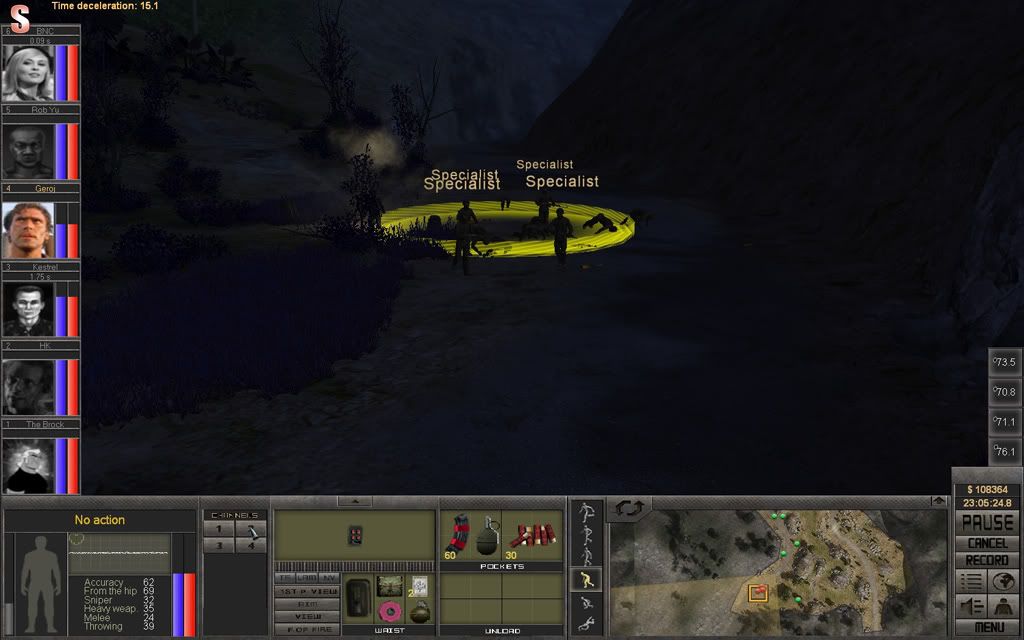
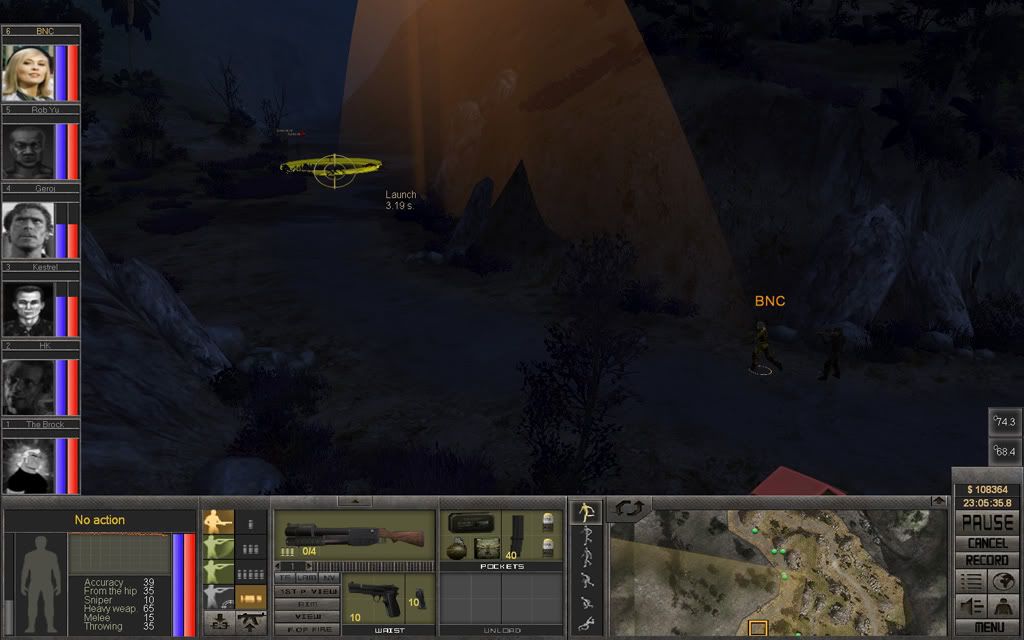
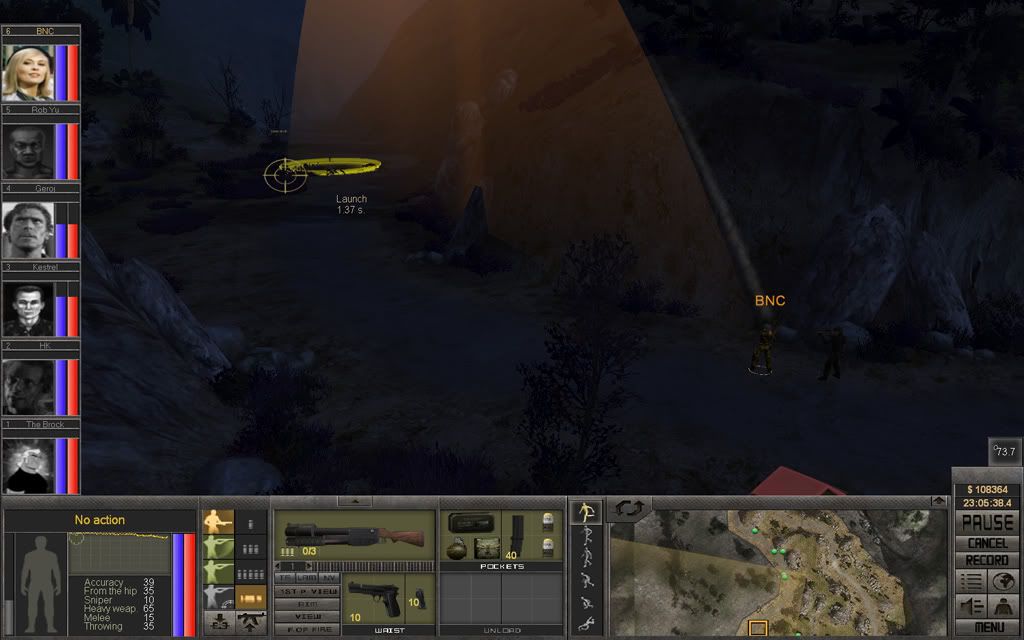
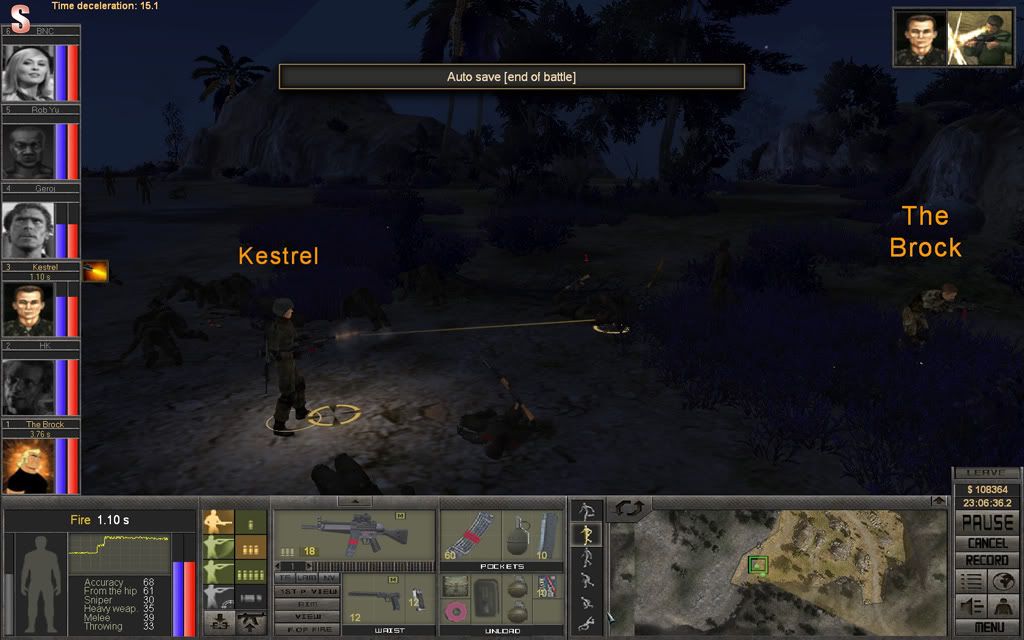
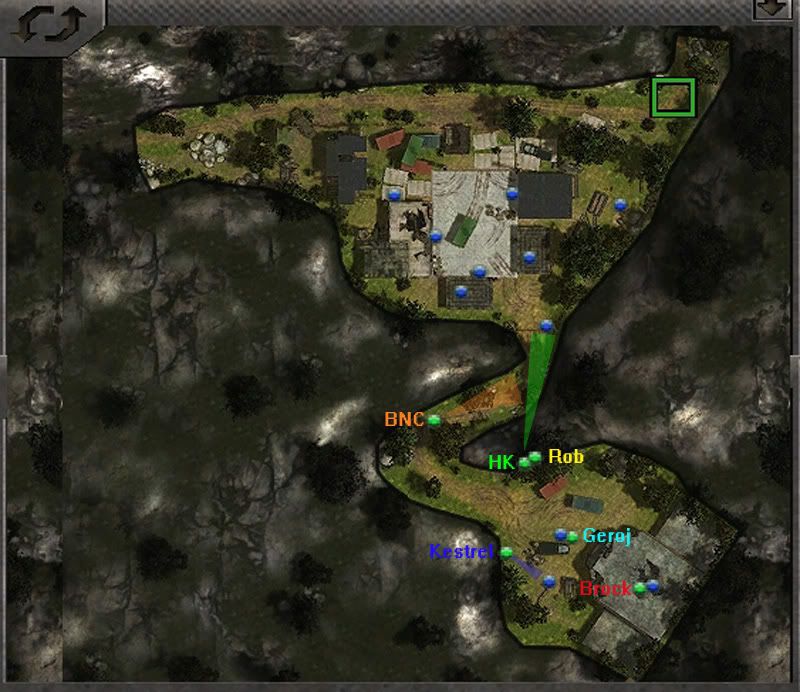
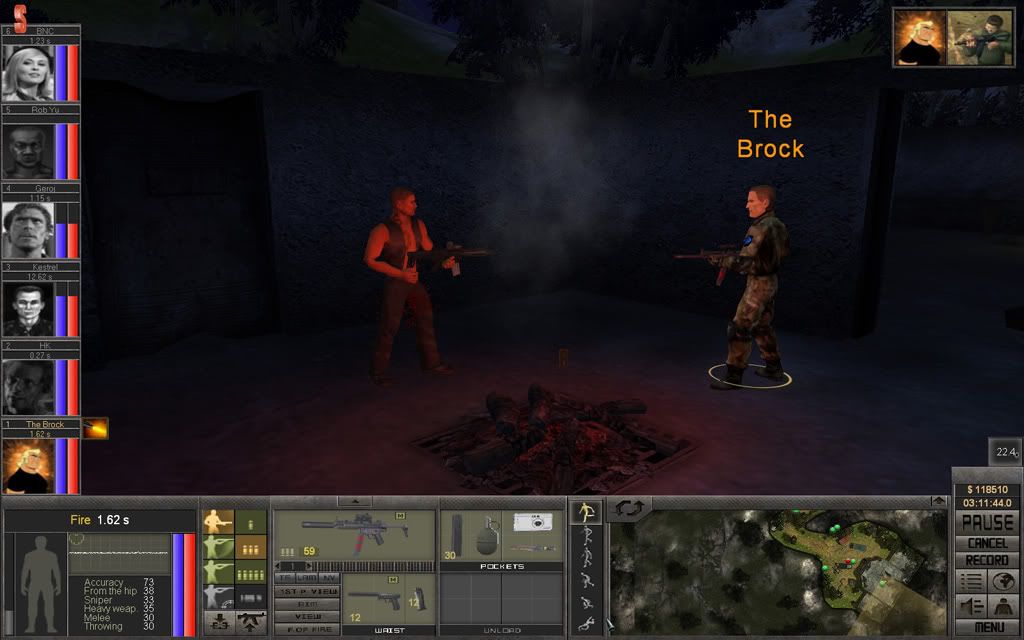
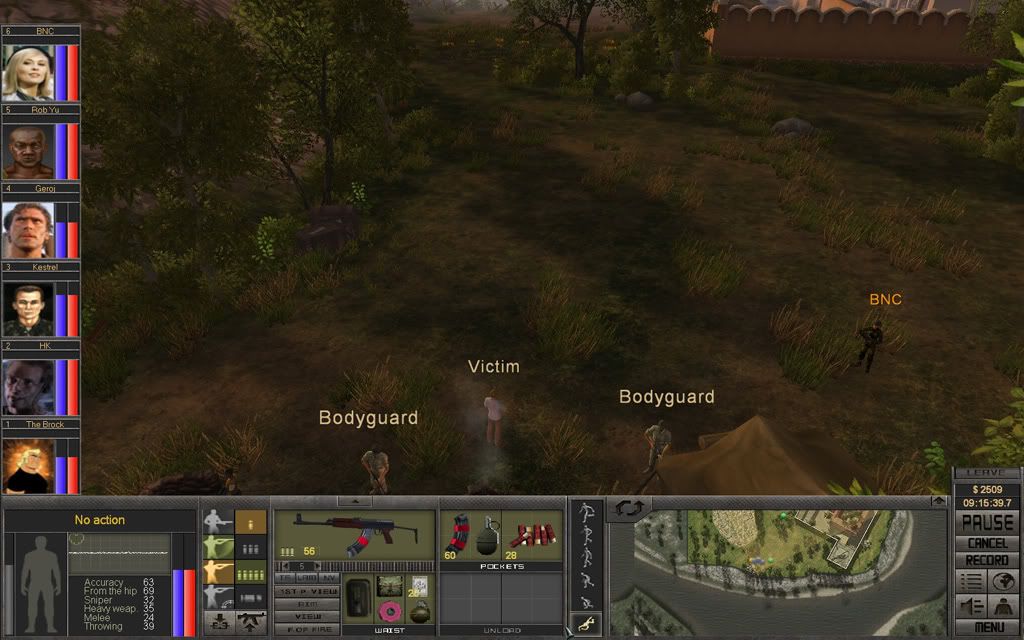
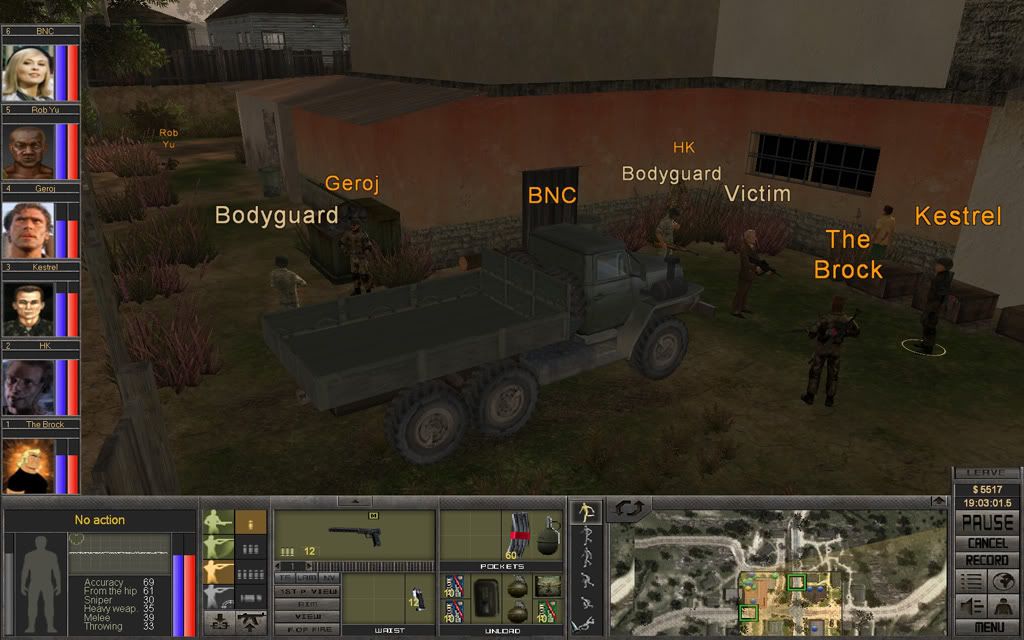
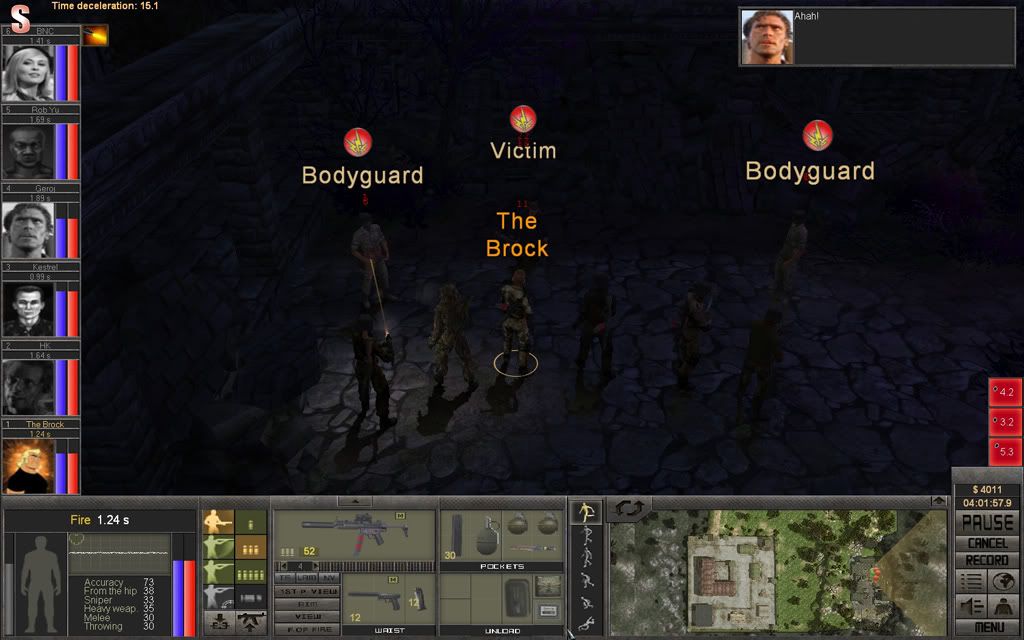
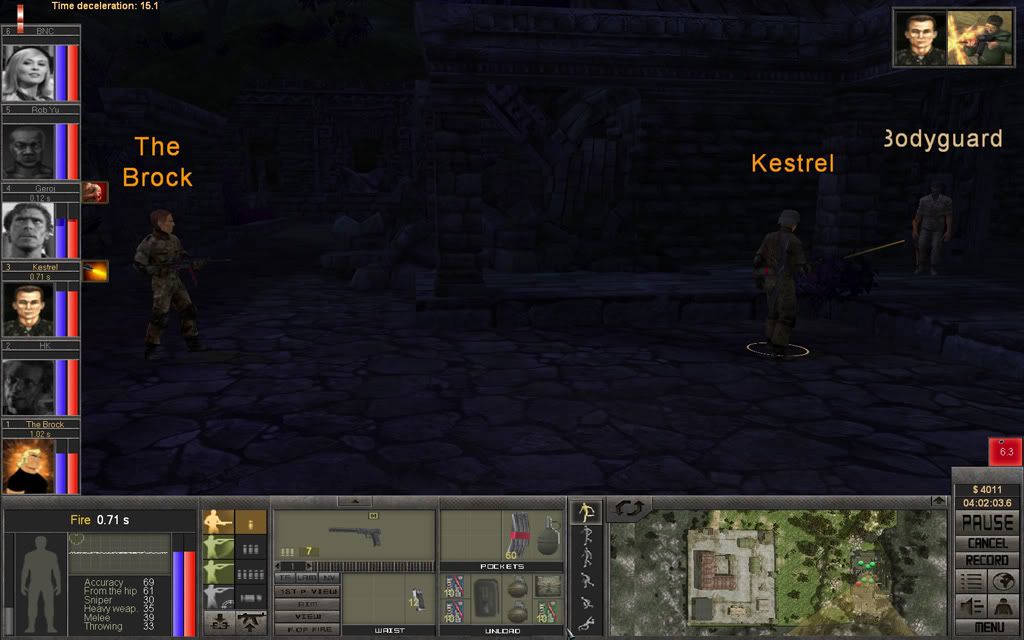
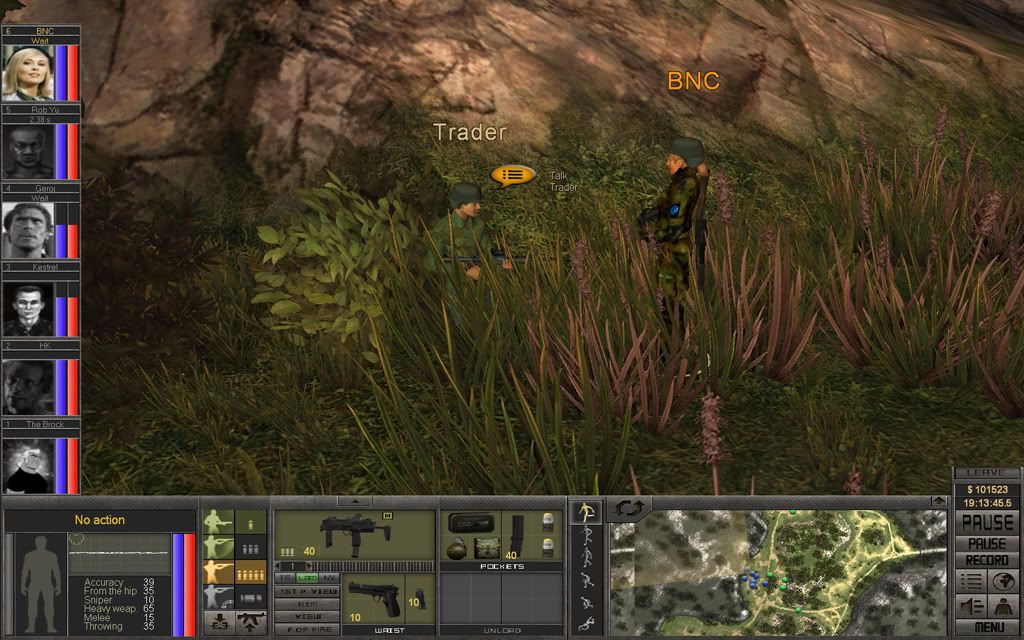
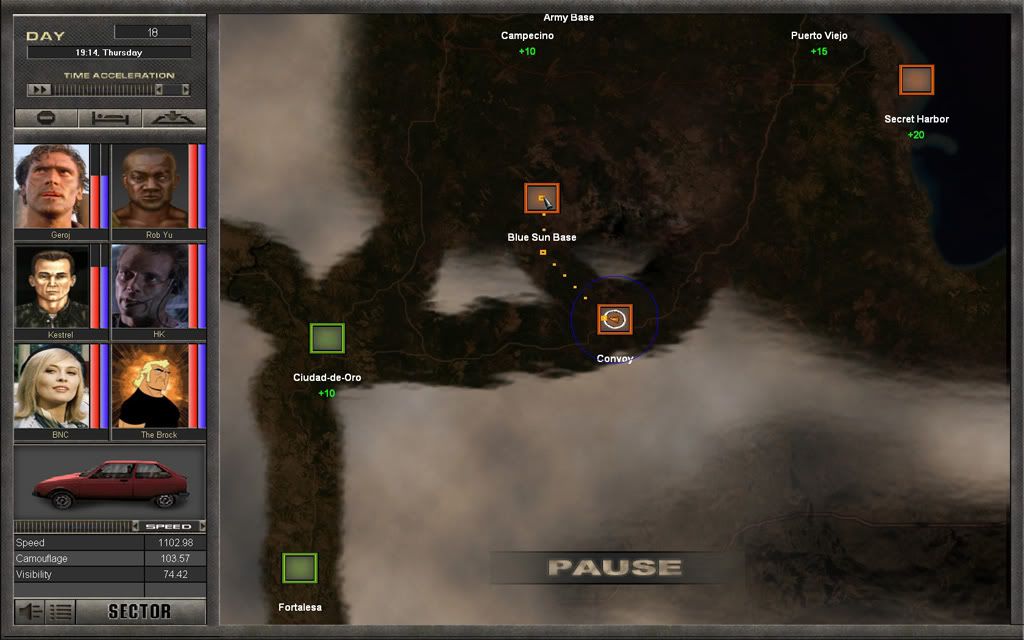
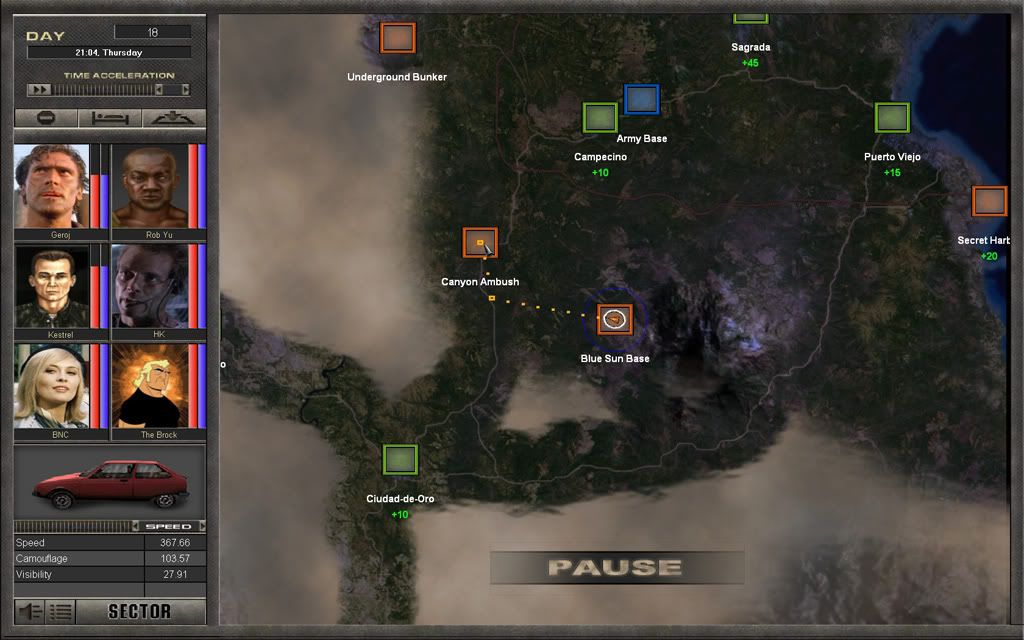
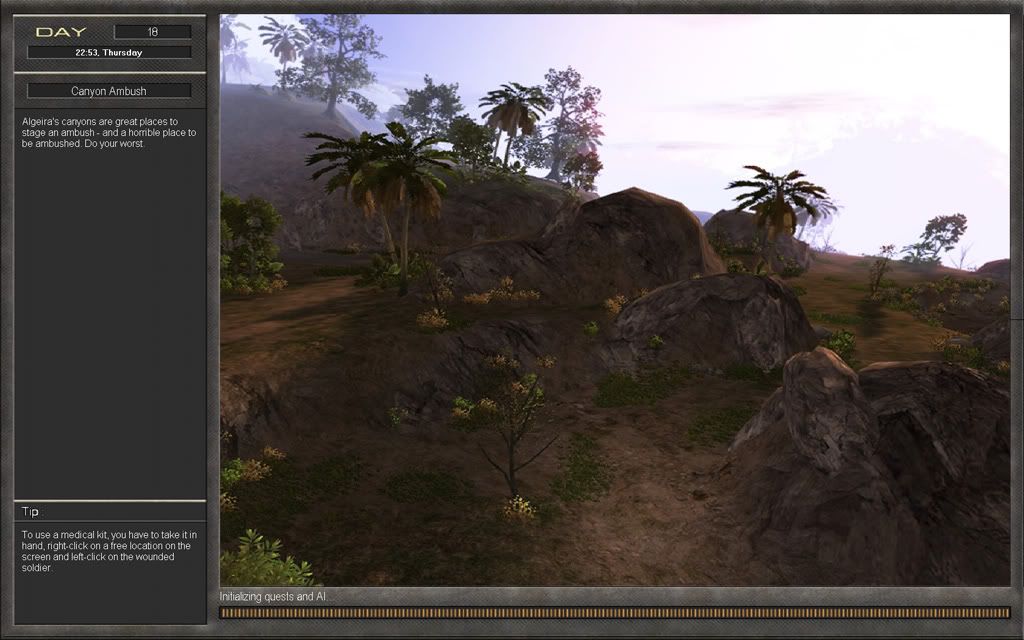
On they way back to the Blue Sun Base the team gets held up by a battle up ahead. They move up closer to check out what's going on and discover some traders under attack from road agents. They decide to intervene on behalf of the traders.
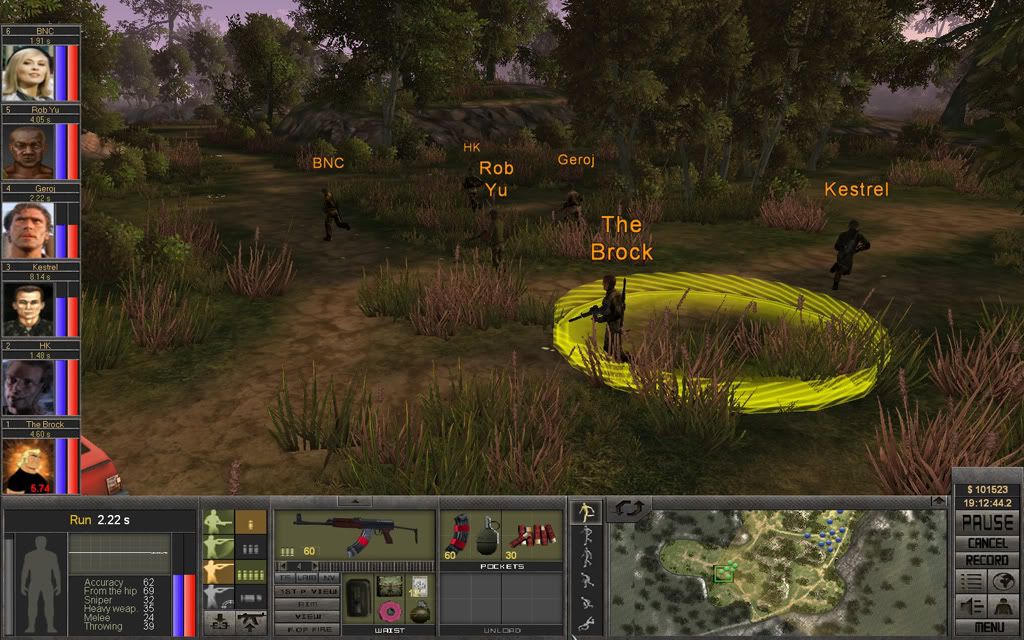
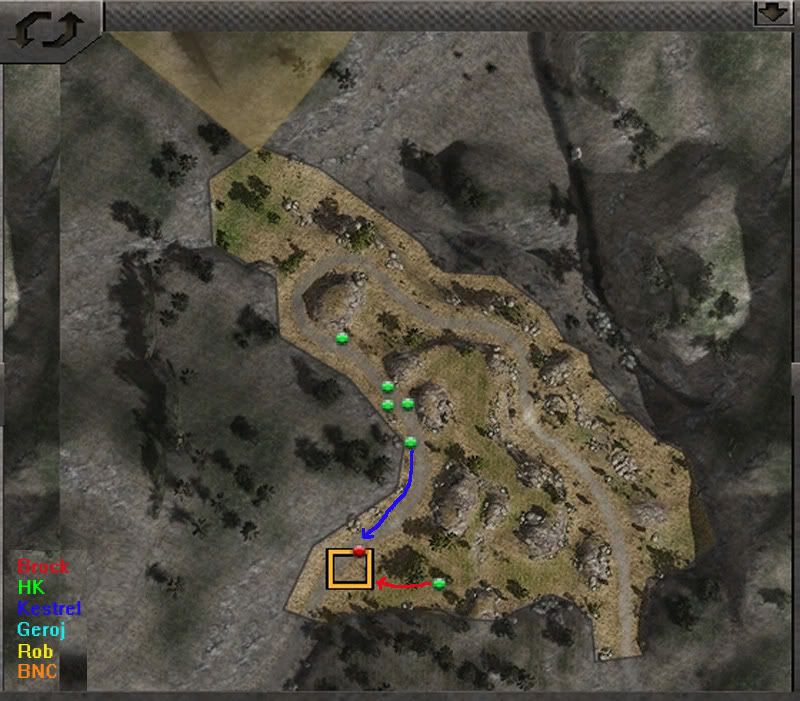
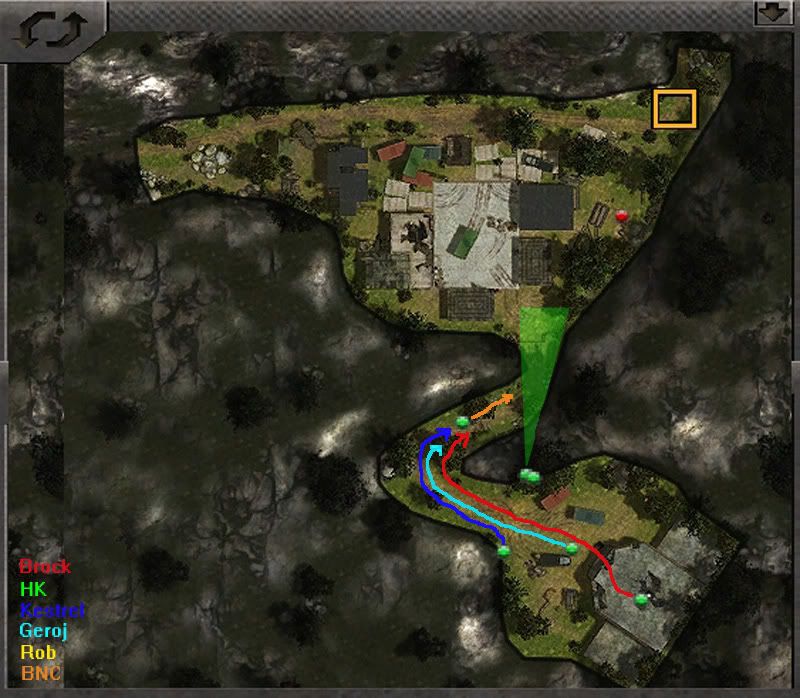
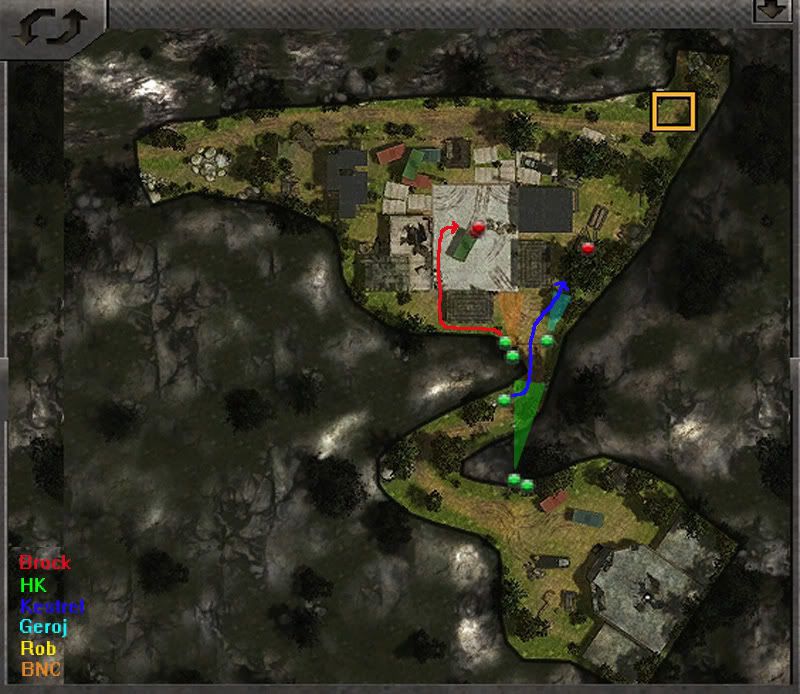
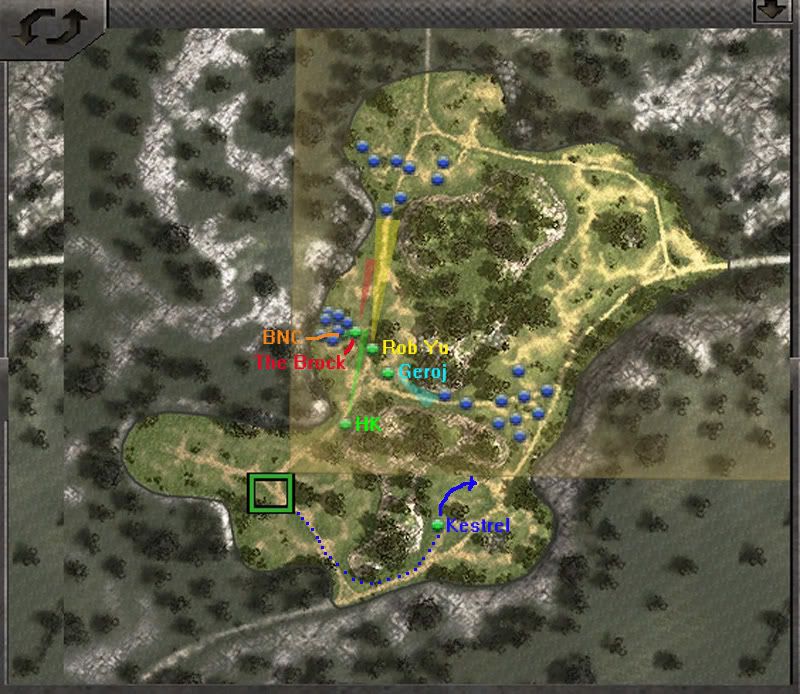
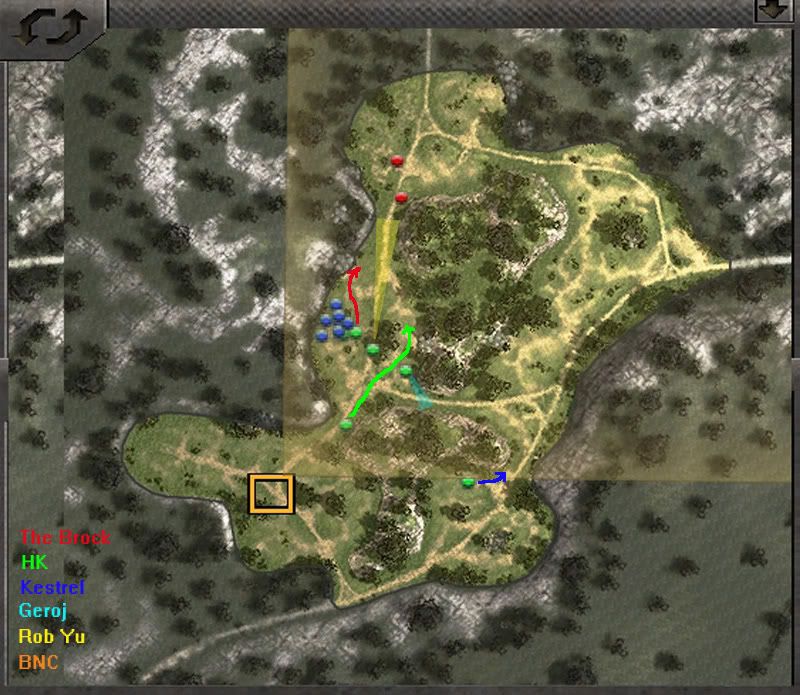
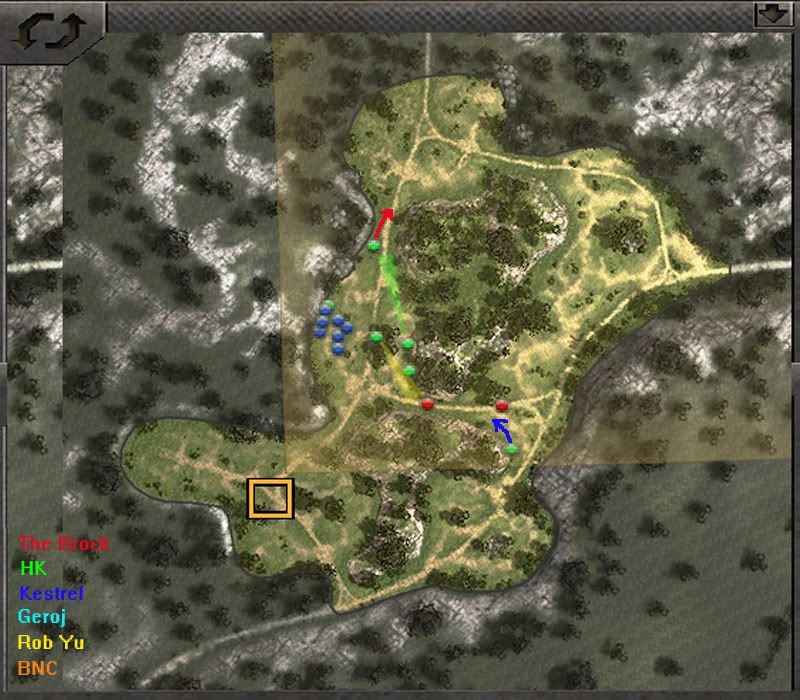
S18_P01.jpg


The Plan:
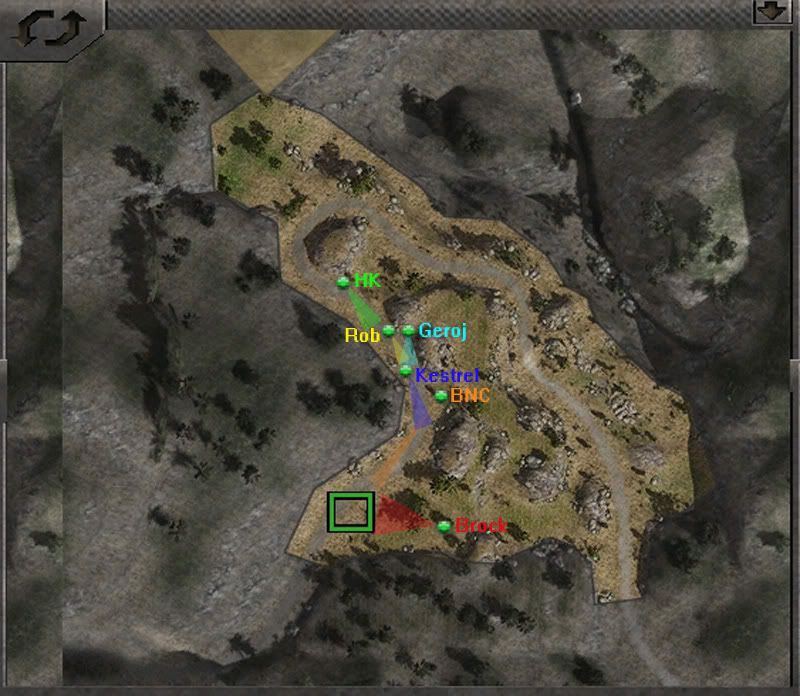
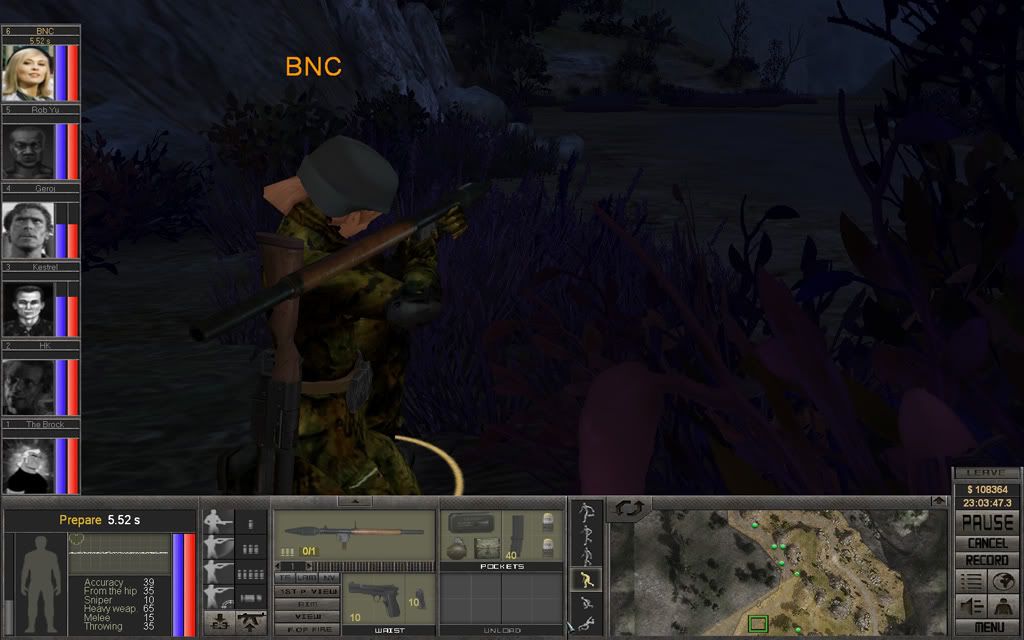
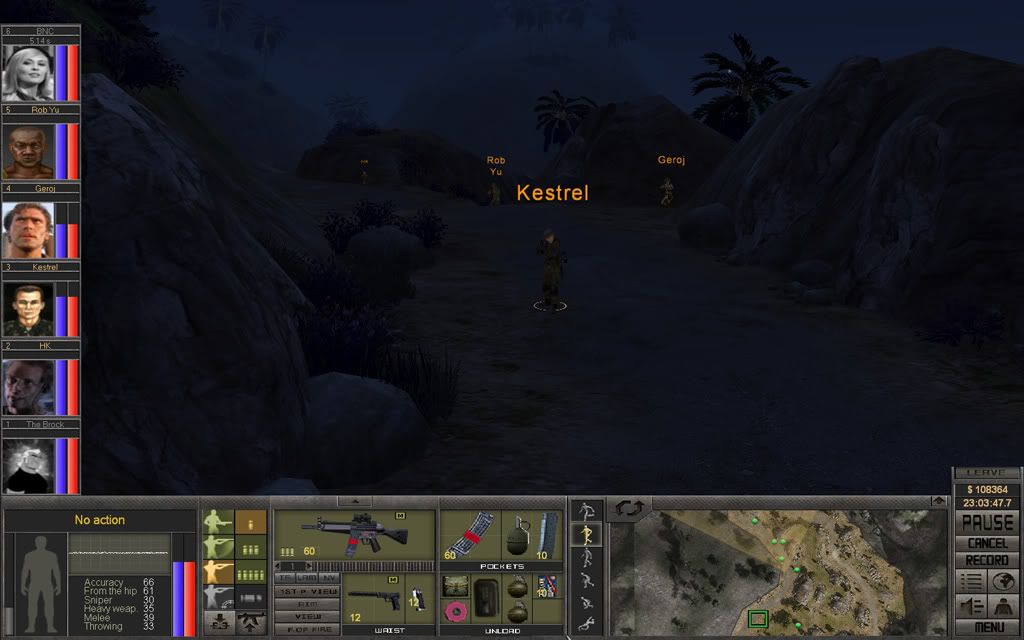
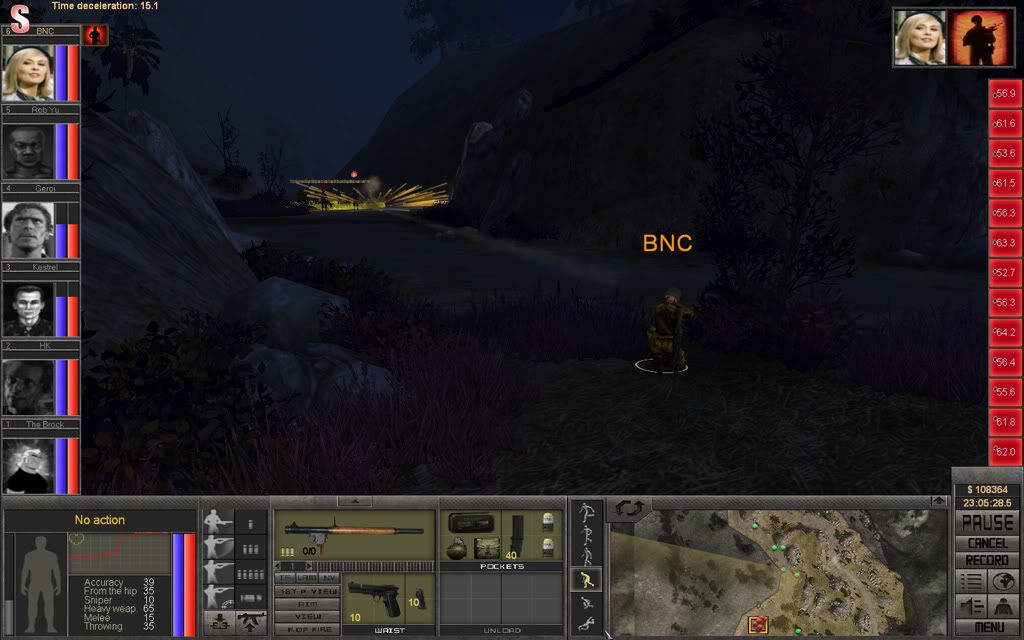
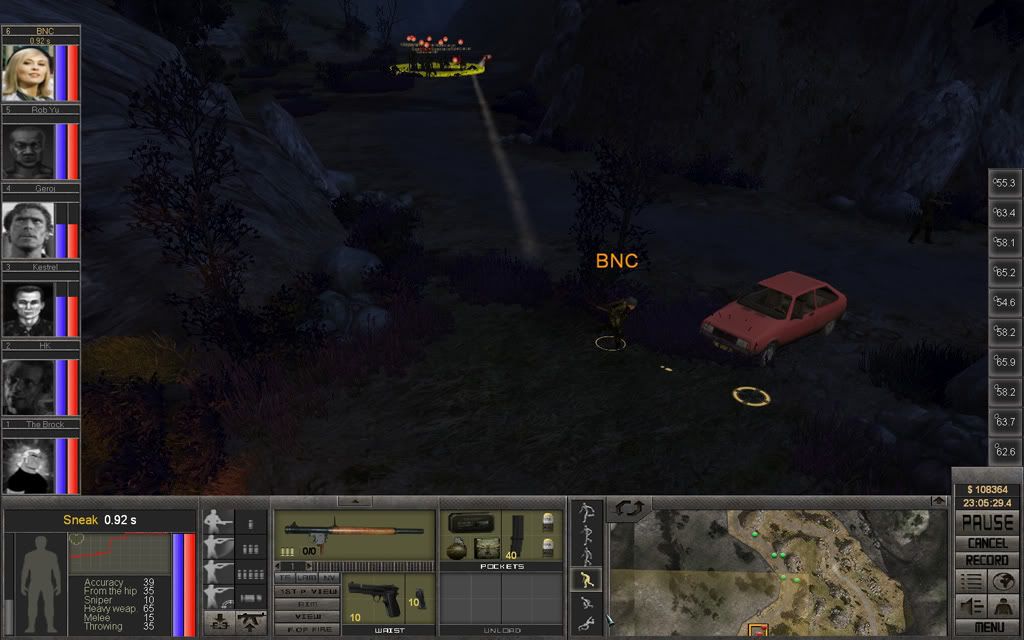
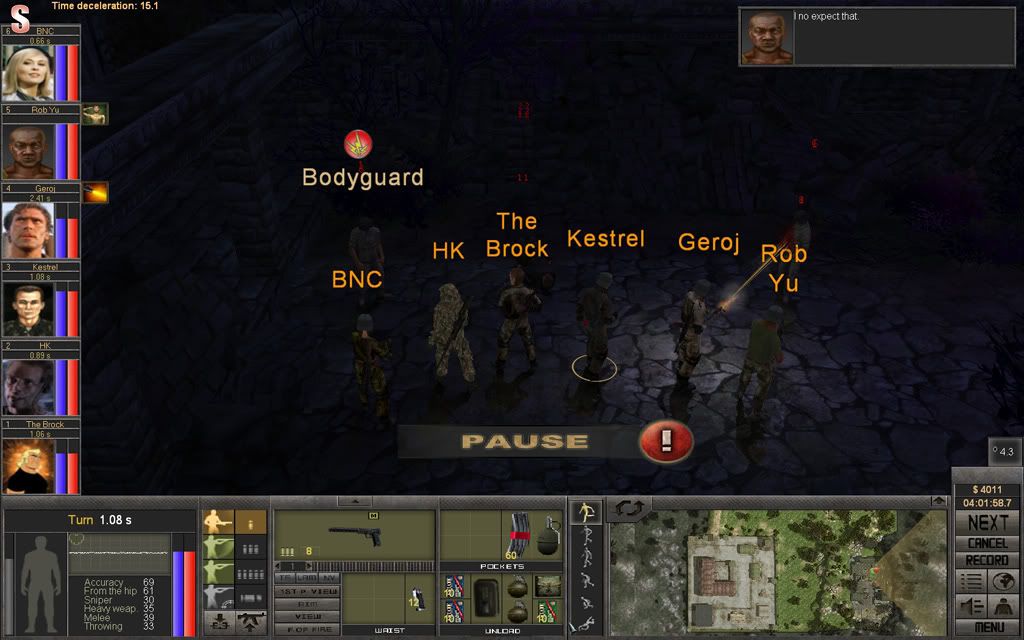
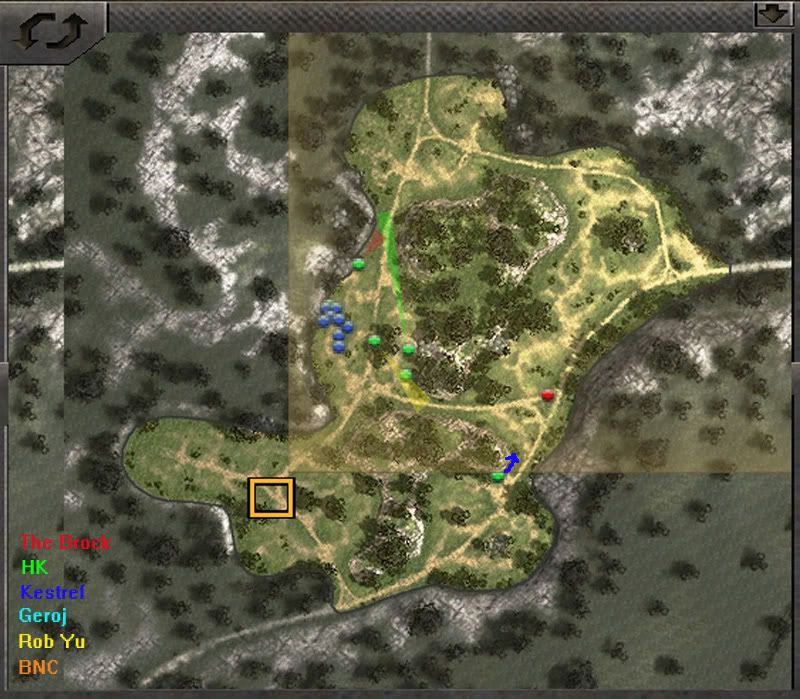
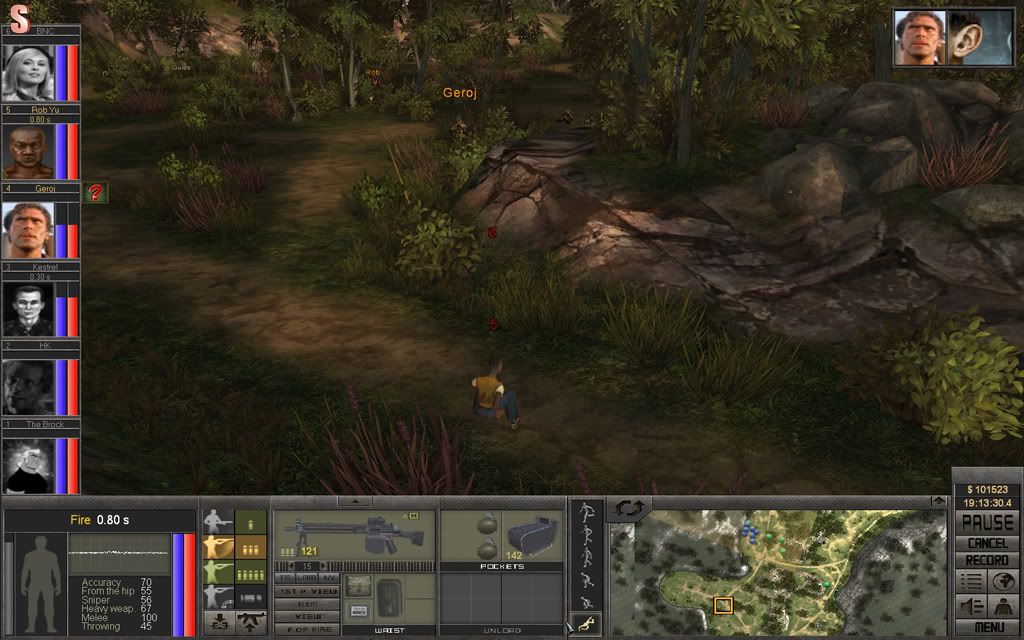
Kestrel will do a flanking run and attack the road agents from the south. Geroj will cover the eastern gap dealing with them as they try to get away from Kestrel. The Brock and Rob Yu will handle the road agents coming from the north, HK will stay back and cover them with his G3SG/1. BNC will be on baby-sitting duty, keeping and eye on Armenso and patch him up if needed.

S18_P02kopiera.jpg


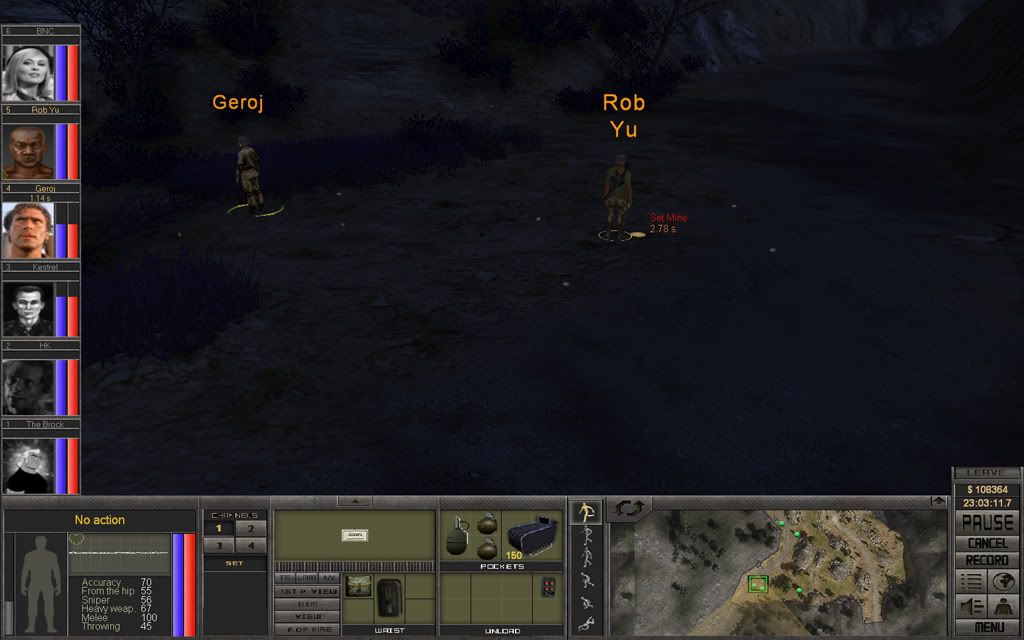
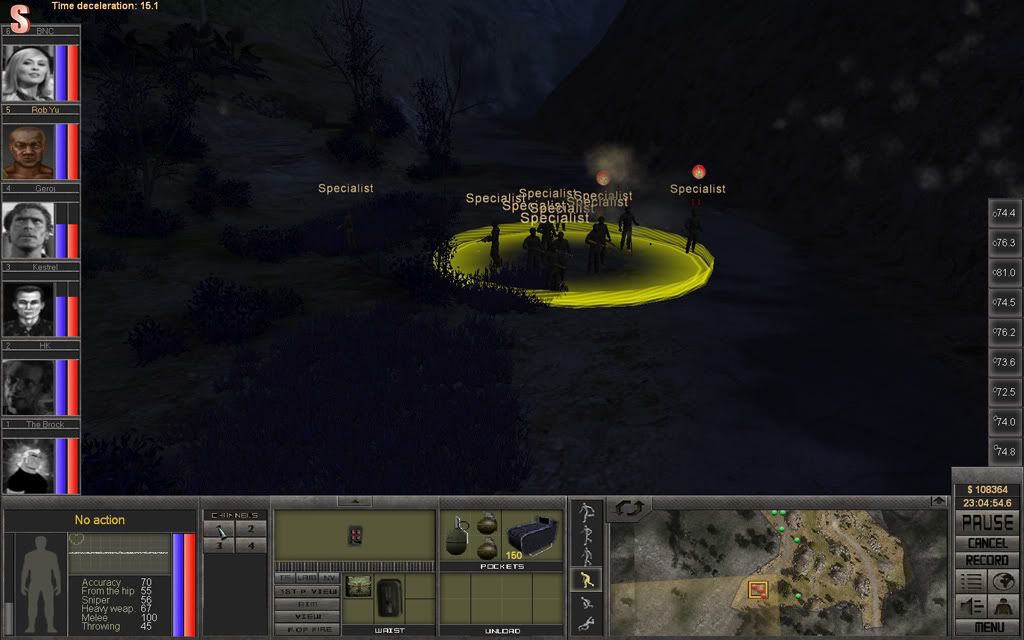
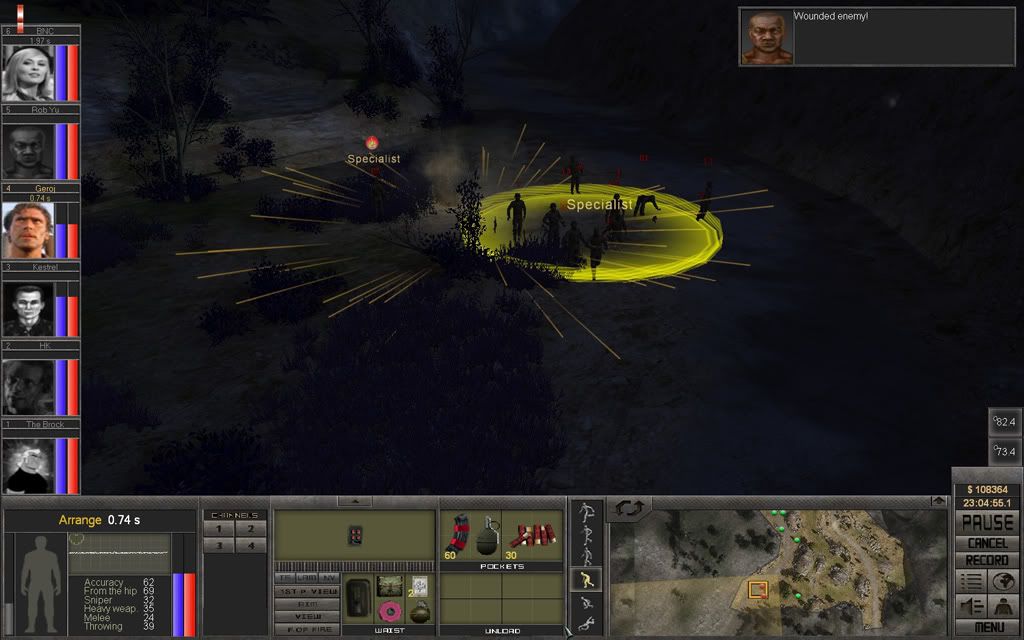
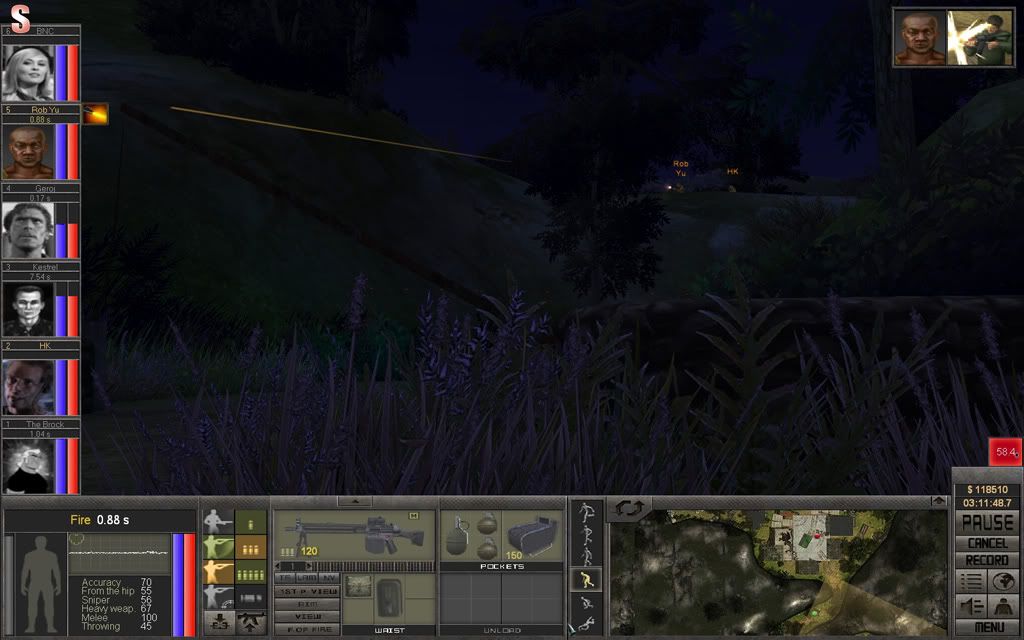
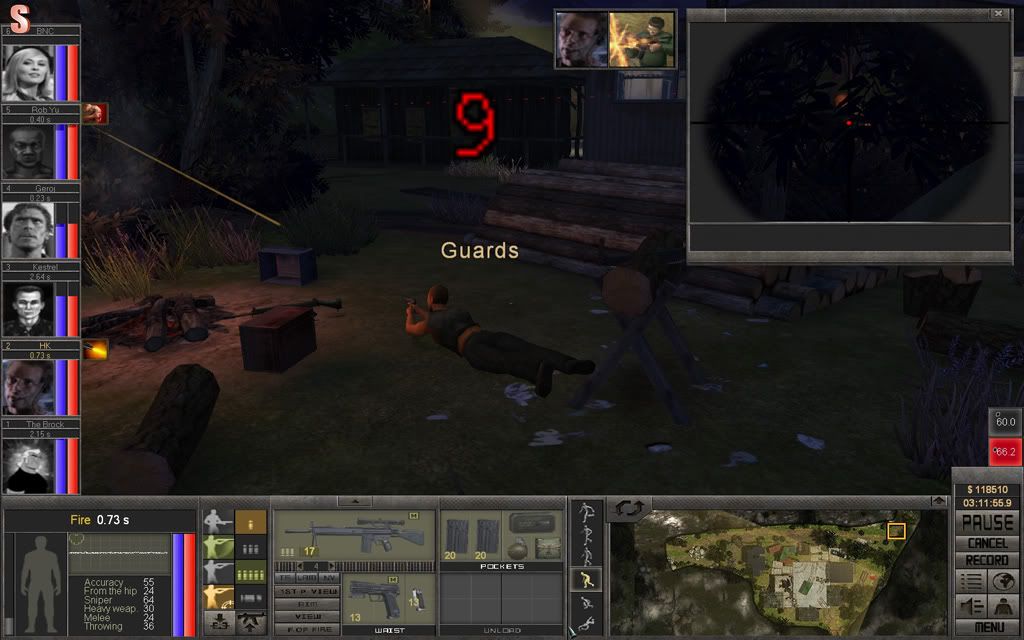
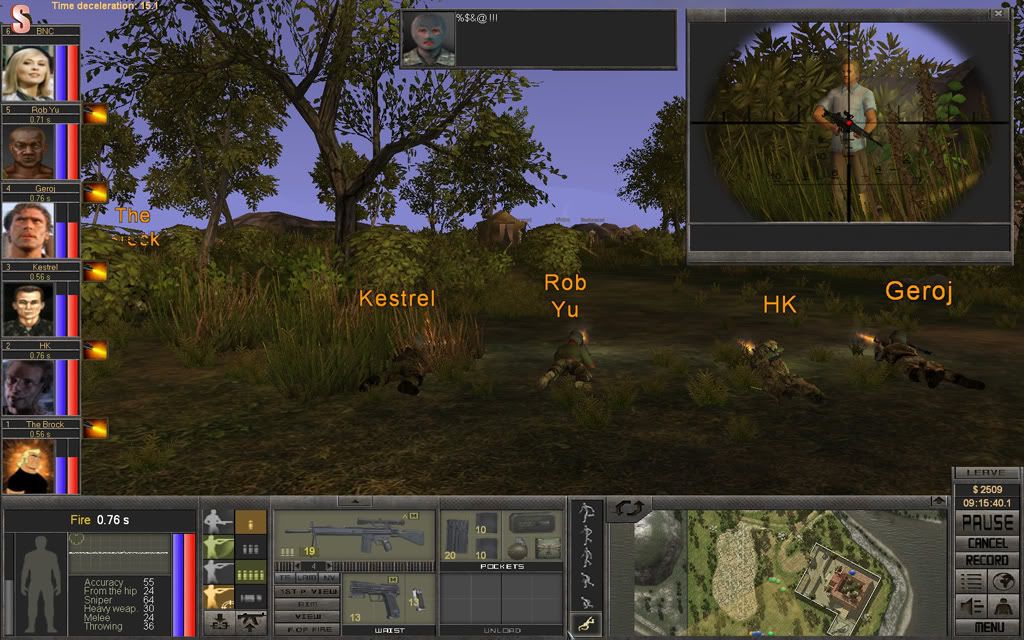
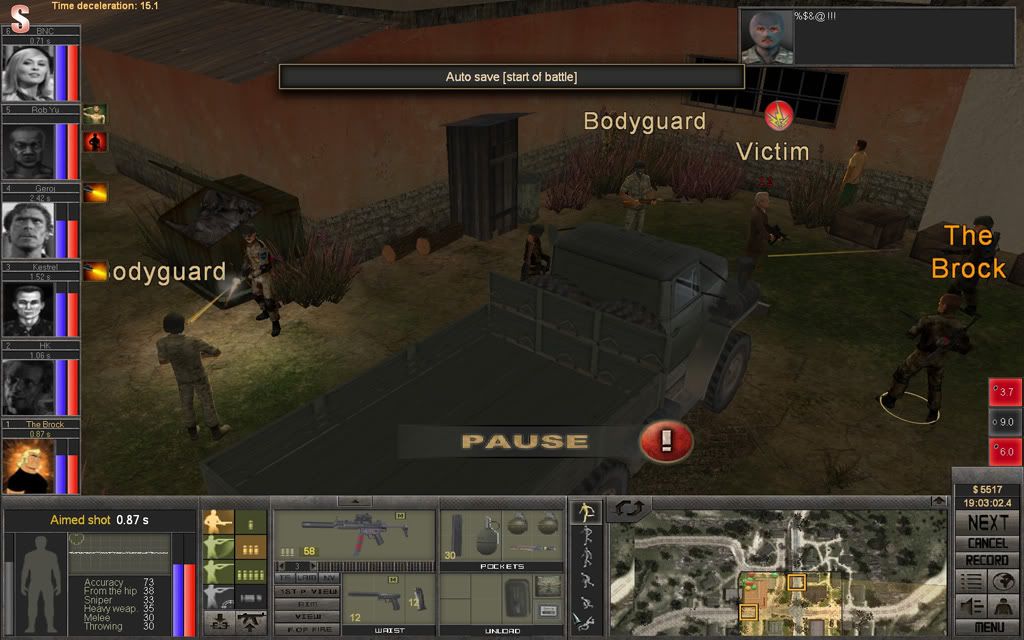
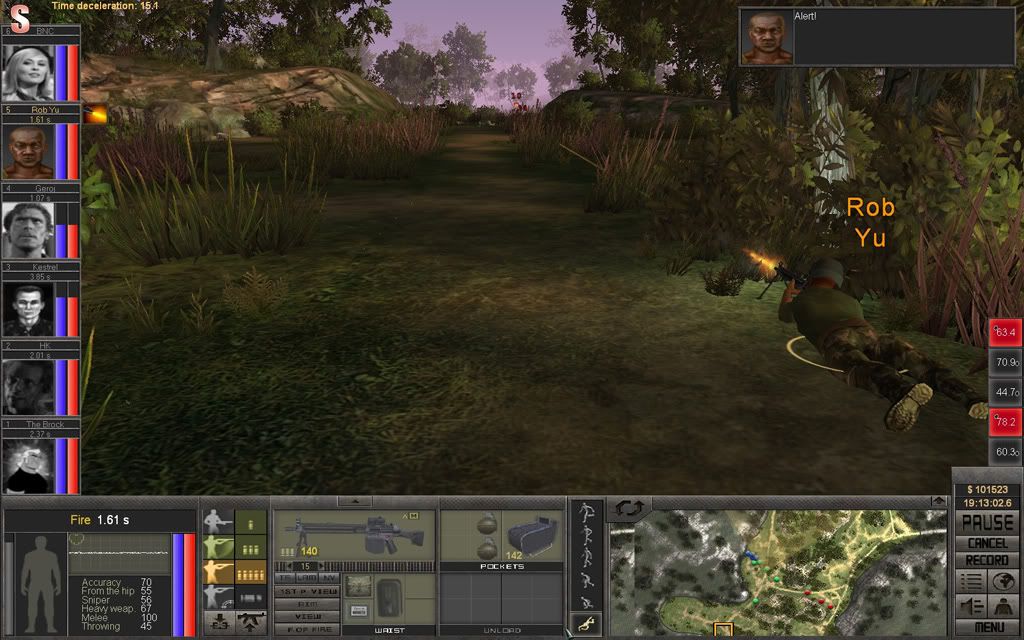
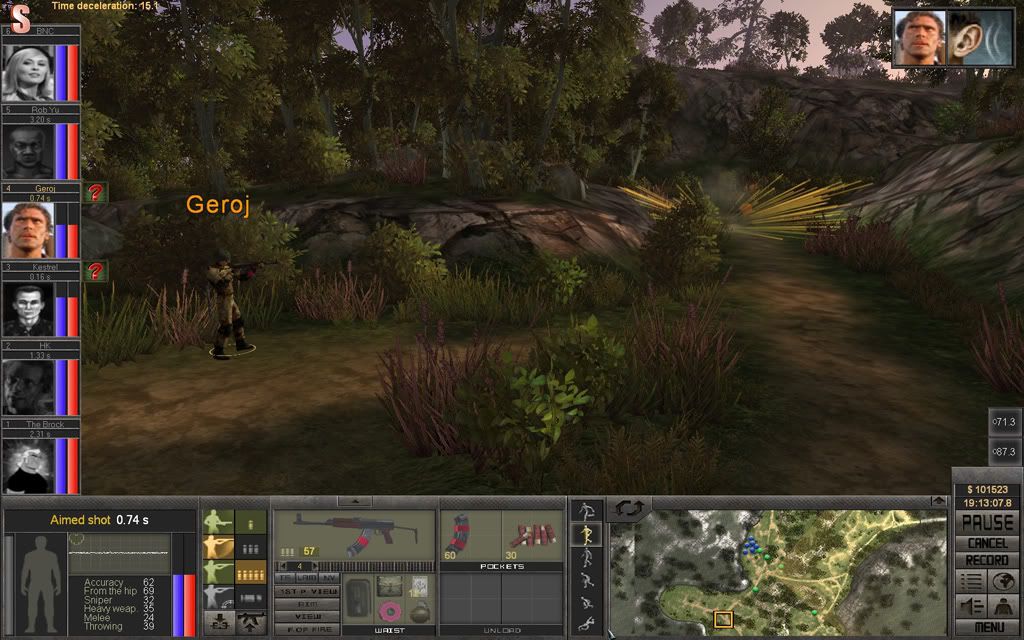
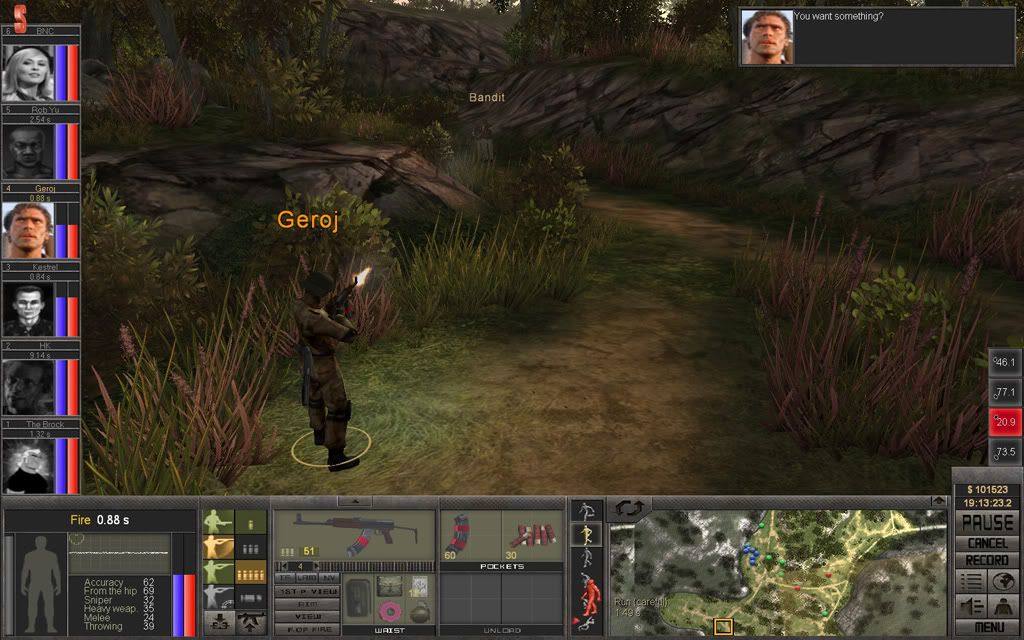
Rob Yu prepares a 15 round burst to suppress the road agents, and while he is preparing Geroj picks a fight.

S18_P03.jpg

S18_P05.jpg


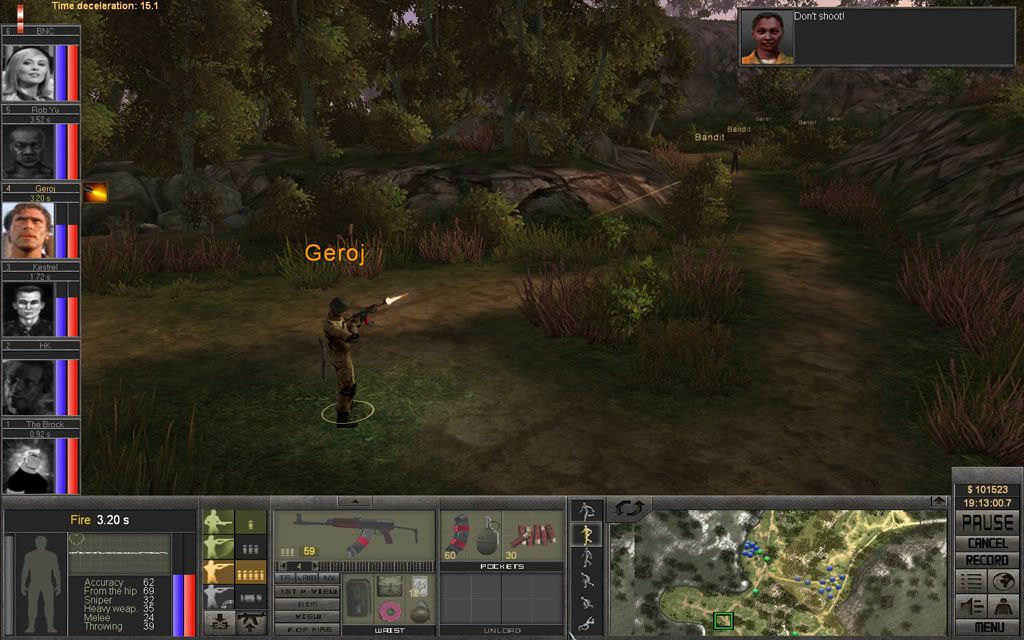
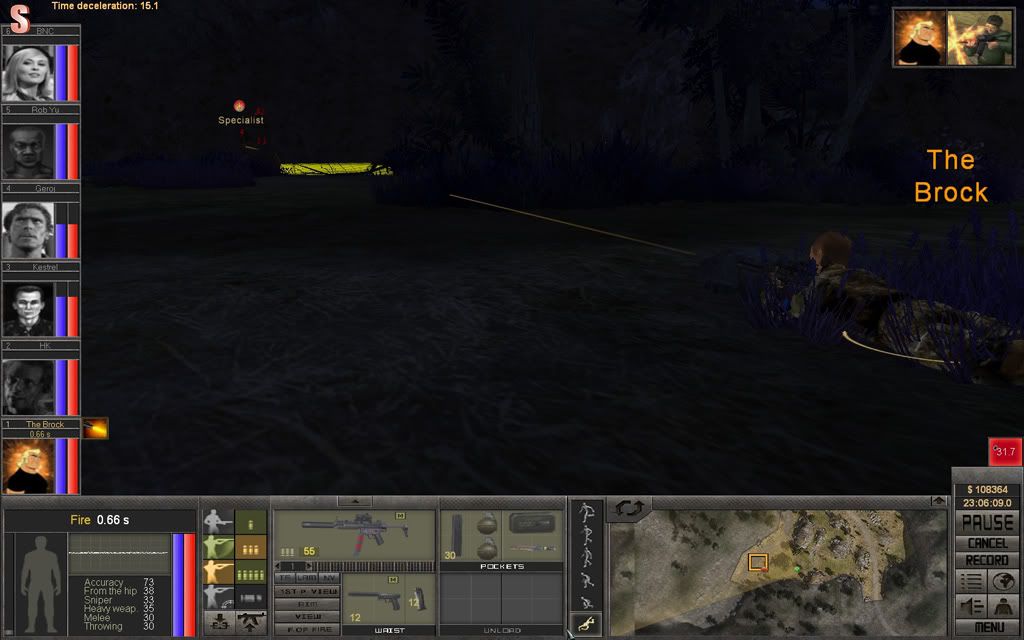
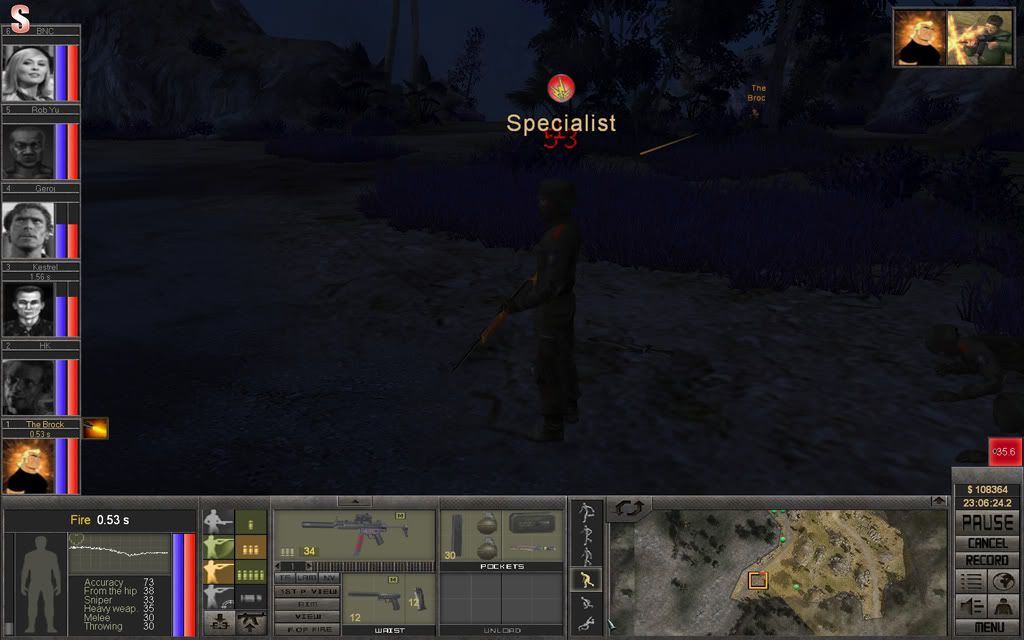
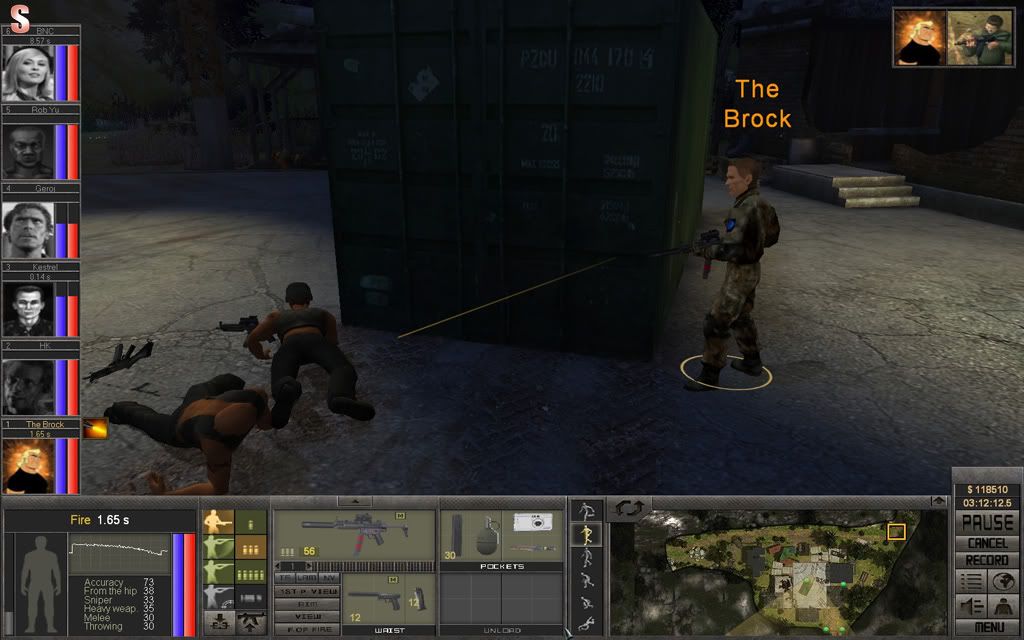
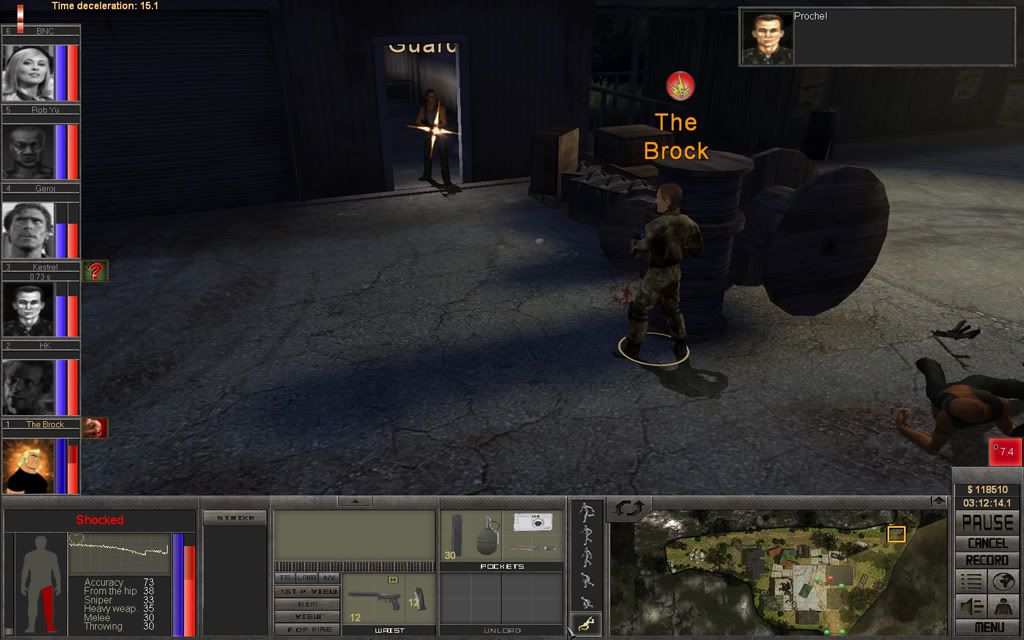
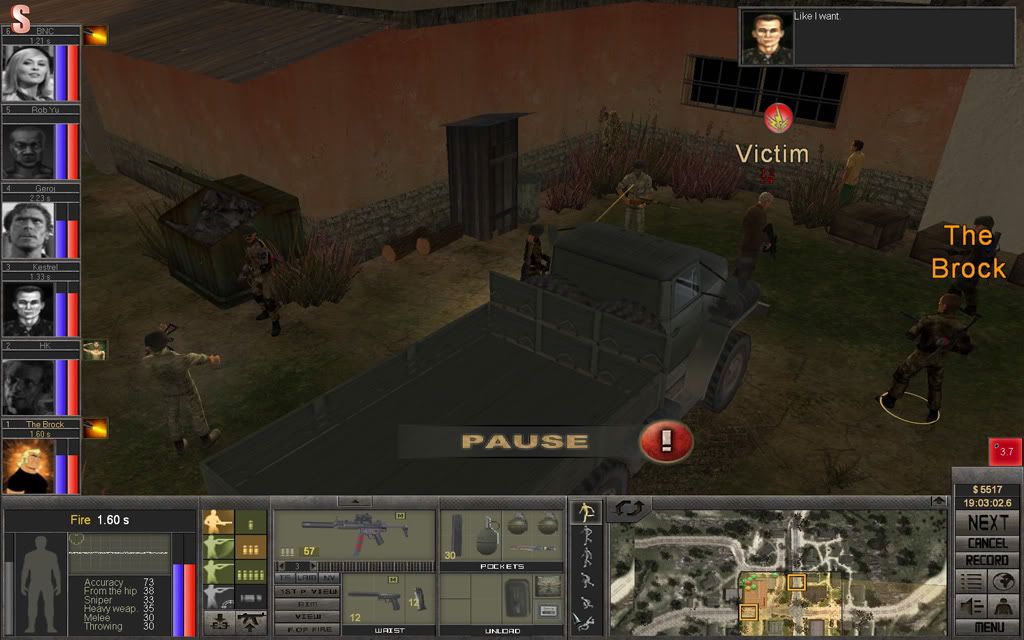
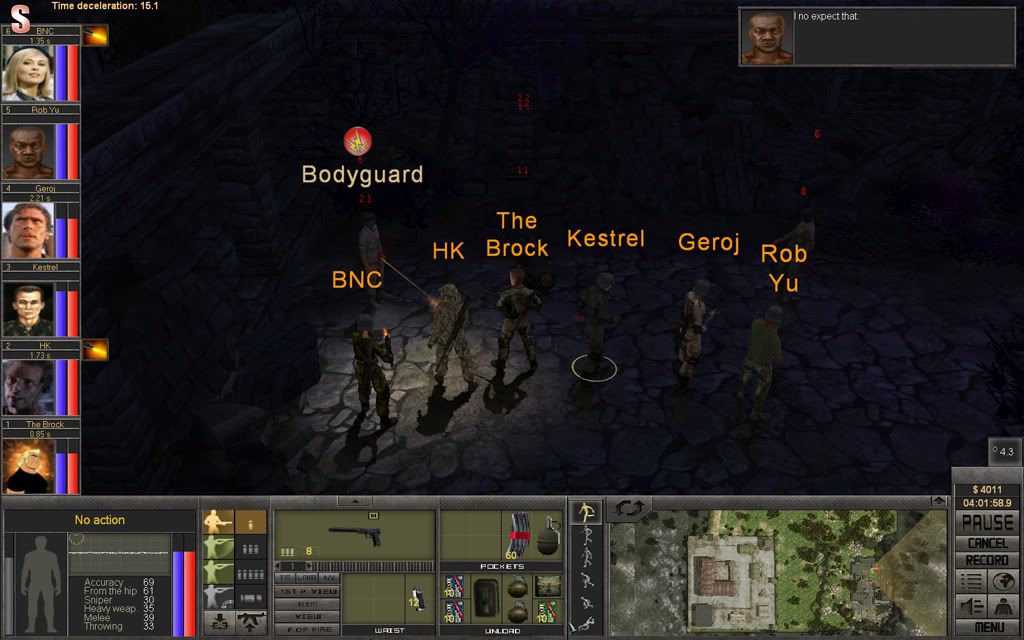
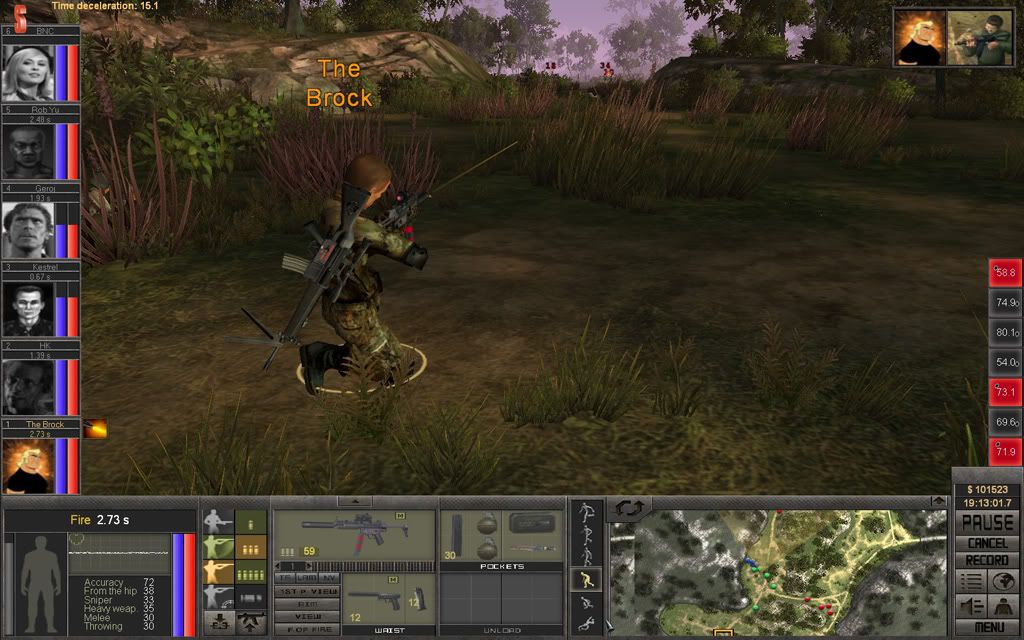
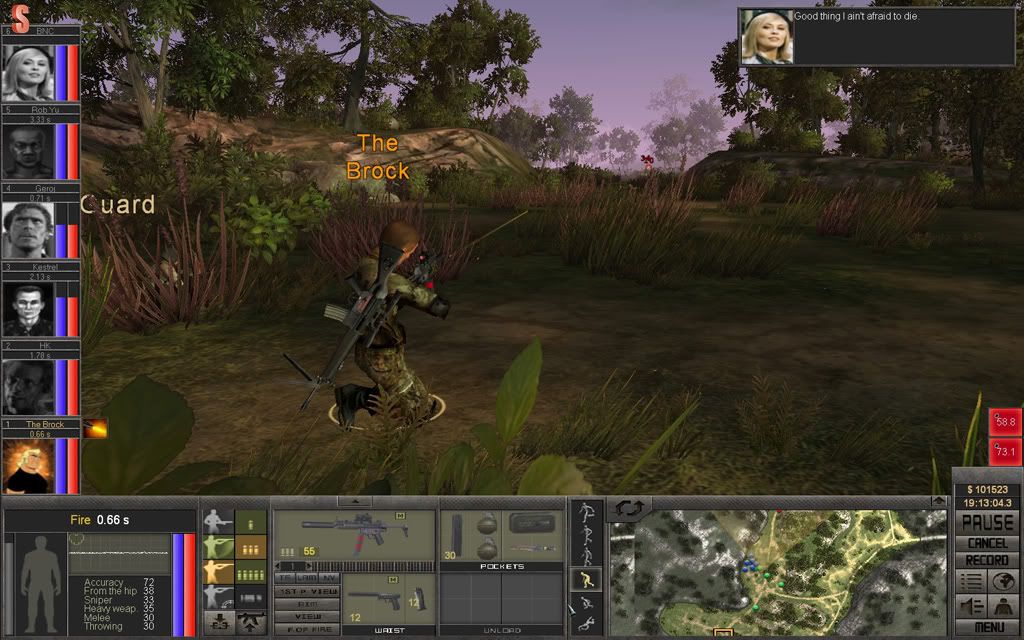
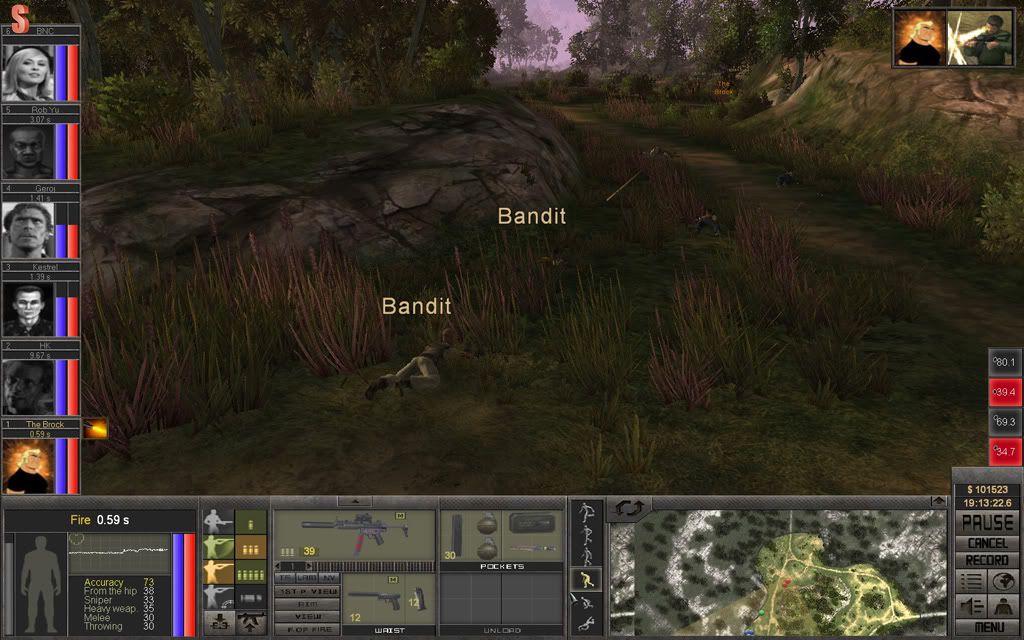
The Brock starts picking off targets, there's a lot to choose from.

S18_P06.jpg


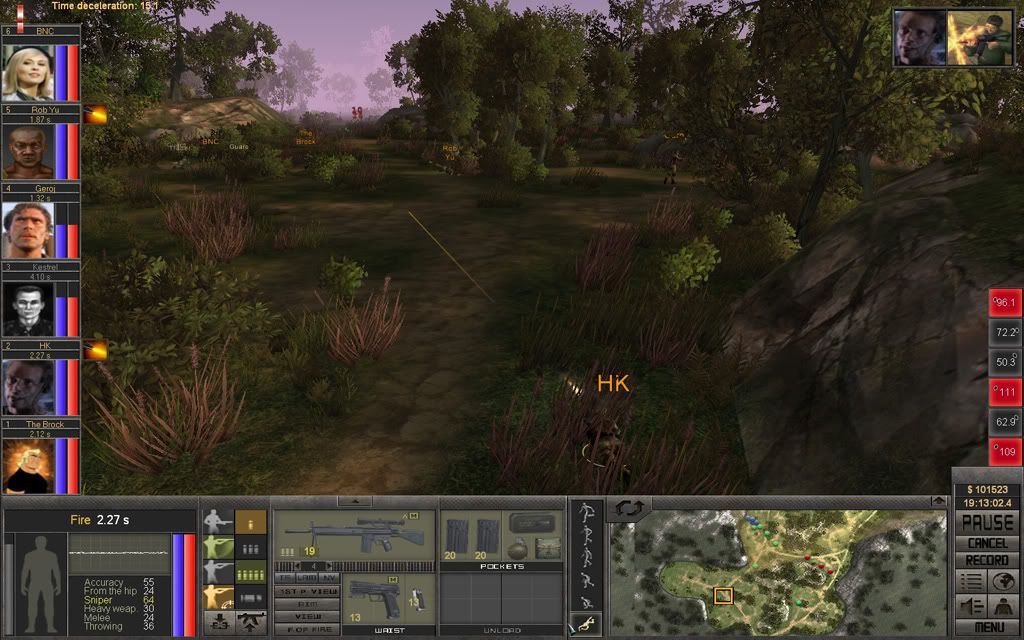
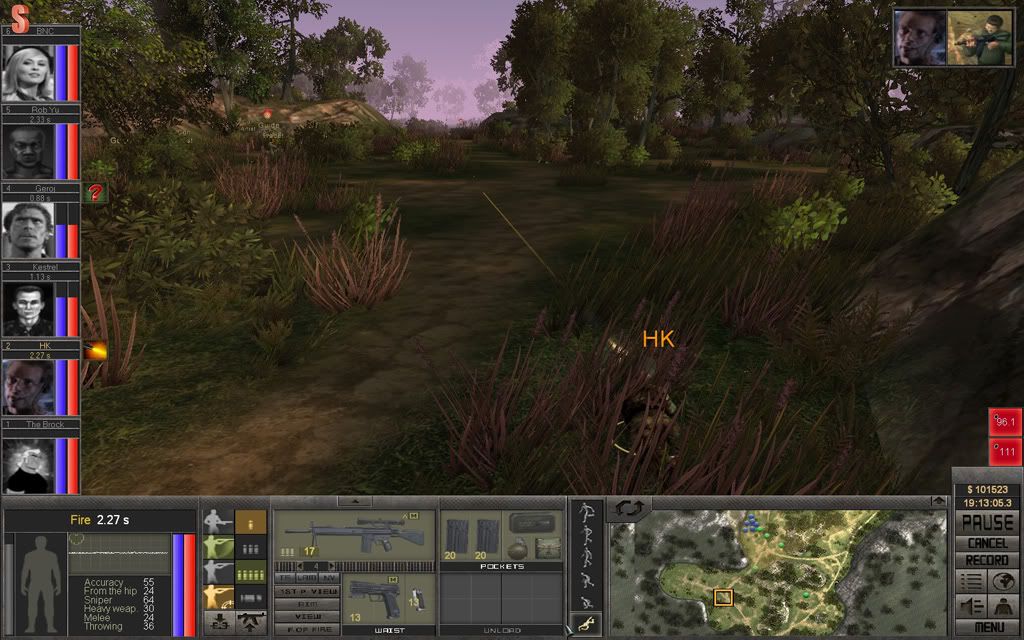
HK, using the space between The Brock and Rob Yu, helps out and takes one down.

S18_P07.jpg


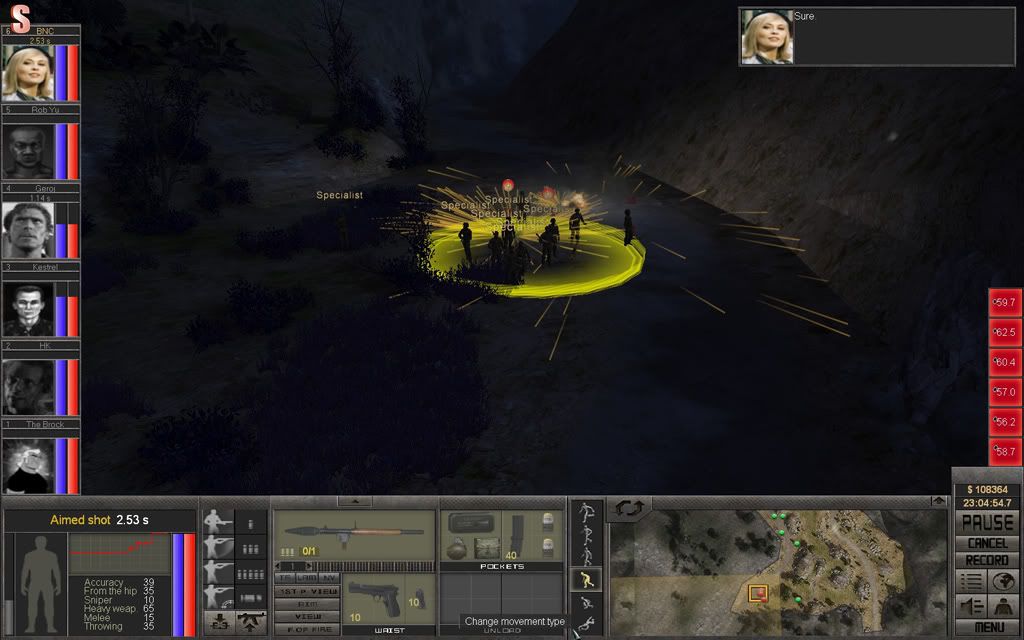
Rob Yu's fire have the intended effect, the road agents scatter or hits the dirt.

S18_P08.jpg


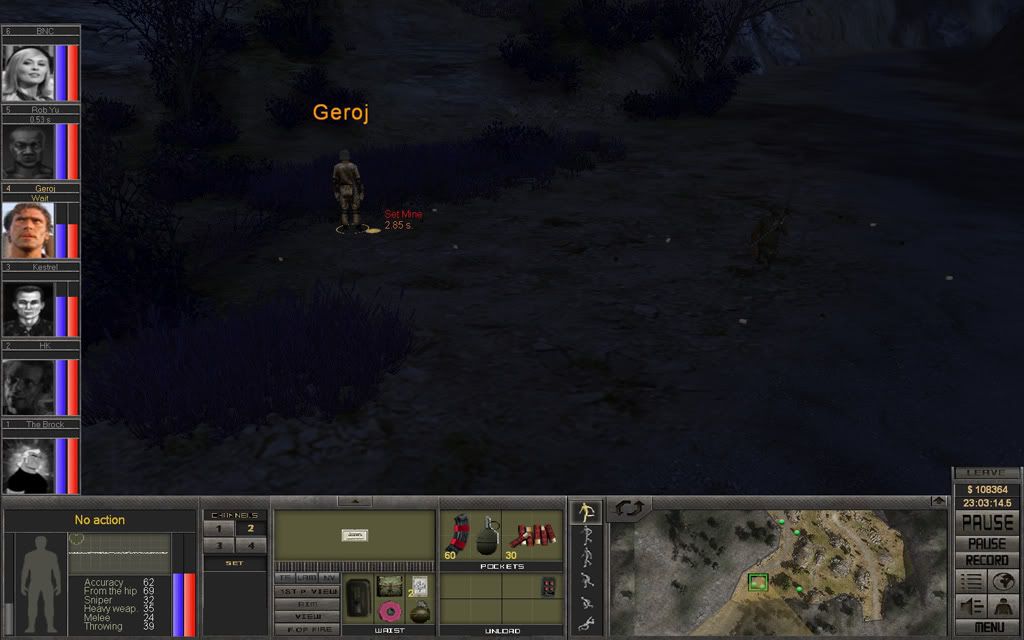
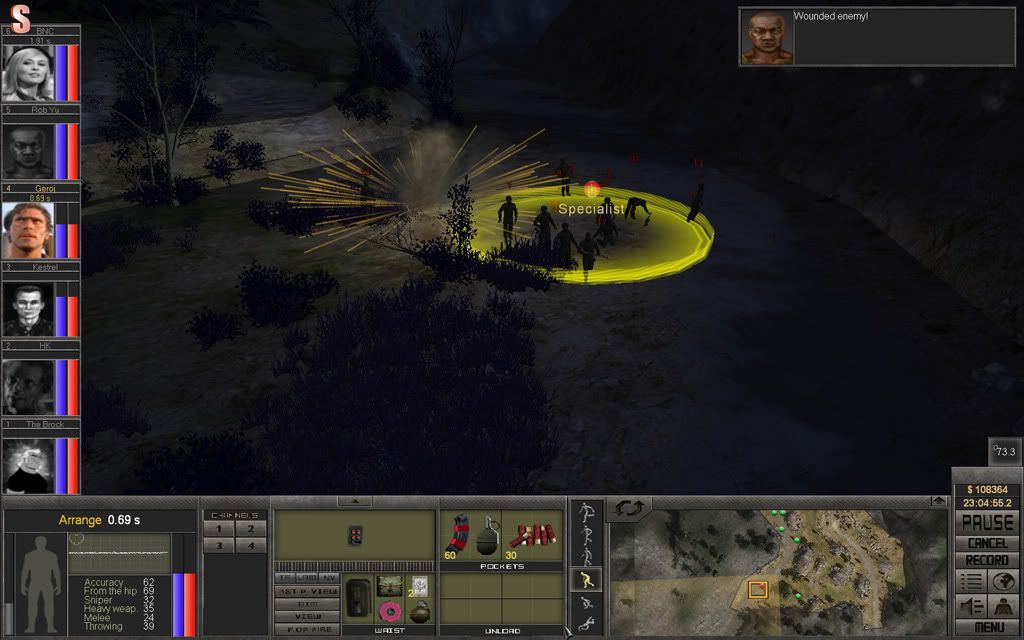
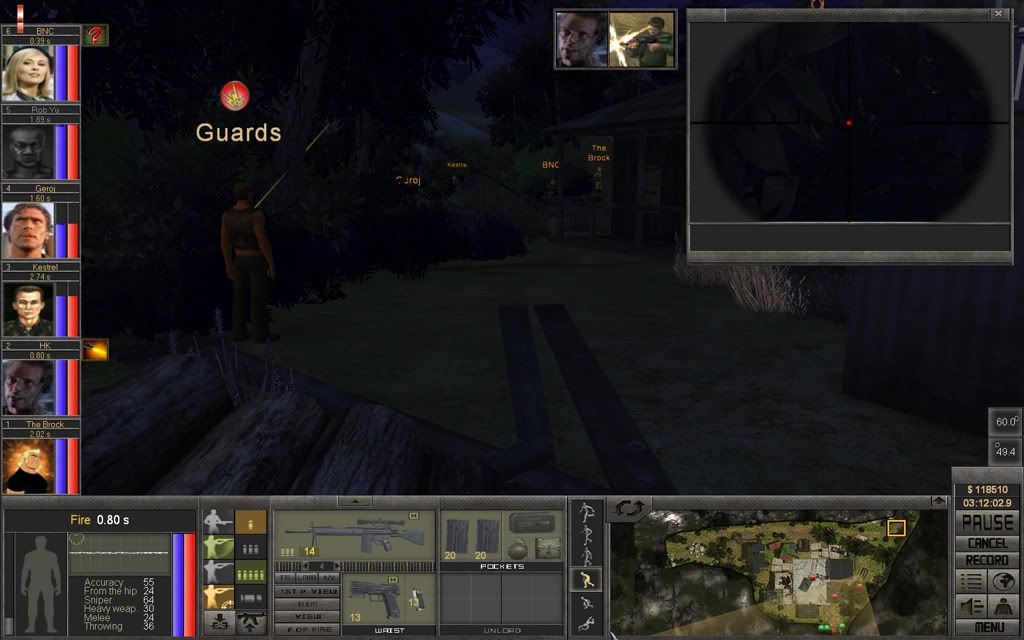
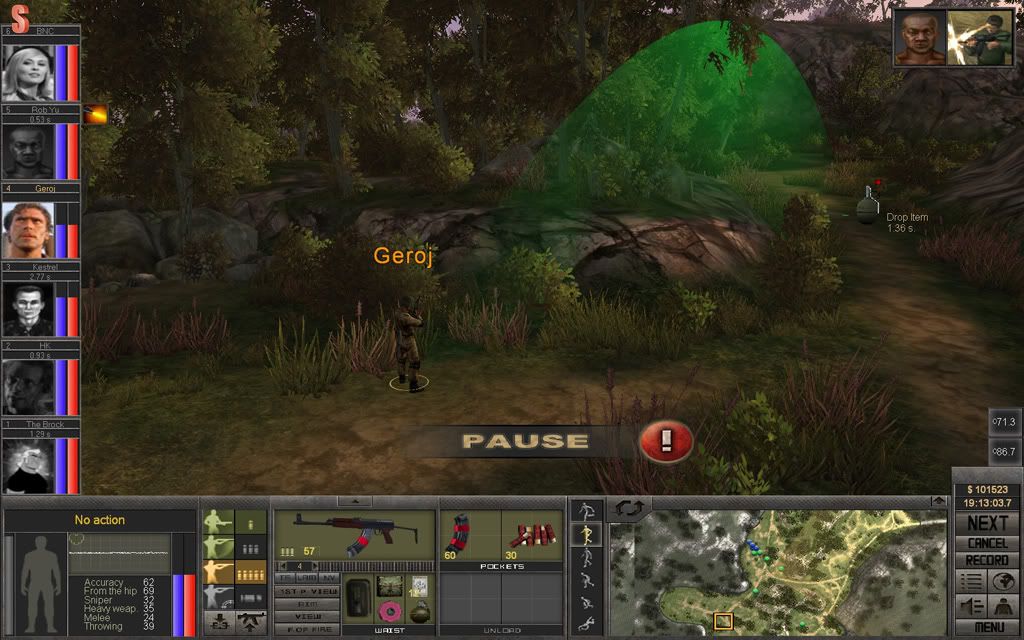
Geroj moves up and throws a grenade to slow the enemy down, Kestrel still hasn't reached his position.

S18_P09.jpg


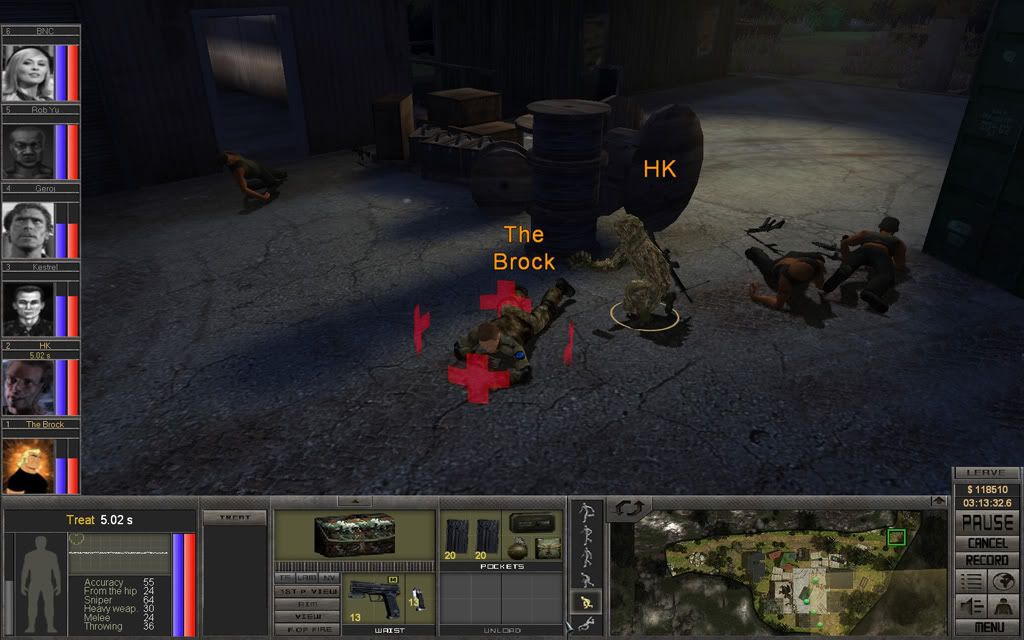
The Brock gets another notch in his belt, and so does HK.

S18_P10.jpg

S18_P11.jpg


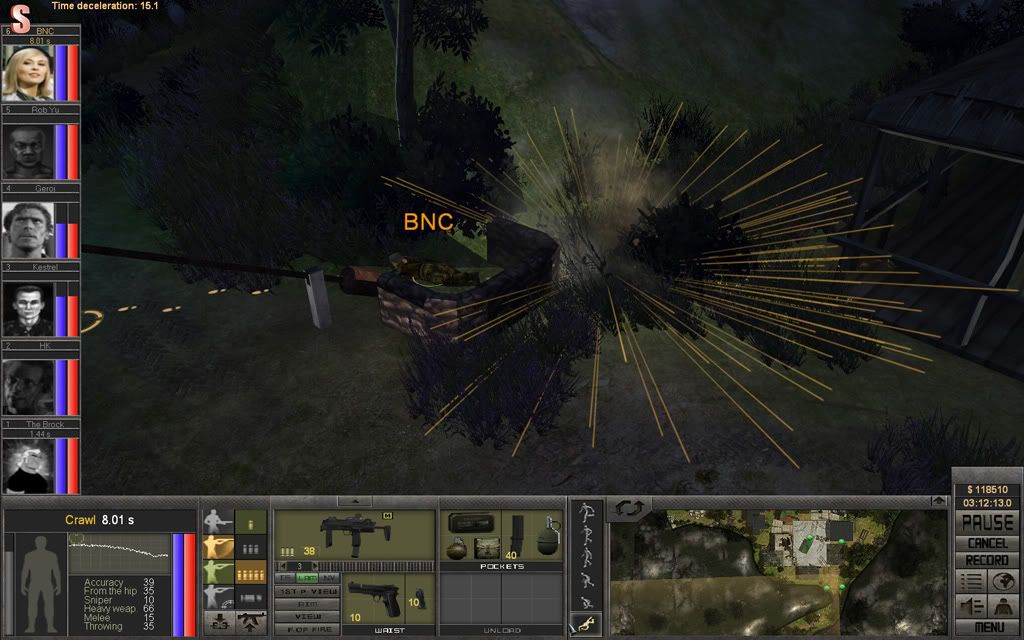
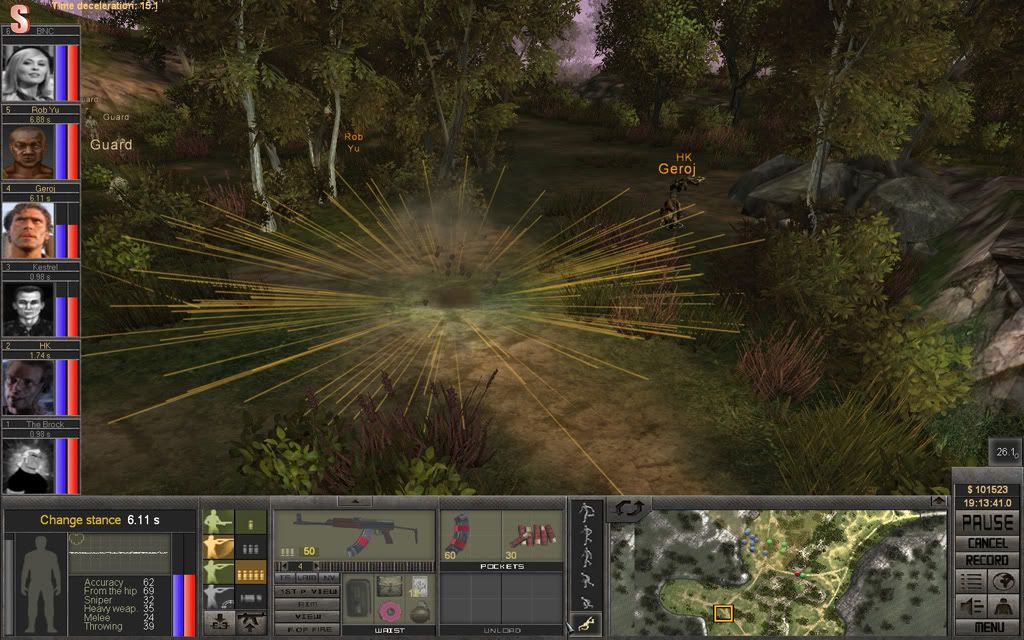
Geroj's grenade detonates in the middle of the road agents, killing one and wounding several.

S18_P12.jpg


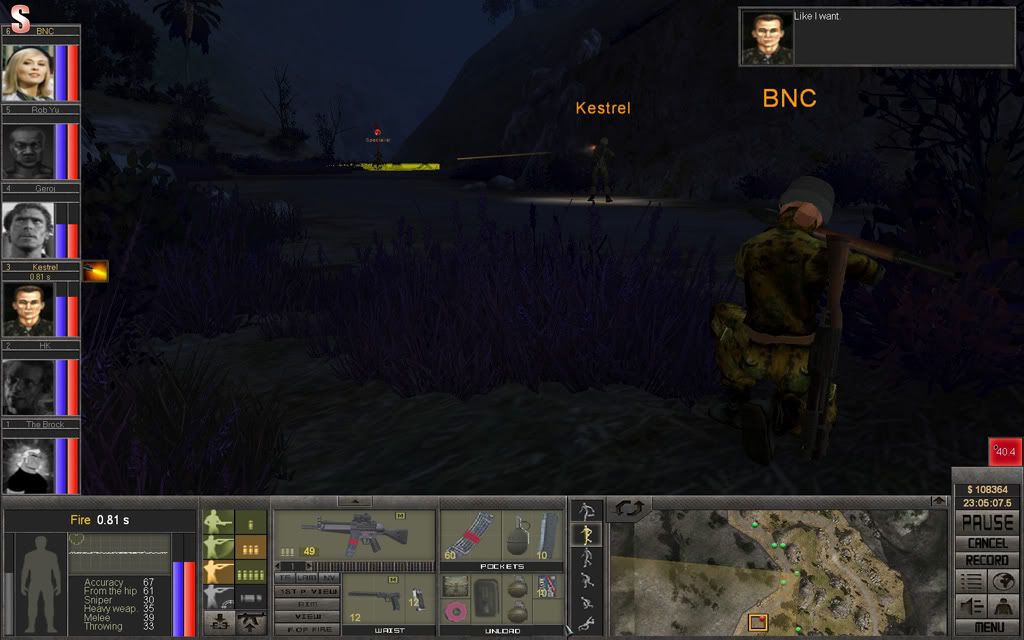
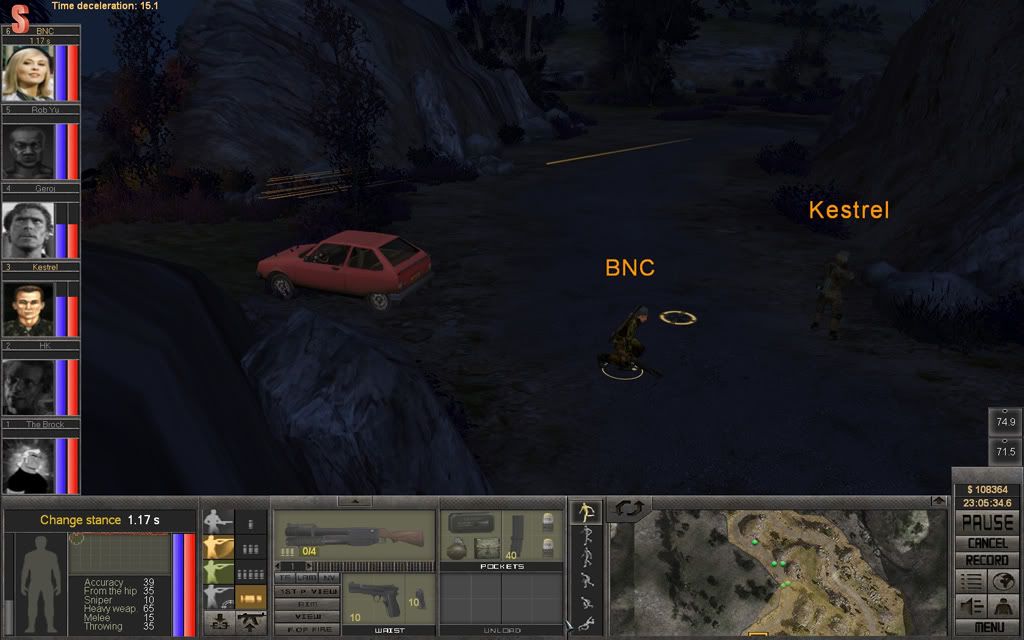
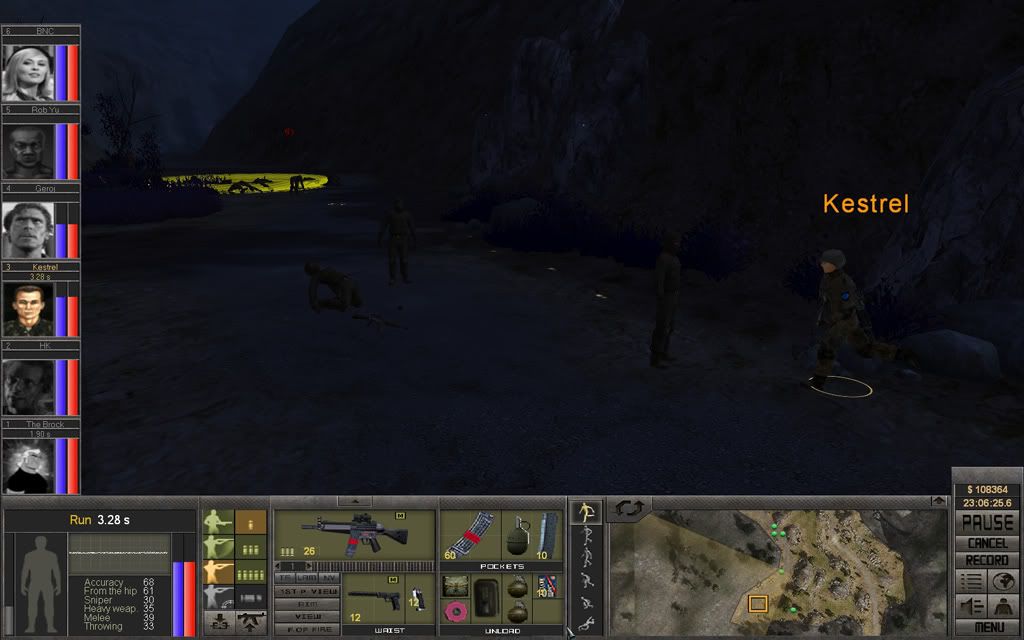
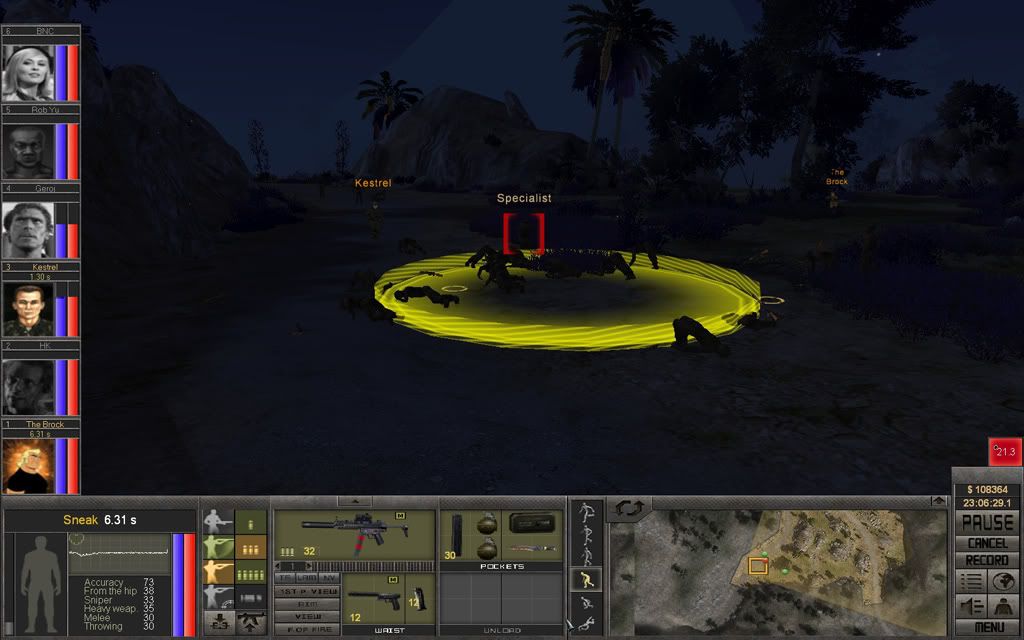
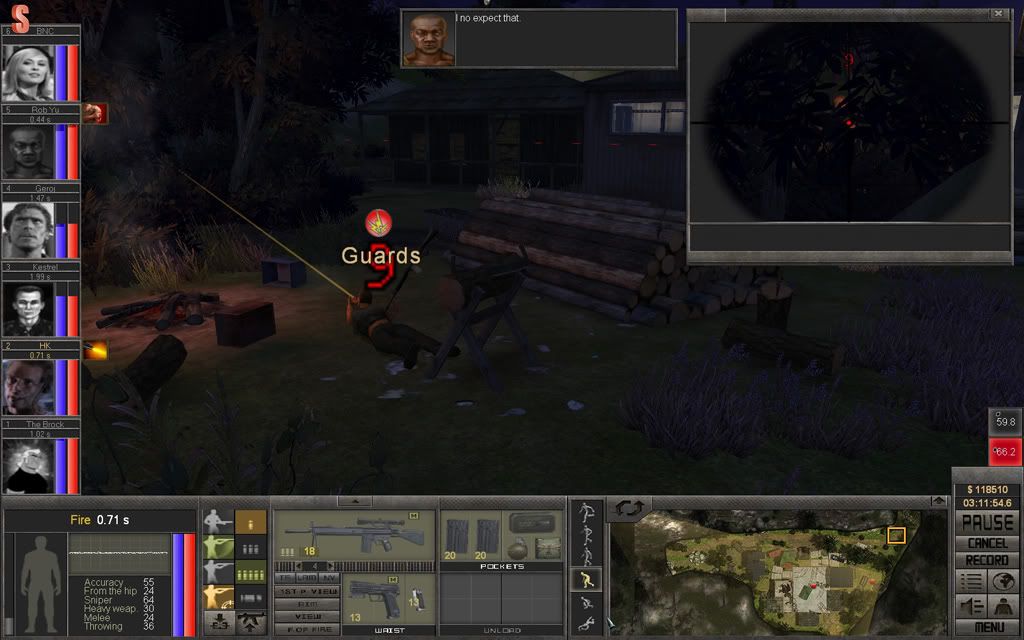
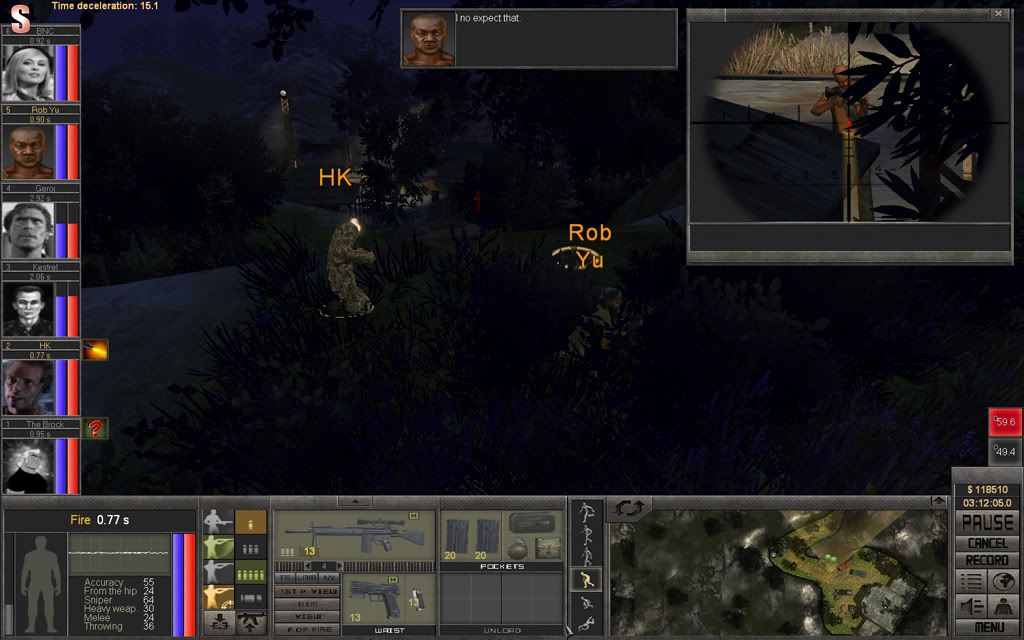
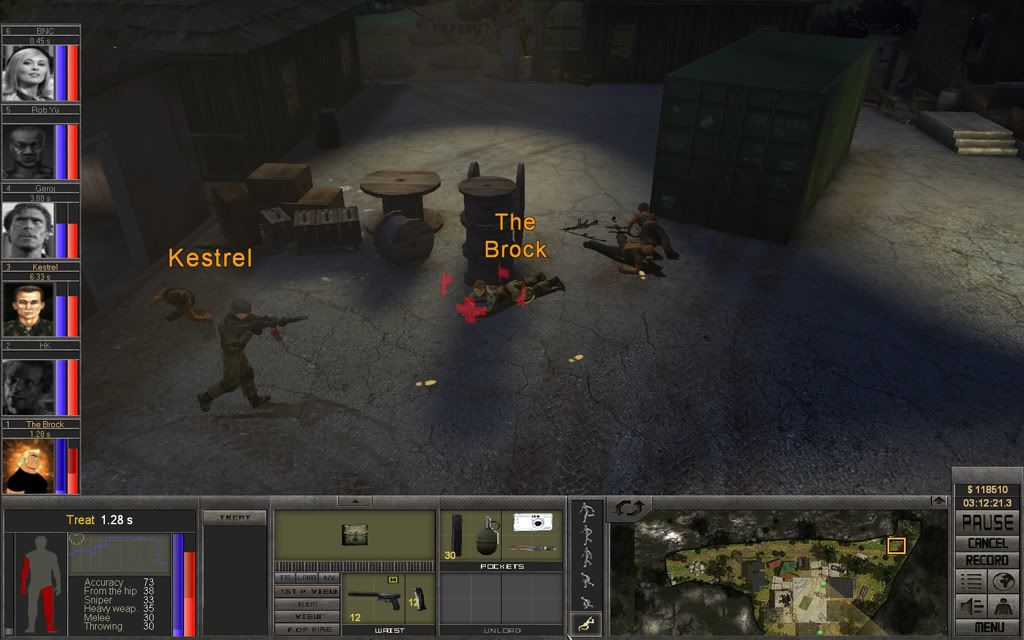
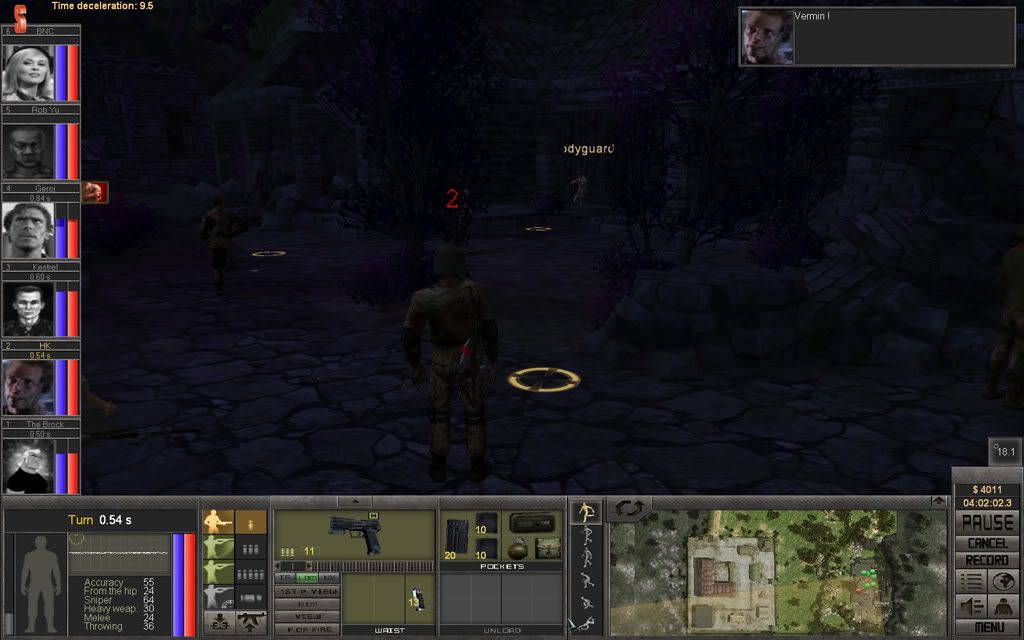
Kestrel has reached his destination and will start moving around the rocks to pick off the enemy from behind. The northern gap is littered with corpses, so The Brock and HK will have to move up and find better angles.

S18_P13kopiera.jpg


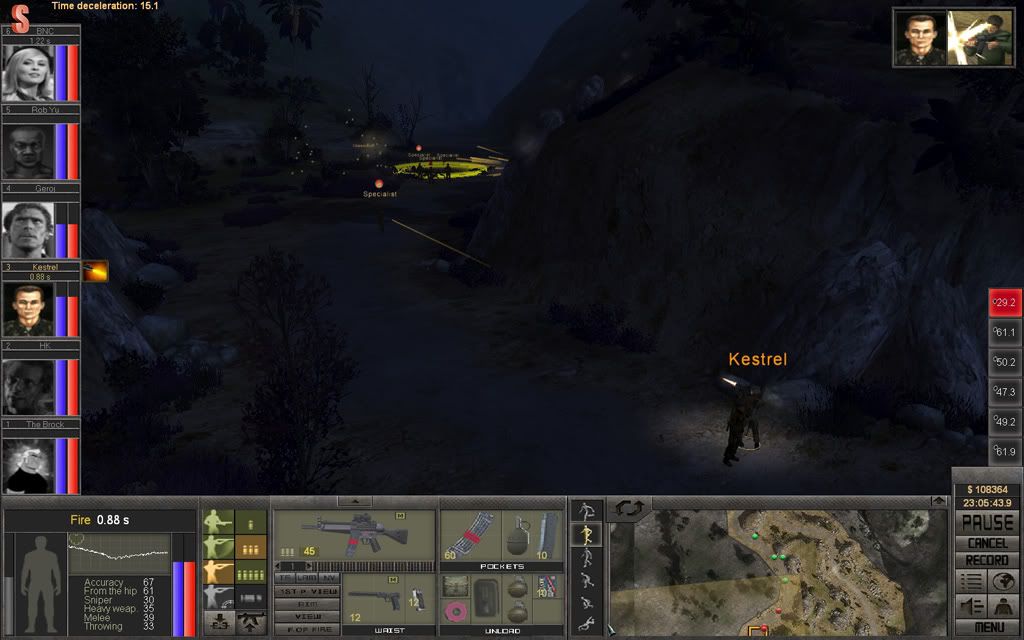
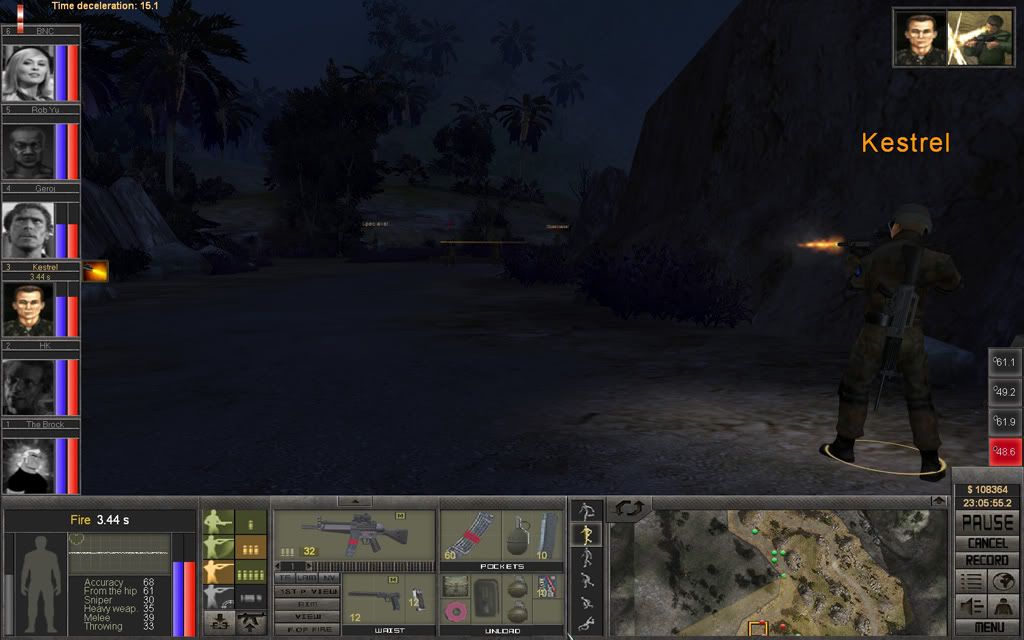
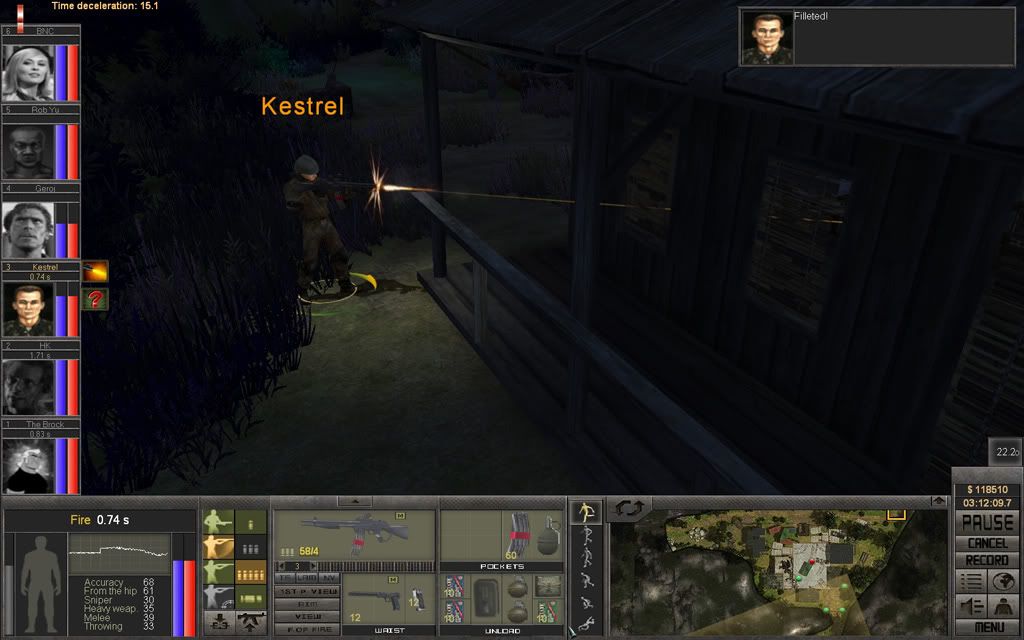
Kestrel spots the first enemy right away and takes her down with a burst. He hears some movement and throws a grenade at it.

S18_P14.jpg

S18_P15.jpg


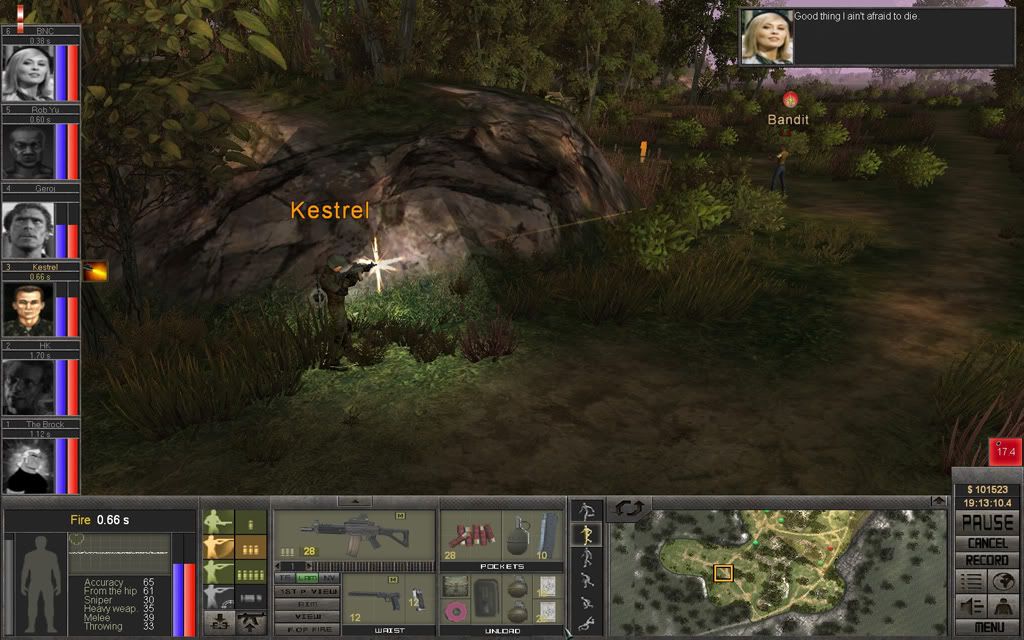
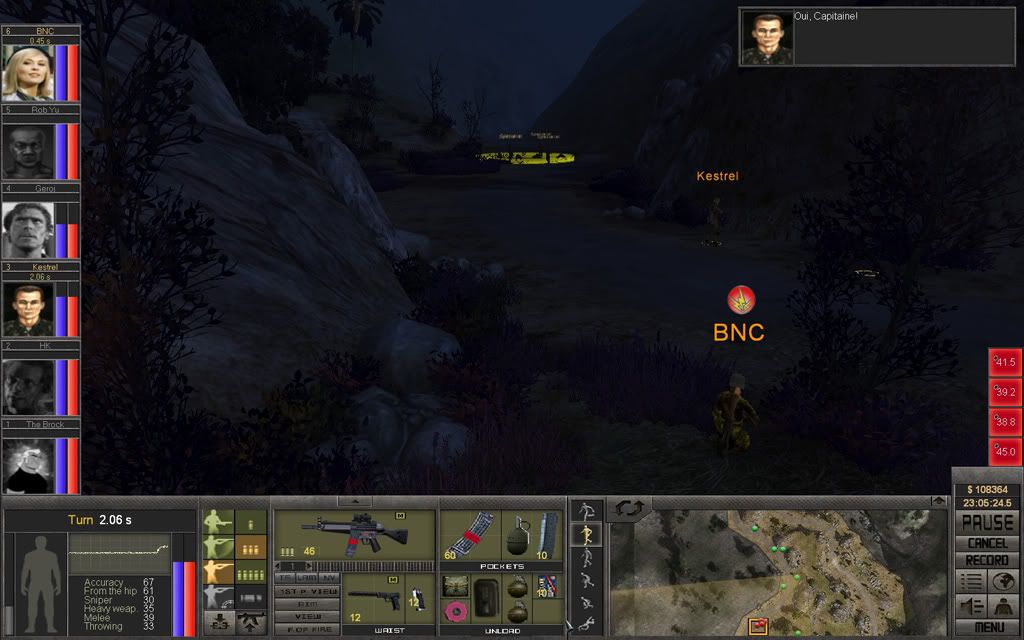
As the grenade detonates, another road agent is revealed, and gets a burst from Kestrel's SIG SG552.

S18_P17.jpg

S18_P18.jpg


The Brock and HK has reached their new positions and will continue taking out the enemy. Rob Yu will turn his HK23e towards the eastern gap and cover Geroj. Kestrel will continue moving around the rocks.

S18_P19kopiera.jpg


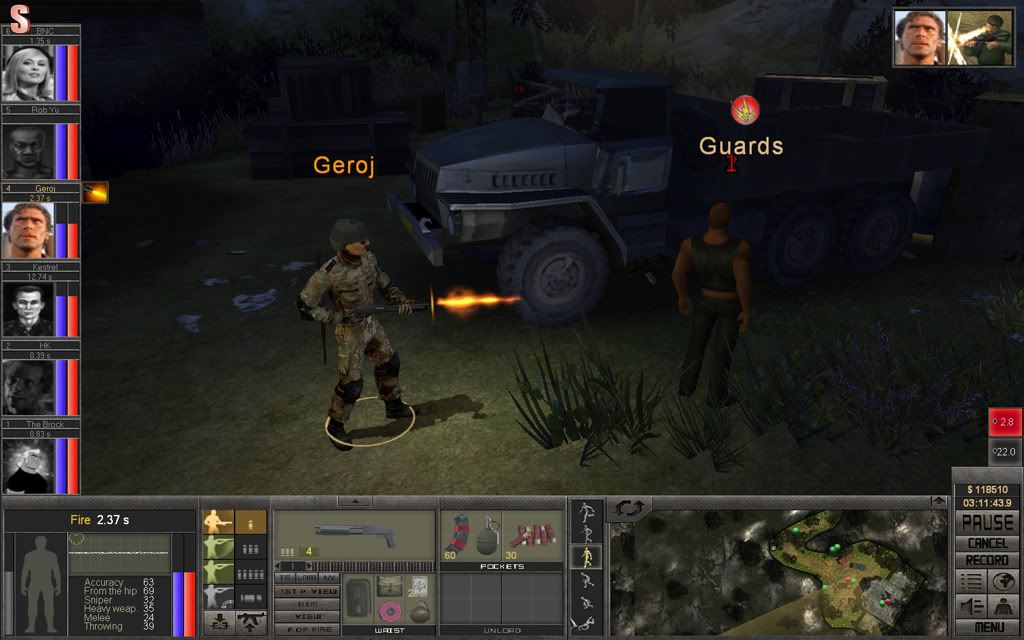
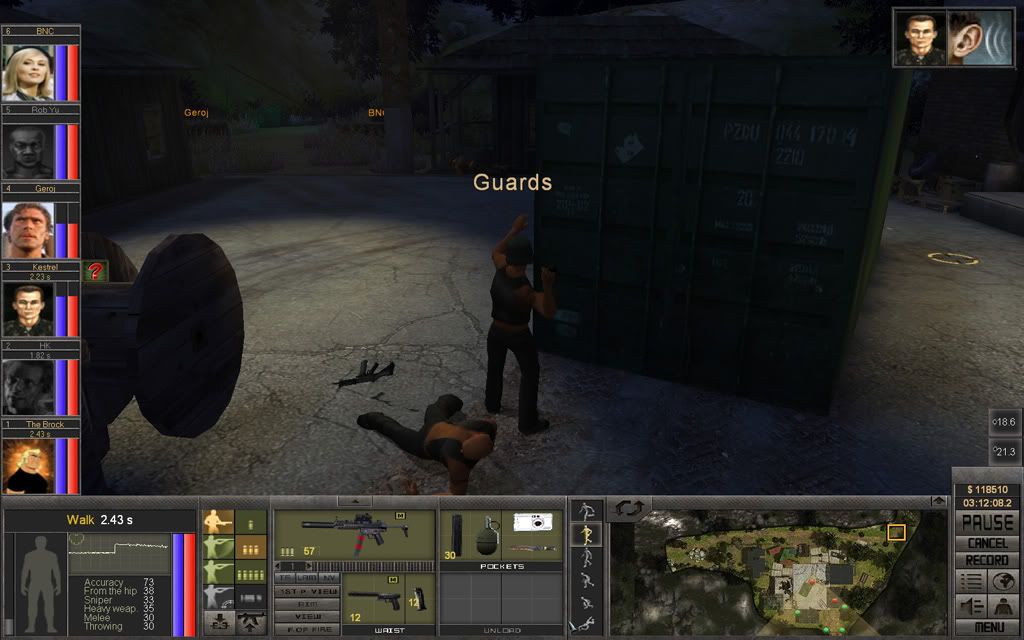
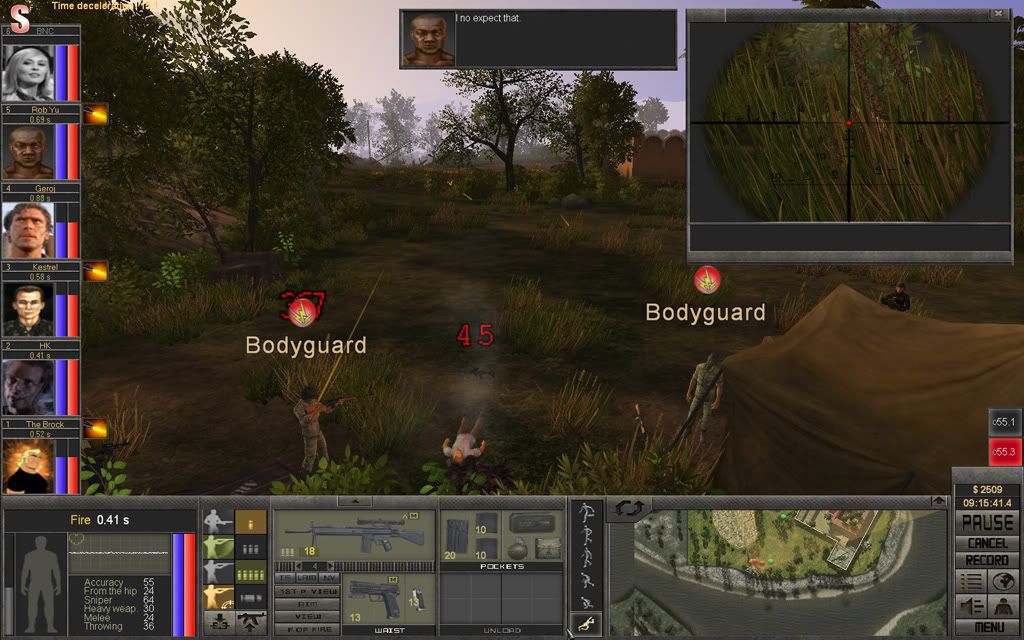
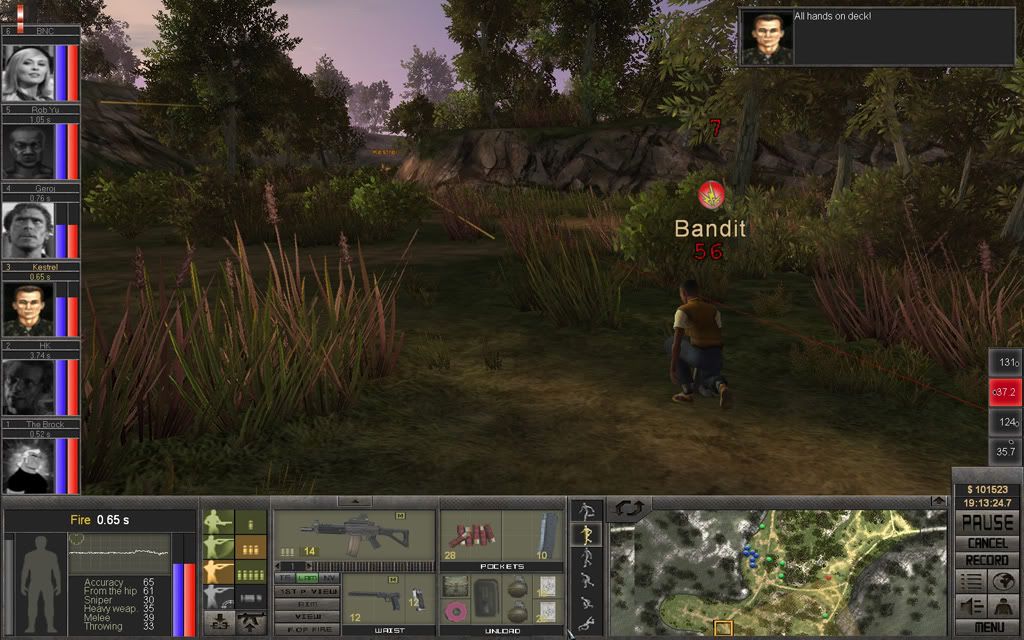
A road agent comes running through the gap, Geroj is ready for him.

S18_P20.jpg


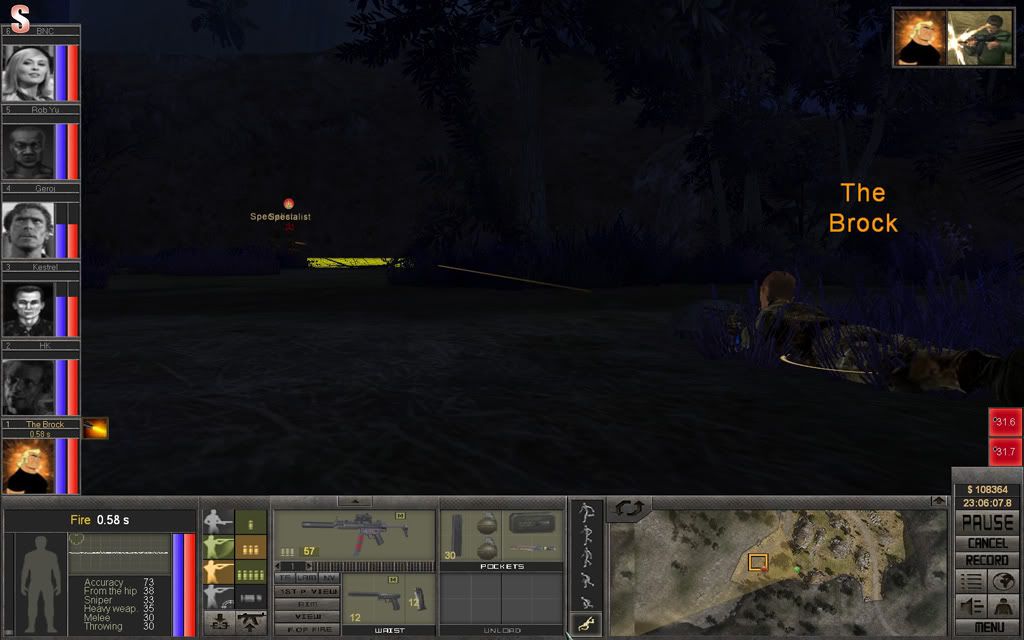
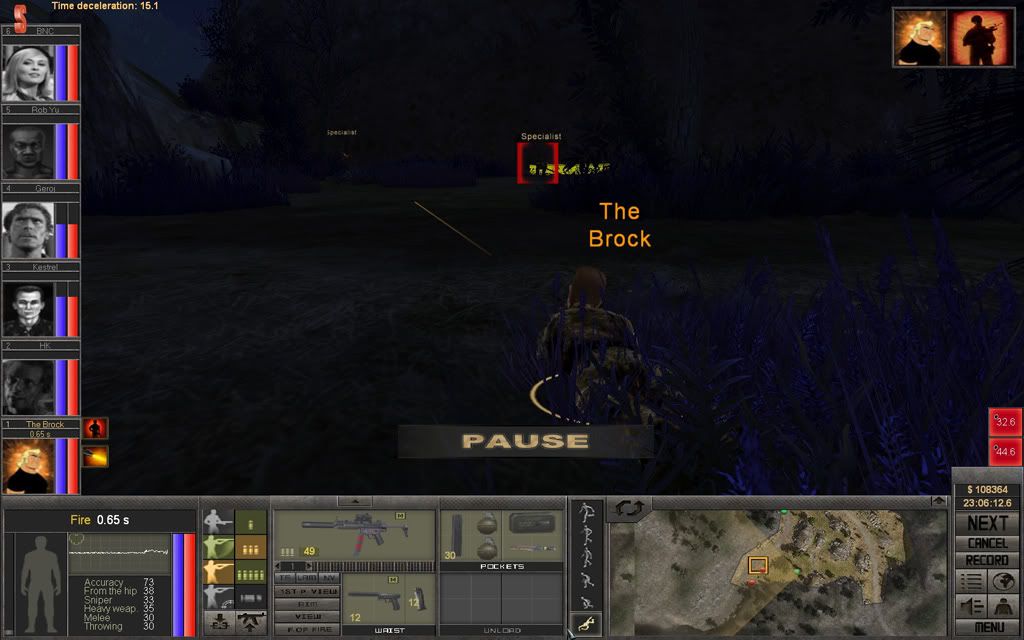
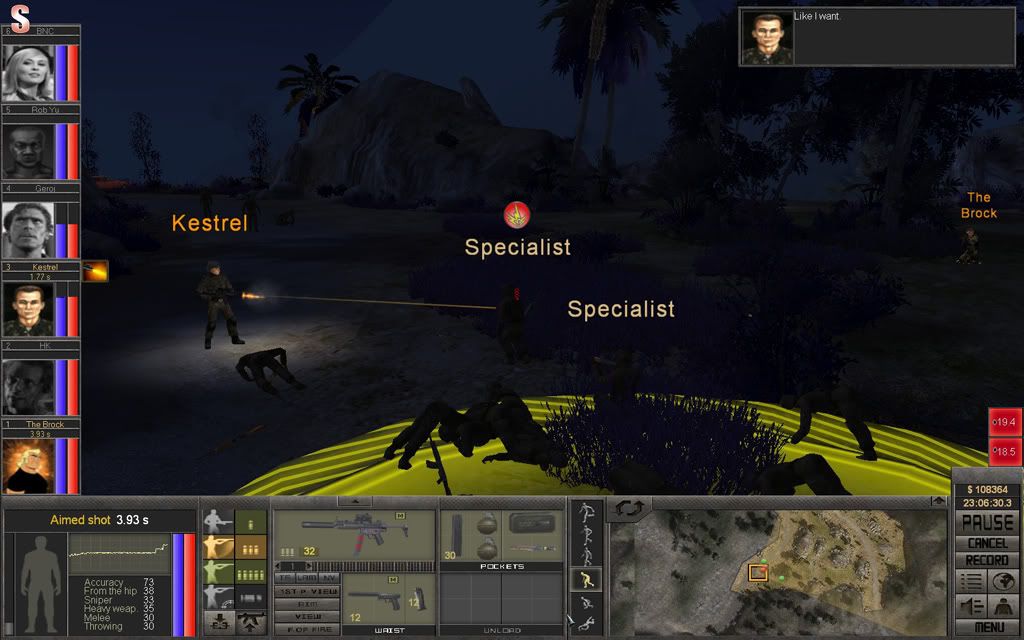
The Brock spots two enemies crawling through the grass, Rob Yu's suppression fire scared the crap out of them and they are keeping their heads low.

S18_P21.jpg


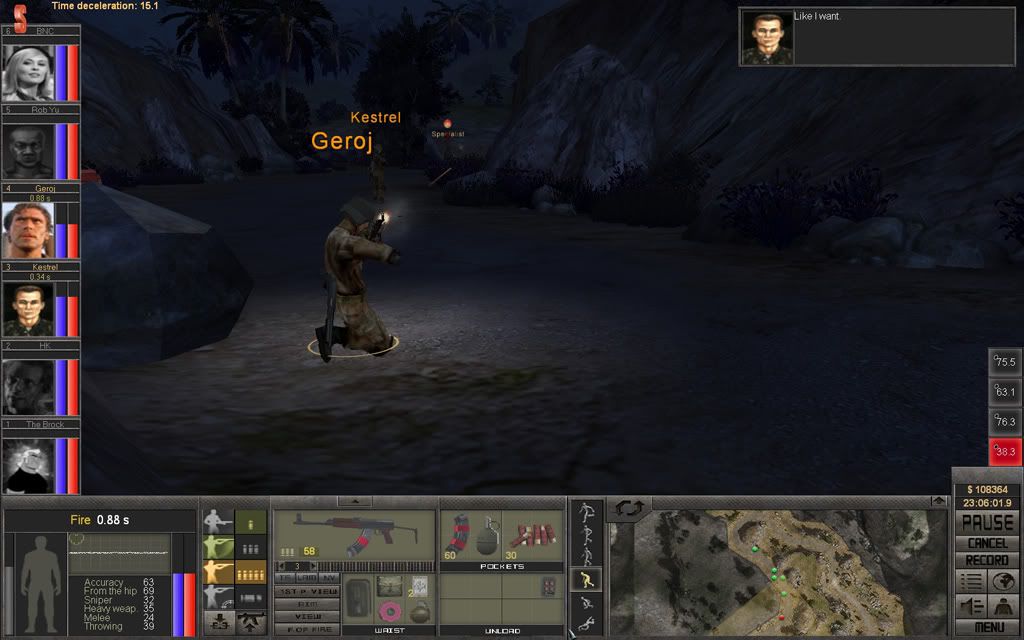
Another road agent comes through the gap, Geroj pins him down with his SA vz.58.

S18_P22.jpg


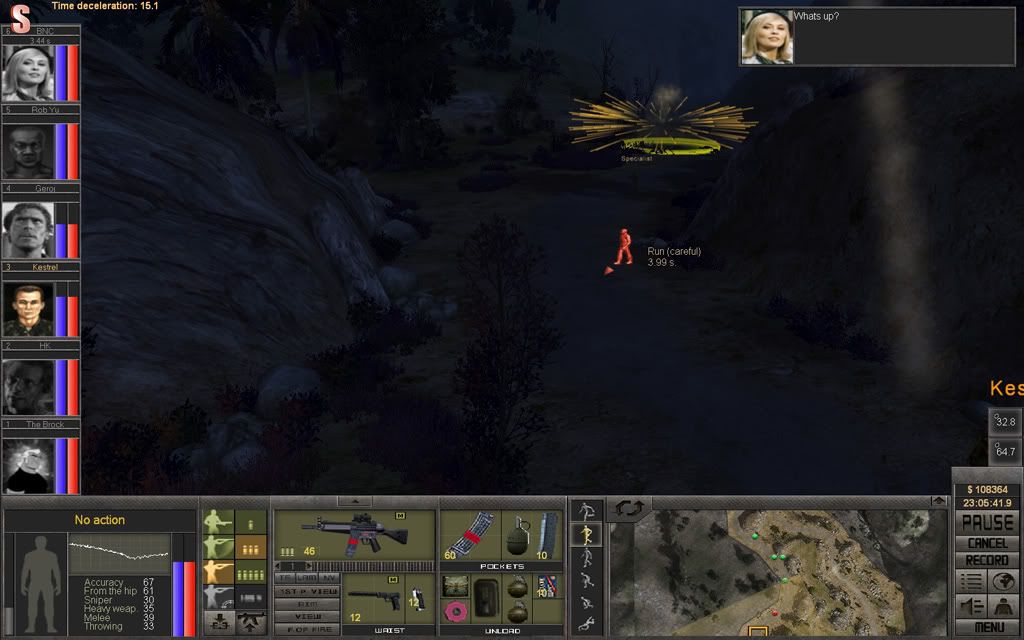
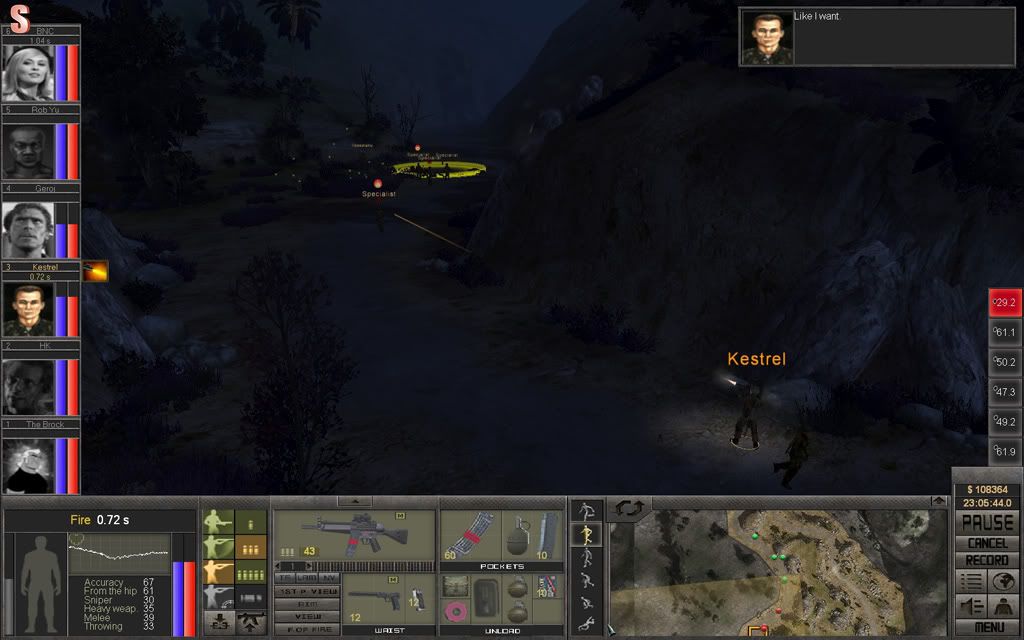
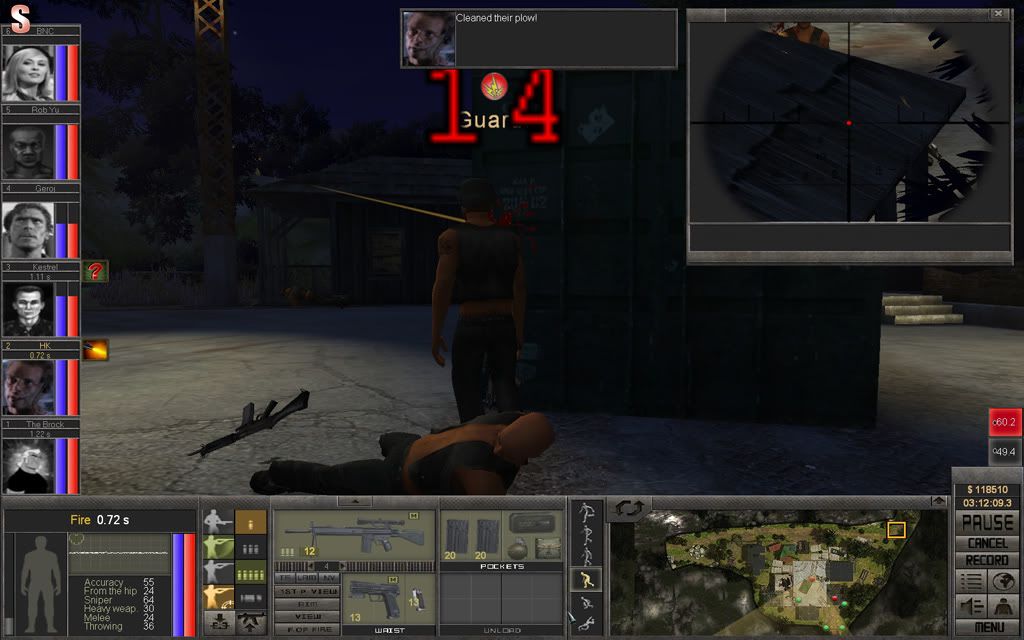
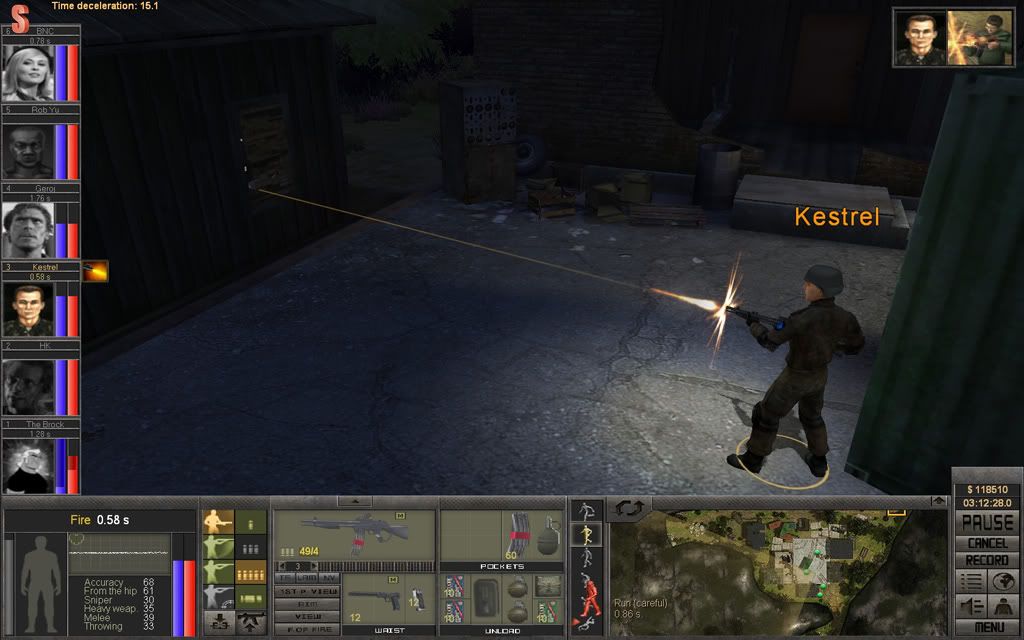
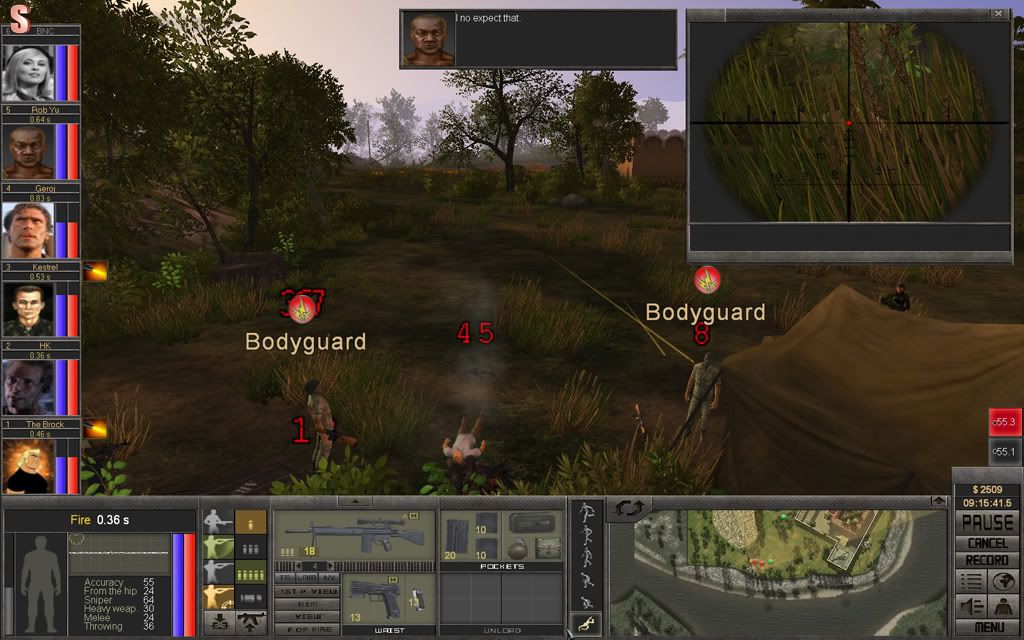
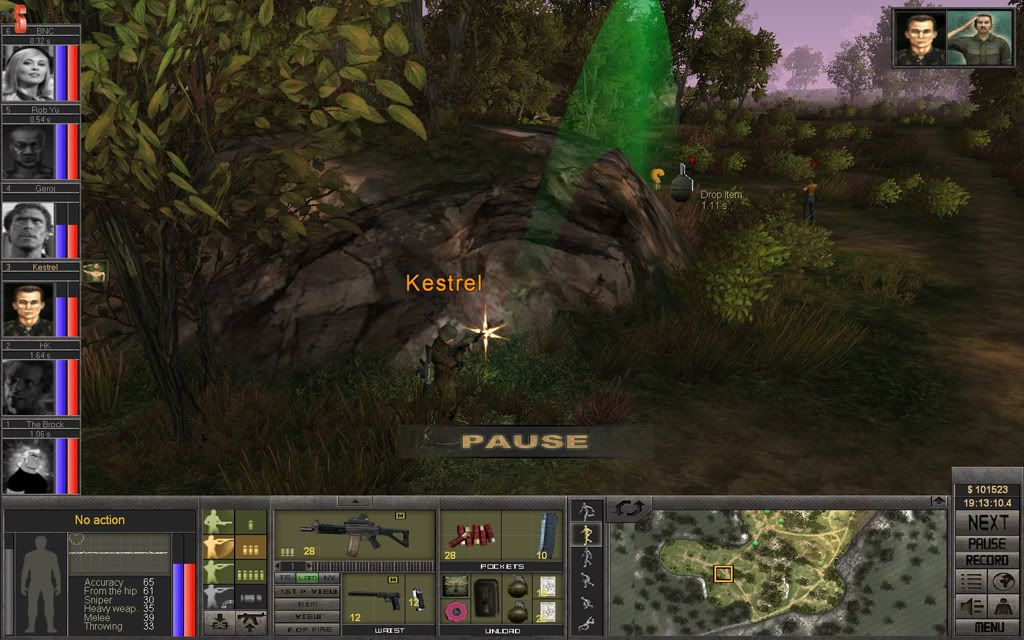
A road agent turns up in Kestrel's sight and he reacts quickly with a burst.

S18_P23.jpg


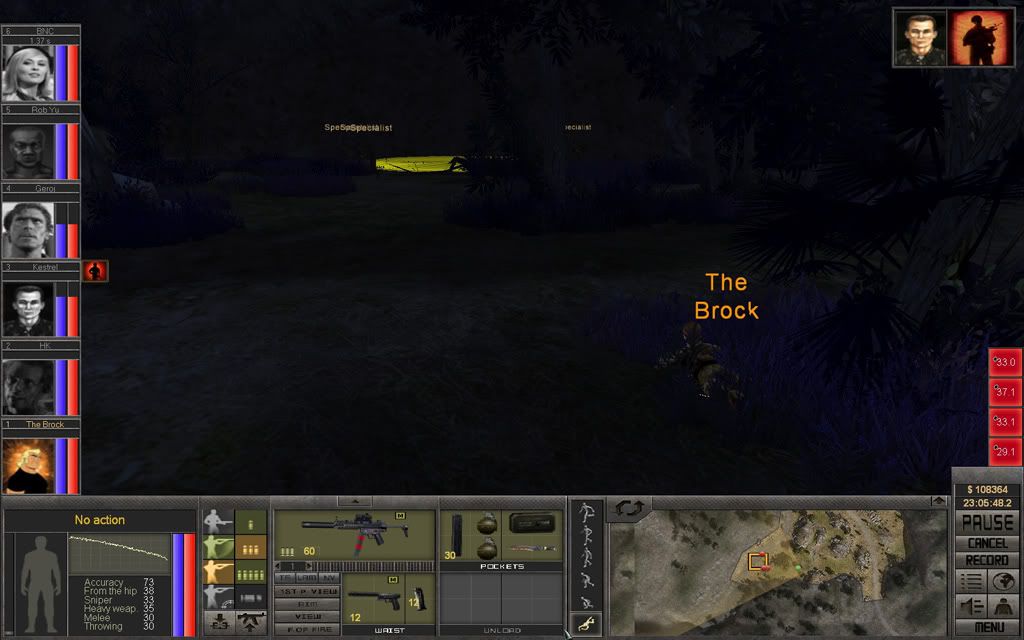
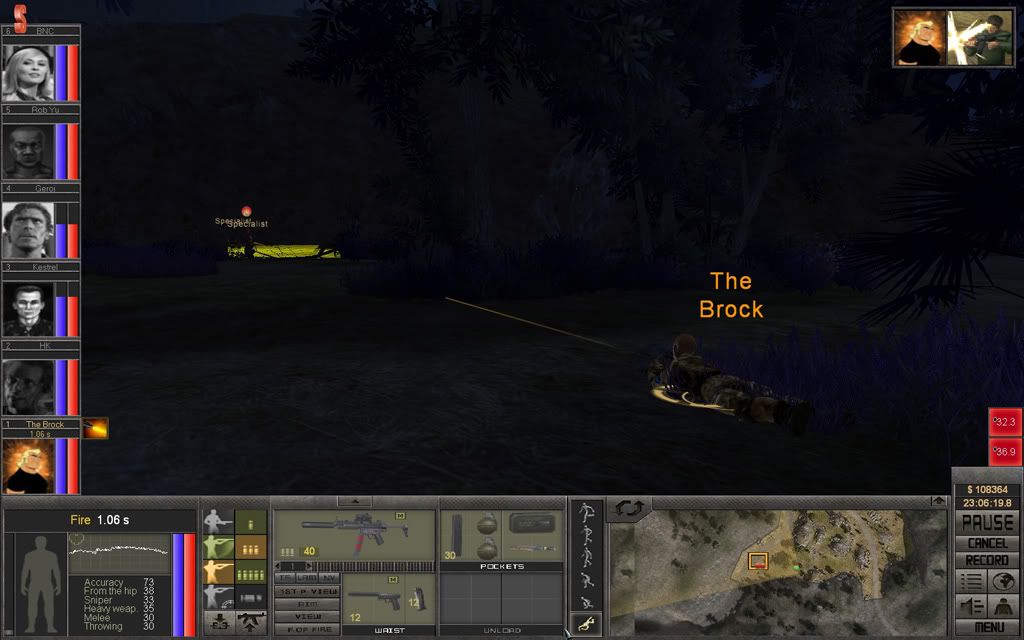
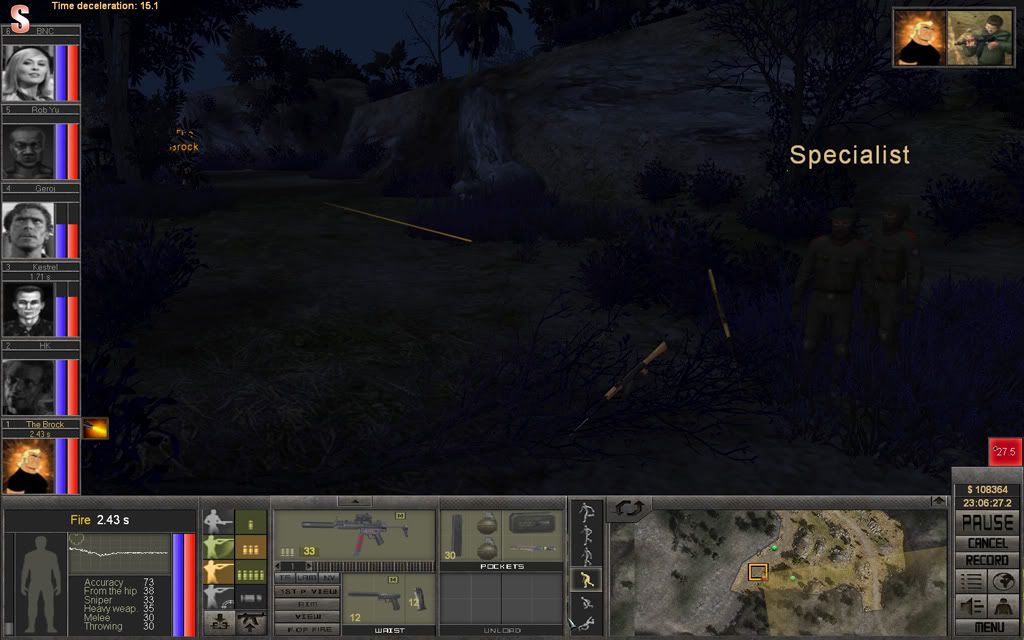
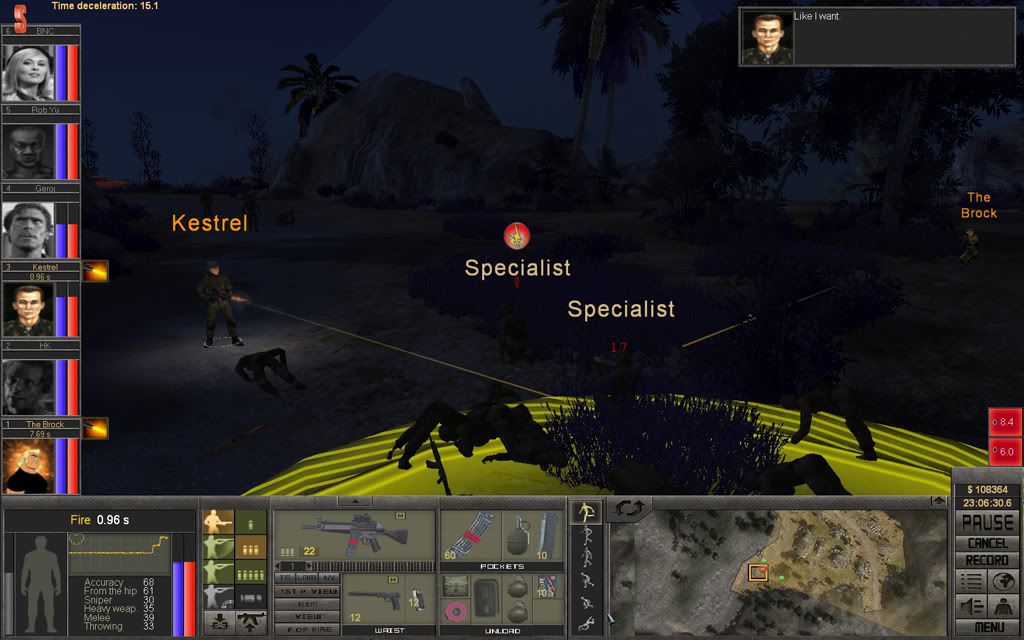
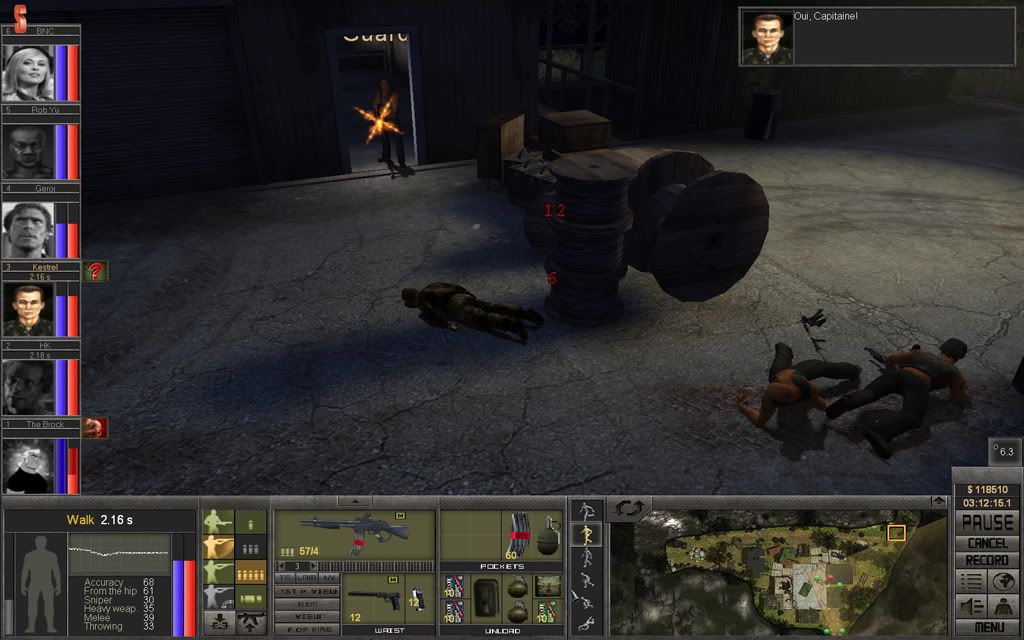
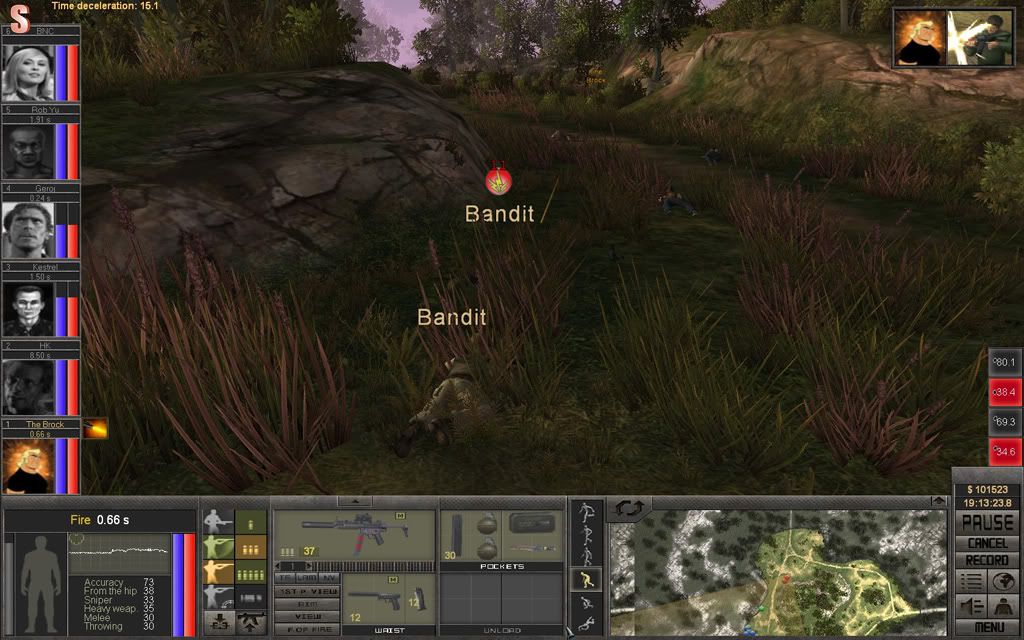
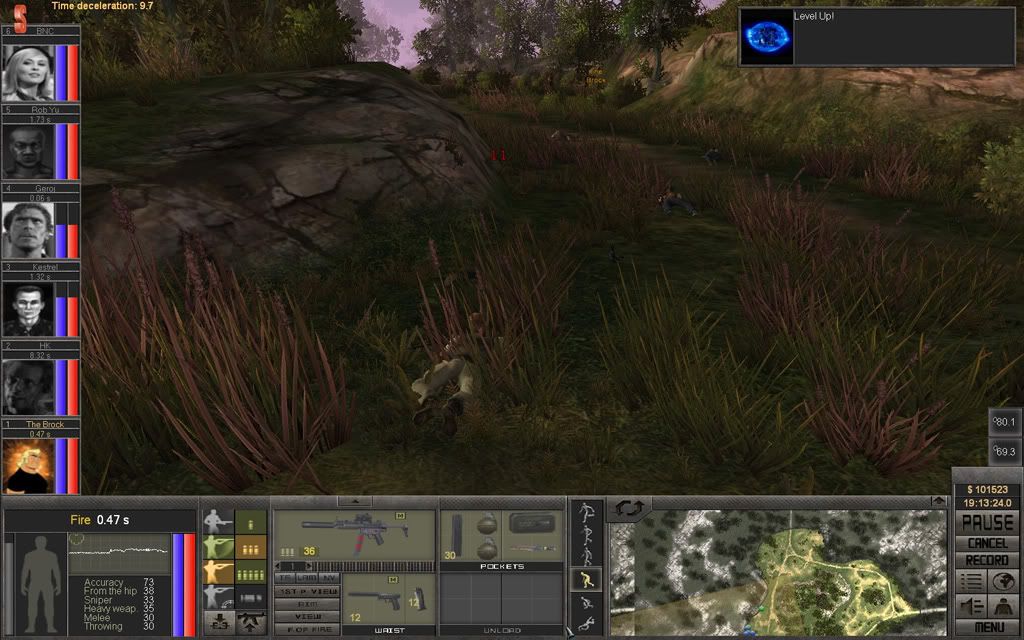
This is one of those lovely moments that are good to get on the record. In 0.2 seconds The Brock manages to kill two birds with one burst. And the kicker, he gets to level up when the second one dies.

S18_P24.jpg

S18_P25.jpg

S18_P26.jpg


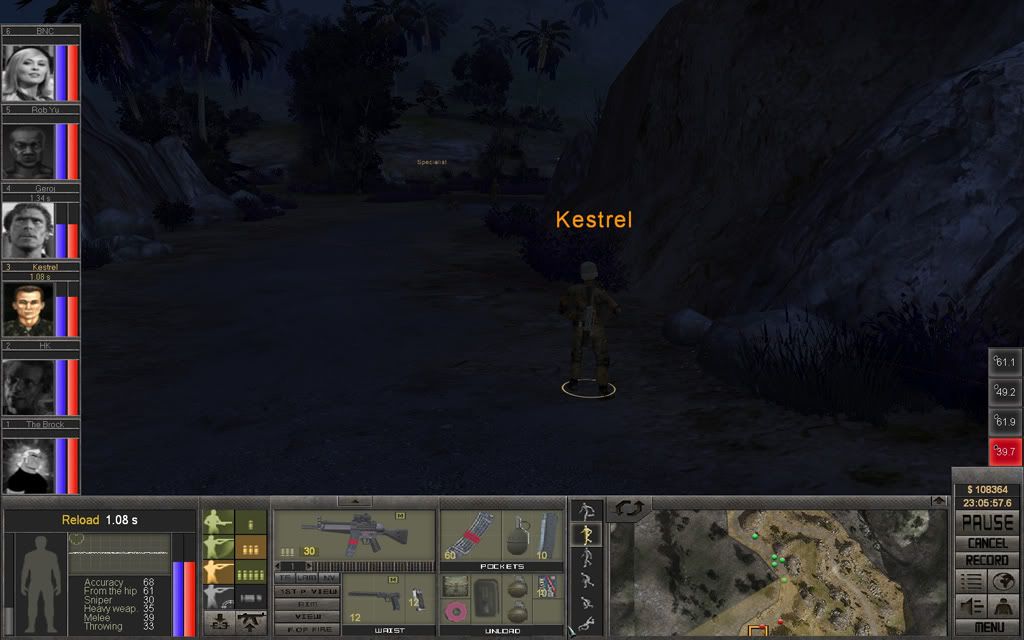
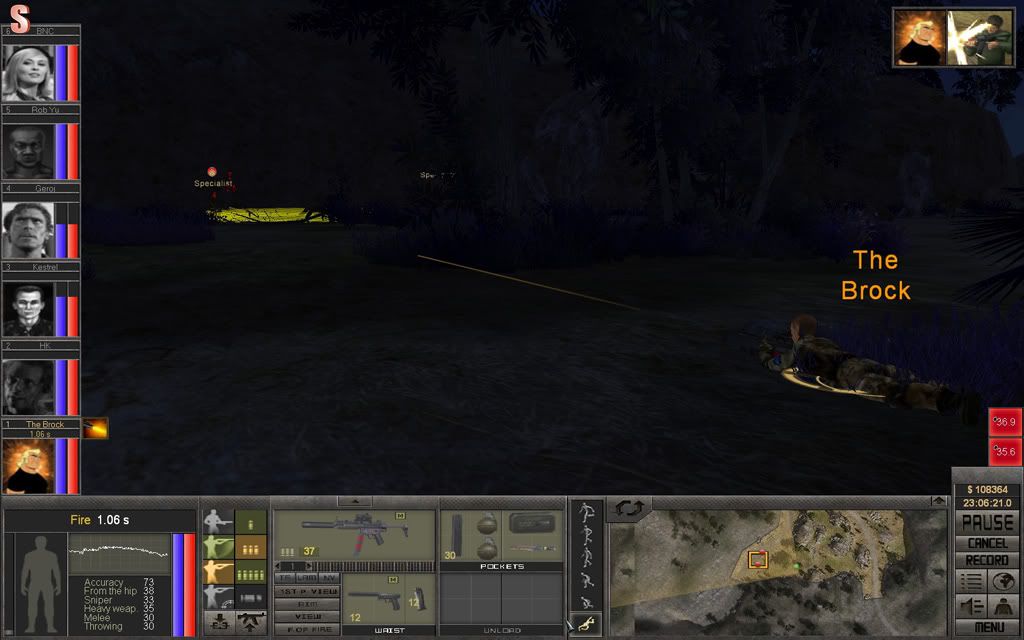
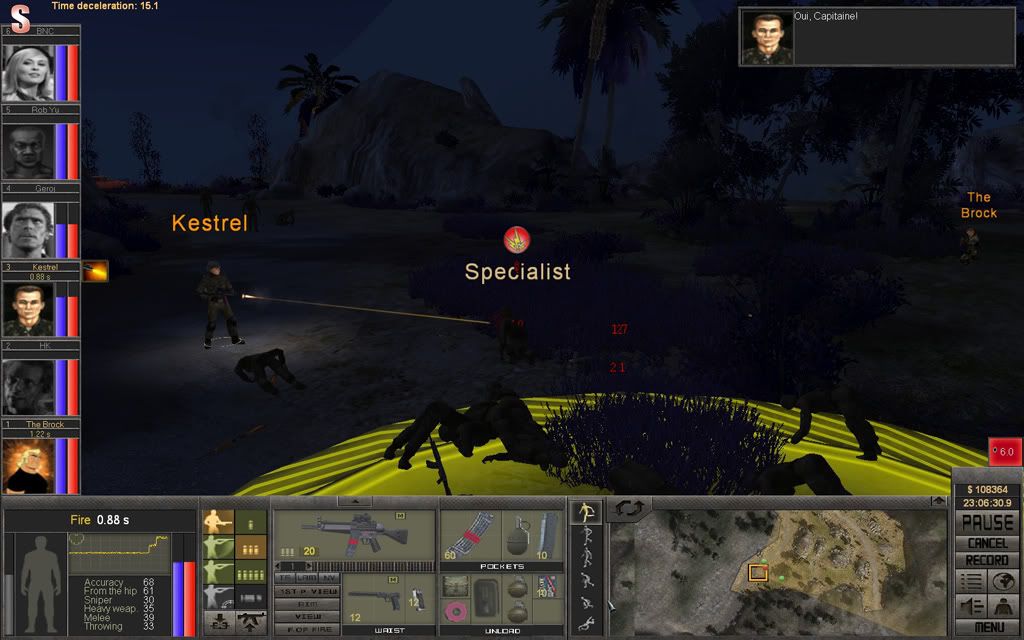
Kestrel sends a second burst at the road agent, killing her.

S18_P27.jpg


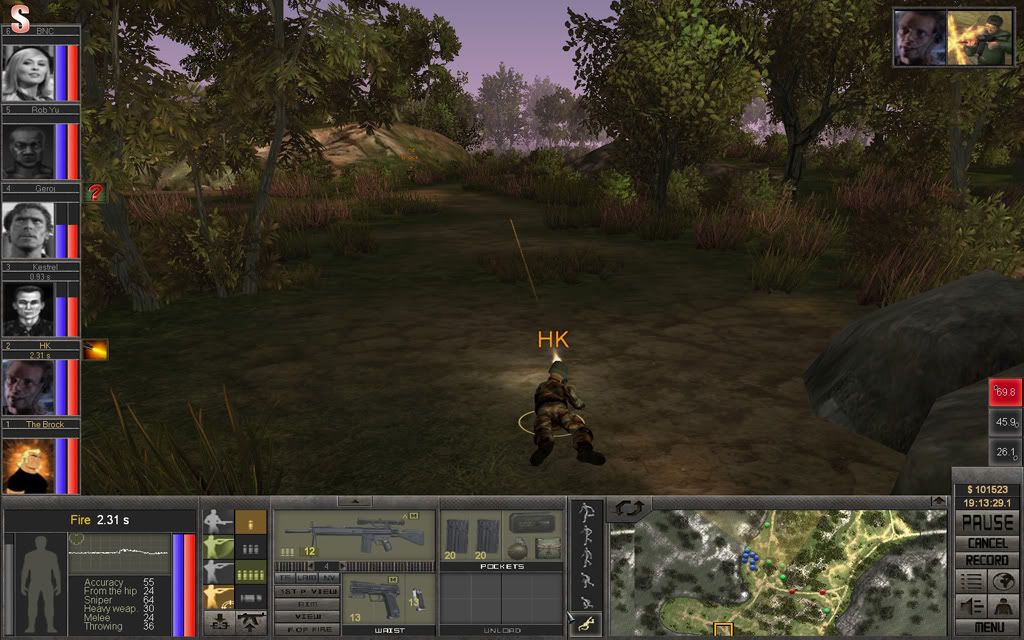
HK spots one using his scope as binoculars and takes him out.

S18_P28.jpg


It's time for the final push, The Brock will move north while HK is covering him. Kestrel will finish moving around the rocks and take out the final enemies. Geroj and Rob Yu are prepared for any banzai charges.

S18_P29kopiera.jpg


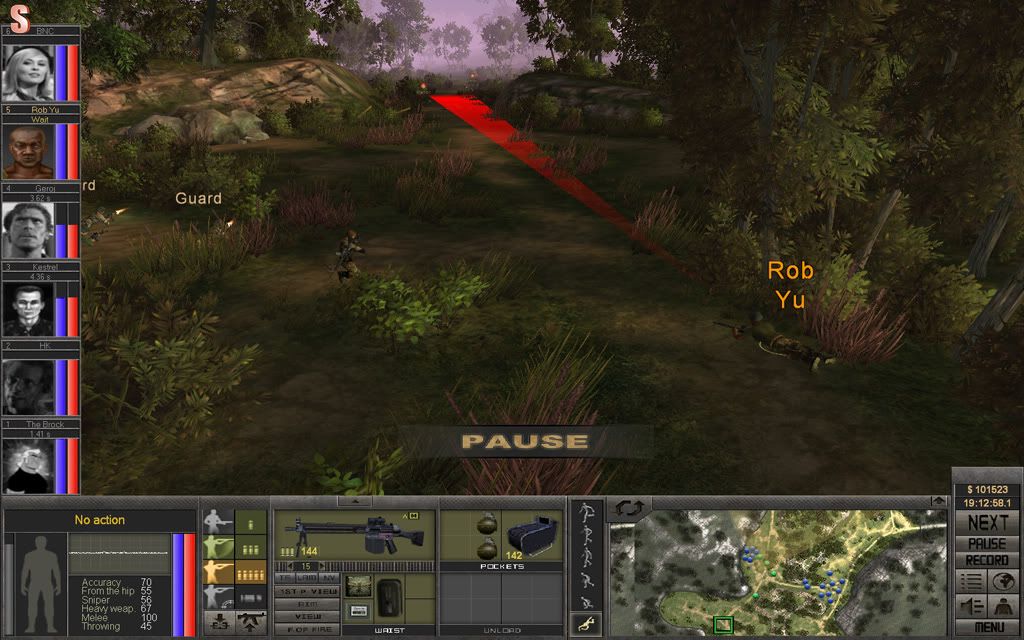
The first enemy coming through the gap gets taken down by a burst from Rob Yu's HK23e.

S18_P30.jpg


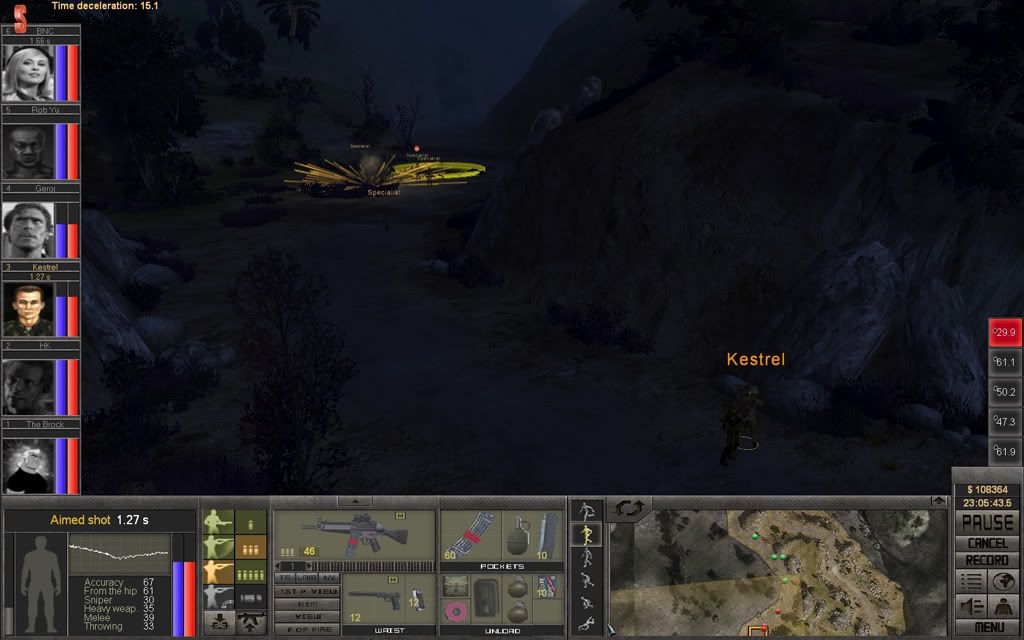
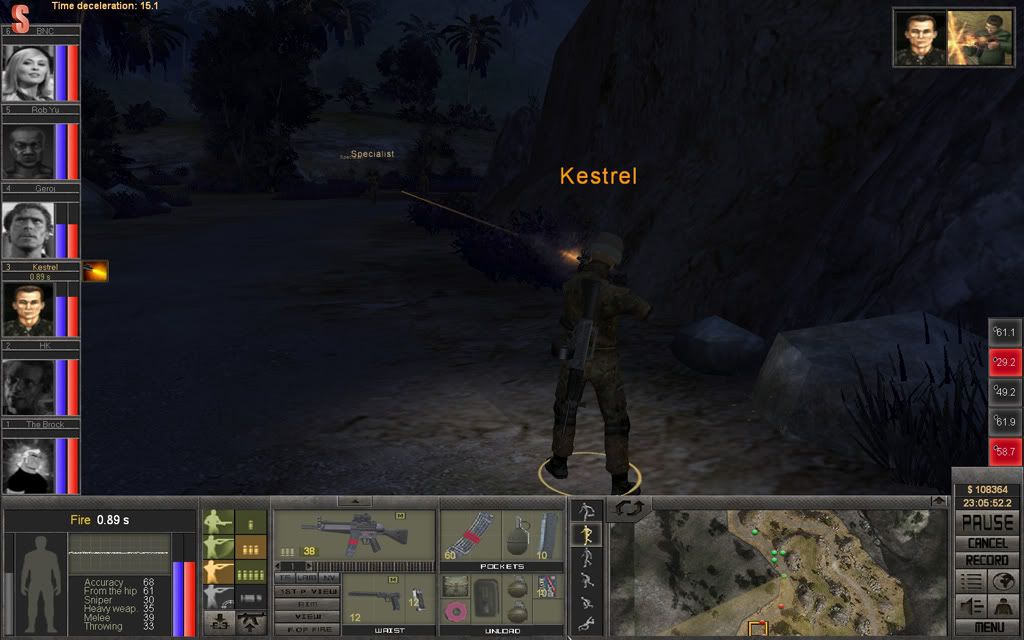
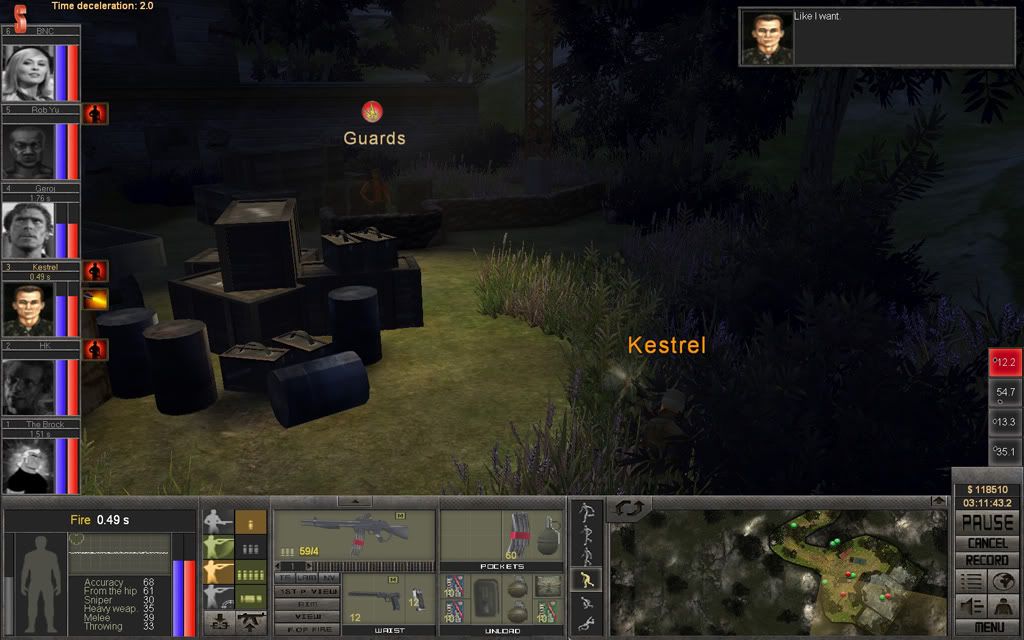
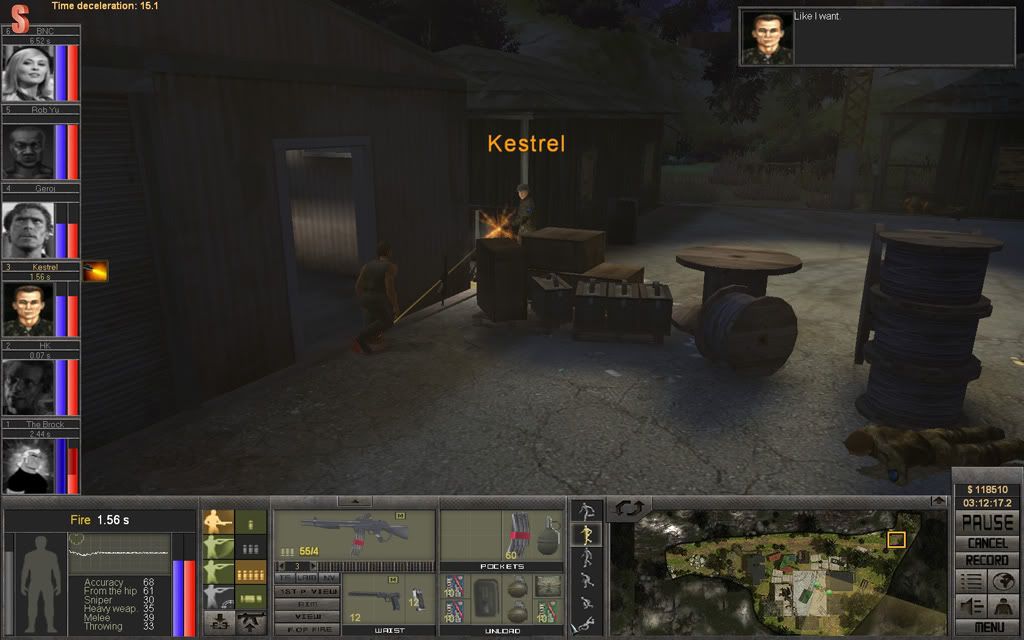
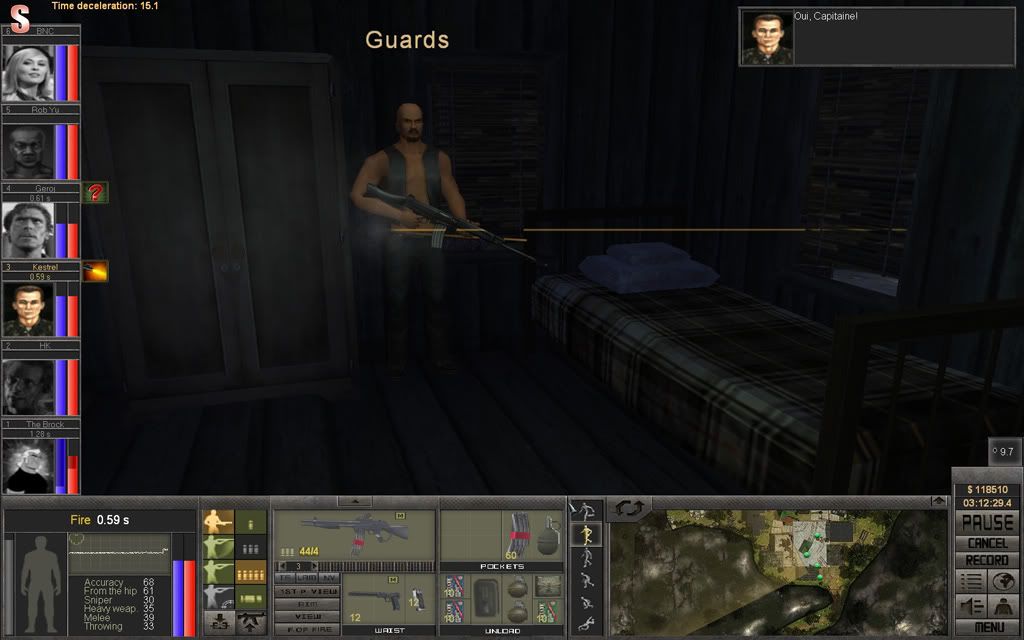
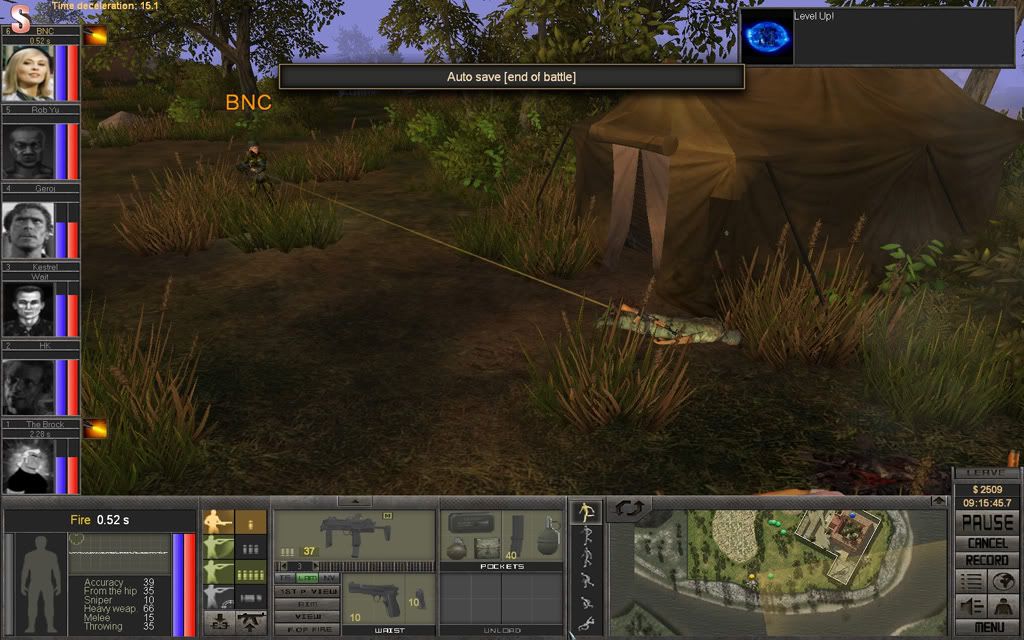
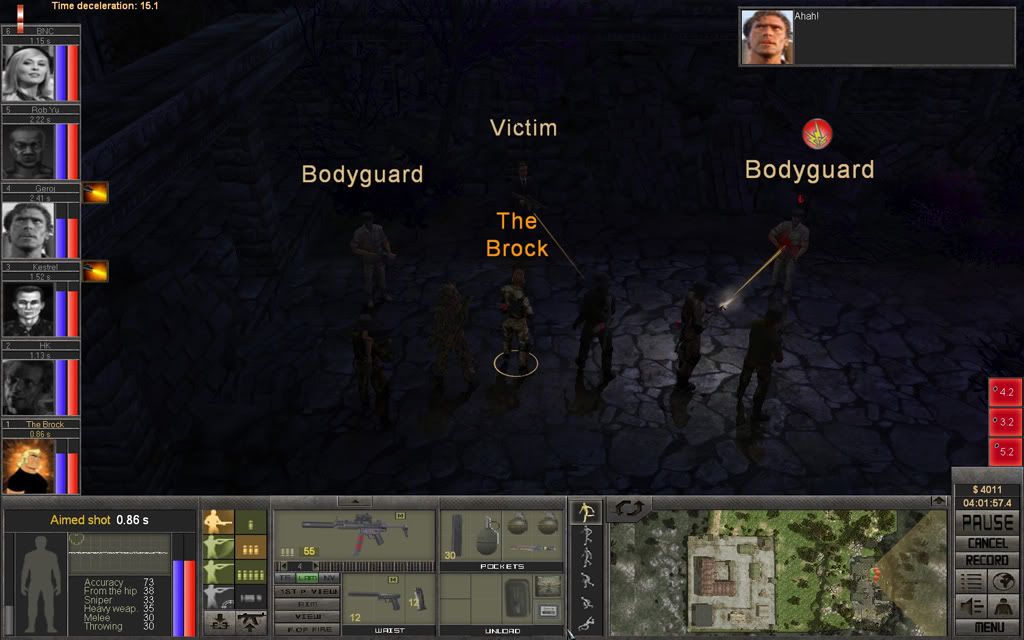
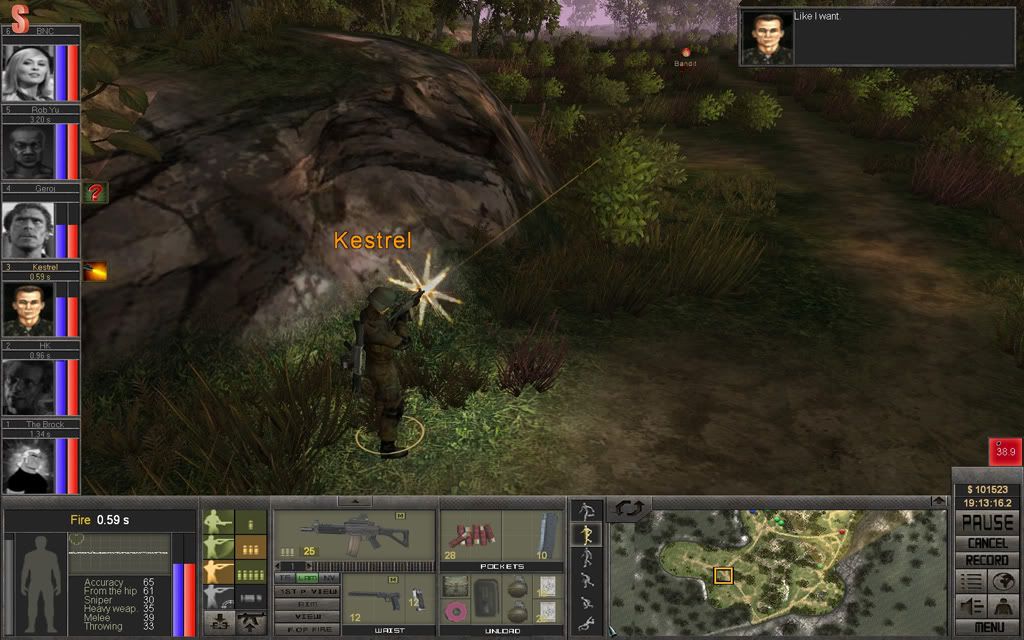
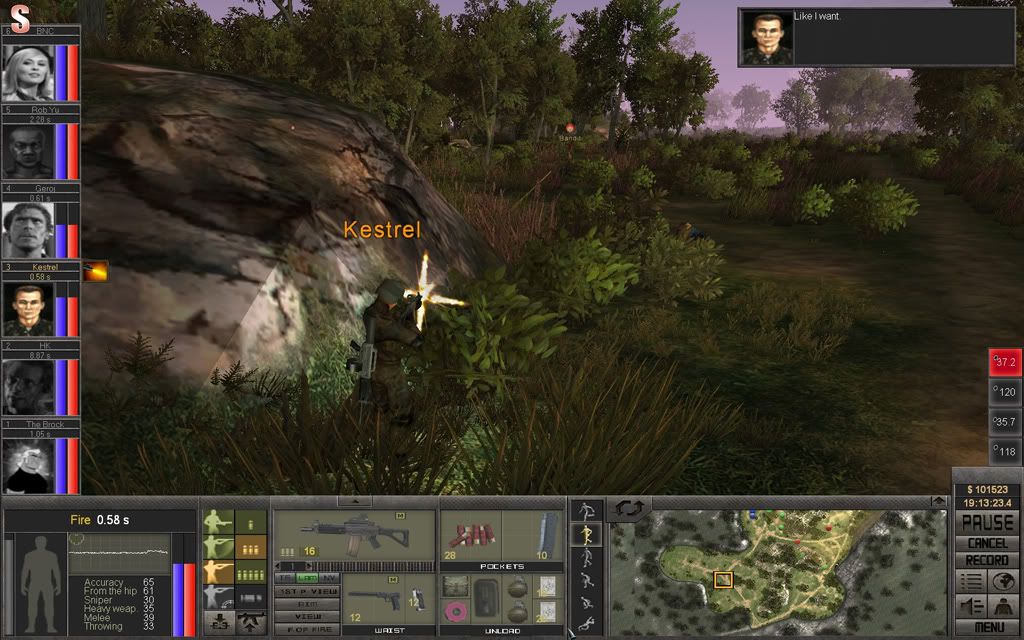
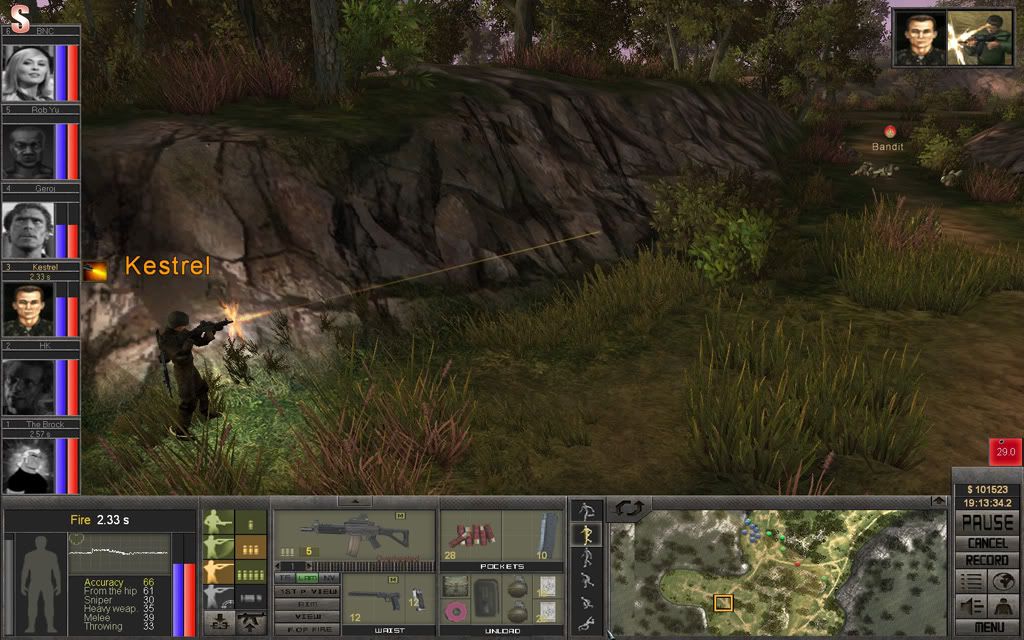
Kestrel tries to get the final enemy, sending burst after burst at her, but she has good cover from a pile of corpses. His SIG SG552 overheats and he need to start using semi-automatic fire to reduce the wear rate.

S18_P31.jpg


The road agent under the corpses throws a grenade in a last attempt to get away, forcing Geroj, HK and Rob Yu to pull back.

S18_P32.jpg

S18_P33.jpg


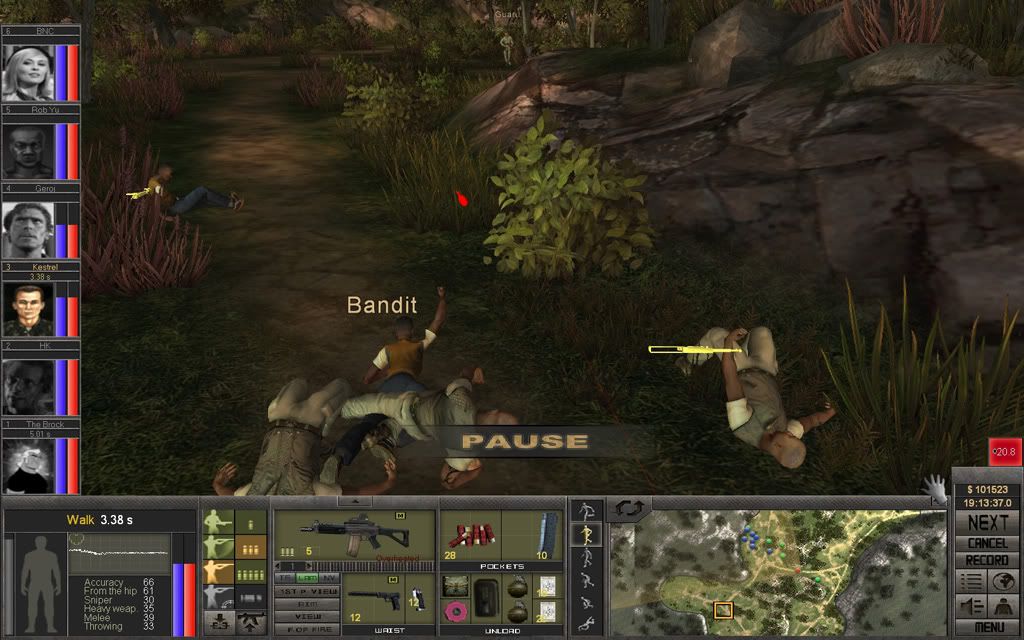
That's when Kestrel reaches her and does some stompin'.

S18_P34.jpg


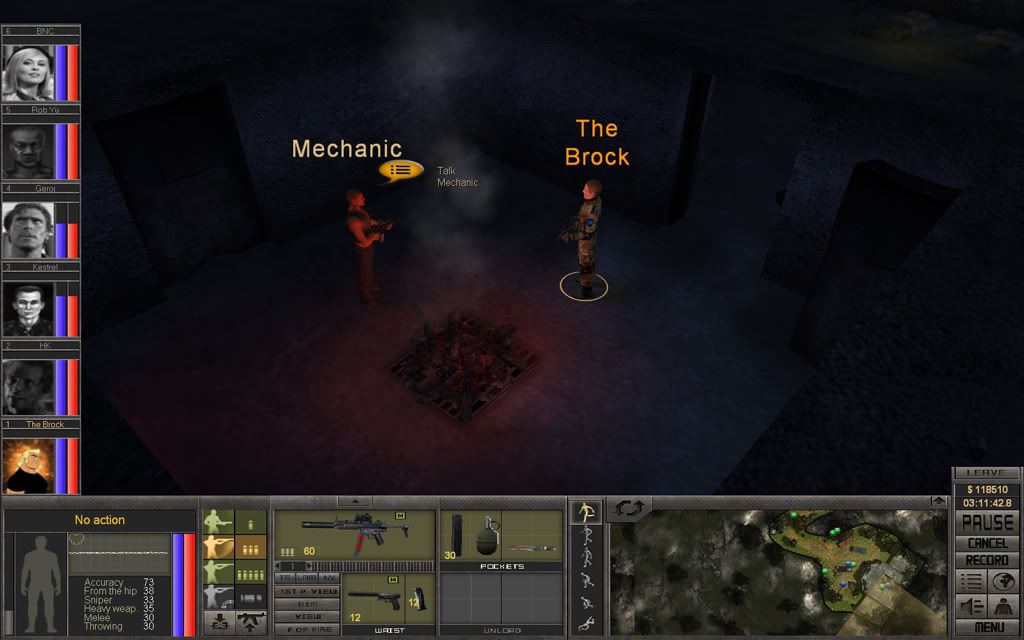
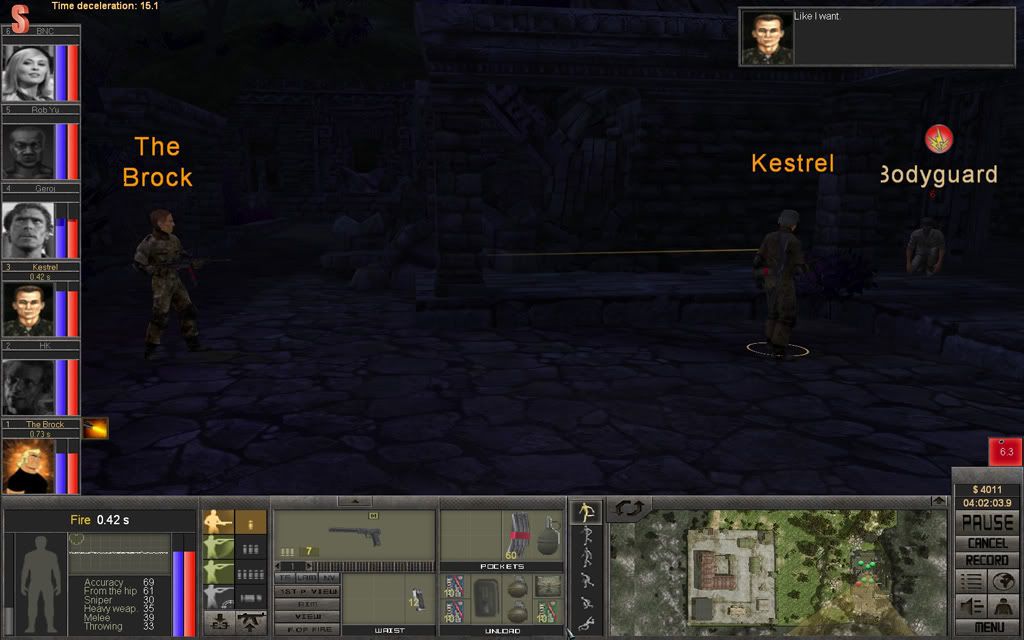
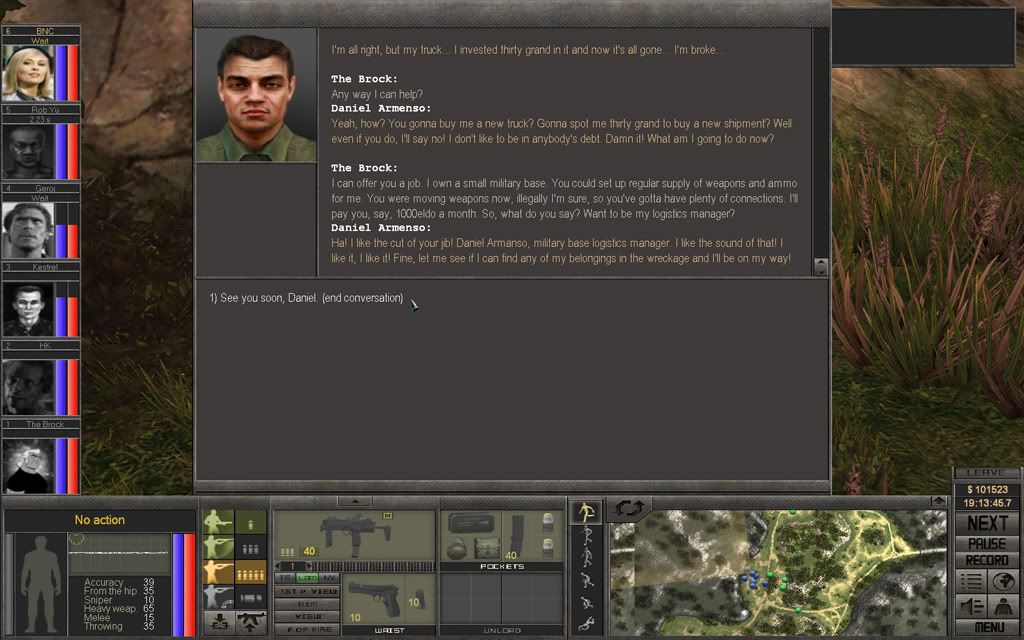
BNC talks to Armenso and he agrees to come to their base.

S18_P35.jpg

S18_P36.jpg


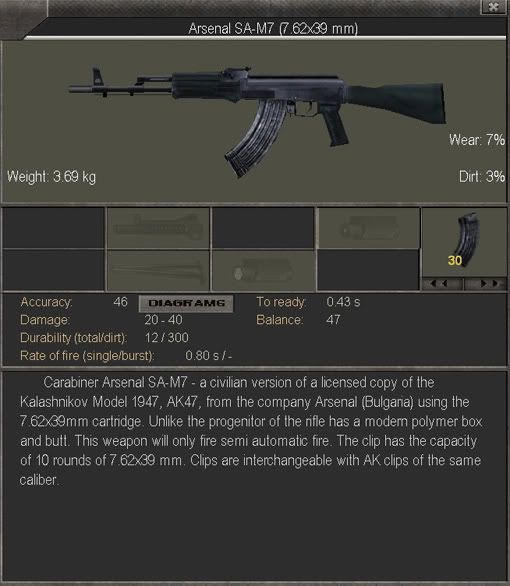
After the H&K mission, this loot feels weak, but we got a lot of 7.62x33mm rounds and mags, which is never a bad thing.

S18_P37.jpg

S18_P38.jpg

S18_P39.jpg


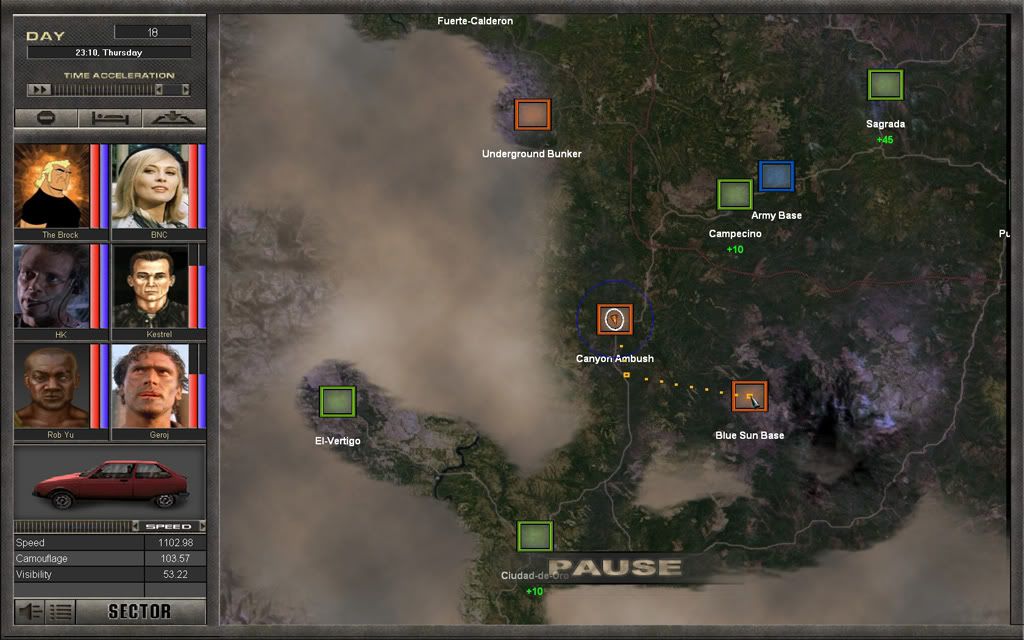
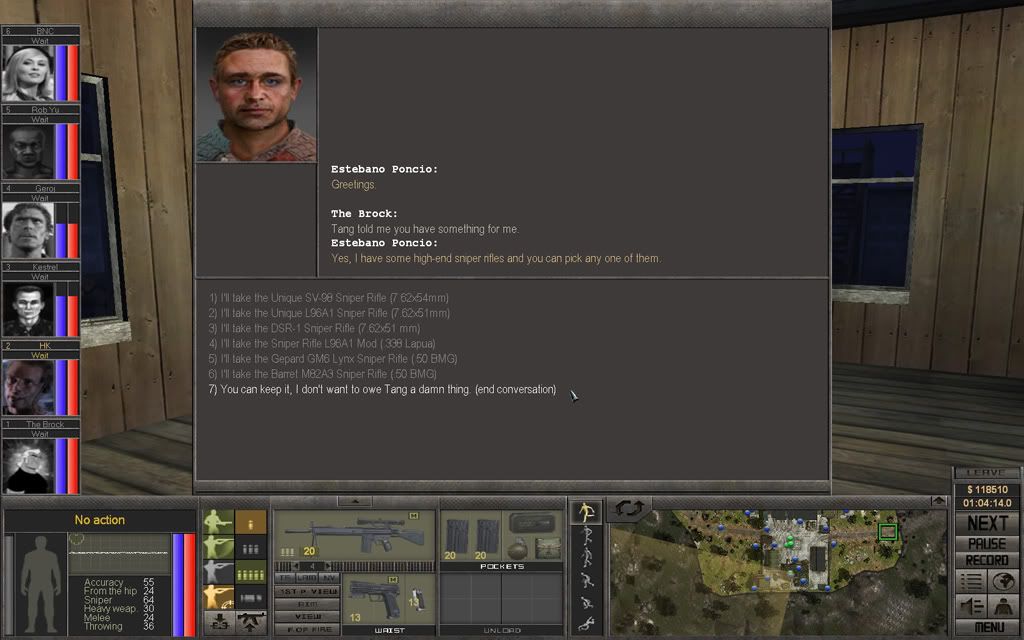
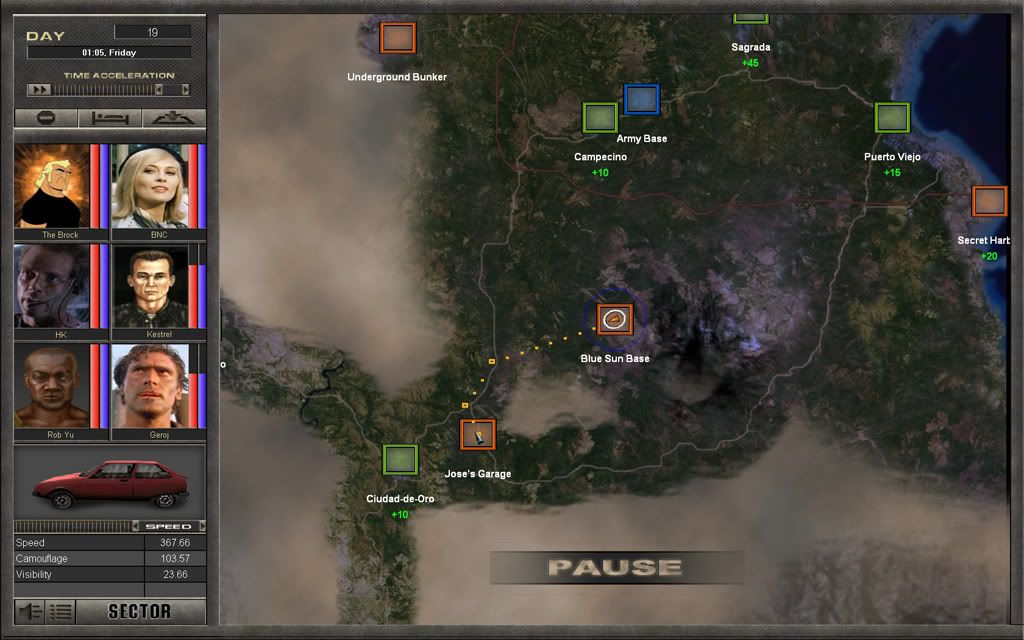
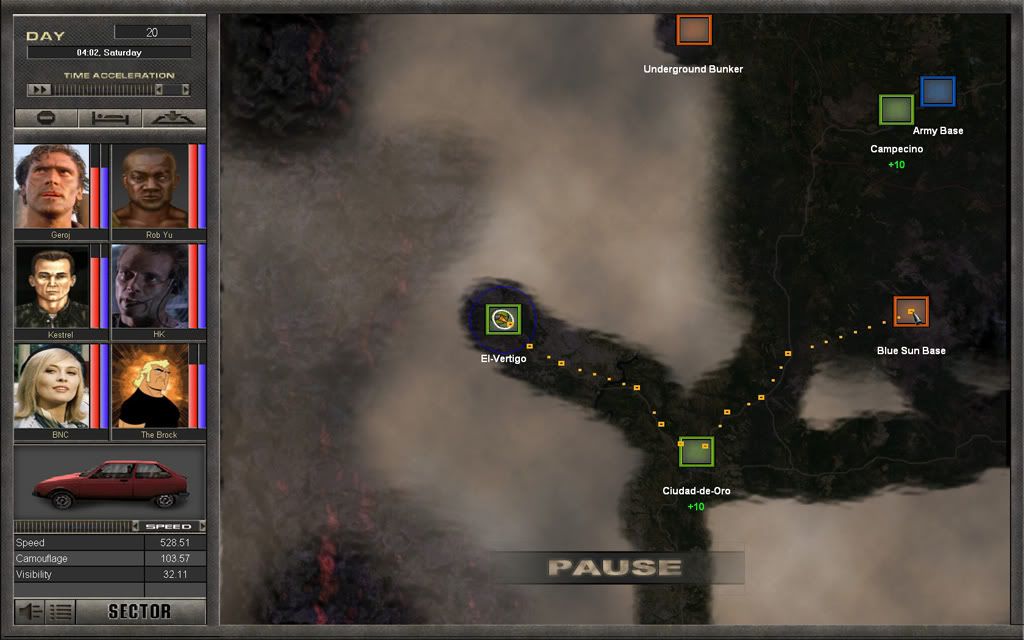
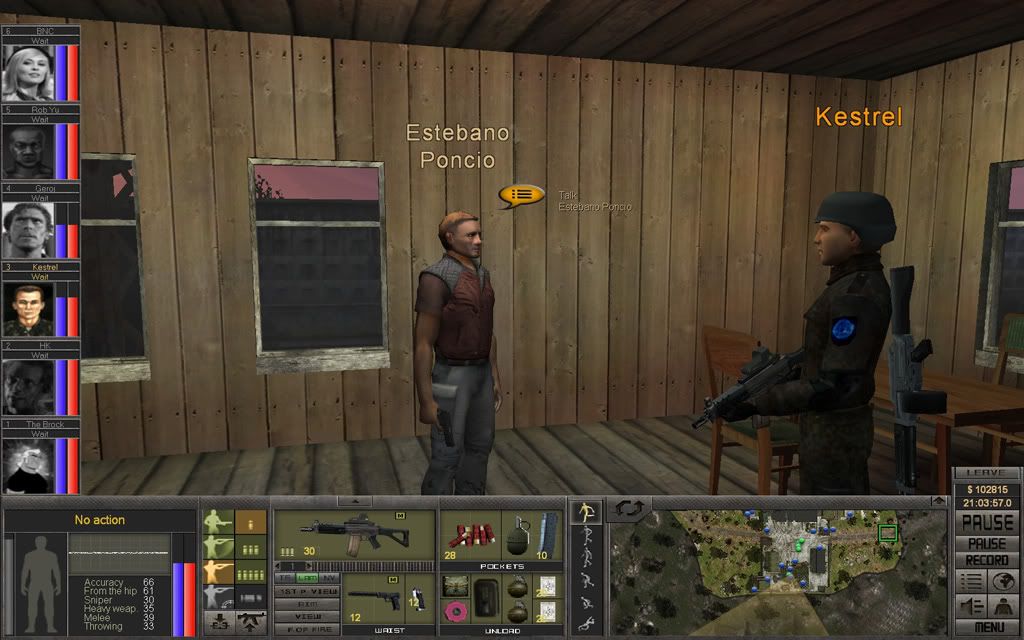
The team continue to the Blue Sun Base and sells the loot at the local trader Poncio.

S18_P40.jpg

S18_P41.jpg


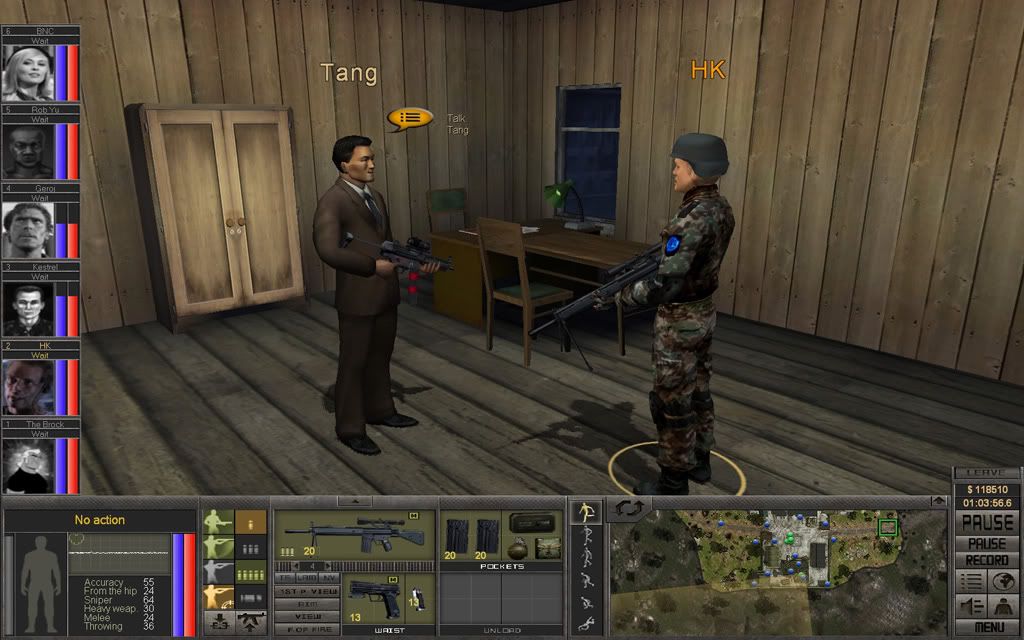
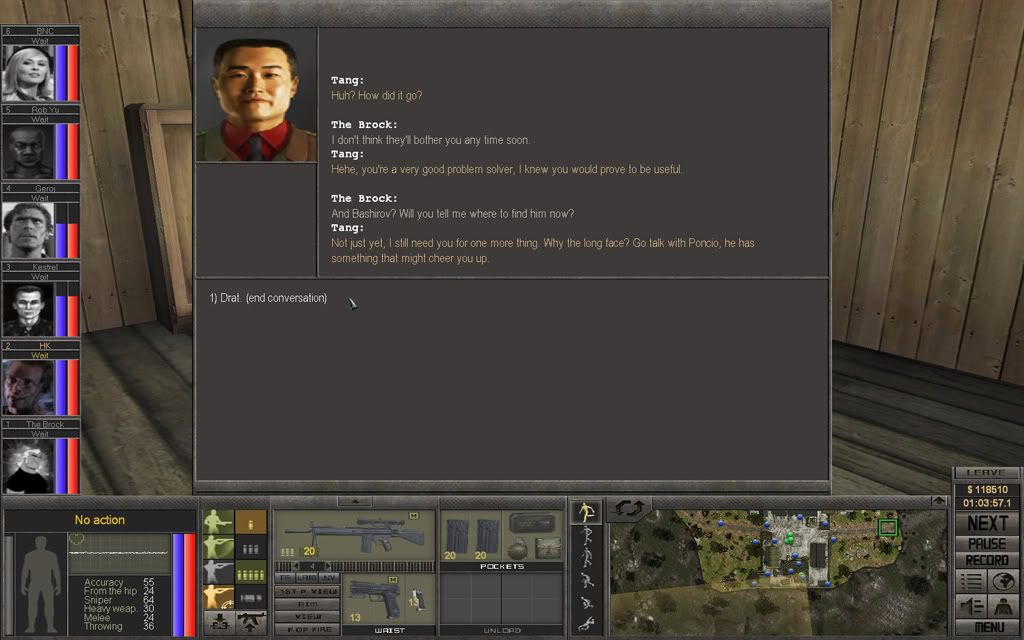
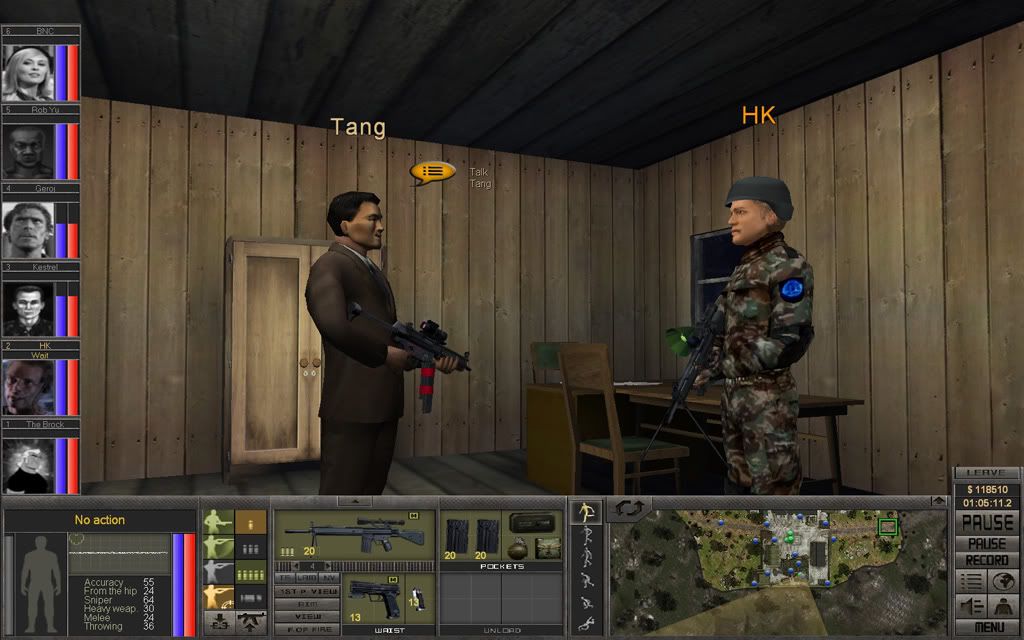
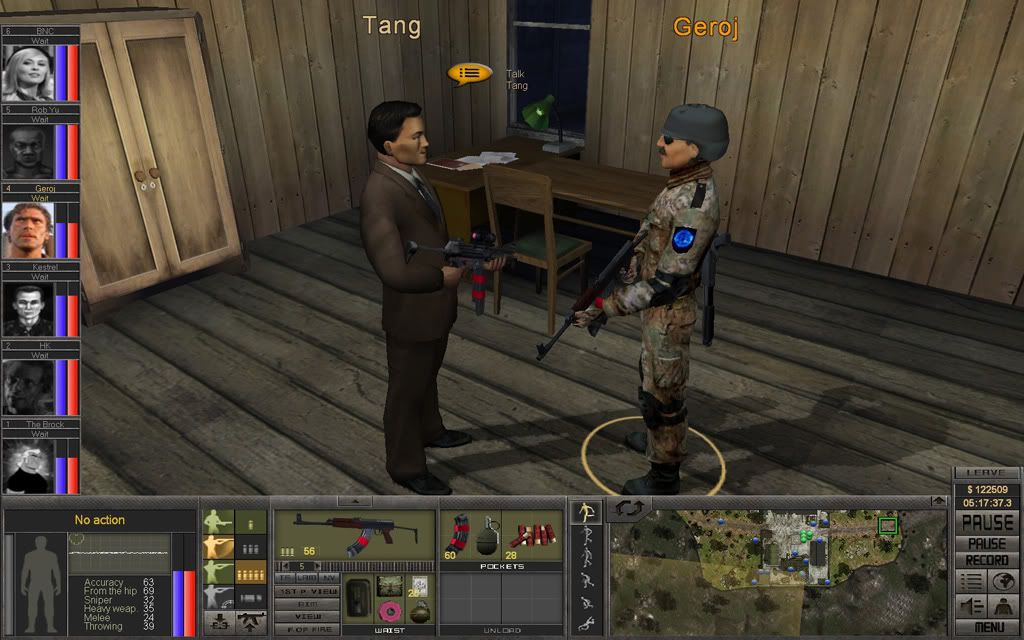
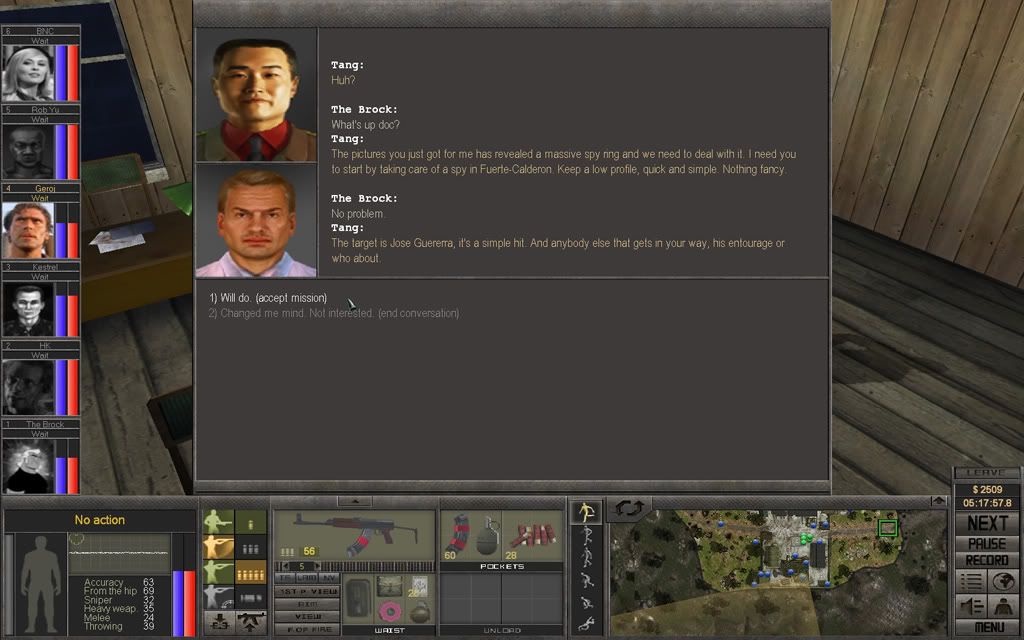
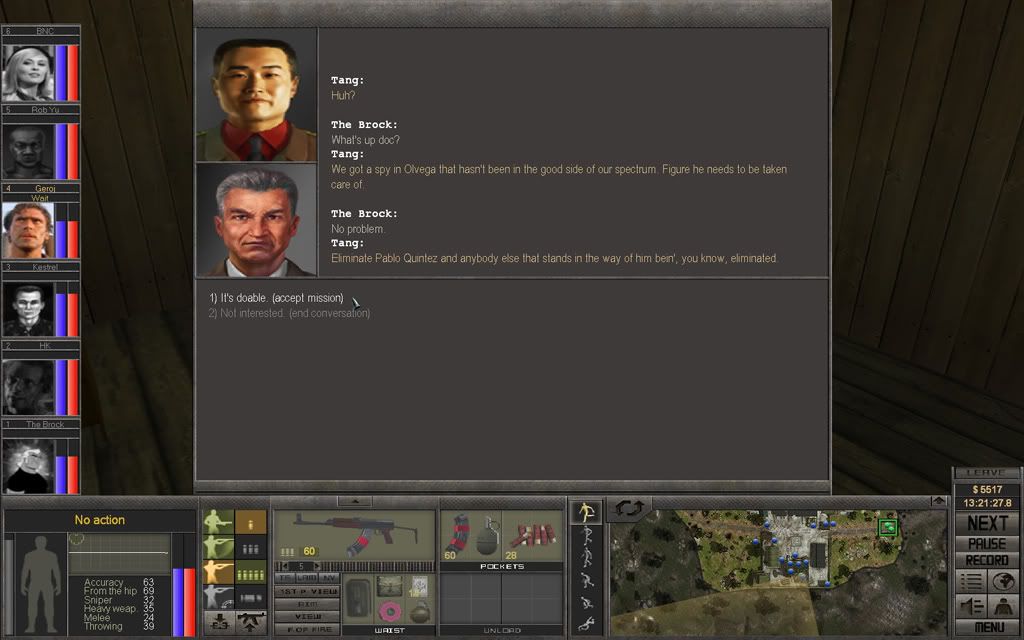
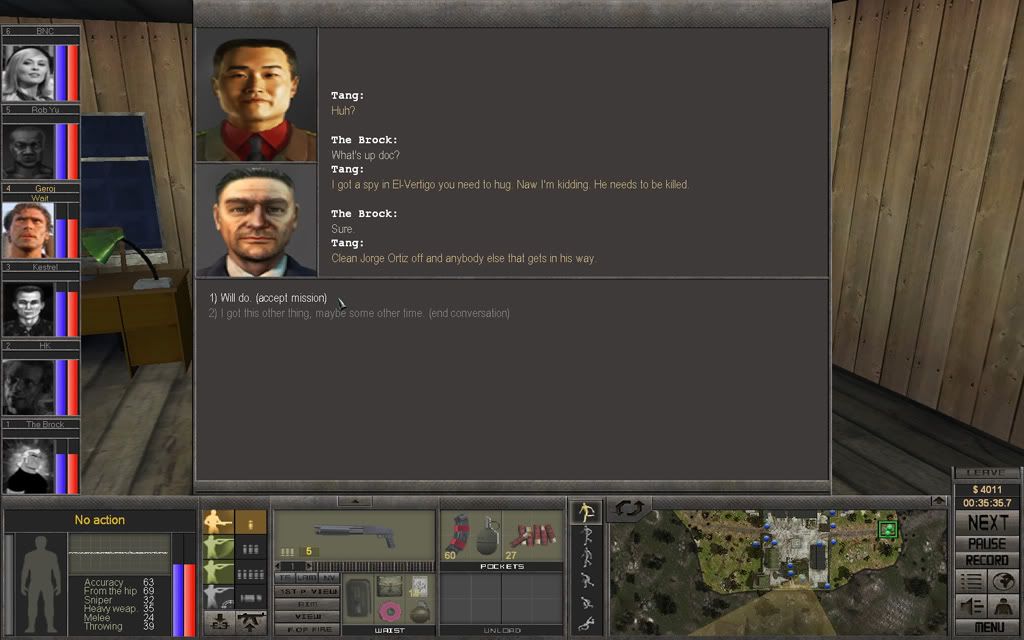
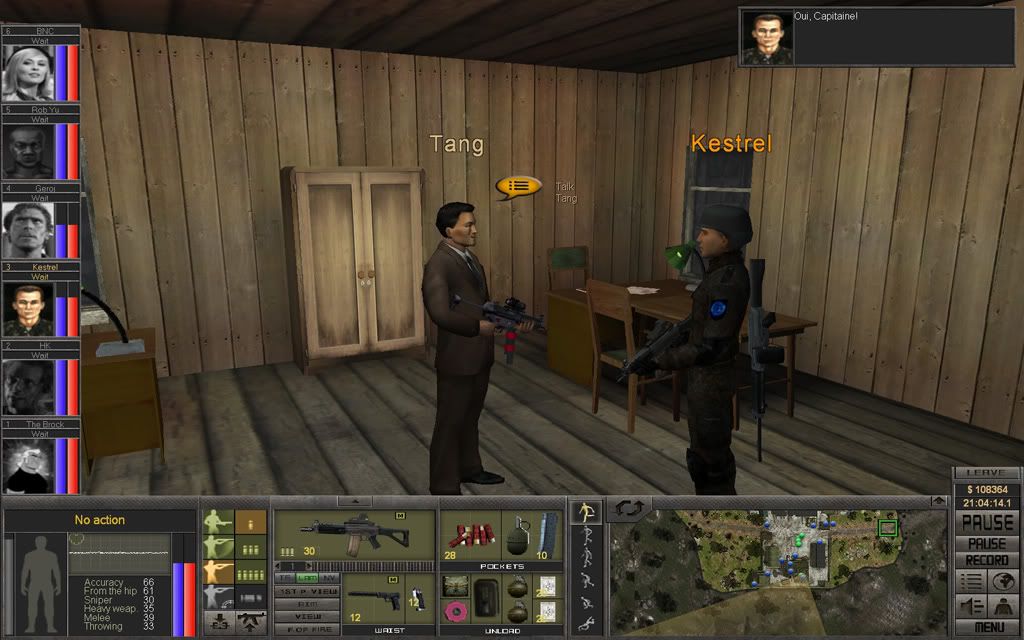
Kestrel then talks to Tang again, who has another mission for them. Poncio gives them the details and they move out.

S18_P42.jpg

S18_P43.jpg

S18_P44.jpg


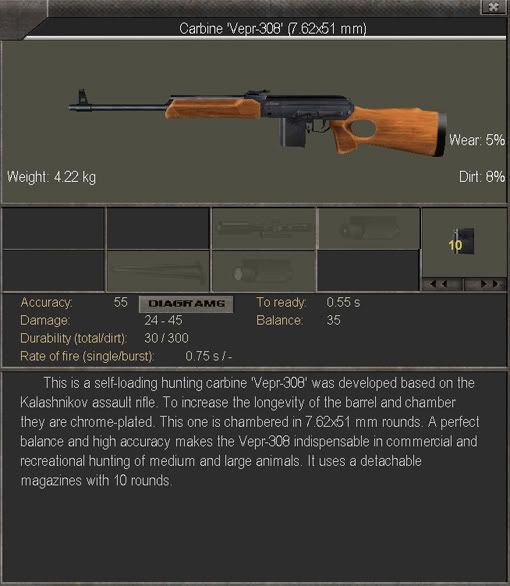
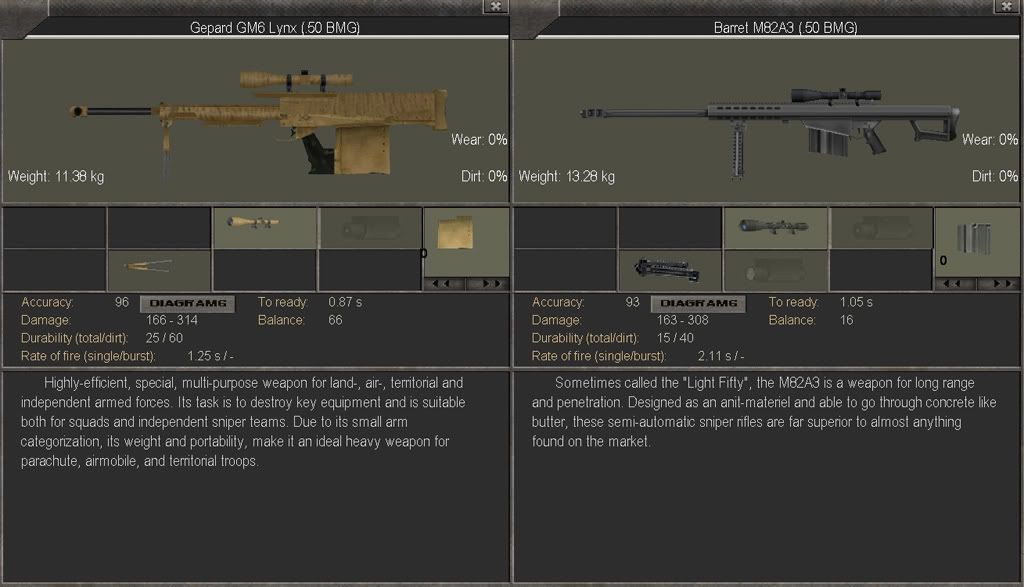
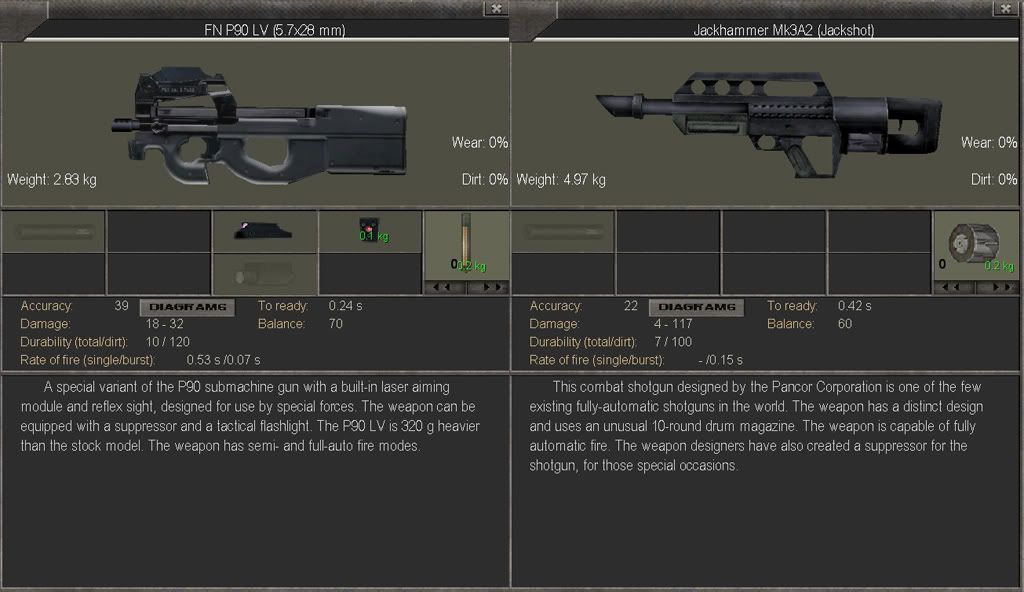
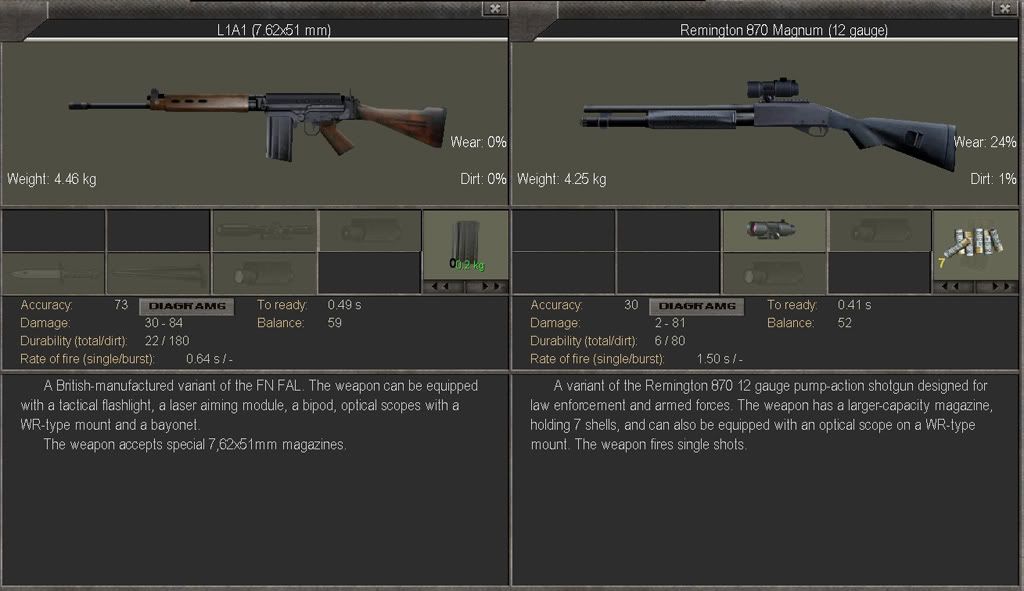
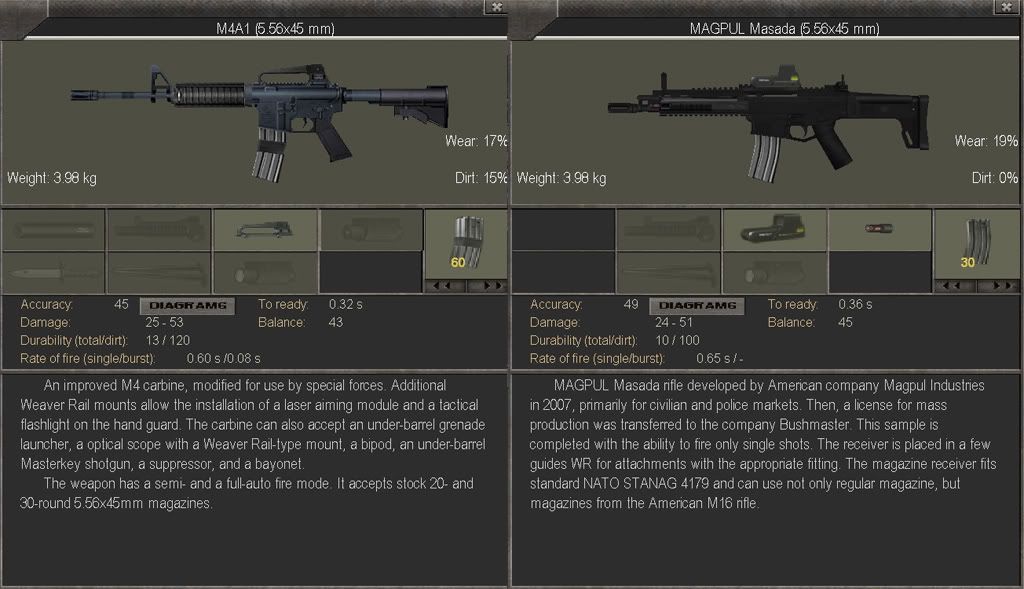
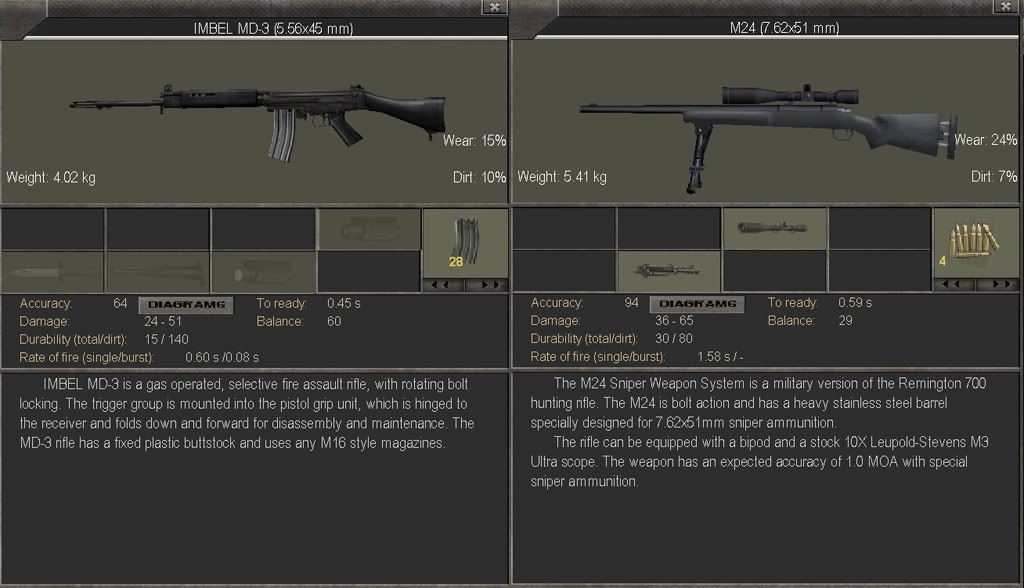
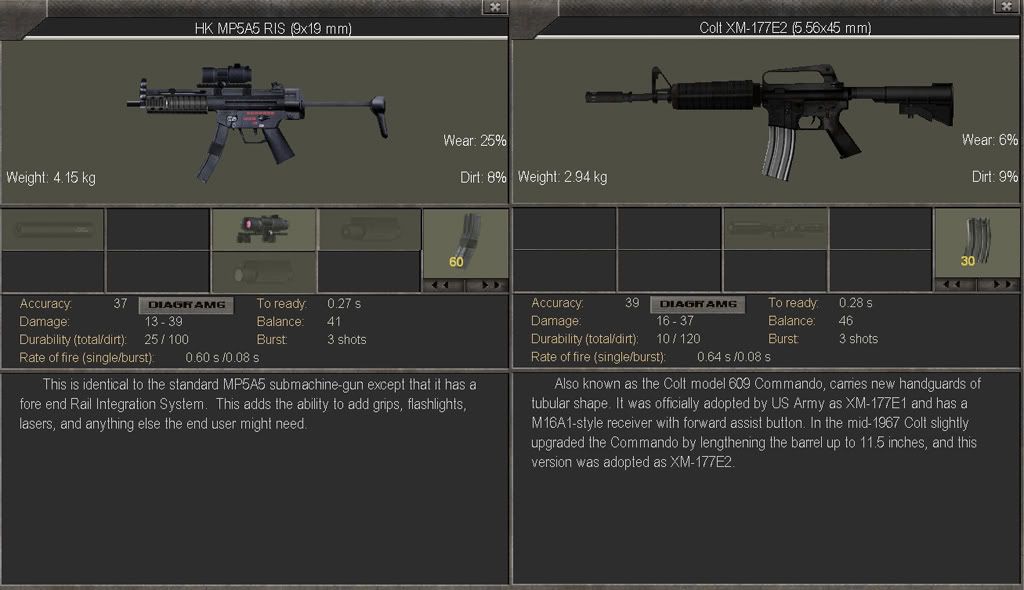
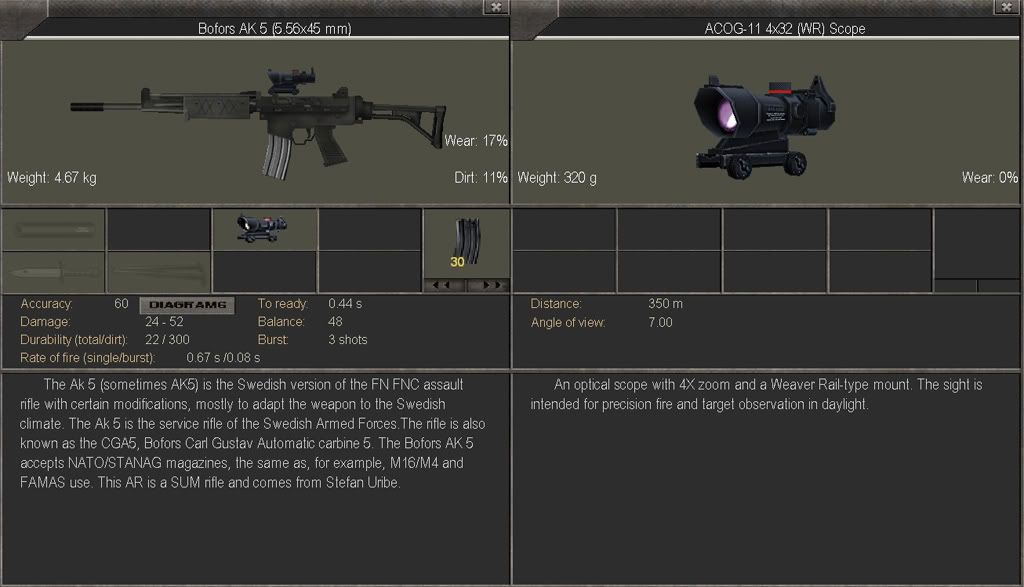
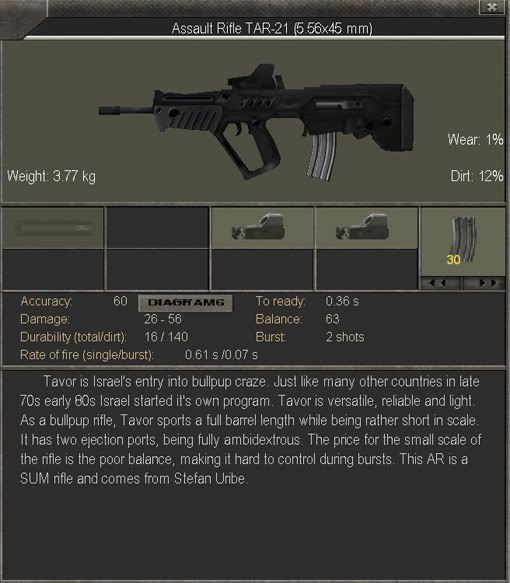
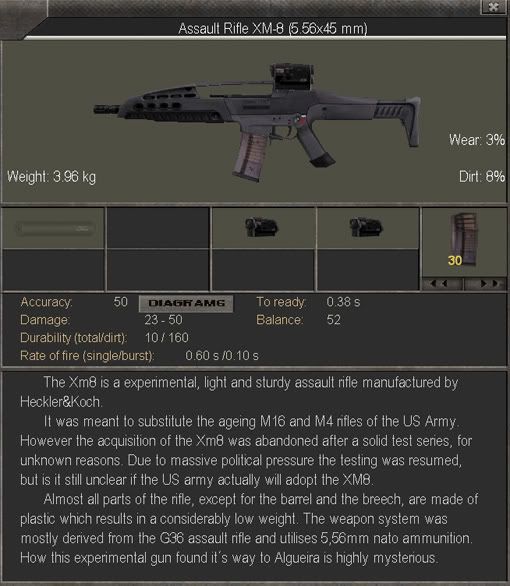
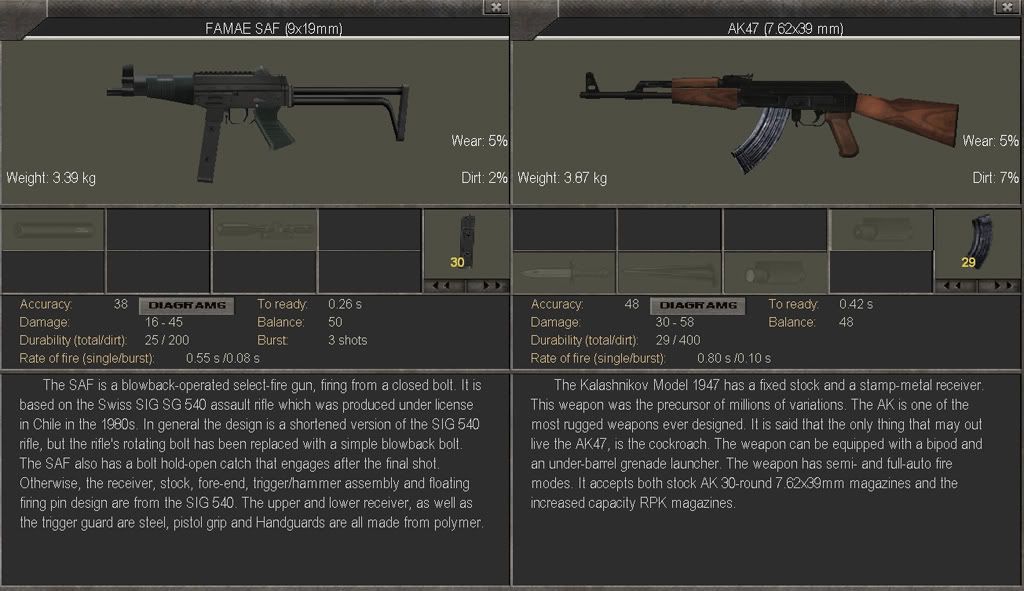
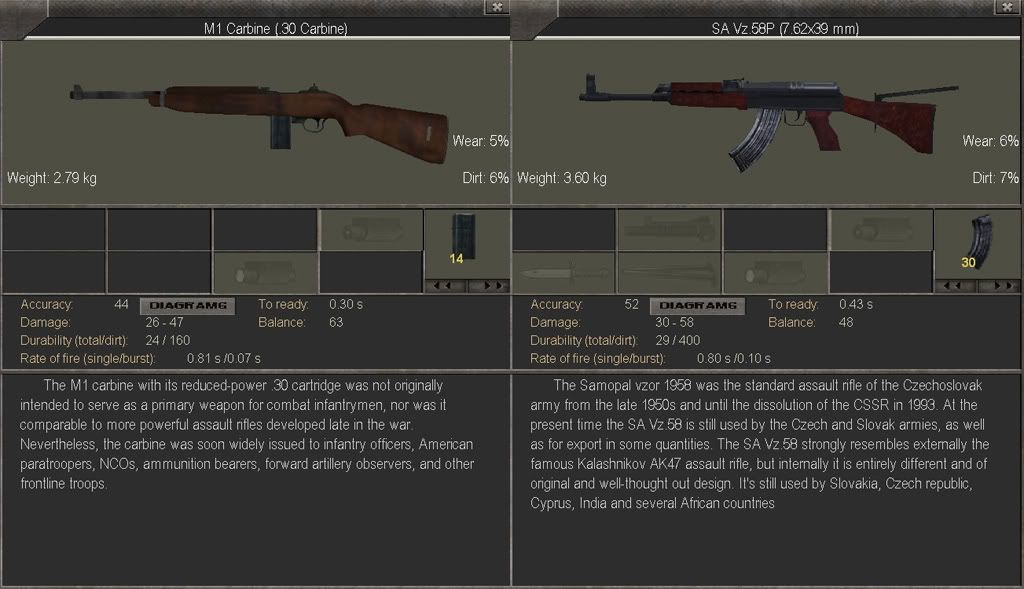
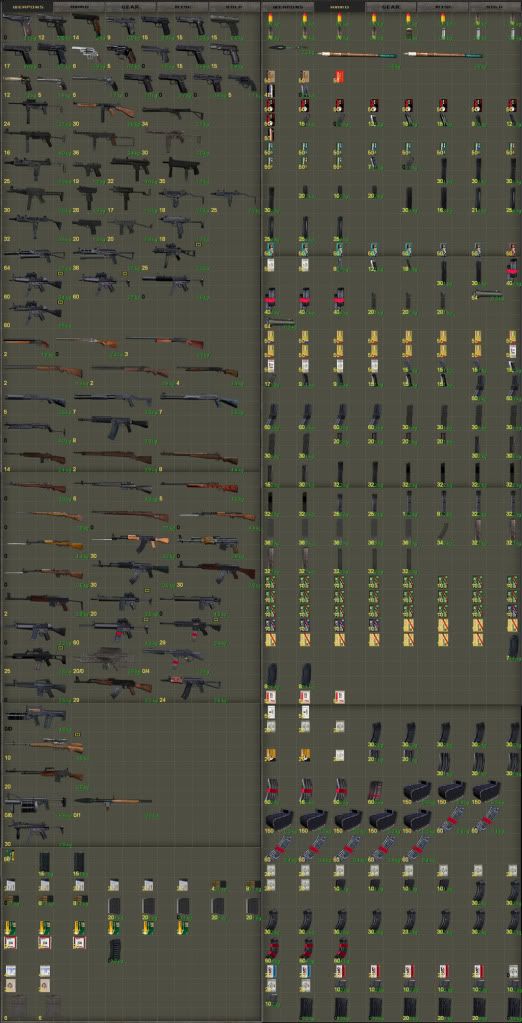
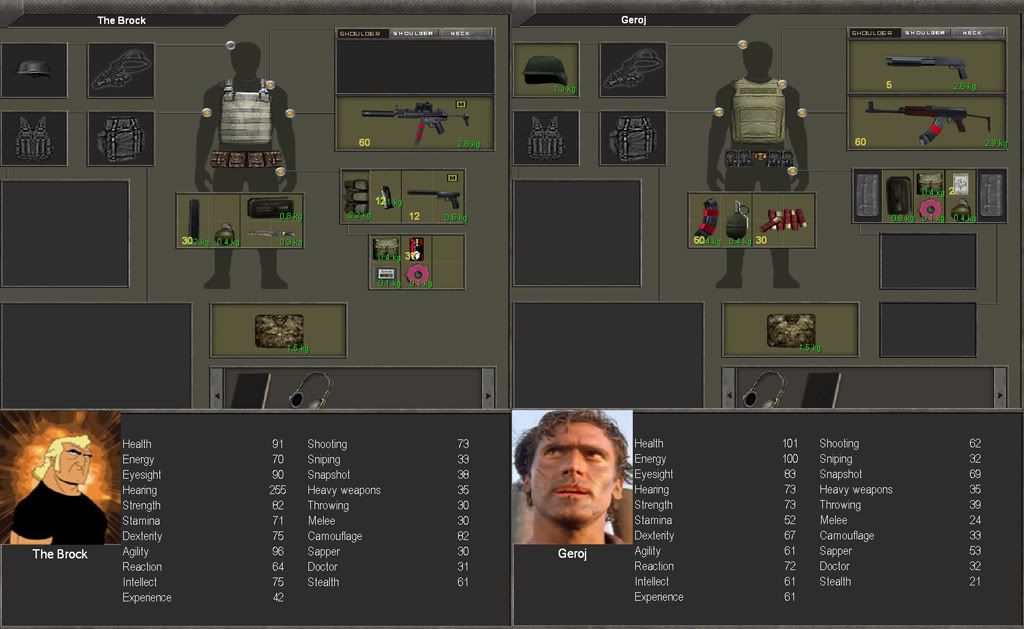
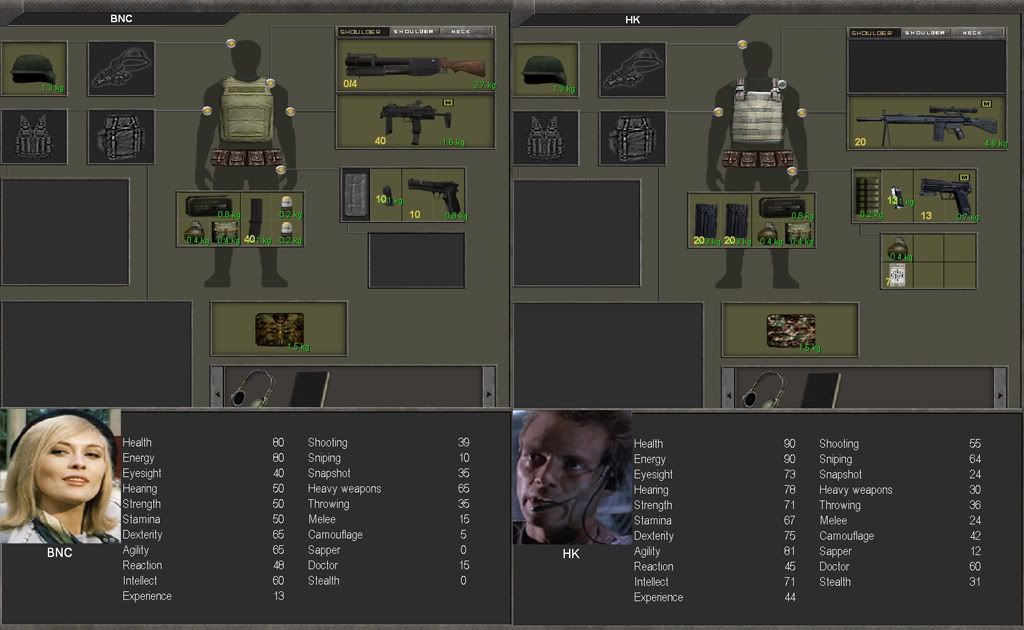
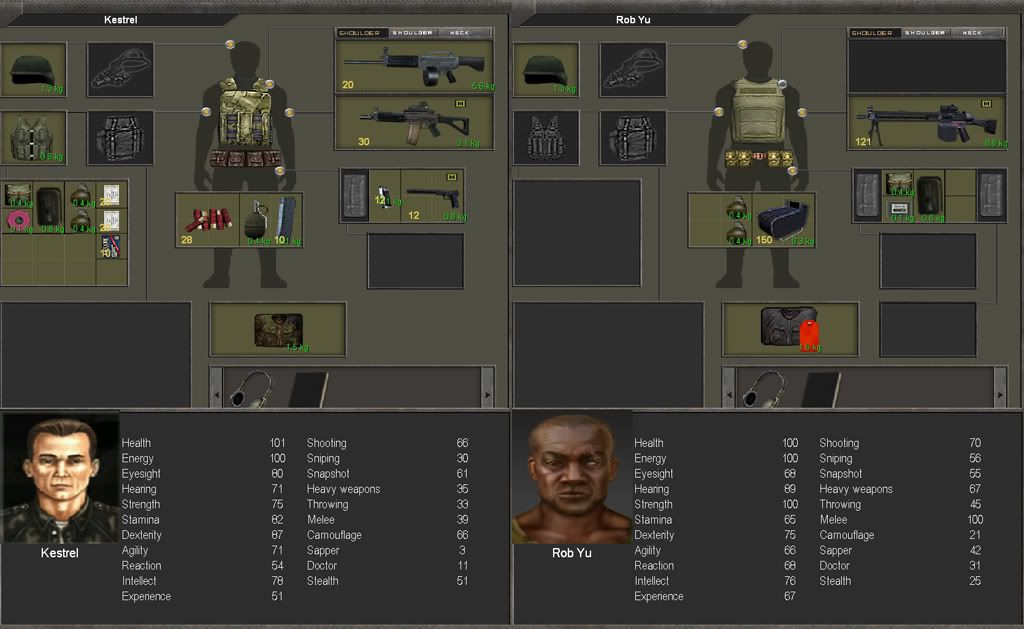
Here's what we have gathered so far, and the latest load-outs. You are looking at about 25% of the total arsenal in BSM, there's lots and lots of more goodies to be discovered.

S18_P45.jpg

S18_P46.jpg

S18_P47.jpg

S18_P48.jpg
 

R@S

Scholar
Joined
Jun 30, 2012
Messages
179
I dunno if lucky is the right word, I had to kill the guys carrying them:) I think one of them was the one wounding Kestrel, so I payed dearly for at least one of them.

Yes, I got 5 of them, but got very unlucky and Rob damaged one terminally when trying to repair it. I also got 3 G3SG/1's, 3 HK416's and a bunch of HK53's, HK33's and MP5's. And an HK UMP45, but we had one of those already. But as I said, we'll be set with 5.56 ammo for a long while, and it's not long before the enemies starts wearing some heavy armor and we need to use AP ammo. So far we only have 120 AP rounds for the 7.62x51mm weapons, but letting the team sniper have those is the best way to proceed.
 
Joined
Jul 18, 2012
Messages
49
It's always nice to know that 23E boxes come with second tier 5.56 ammo IIRC, which has no problem taking down anything besides heavy armor. If you can't pierce them to death, you can always smash them into shock or submission while waiting for HK or Rob to deliver the killshot. Only STANAG mags come with 5.56 ball, which doesn't do much (if any) damage against the titanium helmet, so I've stopped aiming at the head altogether. Now when I'm using 5.56 ball, I intentionally aim for legs to disable them and in most case they just bleed to death.

MP7 will have no problem killing anything for a while and it seems like the only thing left is to upgrade The Brock to a solid 5.56 platform that works just as fast as the MP5, unless you're artificially making it harder for yourself of course :). Also, Kestrel may want to have buckshot alternating with flechette rounds for his USAS drum. Both penetration and shock damage ahoy! I also assume you loaded slugs into the straight mag for Kestrel to use should his SIG run dry.
 

IceShade

Novice
Joined
Jul 6, 2012
Messages
23
Nice going again, R@S.

As for the SIG-552, I didn't know it overheated within a magazine, which is rather silly. In this case Kestrel is much better off with a HK33 or a HK53. I think the AKS-74U's accuracy is too poor at this stage to consider.
 

R@S

Scholar
Joined
Jun 30, 2012
Messages
179
Cookie Eater, I am trying to make it more difficult for myself, how did you know? :P I usually play with only 2 or 3 mercs, and trying to stop the rushing enemy with only a few guns is very hard and some different tactics are needed. But using those tactics would be very boring as an LP, so I try to use tactics and merc roles to make it more entertaining. The Brock, if he had a rifle with some range, would be pretty much used as a trooper, as you might have noticed in the H&K mission. I want to use the scout tactic as much as possible since then more options will be available and I'll get a better picture of what the enemy is up to. Just look at The Brock's Shooting skill, it's gone from 40 to 73 in these few missions, he's already the team's best shot, and if given a rifle with range he'll be unstoppable.:D

Having 6 mercs is making the game very easy, too easy actually. I need to be challenged so I'm forced to think up new tactics, and I'll have more fun doing this.

IceShade, I'll give Kestrel the HK53 for the next session to try it out. The HK33 has good range but is much slower, I think the flanker needs a quick weapon, range is not as important. But then again, maybe switching out the USAS-12 for the HK33, giving him both the HK33's range and the HK53's speed would be something you'd consider? Or maybe just go back to the Crossfire Mk-1, it's a very good all round rifle, having everything a skirmisher/flanker needs, and it would decrease the weight carried as well.

I'll try to get the next session ready today, am about to start playing it but not sure if I'll have the time to write it down.
 

R@S

Scholar
Joined
Jun 30, 2012
Messages
179
**********************
Session 19: HK's wet dream
**********************
- Setting Up an Explosive Welcome - The Contingency Plan - Secondary Explosions - BNC and the RPG-2 -
- Geroj Likes Keisters - The Brock Makes an Entrance - Another Mop-Up - A Reward Worth It -
**********************

The team have about 2 minutes to get ready, the enemies will all come from one direction. Time to set up the ambush.

S19_P01.jpg


Rob Yu and Geroj have the highest Sapper skill, so they'll plant the explosives. They throw a few TNT blocks and grenades around, then set up some remote detonated C4 charges in the middle. Rob Yu will use channel 1 and Geroj channel 2.

S19_P02.jpg

S19_P03.jpg


The Plan
The Brock will scout for the team, finding a good spot in the grass shadowed by some nearby trees. BNC will have a clear line of sight towards the entry point where she can use her RPG-2 if necessary. Kestrel will be just around the corner, ready to run forward and provide cover. Geroj, Rob Yu and HK will hang back and provide cover in case BNC and Kestrel gets overrun and needs to retreat.

S19_P04.jpg


The Contingency Plan
If things go pear-shaped and The Brock gets discovered, he will pull back to the rocks, then make his stand there. Kestrel and BNC will advance and take out any pursuers. Geroj and Rob Yu will advance and provide cover fire for Kestrel and BNC.

S19_P04b.jpg


BNC shoulders her RPG-2 and gets ready.

S19_P05.jpg


The rest of the team raises their weapons, they still have about a minute until the enemy arrives.

S19_P06.jpg


FIRST WAVE
The time has come, the enemy is here. Rob presses the 1 on his remote detonator and the C4 charge explodes, killing at least one enemy.

S19_P07.jpg


Then all the secondary explosives go off in a series of detonations, killing all but one of the enemies.

S19_P08.jpg

S19_P09.jpg

S19_P10.jpg


BNC holds her fire, why waste a grenade on just one target. Kestrel moves up, a few bursts from his HK53 takes care of the sole survivor.

S19_P11.jpg


SECOND WAVE
When more enemies arrive, Kestrel pulls back behind cover.

S19_P12.jpg


Geroj presses the 2 on his remote detonator and the C4 charge explodes. This time there's no secondary explosions, they all blew up the first time.

S19_P13.jpg


BNC fires her RPG-2 into the middle of the enemy group, the light from the explosion reveals even more enemies.

S19_P14.jpg


She hurries behind cover before they have time to react.

S19_P15.jpg


The enemy lays down massive fire on her previous position, not aware that she's moved on already. BNC uses this time to switch to her China Lake GL.

S19_P16.jpg


She runs up and sends 3 forty-mike-mike grenades in an arch at the enemy, then moves back again.

S19_P17.jpg

S19_P18.jpg


The first grenade lands on the head of one poor sucker, exploding 2 meters above the ground making more damage than it would have done otherwise.

S19_P19.jpg

S19_P20.jpg


As the third grenade explodes, Kestrel spots a pursuer and send a burst his way. He's not familiar with his HK53 yet, and it takes several bursts before he start scoring some good hits.

S19_P21.jpg

S19_P22.jpg


The Brock is itching to join the fight, but decides against it, there's still too many enemies left for him to handle alone. Even if he only sees 4 of them, he knows there are more around.

S19_P23.jpg


Kestrel finally brings down his target, and sees another one coming his way. He fires a burst and it empties the first of the two mags that are taped together, he'll have to reload quickly.

S19_P24.jpg

S19_P25.jpg

S19_P26.jpg


That's when Geroj steps in, his position allows him to send a burst at the advancing enemy, probably saving Kestrel's keister.

S19_P27.jpg


The Brock can't wait any longer, opens up with his MP5 and kills one.

S19_P29.jpg


And another.

S19_P30.jpg


And a third.

S19_P31.jpg


Then a fourth and a fifth.

S19_P32.jpg

S19_P33.jpg


It's time to mop up, Kestrel will run up quickly and deal with the remainder of the enemies from up close. The Brock will slowly creep up and support him with his silenced MP5.

S19_P34.jpg


As soon as The Brock starts to move forward, he spots an enemy and takes him down quickly with a burst.

S19_P35.jpg


As Kestrel runs towards the entry point, he sees several of the corpses still standing, it seems rigor mortis has set in at the moment of death.

S19_P36.jpg


The Brock, moving forward slowly, takes down another enemy with a burst.

S19_P37.jpg


Kestrel has almost reached his destination when he spots an enemy.

S19_P38.jpg


He fires a hip-shot burst, then discovers another enemy having an AKS-74U trained on him.

S19_P39.jpg


Kestrel and The Brock fires at the same time, both hitting the target.

S19_P40.jpg


Kestrel then turns back to the other enemy and finishes the job.

S19_P41.jpg


The final enemy was unconscious and well hidden under a pile of dead bodies. A burst from Kestrel's HK53 finishes the battle.

S19_P42.jpg


We got some Vepr-308 hunting rifles, a bunch of Bizons, Saigas and a lot of Flechette cartridges.

S19_P43.jpg


The team travel back to the Blue Sun Base to report their success.

S19_P44.jpg


First they sell the loot, making roughly 5000 eldos. HK then talks to Tang about getting the reward, and it's not money this time.

S19_P45.jpg

S19_P46.jpg


The reward is a high-end sniper rifle, and we'll get to choose one of six.

S19_P47.jpg


Which of these should we take as a reward?

S19_P48.jpg

S19_P49.jpg

S19_P50.jpg

1: SV-98 (7.62x54mmR) 3 spare mags 30 rounds
2: L96A1 (7.62x51mm) 3 spare mags 30 rounds
3: DSR-1 (7.62x51mm) 3 spare mags 15 rounds
4: L96A1 Mod (.338 Lapua) 3 spare mags 70 rounds
5: Gepard GM6 Lynx (.50 BMG) 3 spare mags 15 rounds
6: Barret M82A3 (.50 BMG) 3 spare mags 70 rounds

Don't forget to take ammo into account when voting! We don't have any 7.62x54mmR, .338 Lapua or .50 BMG rounds yet, but we have a lot of 7.62x51mm ammo. We will be able to loot some 7.62x54mmR soon, but we'll never find any .338 Lapua or .50 BMG ammo in the wild. We'll get a few spare mags, and in some cases a couple boxes of ammo as well.

All the rifles have their pros and cons, like the SV-98 coming with a silencer, the DSR-1 and Gerpard GM6 only having 5 round mags and the .338 and .50 BMG being one-shot-one-kill weapons.

R@S Note: I have changed the script and in BSM 2.0 all the rifles will come with 2 boxes of spare ammo each.
 

IceShade

Novice
Joined
Jul 6, 2012
Messages
23
DSR-1 with 3 mags should last an encounter before needing to refill the magazines. That or the L96A1, as they both use 7.62x51 which is plenty. 7.62x54R should be another option, but I don't come across that one too often.

3 or 4.


As for Kestrel, the Crossfire is probably the best. STANAGs, Eotech, and a masterkey so the USAS-12 isn't necessary. Saves on weight.
 

waladil

Novice
Joined
Jul 5, 2012
Messages
22
I'd say the L96A1. It uses the ever-plentiful 7.62x51, is tied for most-accurate, and does sufficient damage that even if a hit isn't necessarily a kill, it puts them on the ground well enough. Almost never will someone take that round and live more than 10 extra seconds.
 

D_F_N

Novice
Joined
Jun 30, 2012
Messages
29
The L96A1 is a clear winner so i ll vote for the one that you have the less ammo for! Yeap, i like making your life difficult. Also


"I have changed the script and in BSM 2.0 all the rifles will come with 2 boxes of spare ammo each."
:mob:
 
Joined
Jul 18, 2012
Messages
49
DSR-1 is not terribly heavy, so HK can actually just carry both, only using it as primary when the map allows long range shots. If not, then stick to the G3SG. Anyone remember if MSG1 or PSG90 works in the same speed tier as G3SG or if it's more towards a sniper (lower ROF)?
 

R@S

Scholar
Joined
Jun 30, 2012
Messages
179
D_F_N, I'm glad you're on my team:P And about the updated script, since the Barret already came with 2 spare boxes, why shouldn't the Gepard GM6 do as well? I felt it was uneven and wanted some consistency in the reward, not to try to make it easier.

Cookie Eater, the G3SG has a Prepare Time of 0.49 and ROF 0.80, the MSG1 PT 0.53 and ROF 1.45, the PSG-1 pt 0.58 and ROF 1.50, so the G3SG is by far the quicker rifle. And the G3SG's range is good enough since the maps are seldom big enough to need better.

It looks like the L96A1 is the winner, even if I myself would've picked the SV-98. A silenced sniper rifle would have made HK's life much easier, not being suppressed as much when the enemy wouldn't be able to spot where his shots came from.

We'll leave it up to Waladil to choose if HK should keep using the G3SG/1 or switch to the L96A1.
 

Hur Zwa

Novice
Joined
Jul 26, 2012
Messages
24
Choice is clear!!! It has to be the DSR-1! As HK likes german manufacturers he would choose the DSR-1. It also has some serious advantages: It fires faster than any other rife, it's quick to ready, ammo is plenty and you can attach a silencer if needed. Although playing without silencer damage is a bit like cheating :D

Is there a reason you don't use the OICW? This weapon is awesome although in the game it is a bit too heavy compared to the real world model
 

waladil

Novice
Joined
Jul 5, 2012
Messages
22
Go with both the G3SG/1 and the L96A1. Use the G3SG/1 as primary, for shorter-range sniping and assault-rifling, then the L96A1 as long-range sniping. He _should_ be strong enough to haul both.
 

D_F_N

Novice
Joined
Jun 30, 2012
Messages
29
I m glad i m too R@S!

" A team has a tendency to know what the other team members are doing and thinking and coordinates therby and therewith" Ron Hubbard


celebrity-pictures-house-teamwork.jpg
 

R@S

Scholar
Joined
Jun 30, 2012
Messages
179
Waladil, carrying both rifles will bring HK's weight to 99%, it might have a few penalties. But it's your call.

Cookie Eater, There's some pistol action in this session, they still are useful when you outnumber the enemy.:)


**********************
Session 20: No way Jose, the doublecross
**********************
- HK gets Wookied - The Doublecross - Quick-Draw Competition - Move Up, Fan Out -
- Knee Injuries are the Worst - Good Interest Rates - Wet-Work Around the Country -
**********************

HK talks to Tang again, this time he need help picking something up at Jose's garage.

S20_P01.jpg

S20_P02.jpg


A Wookie suit is found, and HK claims it for his own, it'll help him stay unnoticed.

S20_P05.jpg


The Plan
The Brock, Kestrel and Geroj will take care of the enemies close by. HK and Rob Yu will take the overwatch position to cover the rear. BNC has moved down the access road and is ready for anyone getting any ideas.

S20_P06kopiera.jpg


The Brock talks to Jose, who gives him a camera with some incriminating evidence. That's when the doublecross happens, luckily the team was prepared.

S20_P07.jpg


Kestrel hits his target.

S20_P08.jpg


HK scores a headshot and takes his target out.

S20_P09.jpg


Geroj lets his Boomstick discharge, hitting the enemy in the back.

S20_P10.jpg


In the quick draw competition between The Brock and Jose, the MP5 is quicker than the Magpul Mazada.

S20_P11.jpg


Geroj, Kestrel and The Brock will run down to BNC, then they will move forward and spread out among the houses. HK and Rob Yu will provide cover from their overwatch position.

S20_P12kopiera.jpg


Rob Yu spots an enemy and sends a burst down the line.

S20_P13.jpg


The enemy returns fire and hits Rob Yu. HK hits the enemy, causing him to drop his IMBEL MD-3.

S20_P14.jpg


As the enemy switches to his sidearm, a Beretta 951, HK's second shot takes him out.

S20_P15.jpg


The team is in position, The Brock will move up the left flank, Kestrel the right. BNC and Geroj will stay behind some sandbags and cover them.

S20_P17kopiera.jpg


As the team starts moving, an enemy appears and gets dealt with by HK.

S20_P18.jpg


Another enemy gets hit by HK's cover fire, the G3SG/1 delivers a deadly shot.

S20_P19.jpg


Geroj spots an enemy throwing a grenade at BNC, he isn't worried, she's behind good cover.

S20_P20.jpg


Another shot from HK's G3SG/1 goes through the roof and hits the grenade thrower in the shoulder, he wont be throwing any more grenades.

S20_P21.jpg


Kestrel spots and enemy through the window and takes him out.

S20_P22.jpg


The Brock takes out the grenade thrower with a close up hip-shot.

S20_P23.jpg


The grenade detonates, the sandbags shielding BNC from the blast and any shrapnel.

S20_P24.jpg


As the Brock continues his sweep, and enemy pops out a door and hits him in the left knee. The Brock drops his MP5 and passes out from the pain.

S20_P25.jpg


Another shot hits The Brock in the right arm, things are not looking very good for him.

S20_P26.jpg


That's when Kestrel comes around the corner and saves The Brock, taking out the enemy with a hip-shot from his Crossfire Mk-1.

S20_P27.jpg


The Brock regains consciousness and starts applying some bandages to stop the bleeding. The wounded knee prevents him from standing up, he needs better medical equipment to fix that.

S20_P28.jpg


The final enemy is hiding in one of the houses, Kestrel takes care of it by blasting a few bursts through the wall.

S20_P29.jpg

S20_P30.jpg


HK helps The Brock heal his right arm and knee using the surgical kit they found in Olvega.

S20_P31.jpg


The team got some good loot this time, both from crates and enemy drops.

S20_P03.jpg

S20_P04.jpg

S20_P32.jpg

S20_P33.jpg

S20_P34.jpg


Back at the Blue Sun Base Geroj squares things with Tang. They now have a lot of money and decide to put it into the savings account to gather some interest. They'll need a lot of money soon, and this is the best way to do it.

S20_P35.jpg


The next mission Tang gives them is wet work, they need to take out a guy in Fuerte Calderon.

S20_P36.jpg


They travel there and finds their target guarded by a couple of bodyguards.

S20_P37.jpg


They coordinate their attack and they all fire at the same time.

S20_P38.jpg

S20_P39.jpg

S20_P40.jpg

S20_P41.jpg


BNC, who'd had the best seat in the house, finishes off the survivor with a hip-shot burst from her MP7A1.

S20_P42.jpg


The Brock finds a Bofors AK5, which he claims. It comes with and ACOG-11 scope, which is weird since the AK5 has a HK type mount.

S20_P43.jpg

R@S Note: The inventory file has been fixed for BSM 2.0.


Back at the Blue Sun Base the team gets the reward and the next target, a guy in Olvega this time.

S20_P44.jpg


The target is hiding in one of the alleys, the team needs to do this up close. They switch to their sidearms and get ready.

S20_P45.jpg


It doesn't take more than a couple of seconds to do the deed.

S20_P46.jpg

S20_P47.jpg


This time the loot throws up and TAR-21 assault rifle.

S20_P48.jpg


Back to Tang for another reward and target, this time in El-Vertigo.

S20_P49.jpg


Once again, the team line up close and gets to work.

S20_P50.jpg

S20_P51.jpg

S20_P52.jpg

S20_P53.jpg

S20_P54.jpg


When the first three targets are down, they fan out. Geroj, always unlucky, gets hit as he moves around some debris.

S20_P55.jpg


Kestrel and The Brock takes care of the bodyguard while Geroj patches up.

S20_P56.jpg

S20_P57.jpg


They got an HK XM-8 AR, very rare in this country.

S20_P58.jpg


They then start traveling back to the Blue Sun Base, when suddenly...

S20_P59.jpg

I have already played the next session, it'll be better and more tactical than this one. Might post it later tonight, if we reach the next page and I've had the time to write it down.
 
Joined
Jul 18, 2012
Messages
49
When the heck did you get the Wookie suit. Oh at the base, right. Keep forgetting things these days.

Edit : Also I got something funky going on with the TAR 21. Apparently the flag to set reflex sight/laser combo that came with the gun is not set to non-detachable, so the TAR 21 has a funky doubling of the top sight part.
 

D_F_N

Novice
Joined
Jun 30, 2012
Messages
29
The last 3 engagements were just Rambo stuff. They didnt have a chance.
Rambo.png


So, how about PISTOLS REVOLVERS FOR EVERYONE! ???
 

R@S

Scholar
Joined
Jun 30, 2012
Messages
179
I was thinking about having a vote once we get to the Radio Hill battle. Either go in during daylight and charge the hill, or do a night mission Spec Ops style, bringing in Kelly for her stealth skill. Then have The Brock, Kestrel and Kelly be the main team sneaking up the hill, HK, Geroj and Rob Yu provide cover in case things go wrong. But a pistol/revolver charge sounds fun too:D

Cookie Eater, the TAR-21 top issue is one of those engine limitations thingies forcing the sight and laser use the same model. There's nothing to do about it unless you don't want the laser showing.

And I found the Wookie suit in one of the crates at the garage, you can get one earlier if you do some vanilla quests.
 

waladil

Novice
Joined
Jul 5, 2012
Messages
22
Ah, the Ghillie suit. There's only like two in the game till you start getting them in the Bobling's shops, IIRC.

BTW, 99% energy outgoing on HK should be fine (unless there's downsides I don't know about). Energy's not usually a problem, and he's not exactly supposed to be sprinting across battlefields while dodging bullets.
 
Joined
Jul 18, 2012
Messages
49
@Ras, That makes sense, since the laser model for XM8 is a small laser prod by itself.
 

As an Amazon Associate, rpgcodex.net earns from qualifying purchases.
Back
Top Bottom