IncendiaryDevice
Self-Ejected

- Joined
- Nov 3, 2014
- Messages
- 7,407
Those decline years did funny things to gamers. All sorts of weird aberrations emerged in people's gaming habits. One of the things that happened to me is that I discovered the ginormous well of Hidden Object games.
Back around 2010, browsing at the local shops that sold new PC games, I'd find myself thinking "I don't want to play any of this shite, wtf!" until one day I thought "fuck it" and decided to try three Hidden Object games for ten bucks.
And ever since then I've grown a certain affection for the genre. Partly as a positive memory for helping me get through the decline years and secondly because these games have a certain quality to them that no other games provide.
Just like an iced sorbet, there's no better way to cleanse one's pallet between more... intense (?)... games than plugging through a relatively quick Hidden Object game. In this regard they've stayed on my gaming menu ever since.
It turned out Hidden Object games aren't necessarily just hidden object games, the good ones are simply Adventure Games which also have occasional hidden object puzzles. But not just any random adventure game, but a whole familiar universe which spans almost all titles which provides an easy familiarity, in the same way chips are chips, even when they're called fries.
They have a reputation for being games for girls, but they're hardly My Little Pony, more Nancy Drew meets Broken Sword really so, while not being Doom level manly man material, I think they're a fairly neutral entity that doesn't really deserve its single-sex reputation.
I thought I'd do a let's play because I should think many people dismiss these kind of games too easily and likely have no idea what they're even all about. And because I just feel like doing a let's play and these games are relatively short so it's more likely I'll actually complete the thing.
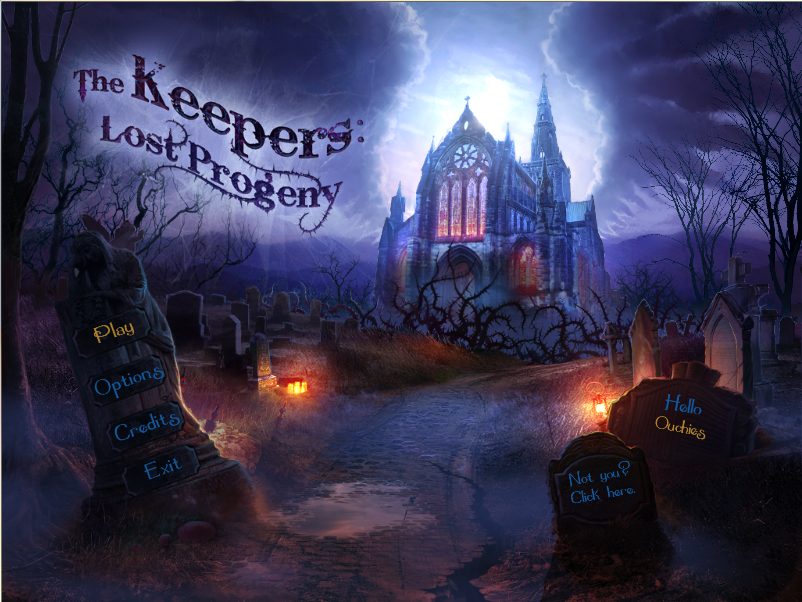
I've also picked quite an entertaining one that I've played a few times which I think provides a good example of the genre:
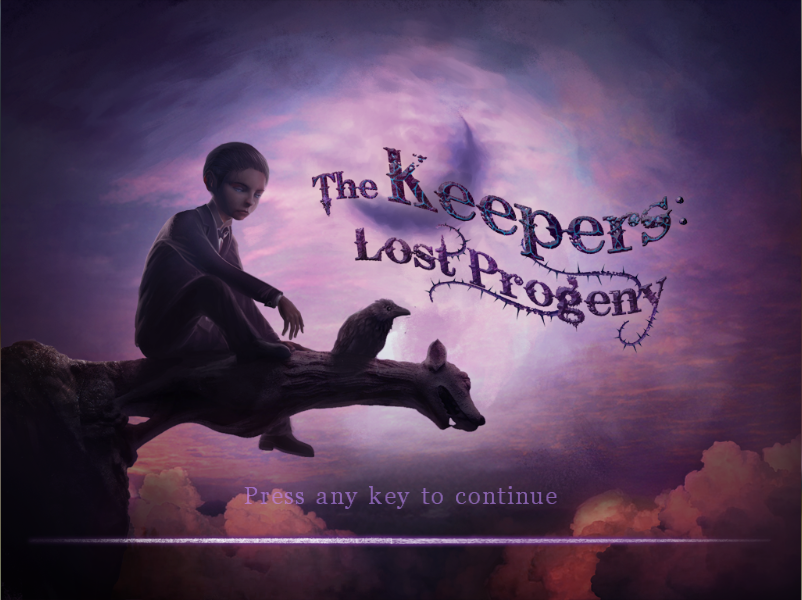
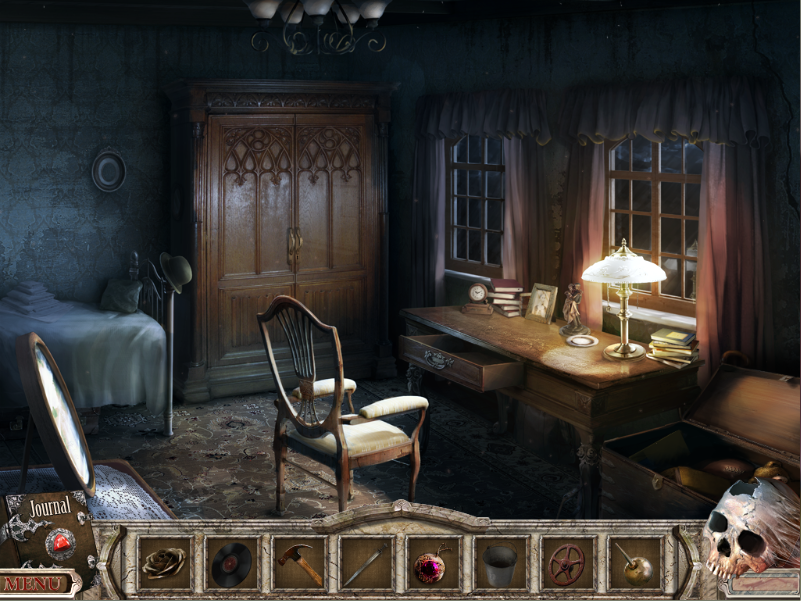
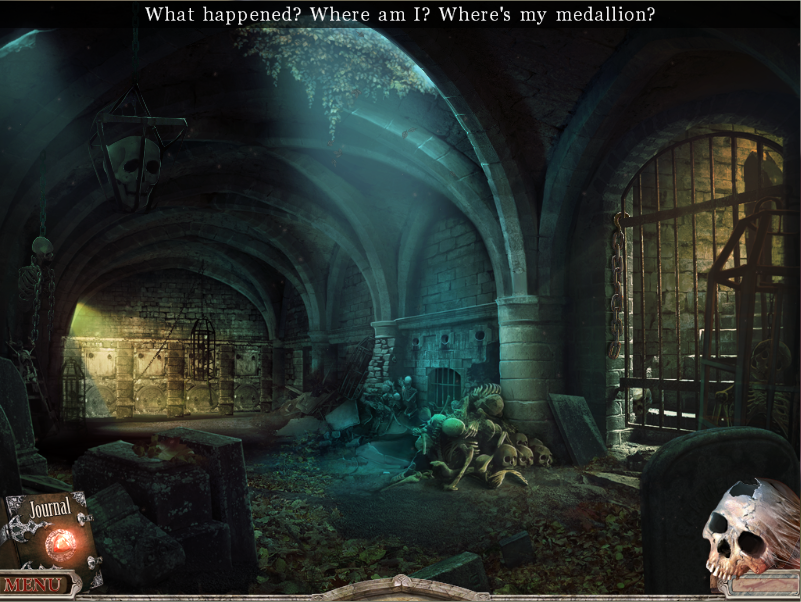
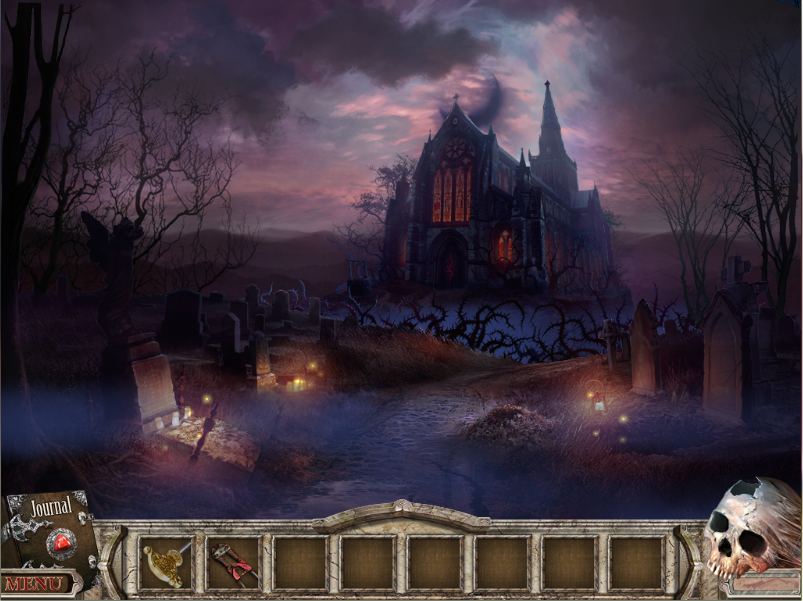
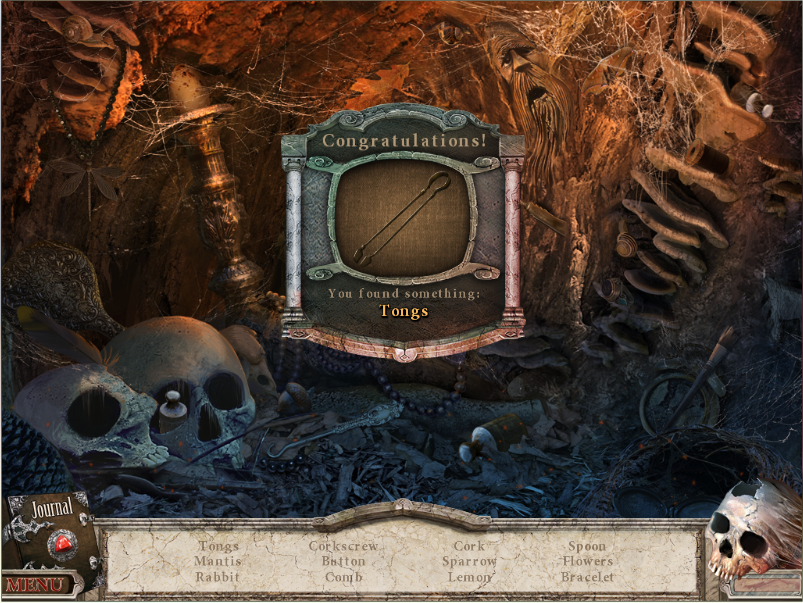
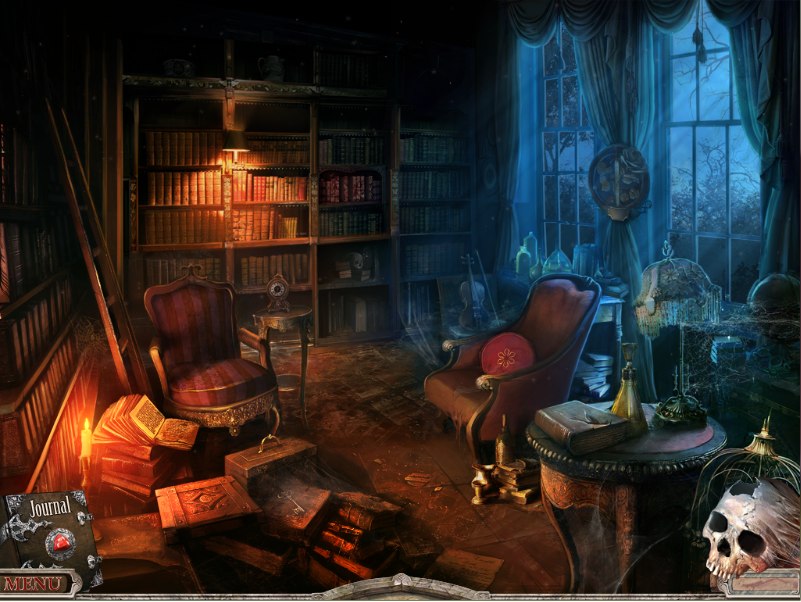
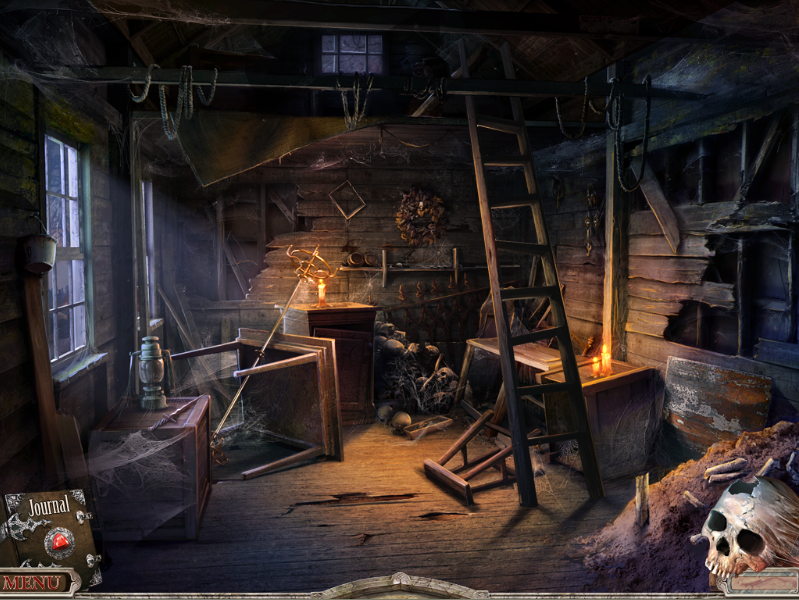
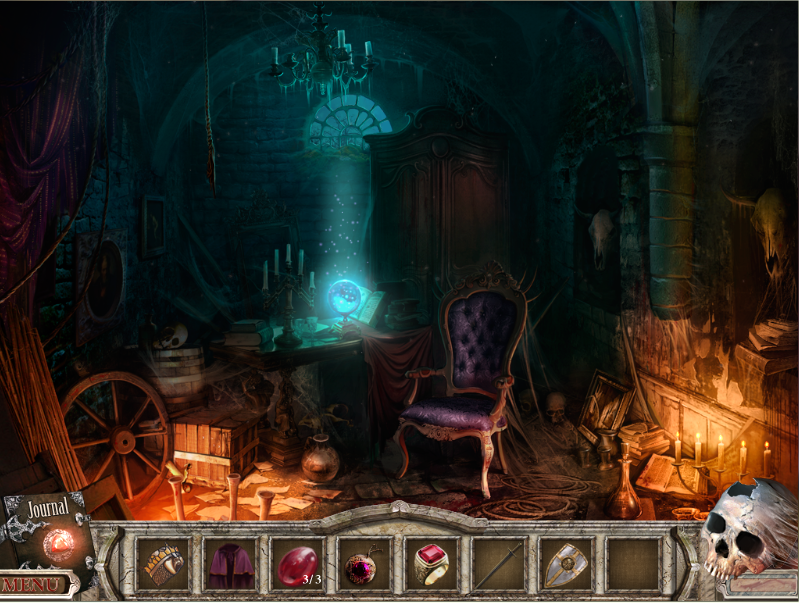
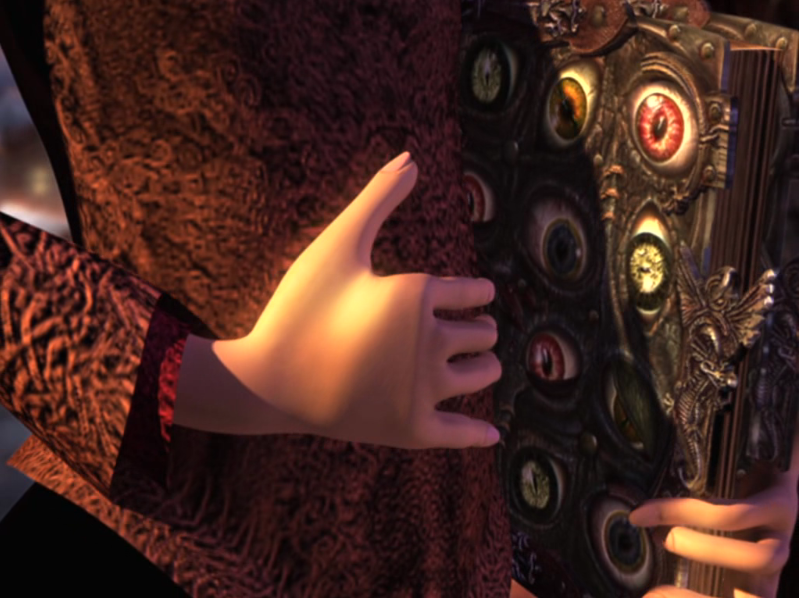
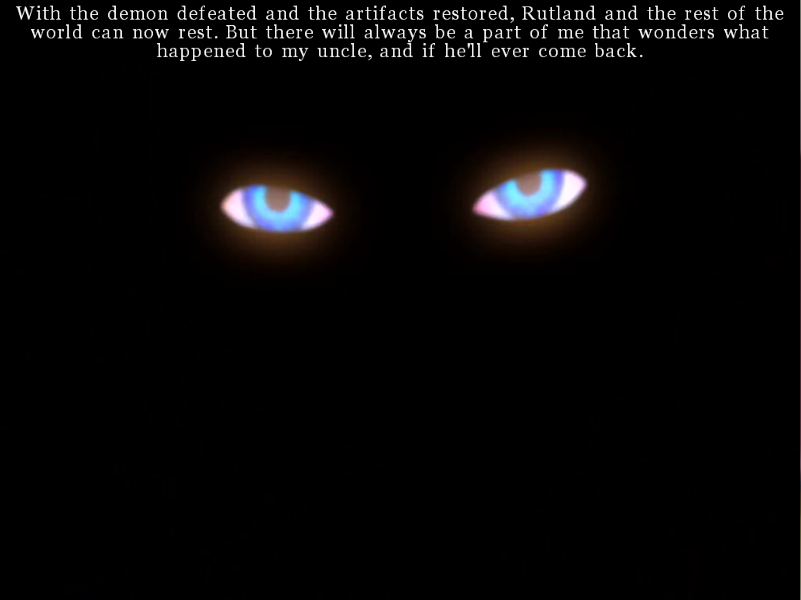
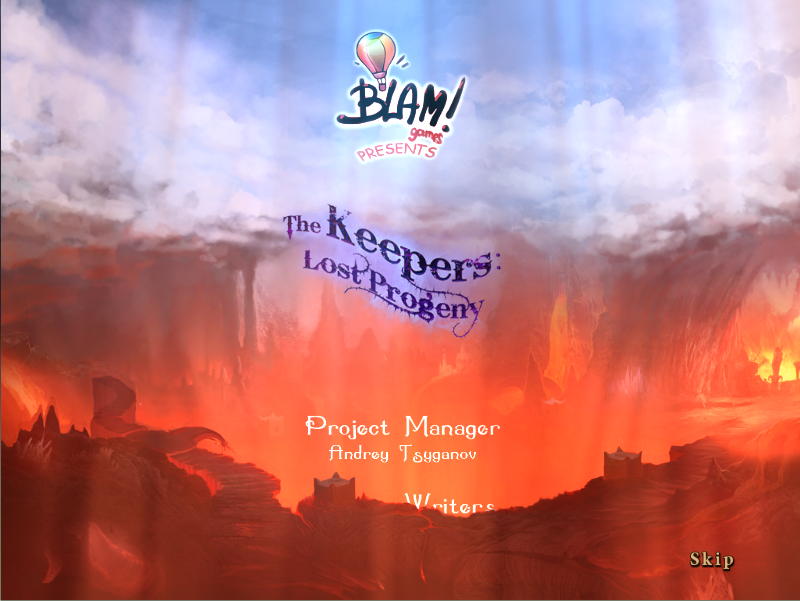
Is a game developed by Blam! Games exclusively for Windows PC (but is also now avaialble on Mac and mobile etc) and was released in 2011. Before and after the above screen there are a couple of very short cut-scenes which are skippable.
I have to say, I really like the aesthetic of this game, from colour design to music and from sound effects to animation.
The game is a PEGI 16, so this ain't no kiddywinkies game either...
So let's play...
Part 1
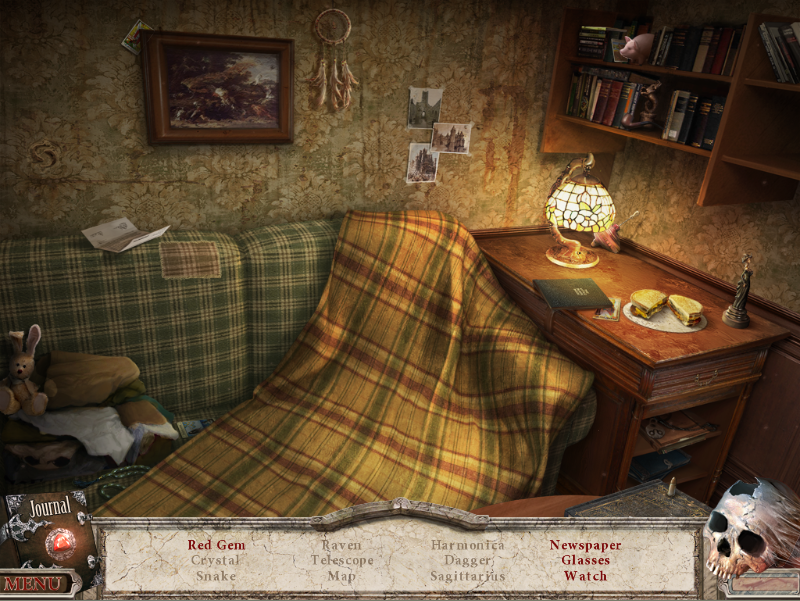
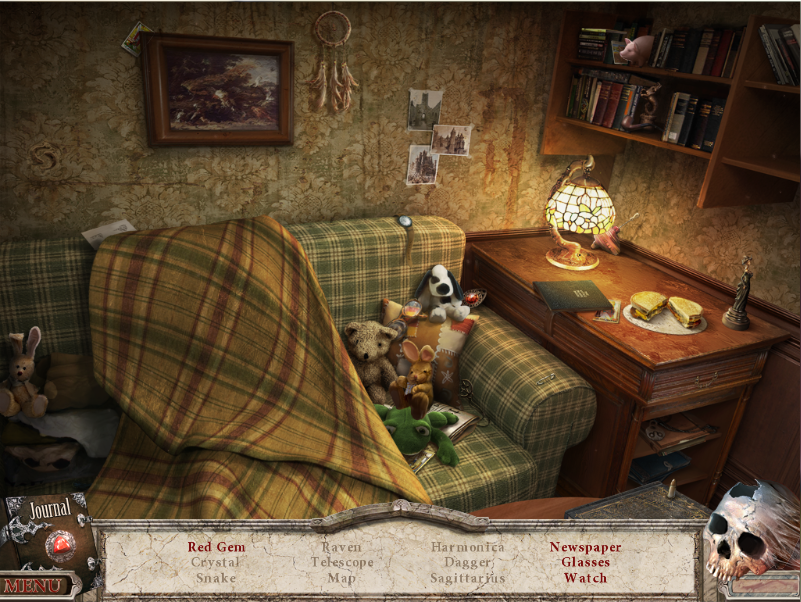
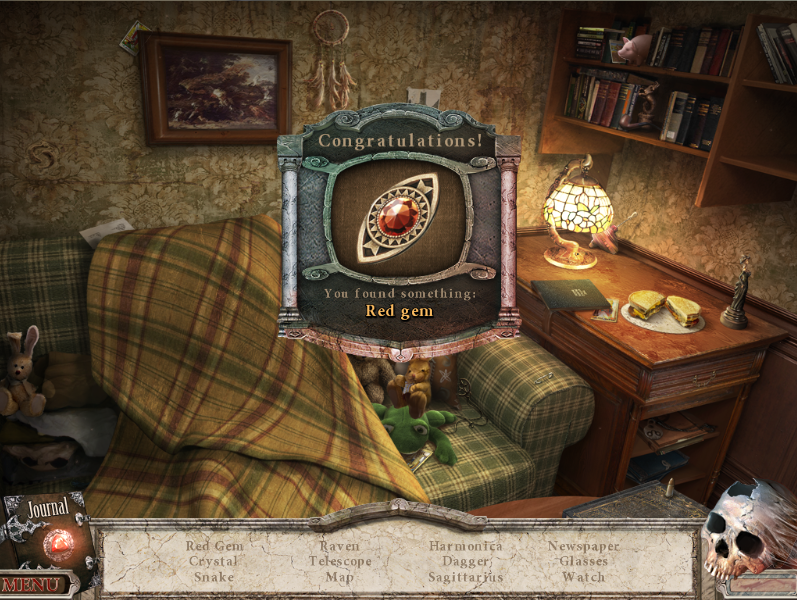
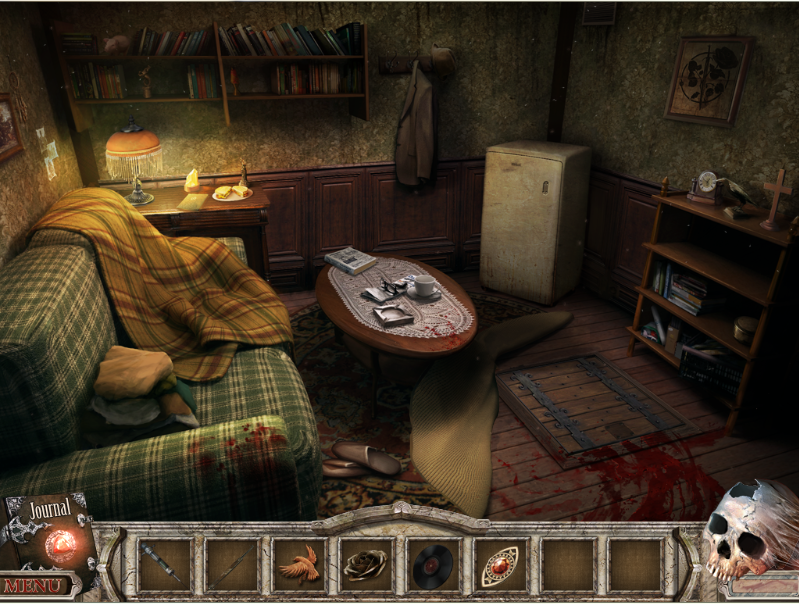
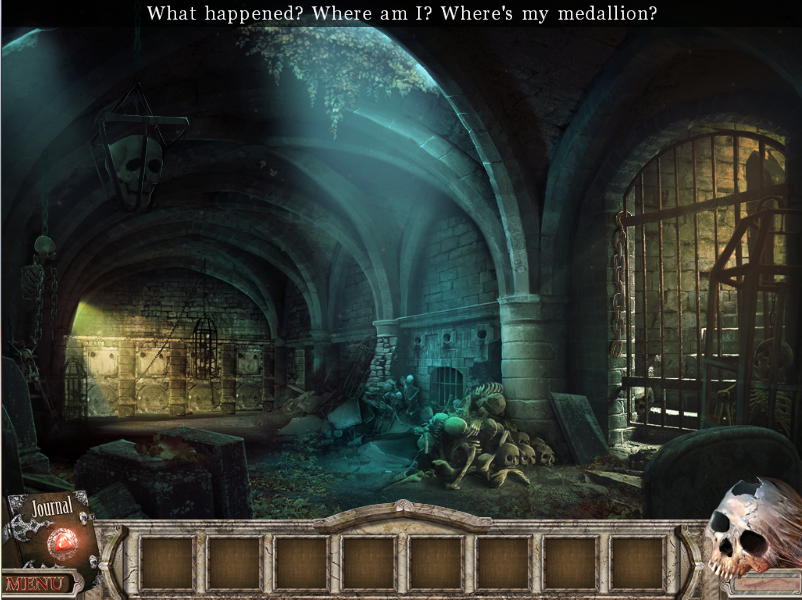
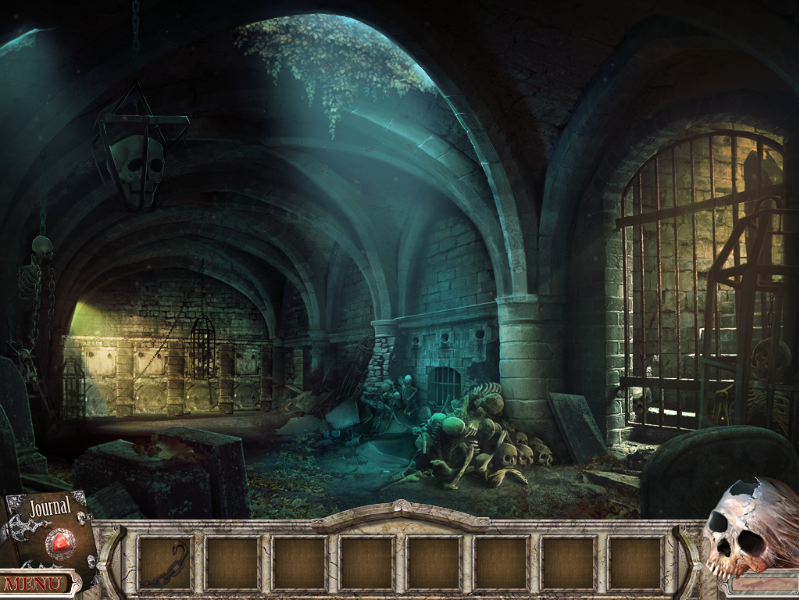
Options screens and game settings:
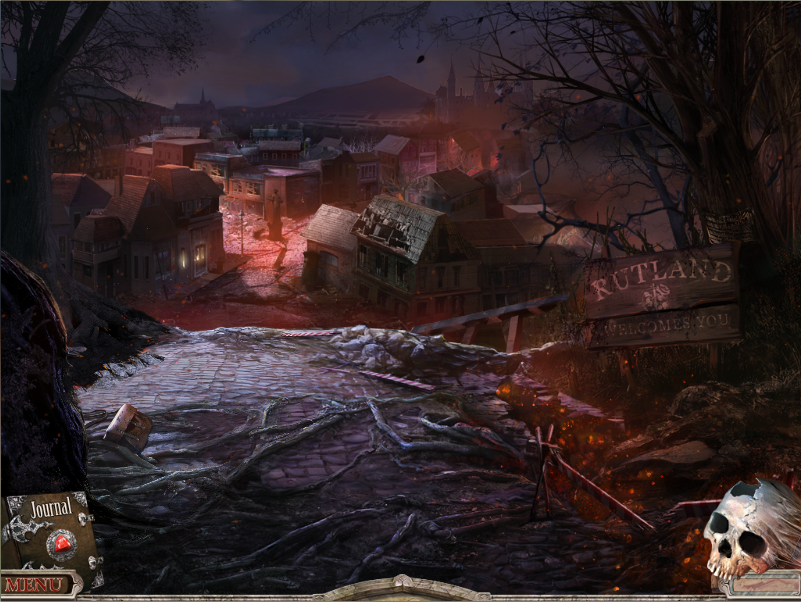
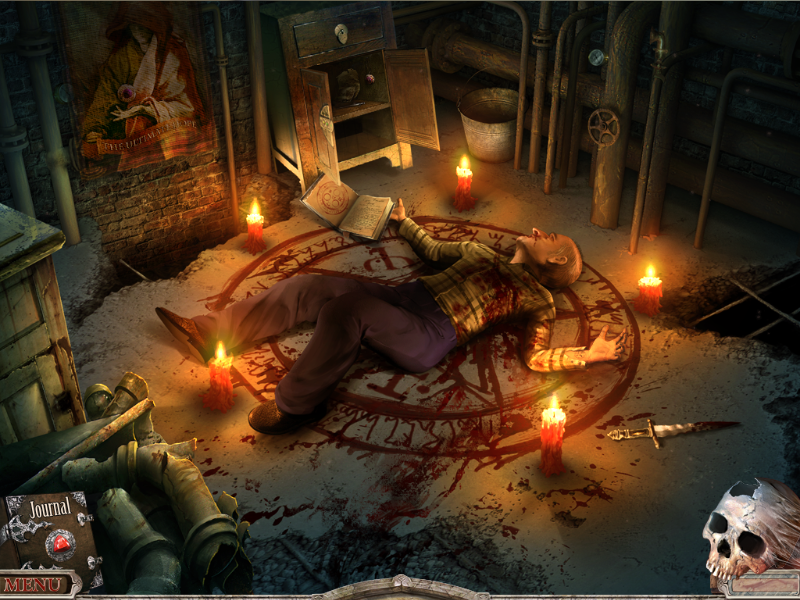
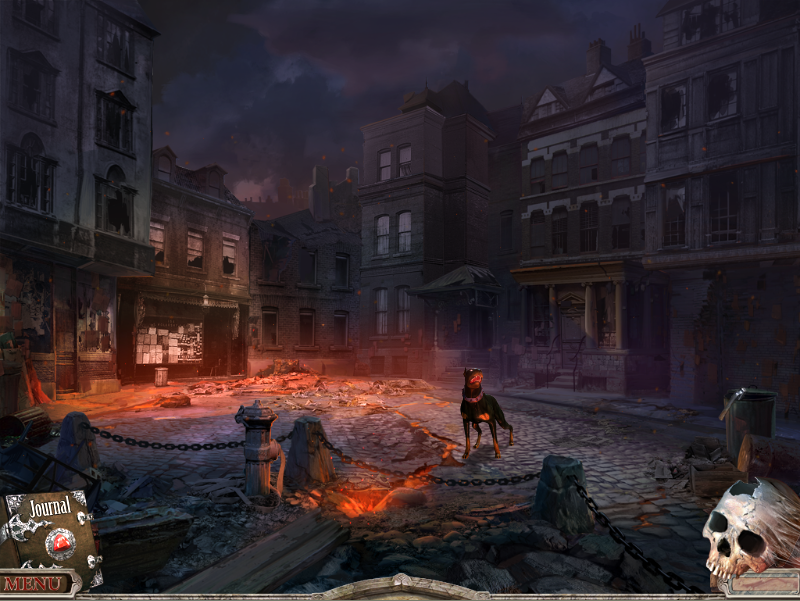
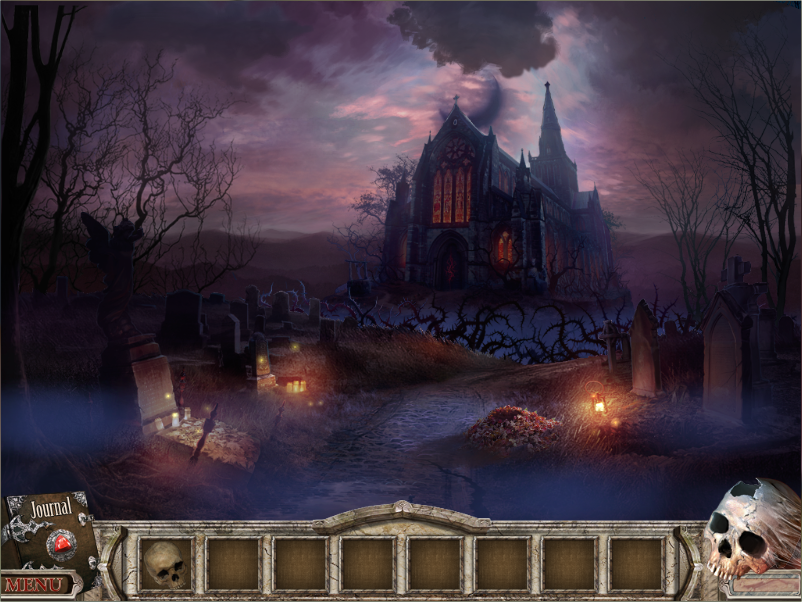
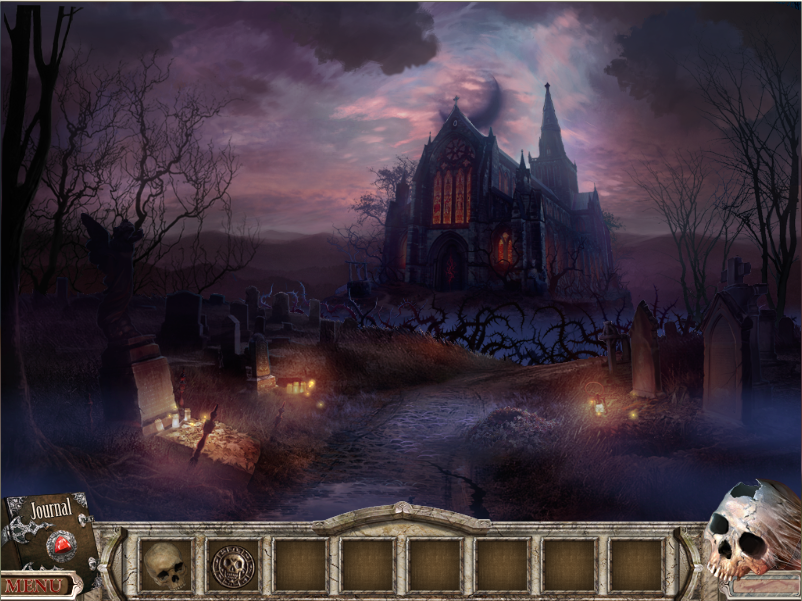
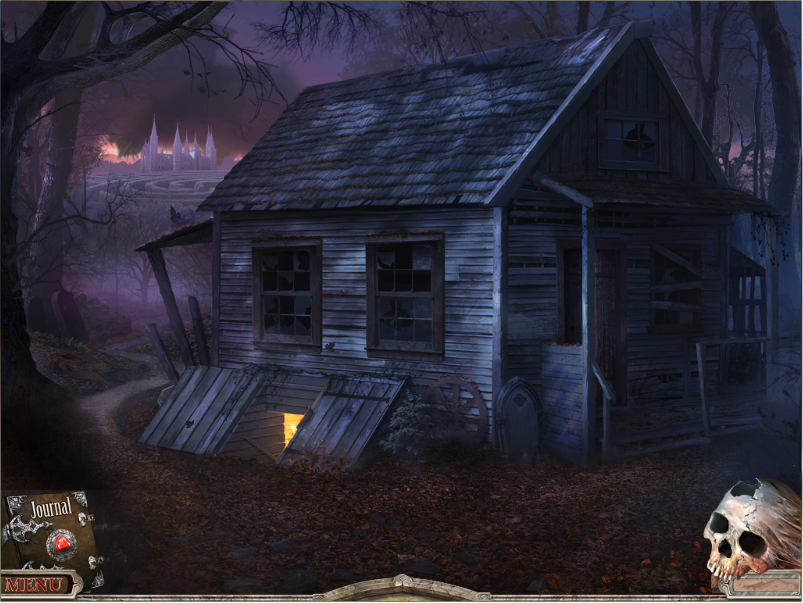
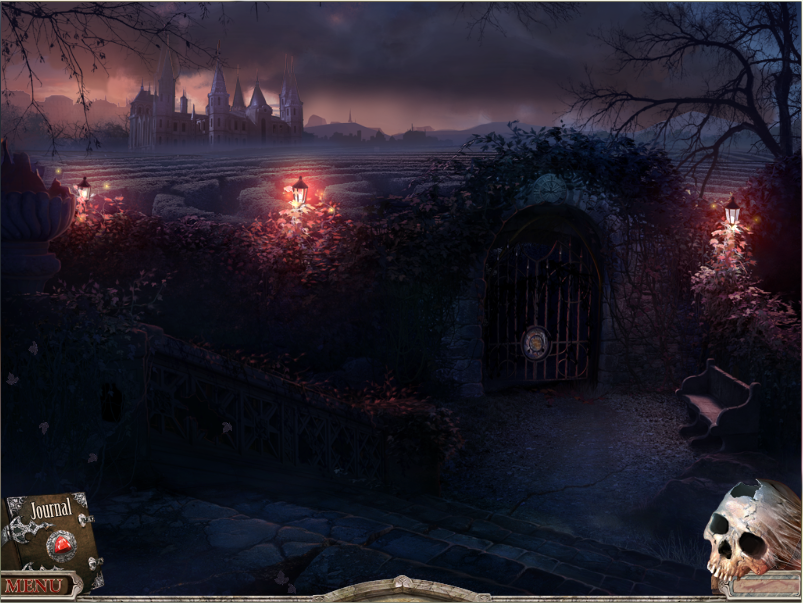
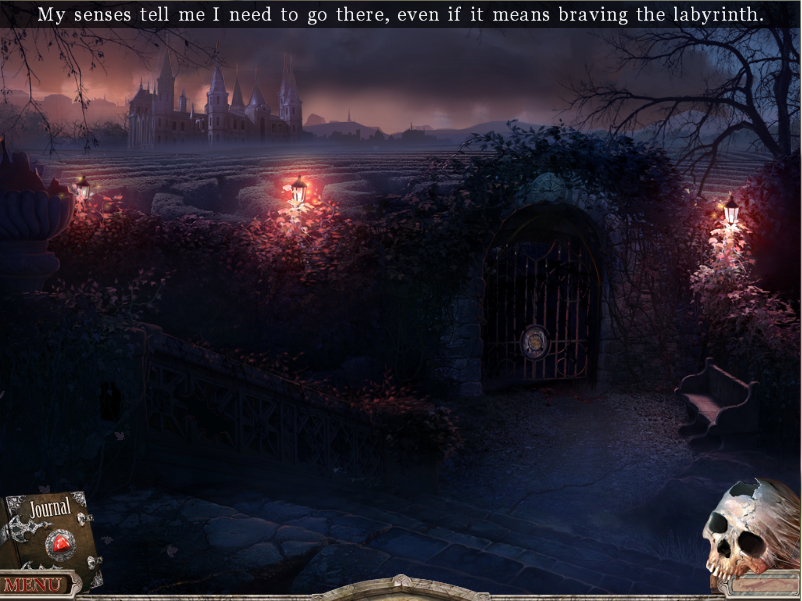
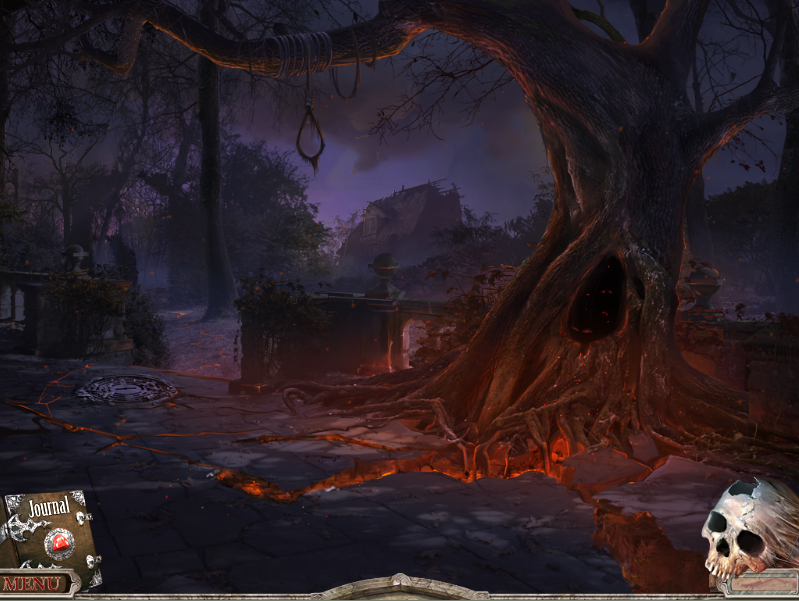
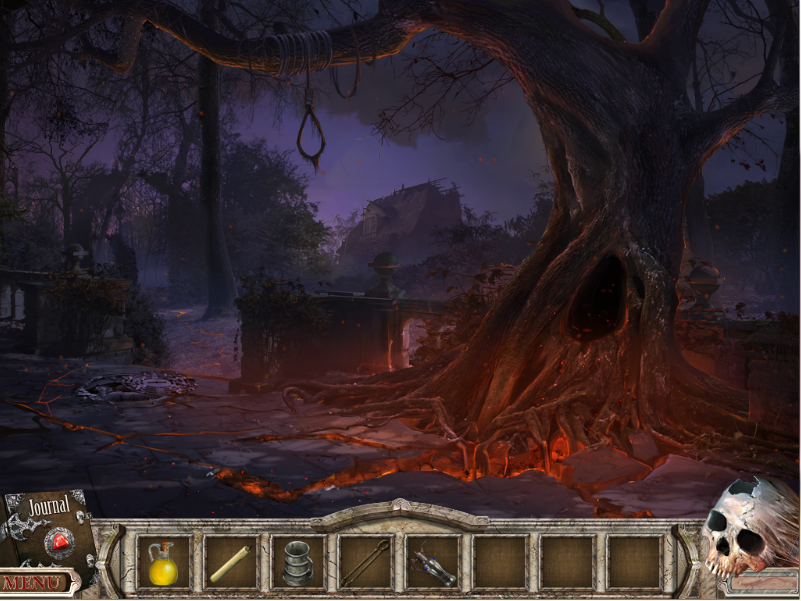
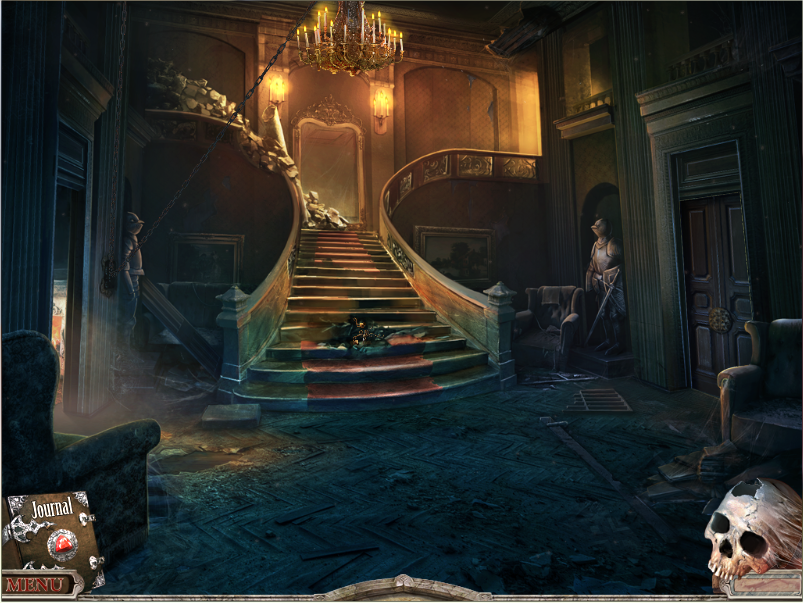
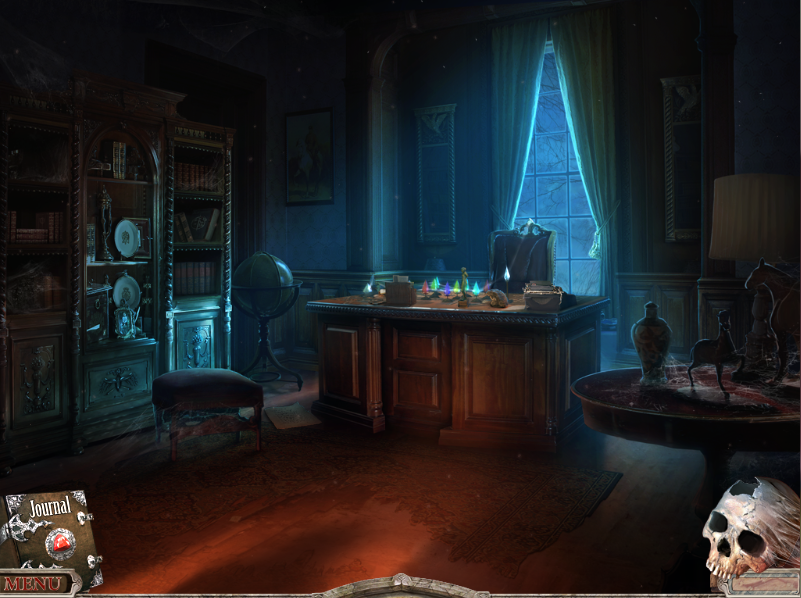
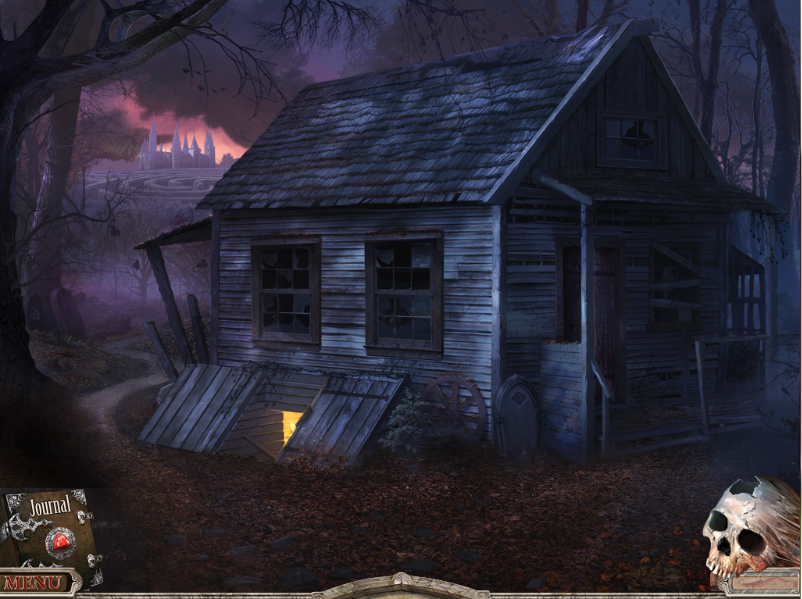
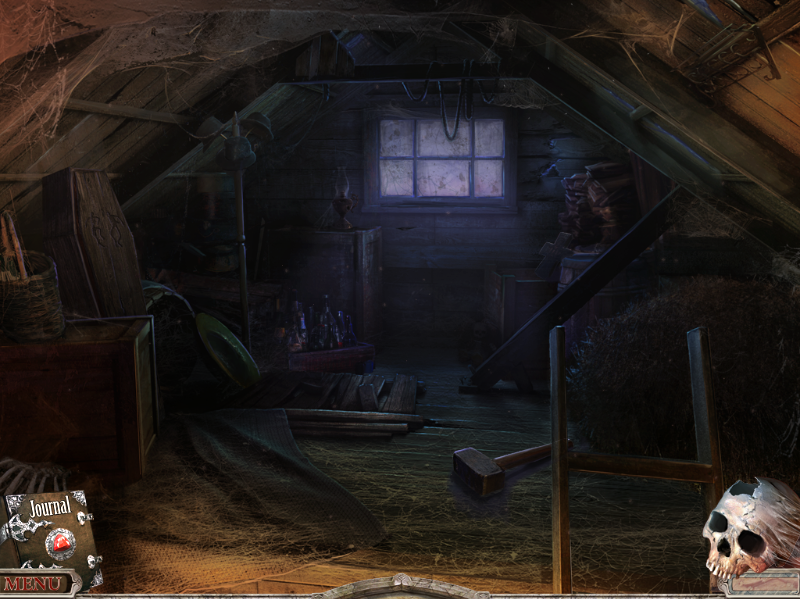
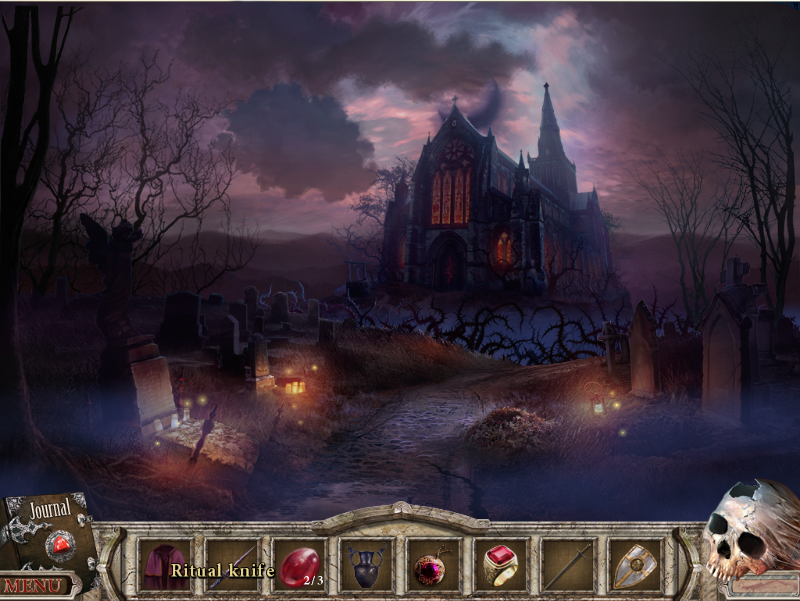
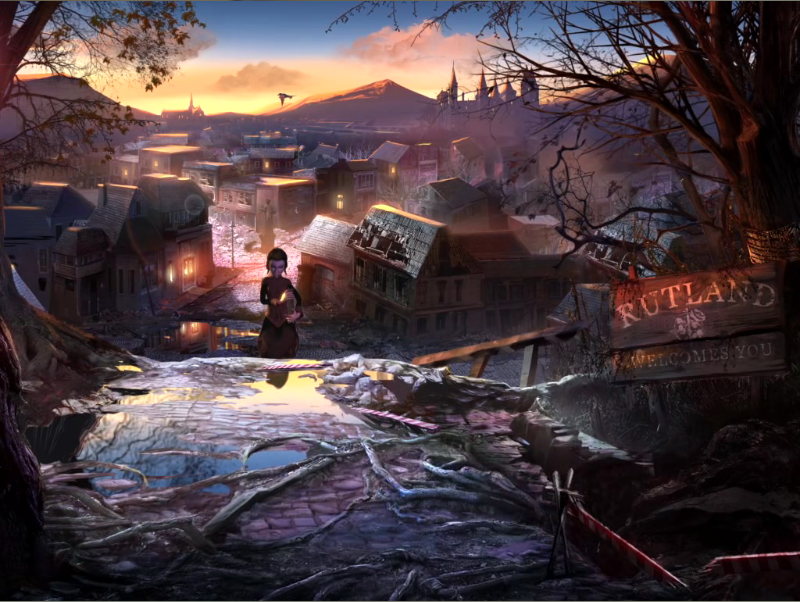
Looking over hell town:
Entering the post-apocalypse:
Back around 2010, browsing at the local shops that sold new PC games, I'd find myself thinking "I don't want to play any of this shite, wtf!" until one day I thought "fuck it" and decided to try three Hidden Object games for ten bucks.
And ever since then I've grown a certain affection for the genre. Partly as a positive memory for helping me get through the decline years and secondly because these games have a certain quality to them that no other games provide.
Just like an iced sorbet, there's no better way to cleanse one's pallet between more... intense (?)... games than plugging through a relatively quick Hidden Object game. In this regard they've stayed on my gaming menu ever since.
It turned out Hidden Object games aren't necessarily just hidden object games, the good ones are simply Adventure Games which also have occasional hidden object puzzles. But not just any random adventure game, but a whole familiar universe which spans almost all titles which provides an easy familiarity, in the same way chips are chips, even when they're called fries.
They have a reputation for being games for girls, but they're hardly My Little Pony, more Nancy Drew meets Broken Sword really so, while not being Doom level manly man material, I think they're a fairly neutral entity that doesn't really deserve its single-sex reputation.
I thought I'd do a let's play because I should think many people dismiss these kind of games too easily and likely have no idea what they're even all about. And because I just feel like doing a let's play and these games are relatively short so it's more likely I'll actually complete the thing.
I've also picked quite an entertaining one that I've played a few times which I think provides a good example of the genre:
Is a game developed by Blam! Games exclusively for Windows PC (but is also now avaialble on Mac and mobile etc) and was released in 2011. Before and after the above screen there are a couple of very short cut-scenes which are skippable.
I have to say, I really like the aesthetic of this game, from colour design to music and from sound effects to animation.
The game is a PEGI 16, so this ain't no kiddywinkies game either...
So let's play...
Part 1
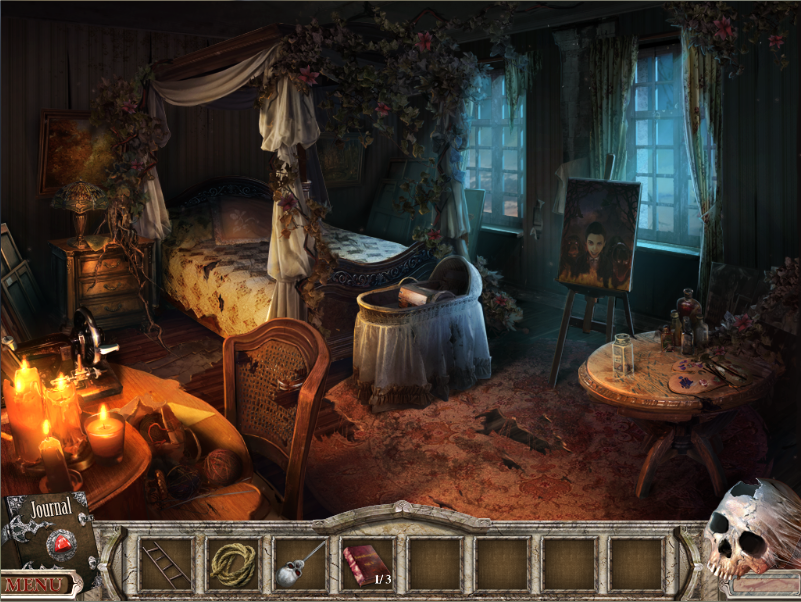
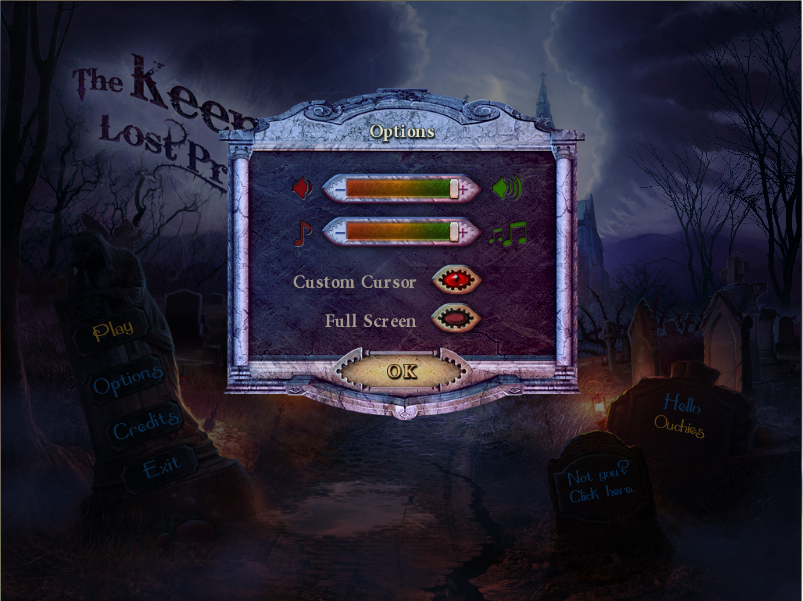
Options screens and game settings:
The options screen is quite sparse and to the point, not much faffing needed here:
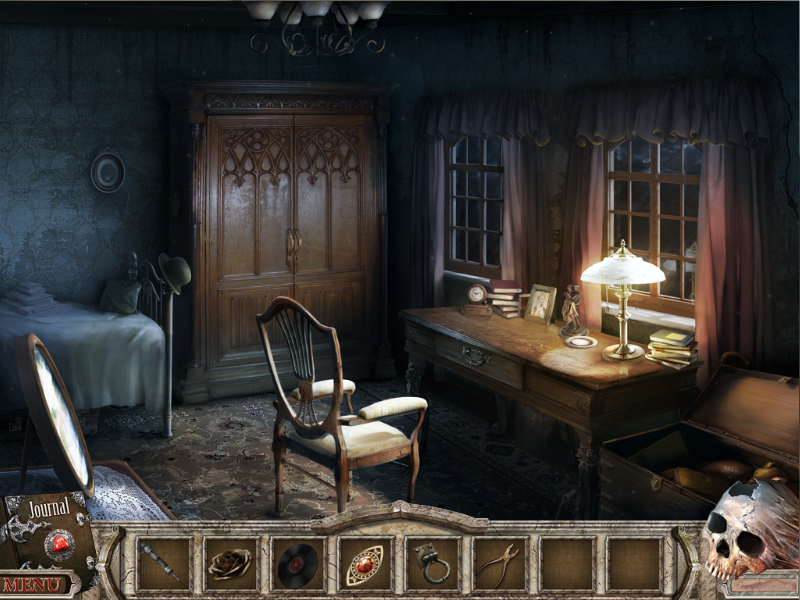
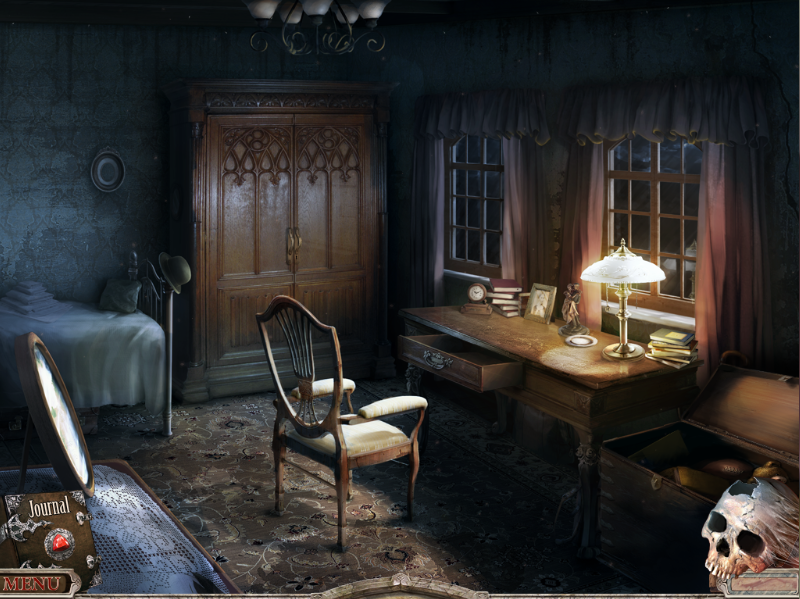
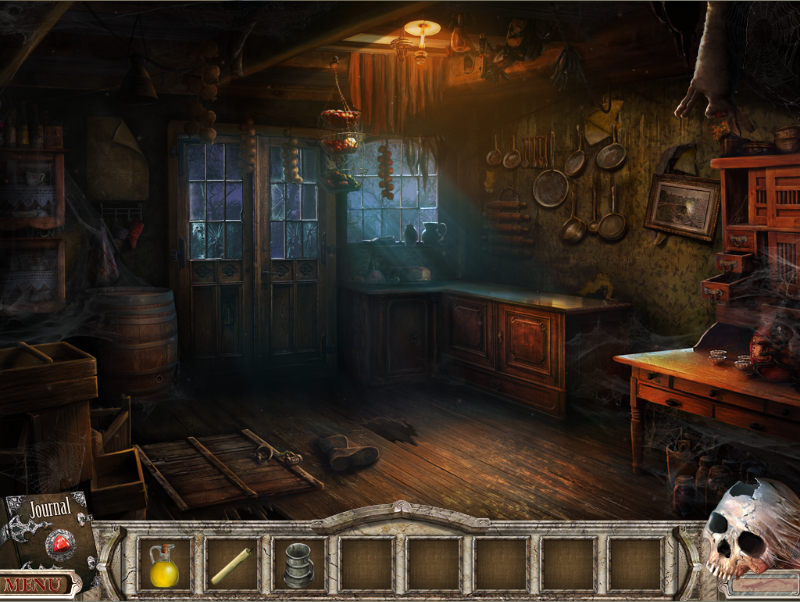
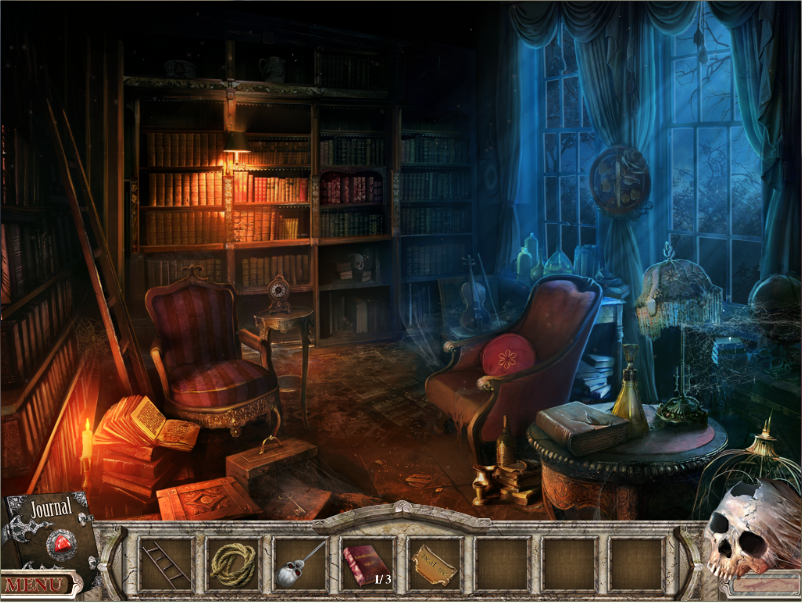
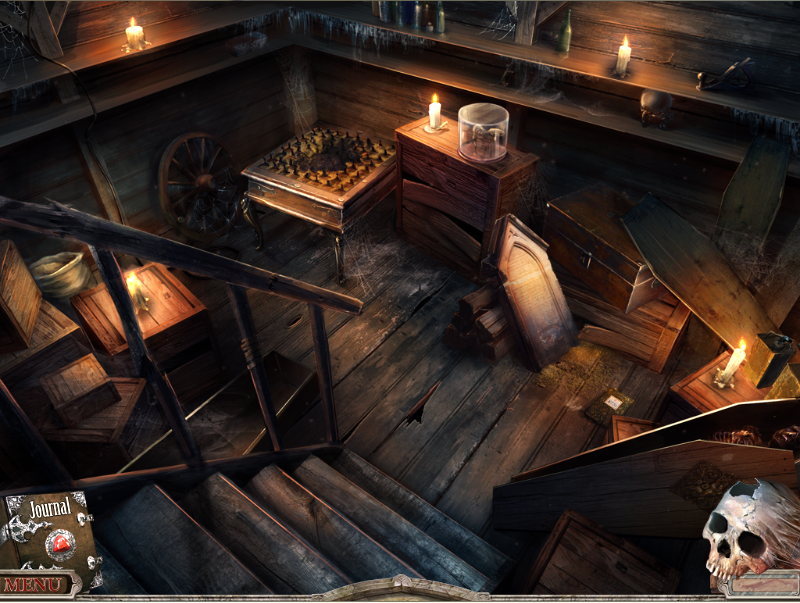
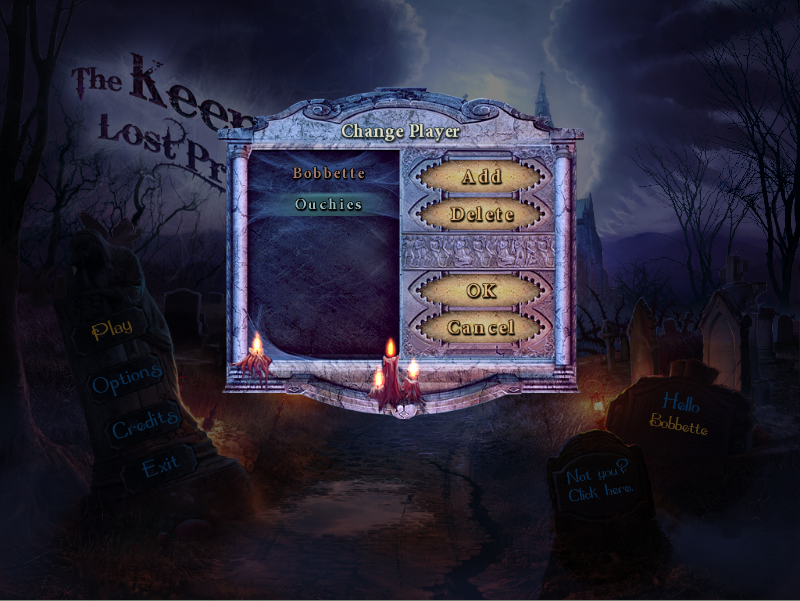
The game does not have a save function. The game simply takes you to where you last logged out once you've started. So if you want to start afresh while maintaining a previous save, or if someone else wants to have a go while you're in the middle of the game you simply press "not you? Click here" and create a new player to start at the beginning:
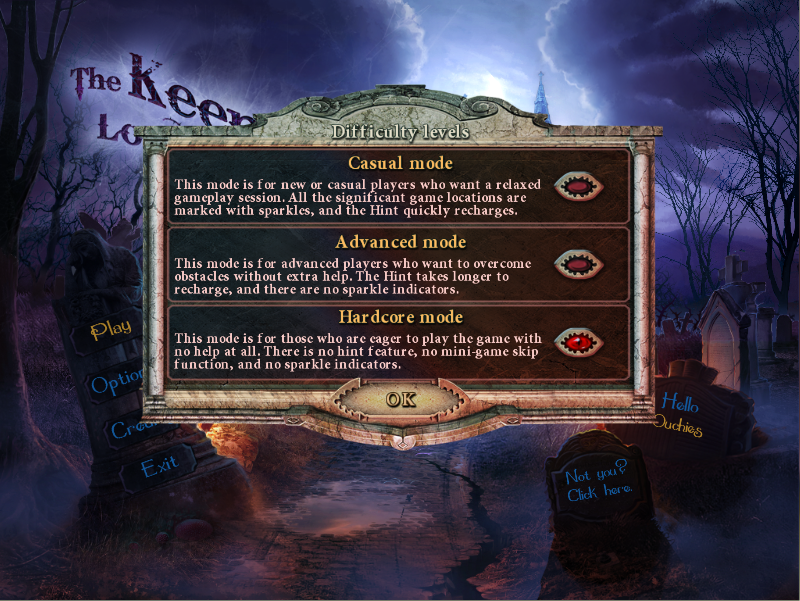
Upon pressing play you are then provided with the most important options screen, difficulty level. In Hardcore Mode not only will the game not provide any unwanted hints while you play but the options to ask for hints are also excluded:
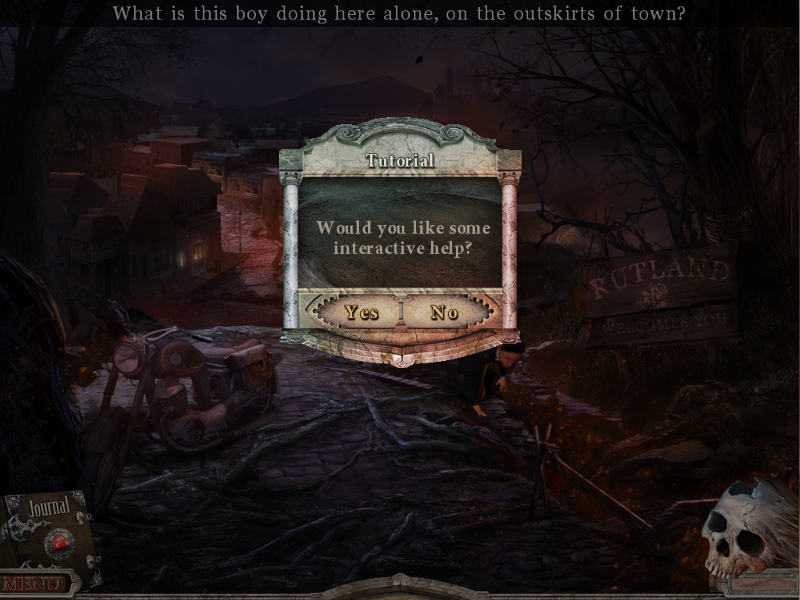
Finally, the last option screen. If its you're first ever HOG then sure, go for it, but this LP will not be using it:
The game does not have a save function. The game simply takes you to where you last logged out once you've started. So if you want to start afresh while maintaining a previous save, or if someone else wants to have a go while you're in the middle of the game you simply press "not you? Click here" and create a new player to start at the beginning:
Upon pressing play you are then provided with the most important options screen, difficulty level. In Hardcore Mode not only will the game not provide any unwanted hints while you play but the options to ask for hints are also excluded:
Finally, the last option screen. If its you're first ever HOG then sure, go for it, but this LP will not be using it:
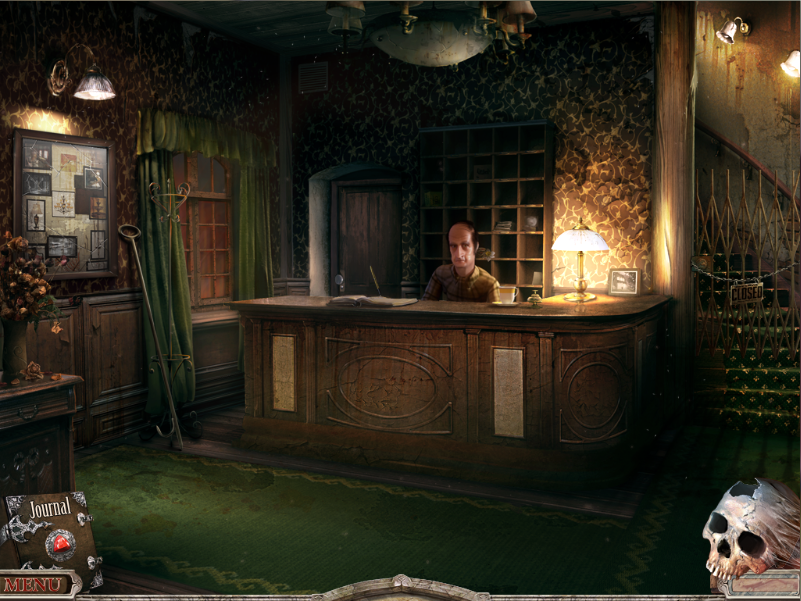
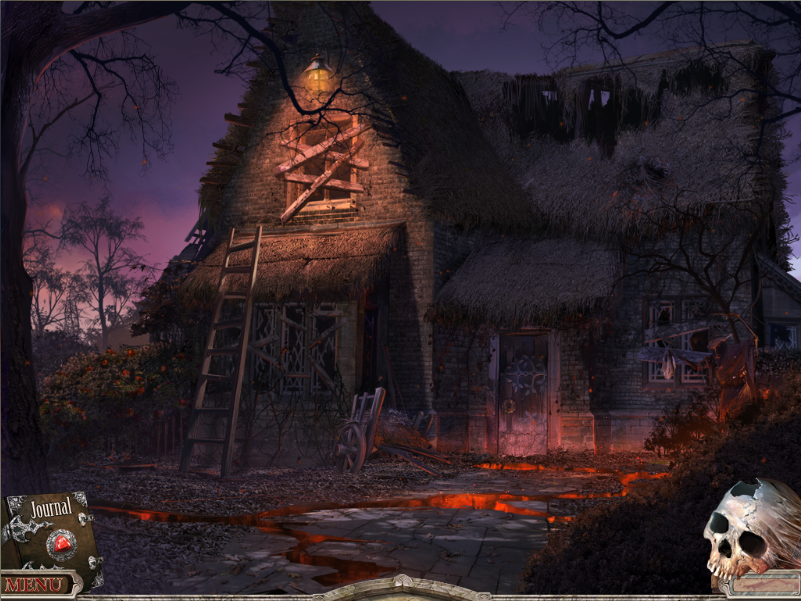
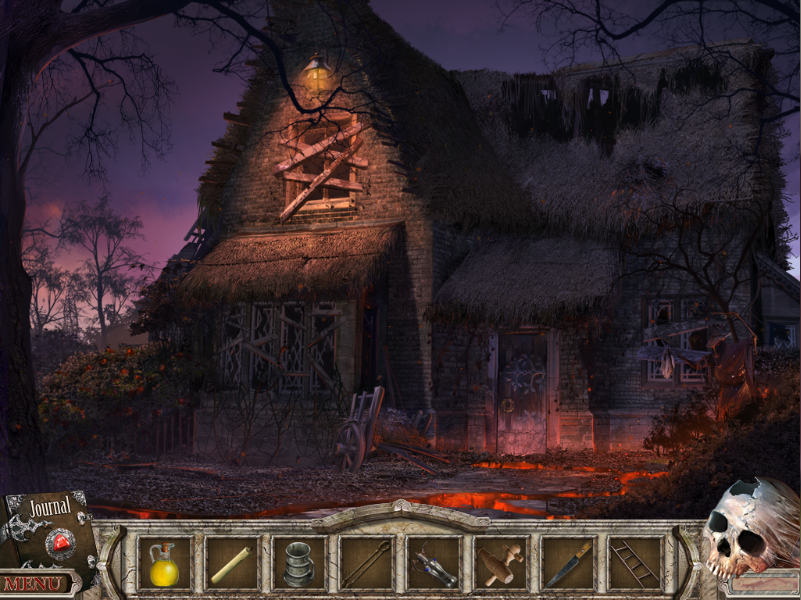
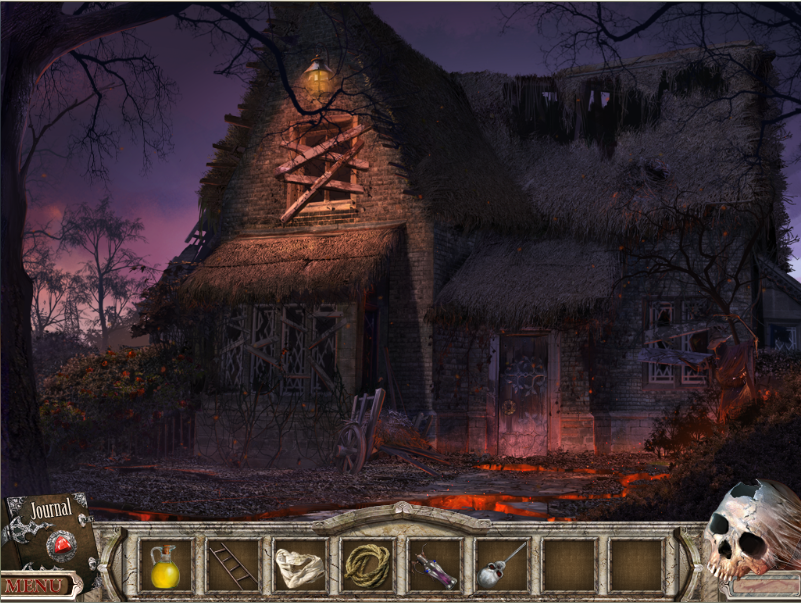
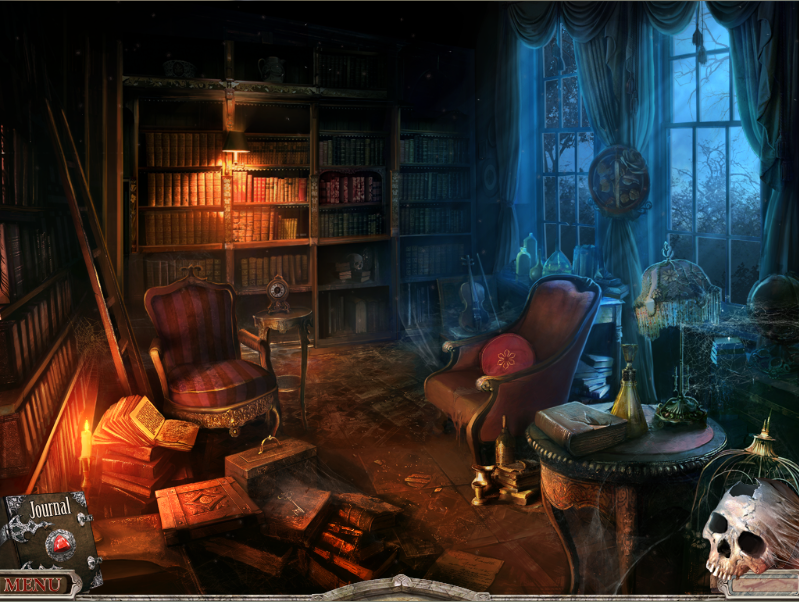
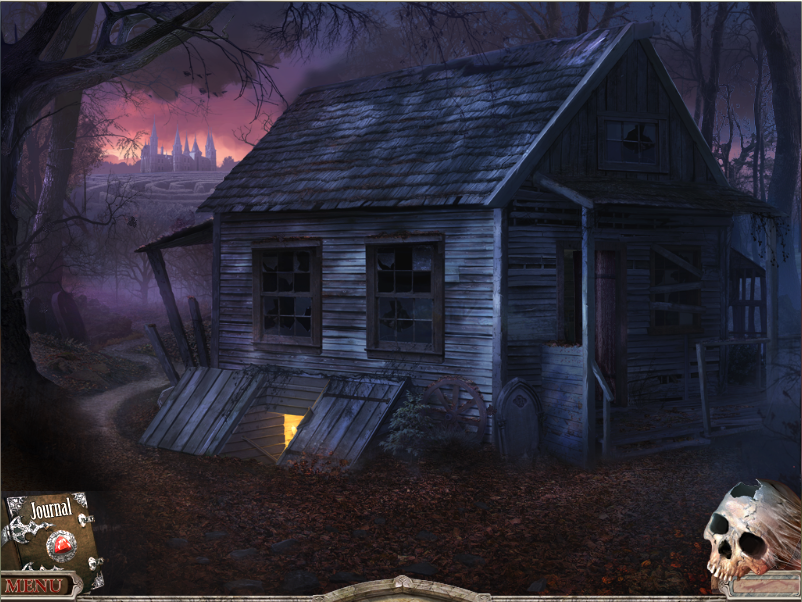
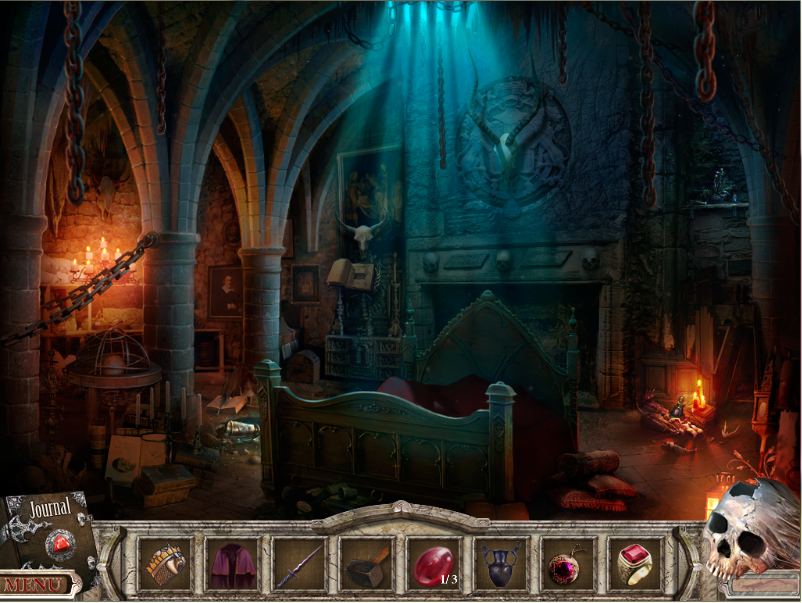
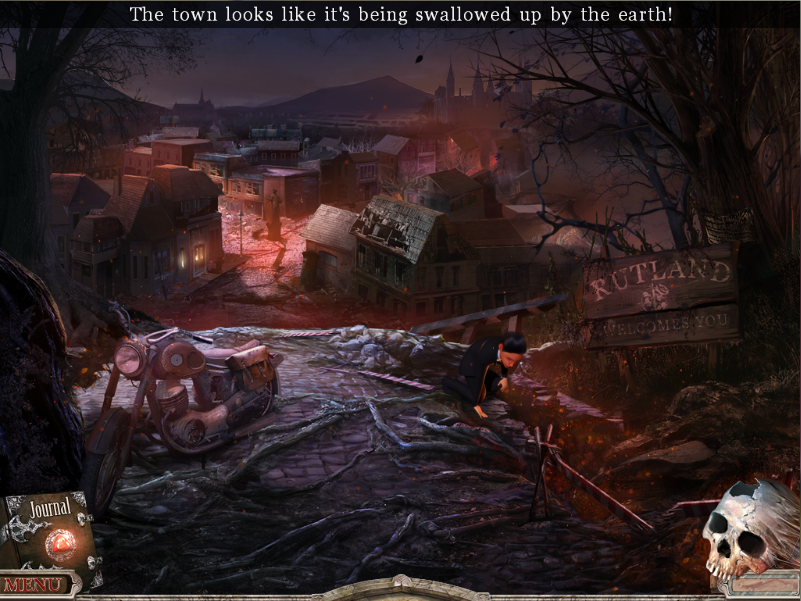
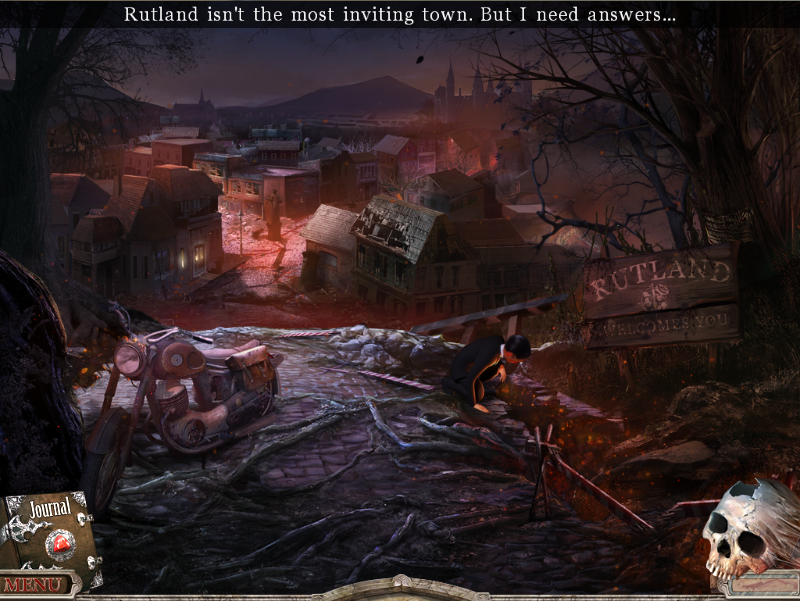
Looking over hell town:
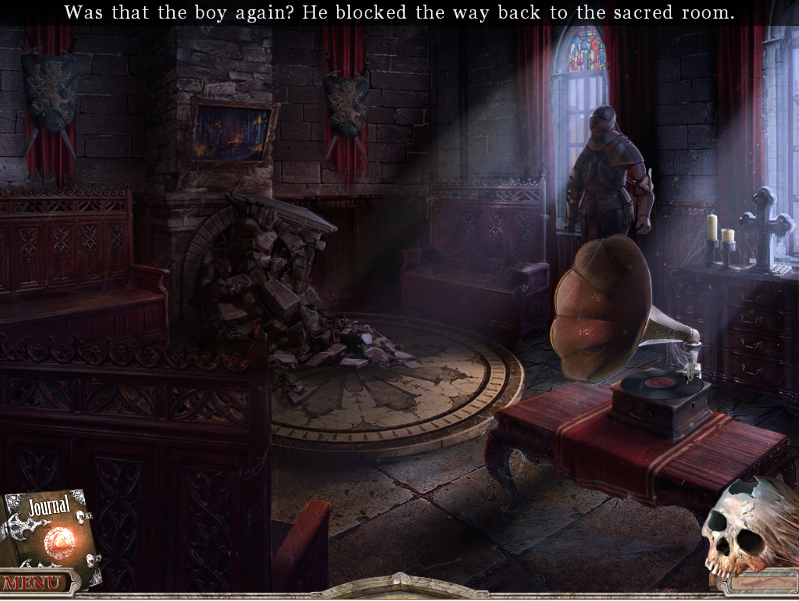
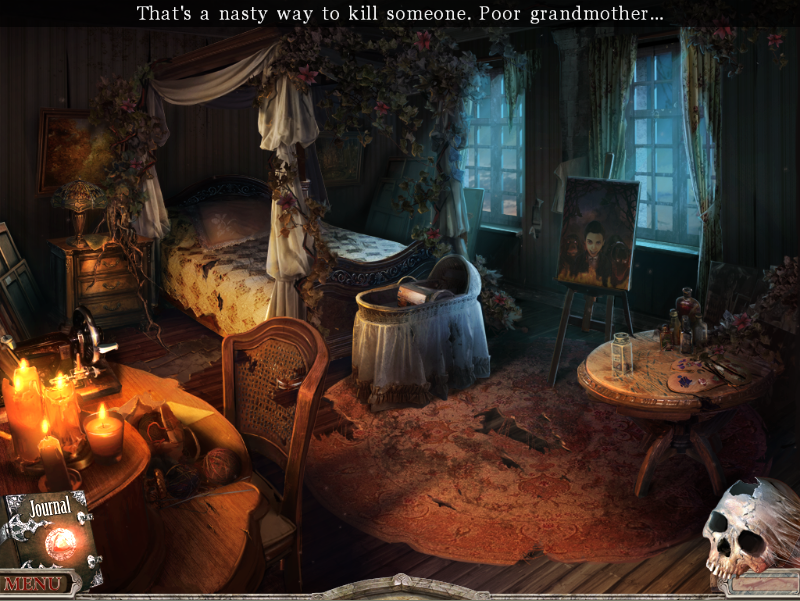
It's a dark and stormy night and you've just parked your bike next to an urchin in a suit scrabbling around in the dirt:
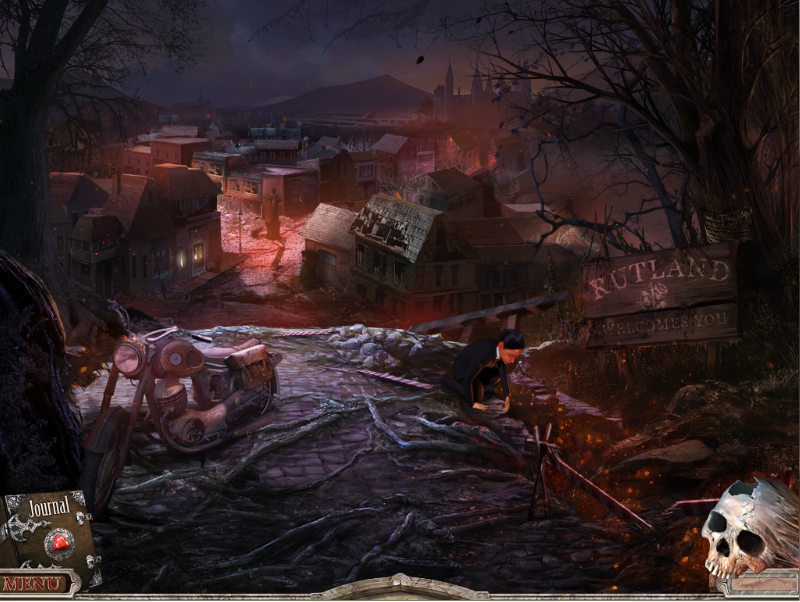
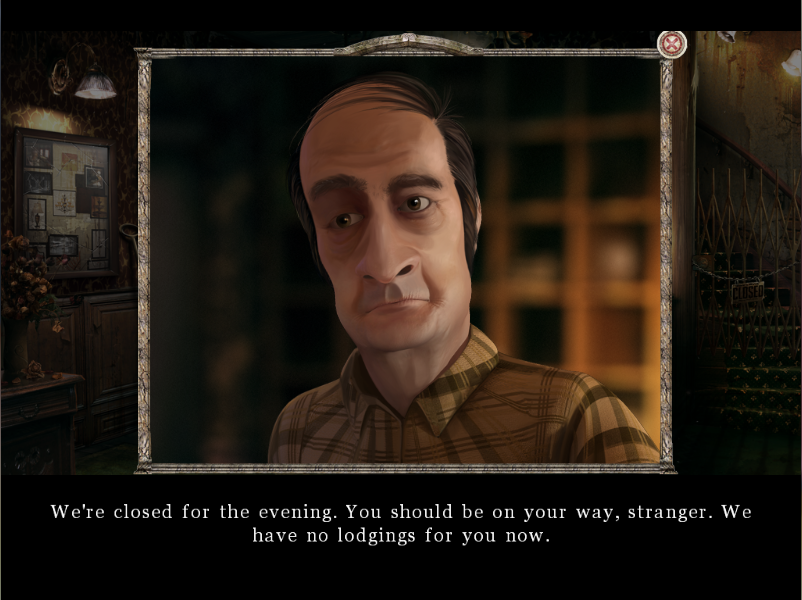
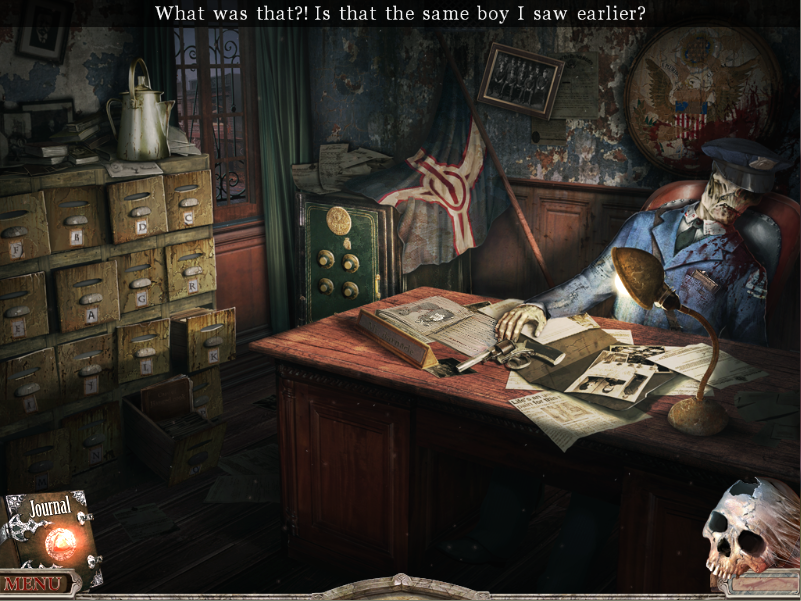
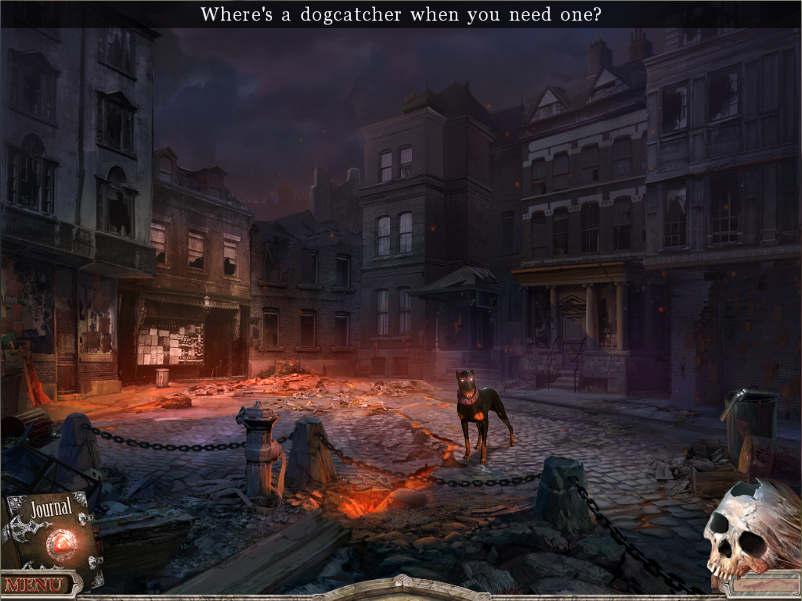
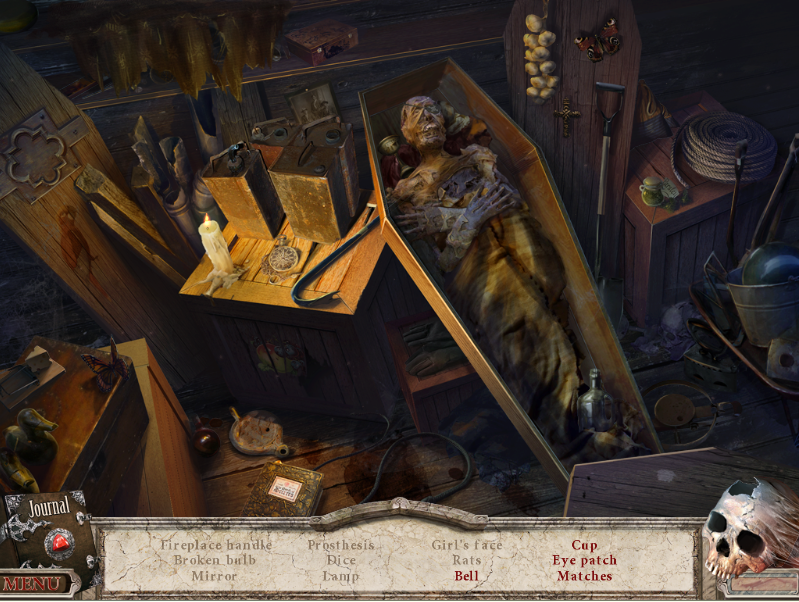
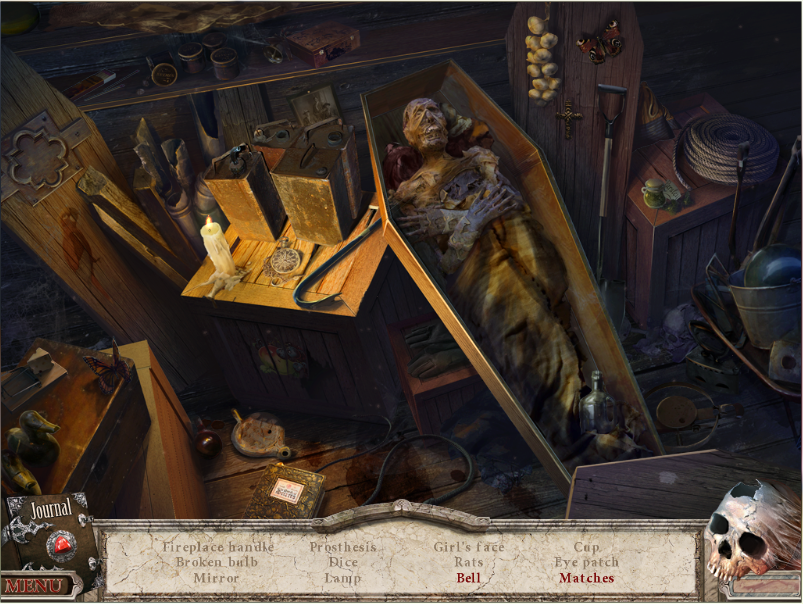
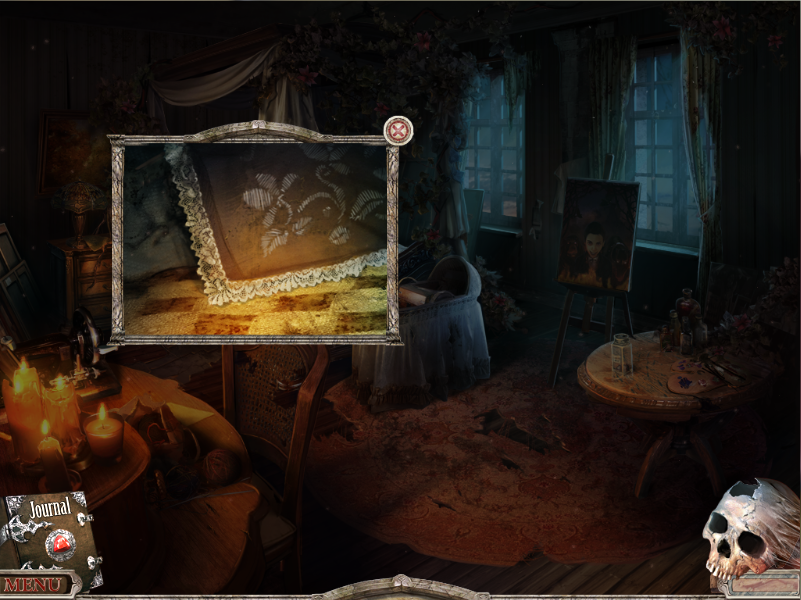
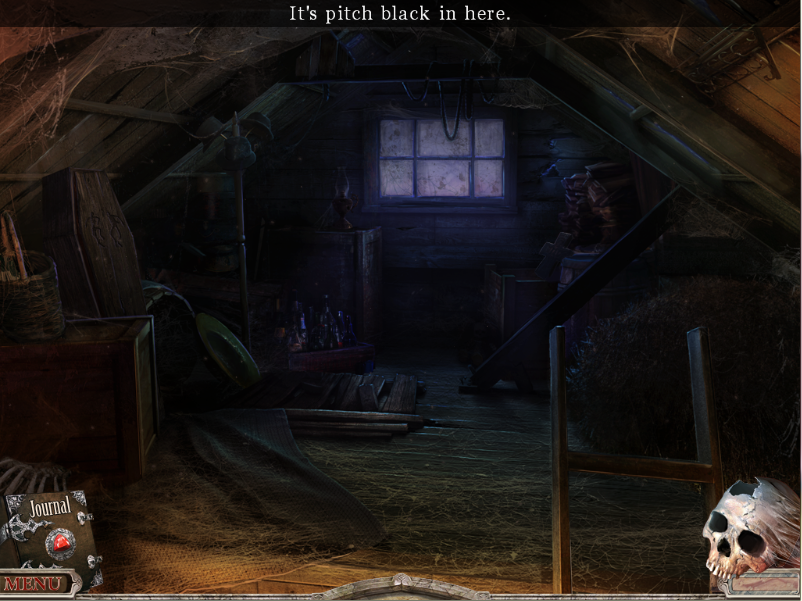
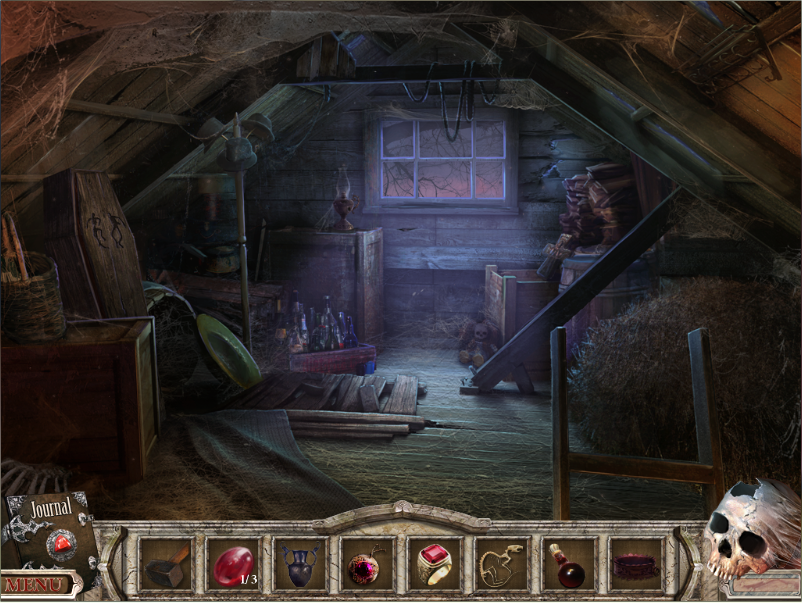
Moving the mouse around will reveal what's clickable, the mouse changing into many different icons to depict what you can do at that set of pixels. The pixel fields are normally quite large but it's still possible to miss stuff if you're too impatient. The mouse pointer informs me I can only click on the boy:

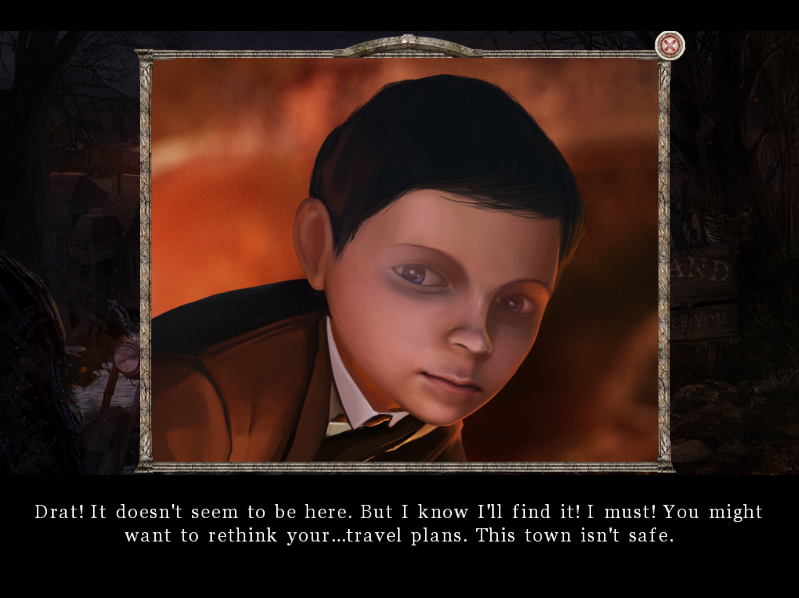
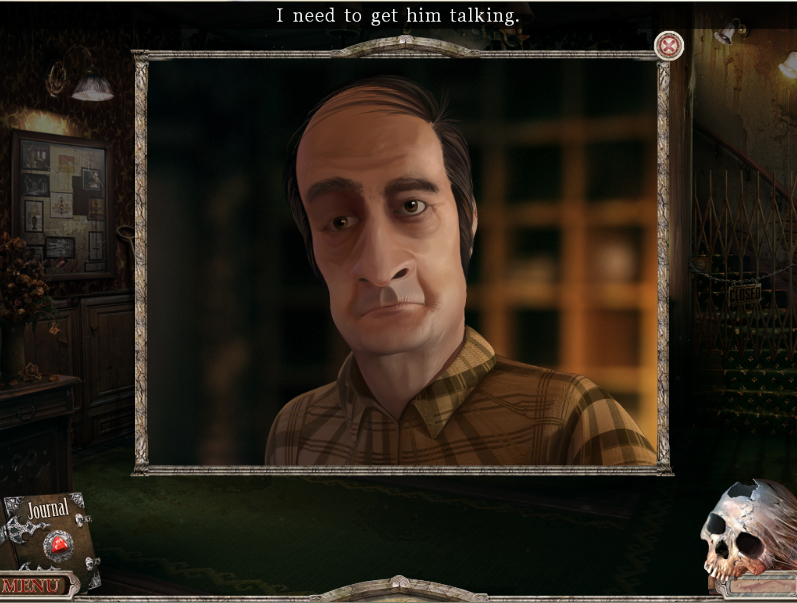
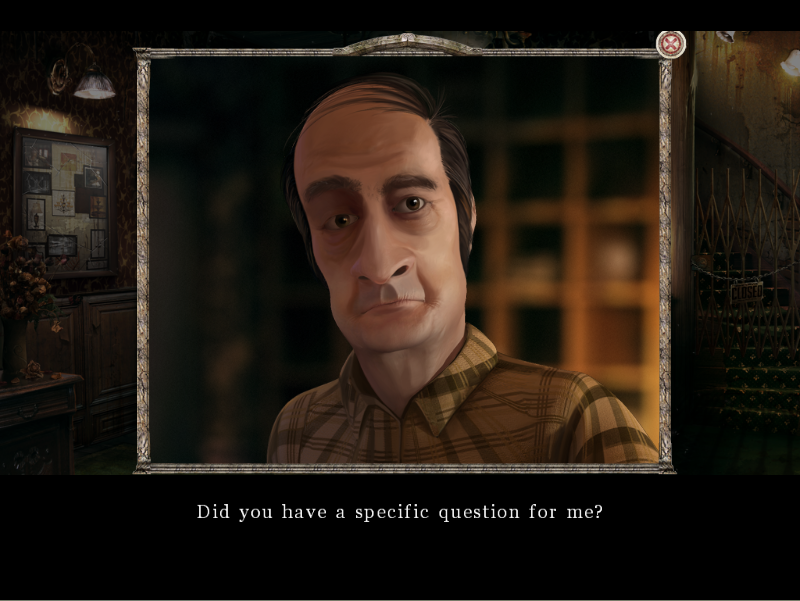
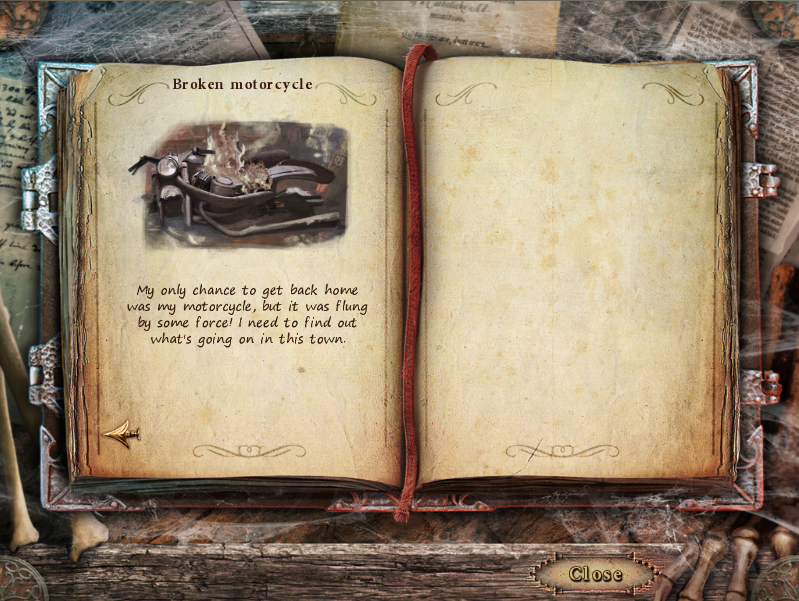
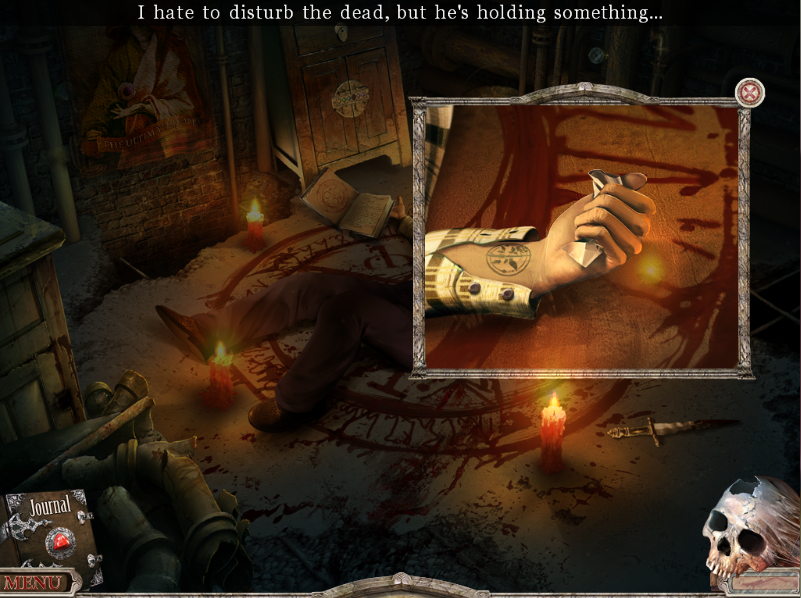
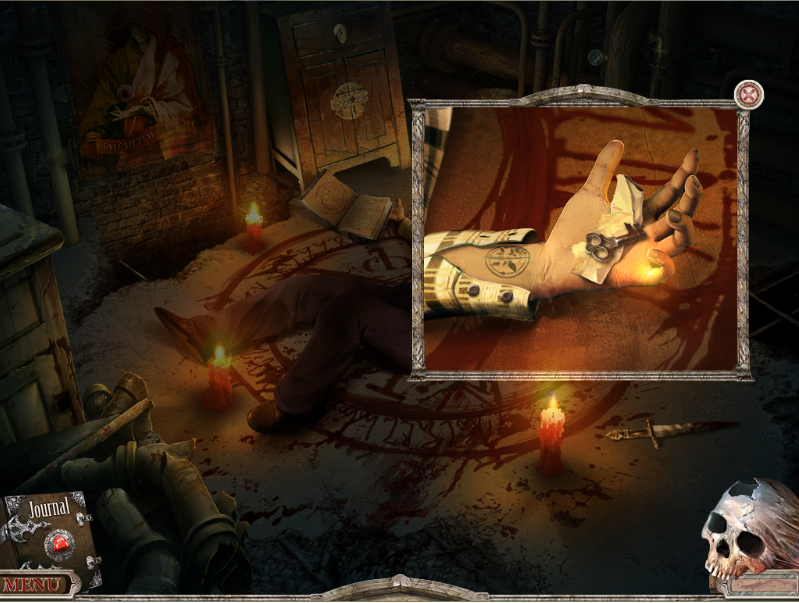
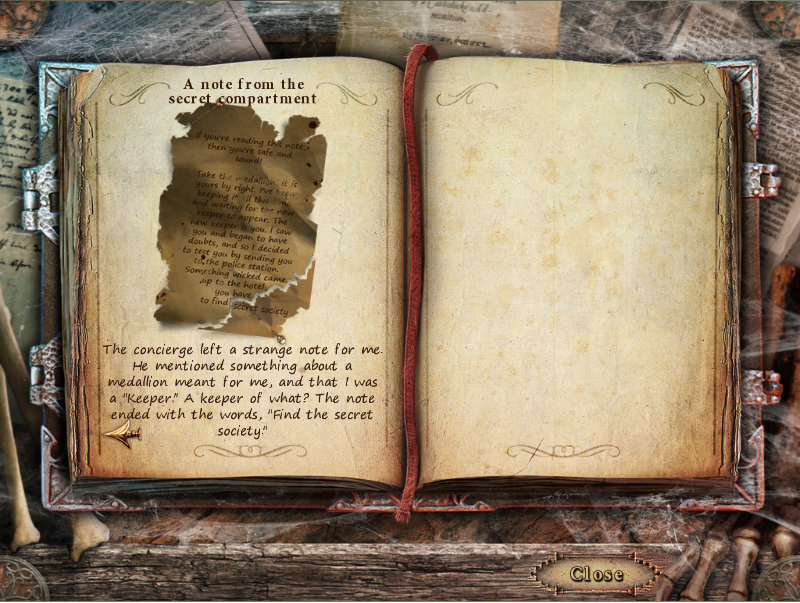
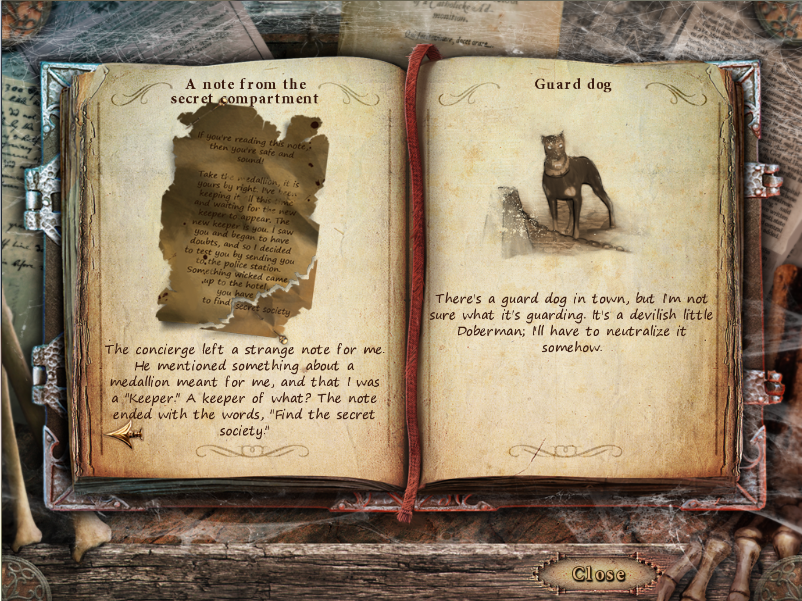
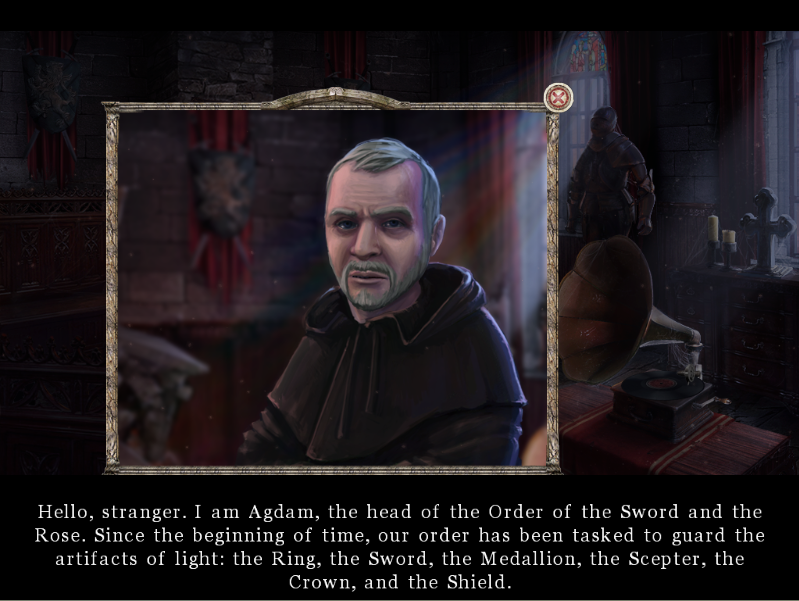
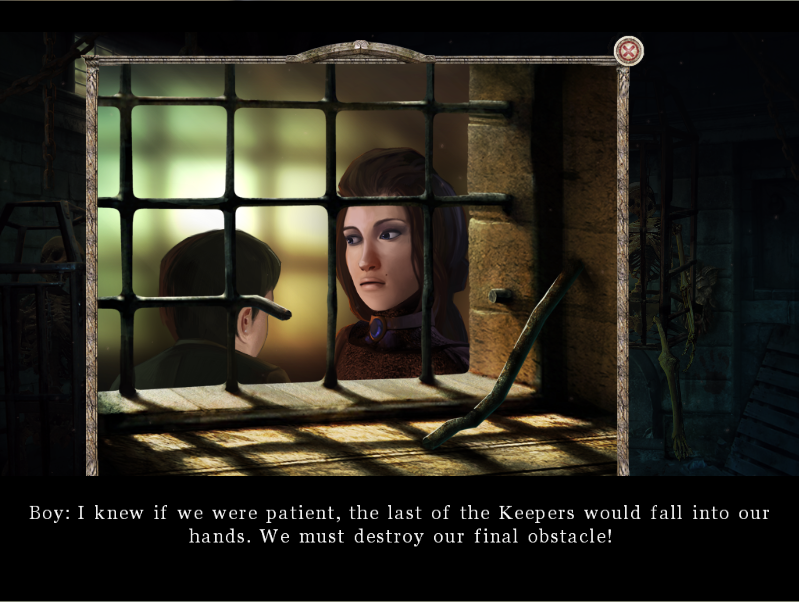
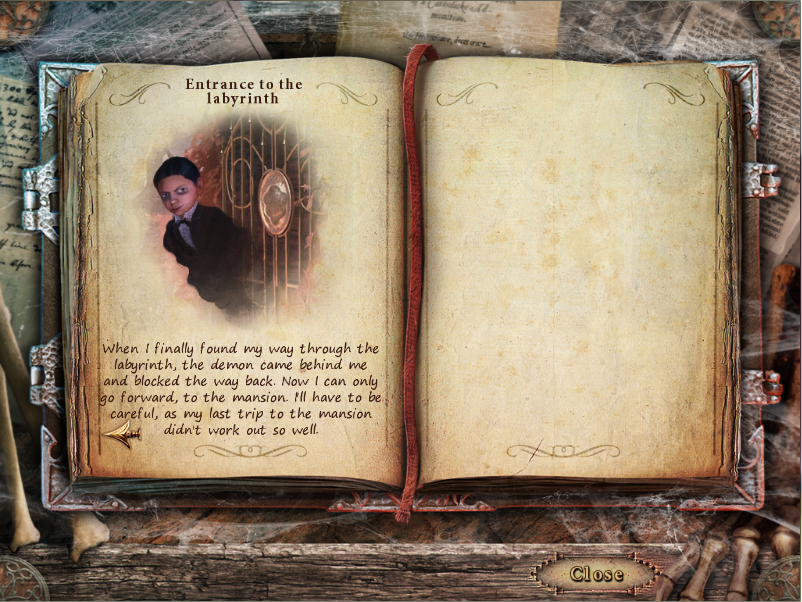
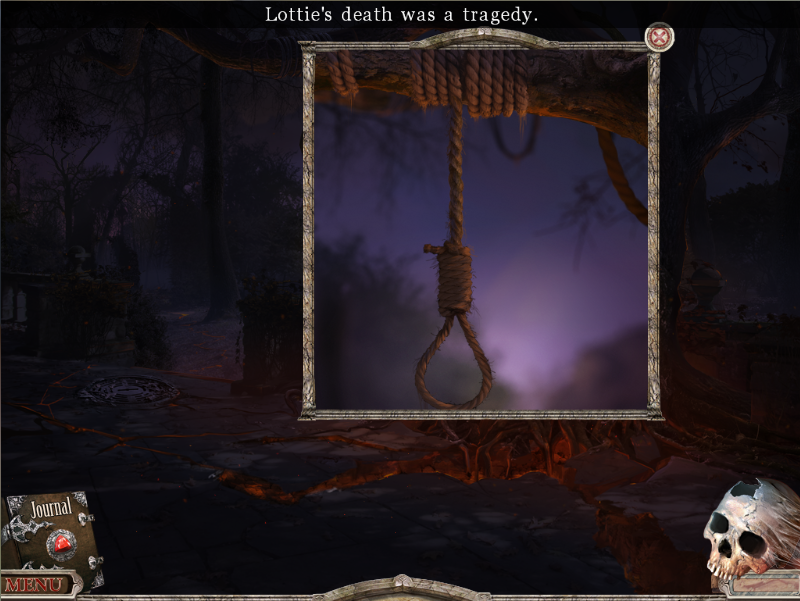
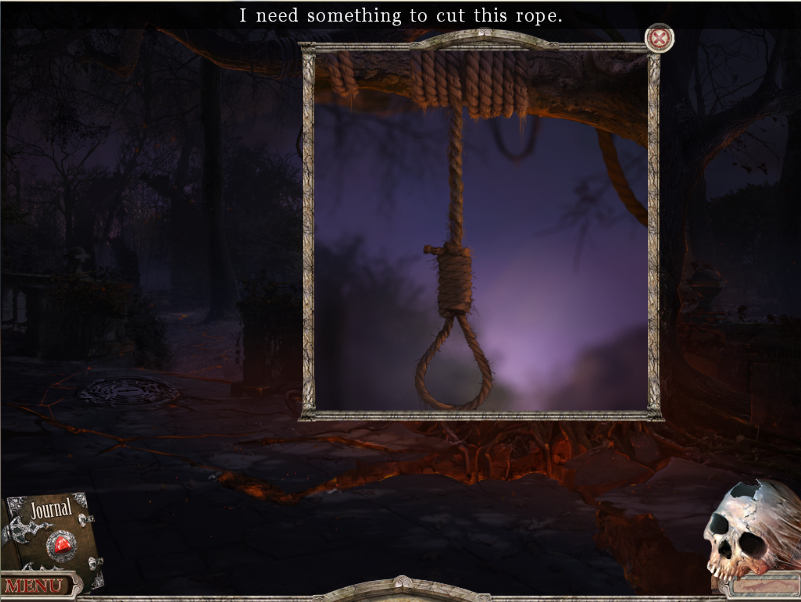
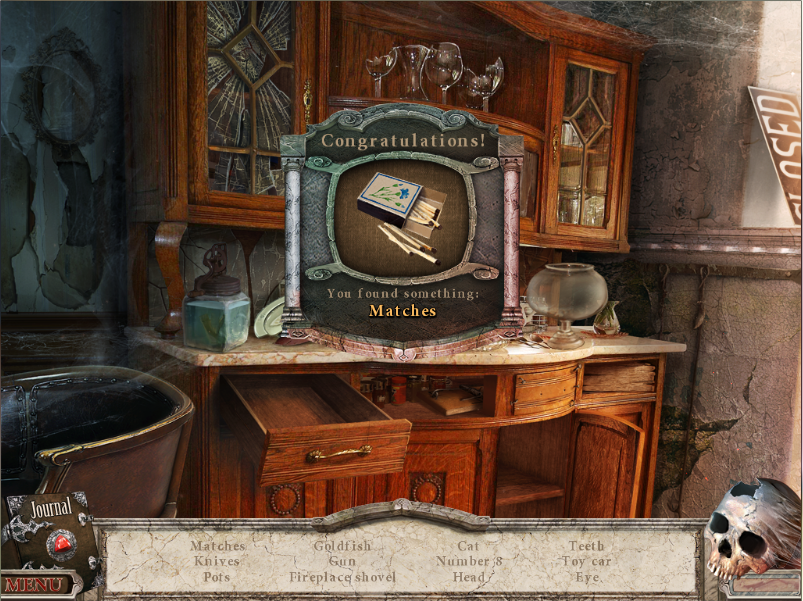
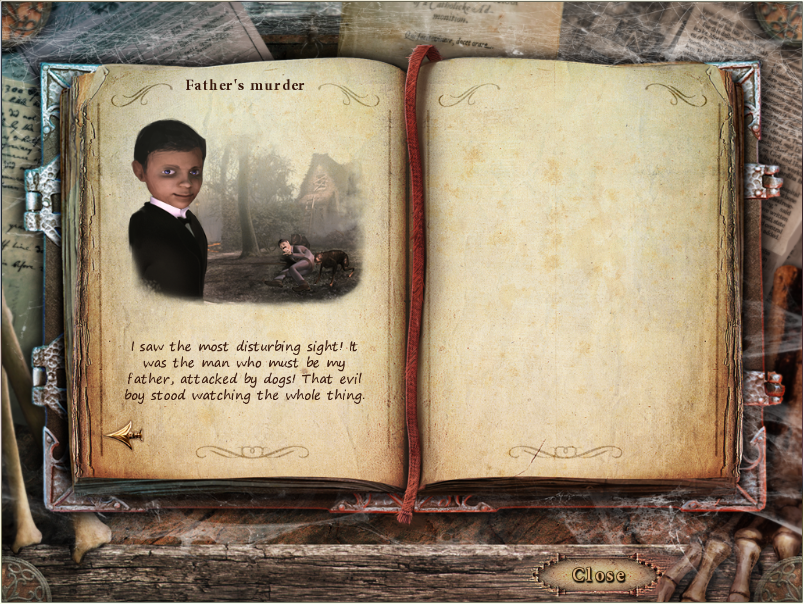
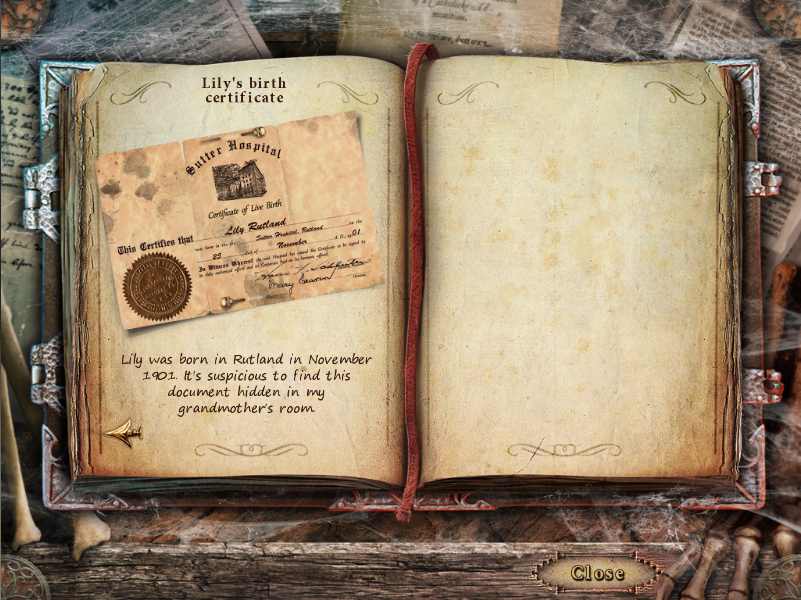
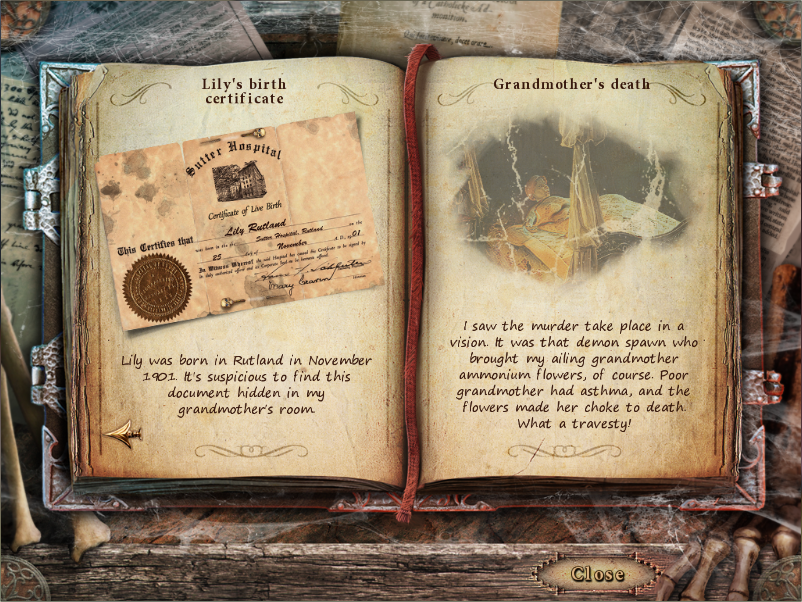
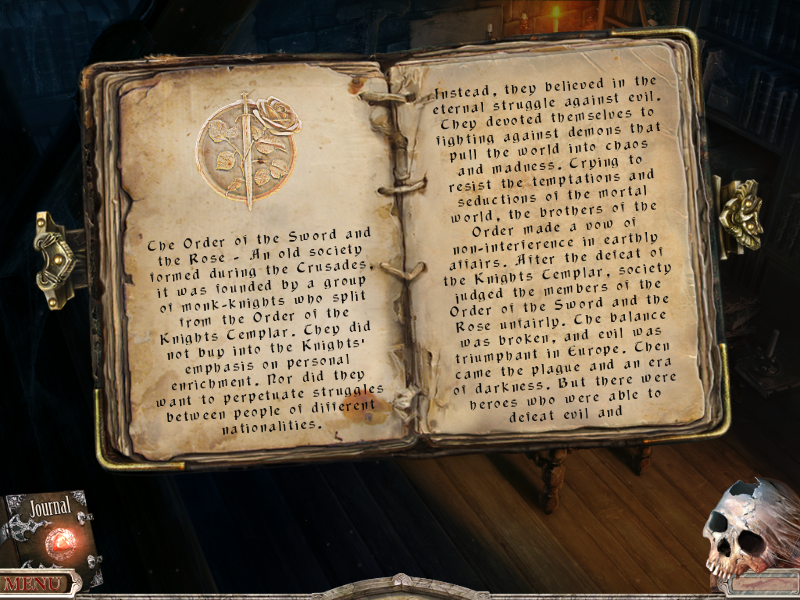
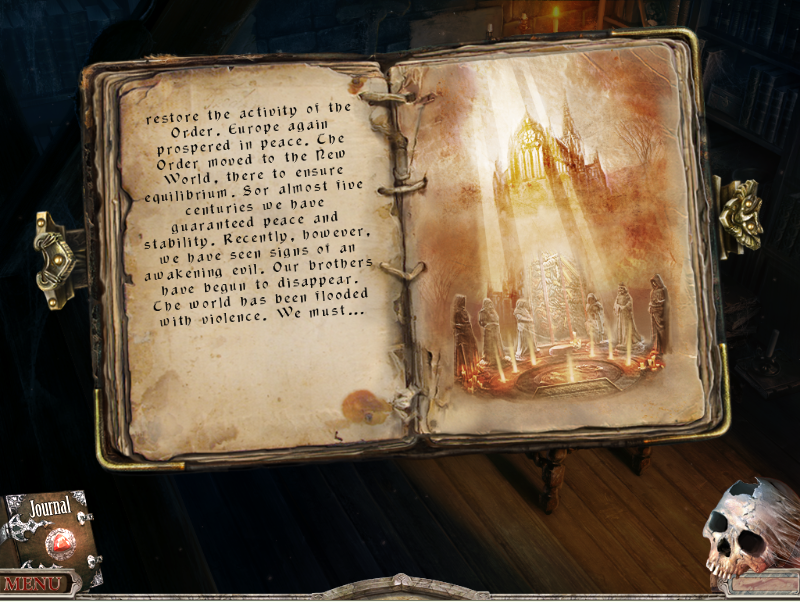
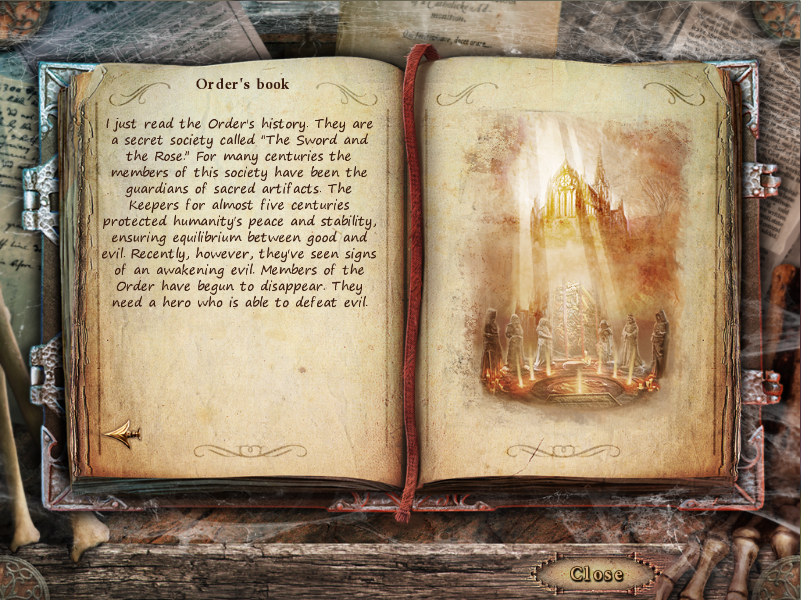
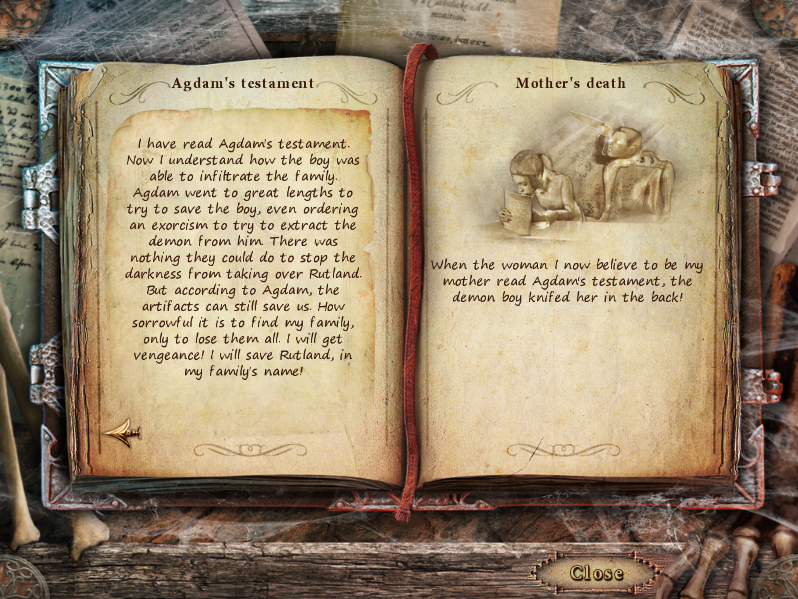
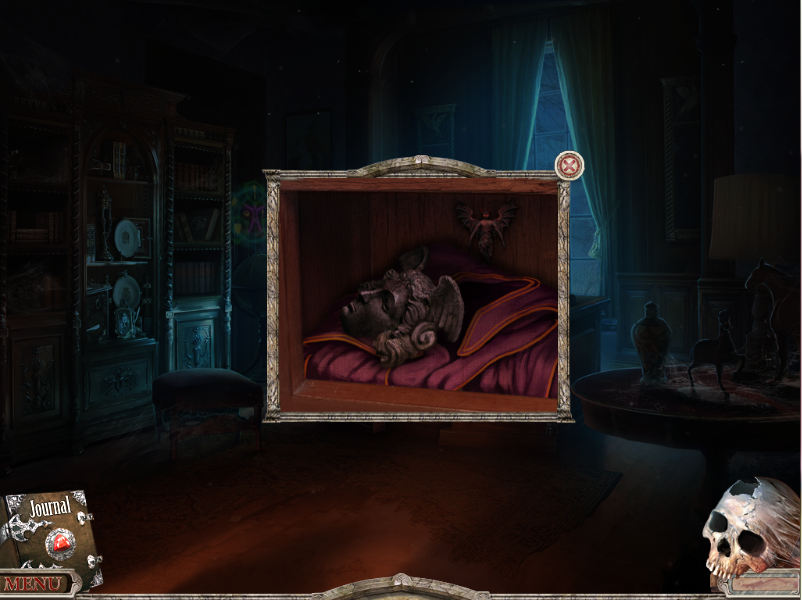
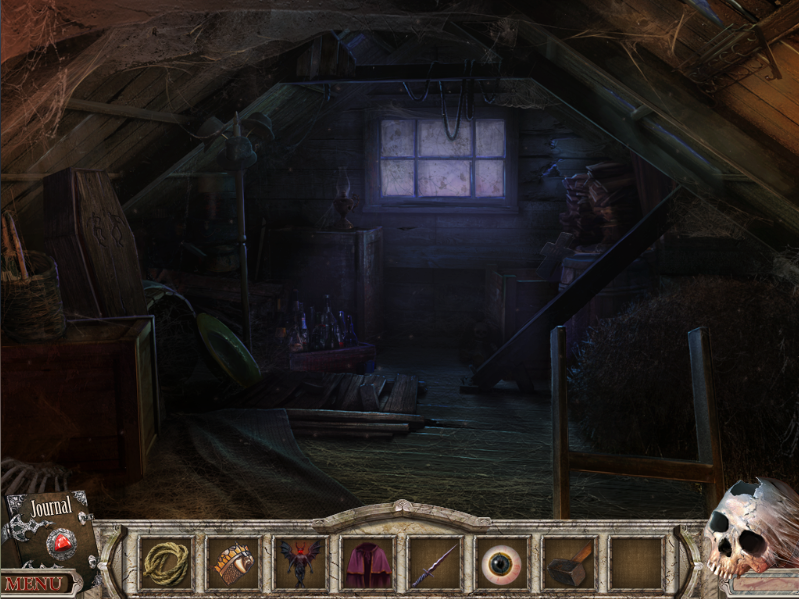
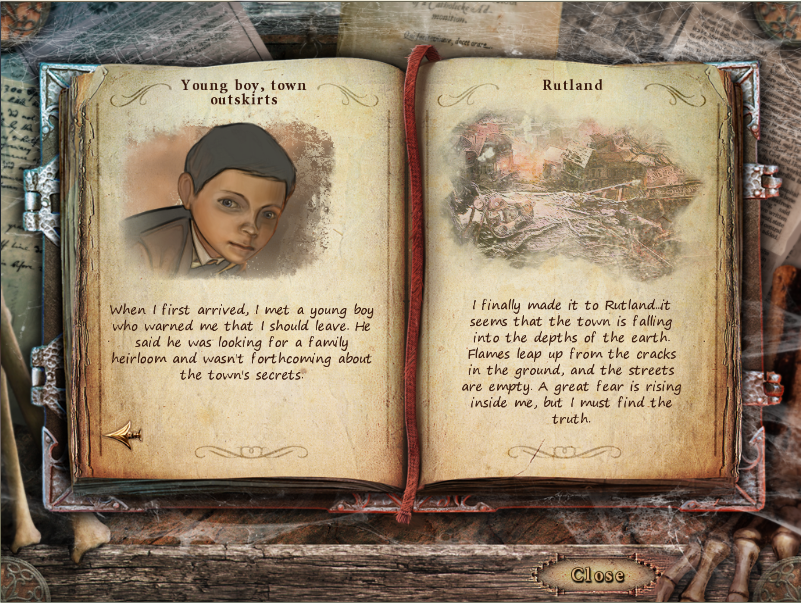
Hmmm, it seems safe enough for a boy to be out on his own. But where's everyone else? Sometimes during dialogues the NPC will give you something when they've finished talking. There is nothing being given here though. Closing the screen informs me my journal has been updated:
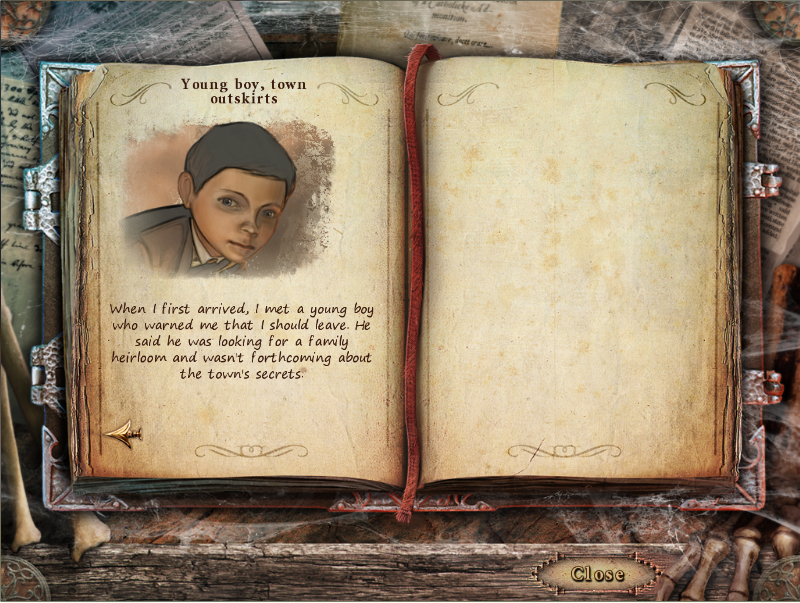
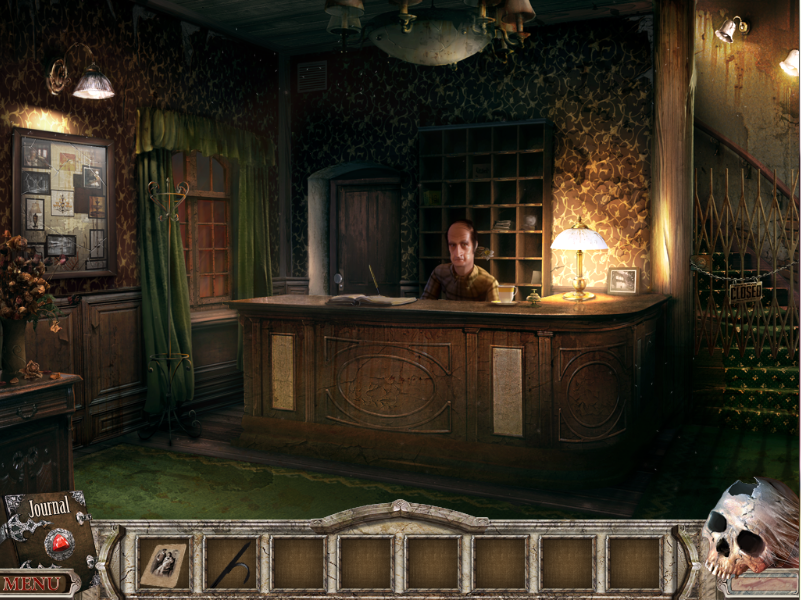
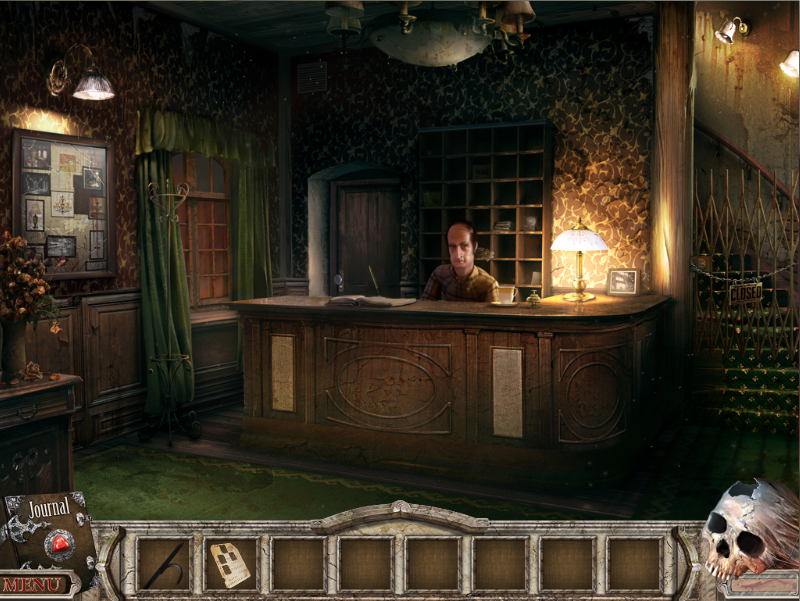
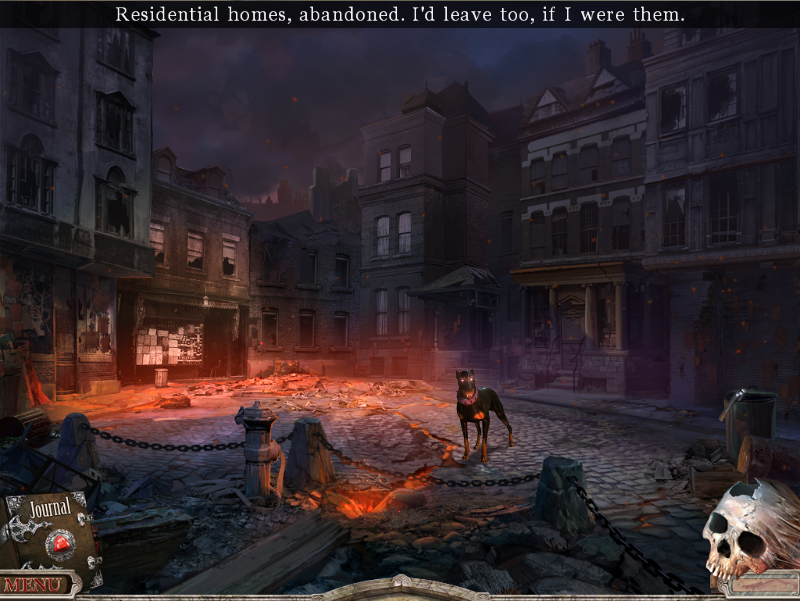
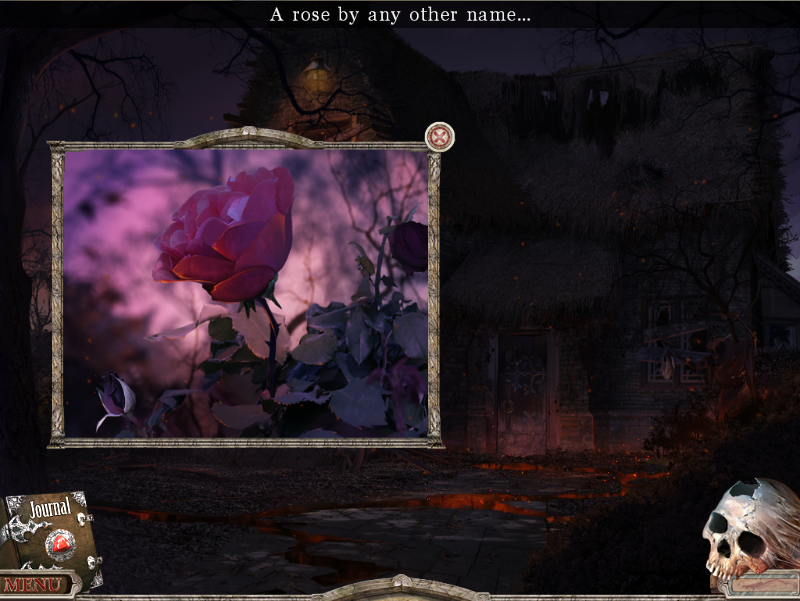
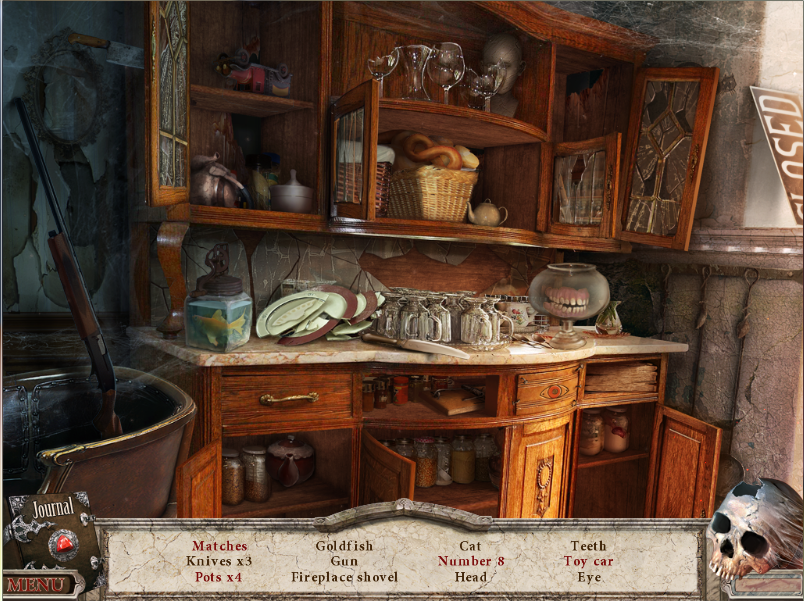
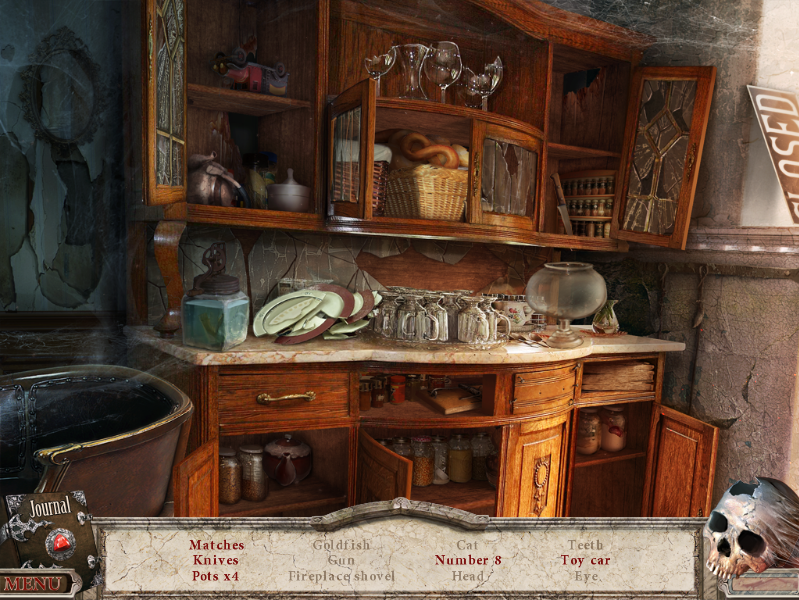
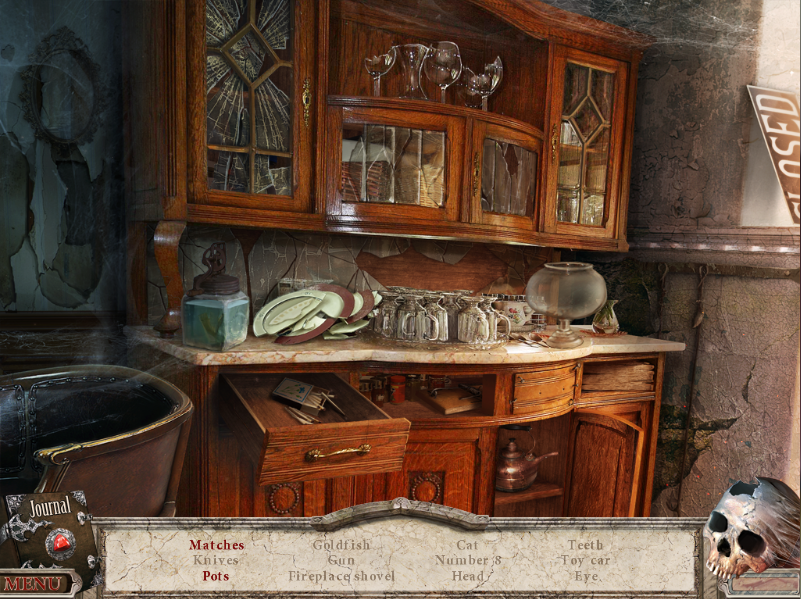
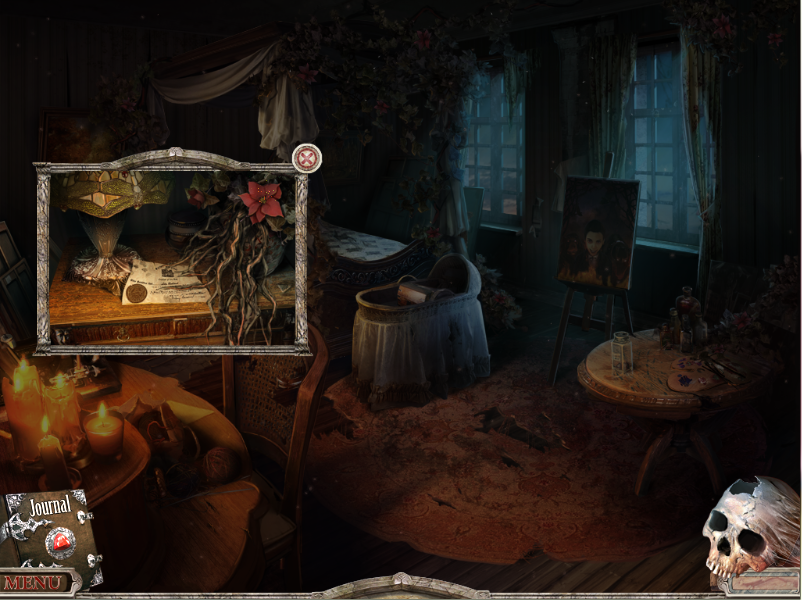
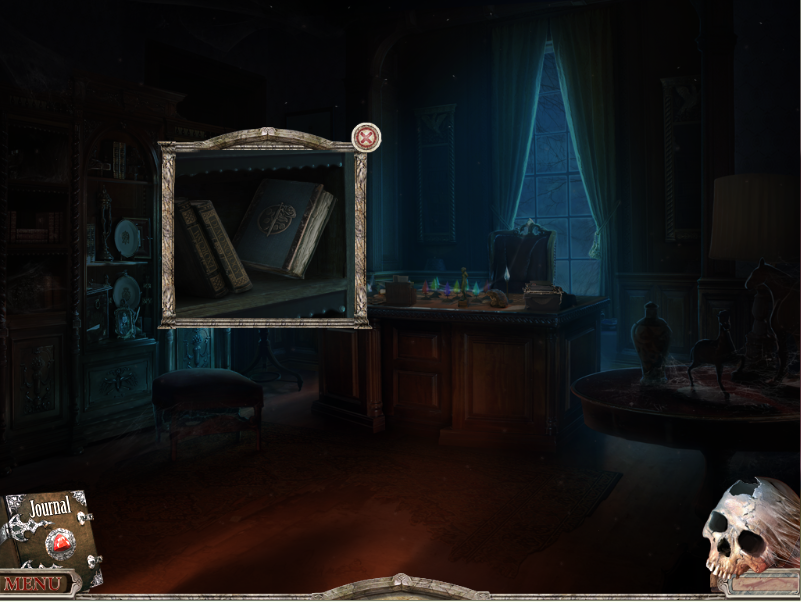
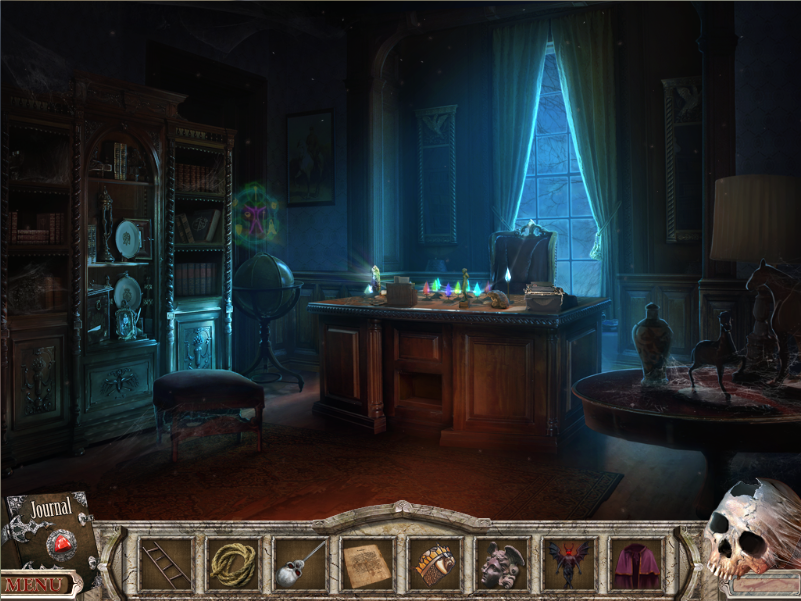
Now that the mandatory introductions are over the screen suddenly becomes very interactive and I have loads of stuff to click on. I'll start with clicking on the town in the background. Ah, some flavour text:
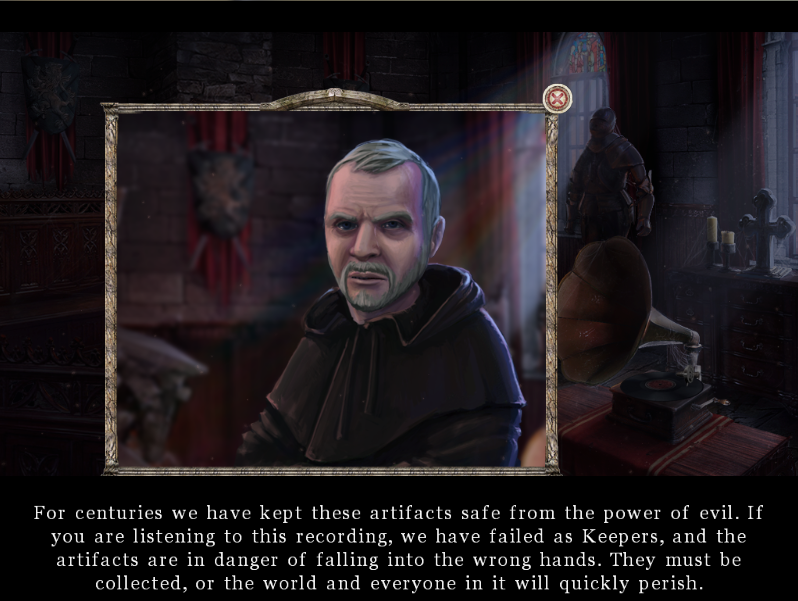
Now the signpost. More flavour text:
But this one also updates my journal:
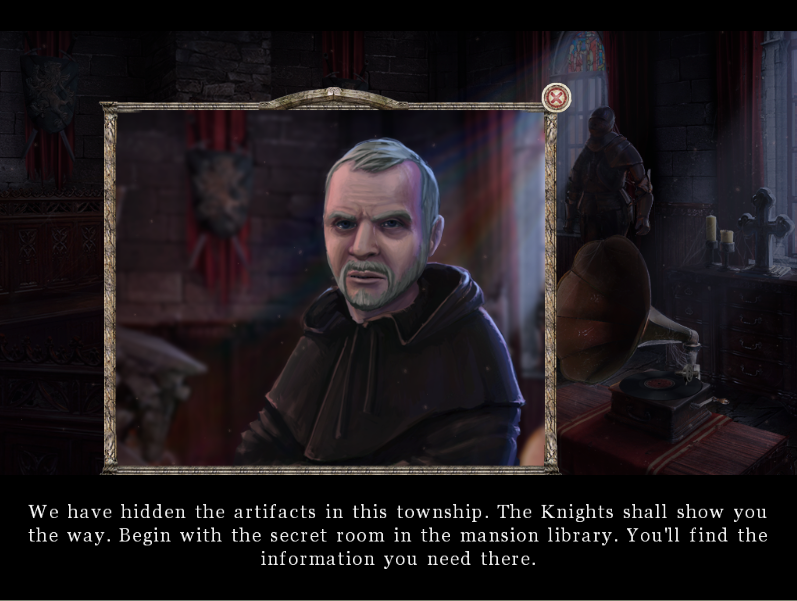
The game isn't like a lot of games with NPCs, once you've clicked on an NPC and heard their speech re-clicking them wont repeat the speech, instead you'll get a new speech which acknowledges that its a re-click:

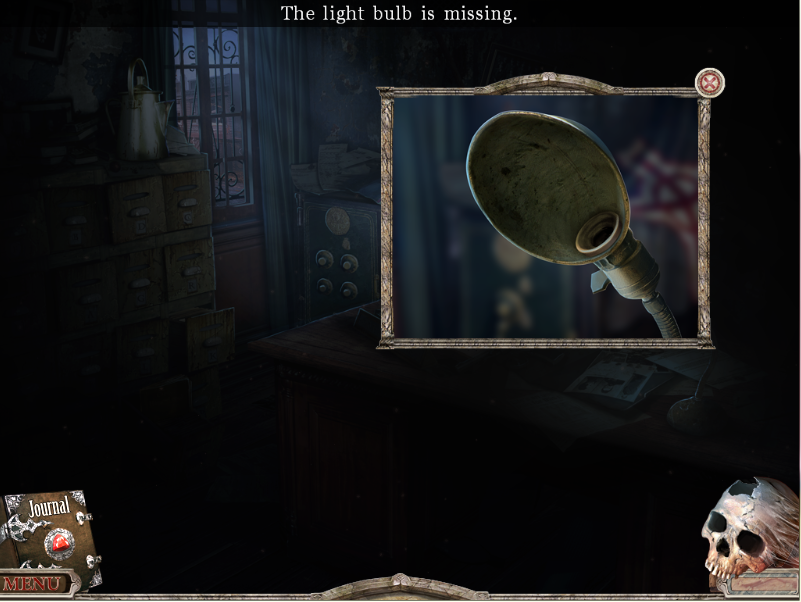
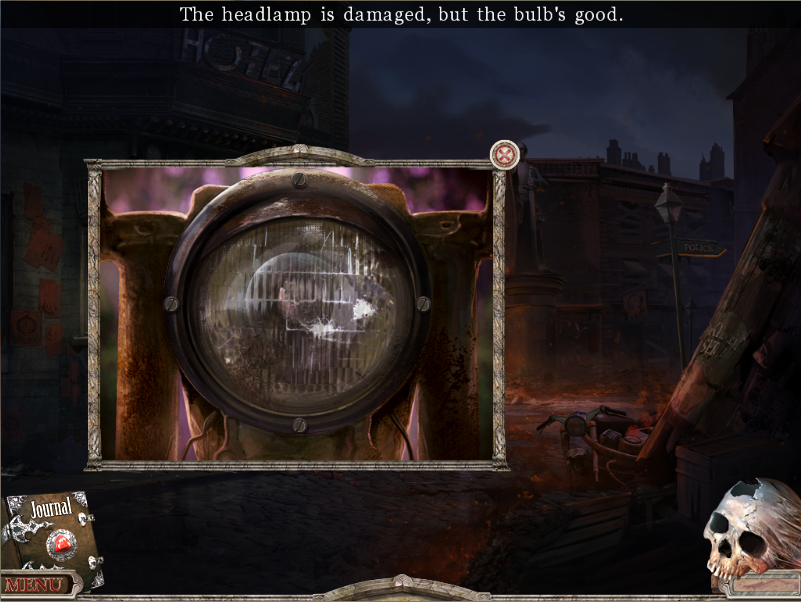
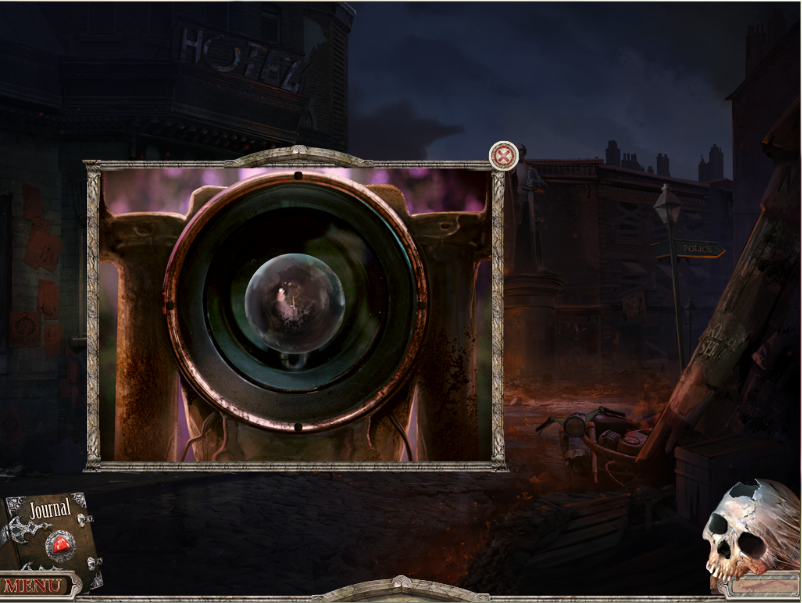
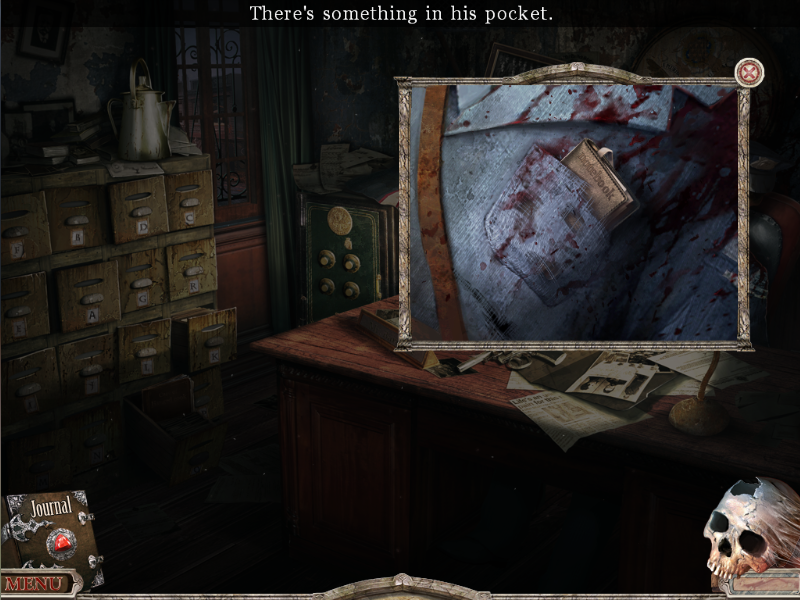
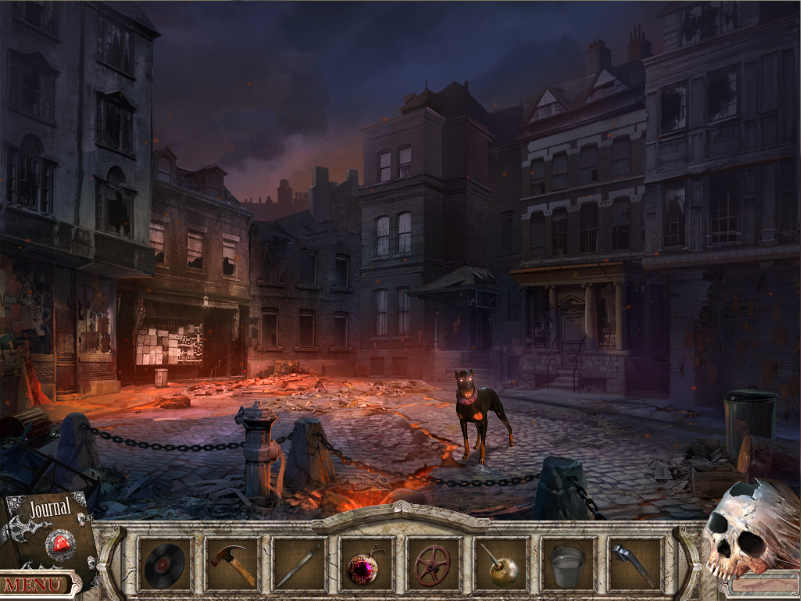
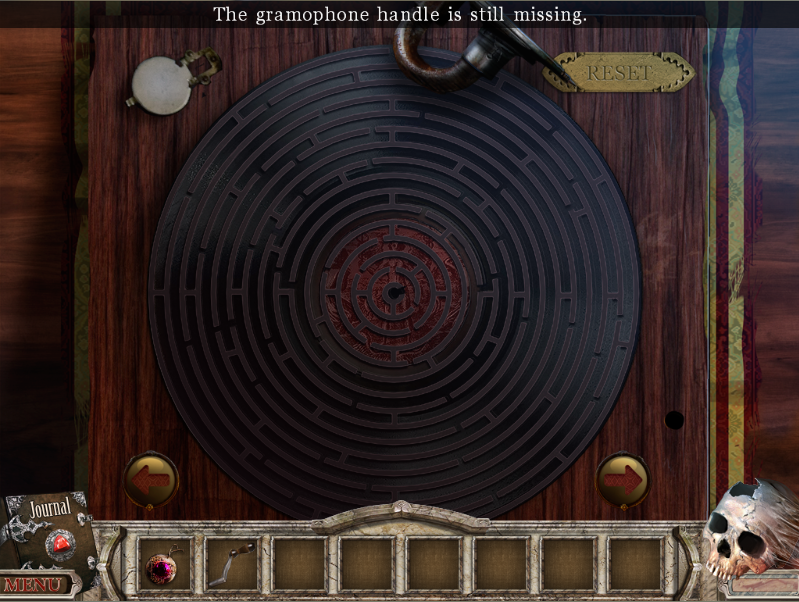
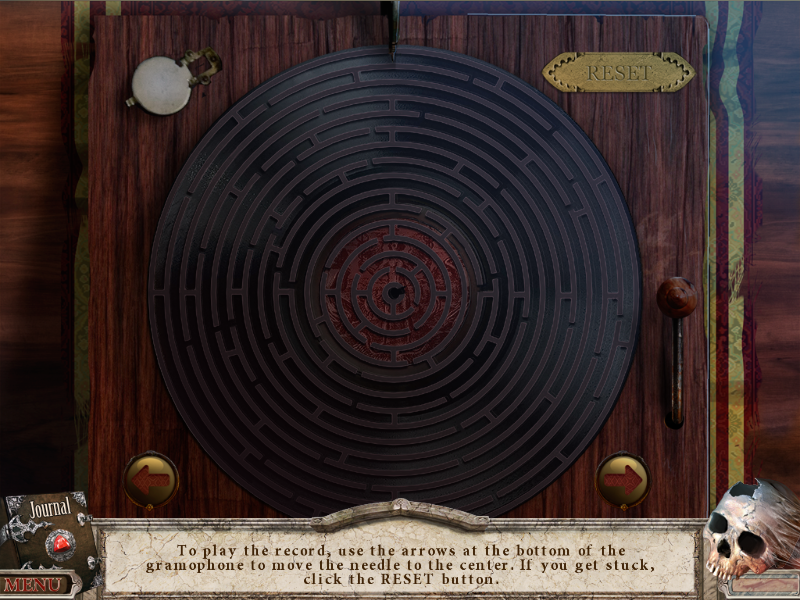
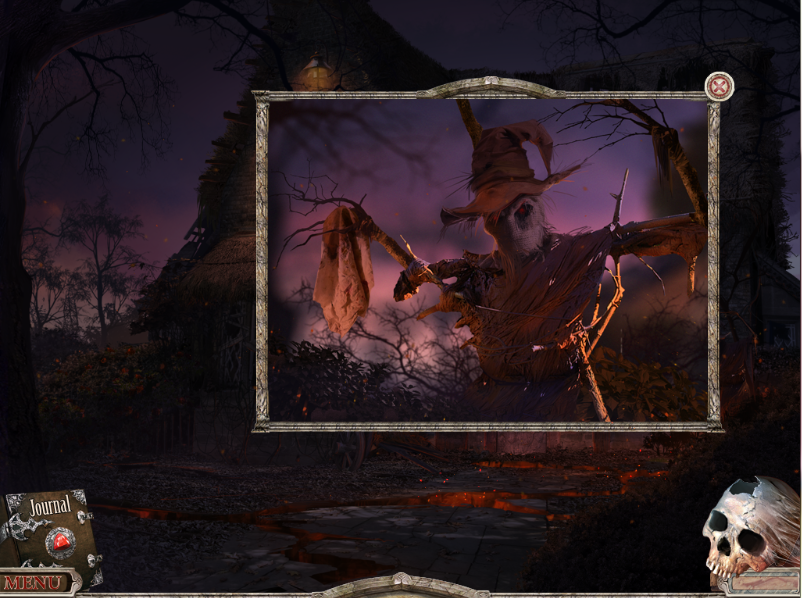
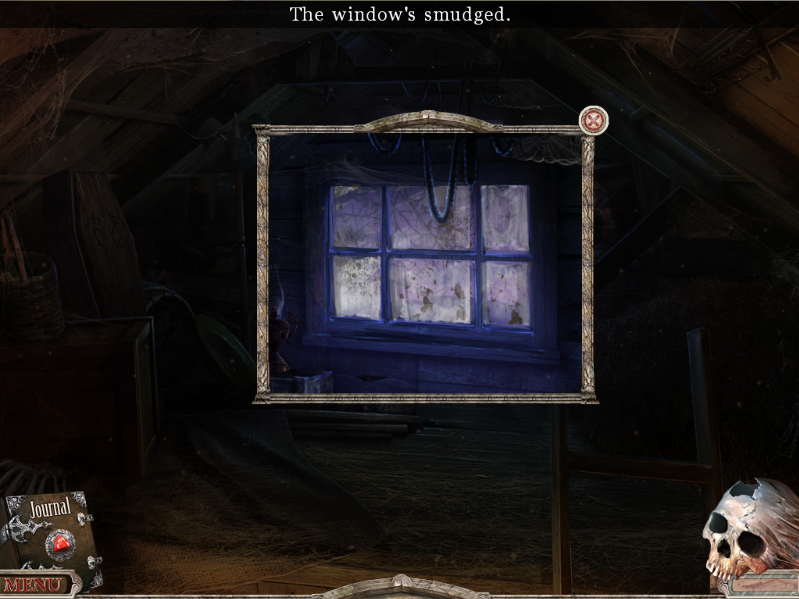
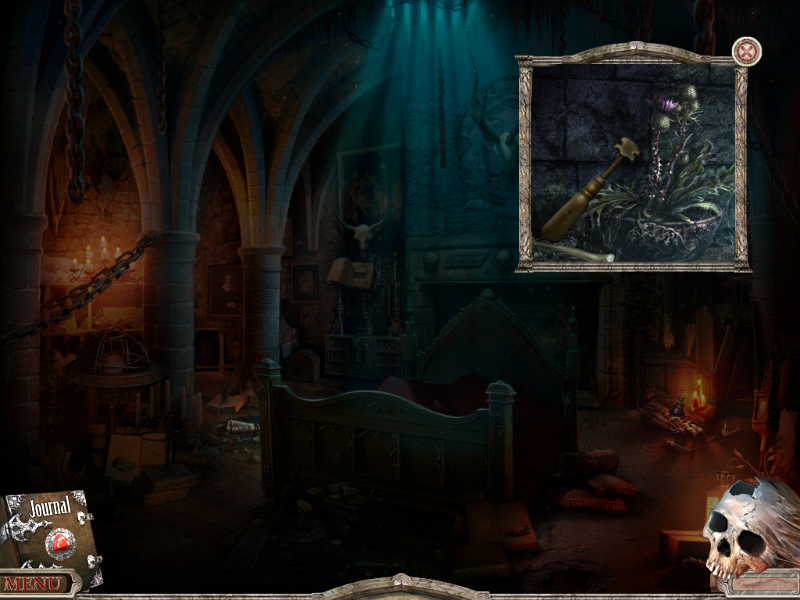
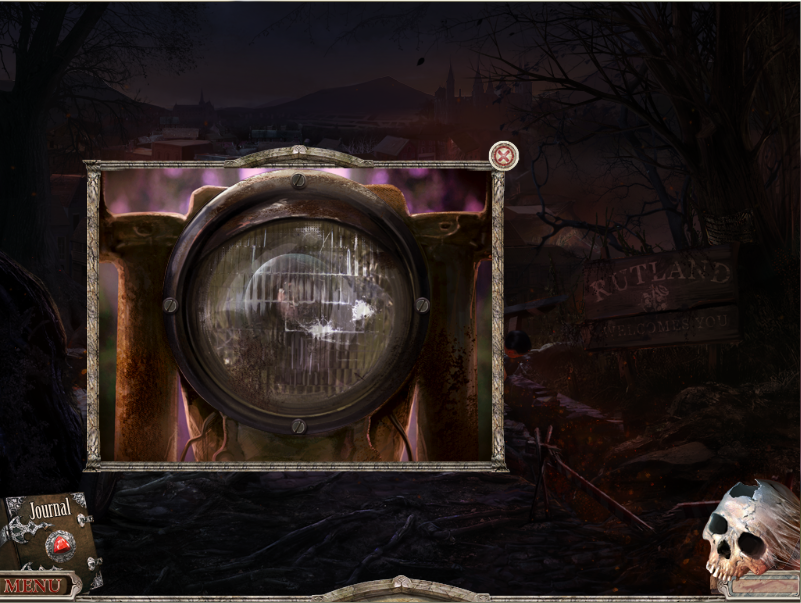
Clicking on a part of my motorbike reveals that I can do something with my headlight:
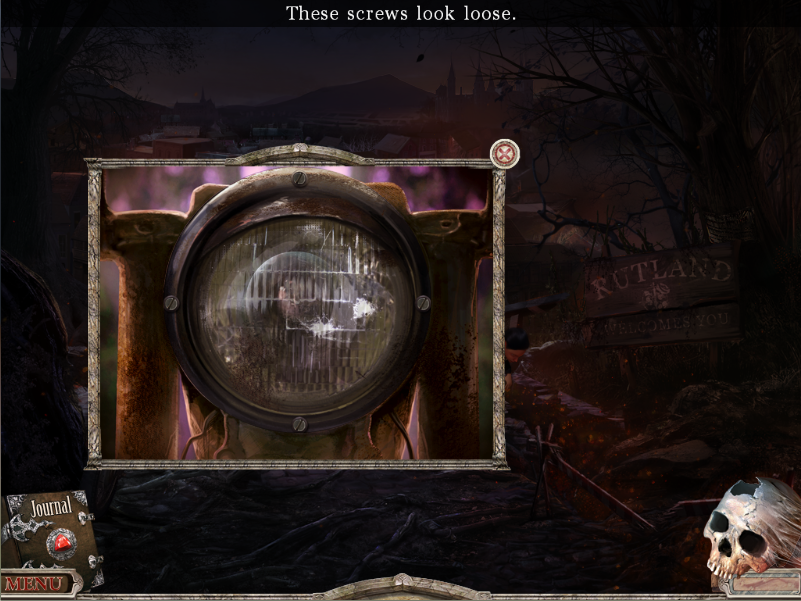
My headlight has screws loose. Ah, a good bit of early humour combined with a puzzle, excellent. Clicking the screws does nothing and its not recorded anywhere, I'll have to remember this:
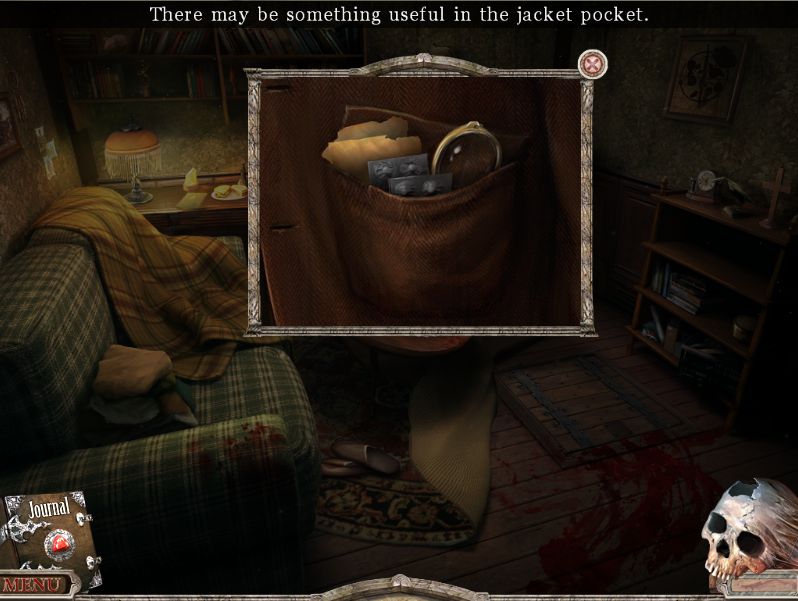
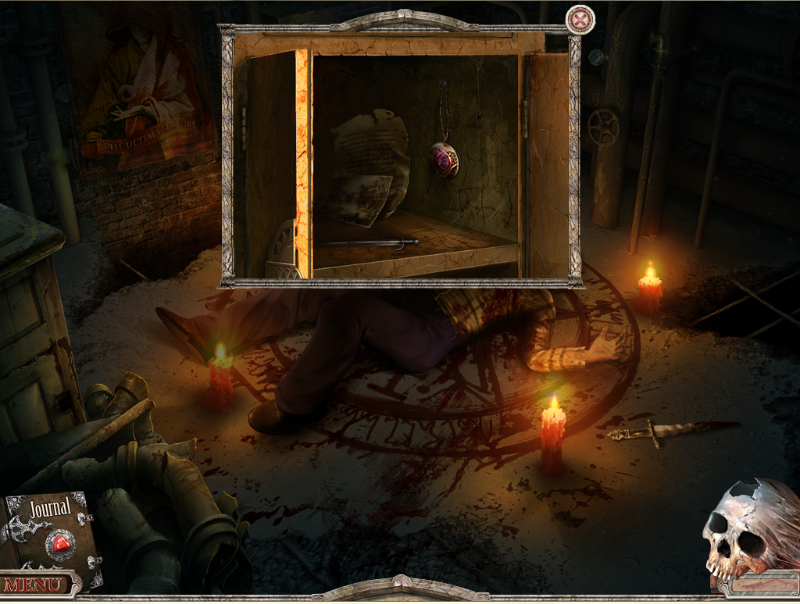
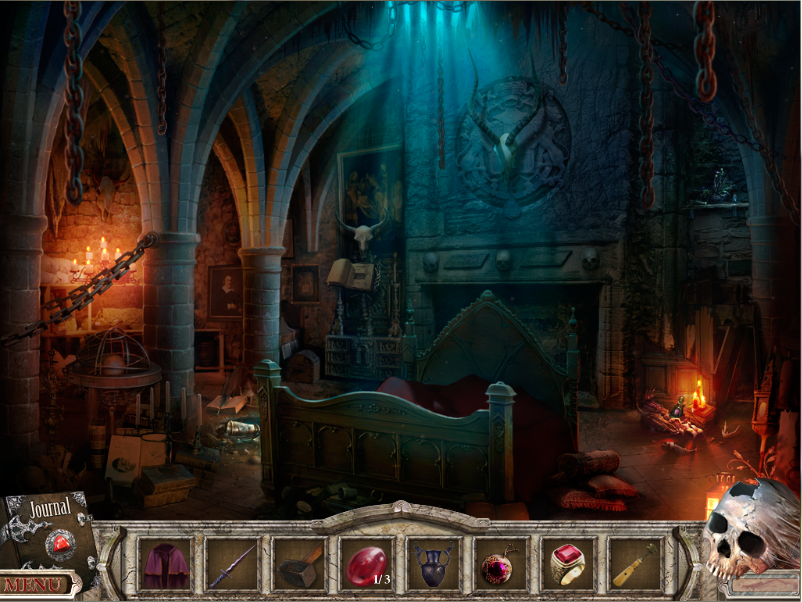
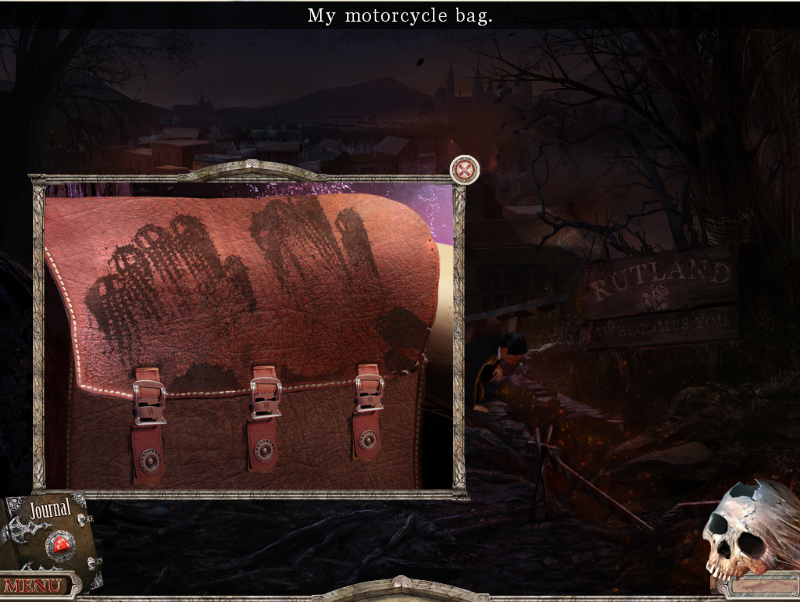
Clicking on the satchel on my motorbike reveals another mini-window:
This time I can interact with it immediately, so I open the satchel:
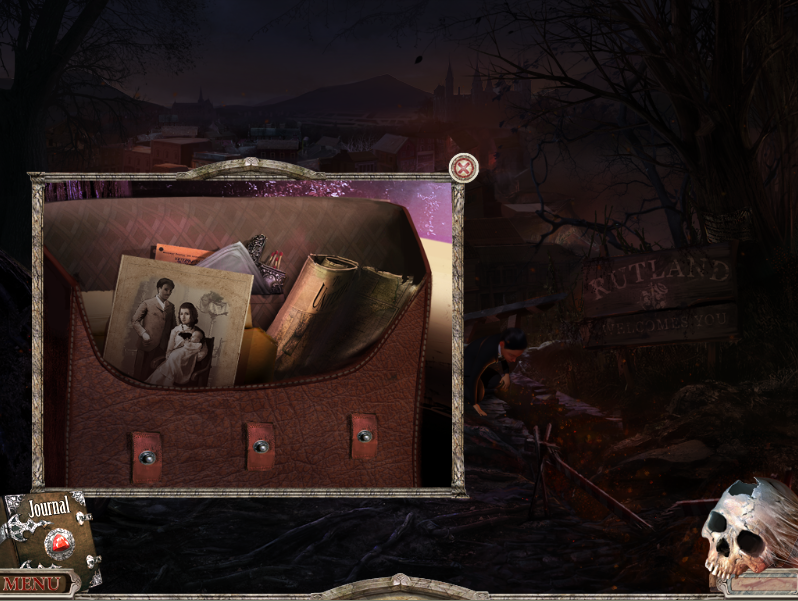
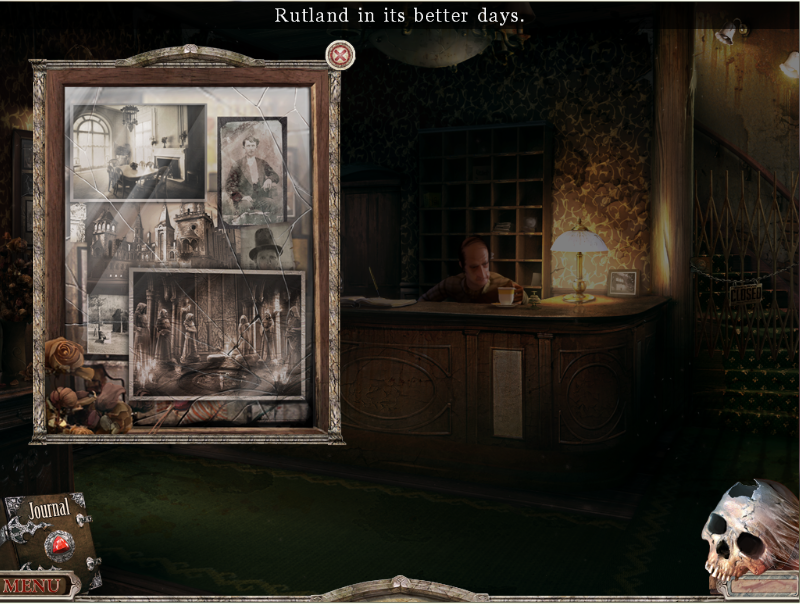
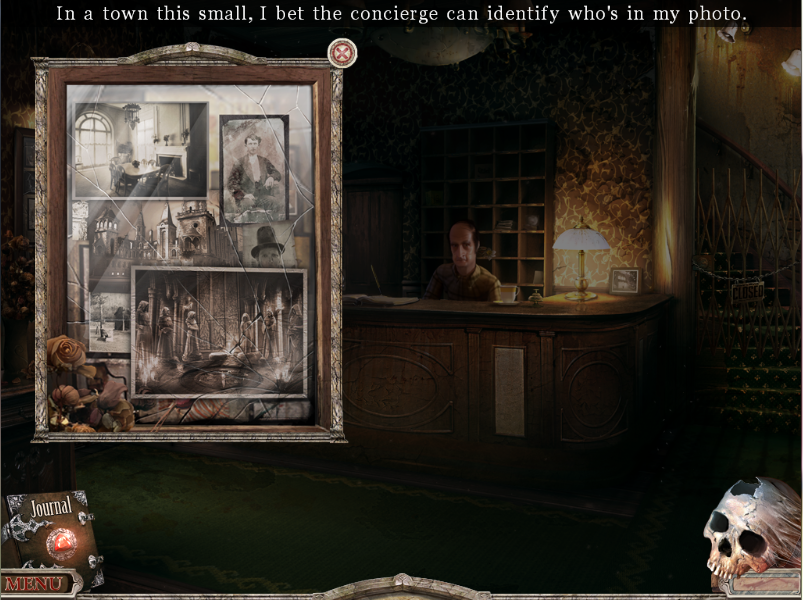
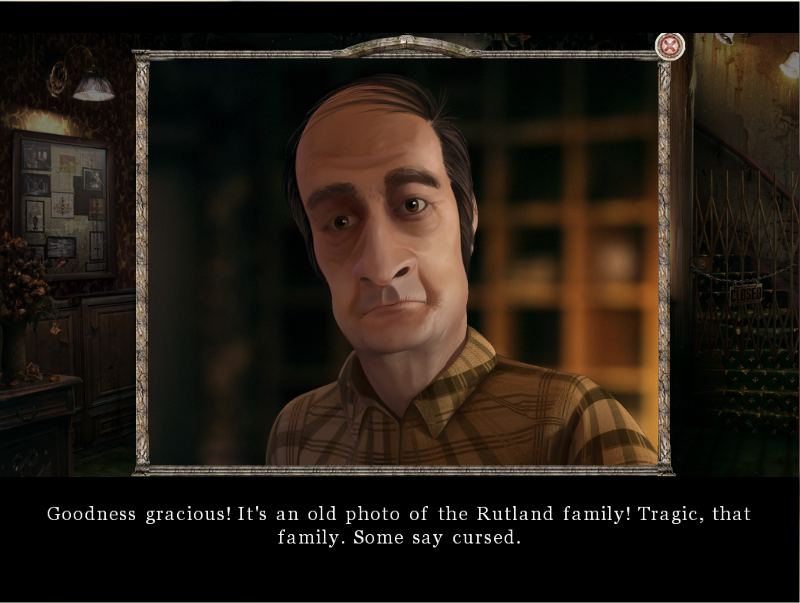
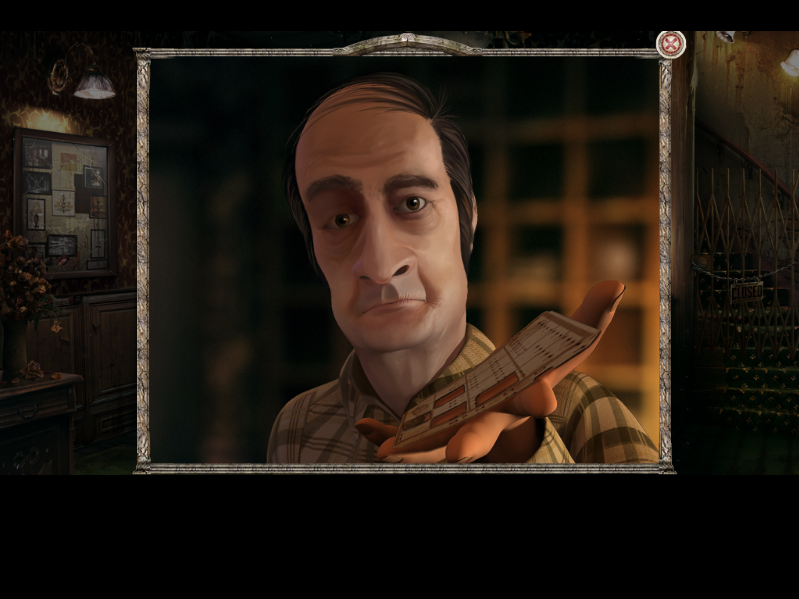
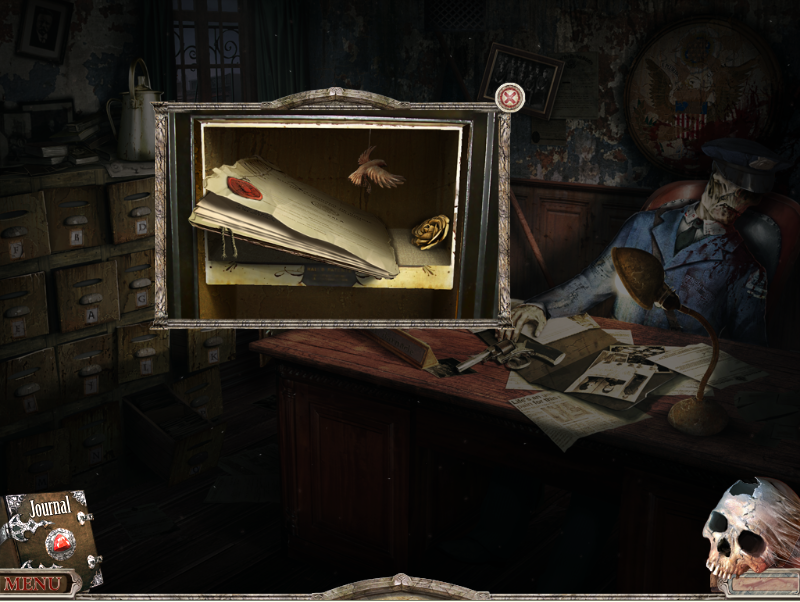
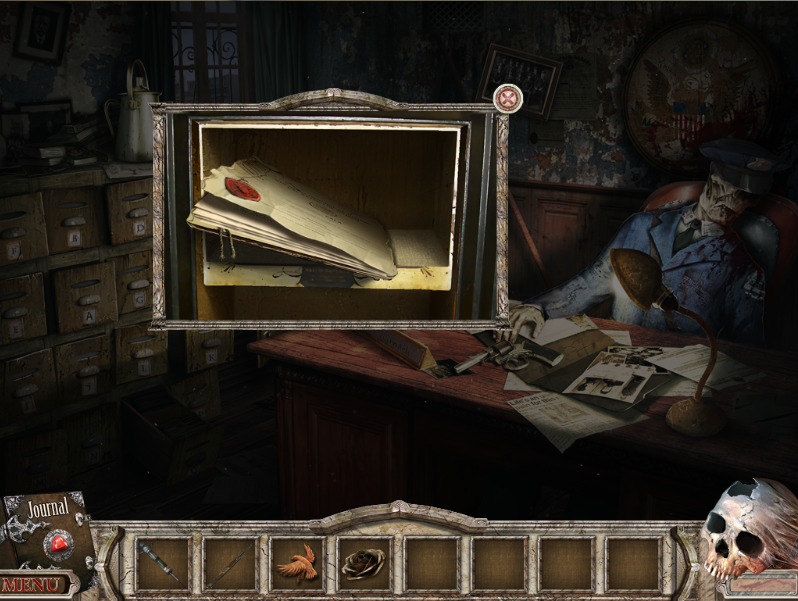
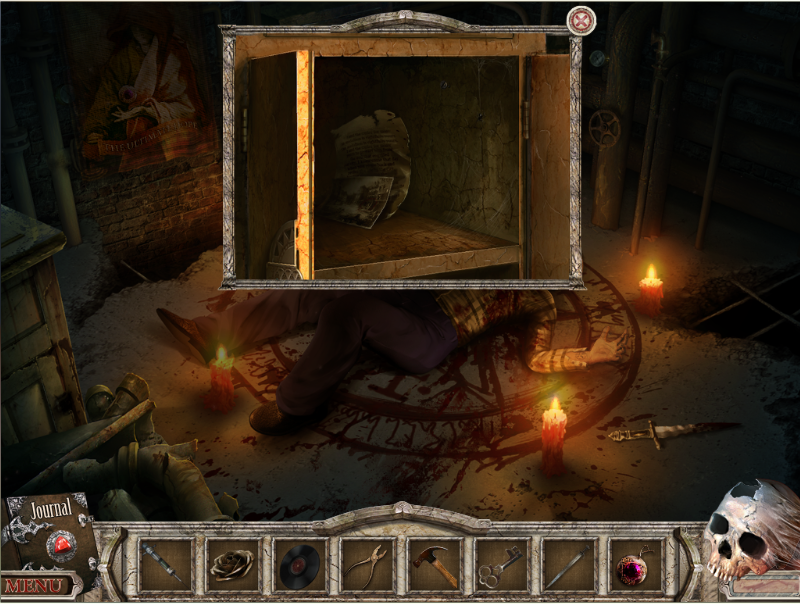
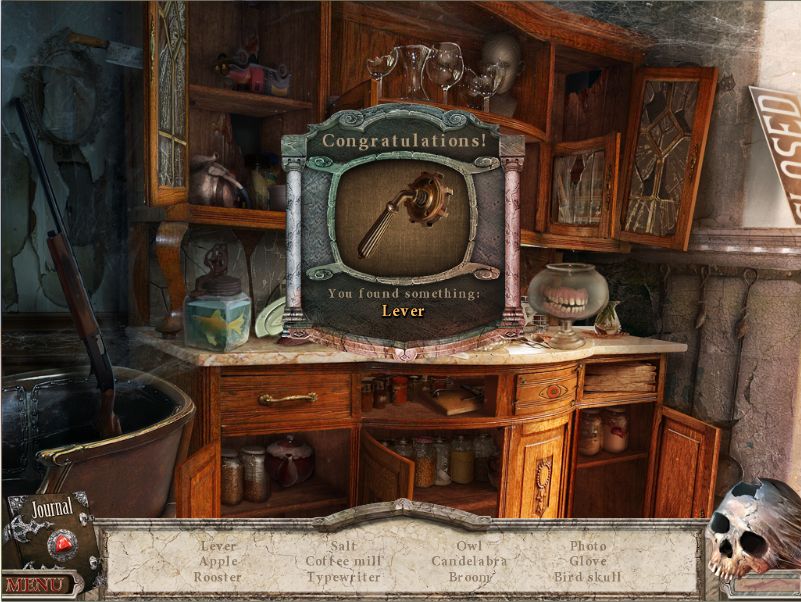
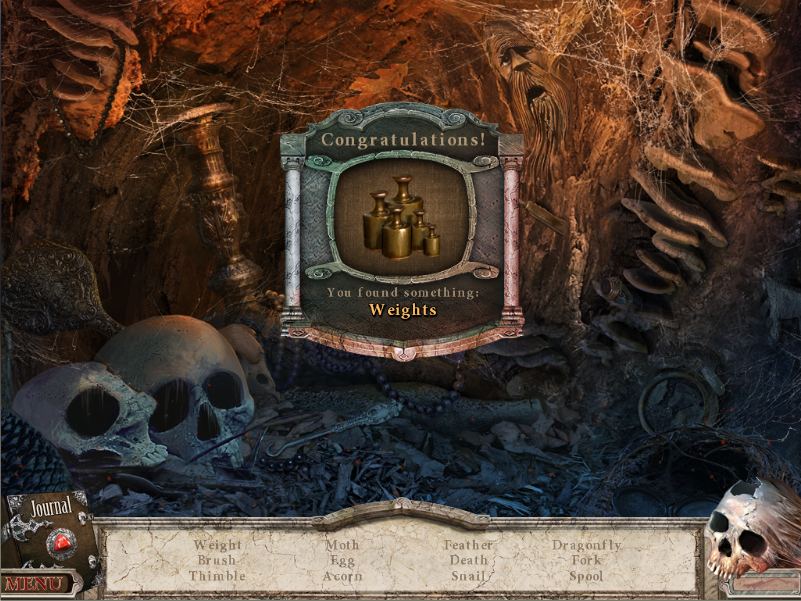
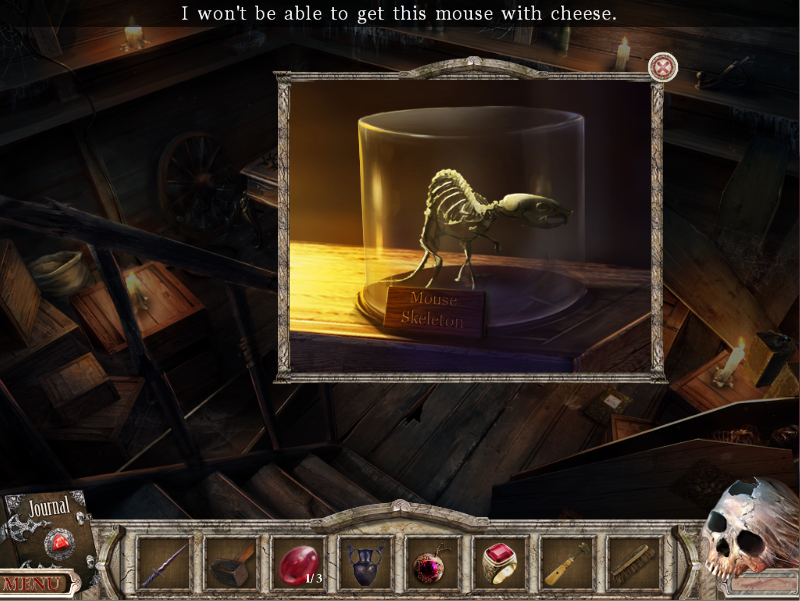
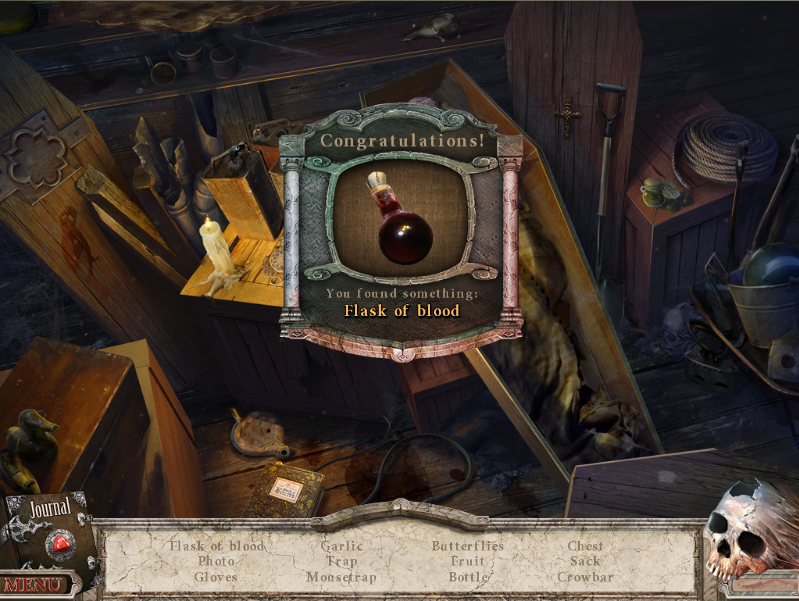
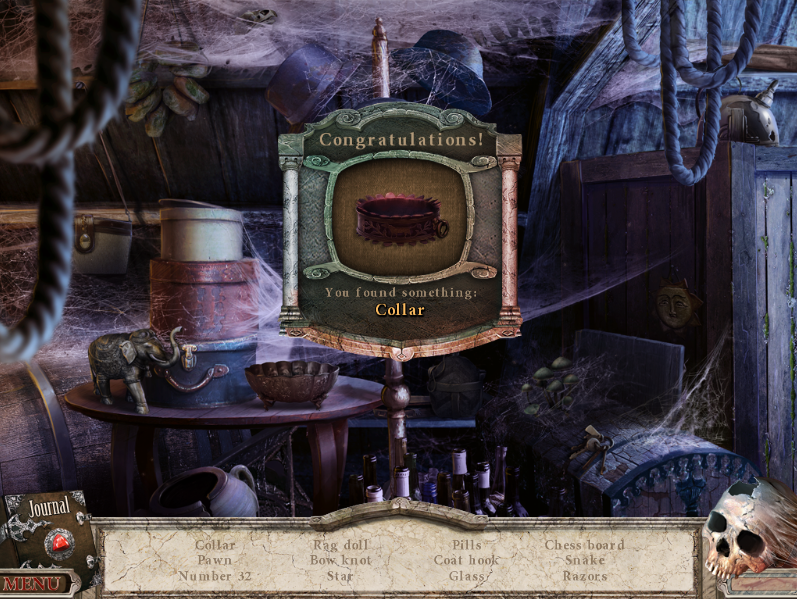
And get my first item of the game, an old photo:
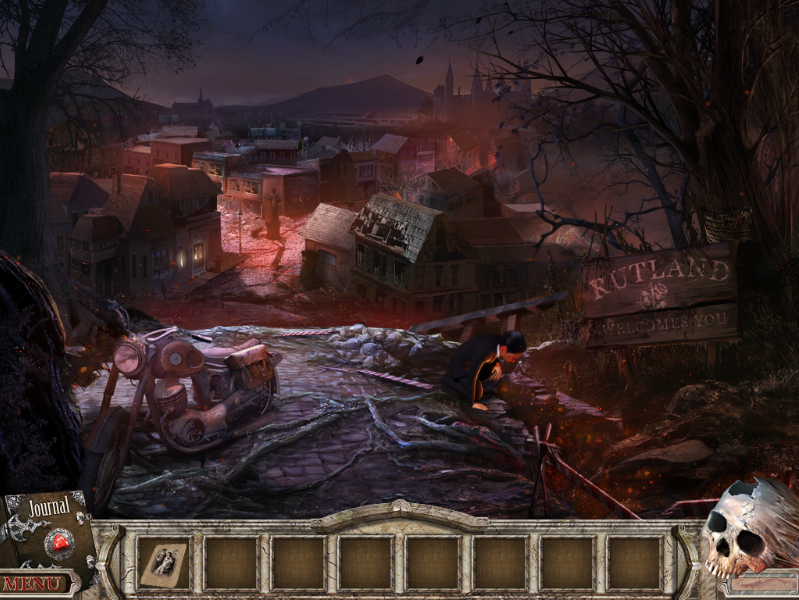
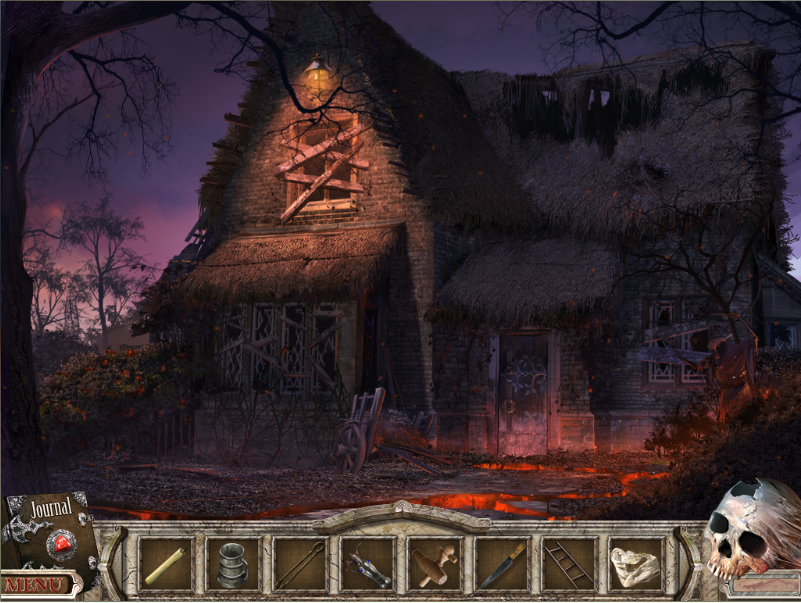
And that seems to be everything. There's only one path away from this screen, forward into the post-apocalypse, so onwards I go.
Moving the mouse around will reveal what's clickable, the mouse changing into many different icons to depict what you can do at that set of pixels. The pixel fields are normally quite large but it's still possible to miss stuff if you're too impatient. The mouse pointer informs me I can only click on the boy:
Hmmm, it seems safe enough for a boy to be out on his own. But where's everyone else? Sometimes during dialogues the NPC will give you something when they've finished talking. There is nothing being given here though. Closing the screen informs me my journal has been updated:
Now that the mandatory introductions are over the screen suddenly becomes very interactive and I have loads of stuff to click on. I'll start with clicking on the town in the background. Ah, some flavour text:
Now the signpost. More flavour text:
But this one also updates my journal:
The game isn't like a lot of games with NPCs, once you've clicked on an NPC and heard their speech re-clicking them wont repeat the speech, instead you'll get a new speech which acknowledges that its a re-click:
Clicking on a part of my motorbike reveals that I can do something with my headlight:
My headlight has screws loose. Ah, a good bit of early humour combined with a puzzle, excellent. Clicking the screws does nothing and its not recorded anywhere, I'll have to remember this:
Clicking on the satchel on my motorbike reveals another mini-window:
This time I can interact with it immediately, so I open the satchel:
And get my first item of the game, an old photo:
And that seems to be everything. There's only one path away from this screen, forward into the post-apocalypse, so onwards I go.
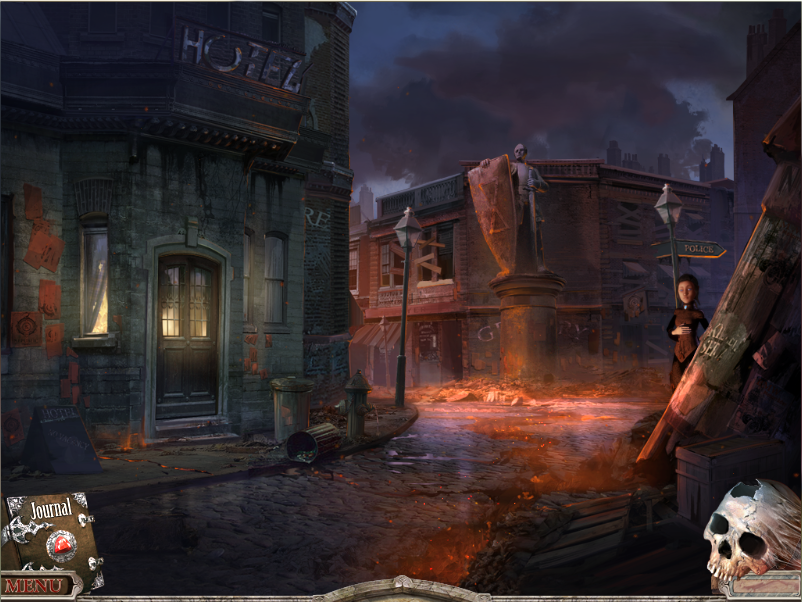
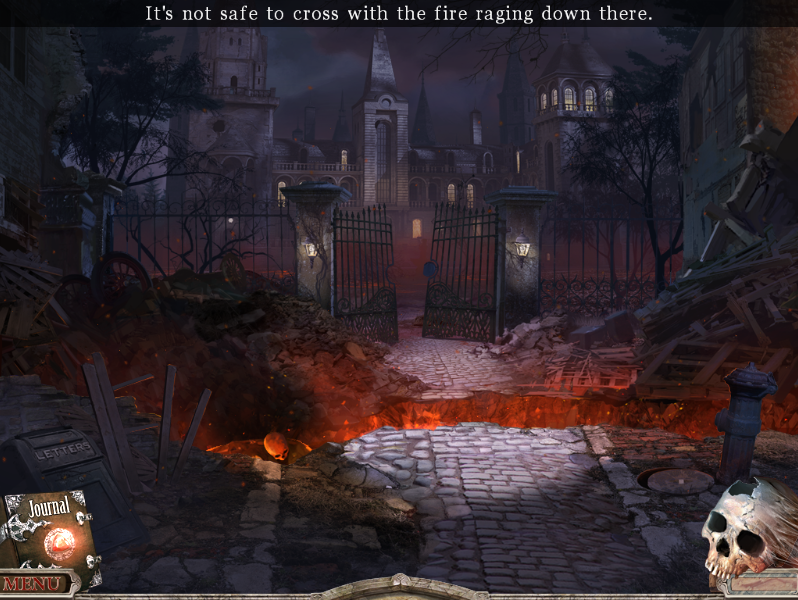
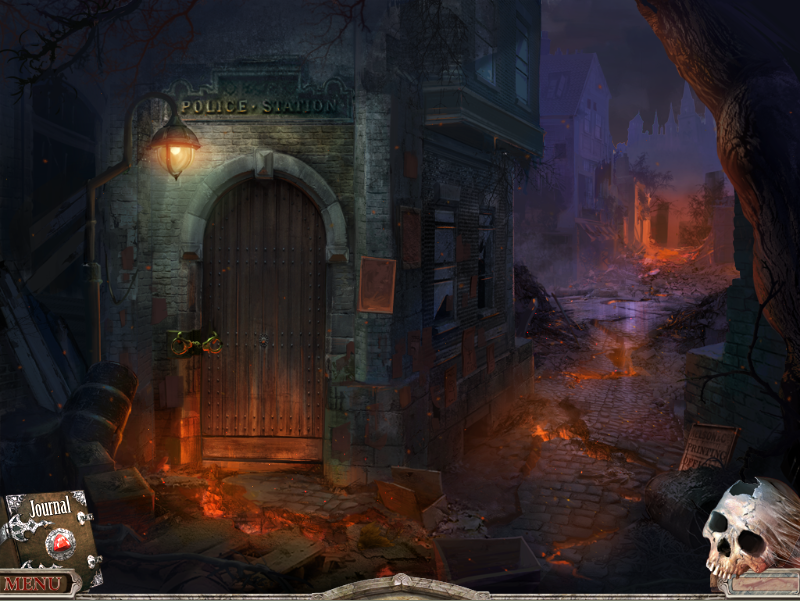
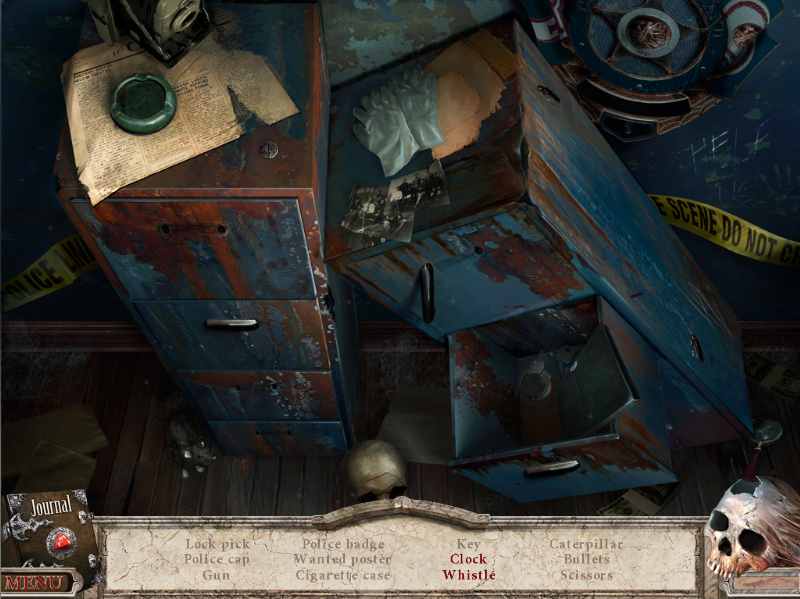
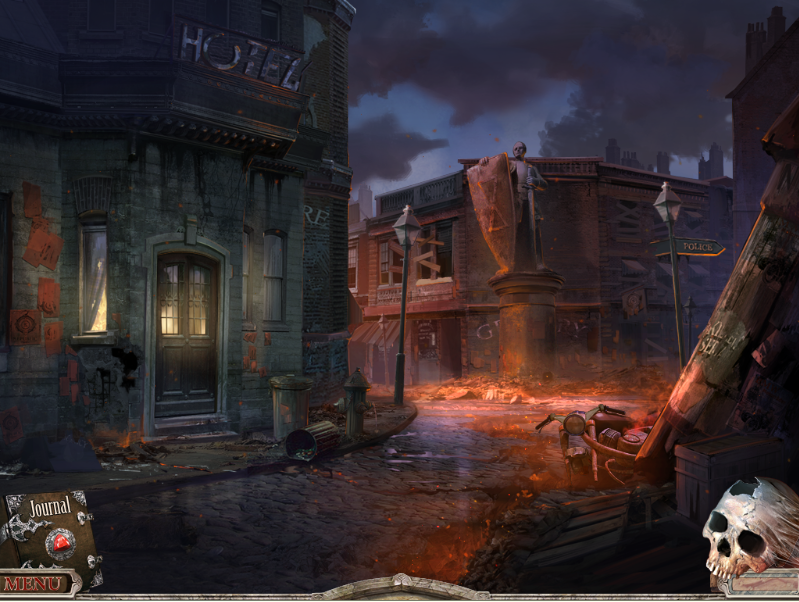
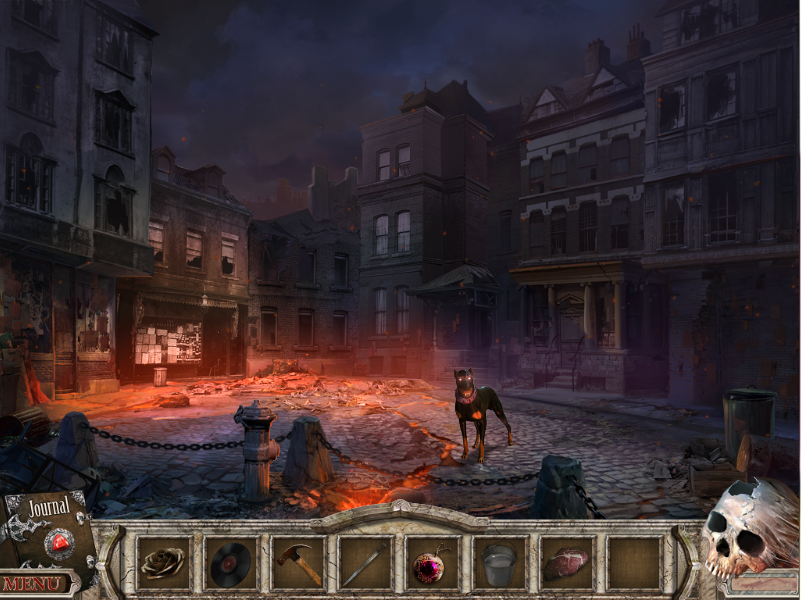
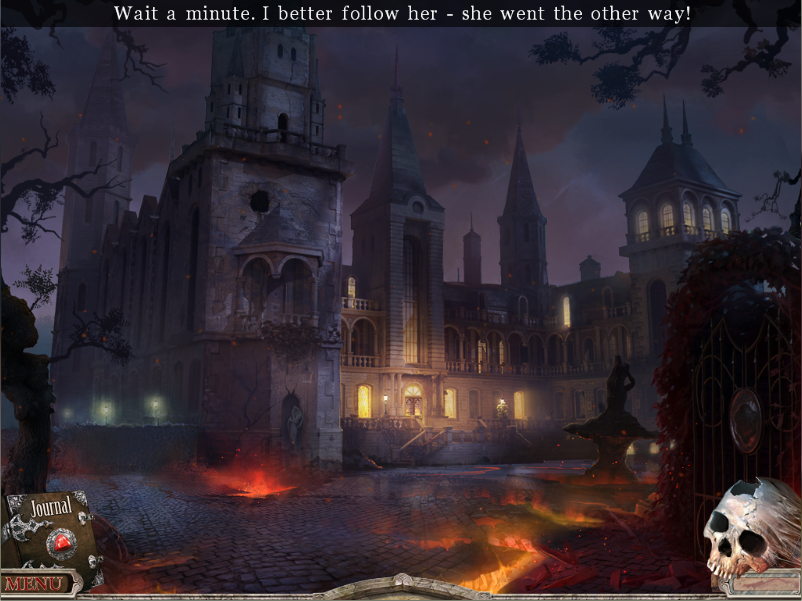
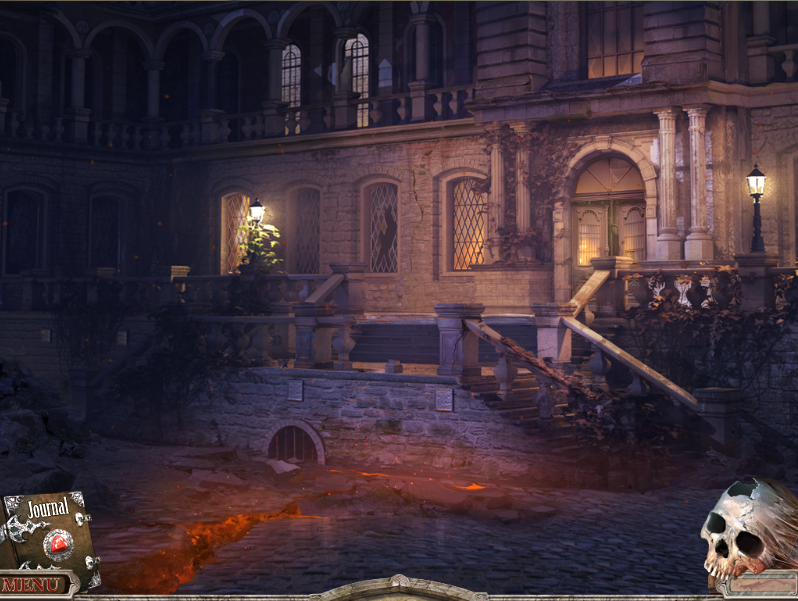
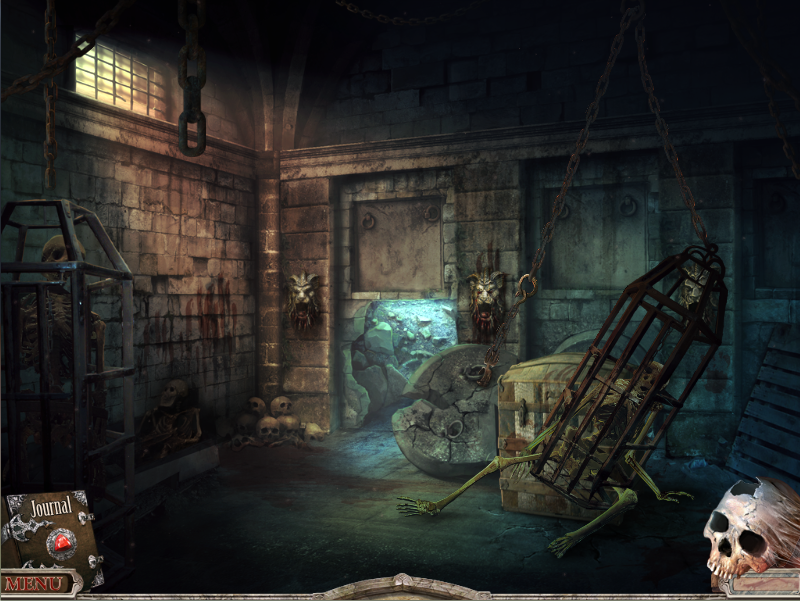
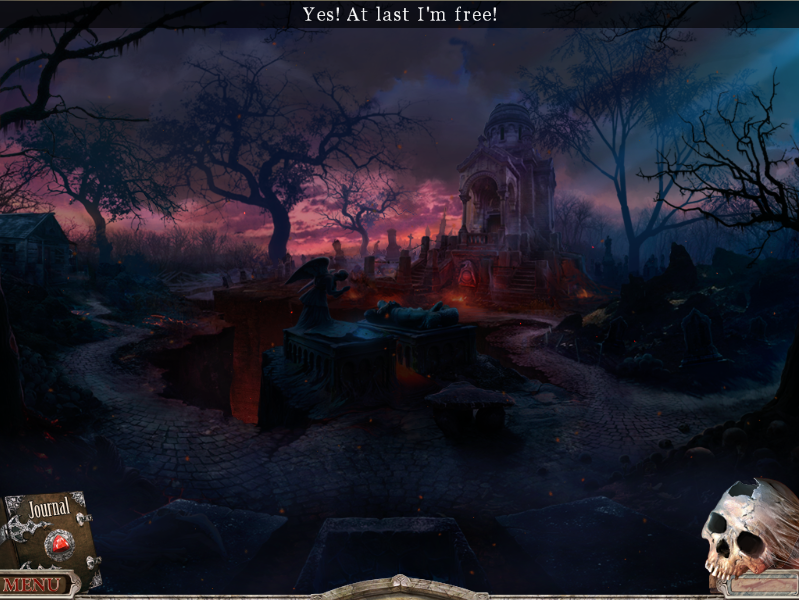
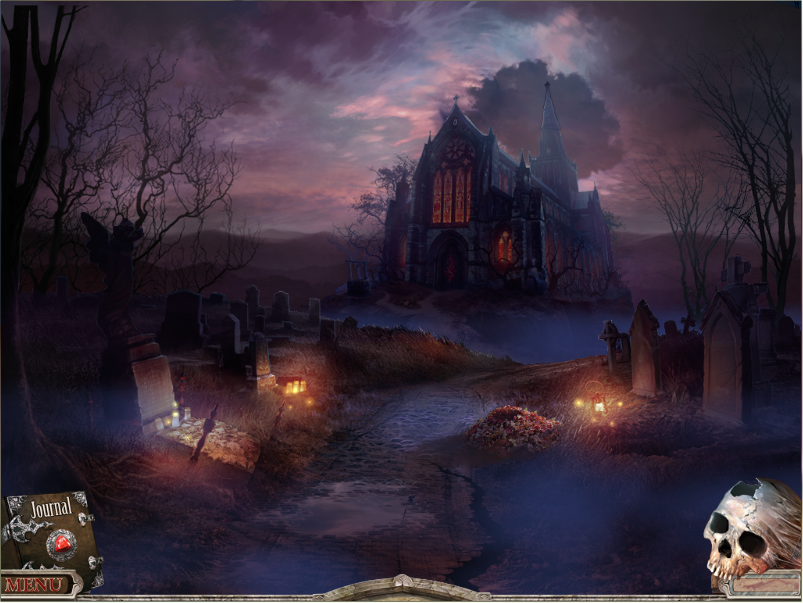
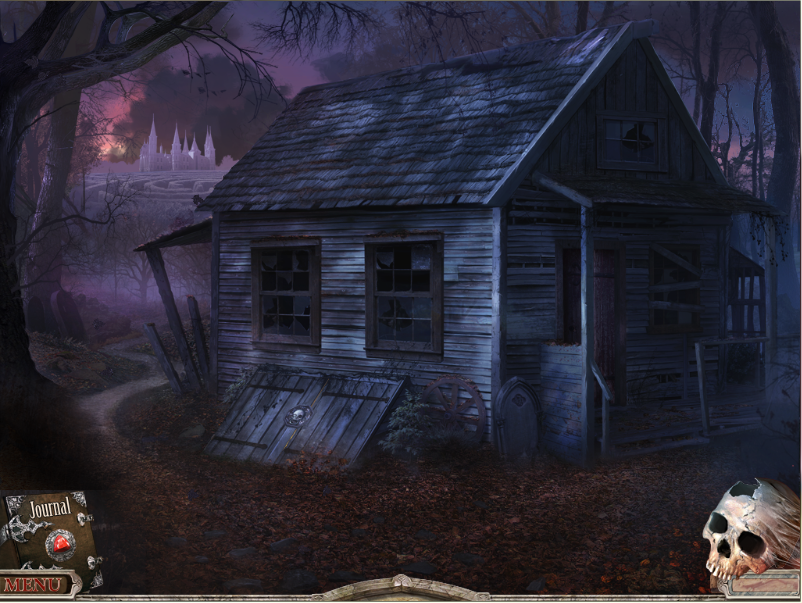
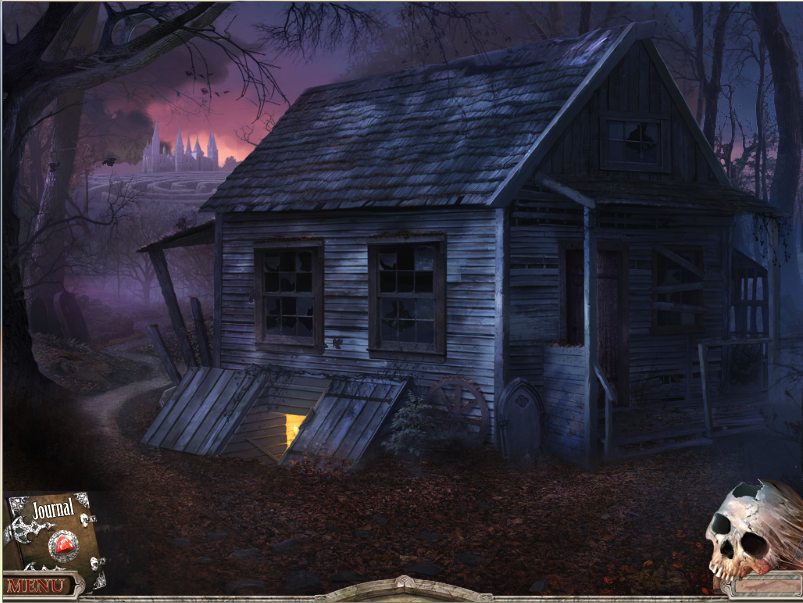
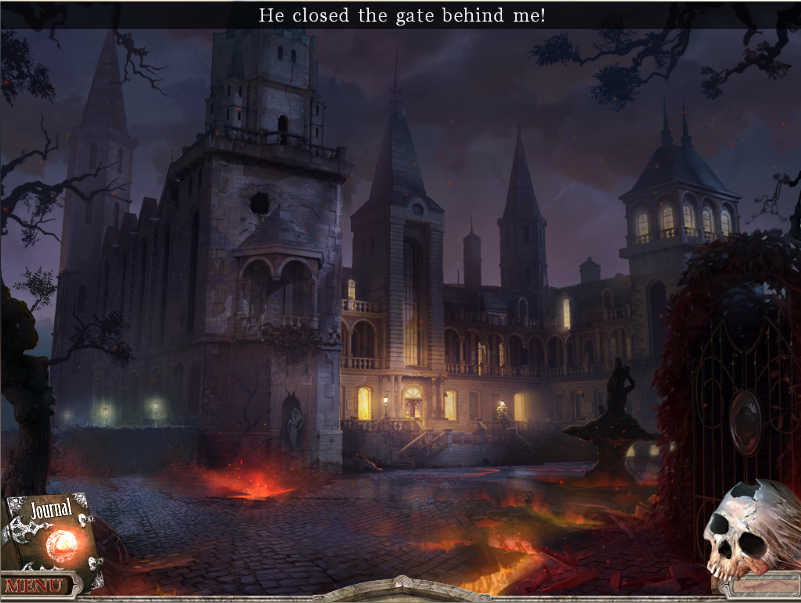
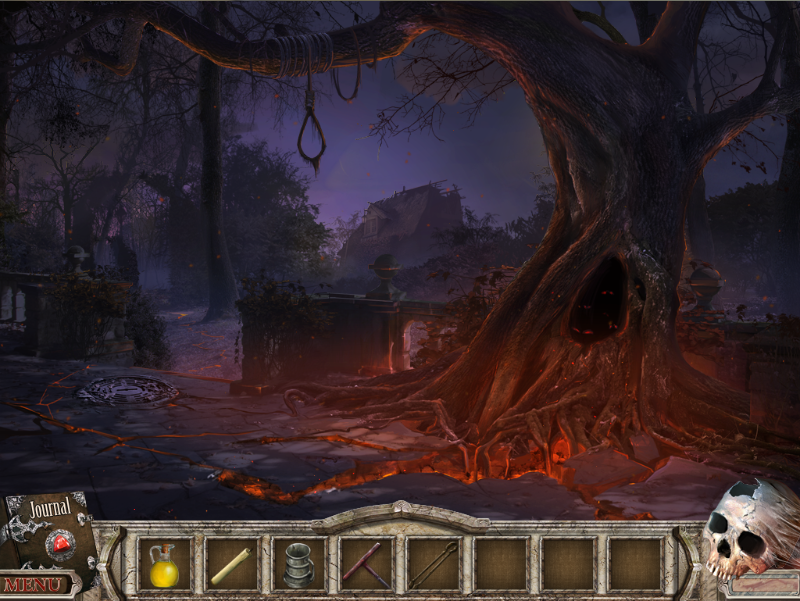
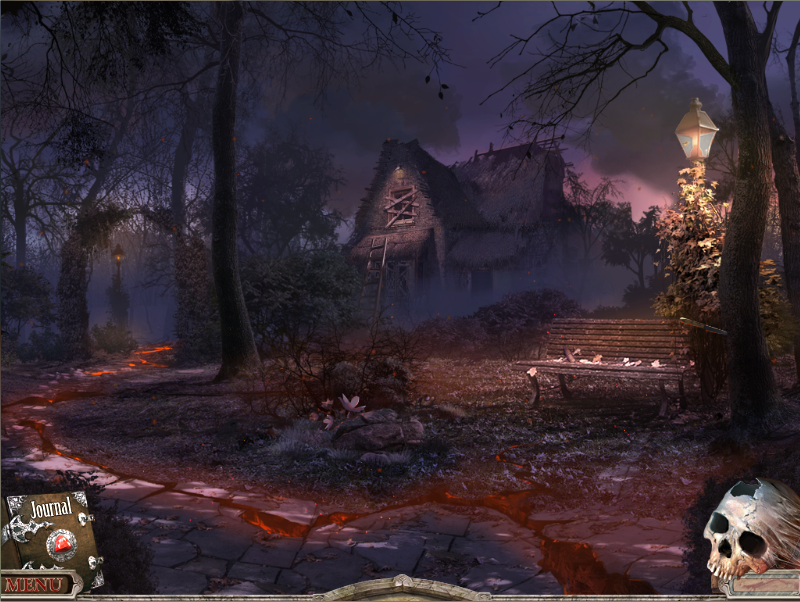
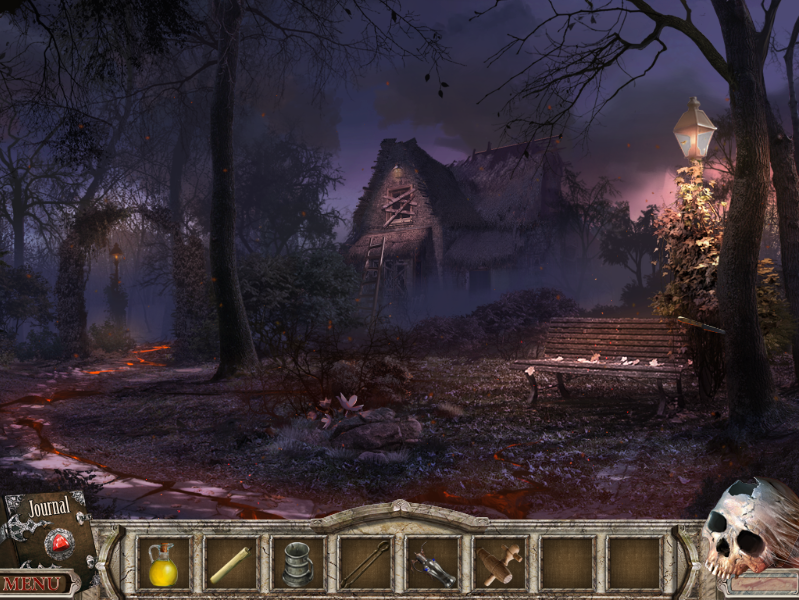
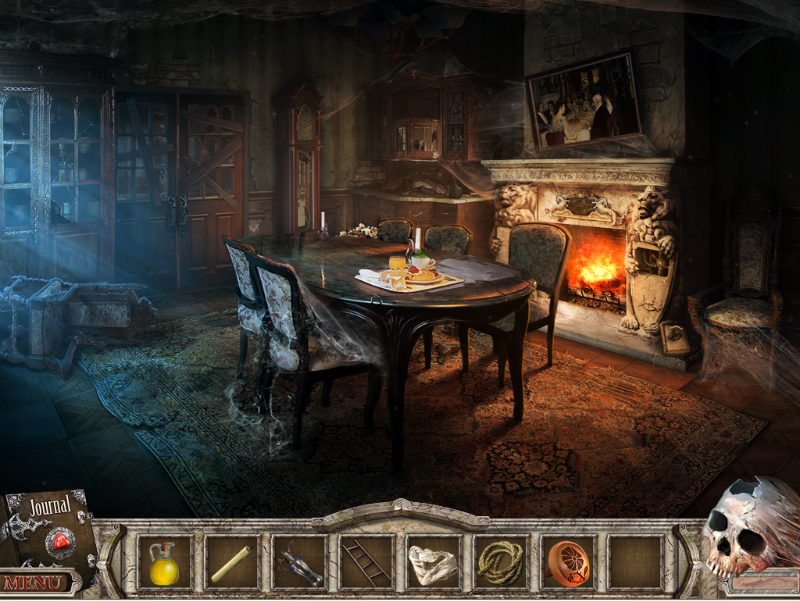
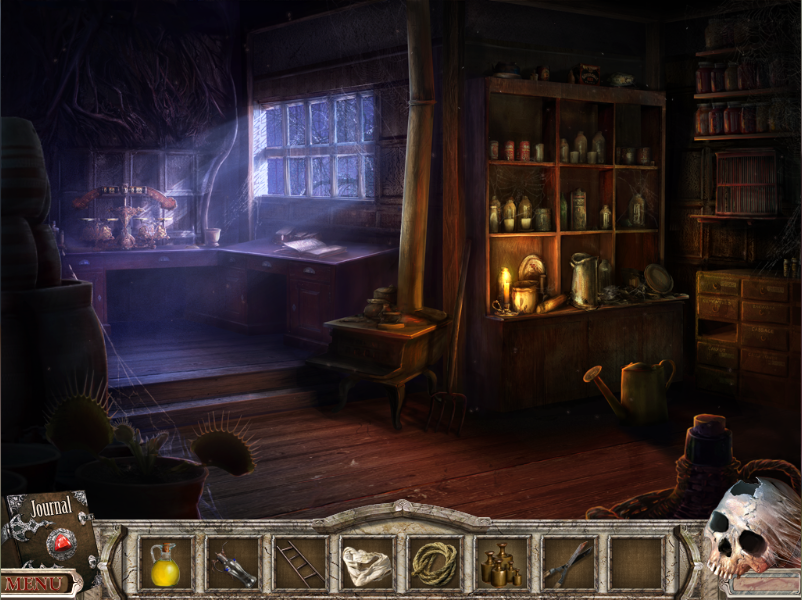
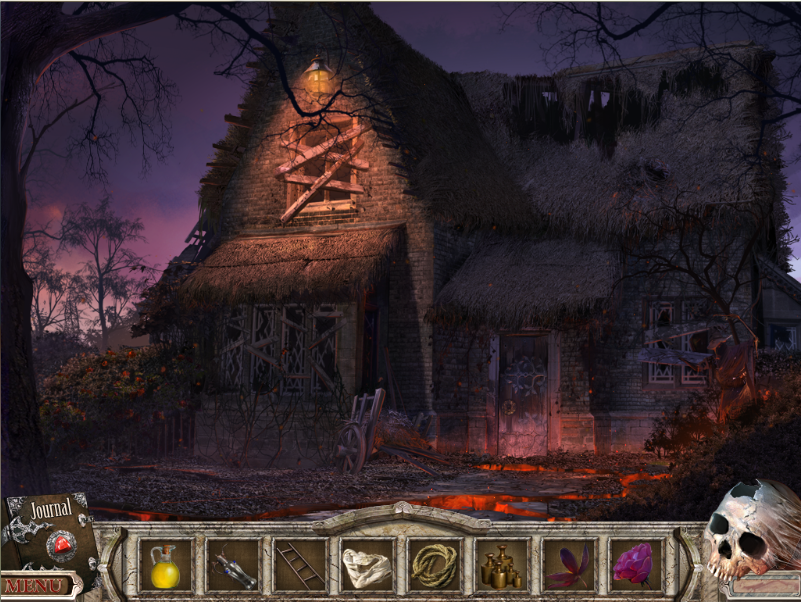
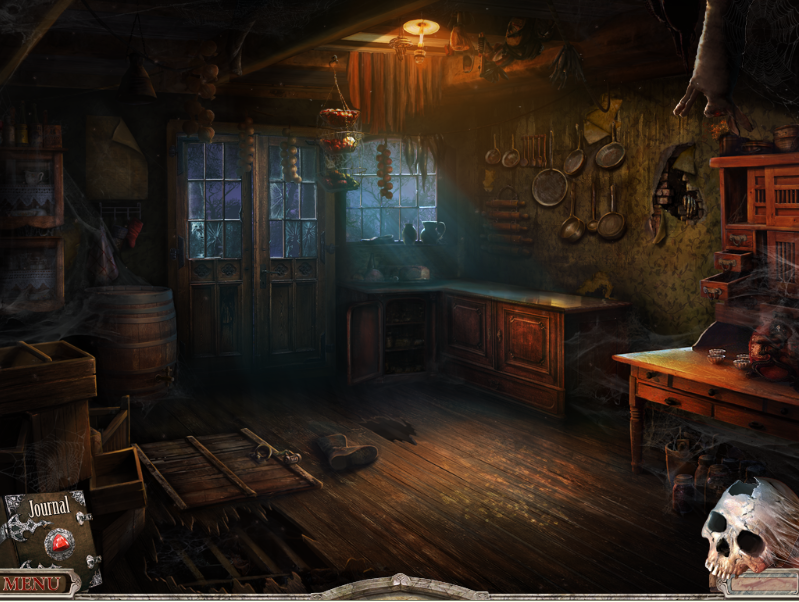
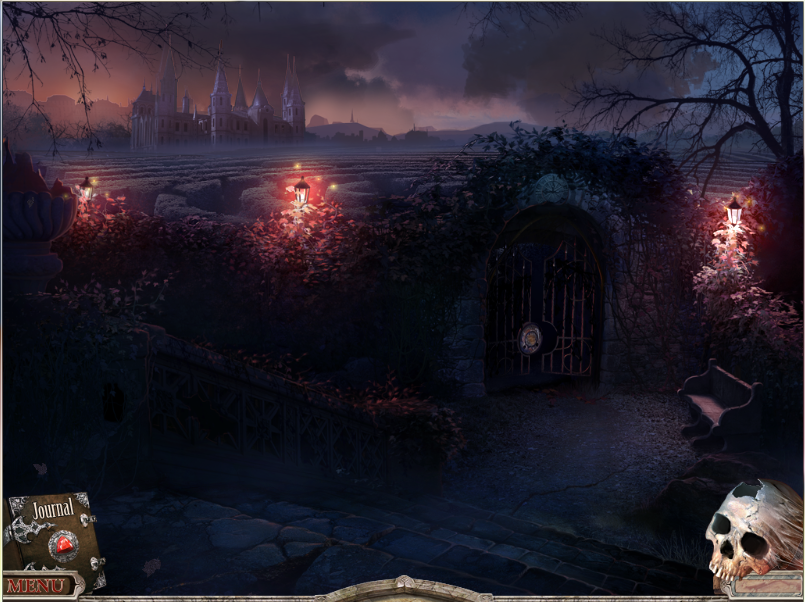
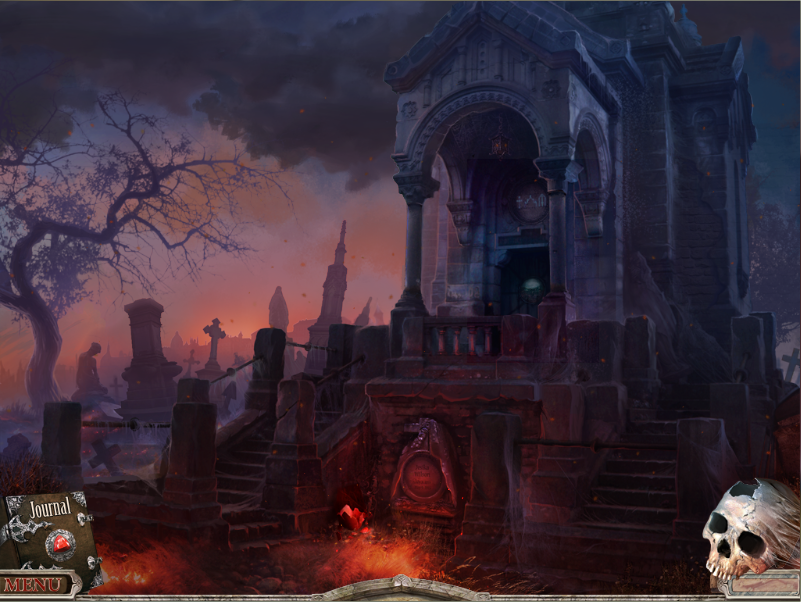
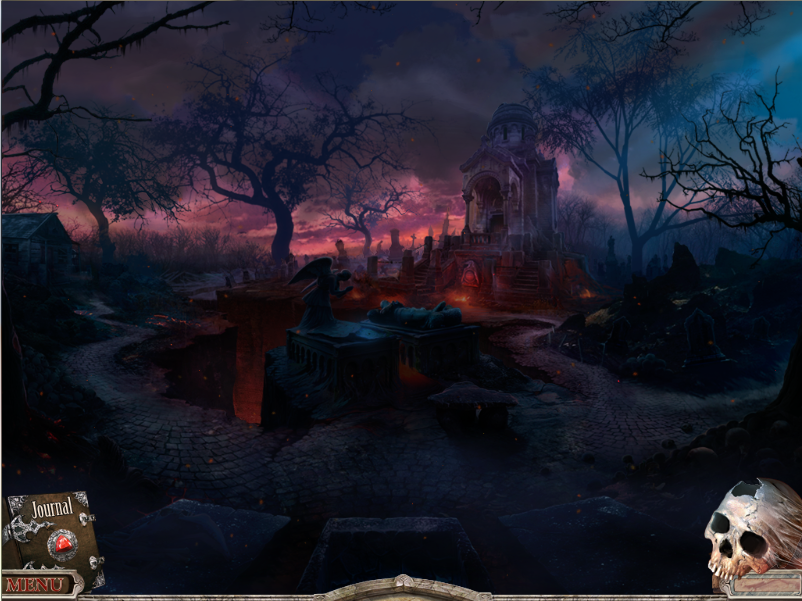
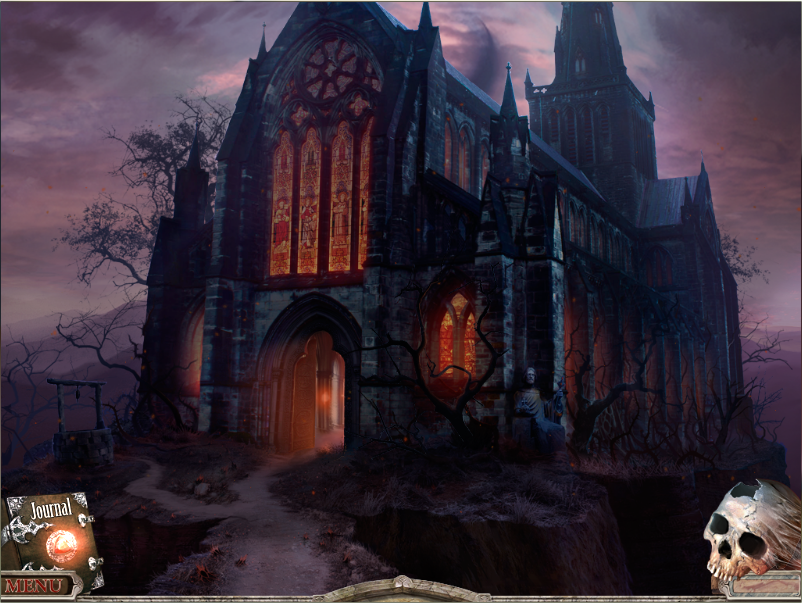
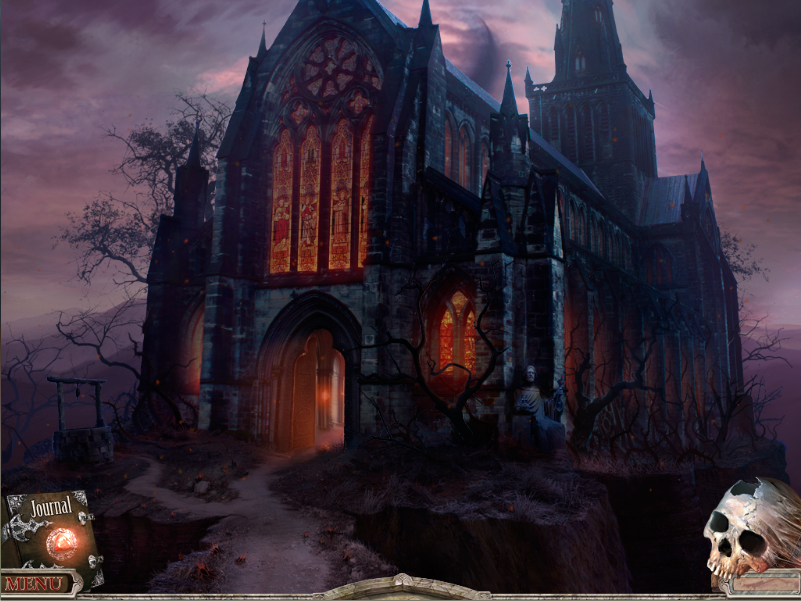
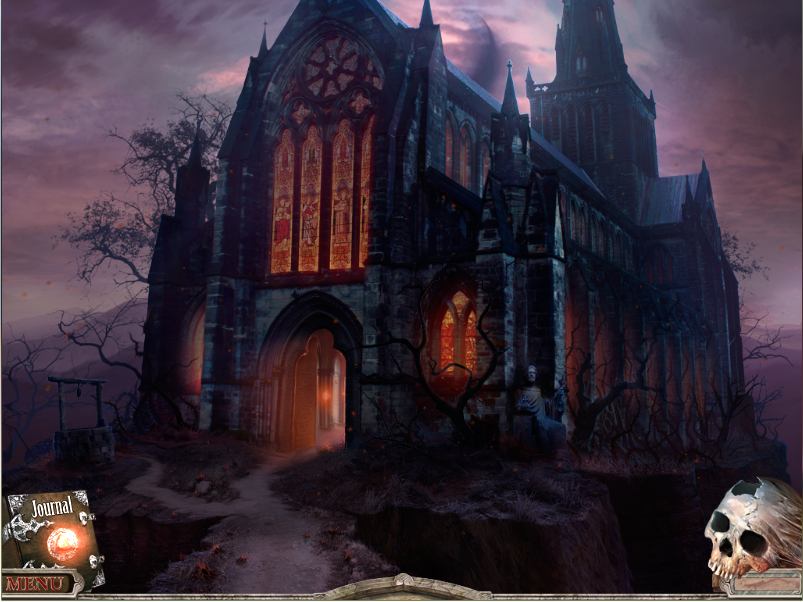
Entering the post-apocalypse:
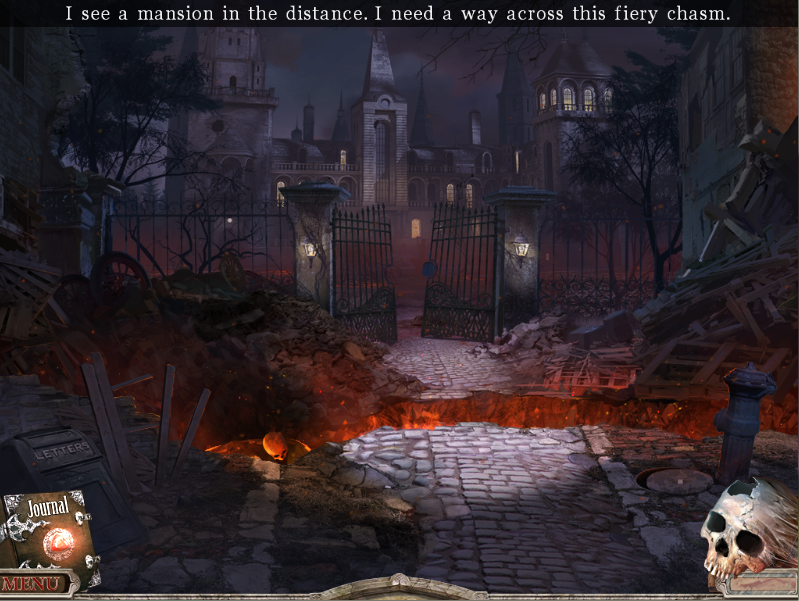
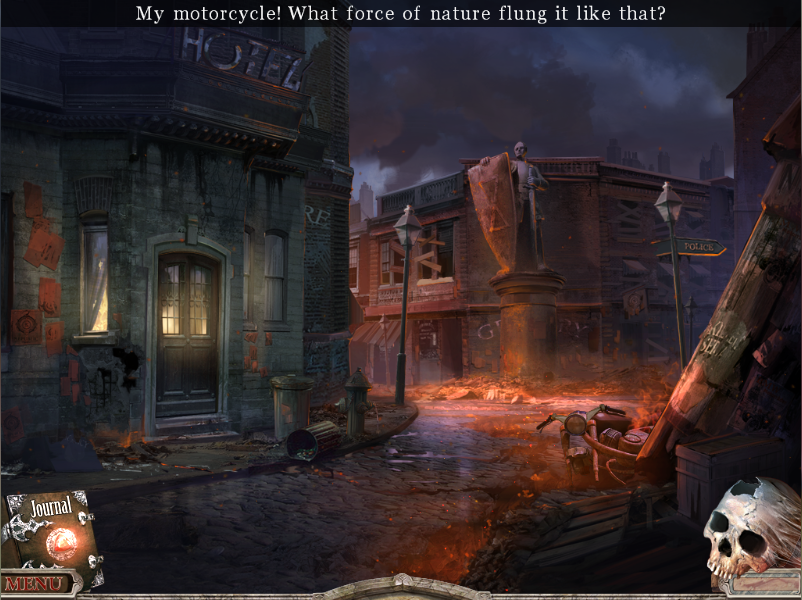
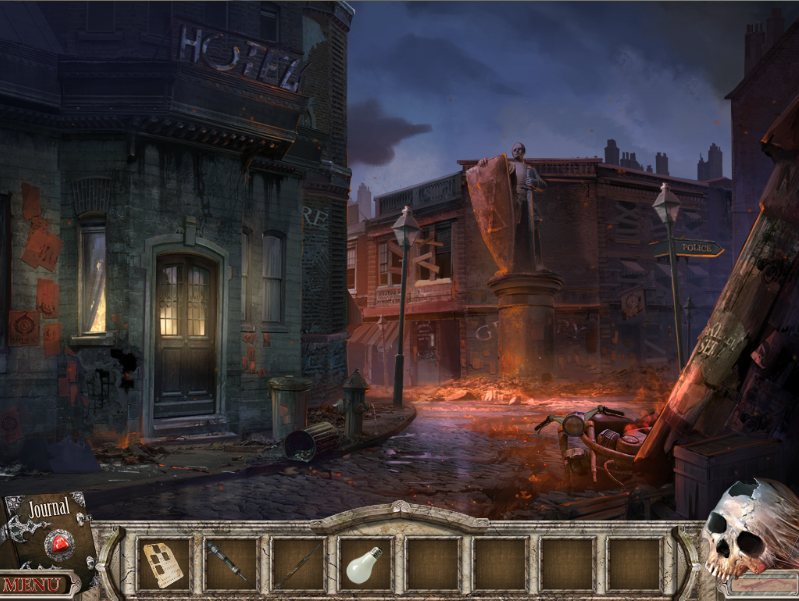
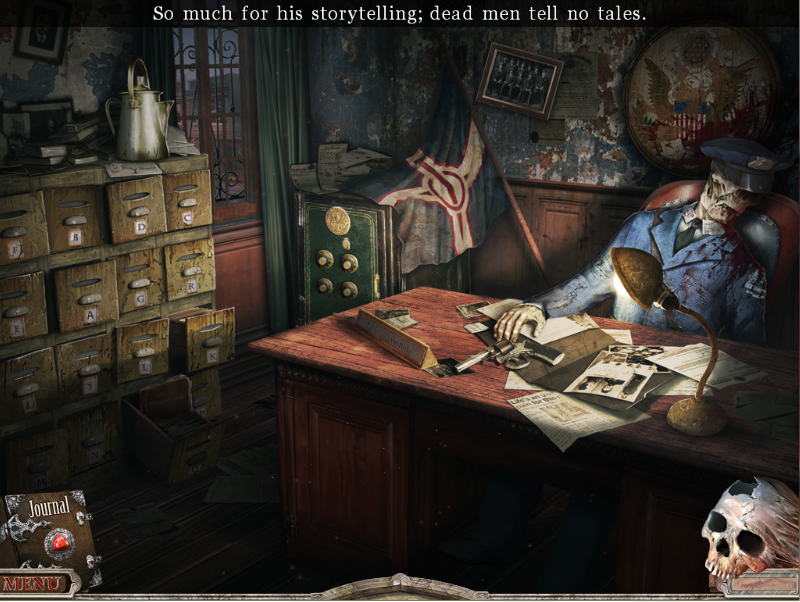
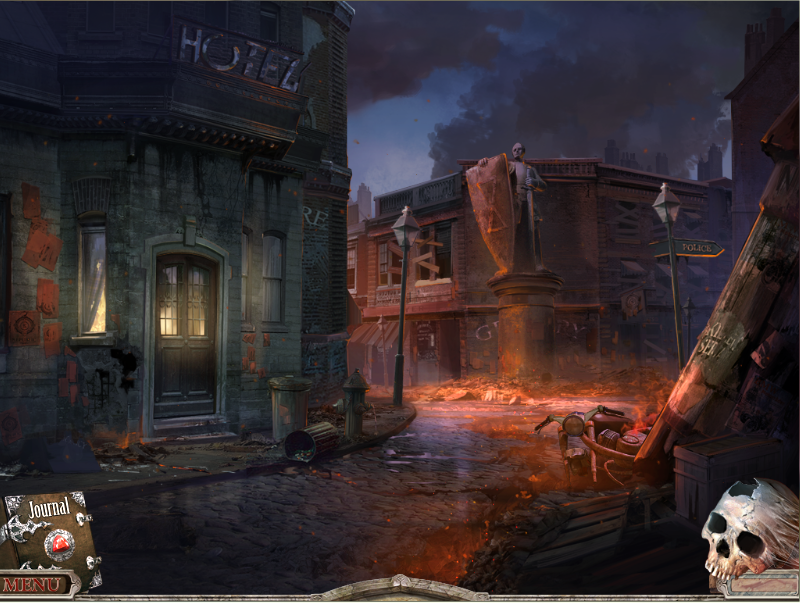
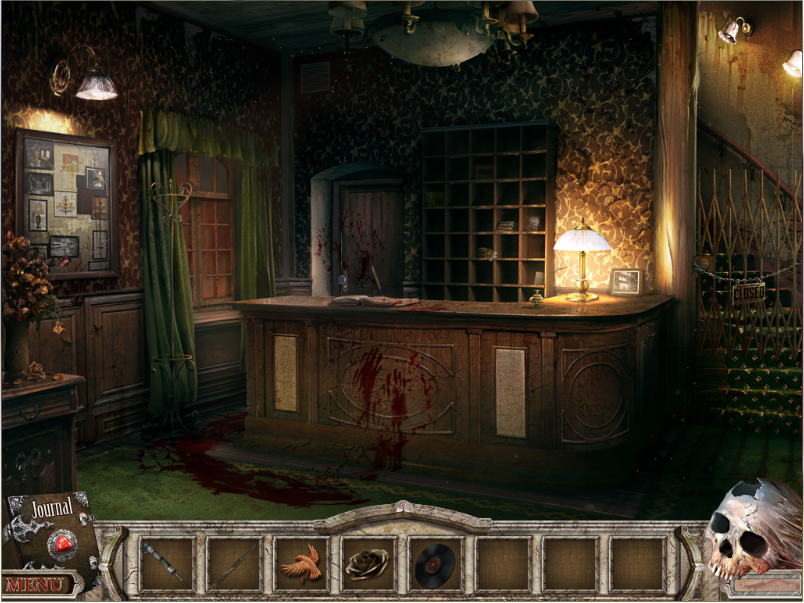
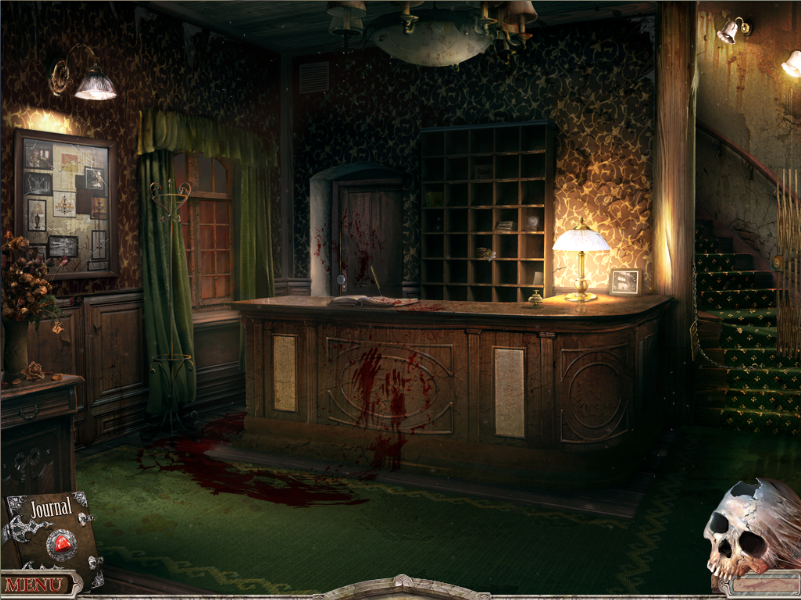
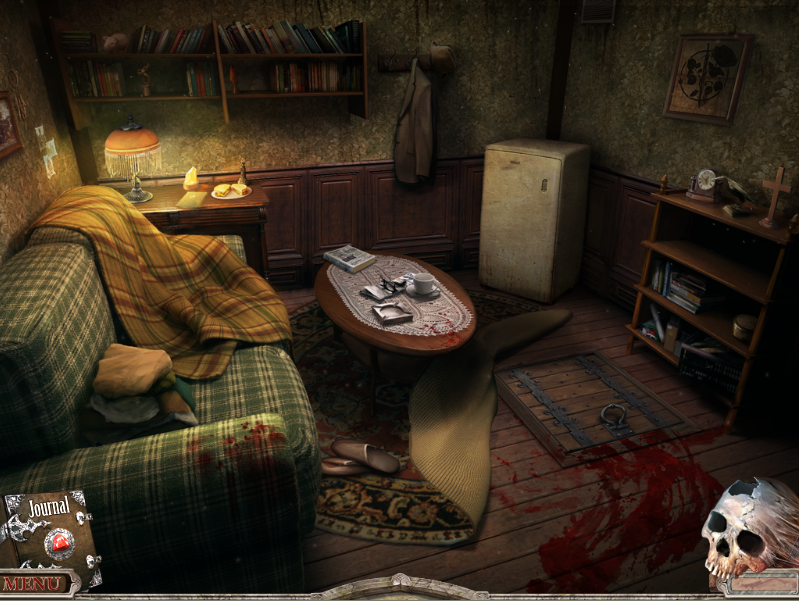
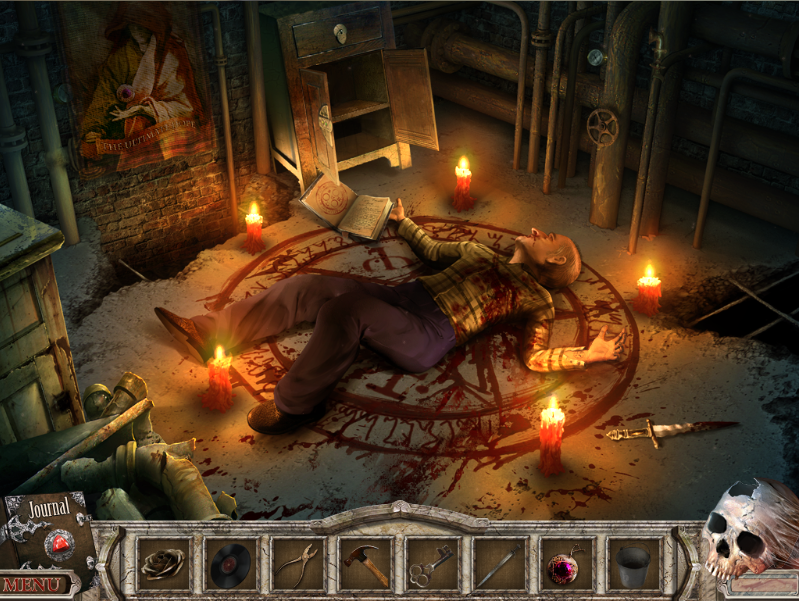
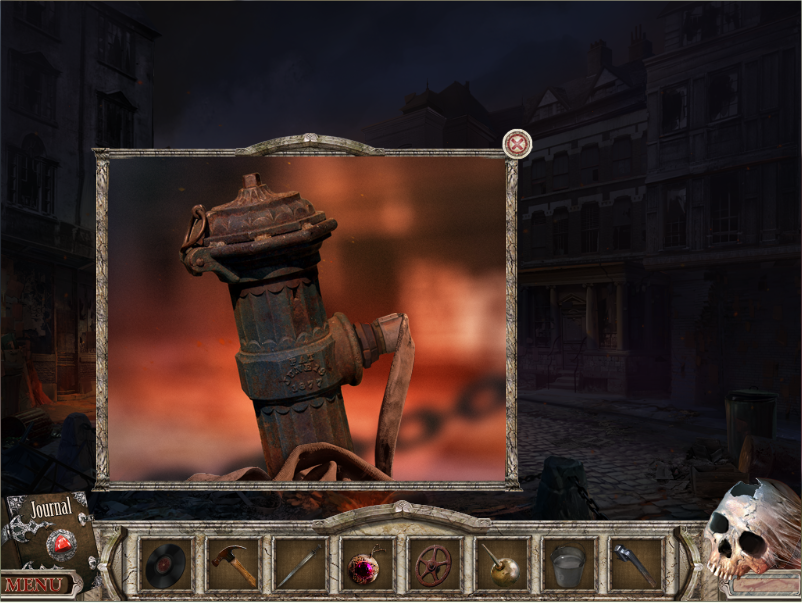
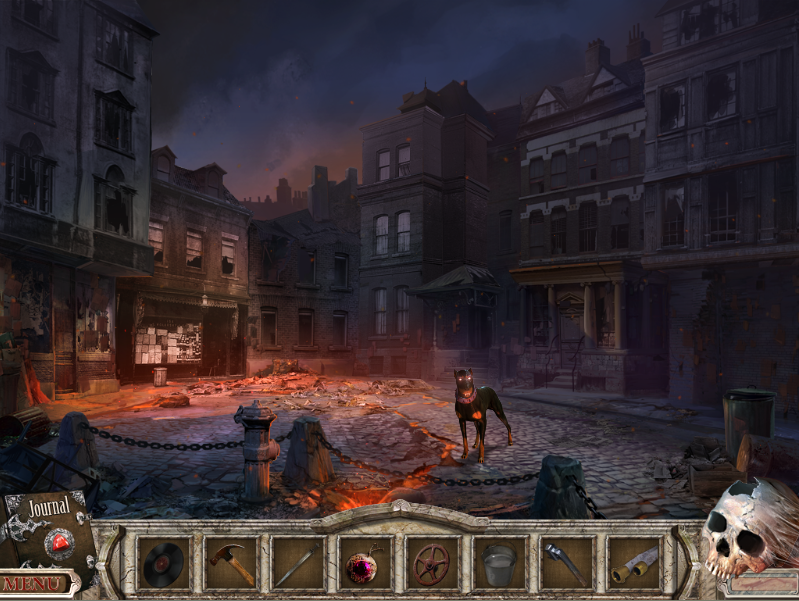
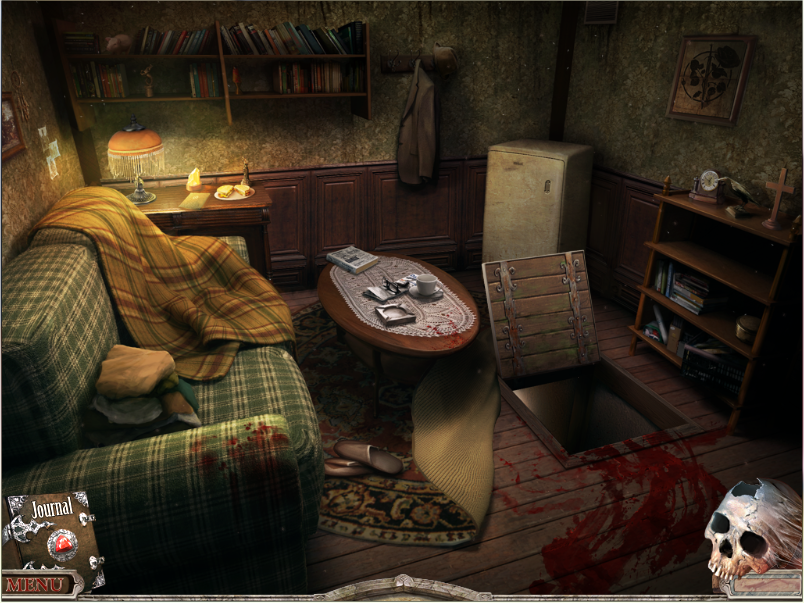
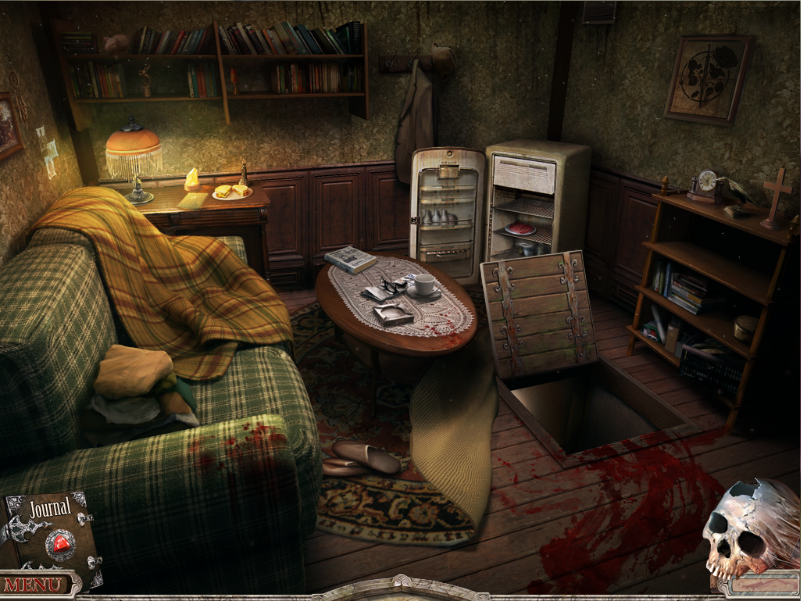
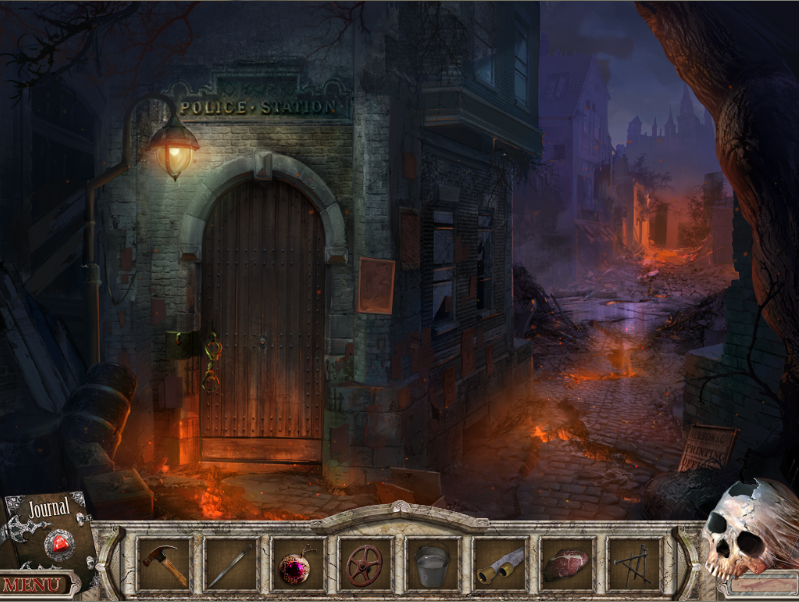
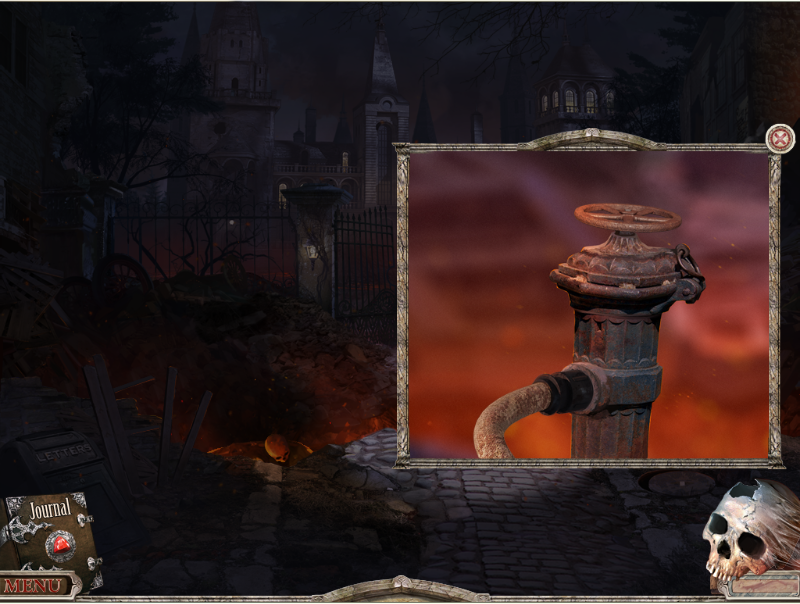
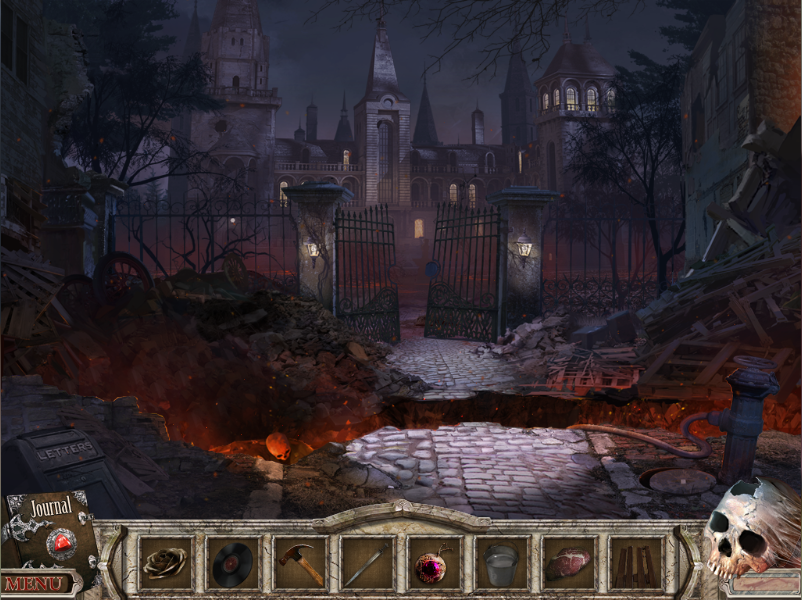
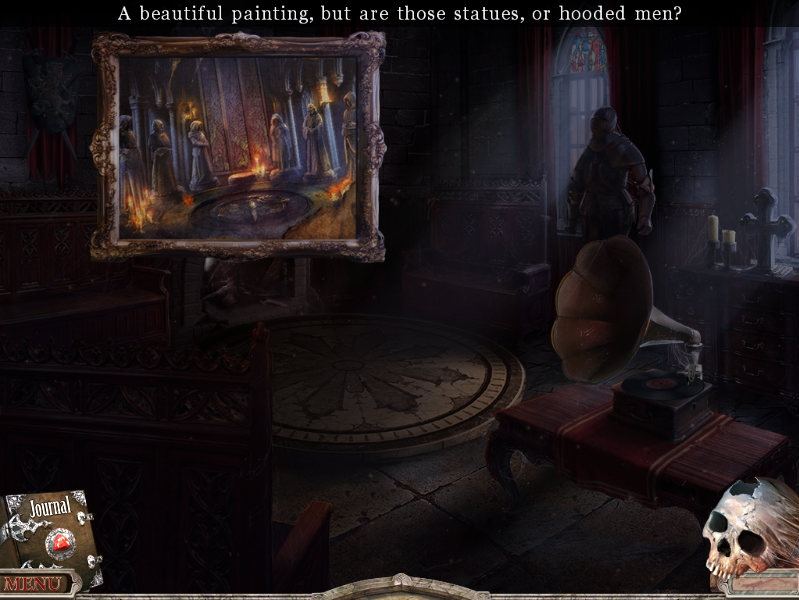
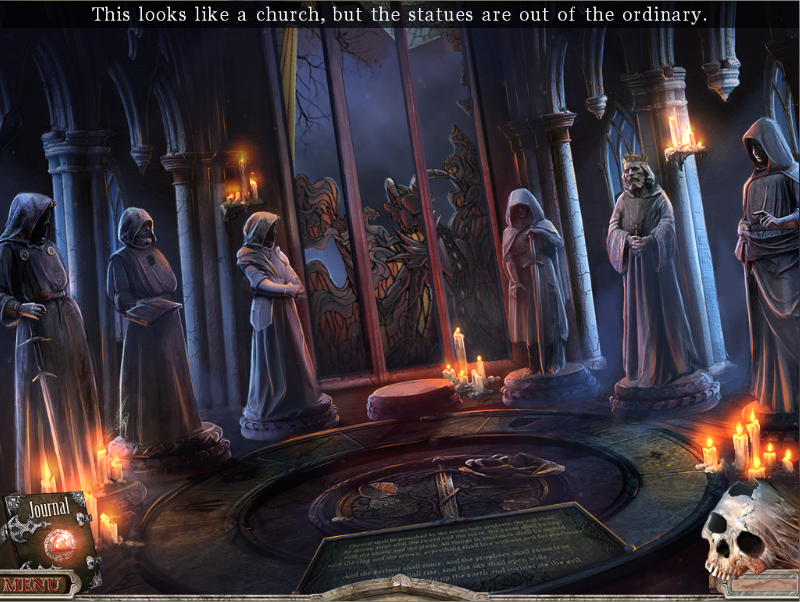
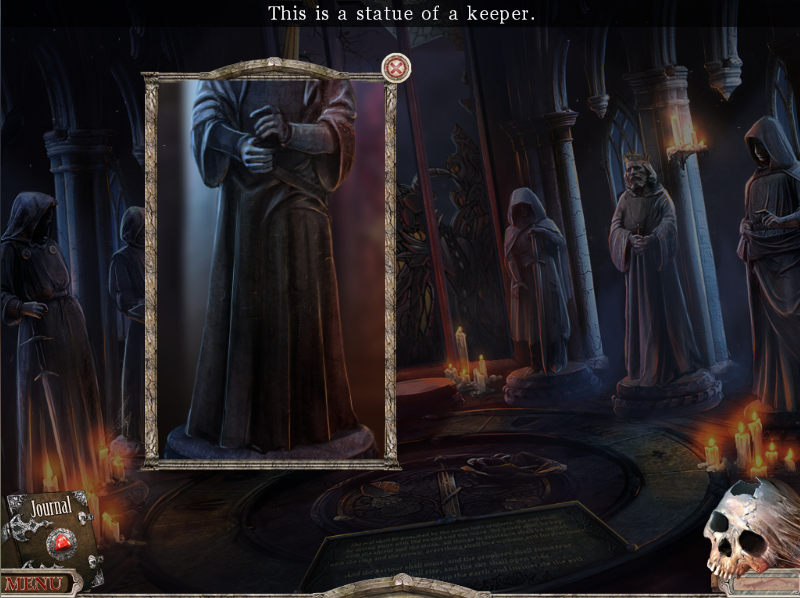
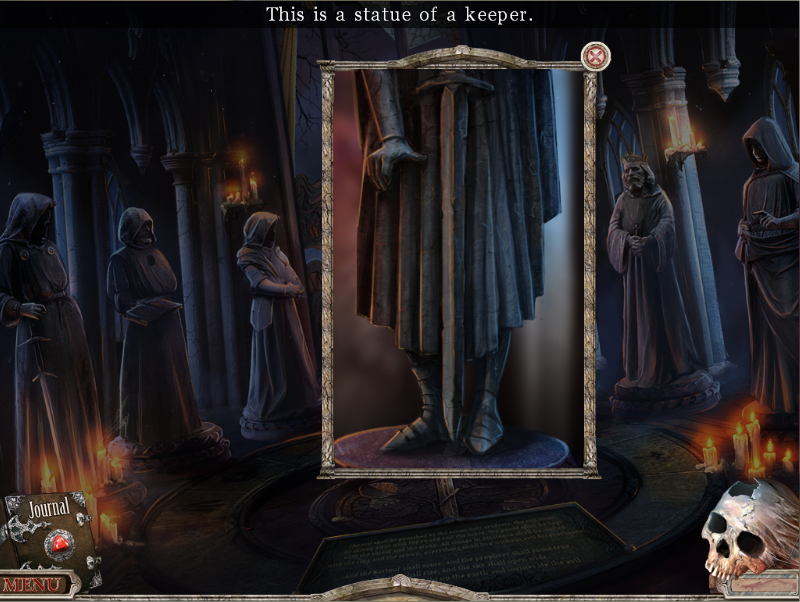
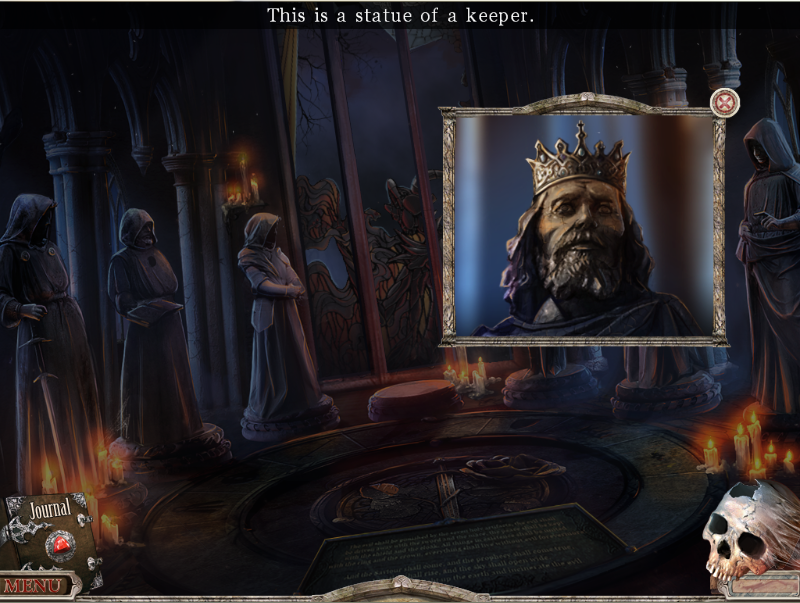
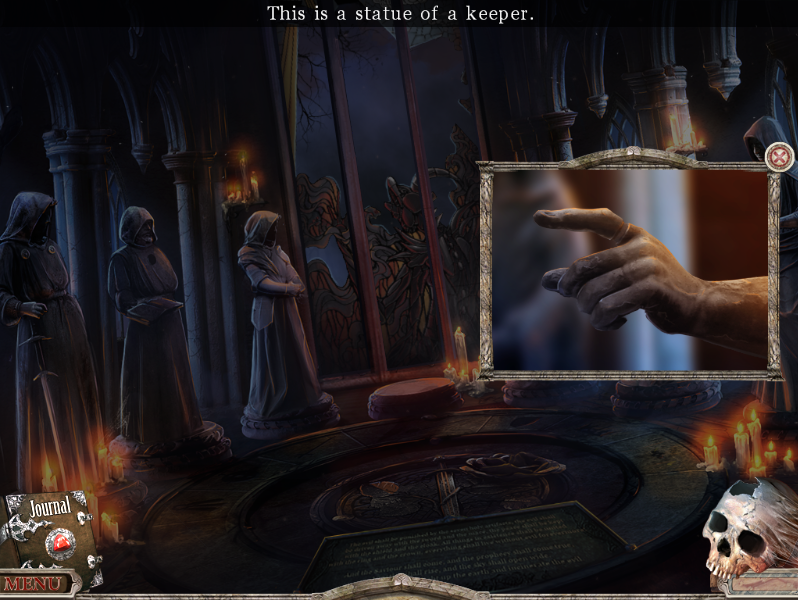
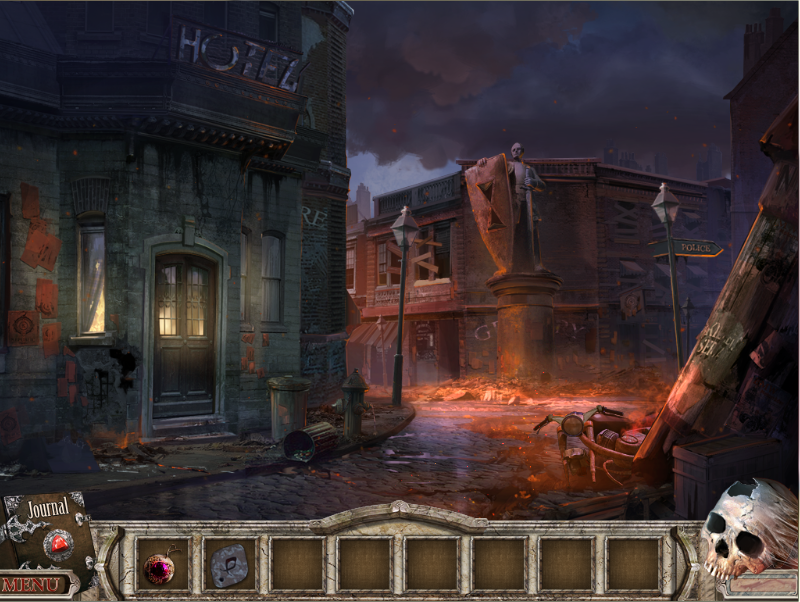
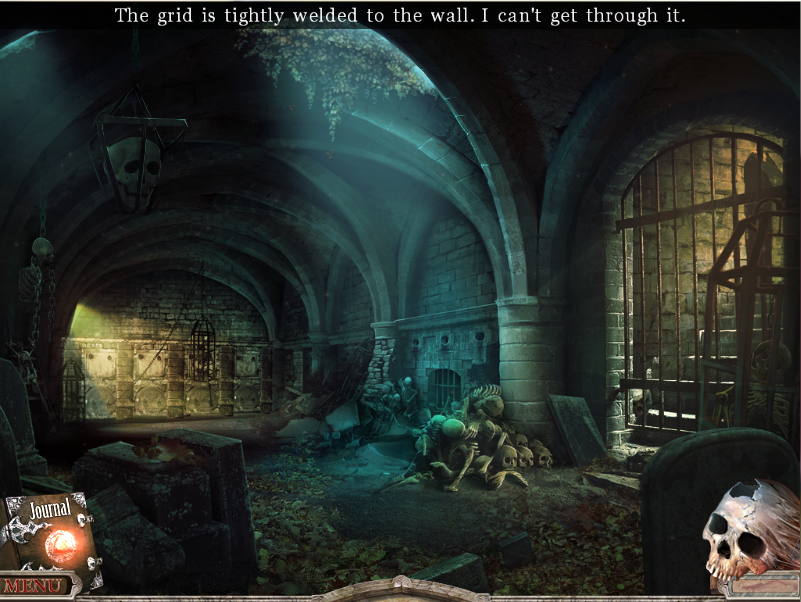
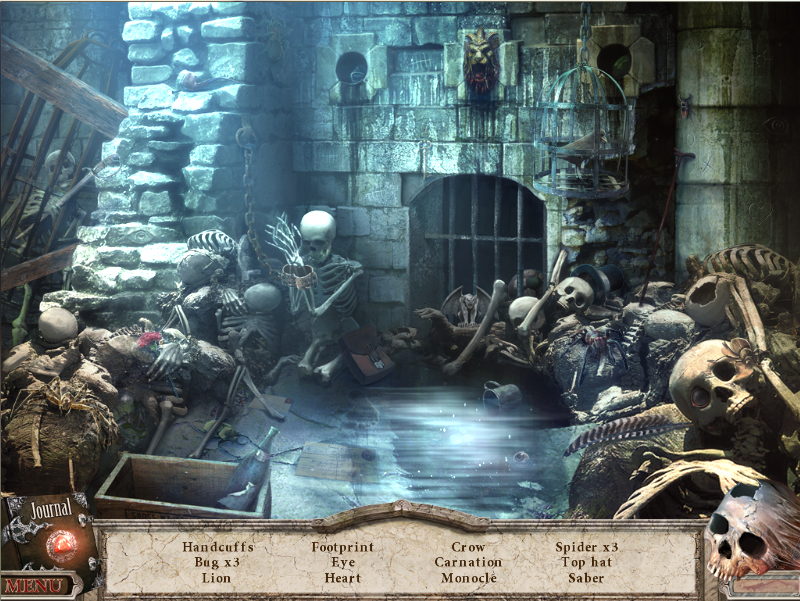
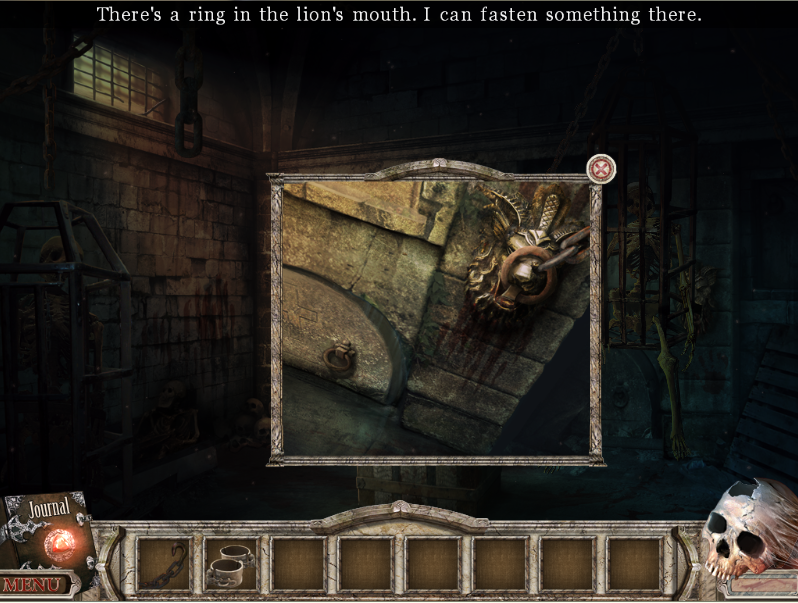
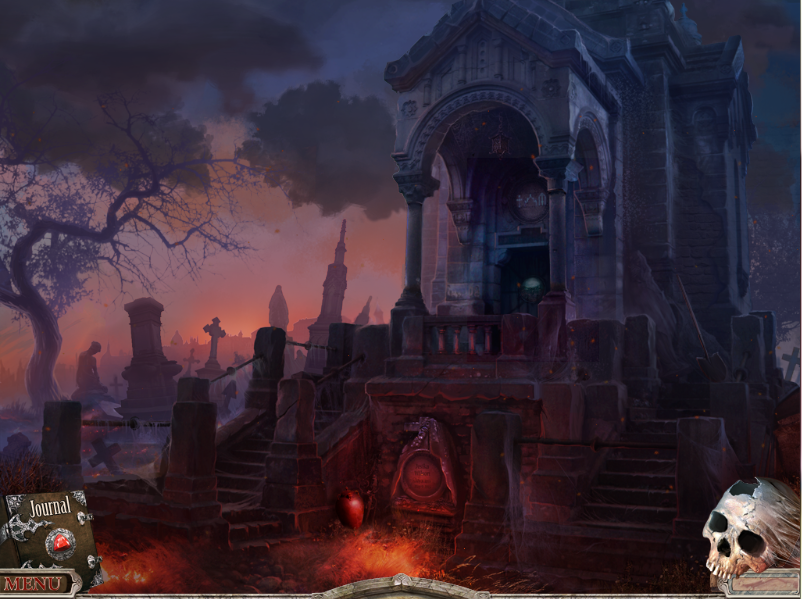
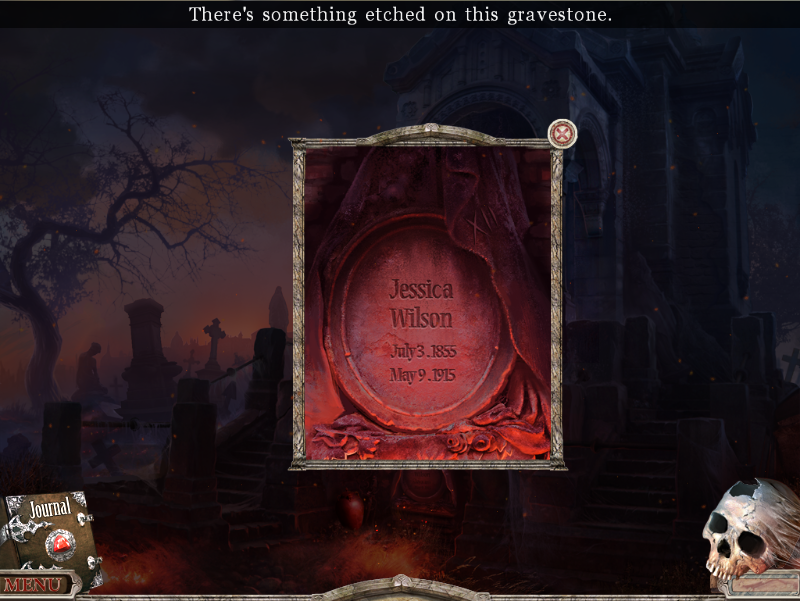
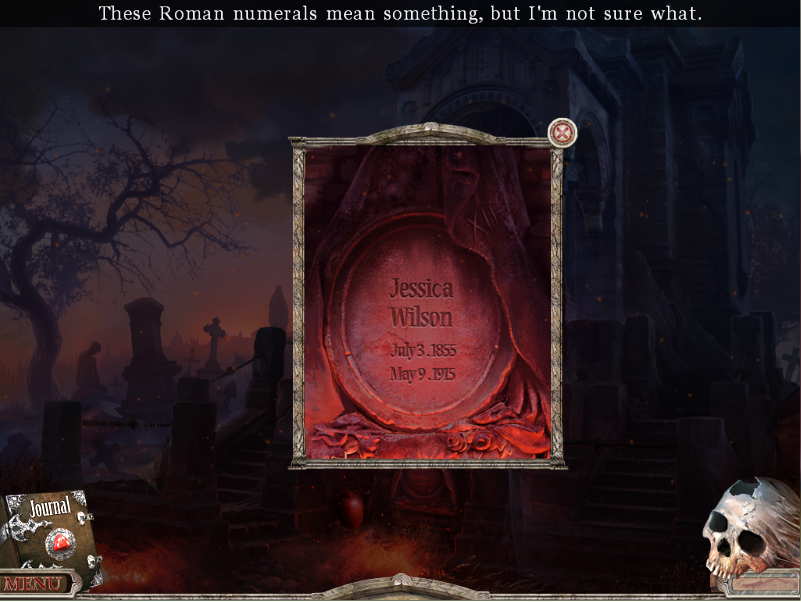
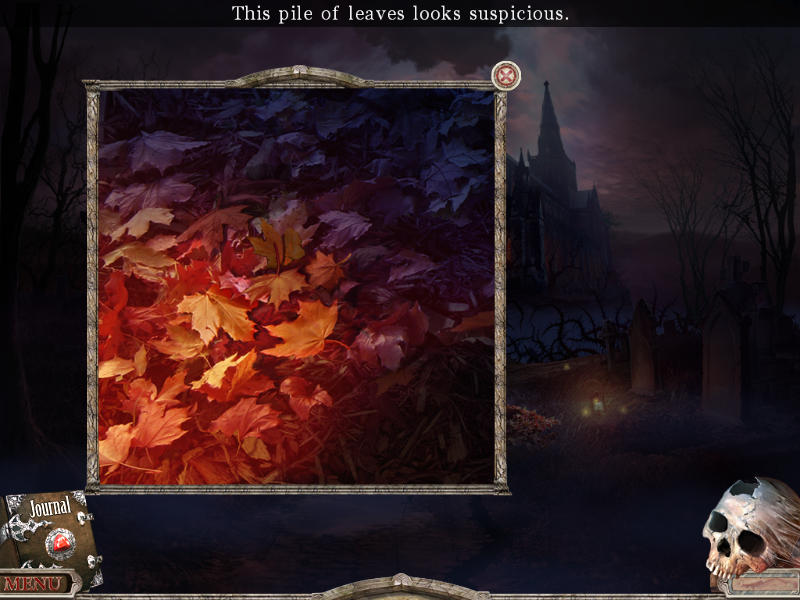
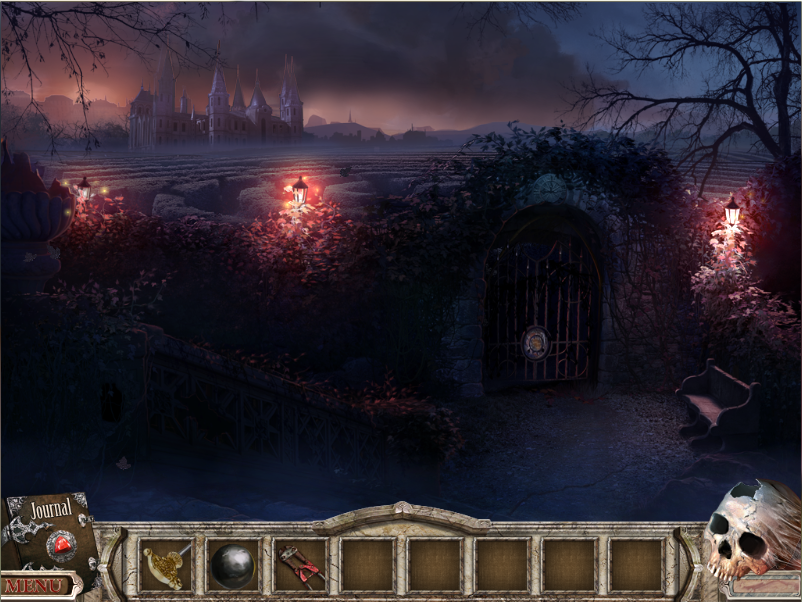
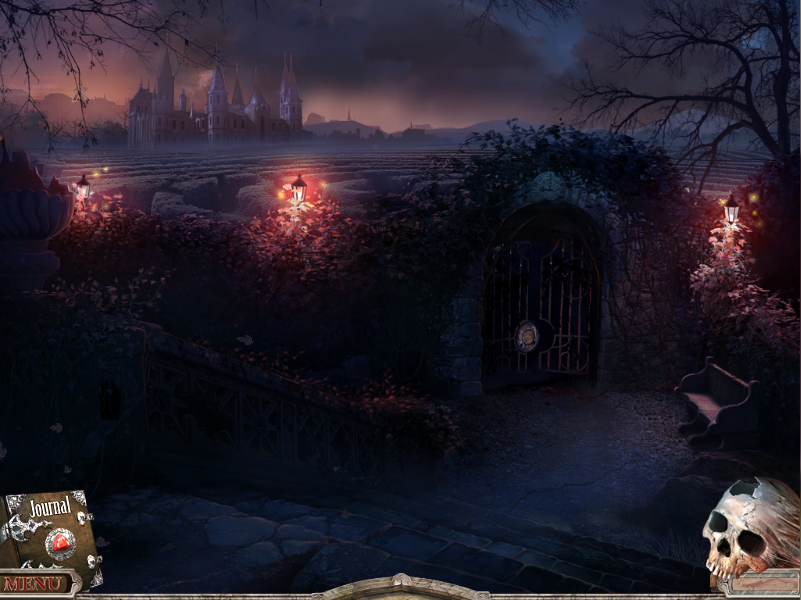
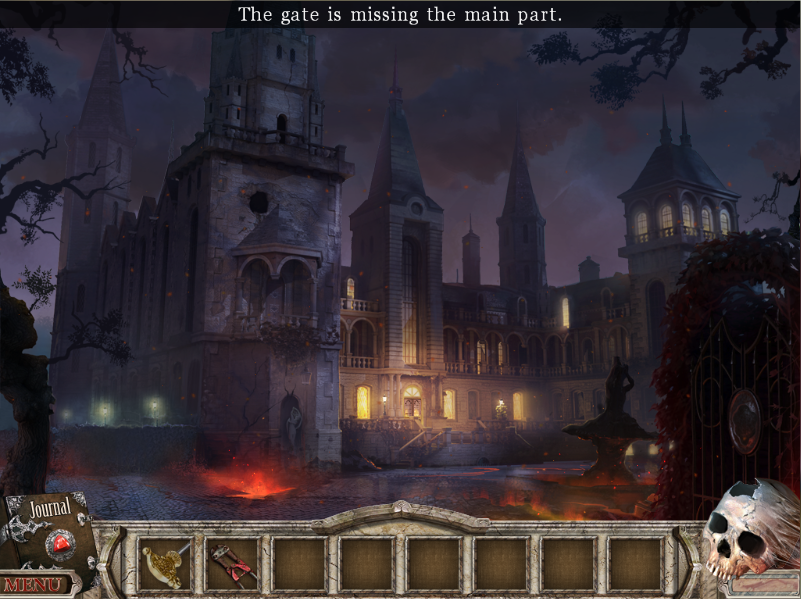
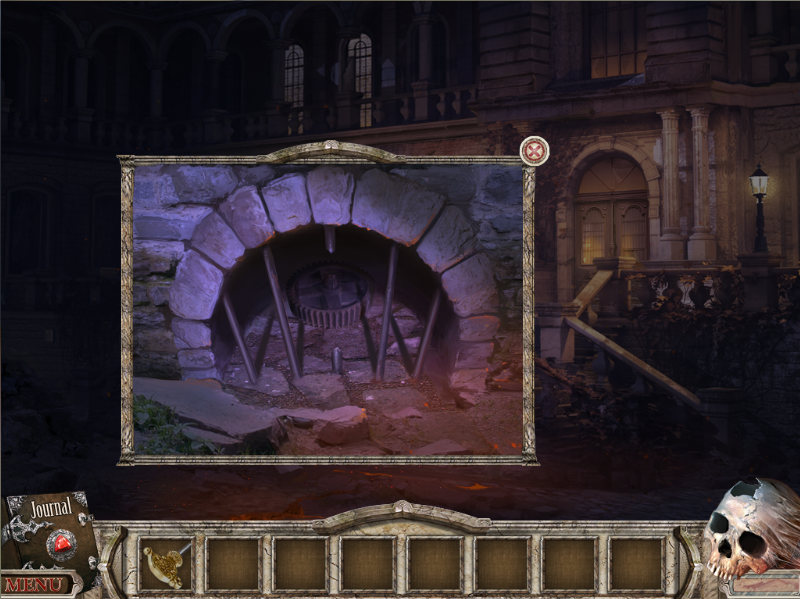
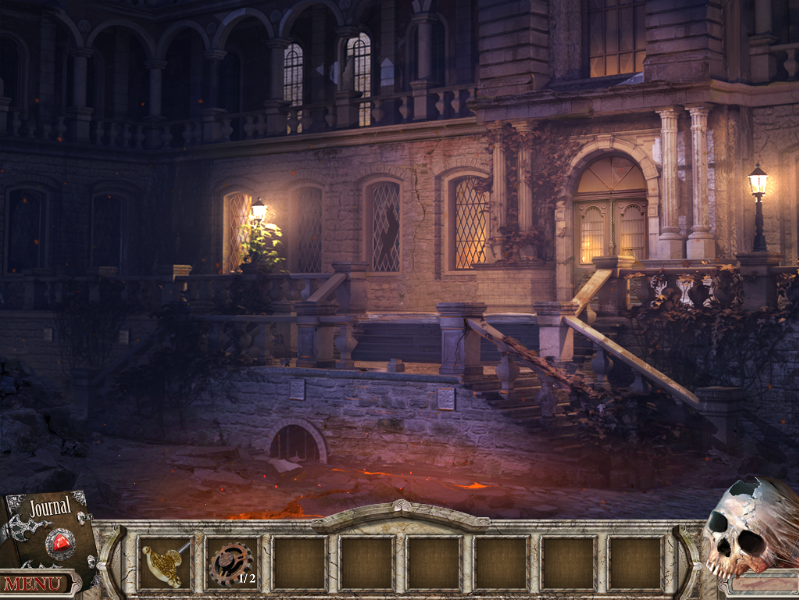
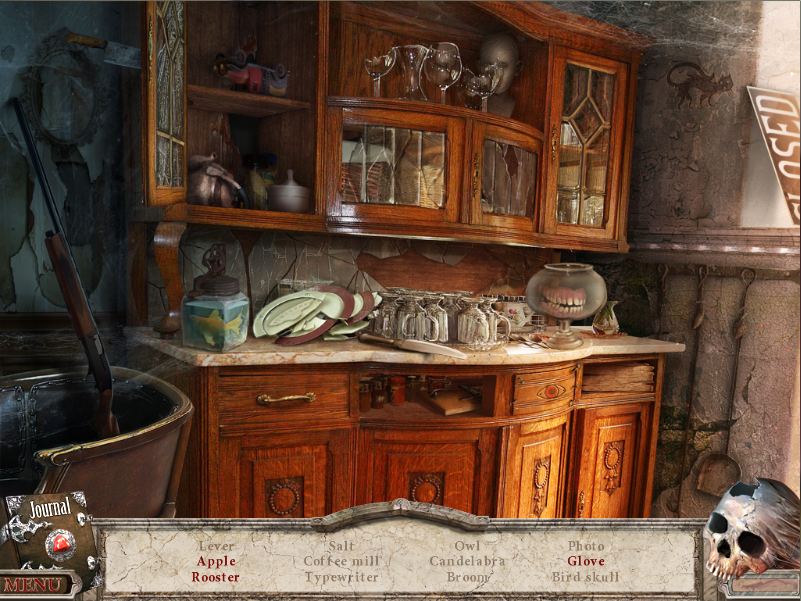
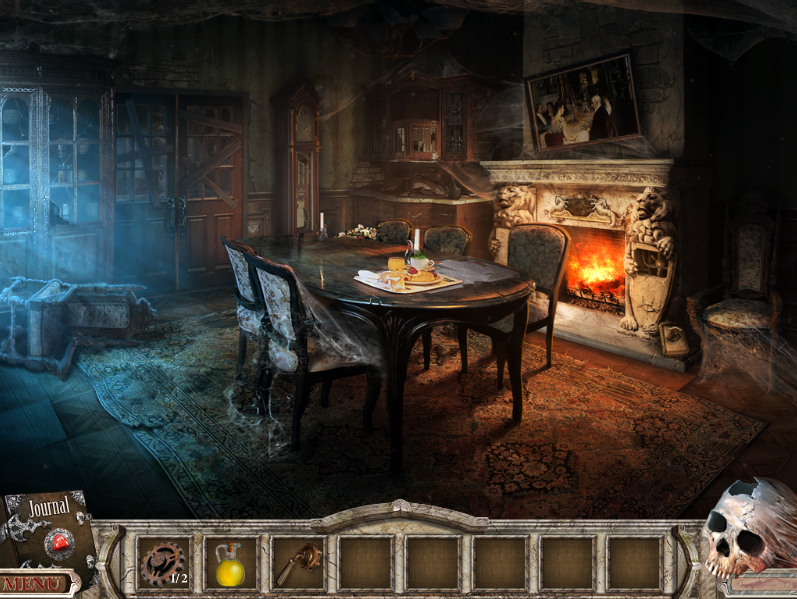
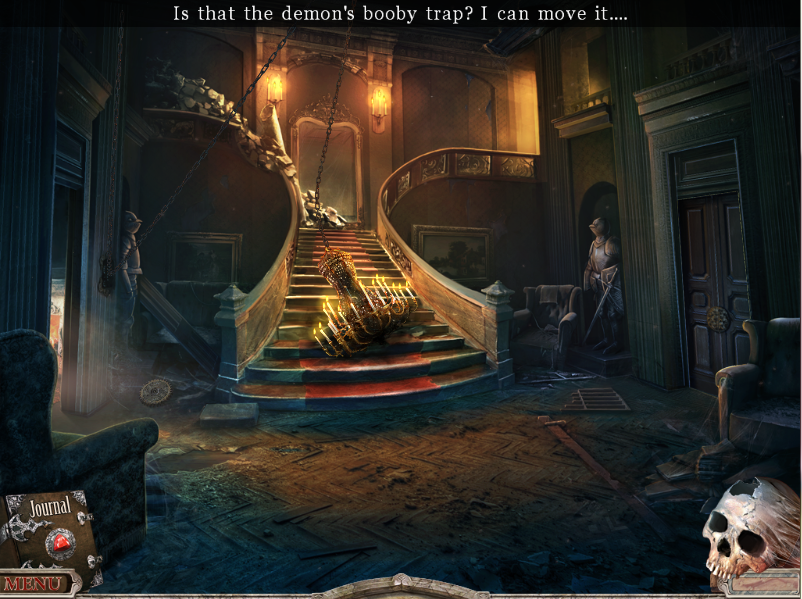
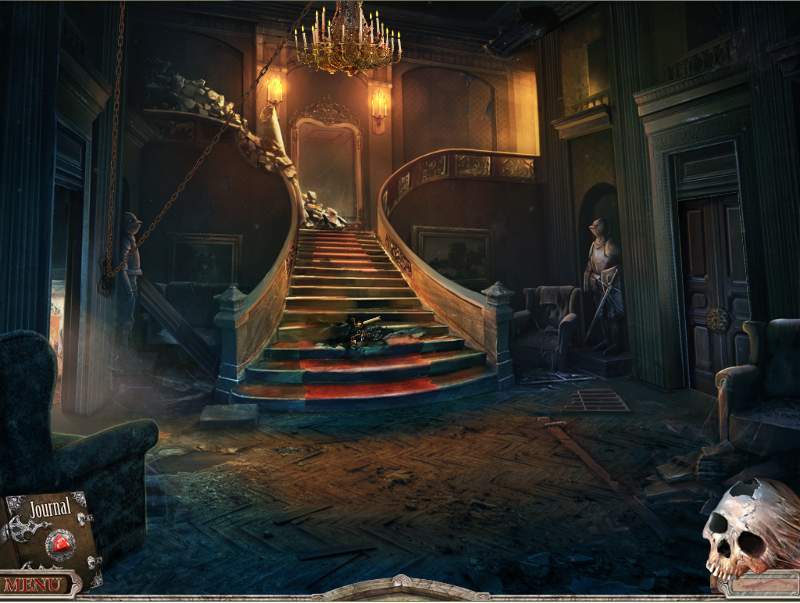
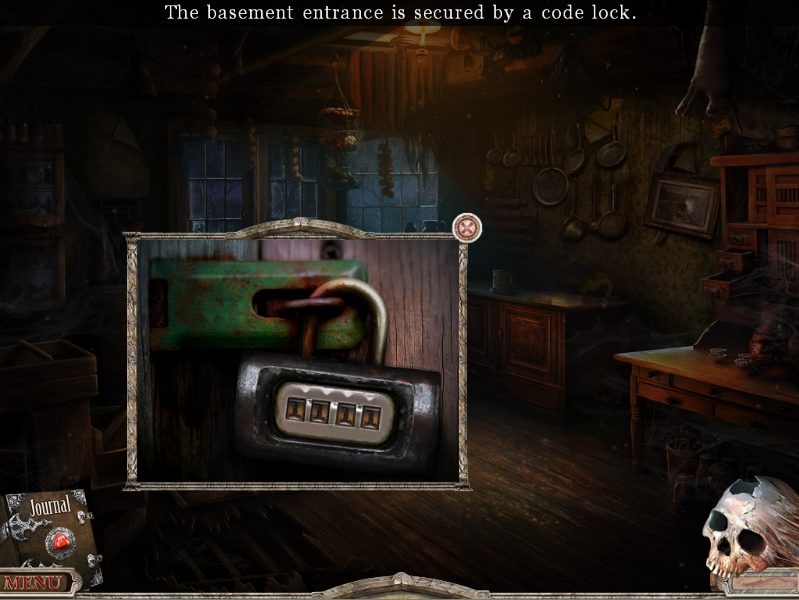
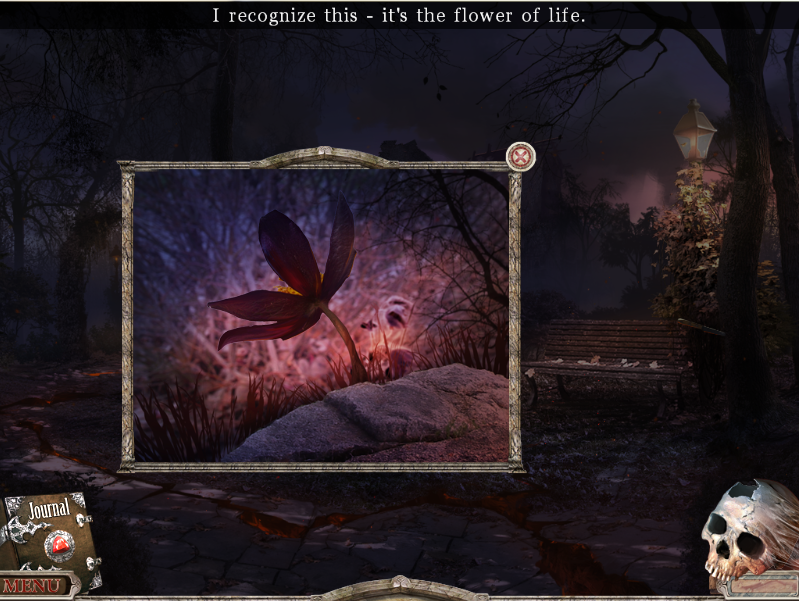
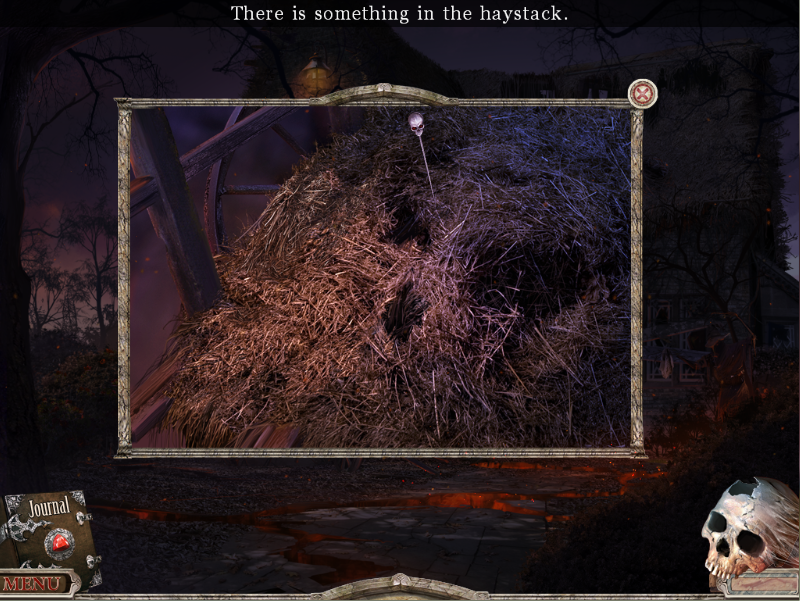
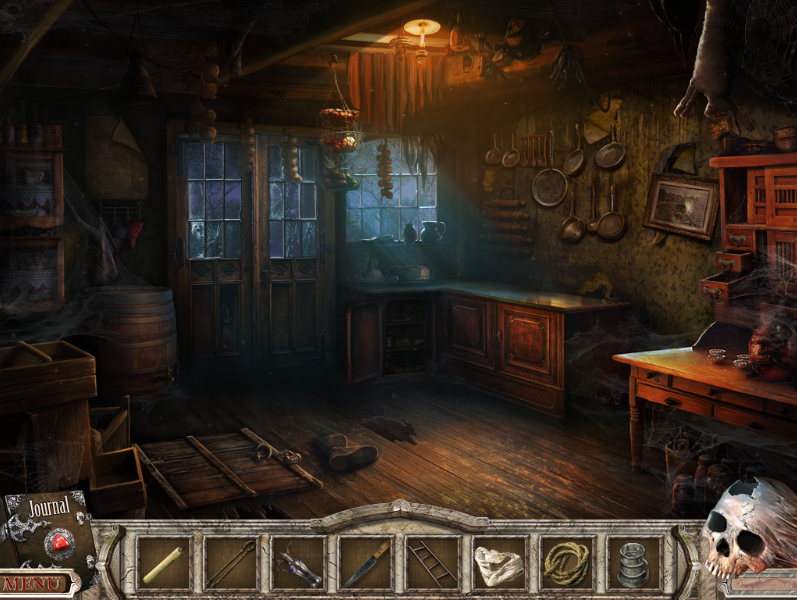
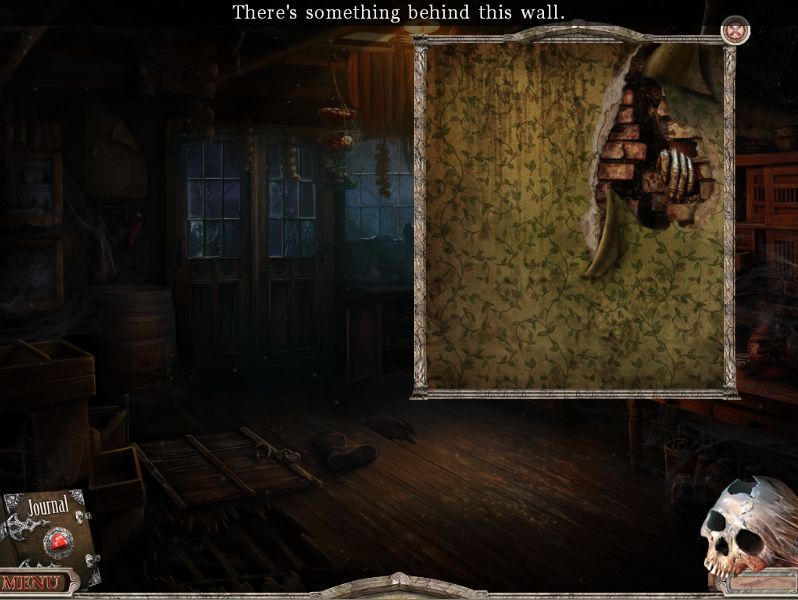
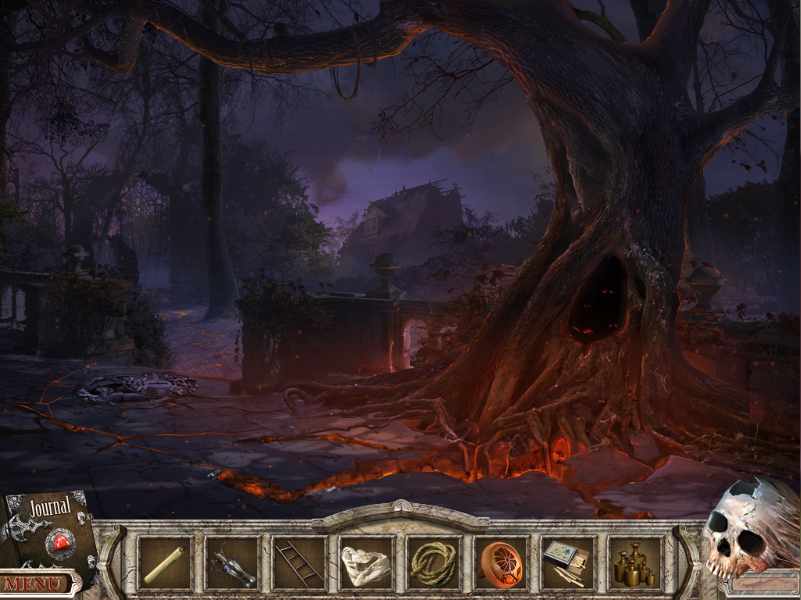
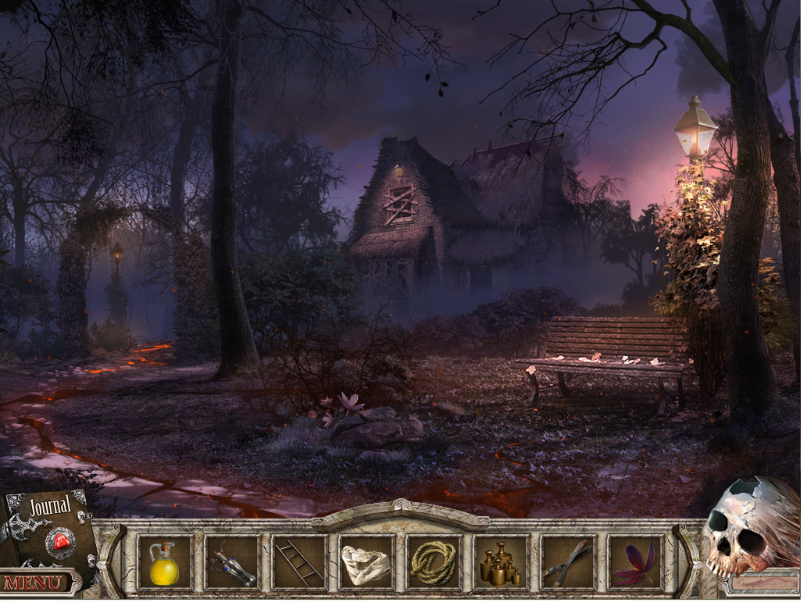
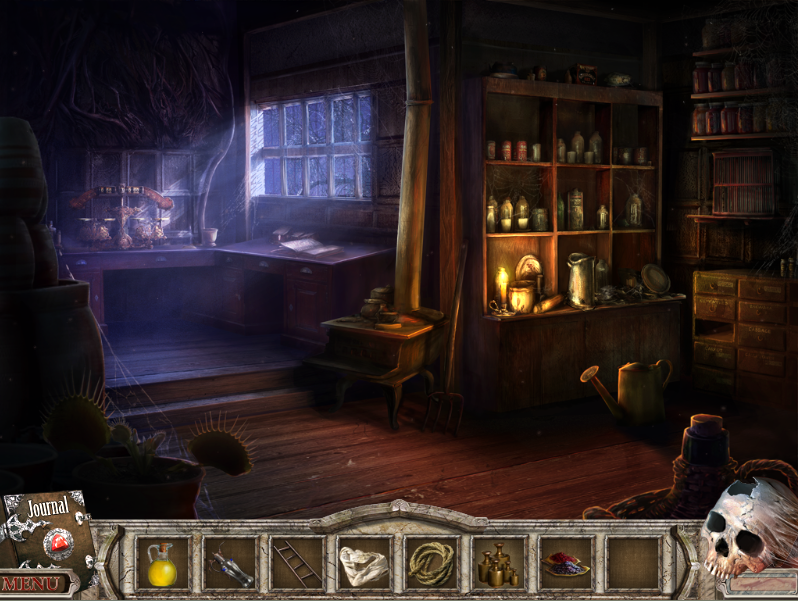
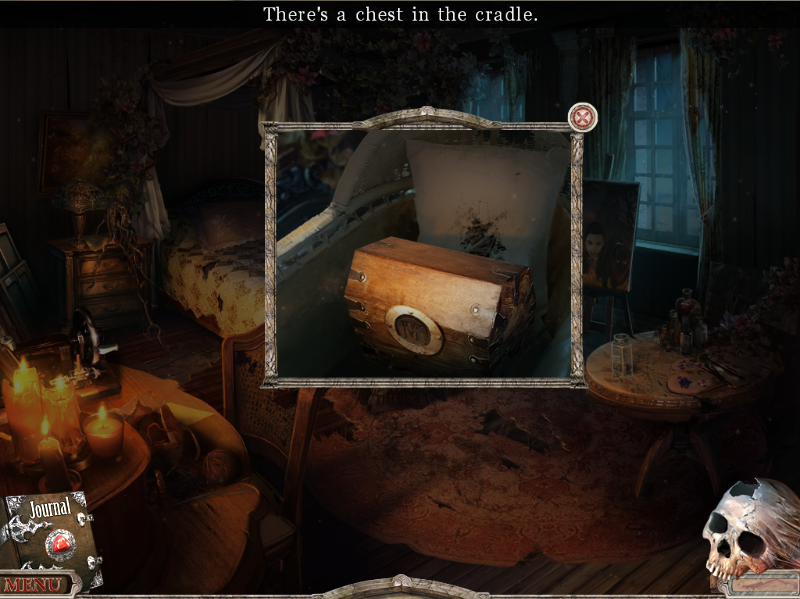
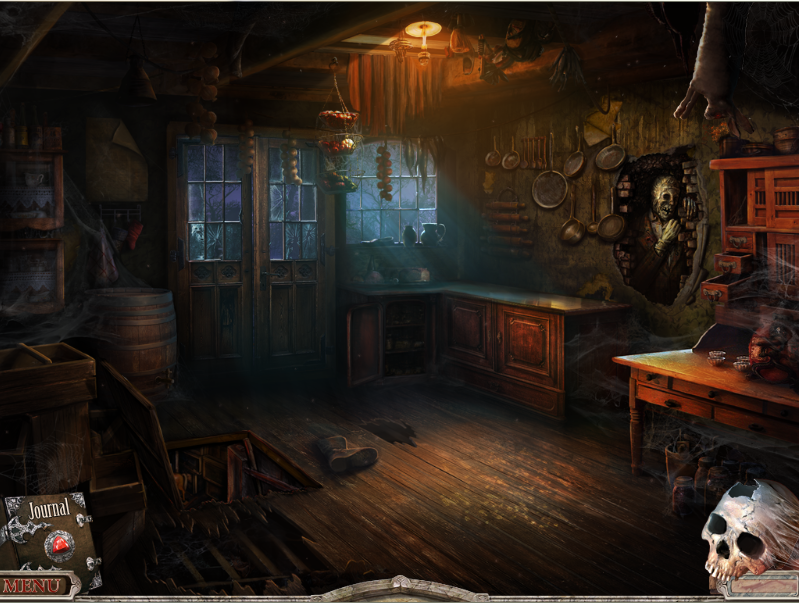
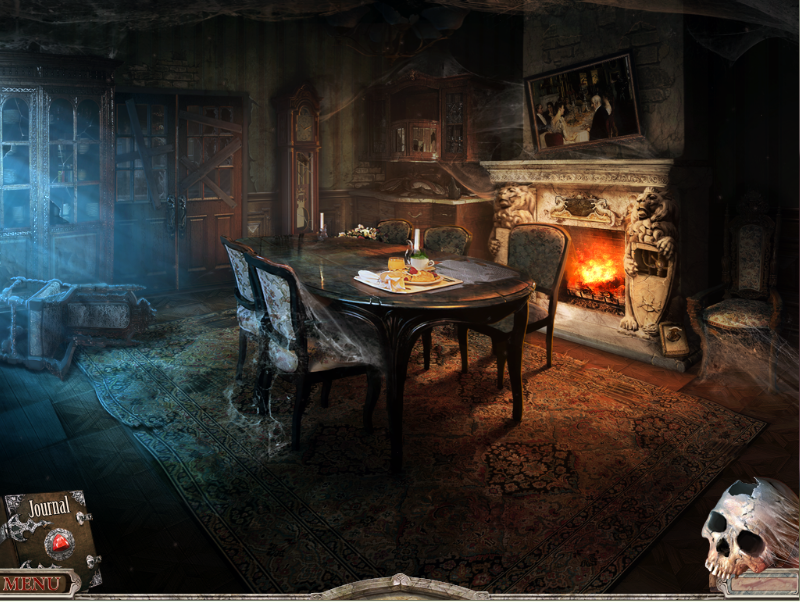
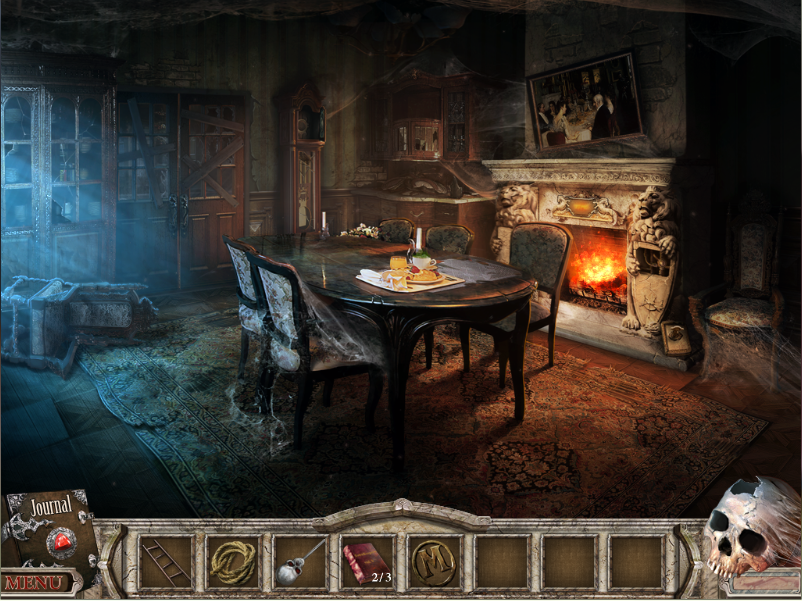
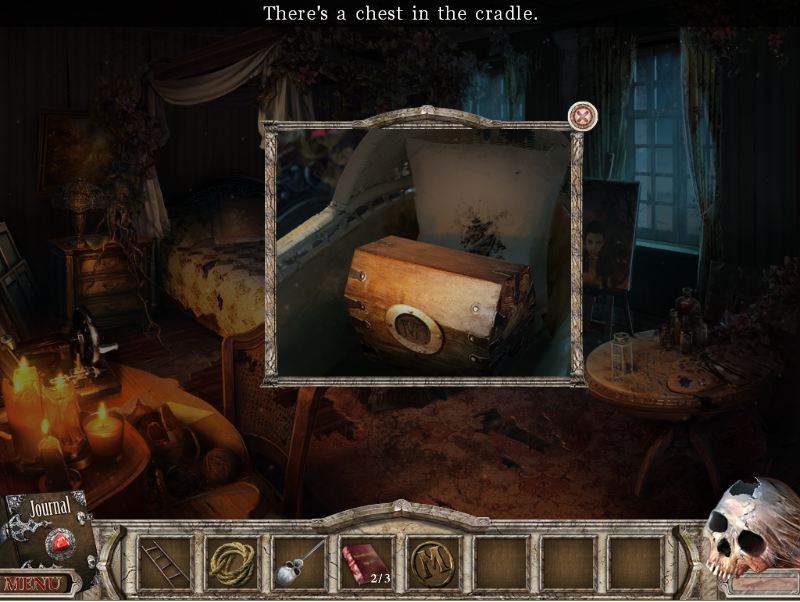
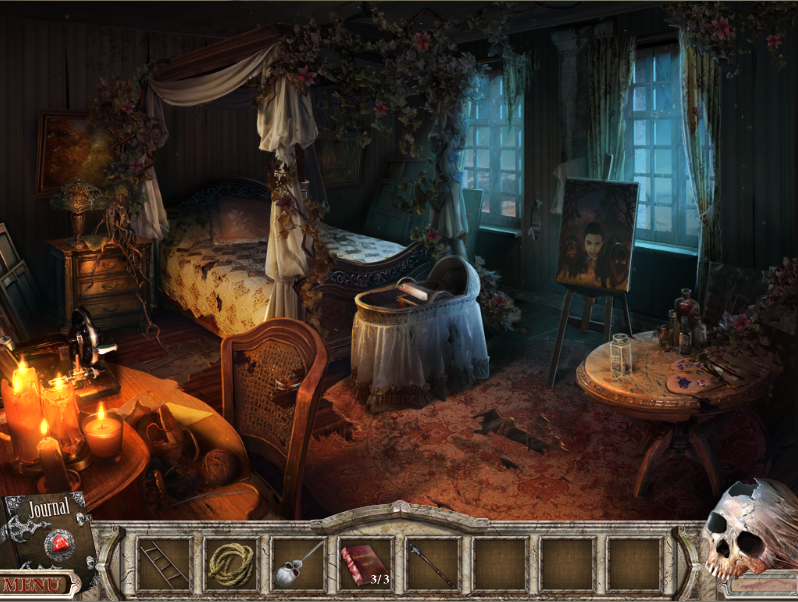
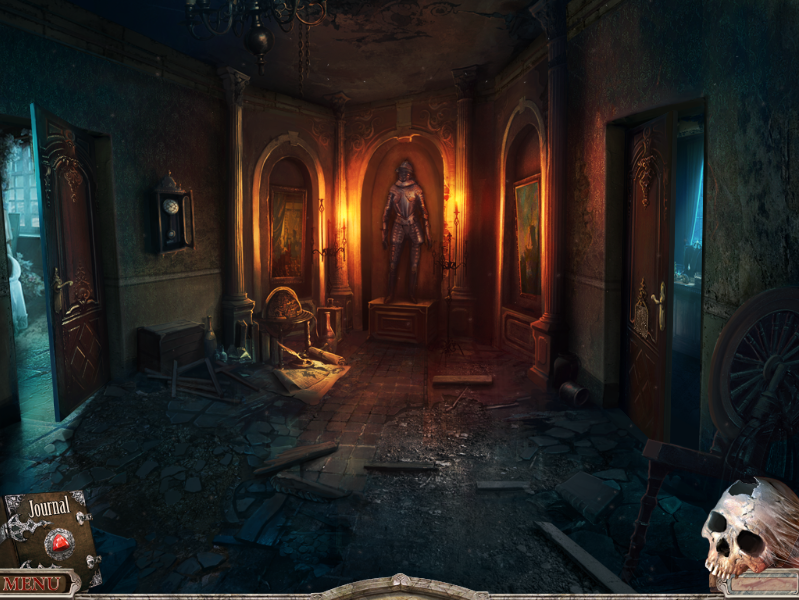
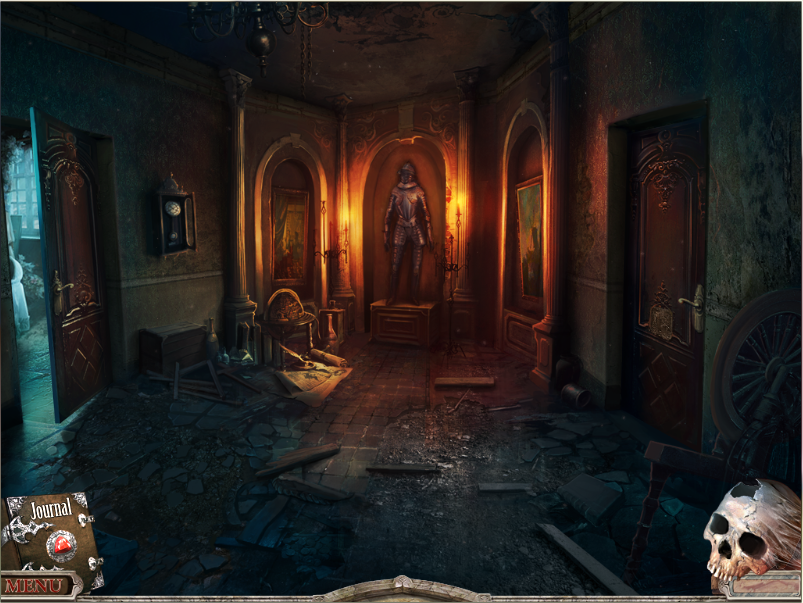
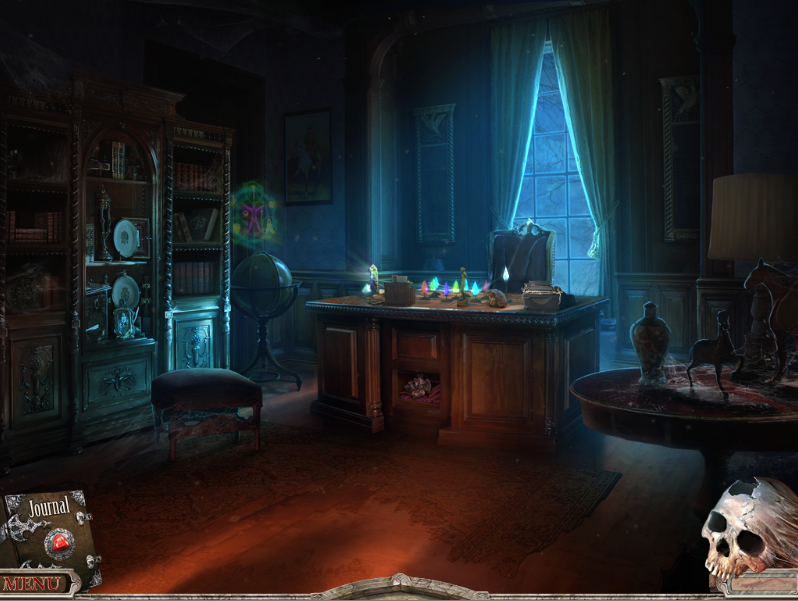
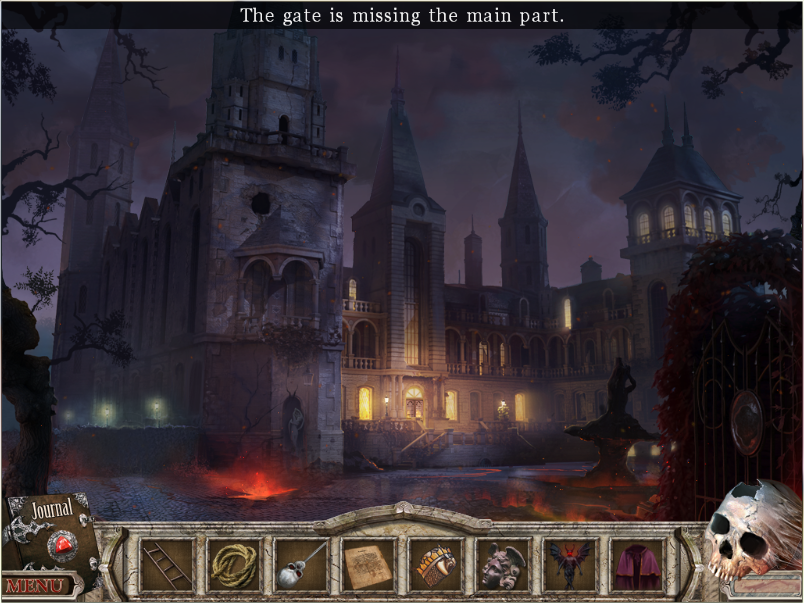
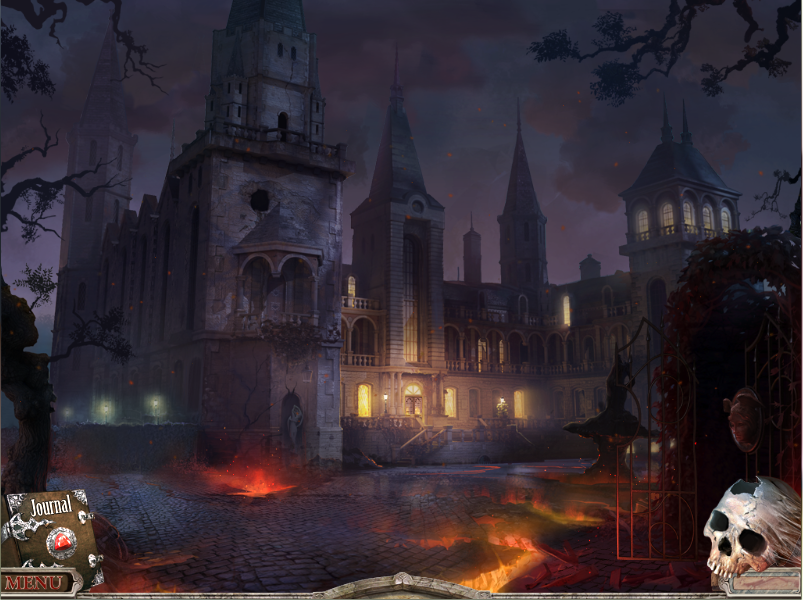
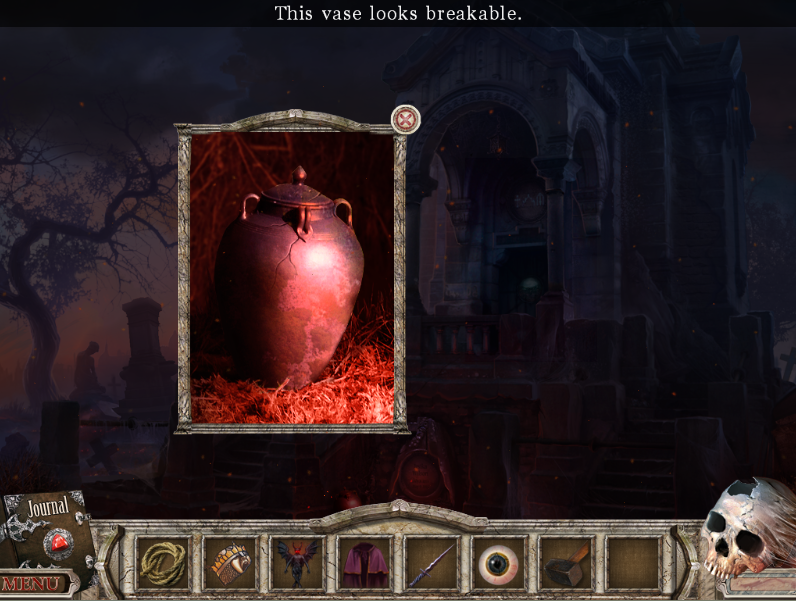
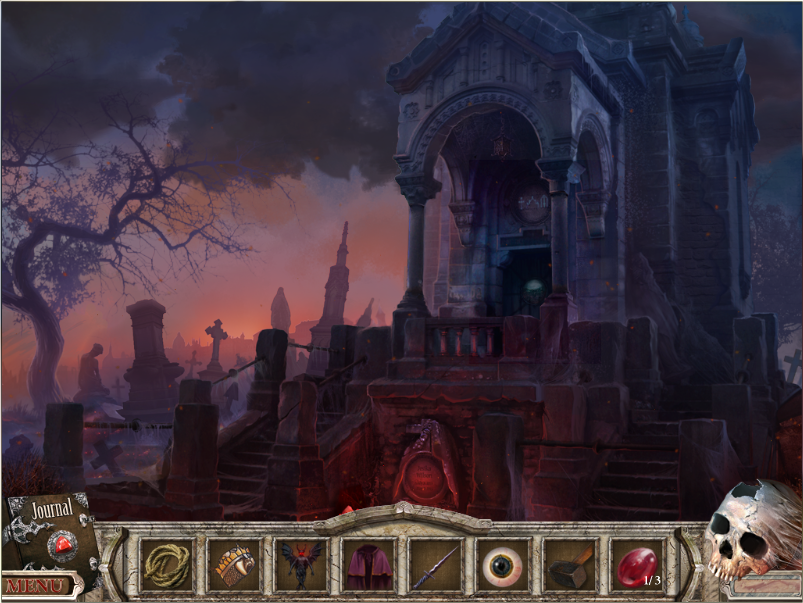
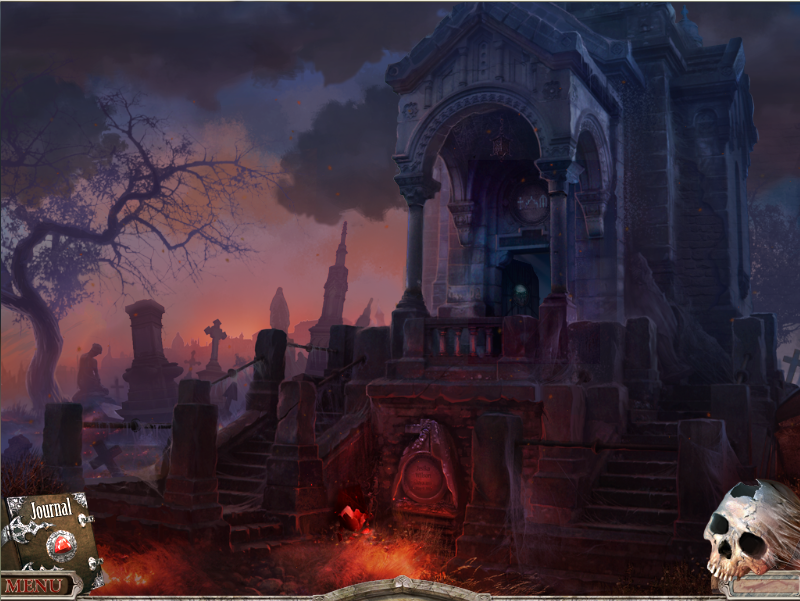
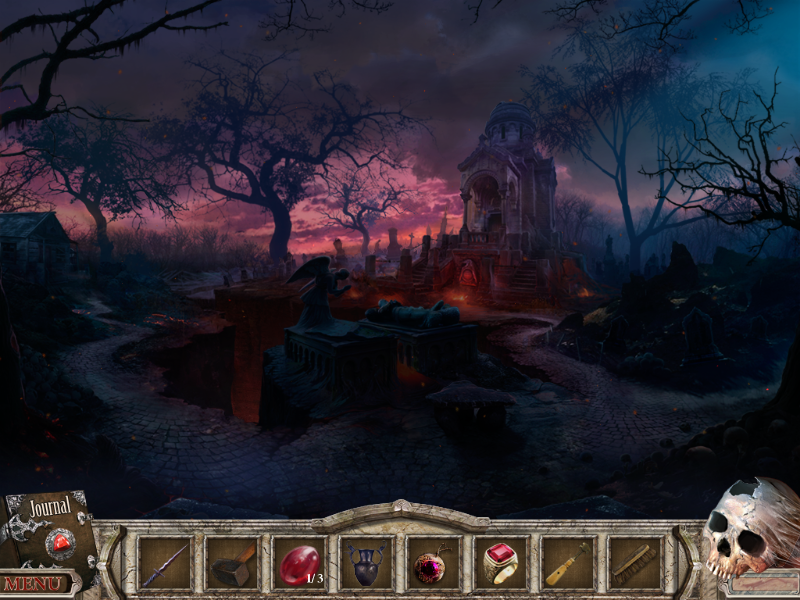
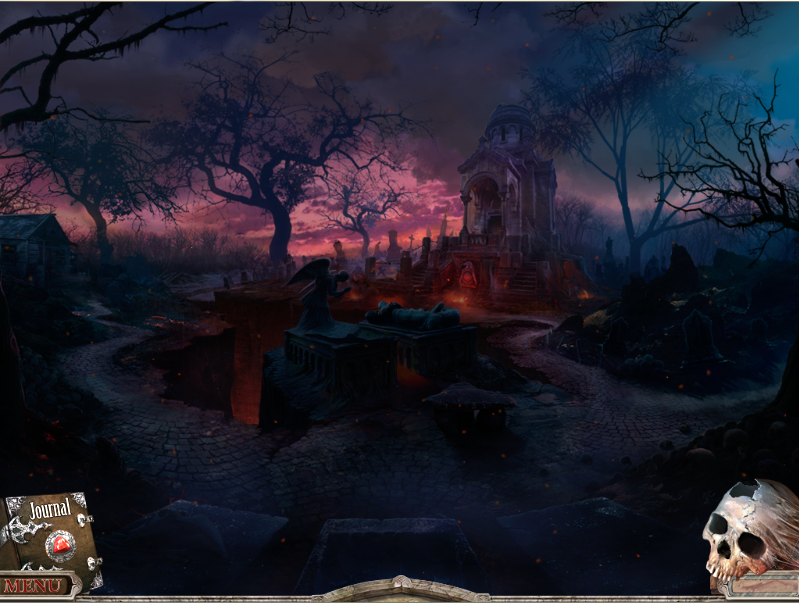
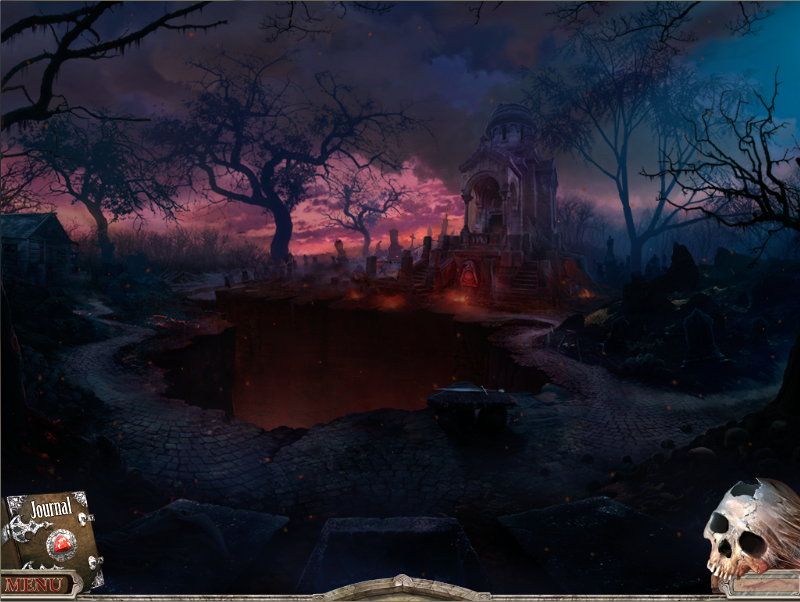
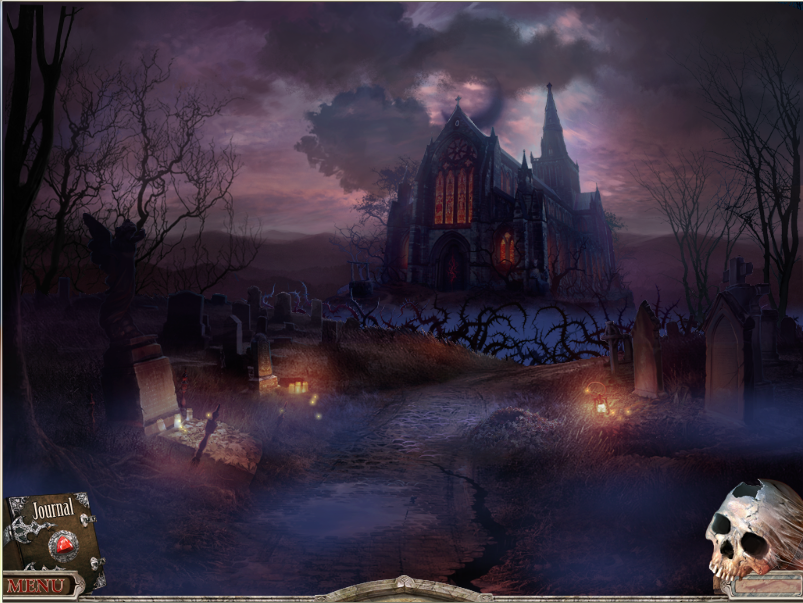
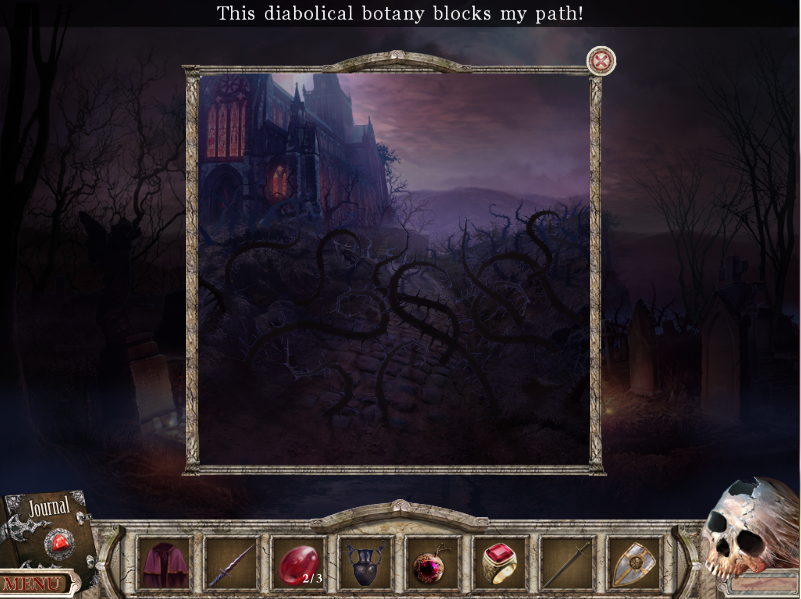
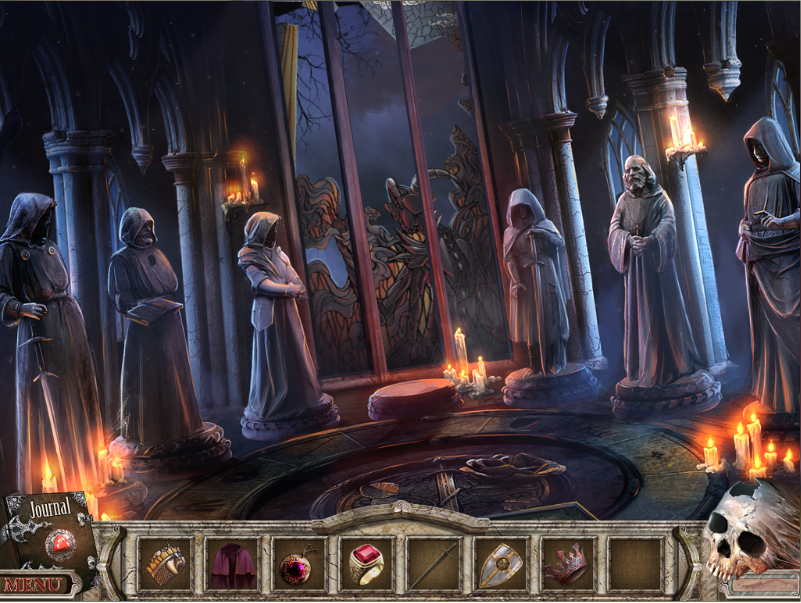
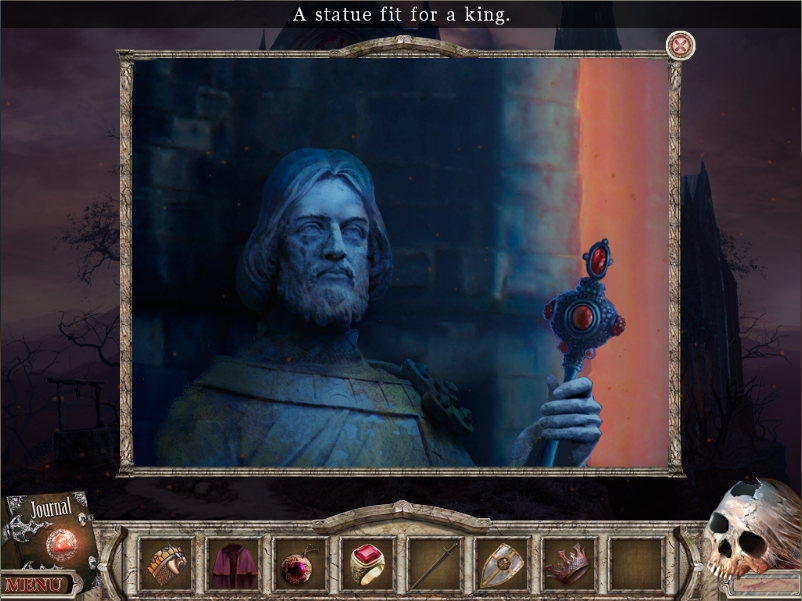
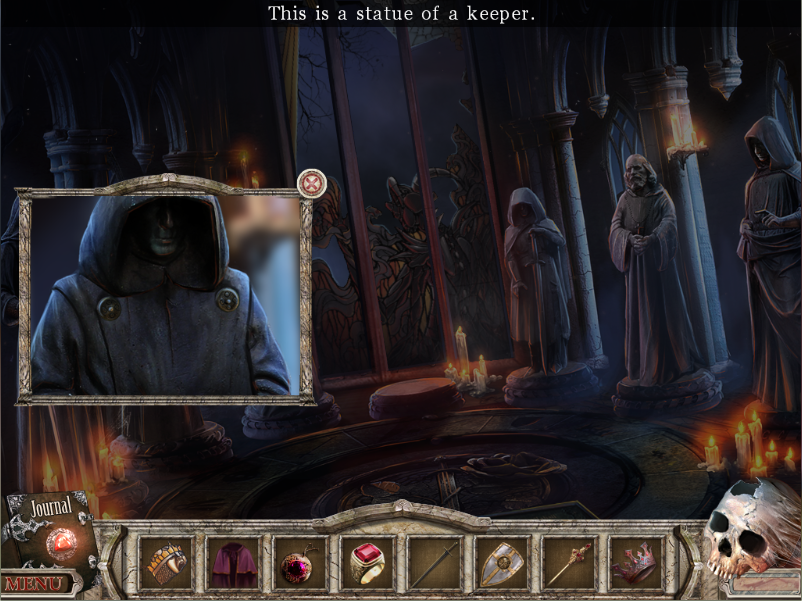
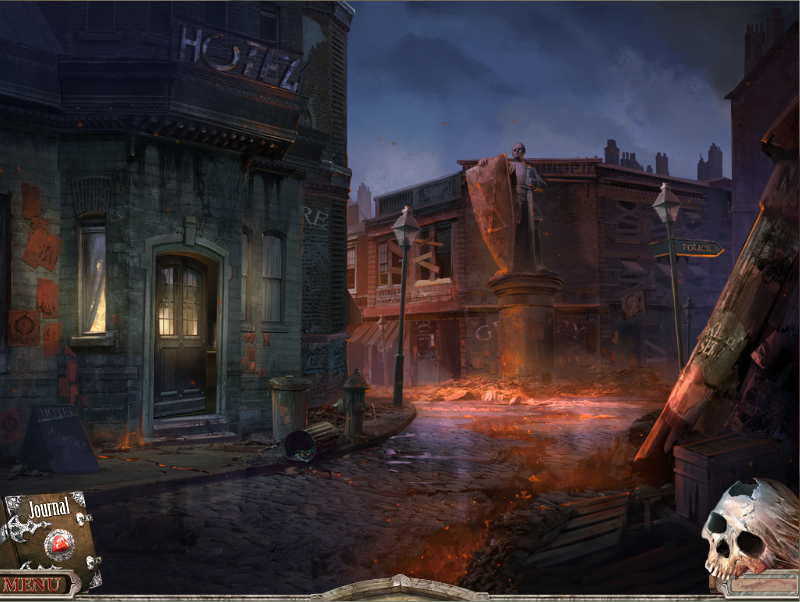
The black clouds slowly breeze by and the sound of rain clatters on the streets. I have three paths out of this screen, forward-left, forward-right and back from whence I came. This screen itself has four items of interest: the impressive statue, the decaying posters, the water hydrant and the door:
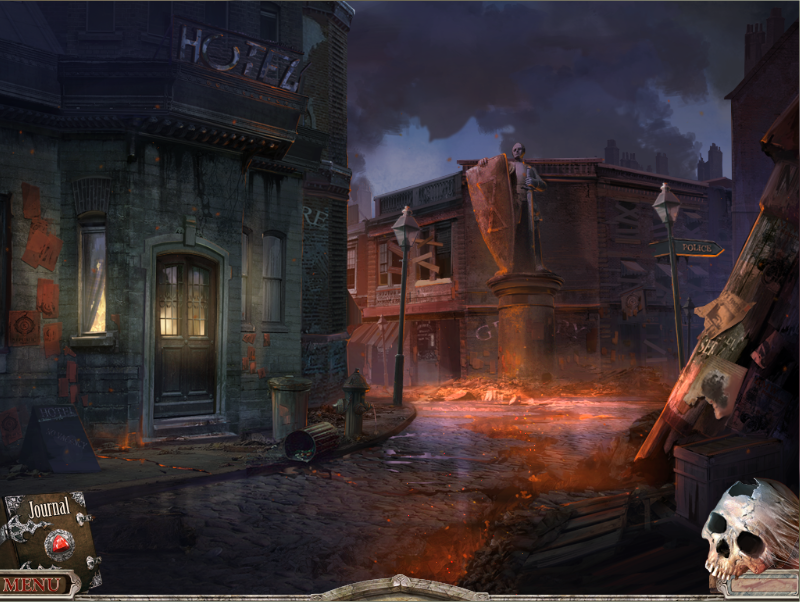
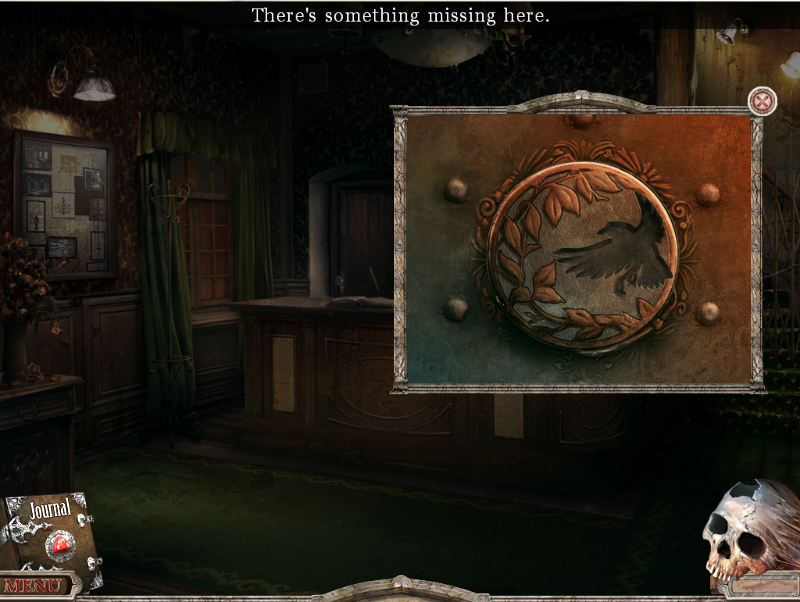
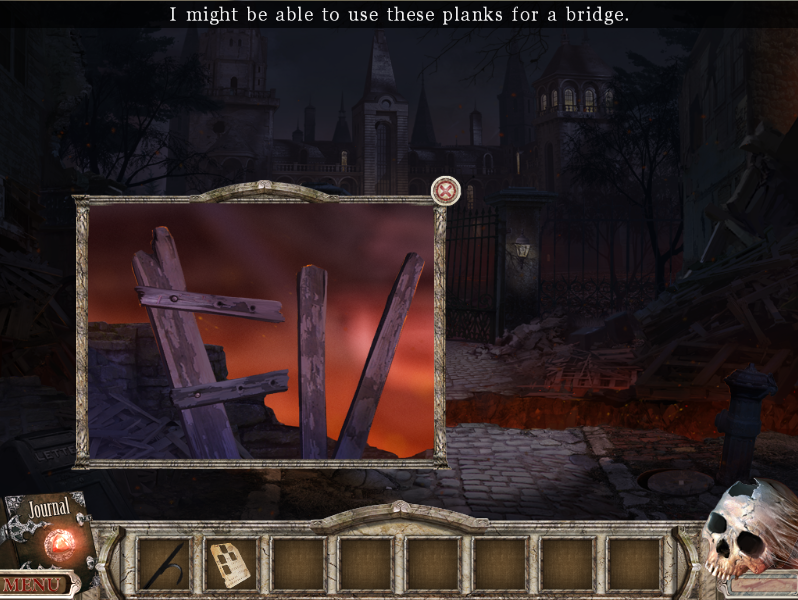
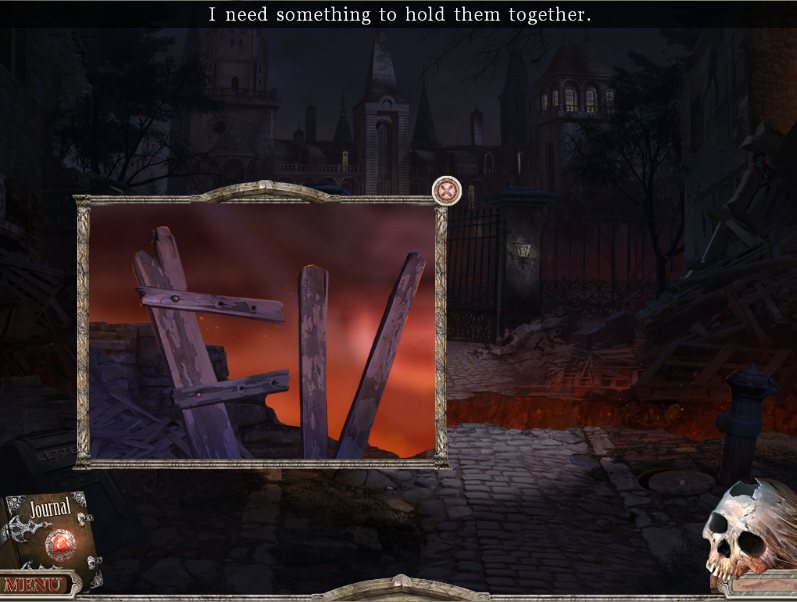
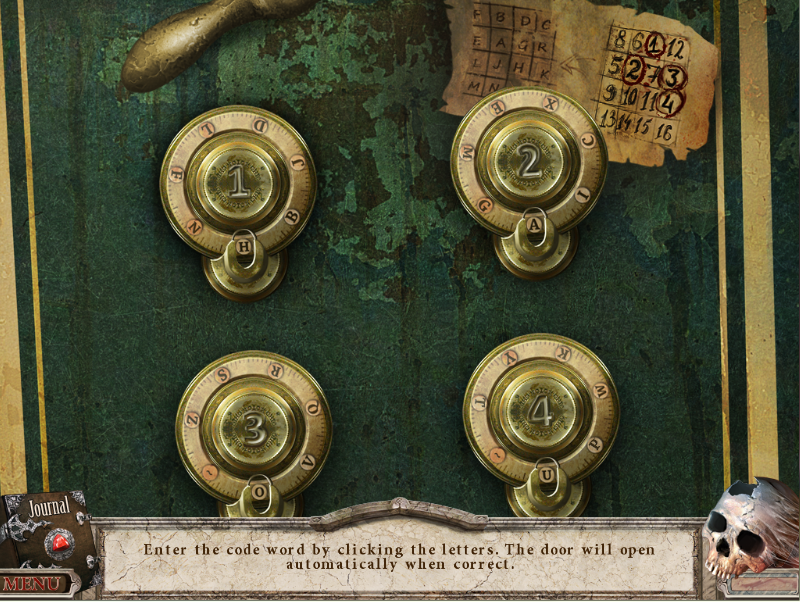
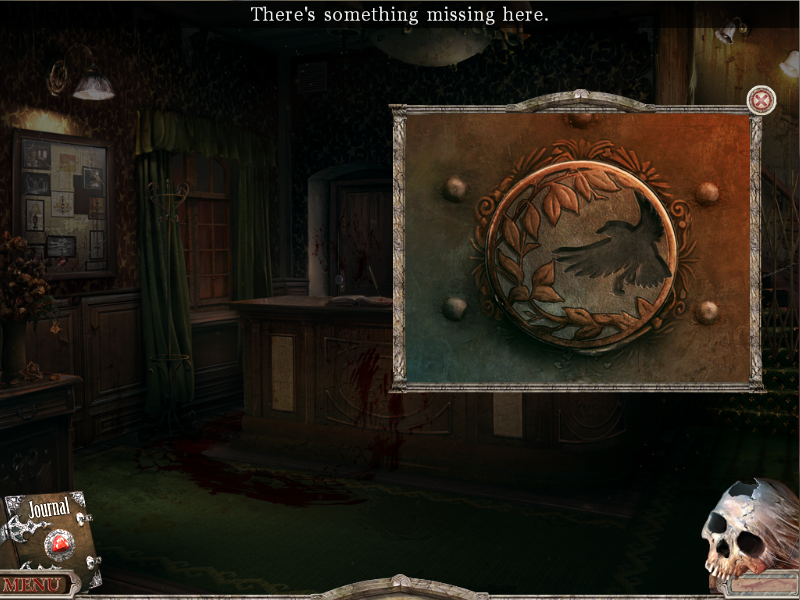
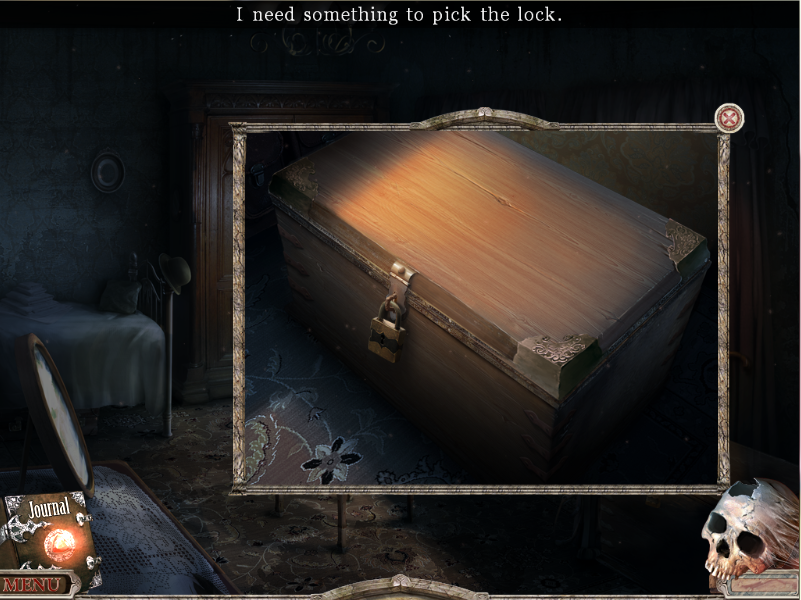
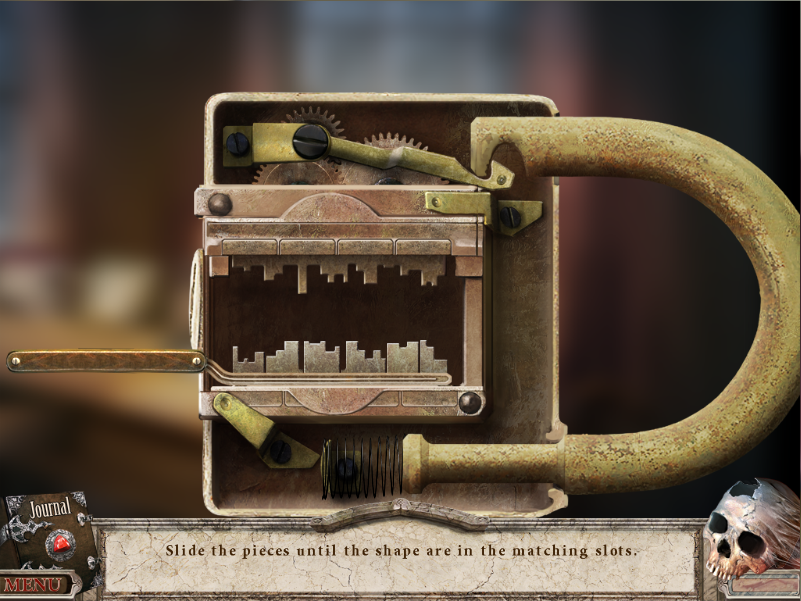
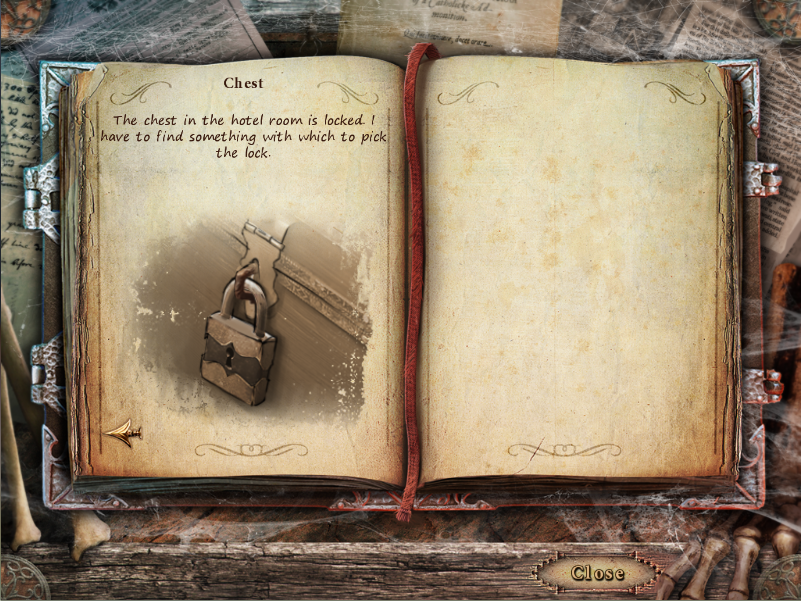
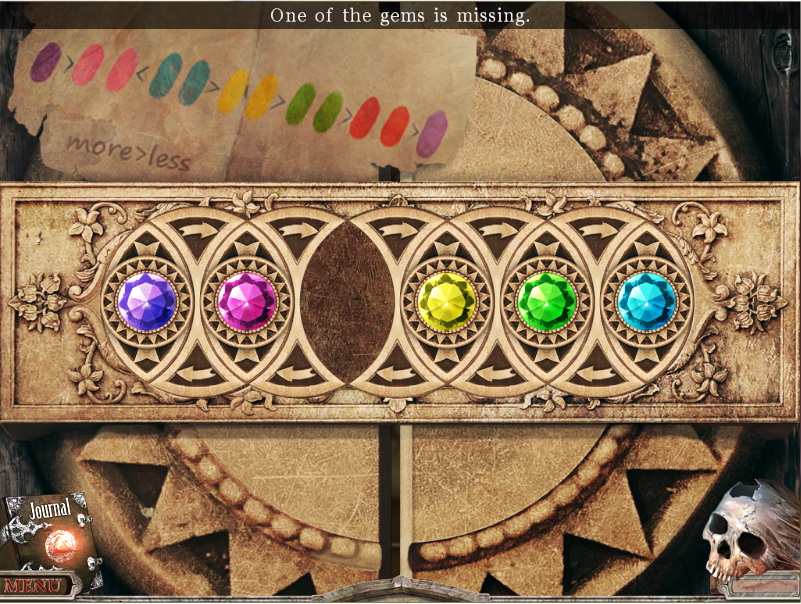
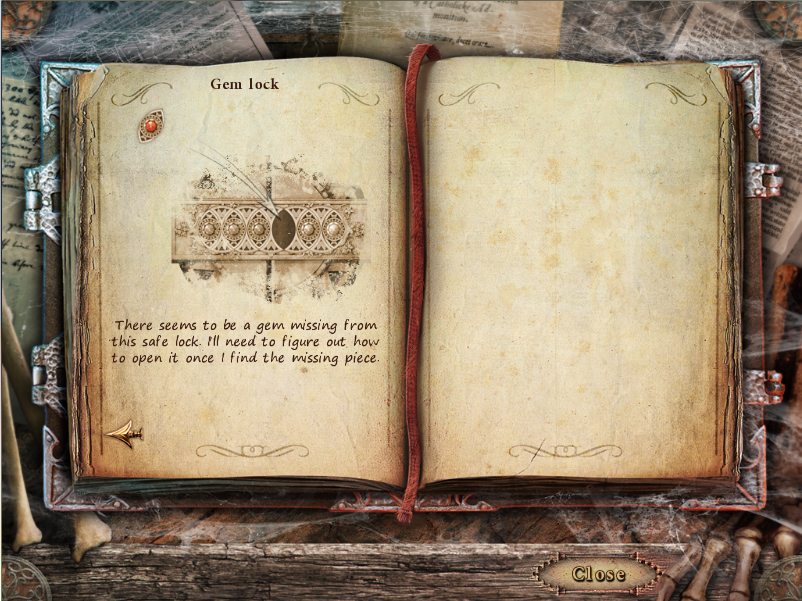
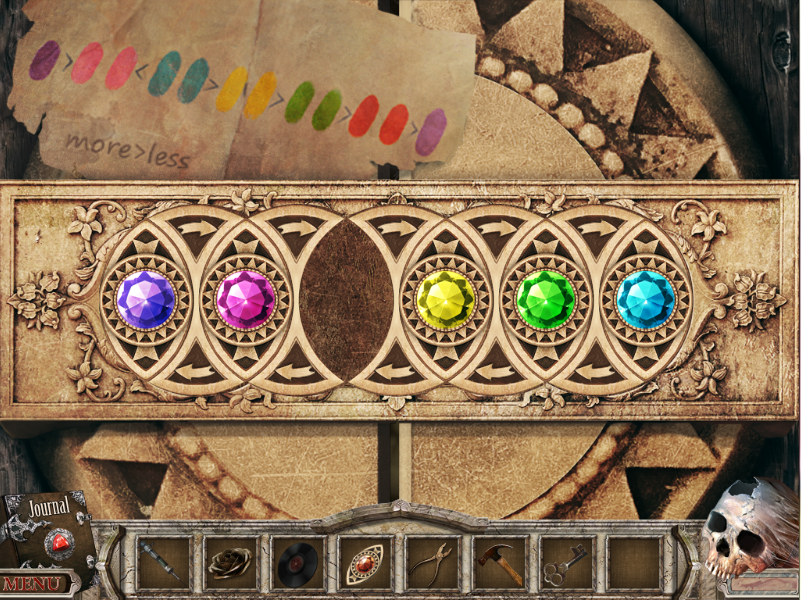
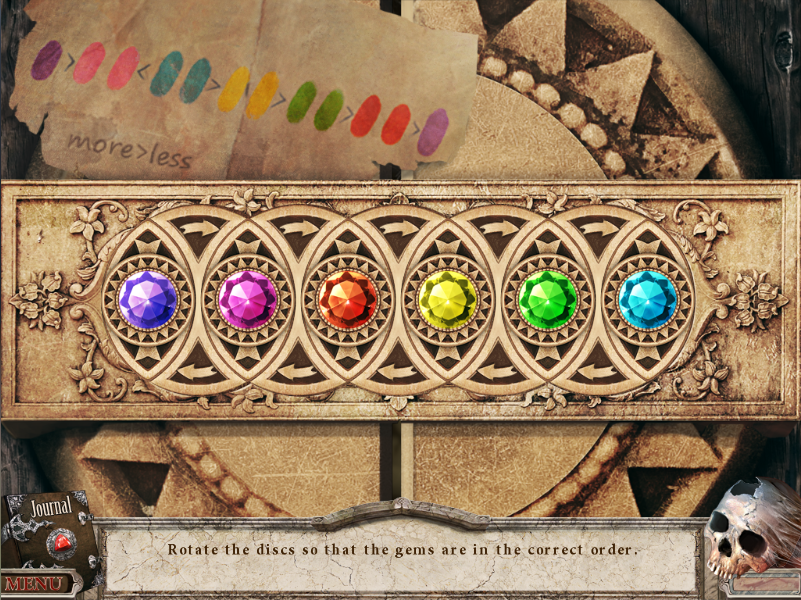
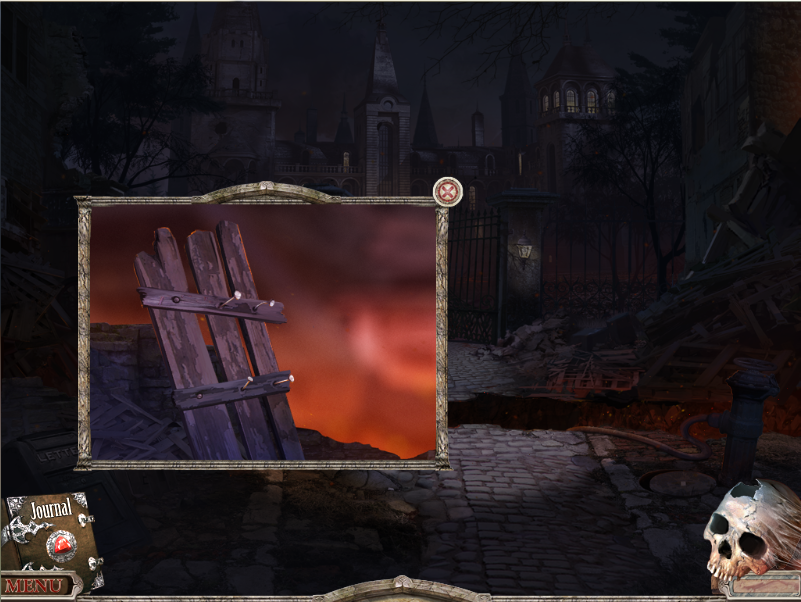
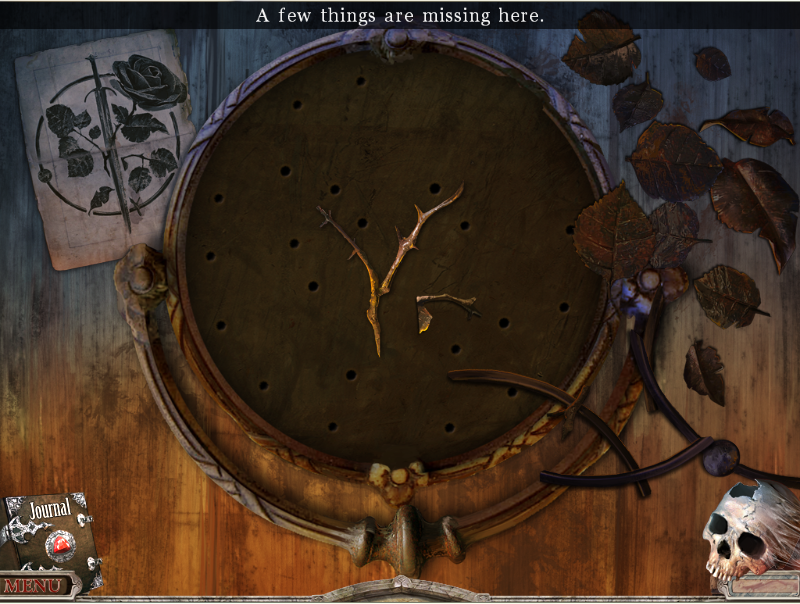
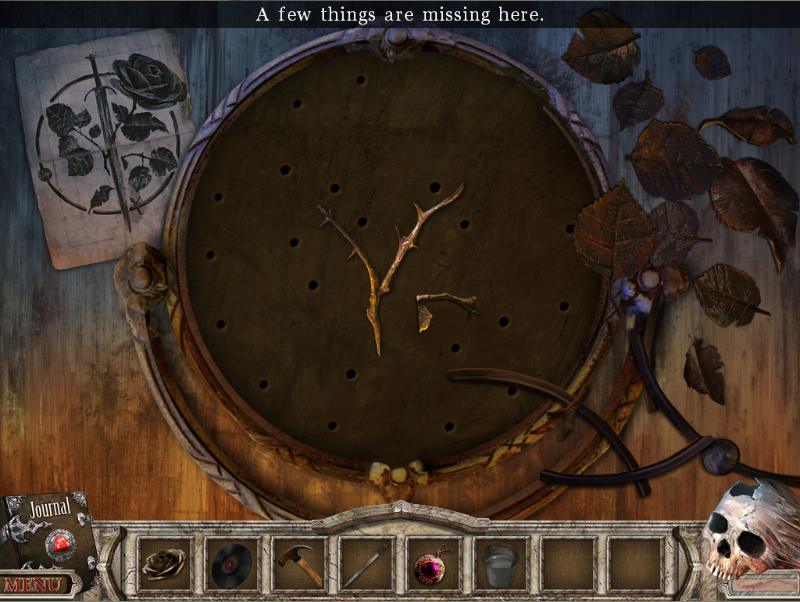
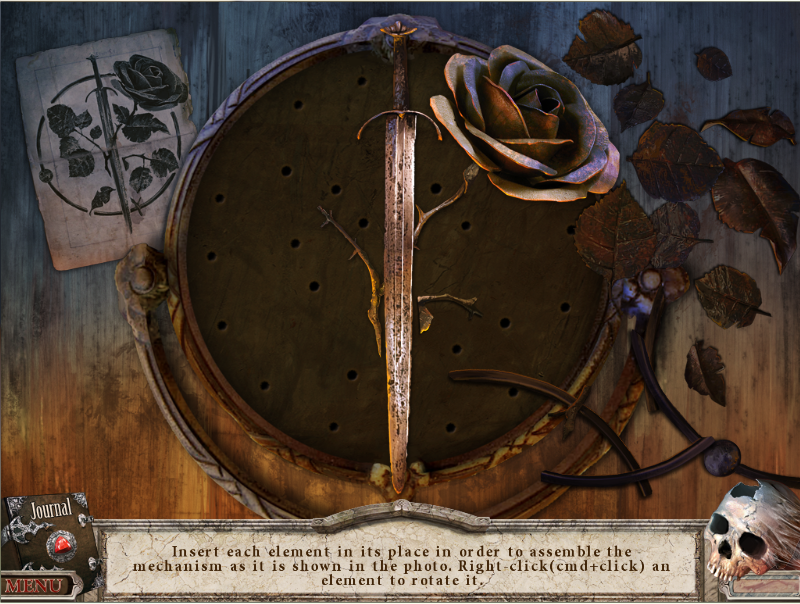
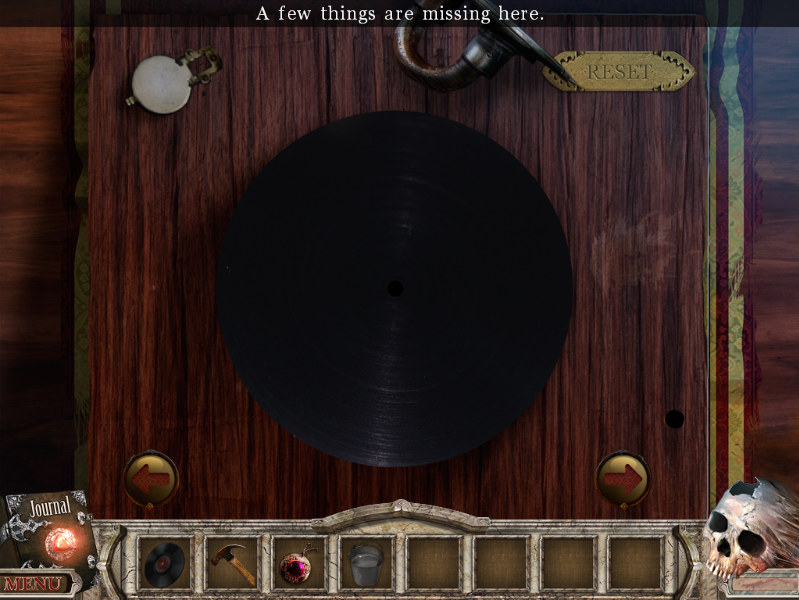
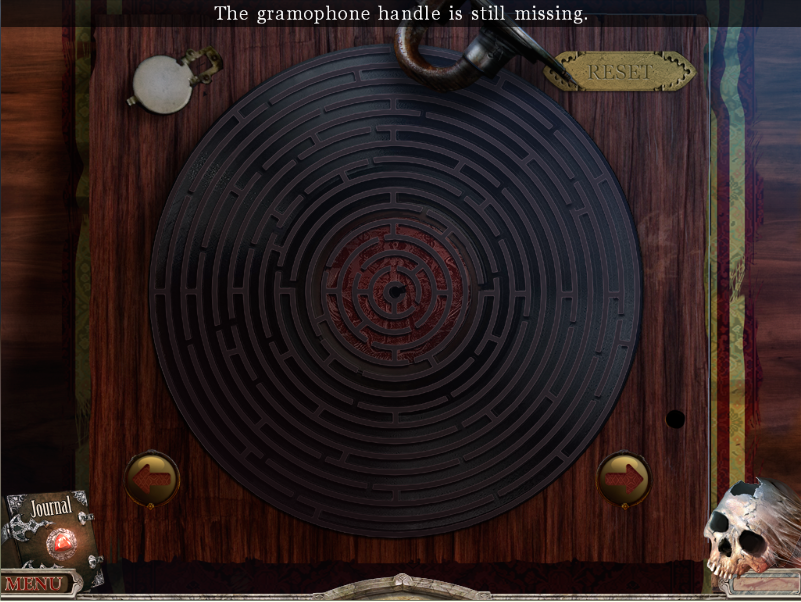
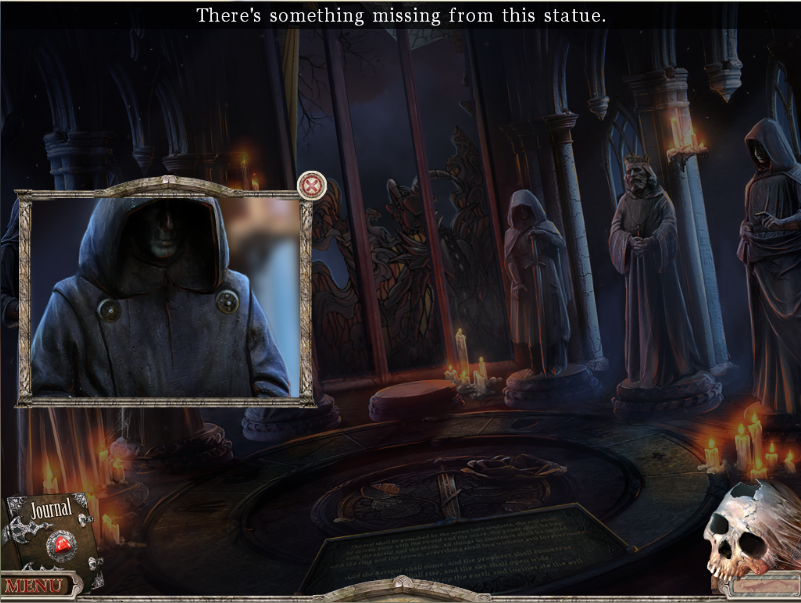
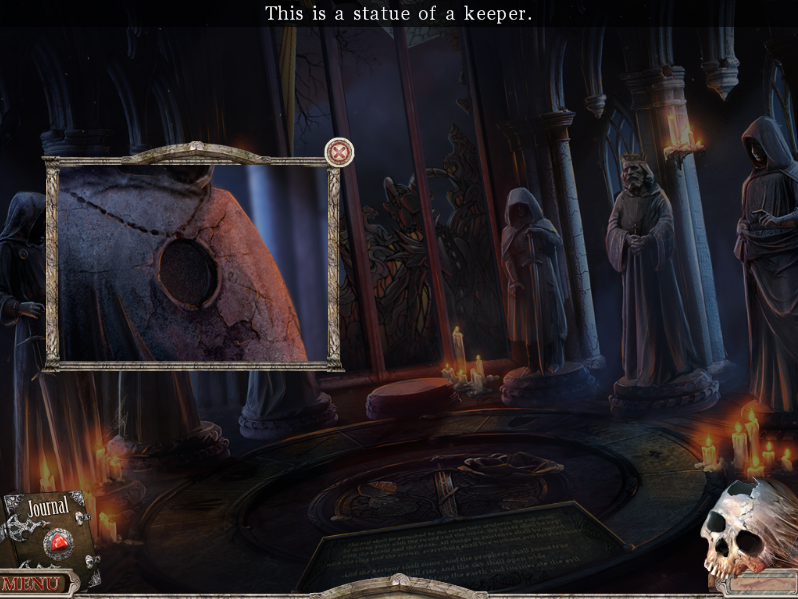
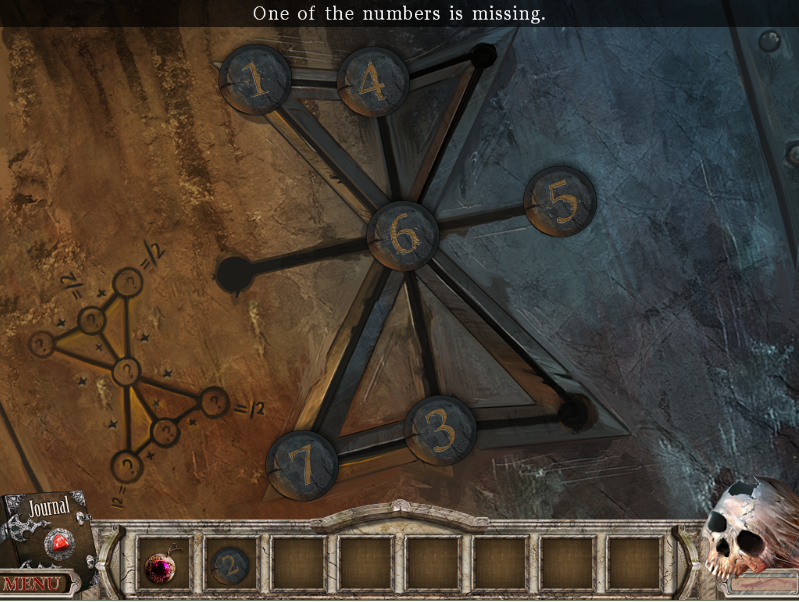
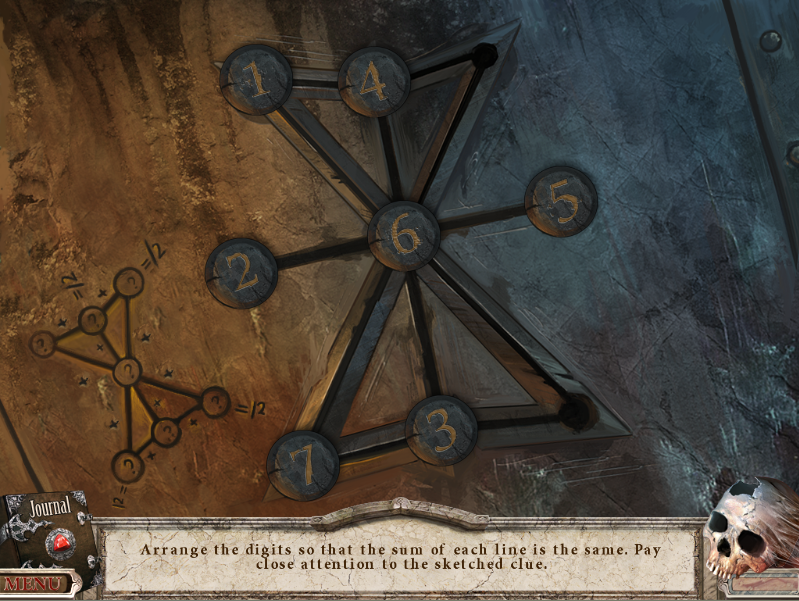
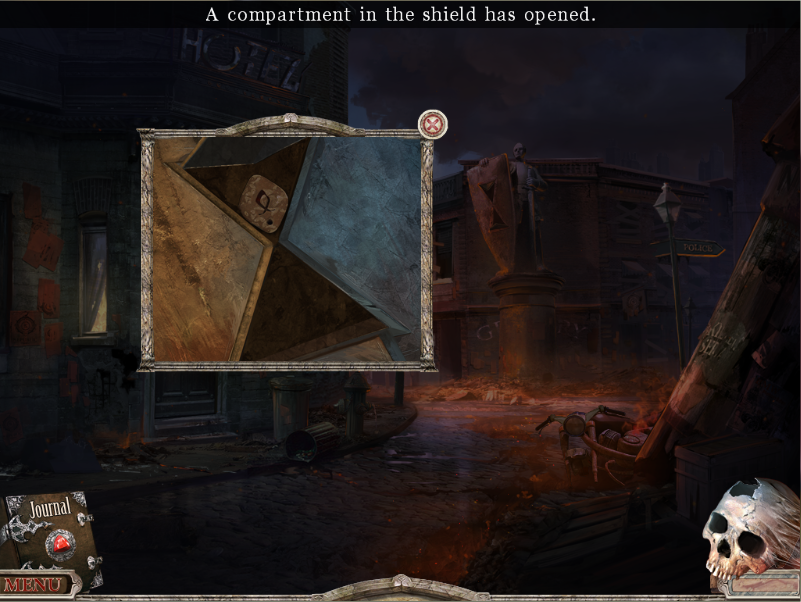
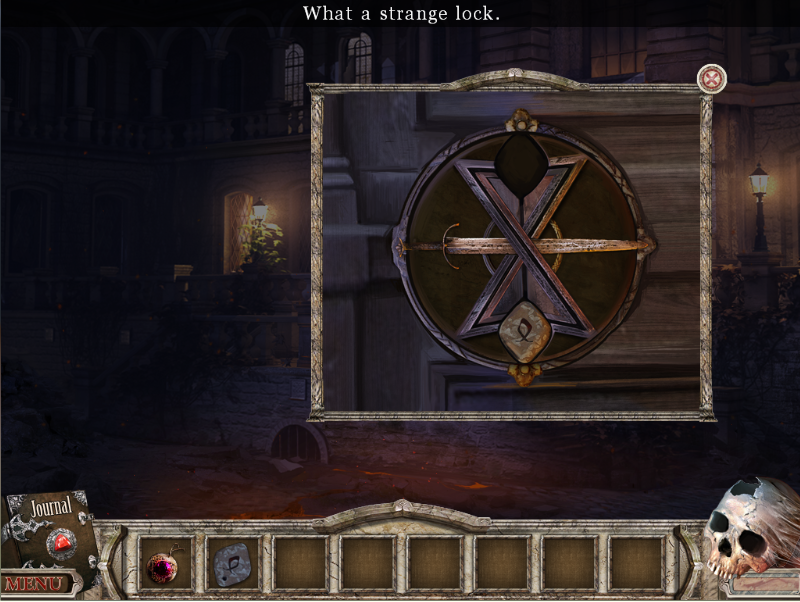
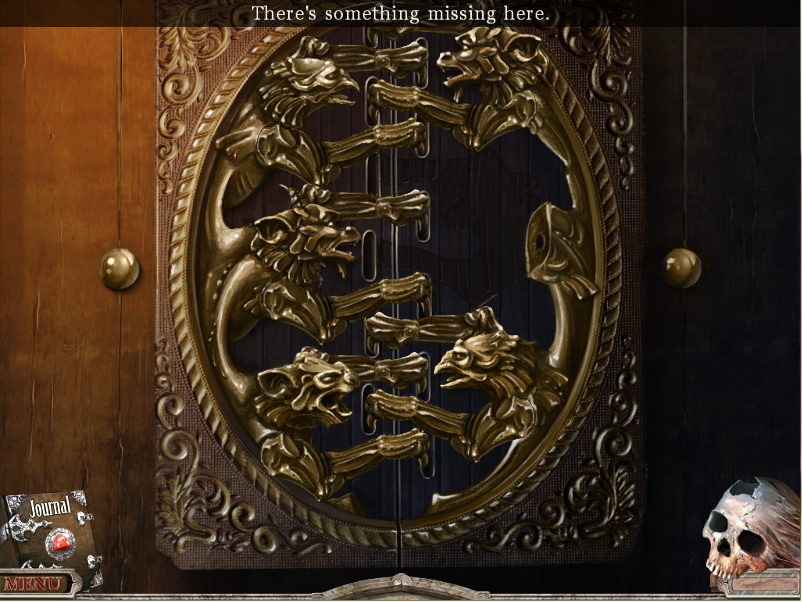
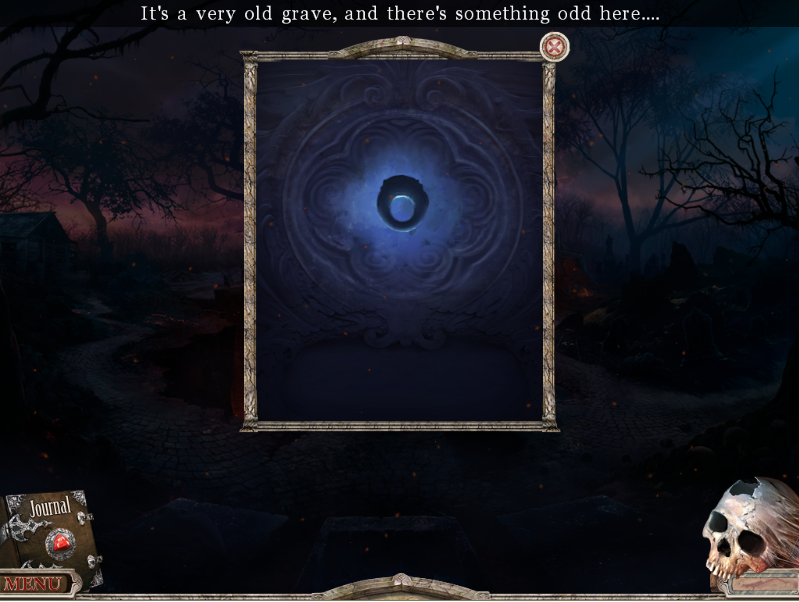
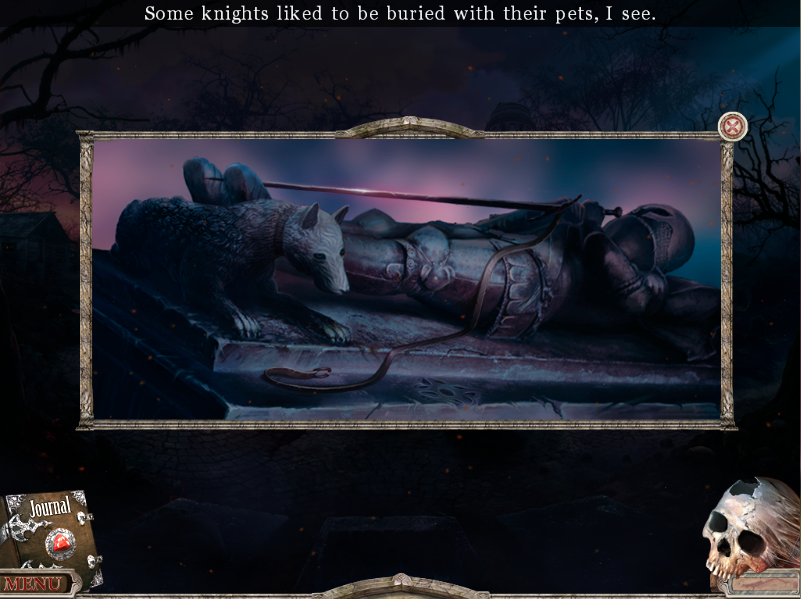
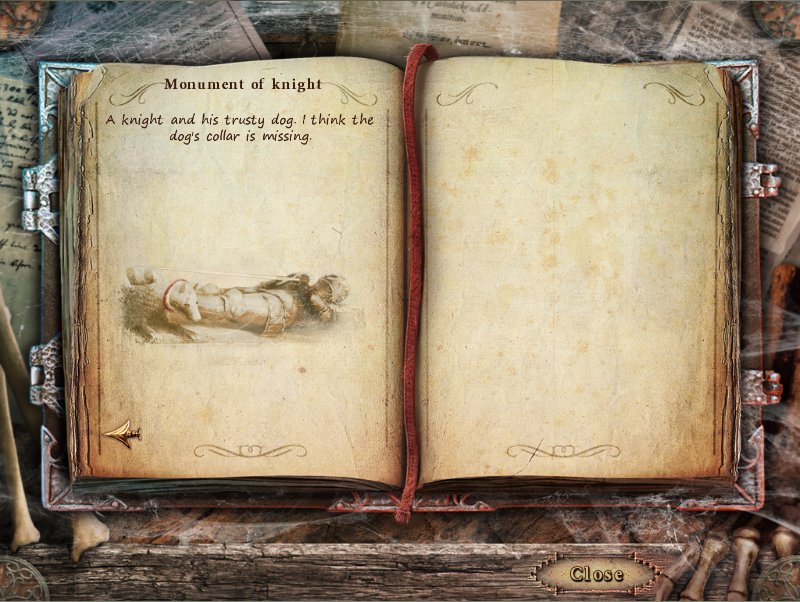
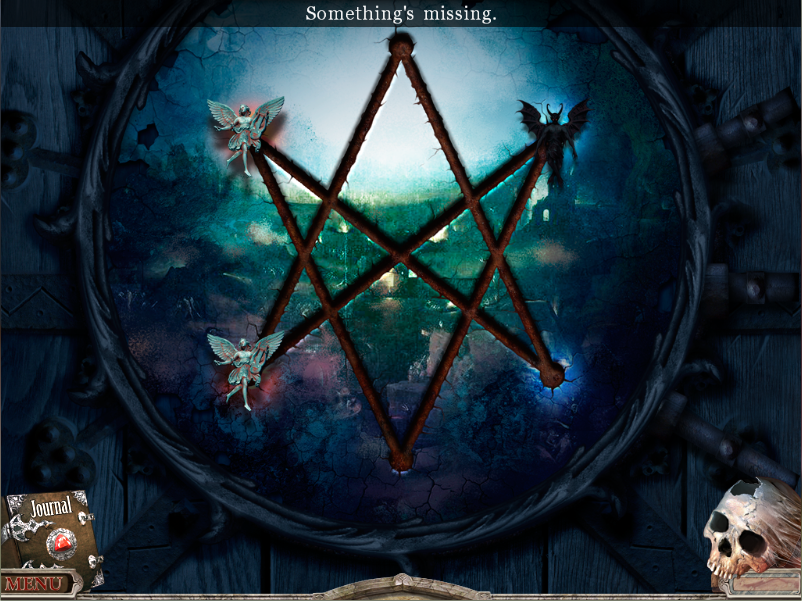
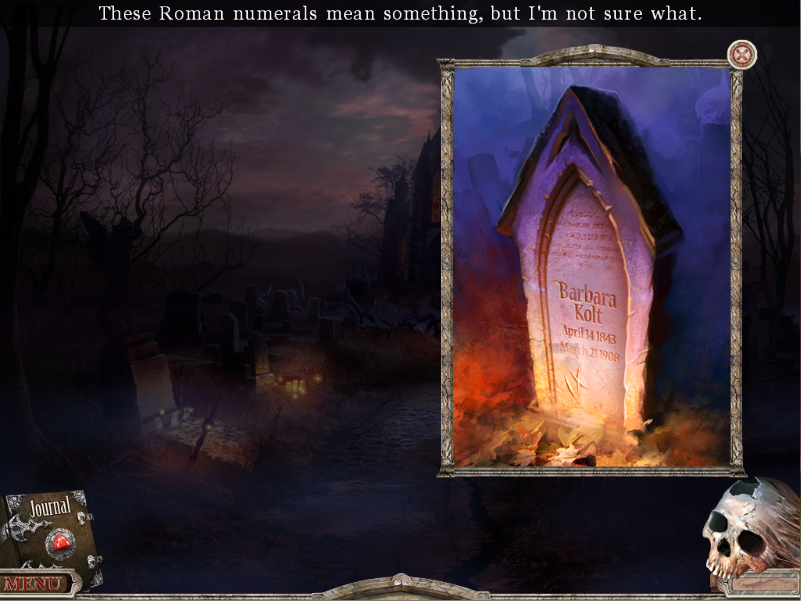
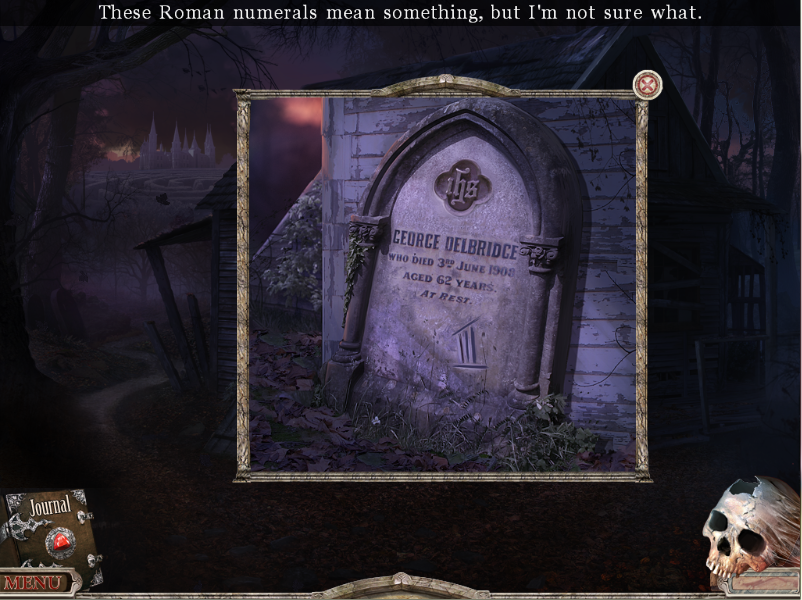
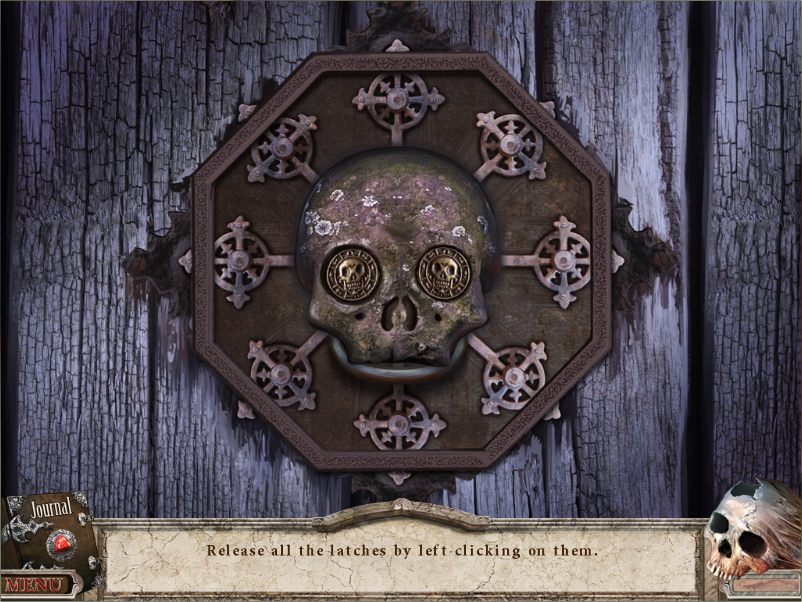
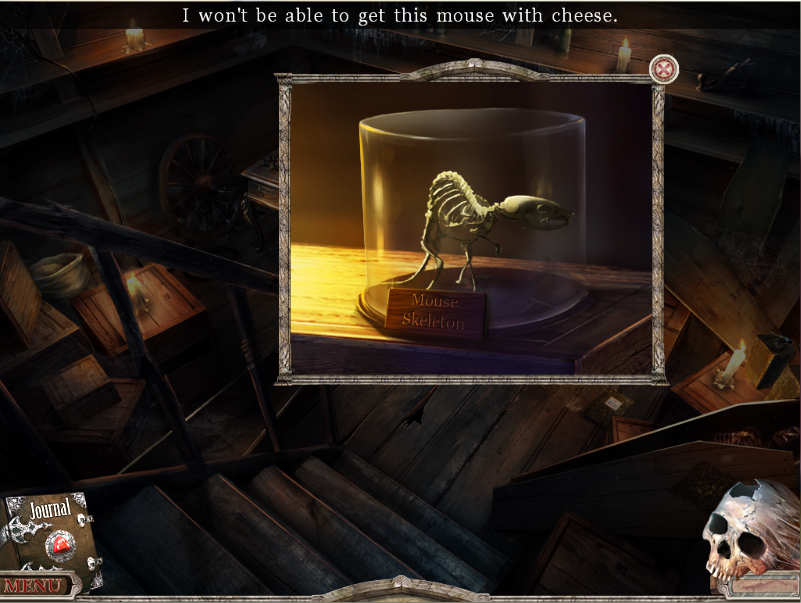
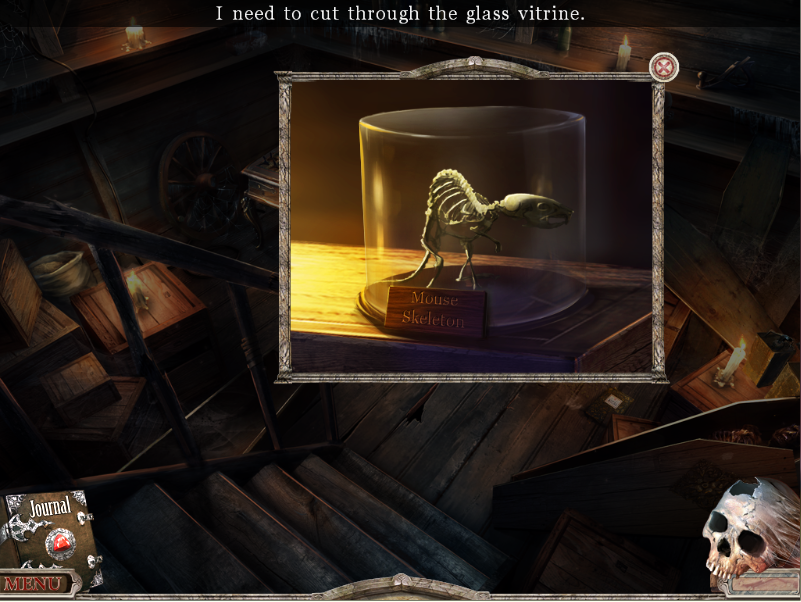
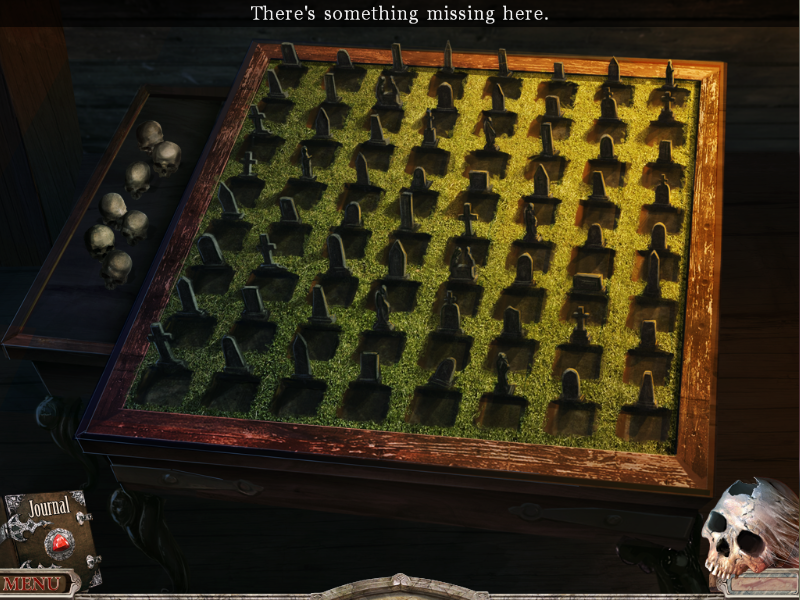
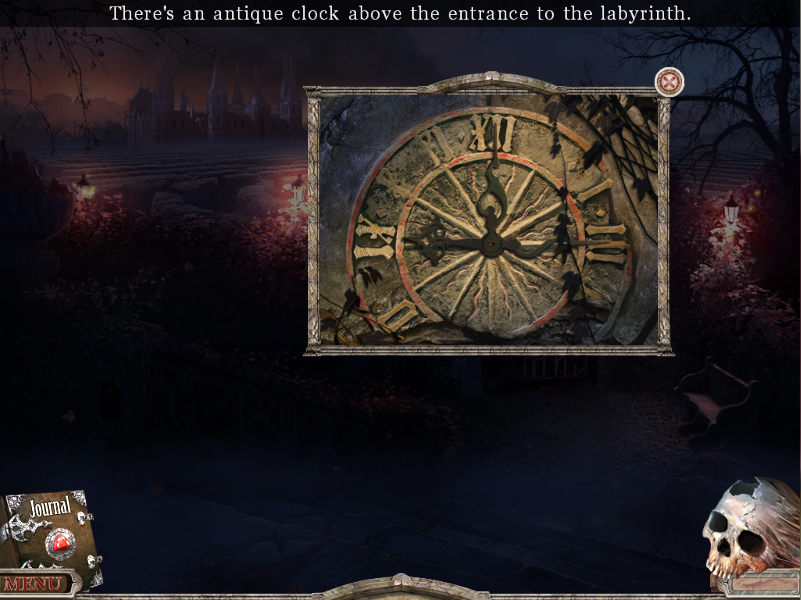
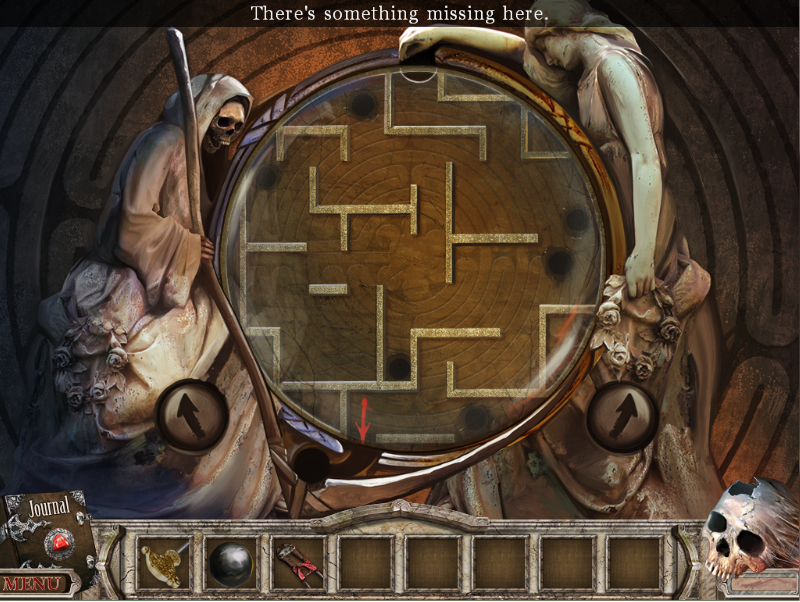
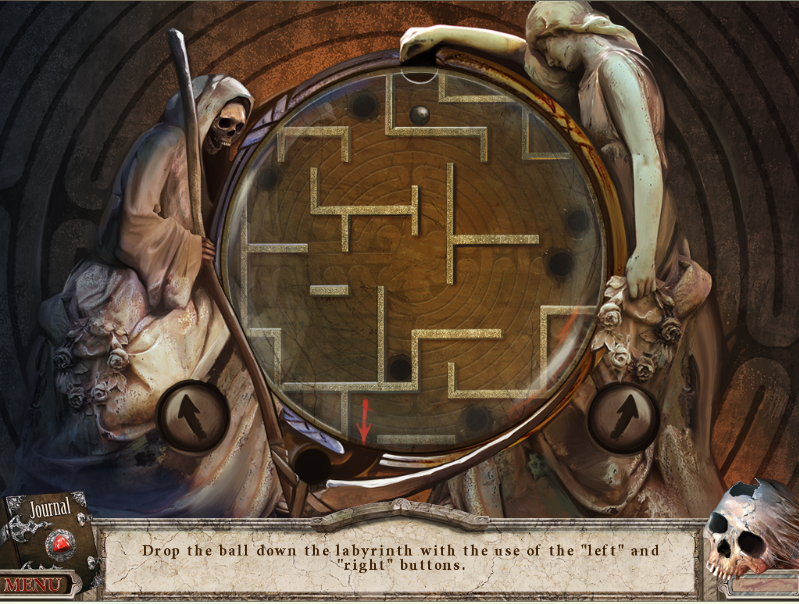
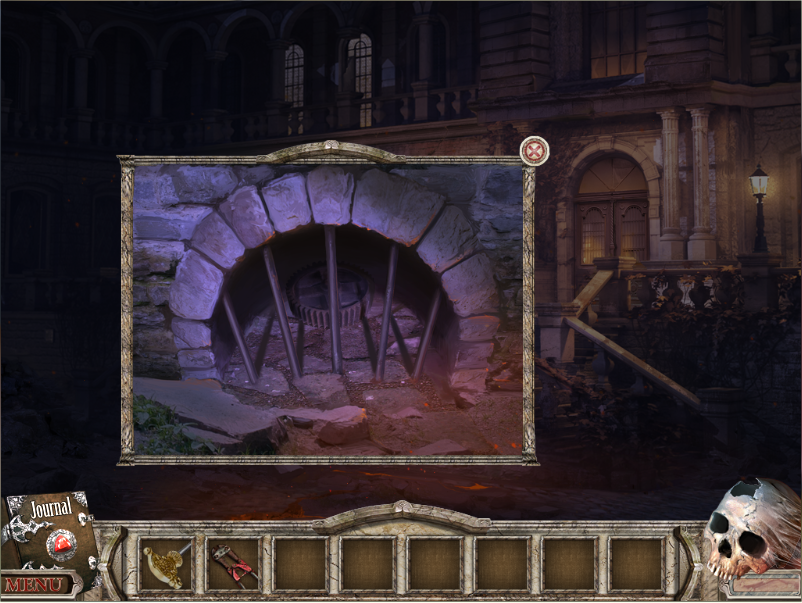
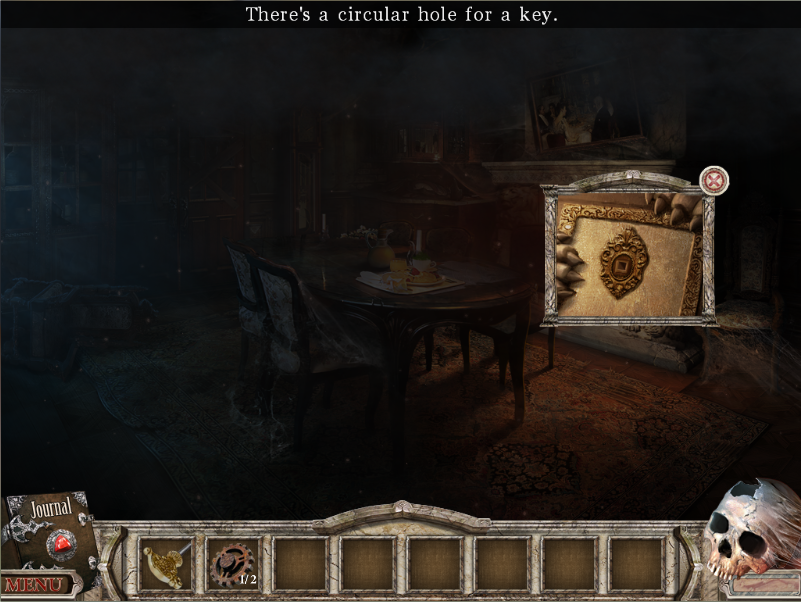
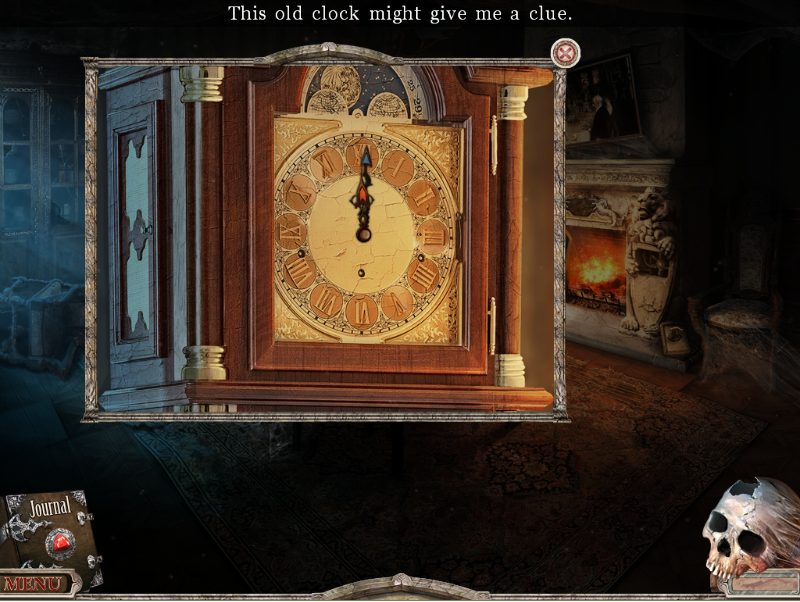
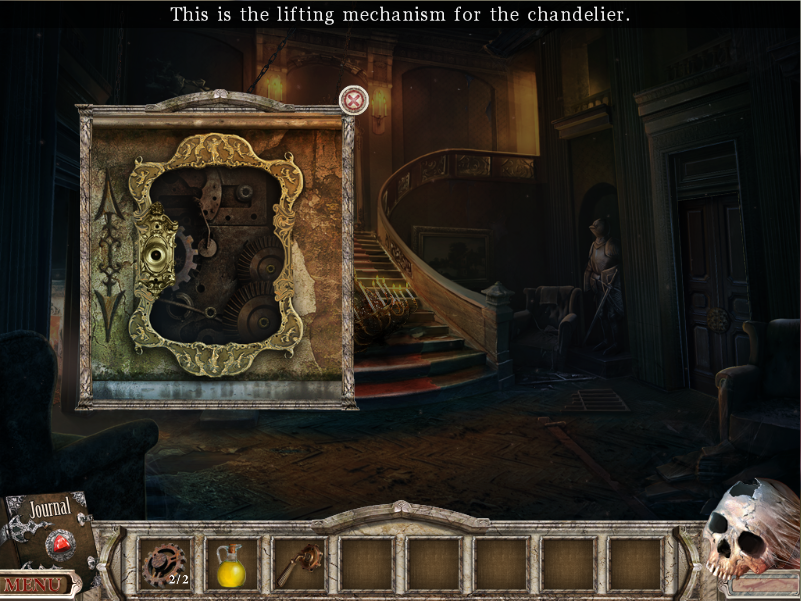
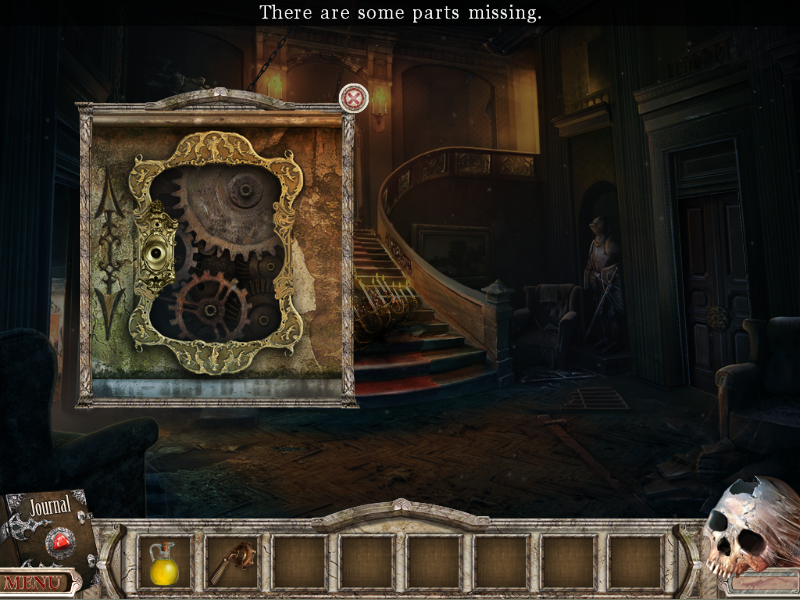
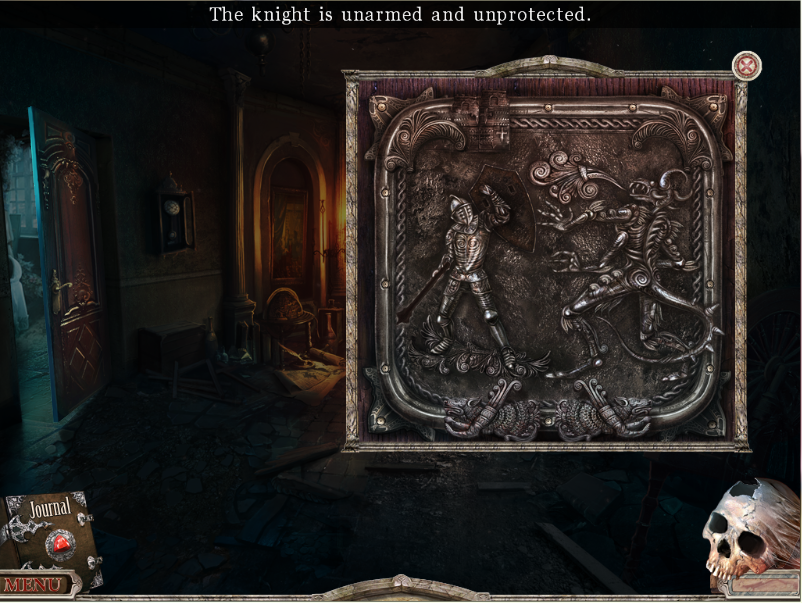
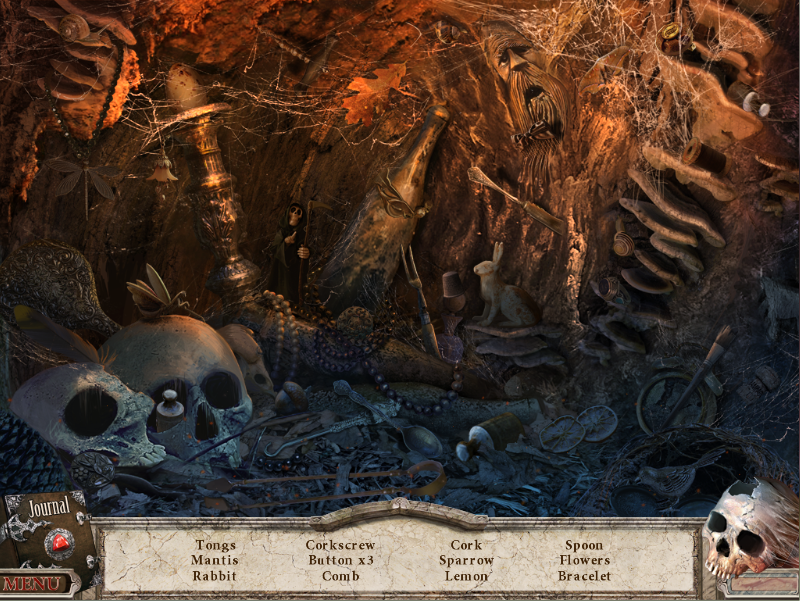
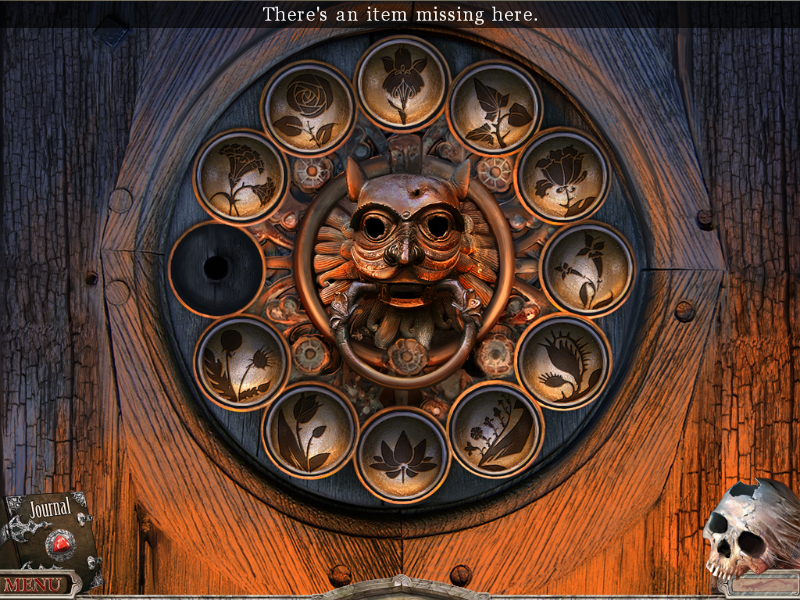
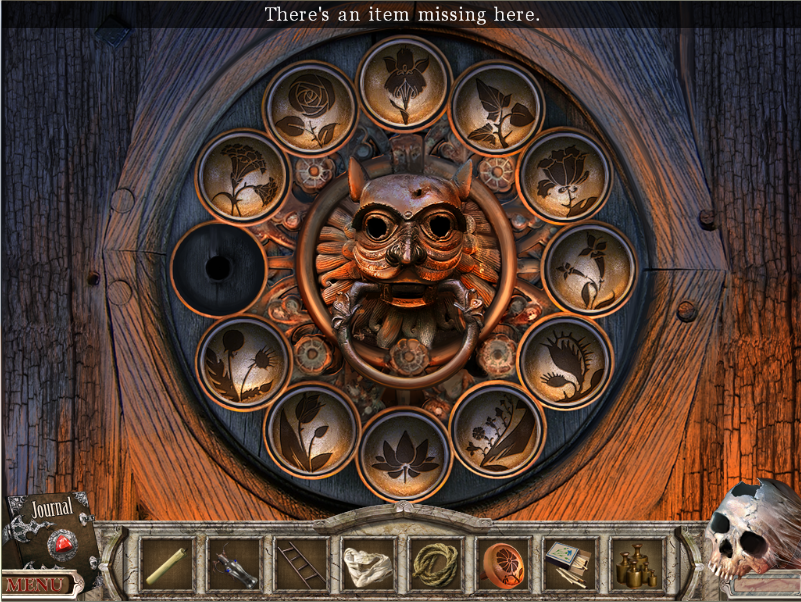
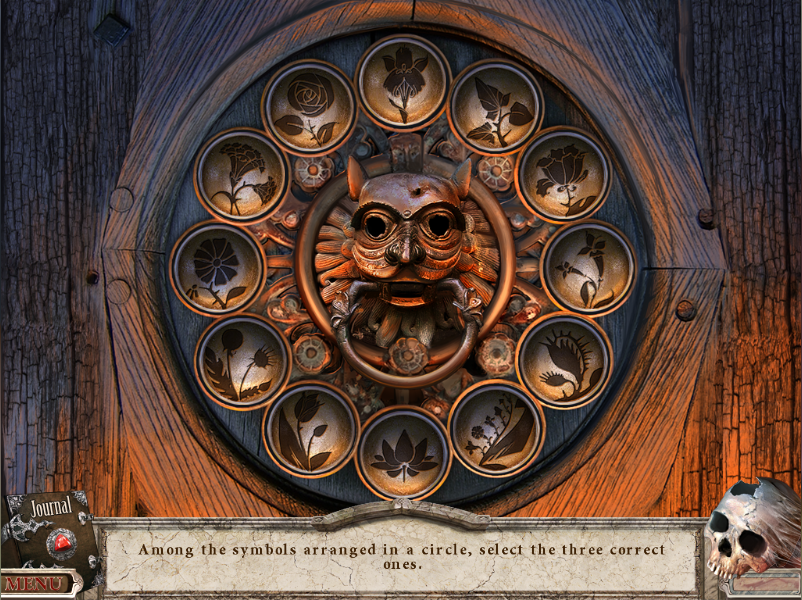
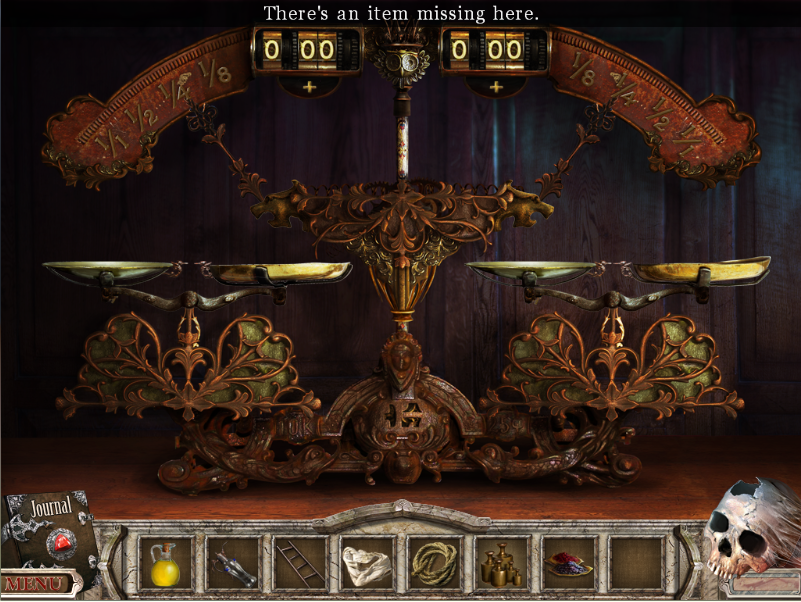
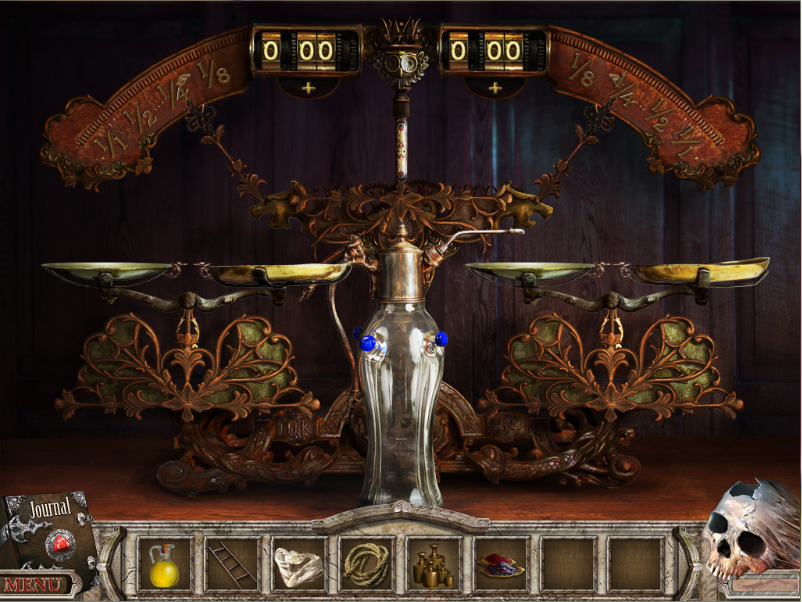
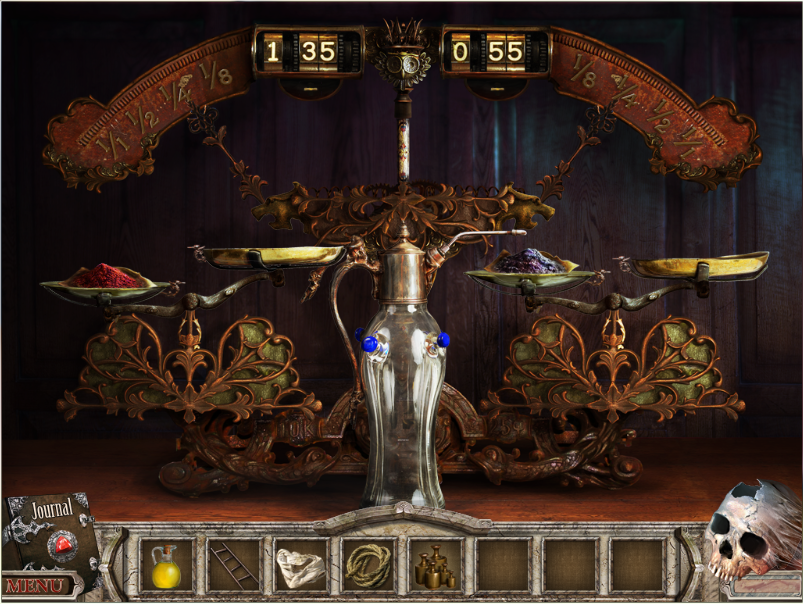
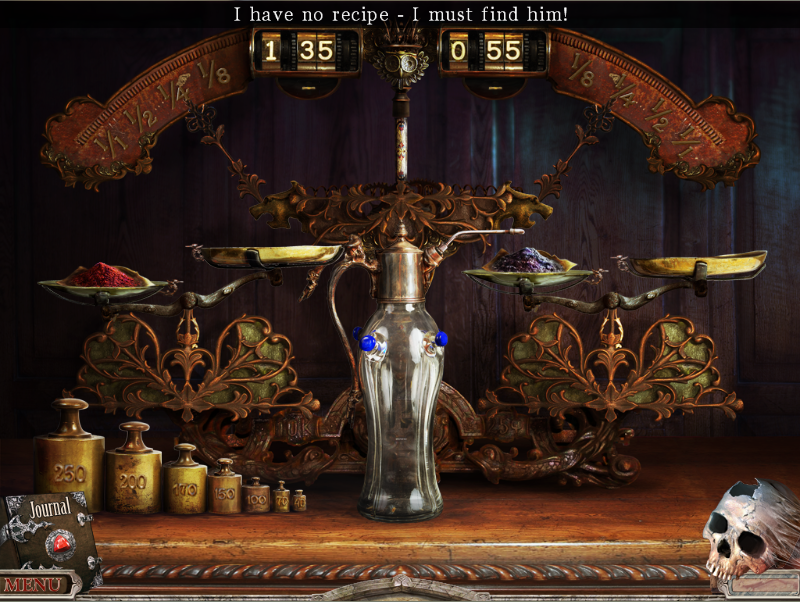
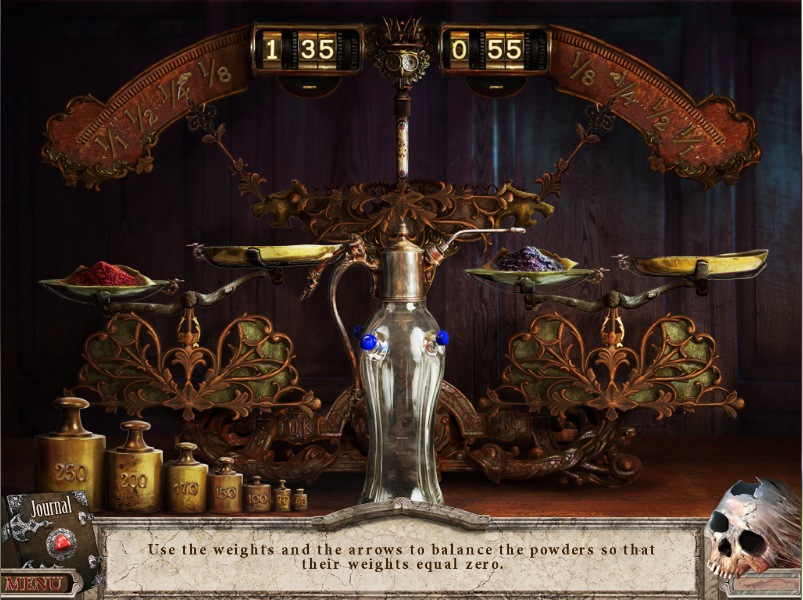
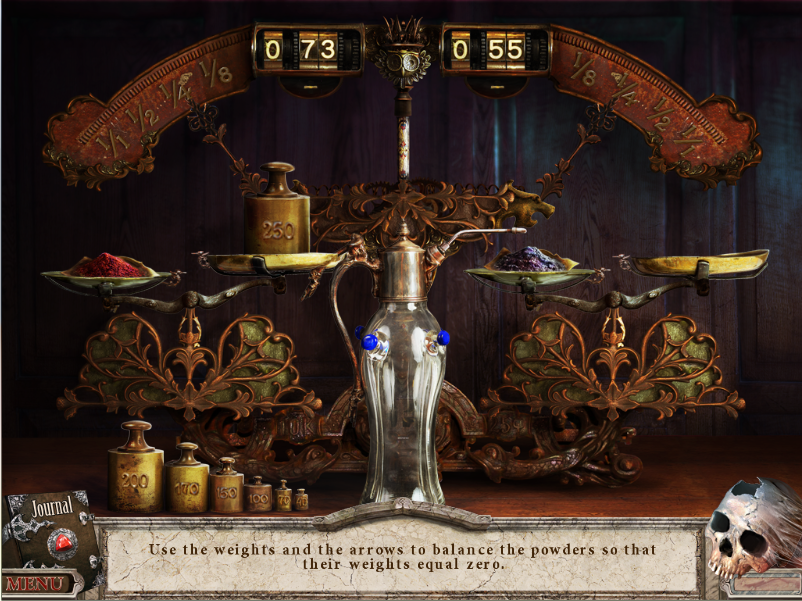
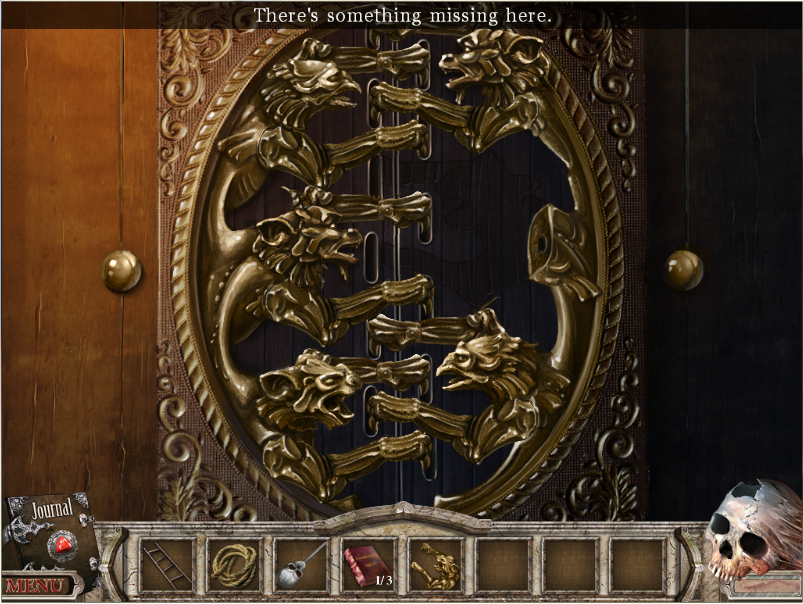
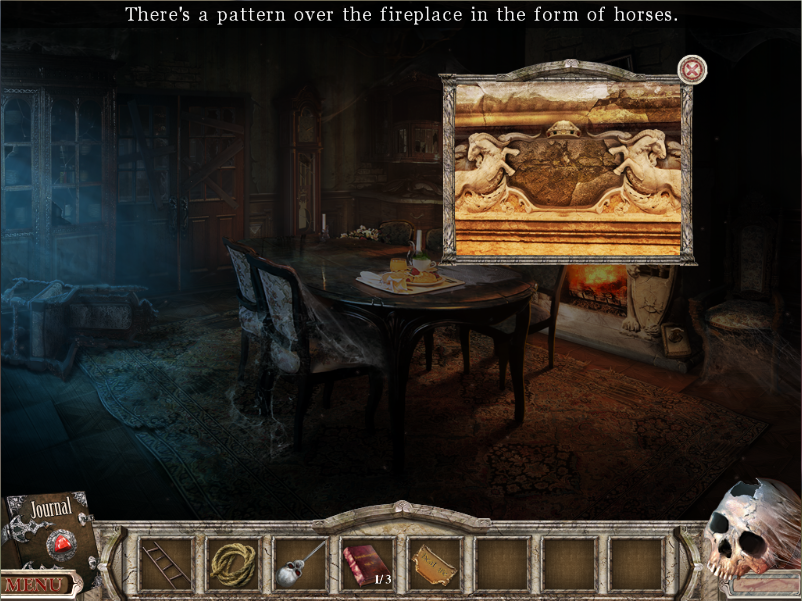
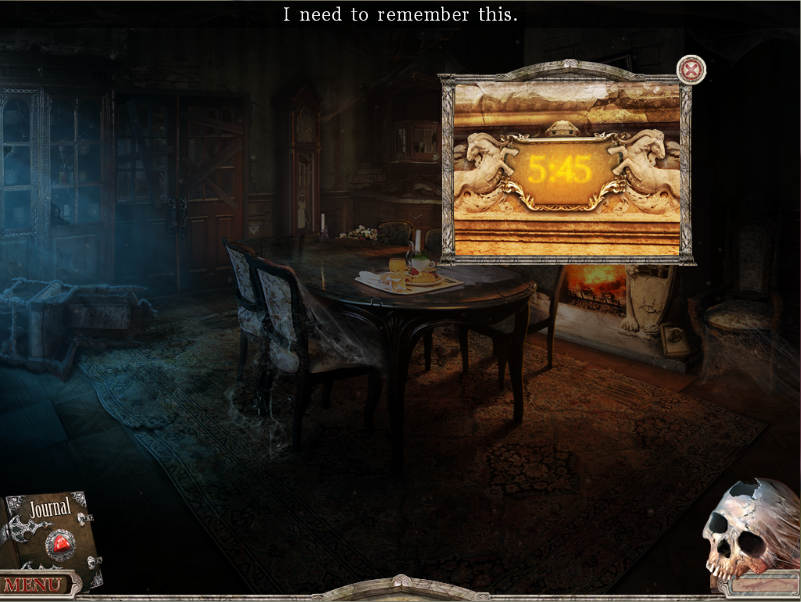
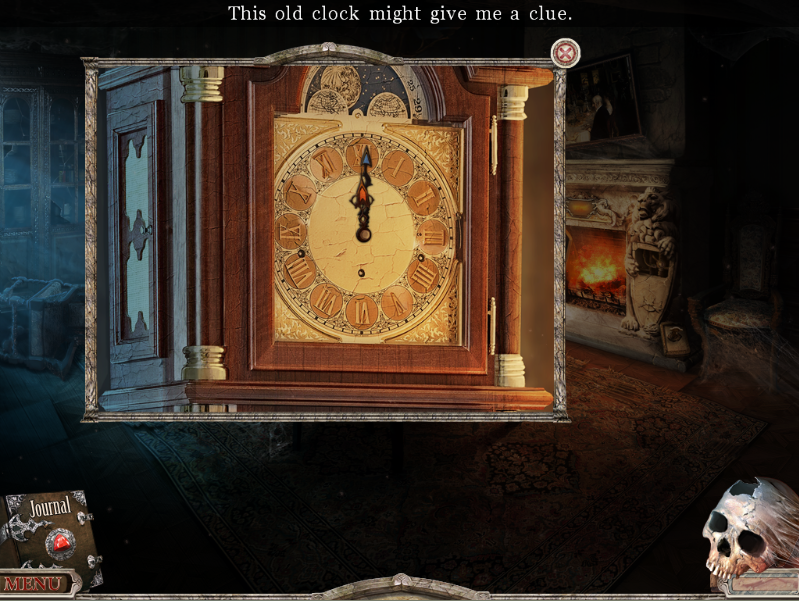
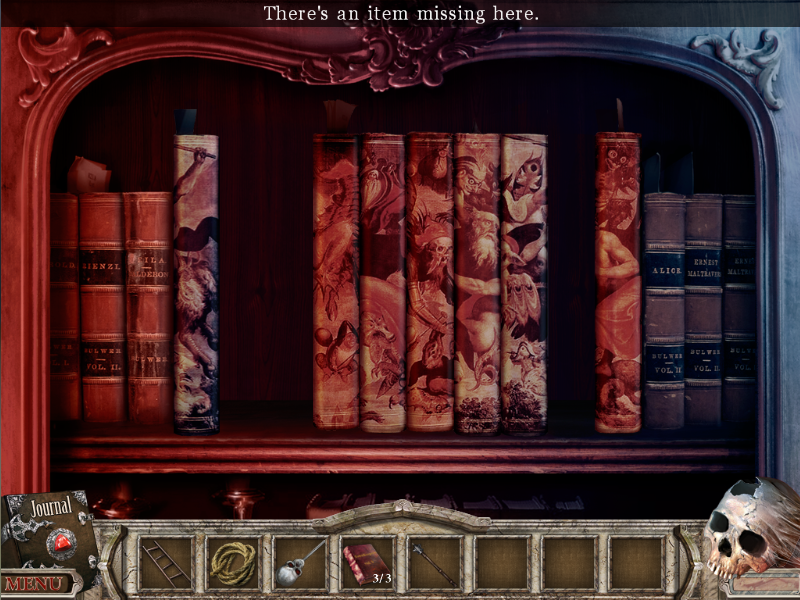
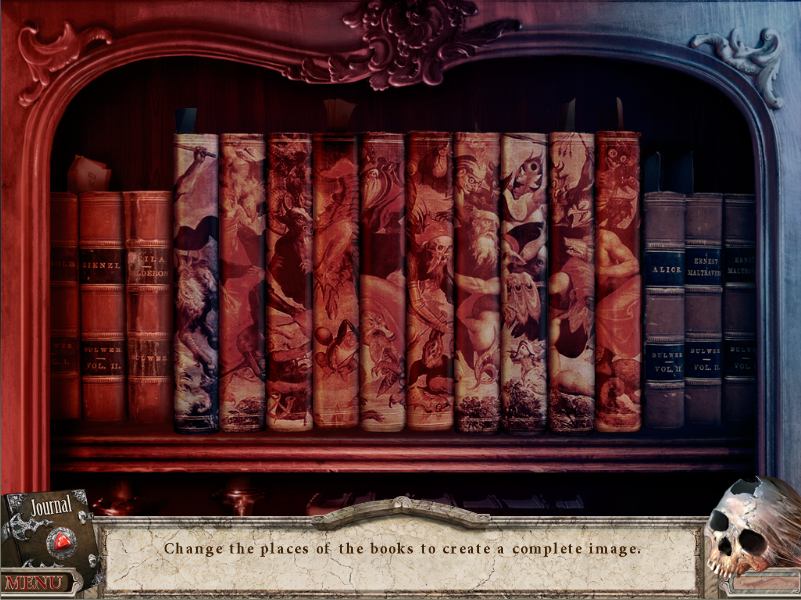
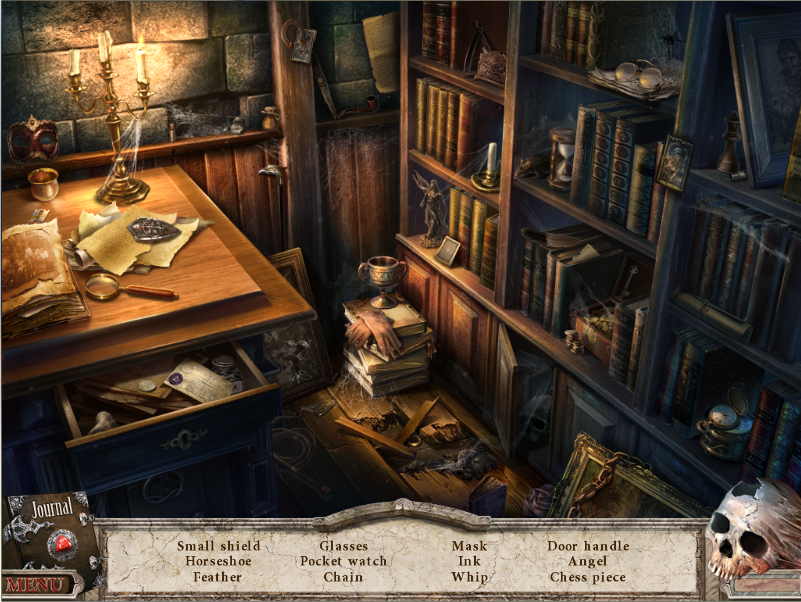
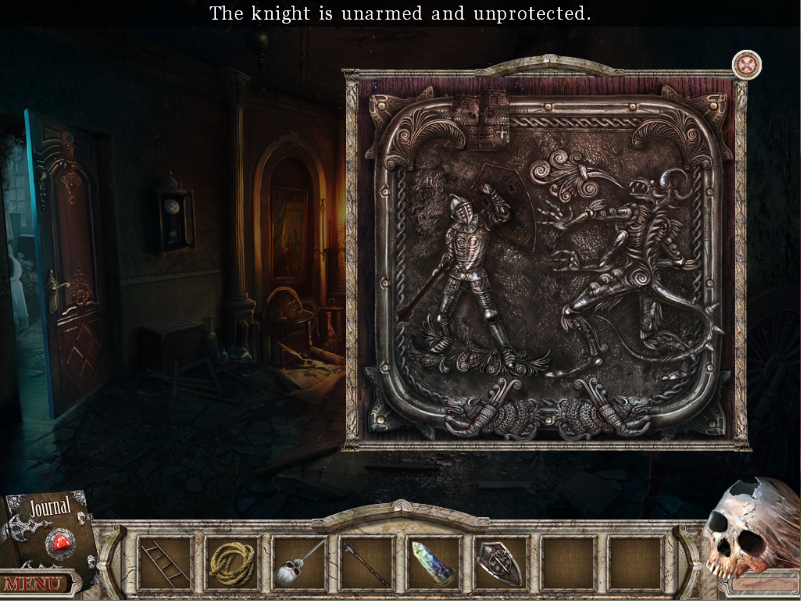
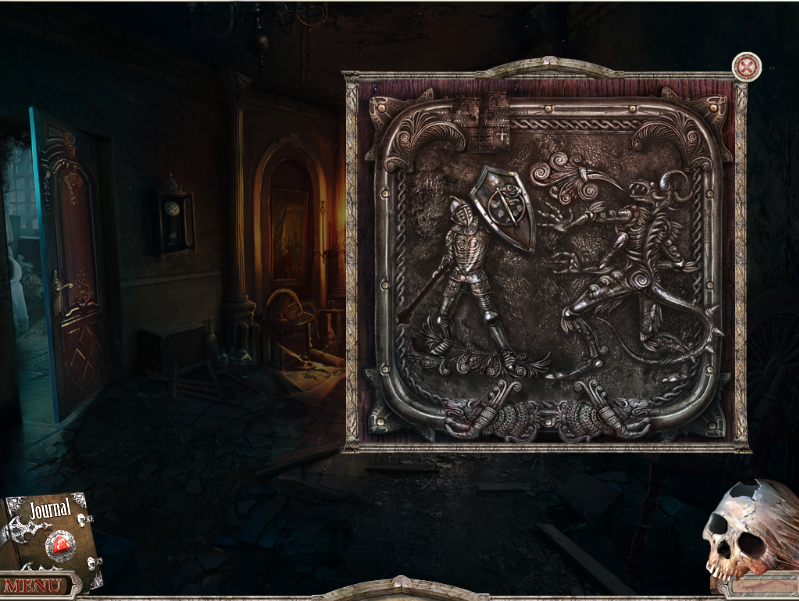
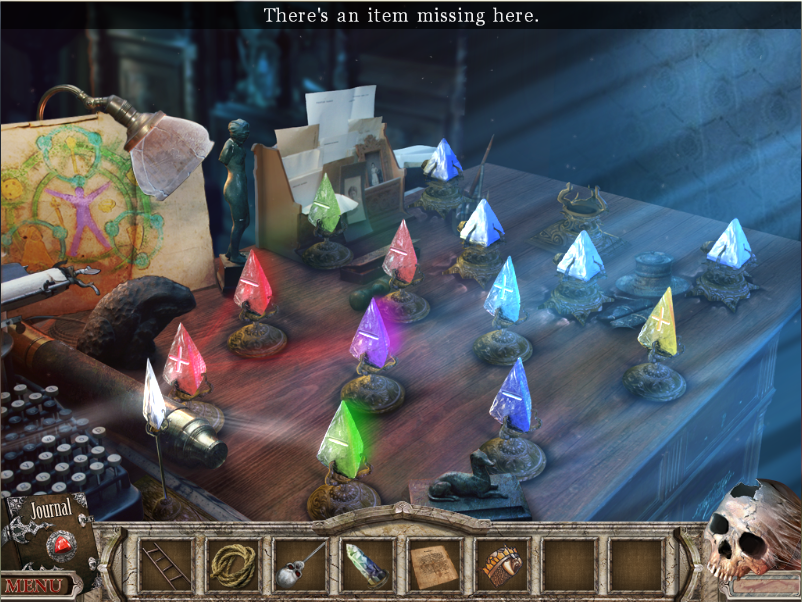
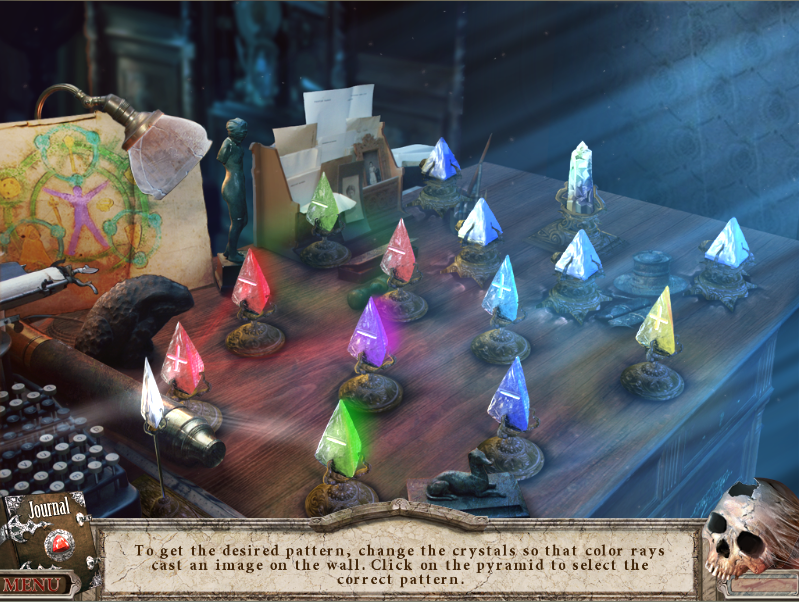
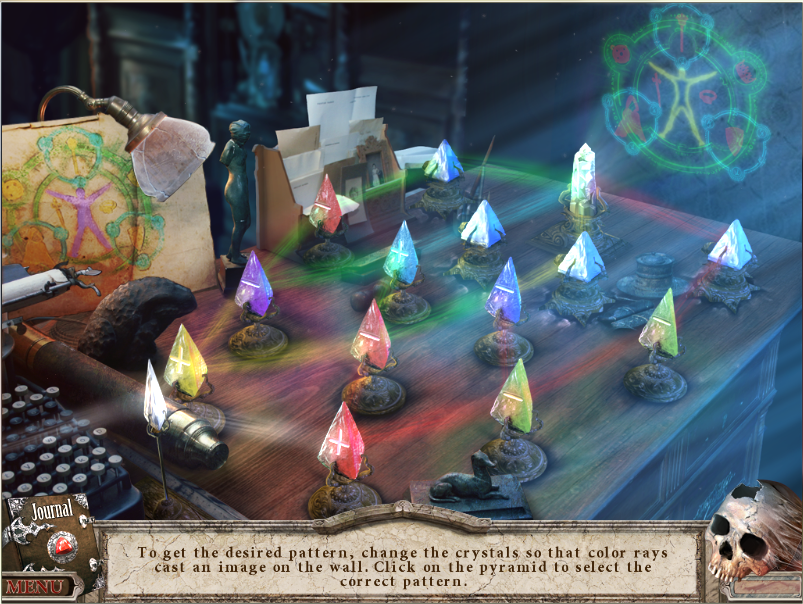
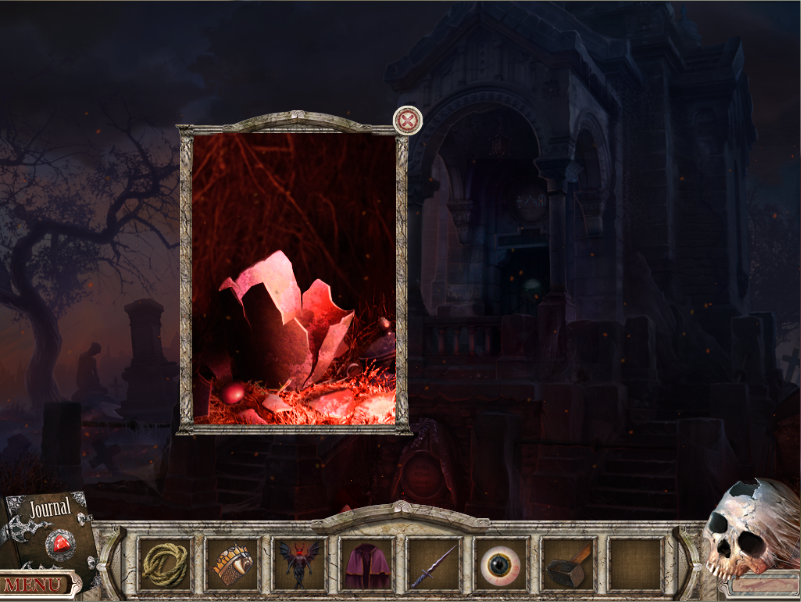
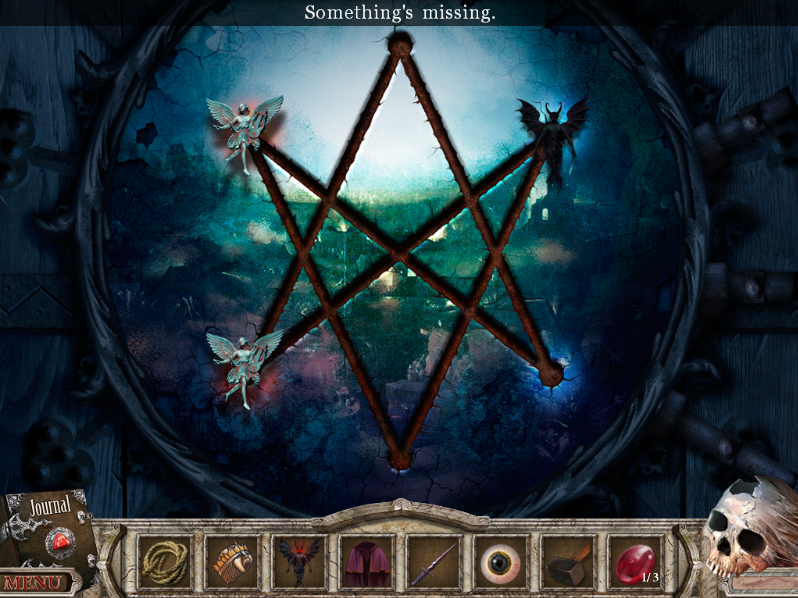
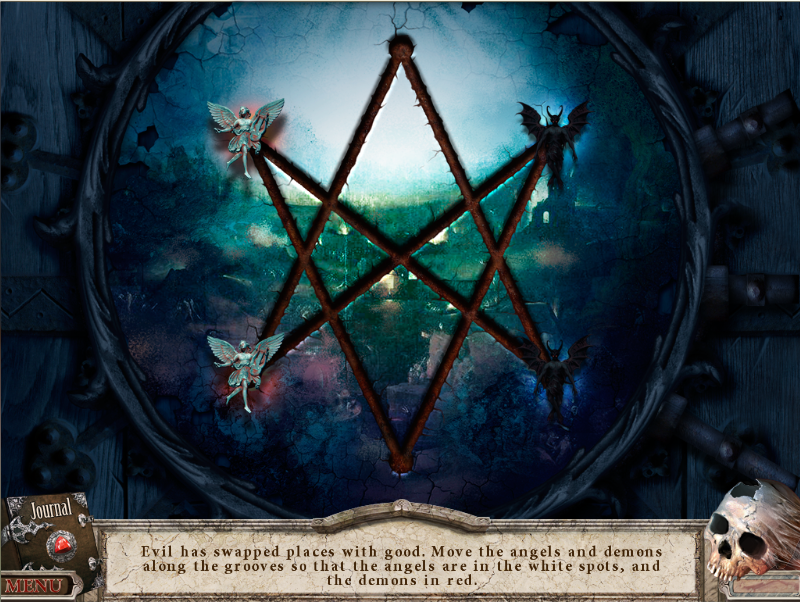
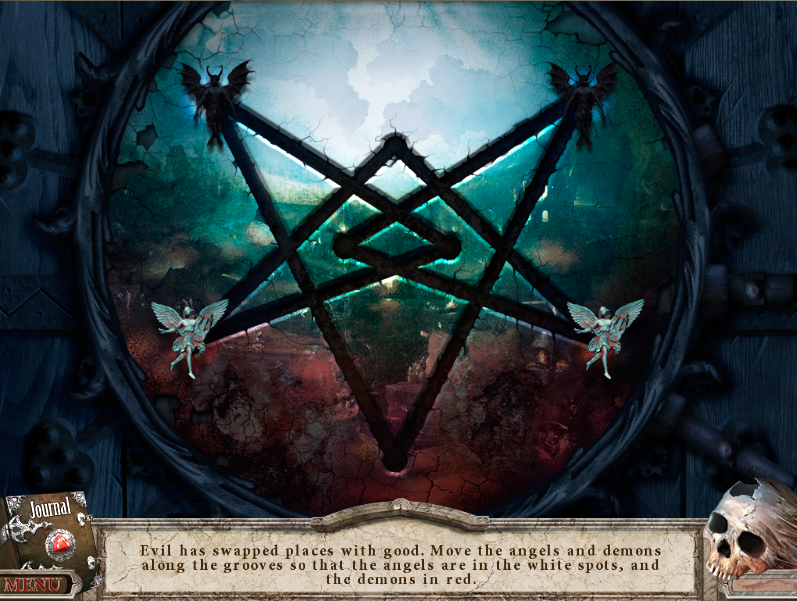
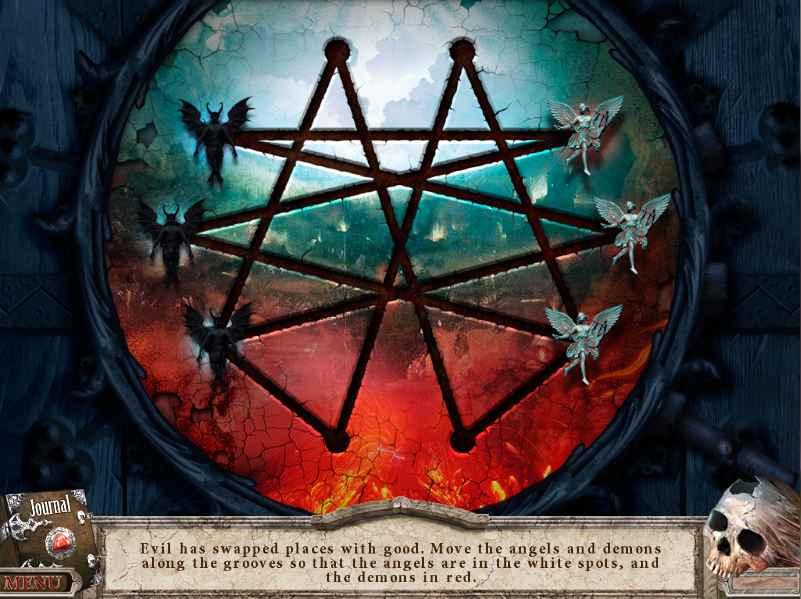
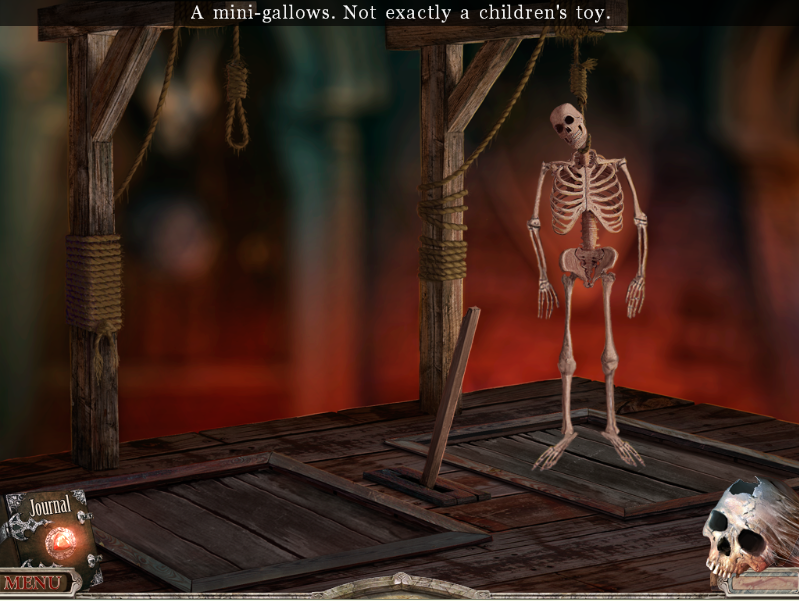
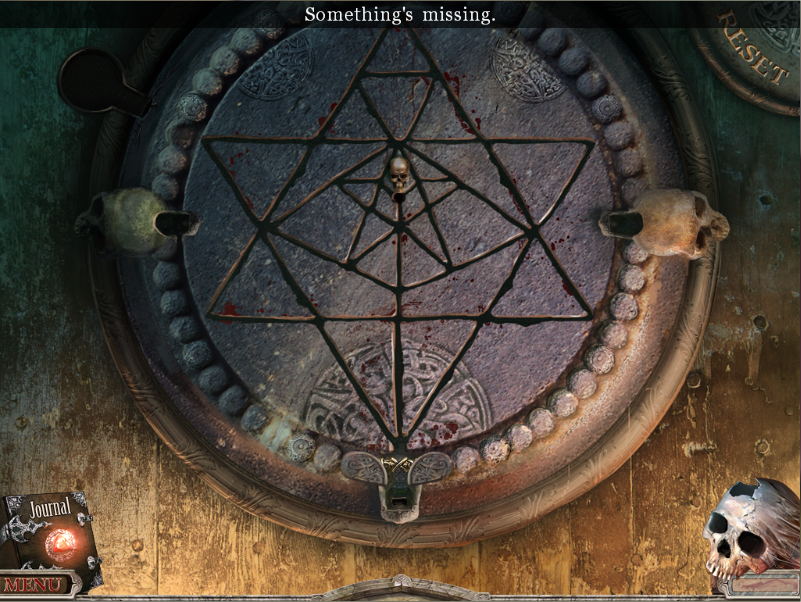
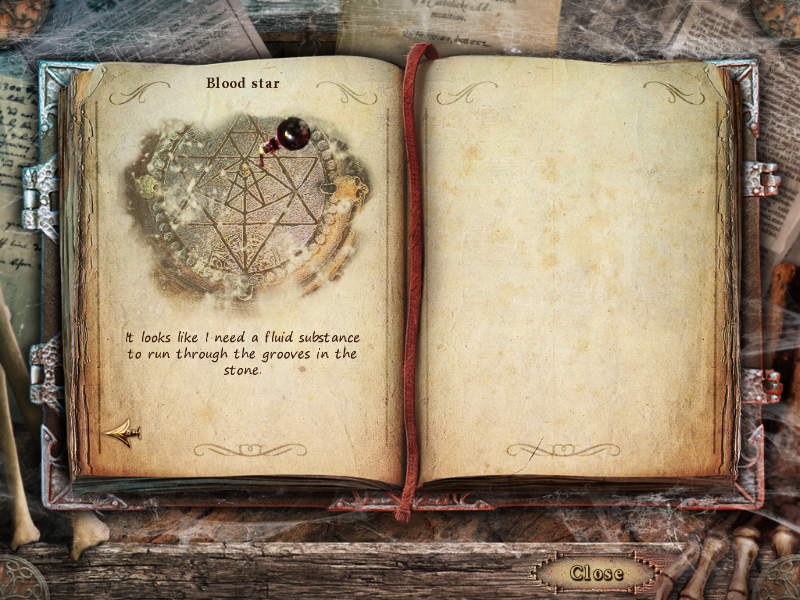
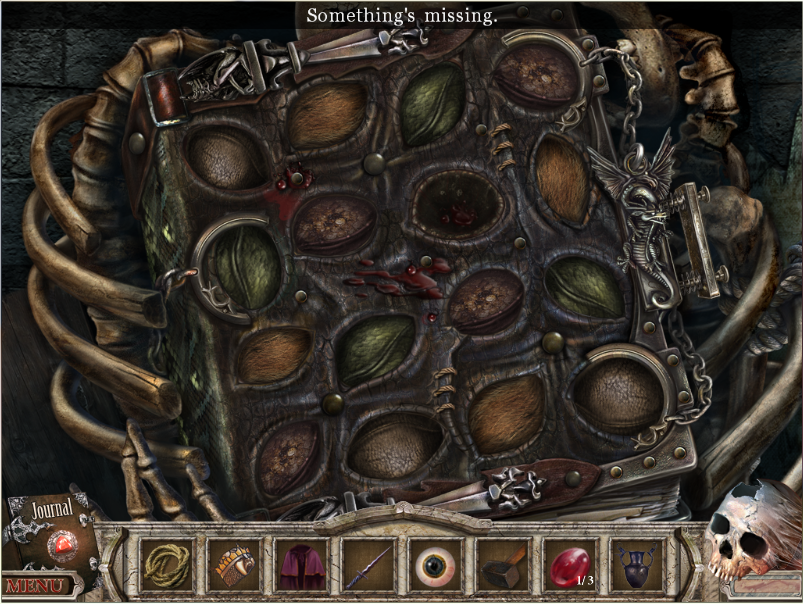
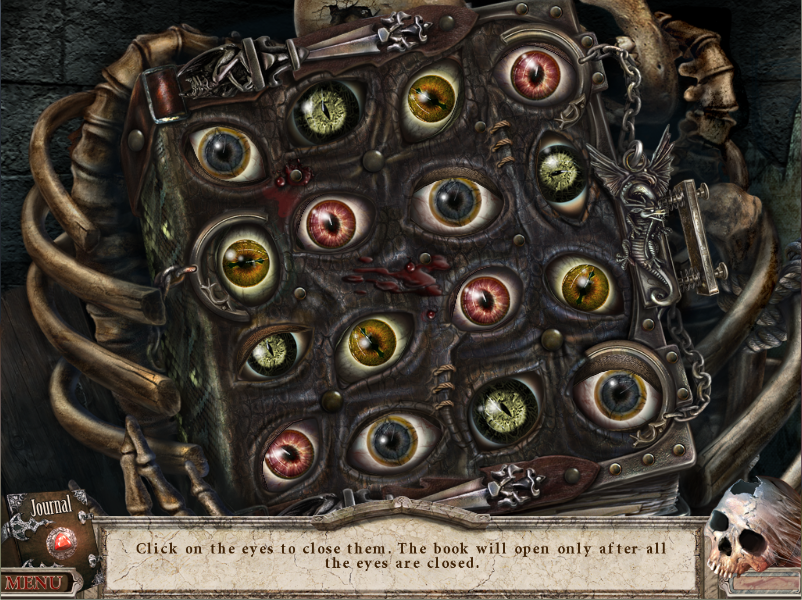
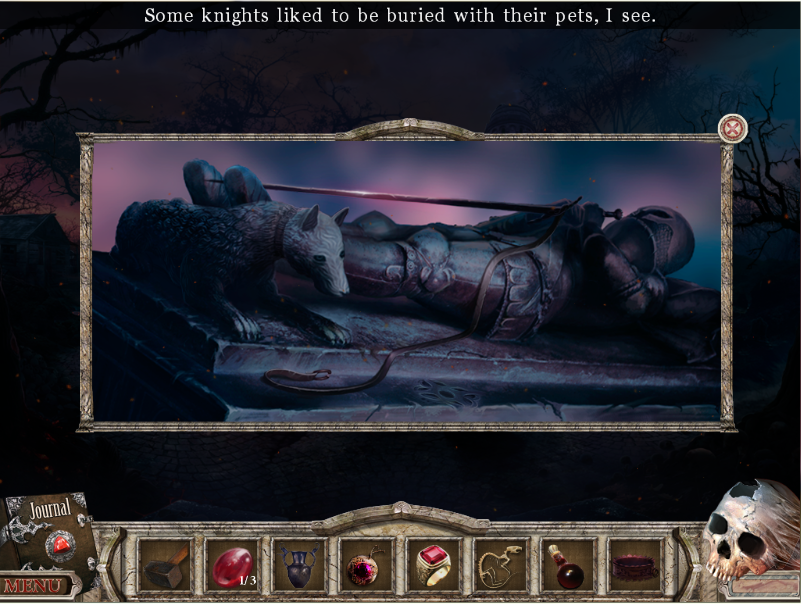
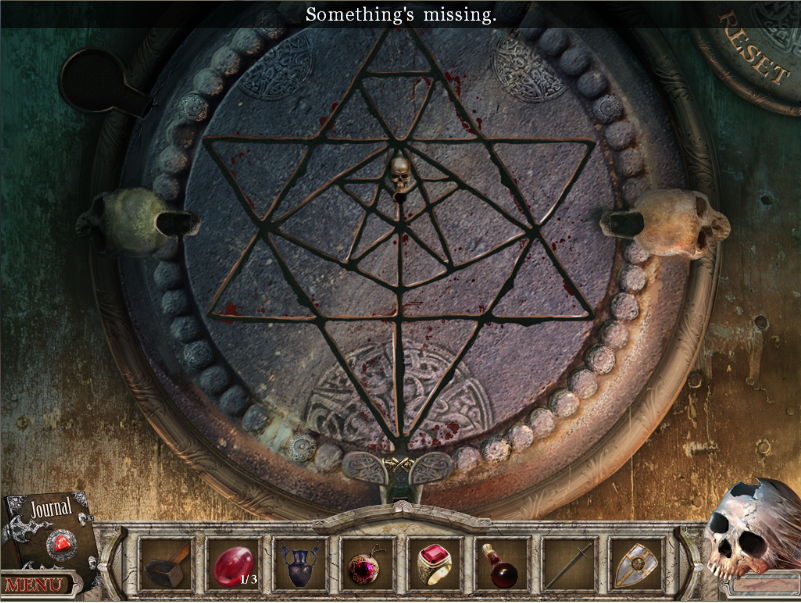
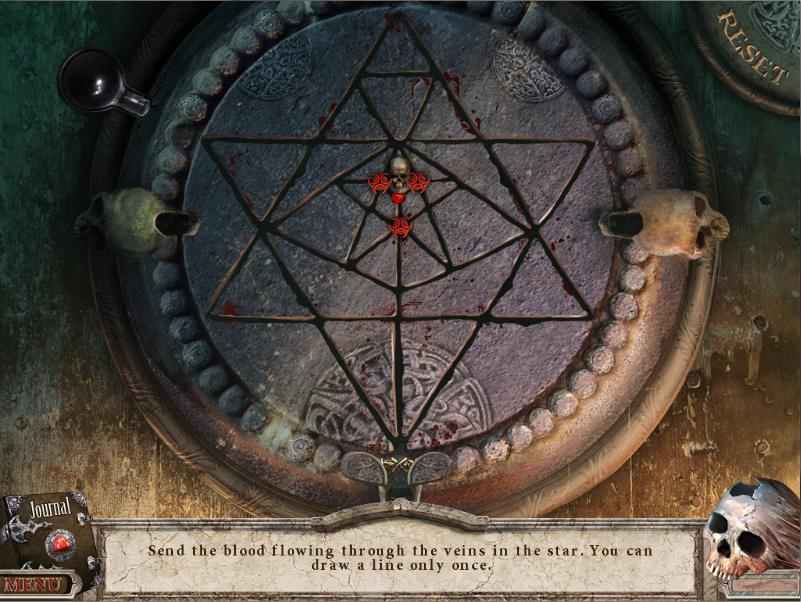
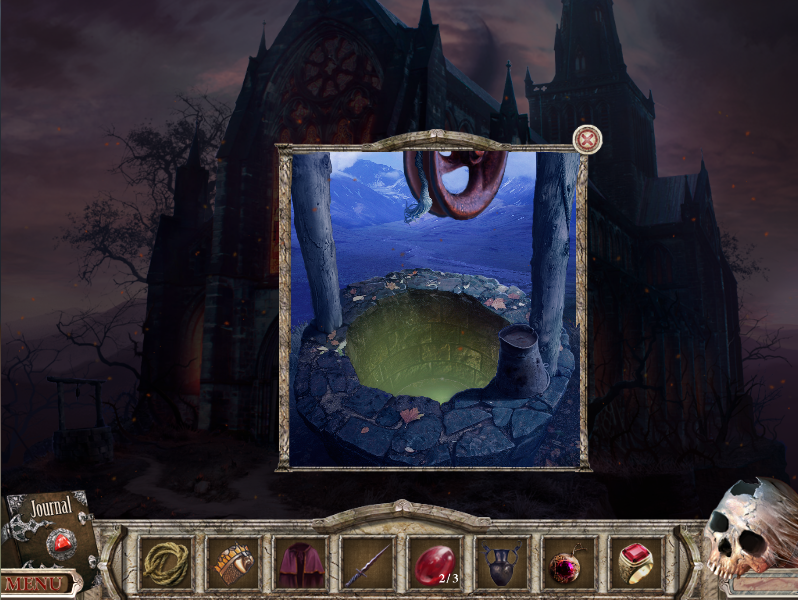
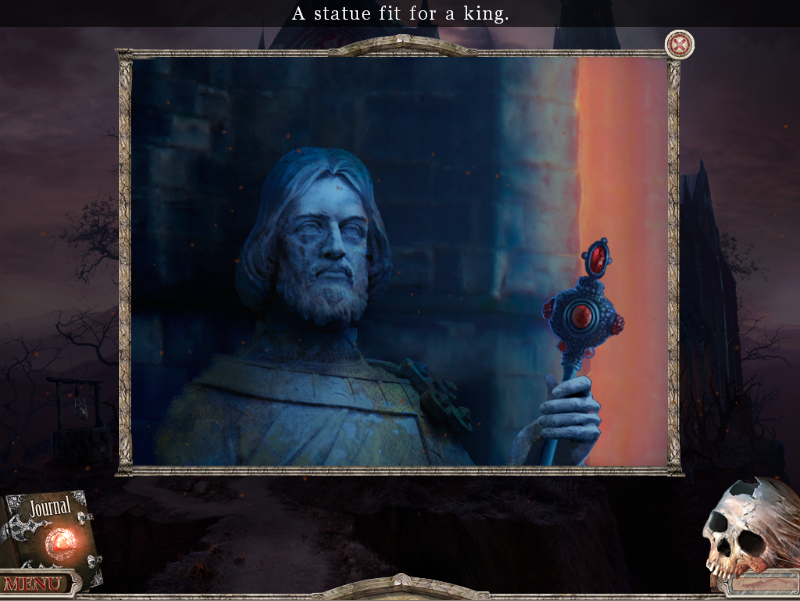
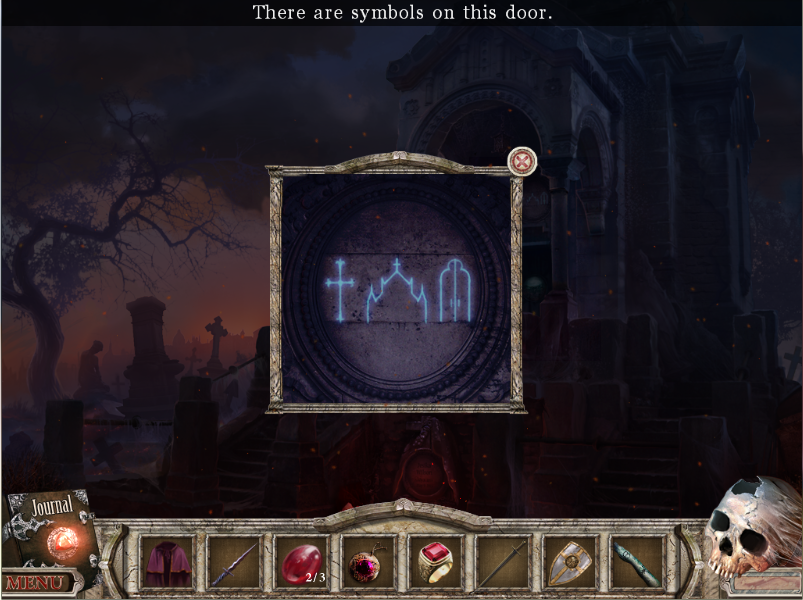
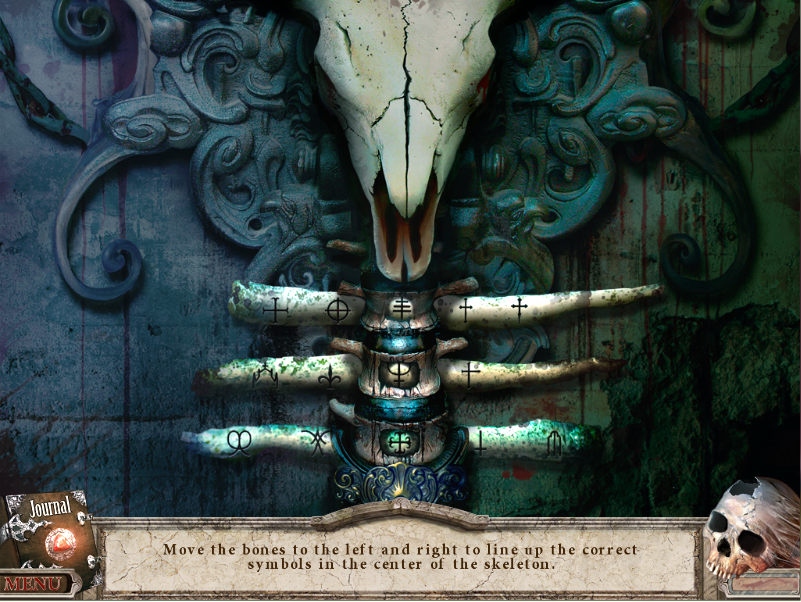
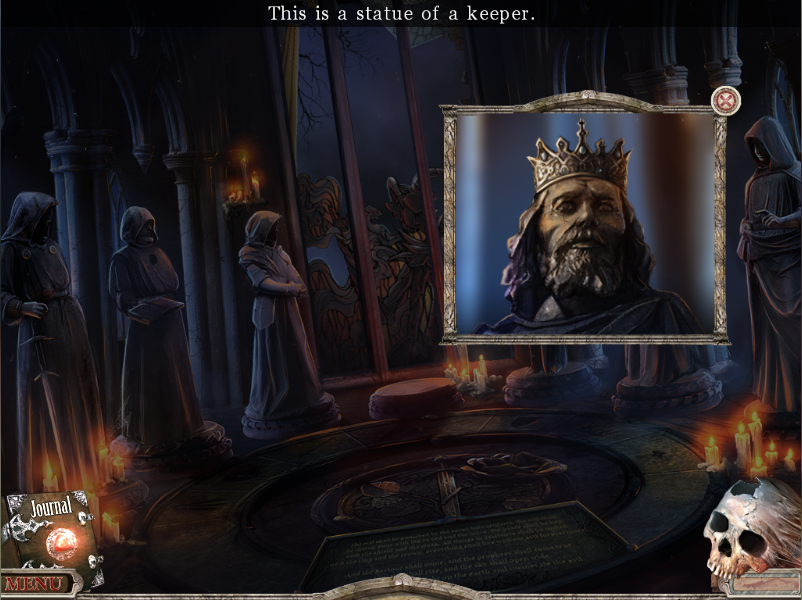
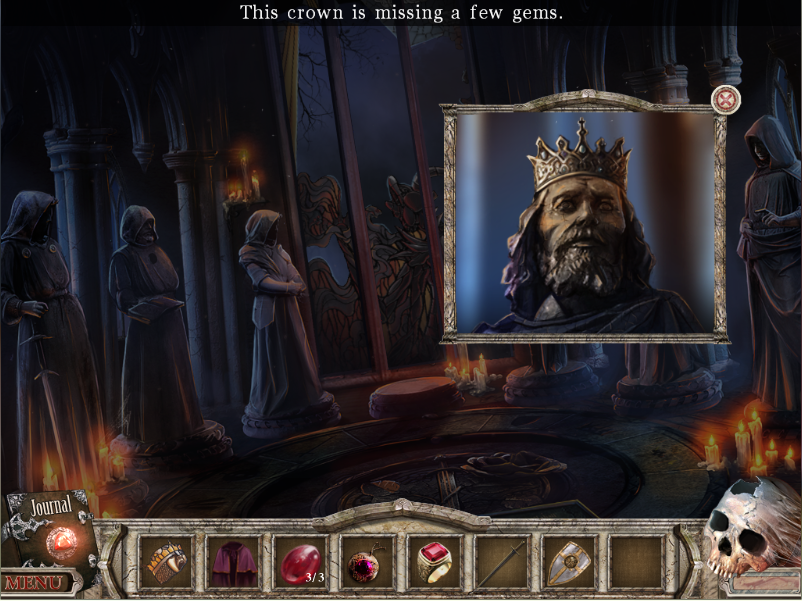
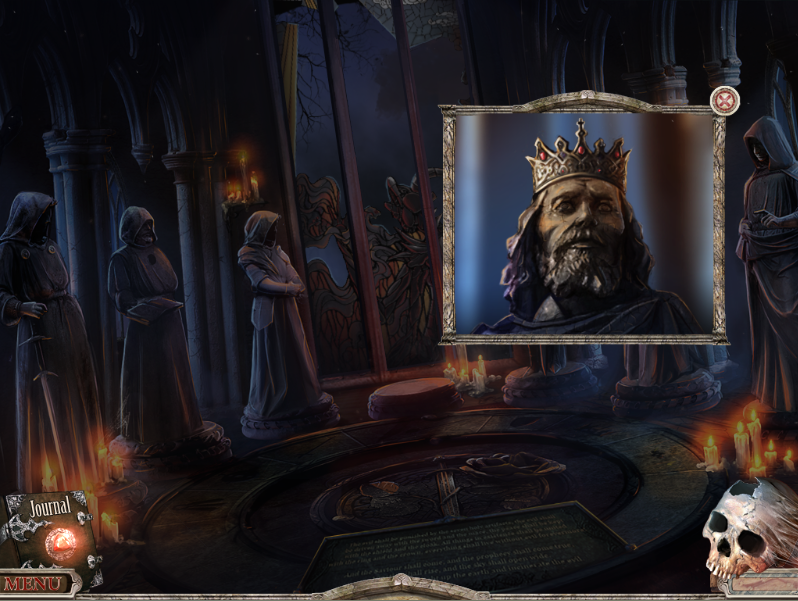
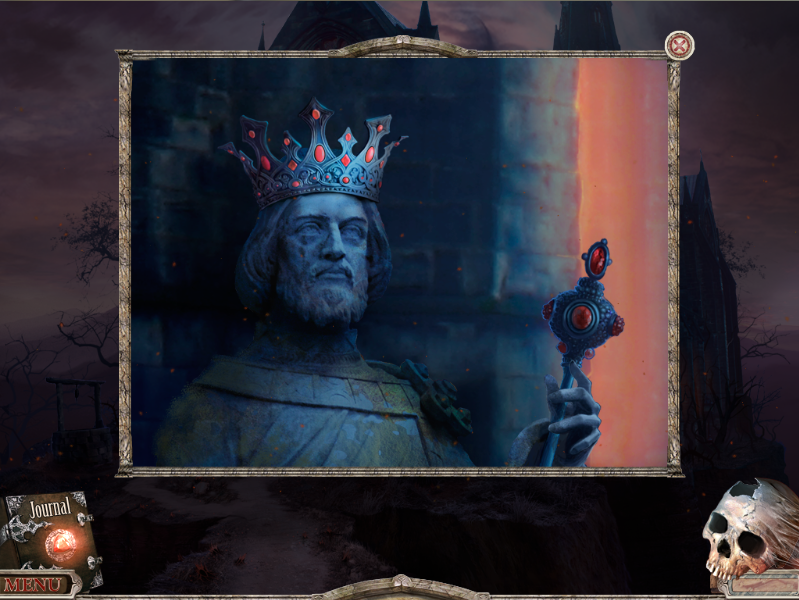
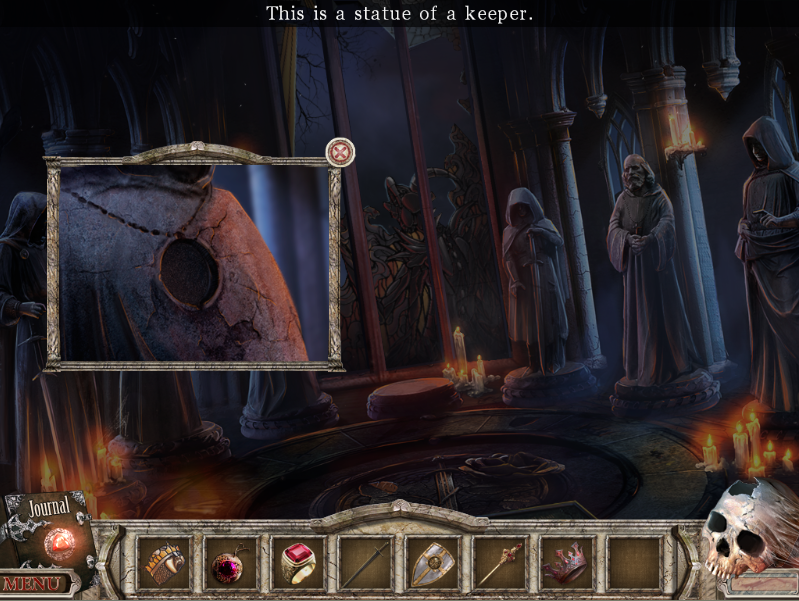
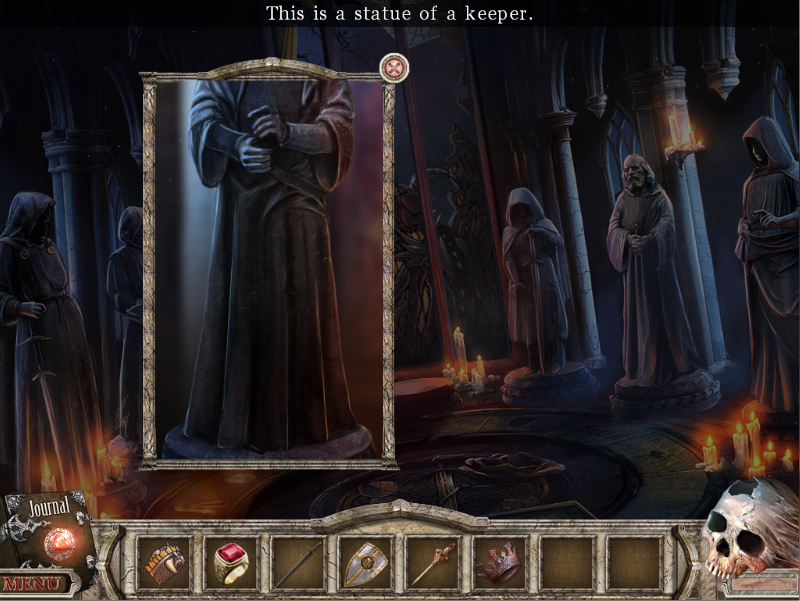
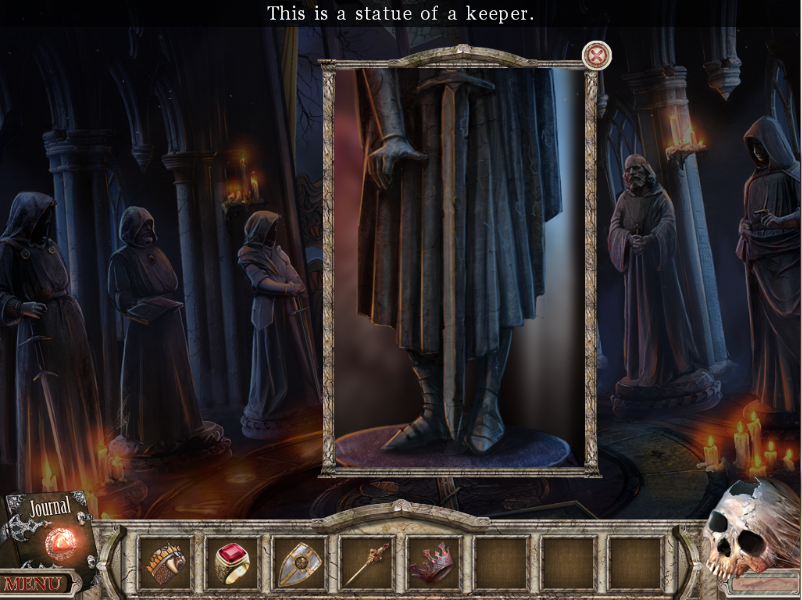
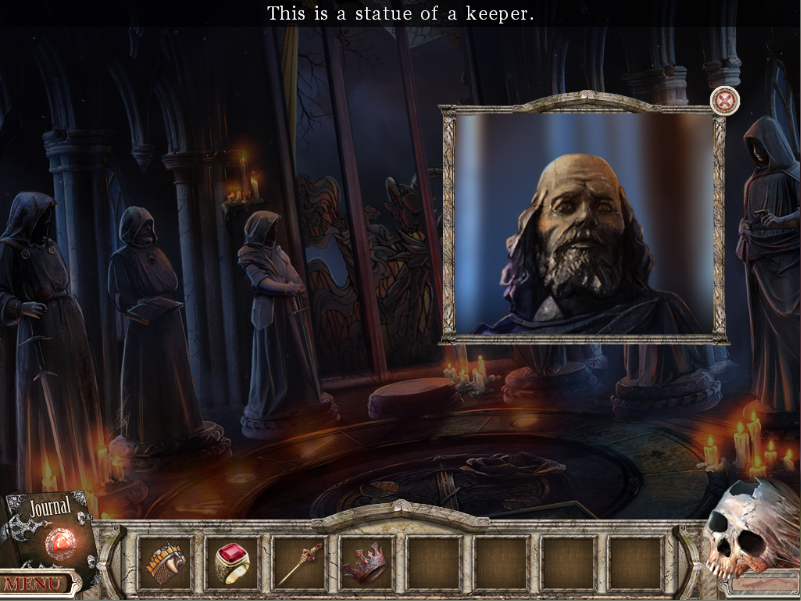
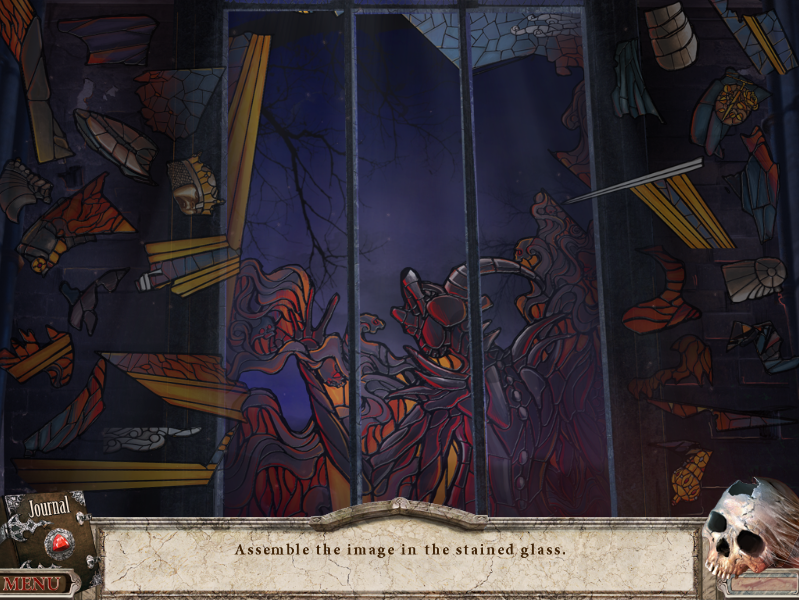
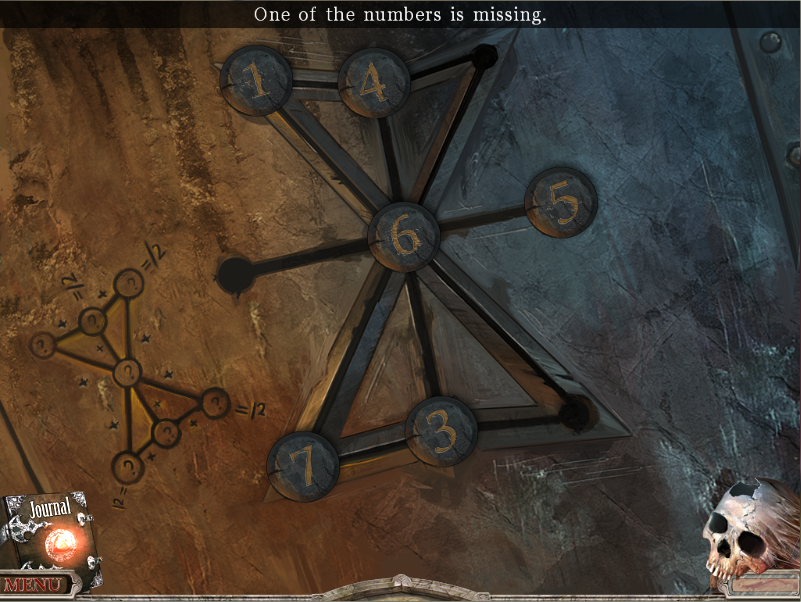
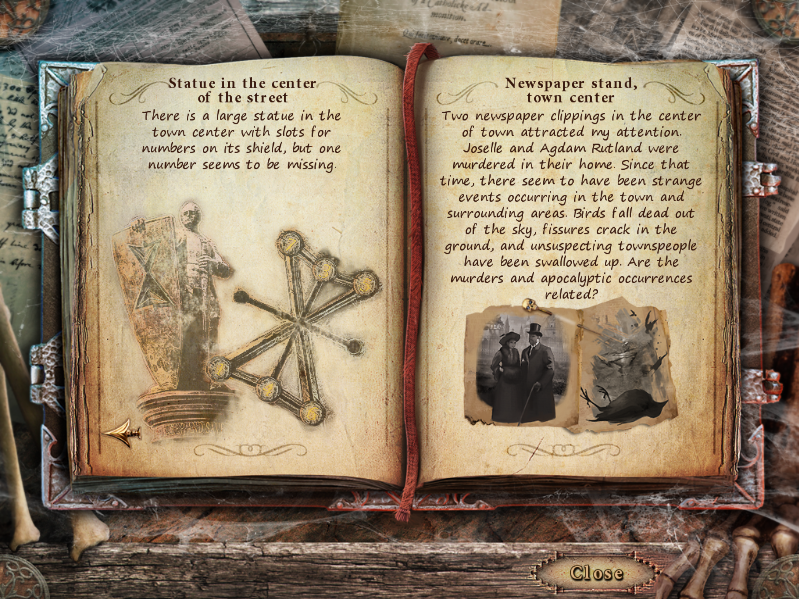
I don't like to get ahead of myself too much, so I'll do the four points of interest. First up the statue. Ah, it's a puzzle. But I can't do anything with it at the moment as I'm missing something:
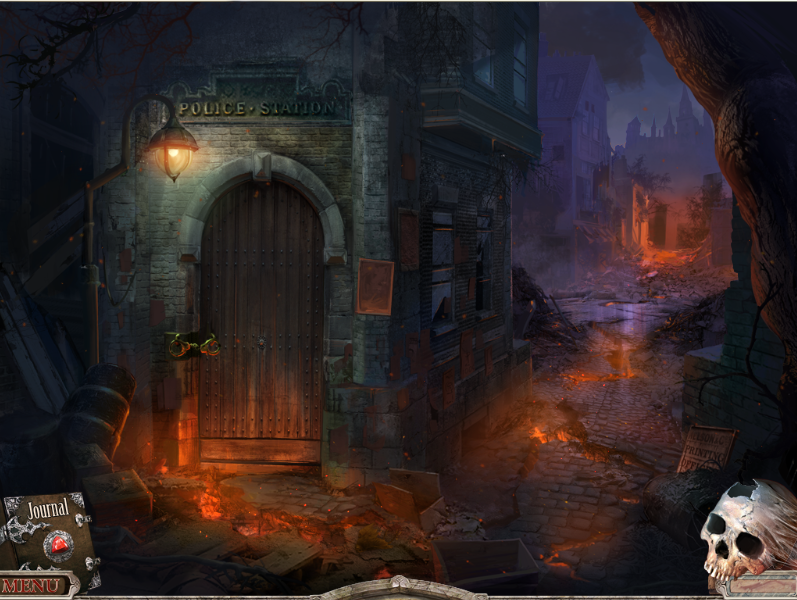
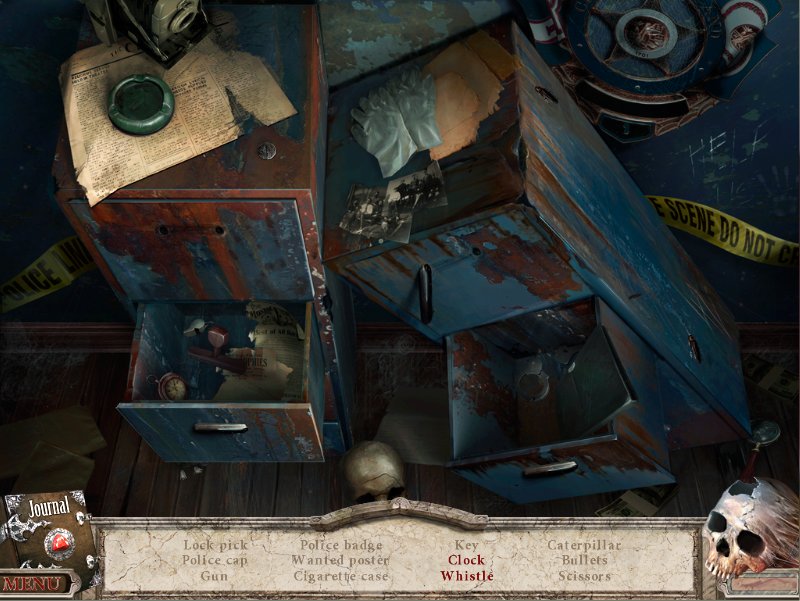
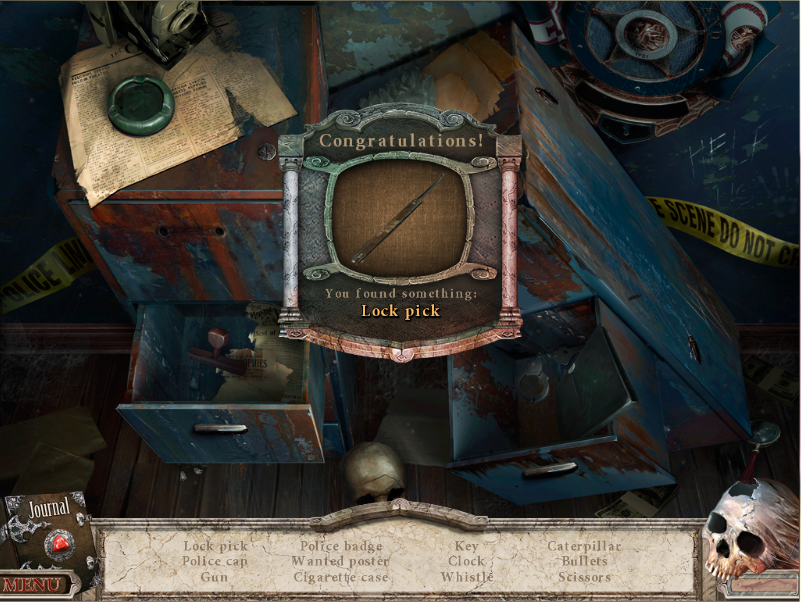
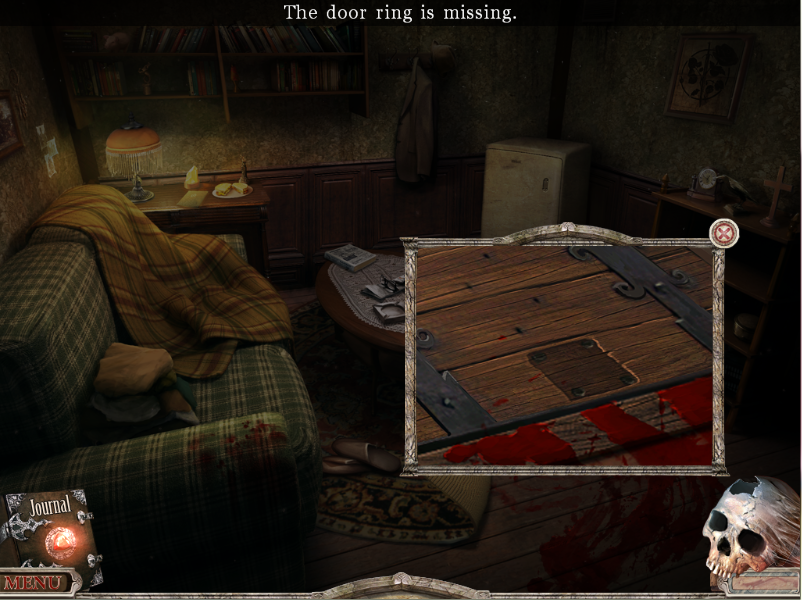
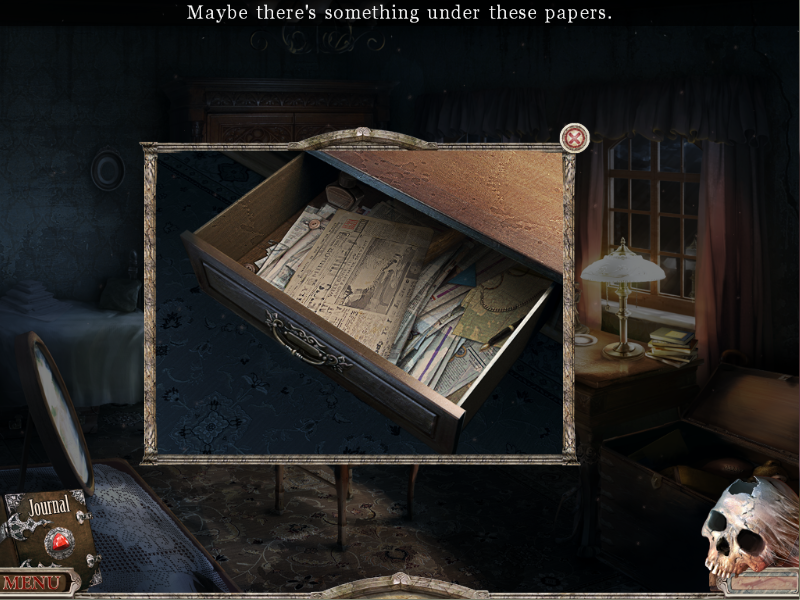
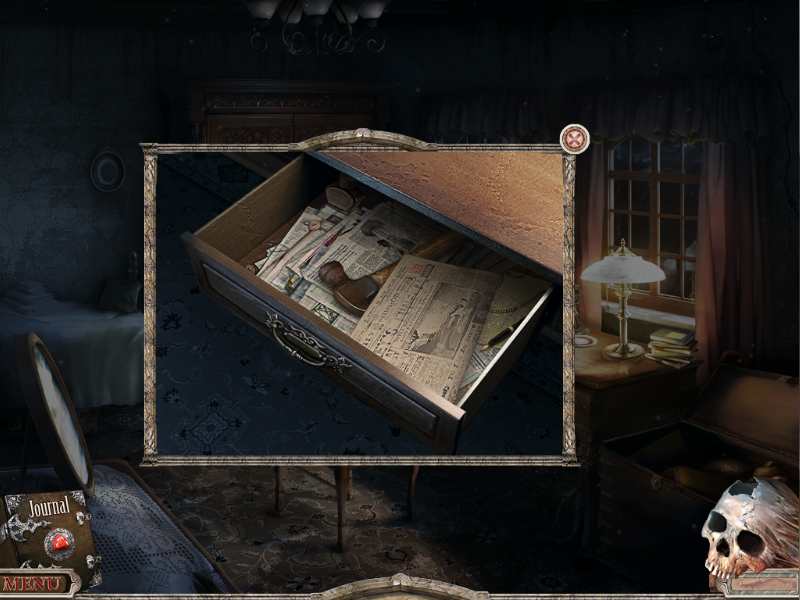
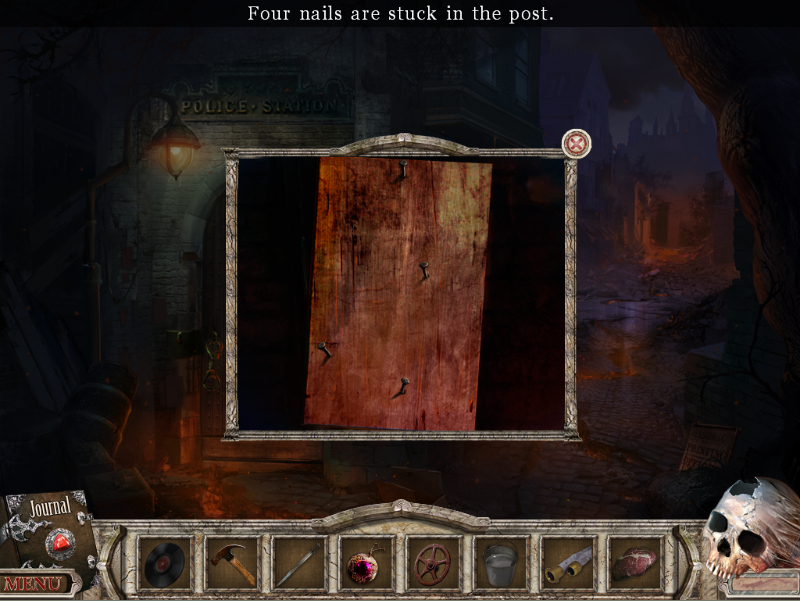
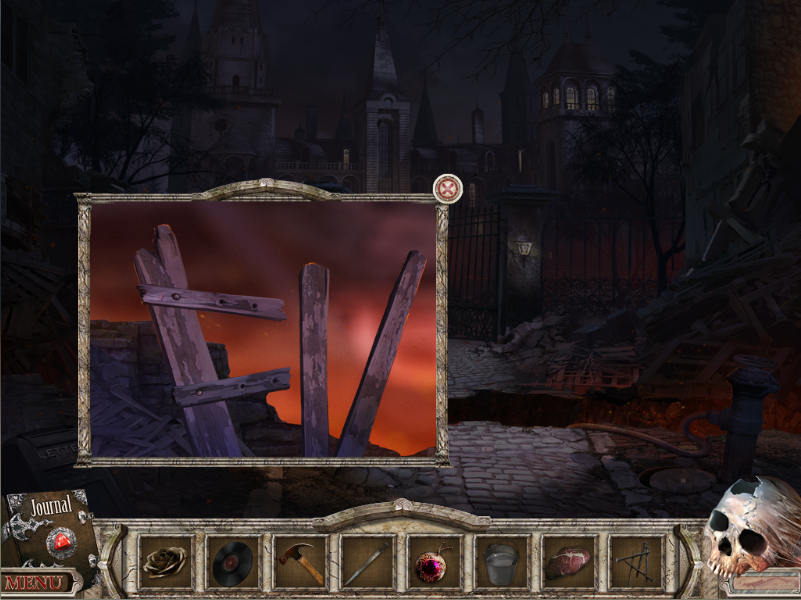
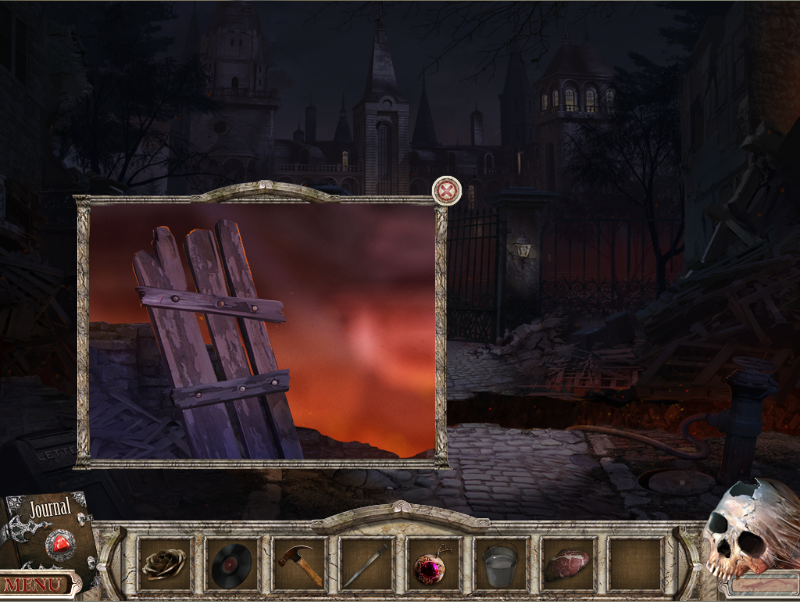
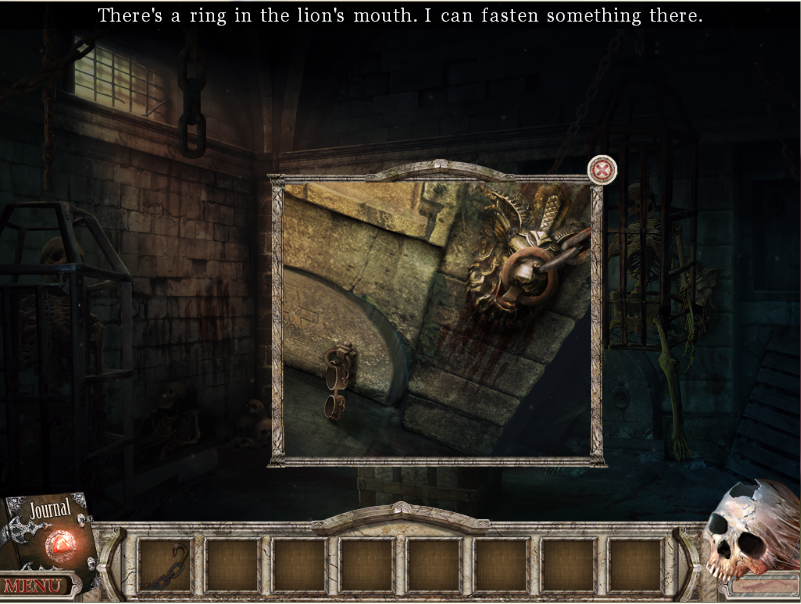
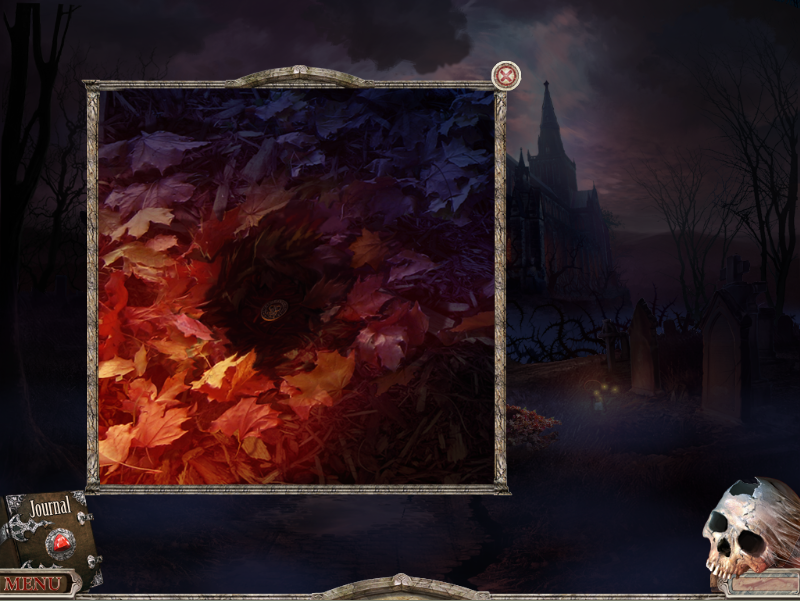
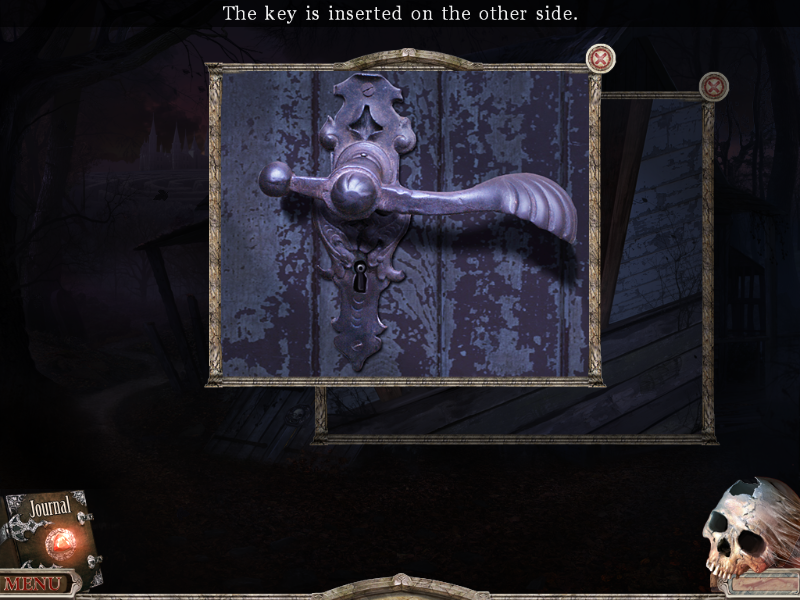
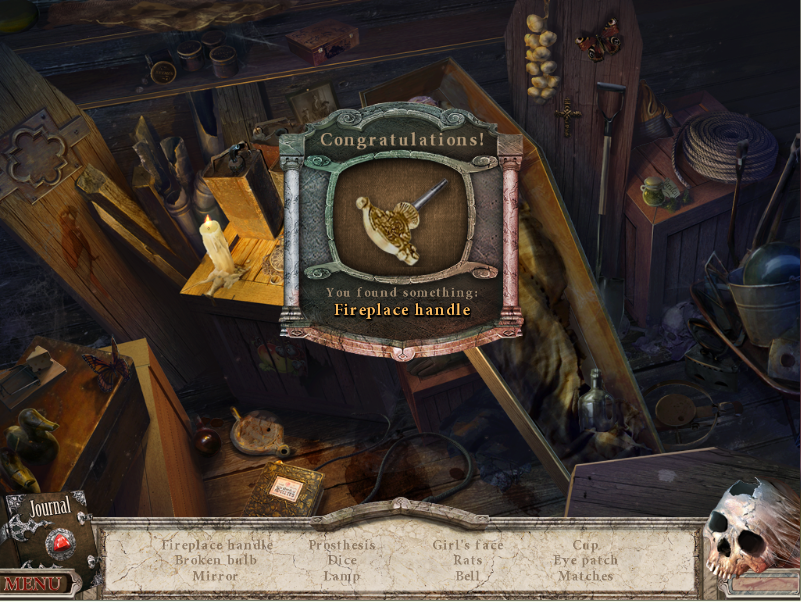
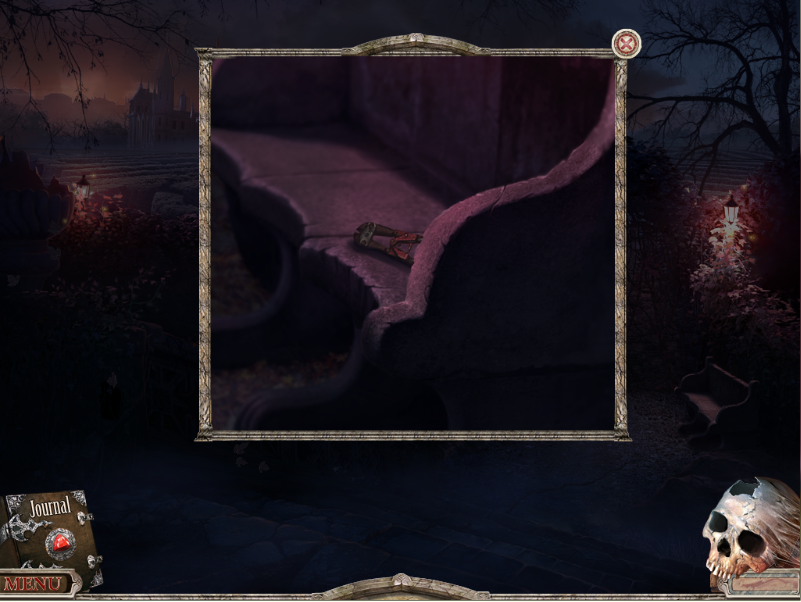
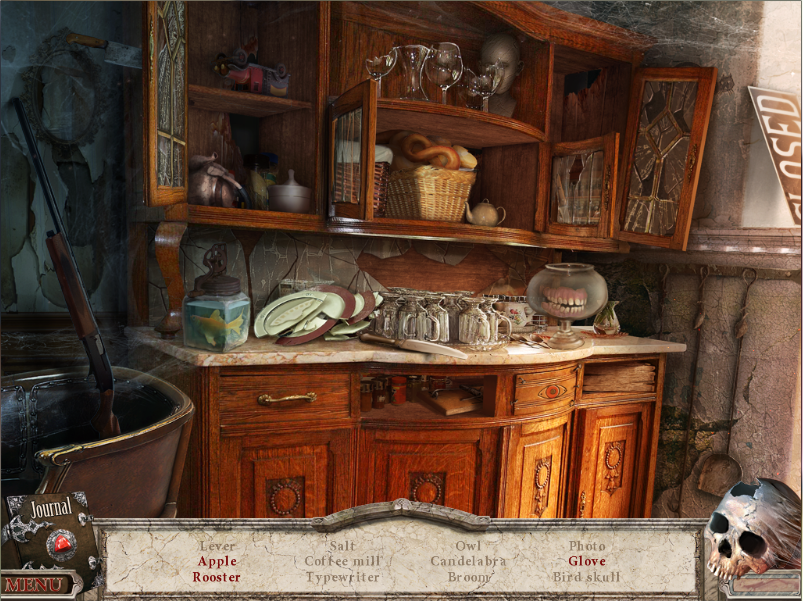
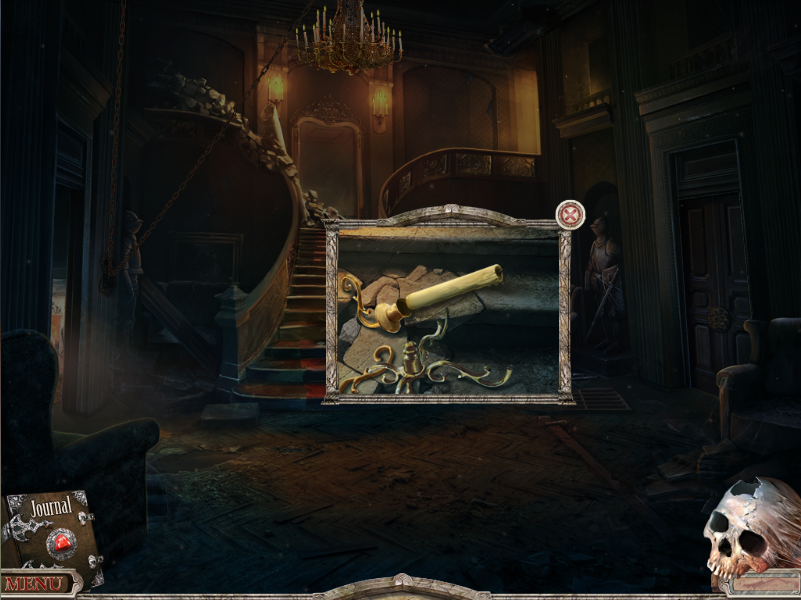
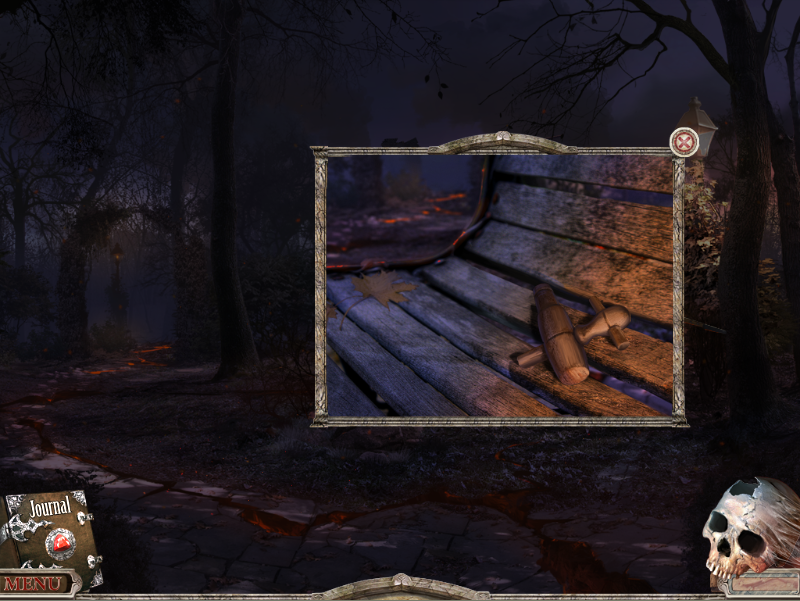
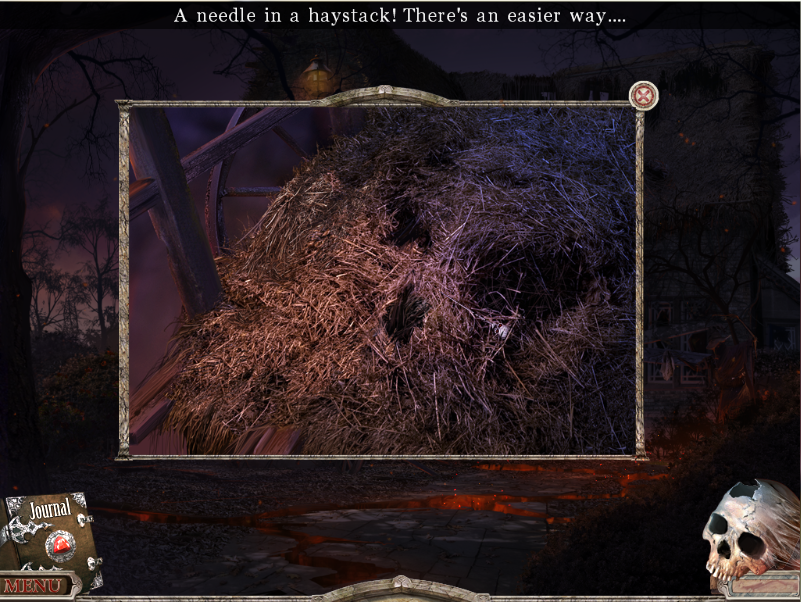
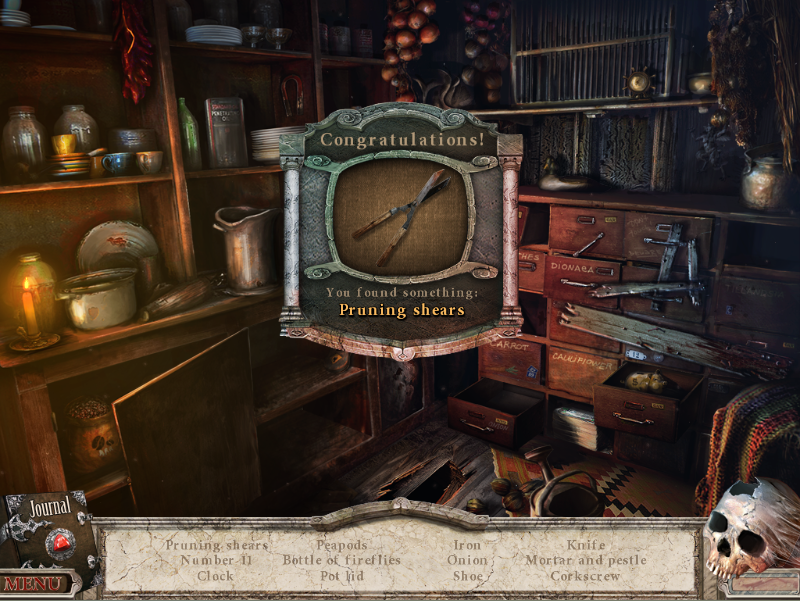
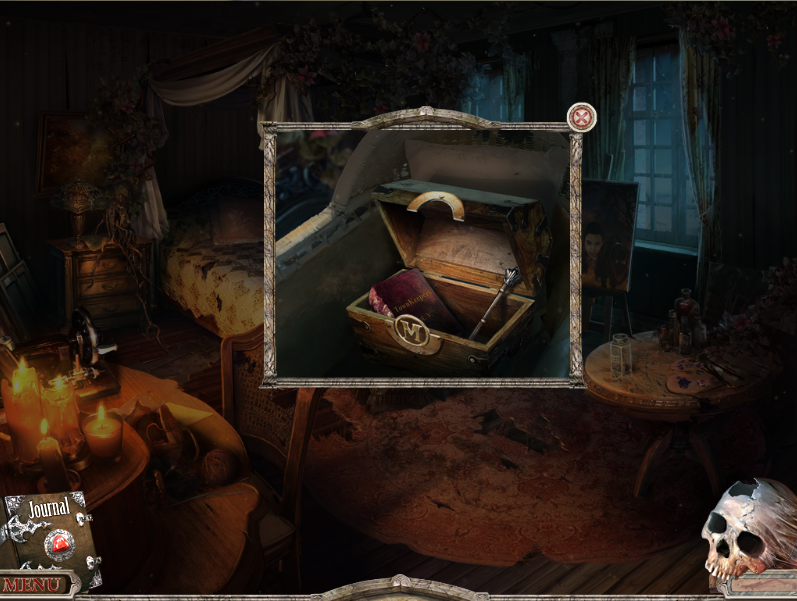
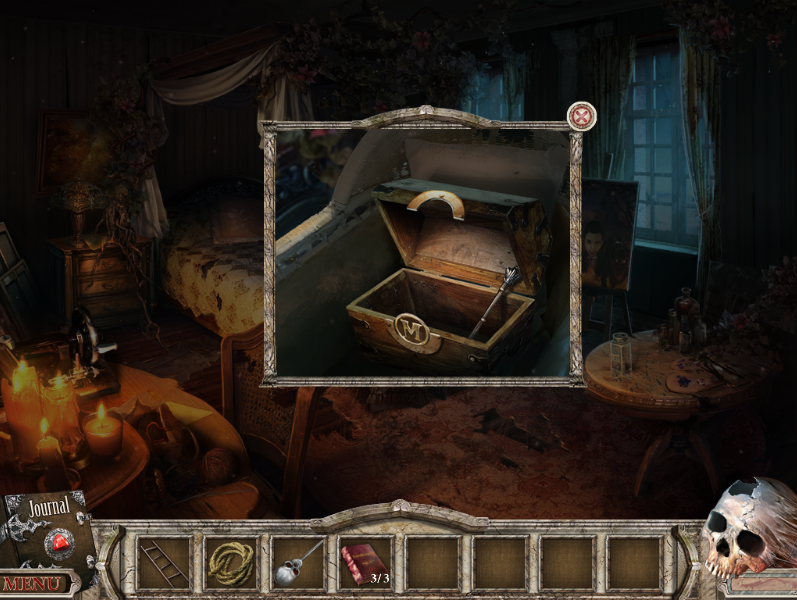
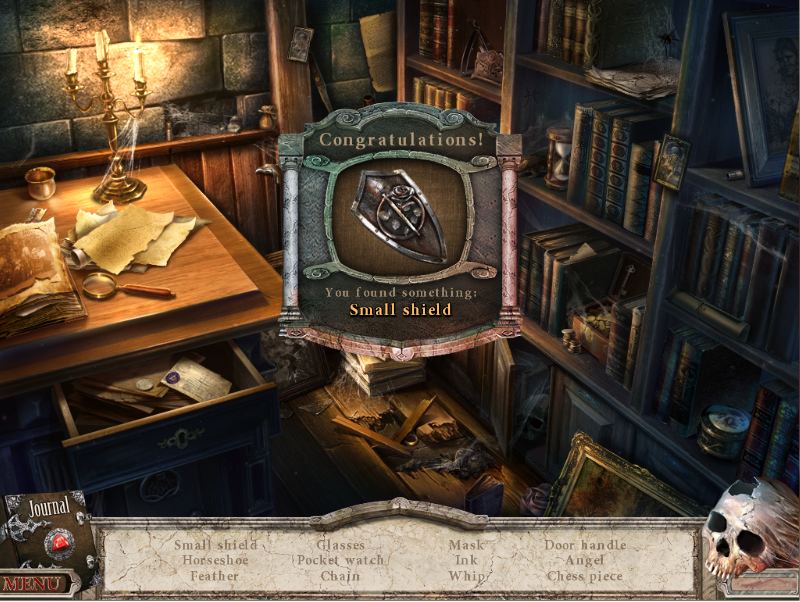
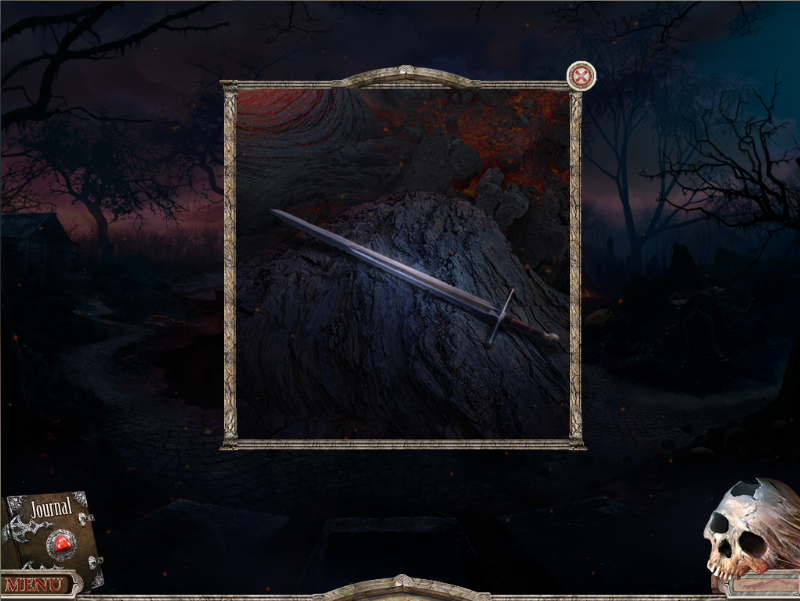
Now for the posters. There's a pick-up-able object here, I'll have that. It's a door handle:
But I can continue to interact with this screen:

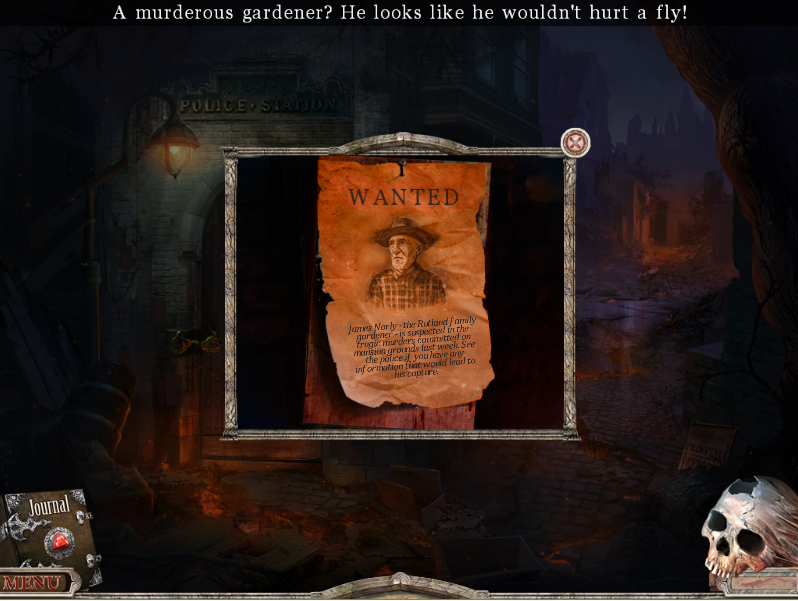
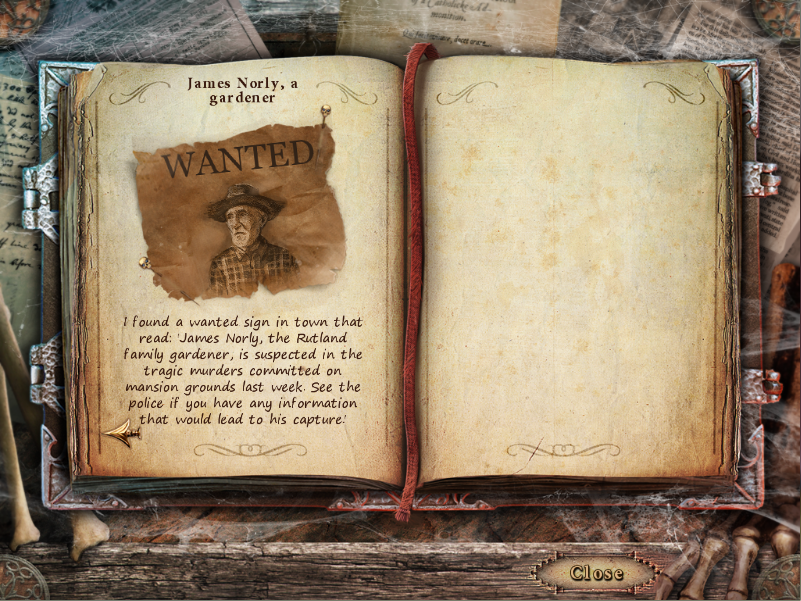
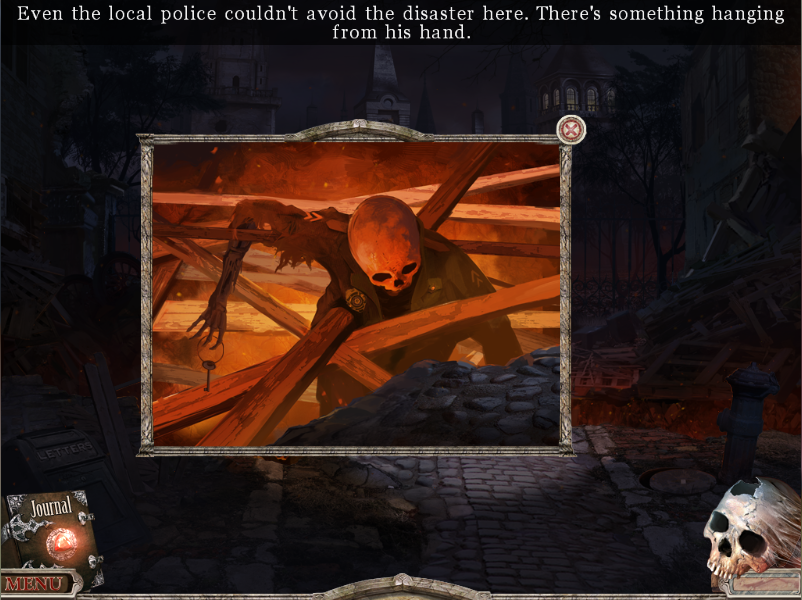
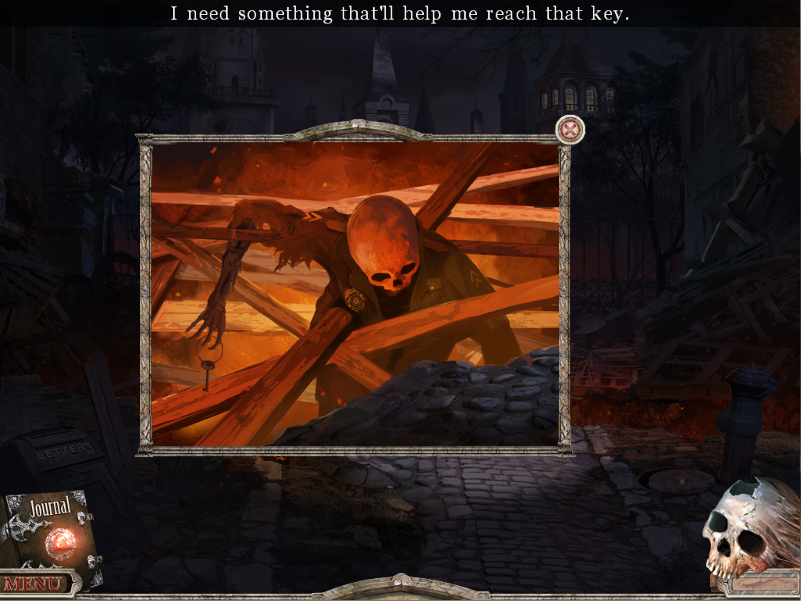
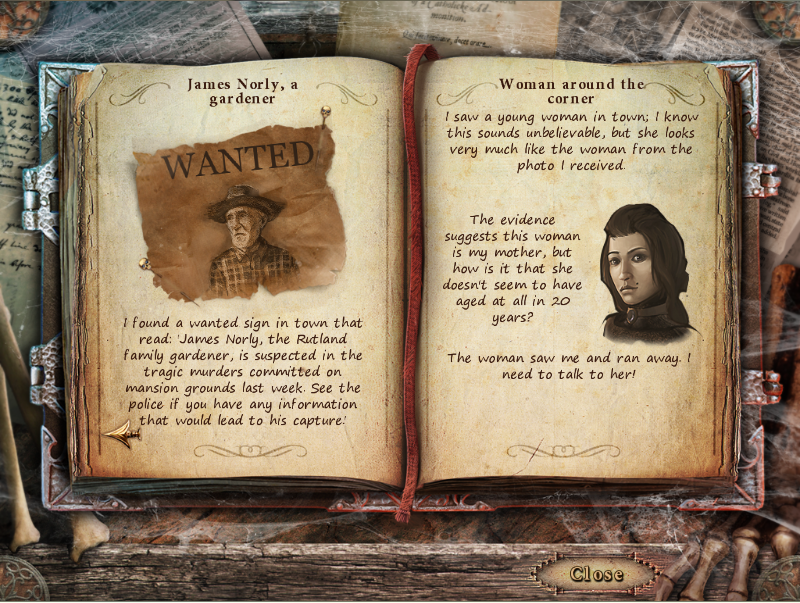
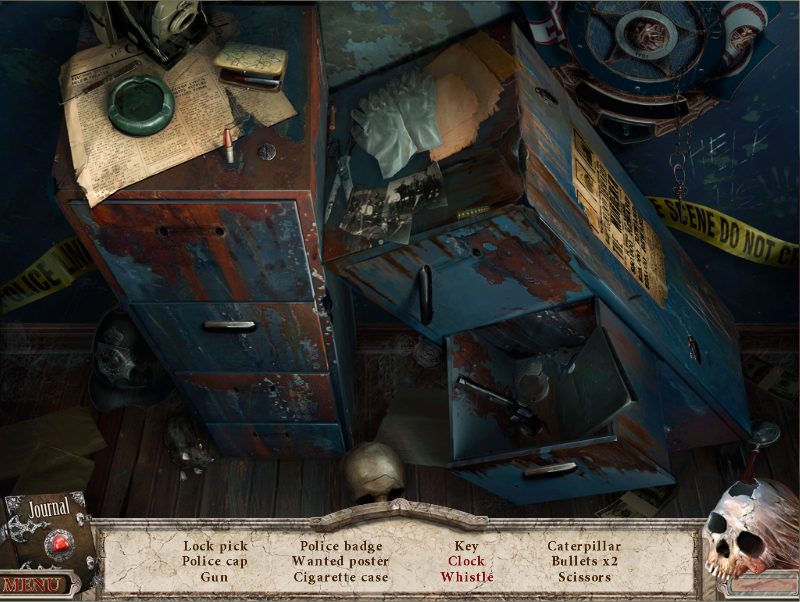
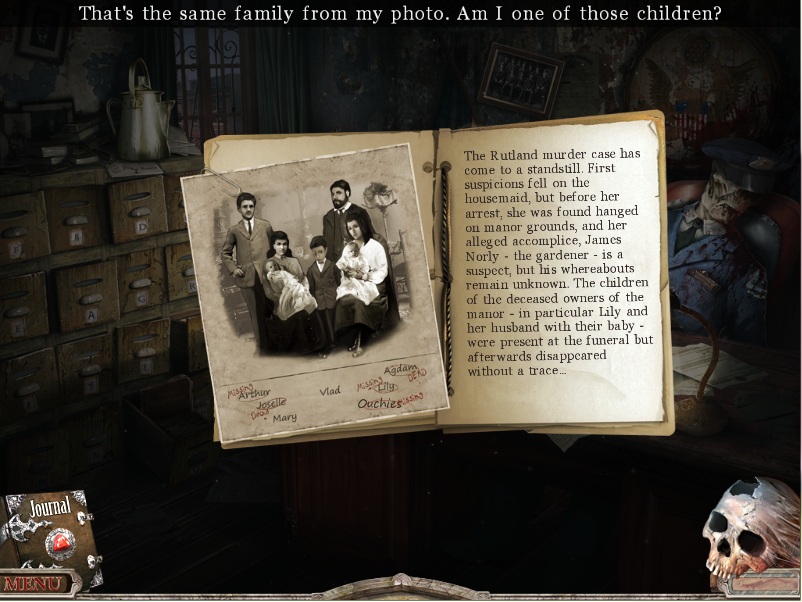
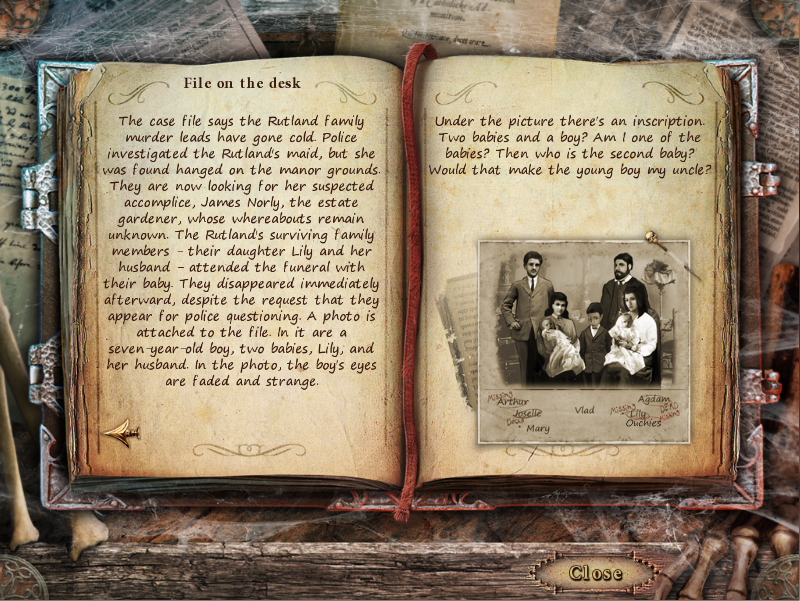
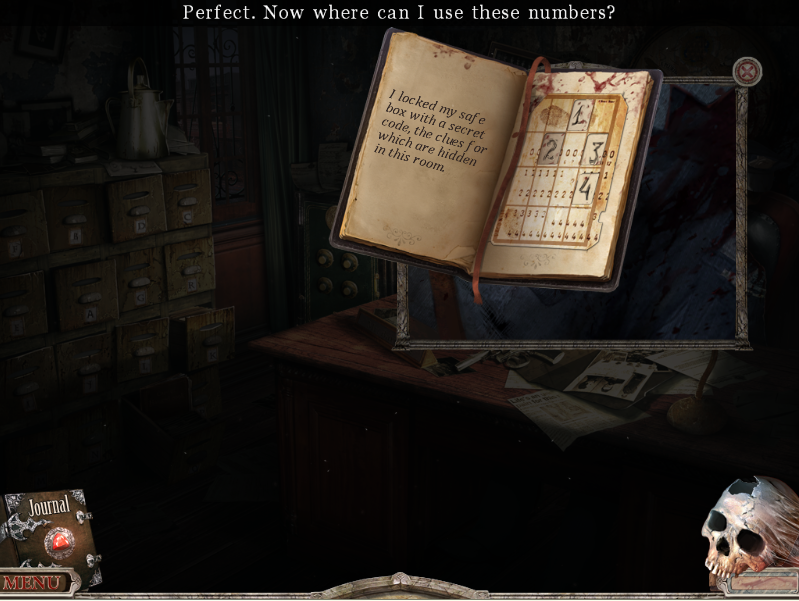
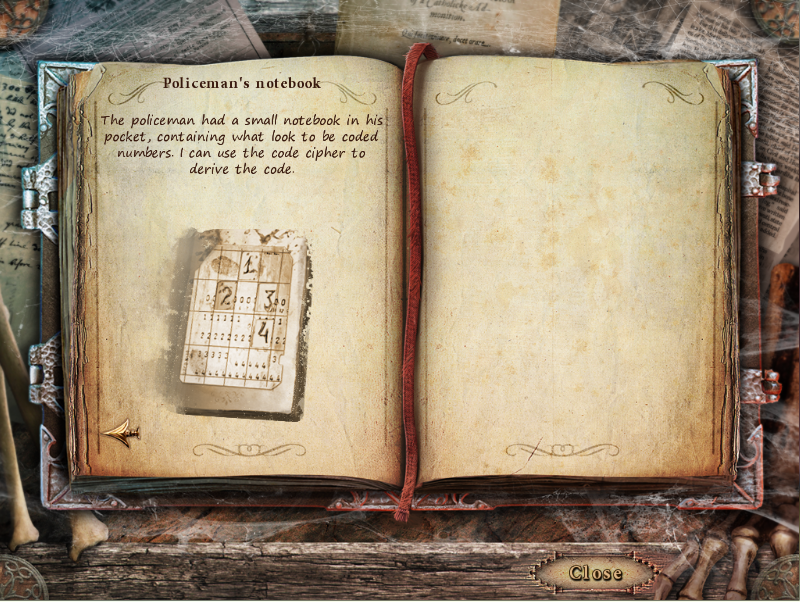
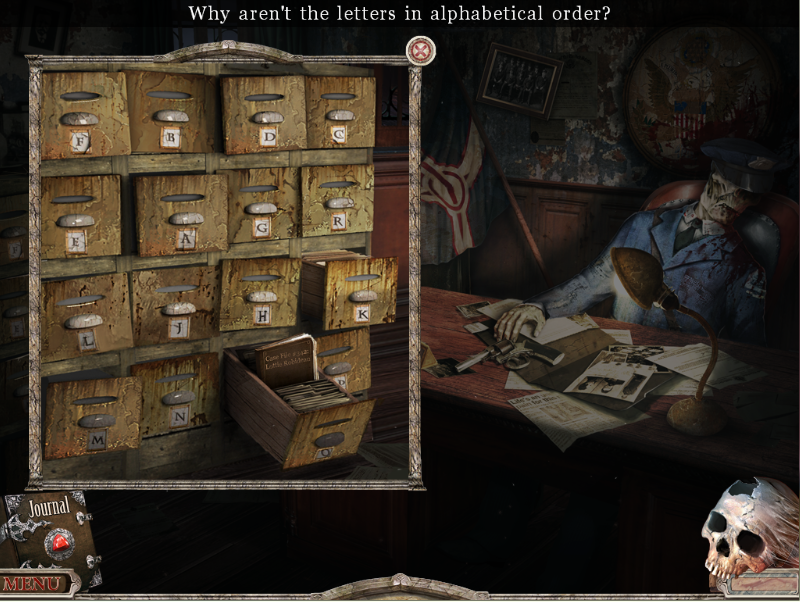
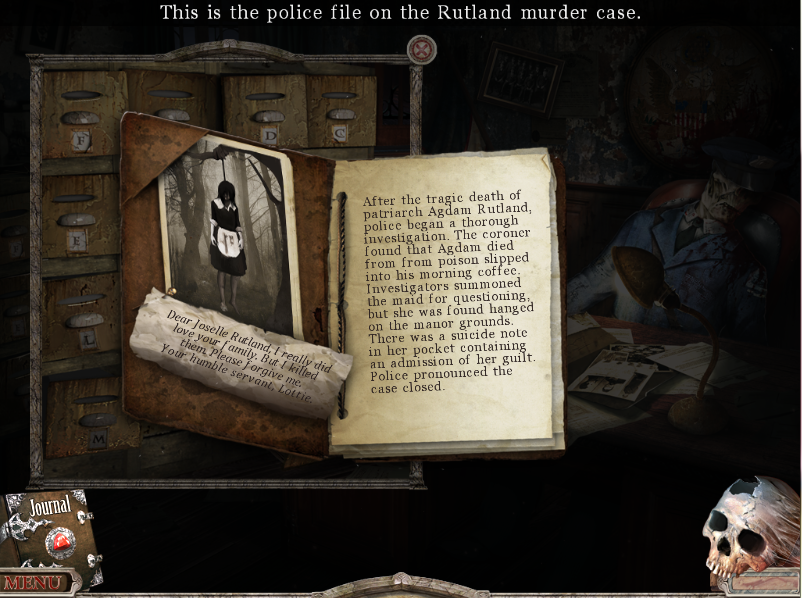
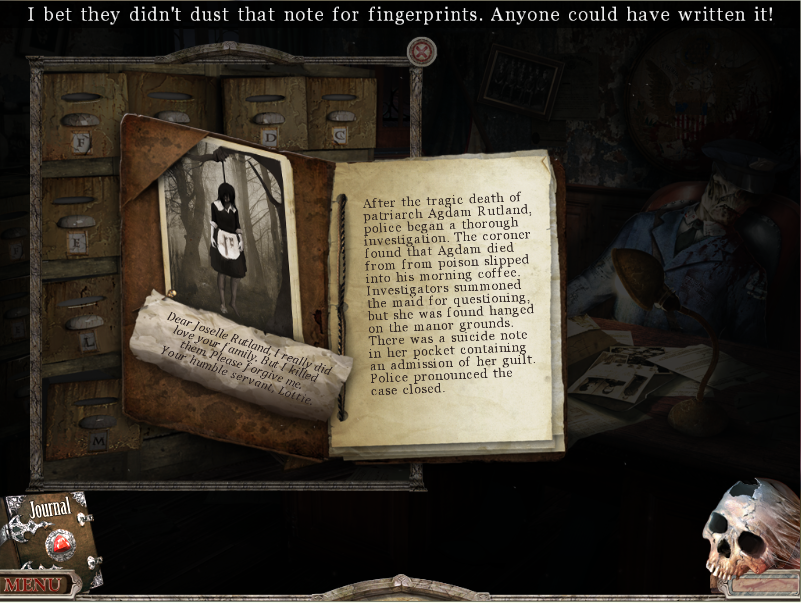
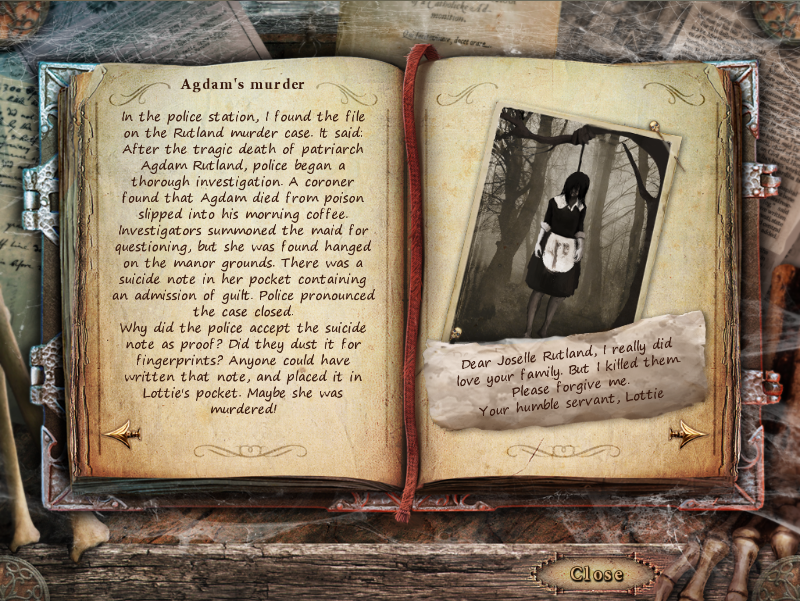
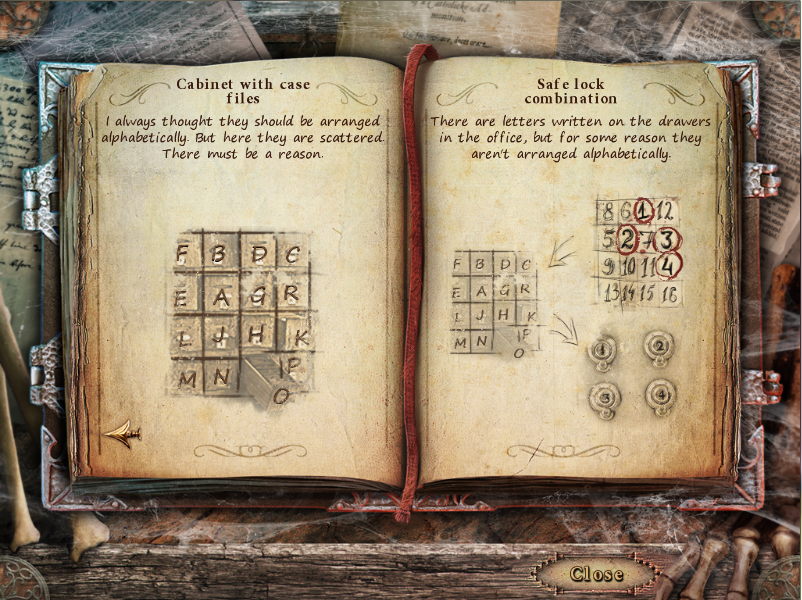
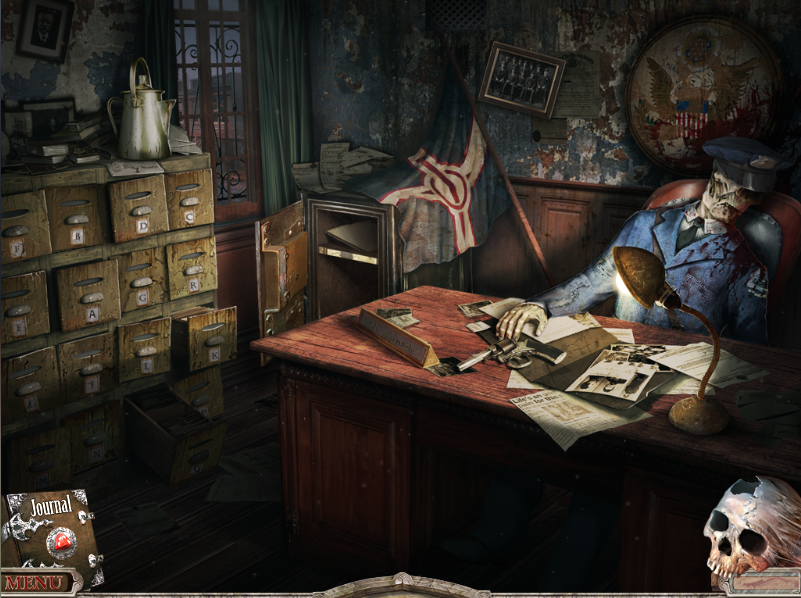
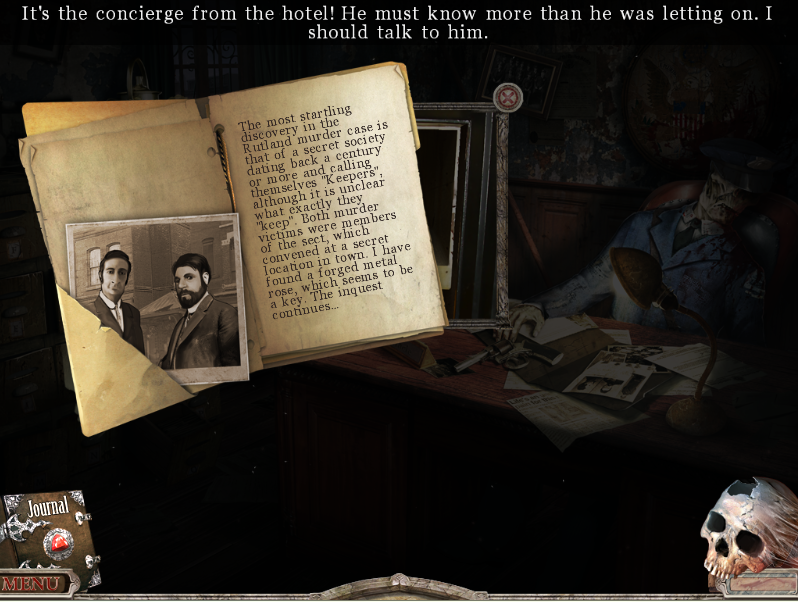
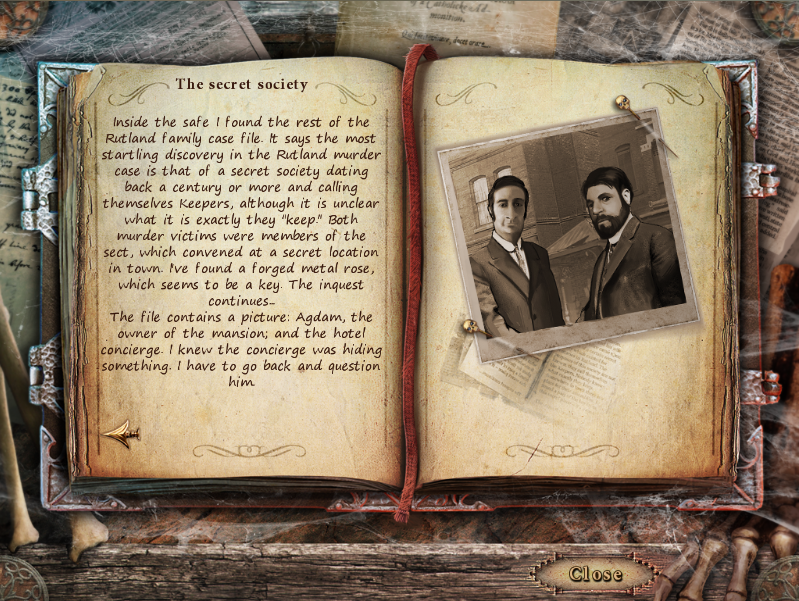
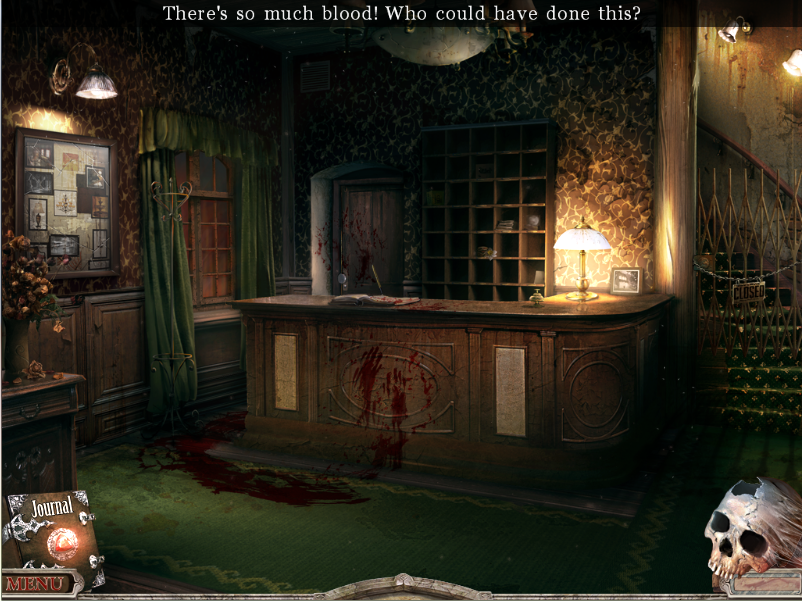
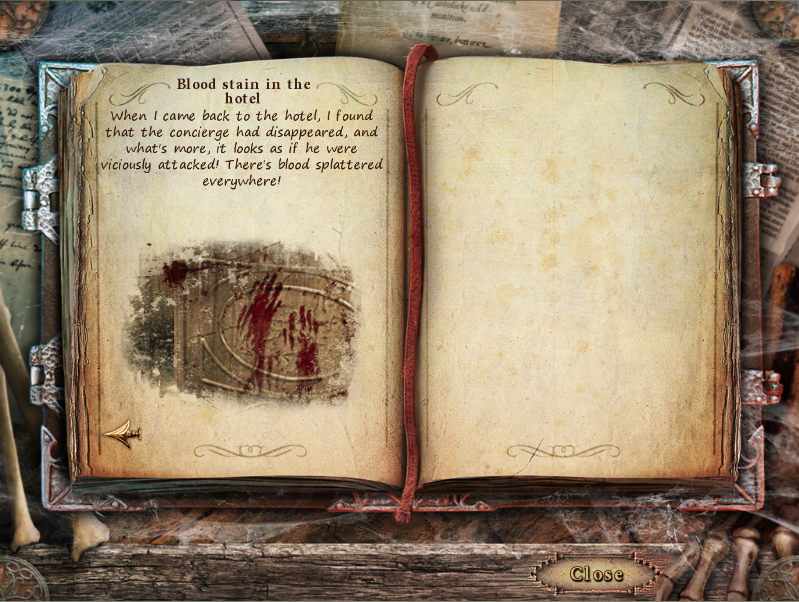
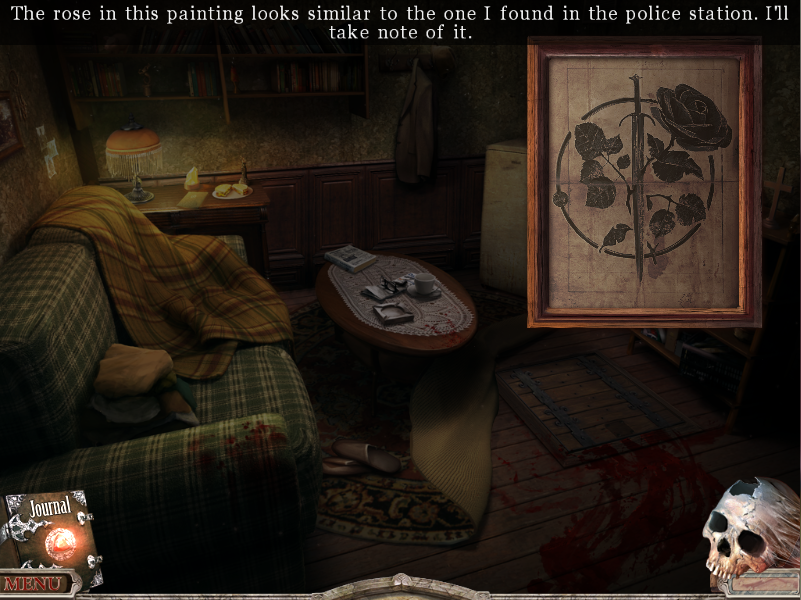
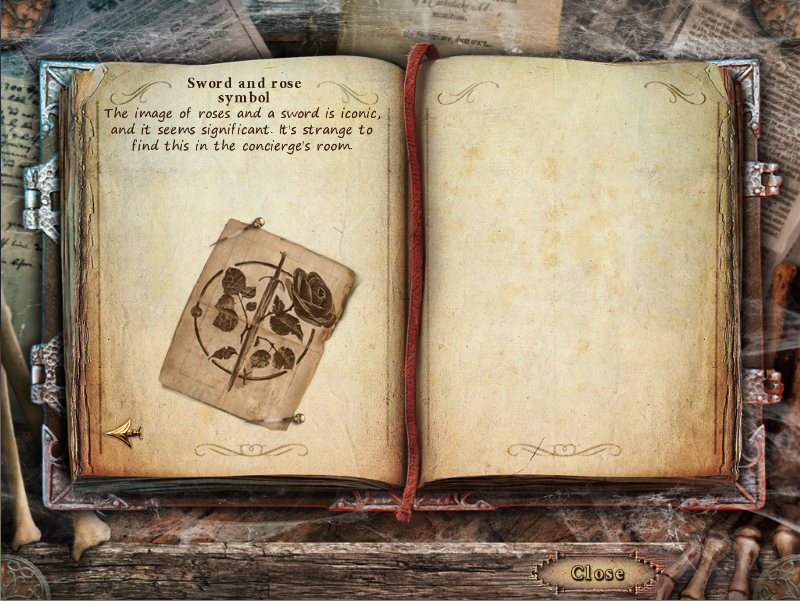
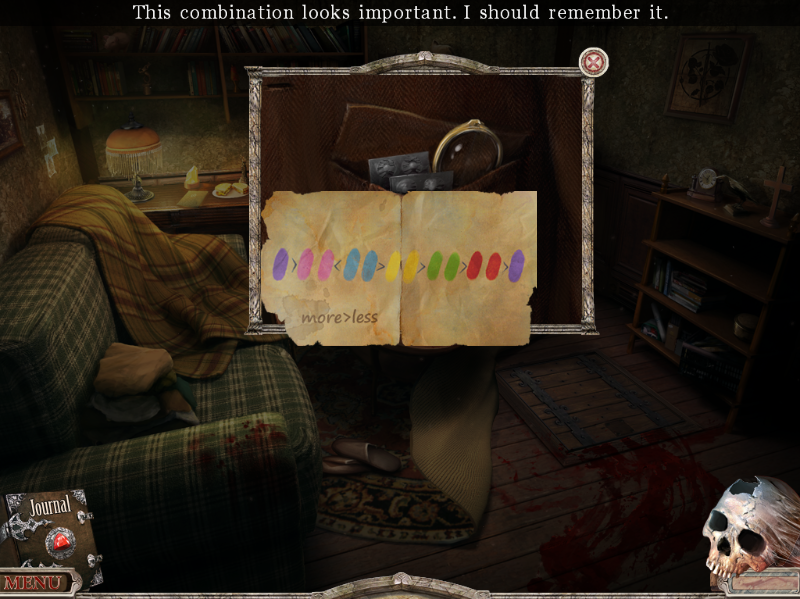
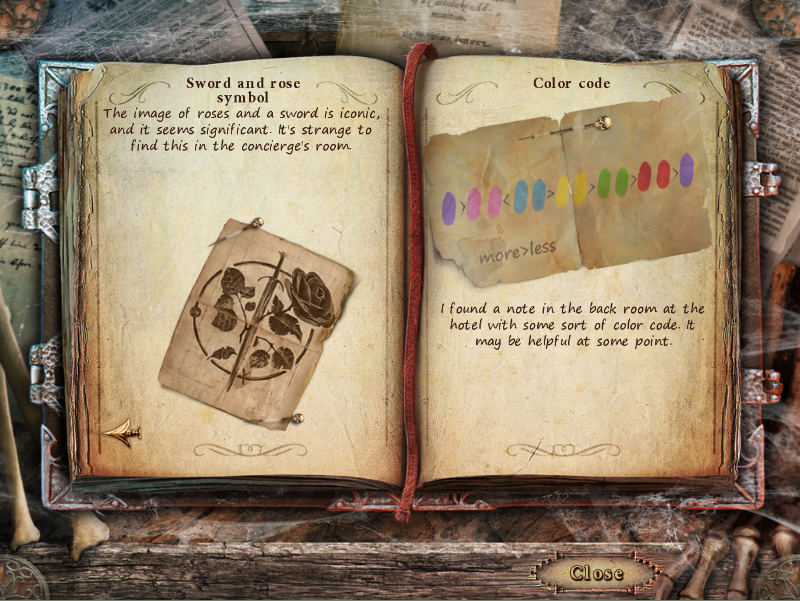
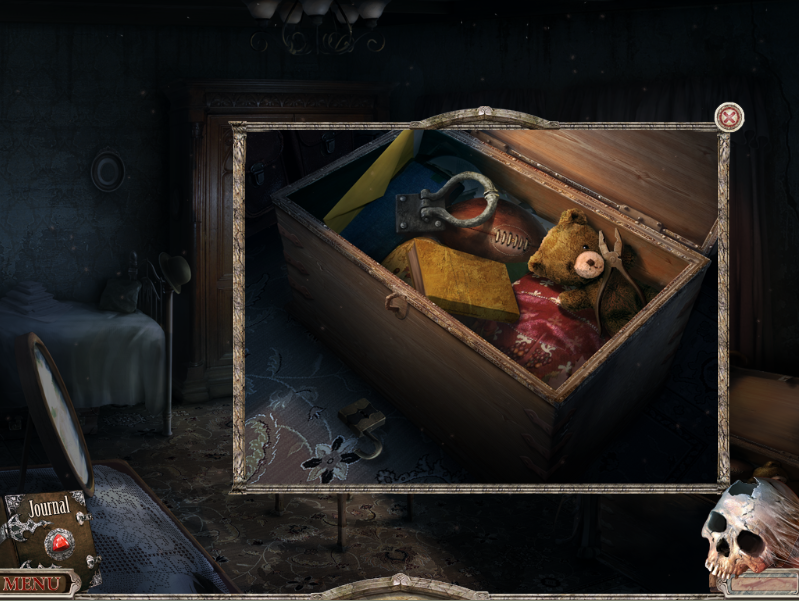
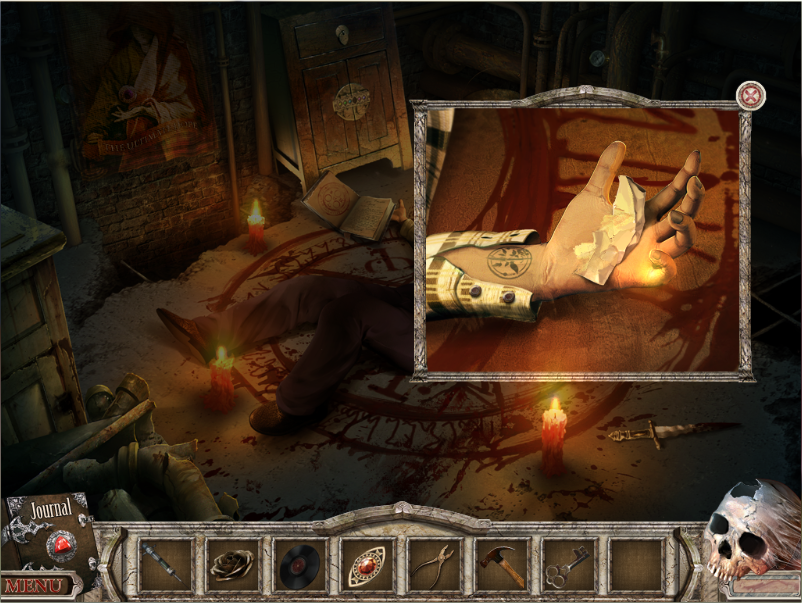
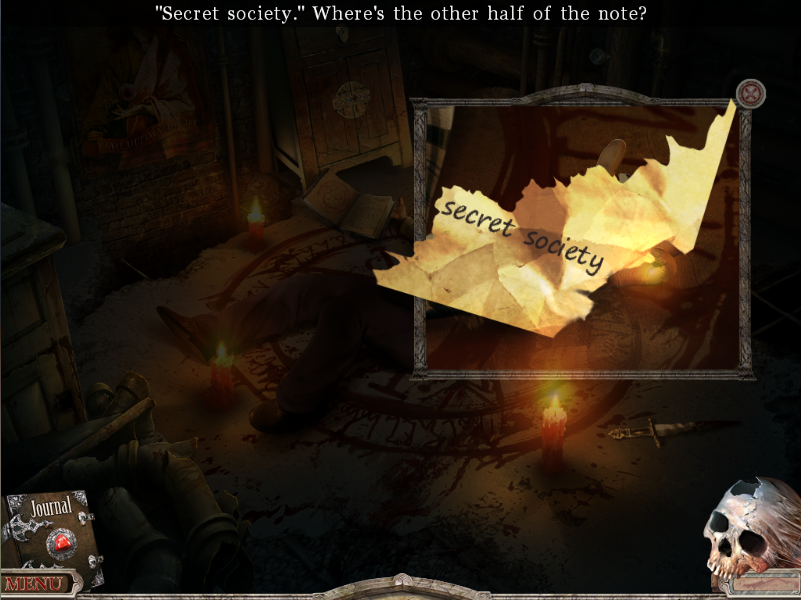
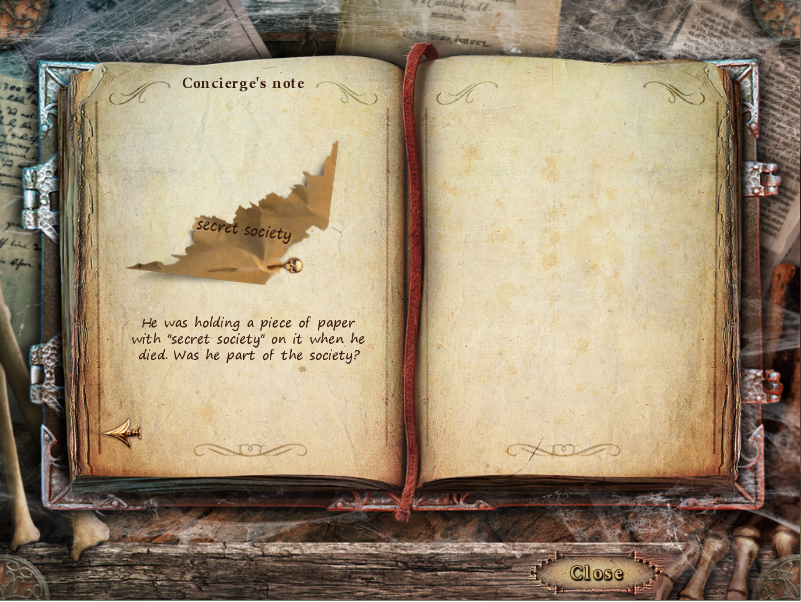
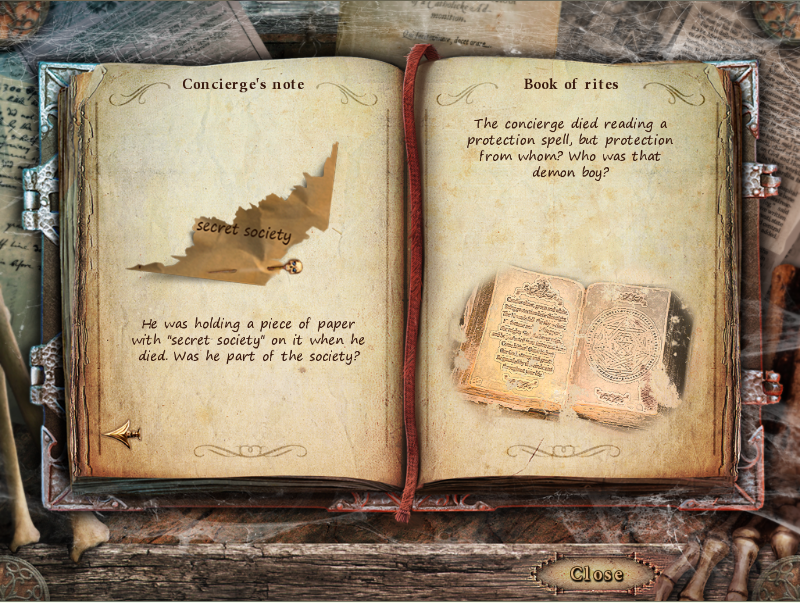
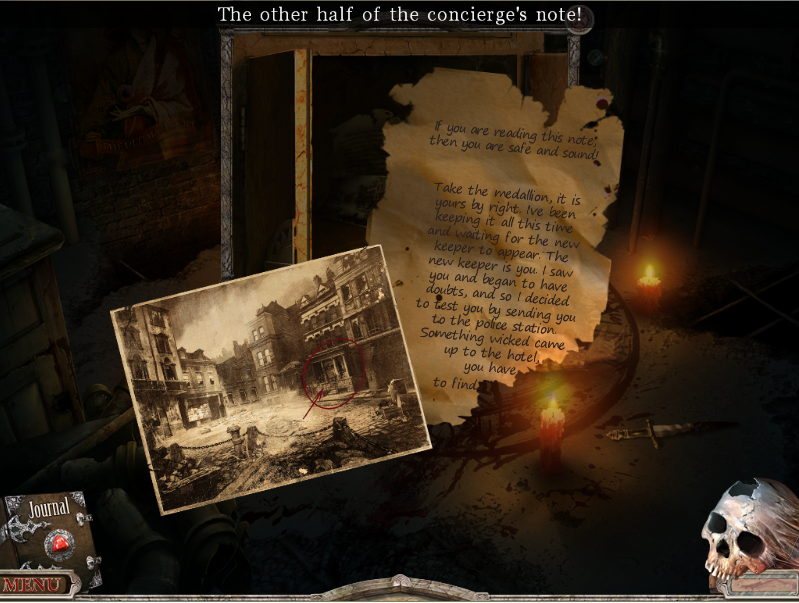
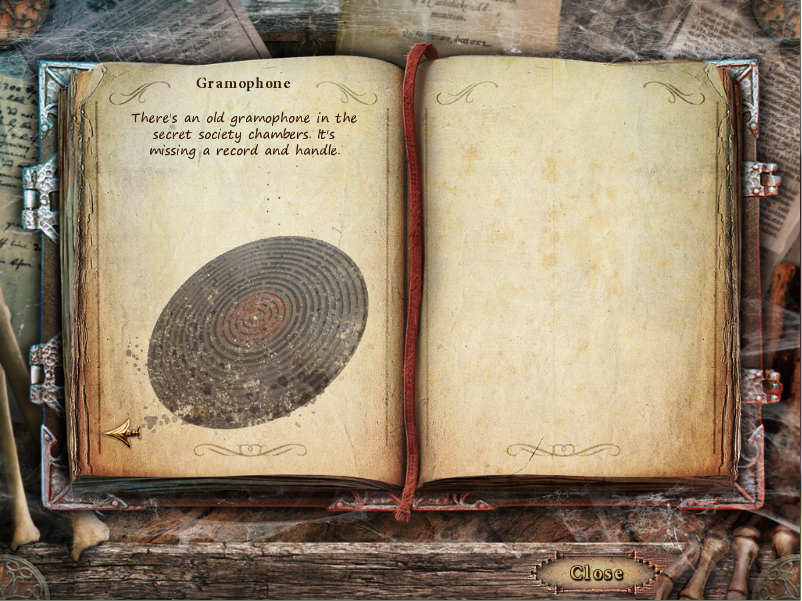
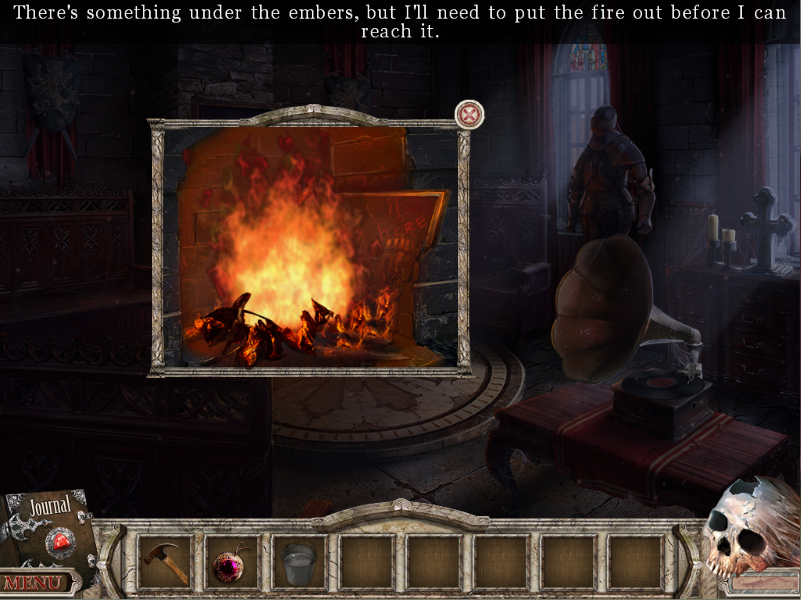
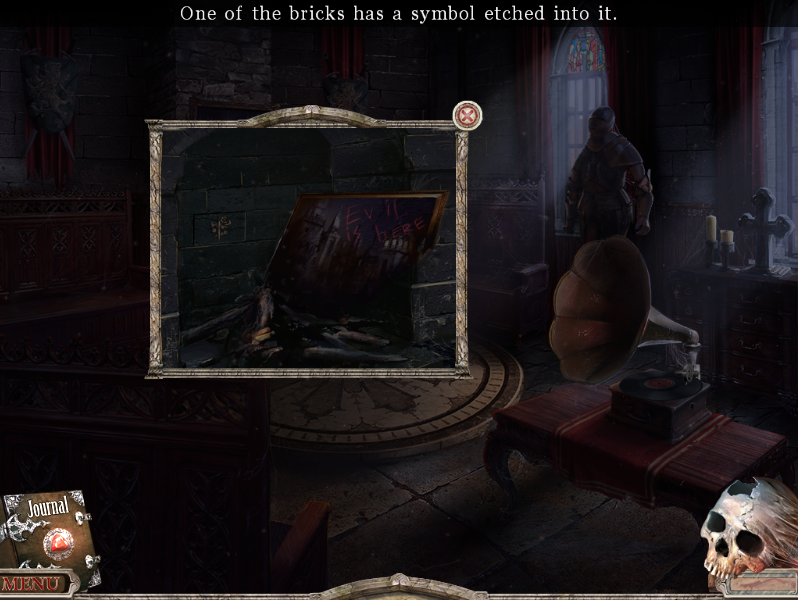
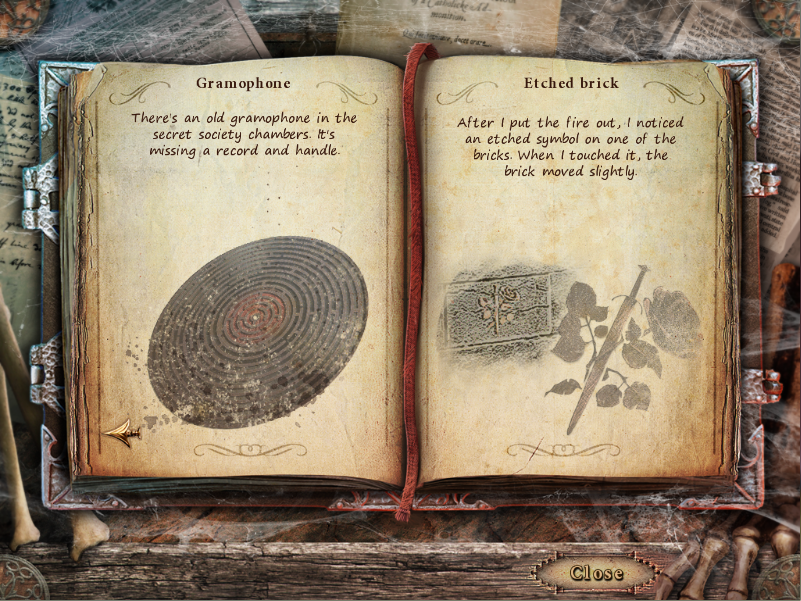
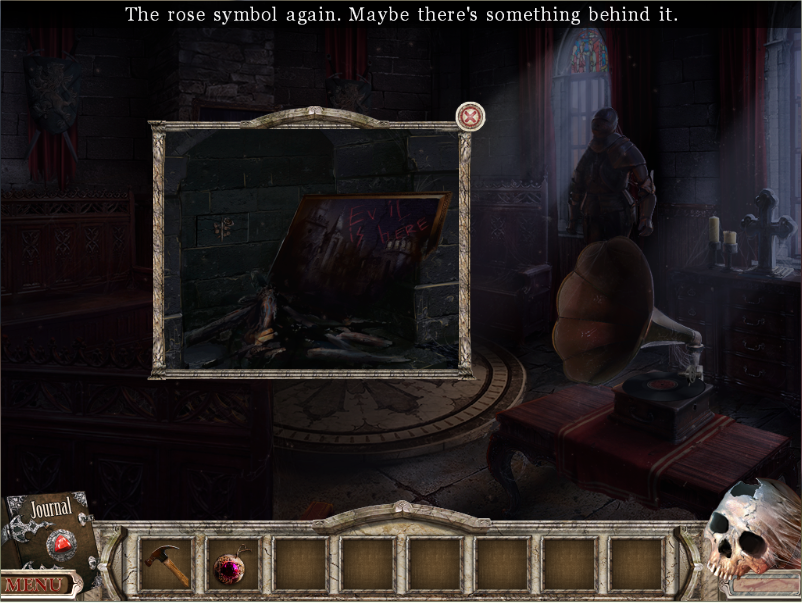
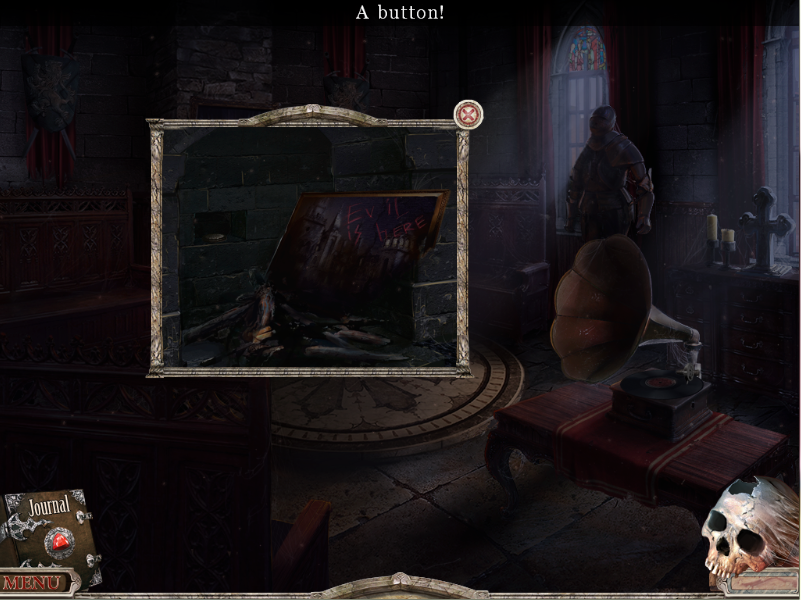
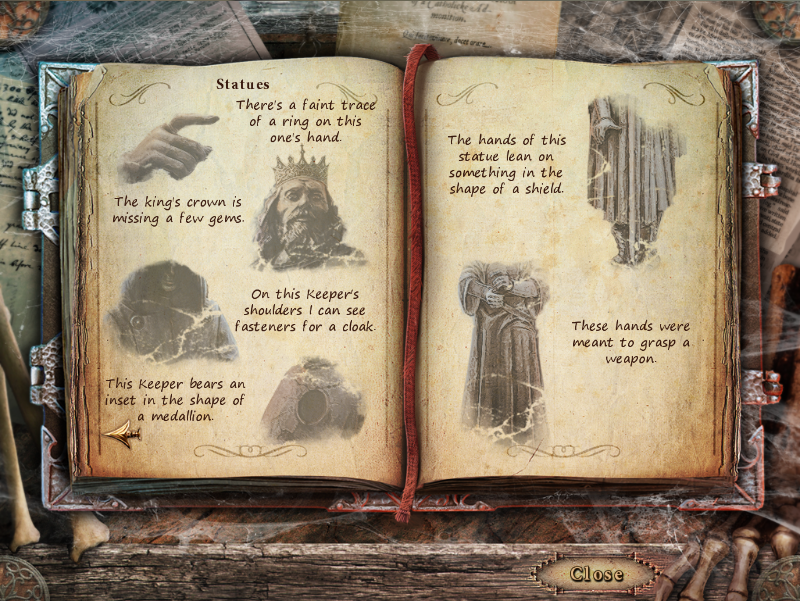
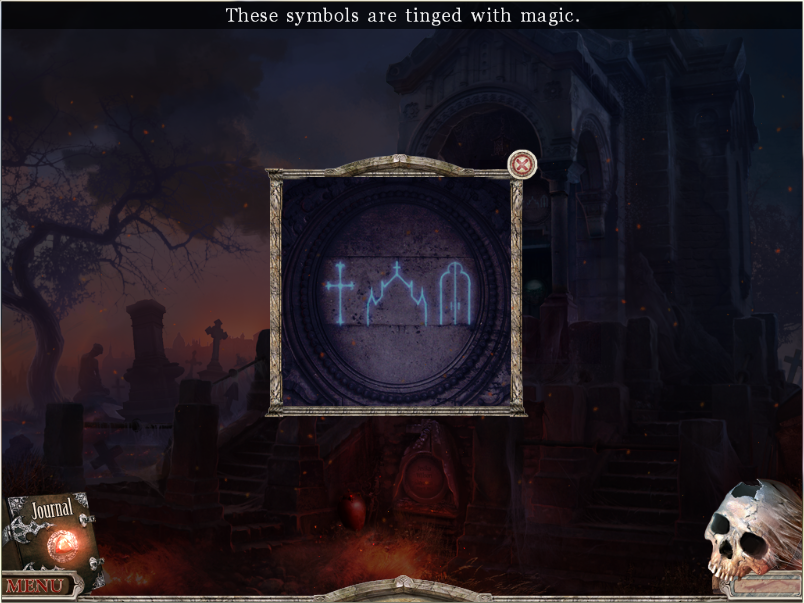
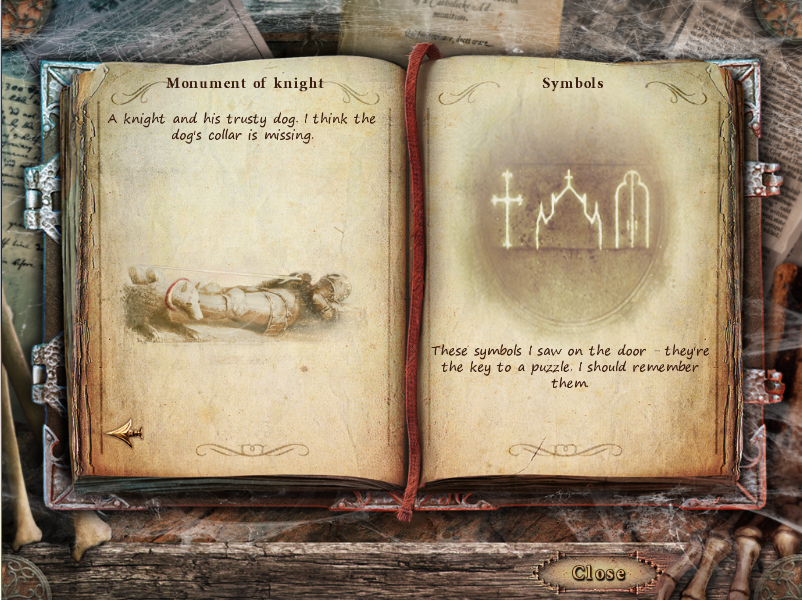
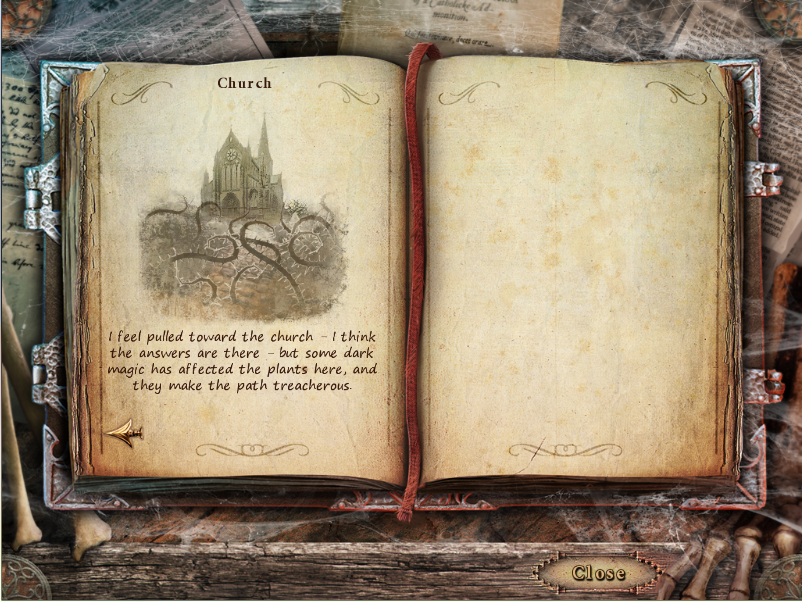
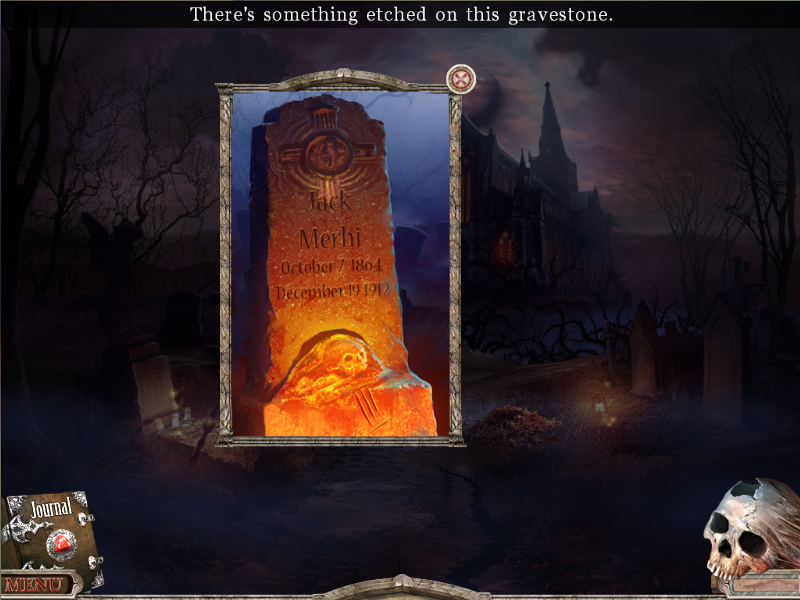
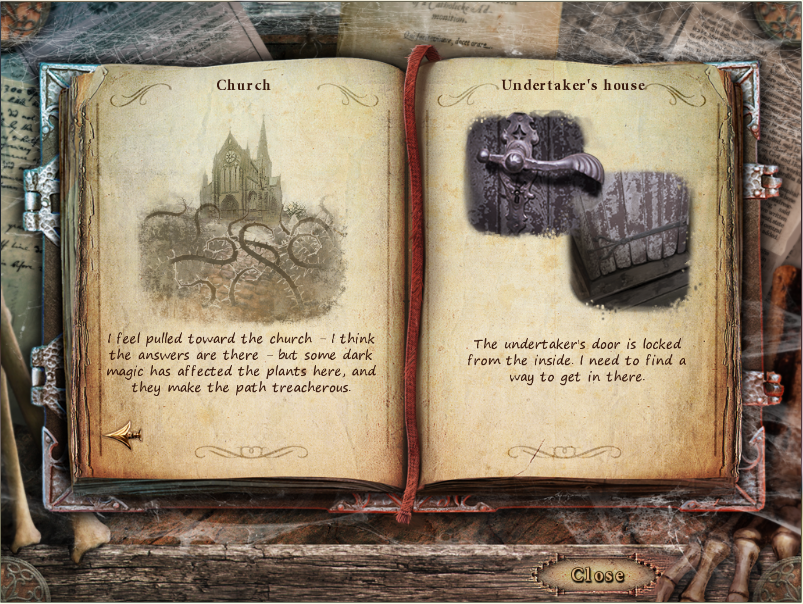
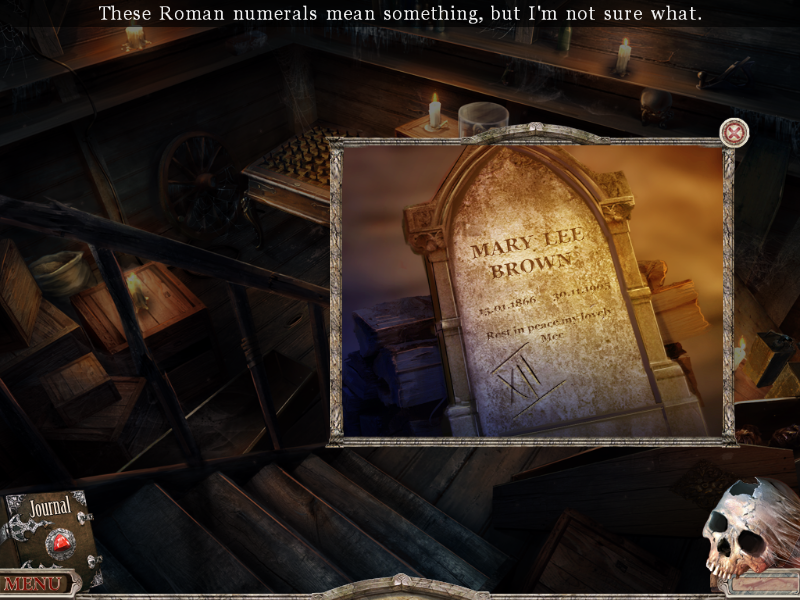
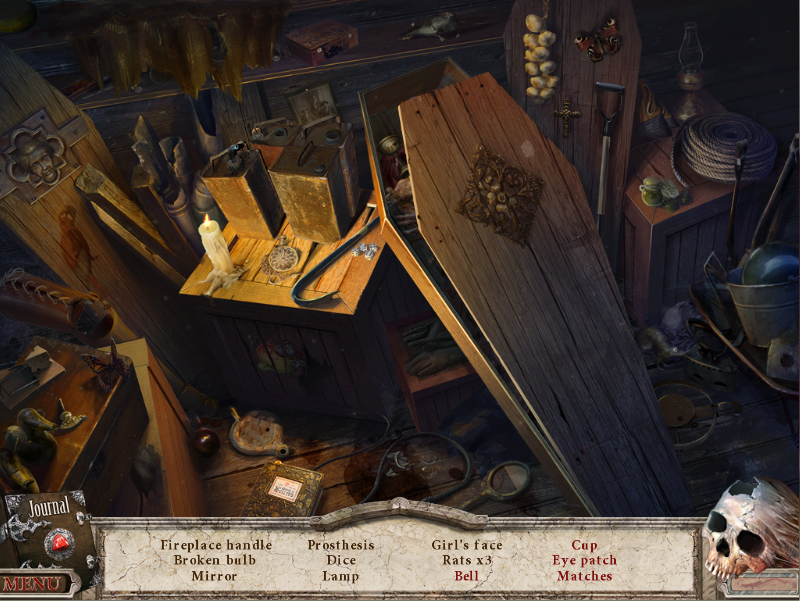
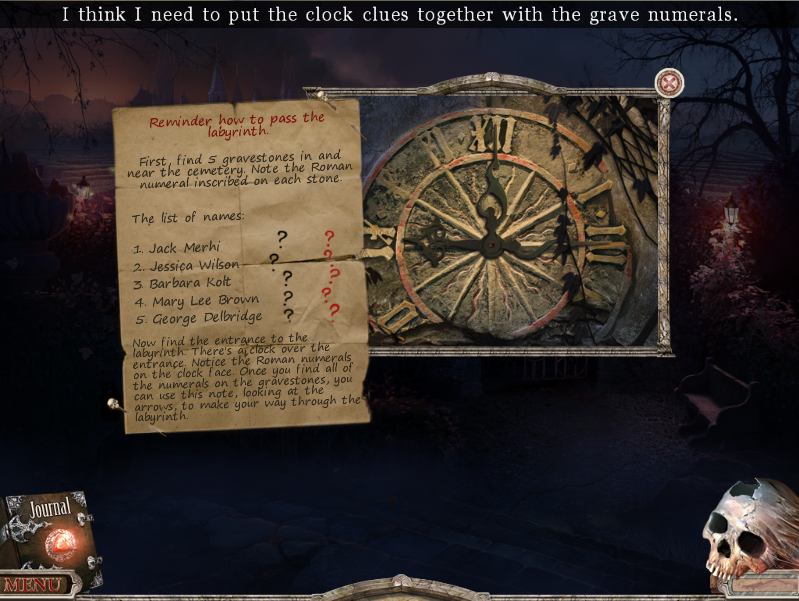
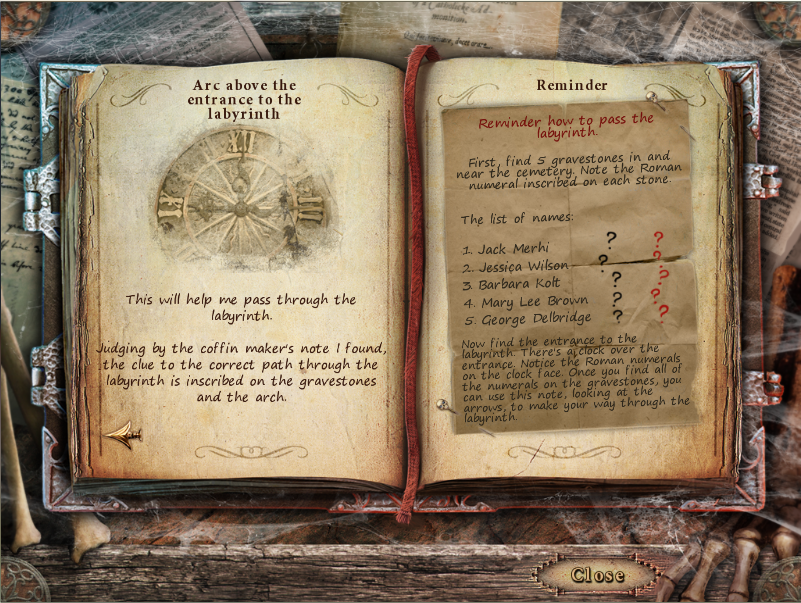
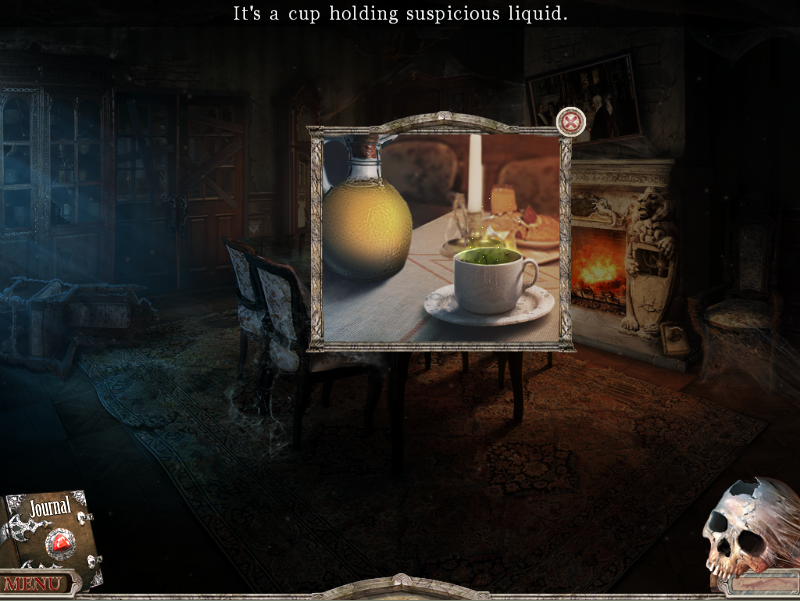
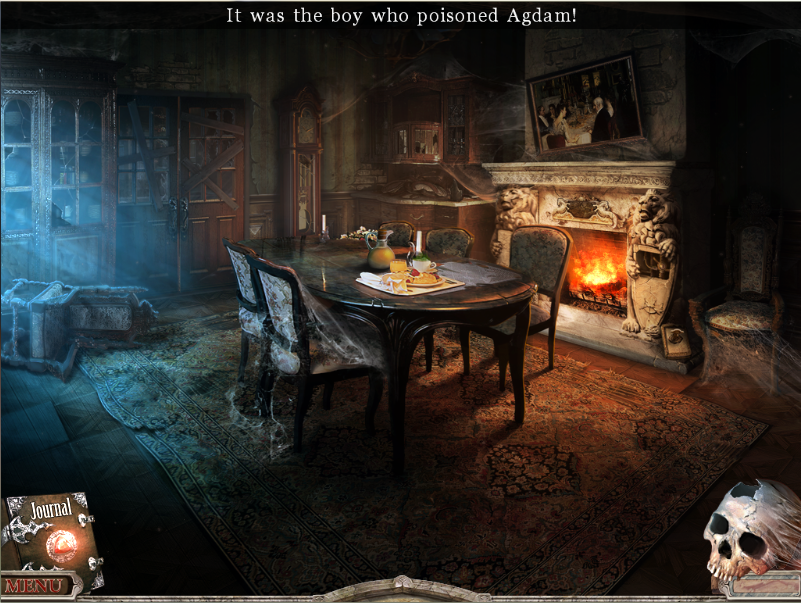
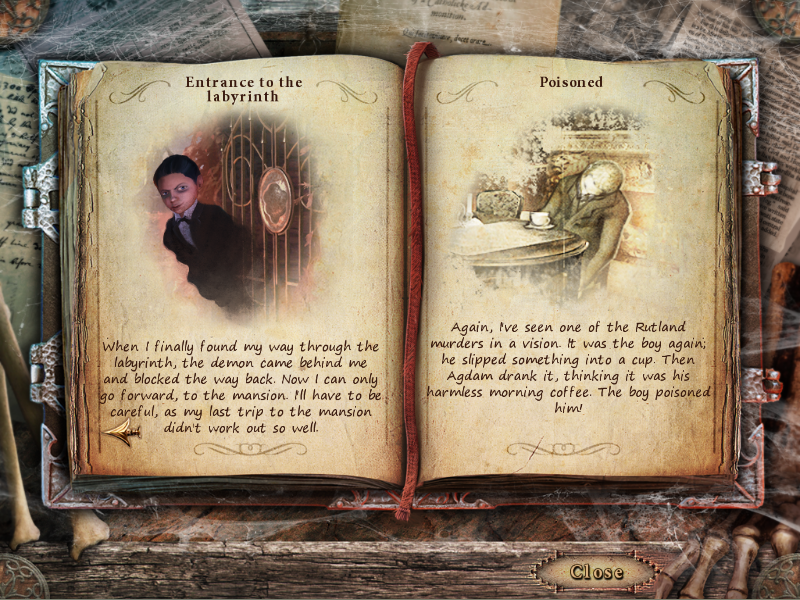
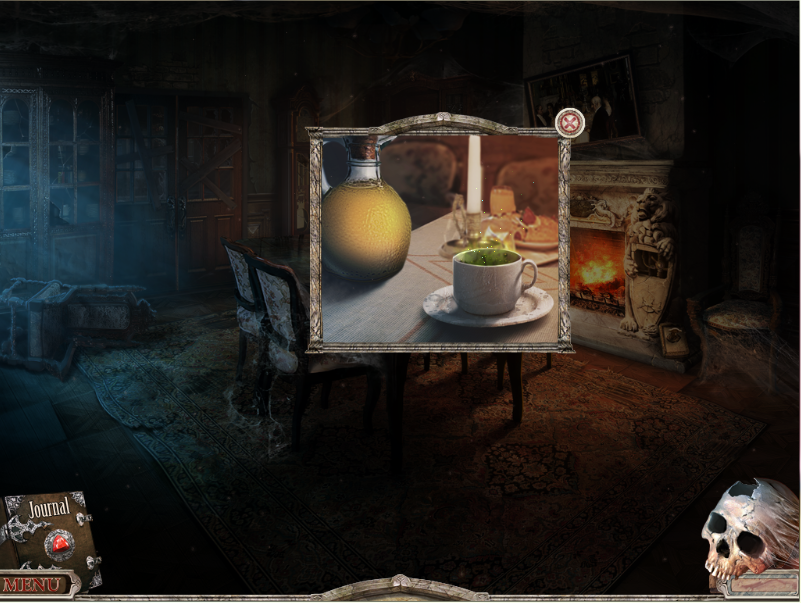
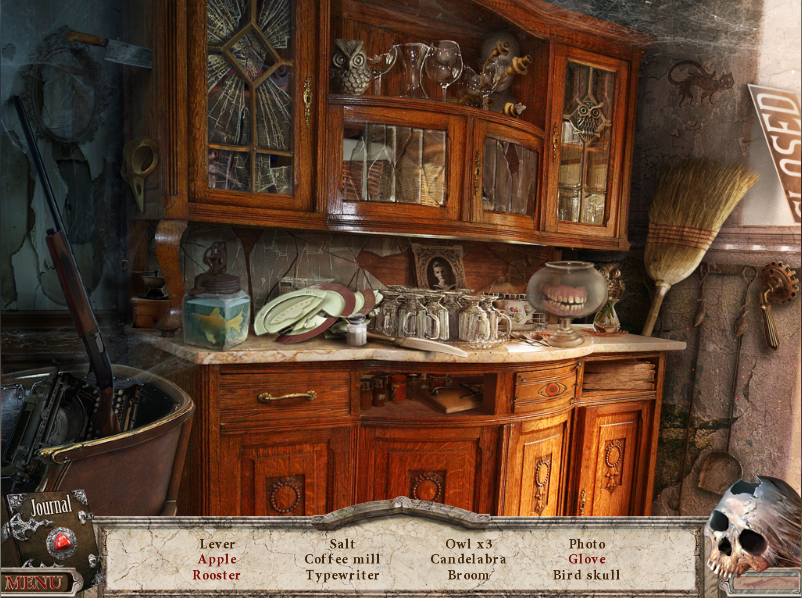
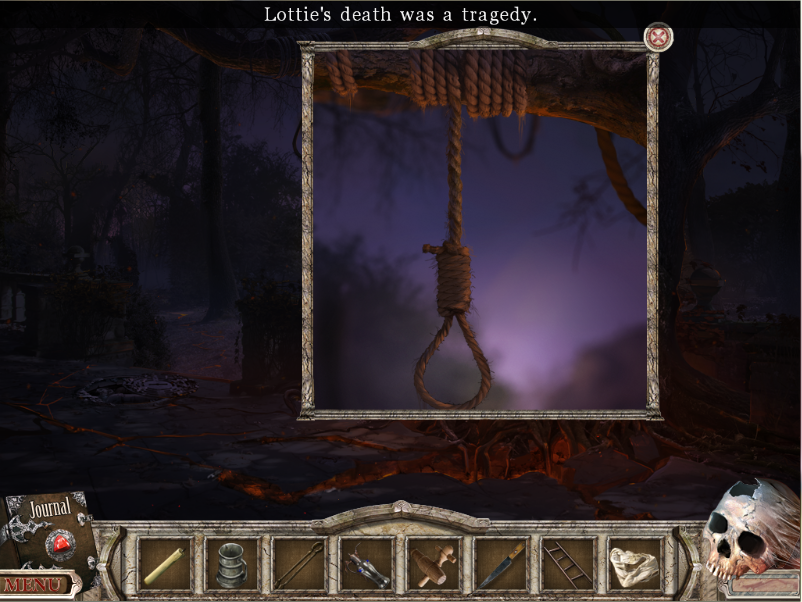
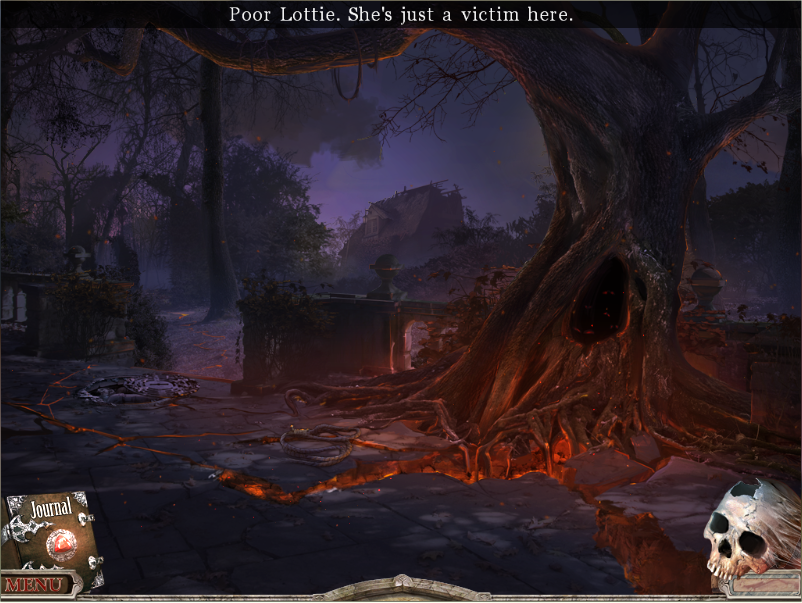
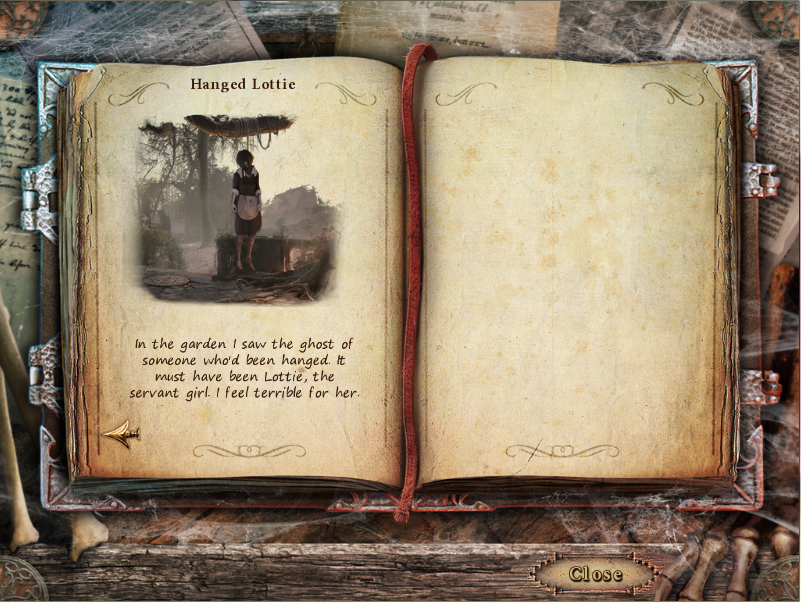
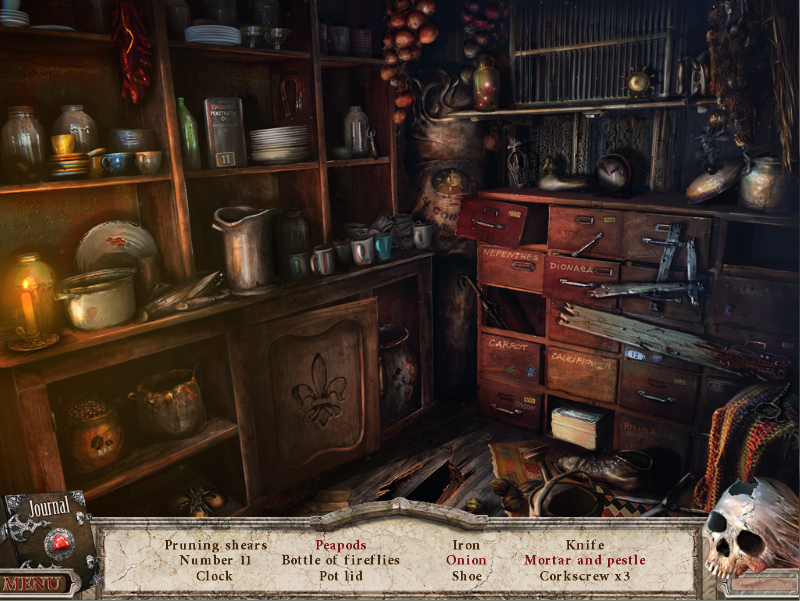
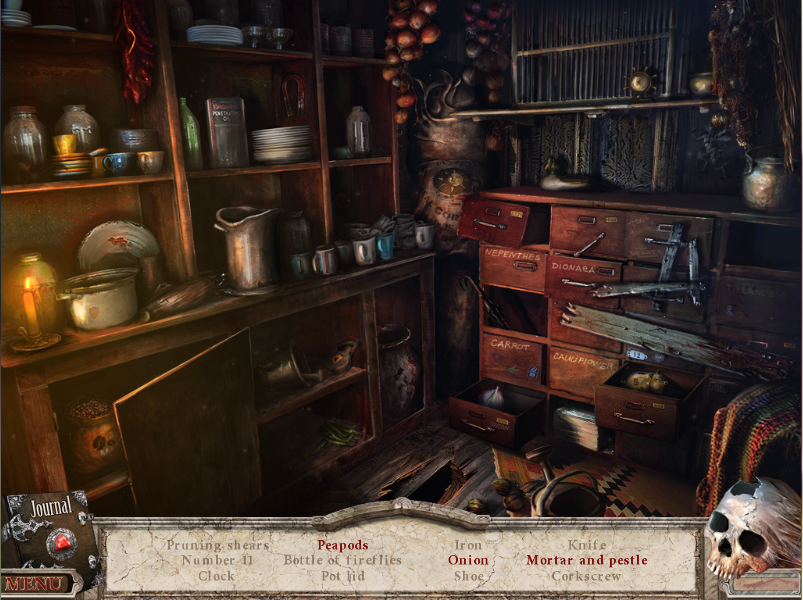
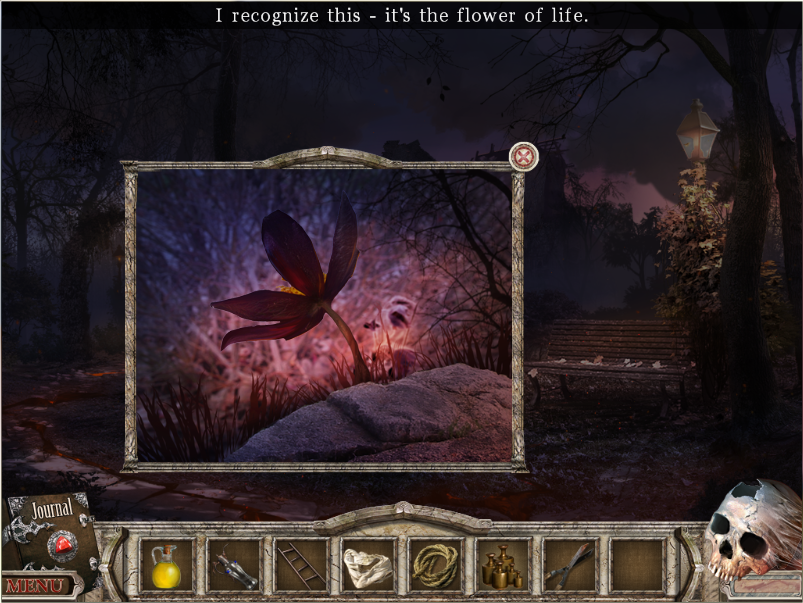
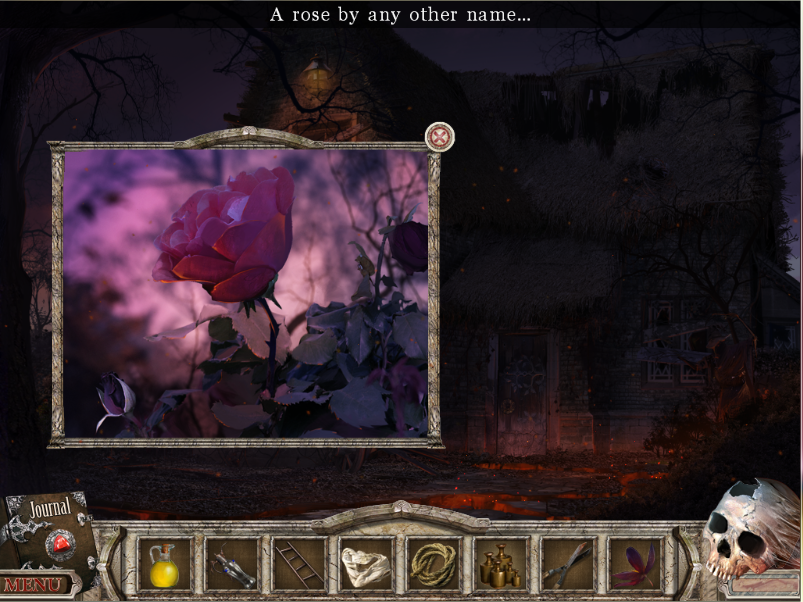
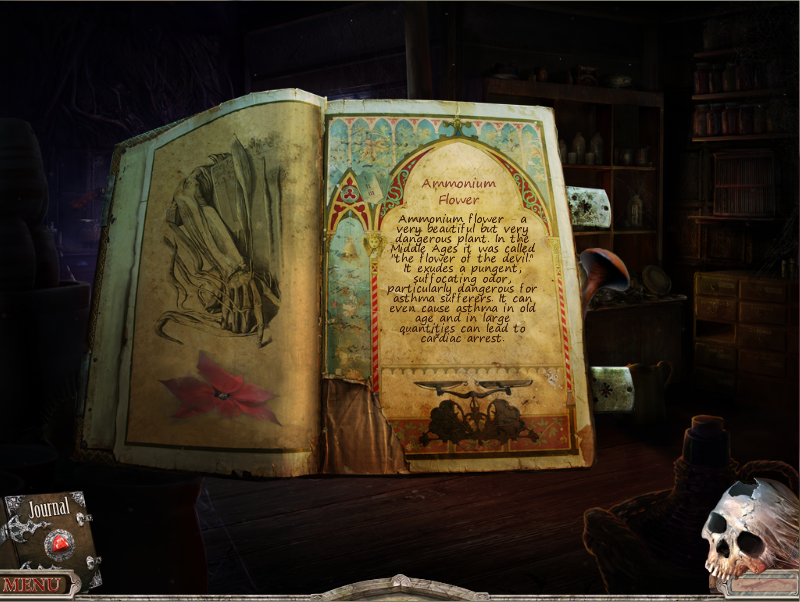
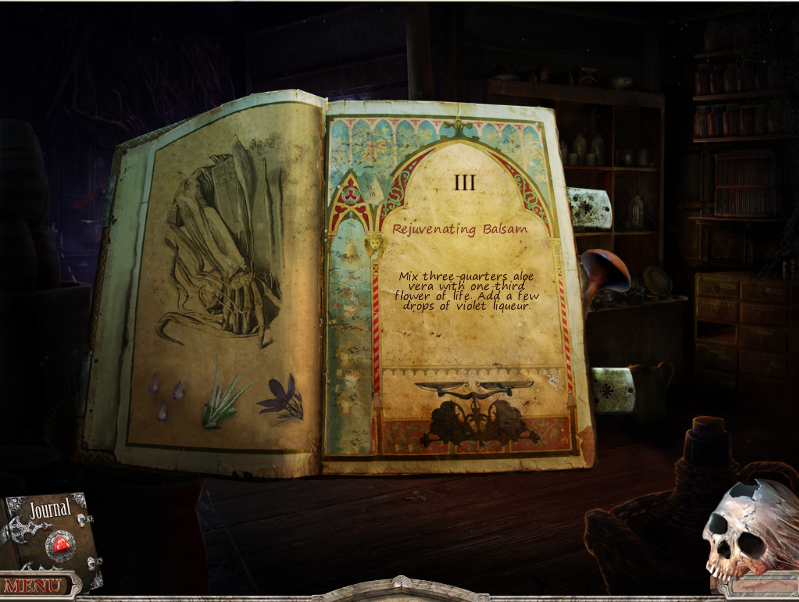
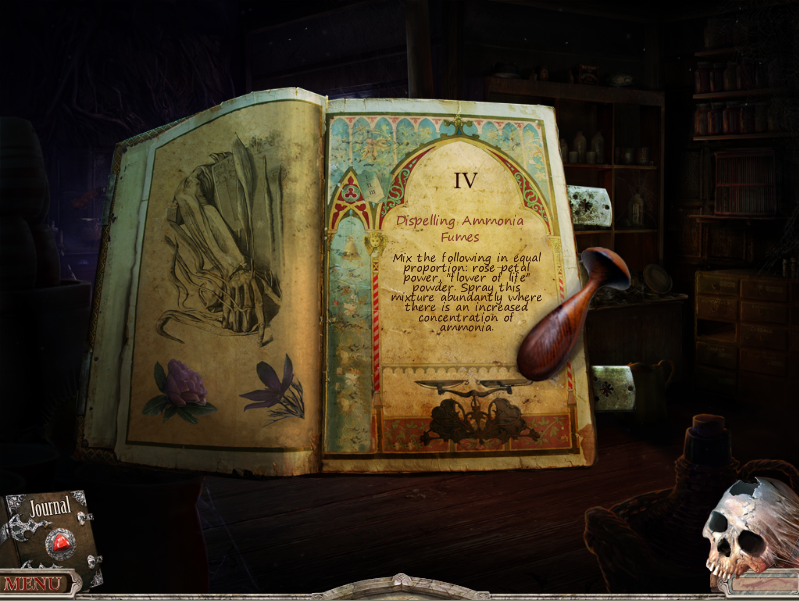
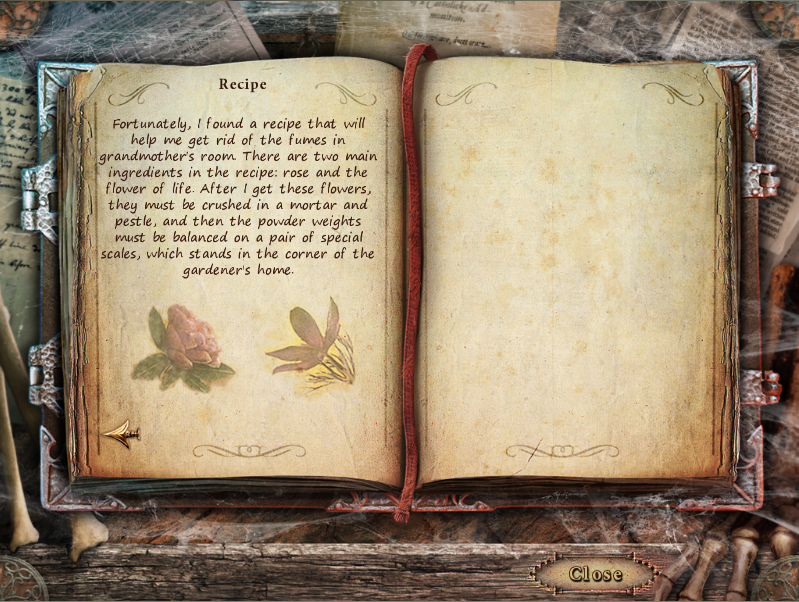
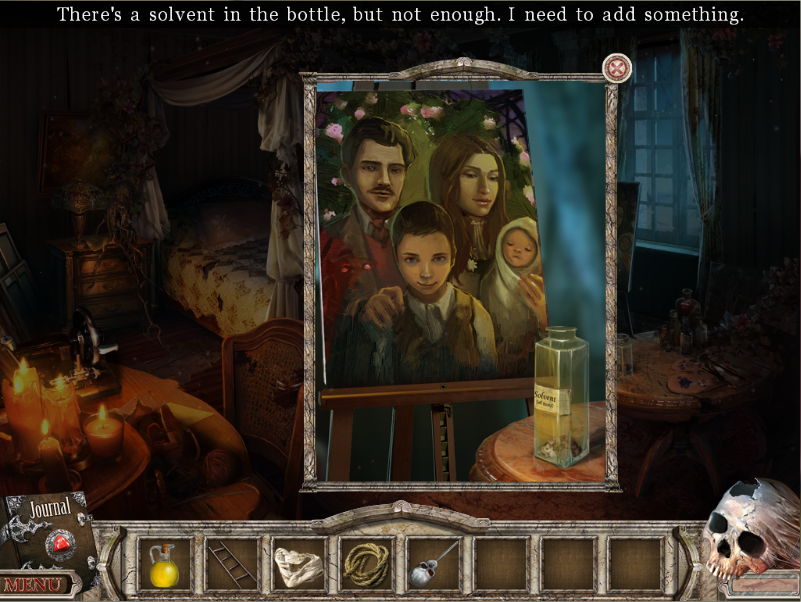
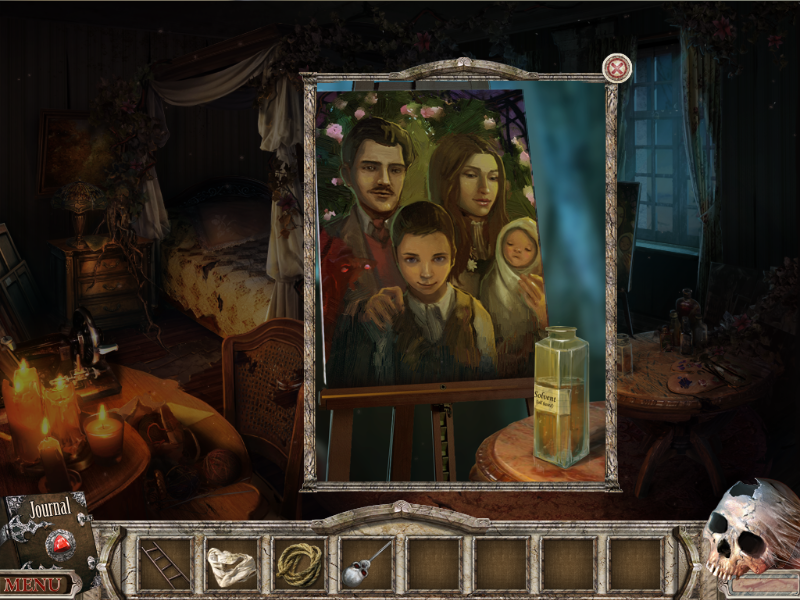
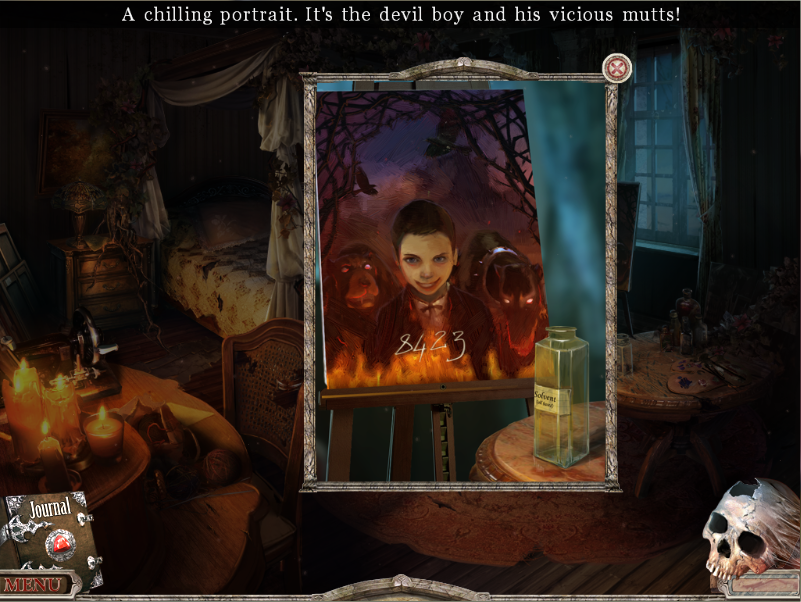
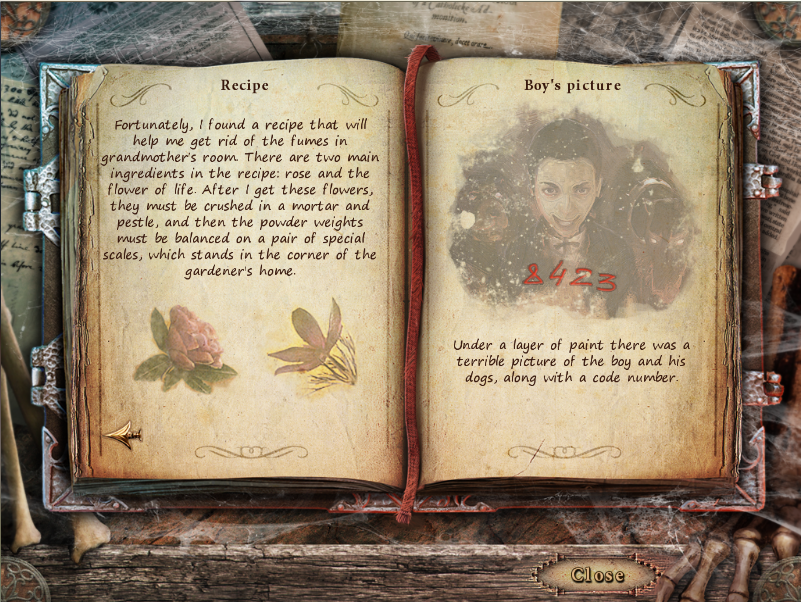
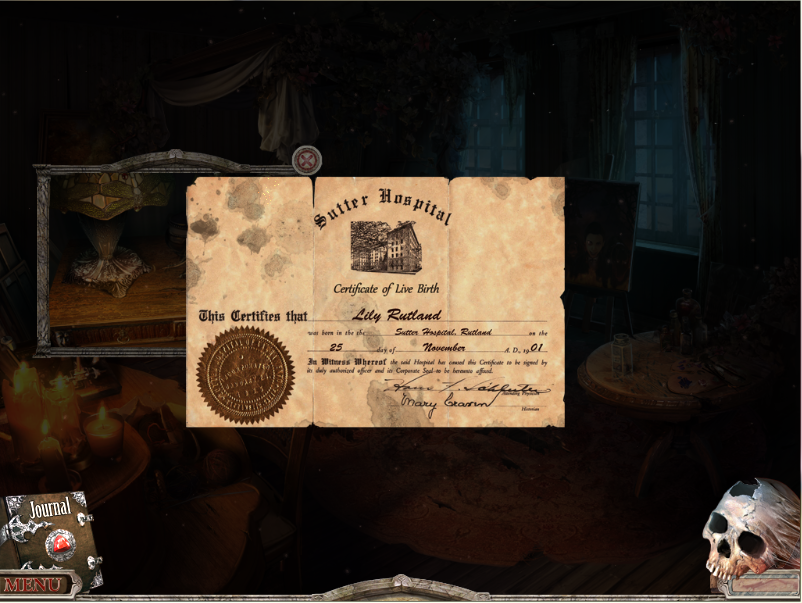
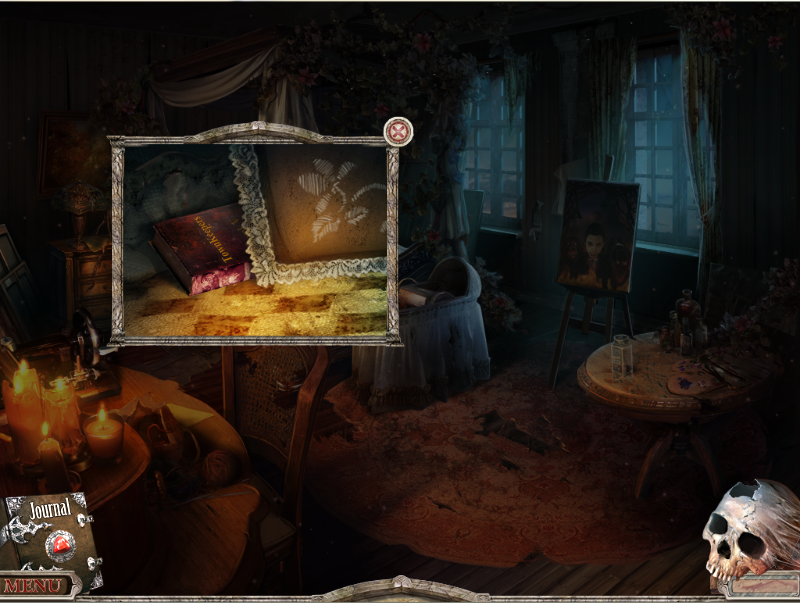
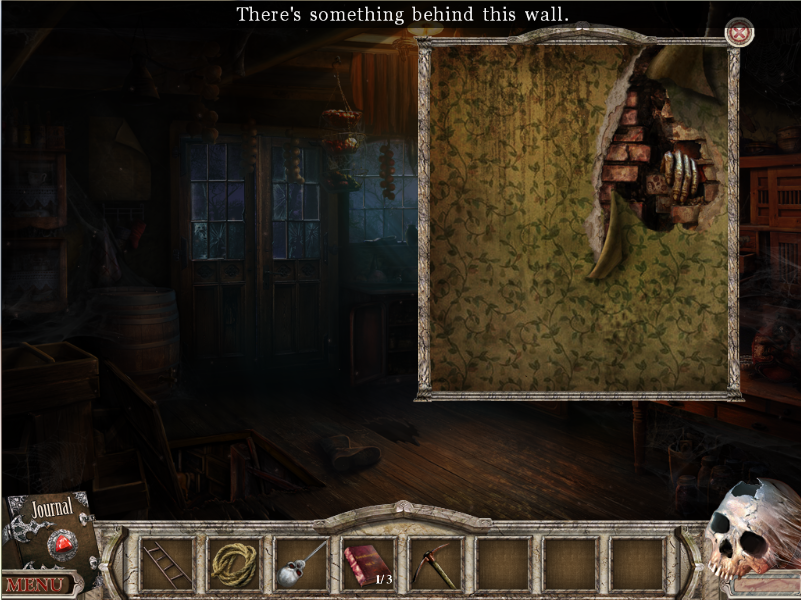
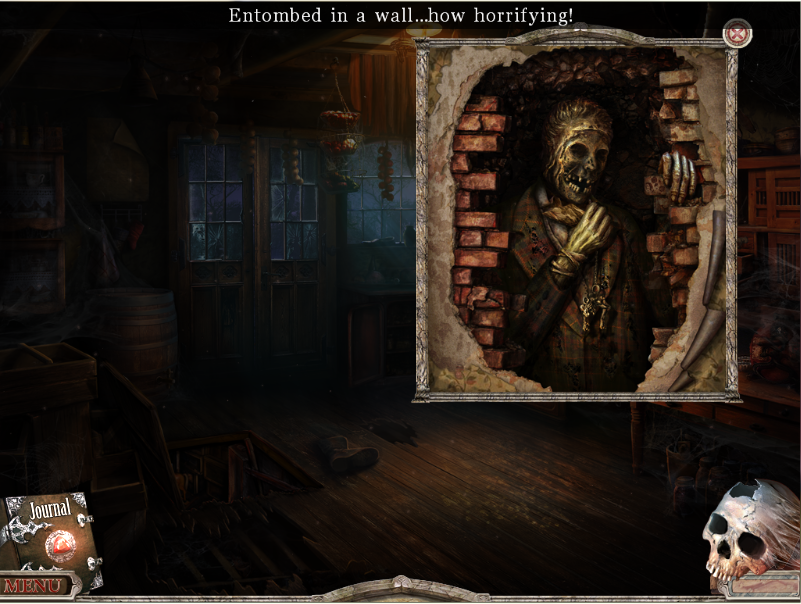
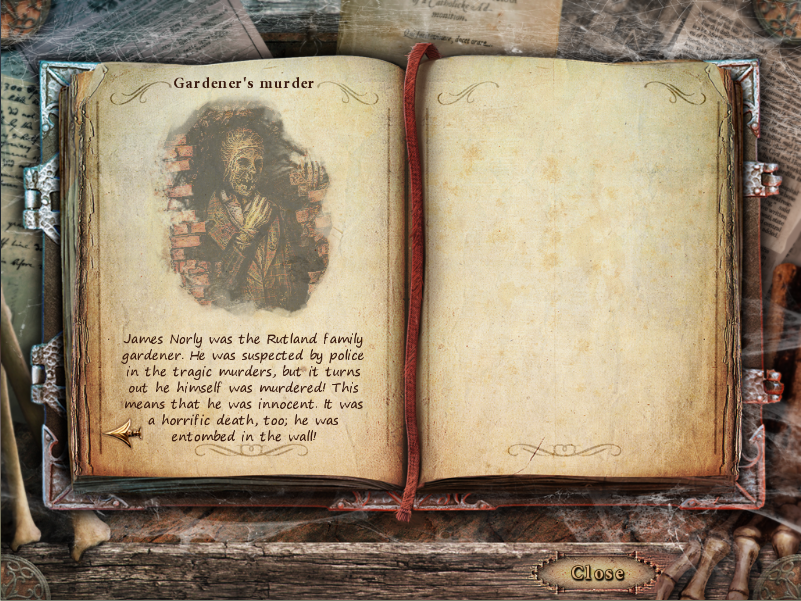
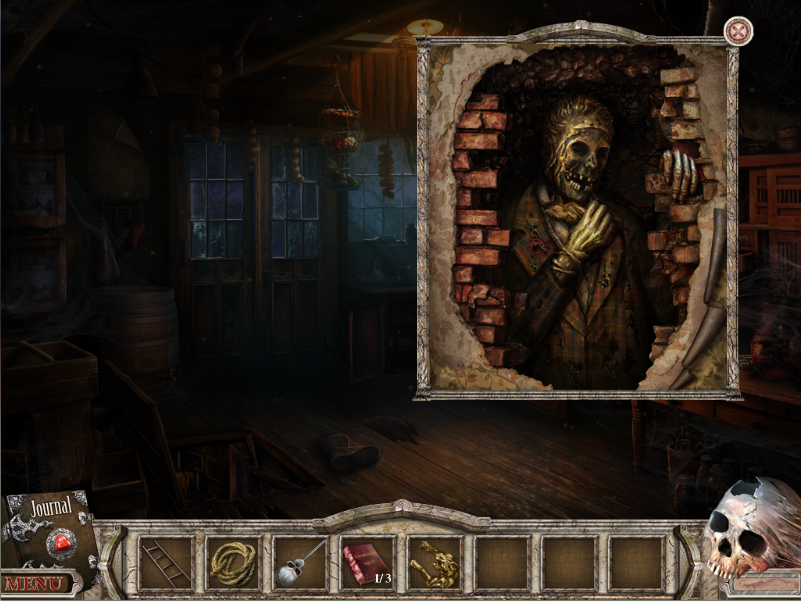
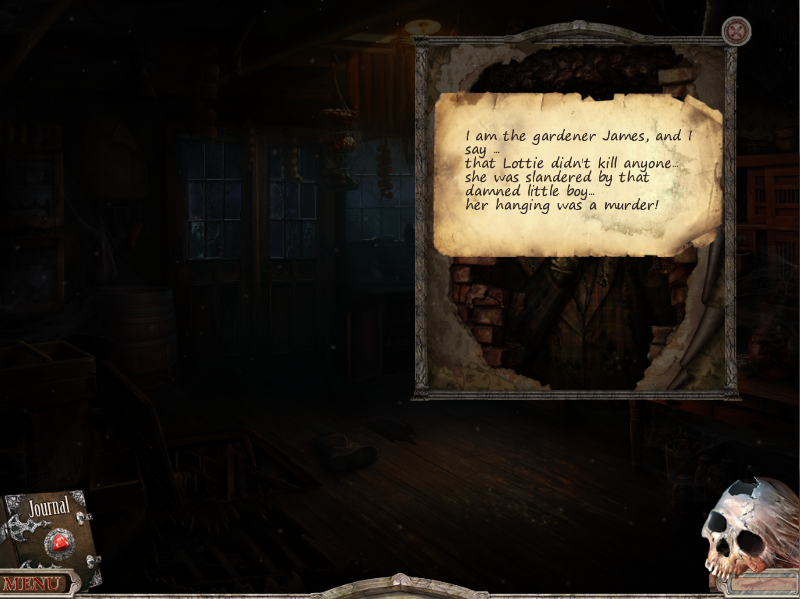
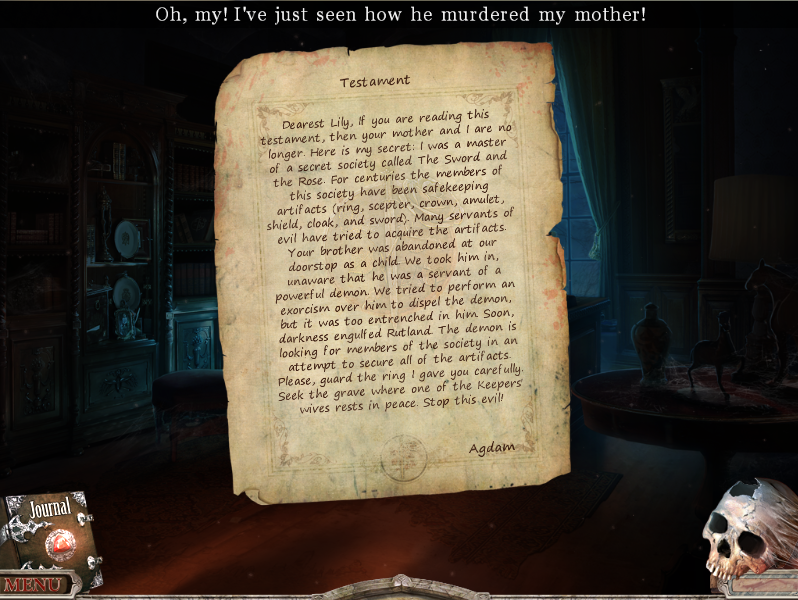
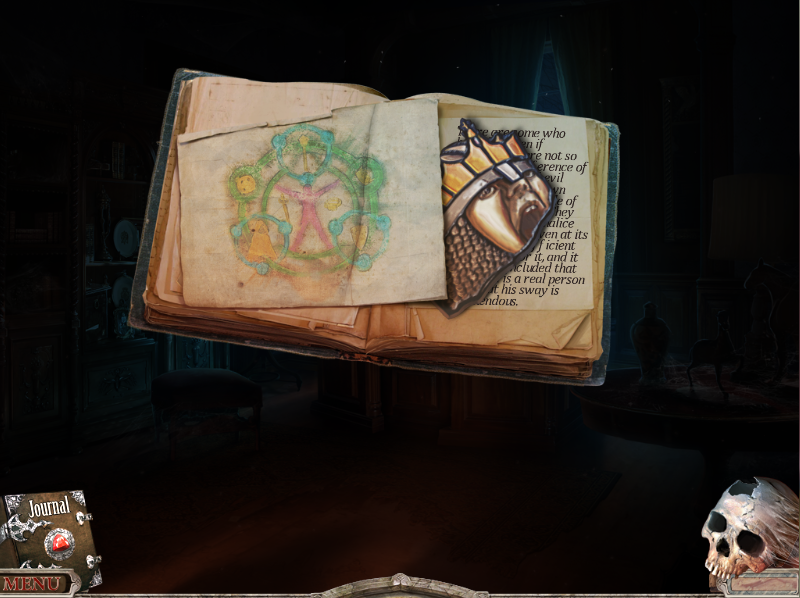
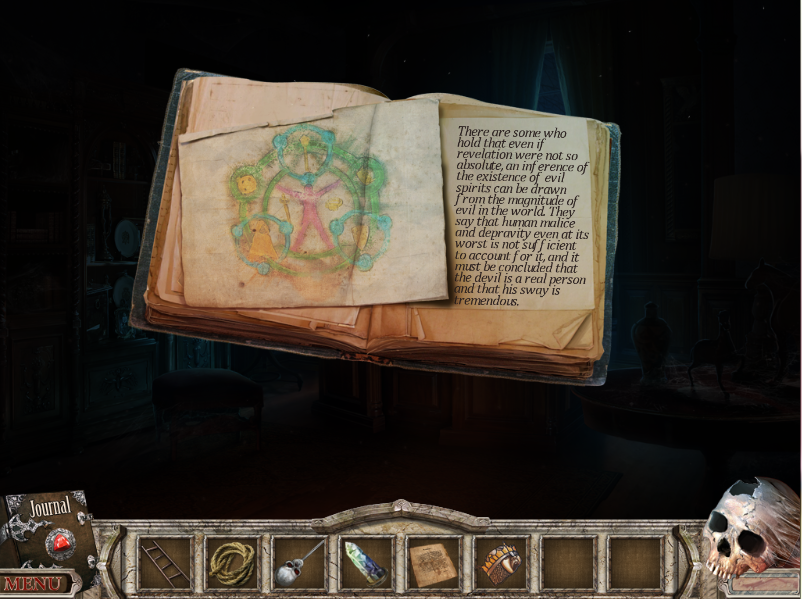
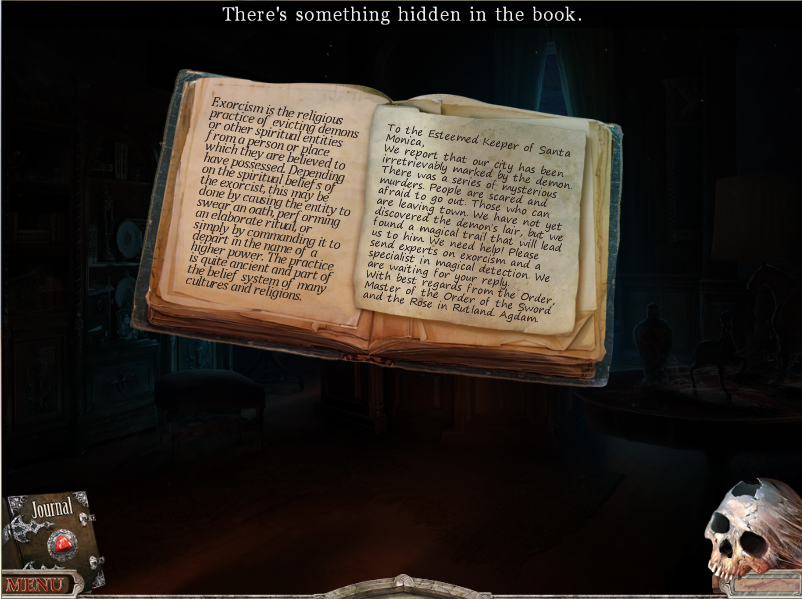
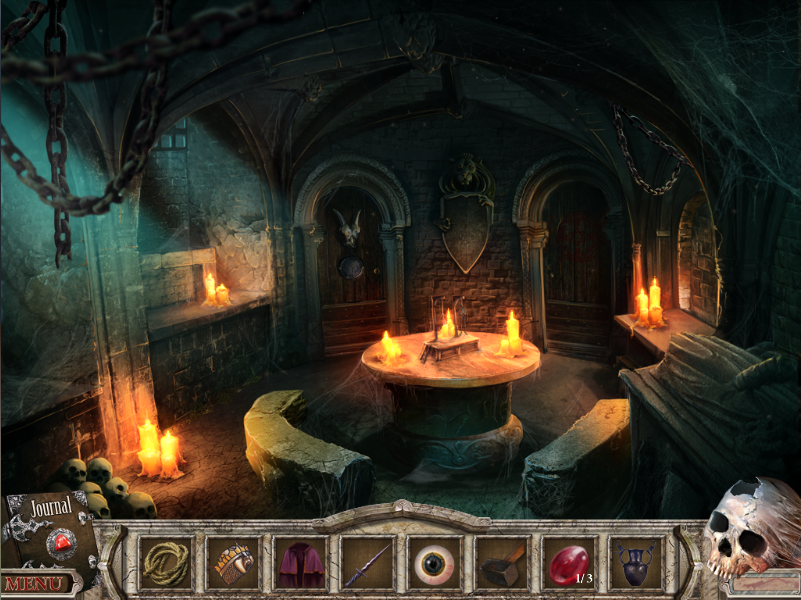
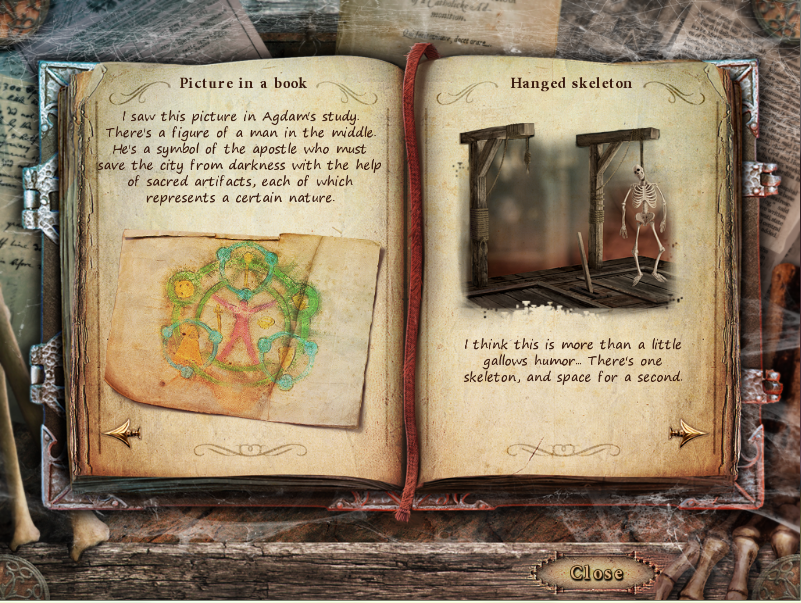
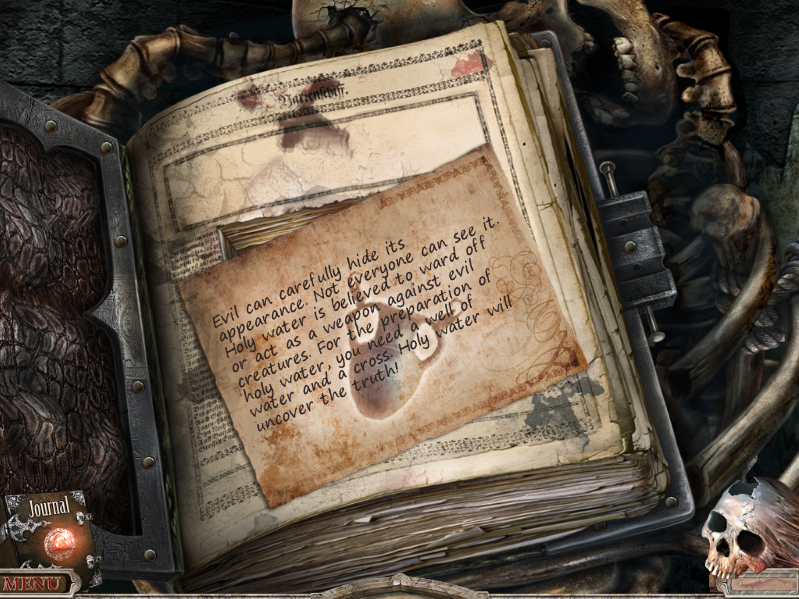
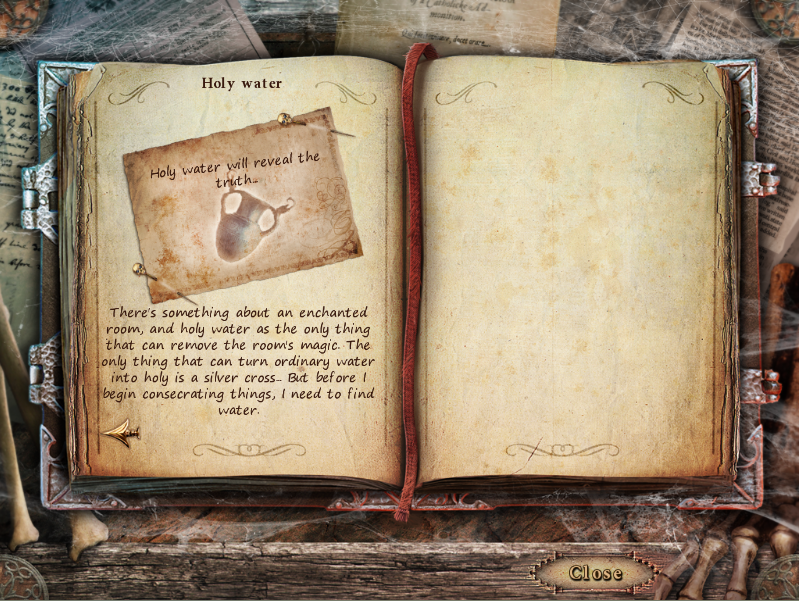
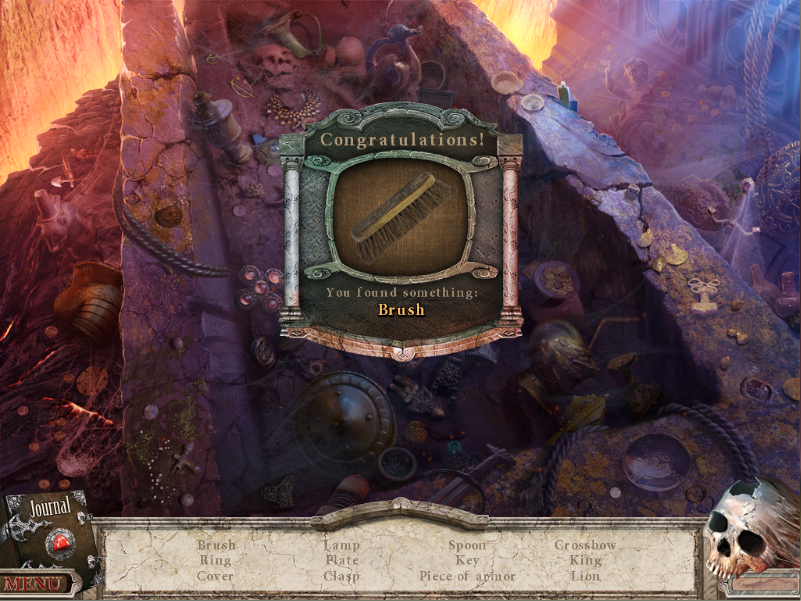
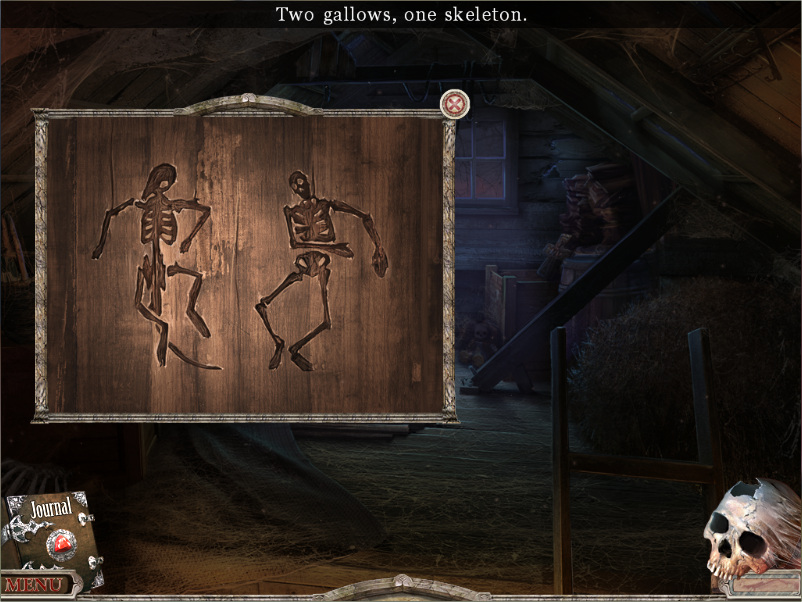
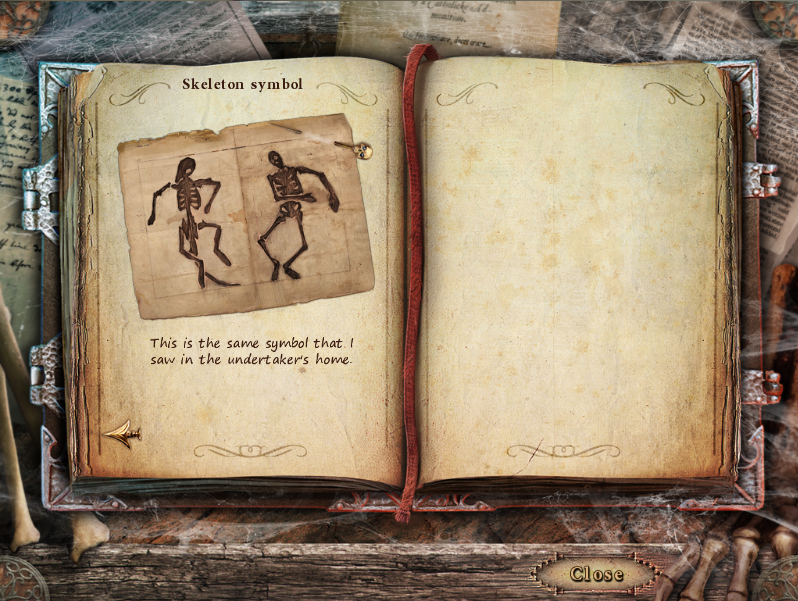
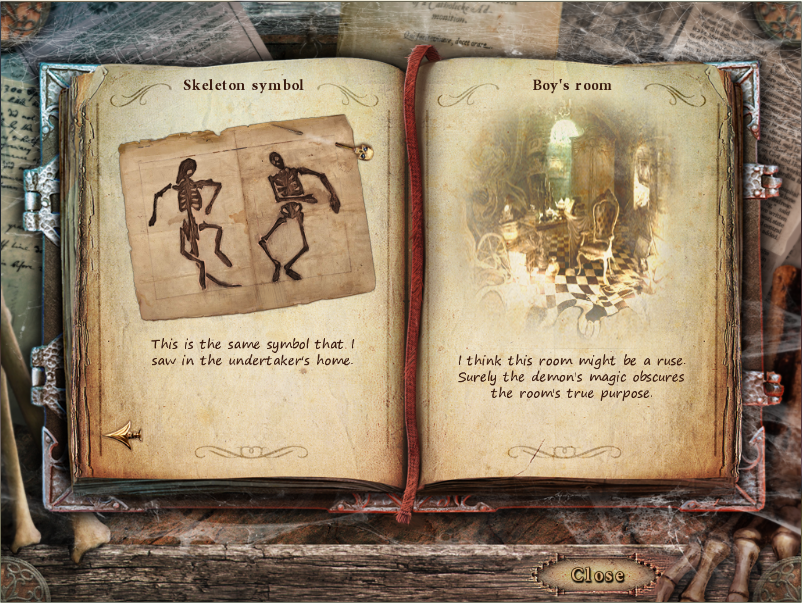
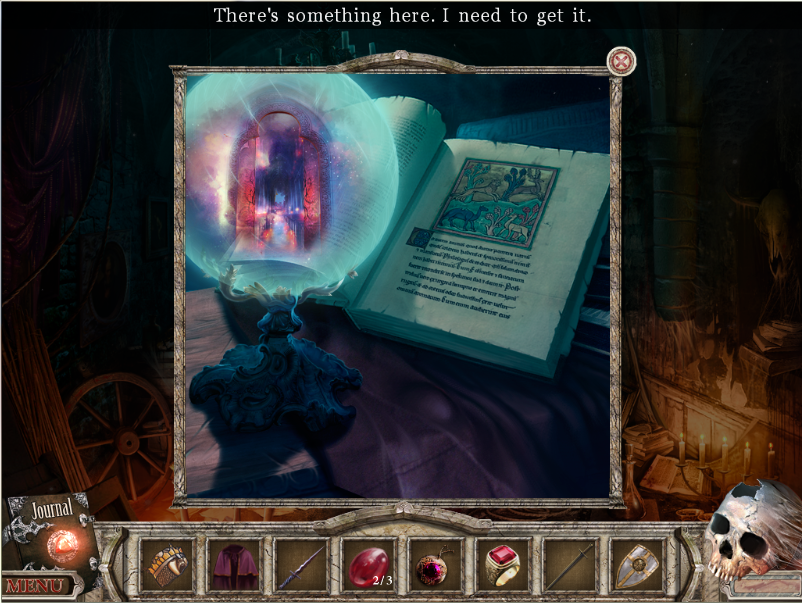
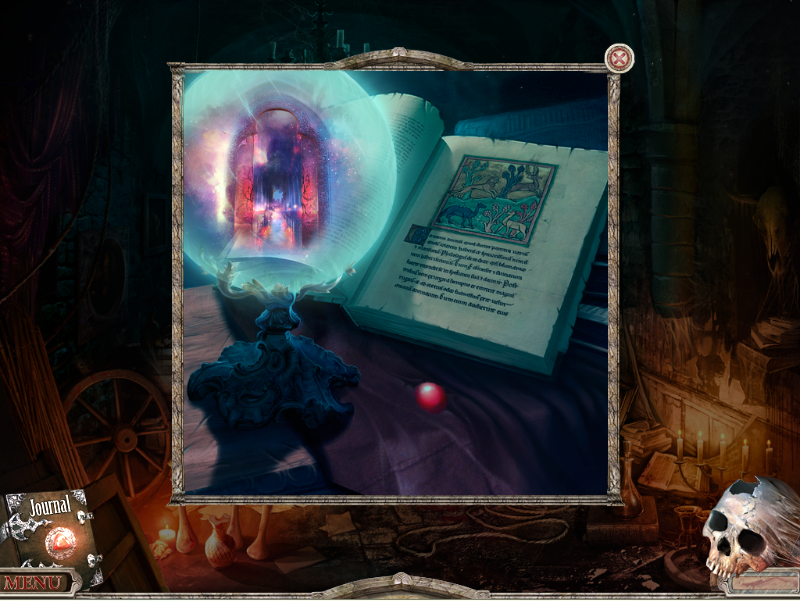
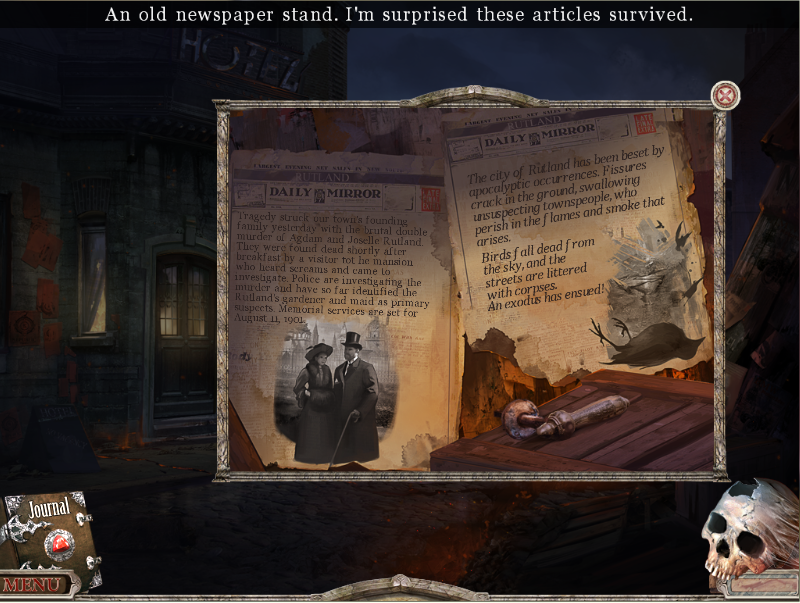
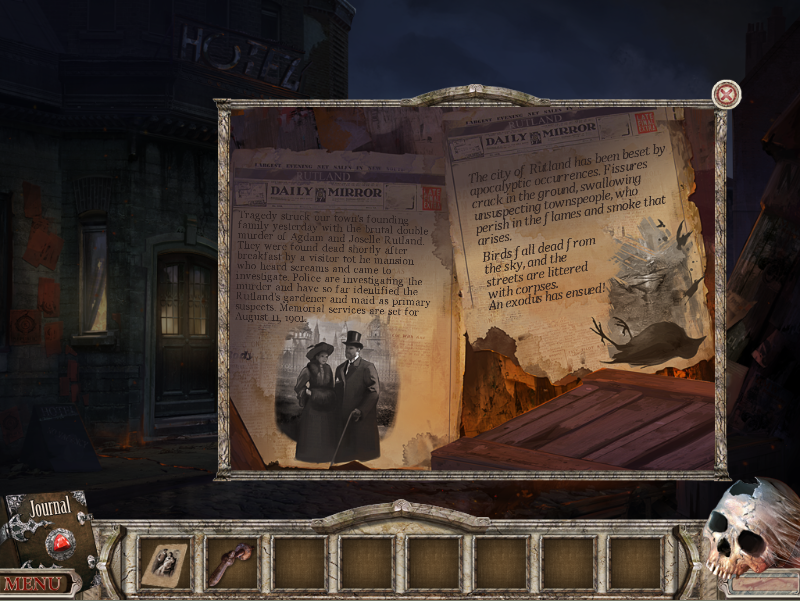
Hmmm, these newspaper stories are pertinent, my journal has been updated. The journal doesn't only record bits of the story, it also logs some puzzle discoveries, (discovered) clues to puzzles and anything else the game feels its important for you to know:
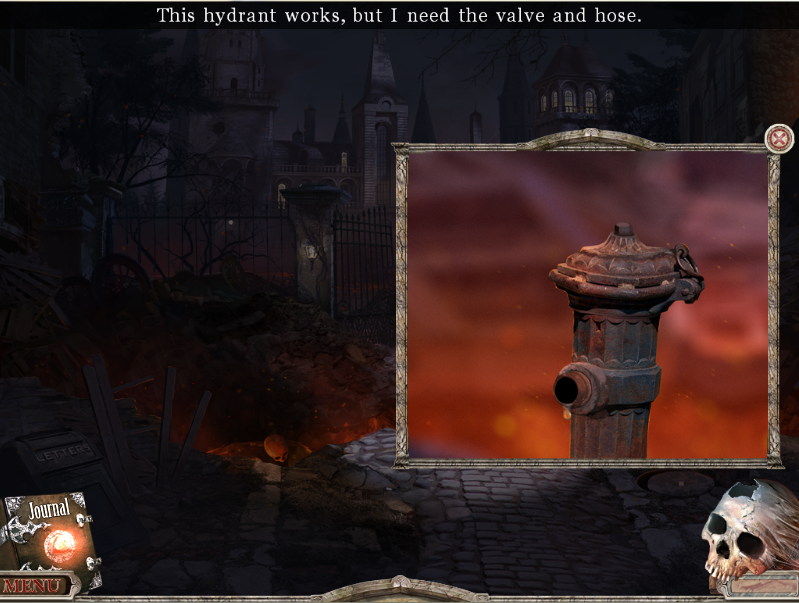
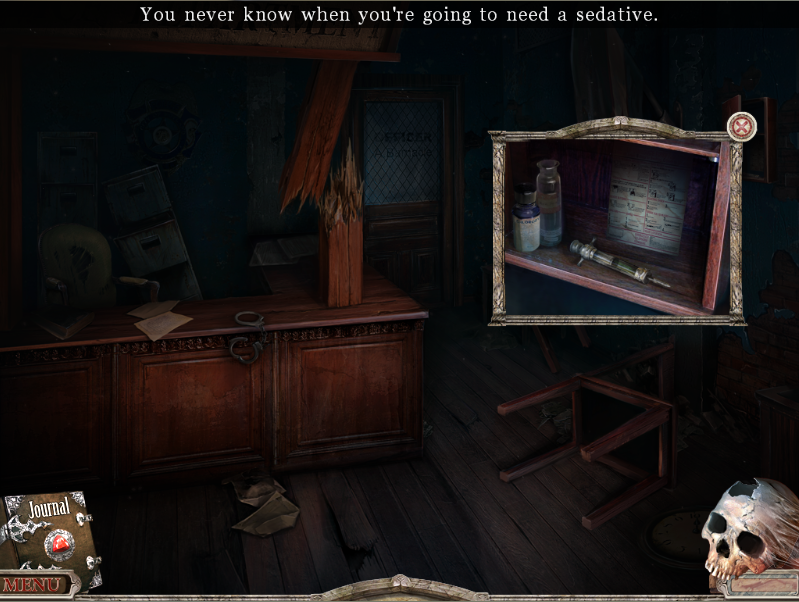
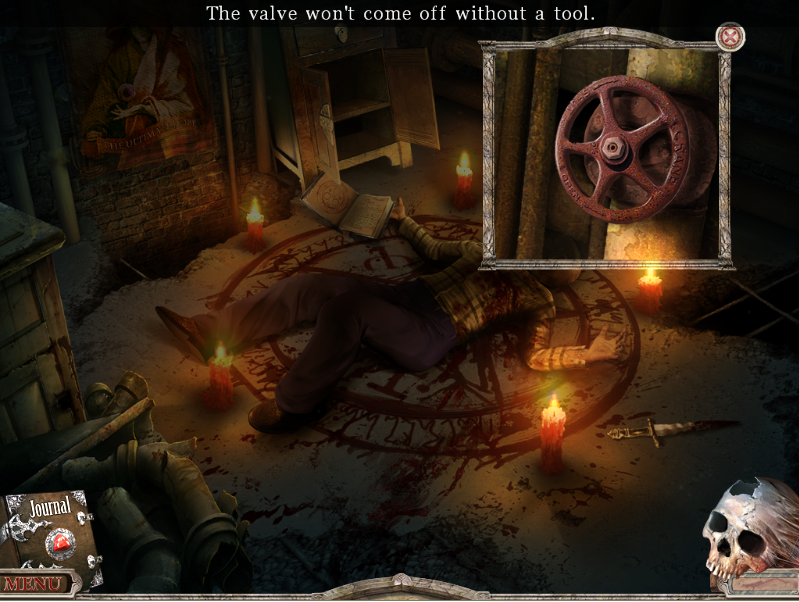
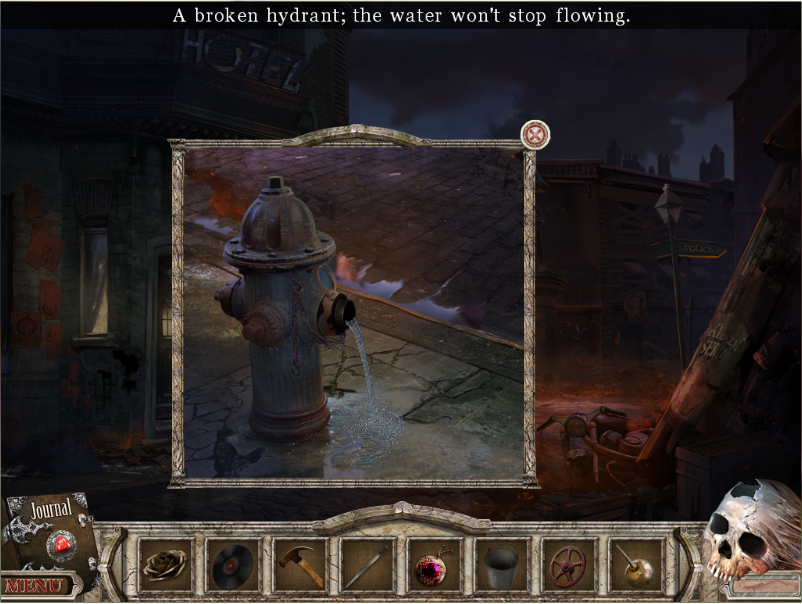
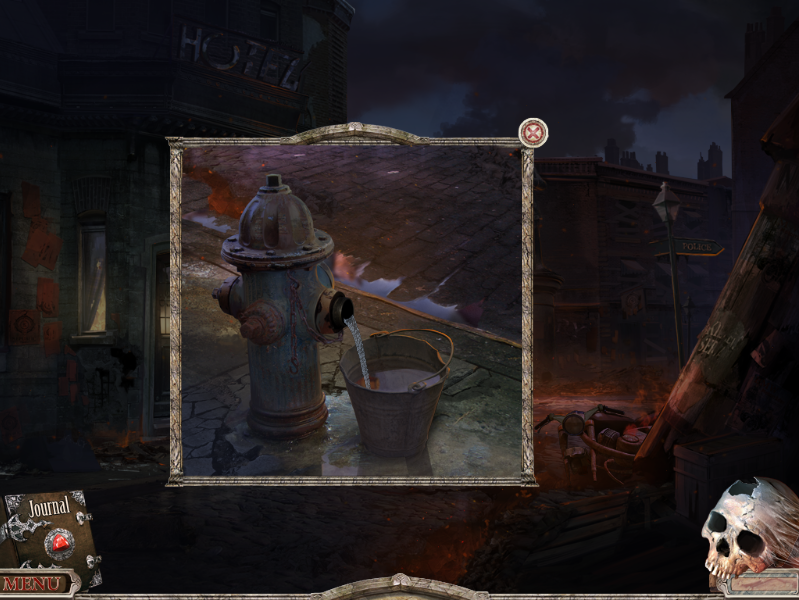
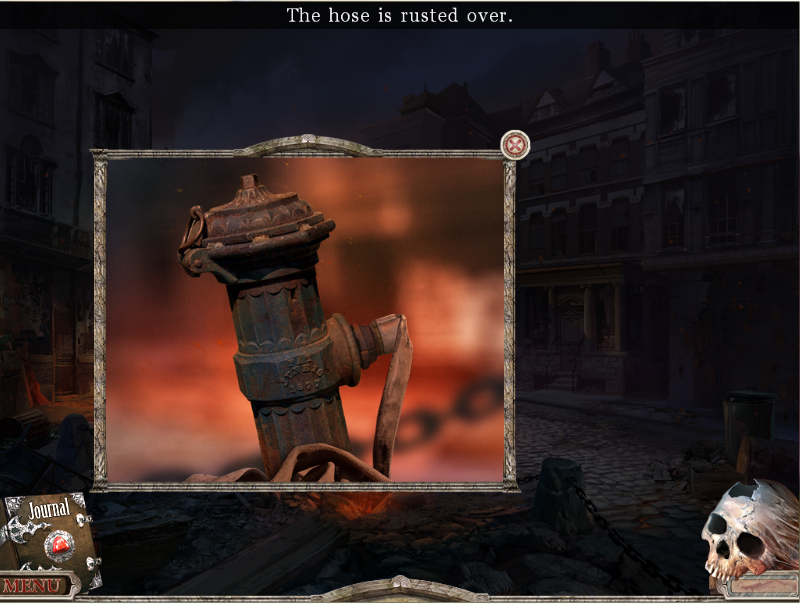
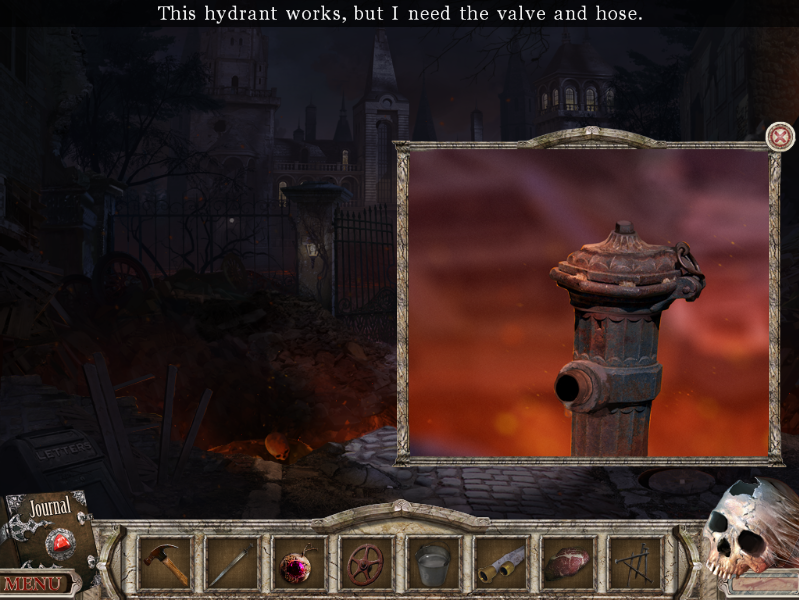
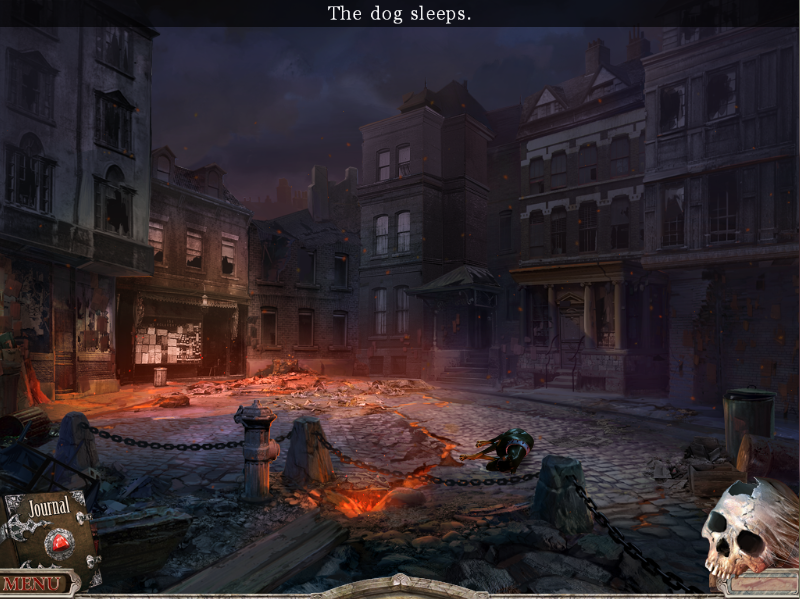
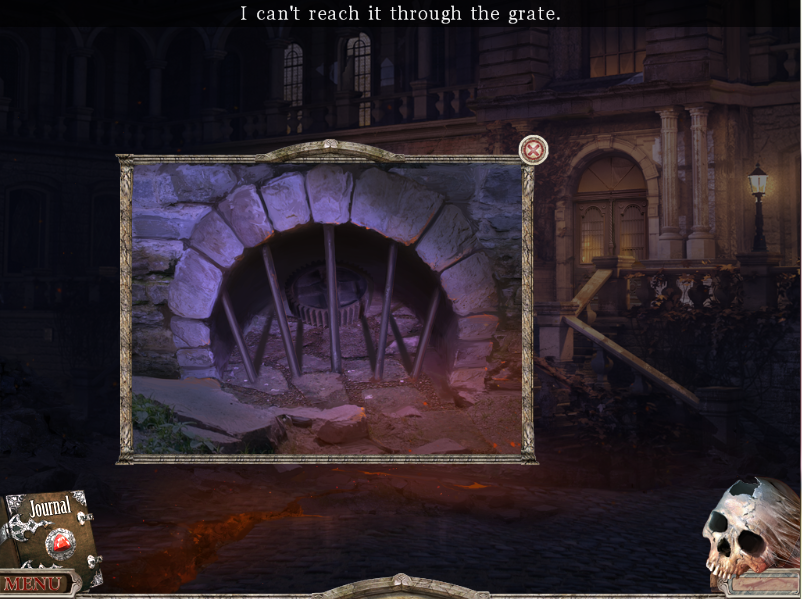
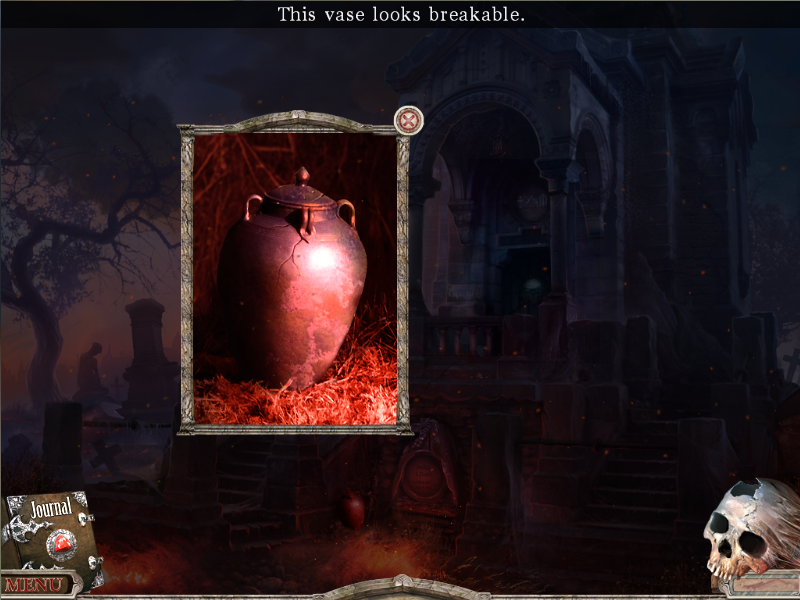
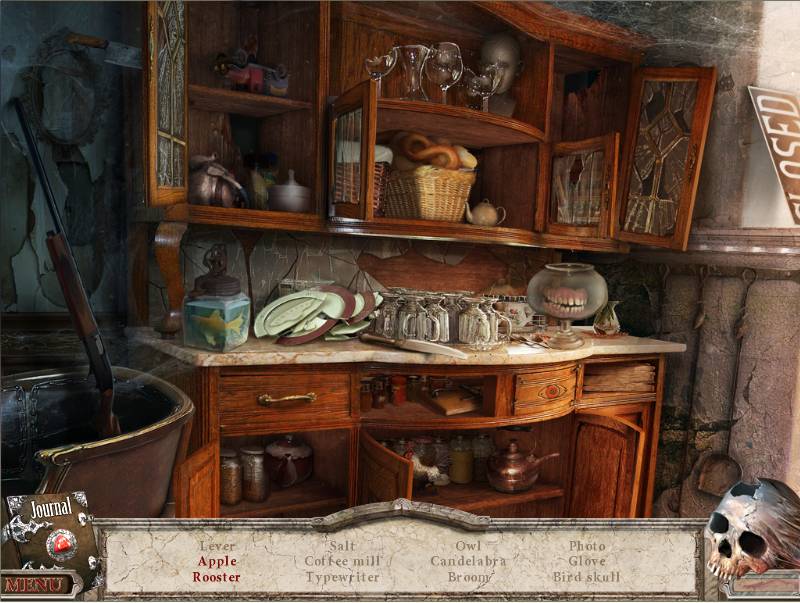
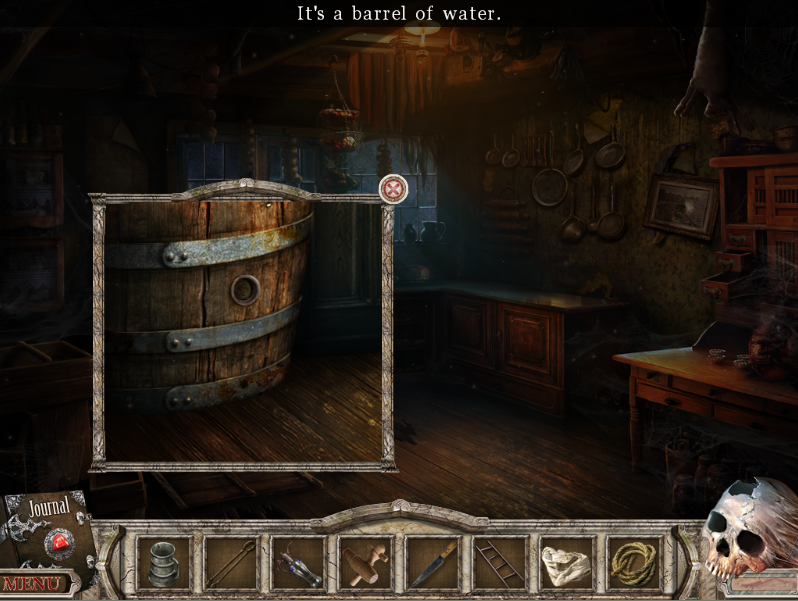
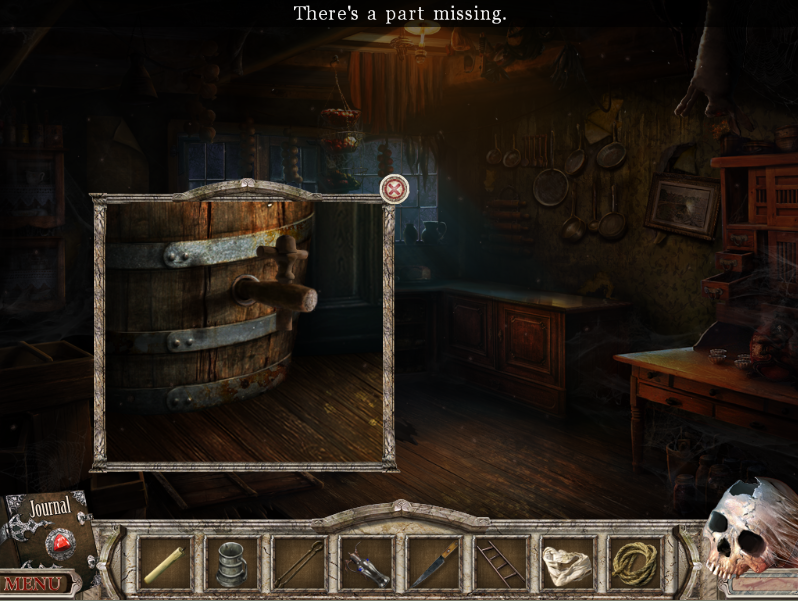
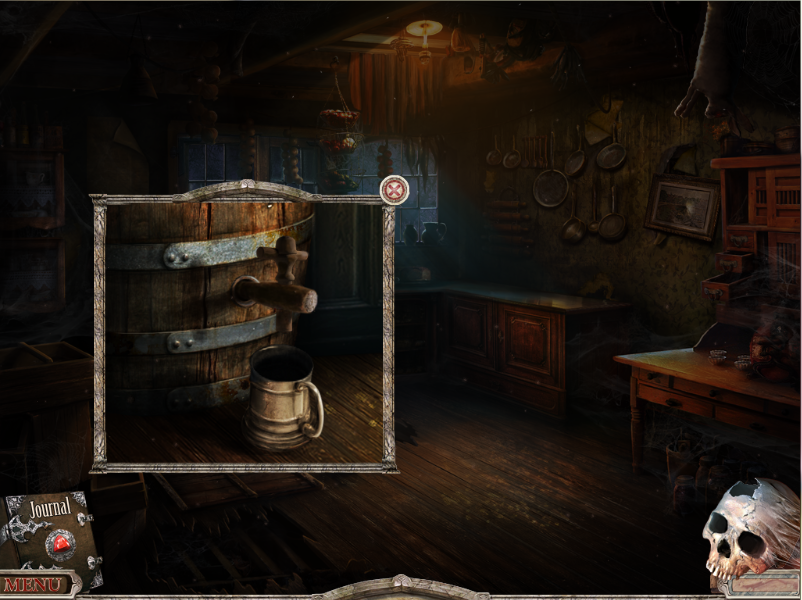
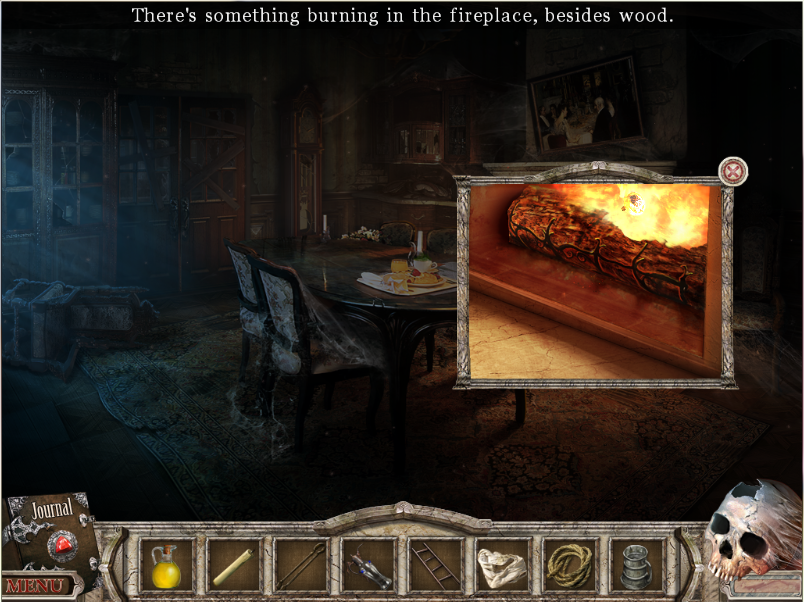
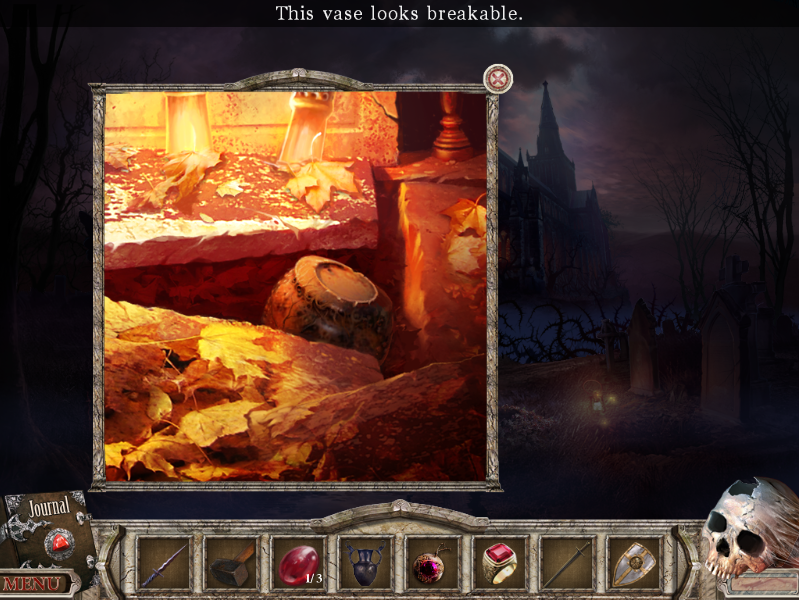
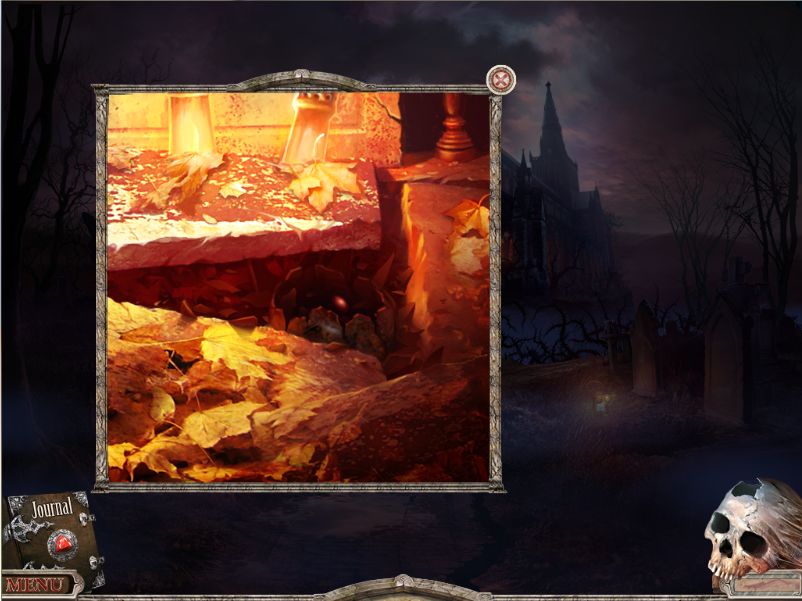
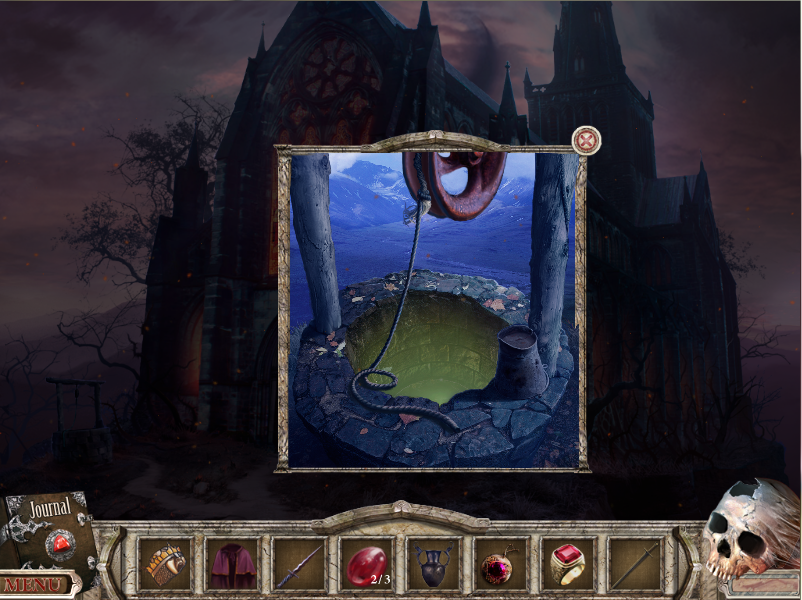
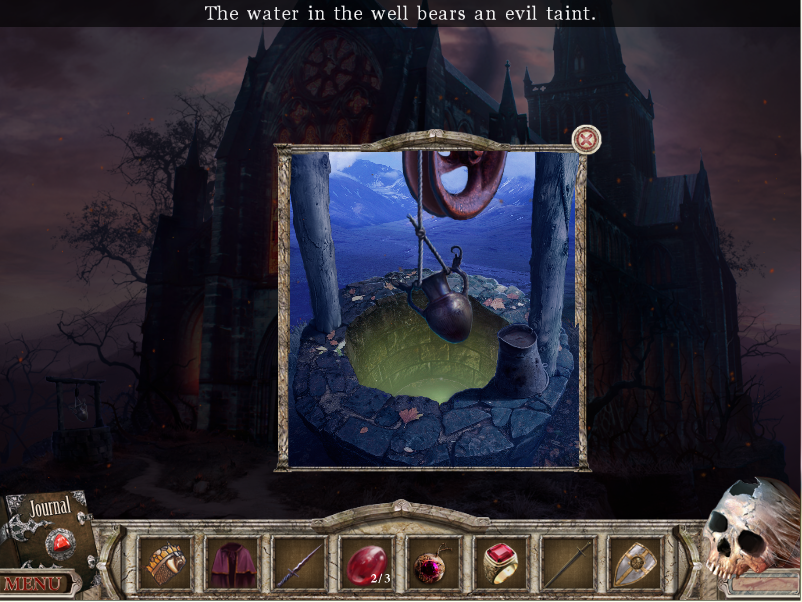
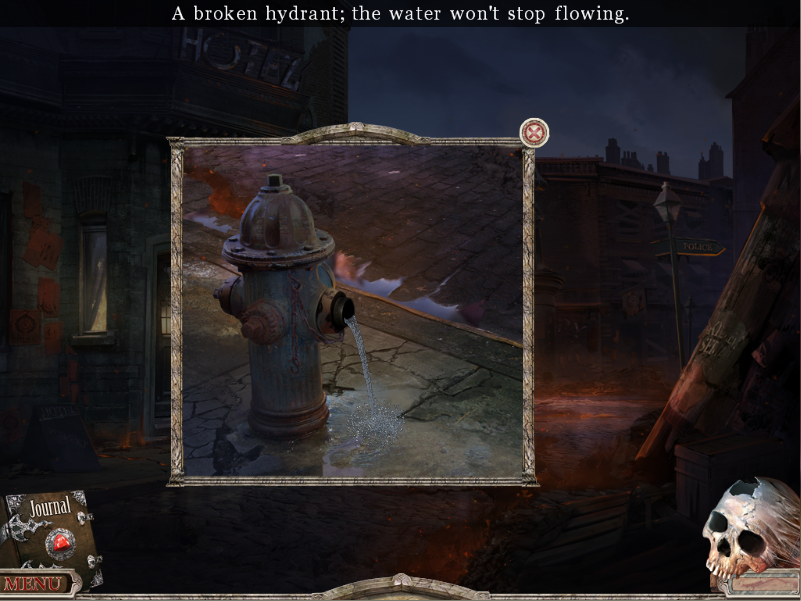
The fire hydrant looks useful but there doesn't appear to be anything I can do with it at this time. The running water is animated with sound effects:
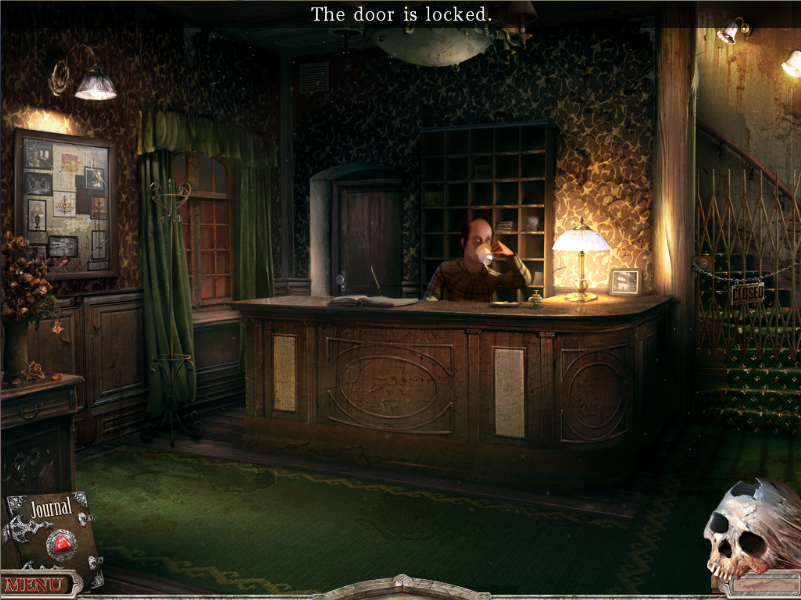
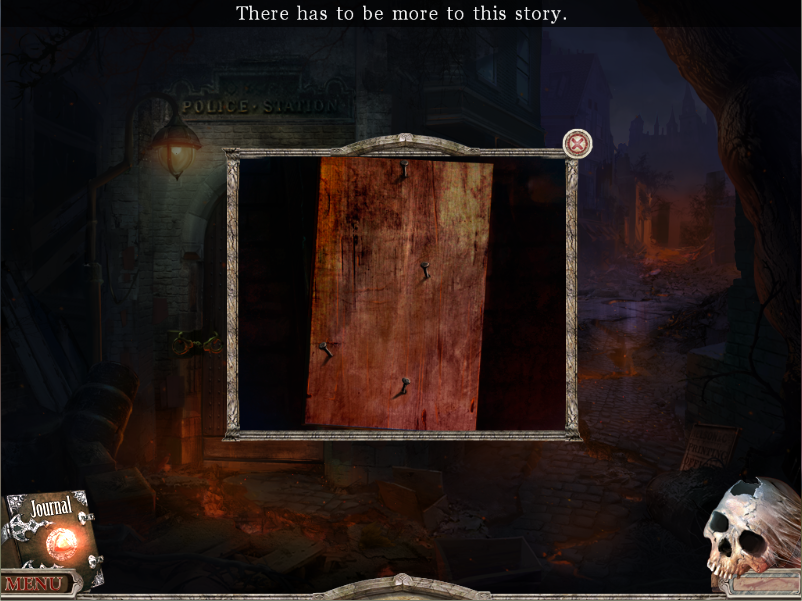
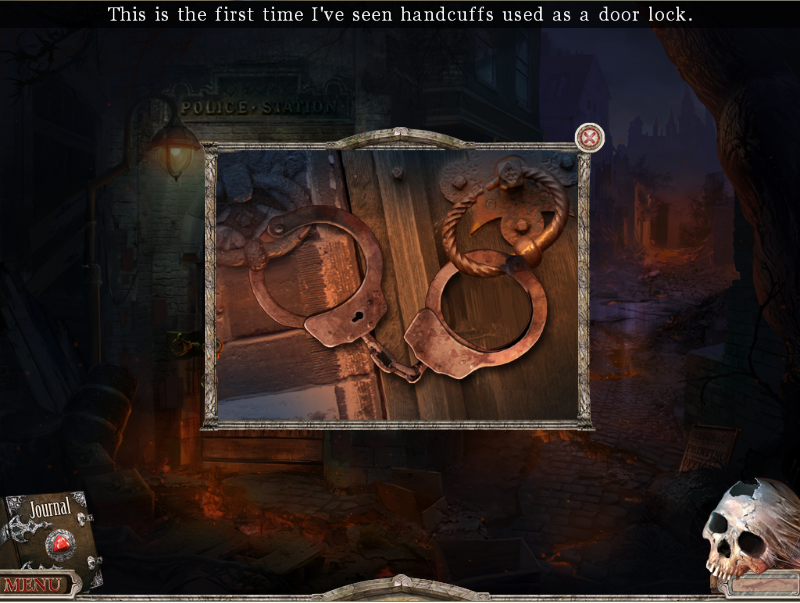
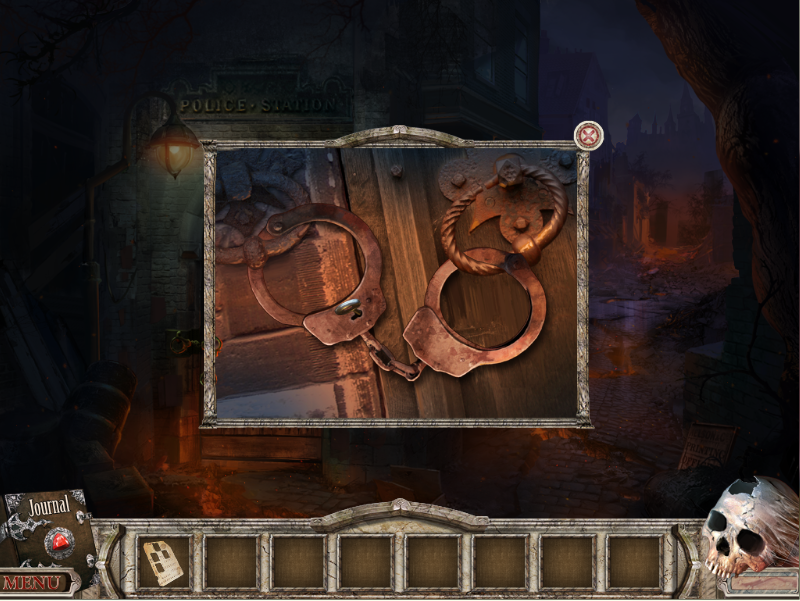
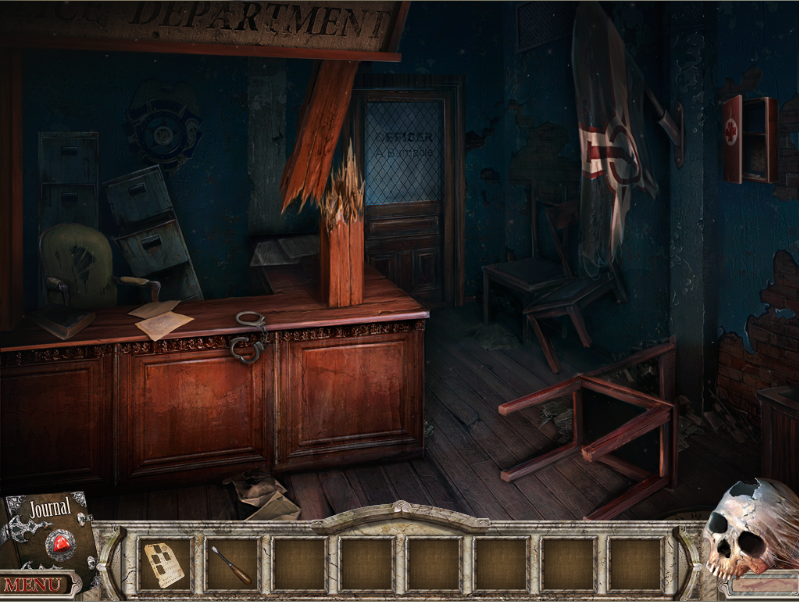
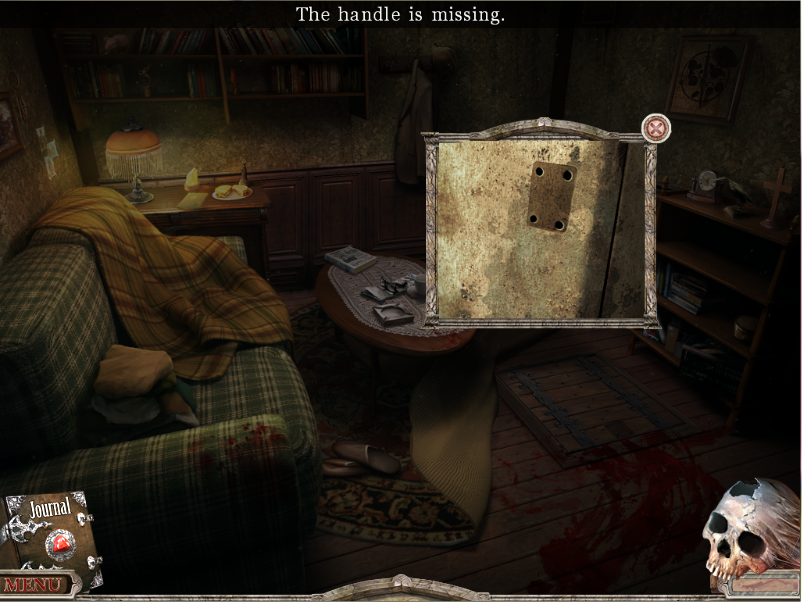
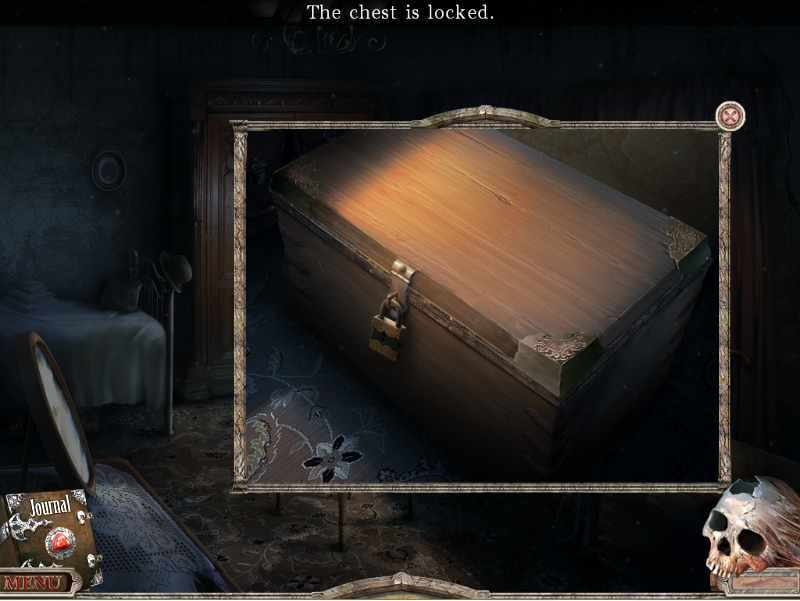
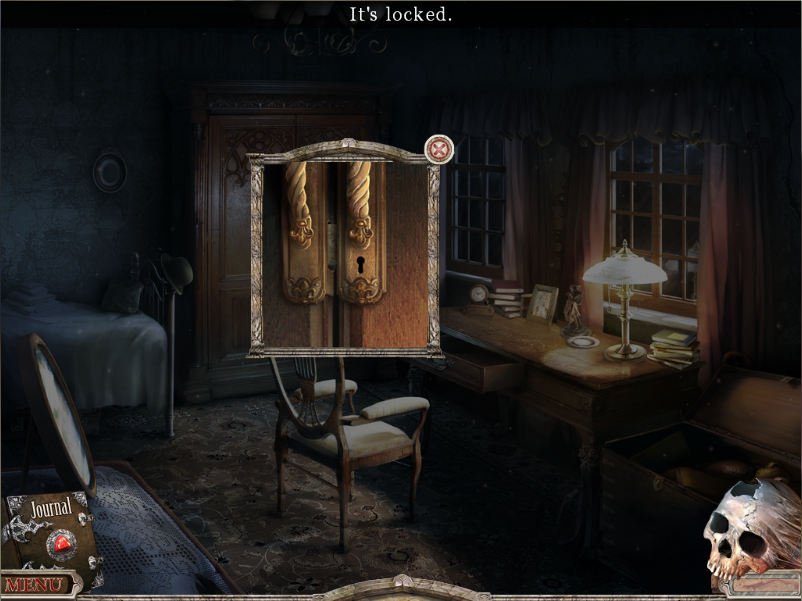
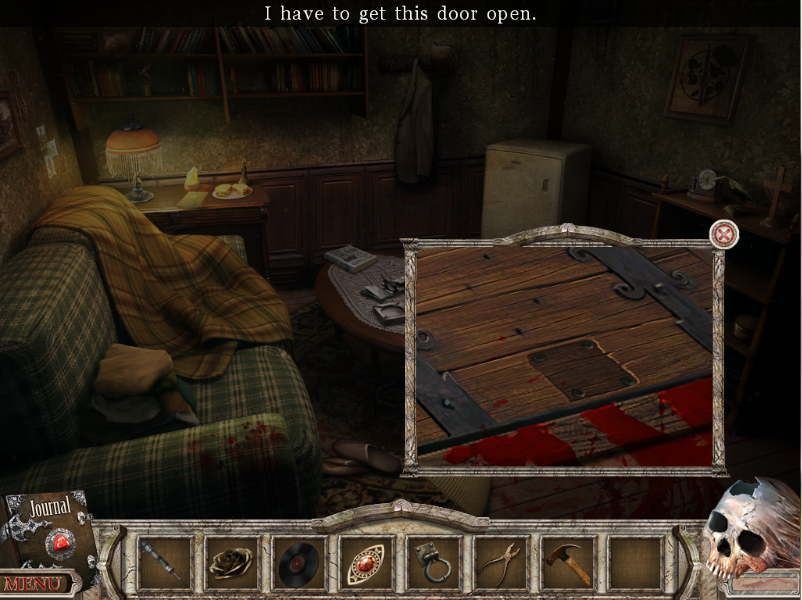
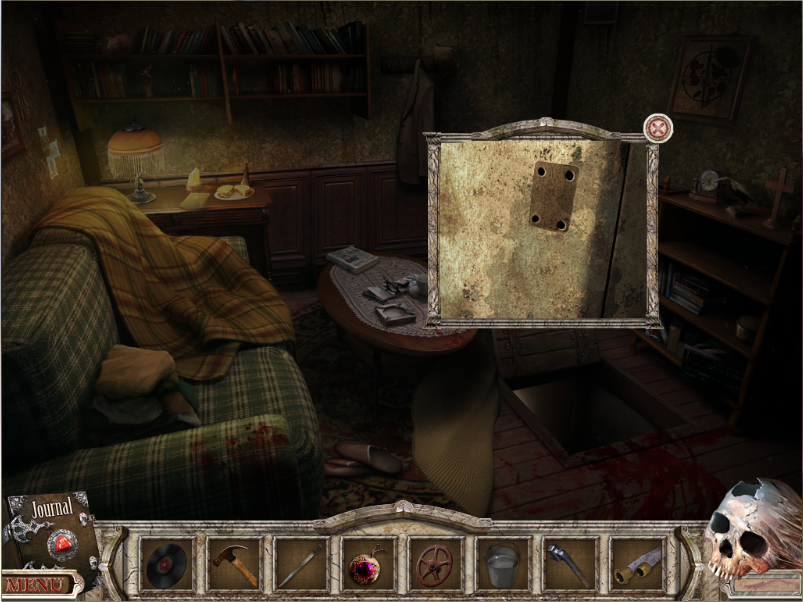
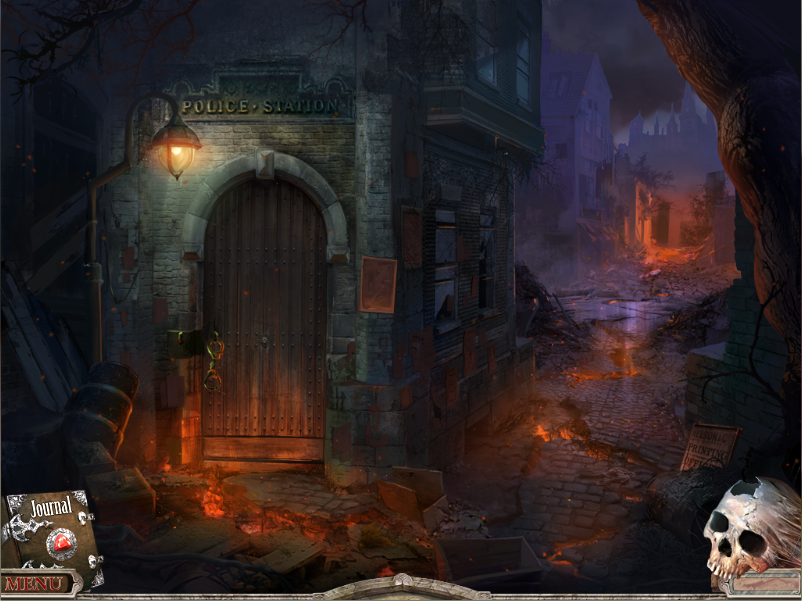
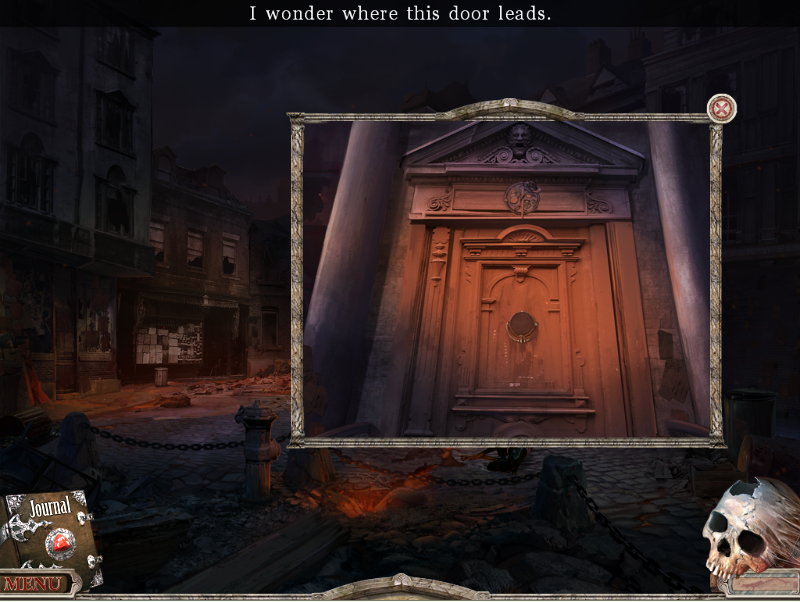
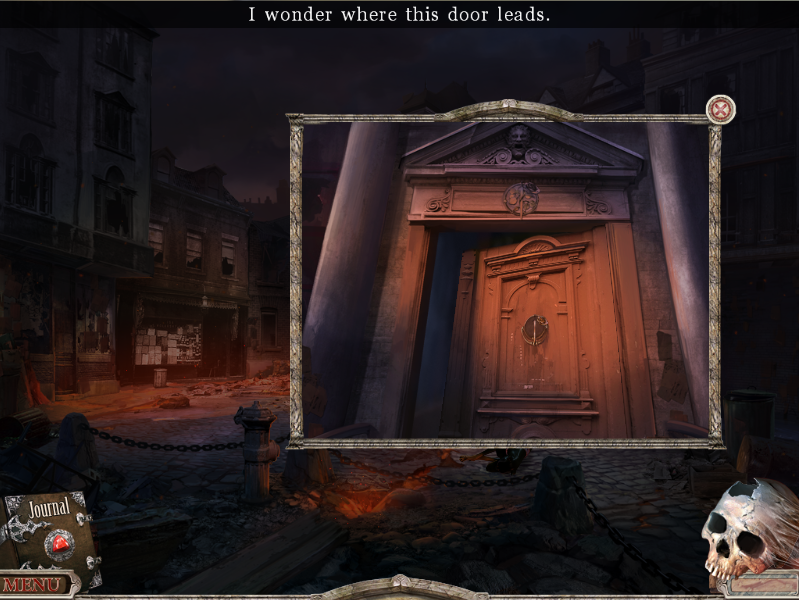
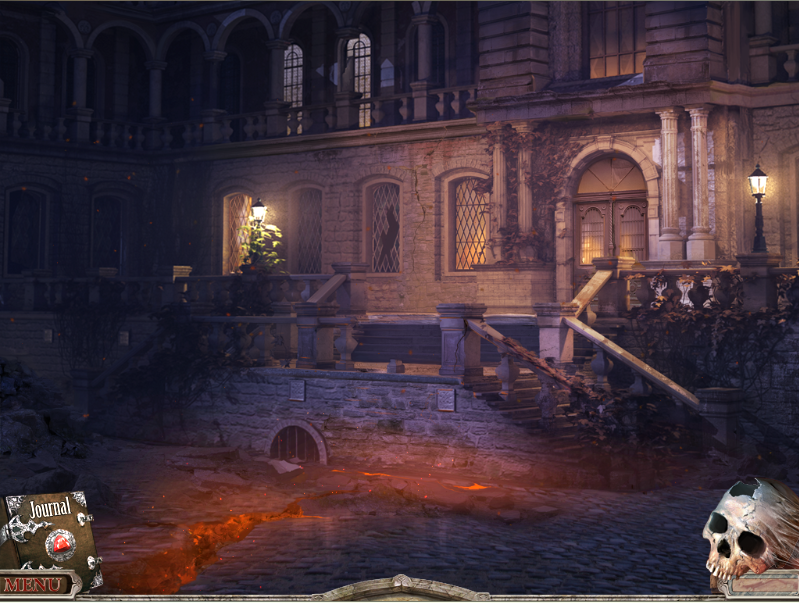
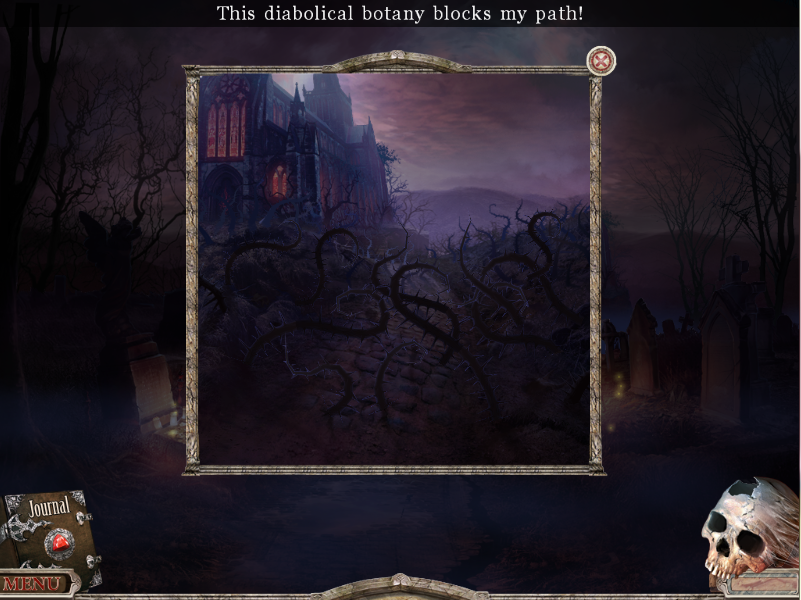
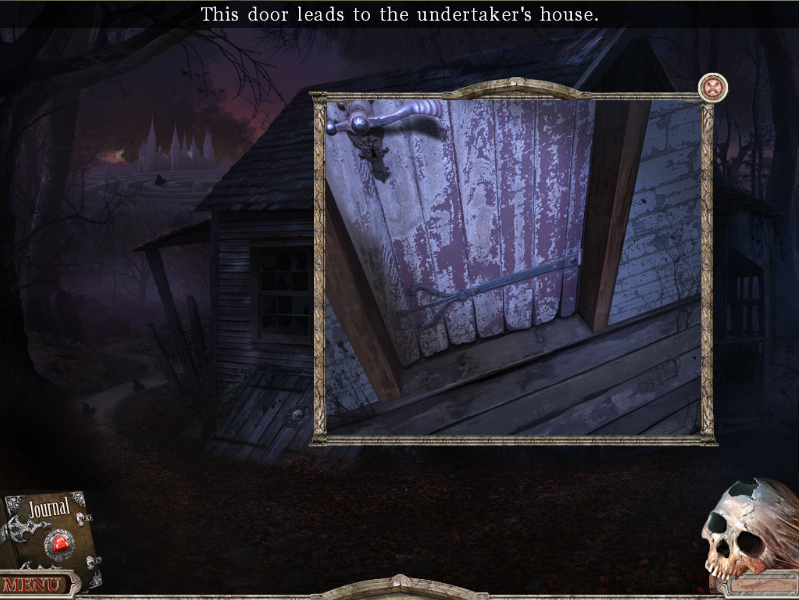
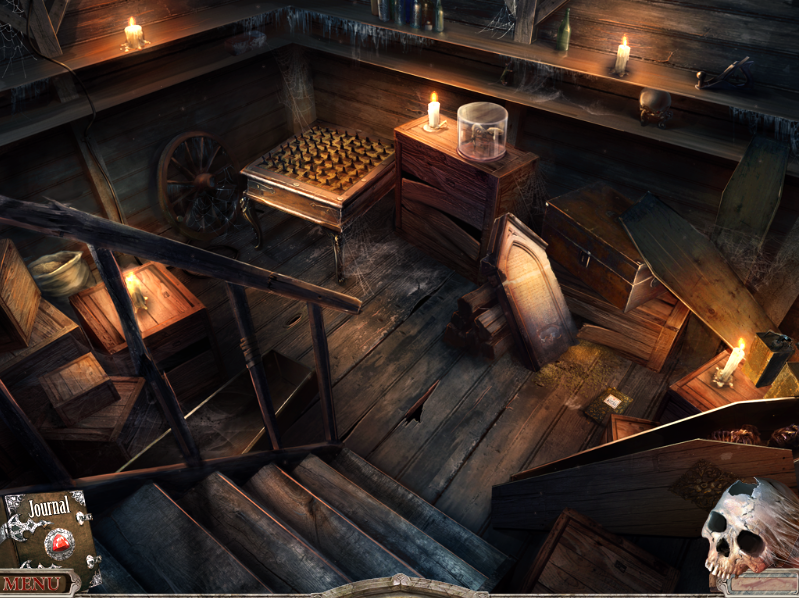
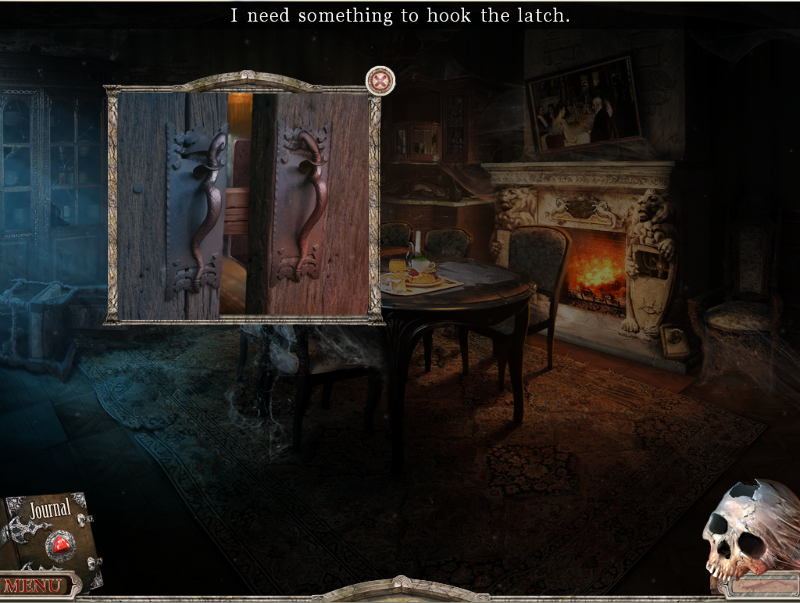
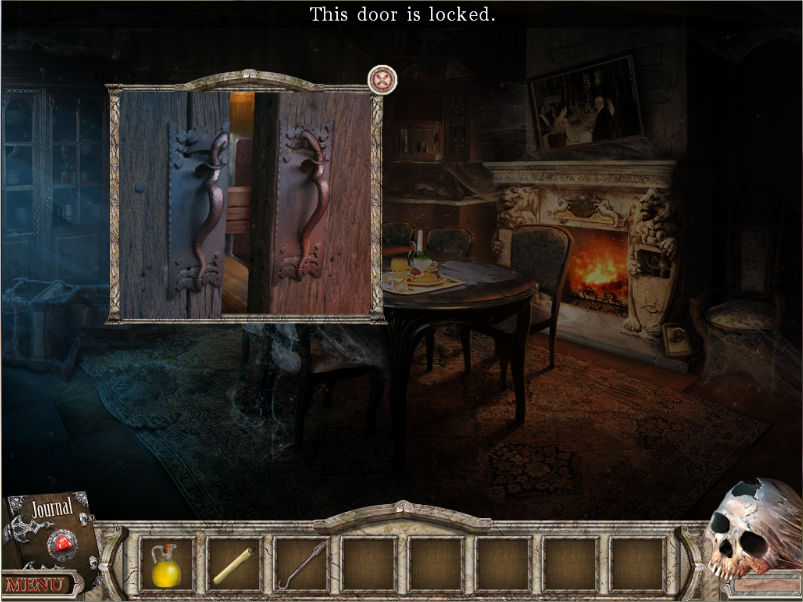
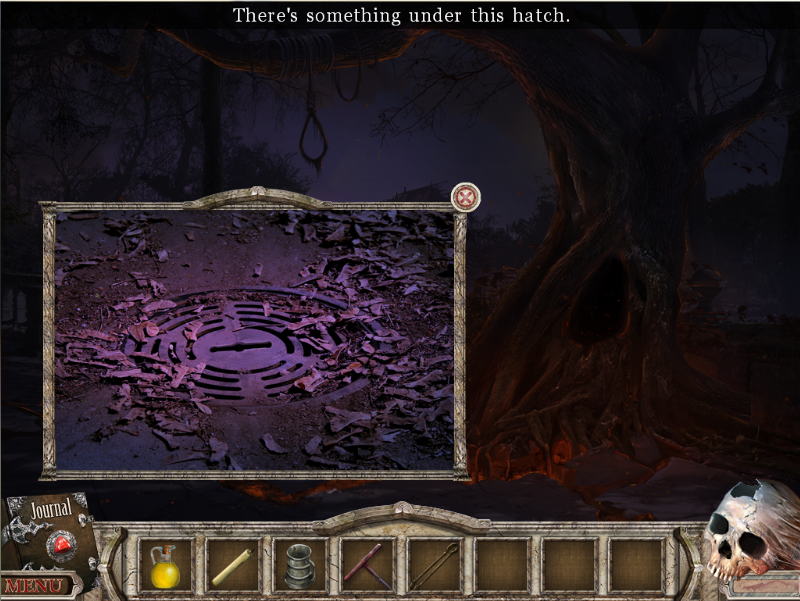
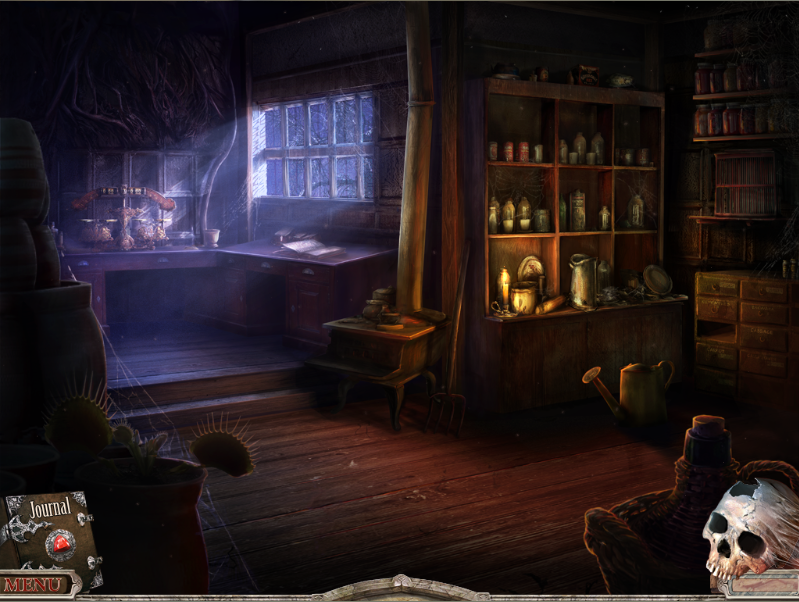
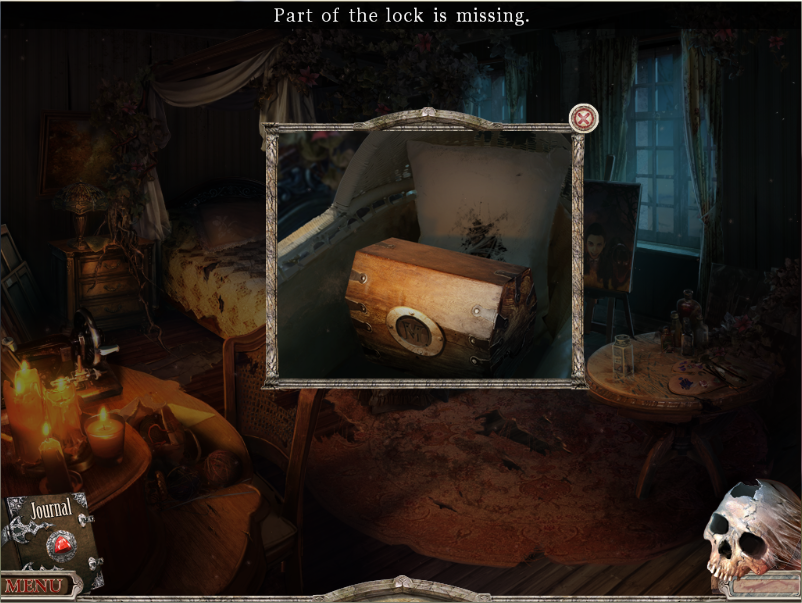
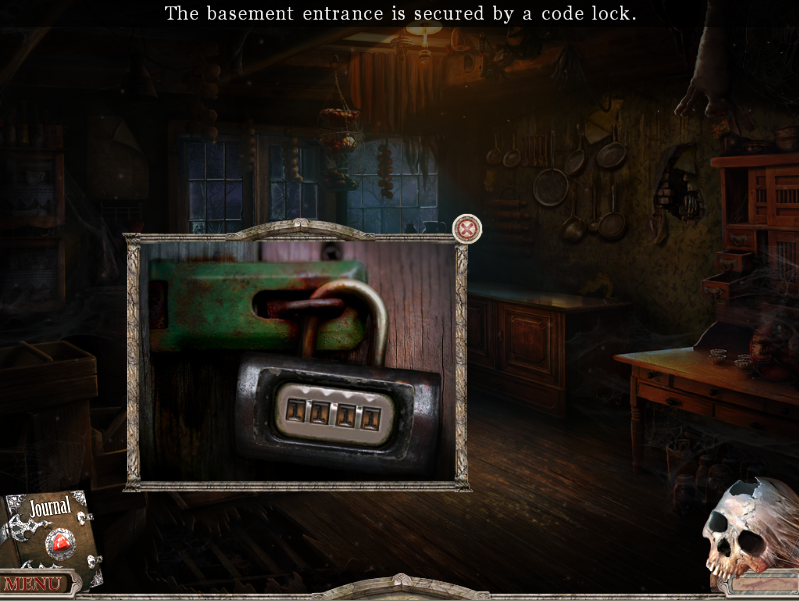
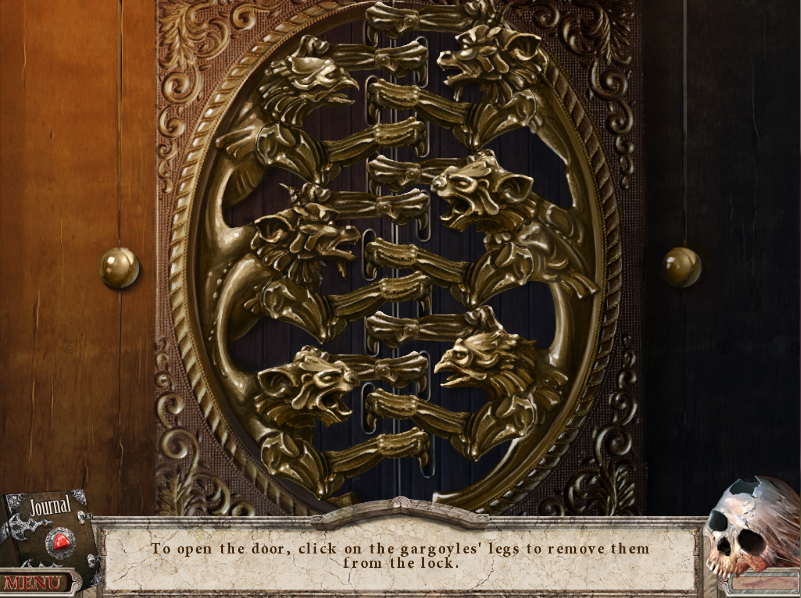
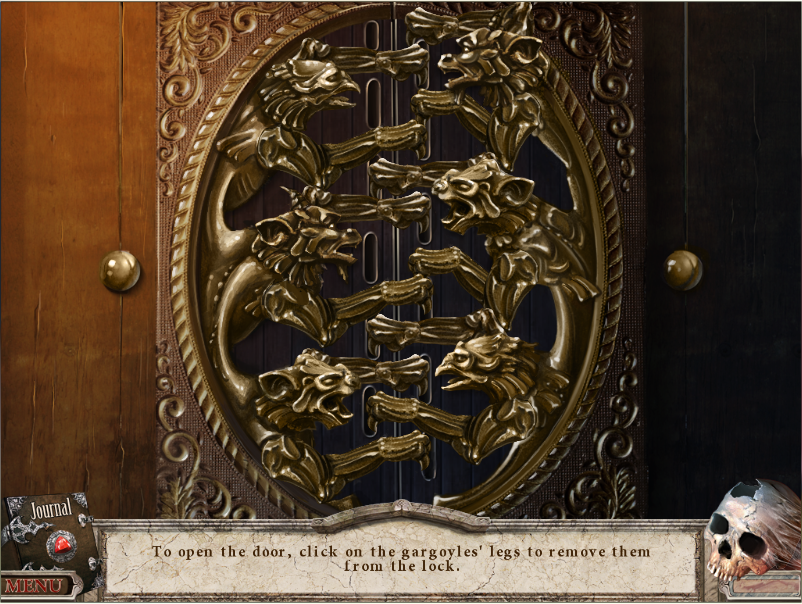
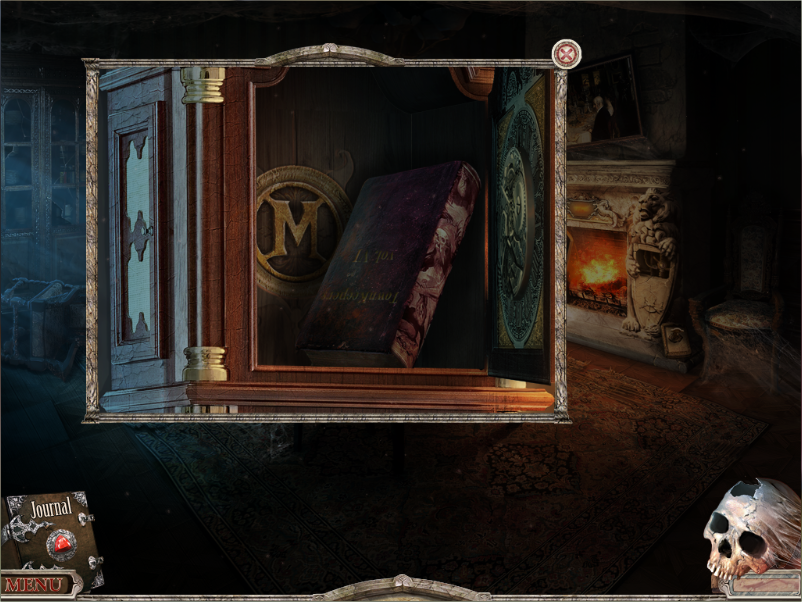
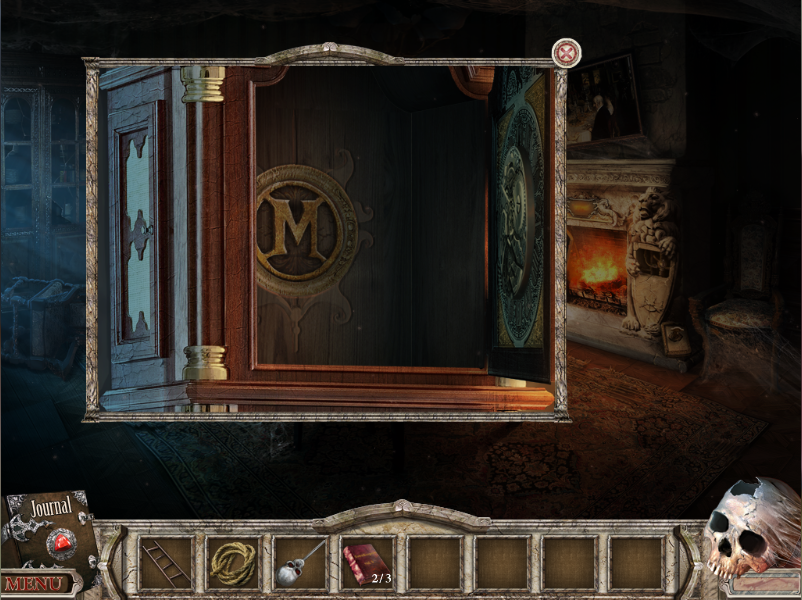
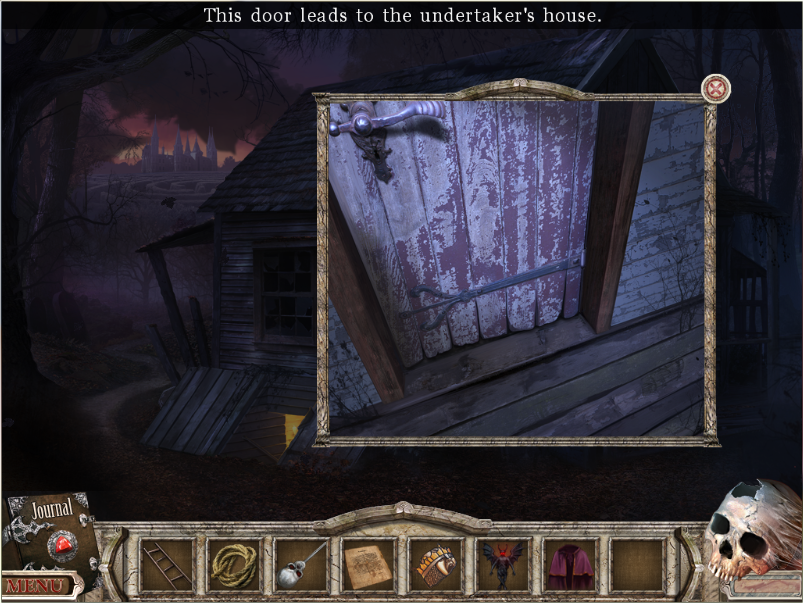
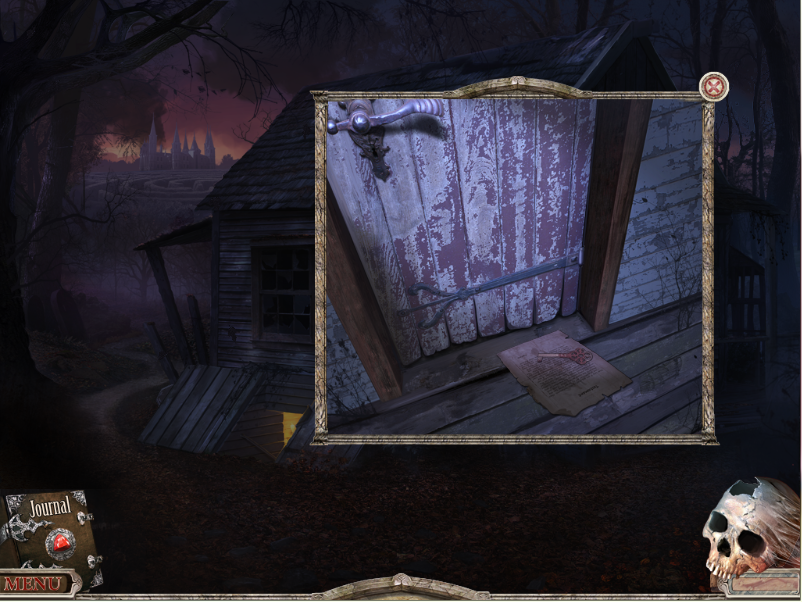
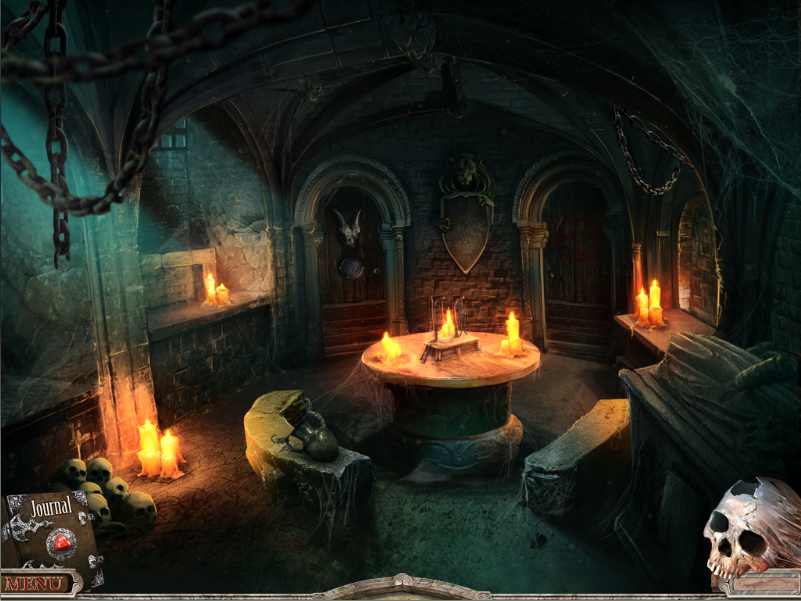
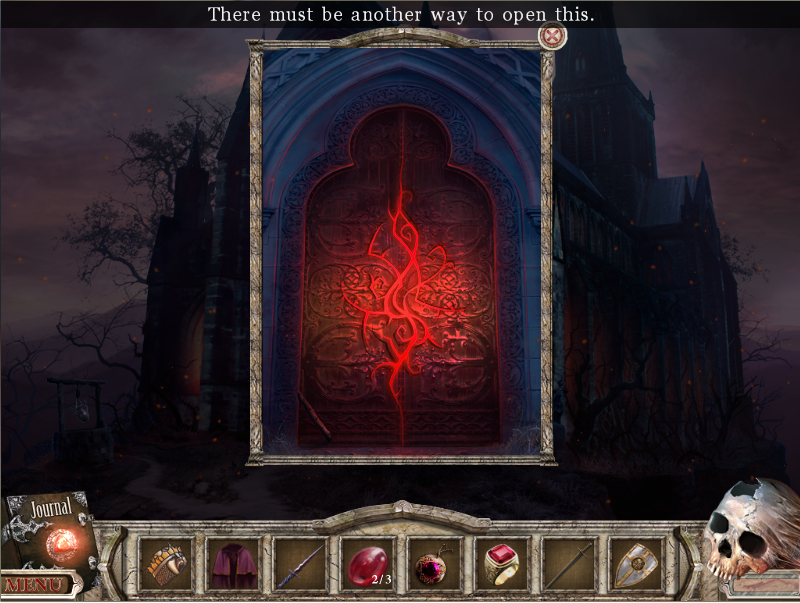
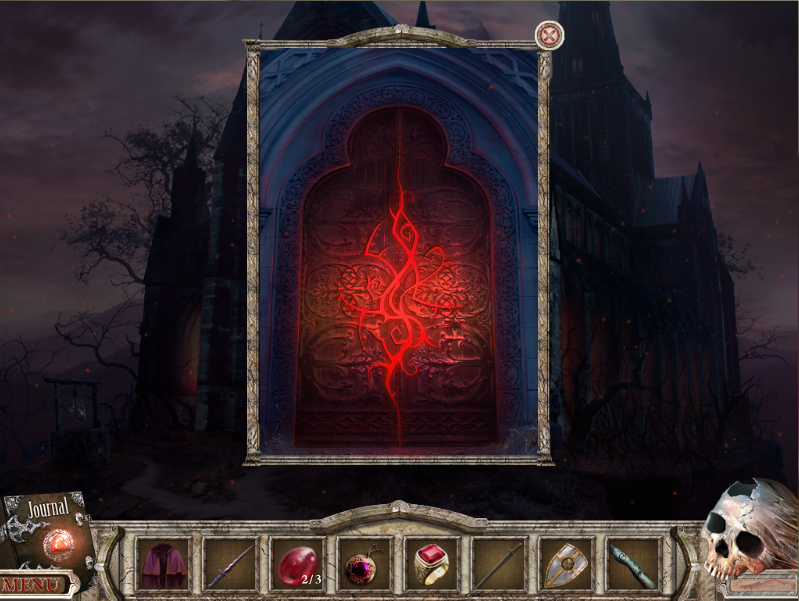
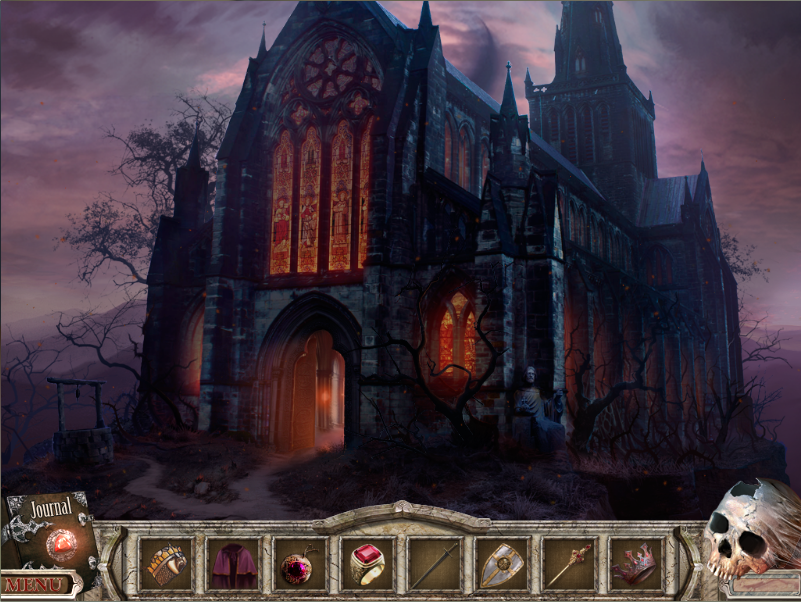
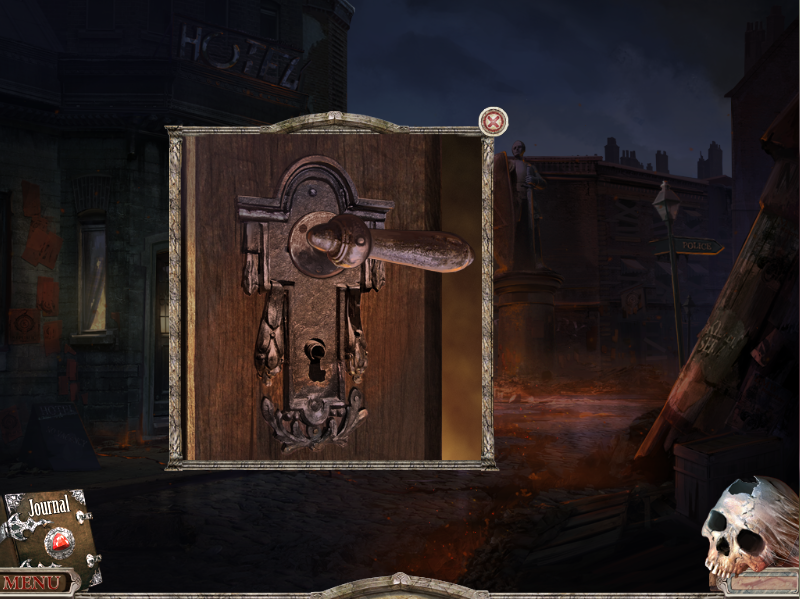
Now for that door:
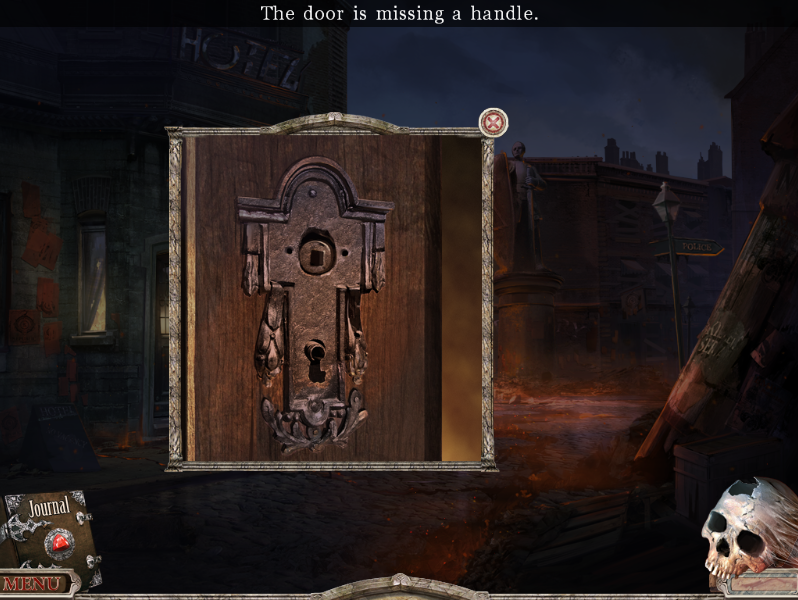
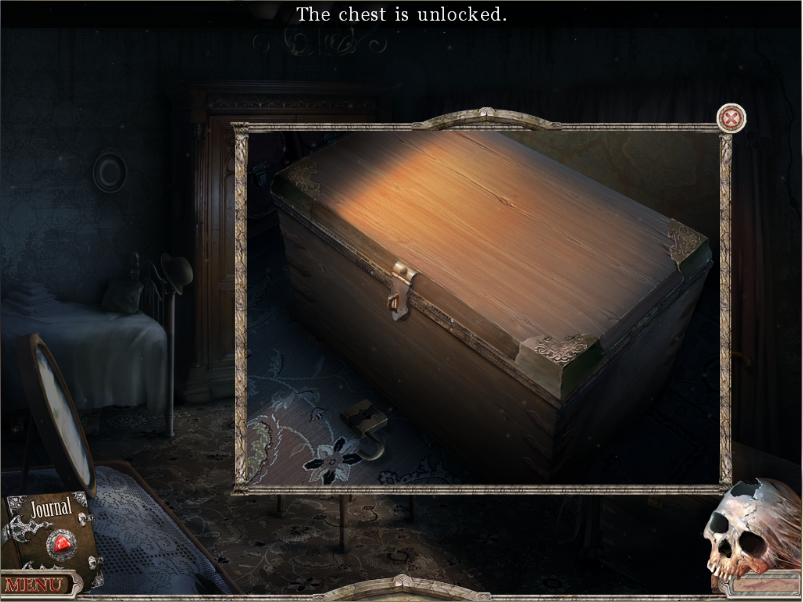
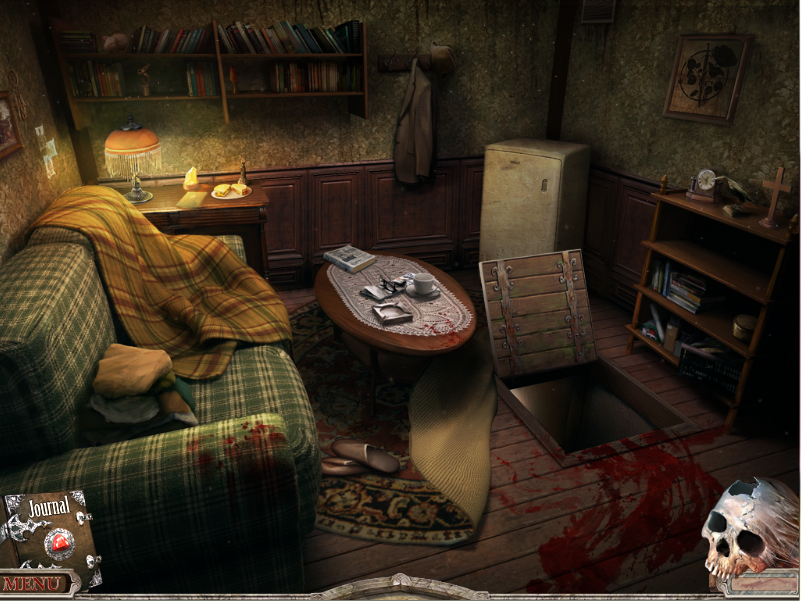
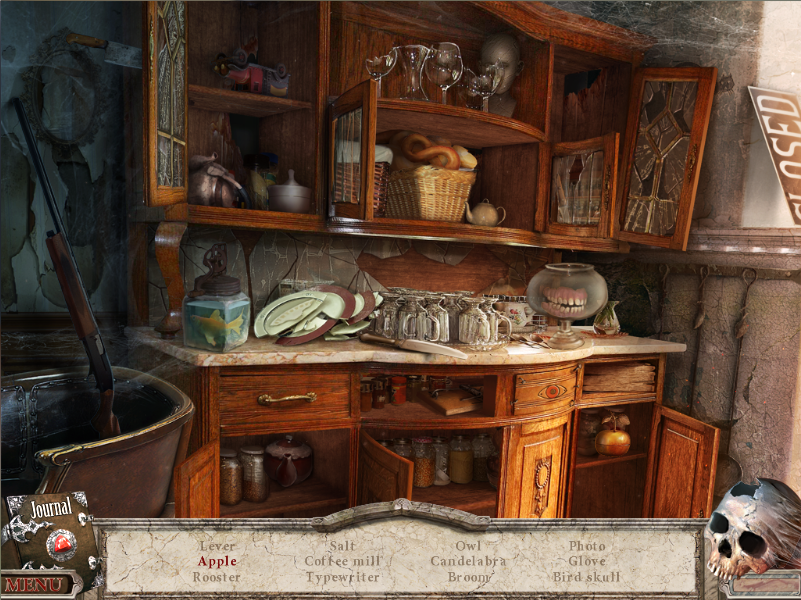
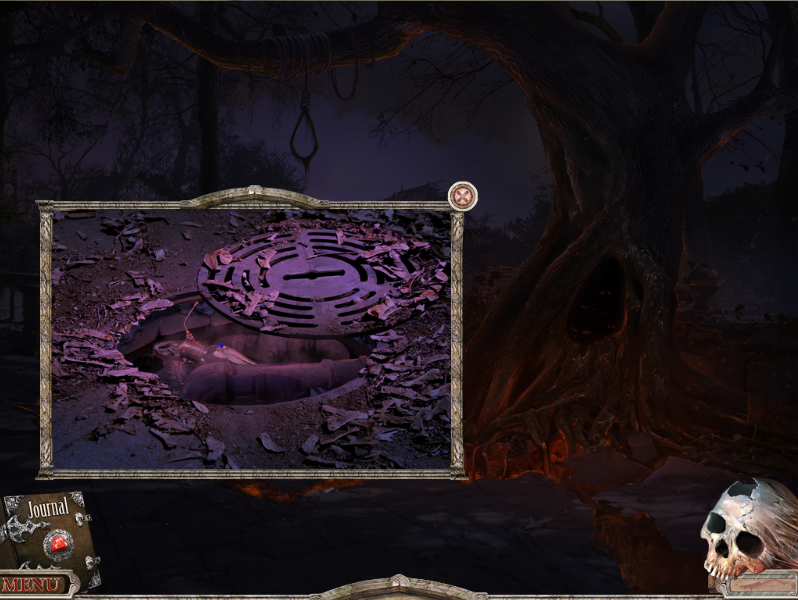
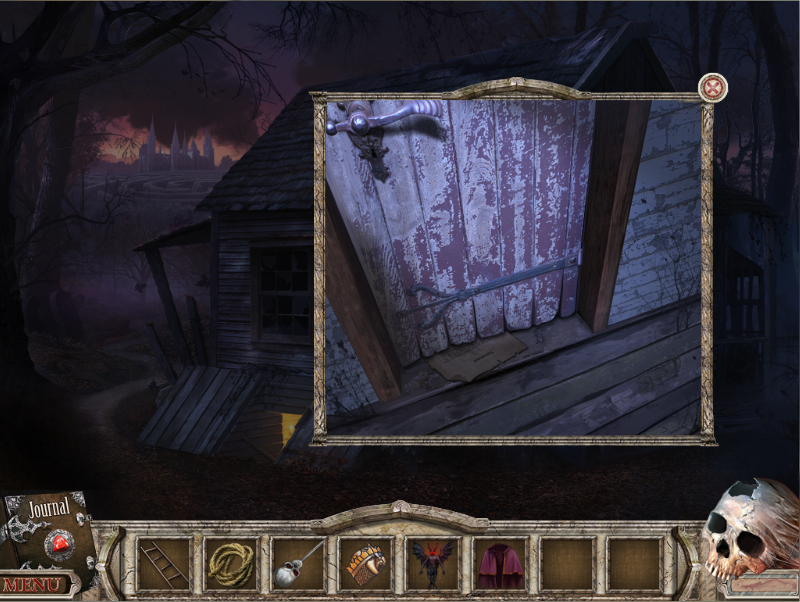
Hey, what a surprise, that door handle is used on this. So I move the door handle onto the small mini-screen. It clicks into place and I click again to activate it, it rattles with sound effects:
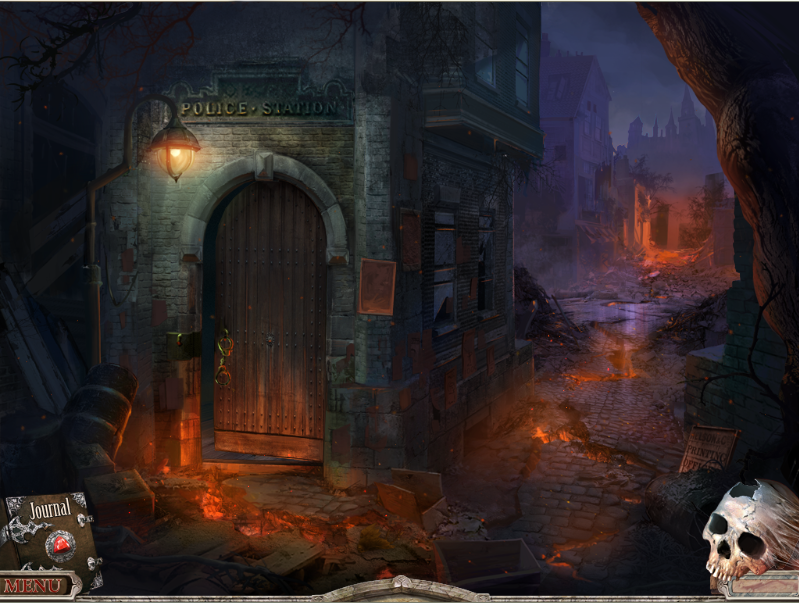
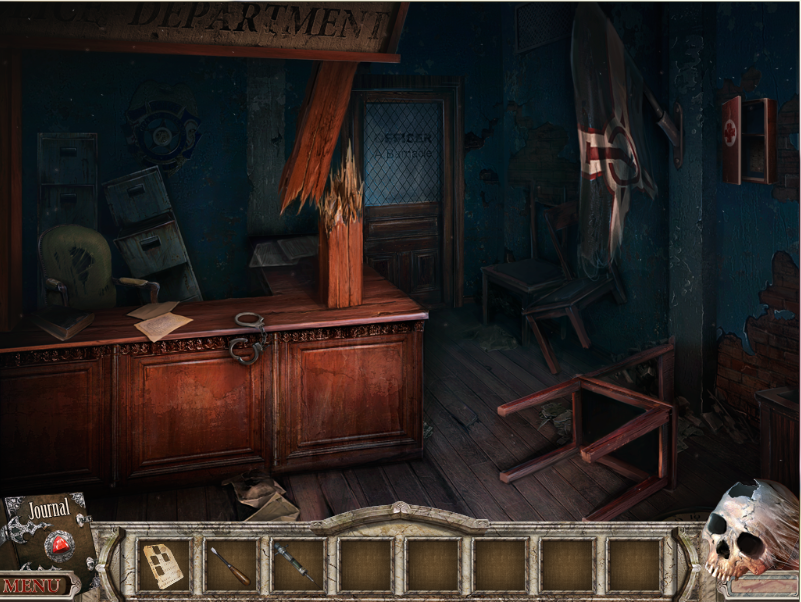
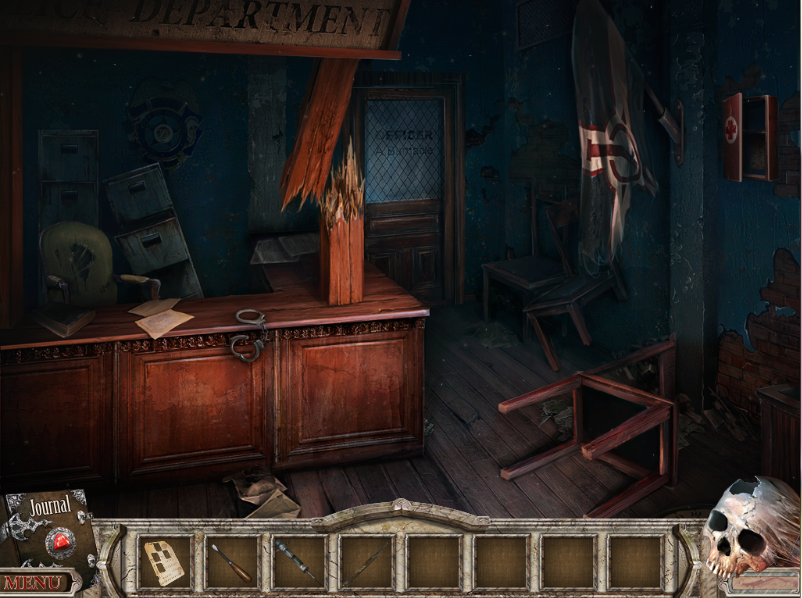
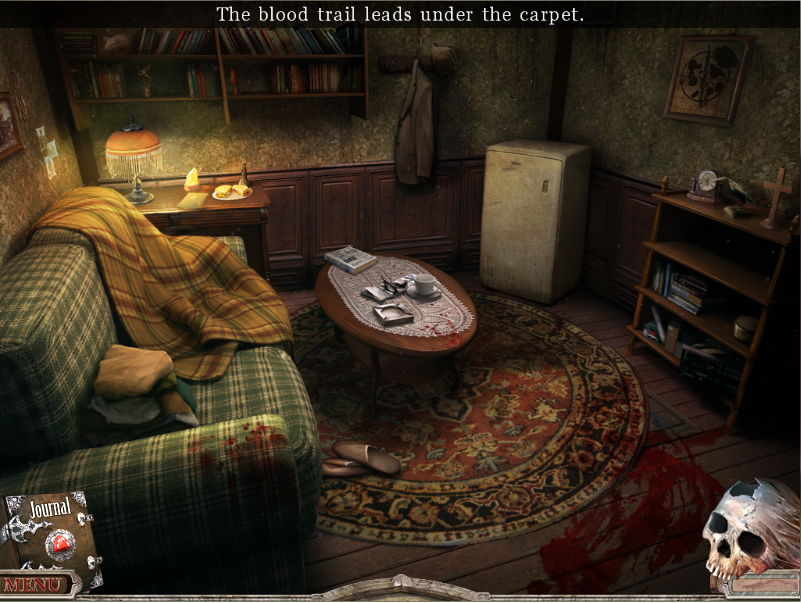
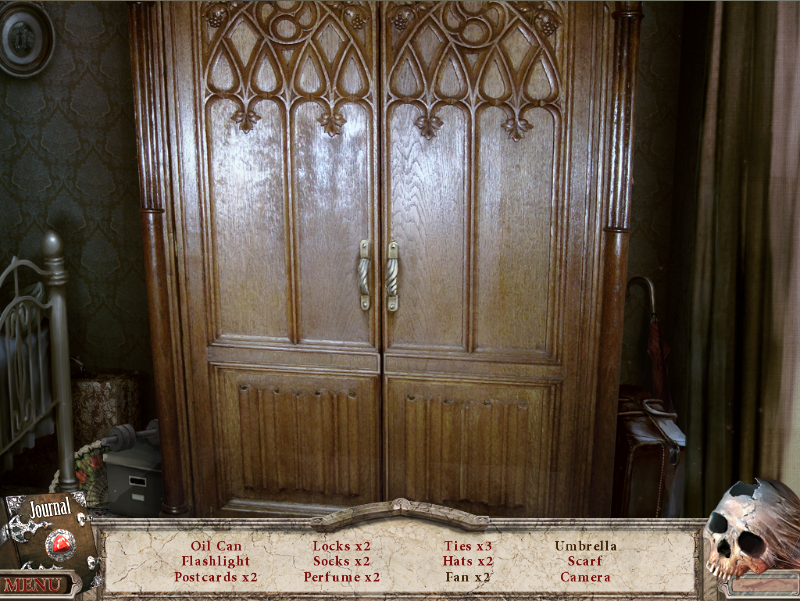
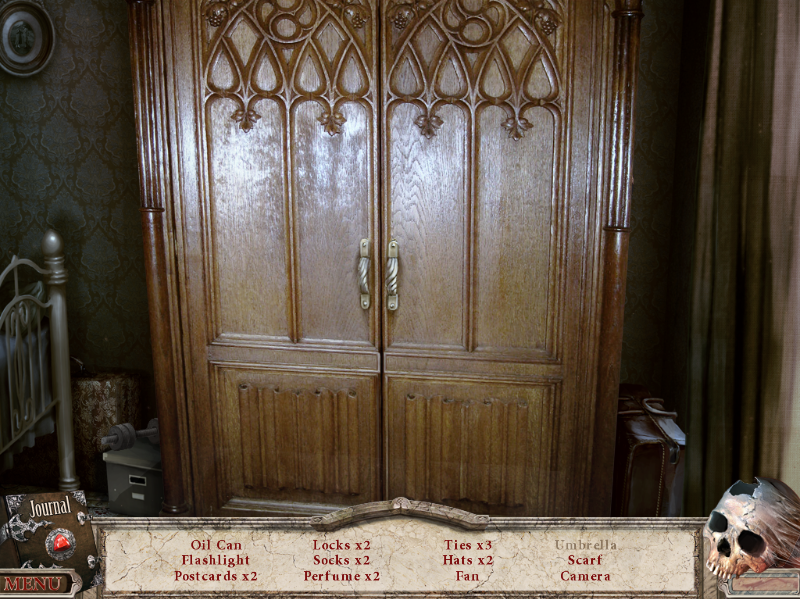
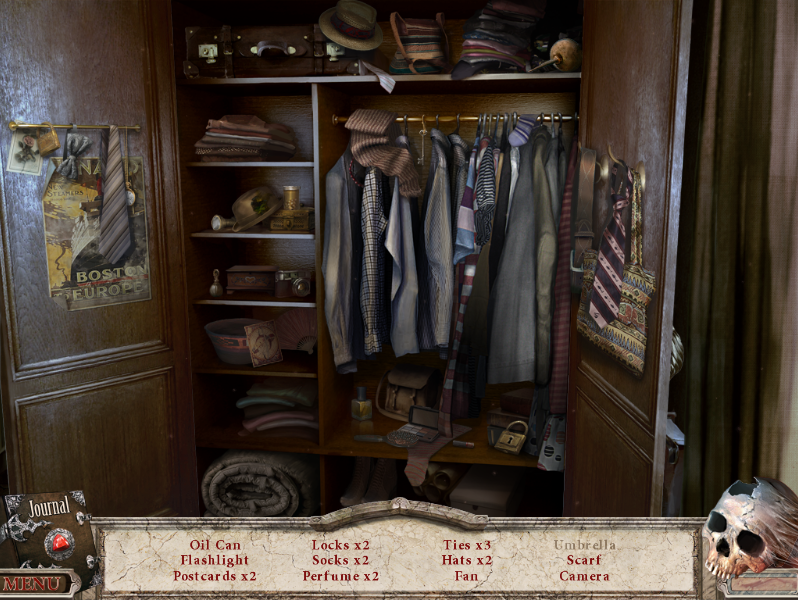
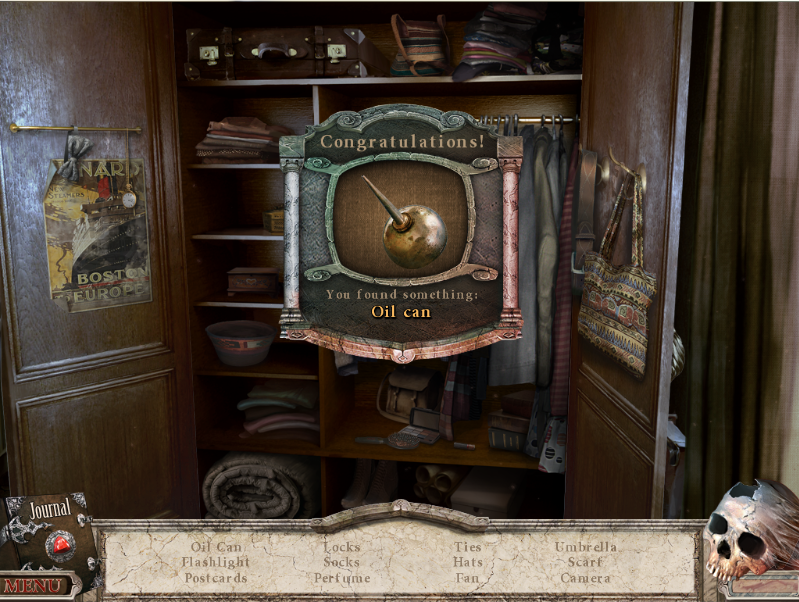
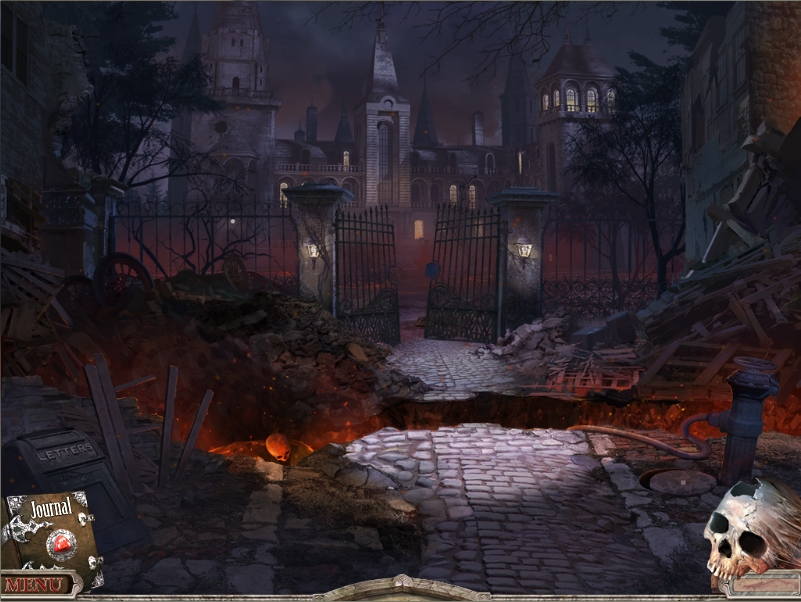
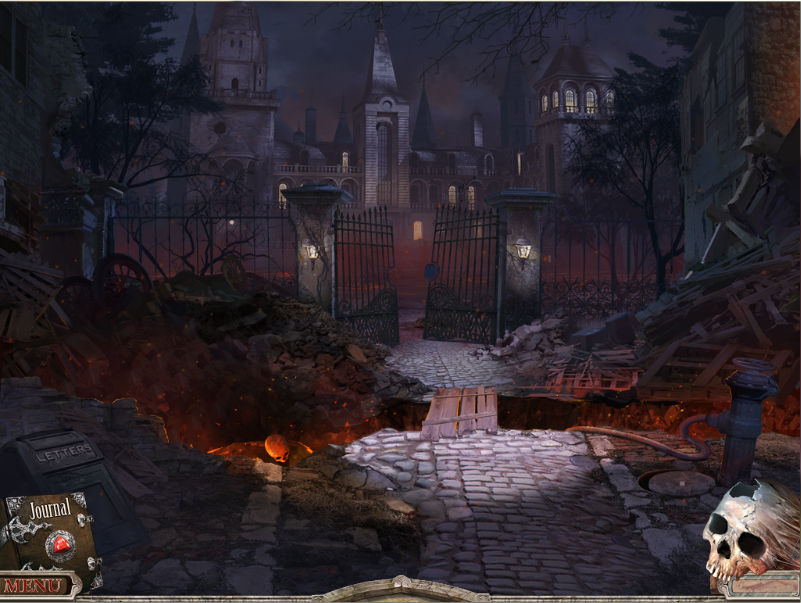
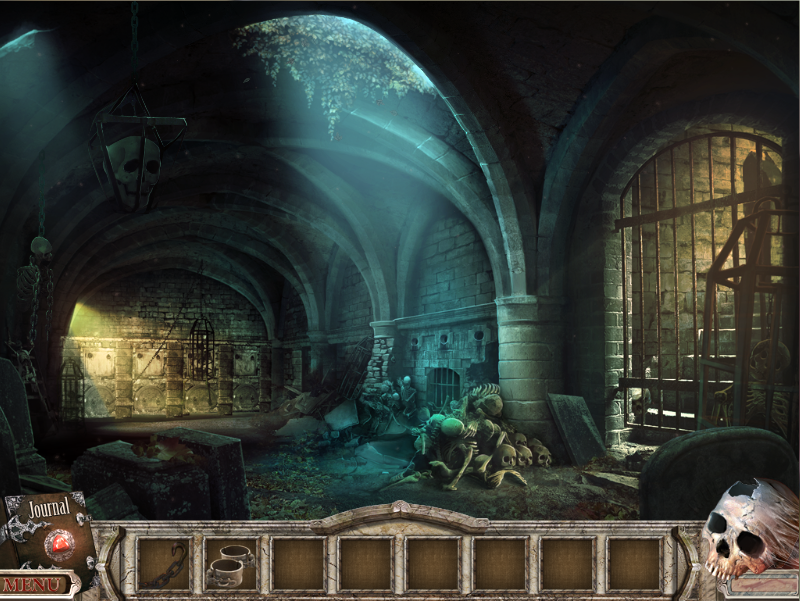
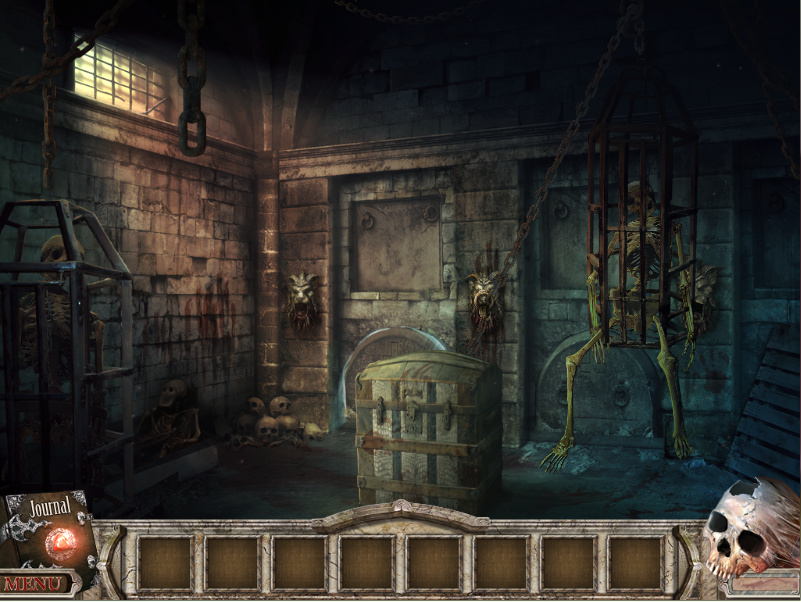
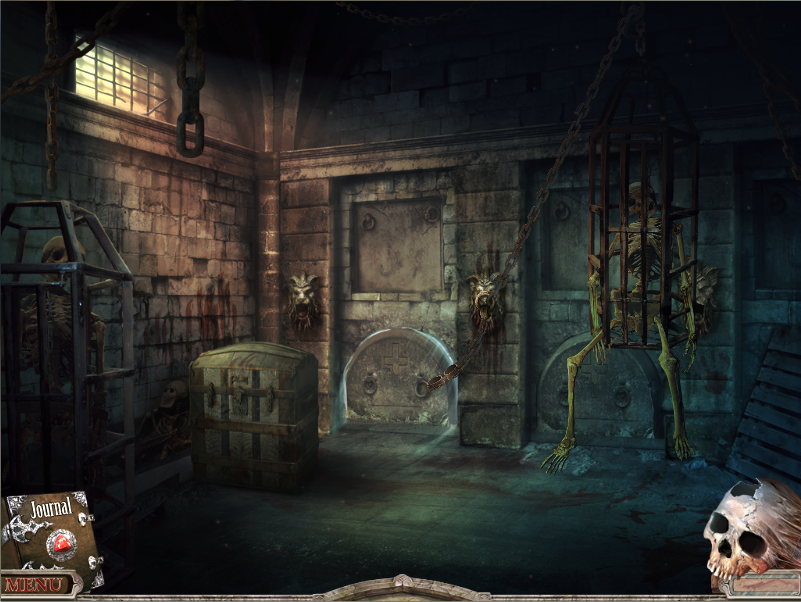
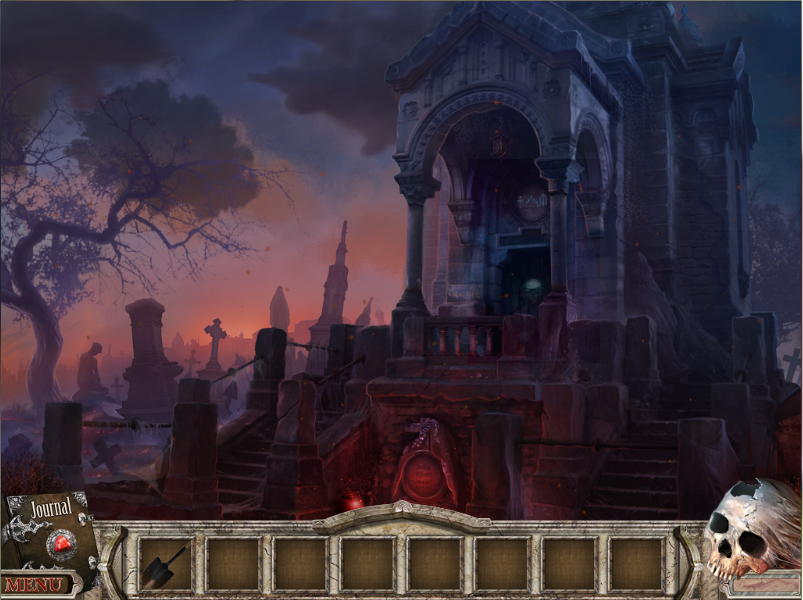
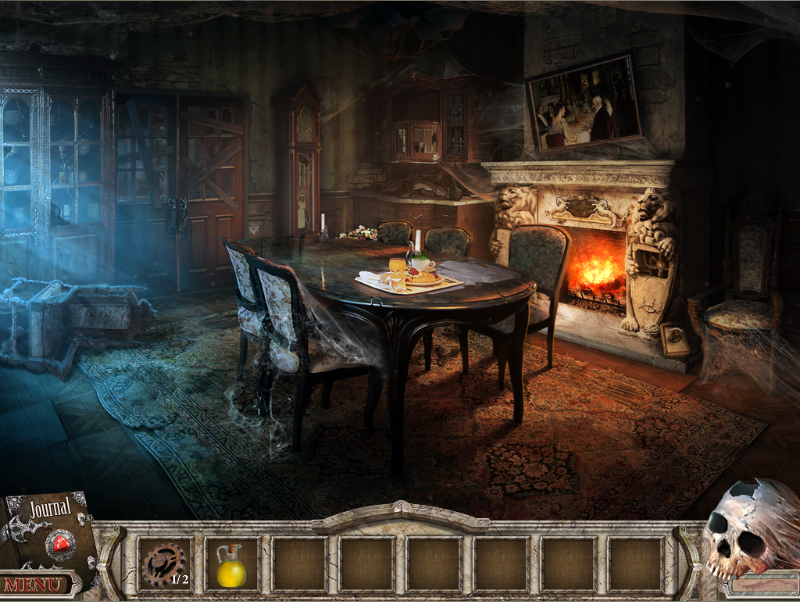
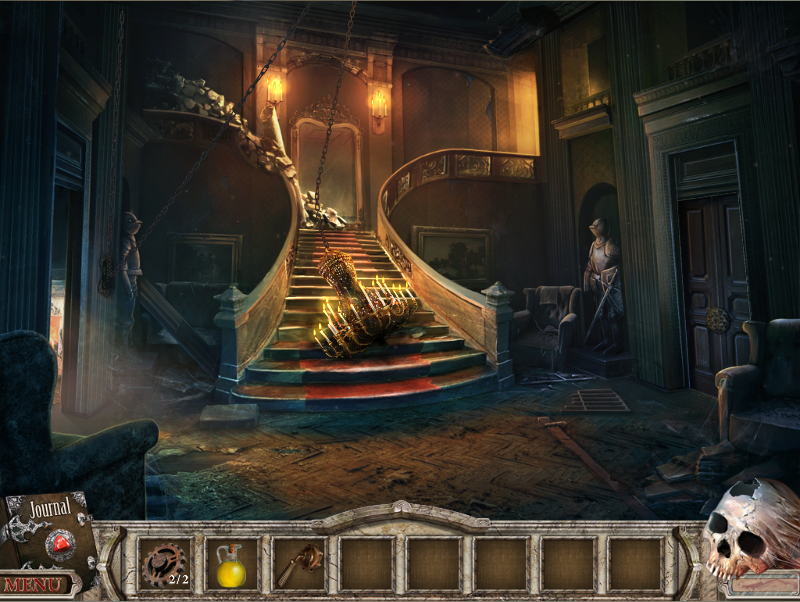
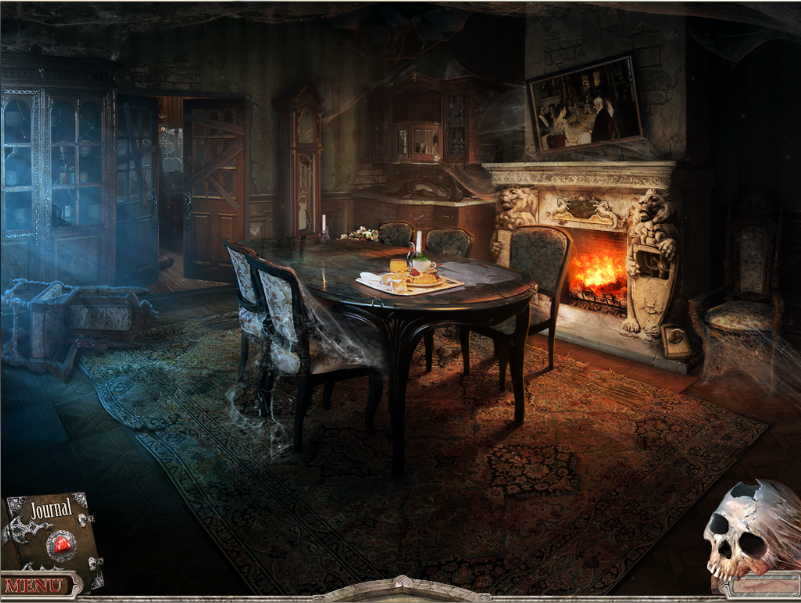
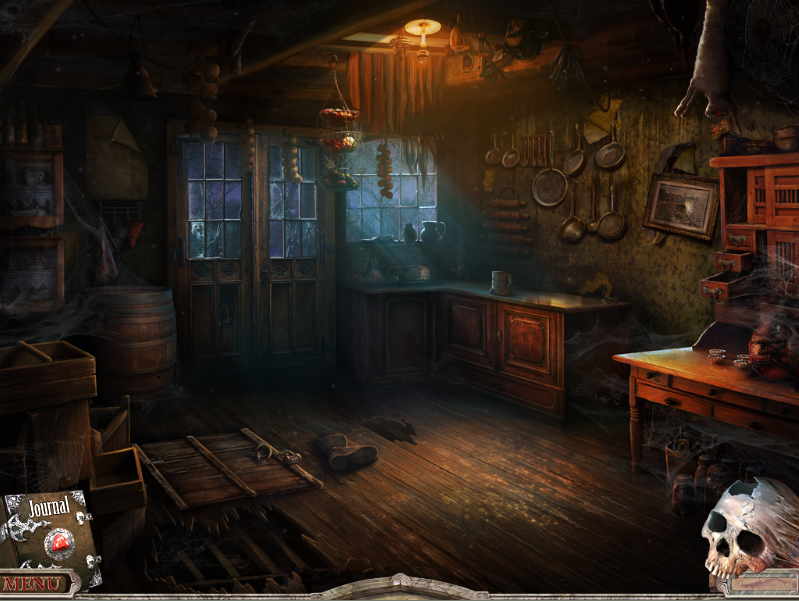
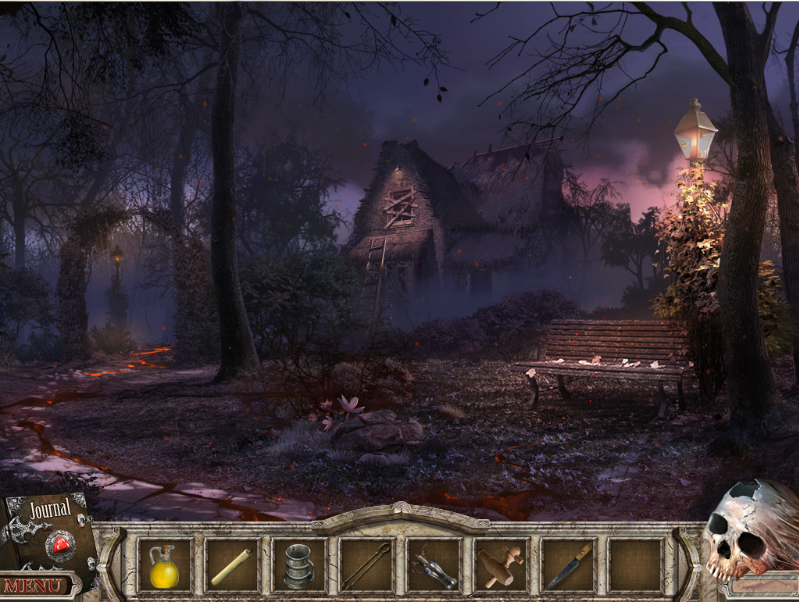
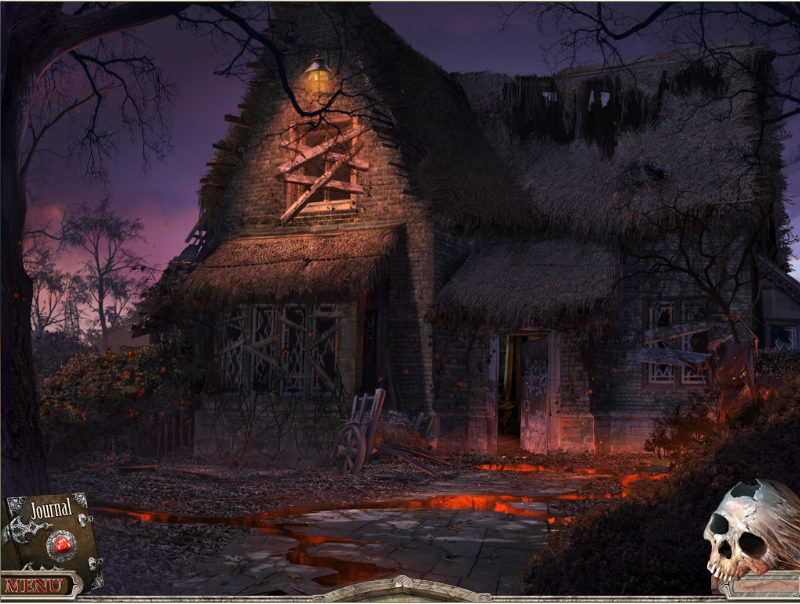
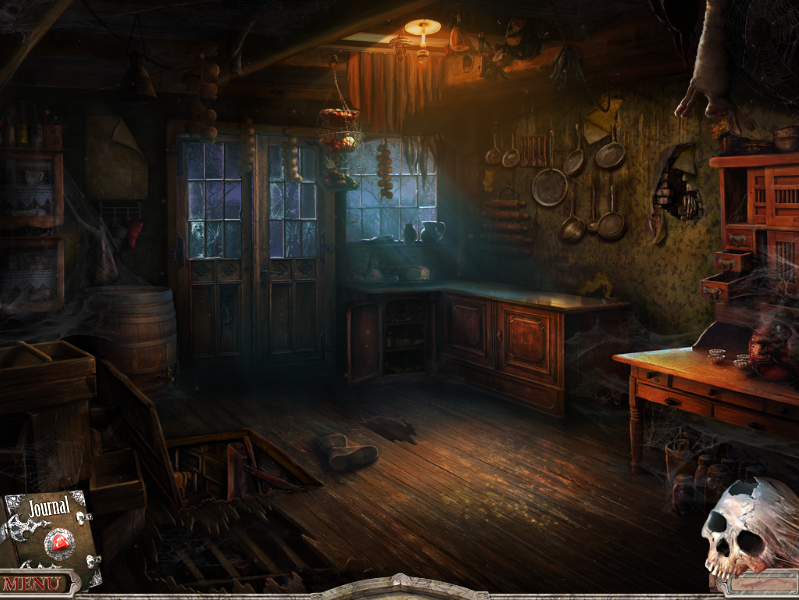
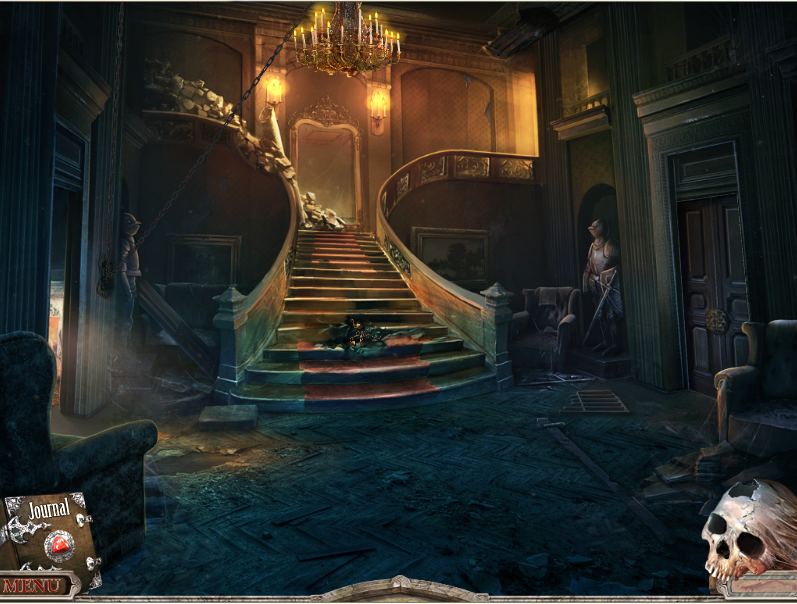
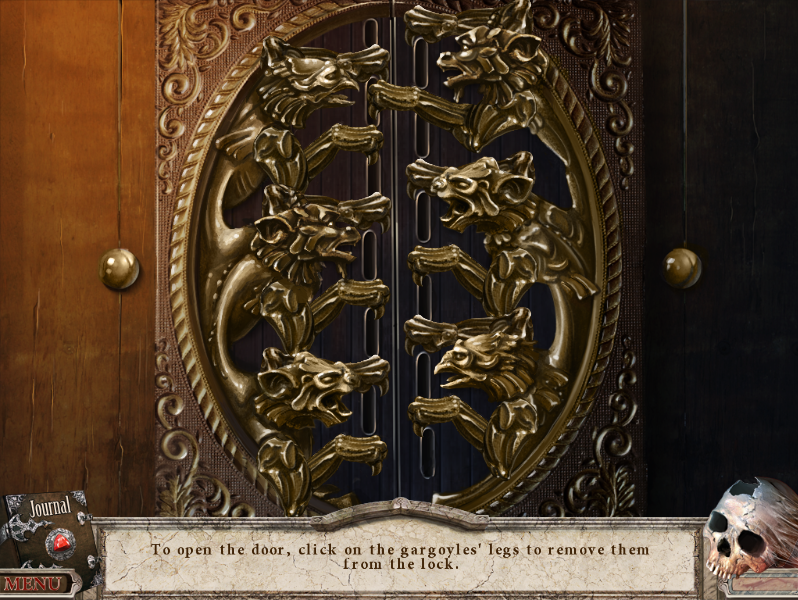
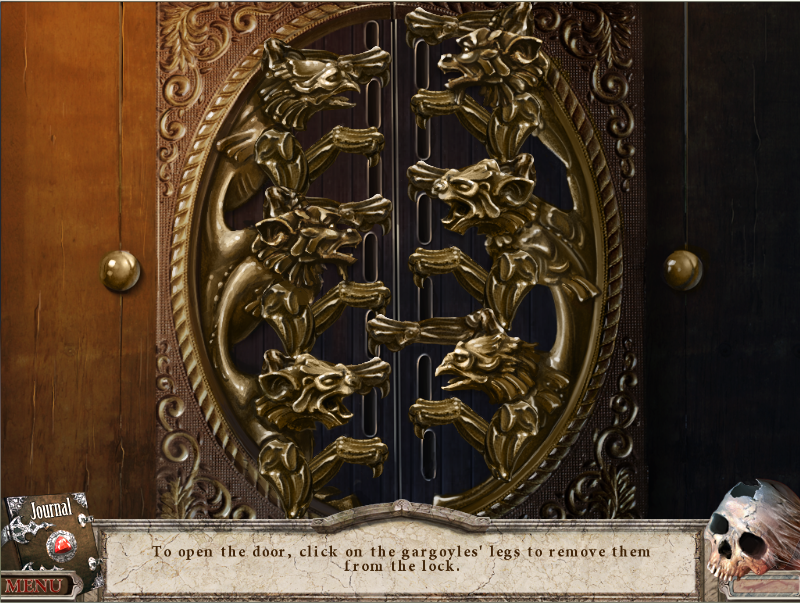
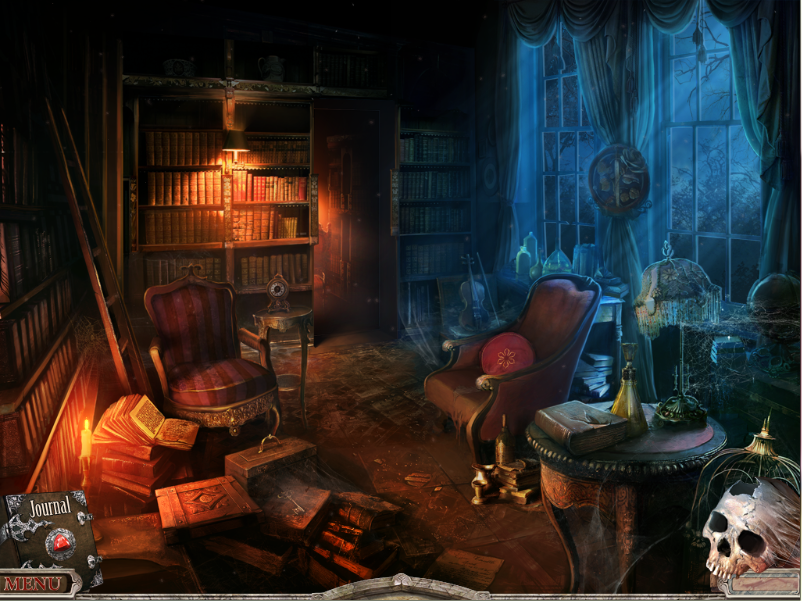
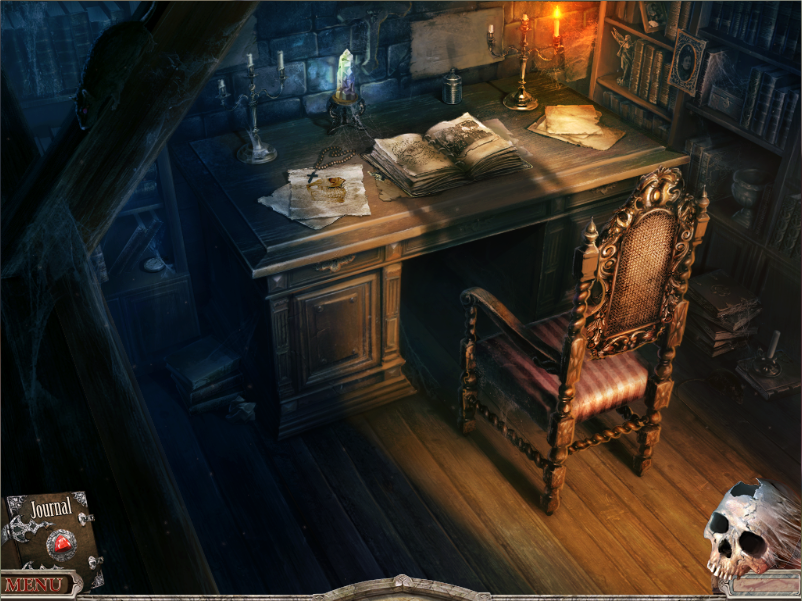
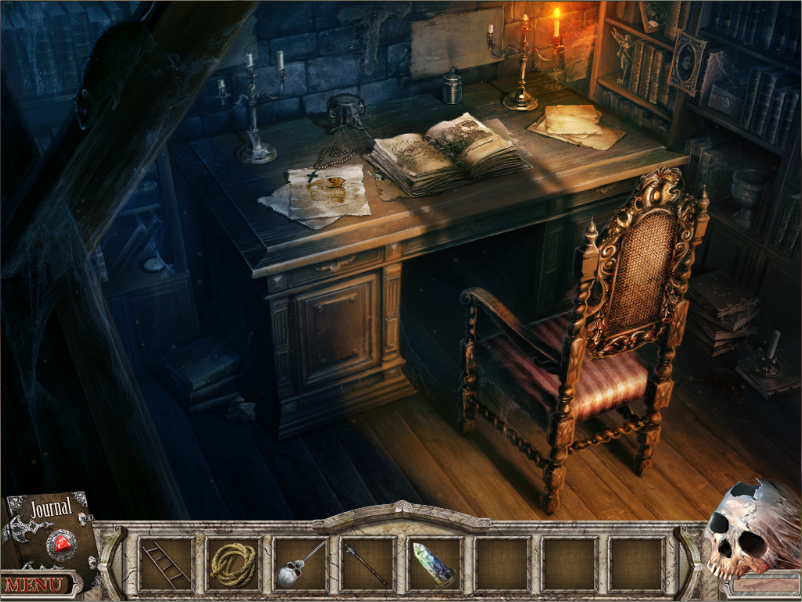
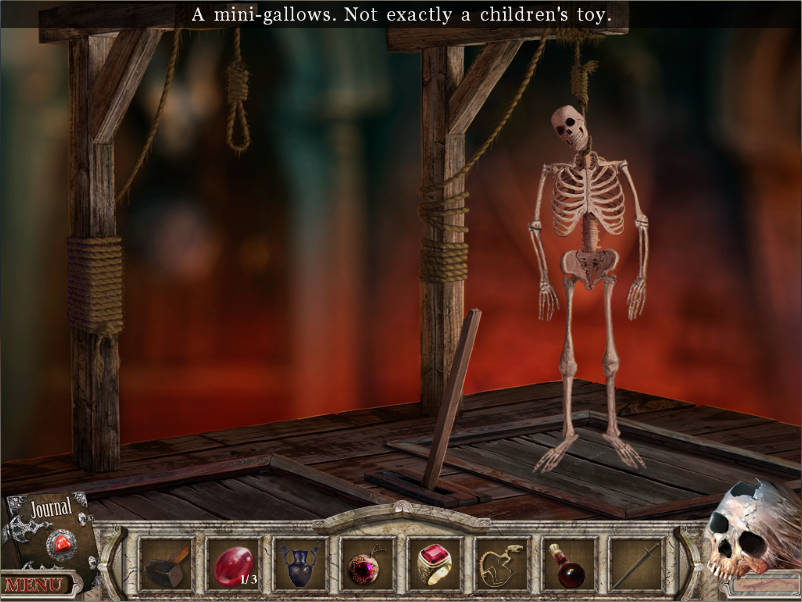
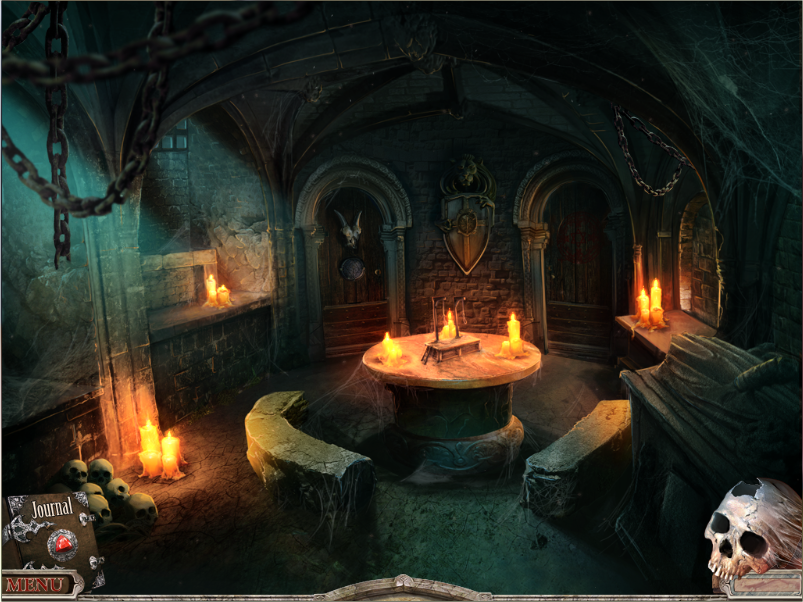
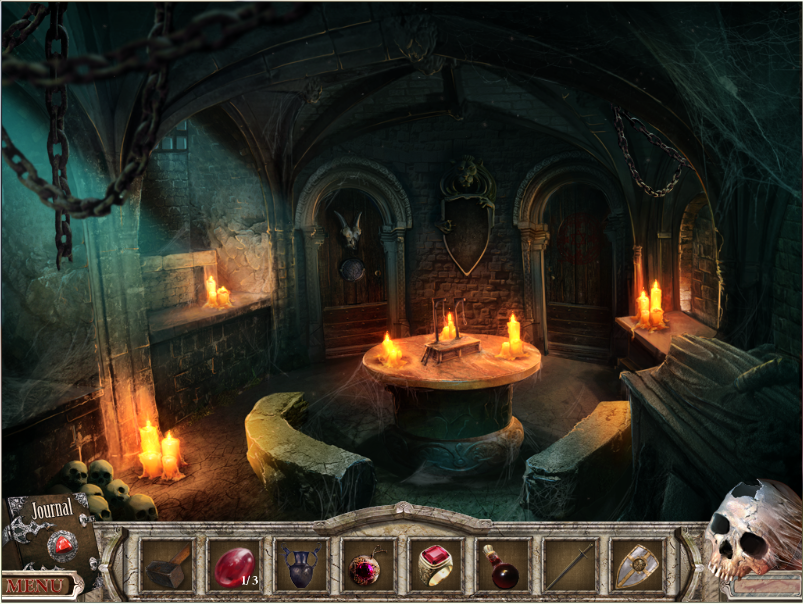
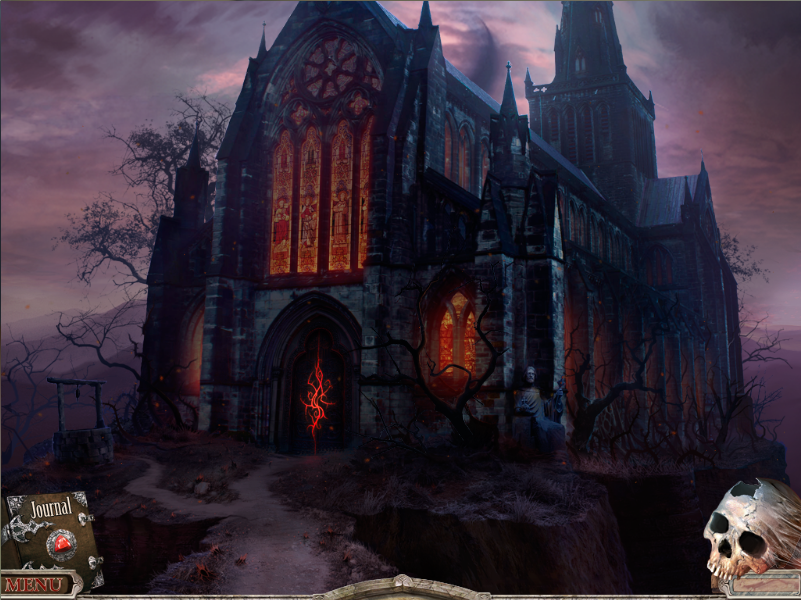
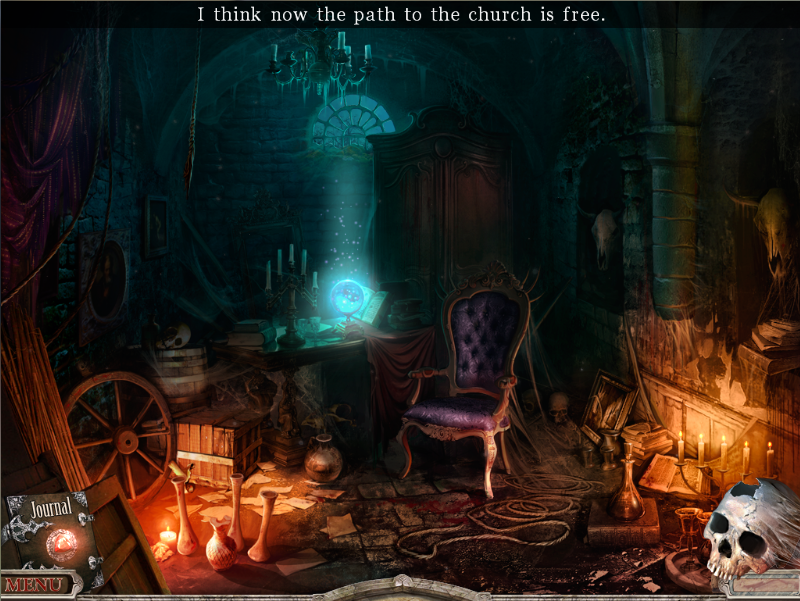
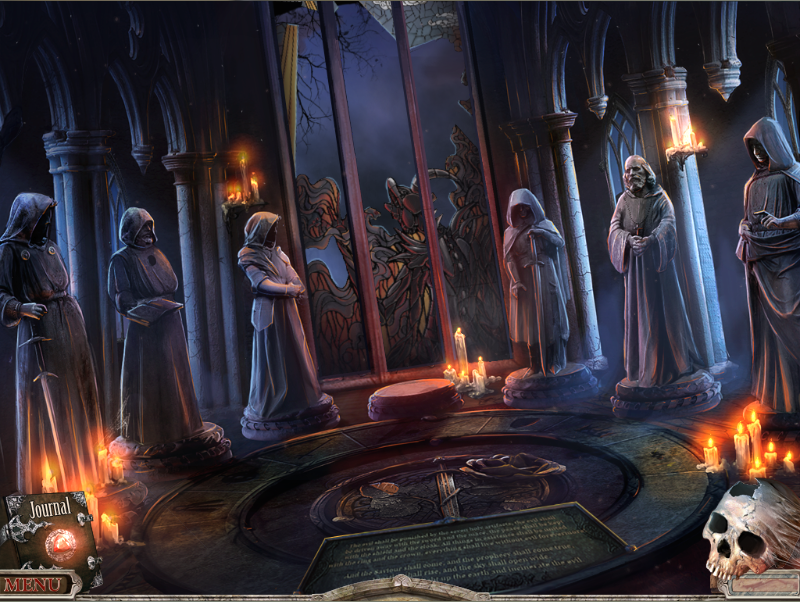
The door is open. I now have a choice of four different directions to go to:
I don't like to get ahead of myself too much, so I'll do the four points of interest. First up the statue. Ah, it's a puzzle. But I can't do anything with it at the moment as I'm missing something:
Now for the posters. There's a pick-up-able object here, I'll have that. It's a door handle:
But I can continue to interact with this screen:
Hmmm, these newspaper stories are pertinent, my journal has been updated. The journal doesn't only record bits of the story, it also logs some puzzle discoveries, (discovered) clues to puzzles and anything else the game feels its important for you to know:
The fire hydrant looks useful but there doesn't appear to be anything I can do with it at this time. The running water is animated with sound effects:
Now for that door:
Hey, what a surprise, that door handle is used on this. So I move the door handle onto the small mini-screen. It clicks into place and I click again to activate it, it rattles with sound effects:
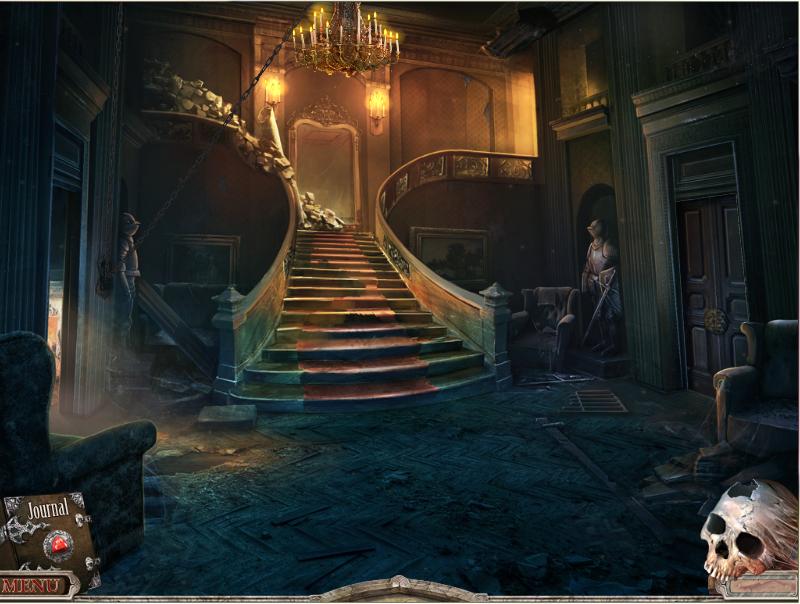
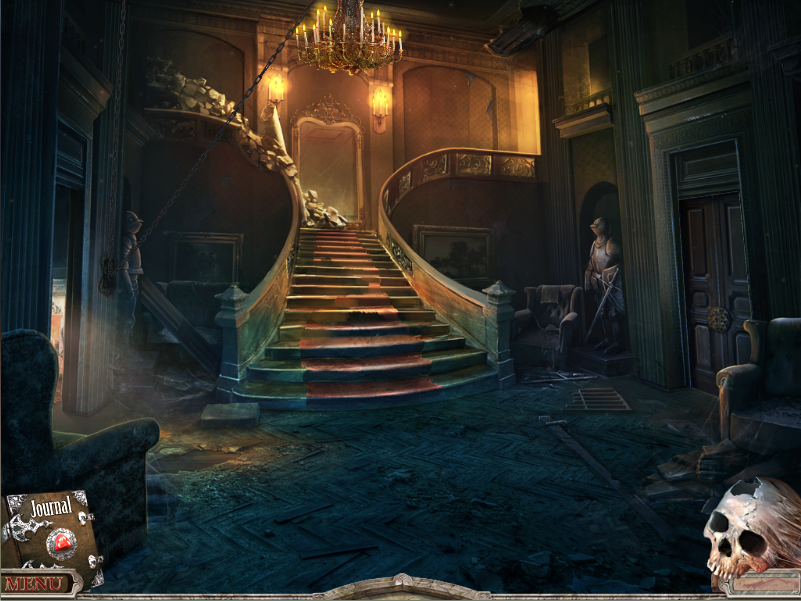
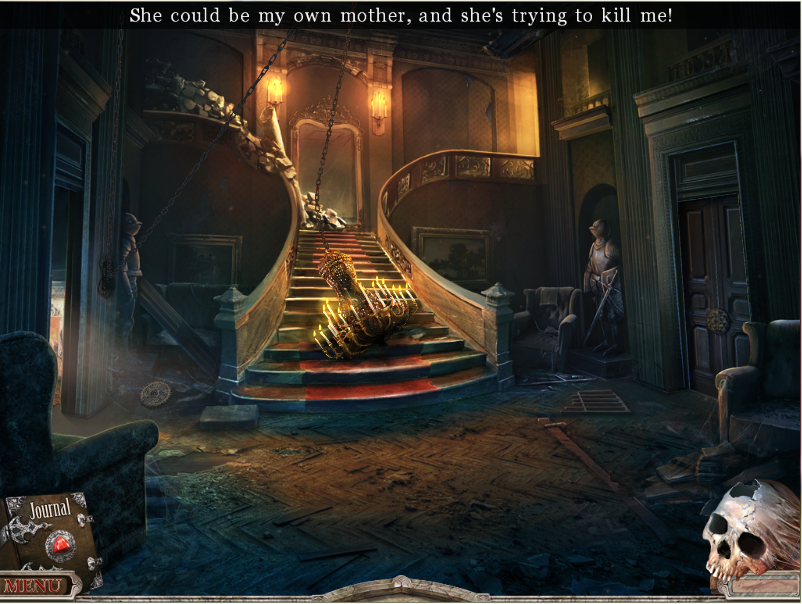
The door is open. I now have a choice of four different directions to go to:
Last edited: