- Joined
- Jan 9, 2011
- Messages
- 2,728


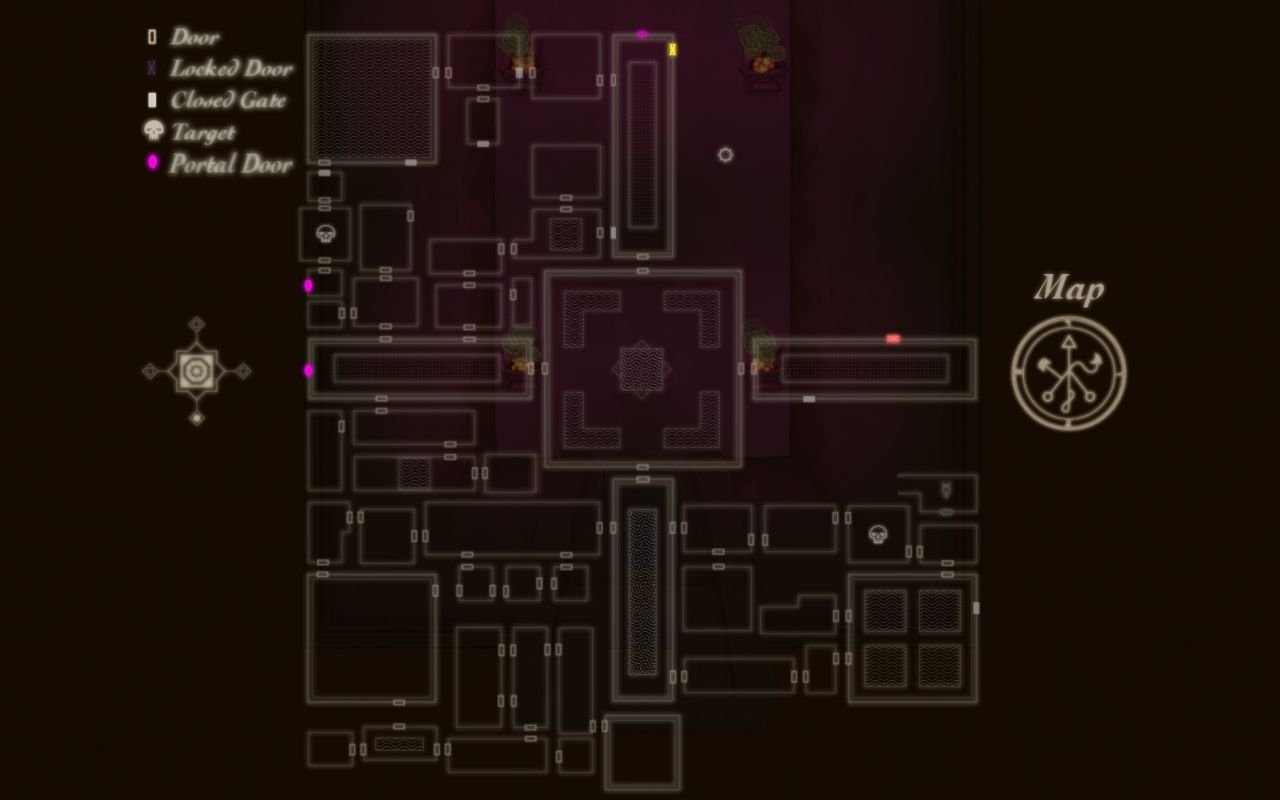
I've got tired of transcribing conversations, so this update will have more screenshots. Hope you don't mind.
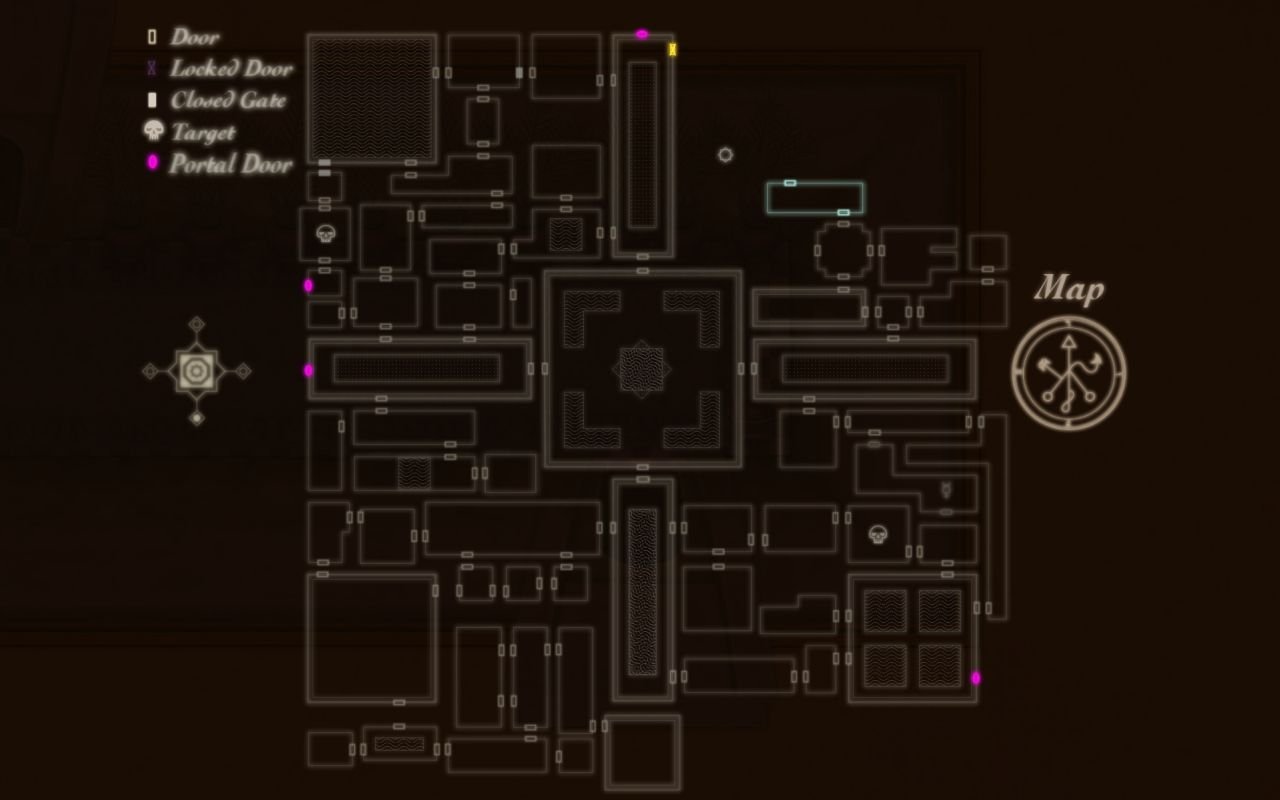
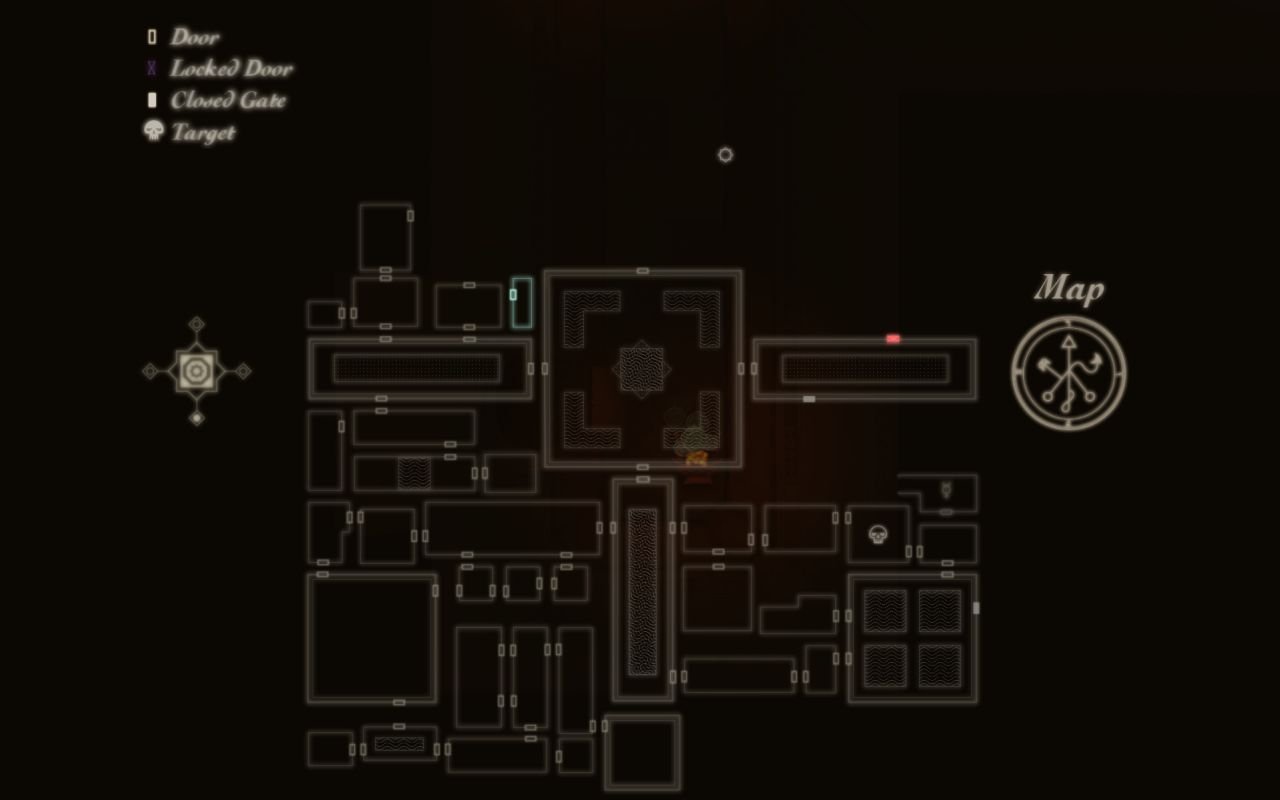
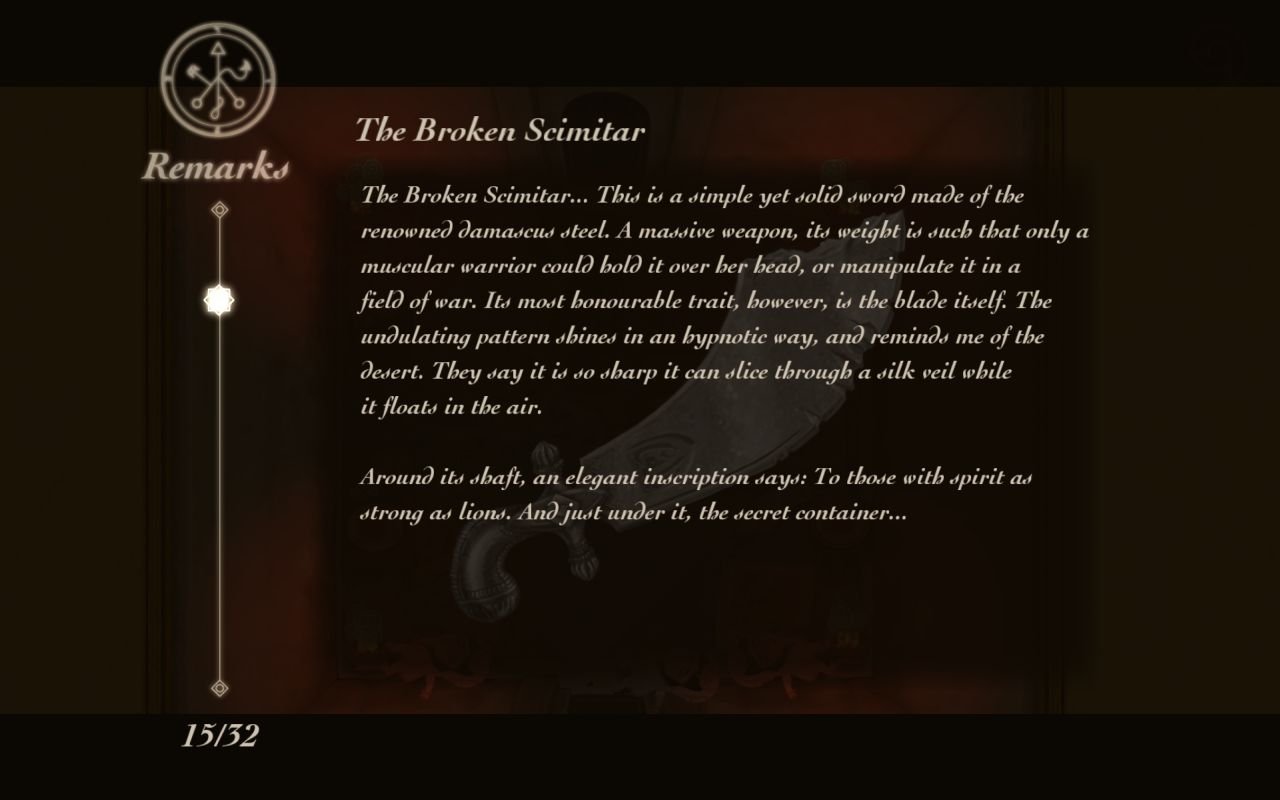
Part 04: Secret passages & The Broken Scimitar
Part 04: Secret passages & The Broken Scimitar
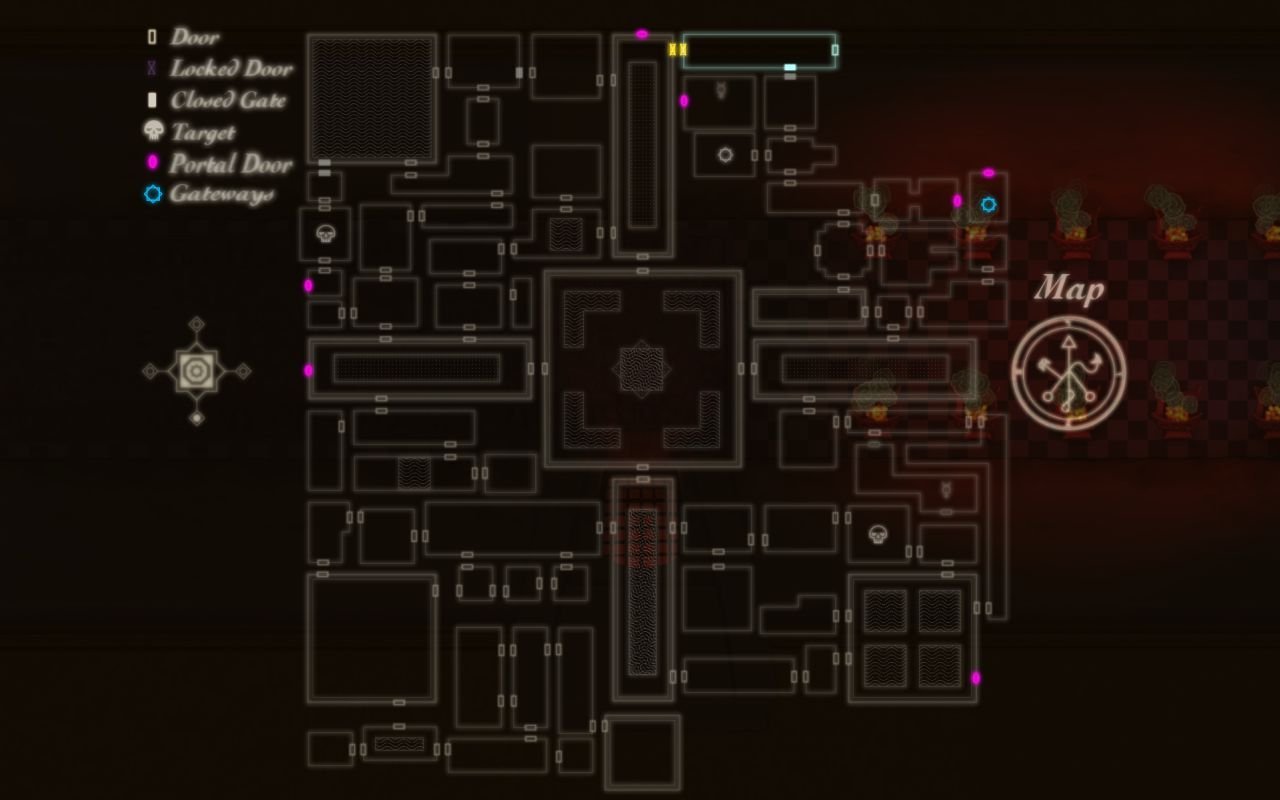
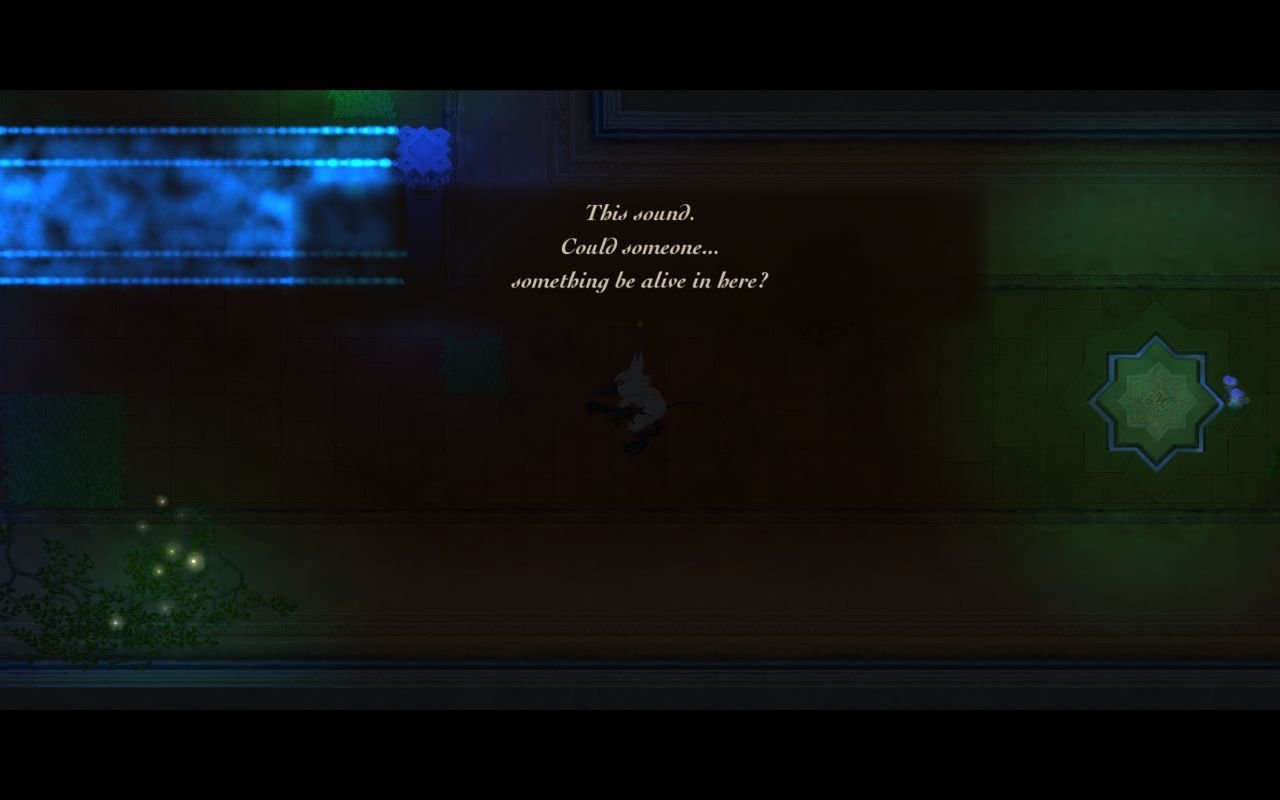
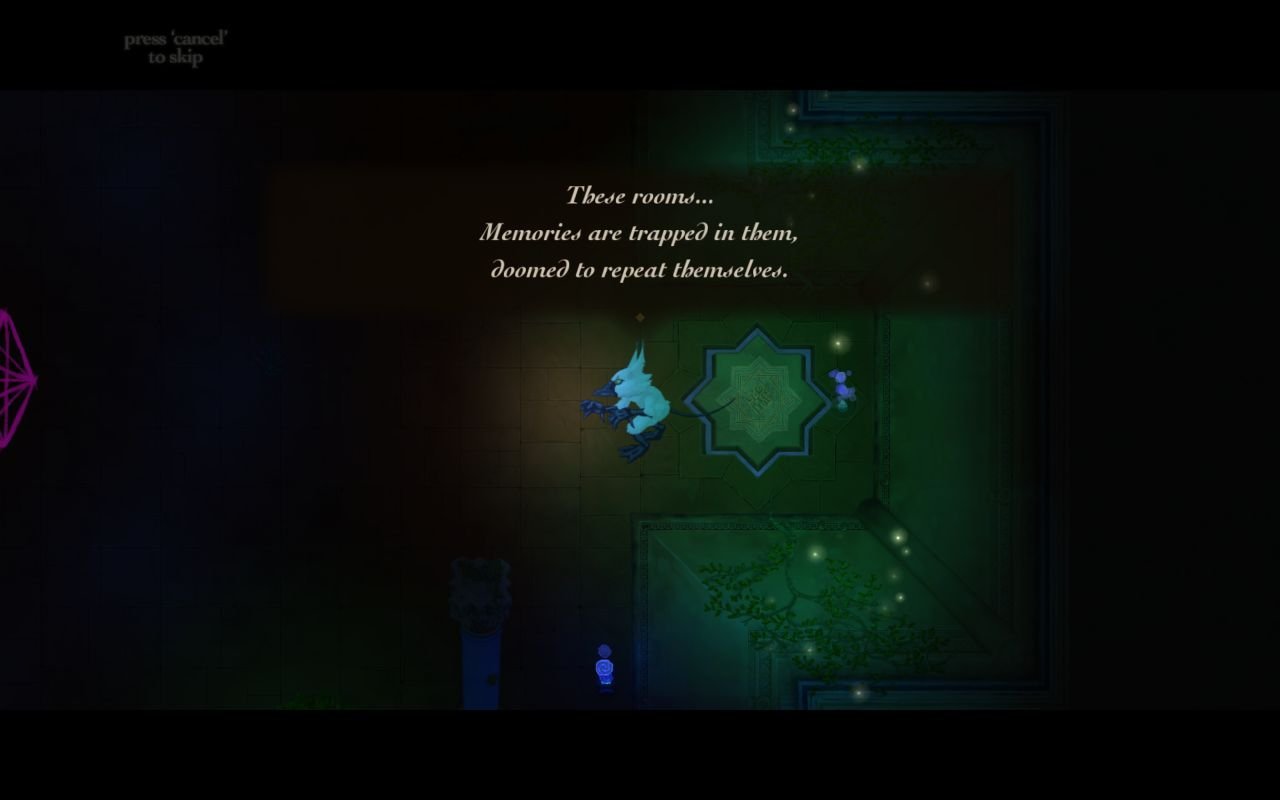
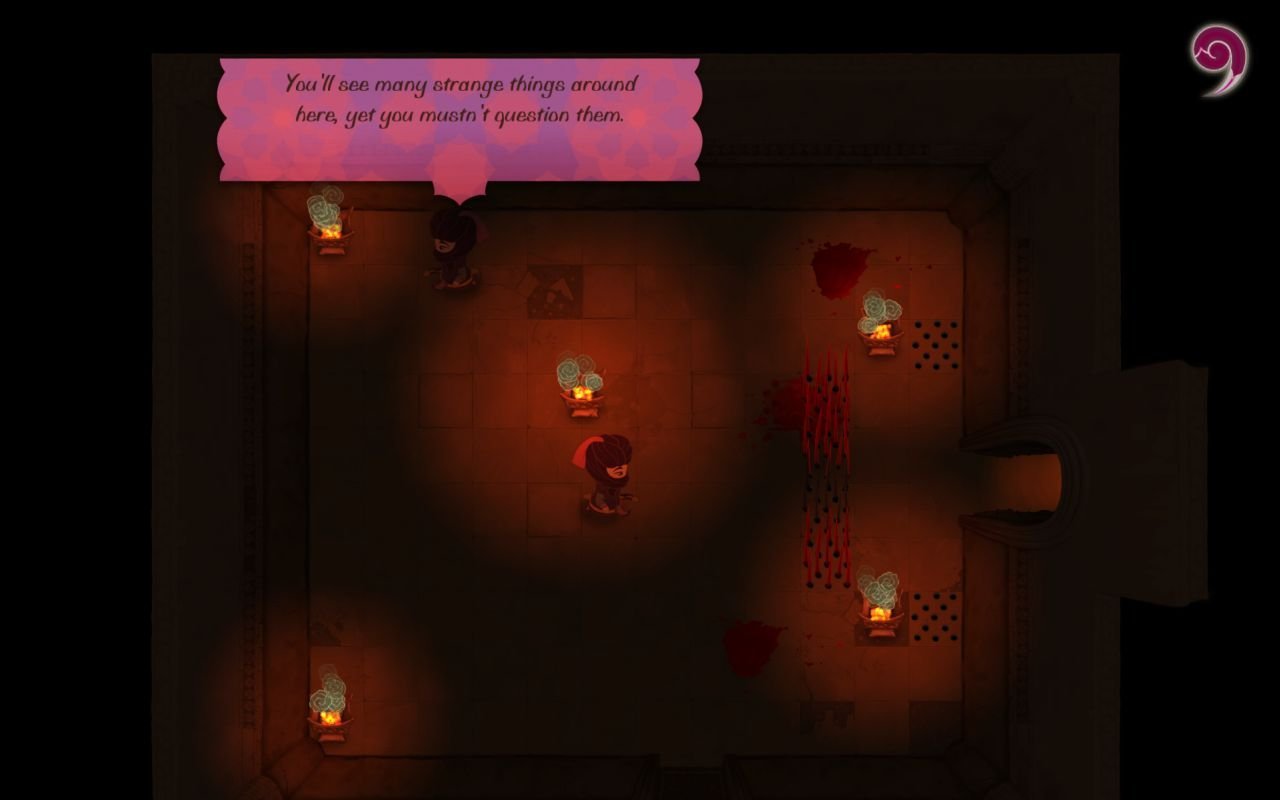
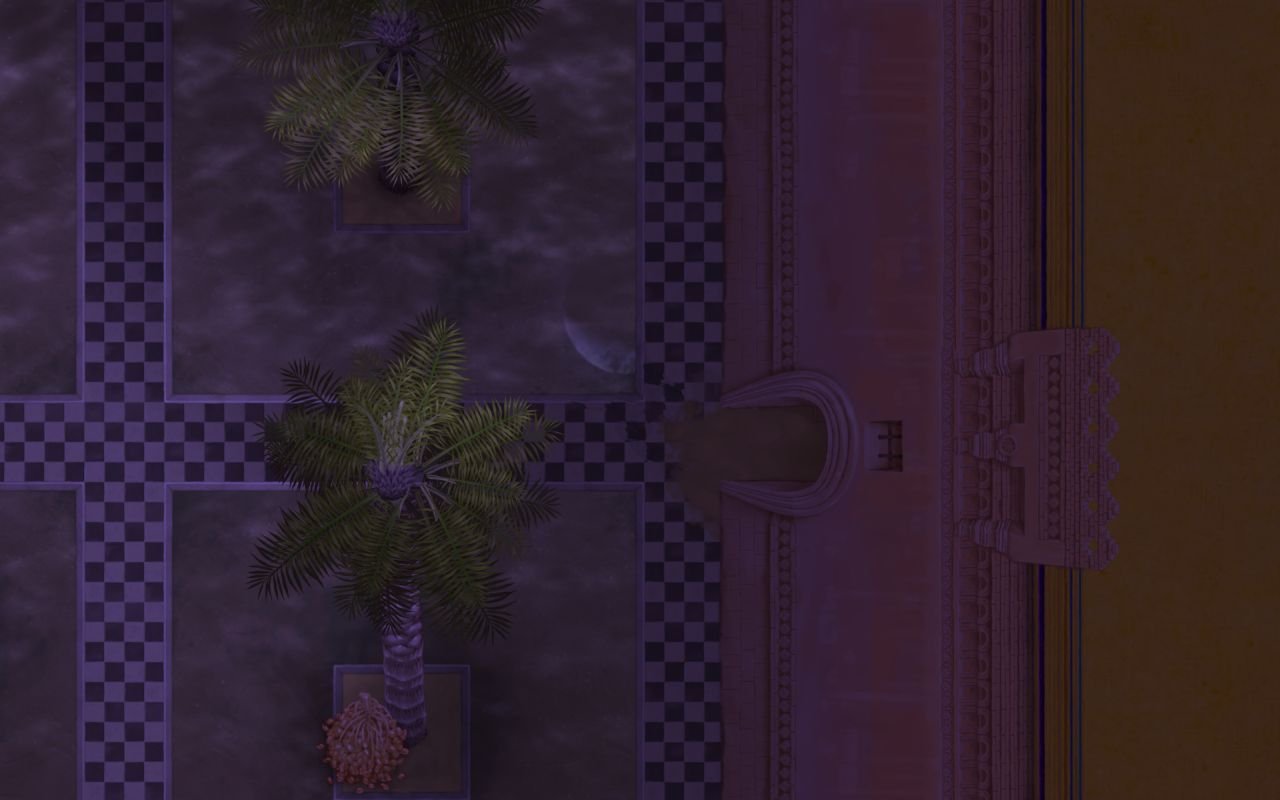
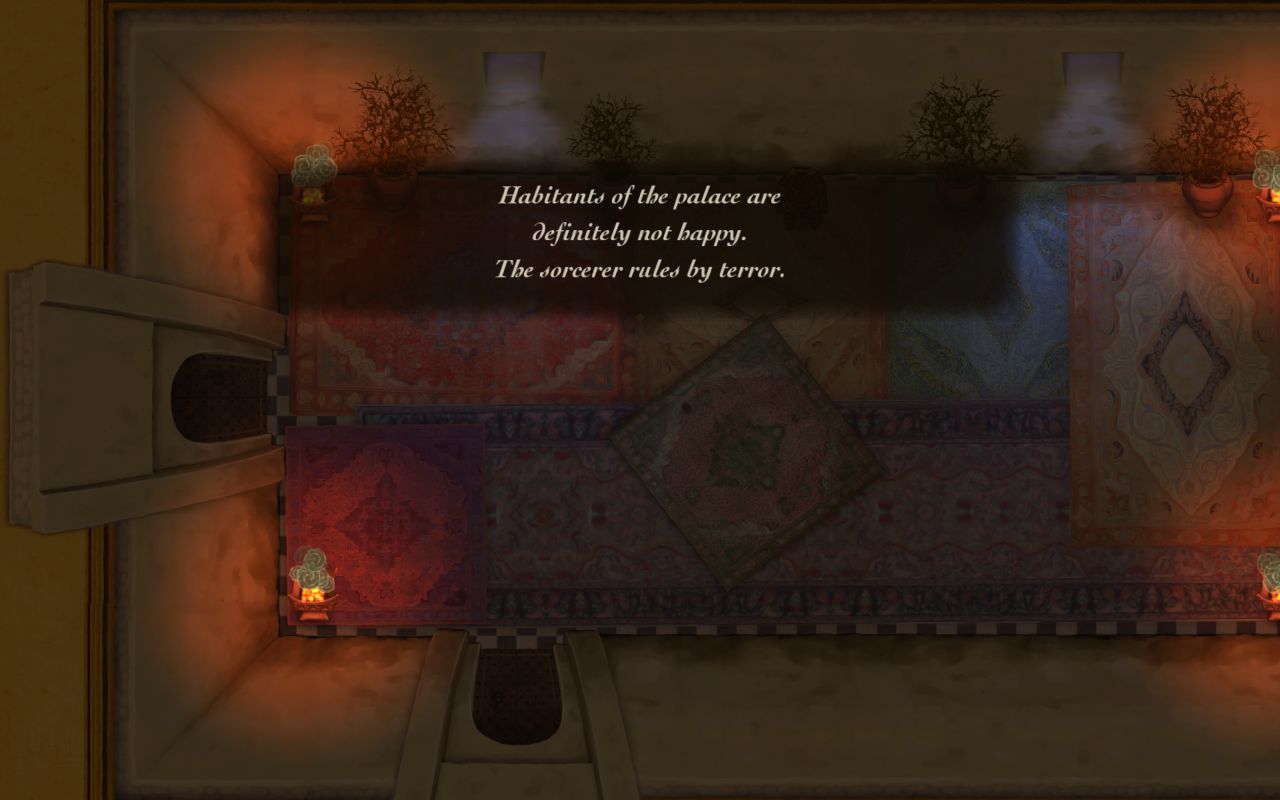
Last time we were following a brave bearded man, who ventured into forbidden rooms (with a bit of our stealthy help) to try and find a way out. Let's see what fate has in store for him, while we cross the Tin door.
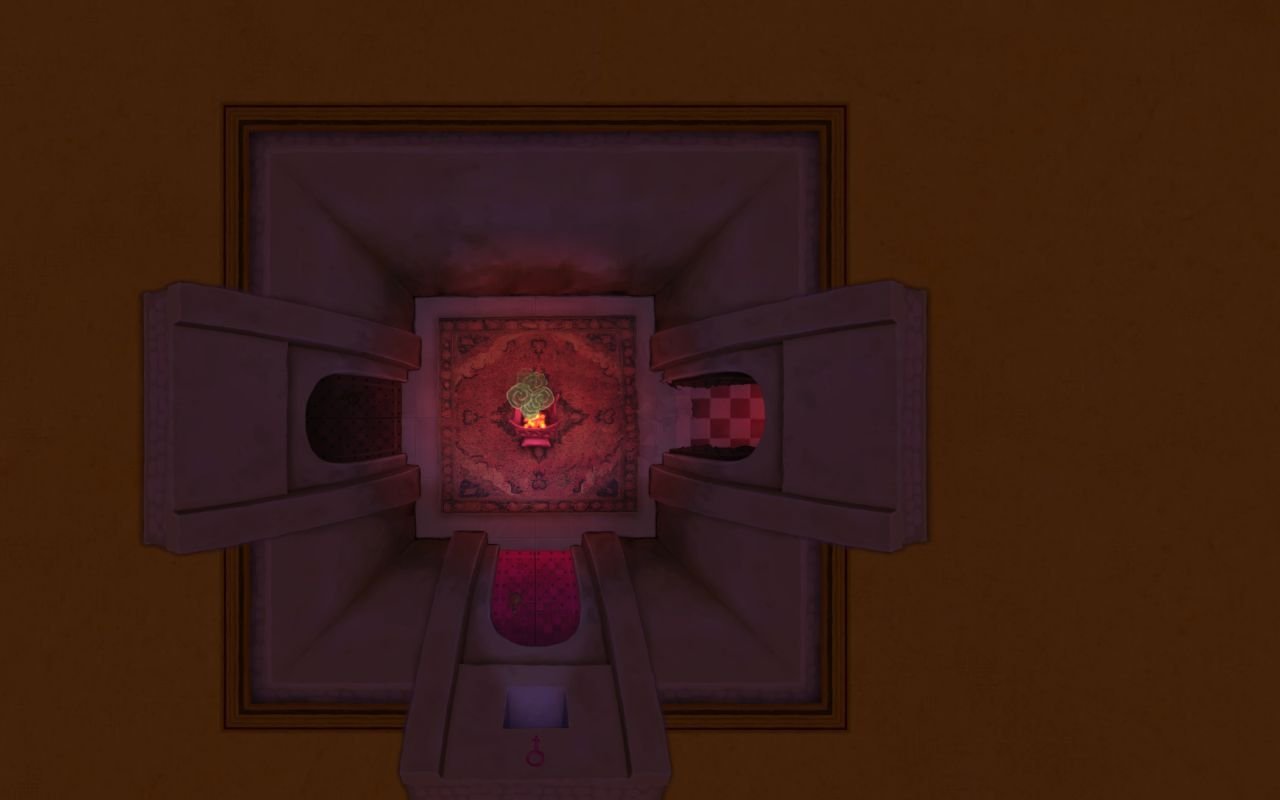
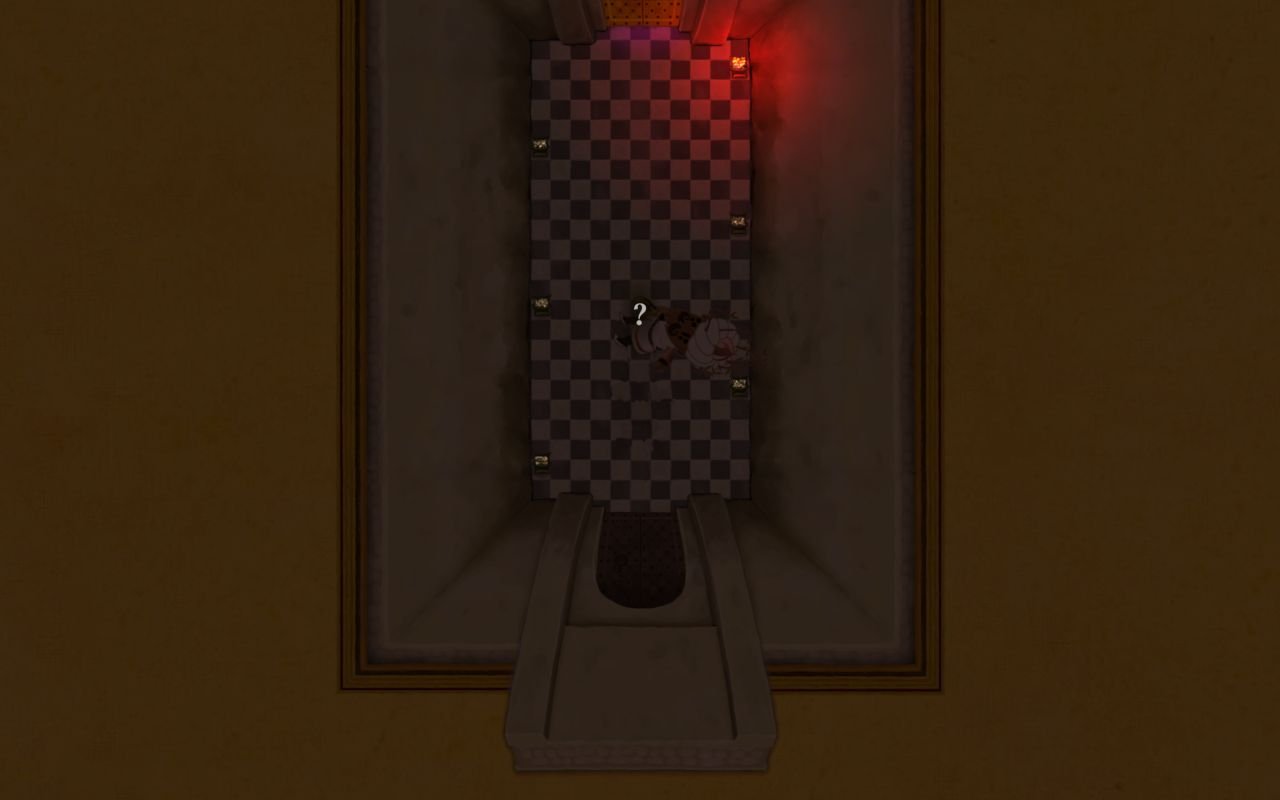
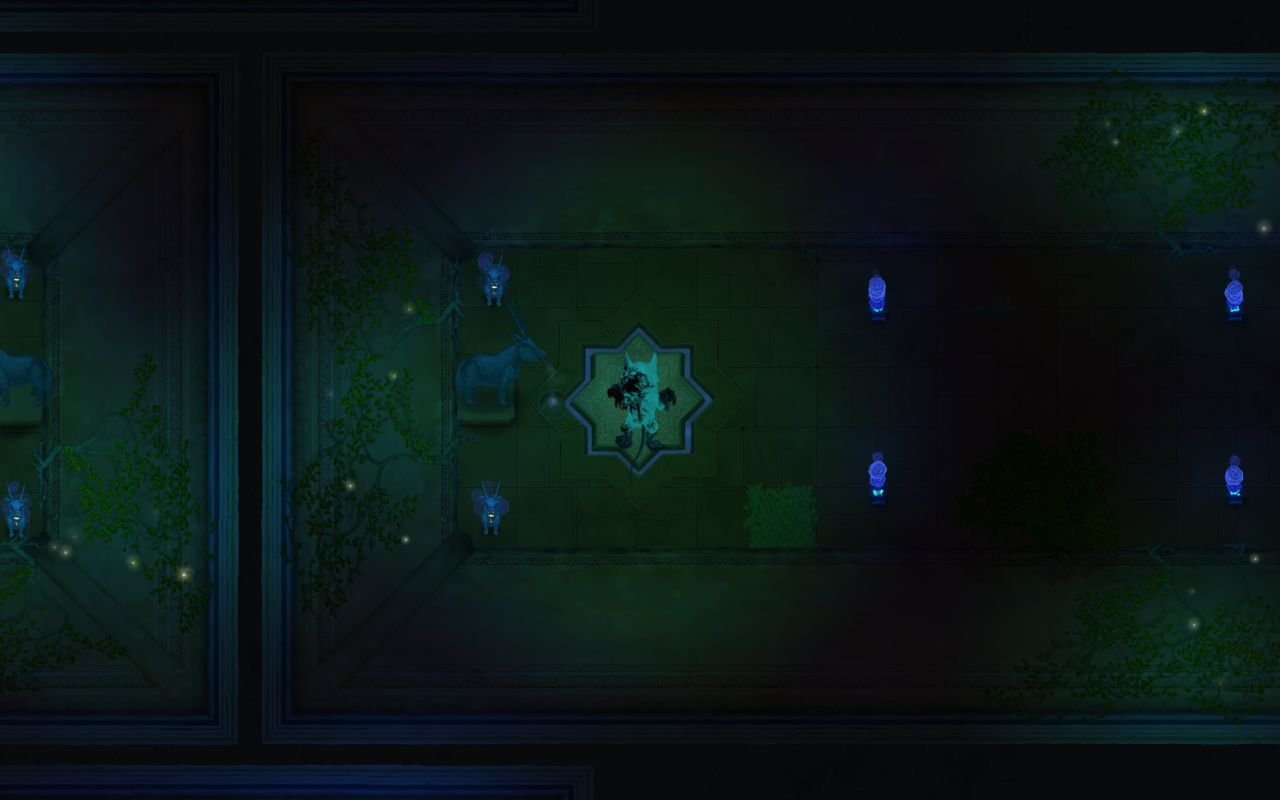
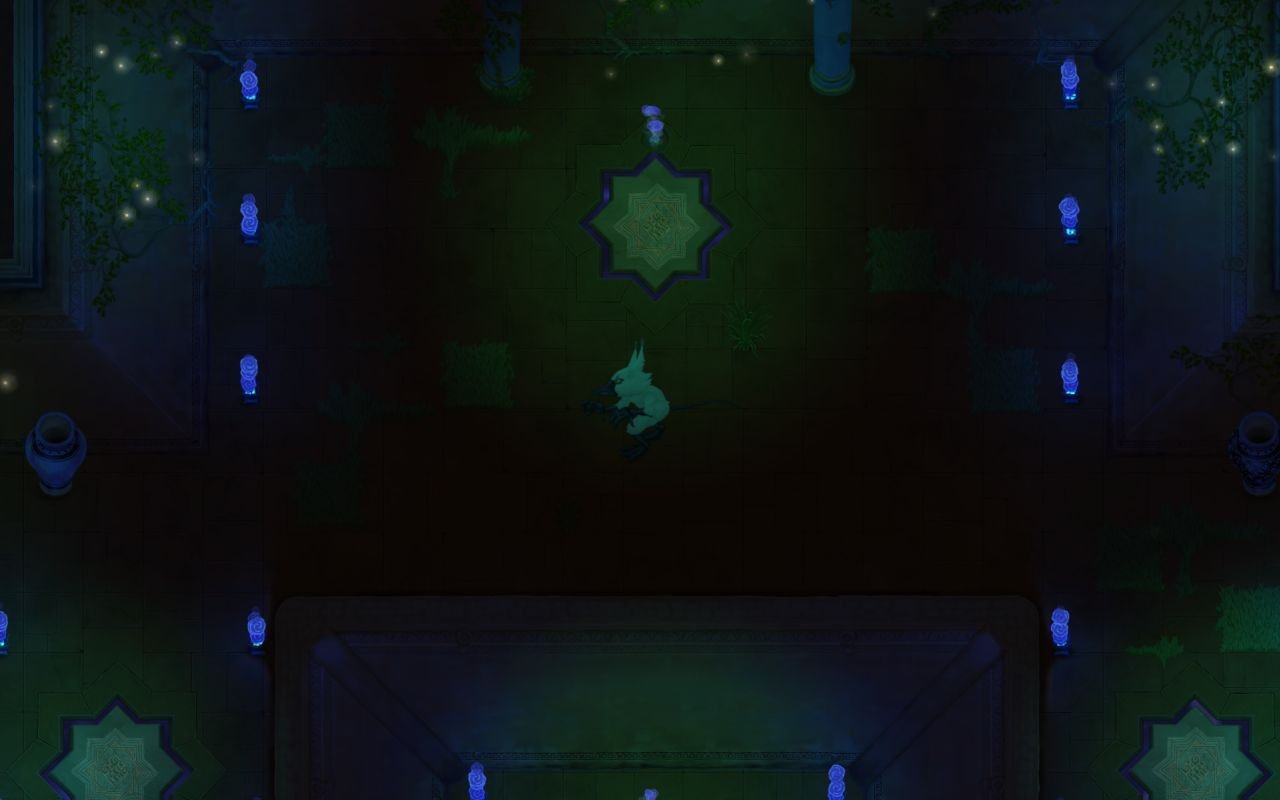
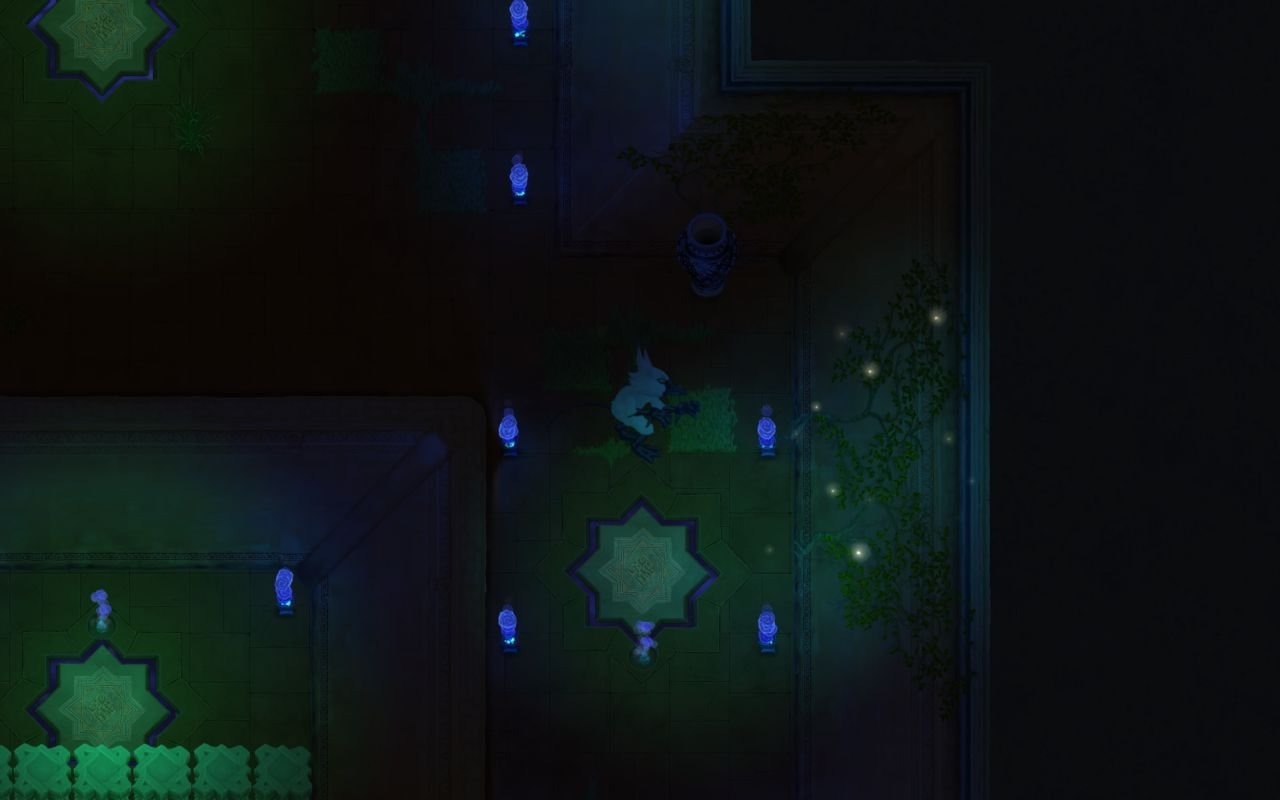
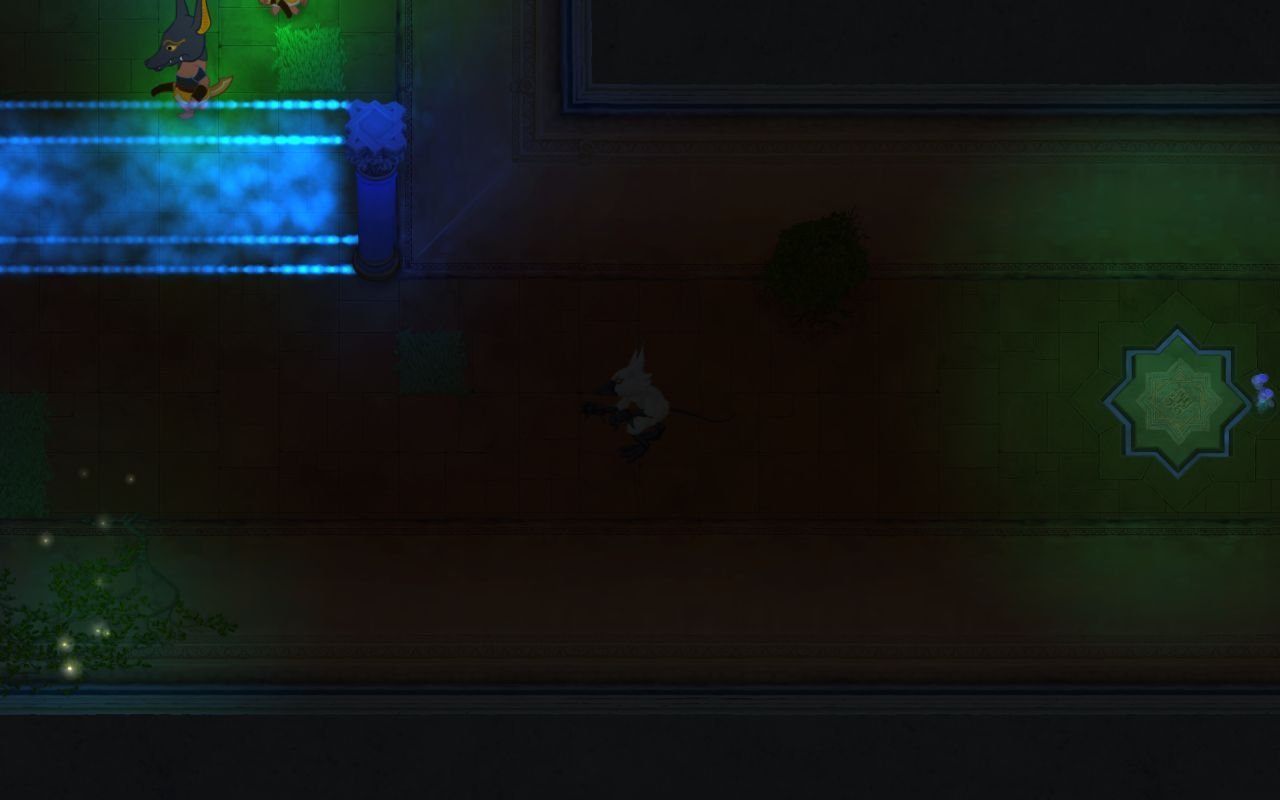
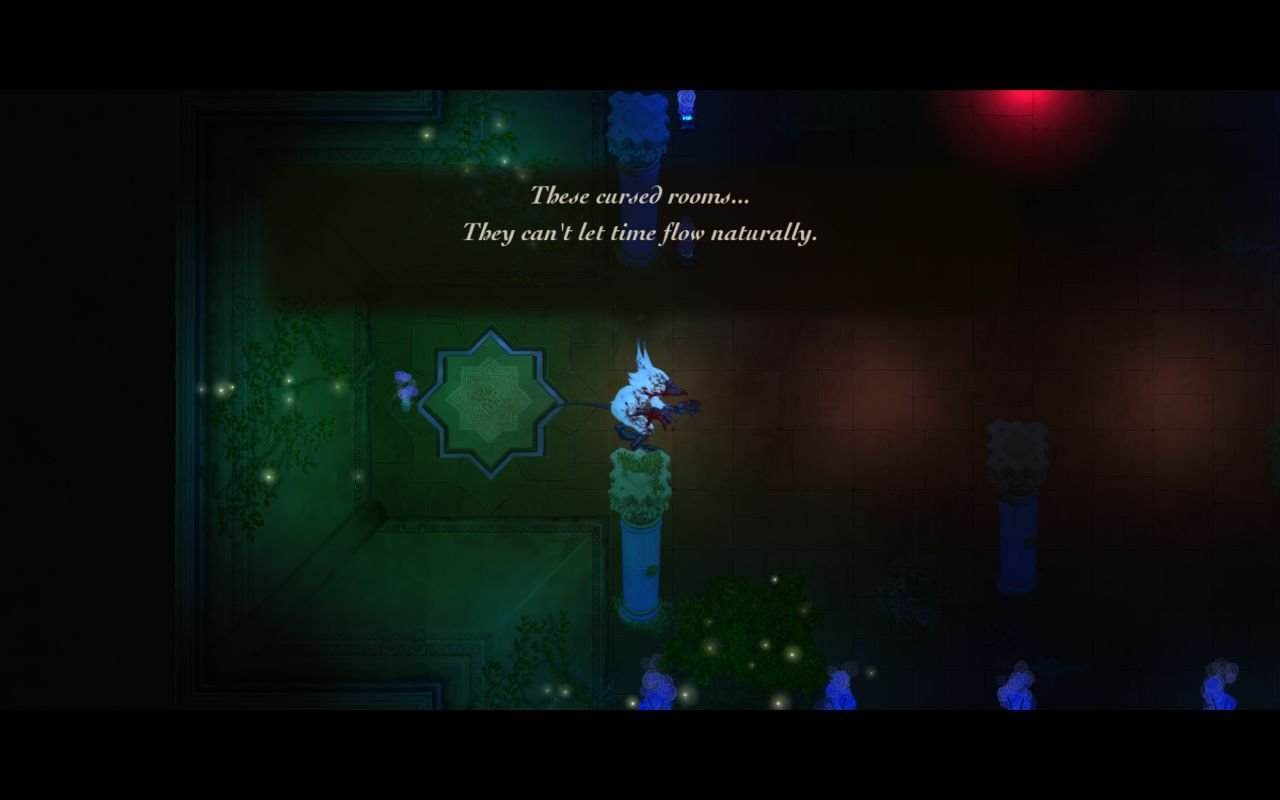
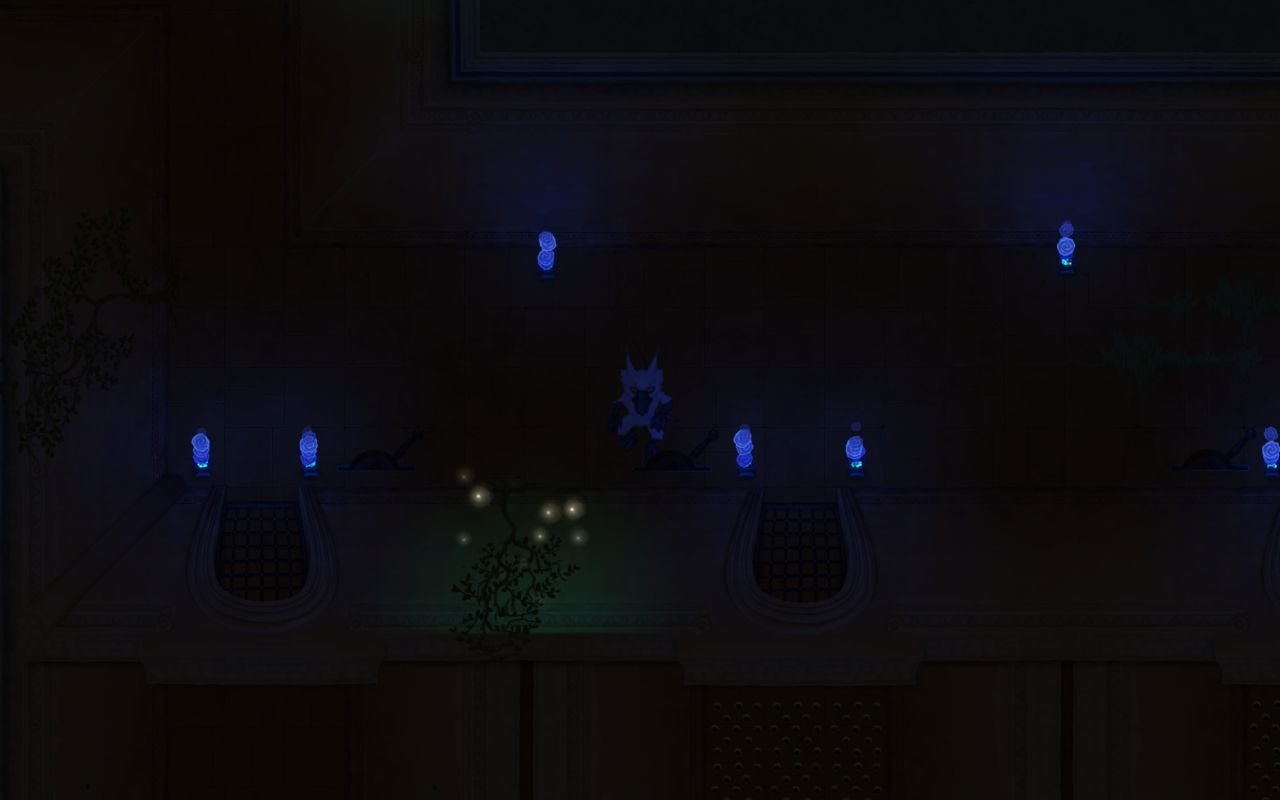
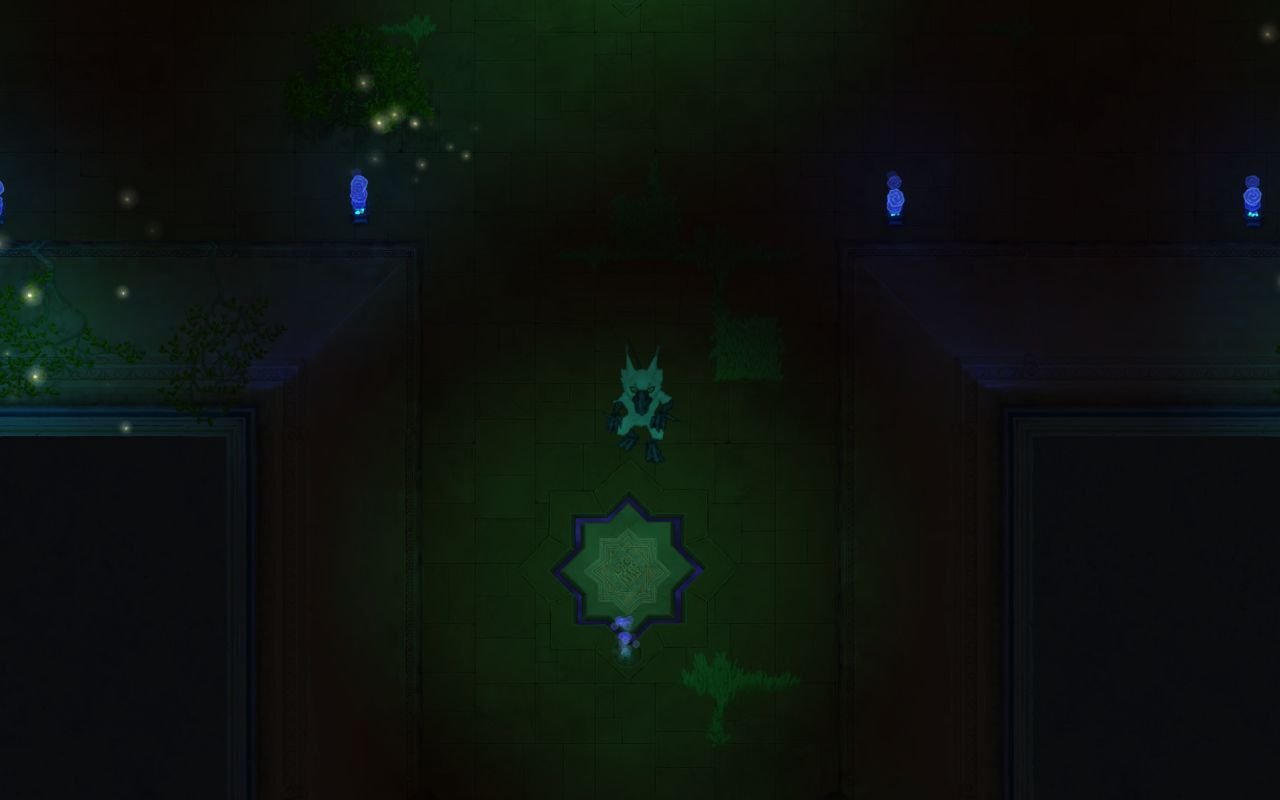
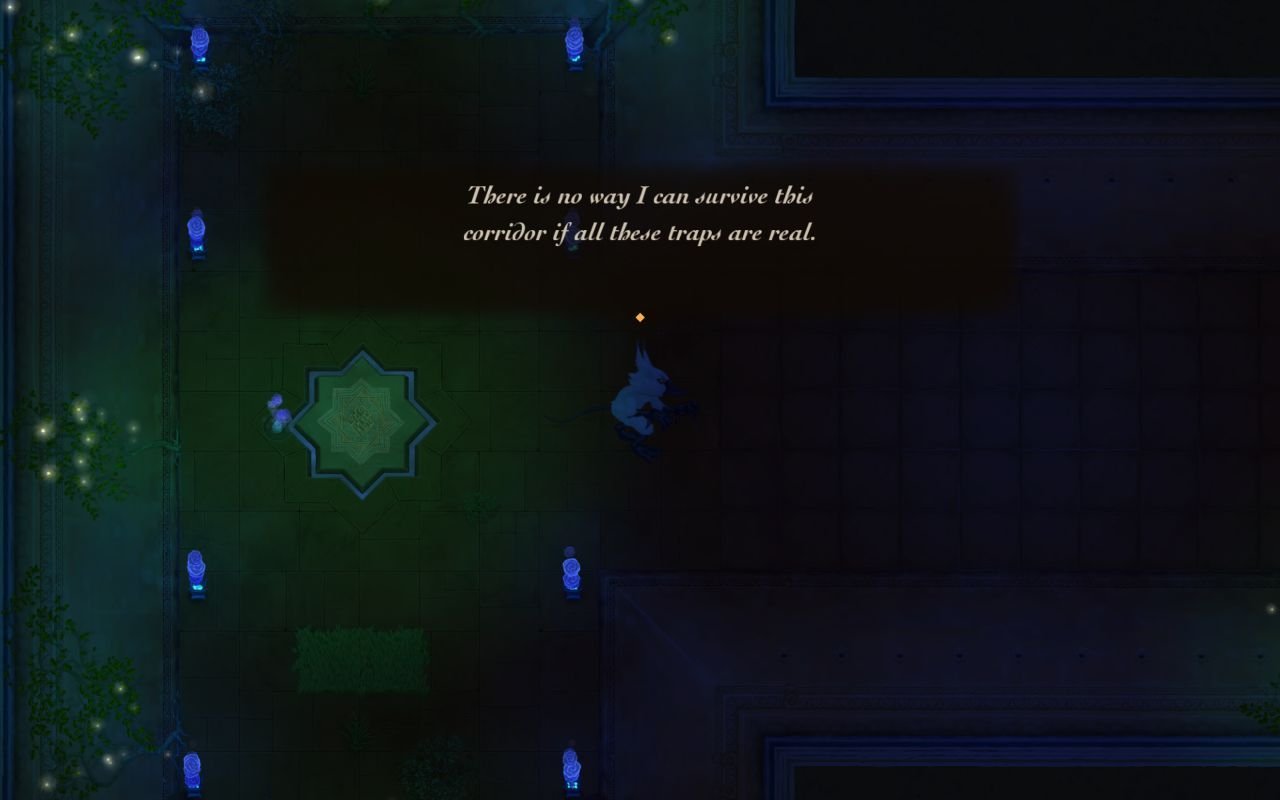
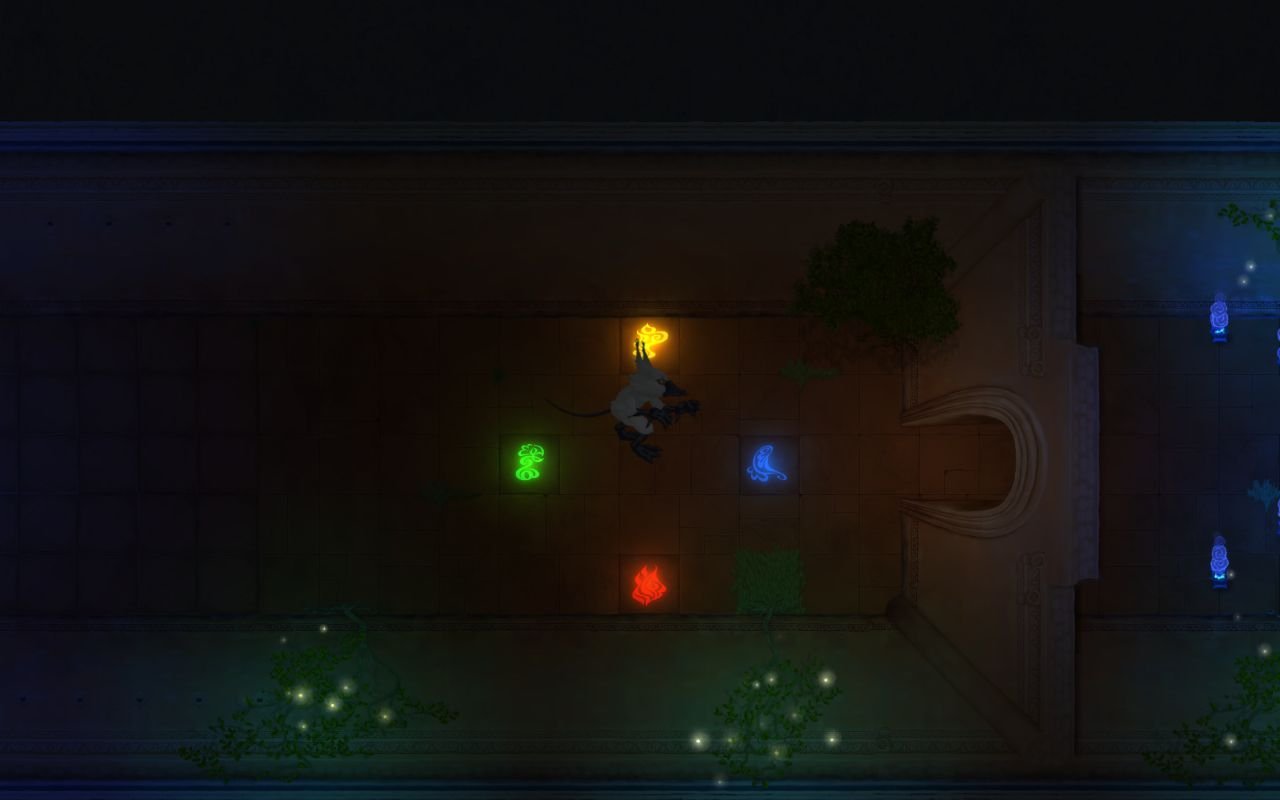
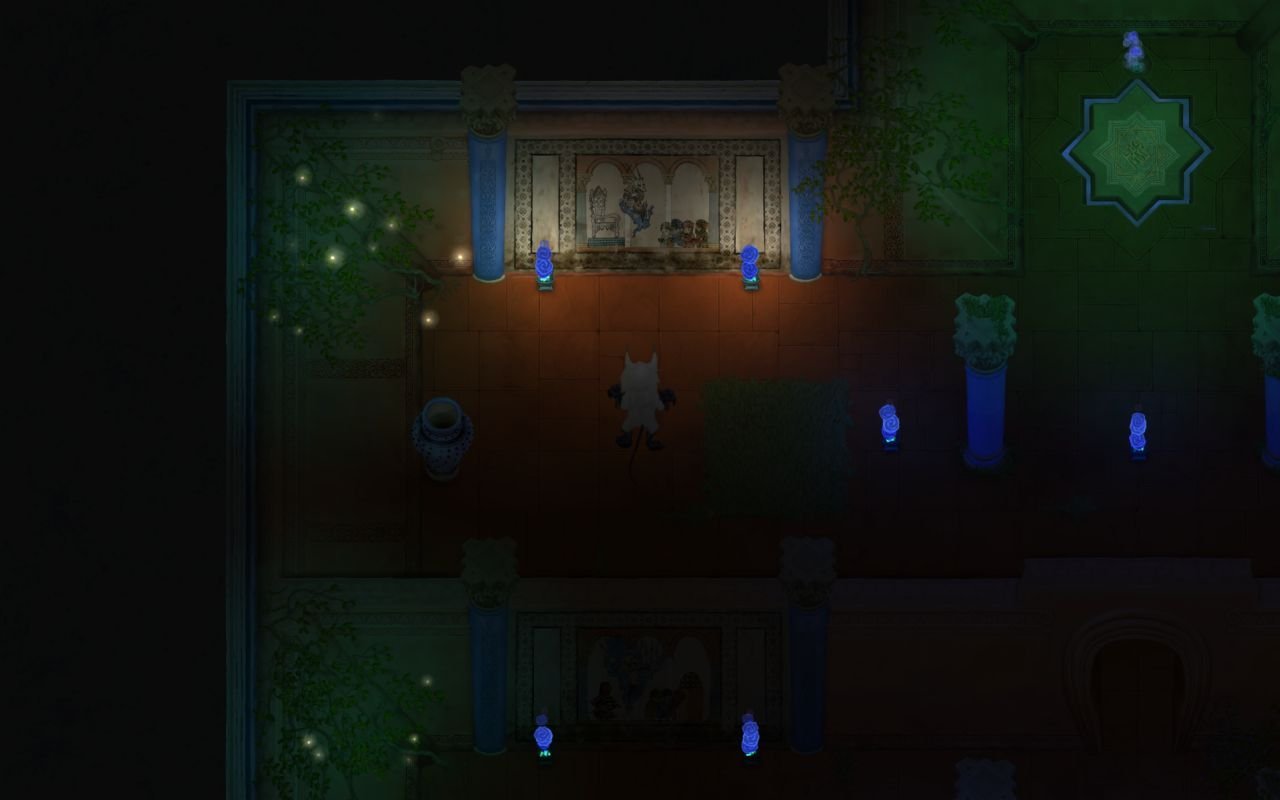
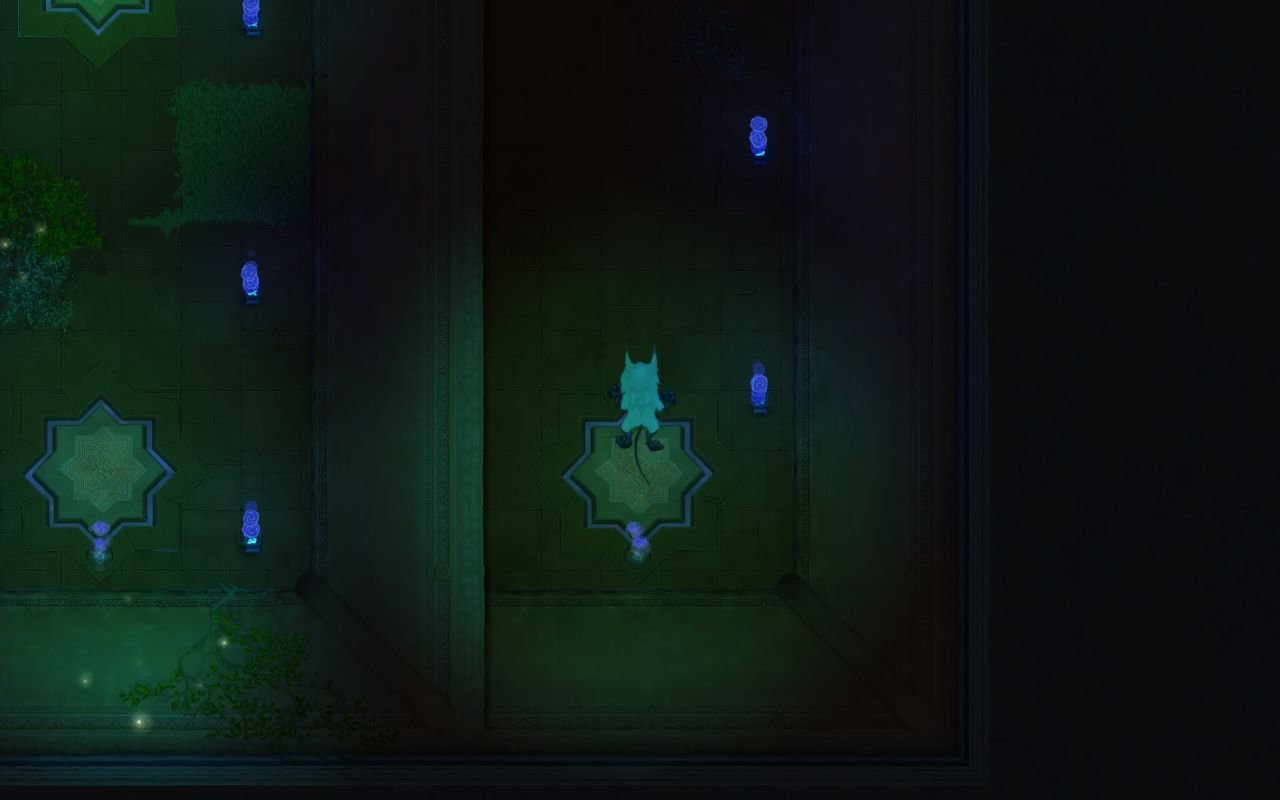
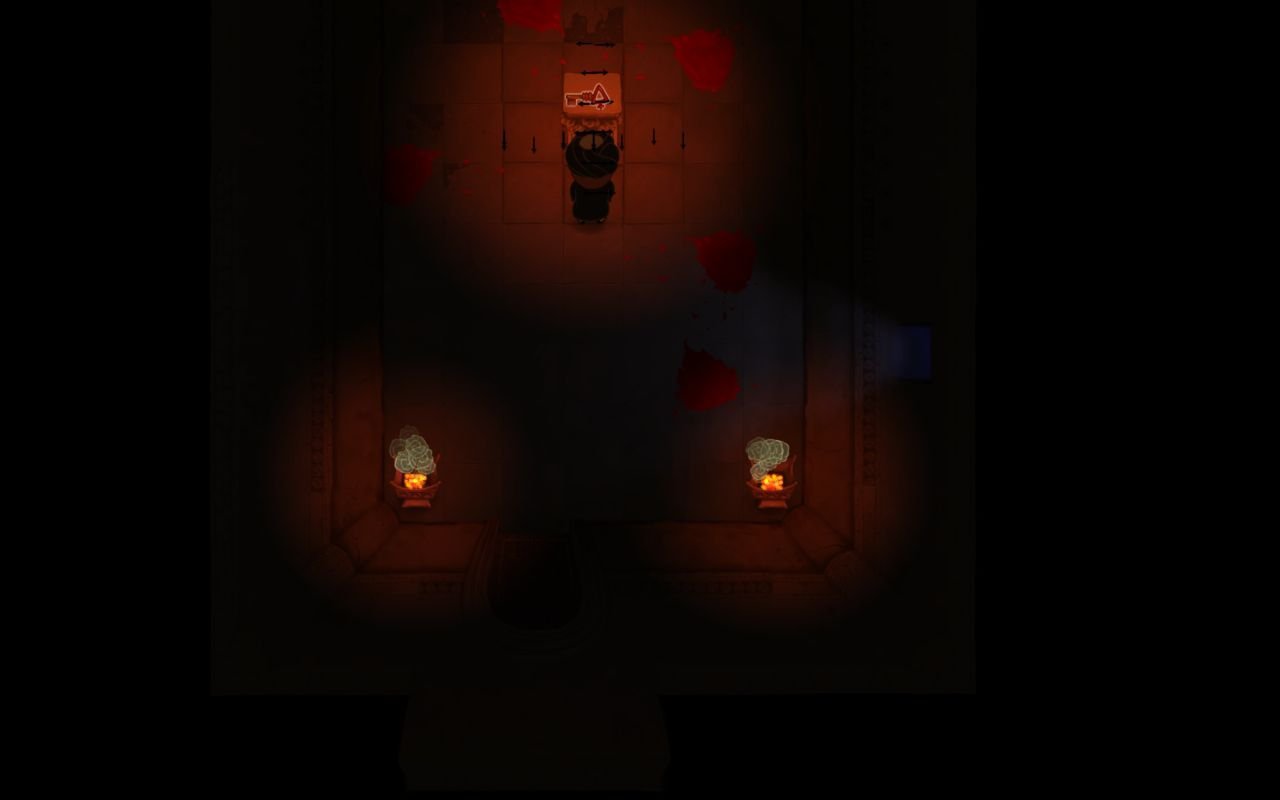
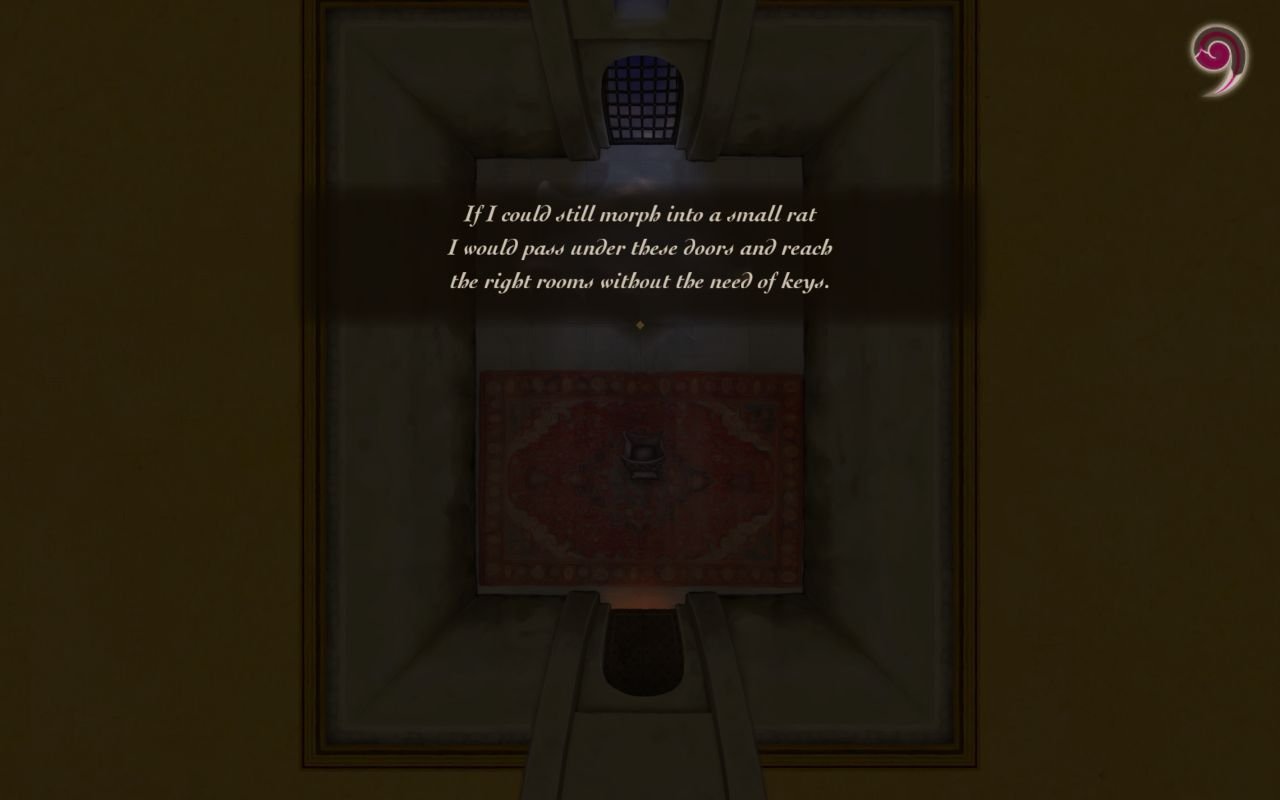
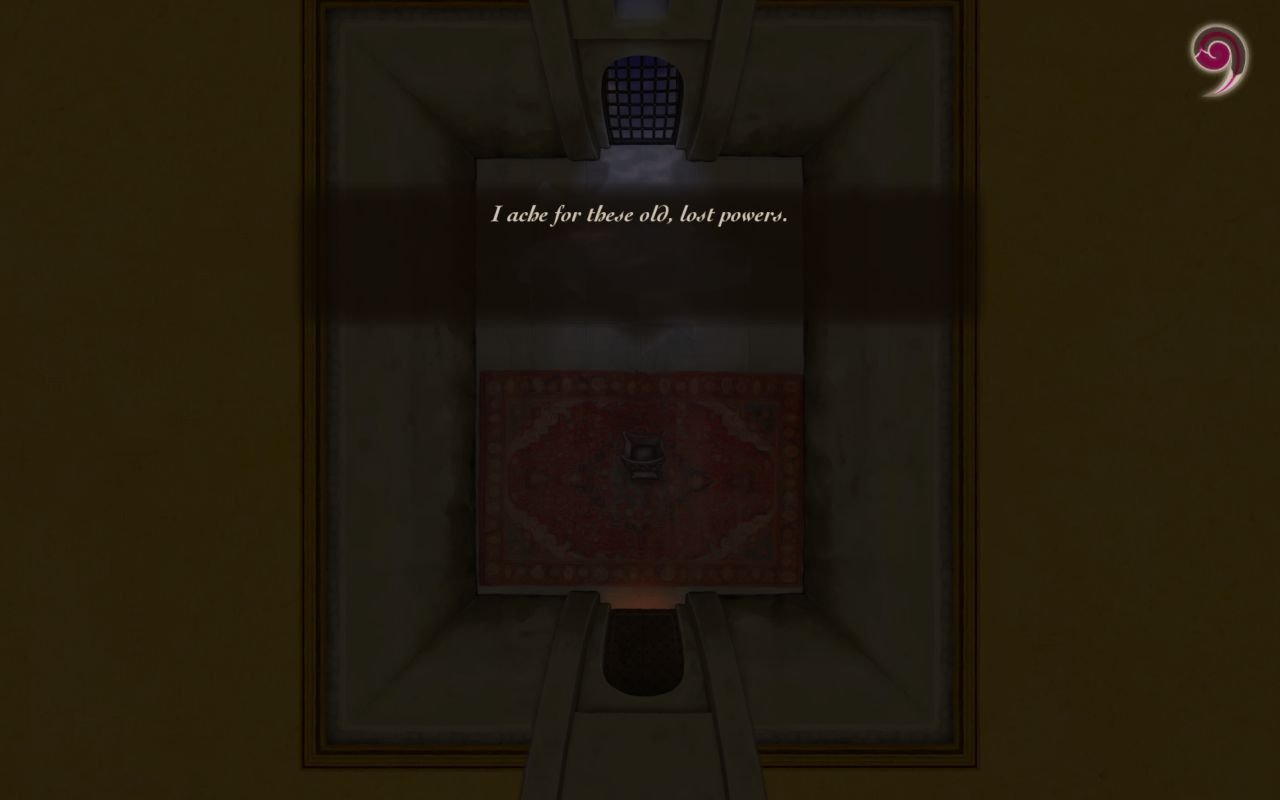
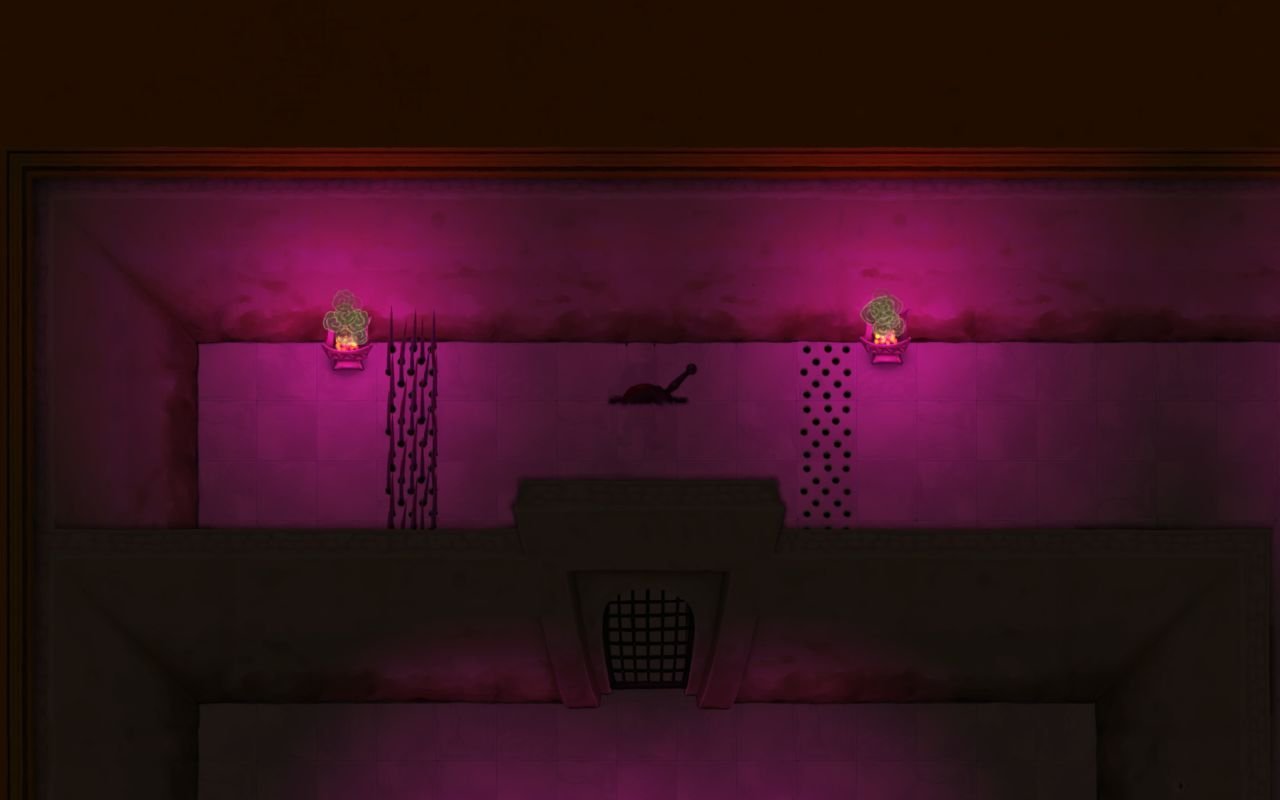
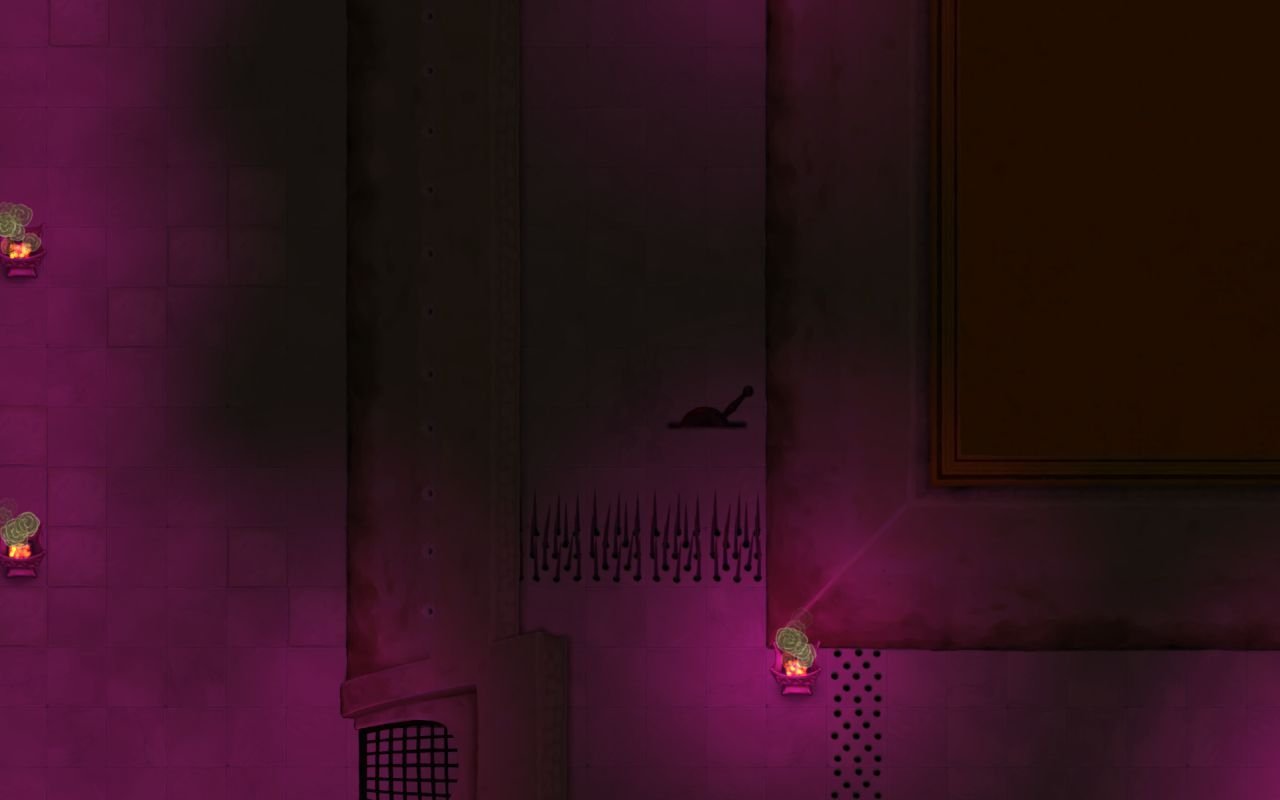
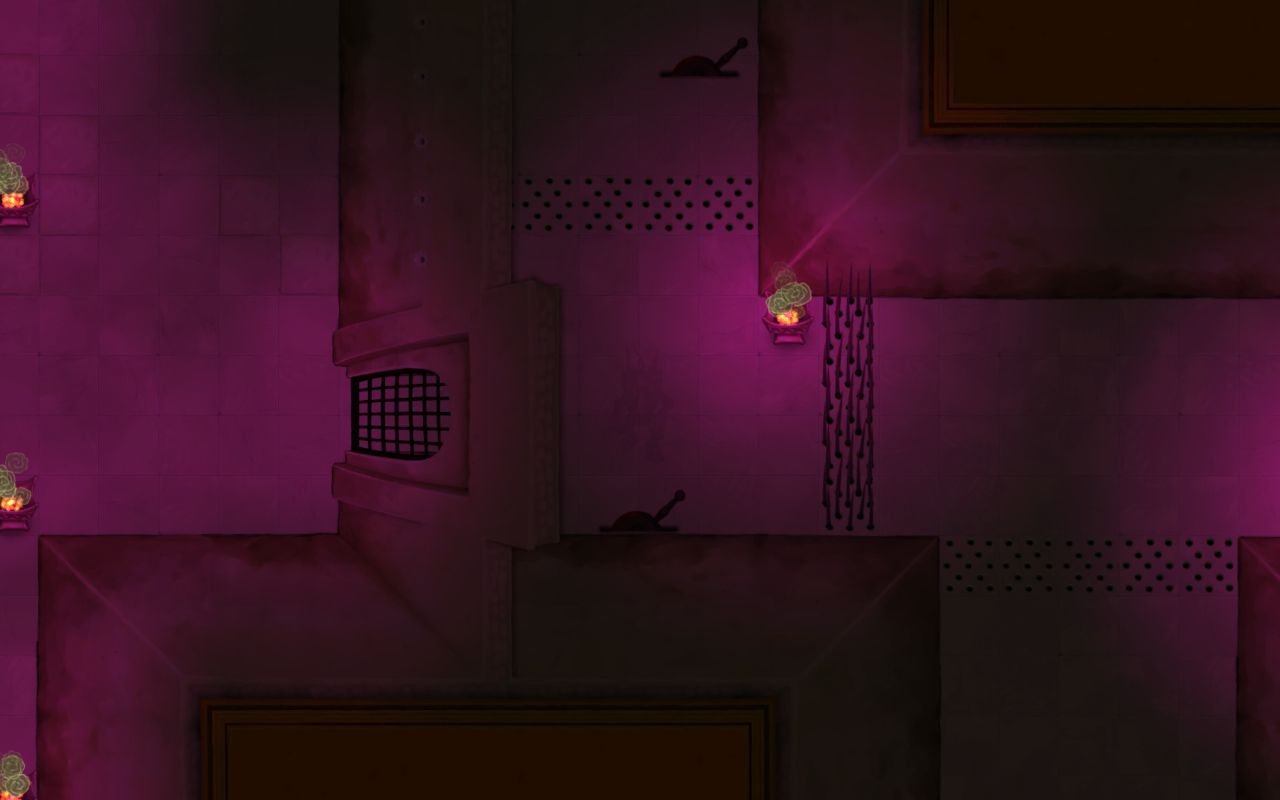
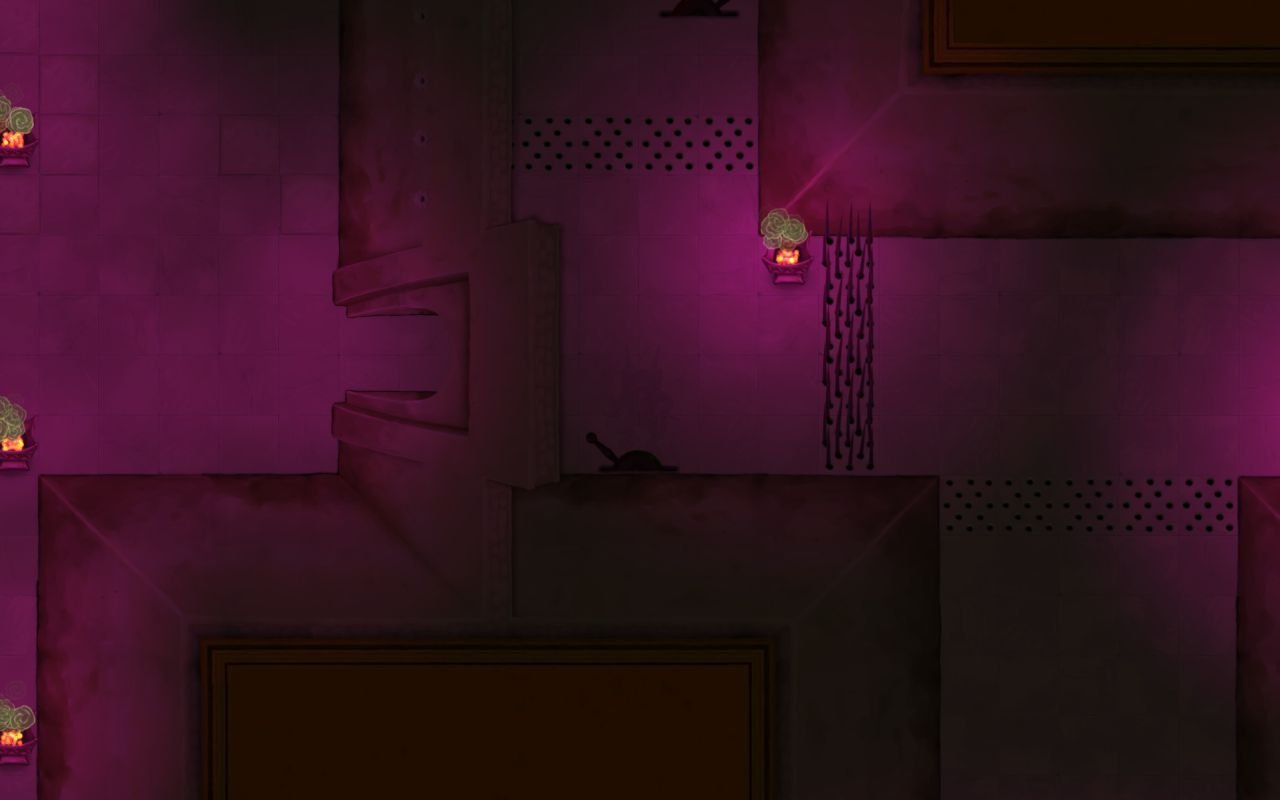
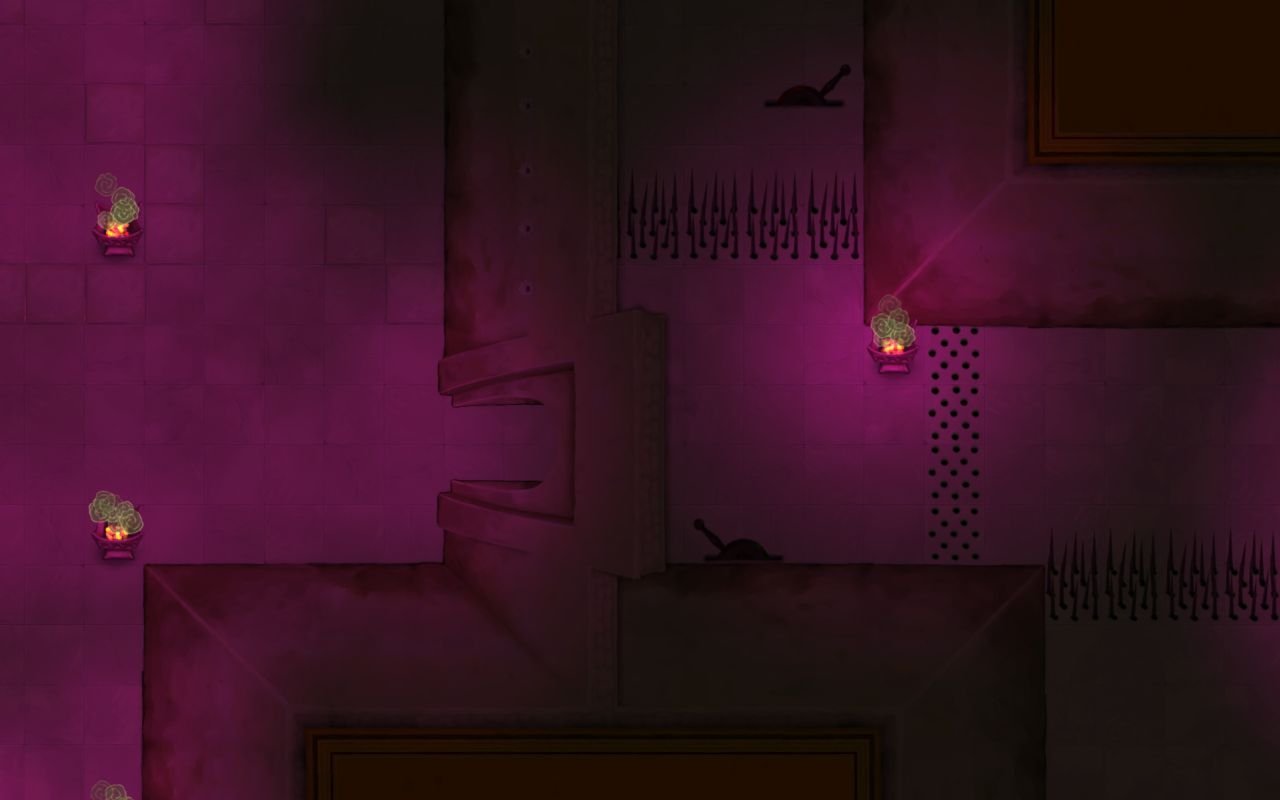
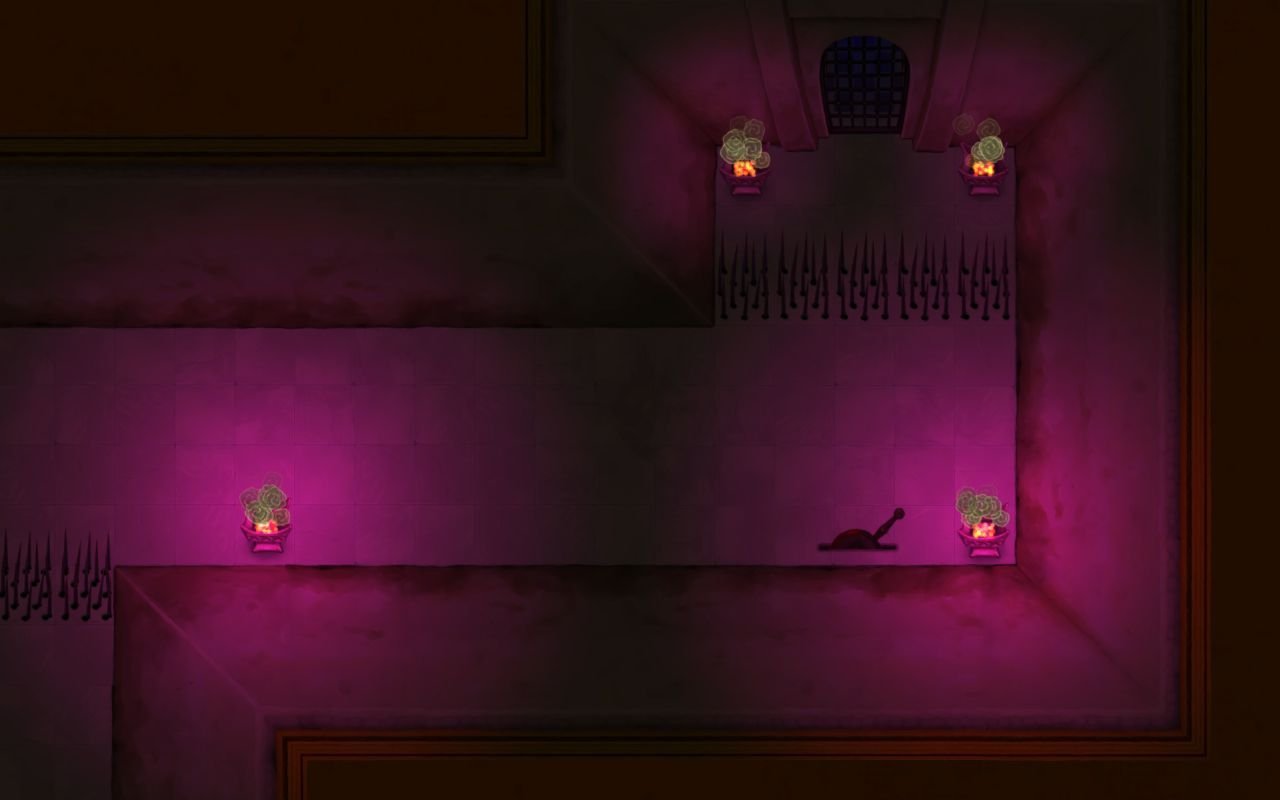
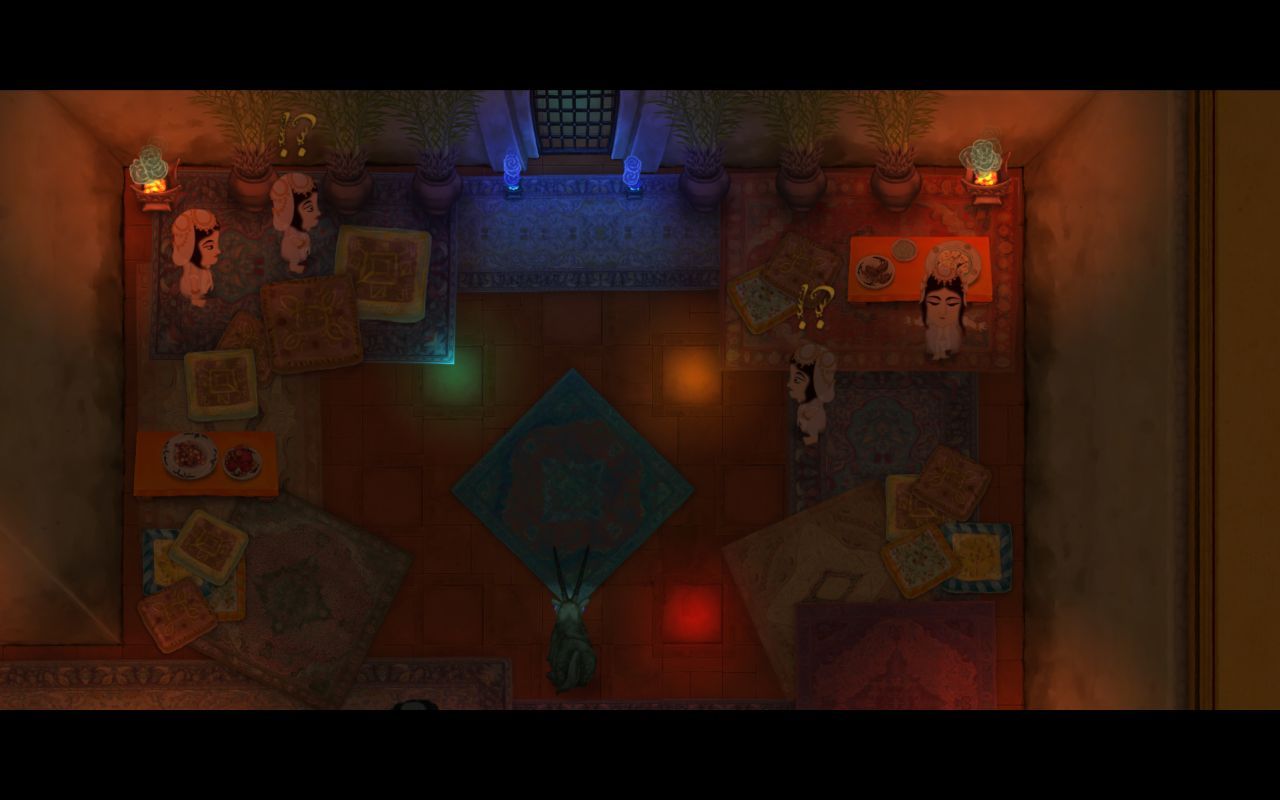
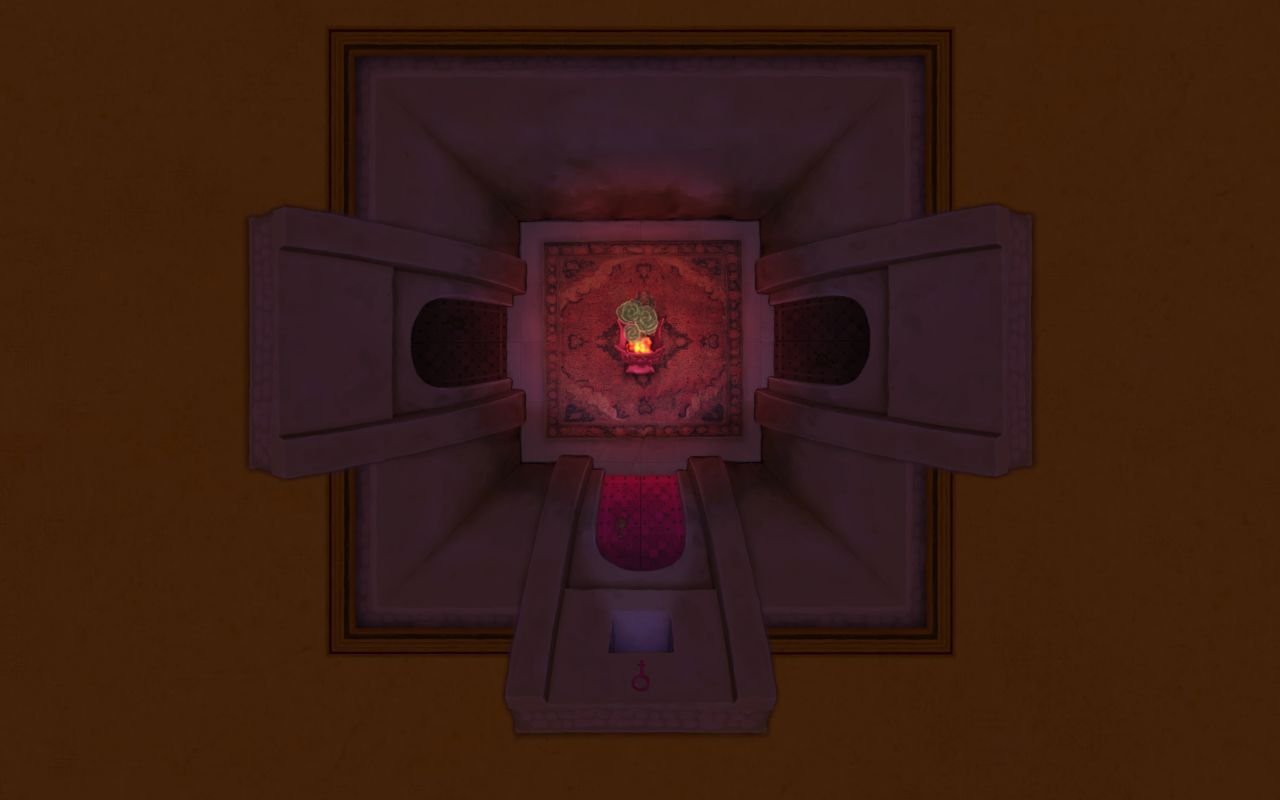
This is a kind of a room we'll see more often - just a passage with traps. Setting off a trap means instant death.
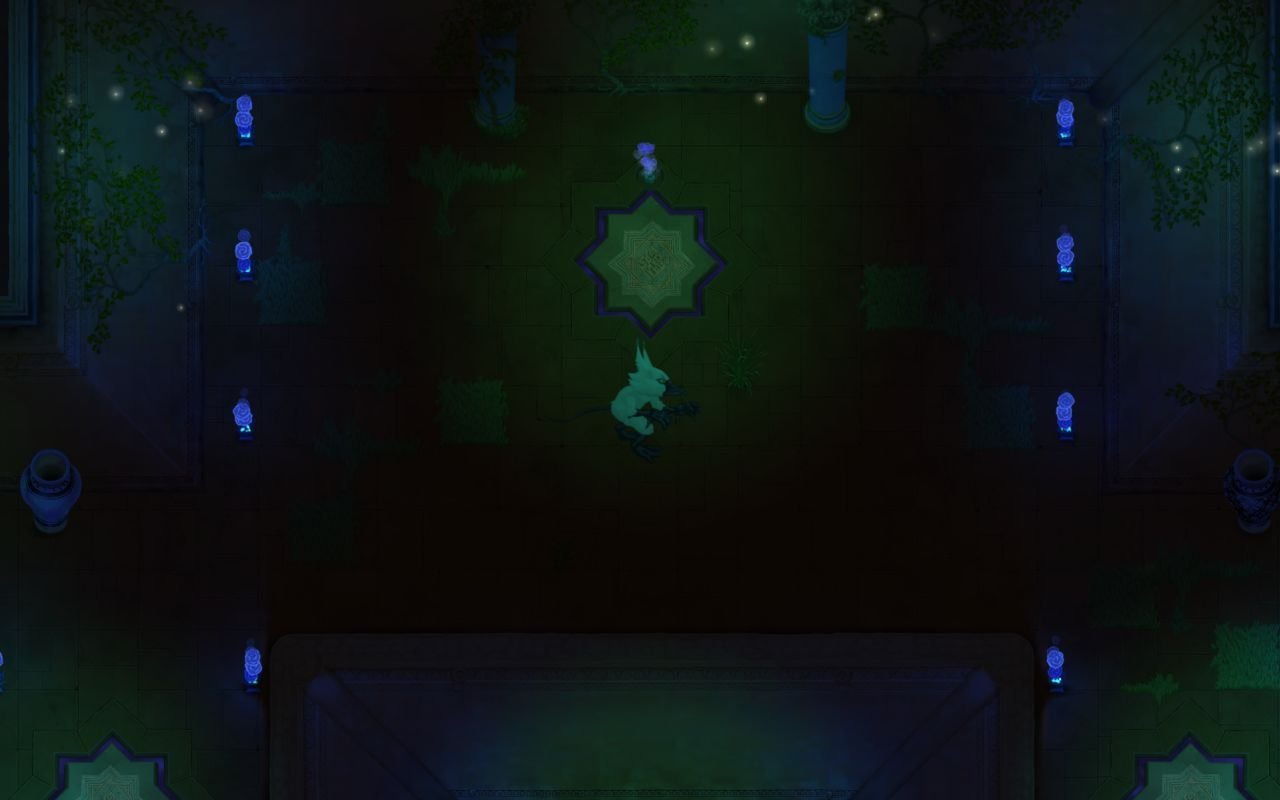
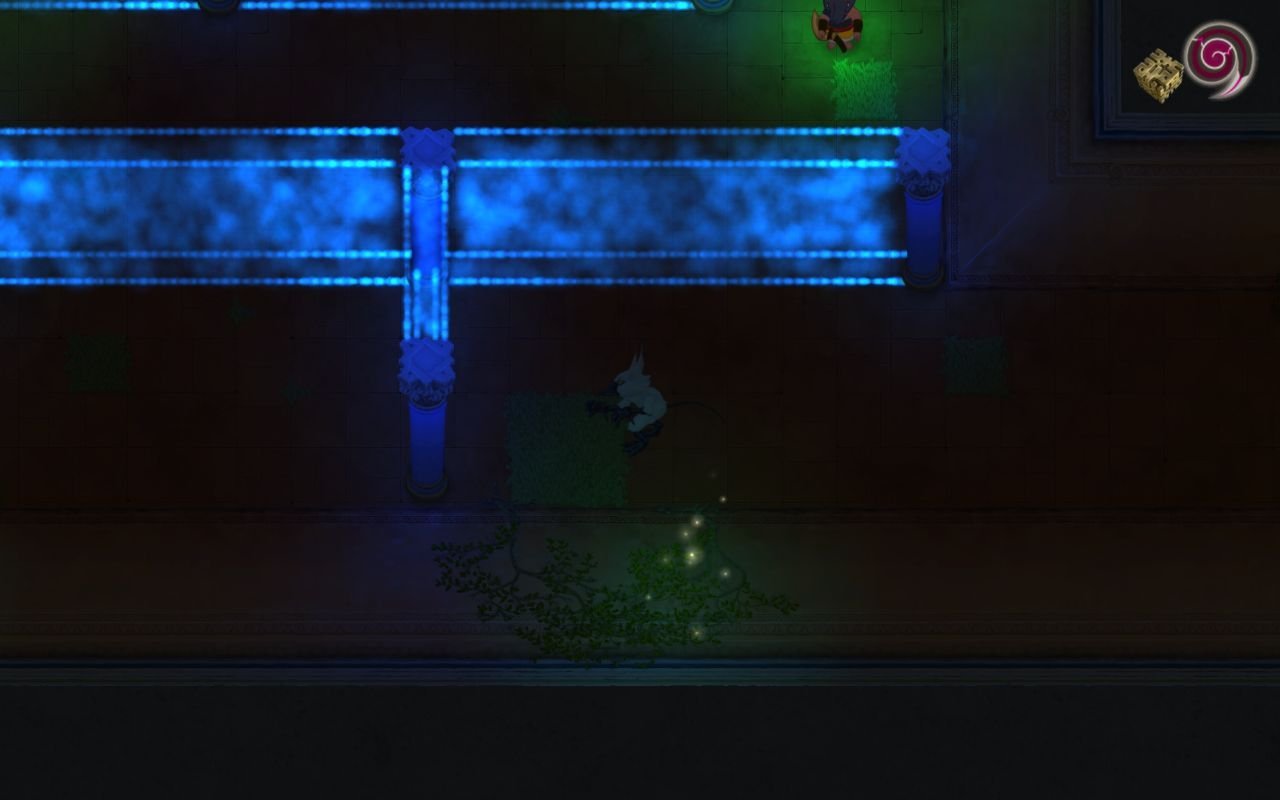
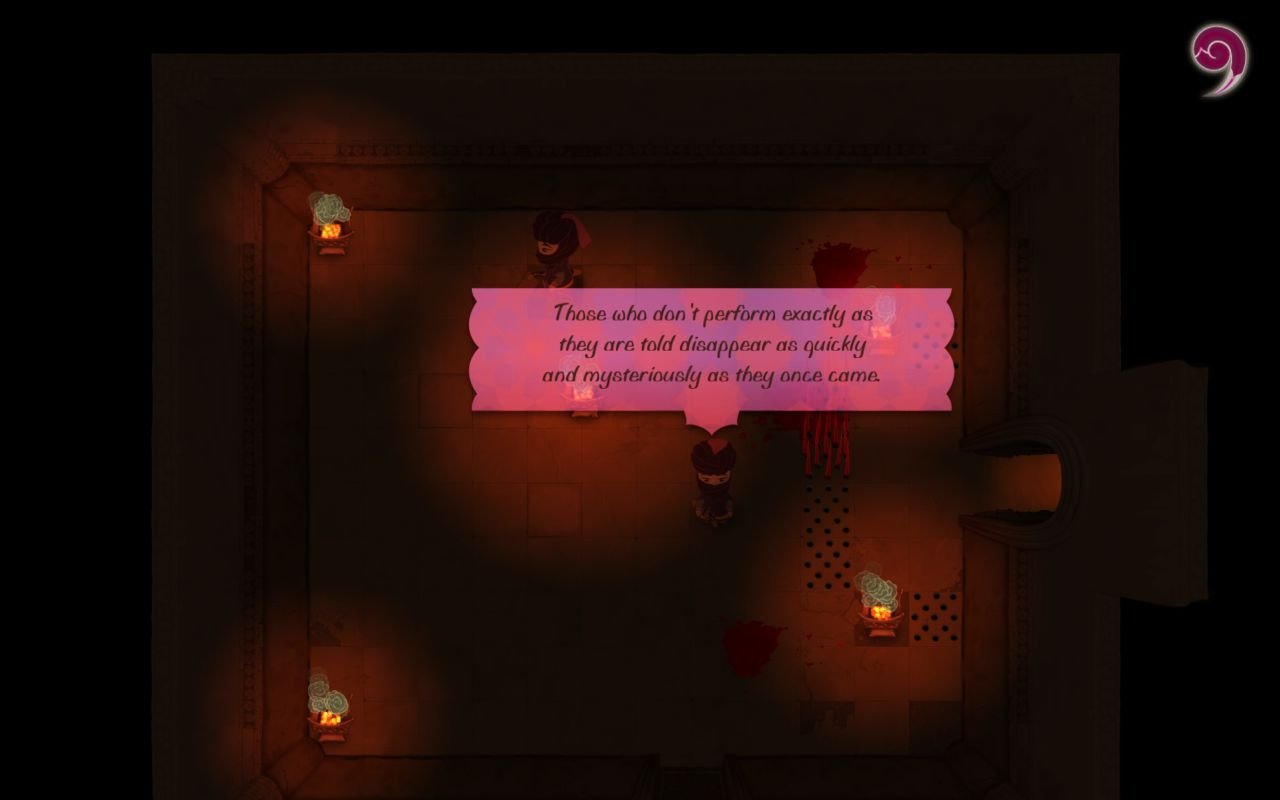
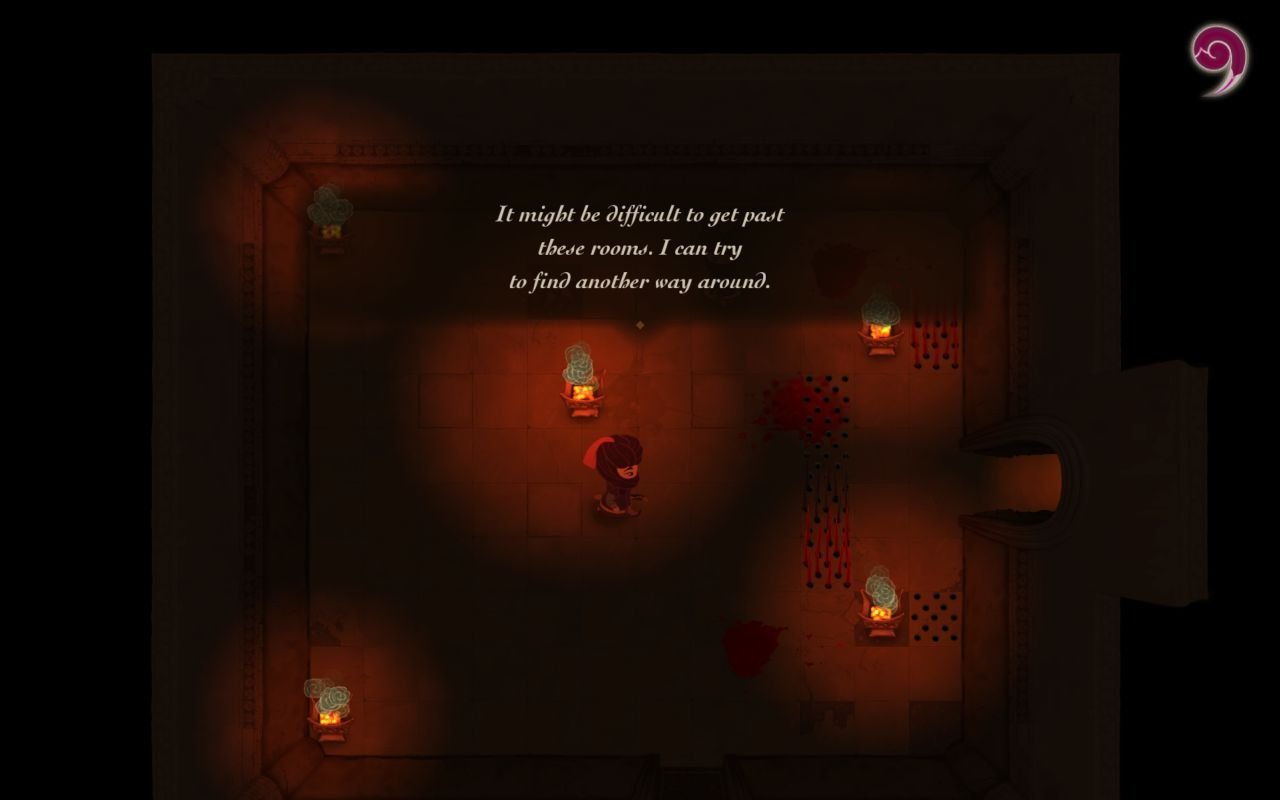
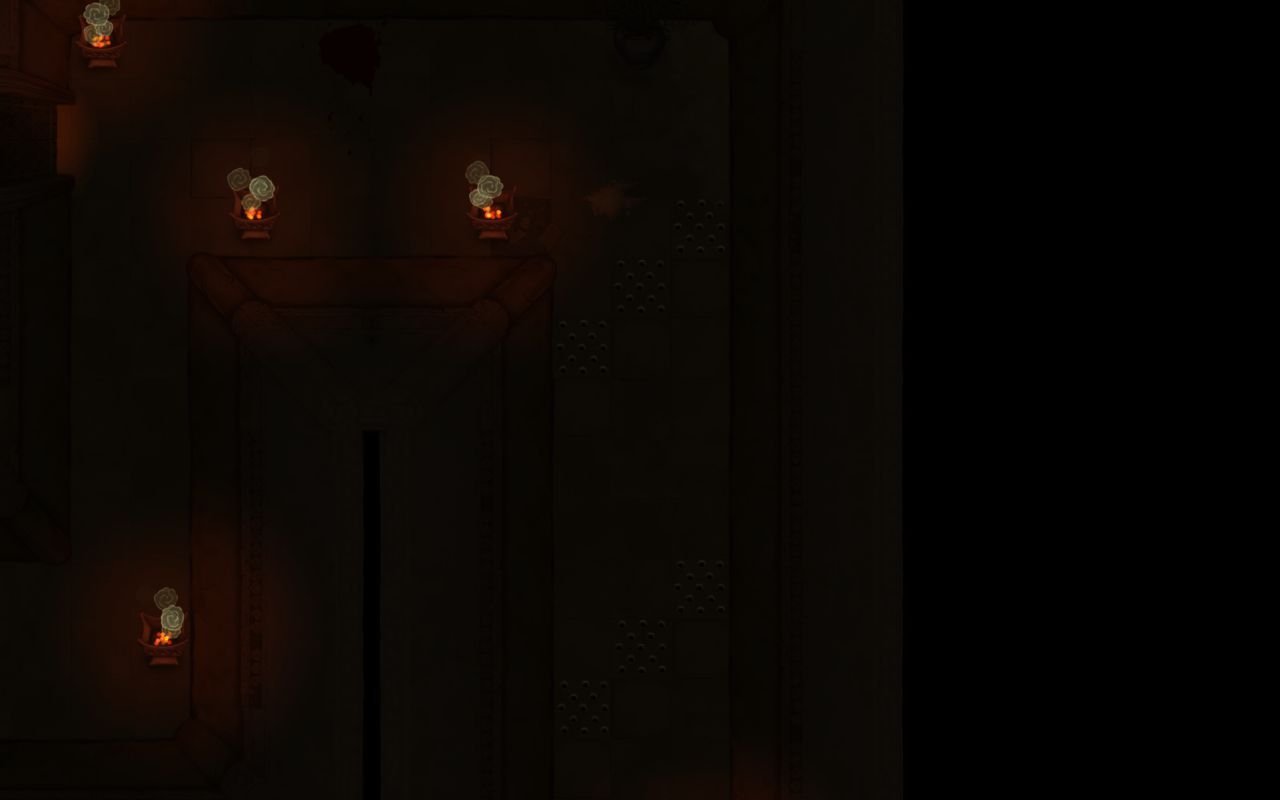
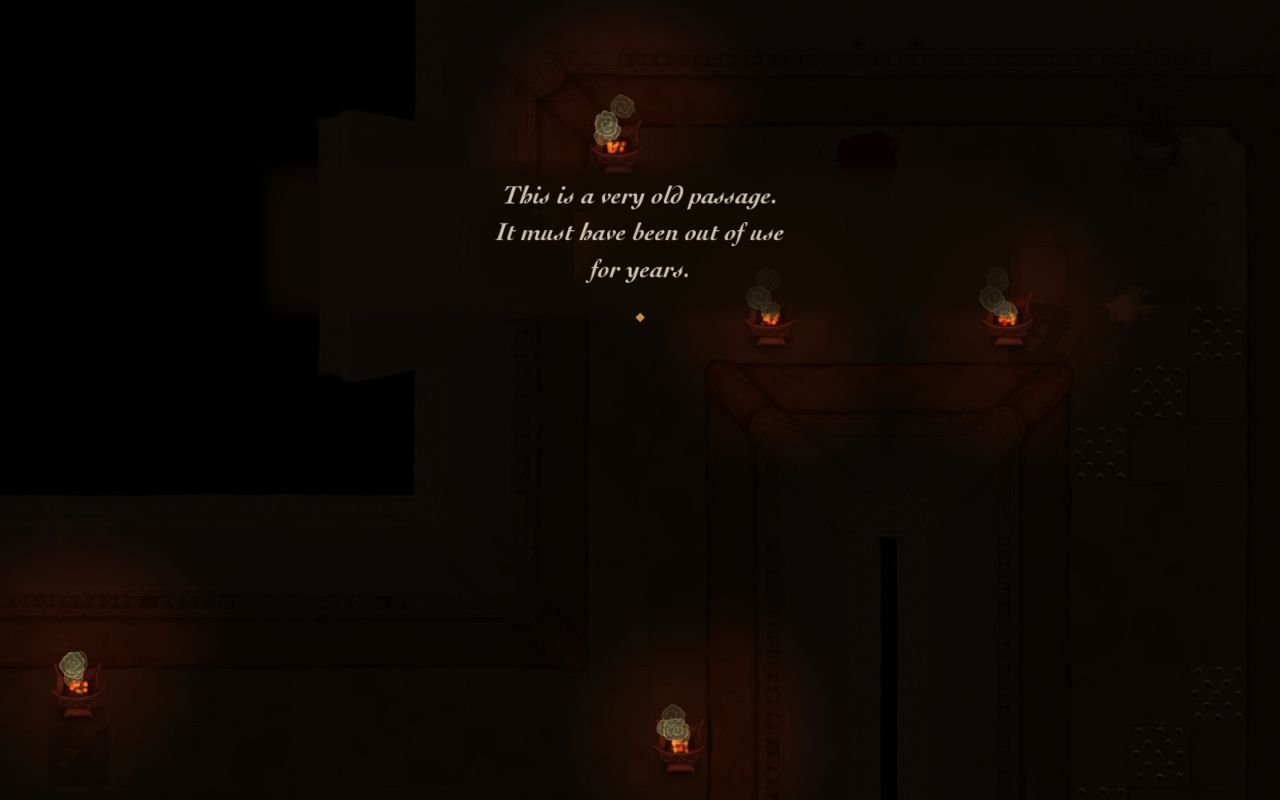
In this particular room there's a hidden door on the eastern wall. We'll investigate it before proceeding north, following our bearded friend.
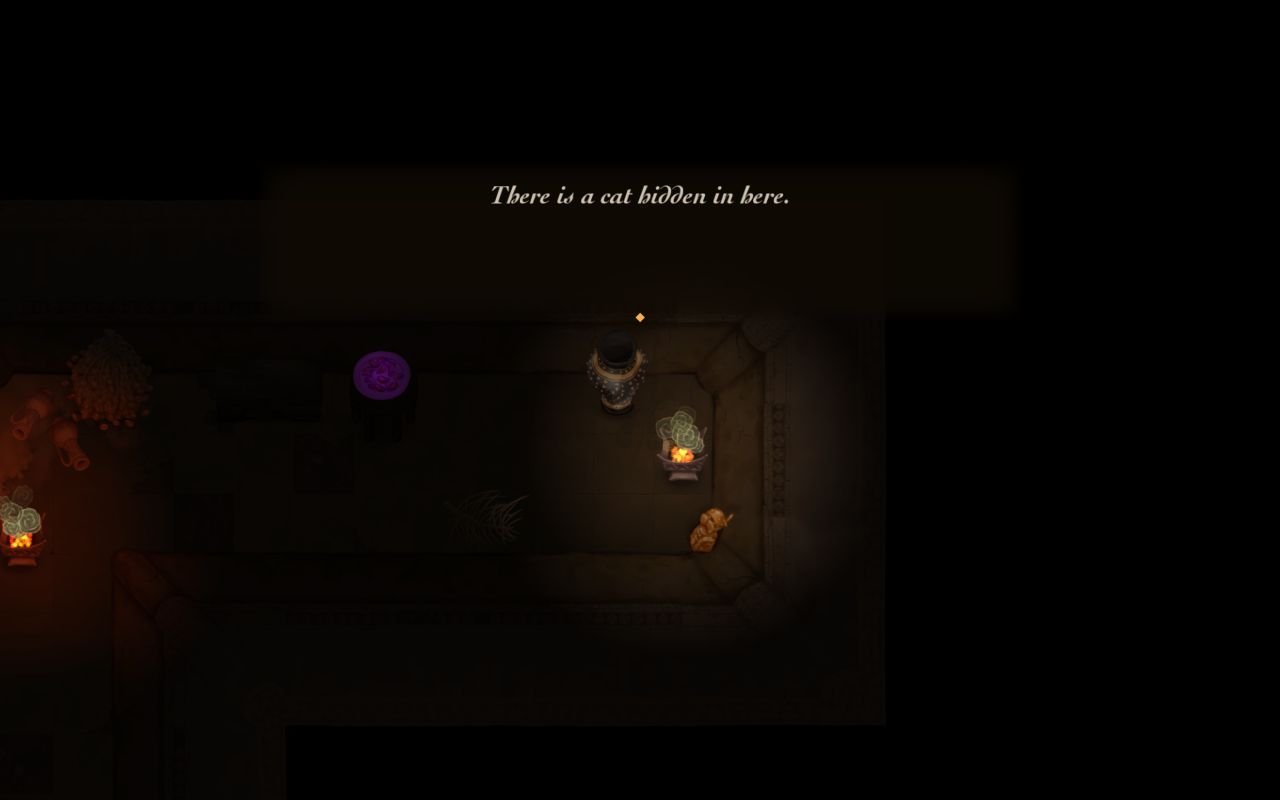

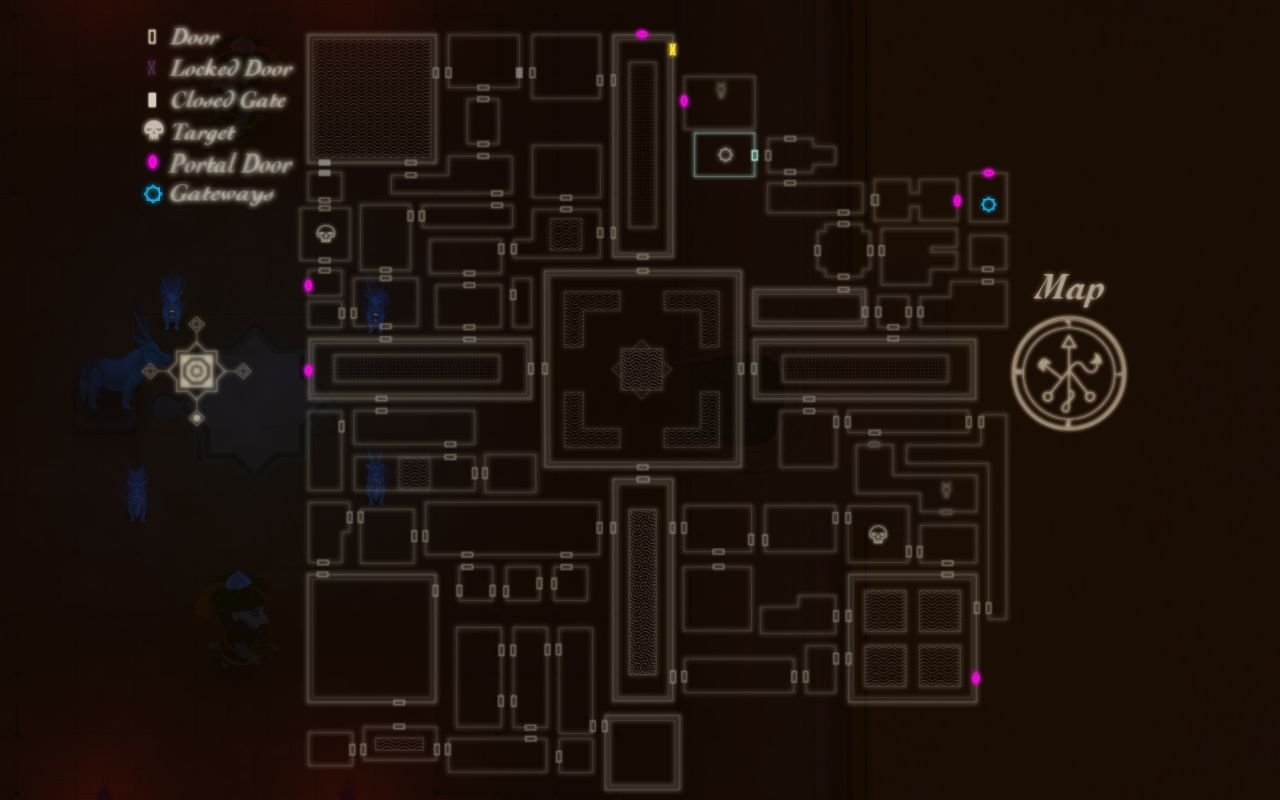
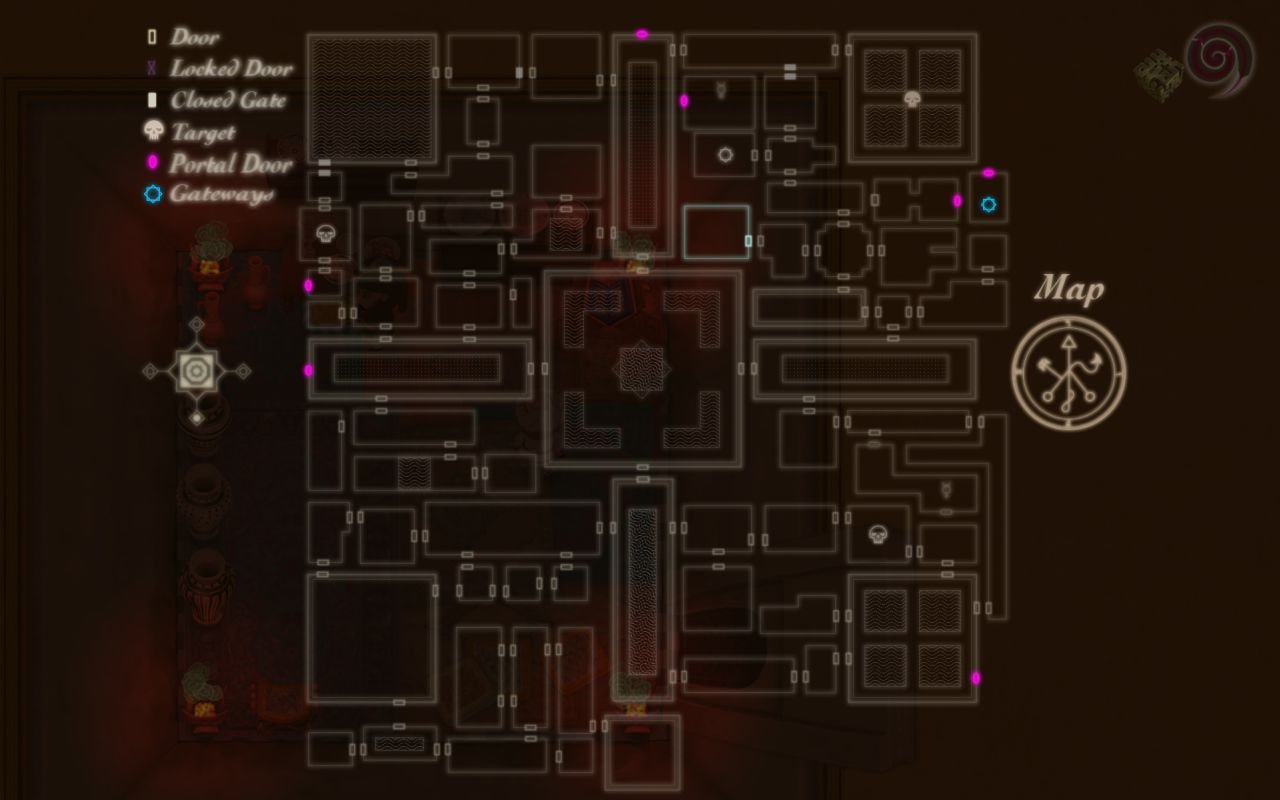
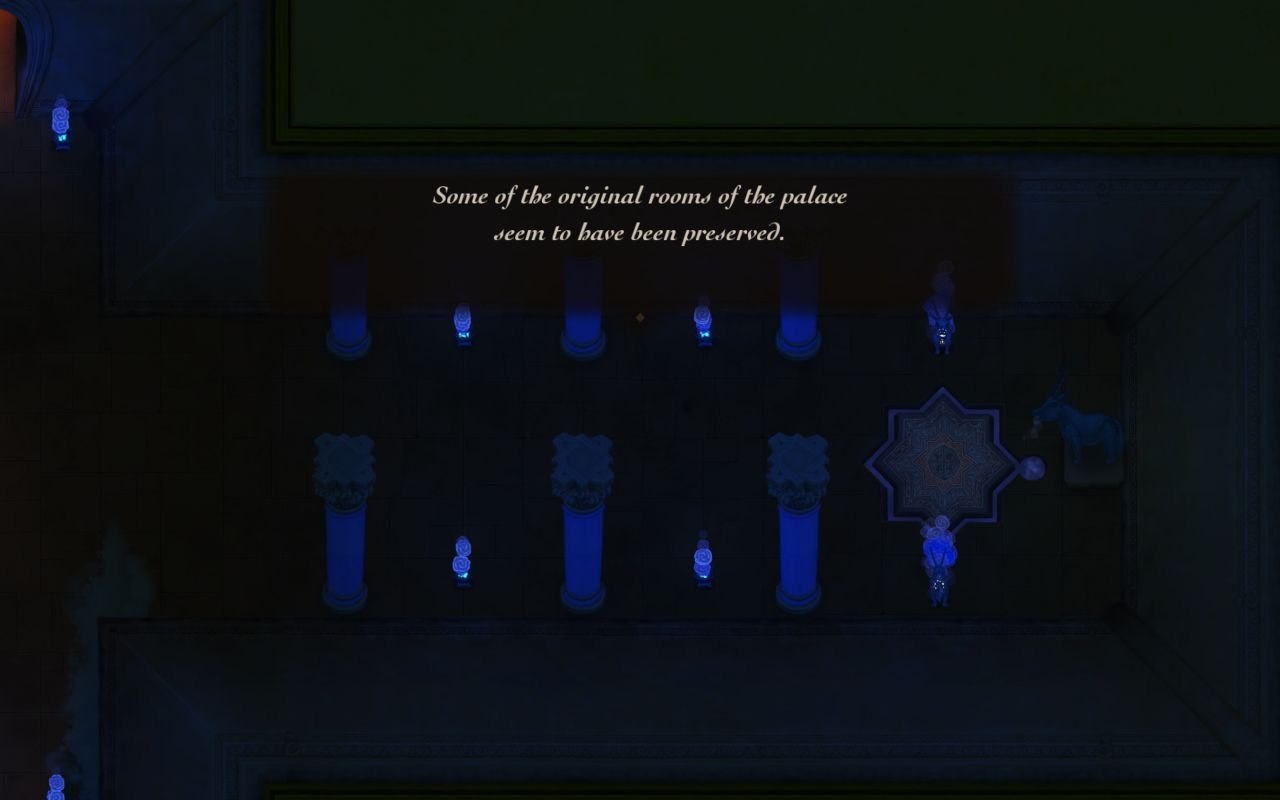
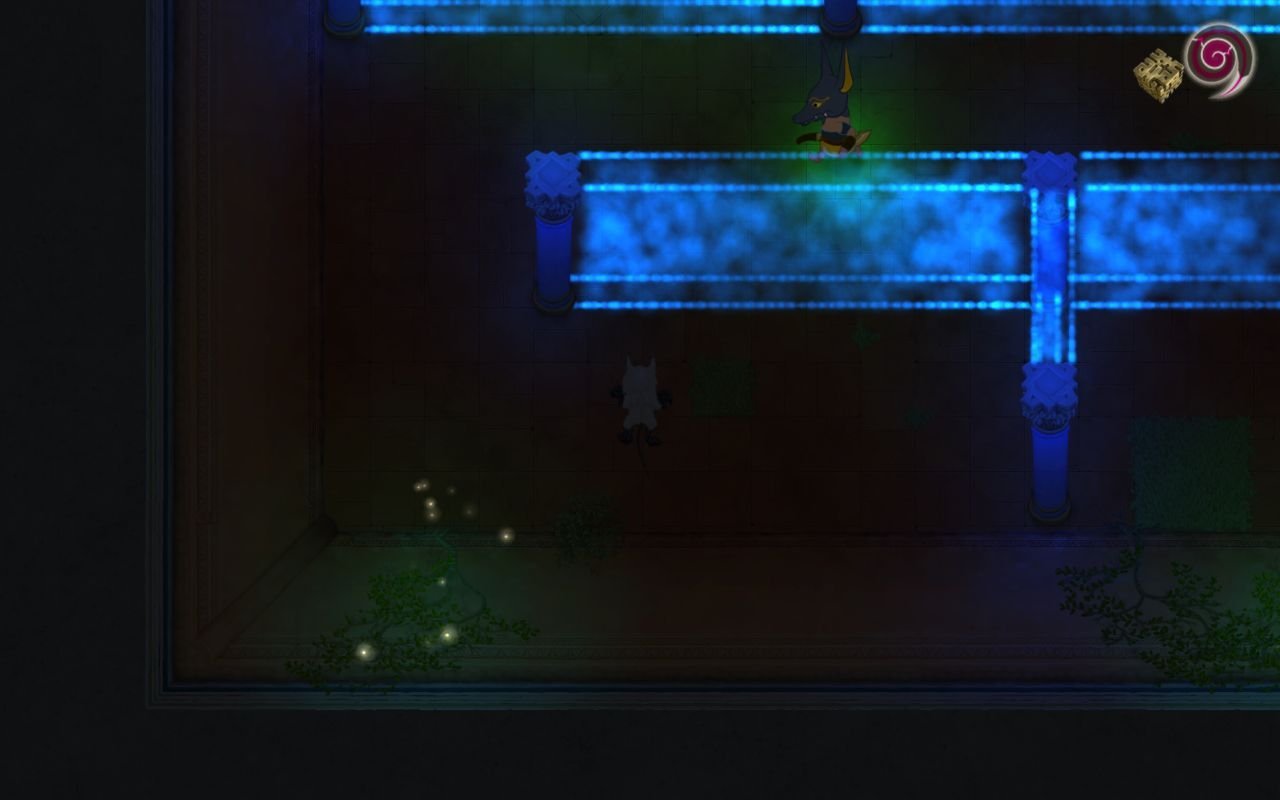
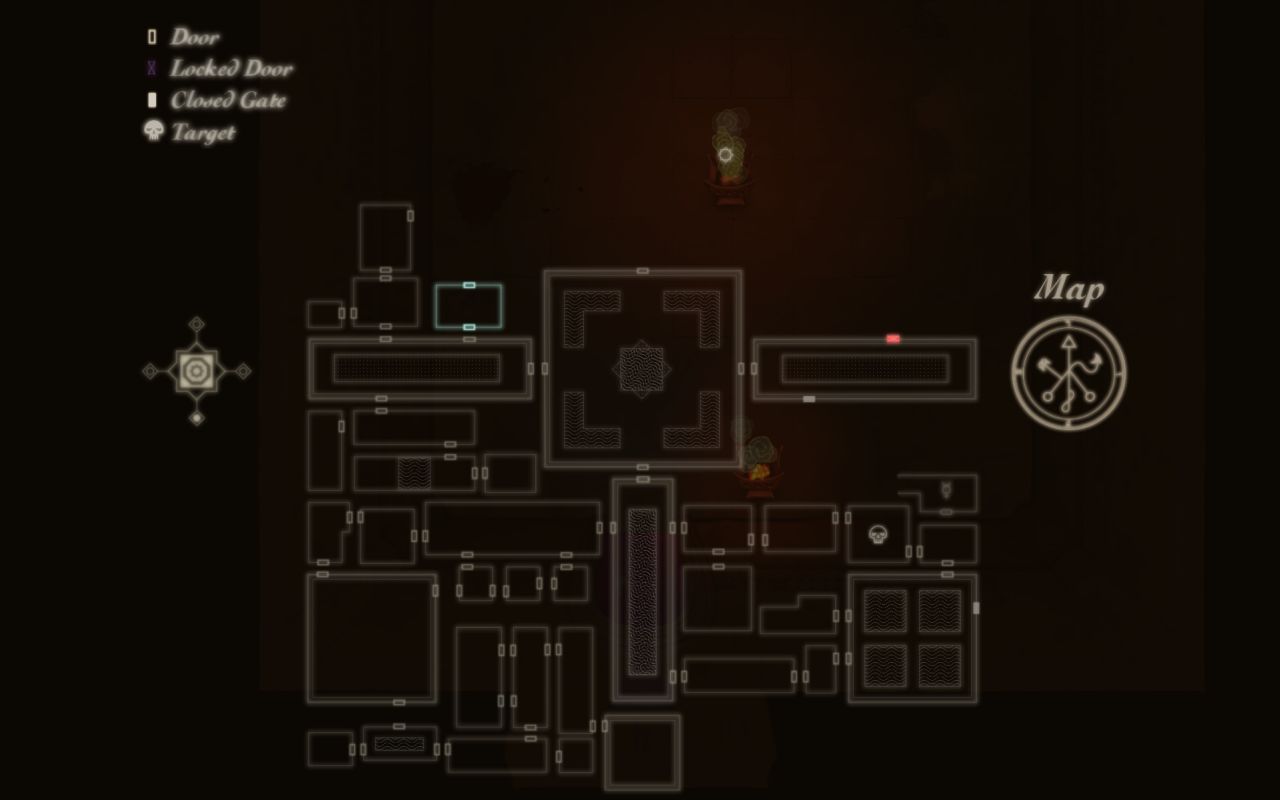
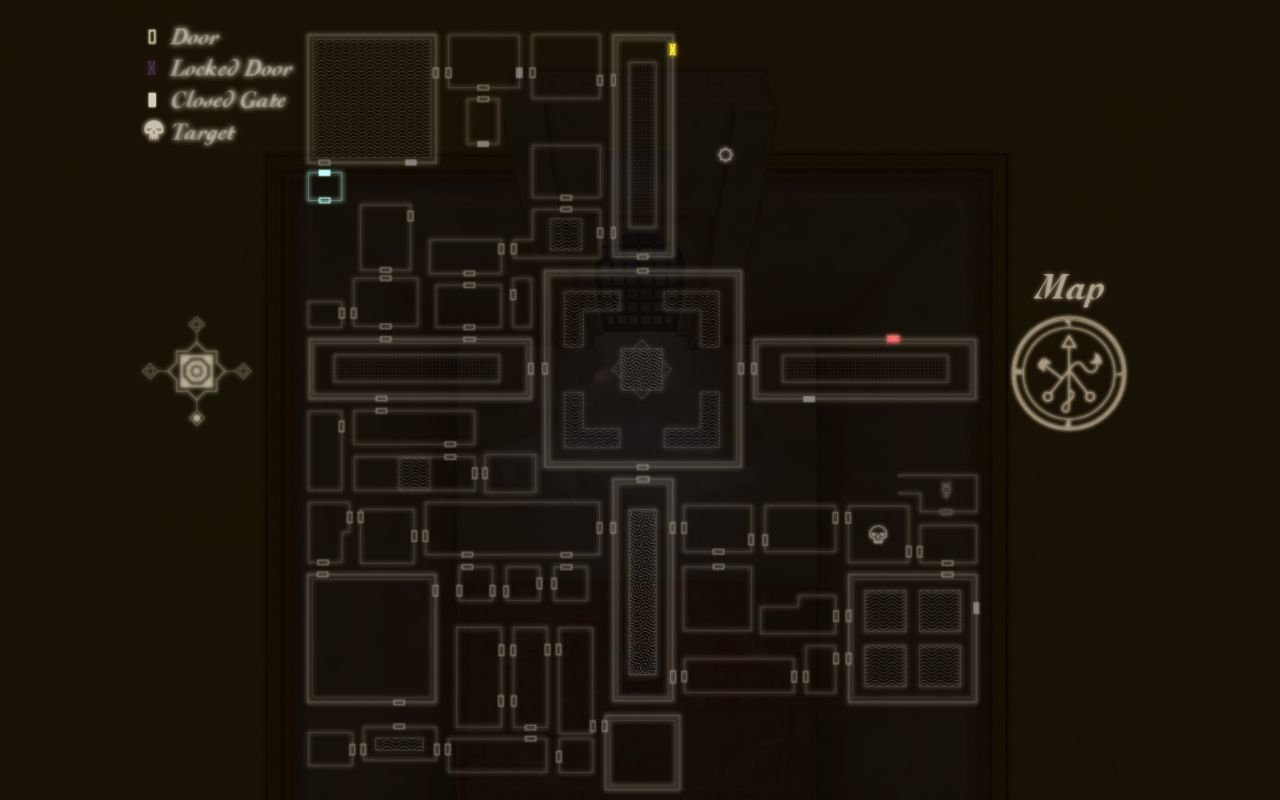
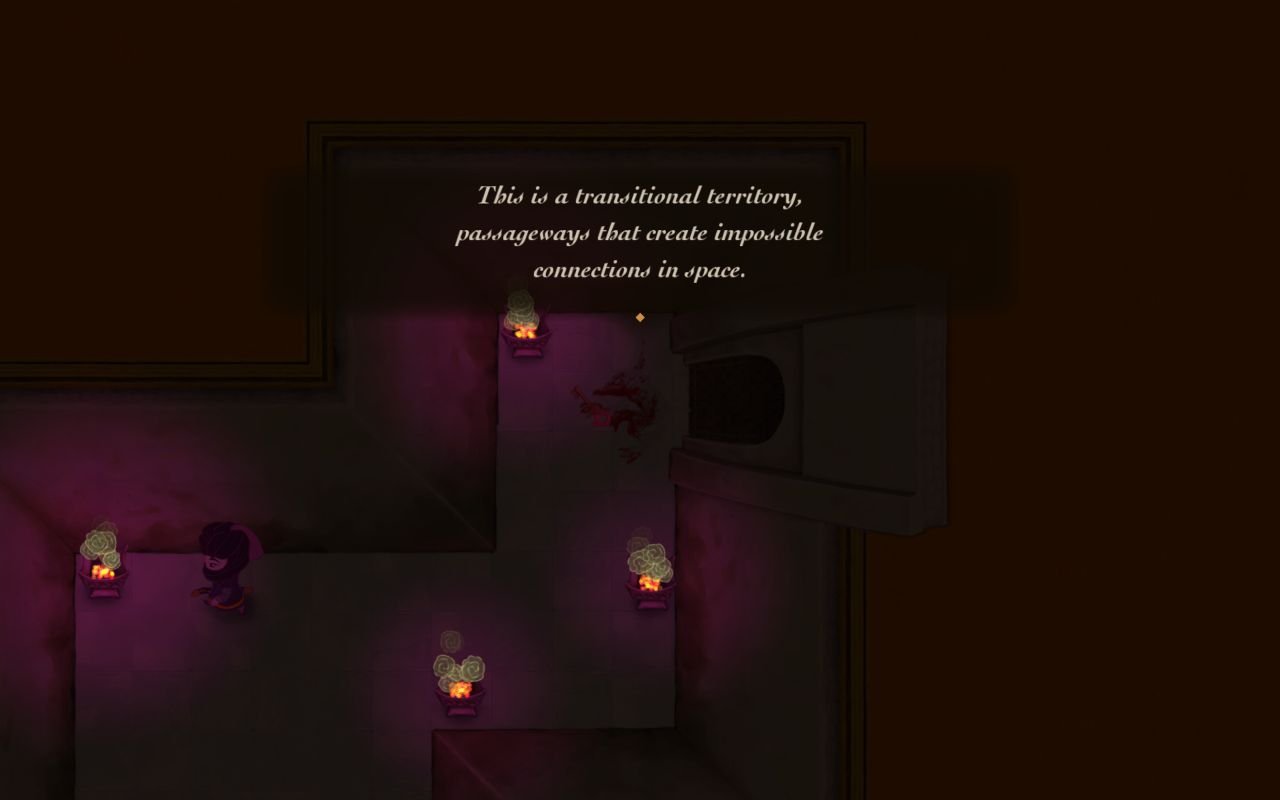
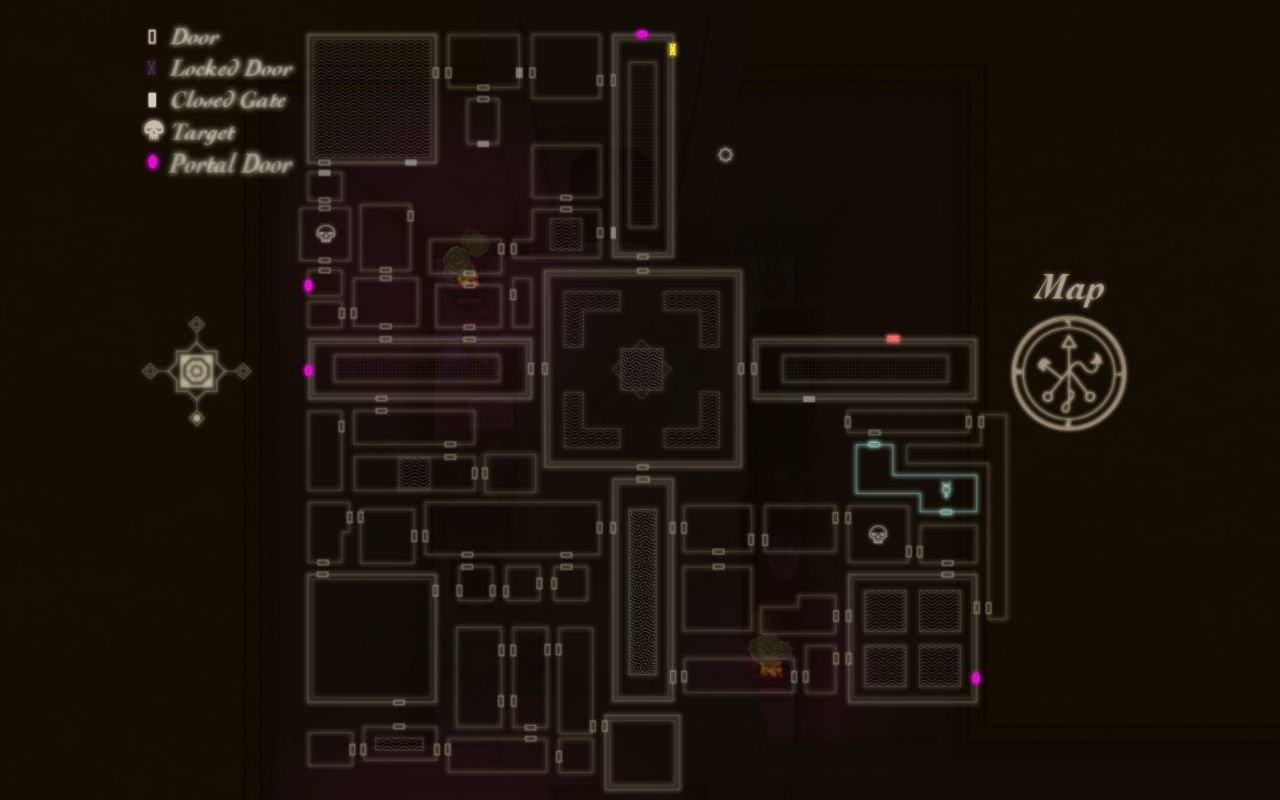
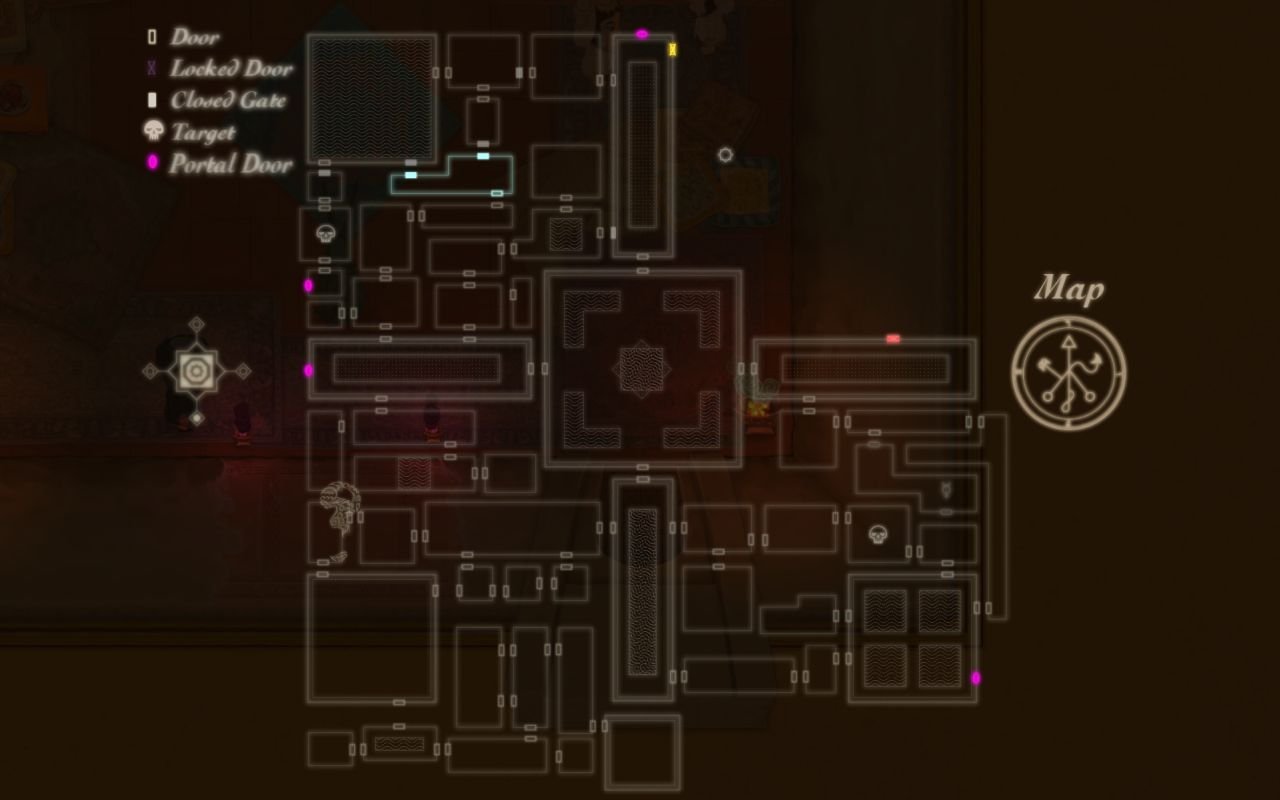
Notice that this room appears as a small rectangular room of our map, yet it is definately bigger and L-shaped. This is not an error, but another manifestation of the castle's extra-dimensional properties.
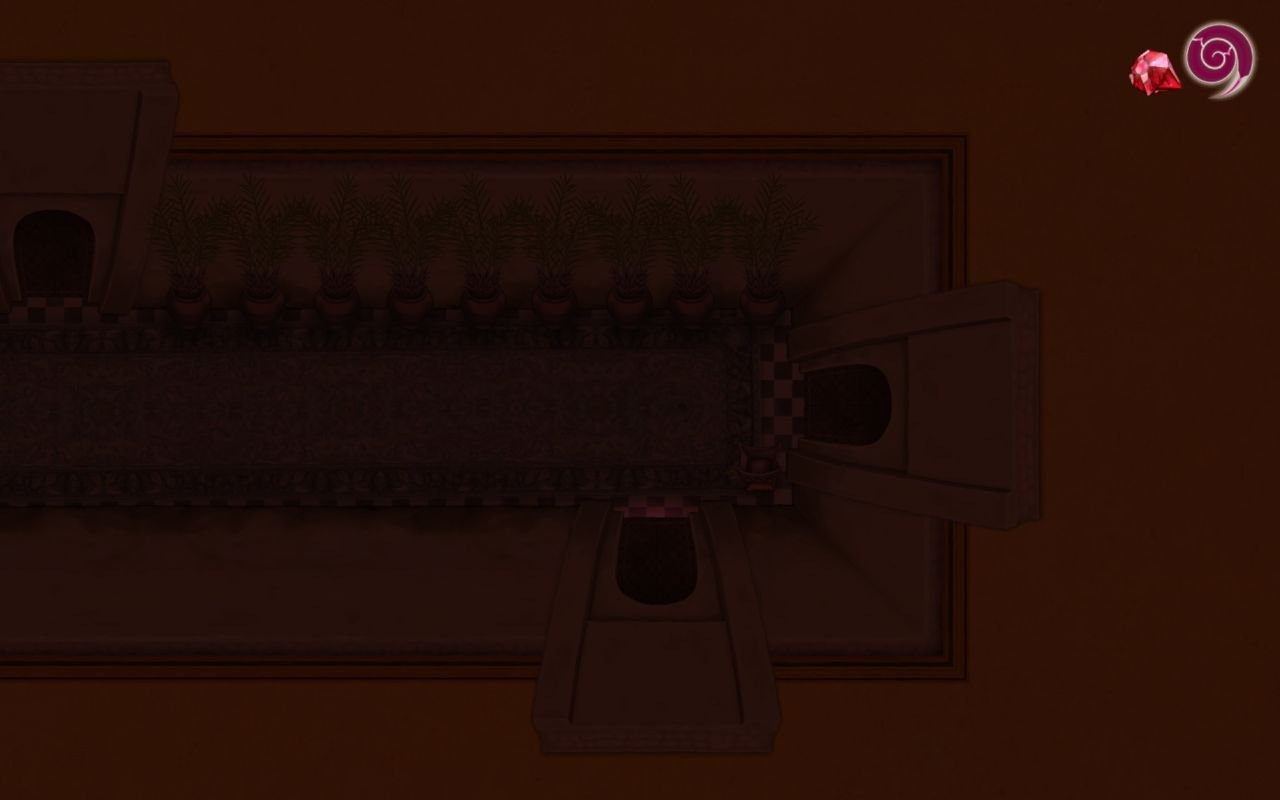
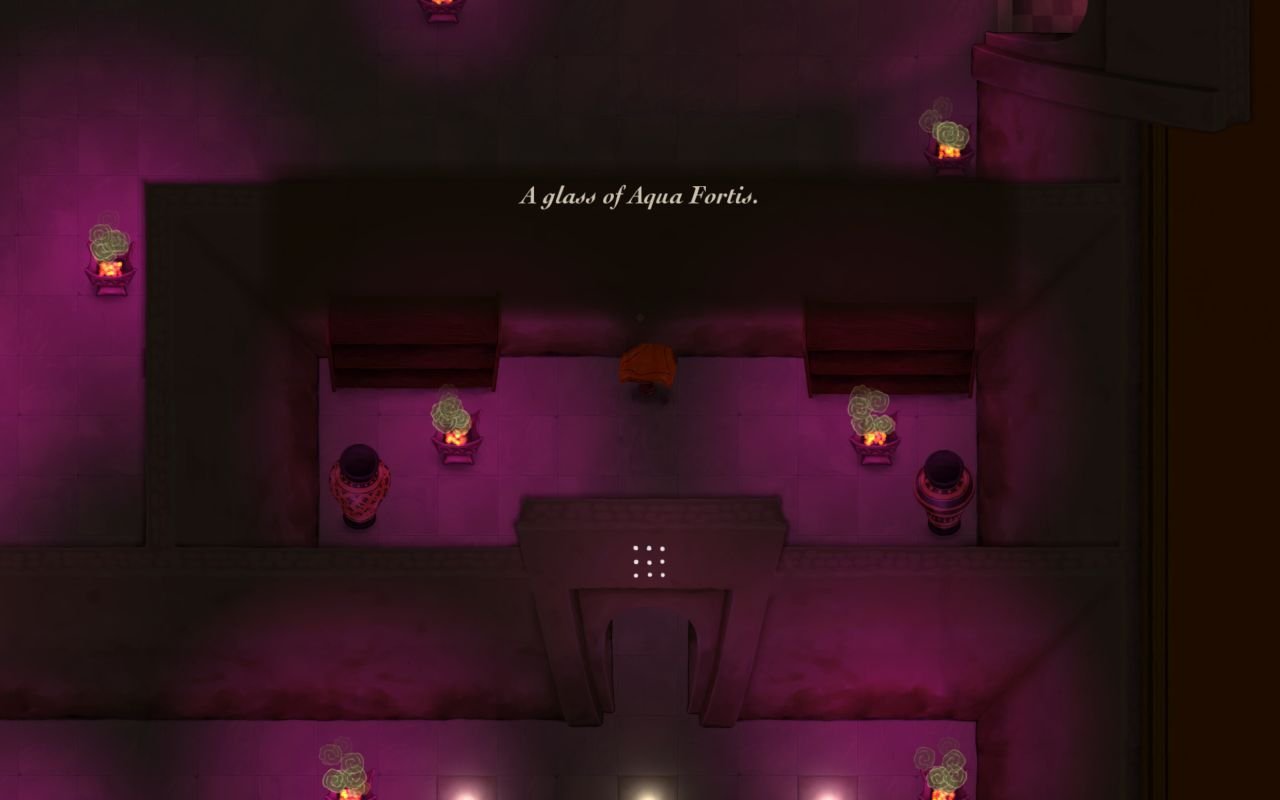
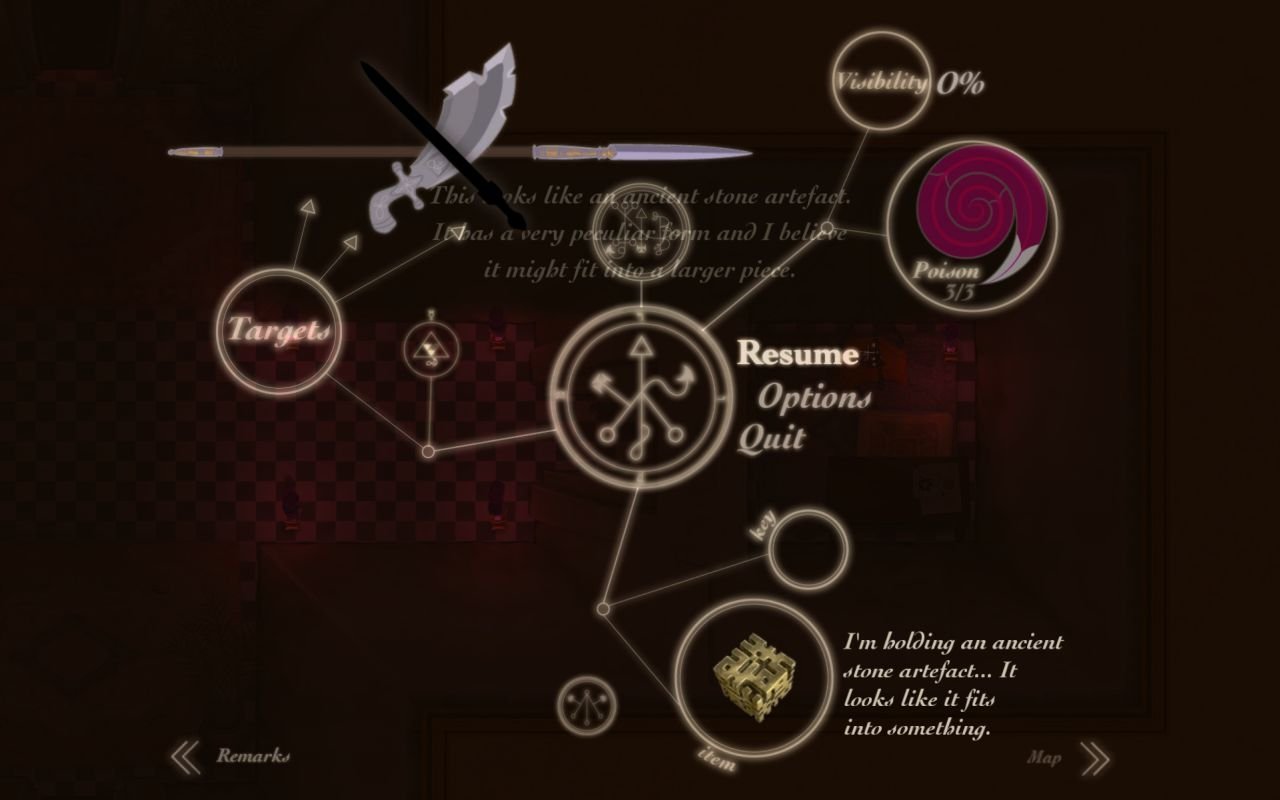
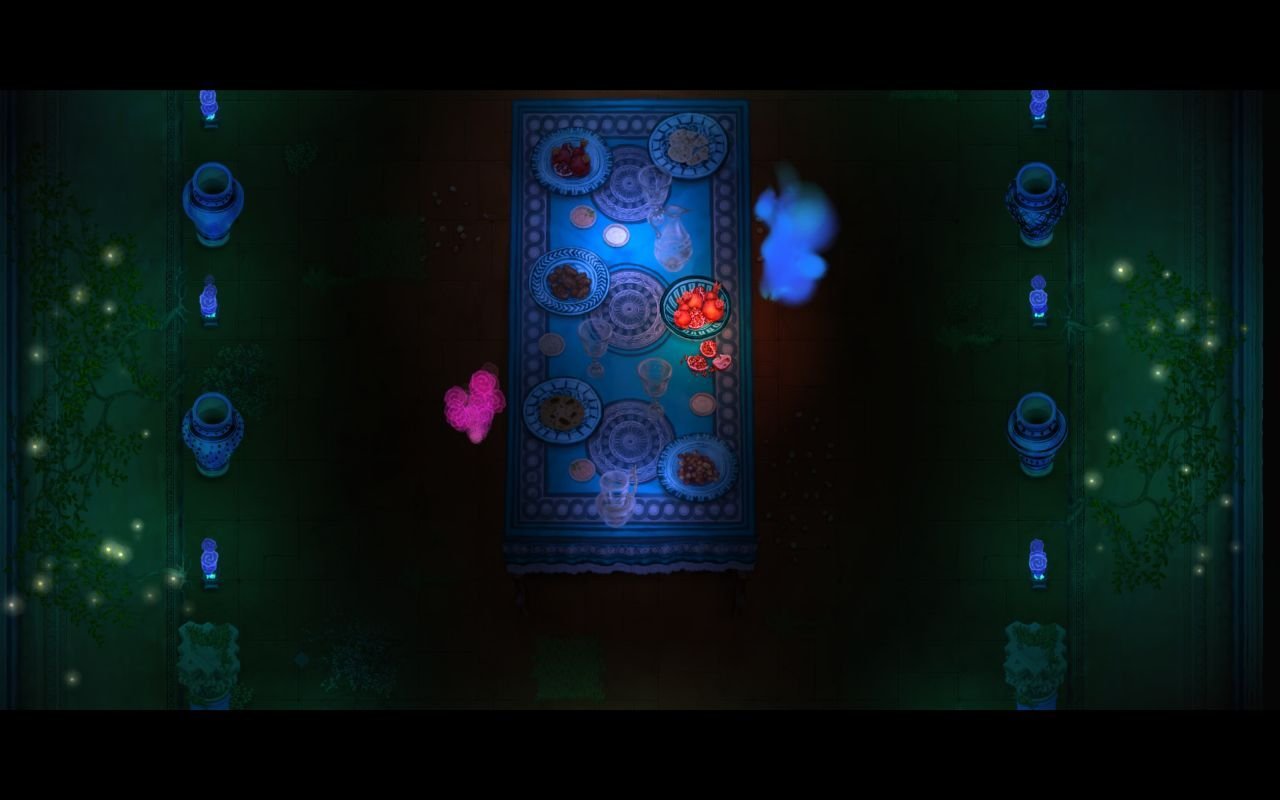
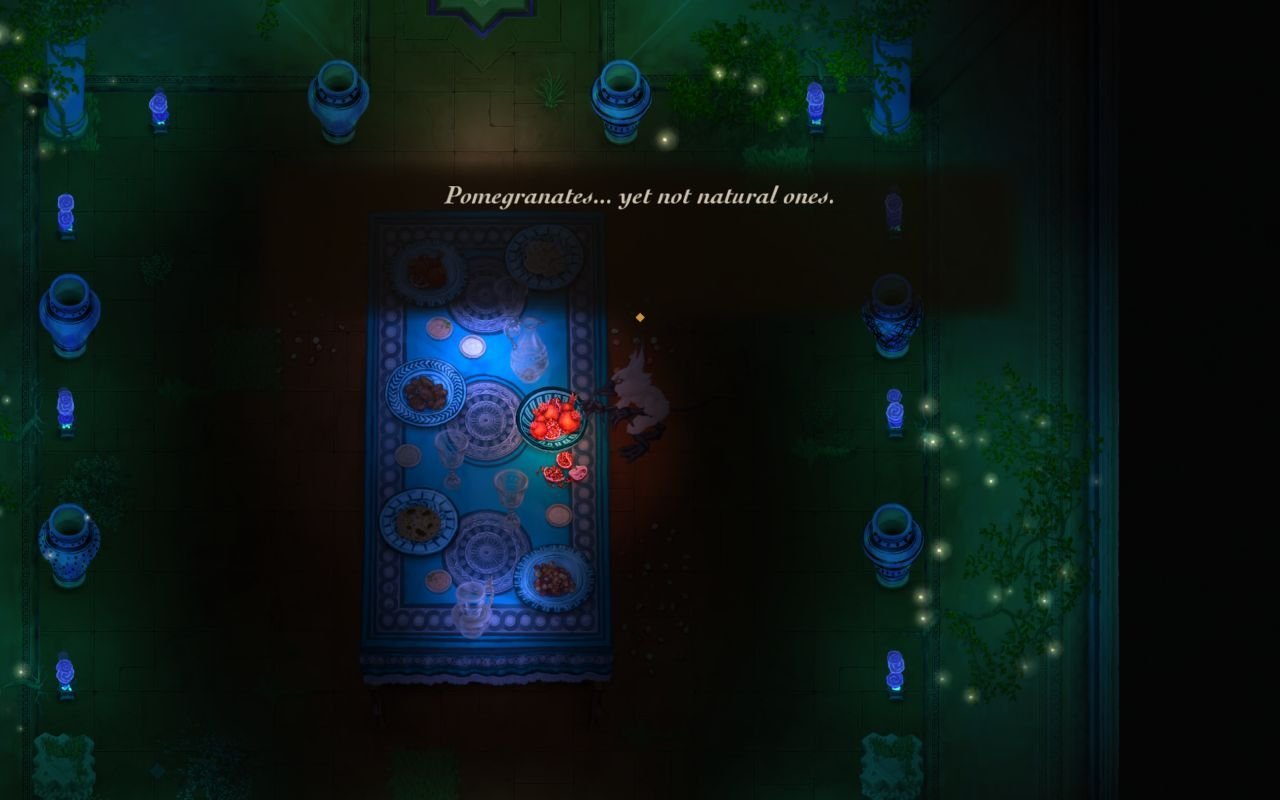
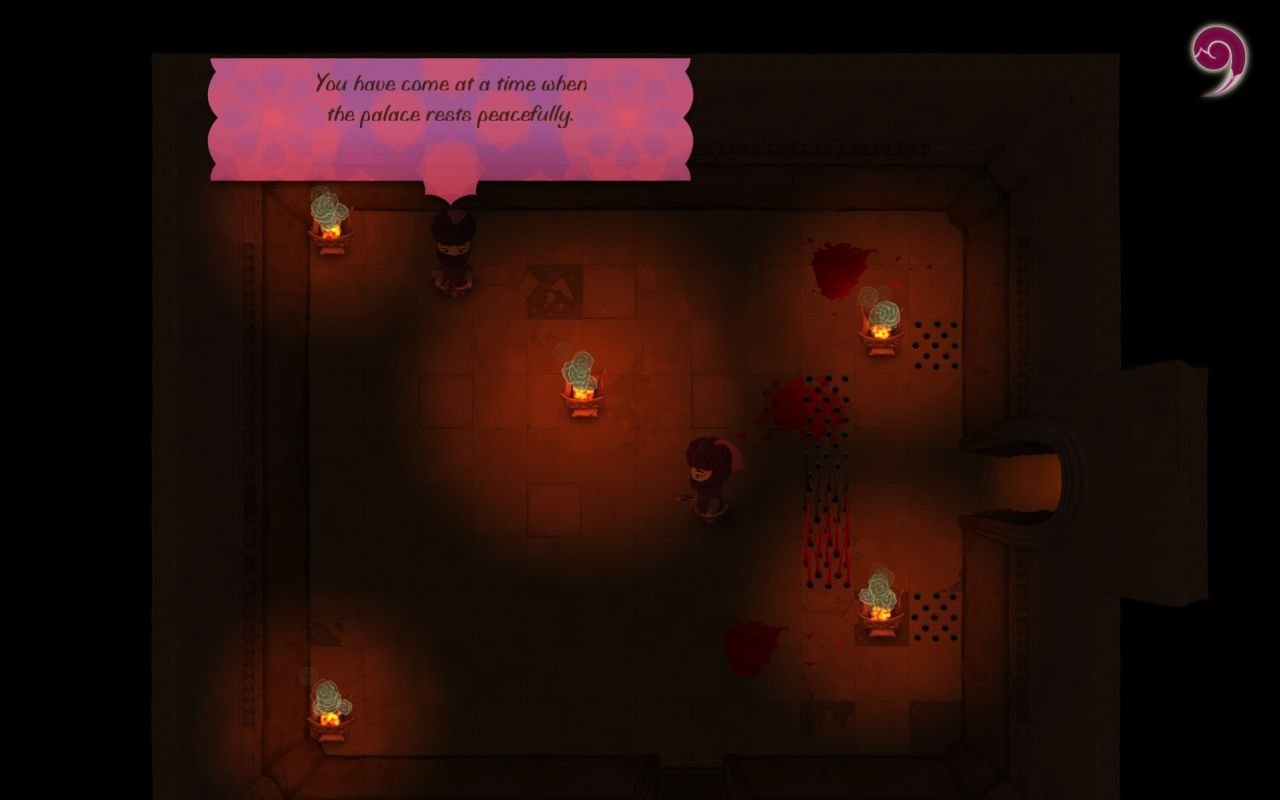
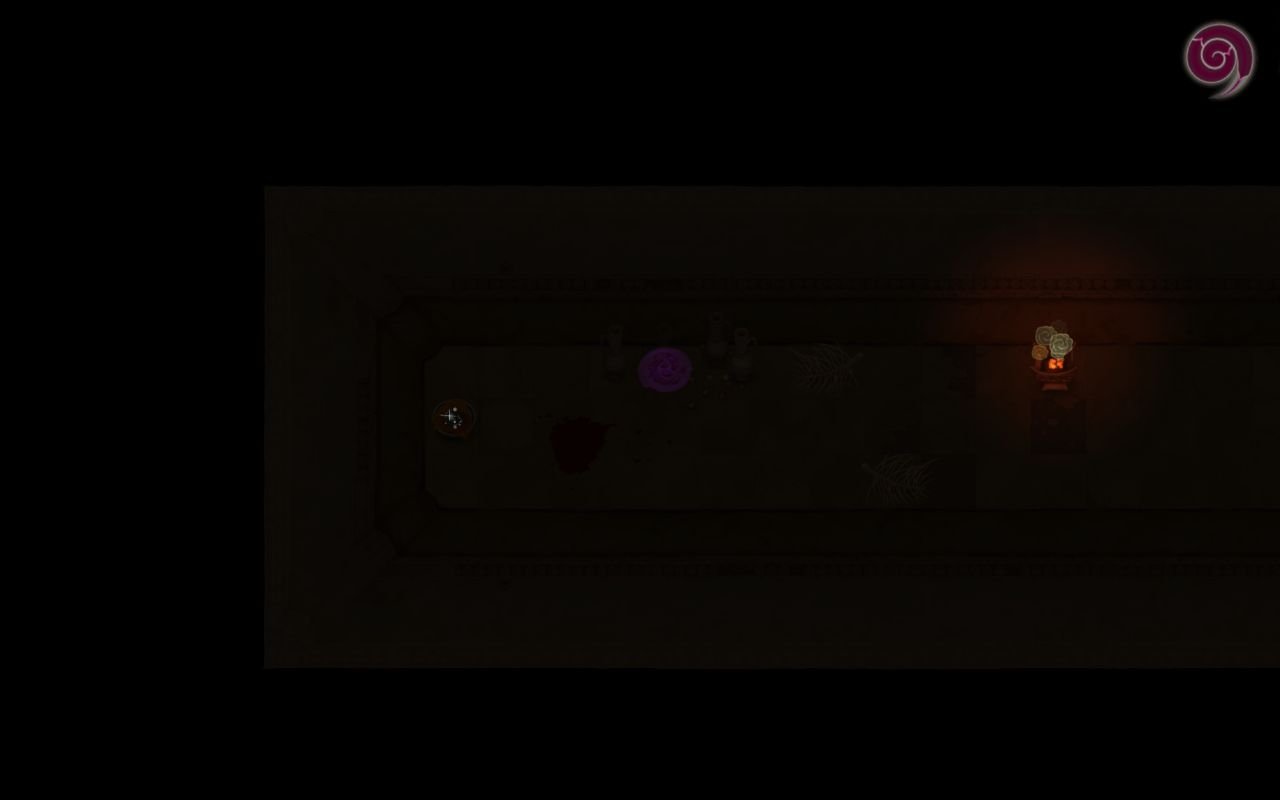
We won't eat dates here as our poison is currently full.
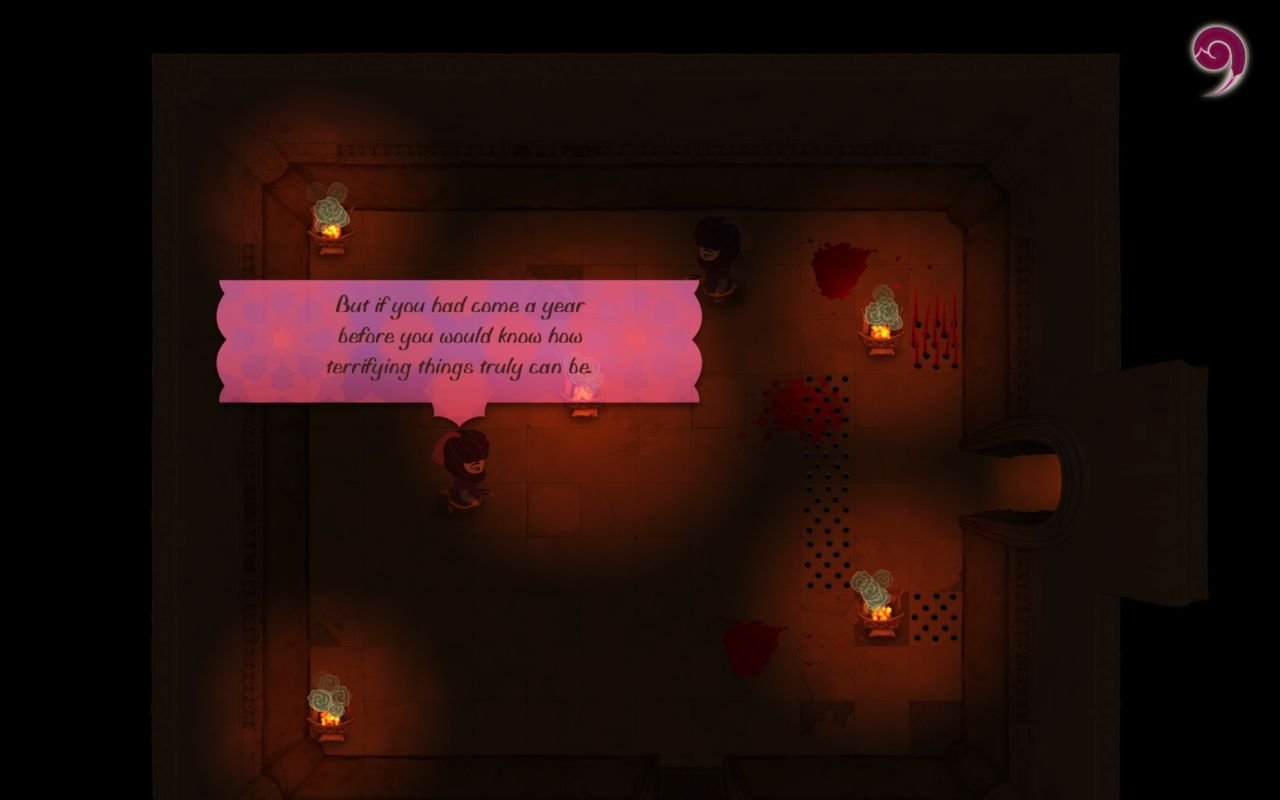
We're going back to the previous room, and through the north door.


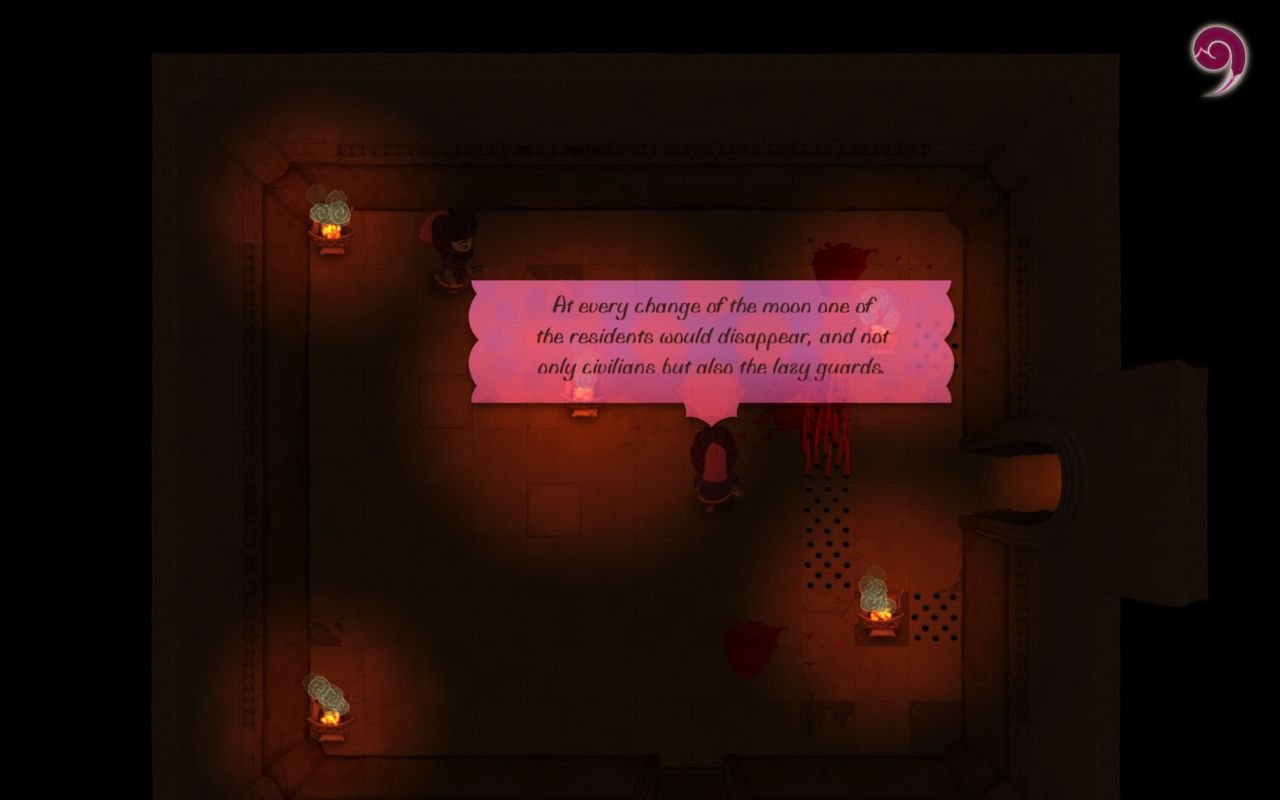

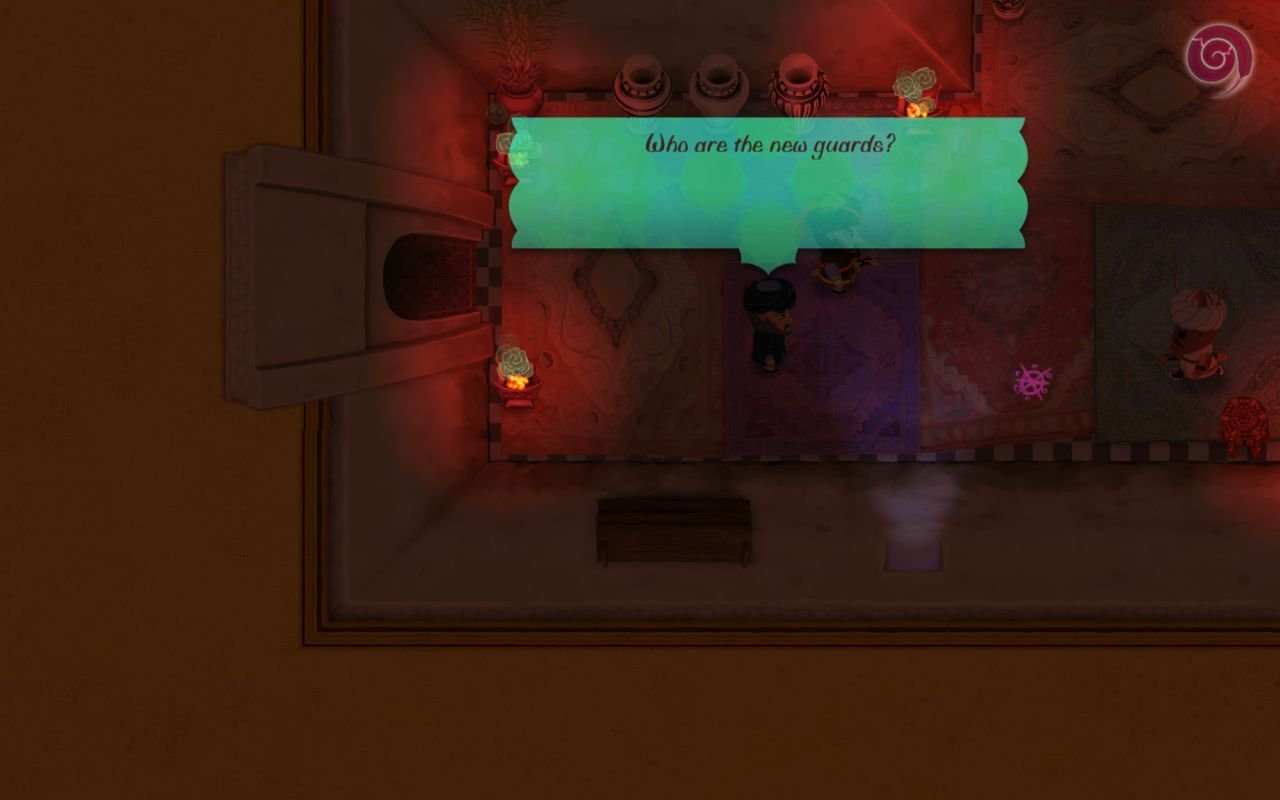
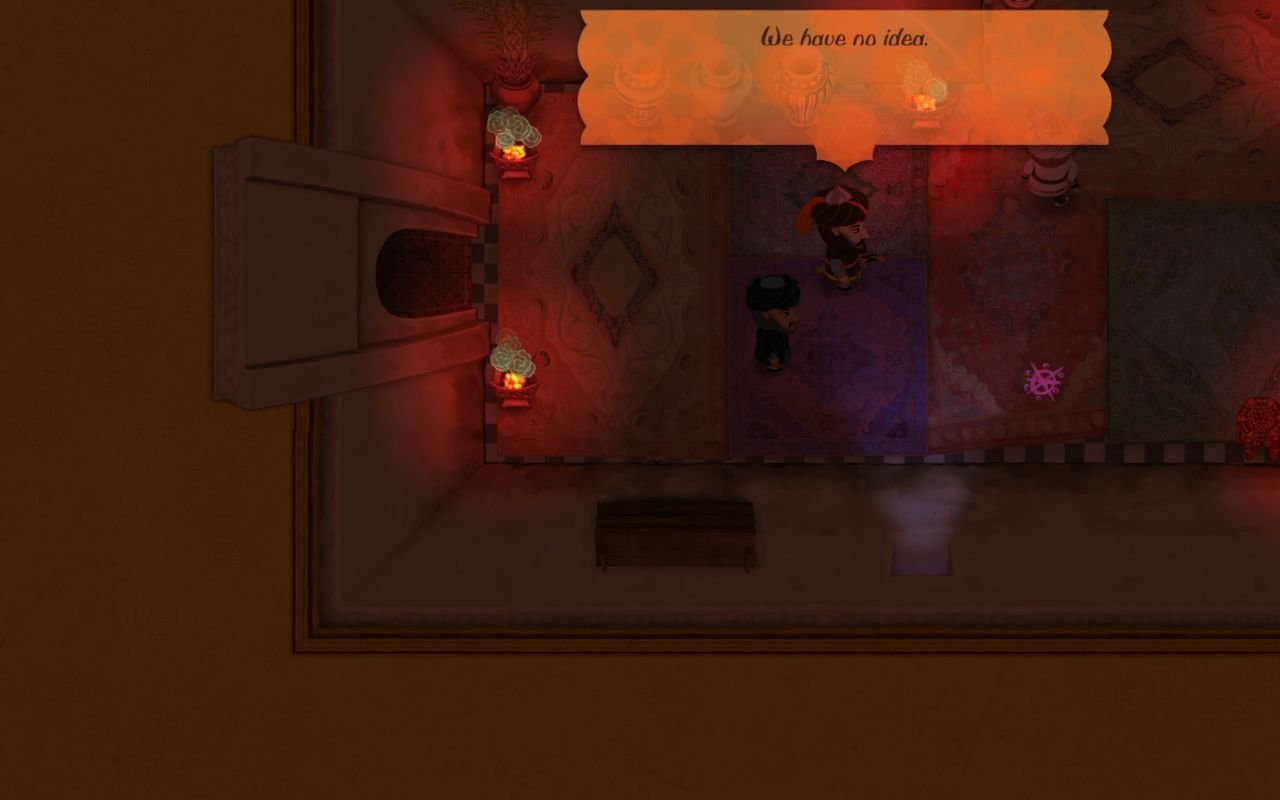
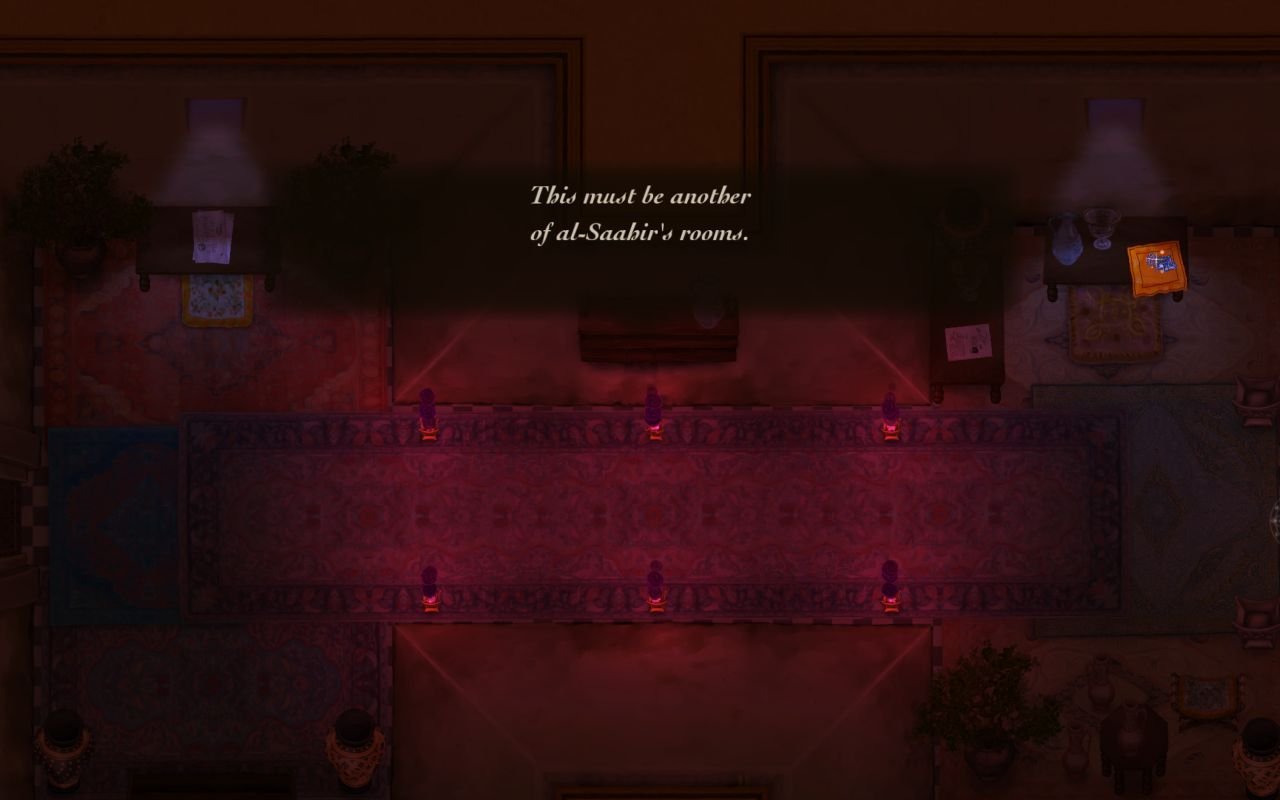
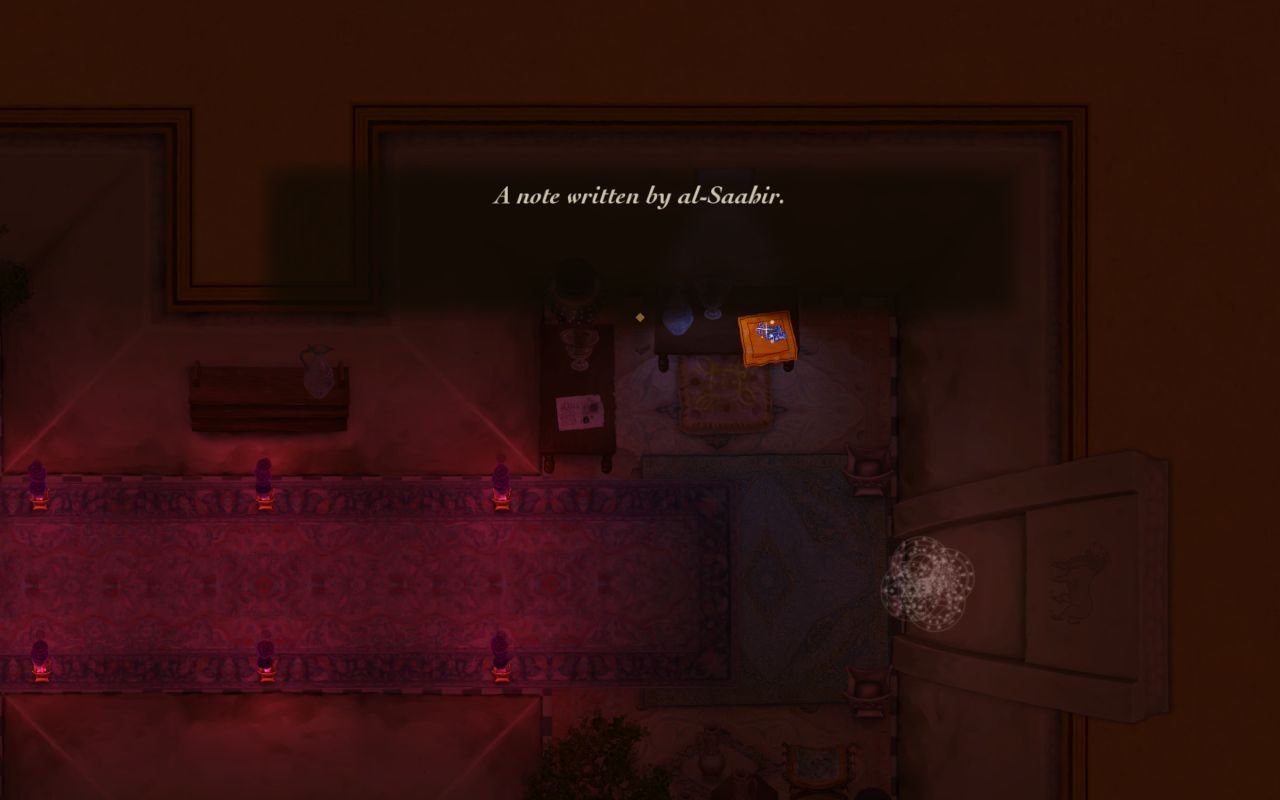
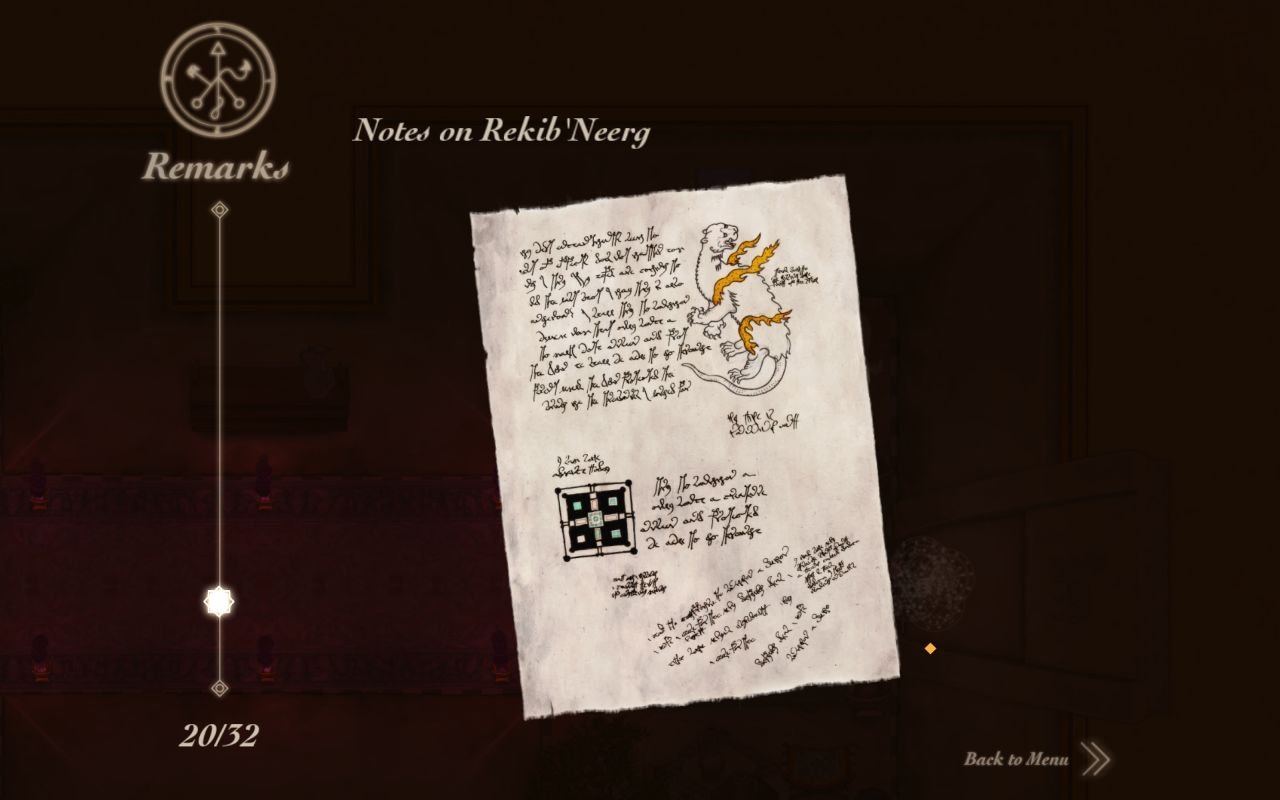
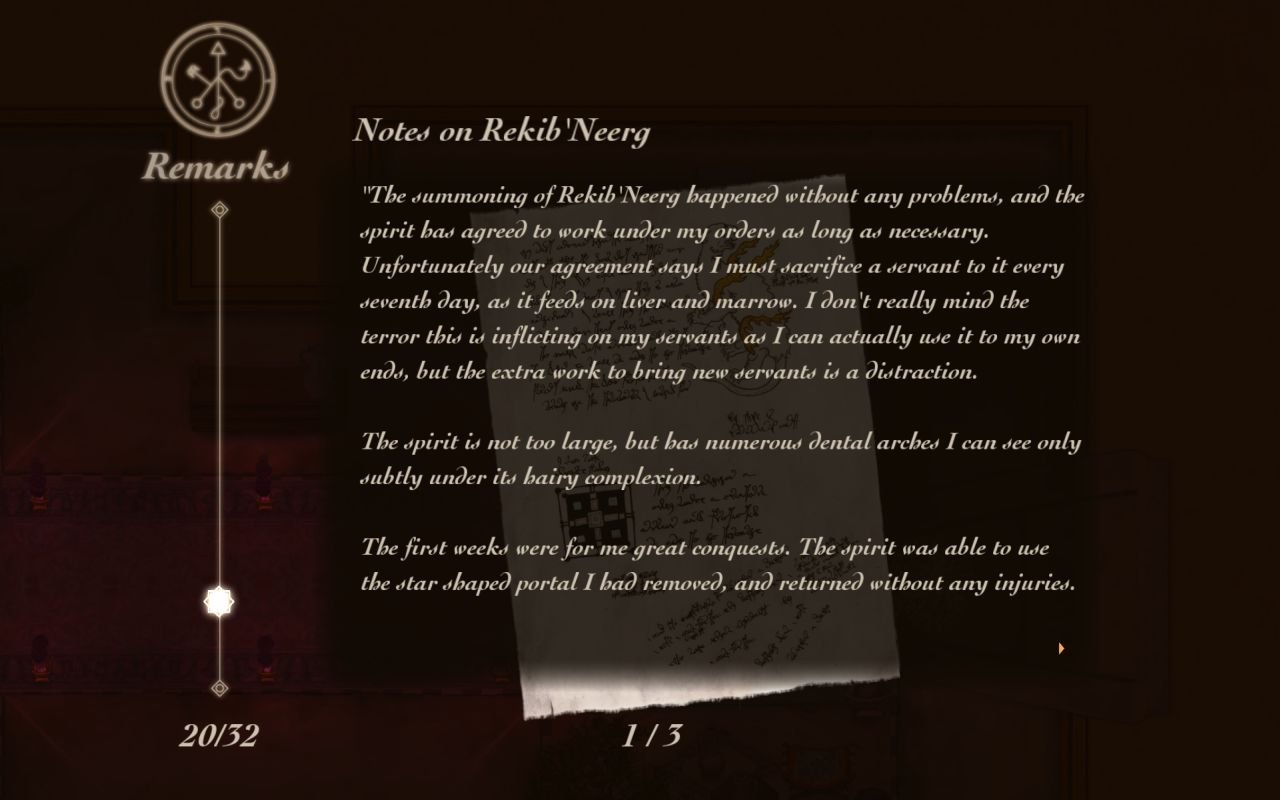
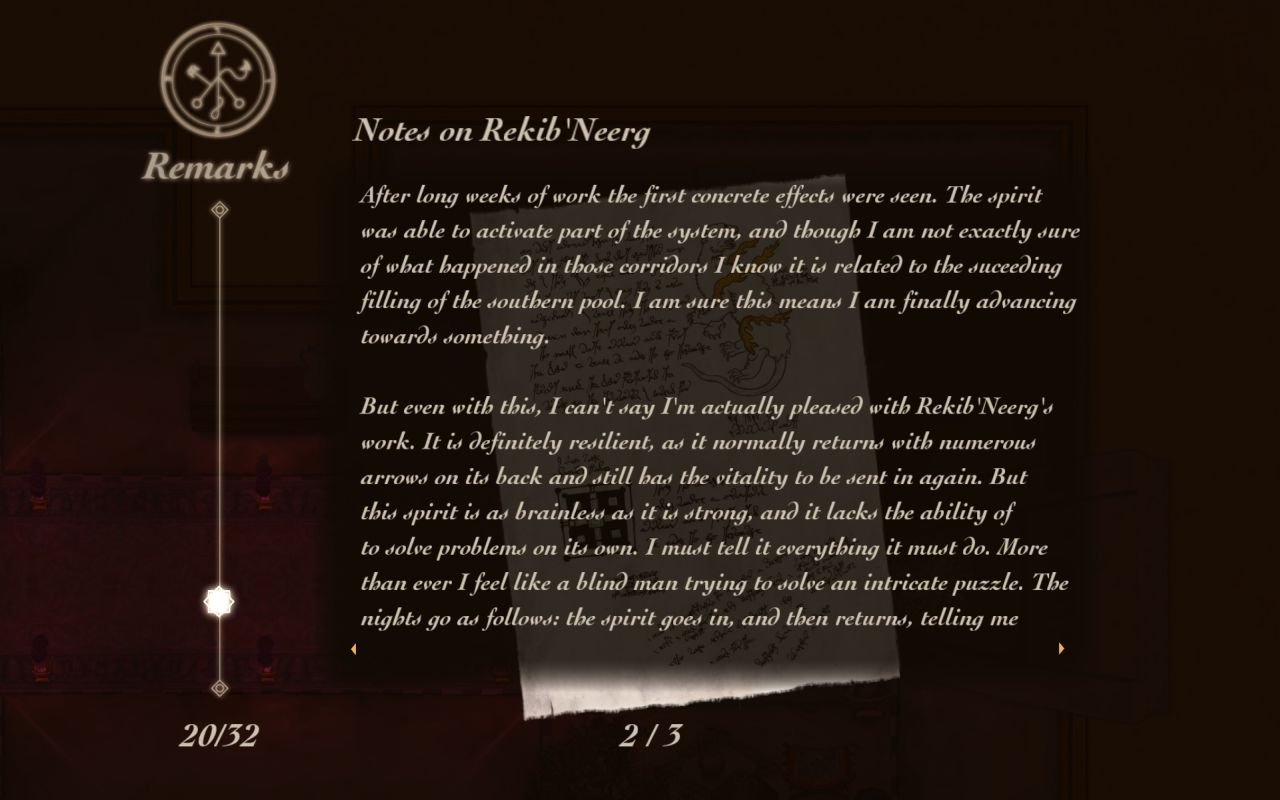
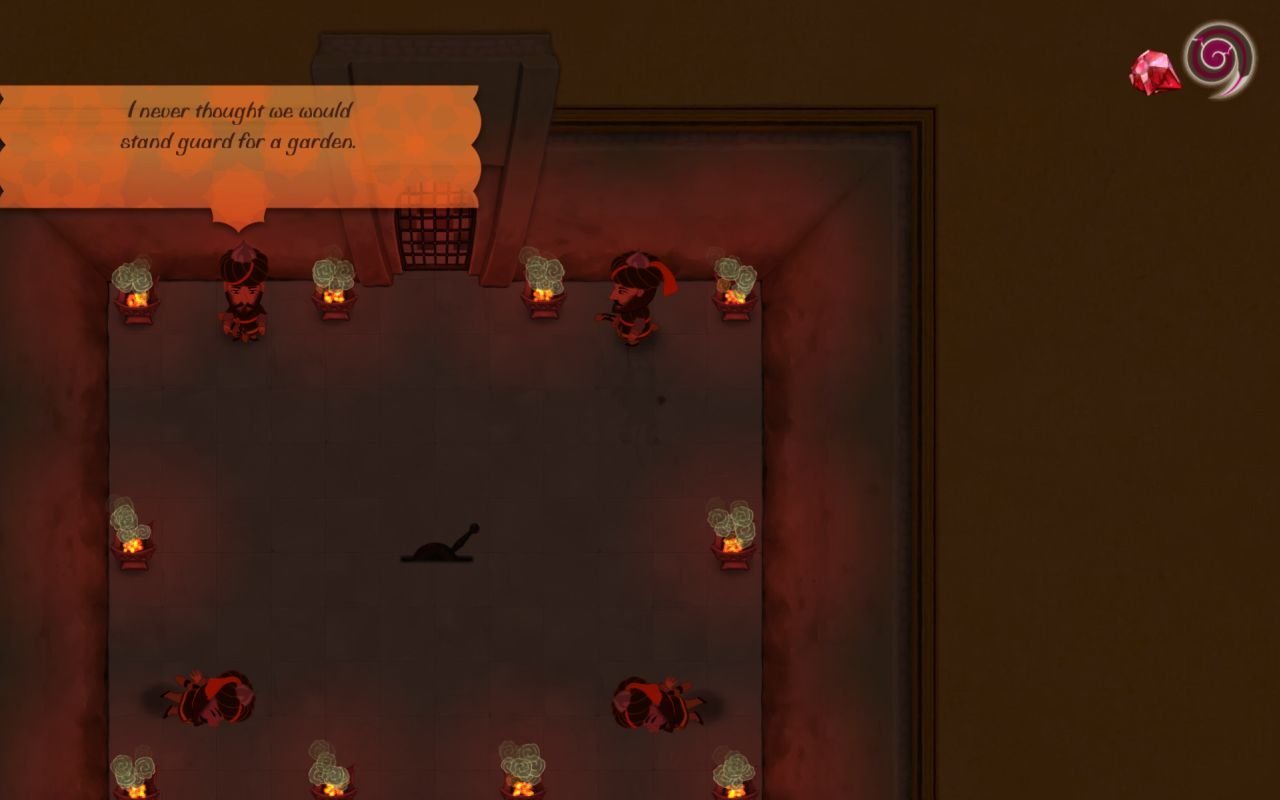
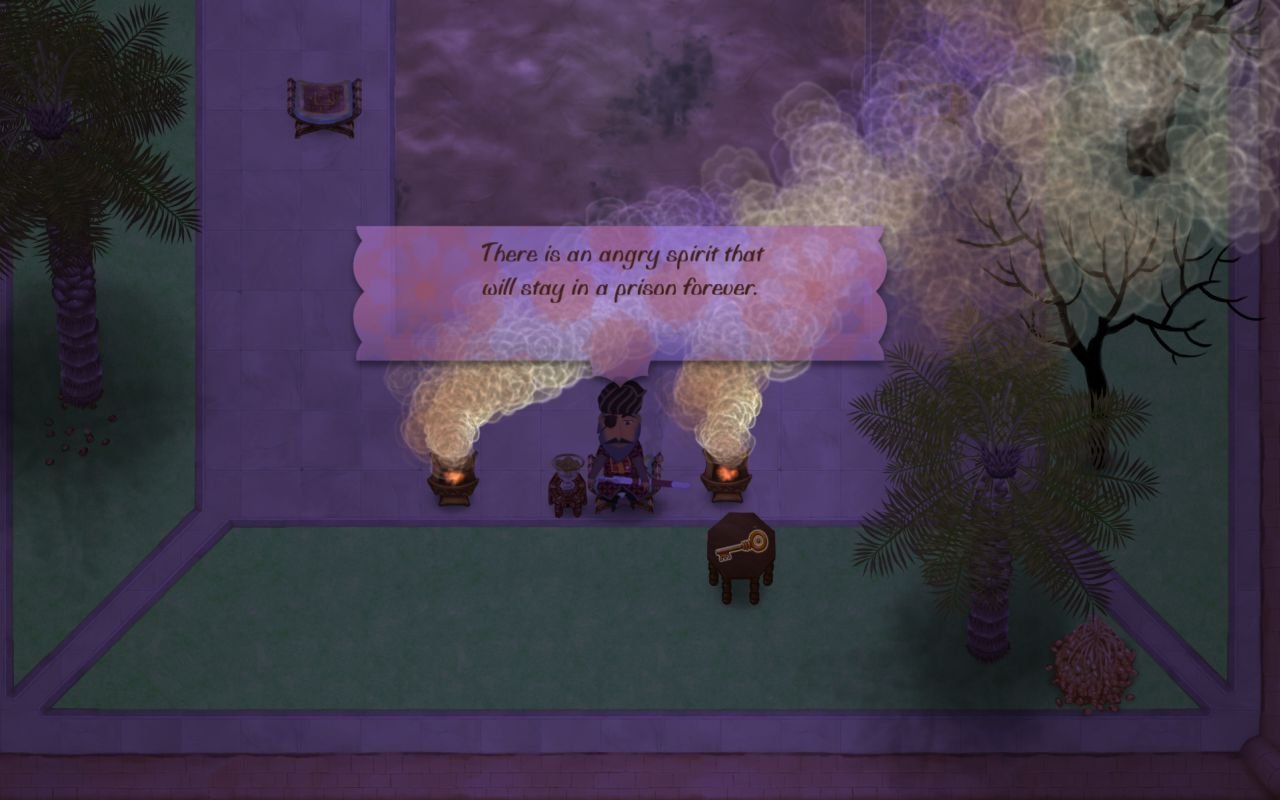
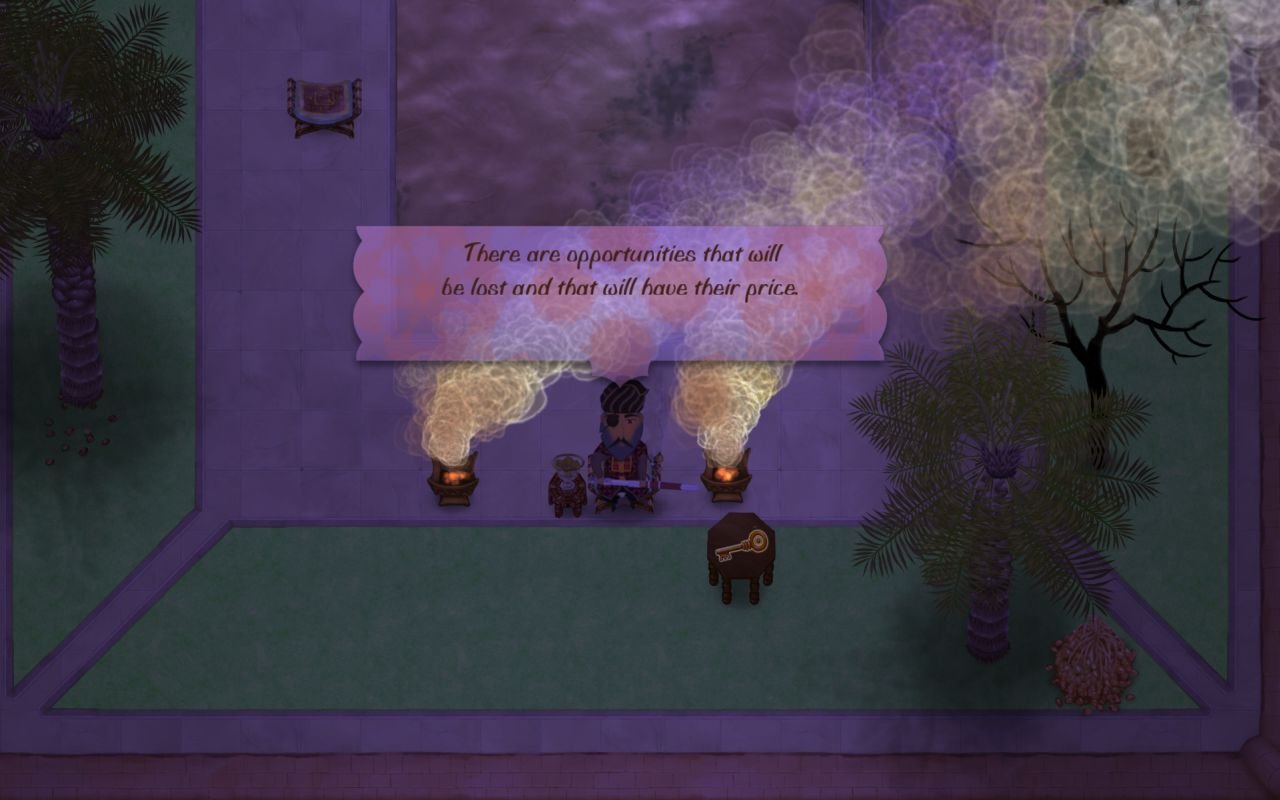
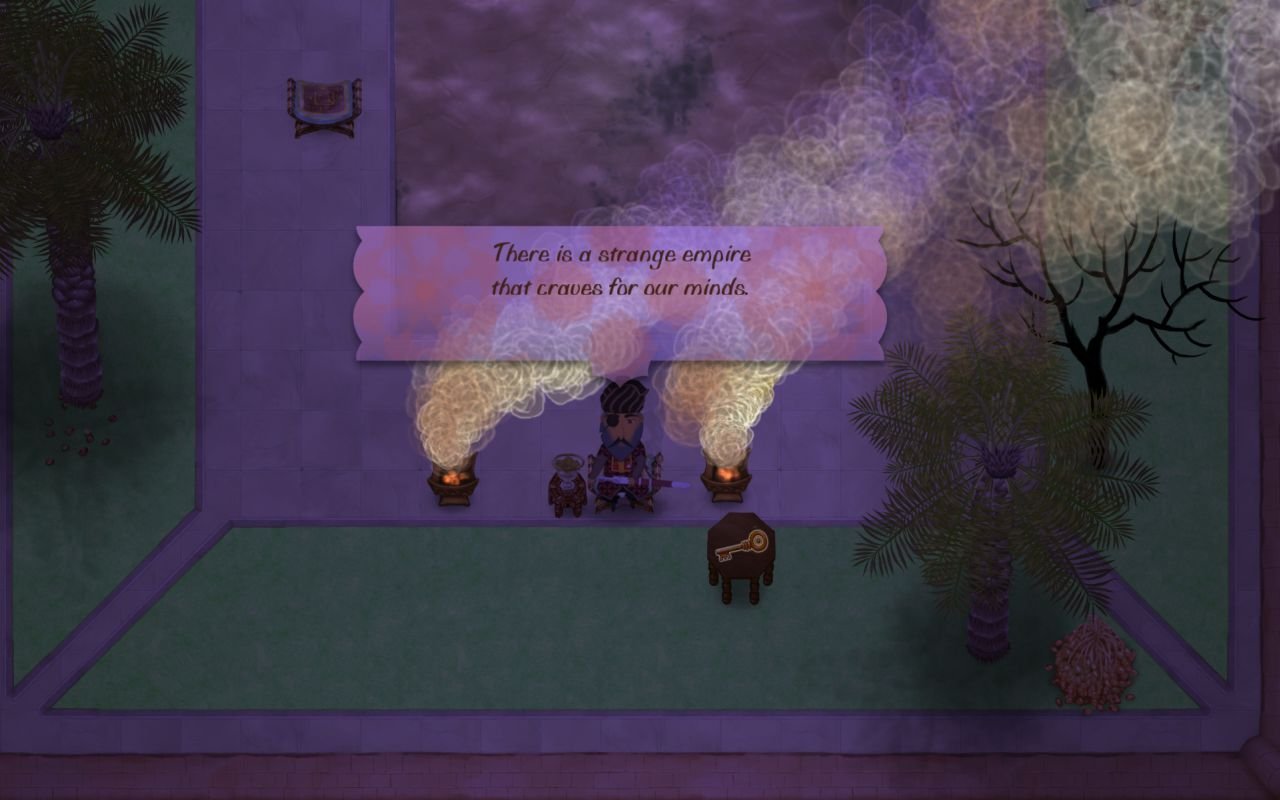
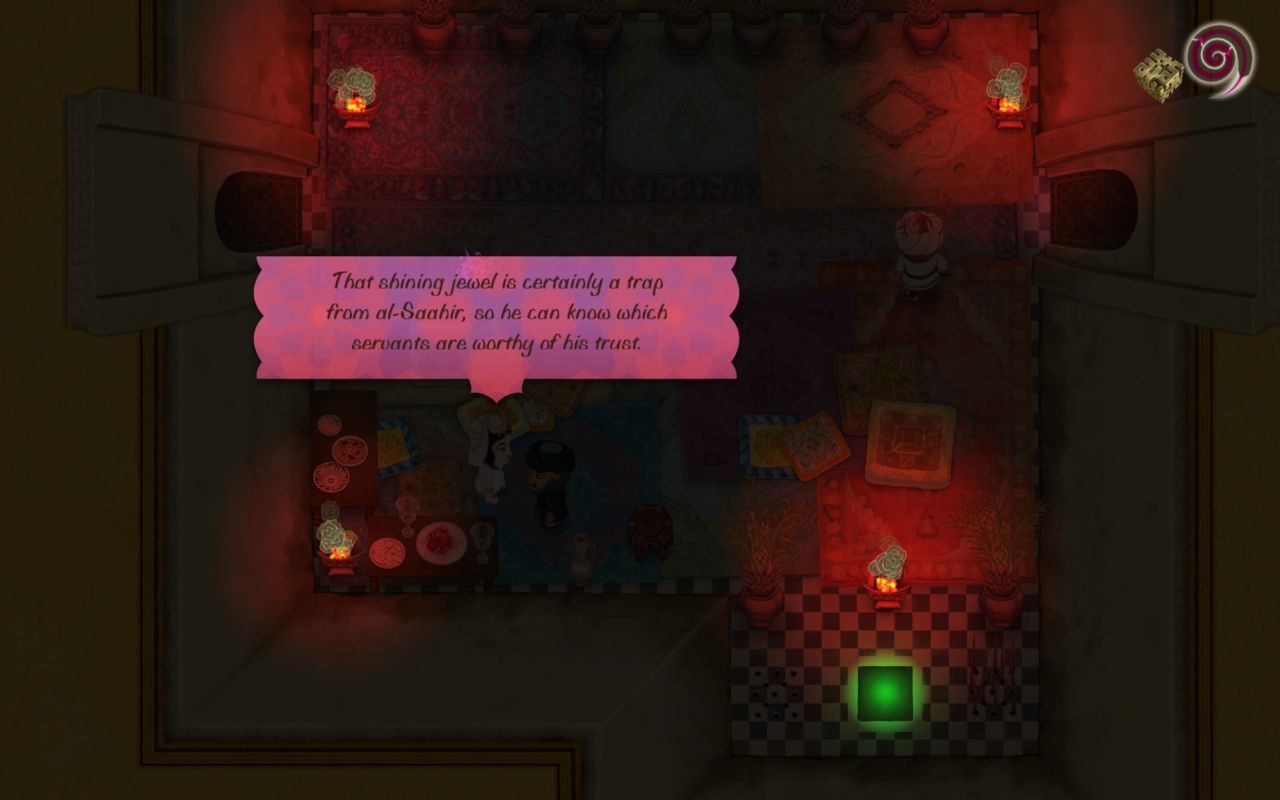
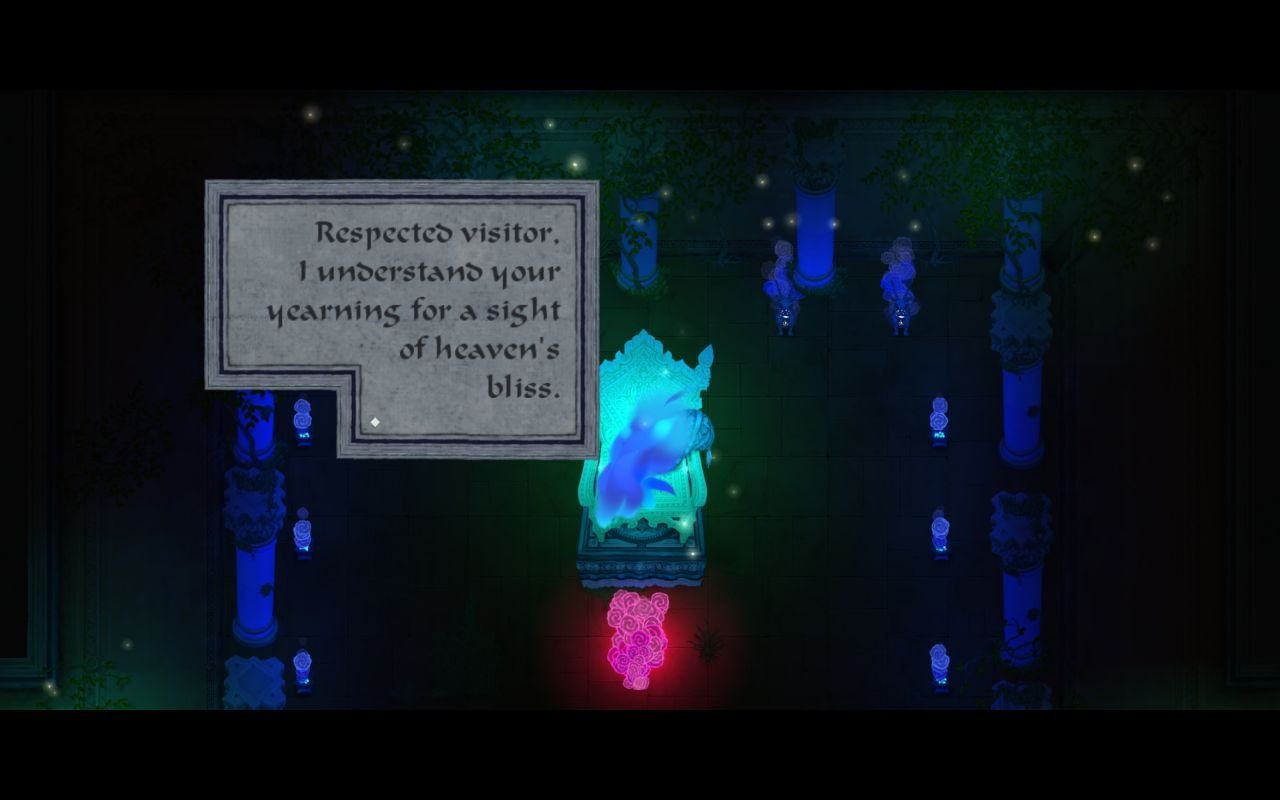
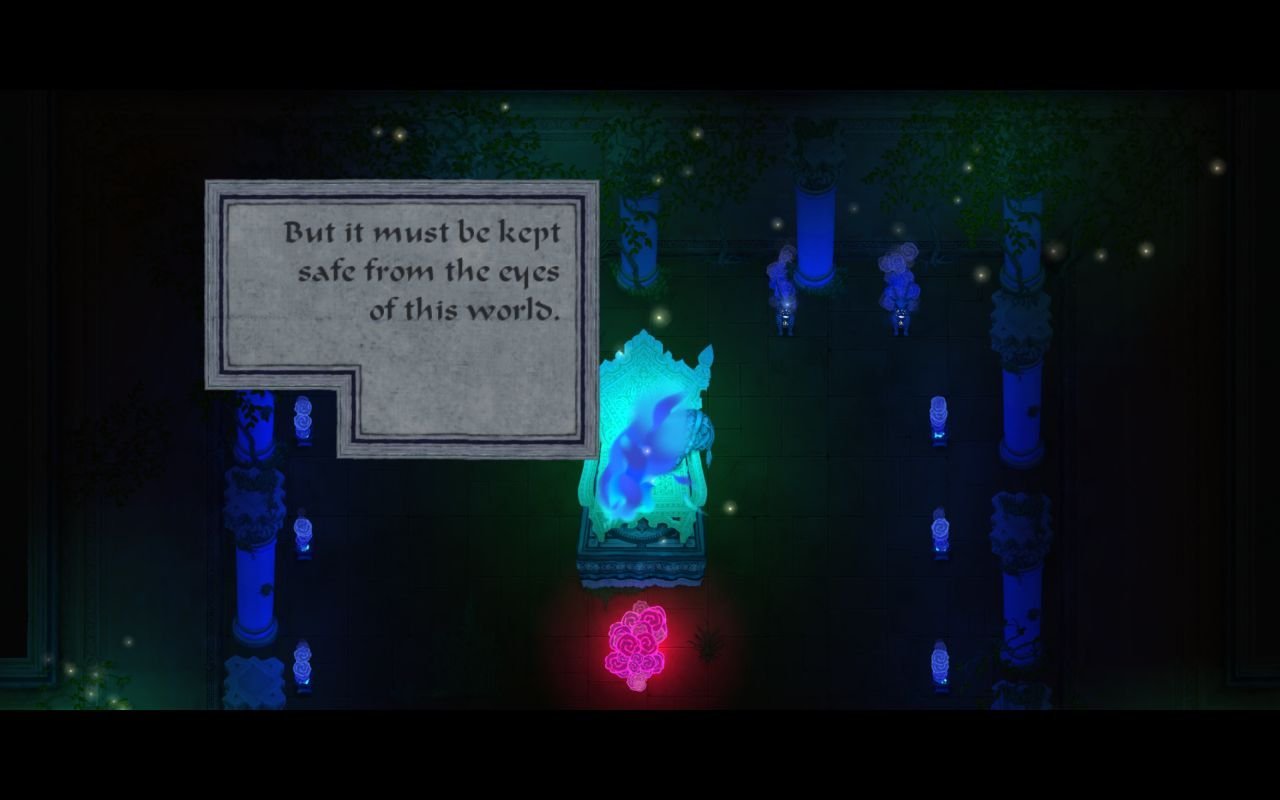
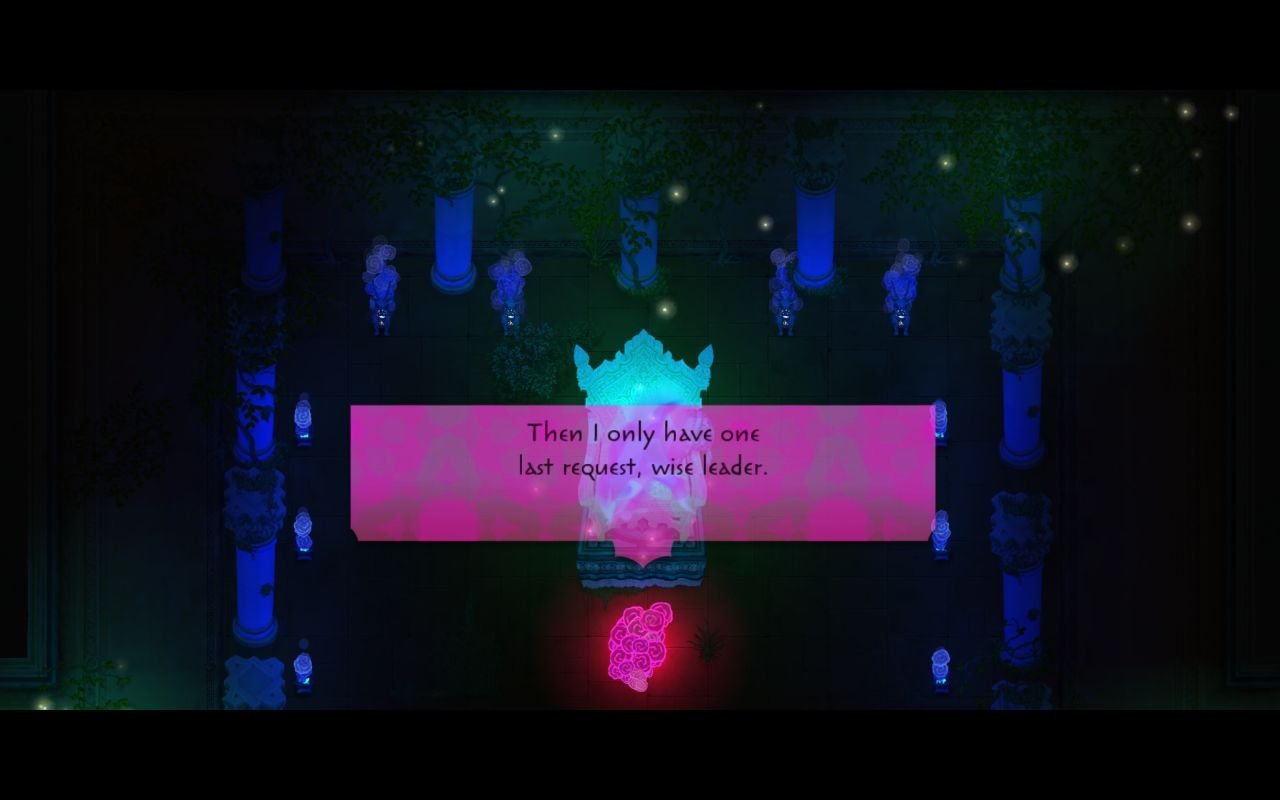
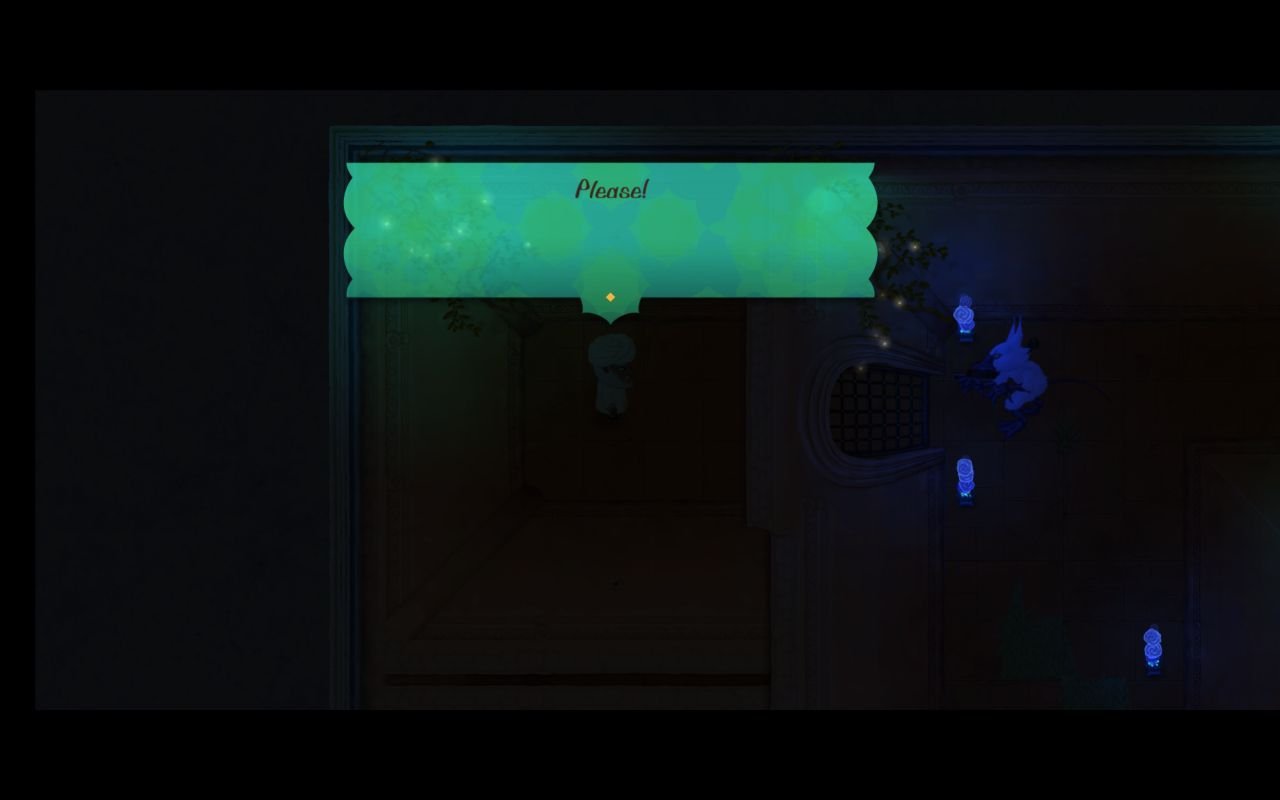
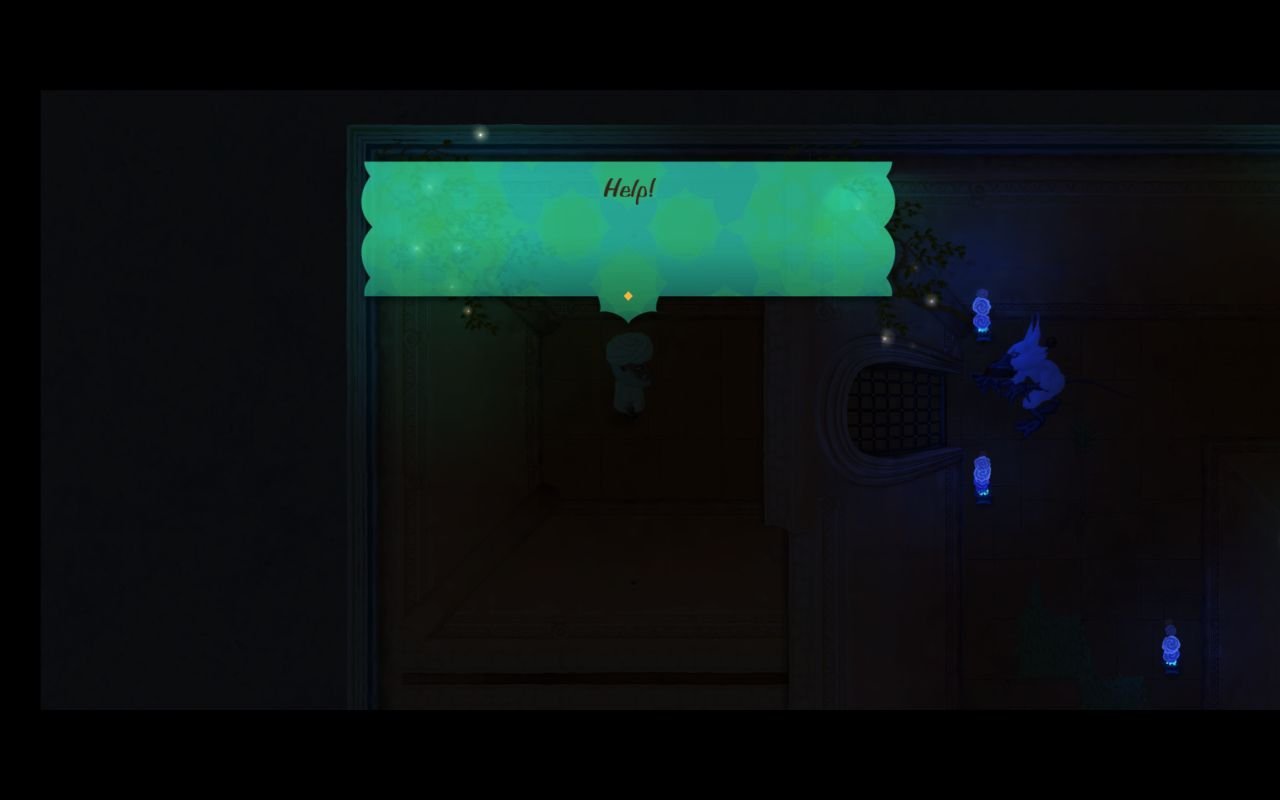
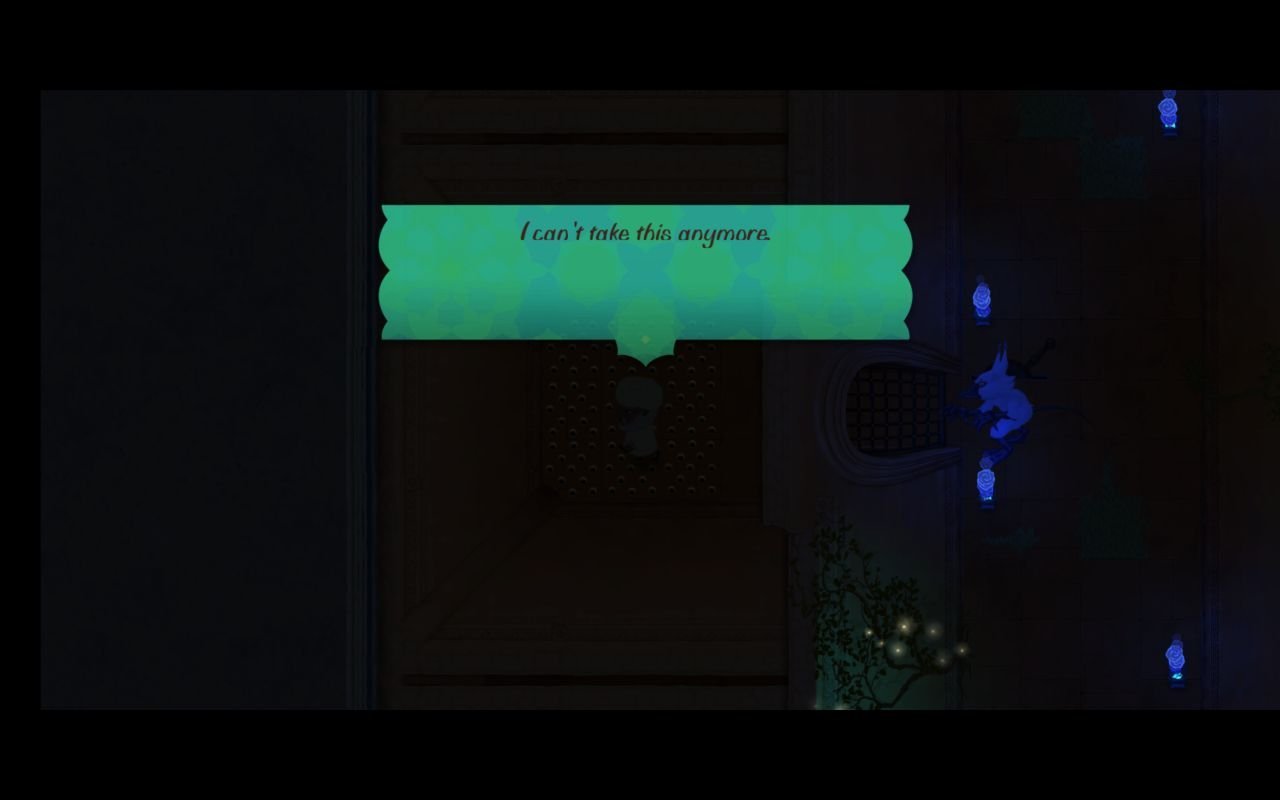
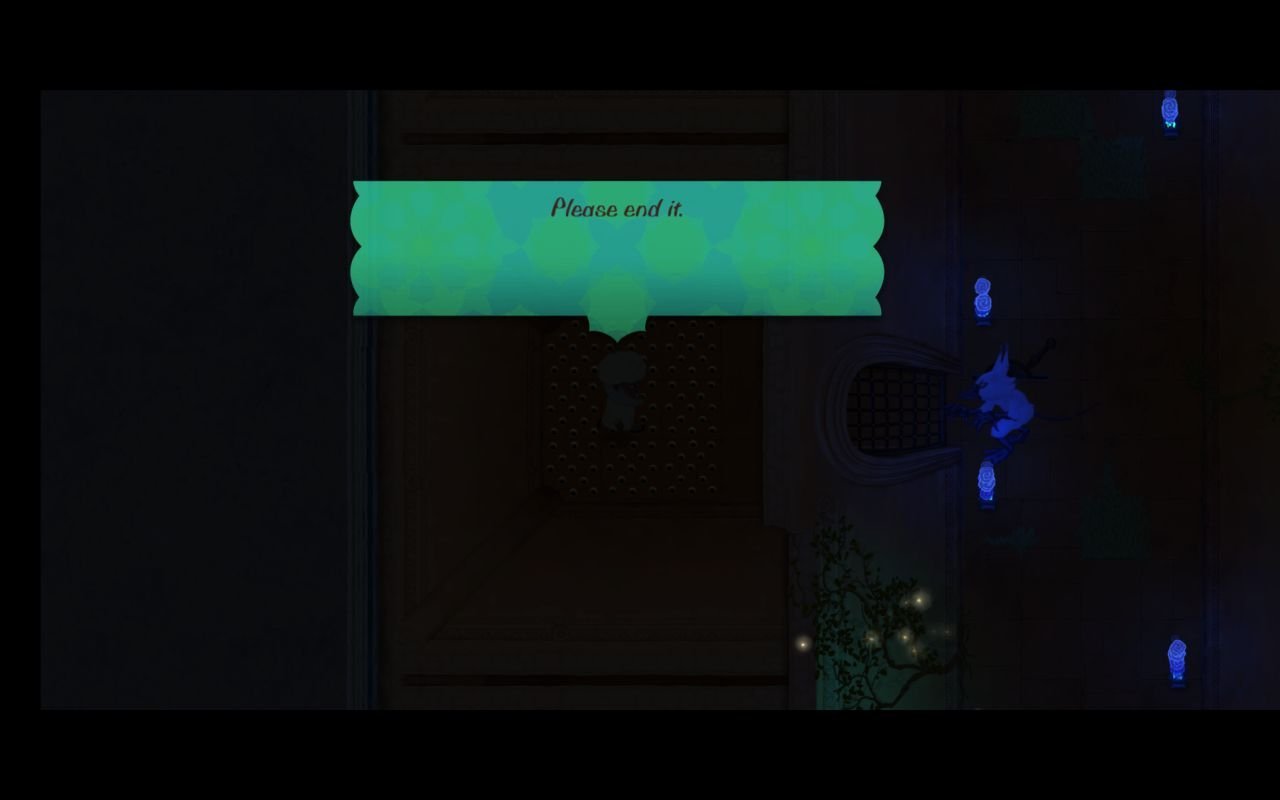
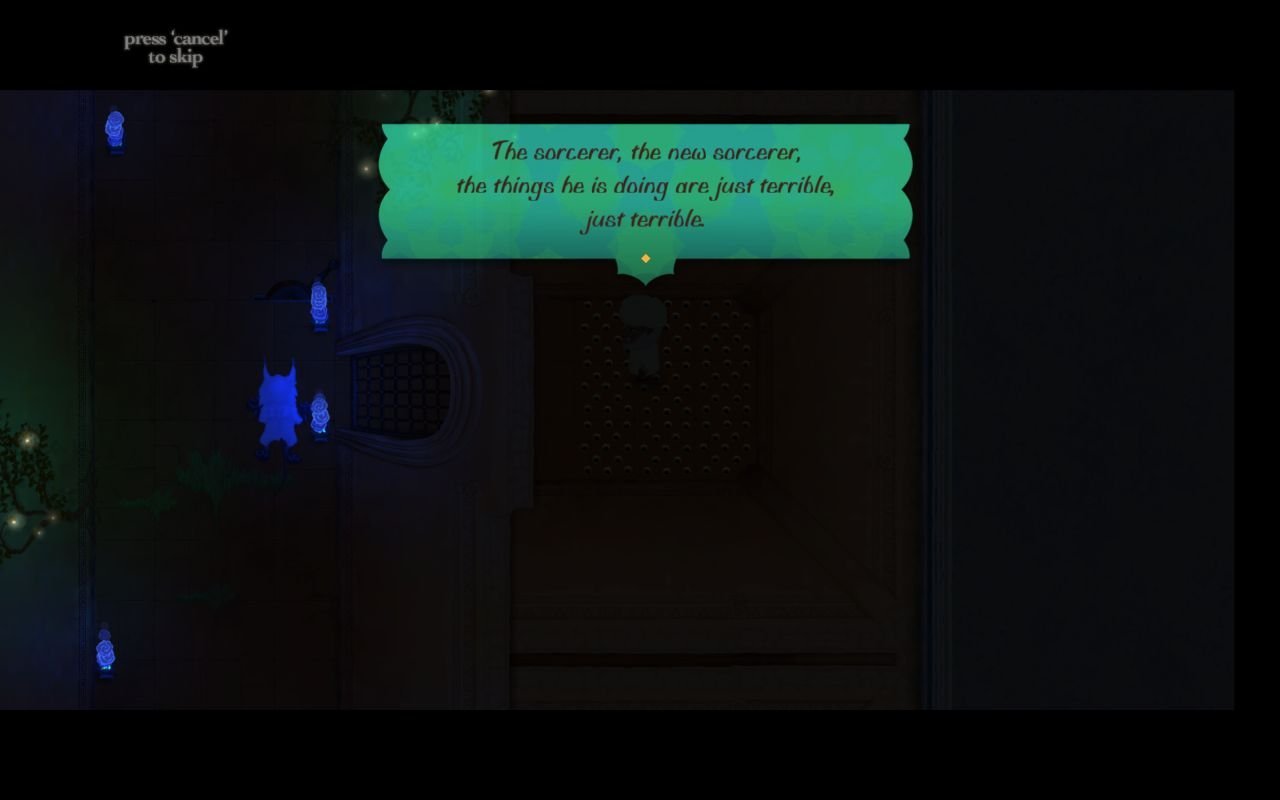
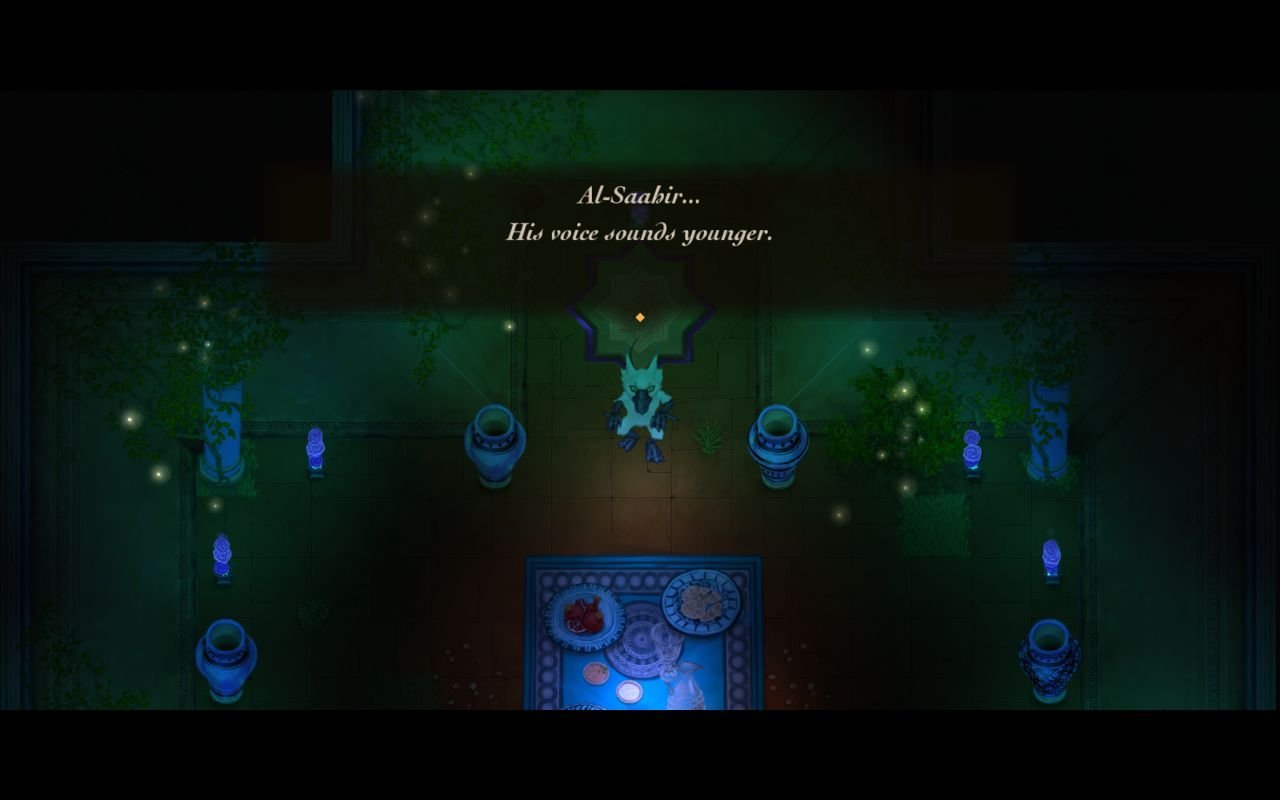
It seems al-Saahir prefers a strong-armed approach to staff management.
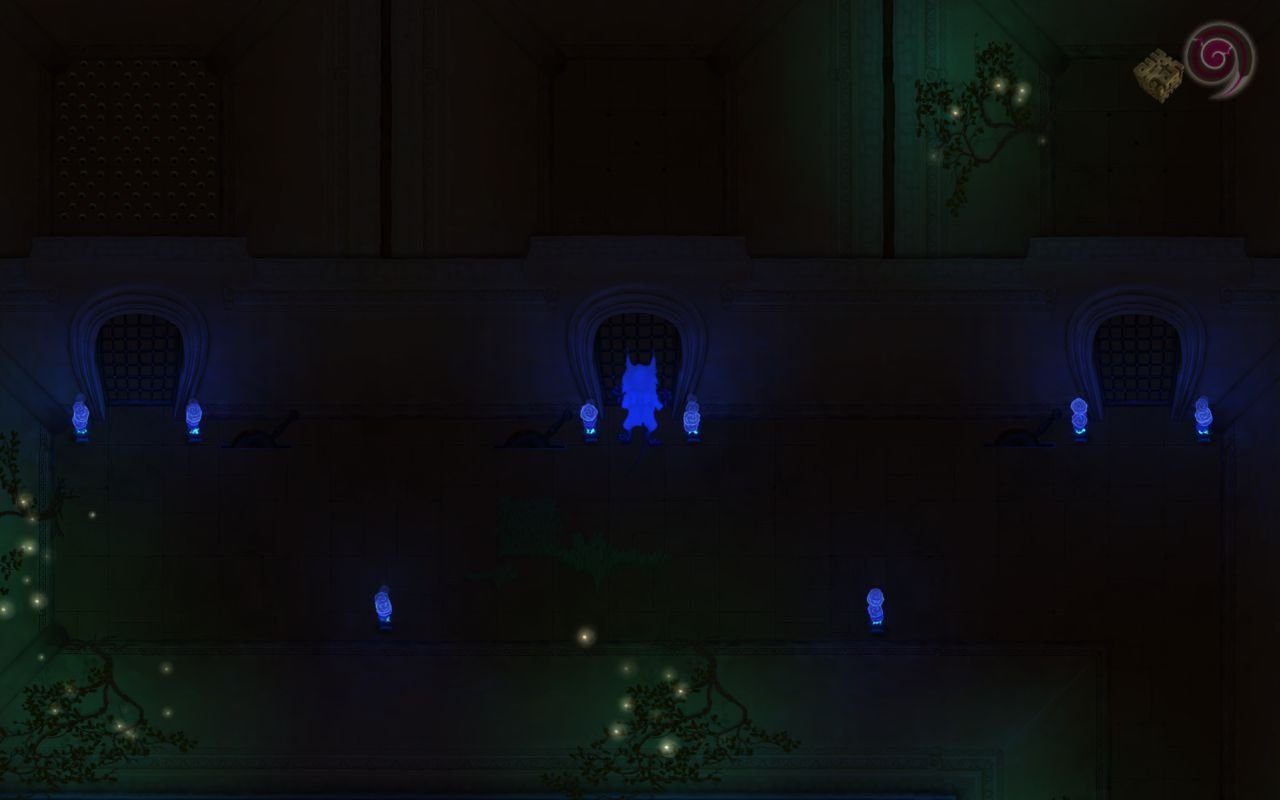
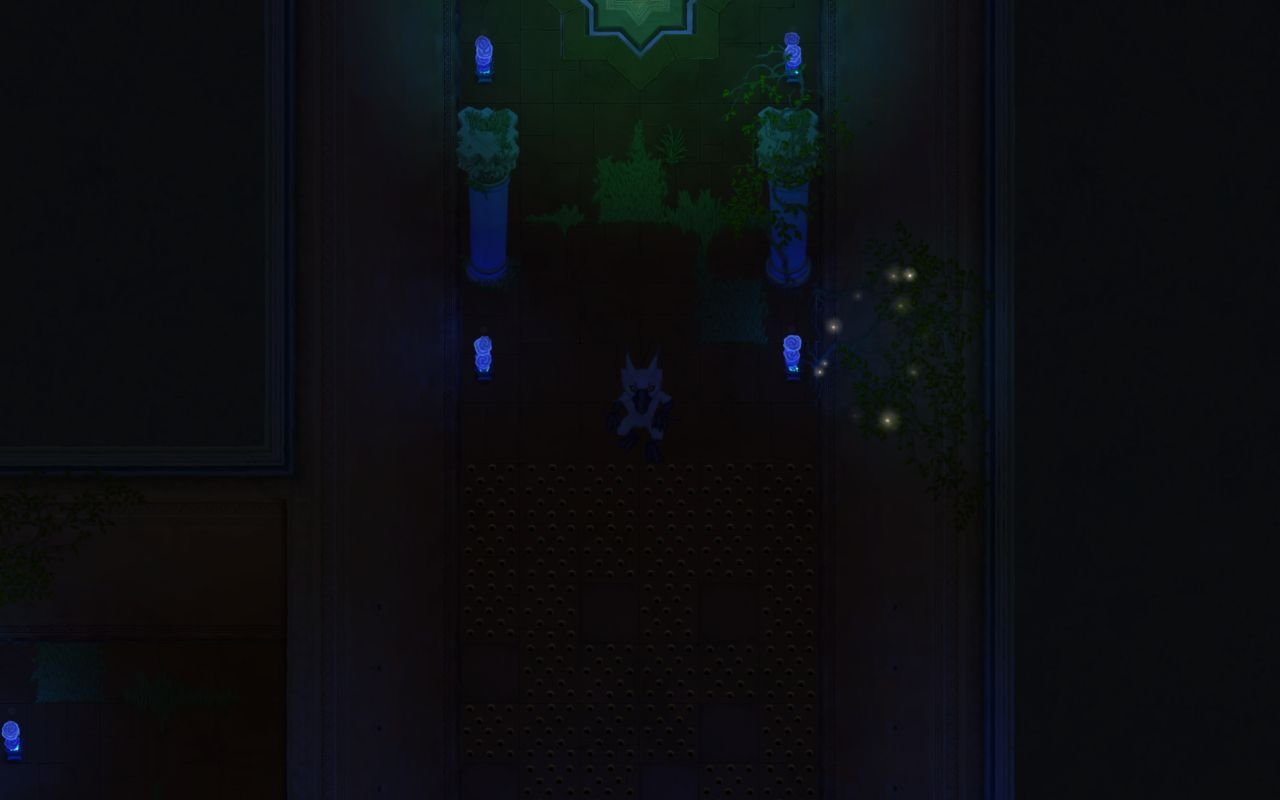
The particular of this room is that guards follow a circular pattern, stepping on pressure plates that raise the spikes. It's just a matter of timing to get to the easter door, which we of course do.
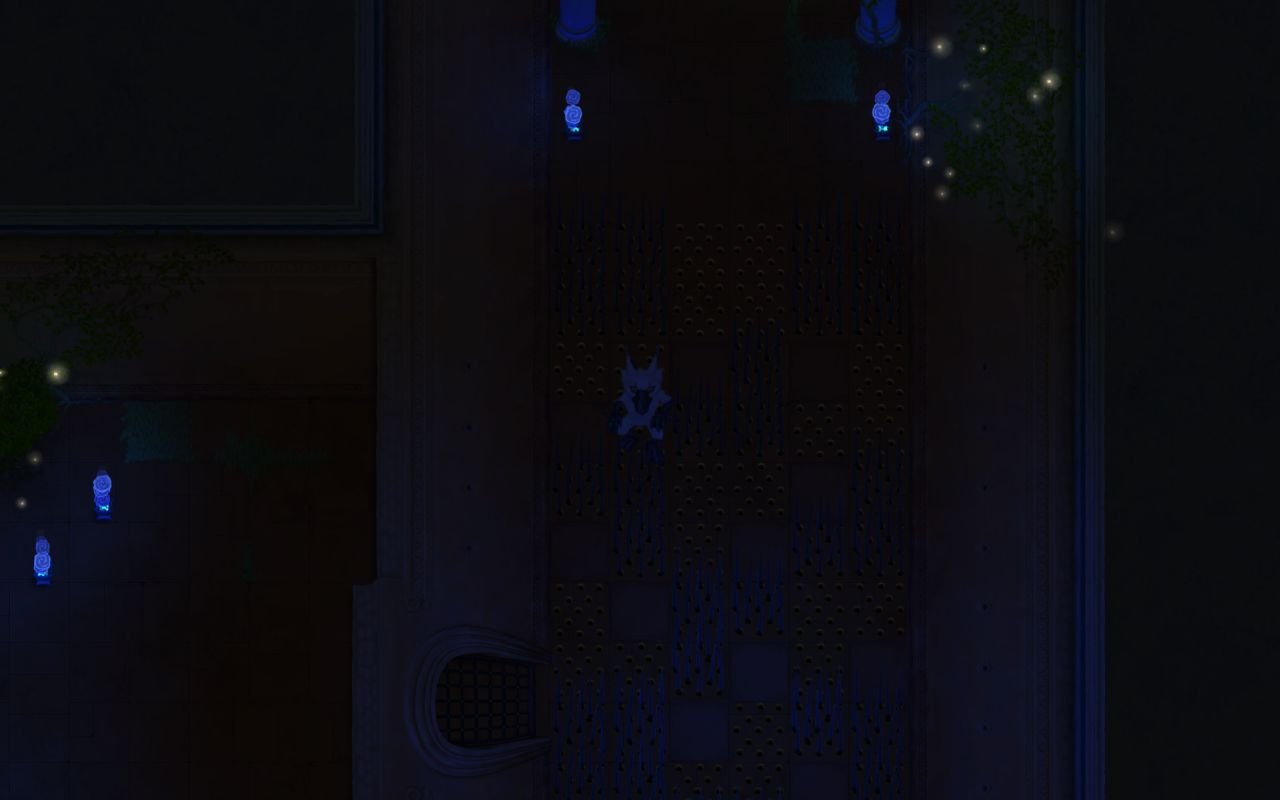
This room is nasty due to the fact that the patrolling guard triggers paint spray right after we enter it. A quick dodge allows us to stay invisible.
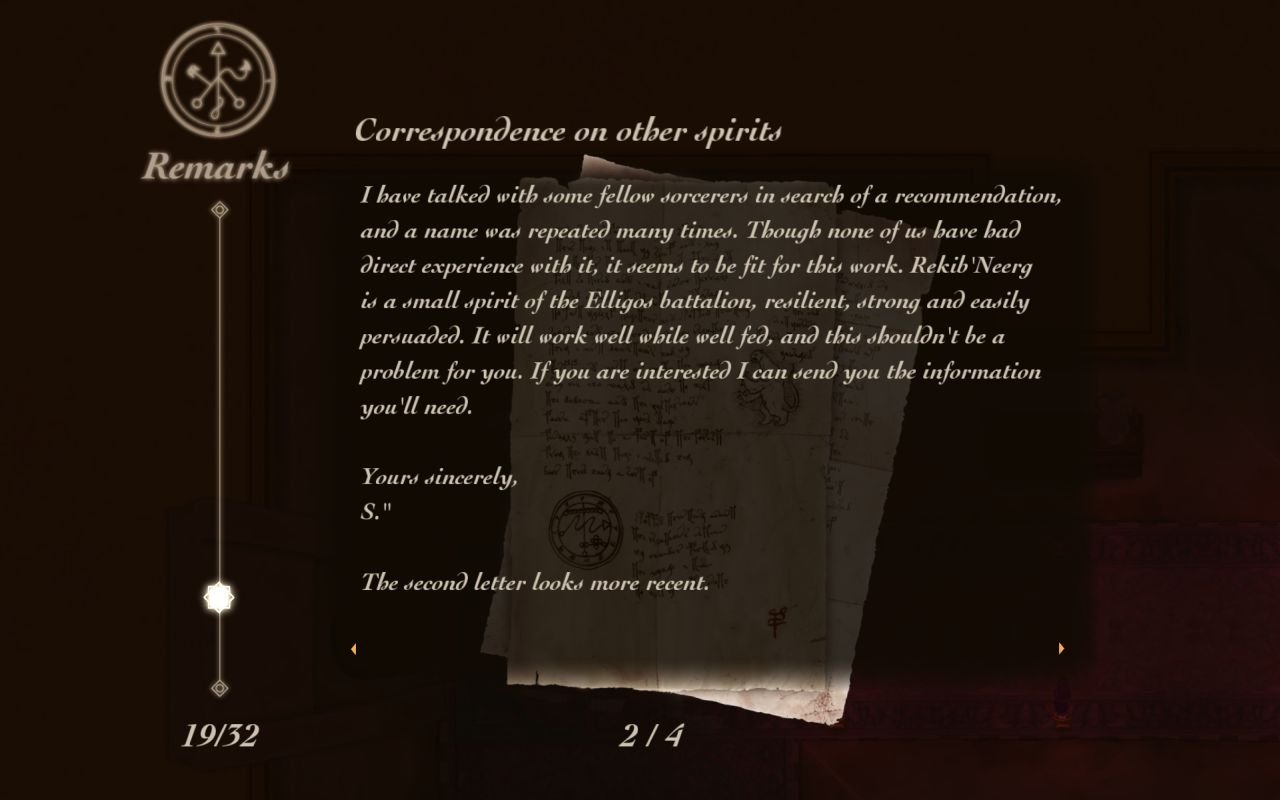
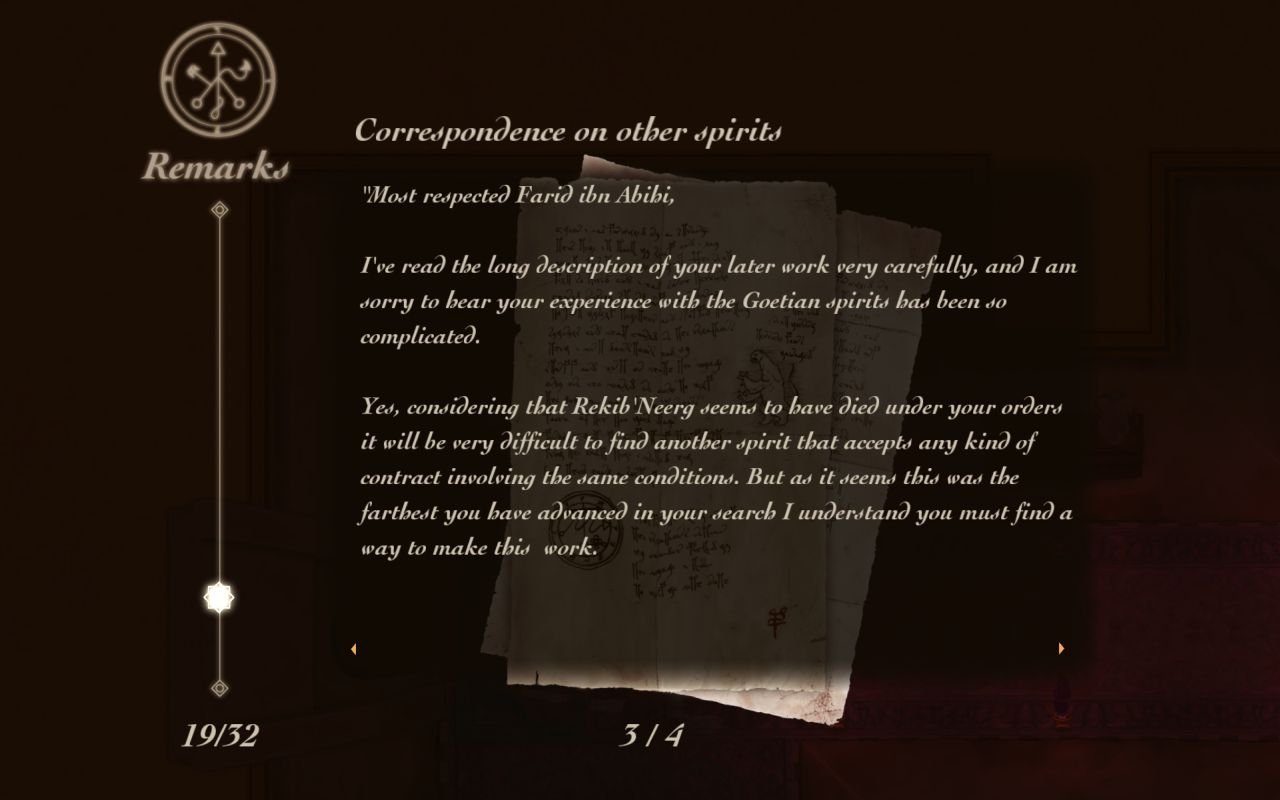
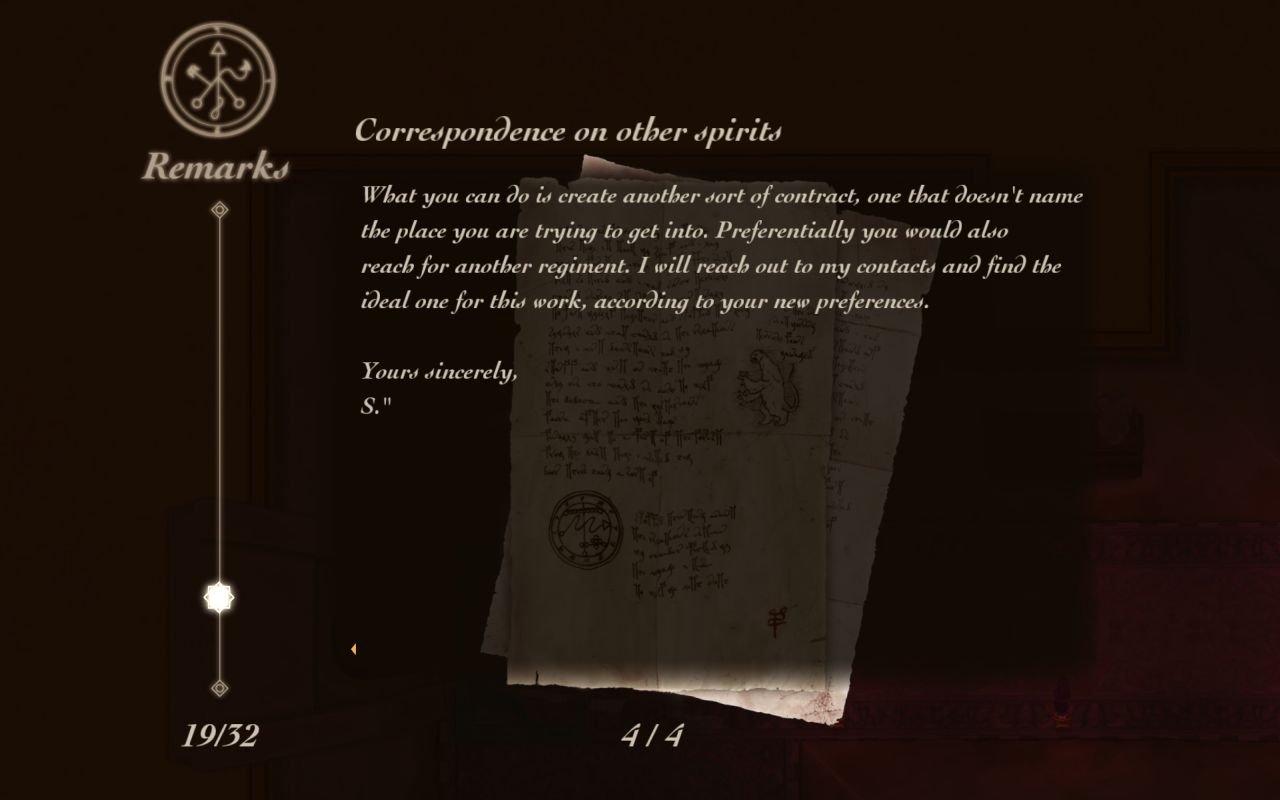
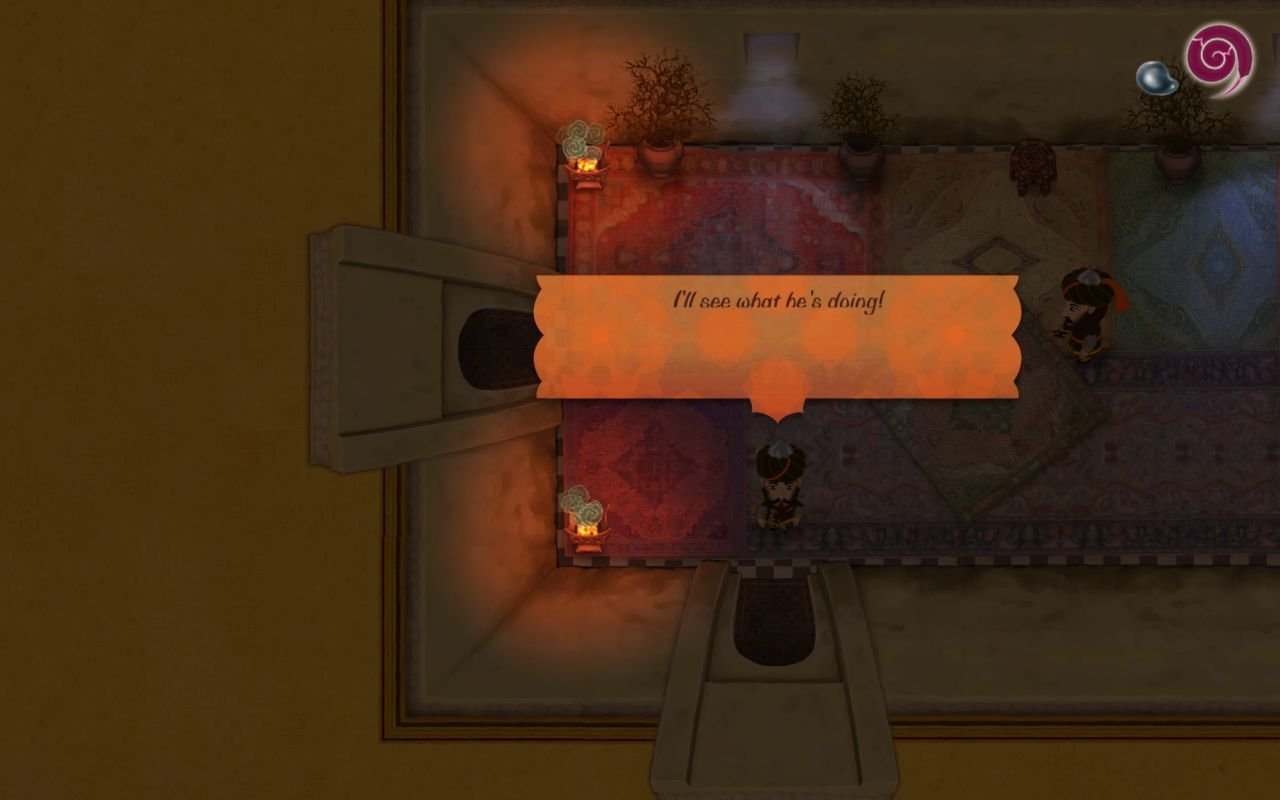
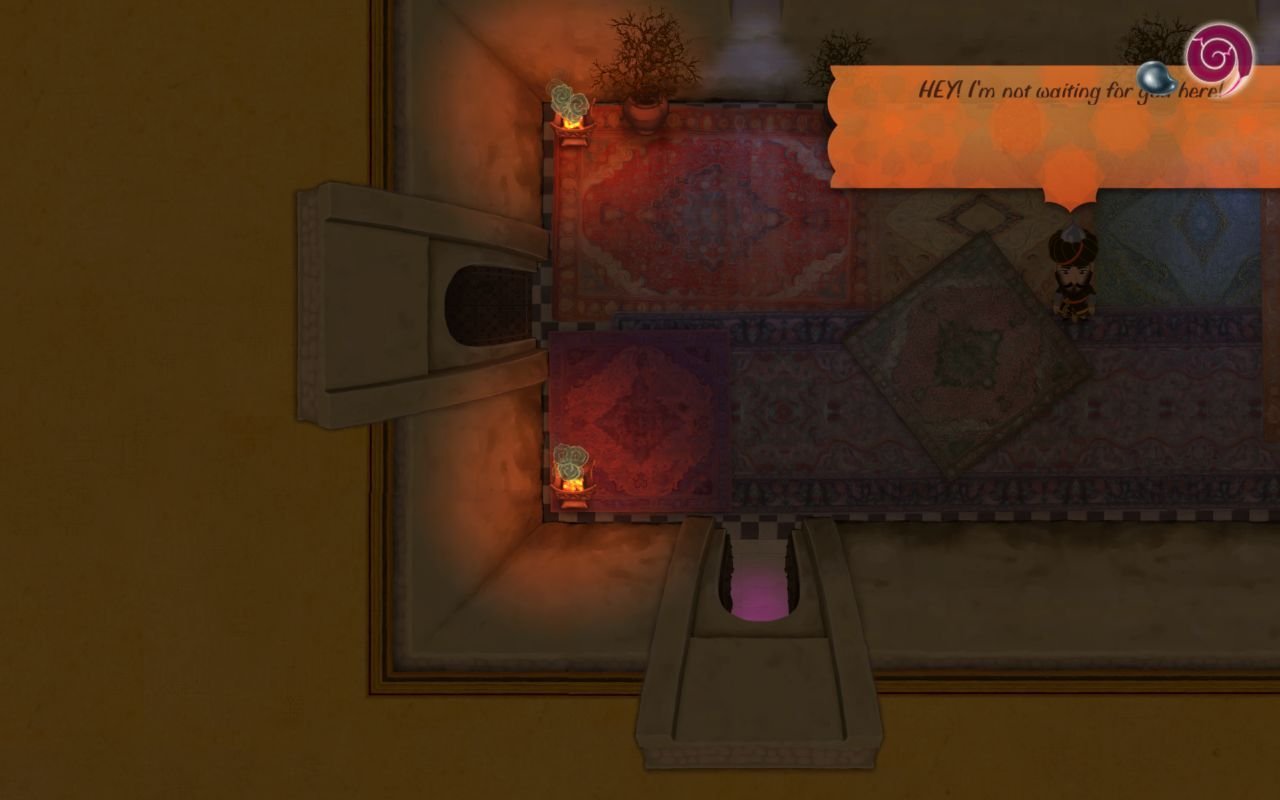
The pool in the room is bad news for the nearby guards. We dispatch the one in this room, wash up, kill the two in the previous room. After that we go back, clean up, flip the lever to open the gate east but take the north door first. Why? Because that's where our favorite curious arab went! I couldn't catch him on the screenshot though, he's too fast.
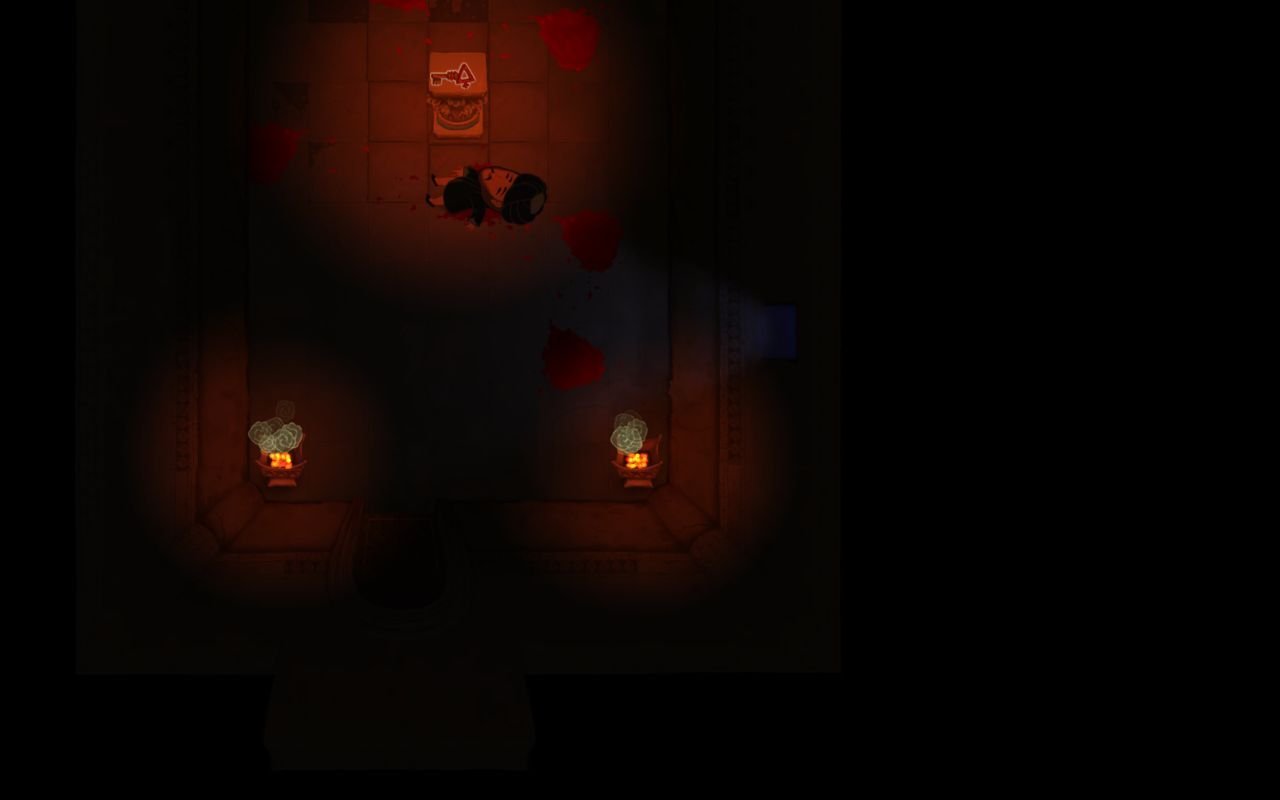
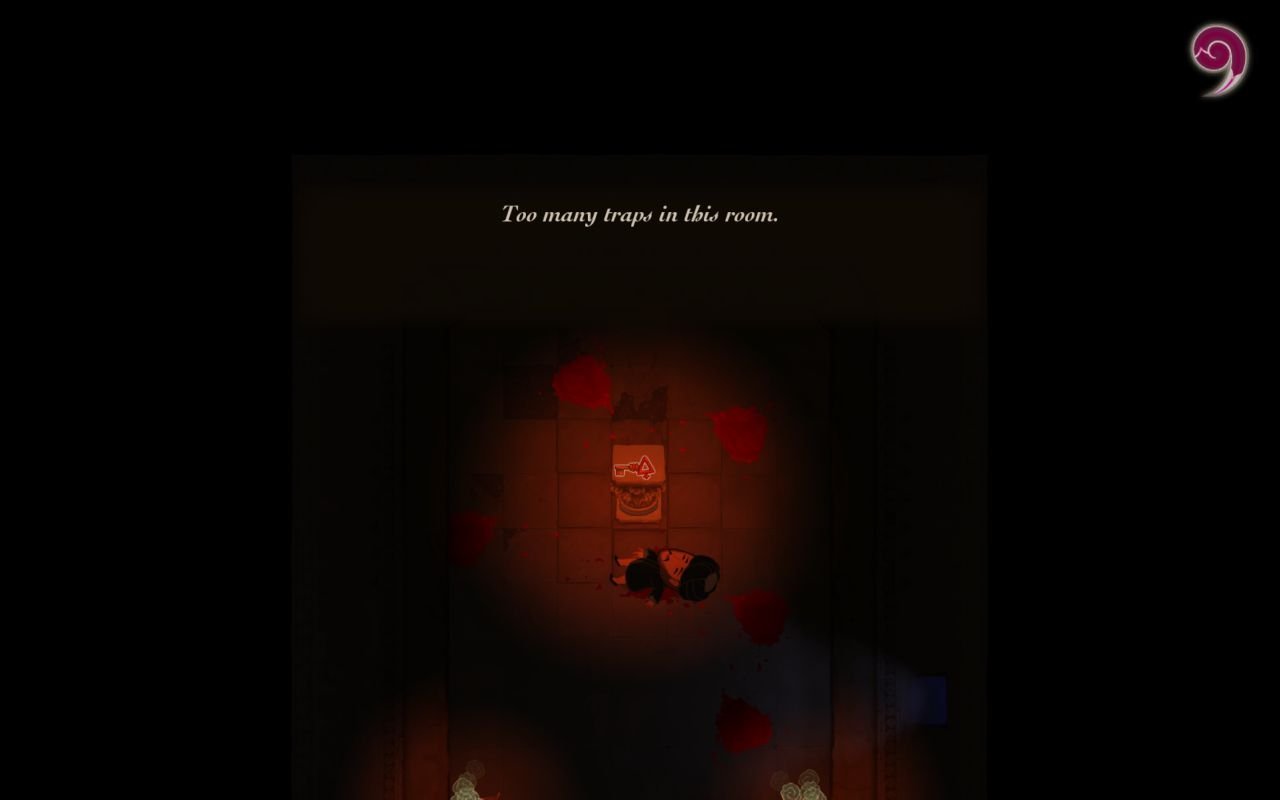
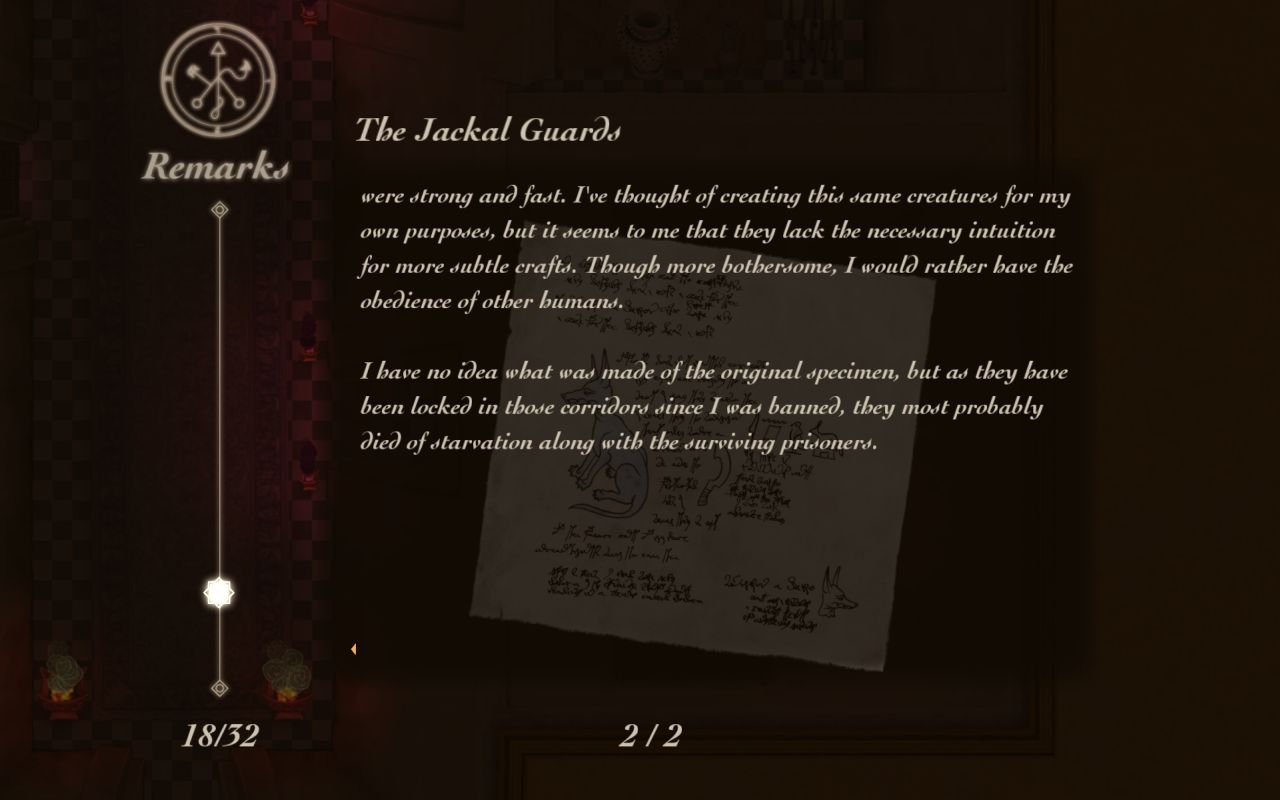
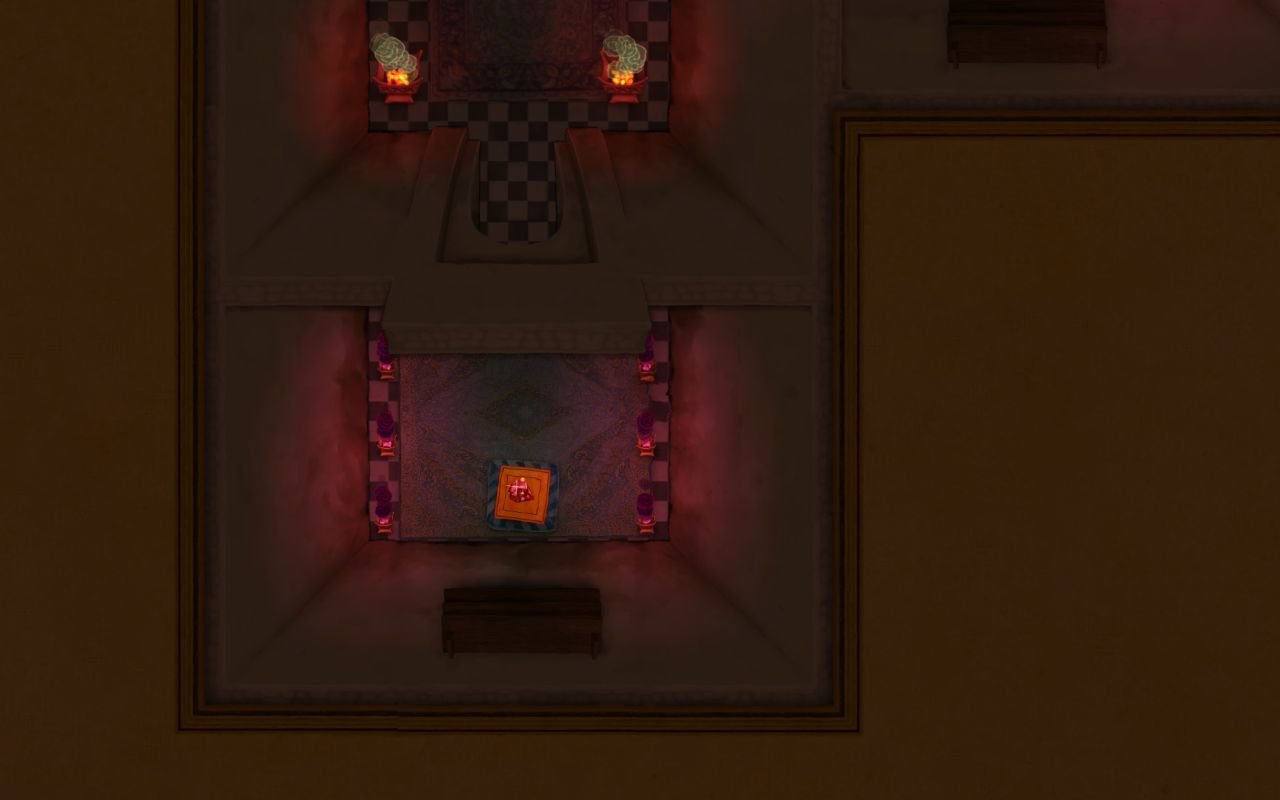
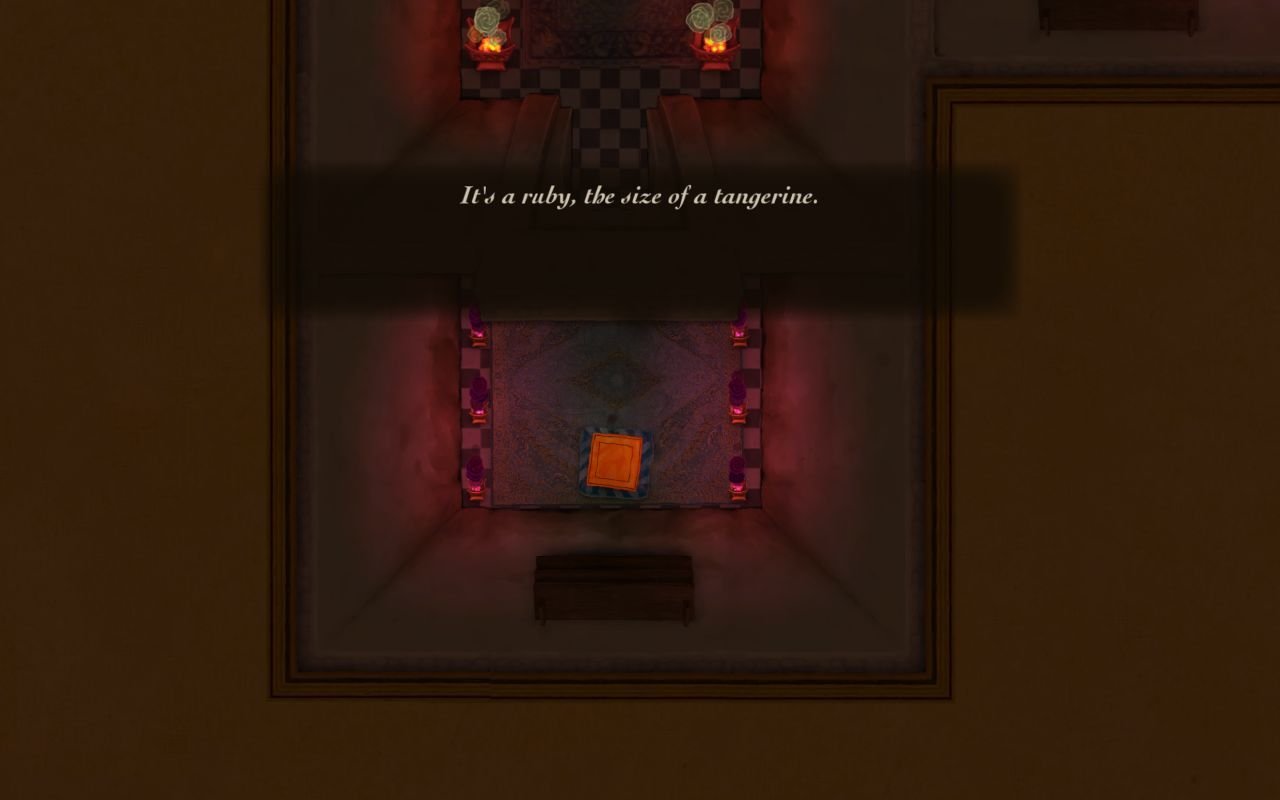
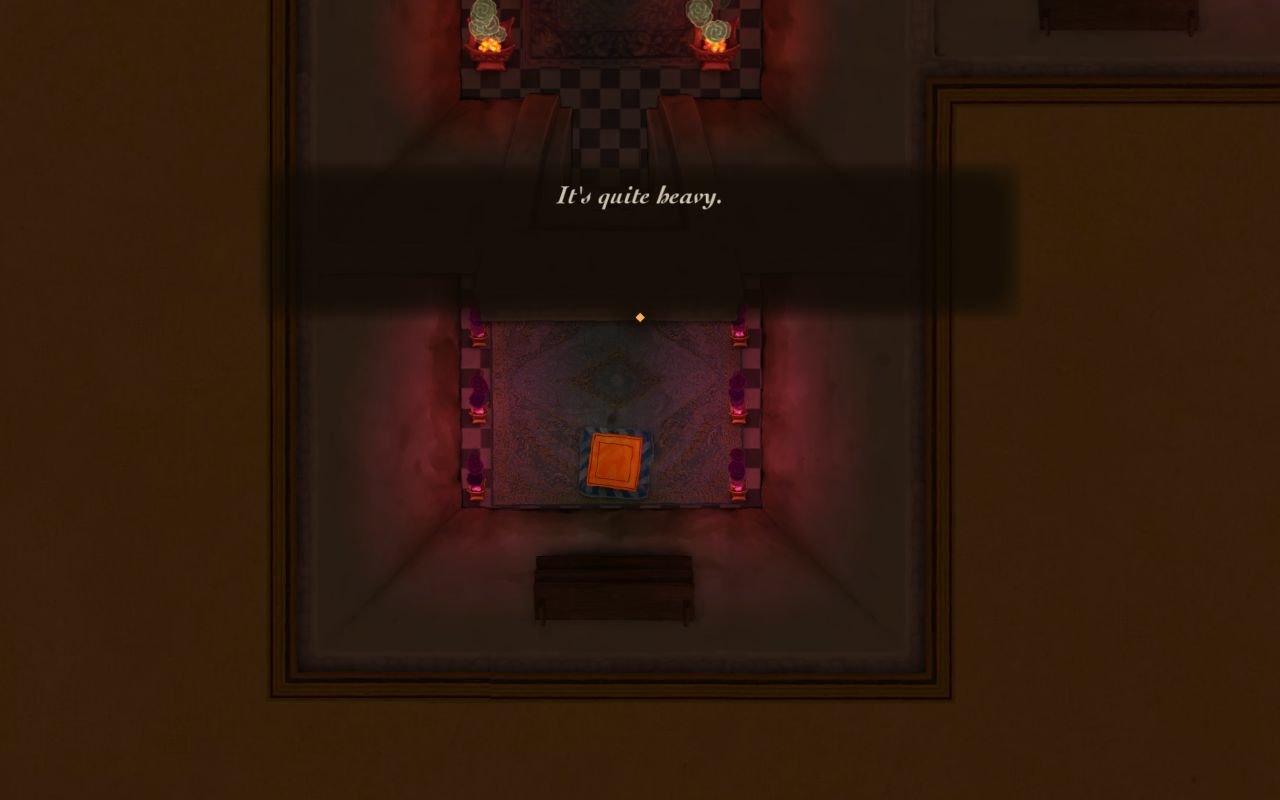
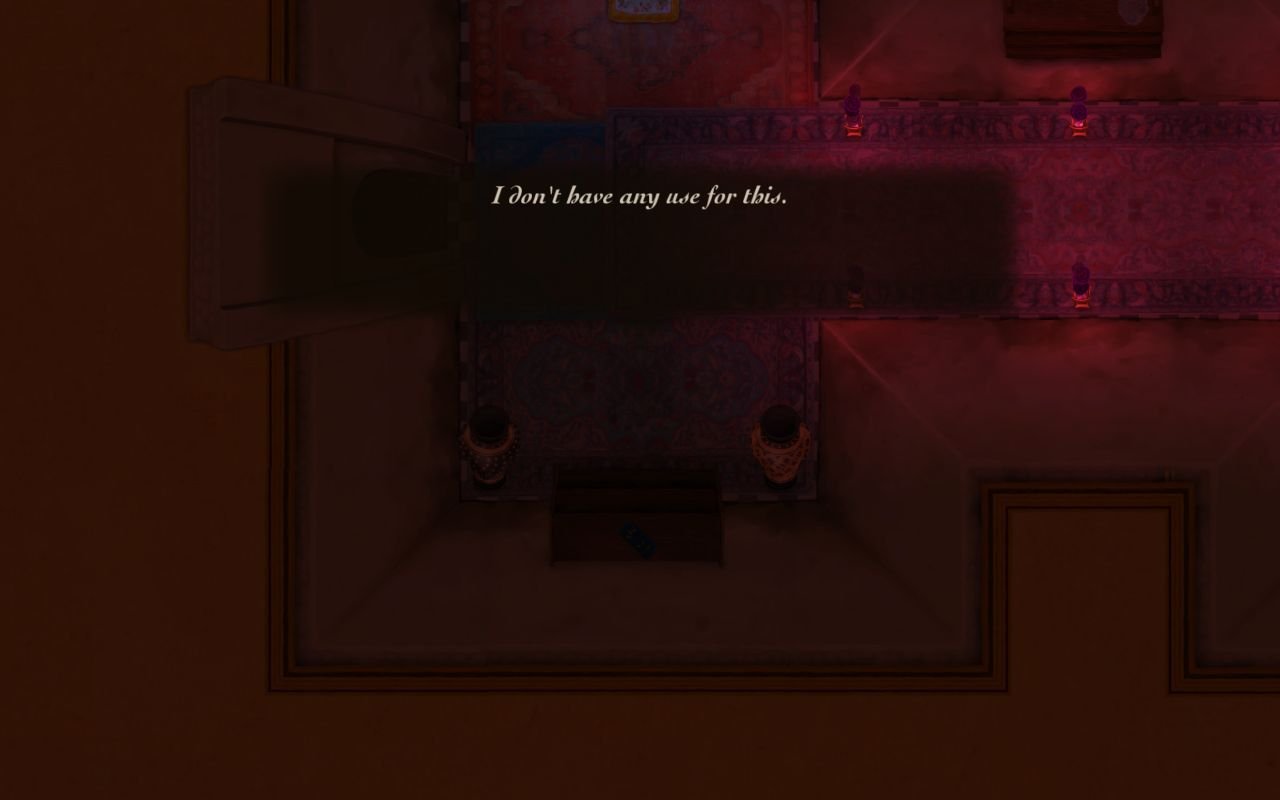
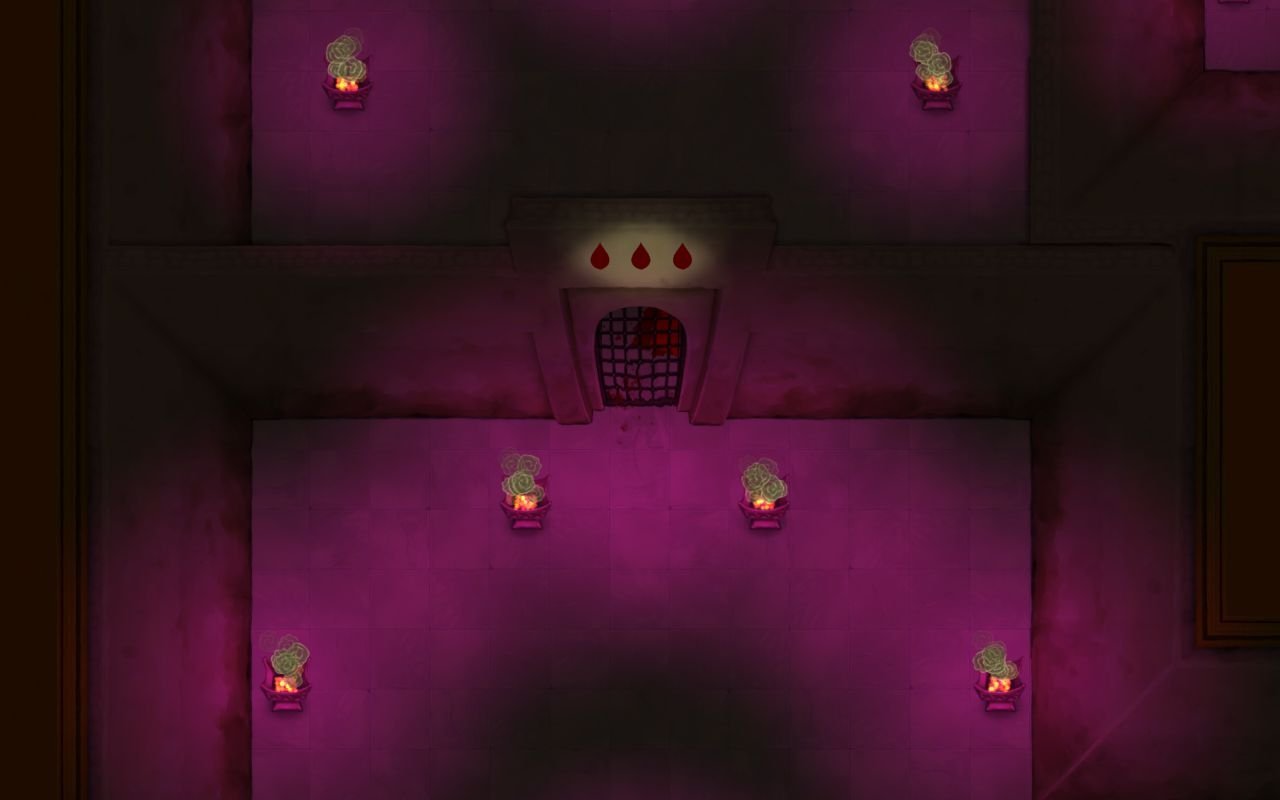
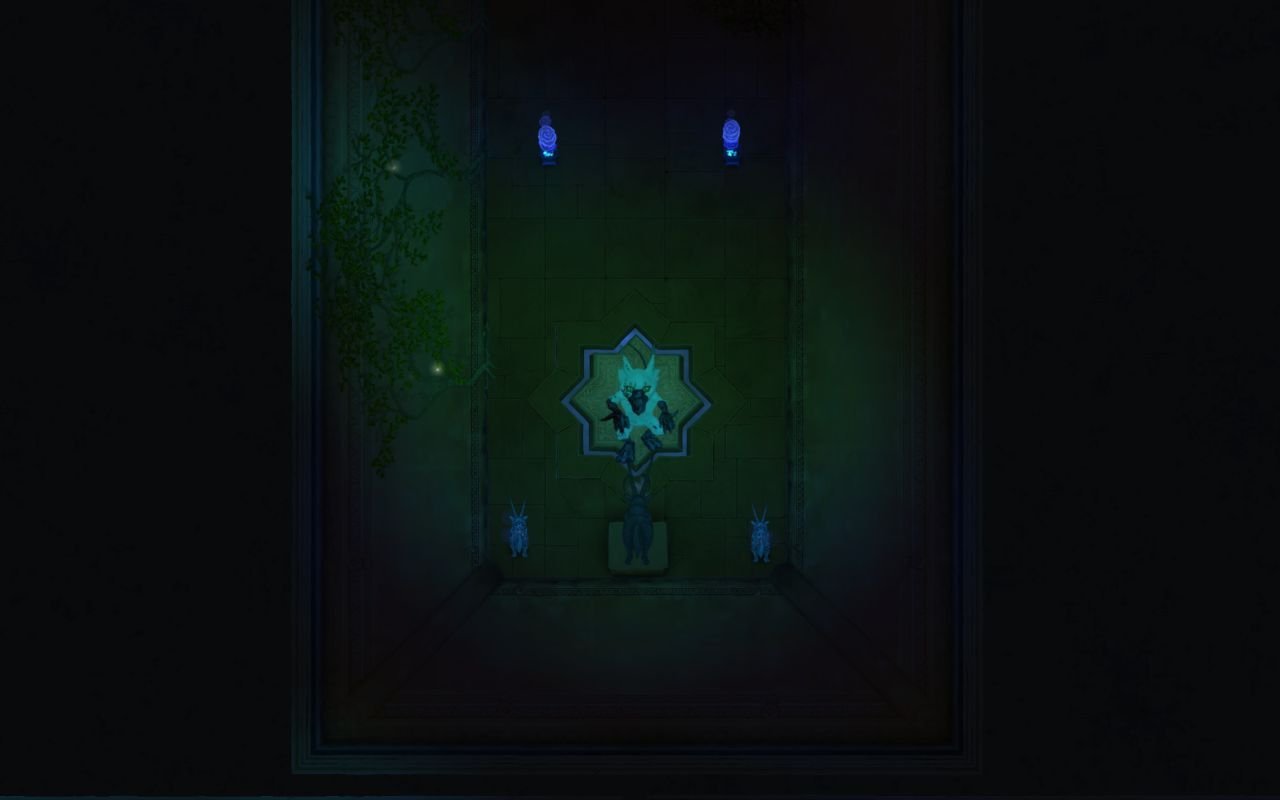
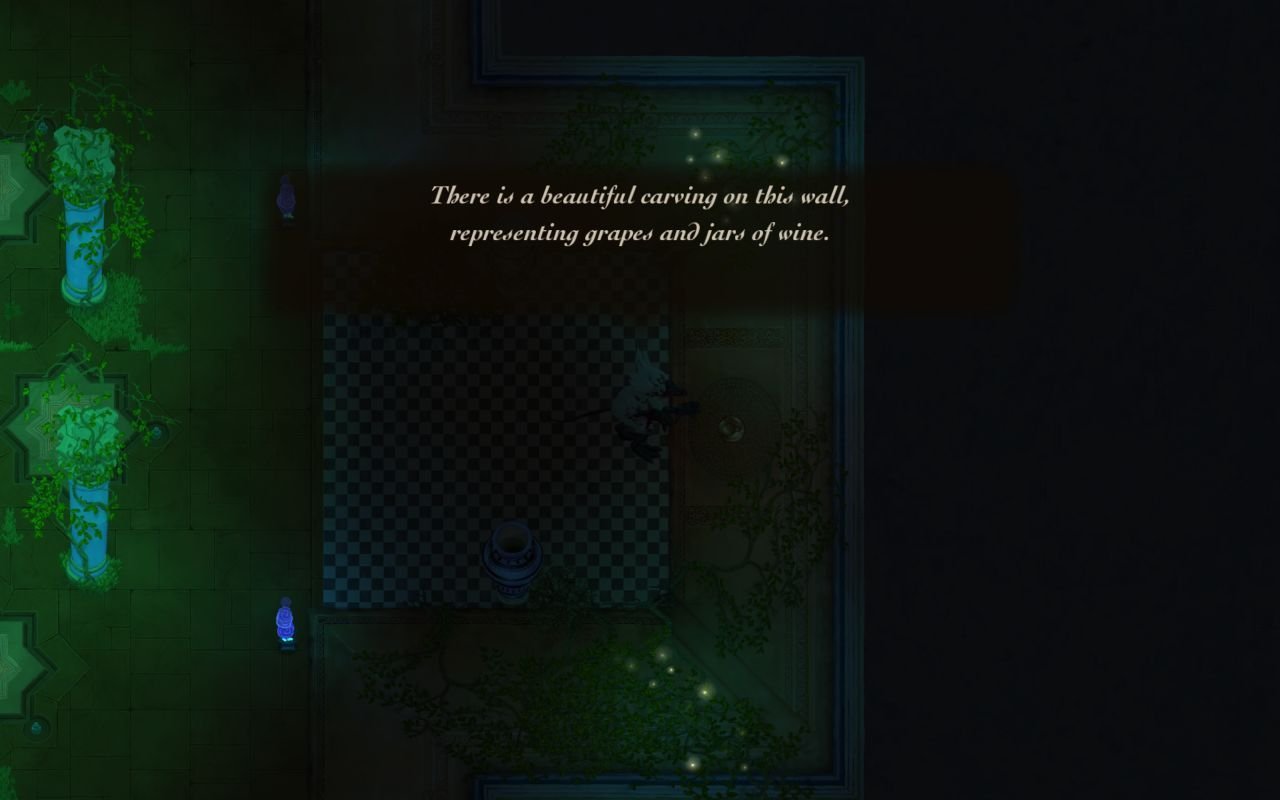
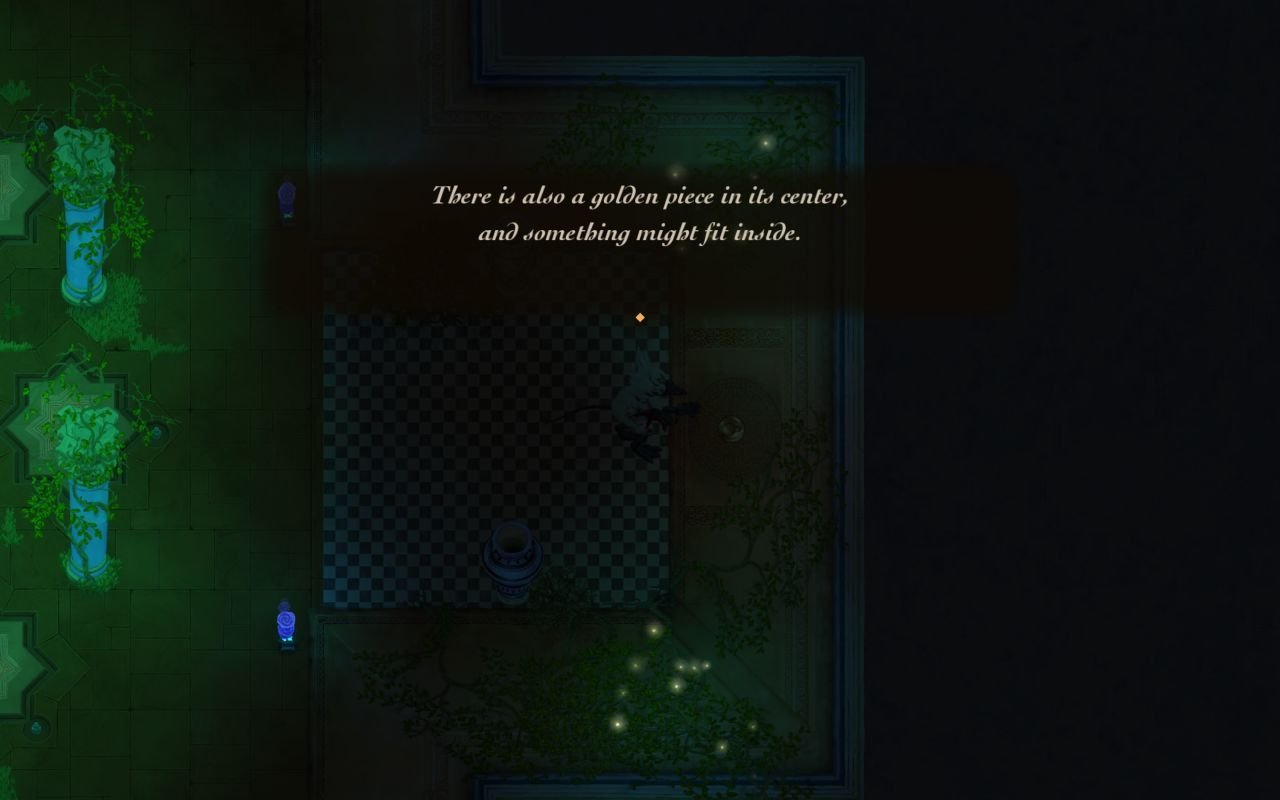
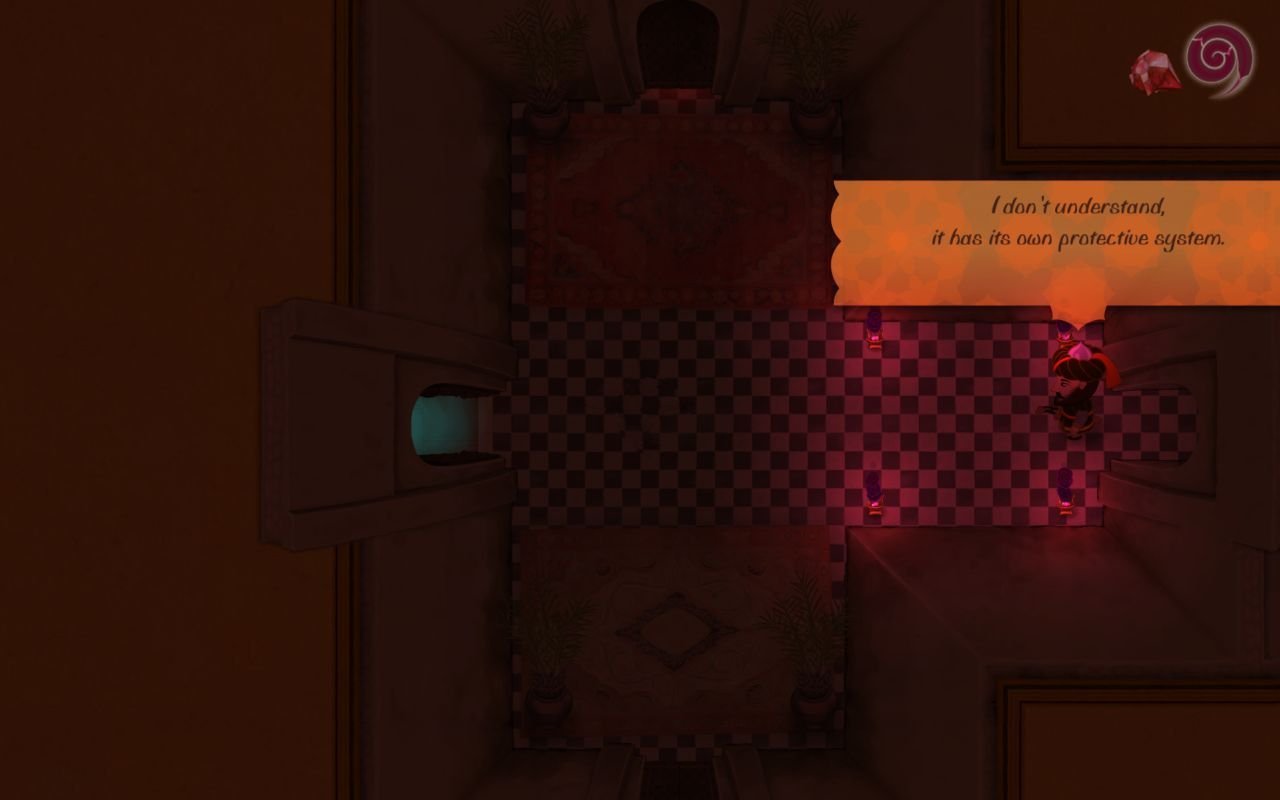
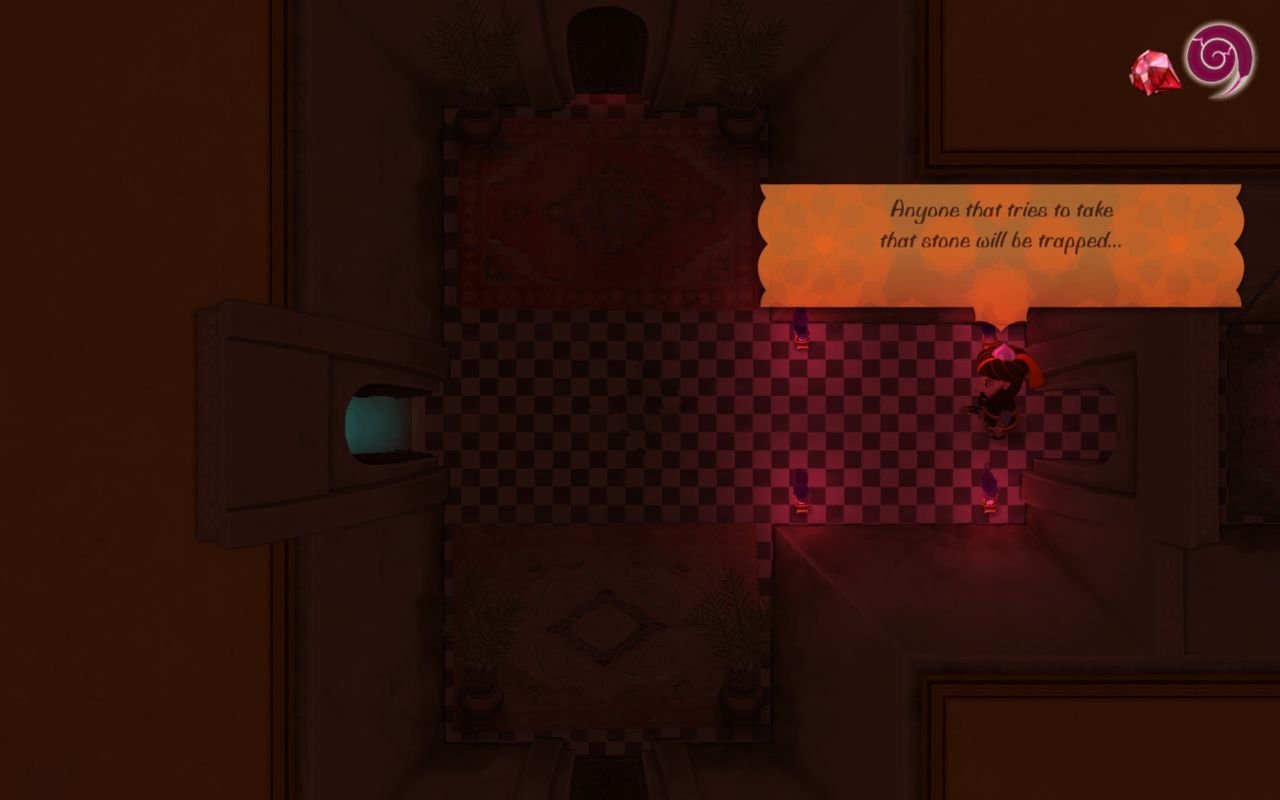
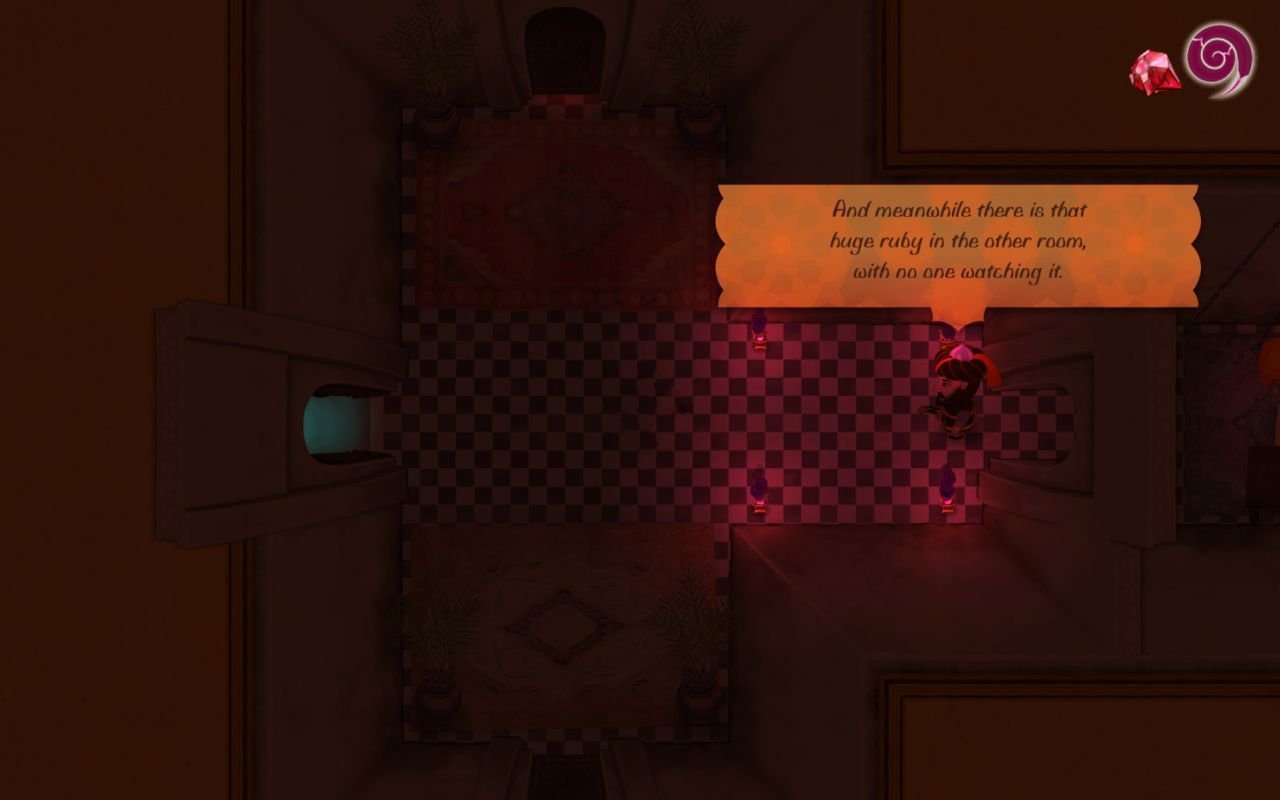
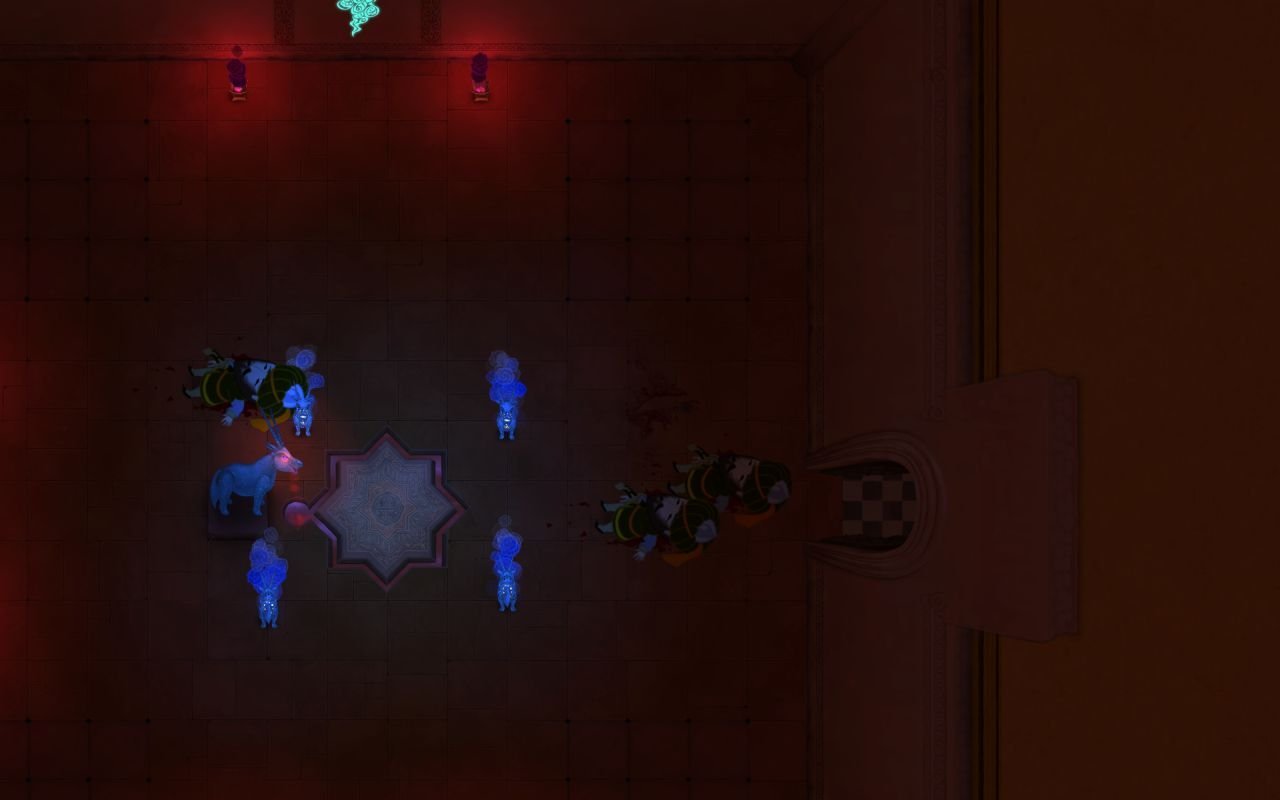
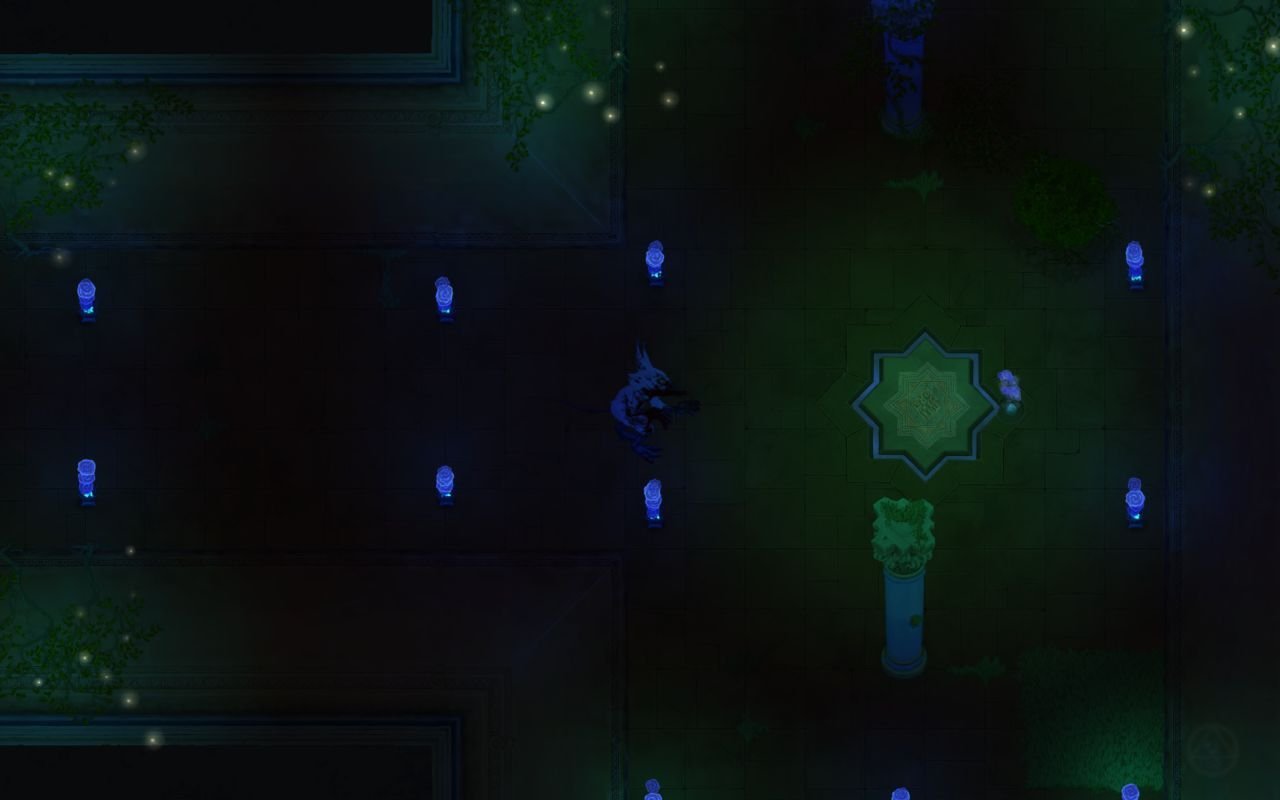
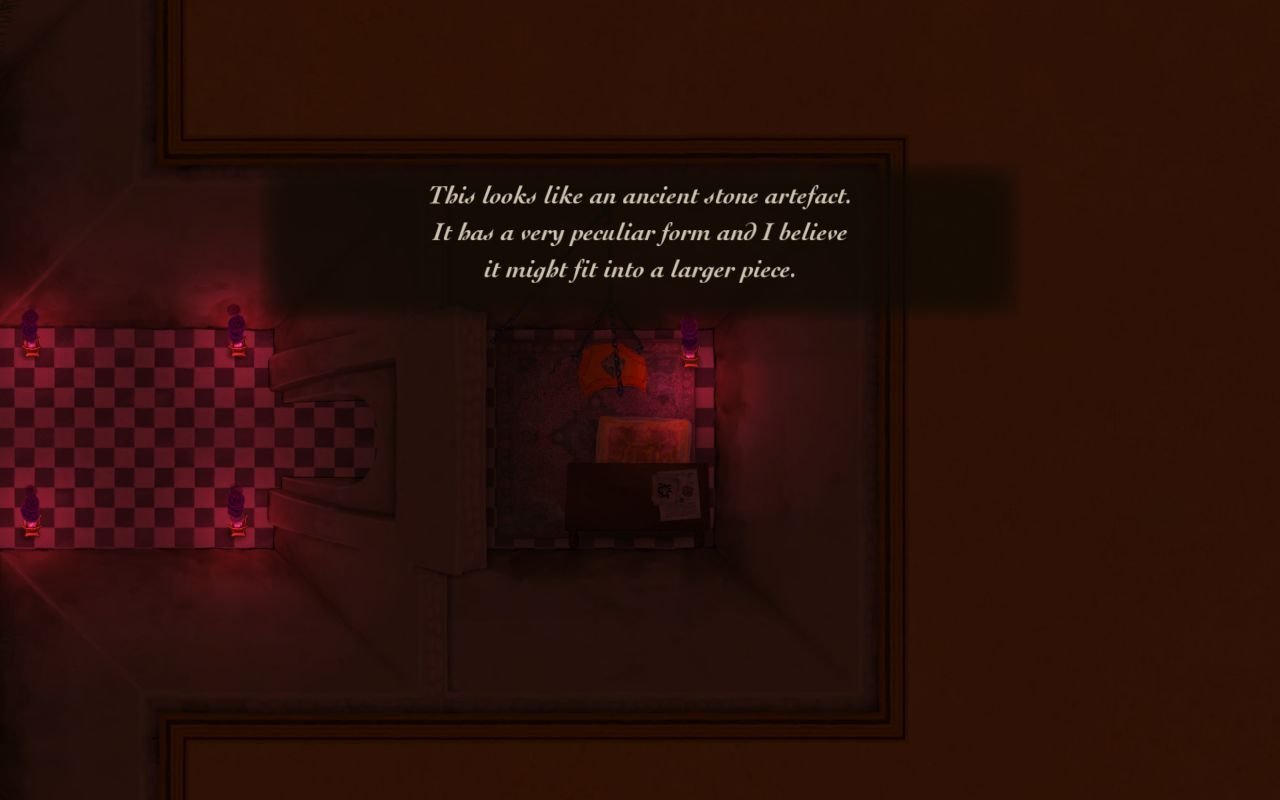
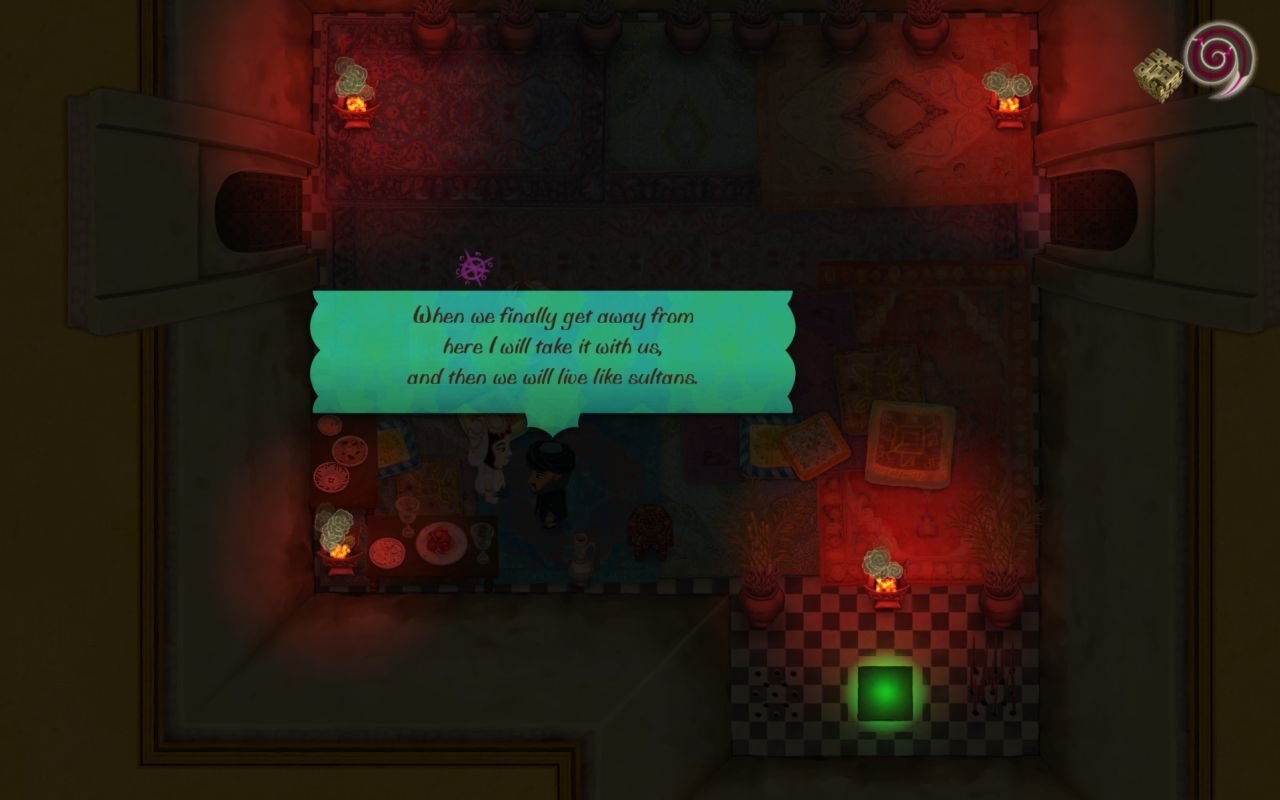
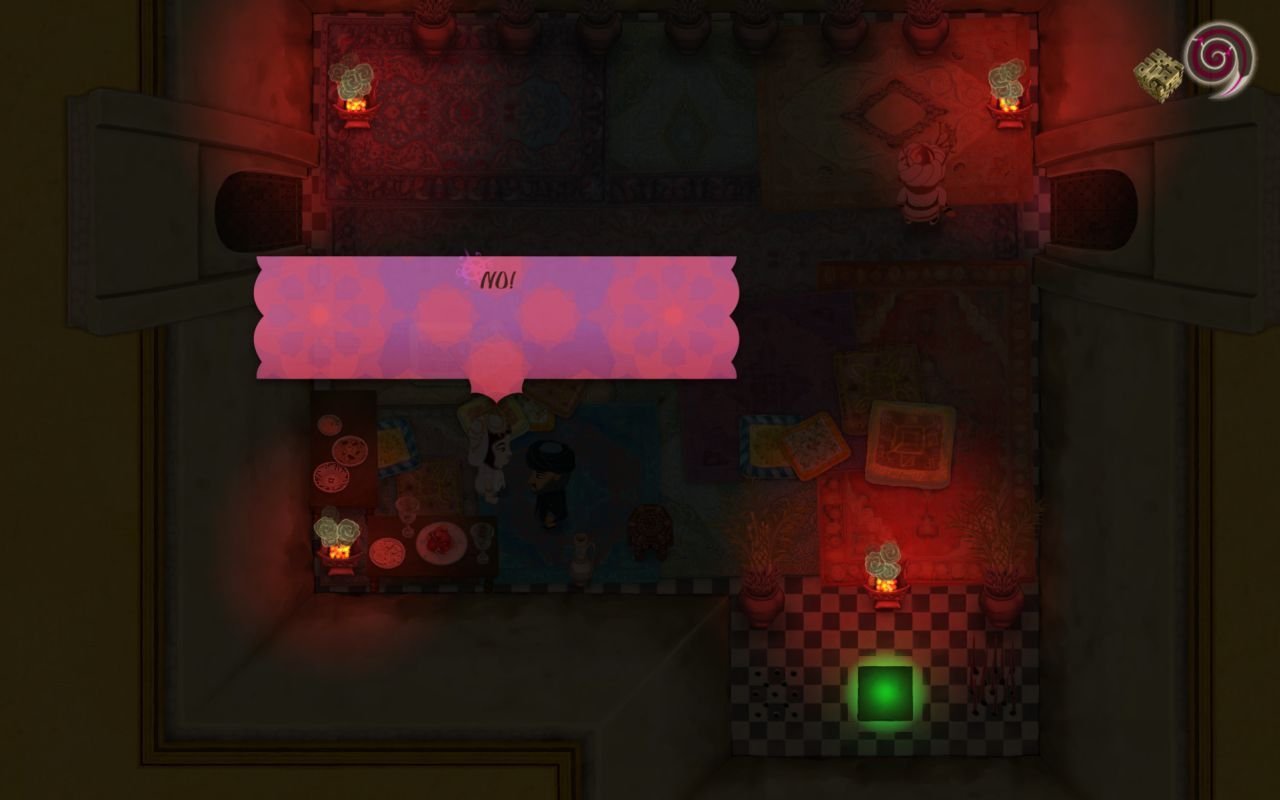
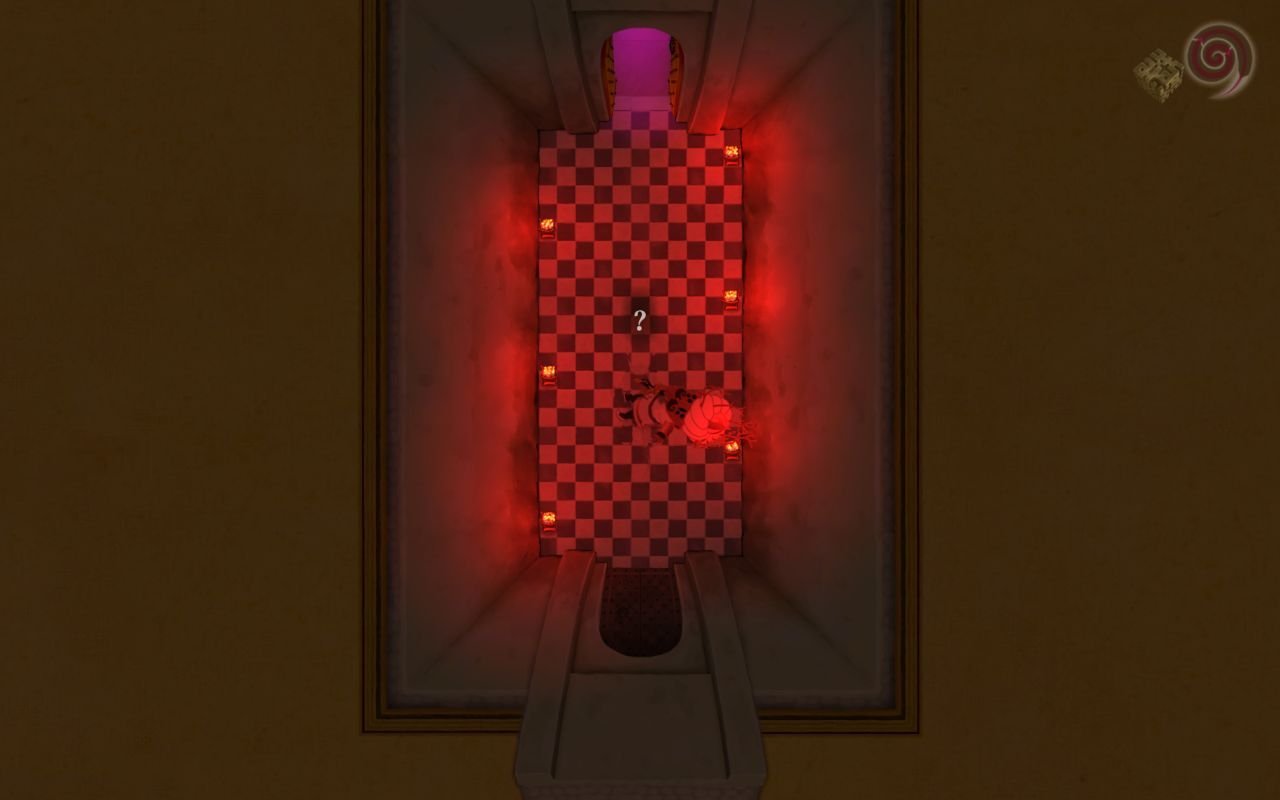
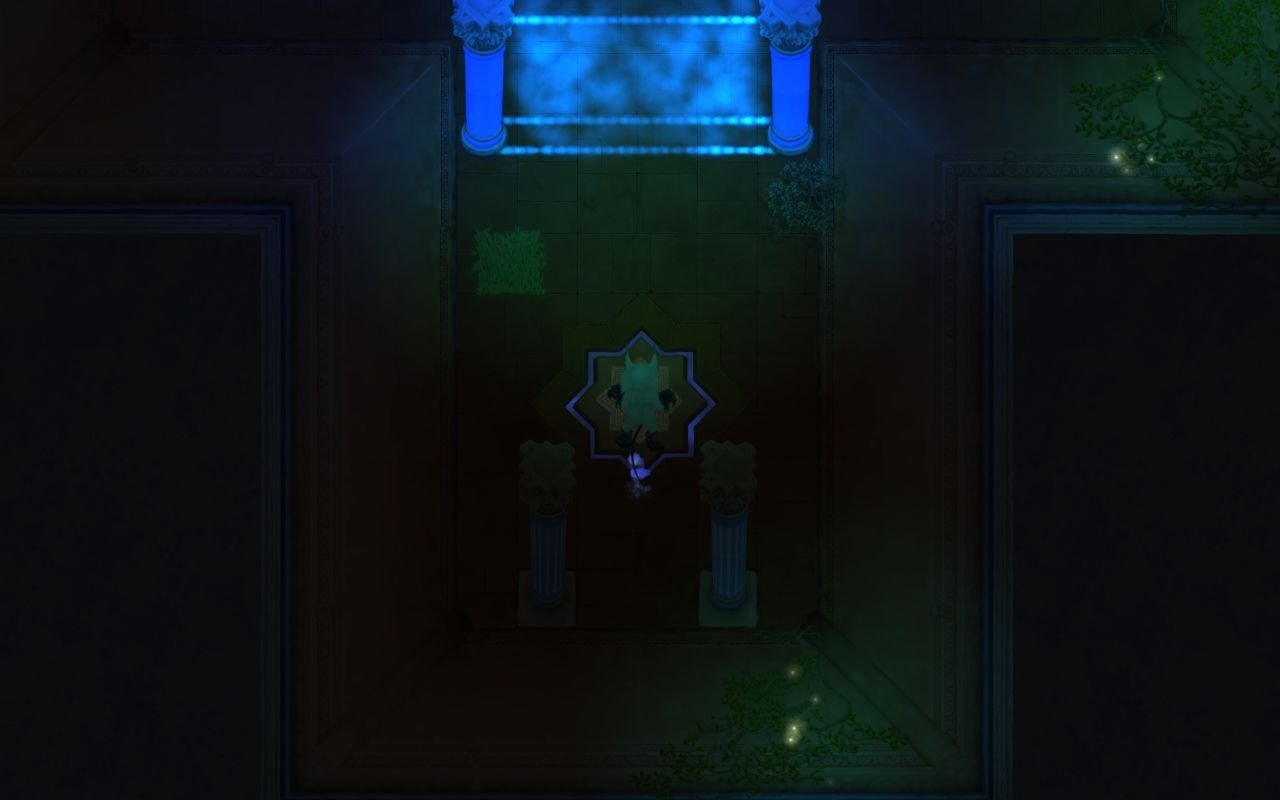
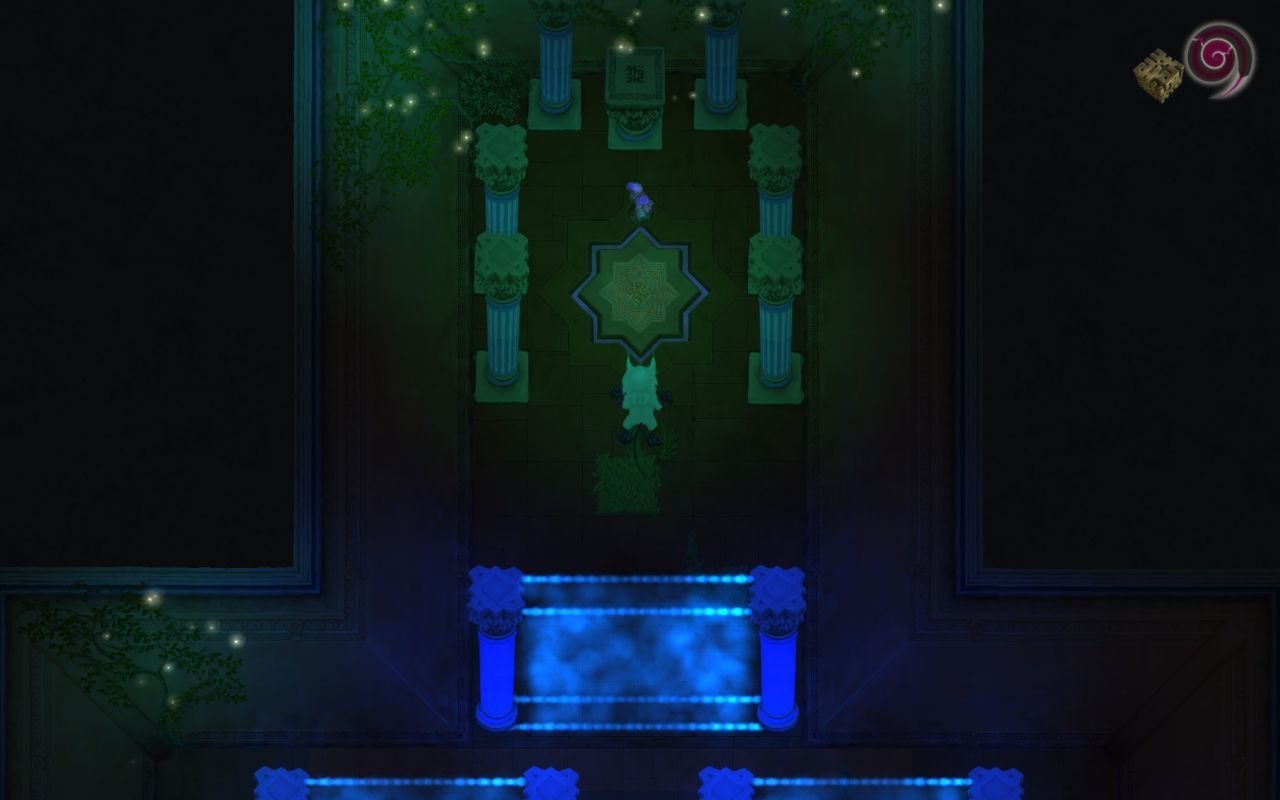
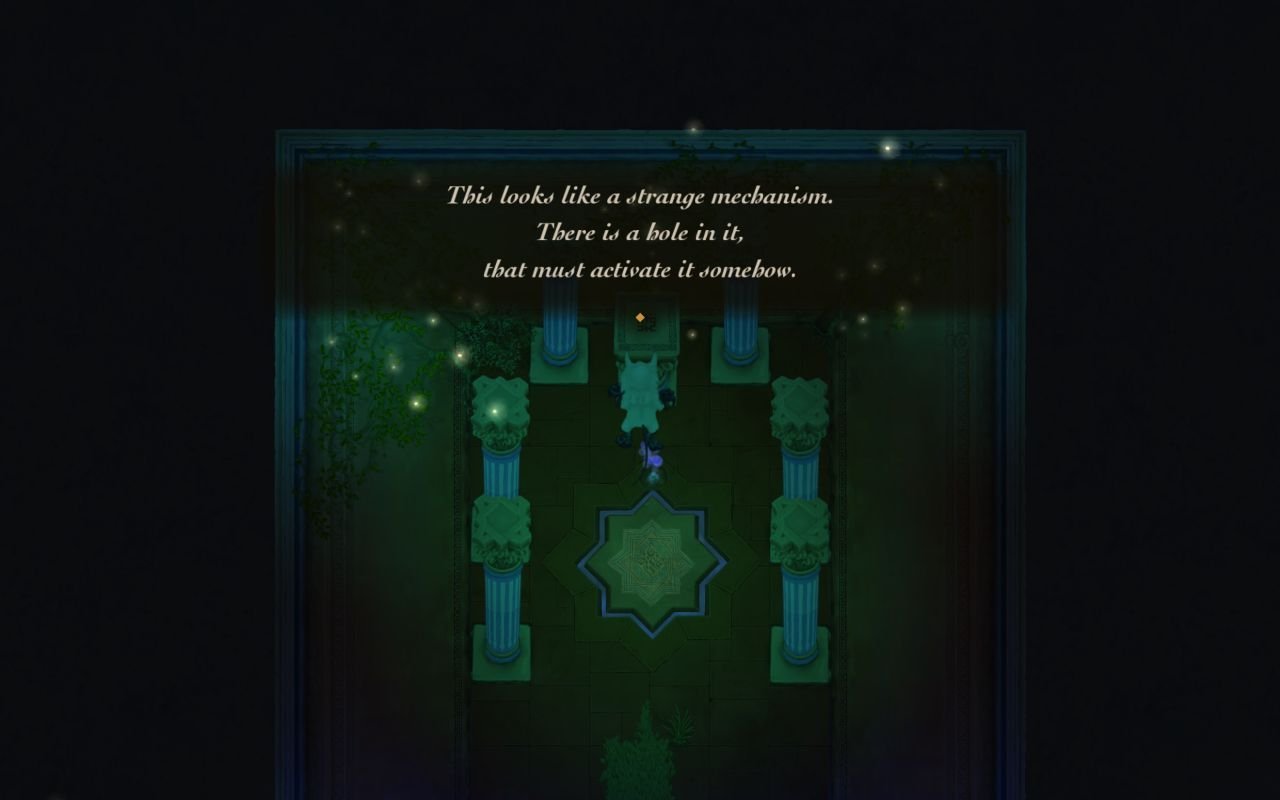
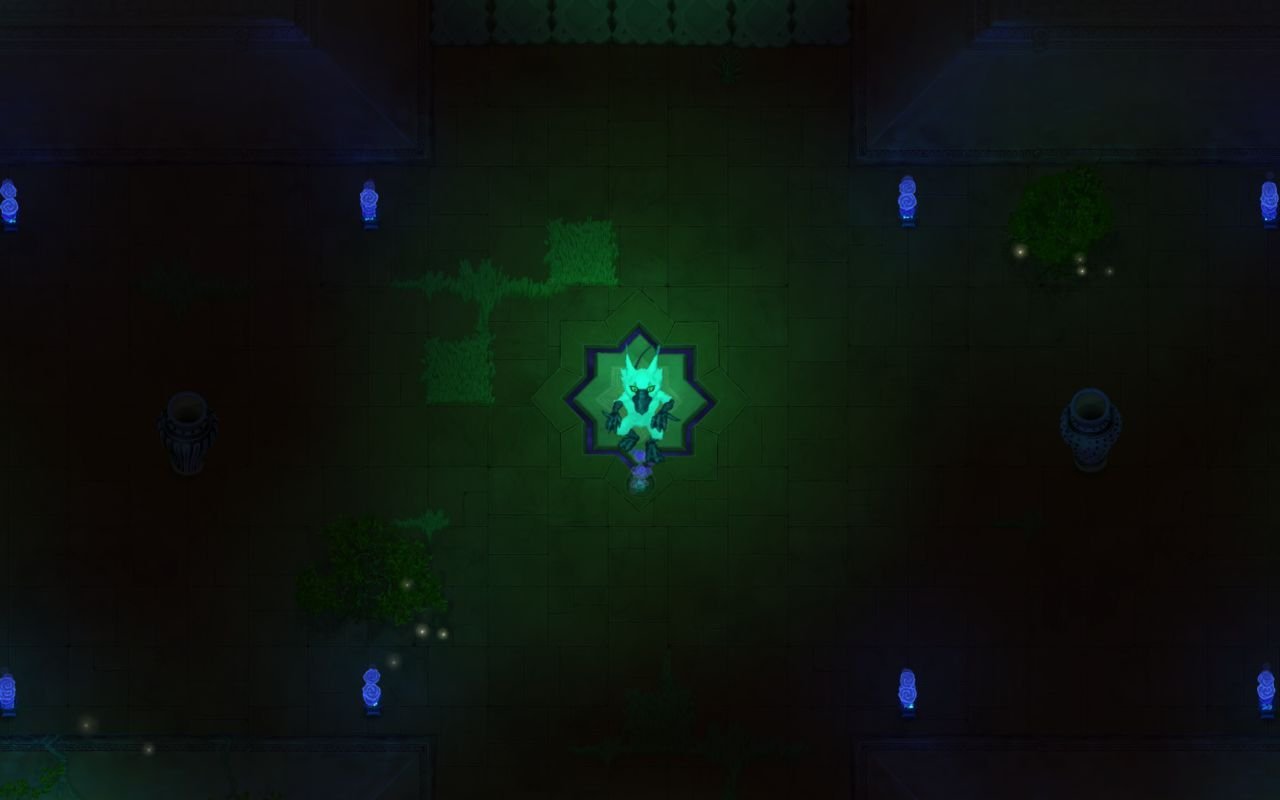
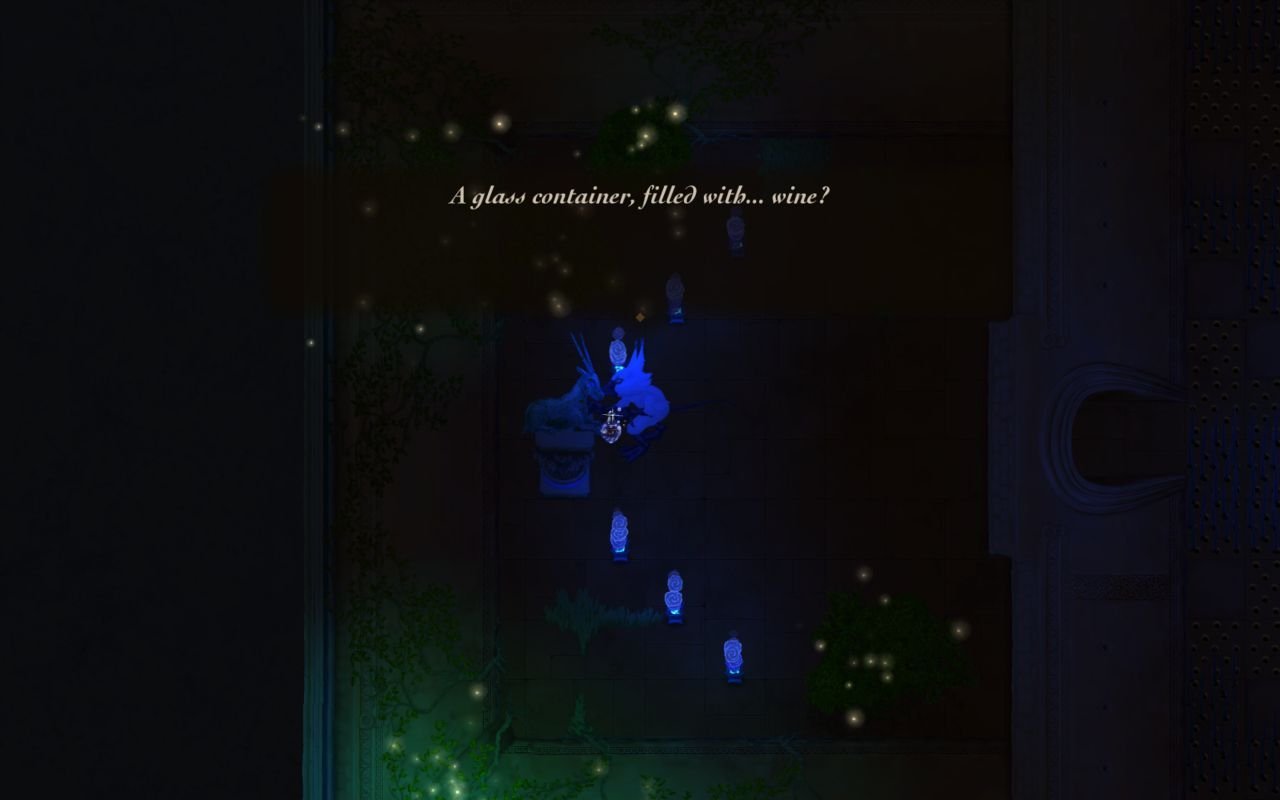
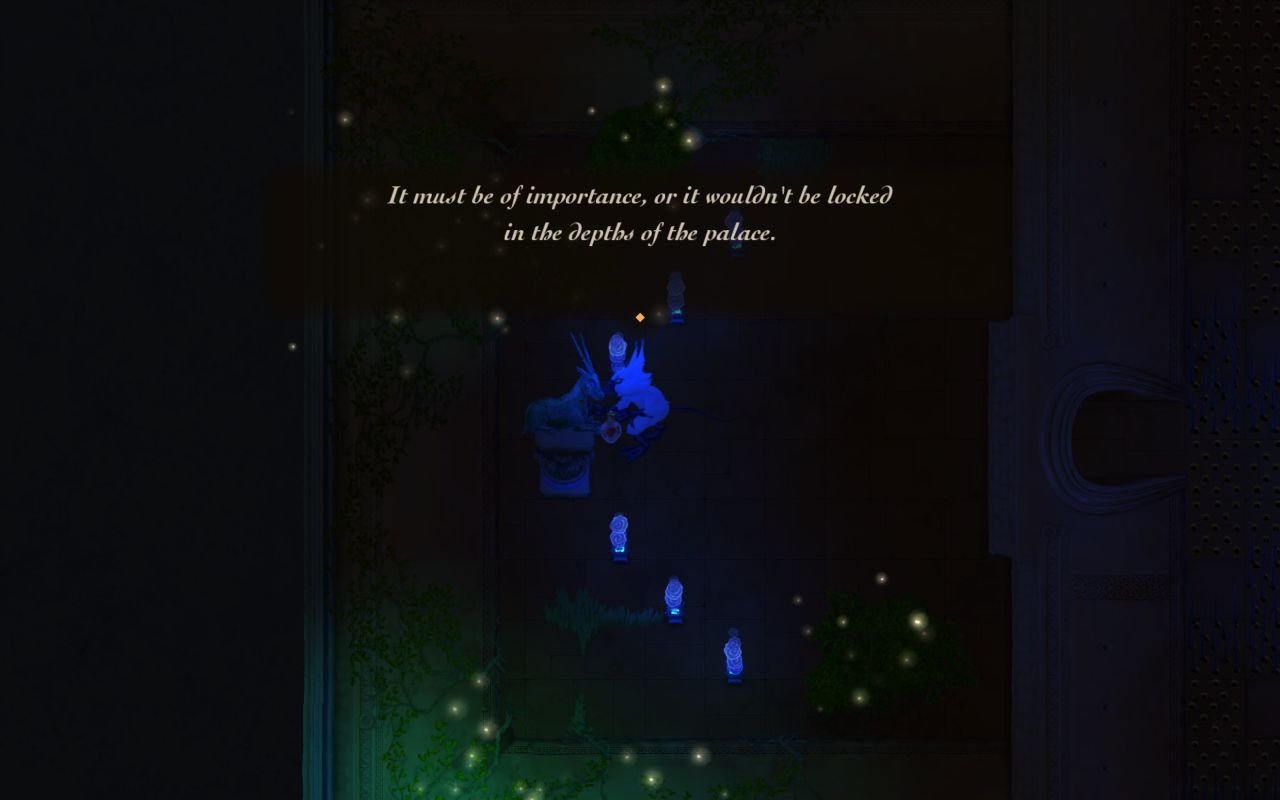
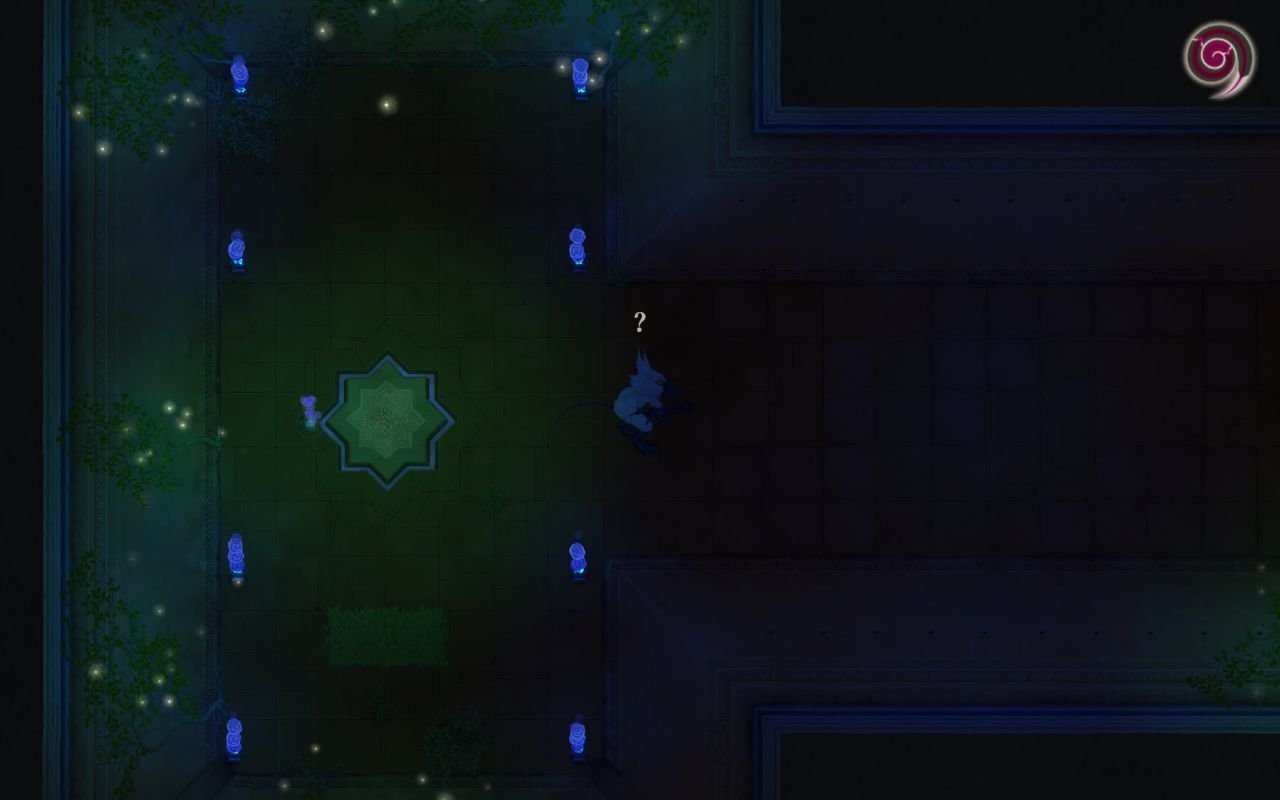
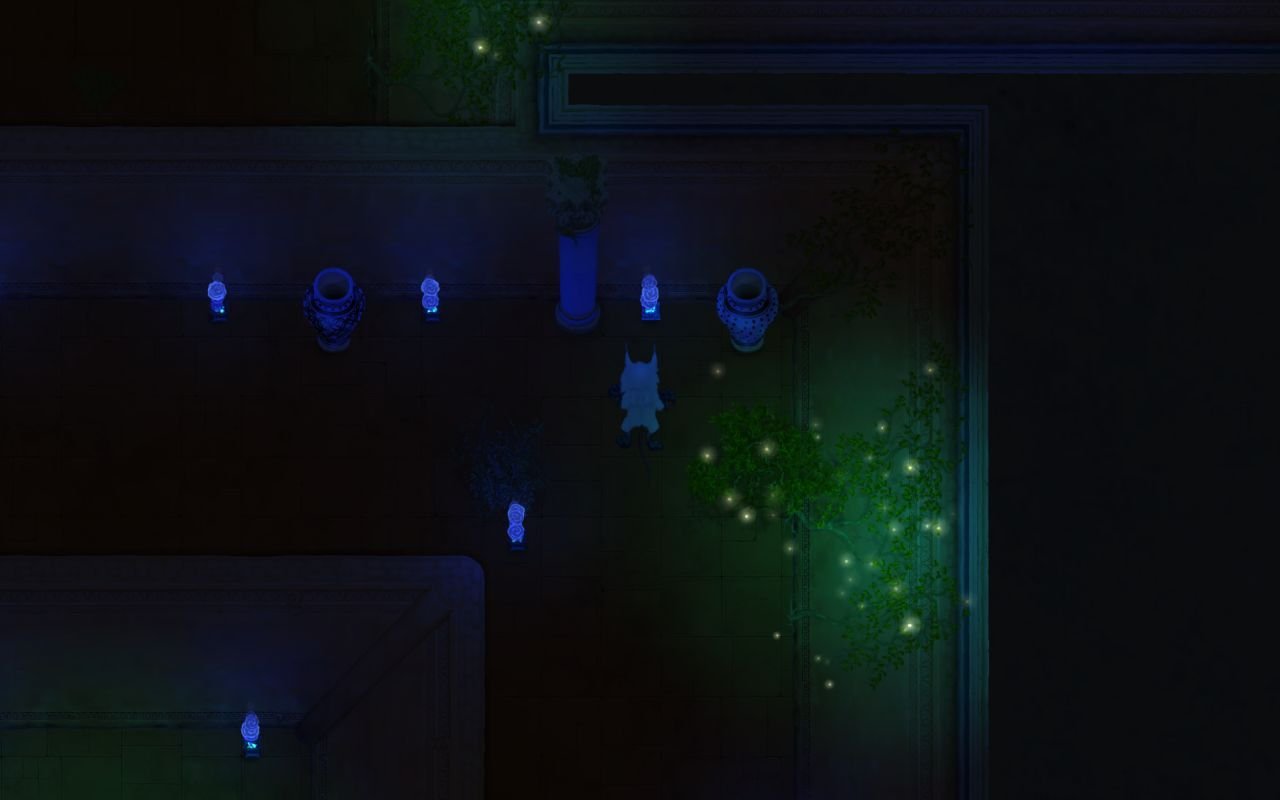
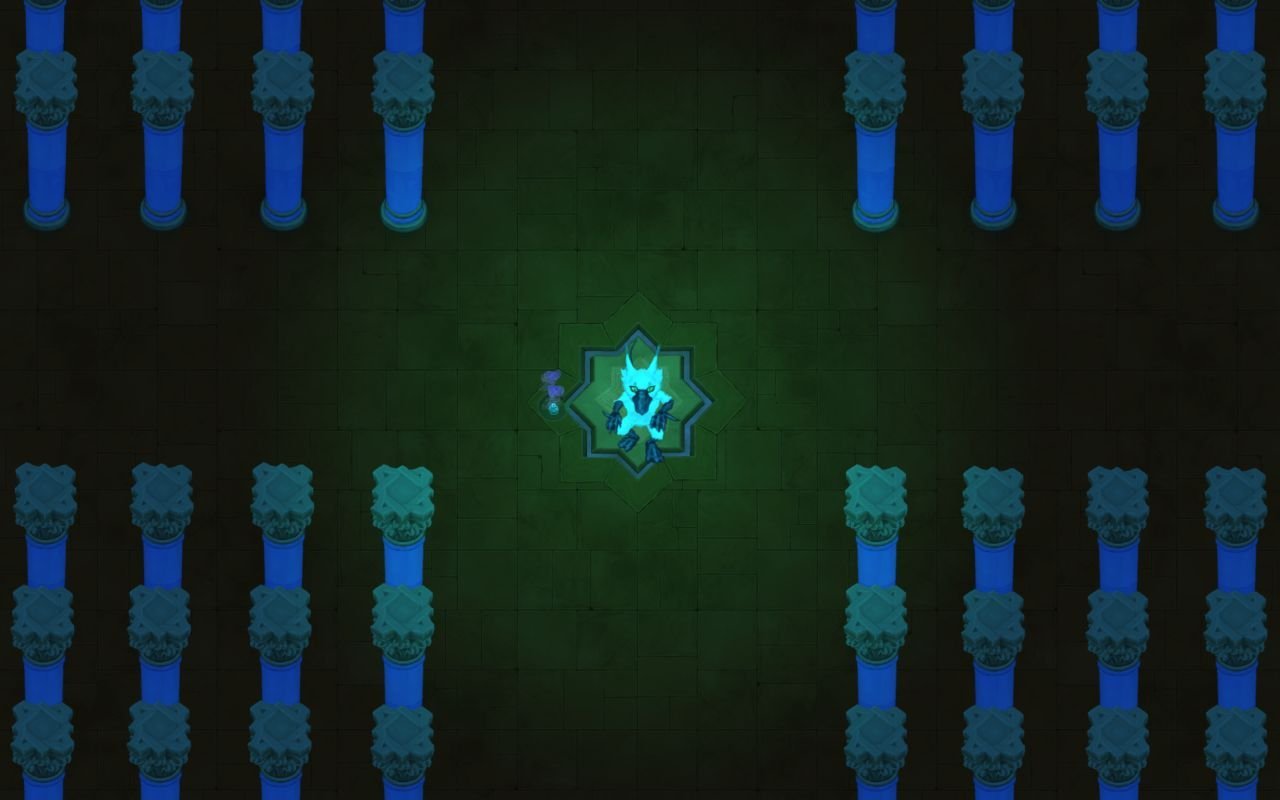
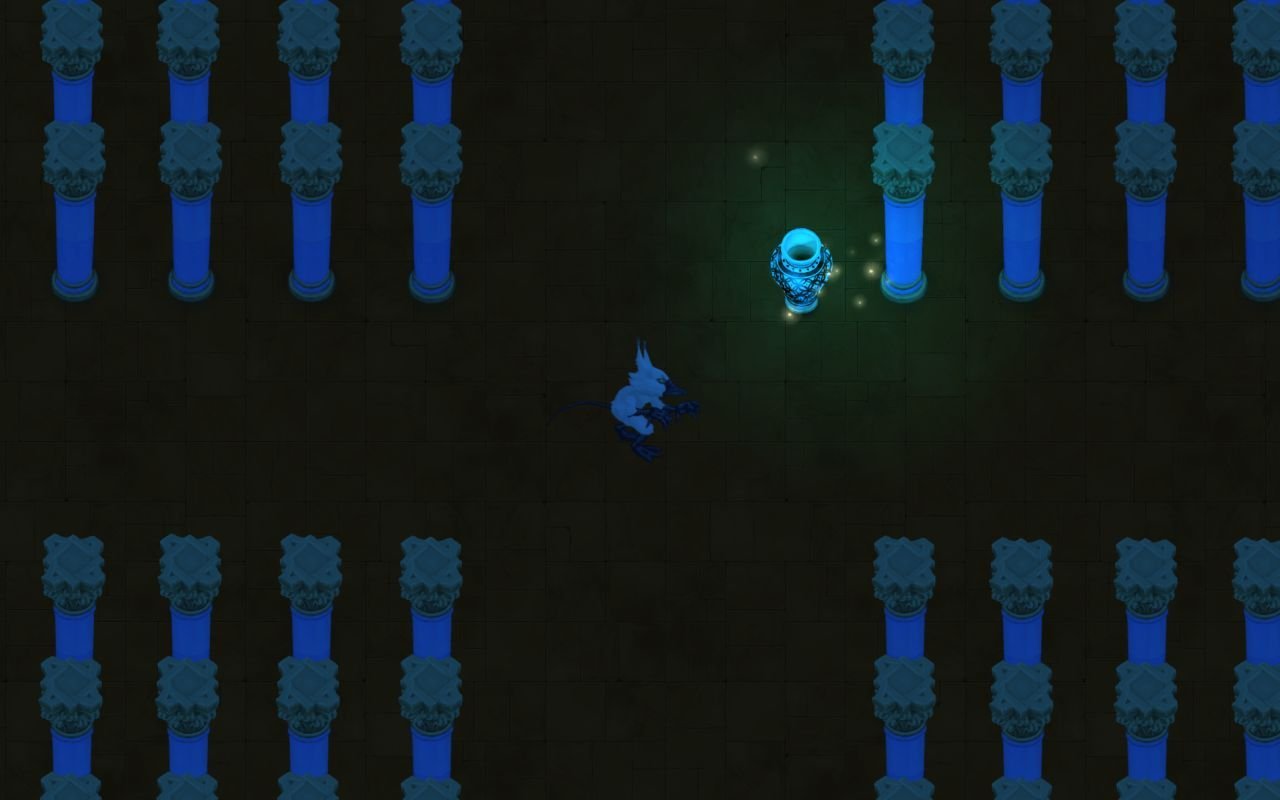
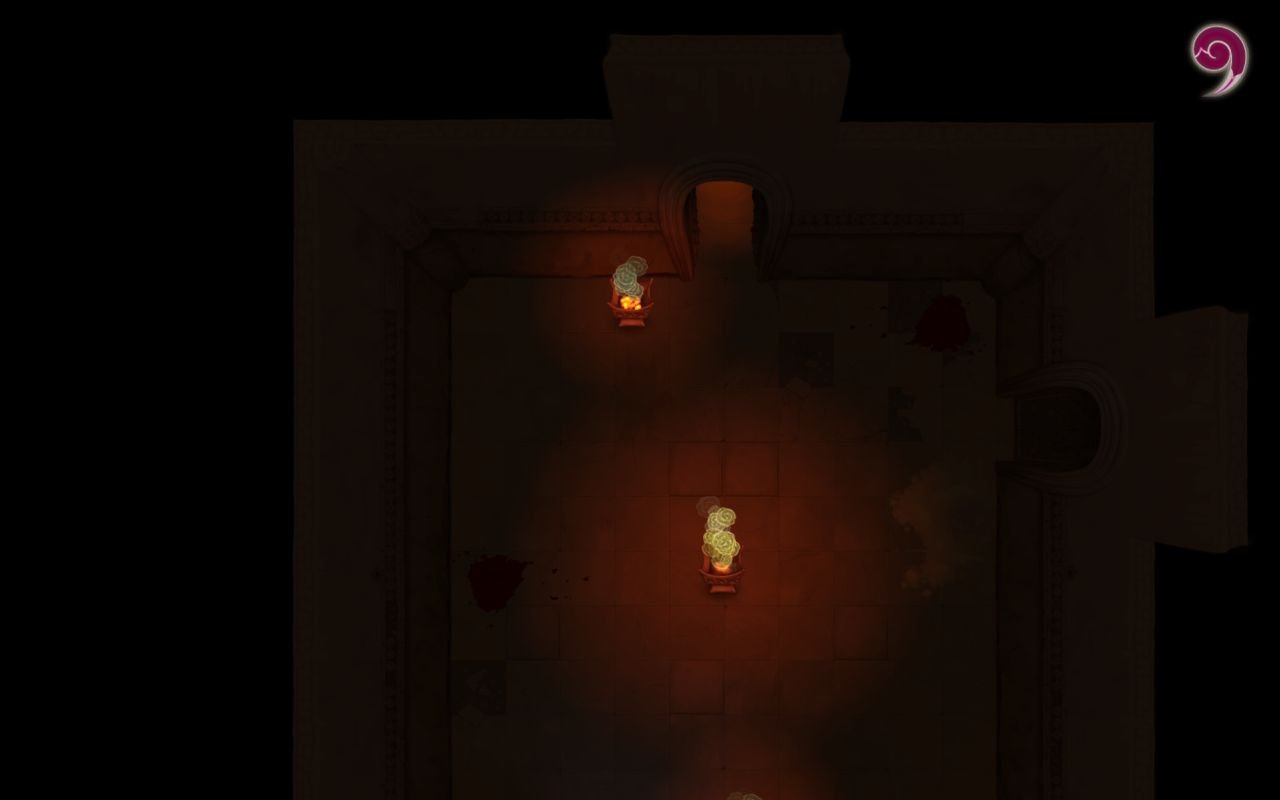
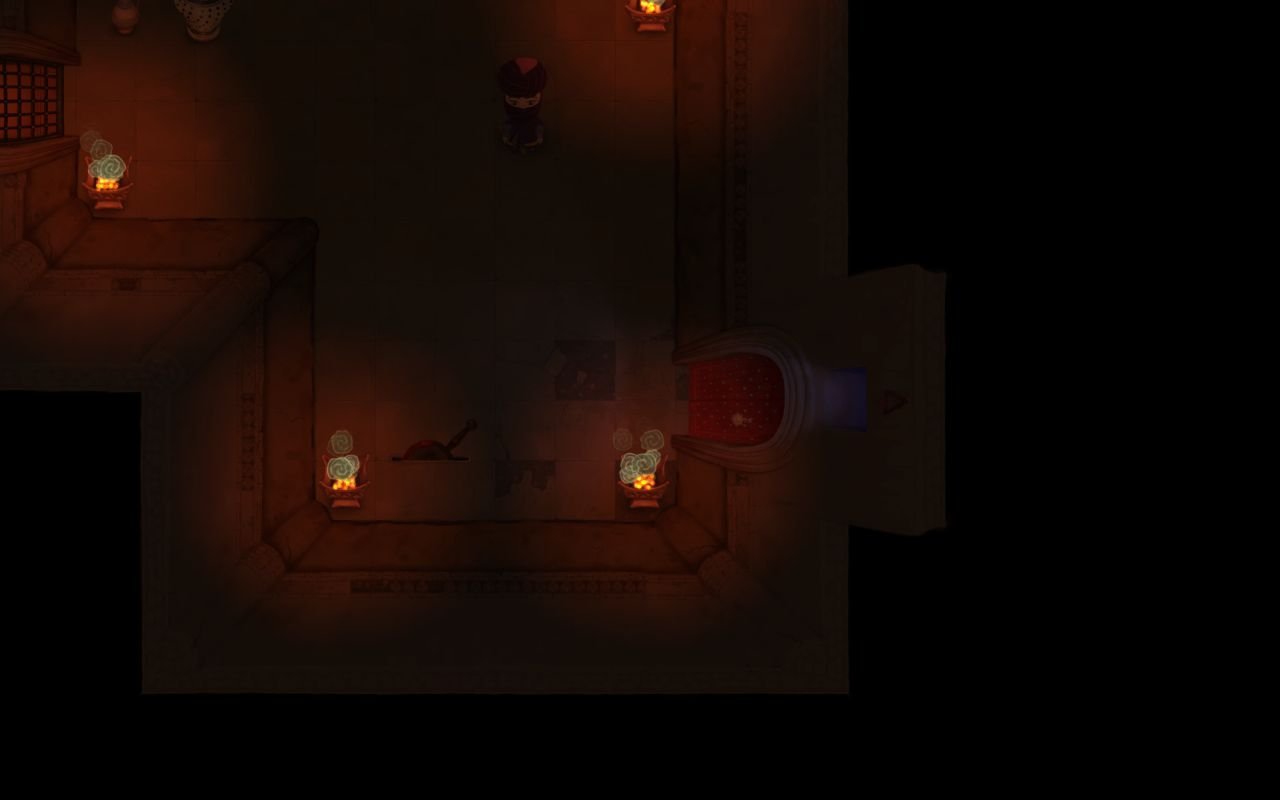
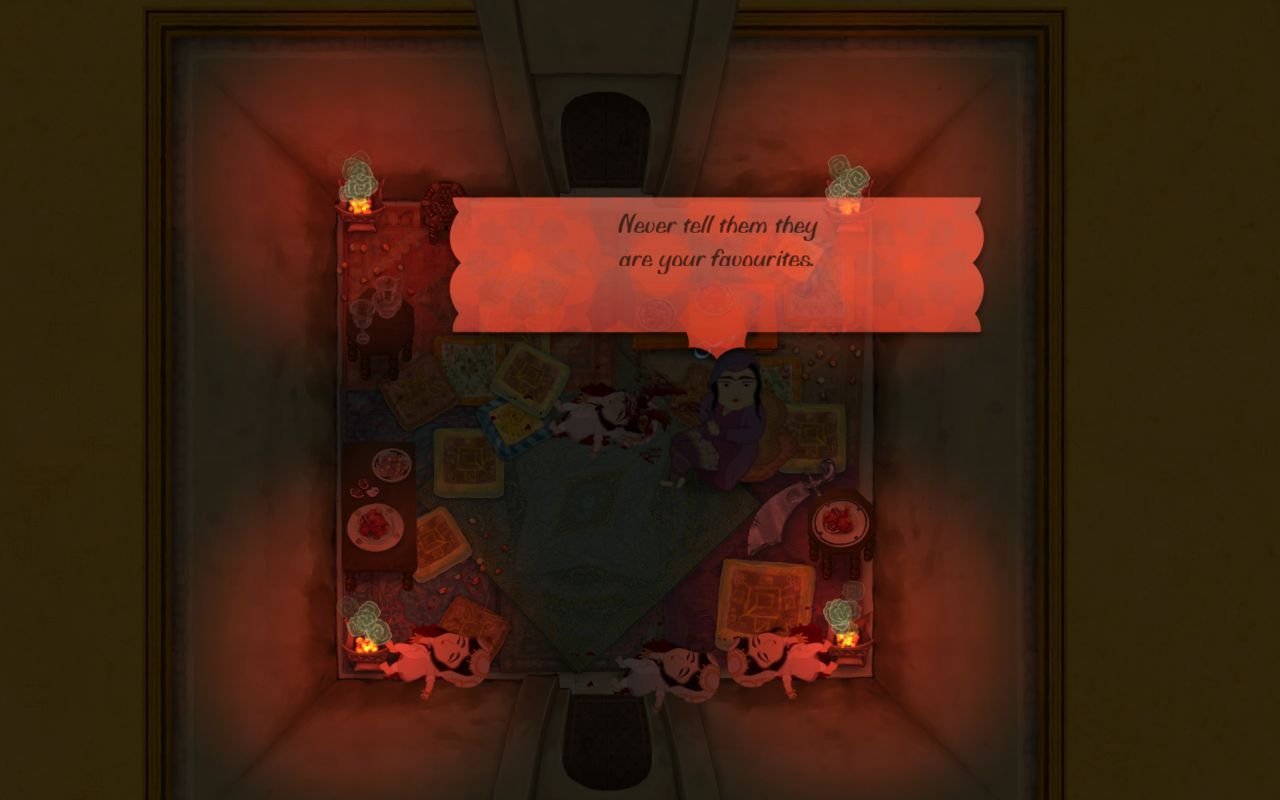
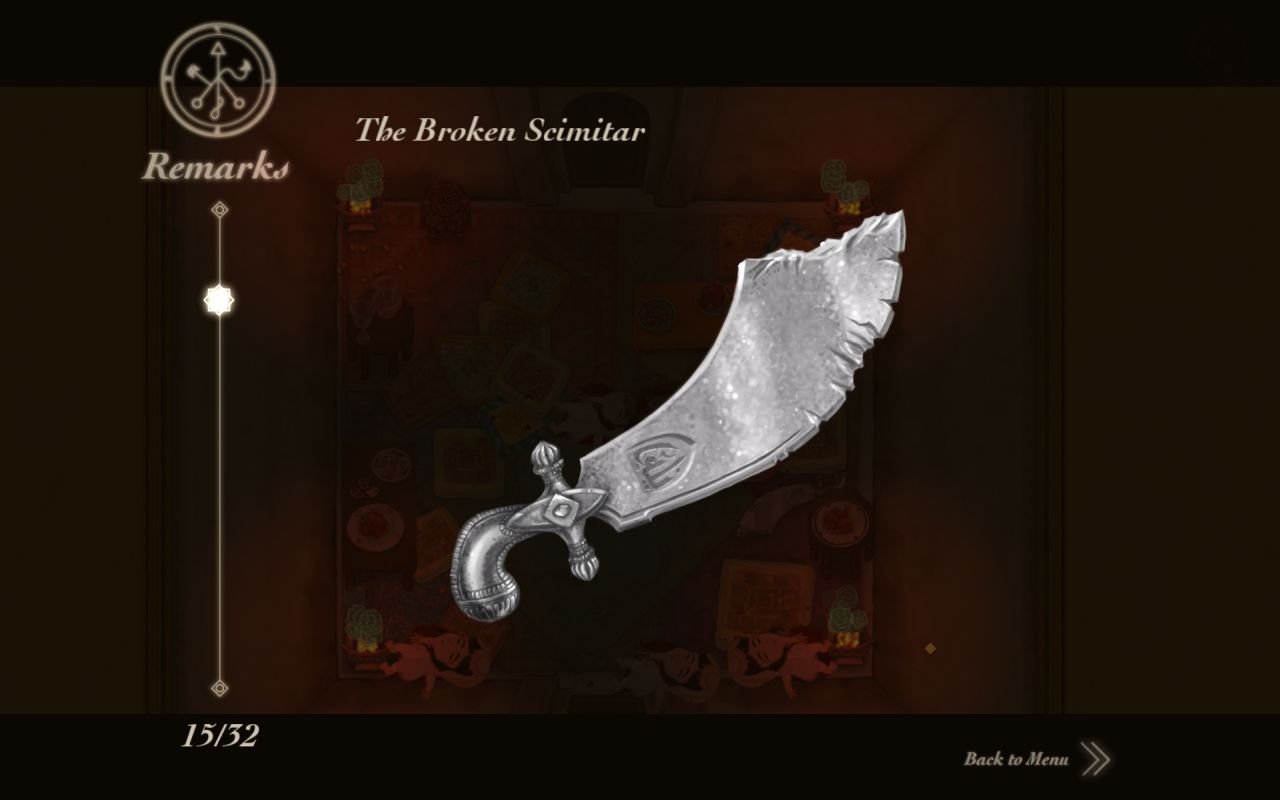
NOOOOOOOOOOOOOOOO! Bearded man, don't you know to never, ever rush towards pedestal with tresure? There are bound to be traps!
We, of course, are not so careless. We are also fast, and quickly move towards the corner of the room once we enter, otherwise we're dead. This is one of the few instances when the game can kill us right after we enter a room.
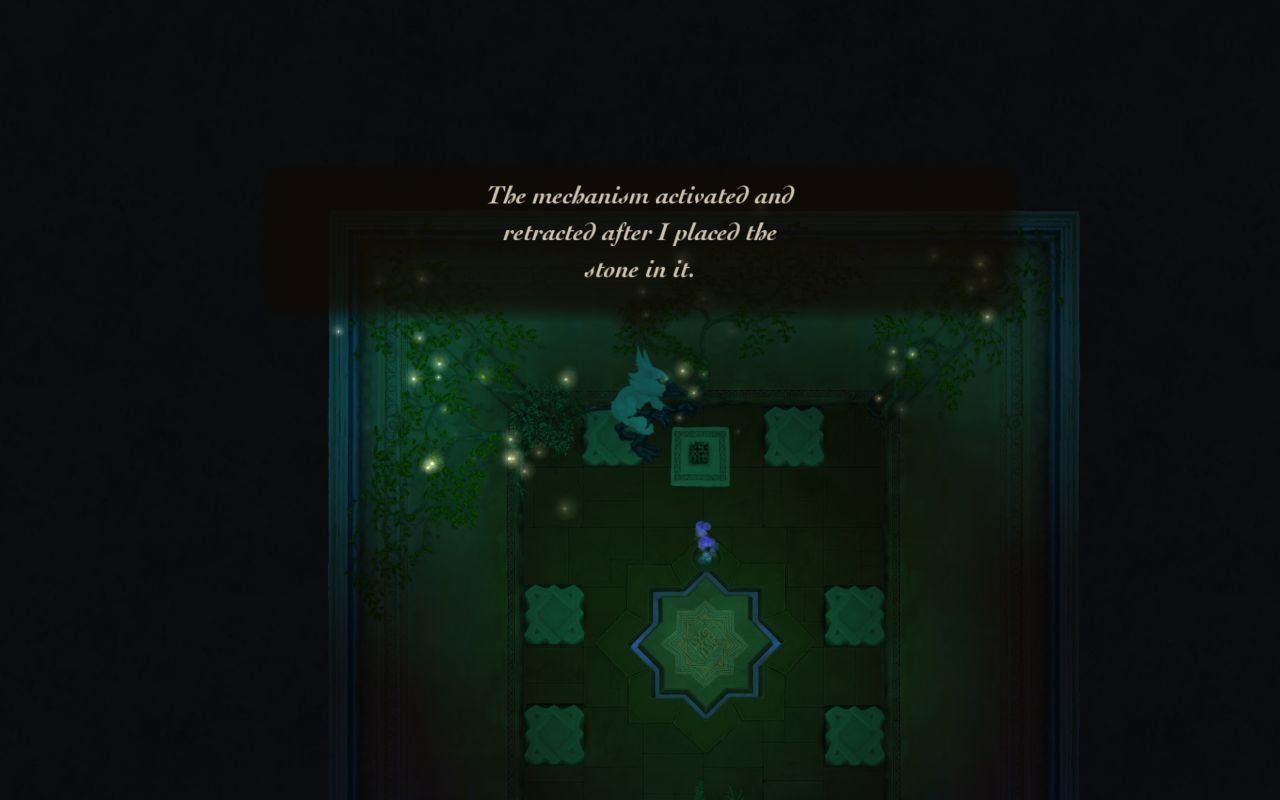
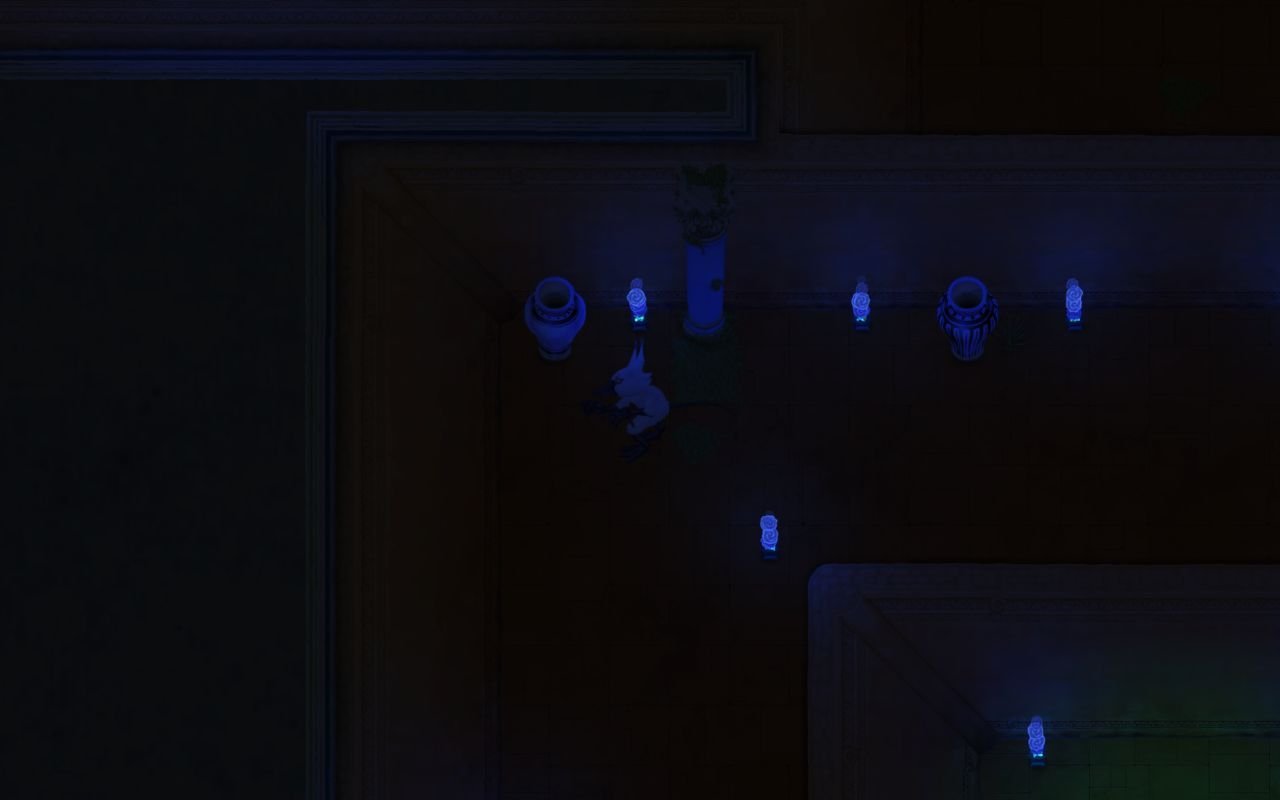
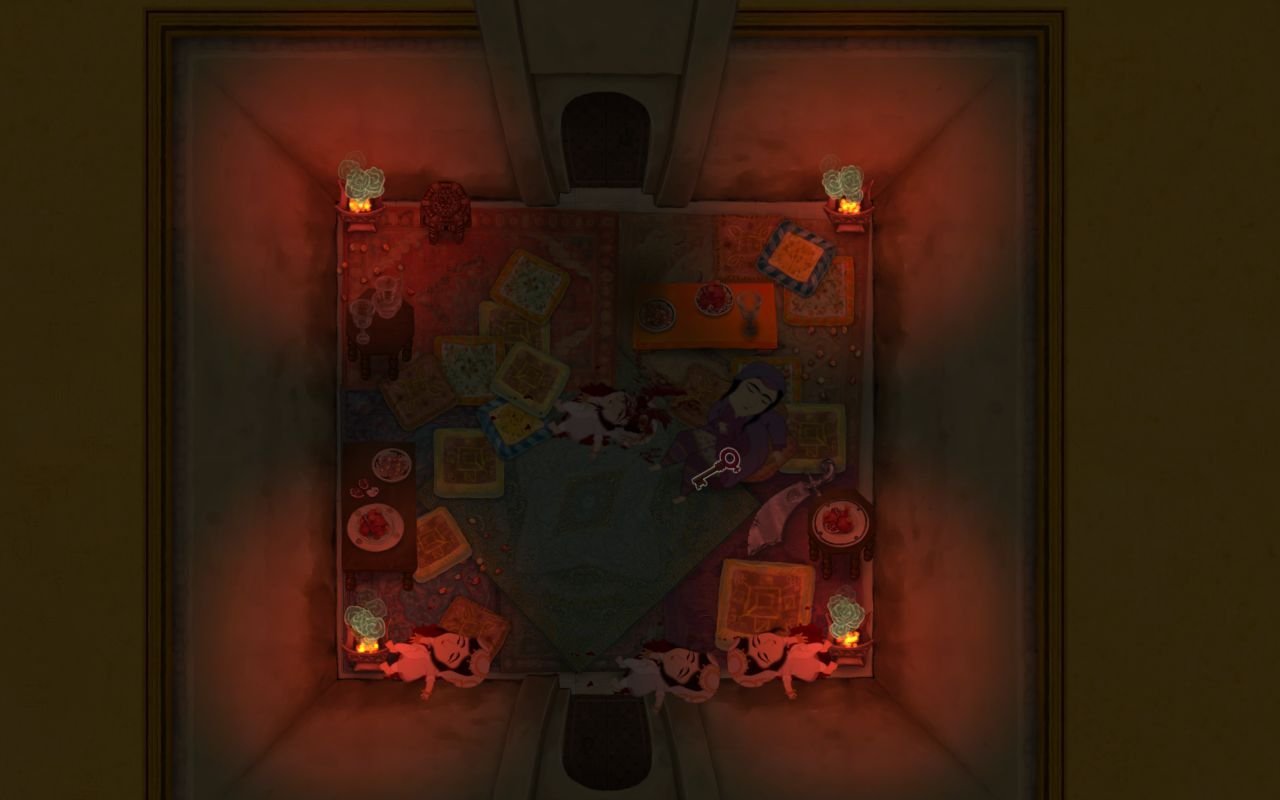
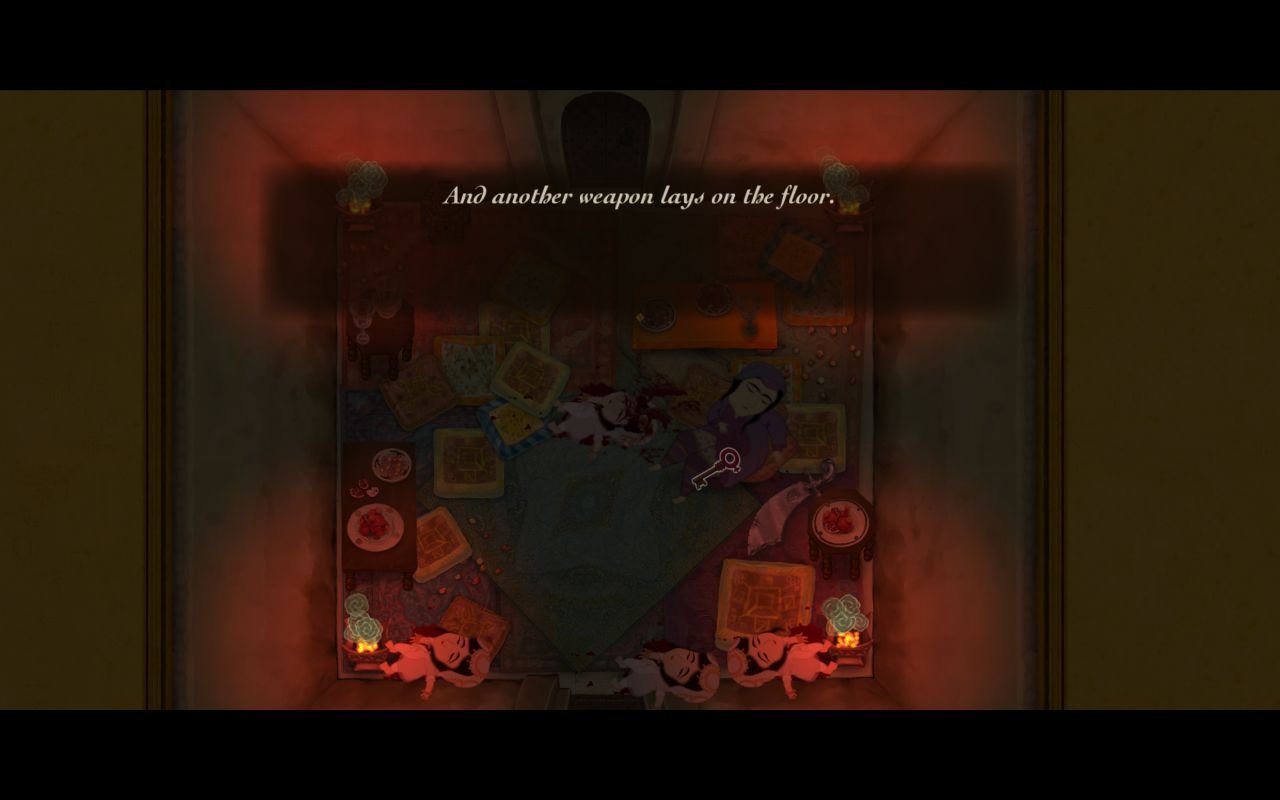
We take the key, and go back, then towards the east door.
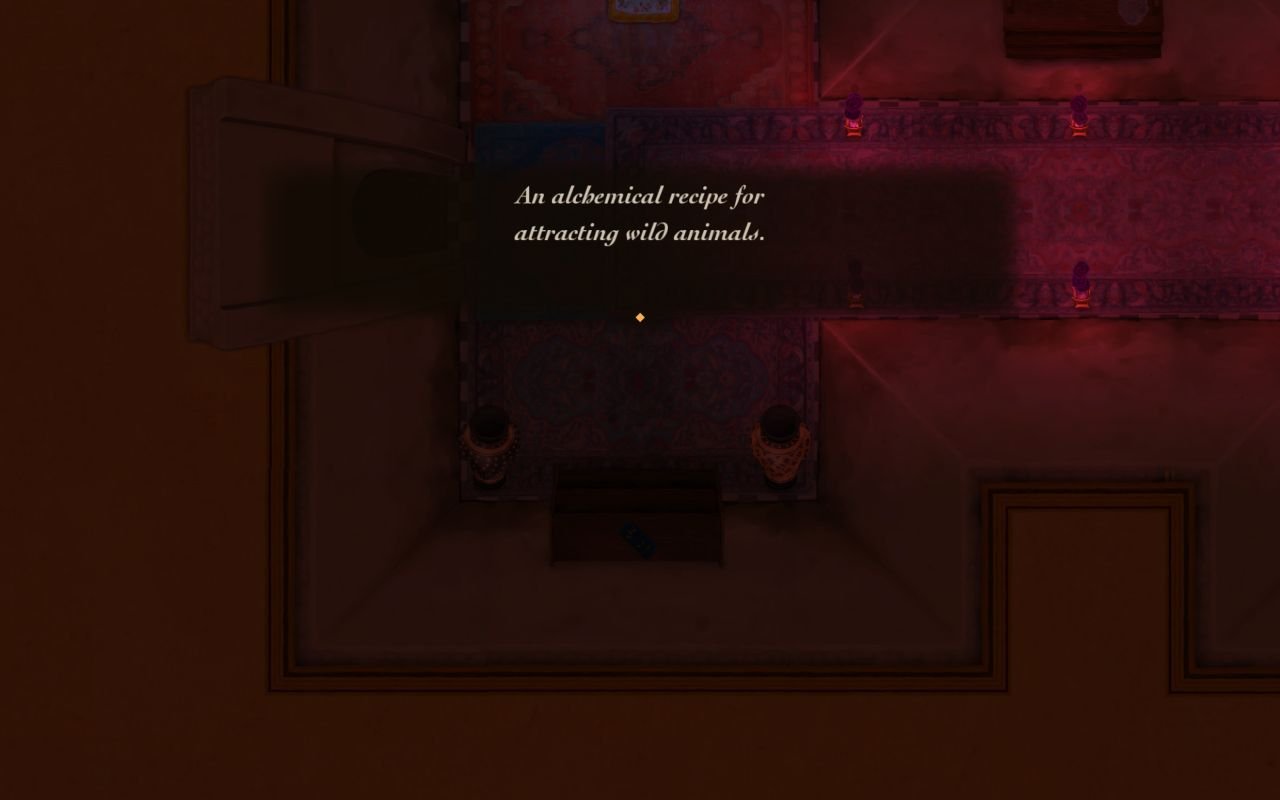
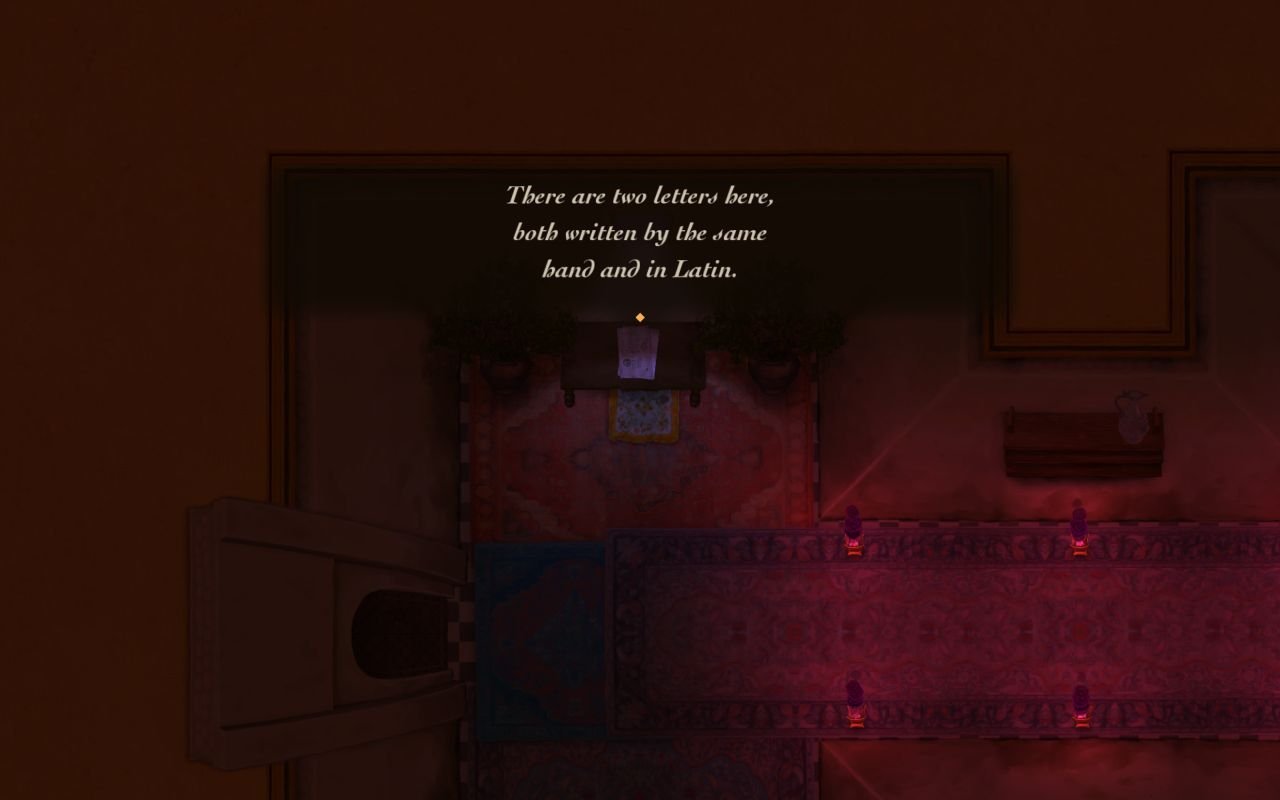
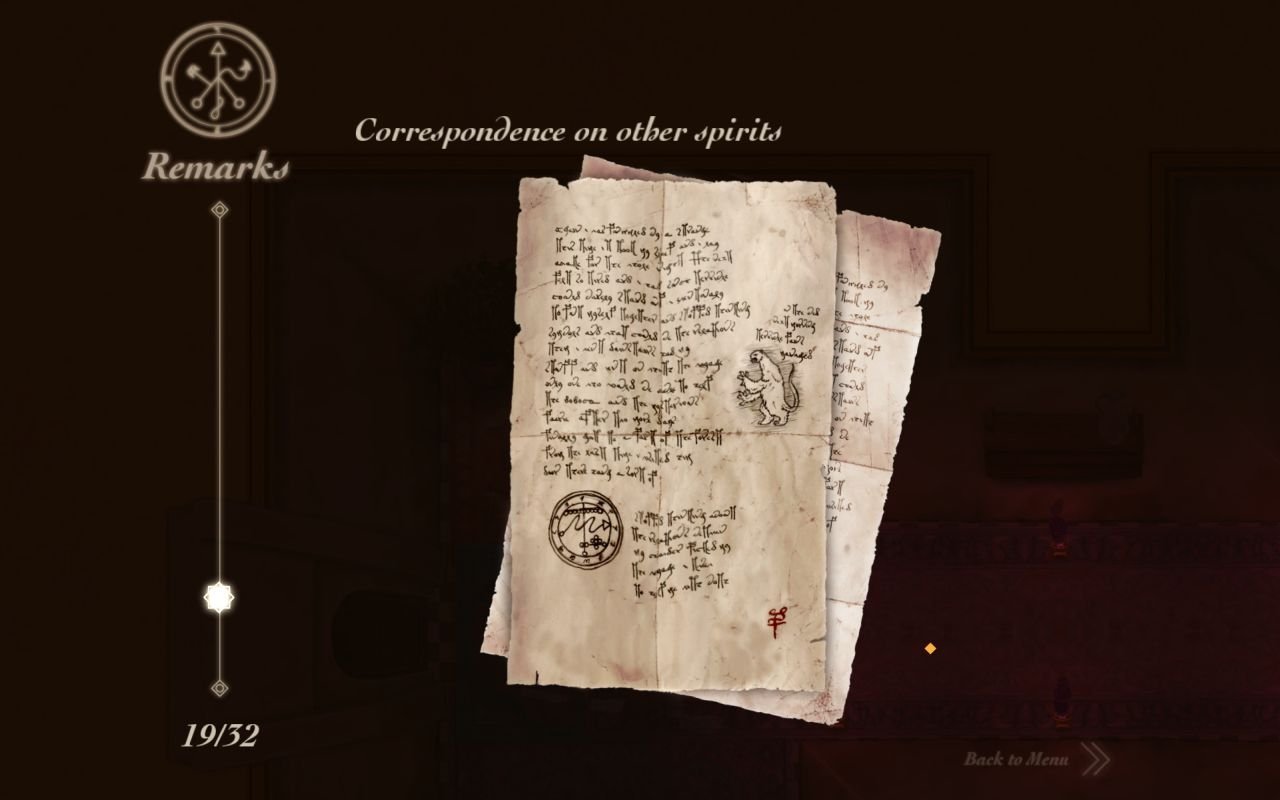
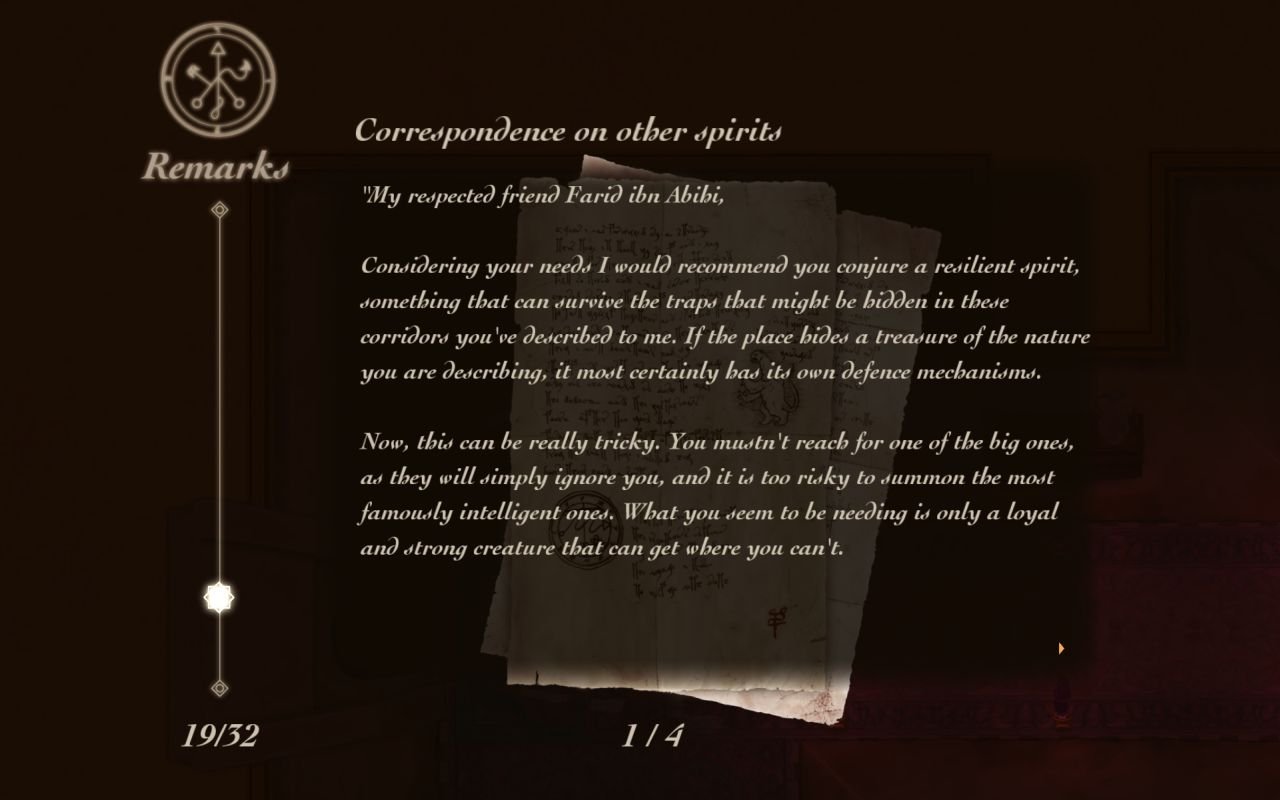
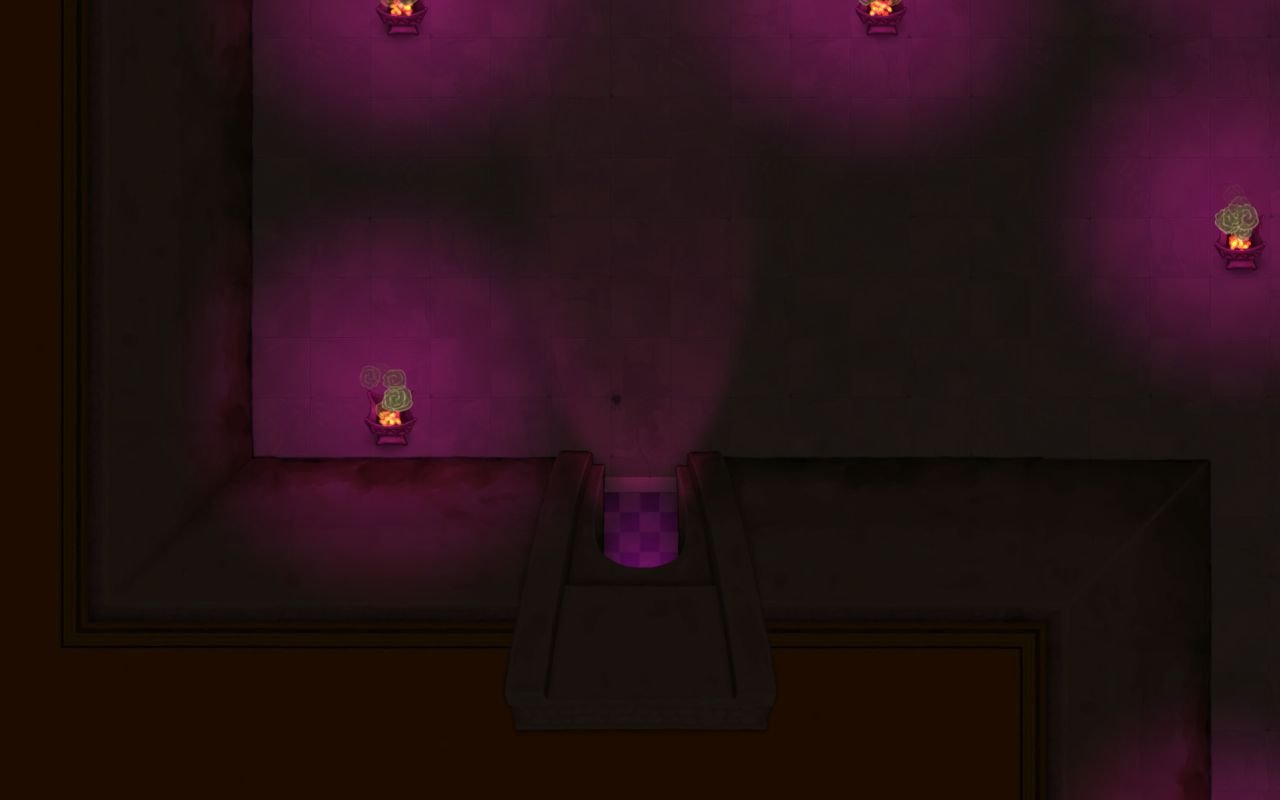
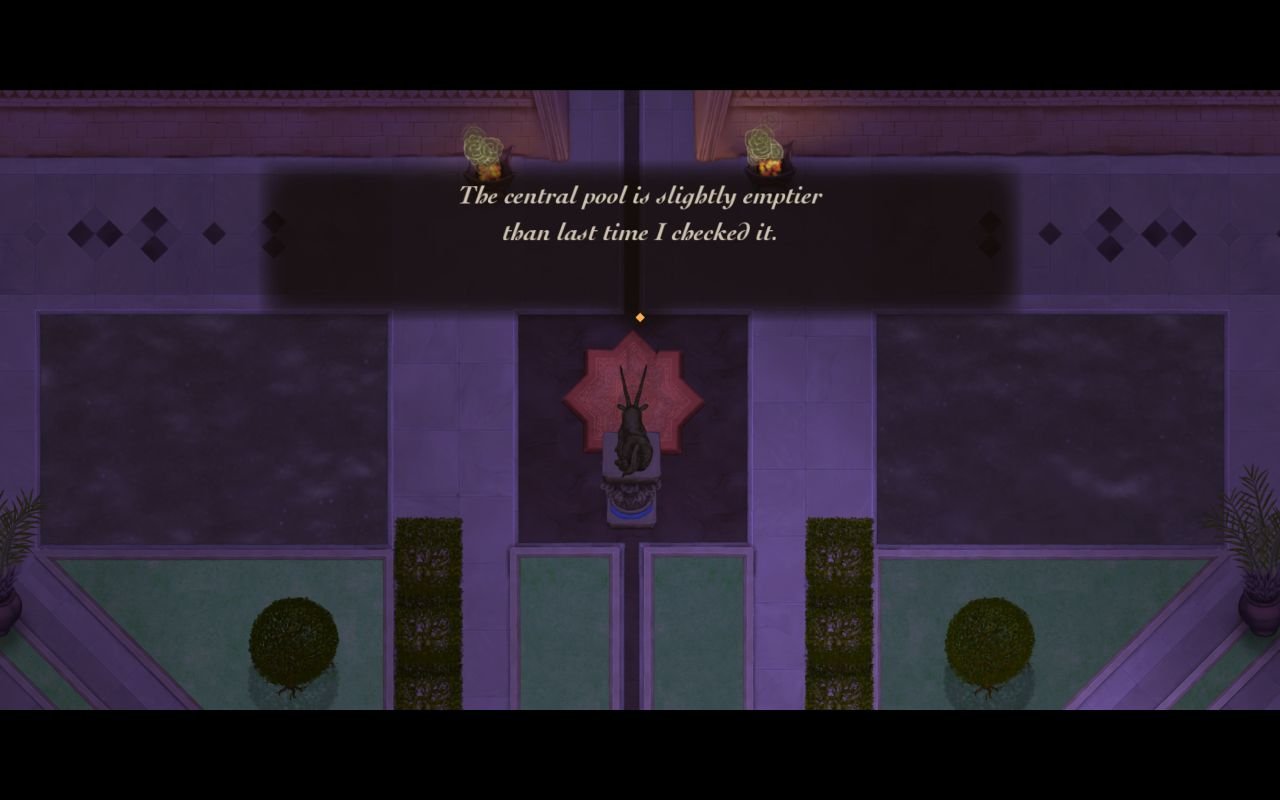
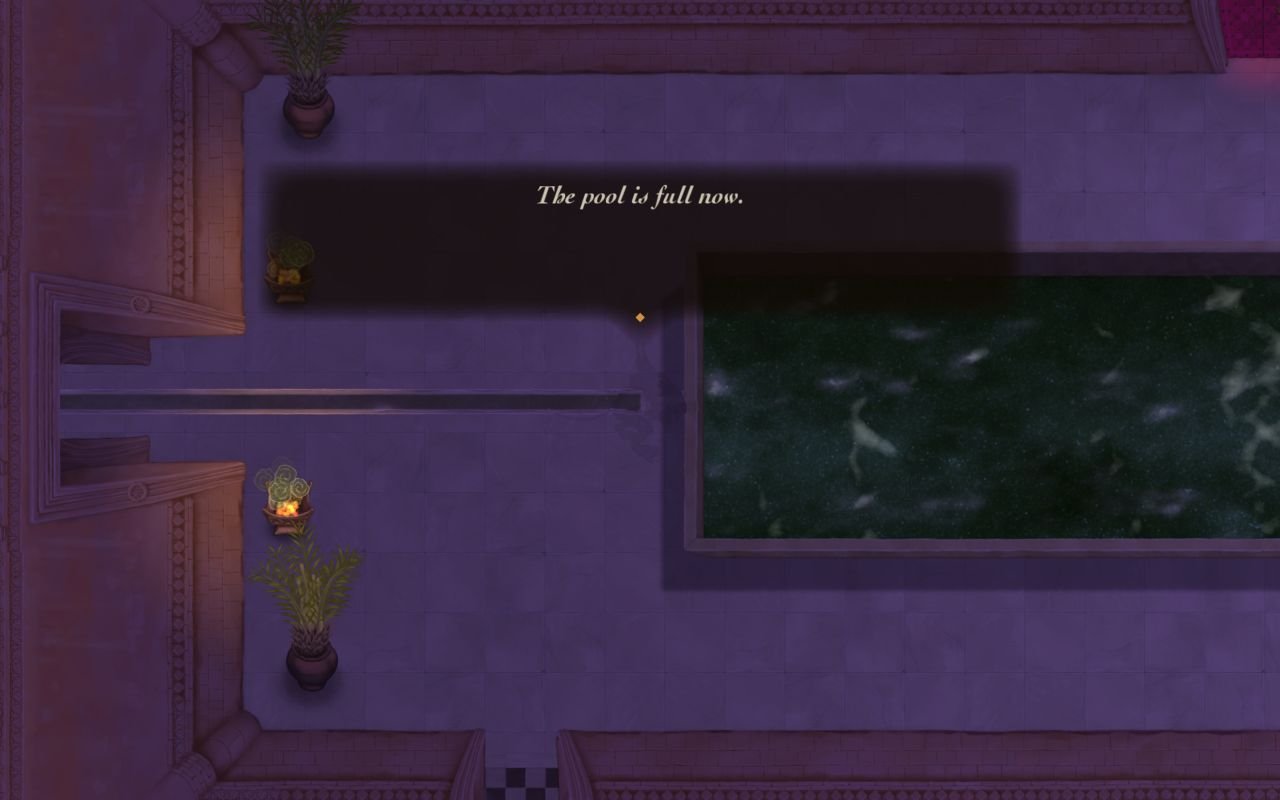
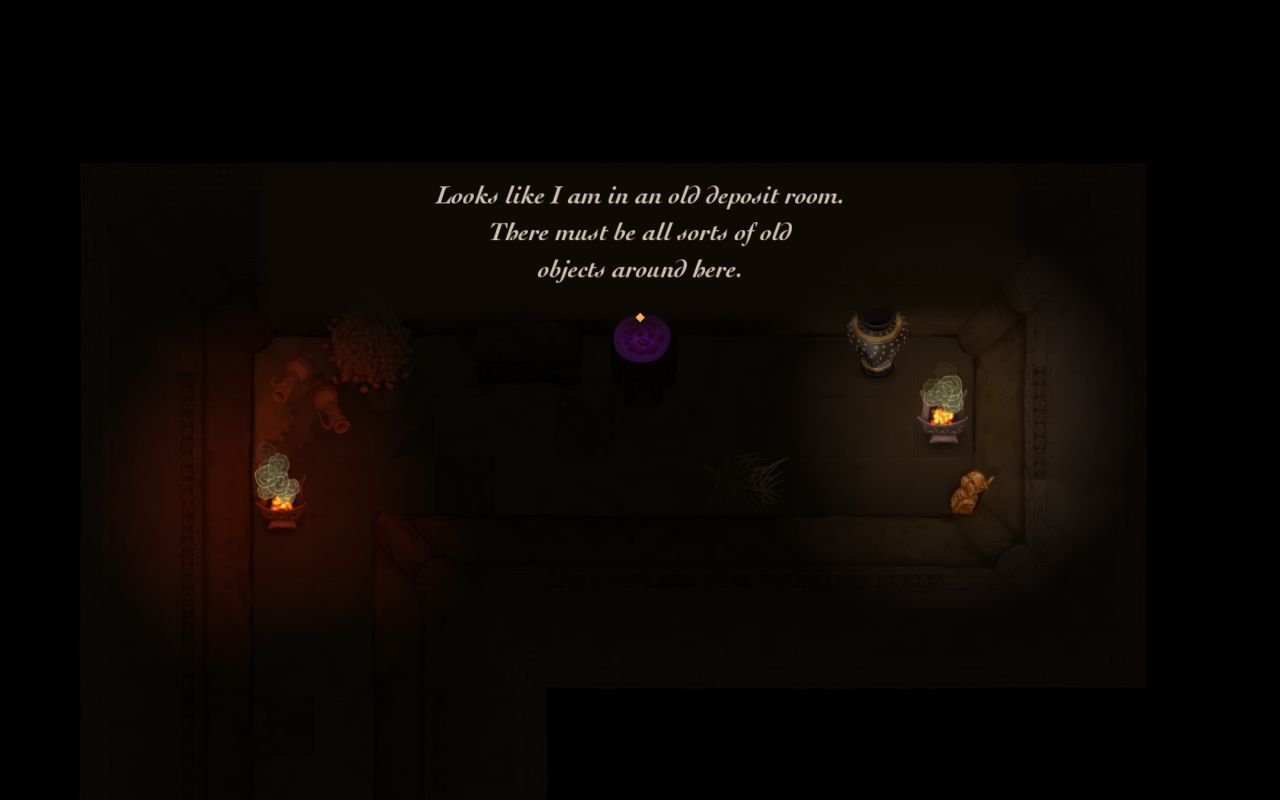
Another long corridor with an empty pool. While exploring it, we find something really interesting...


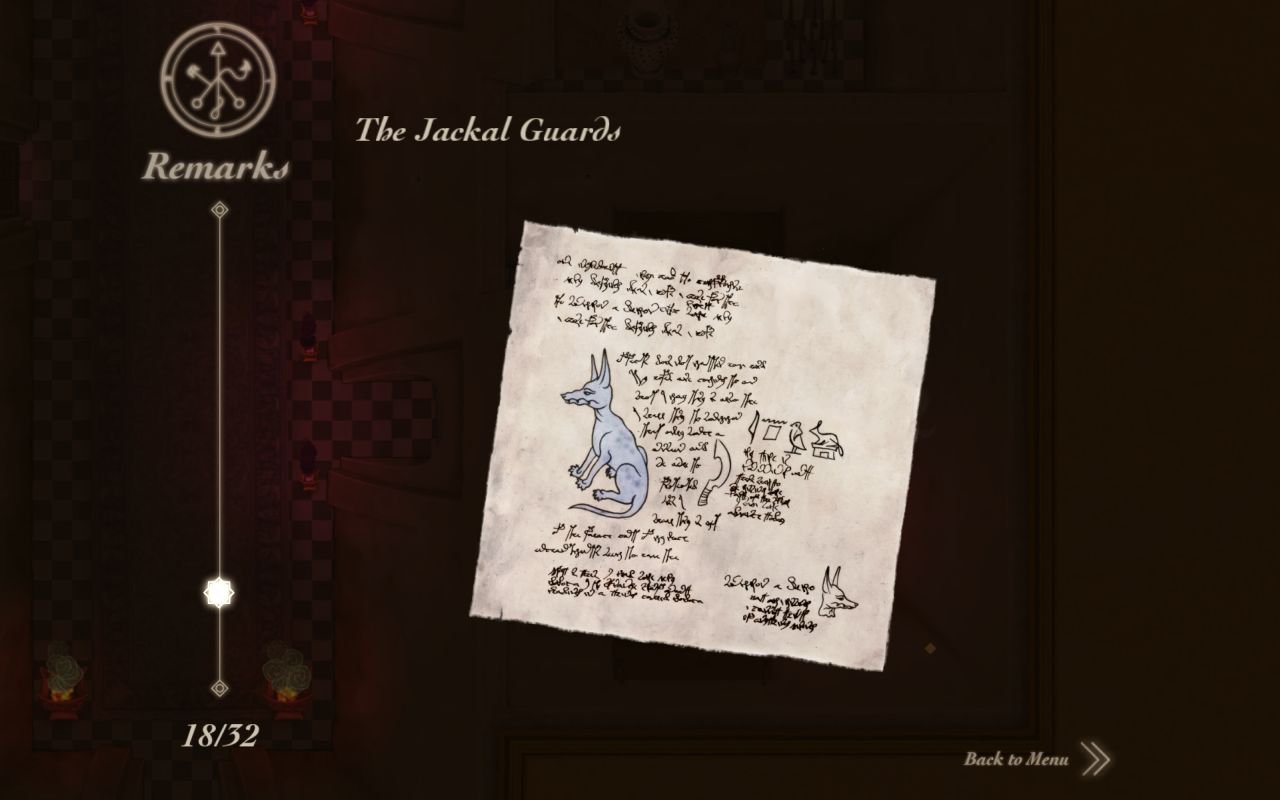
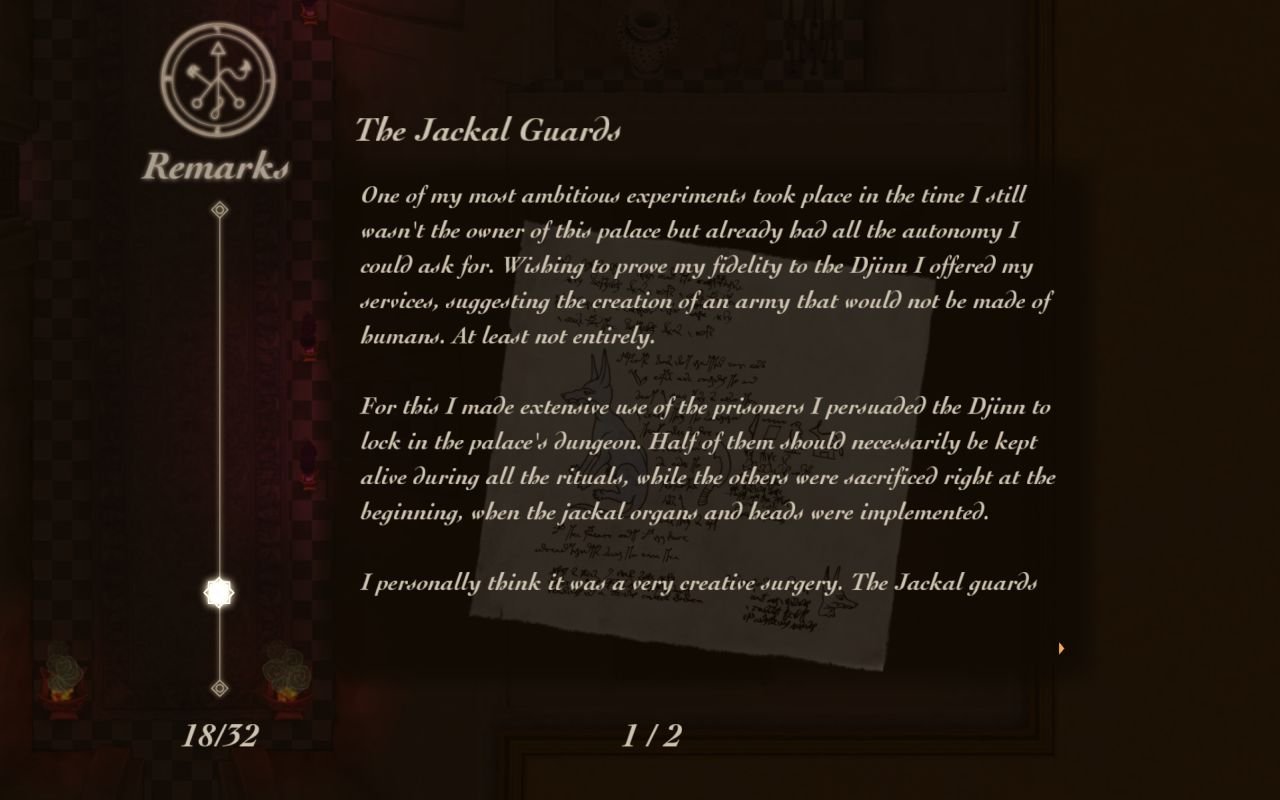
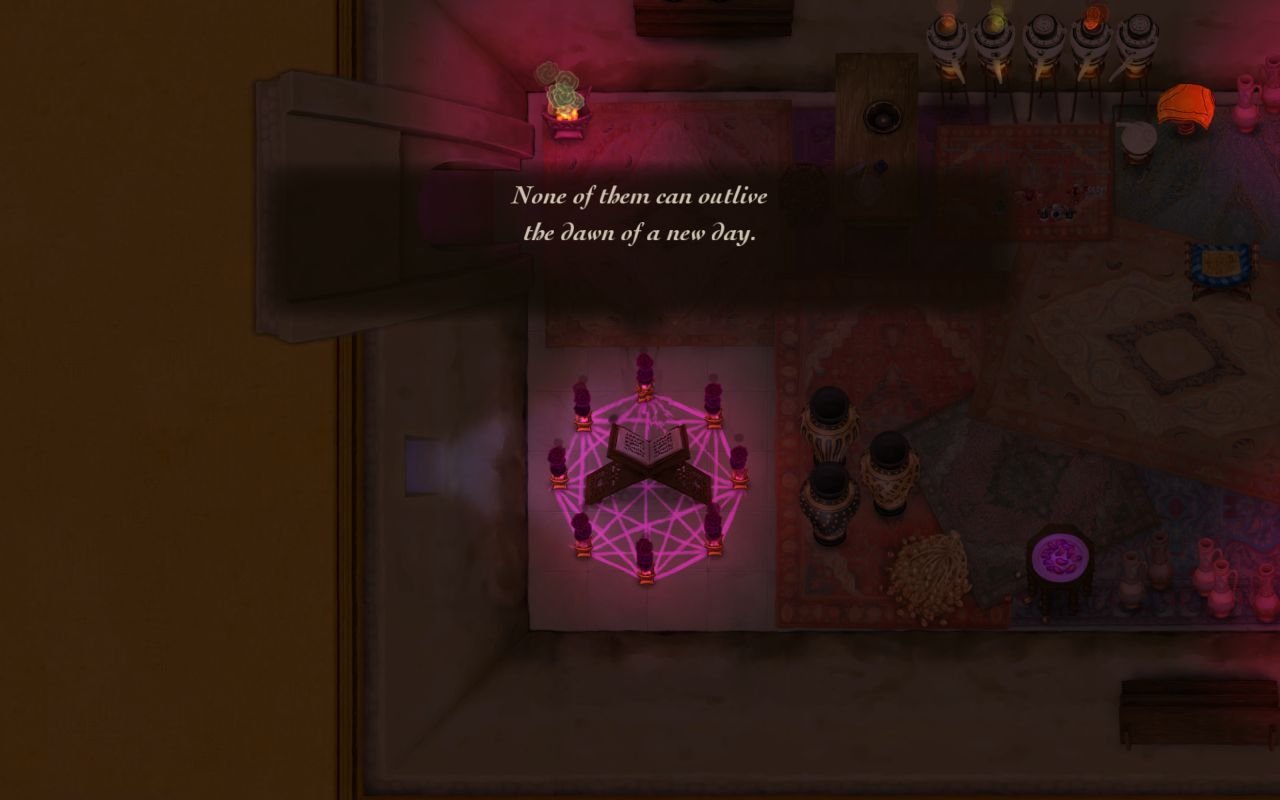
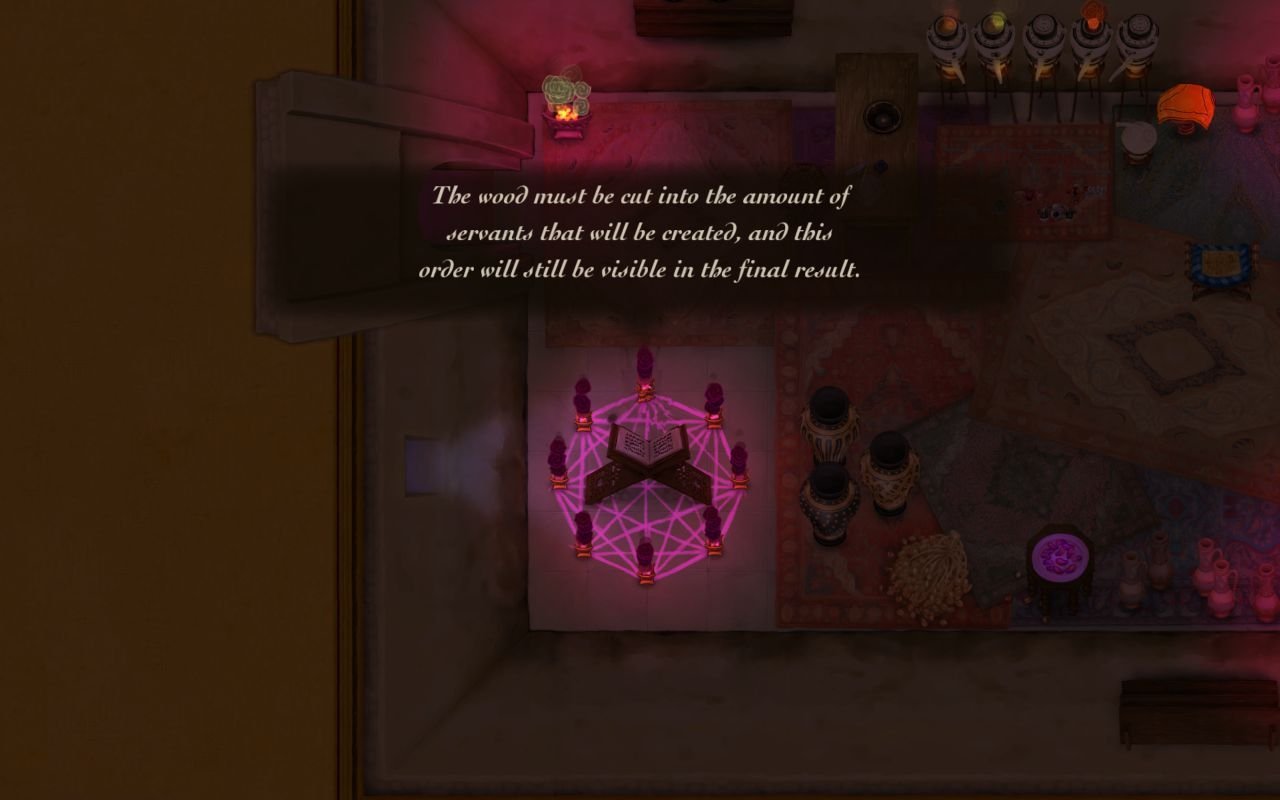
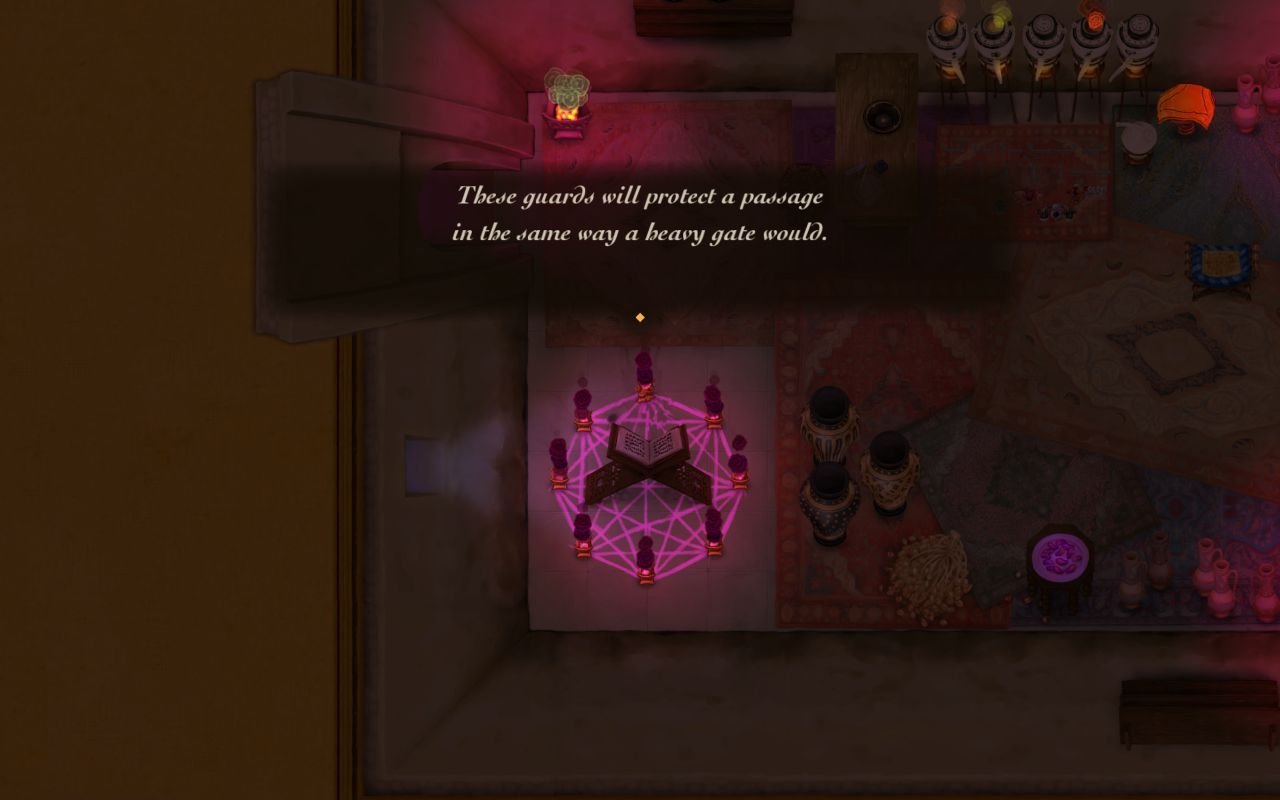
Through a window of the eastern wall we were able to overhear a spell creating some kind of woodden guard. We won't see them in this update, but believe me, they are assholes.
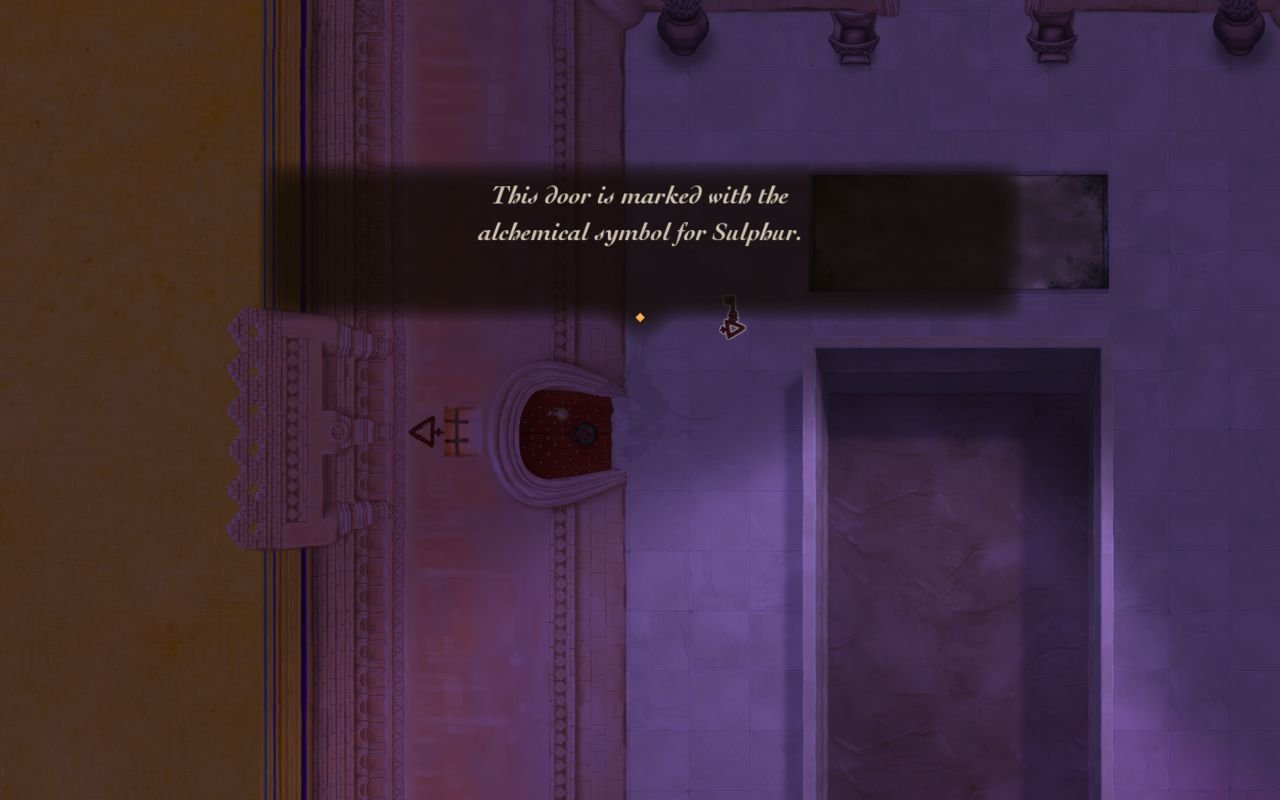
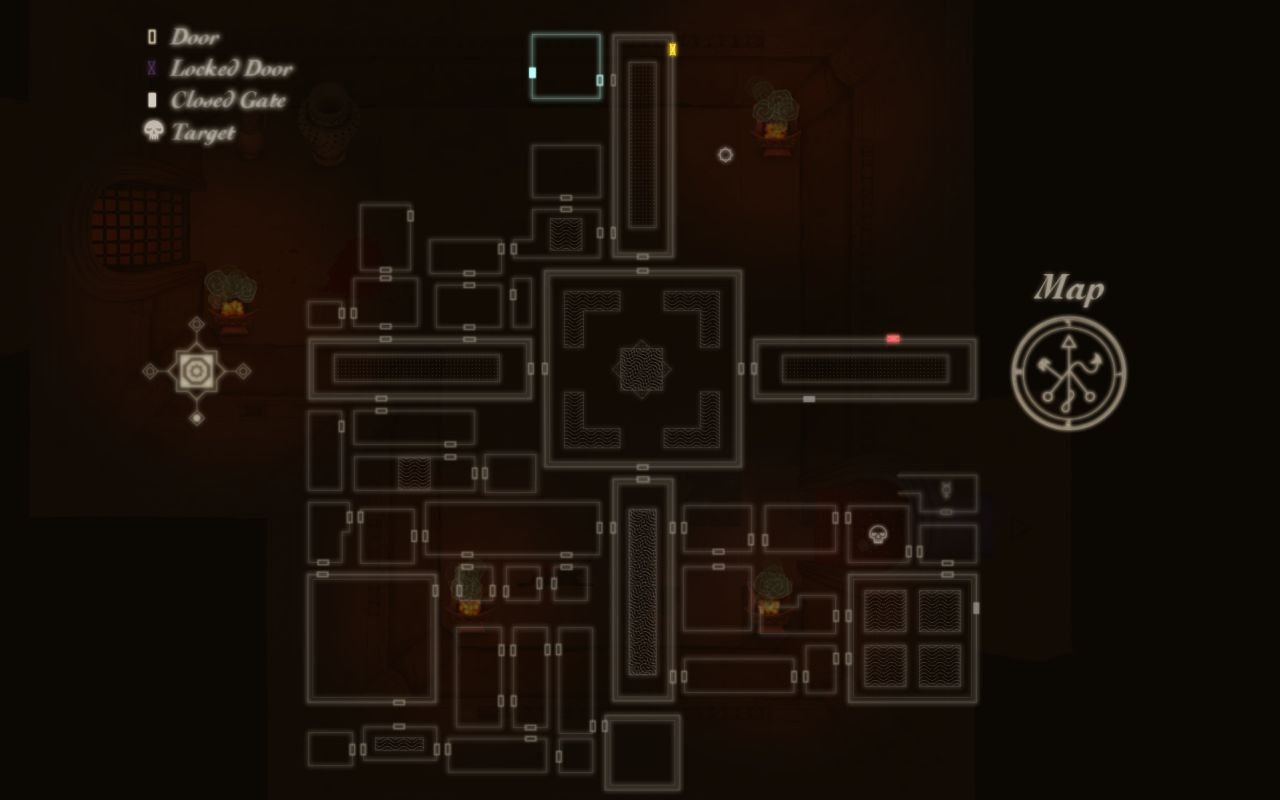
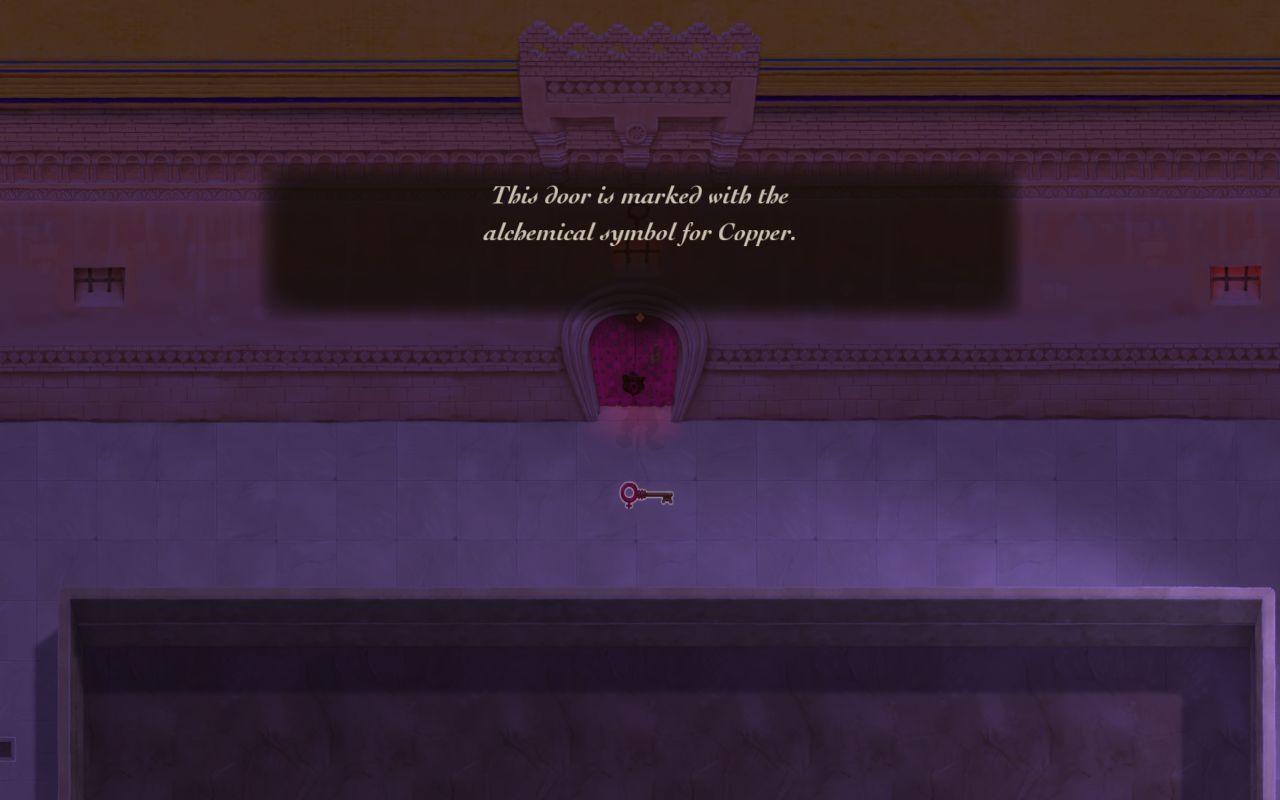
We do have a key, with a symbol of sulphur, and there's a door with the same symbol in this room, in the NW corner.
The guard in this room is as good as dead, what with the pool in the long corridor. This is also a first room that contains timed gates. When we pool the lever, the gate to the west opens, but only for a limited time.
The gate shuts right behind us. This looks like another puzzle room, with one annoying guard. There's a small pool of water on the SW corner of the room, so this is not a problem.
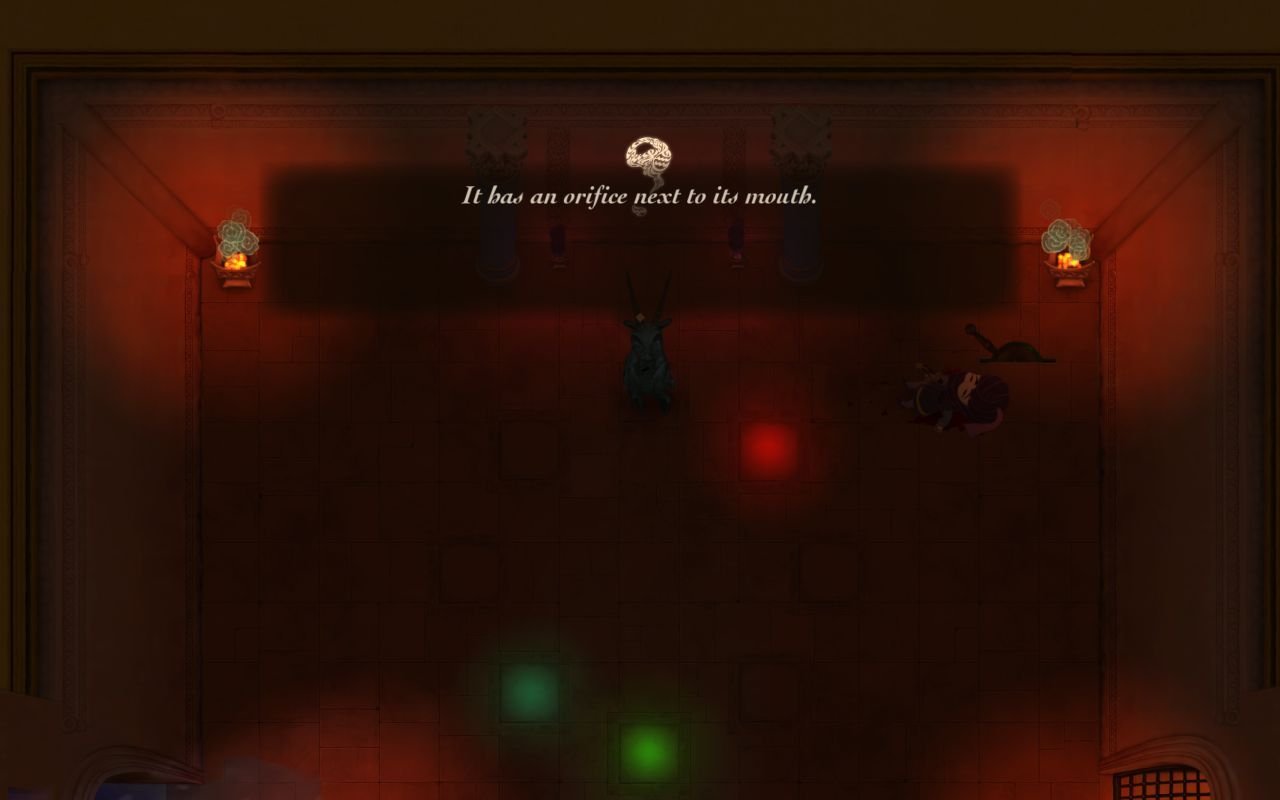
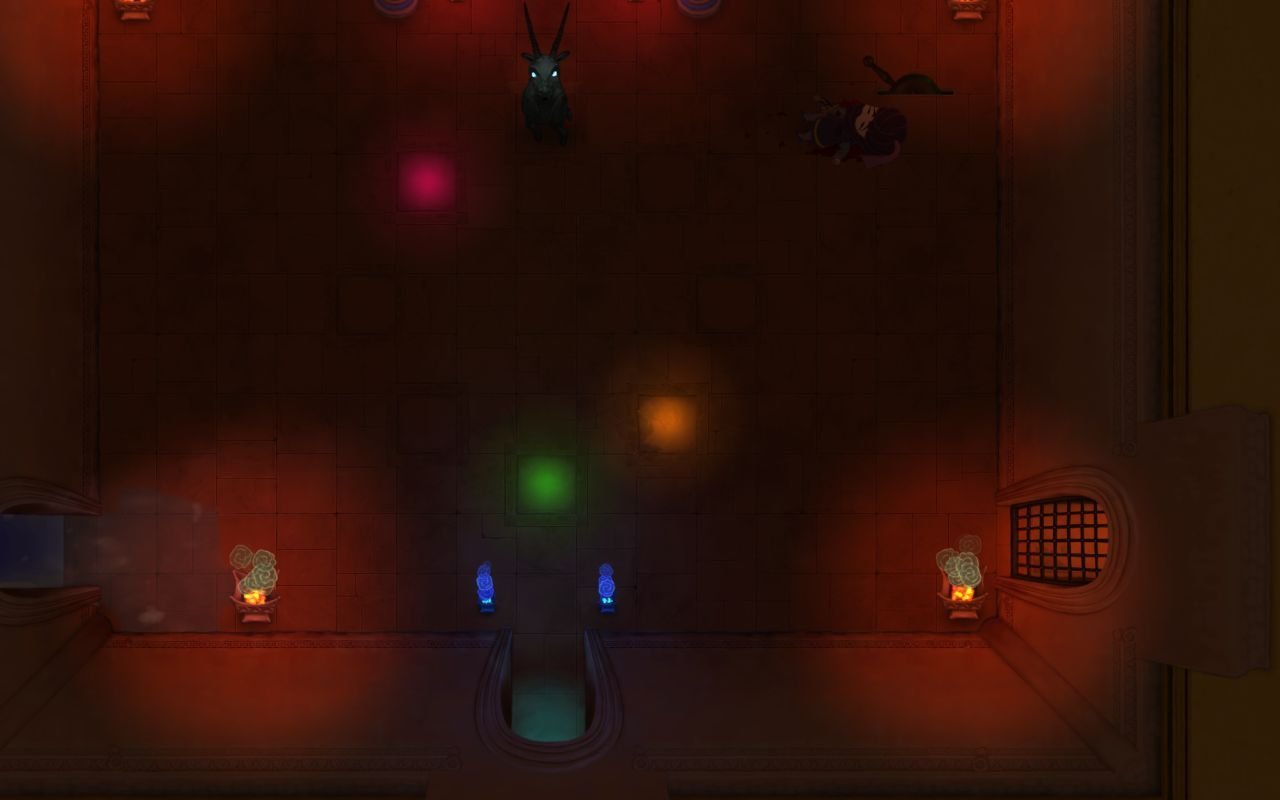
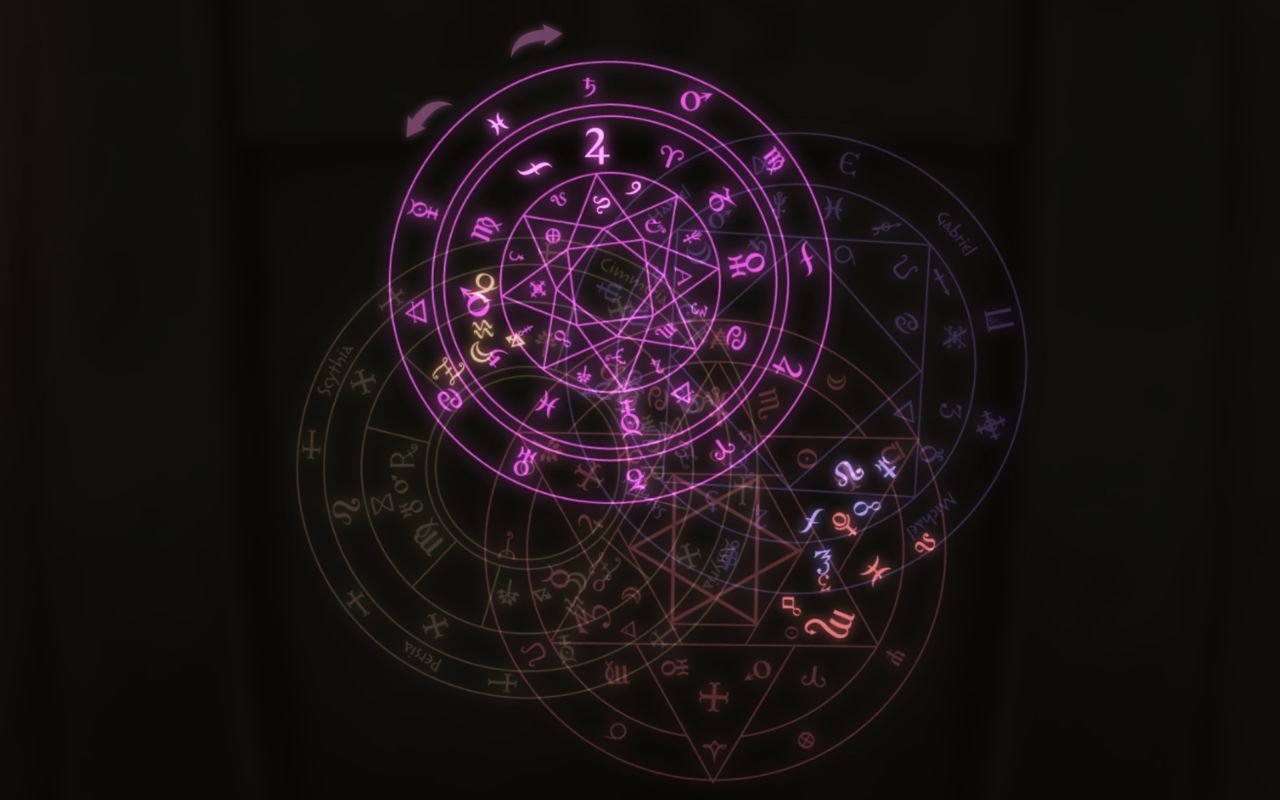
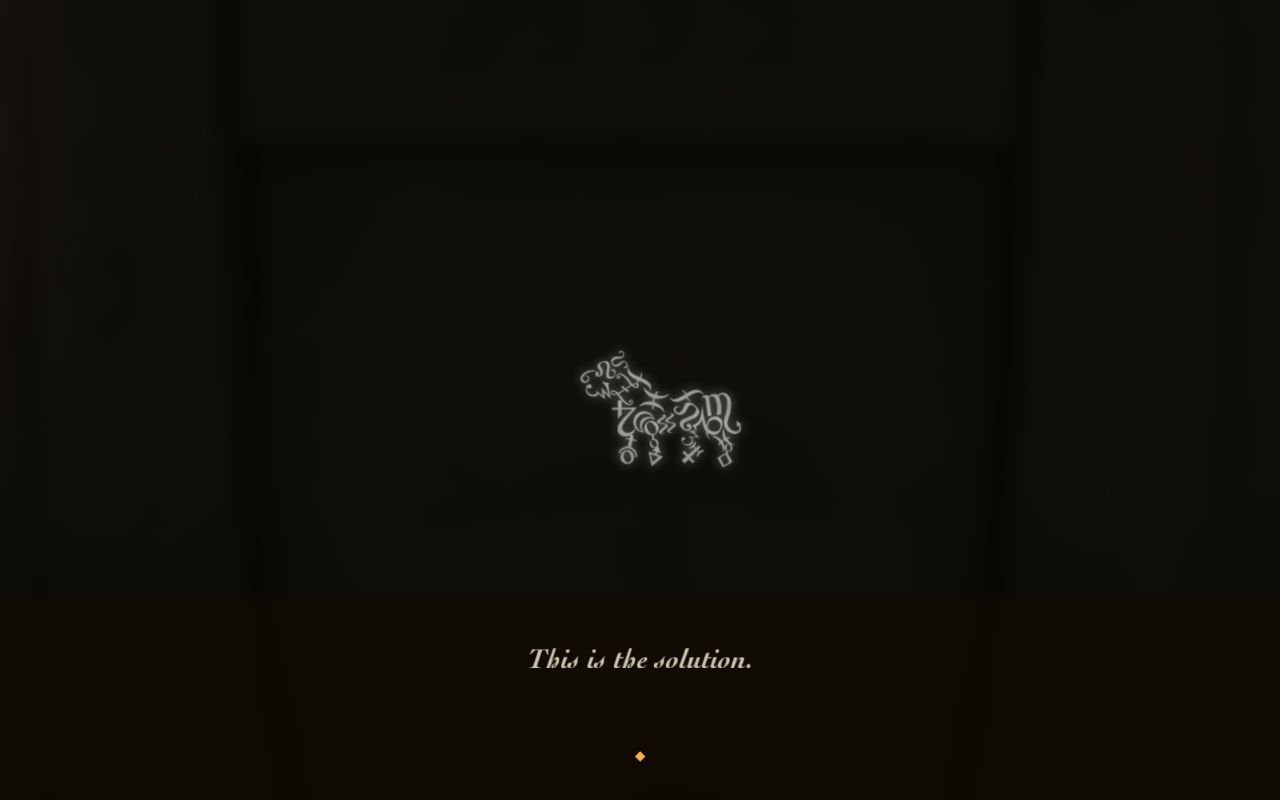
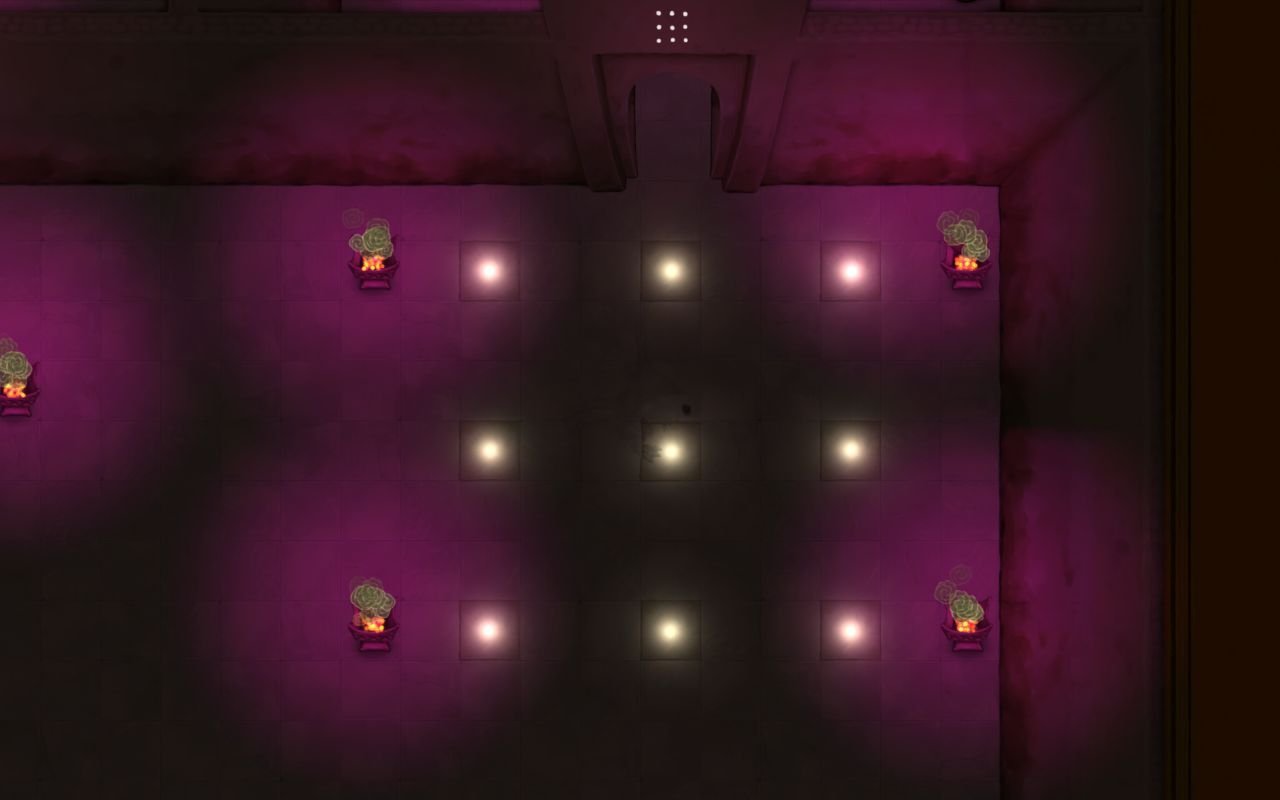
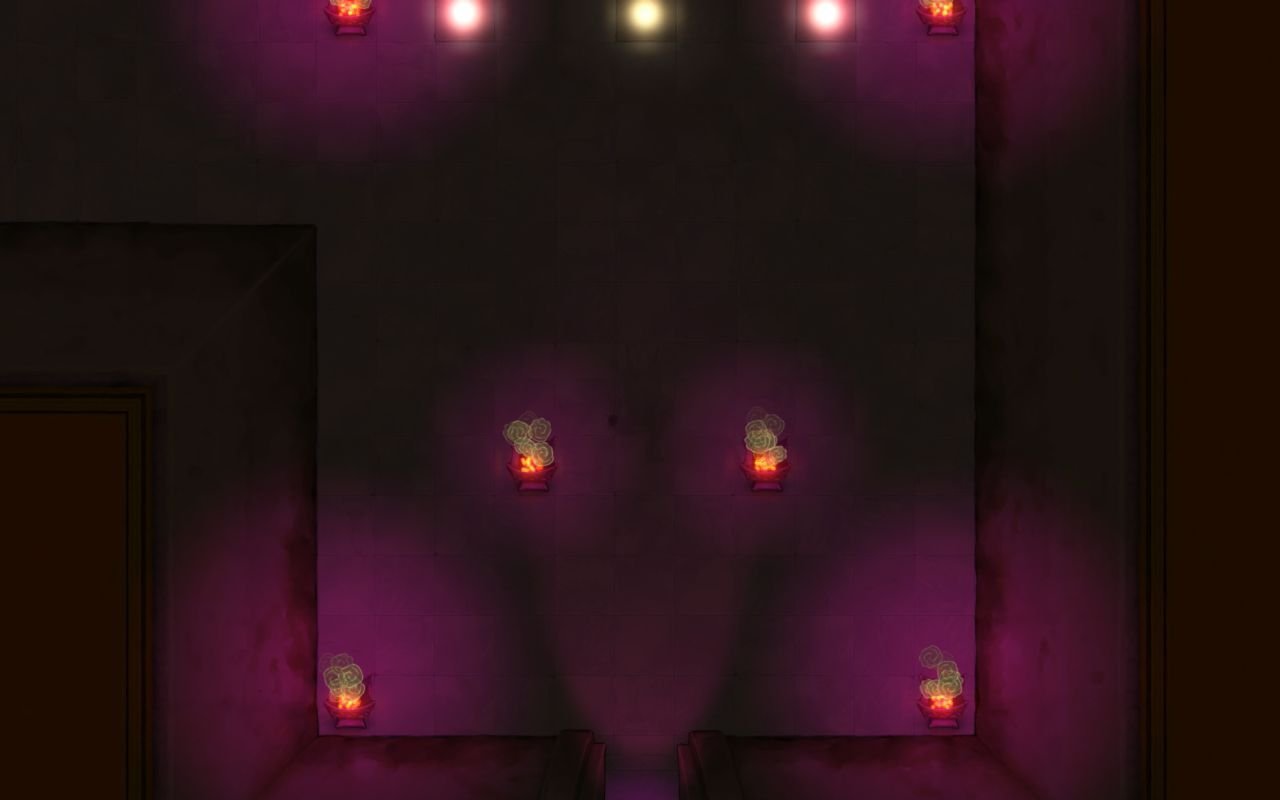
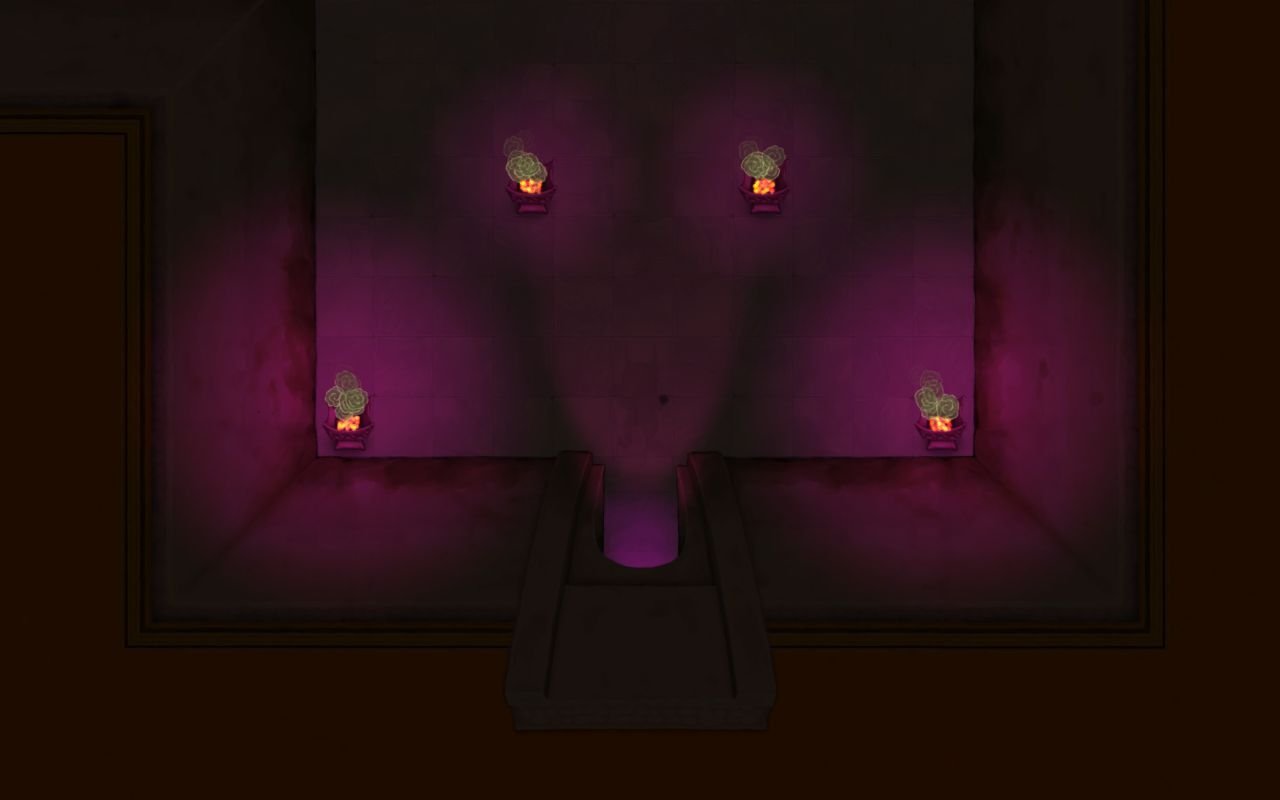
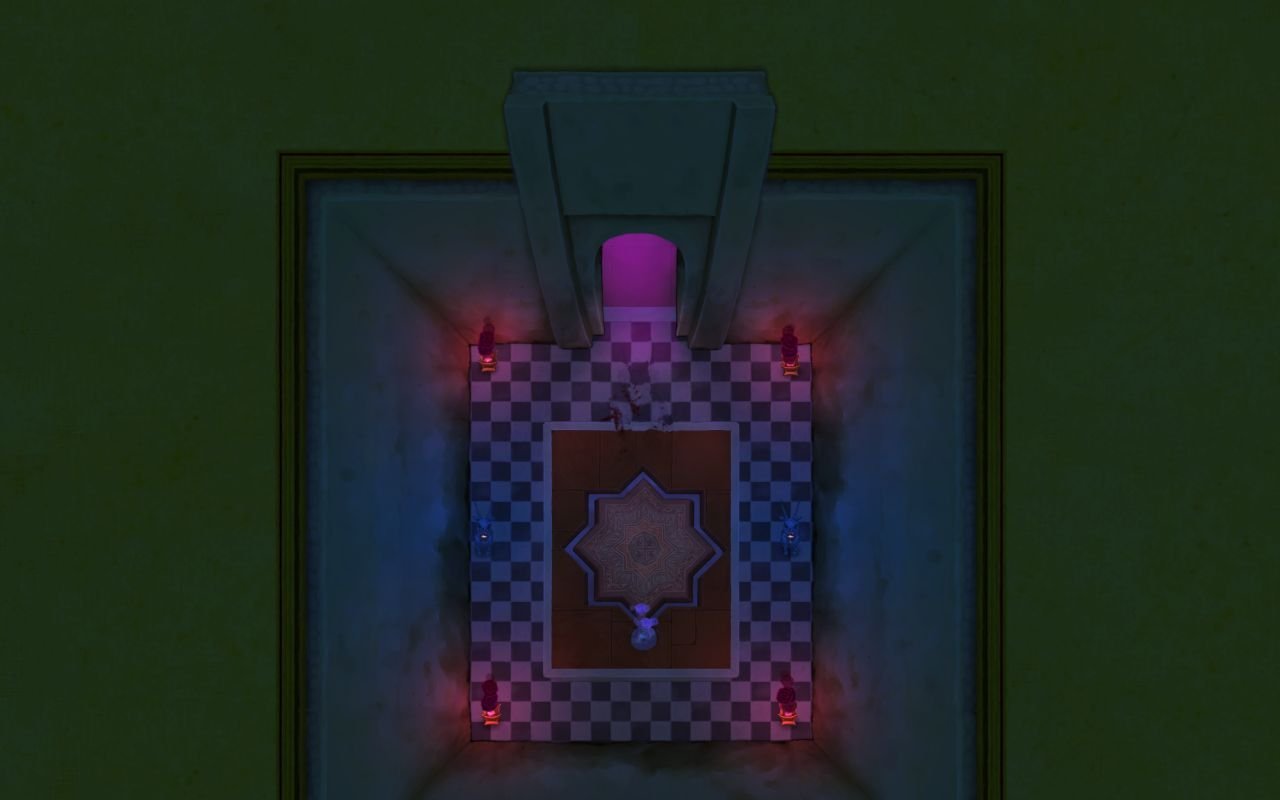
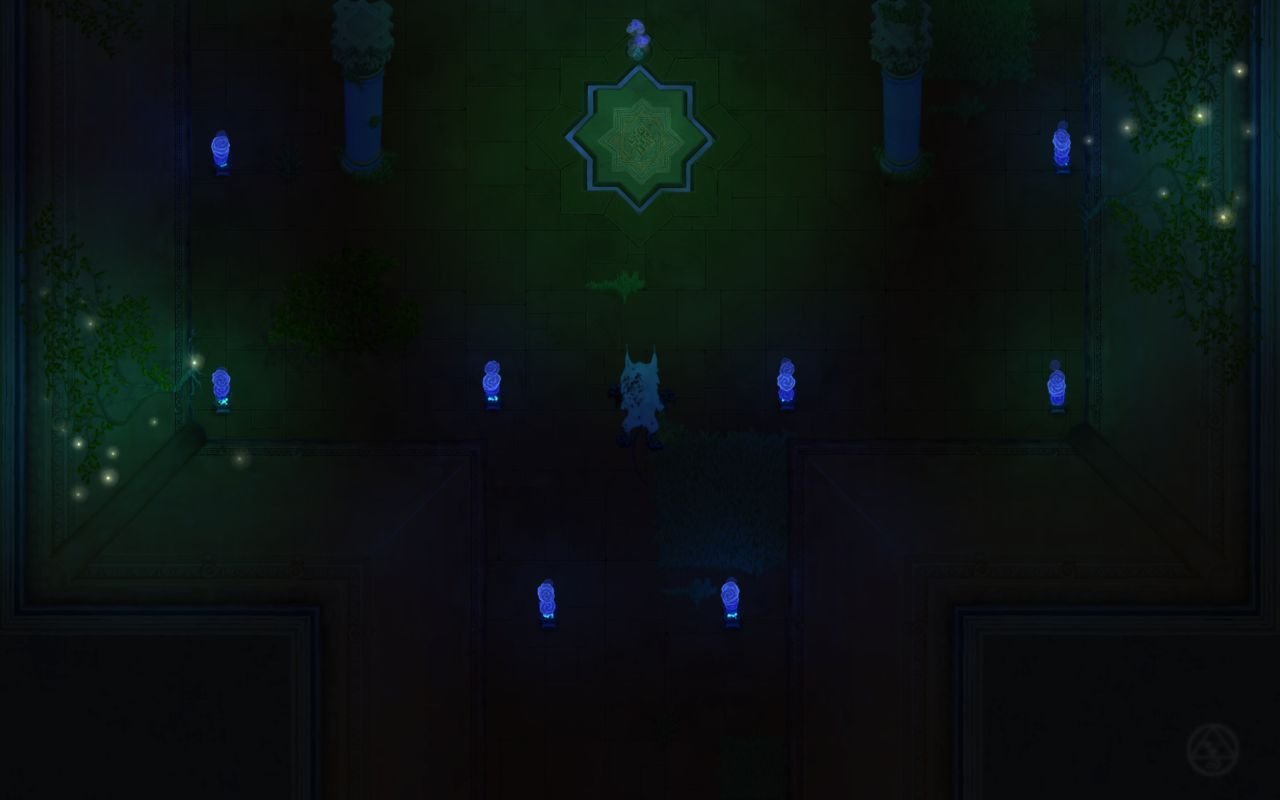
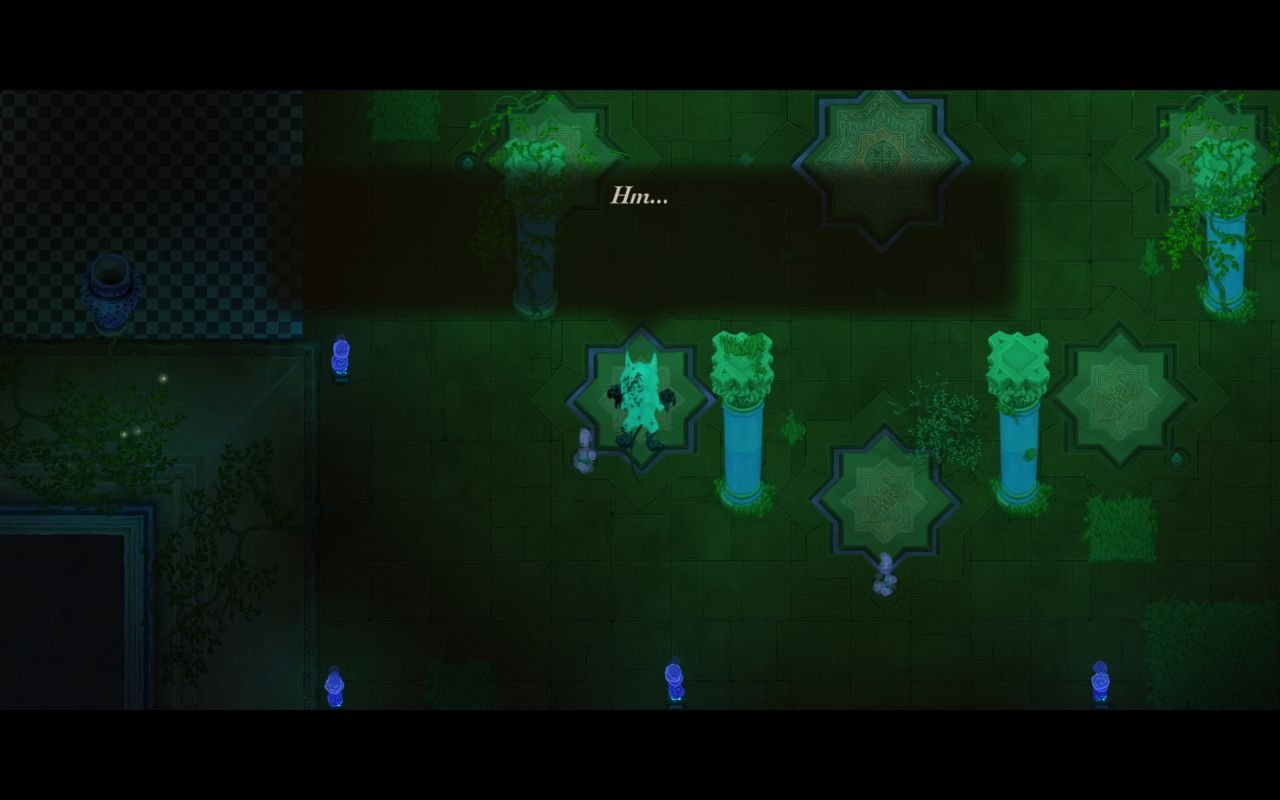
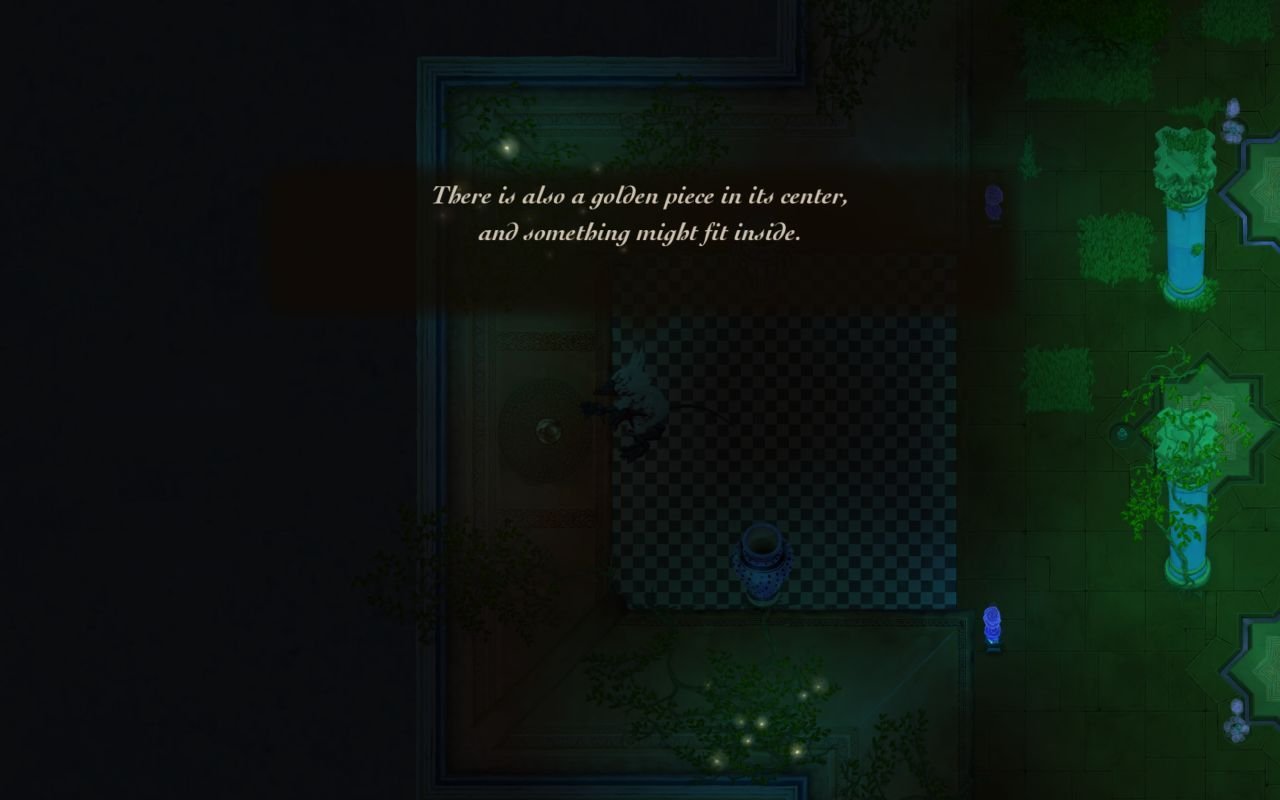
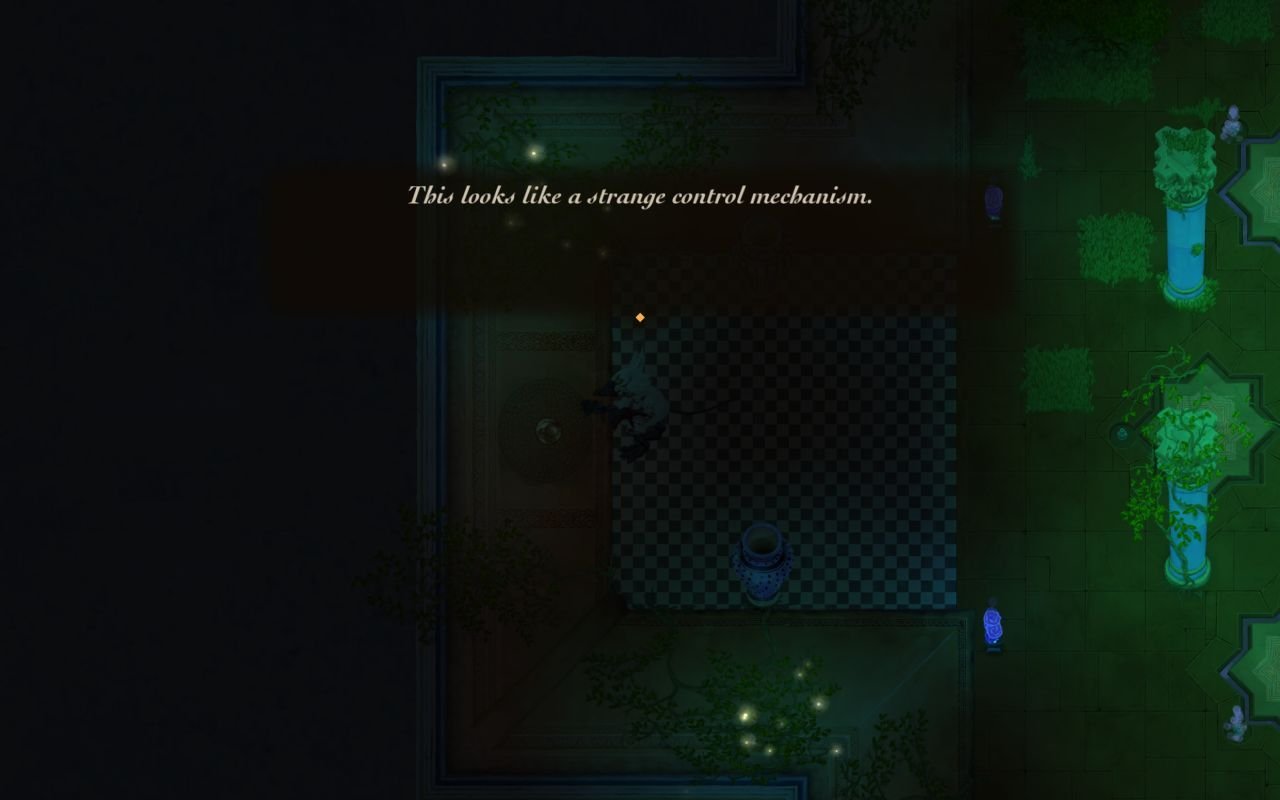
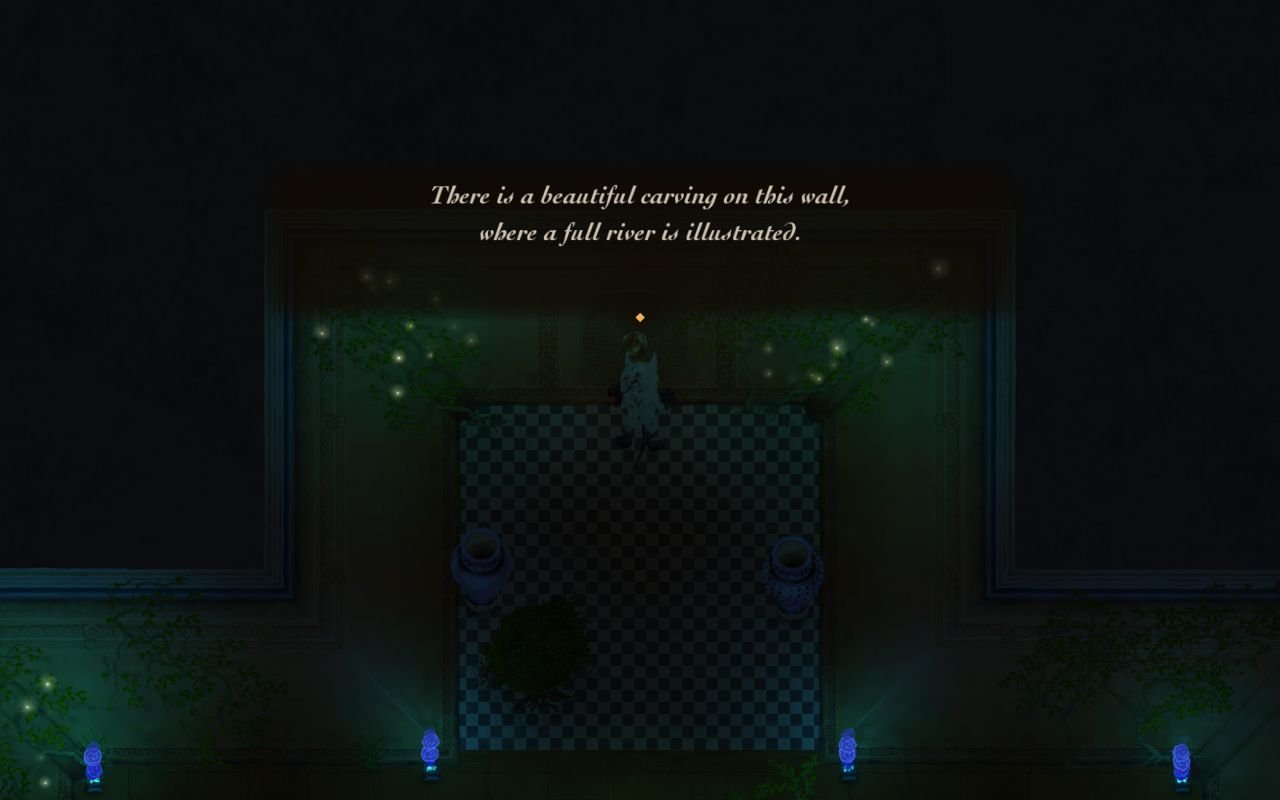
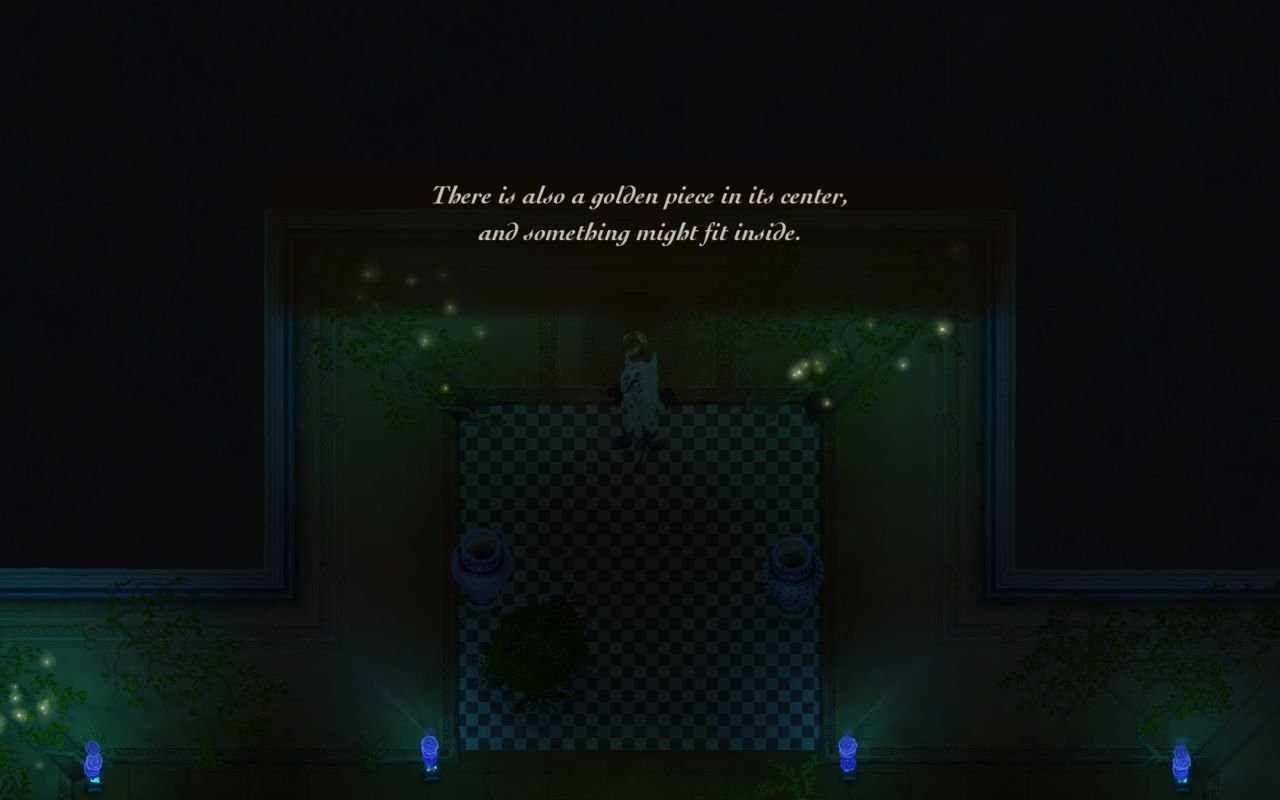
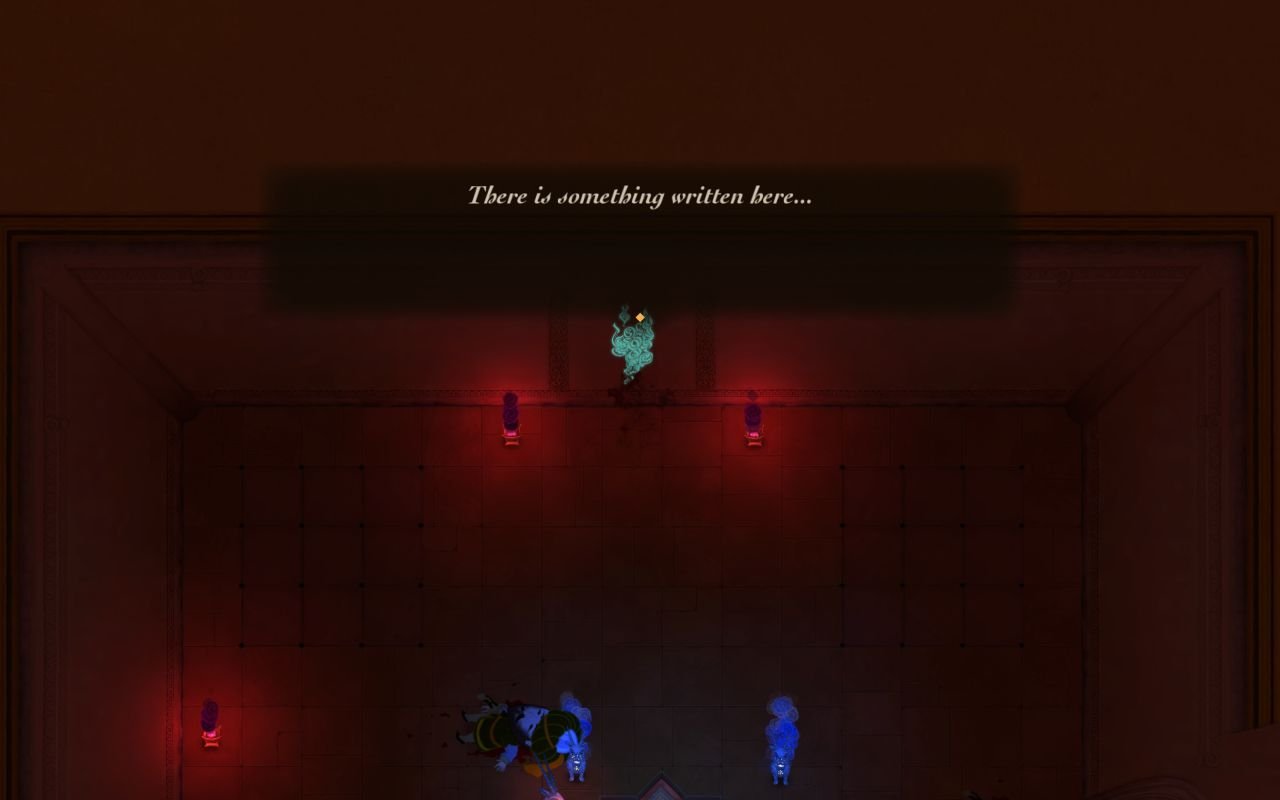
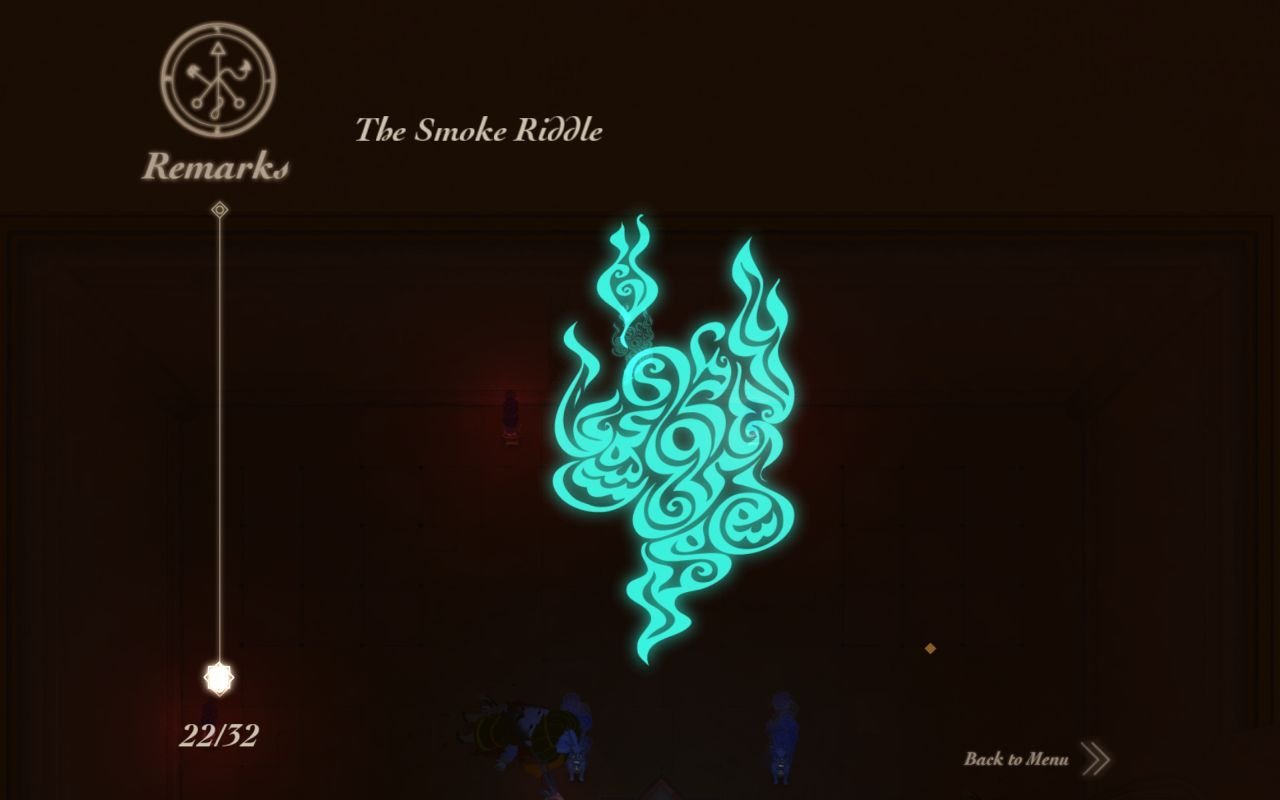
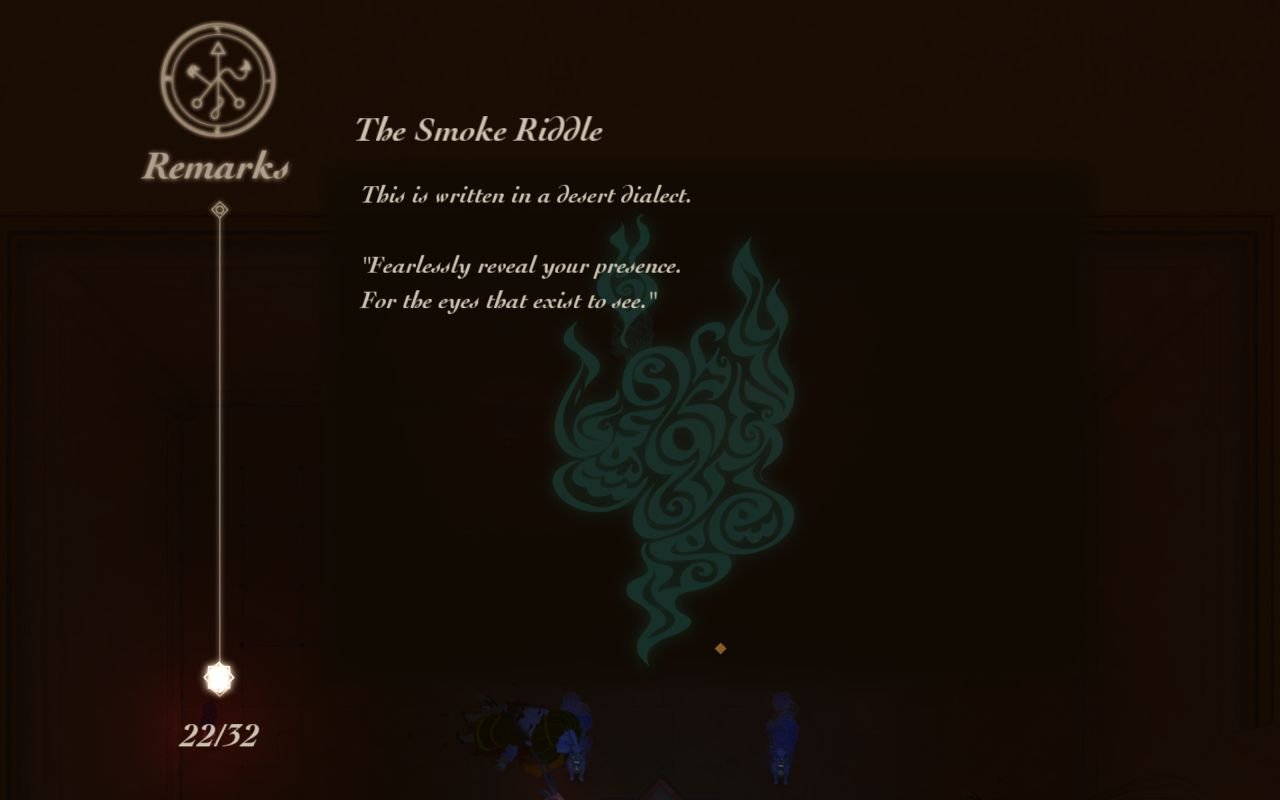
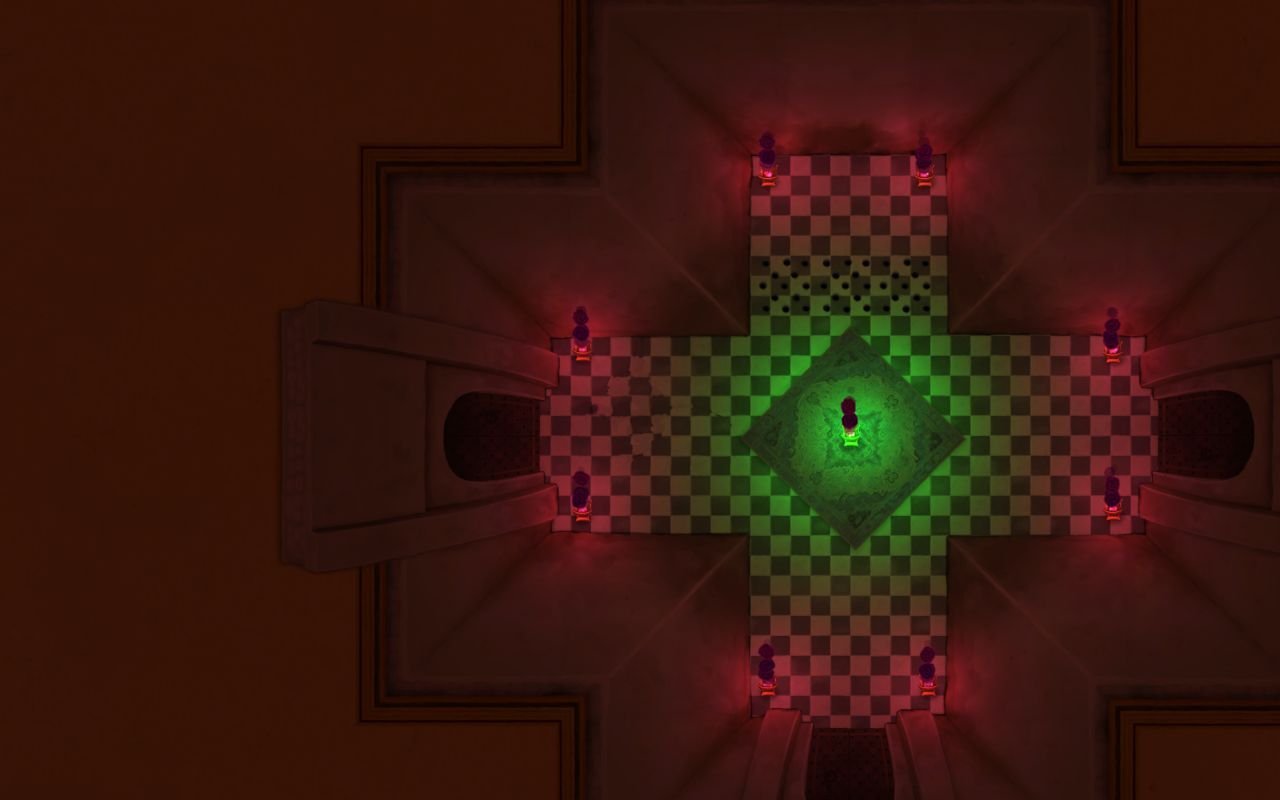
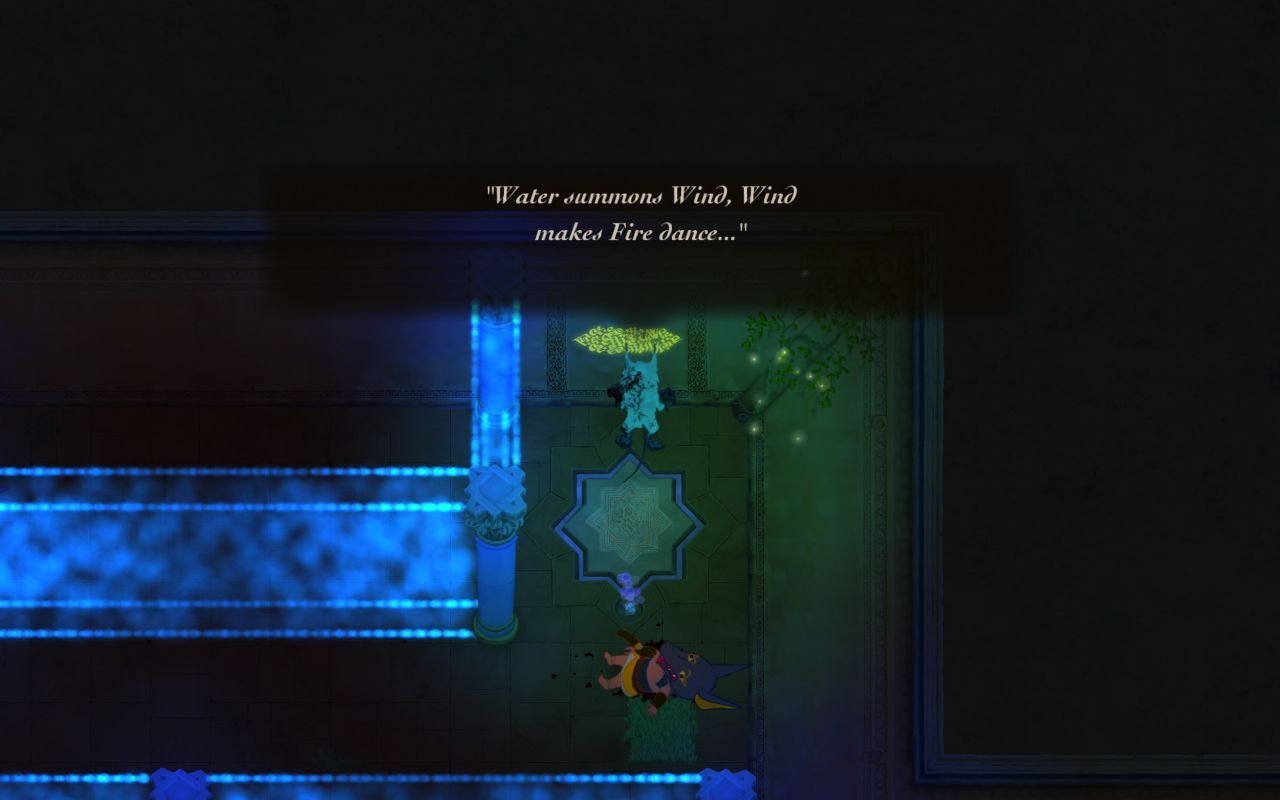
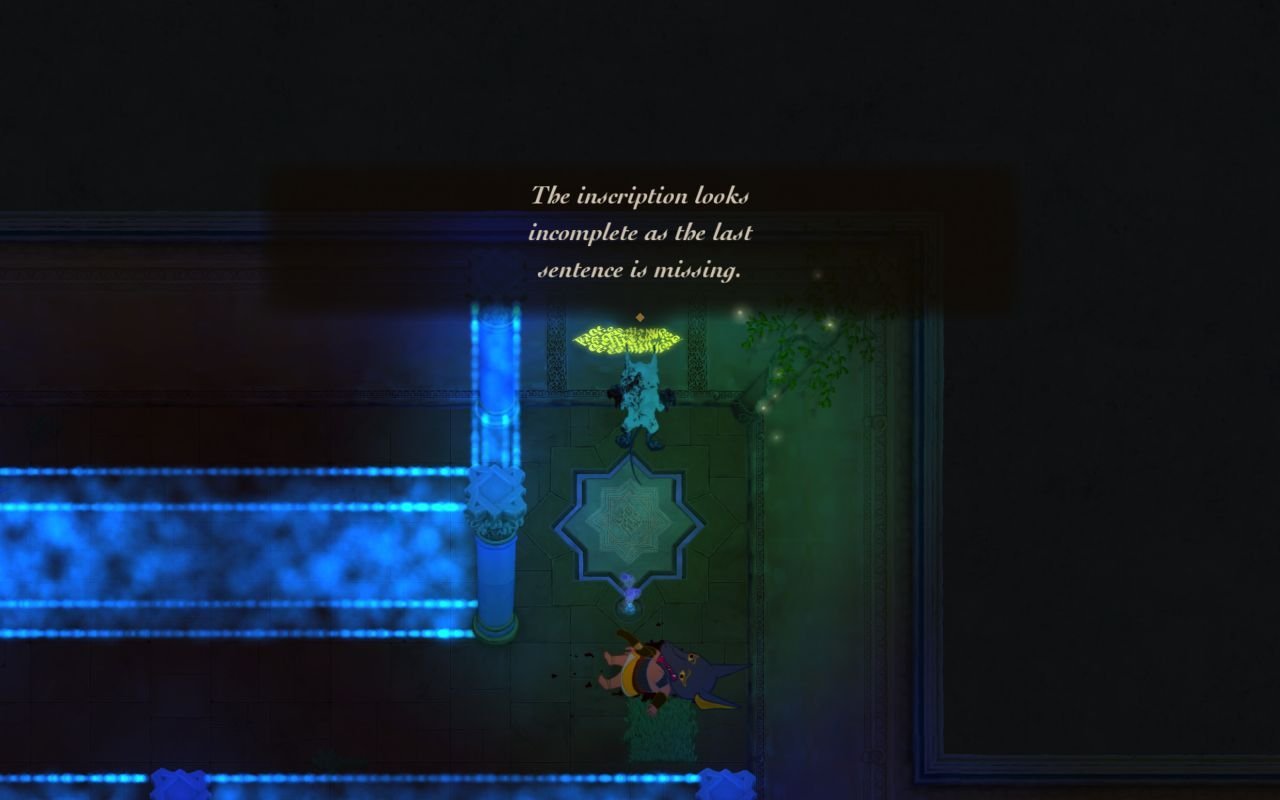
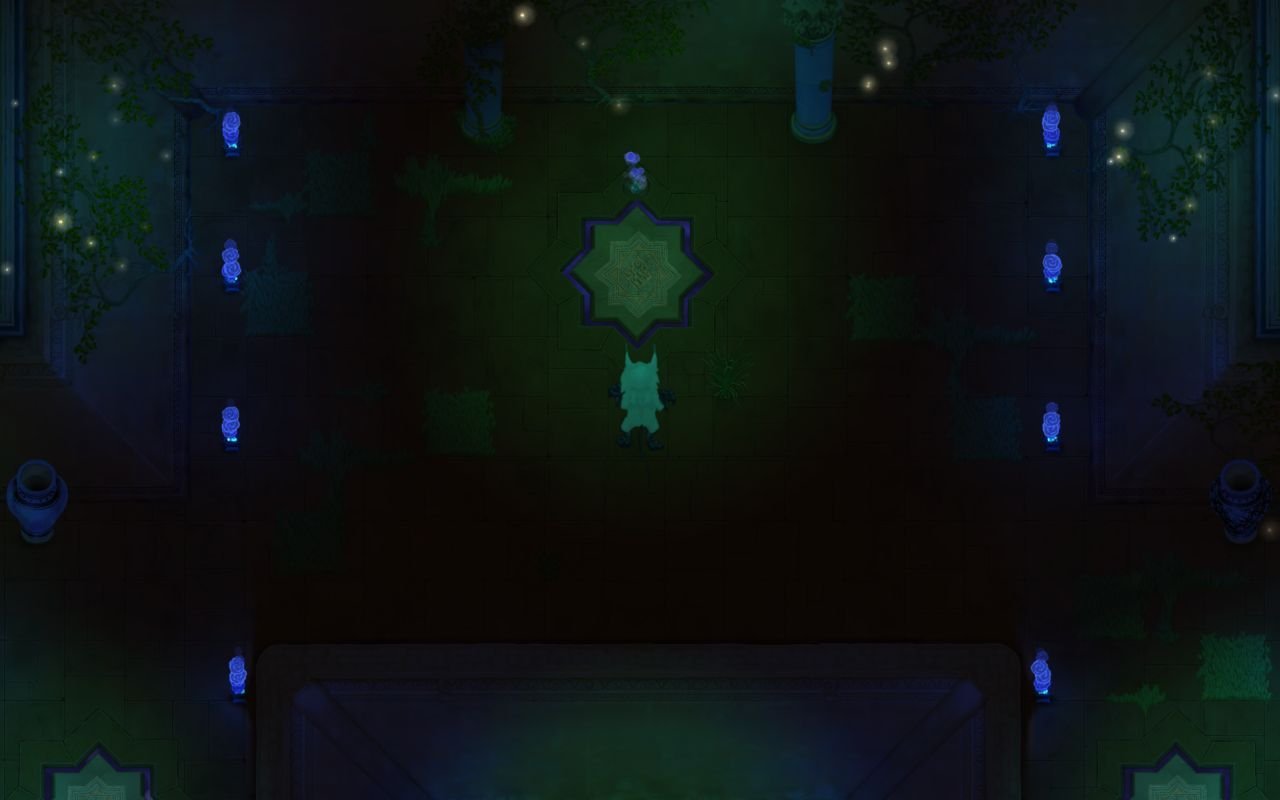
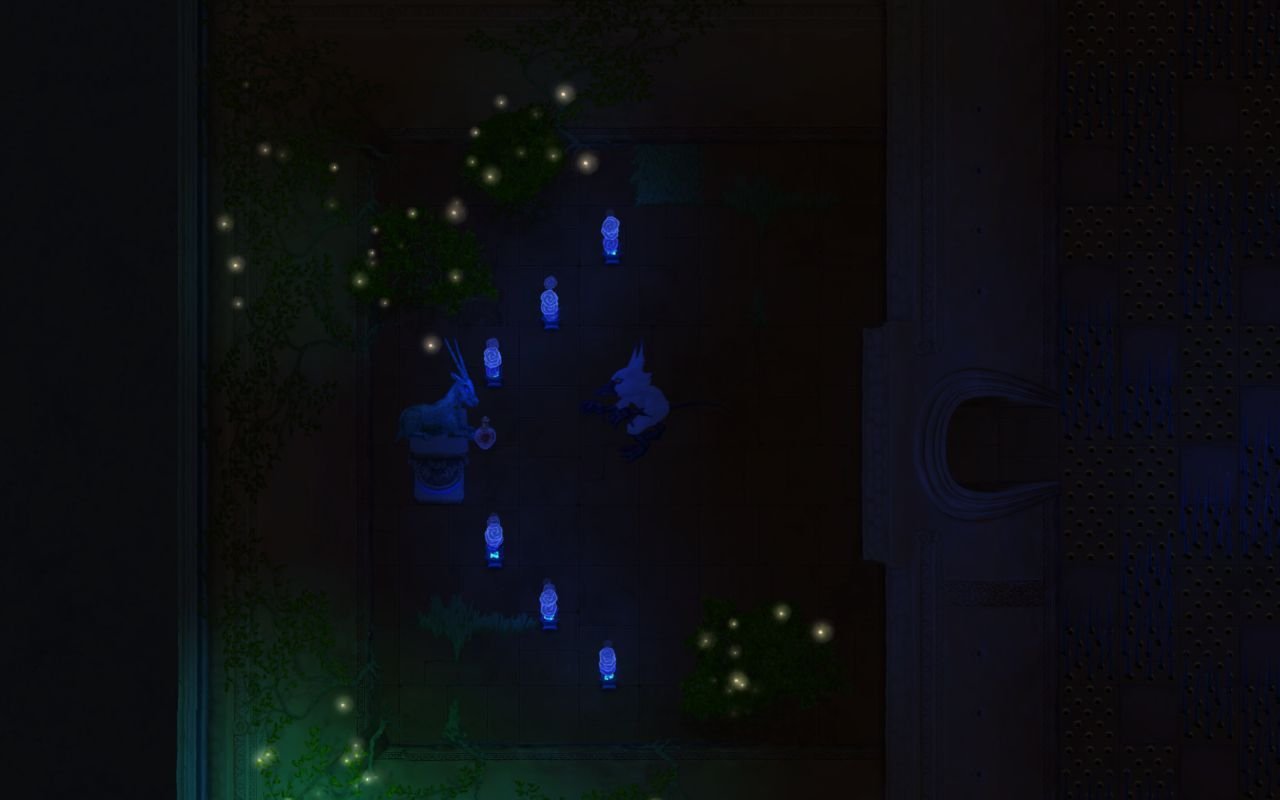
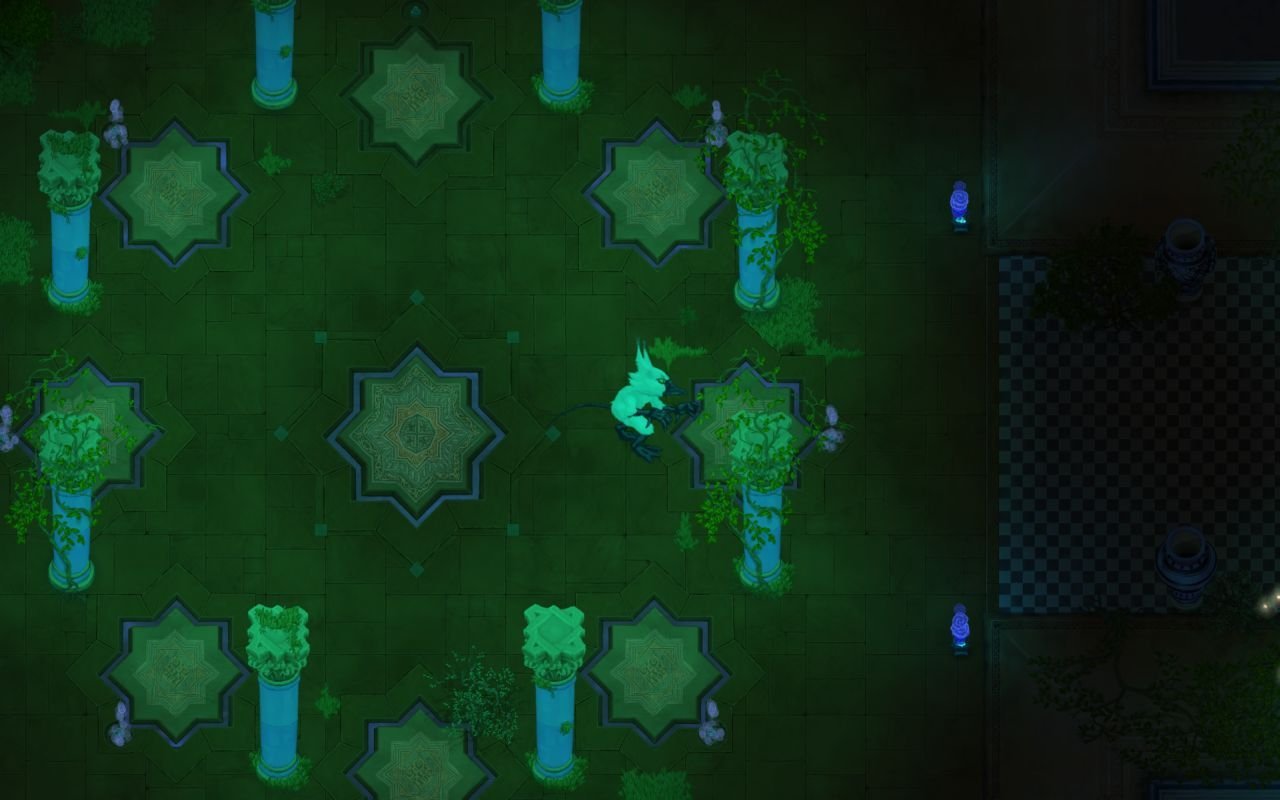
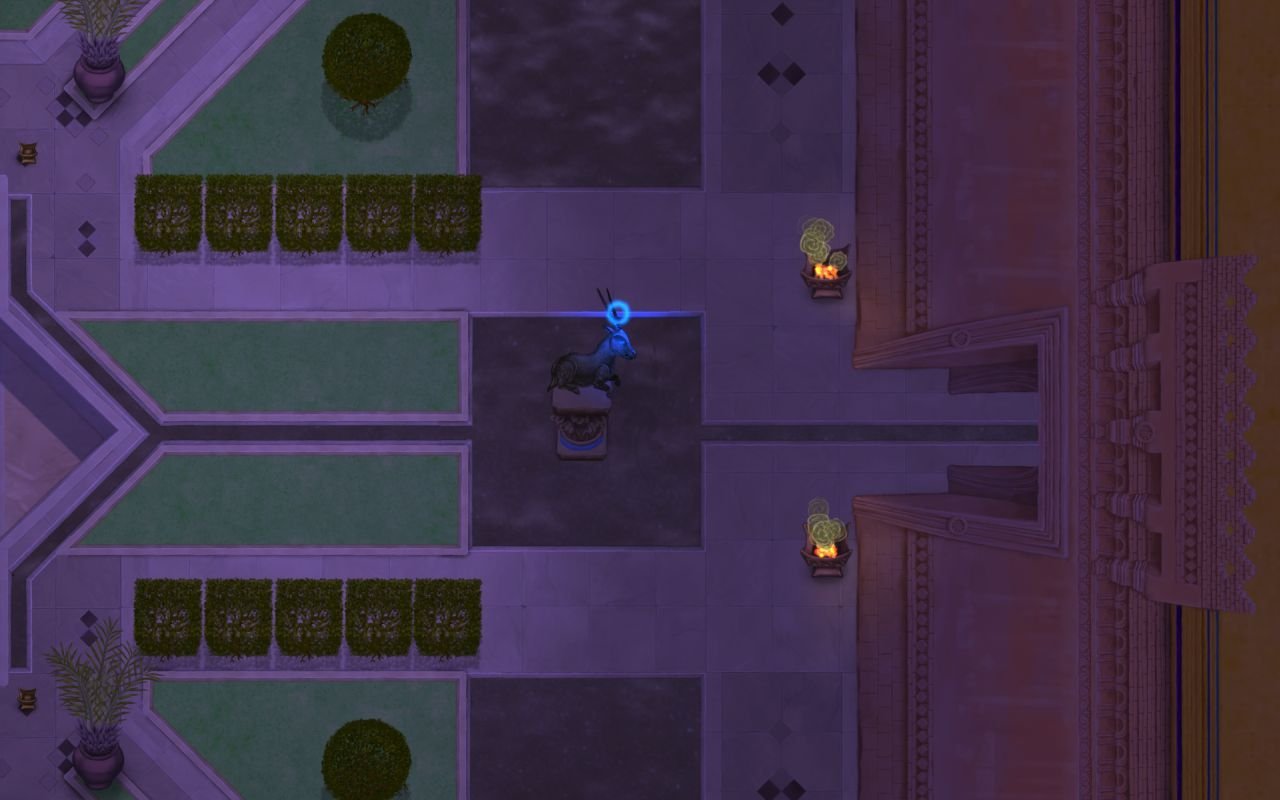
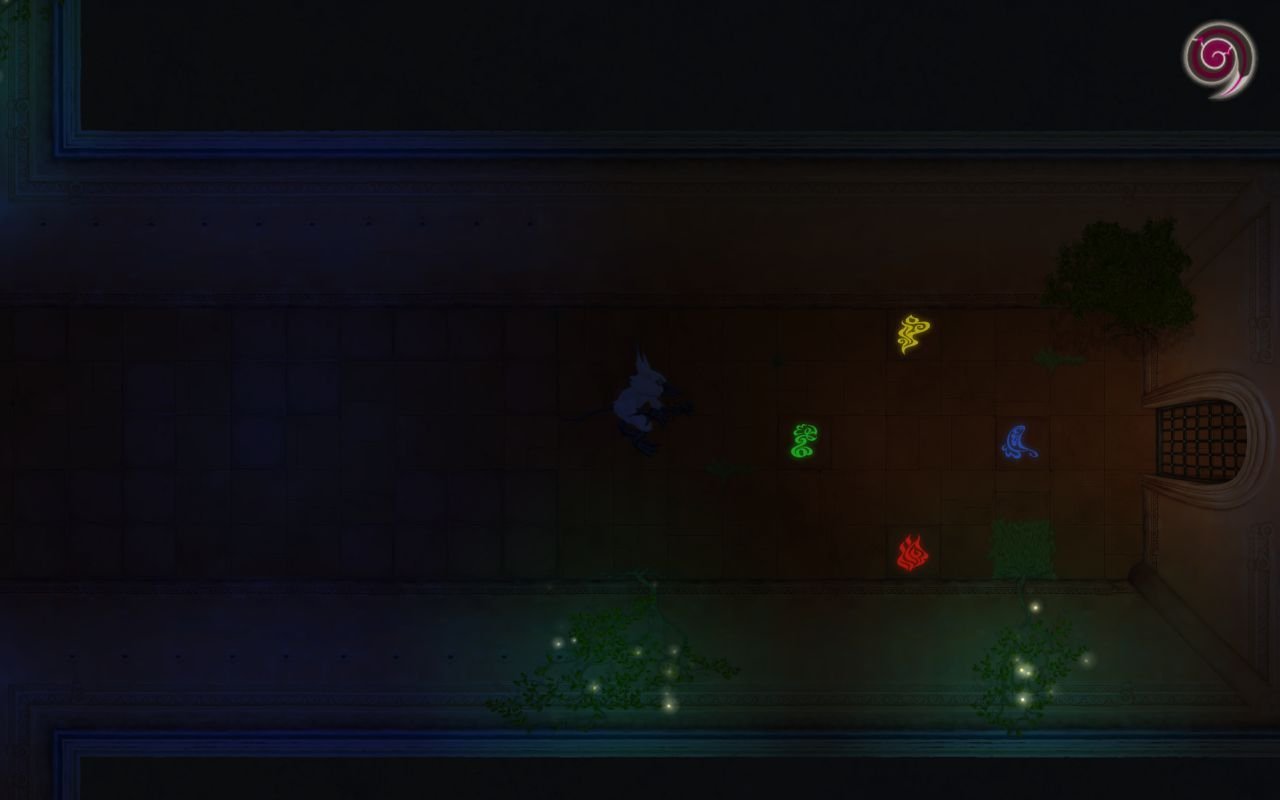
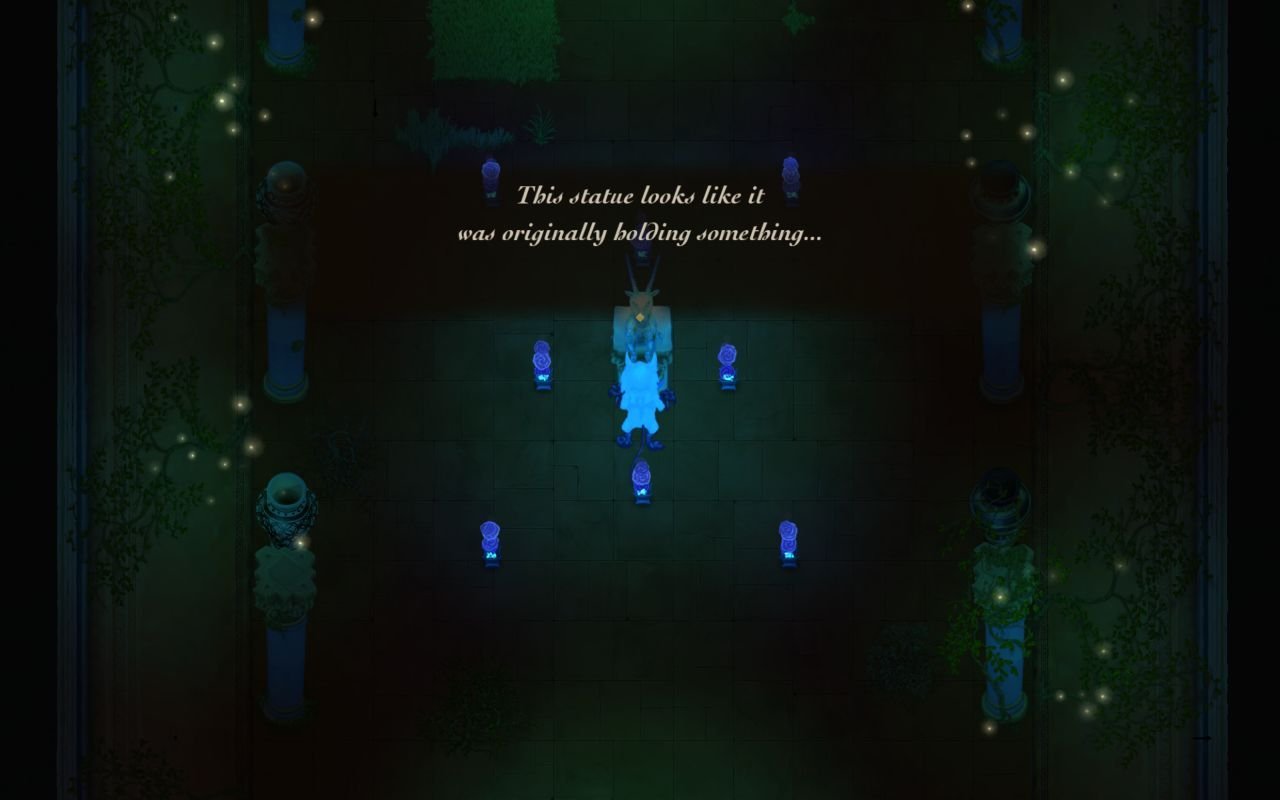
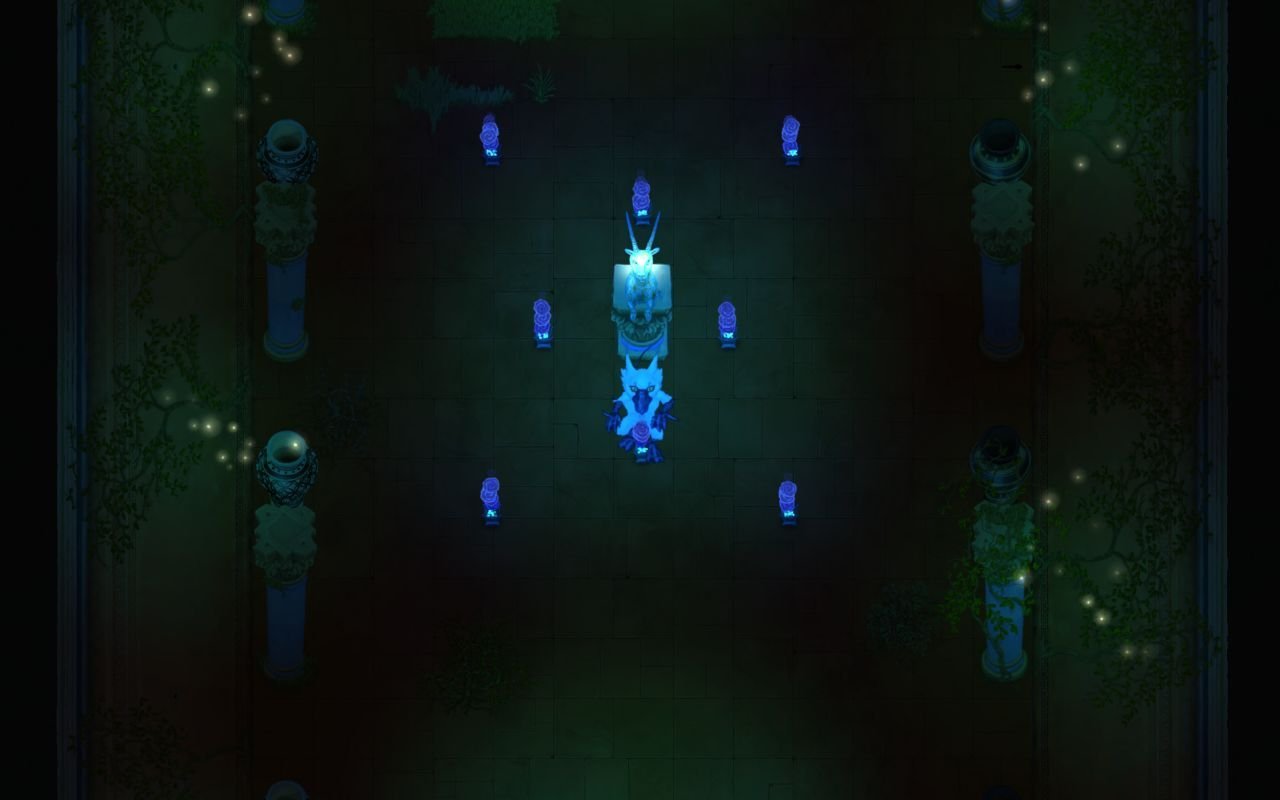
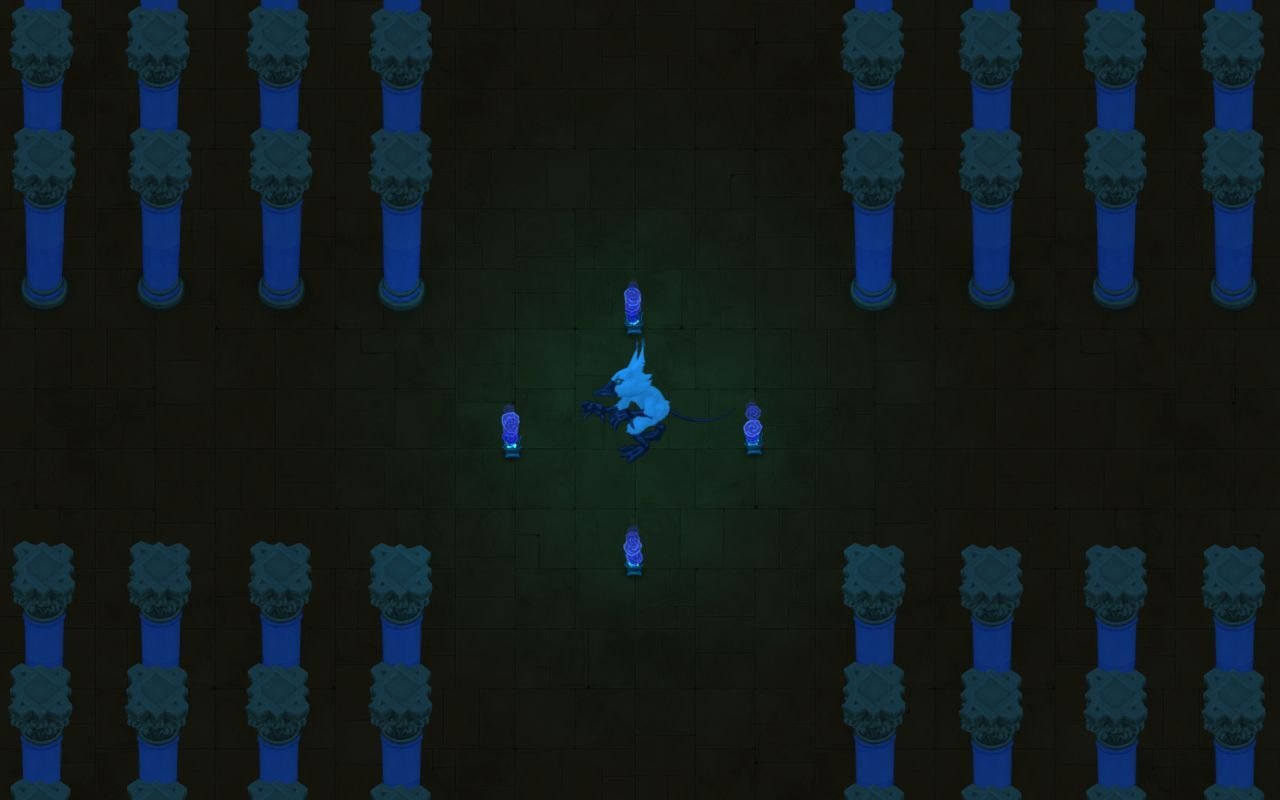
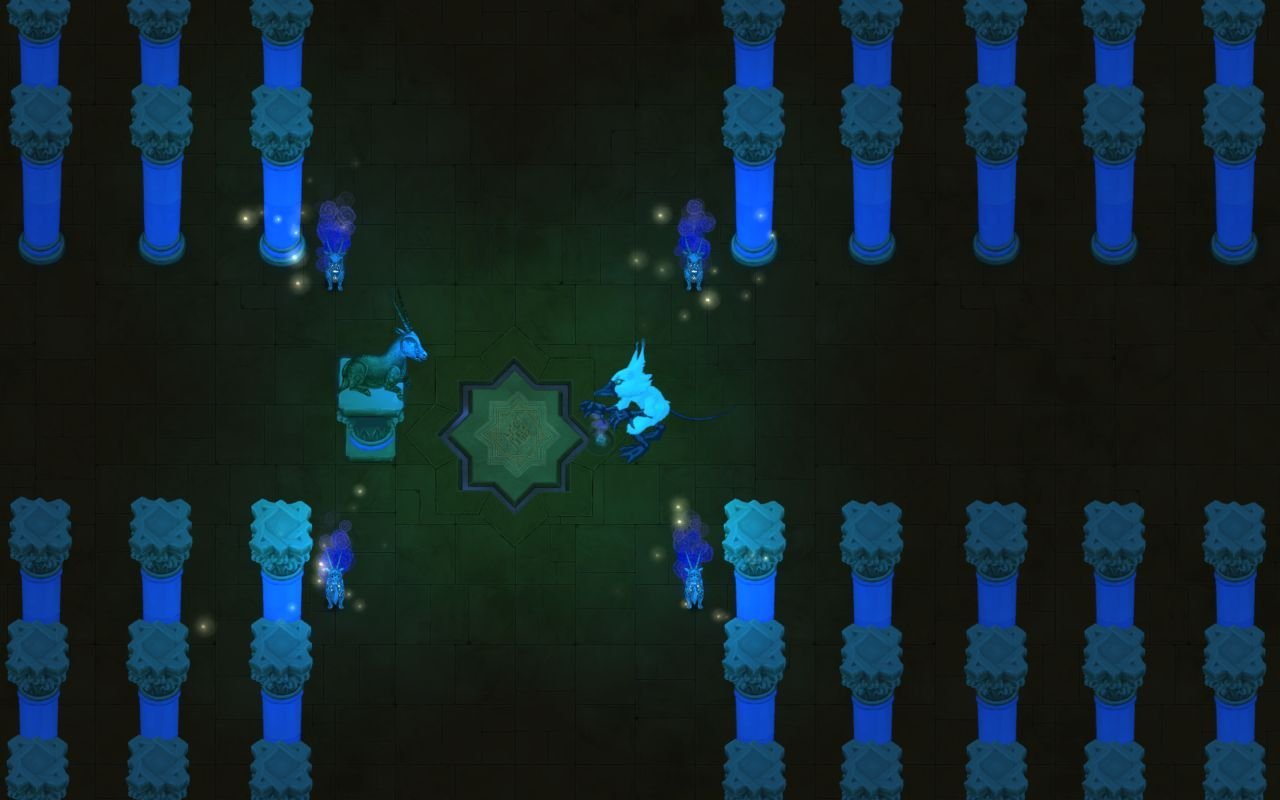
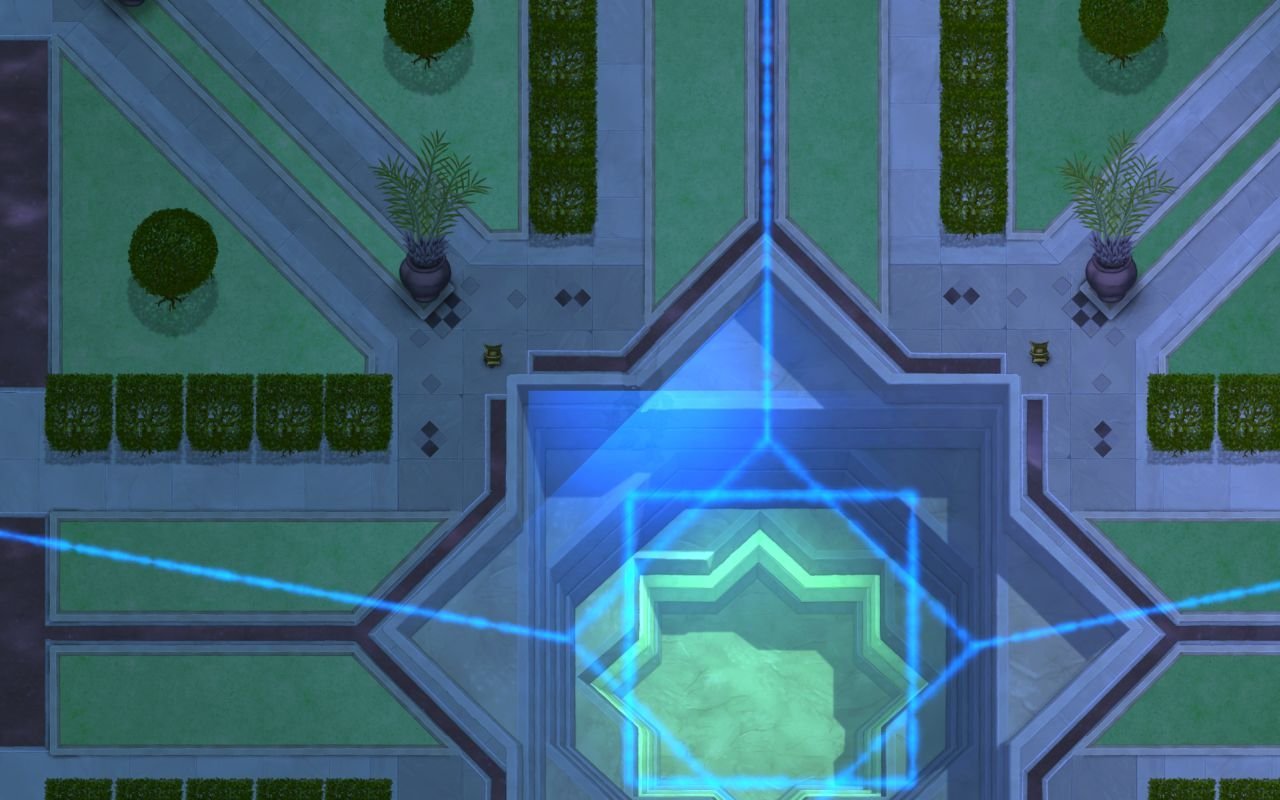
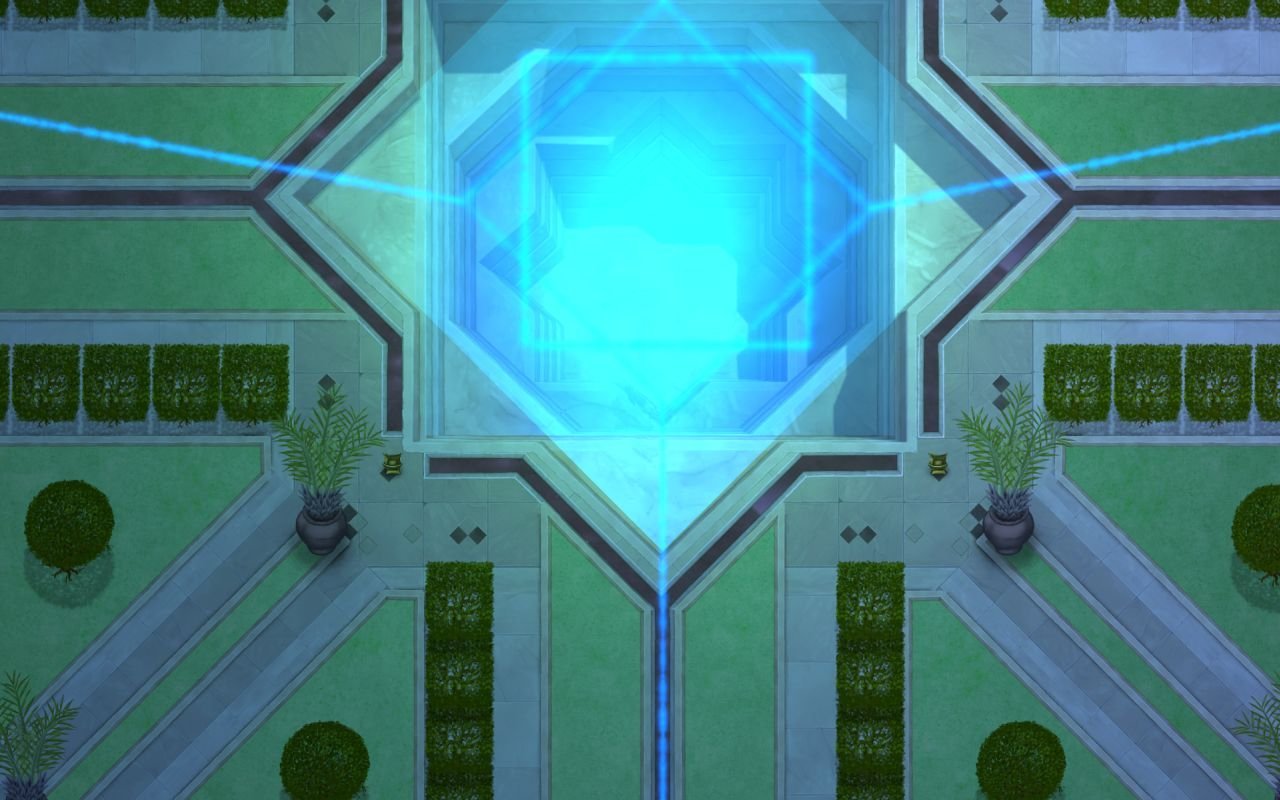
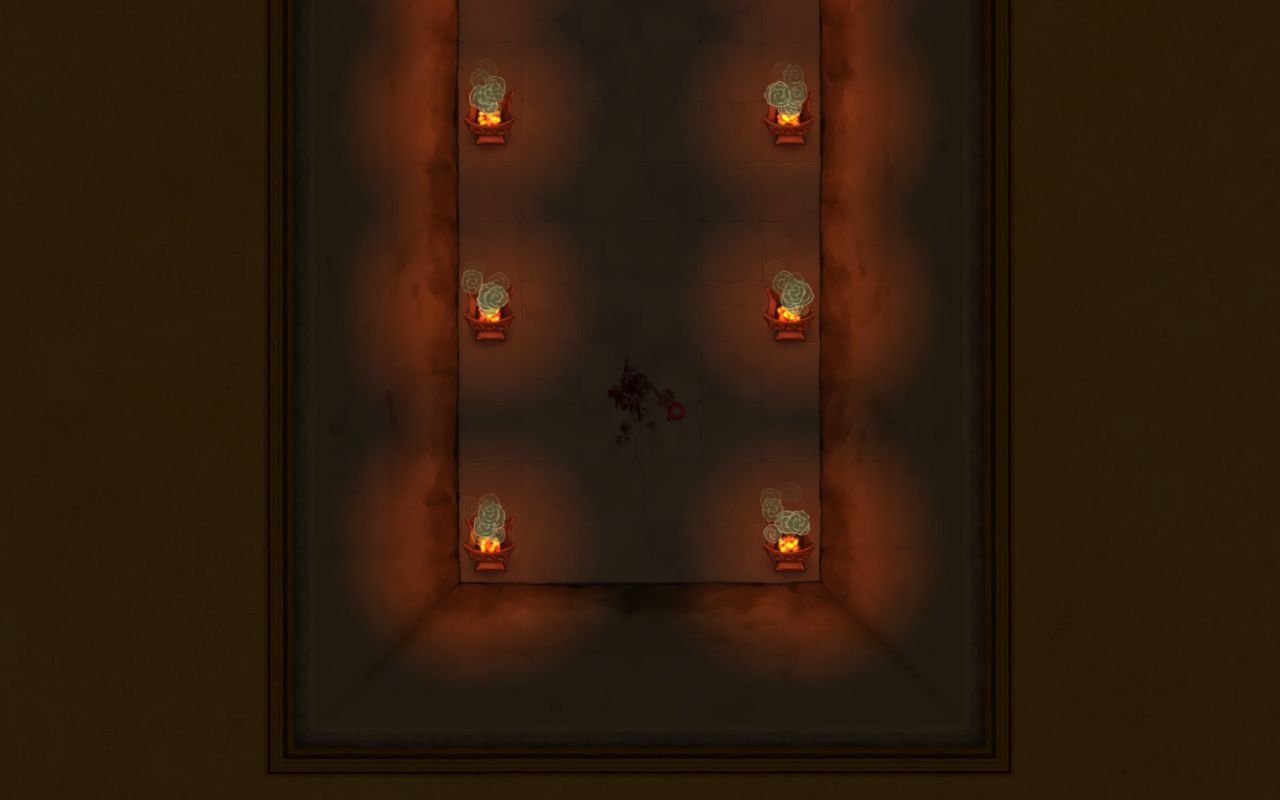
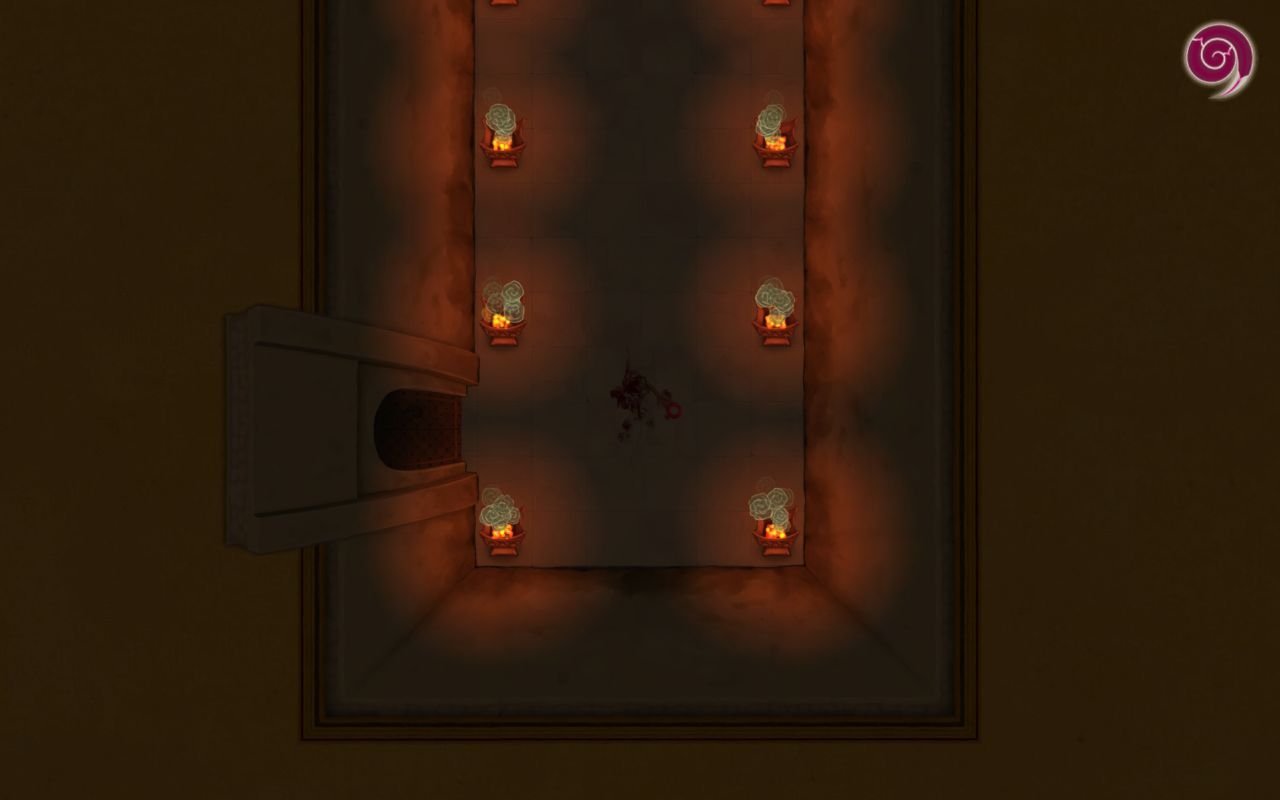
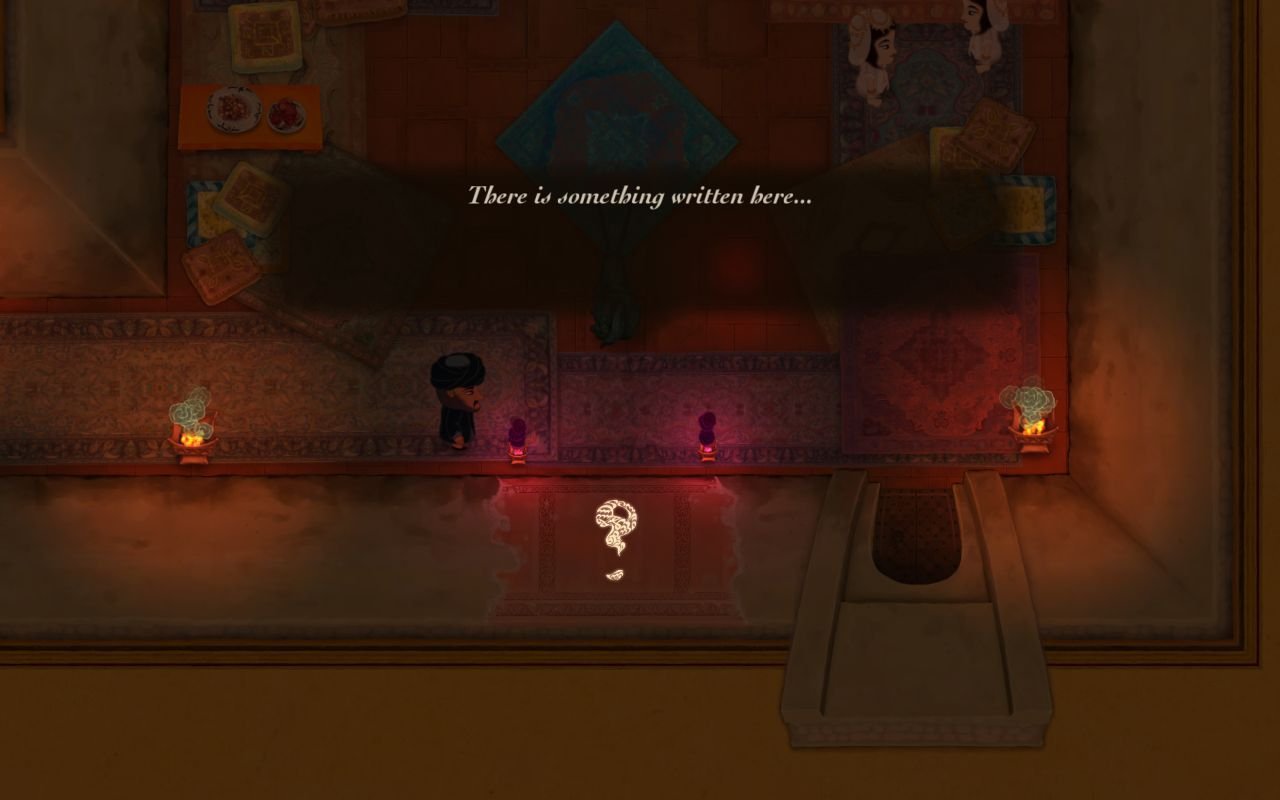
The guard is dead, we're clean. The riddle on the wall is incomplete, but enough for us to frob the pressure plates in this room. Each one lights up in a different color, and sounds a tone. When we step on a correct combination (trial and error or good ear), the eyes of the oryx and the censers on the south gate light up, while the gate itself opens. We'll see what's behind the south gate, before proceeding west.
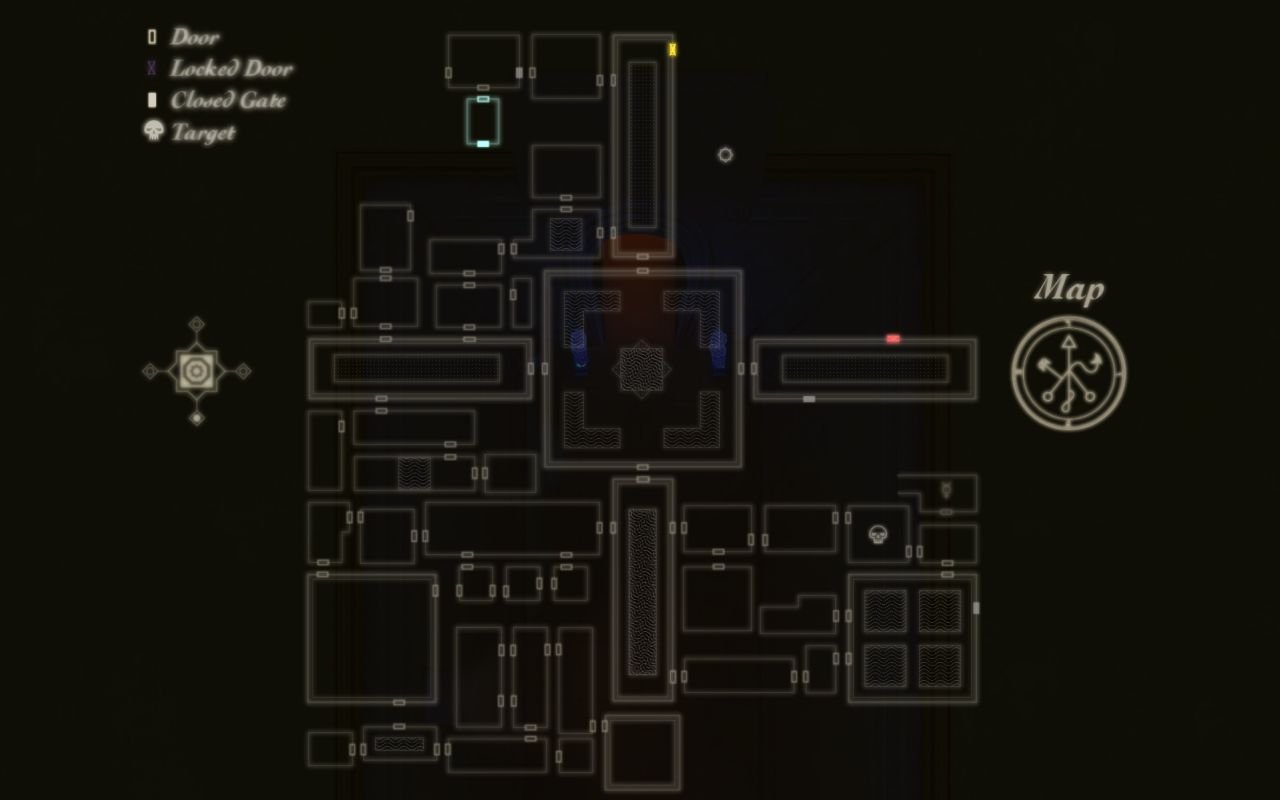

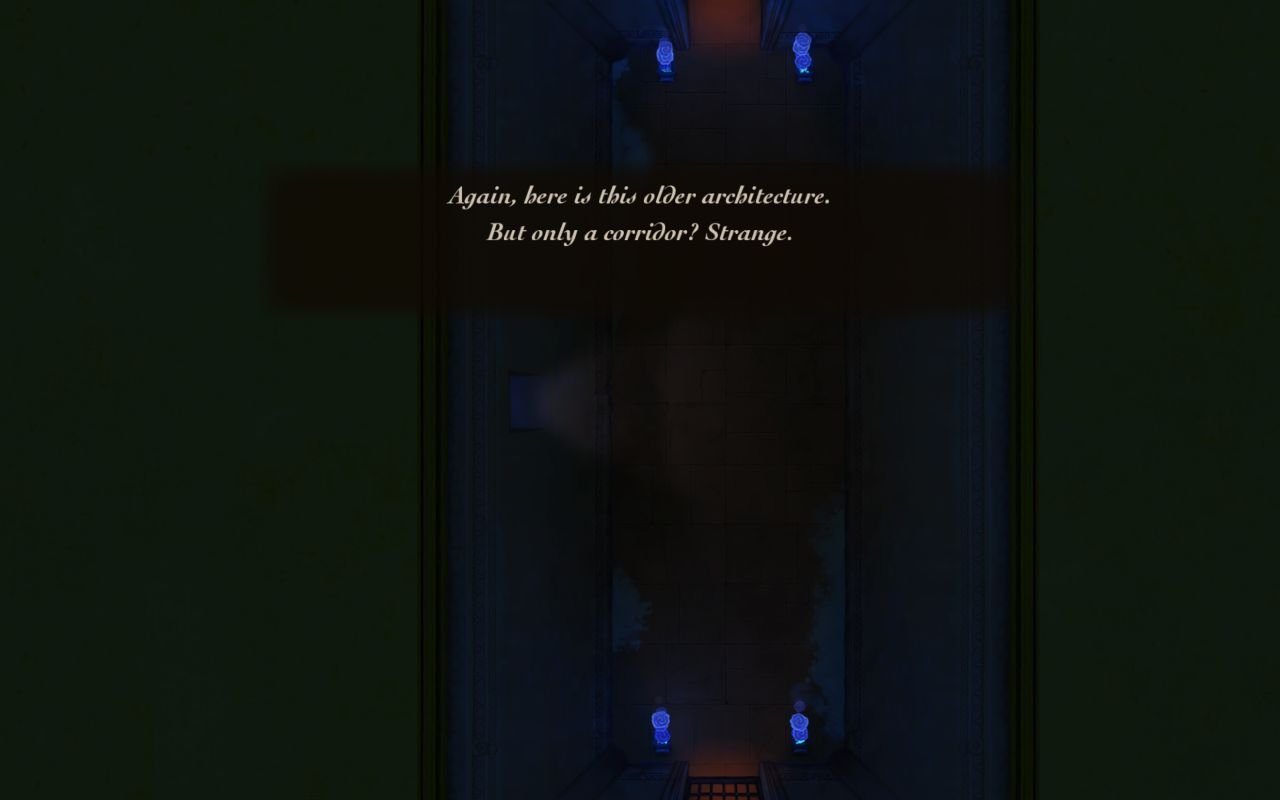
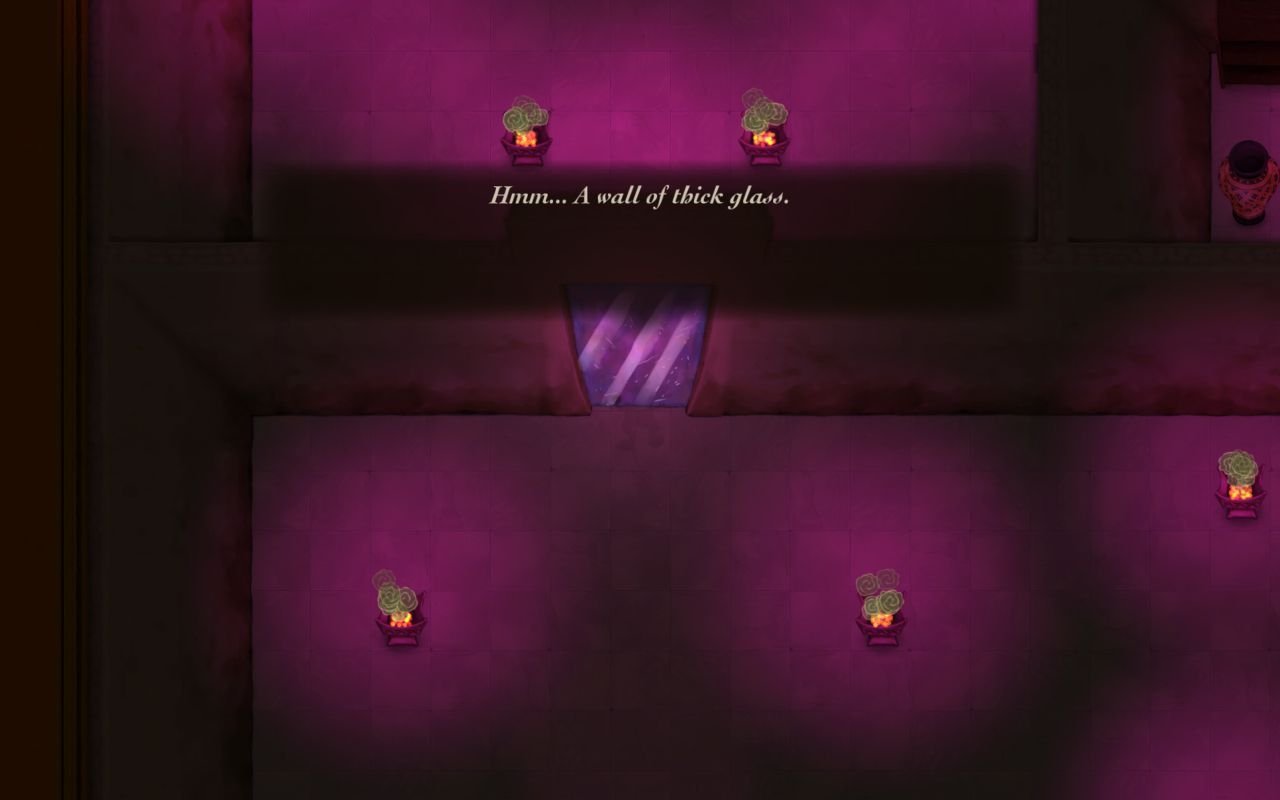
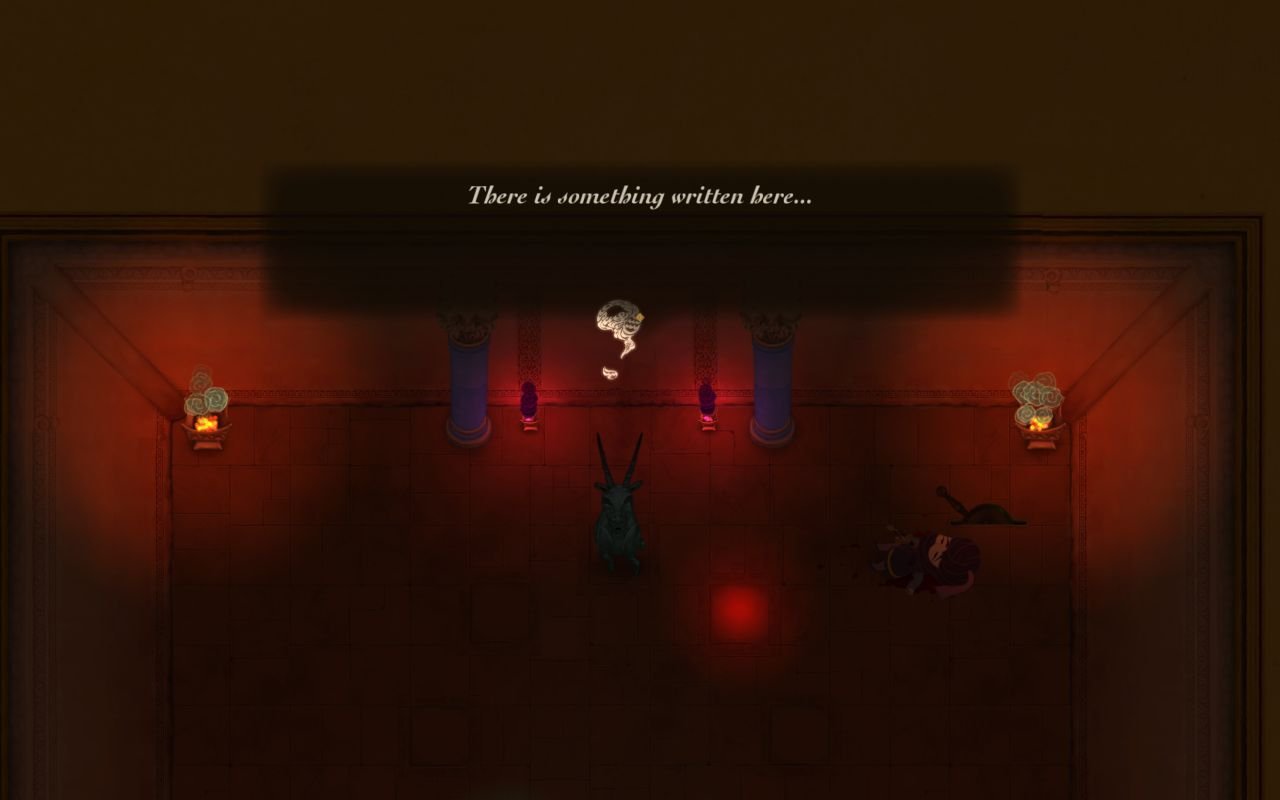
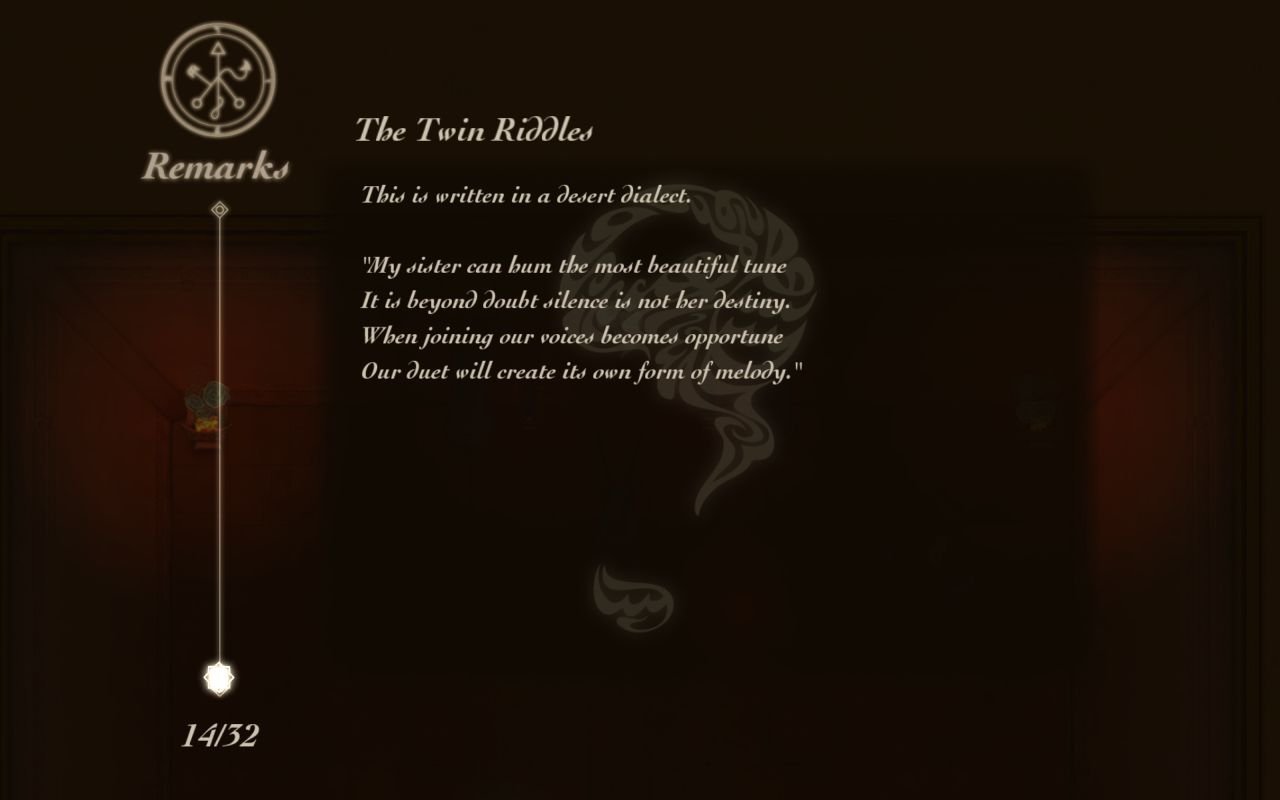
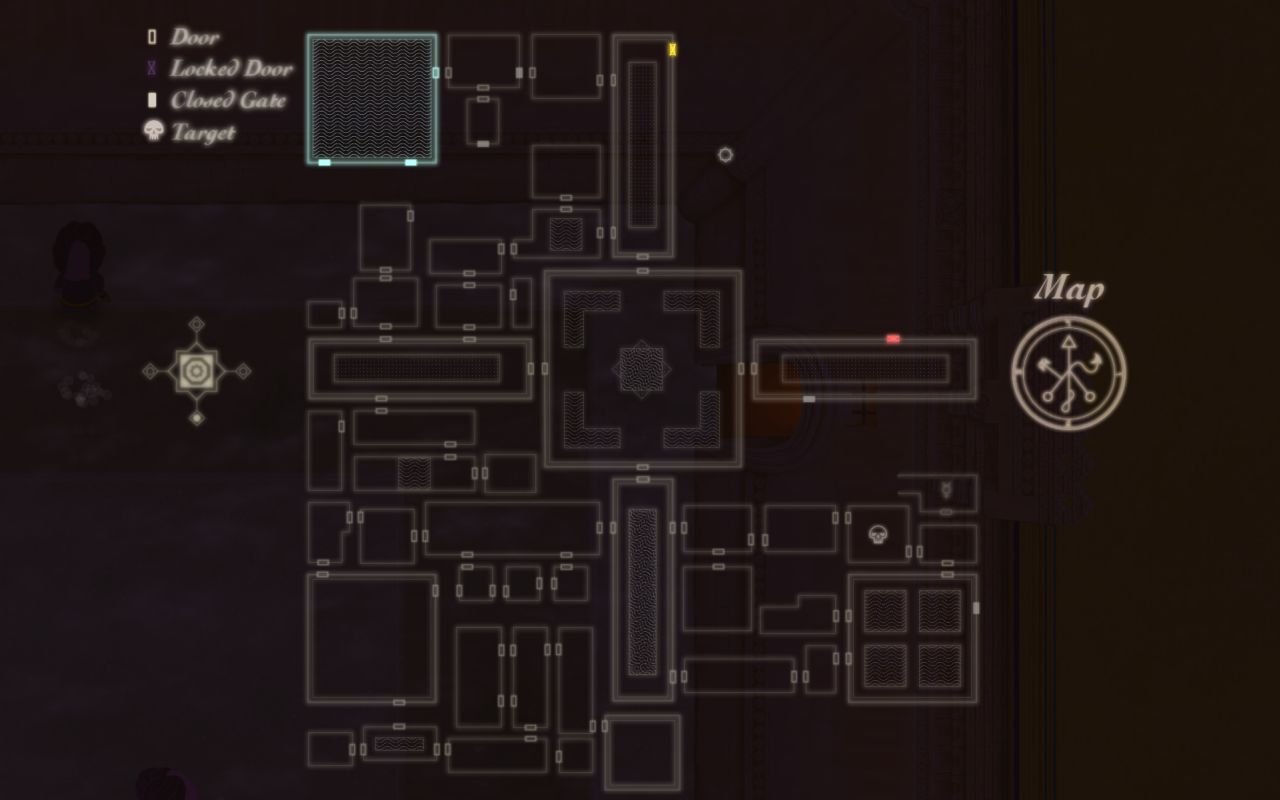
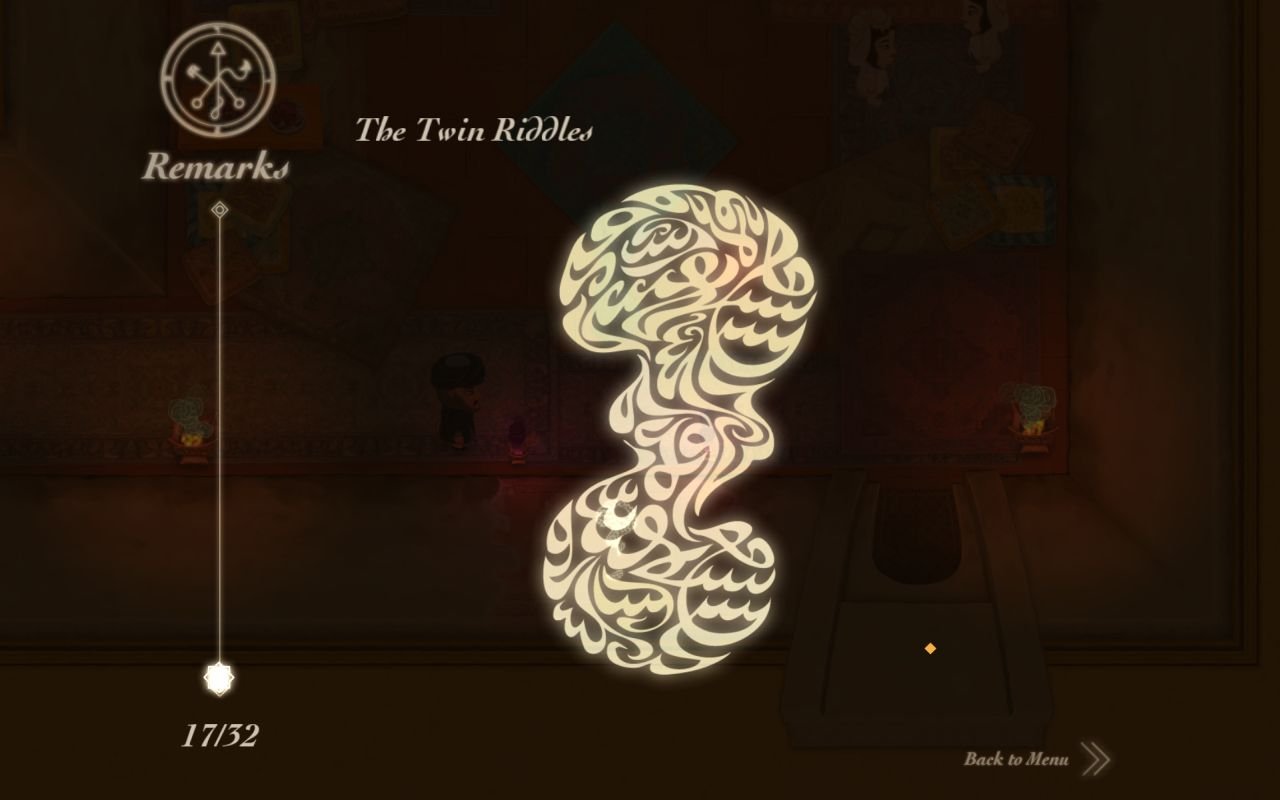
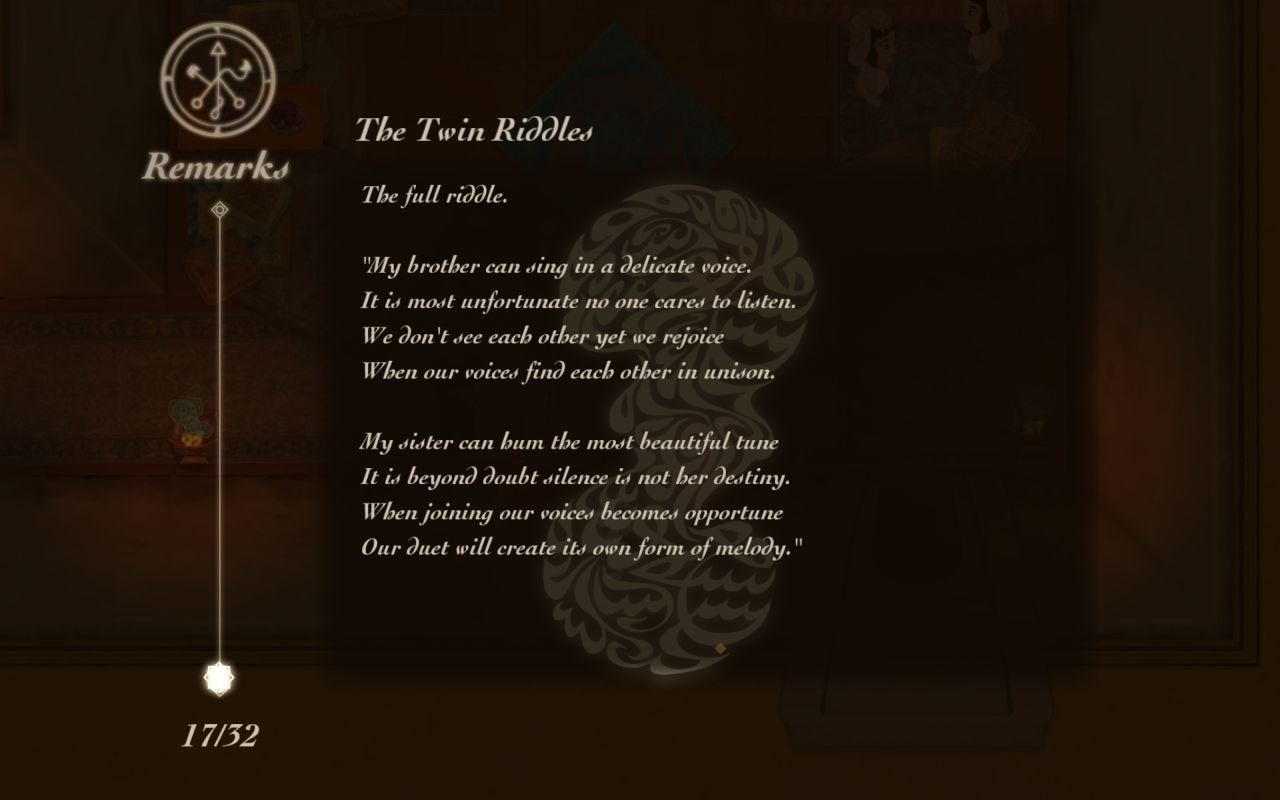
Just a passage, locked by a gate. Judging from the The Twin Riddle, there will be a symmetrical room with oryx on the other side.
Nothing more to do now, but to go back and proceed to the west, through the gate with water under it.
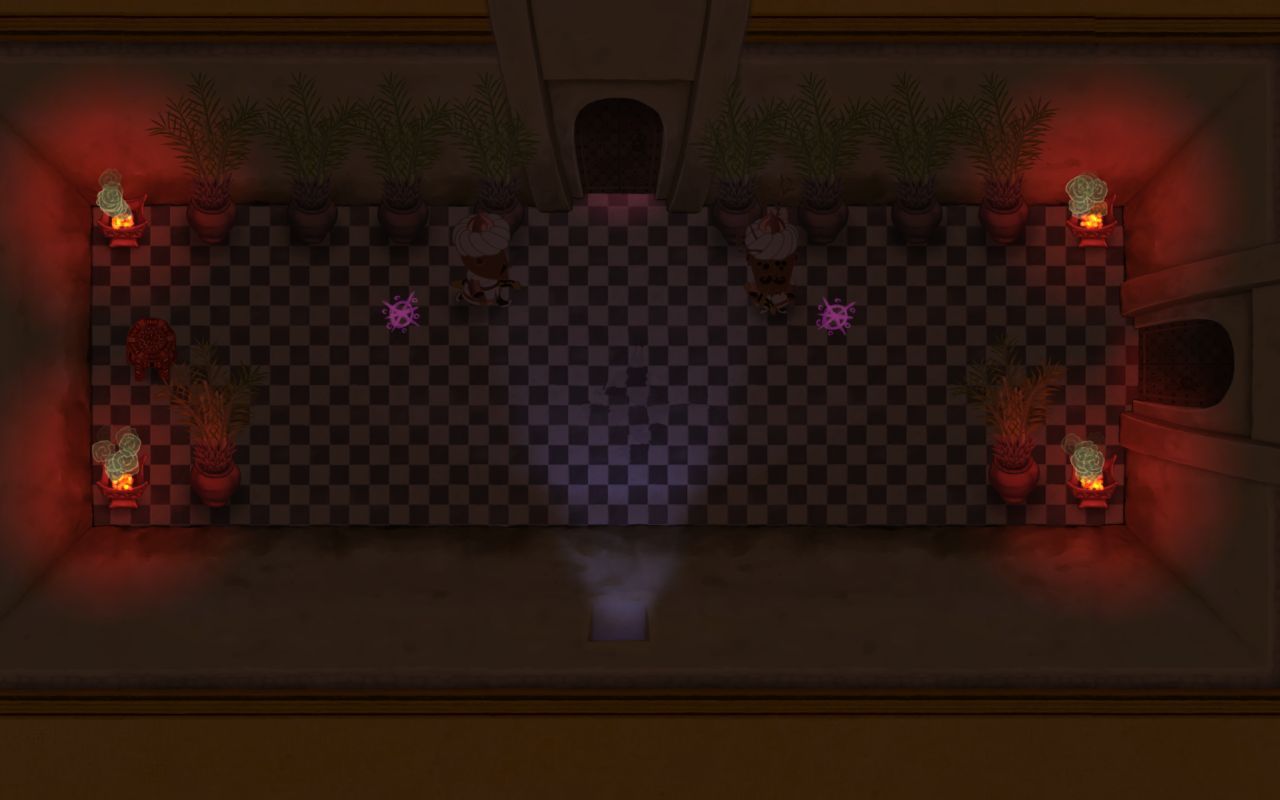
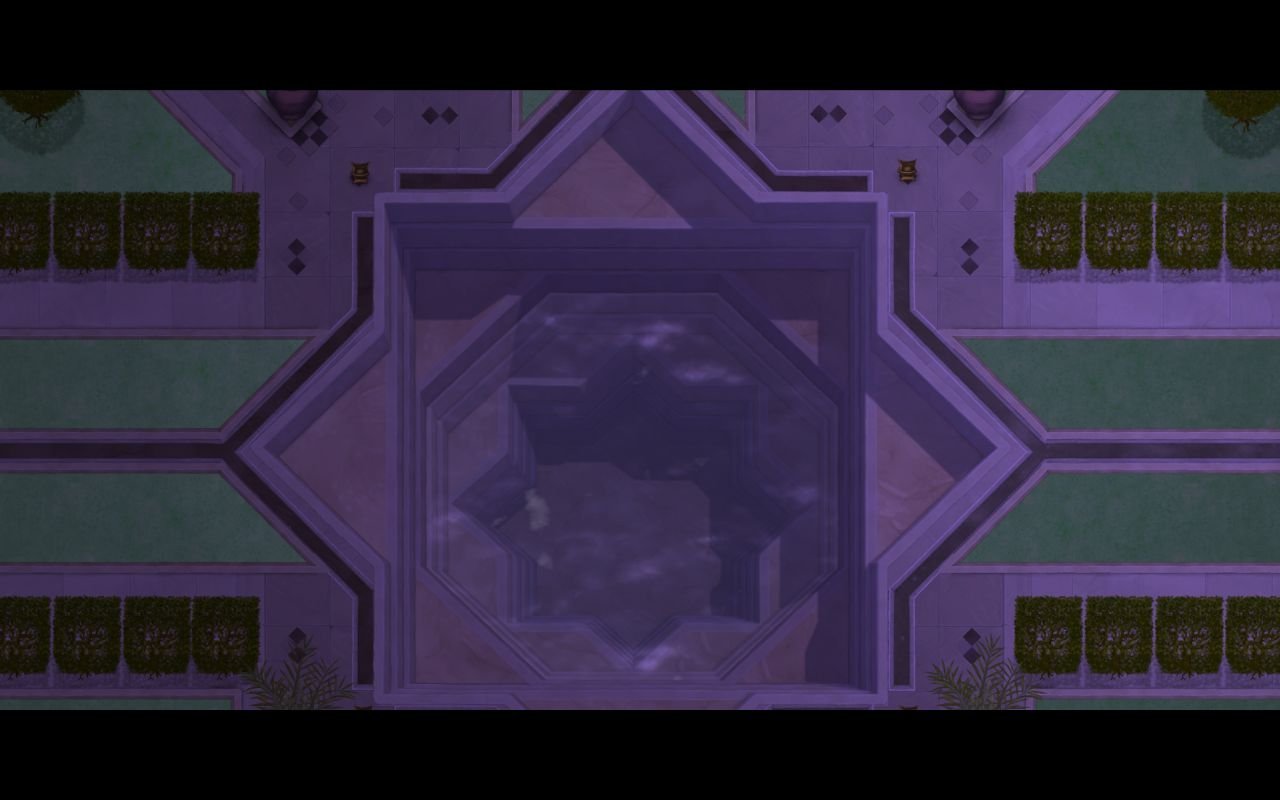
We enter a large, flooded patio, guarded by four masked women. There are two gates on the south side, one of which may be opened via the lever in this room. Unfortunately, it is a timed gate, and a very fast one to boot. The guards will be killed, although it is rather tricky, with water giving away our position. The key to success is killing them when they are as far apart as possible.
After the guards are dispatched we can proceed through the open east gate.

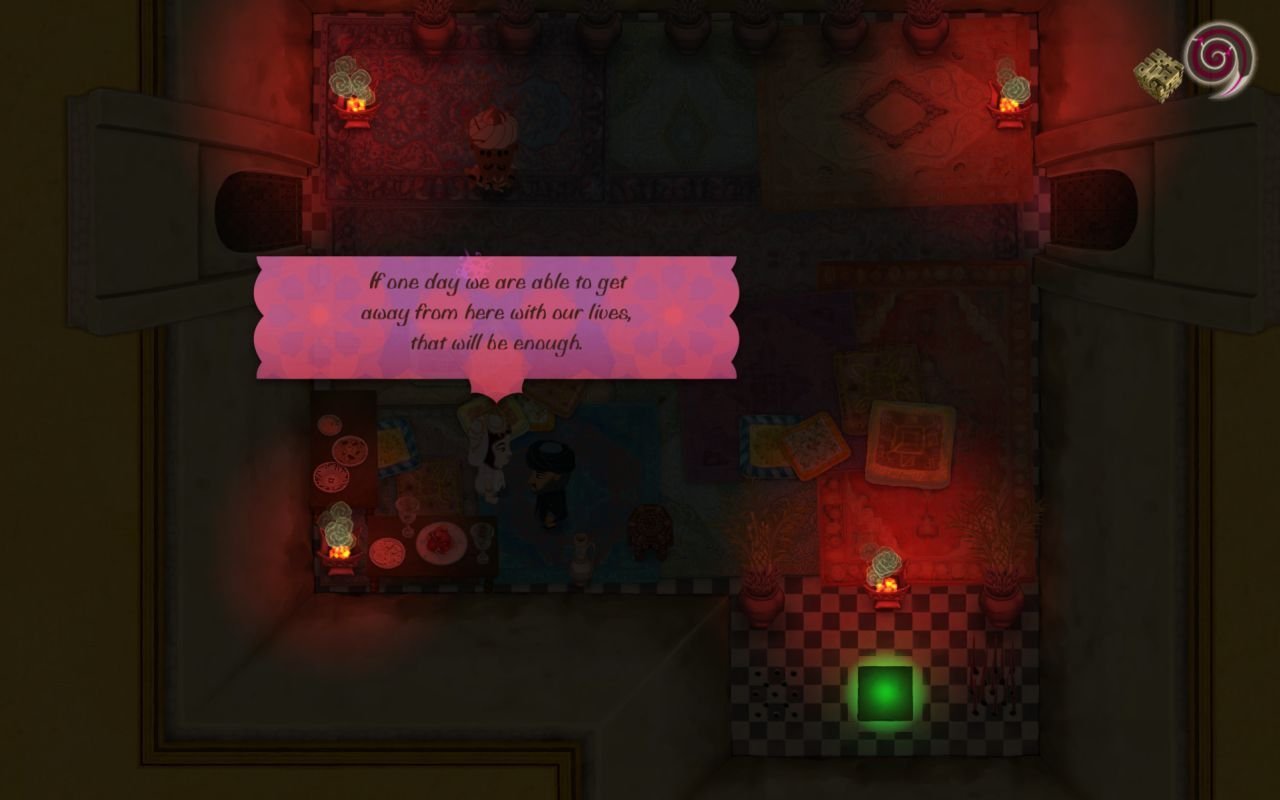
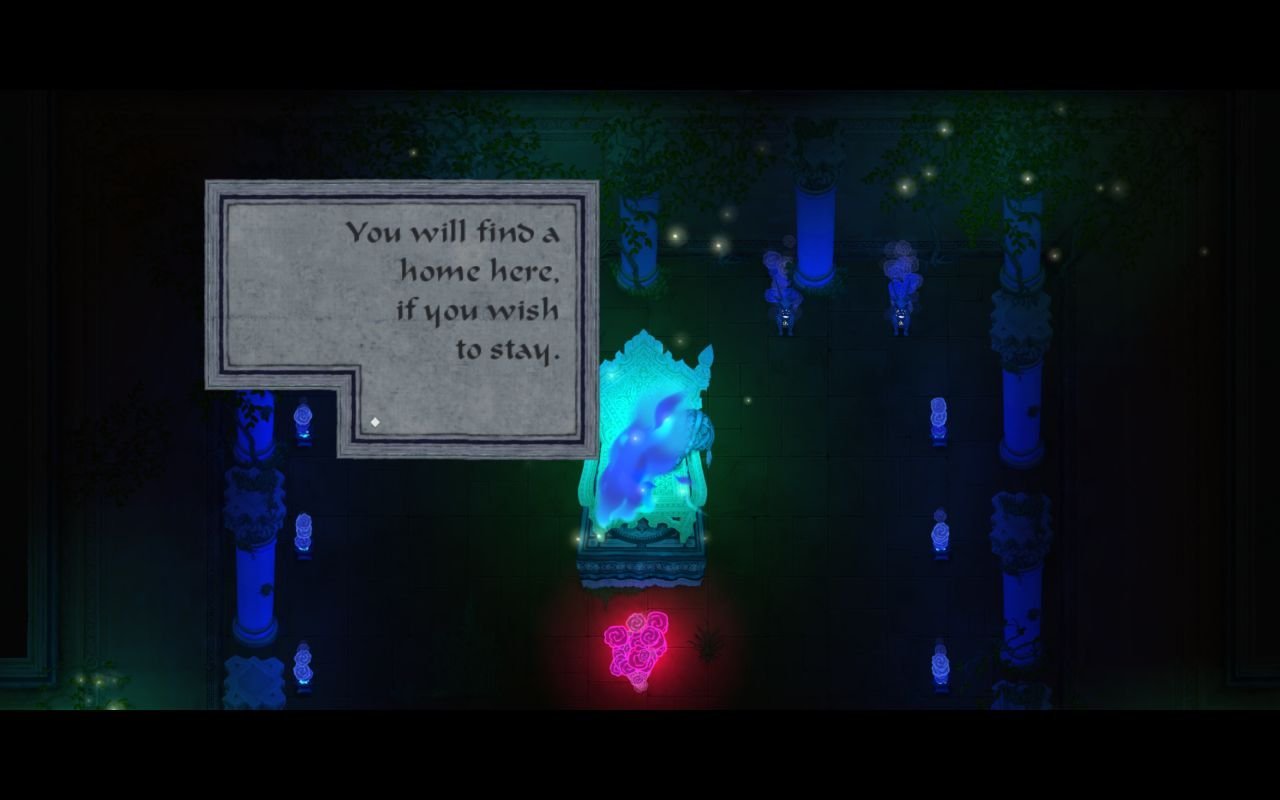
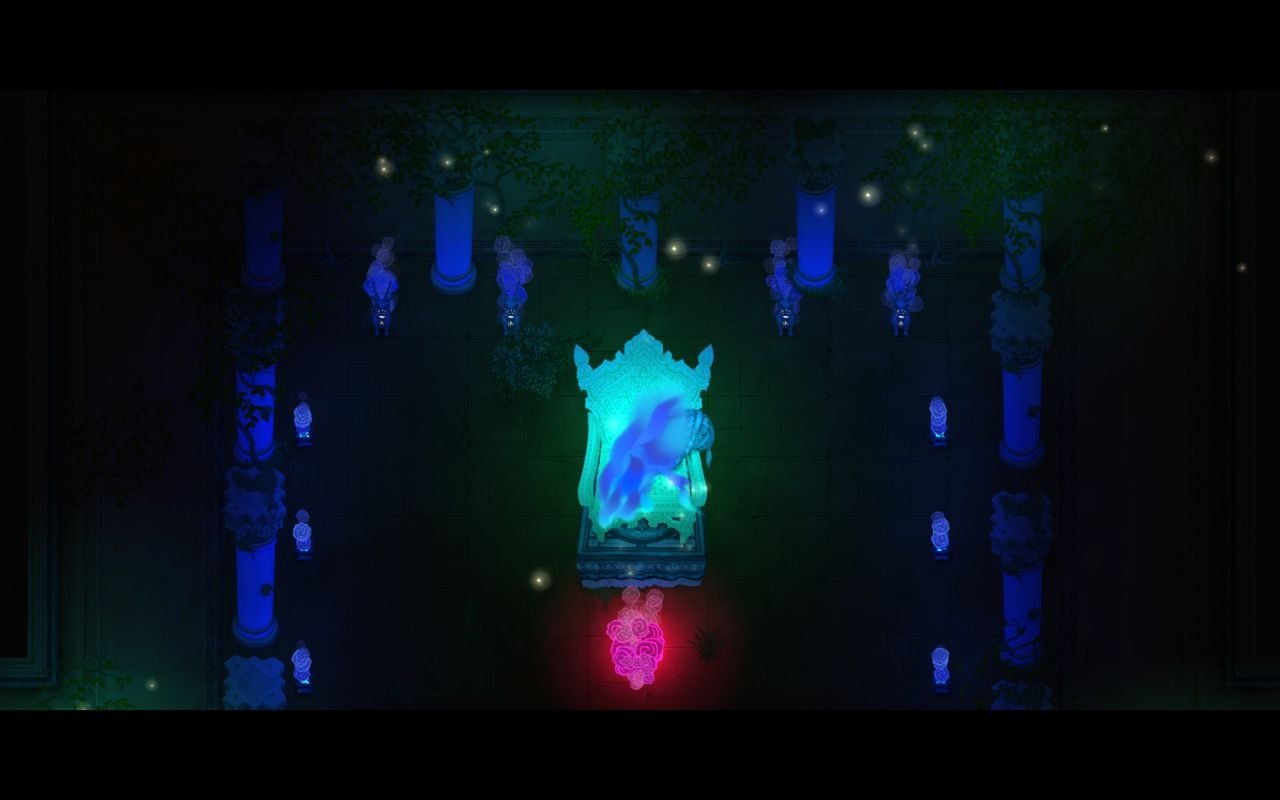
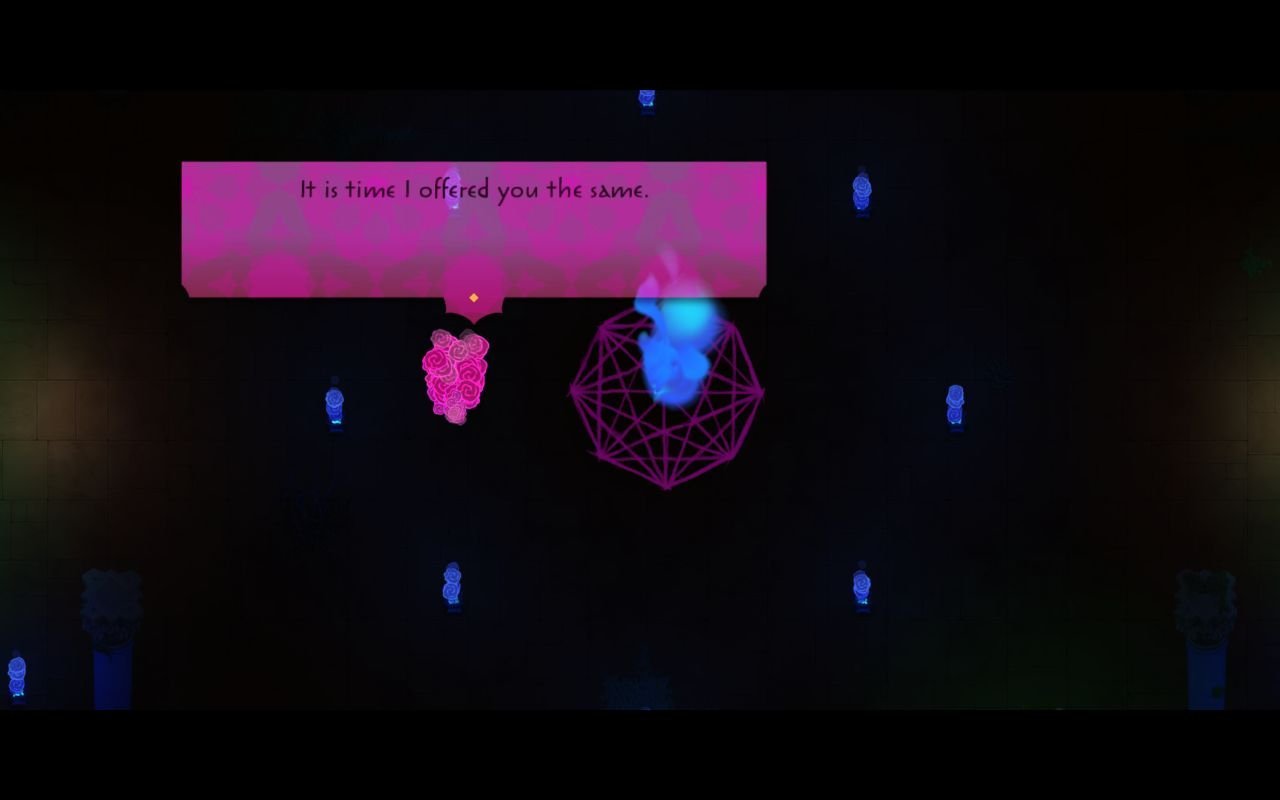
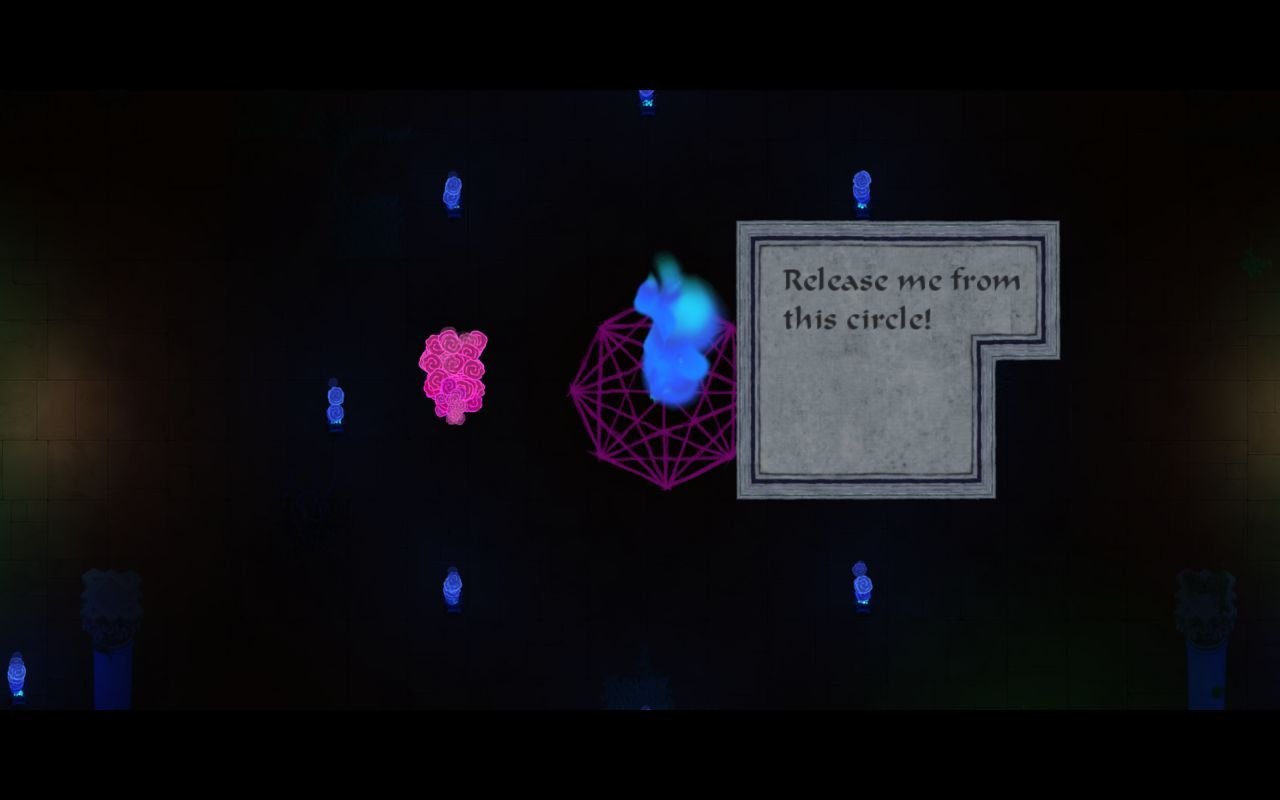
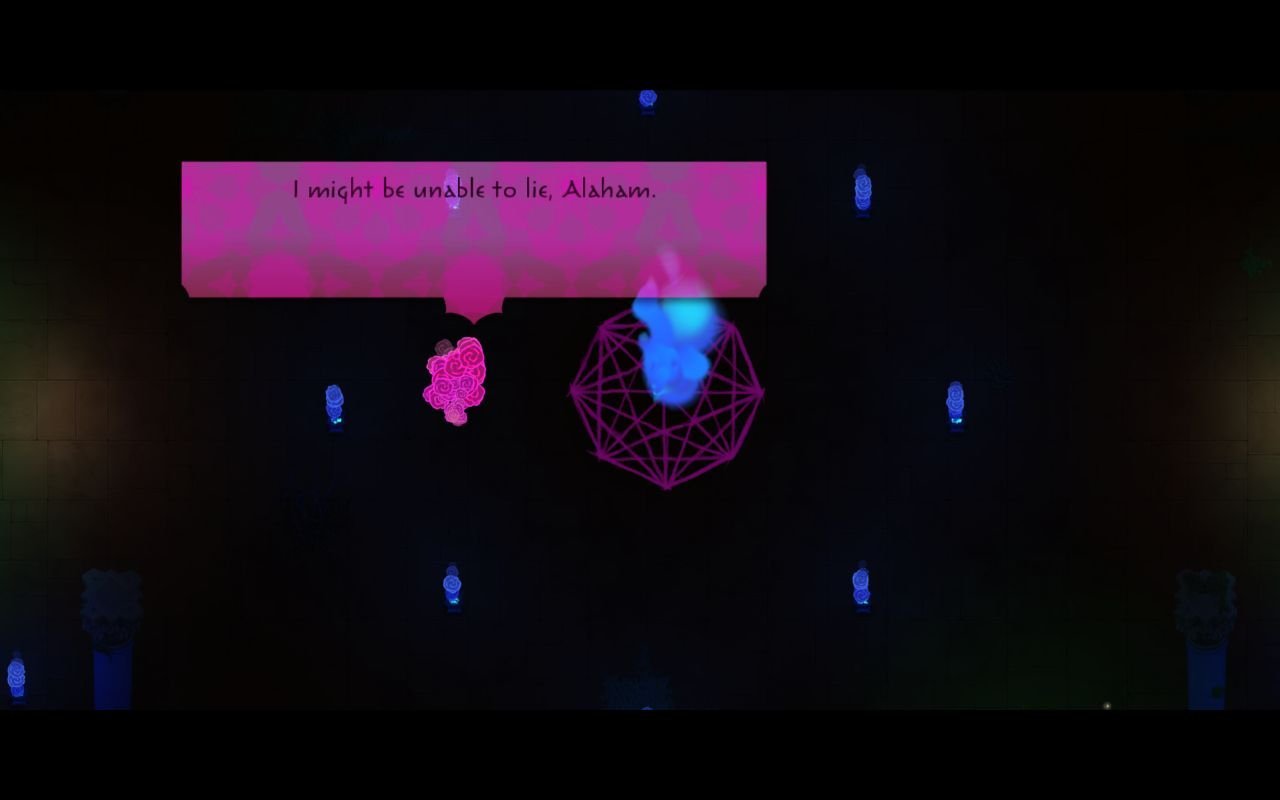
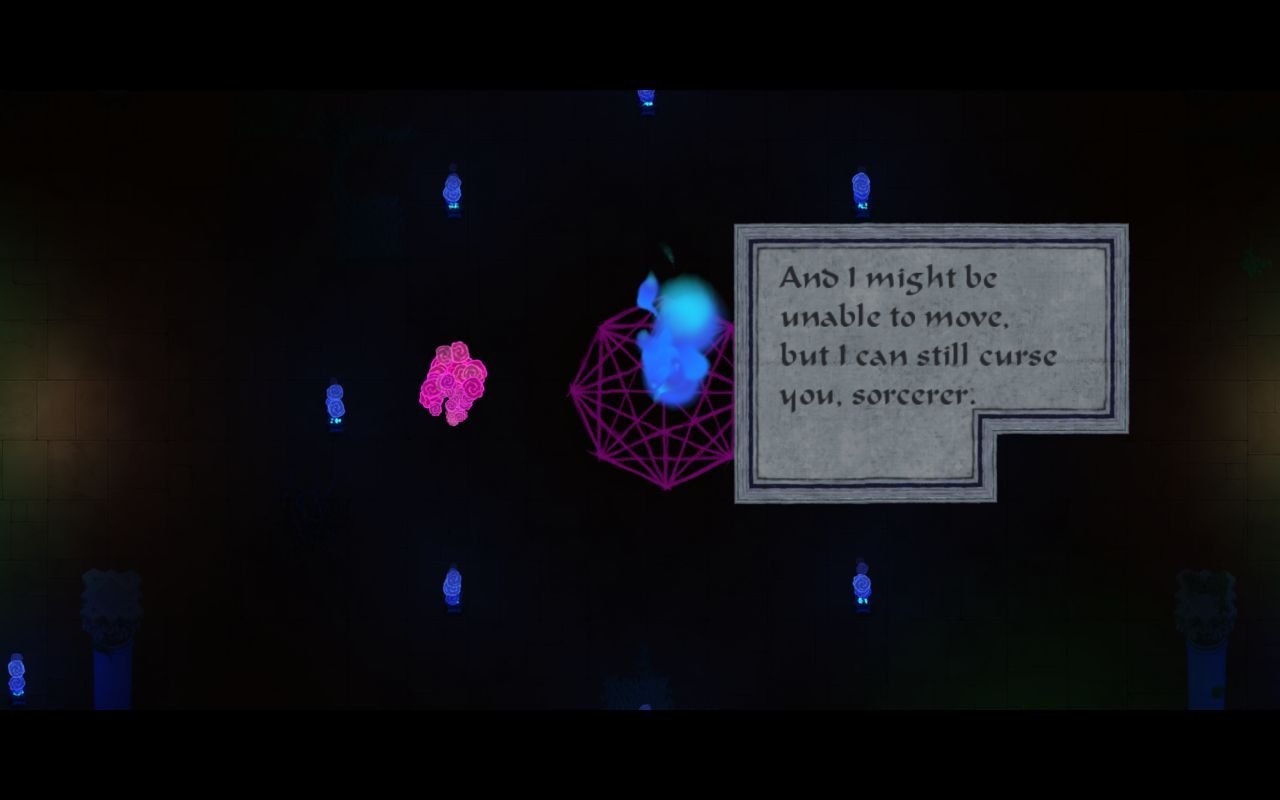
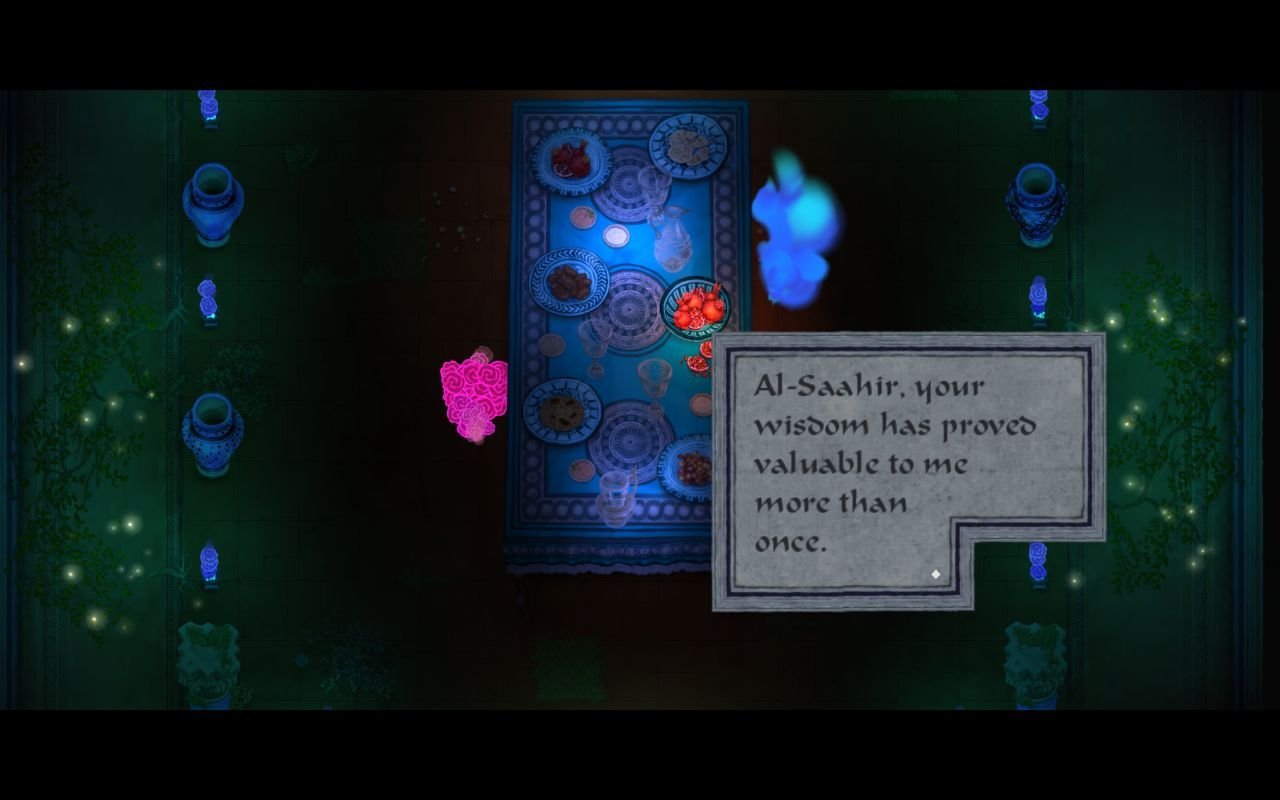
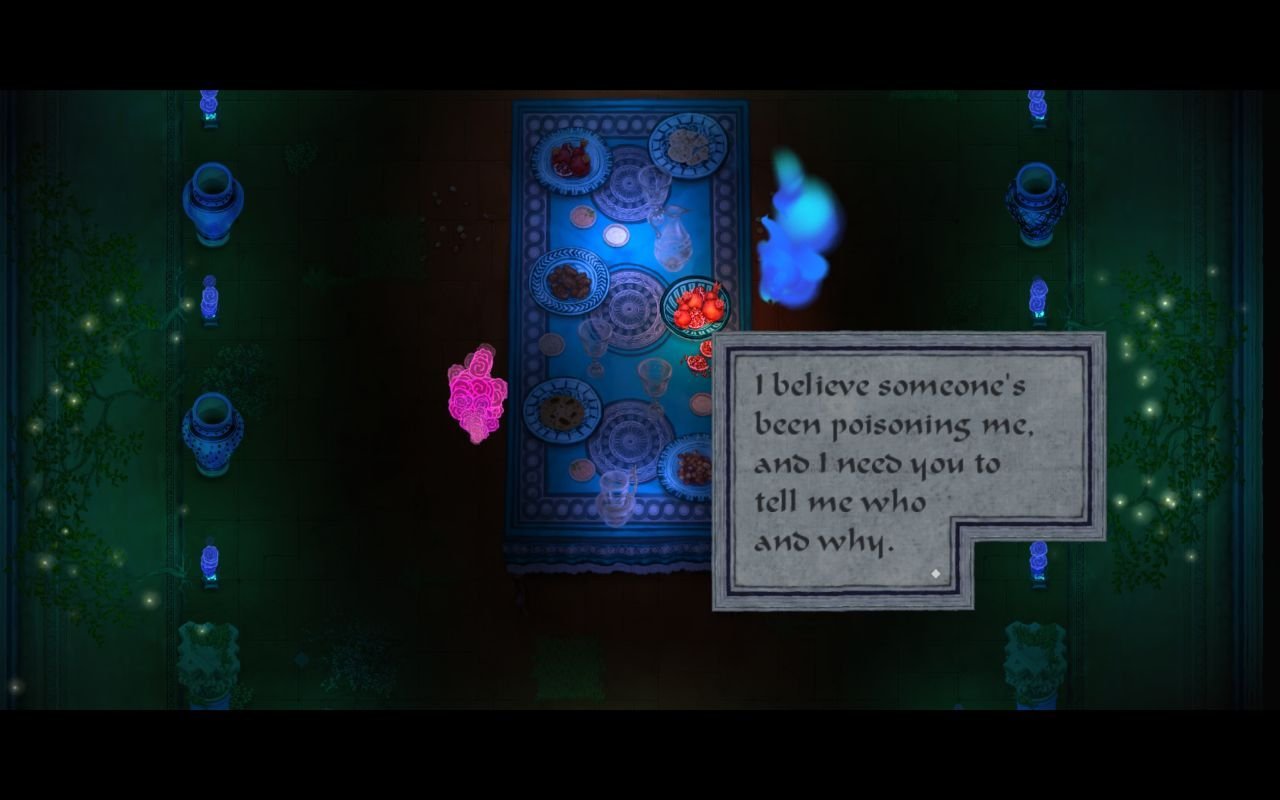
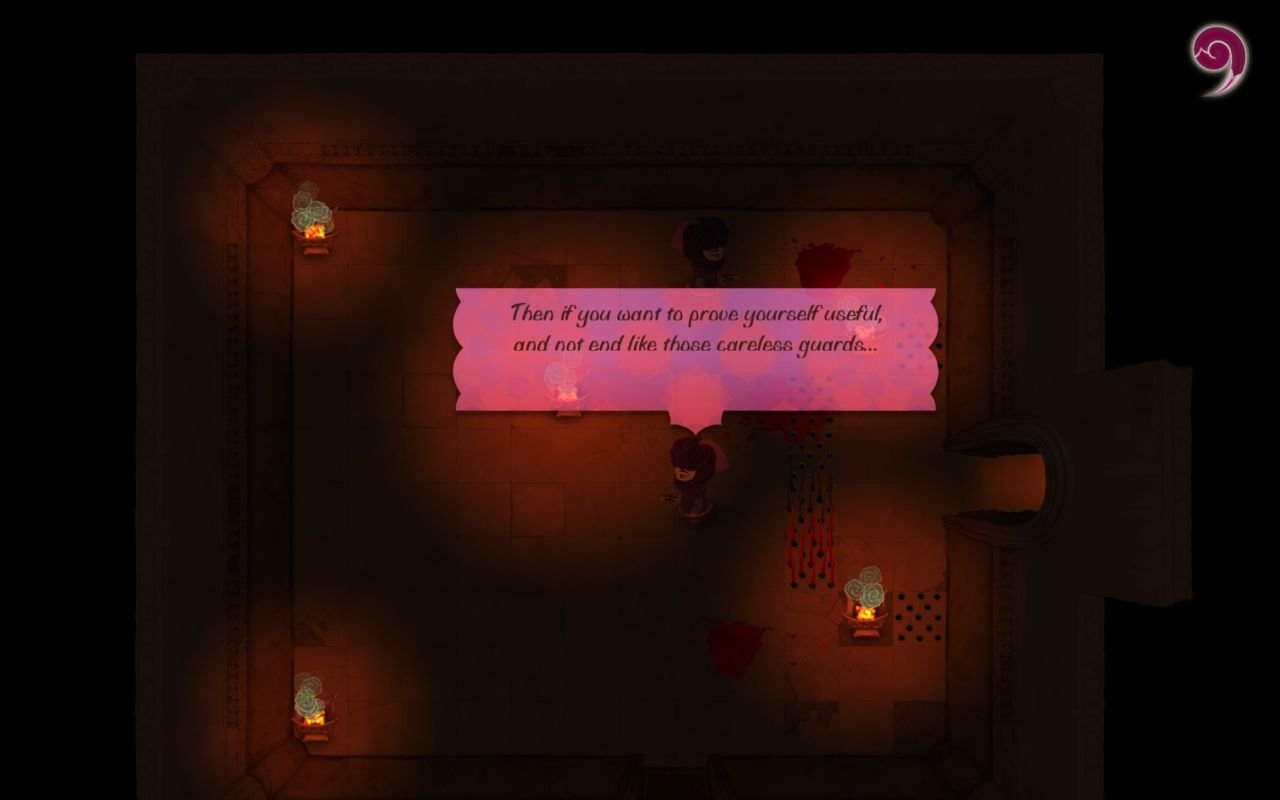
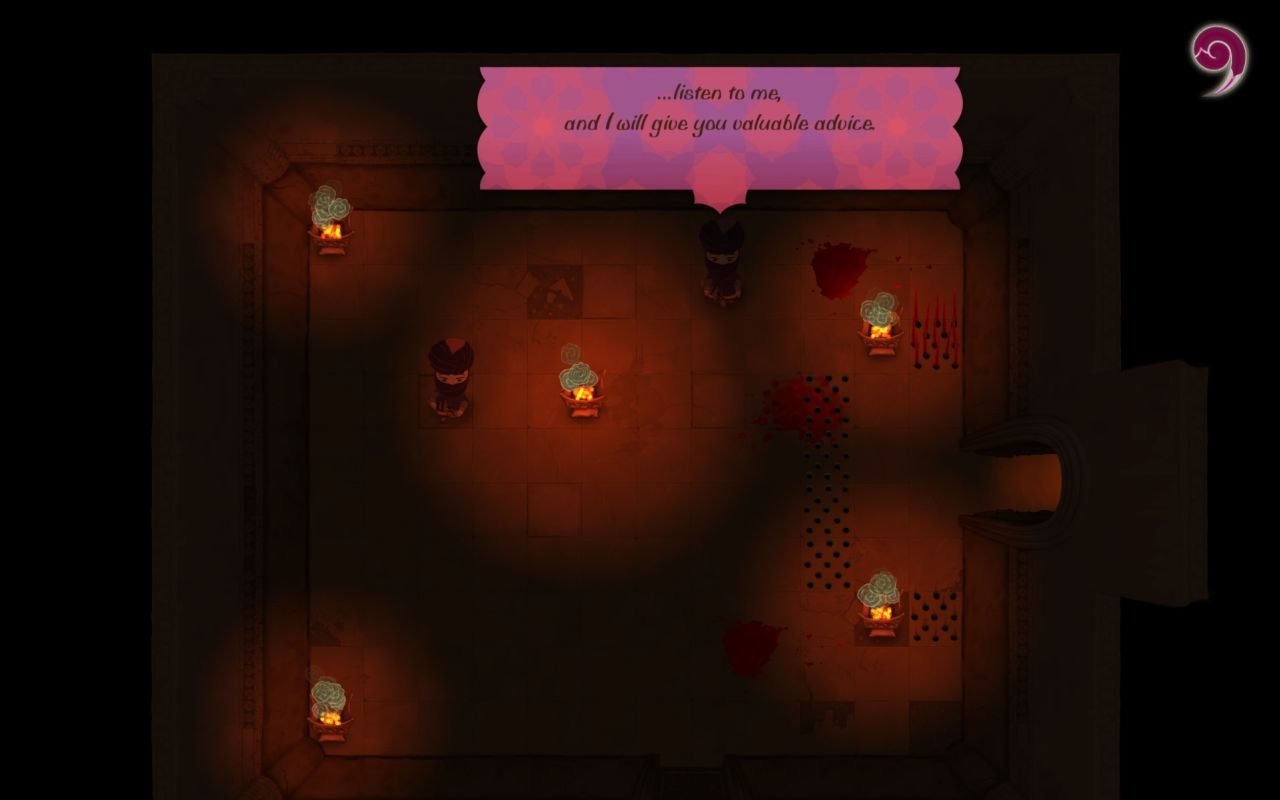
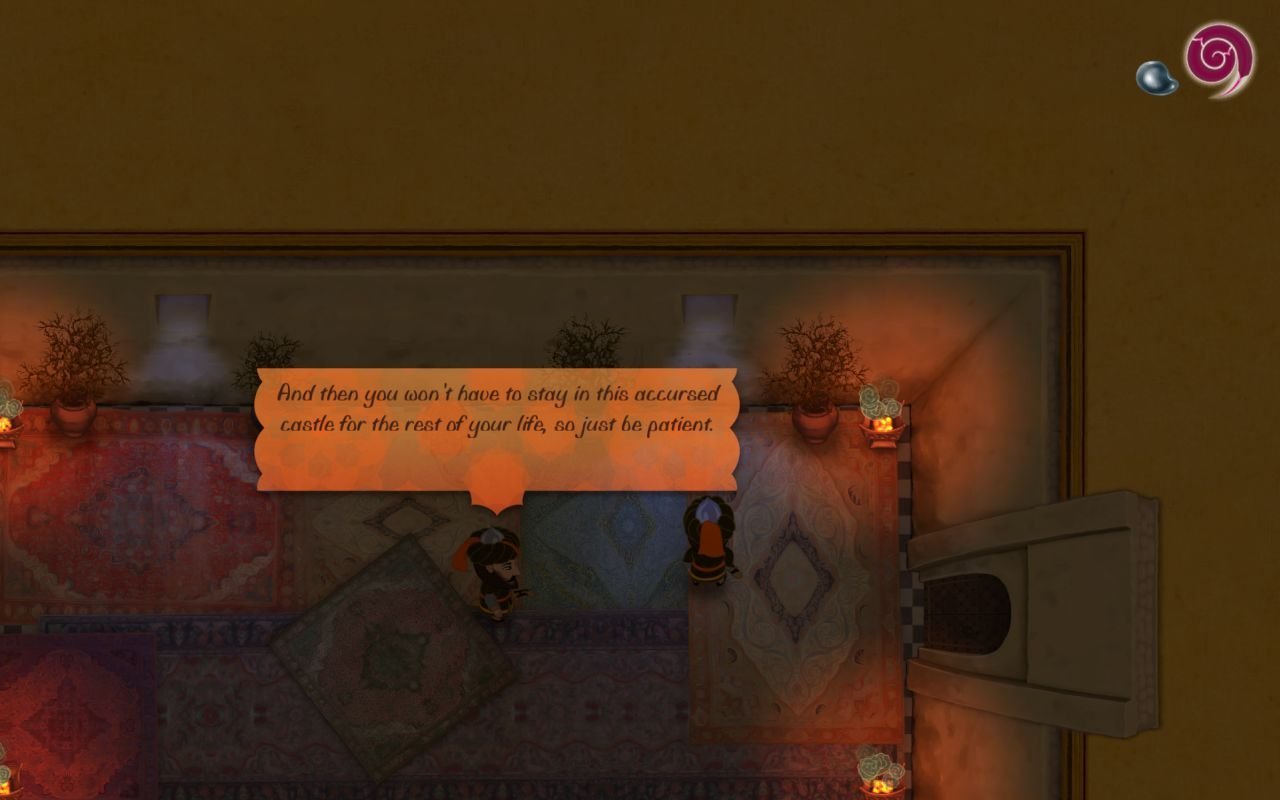
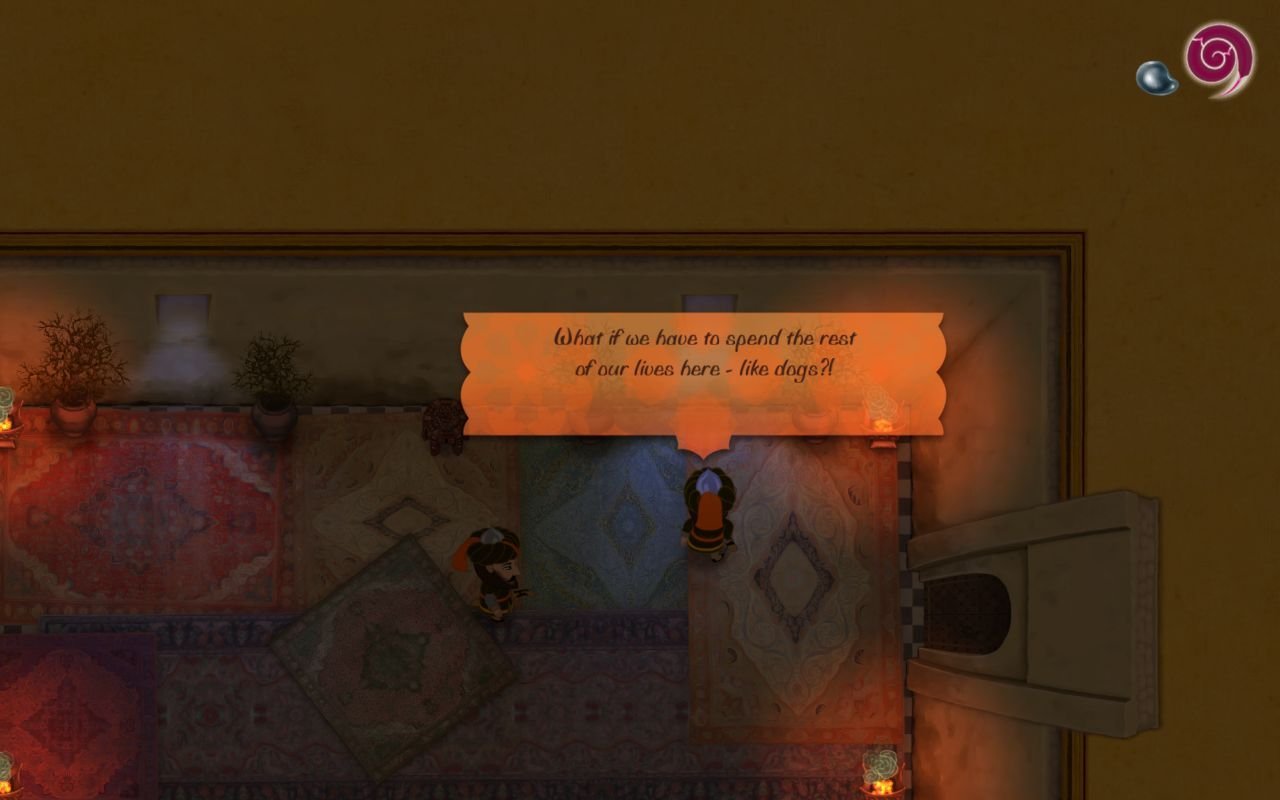
Our falling out with Marbas must have been a rather big one...
We go through the south door.
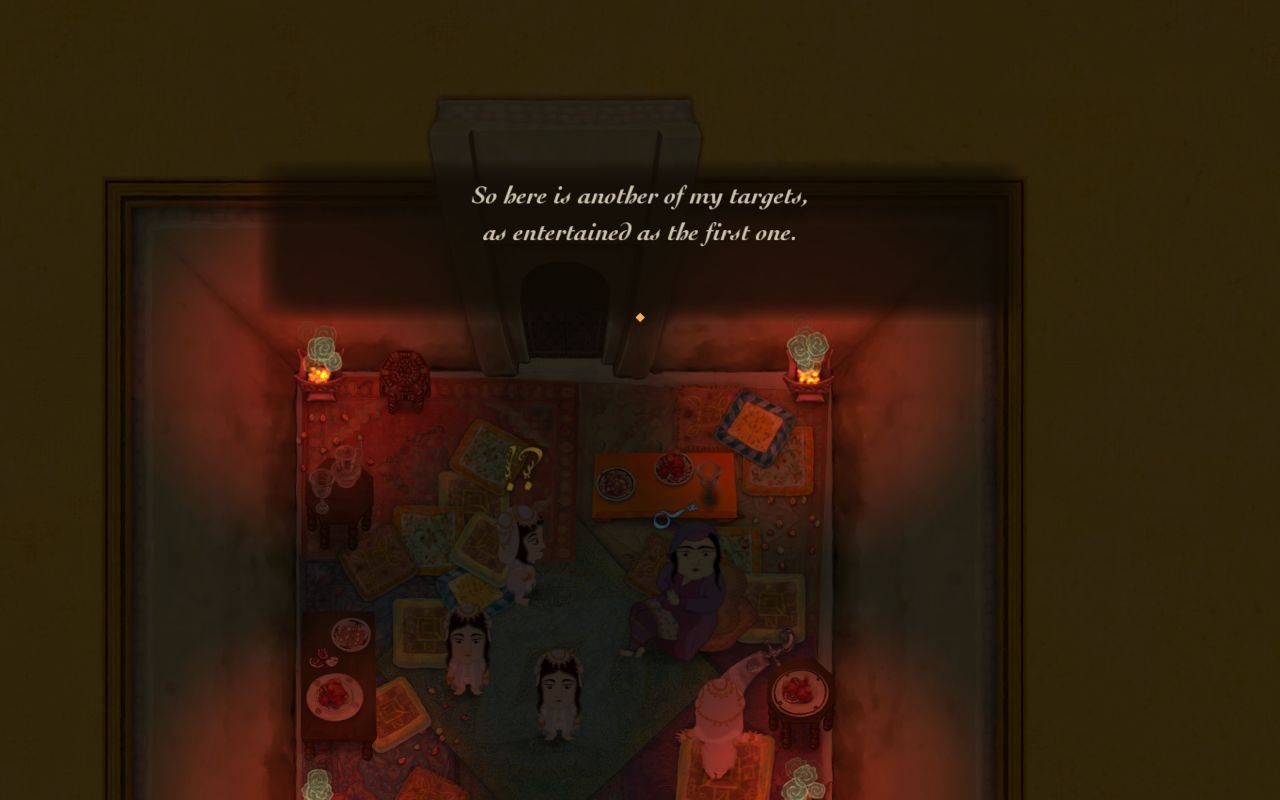

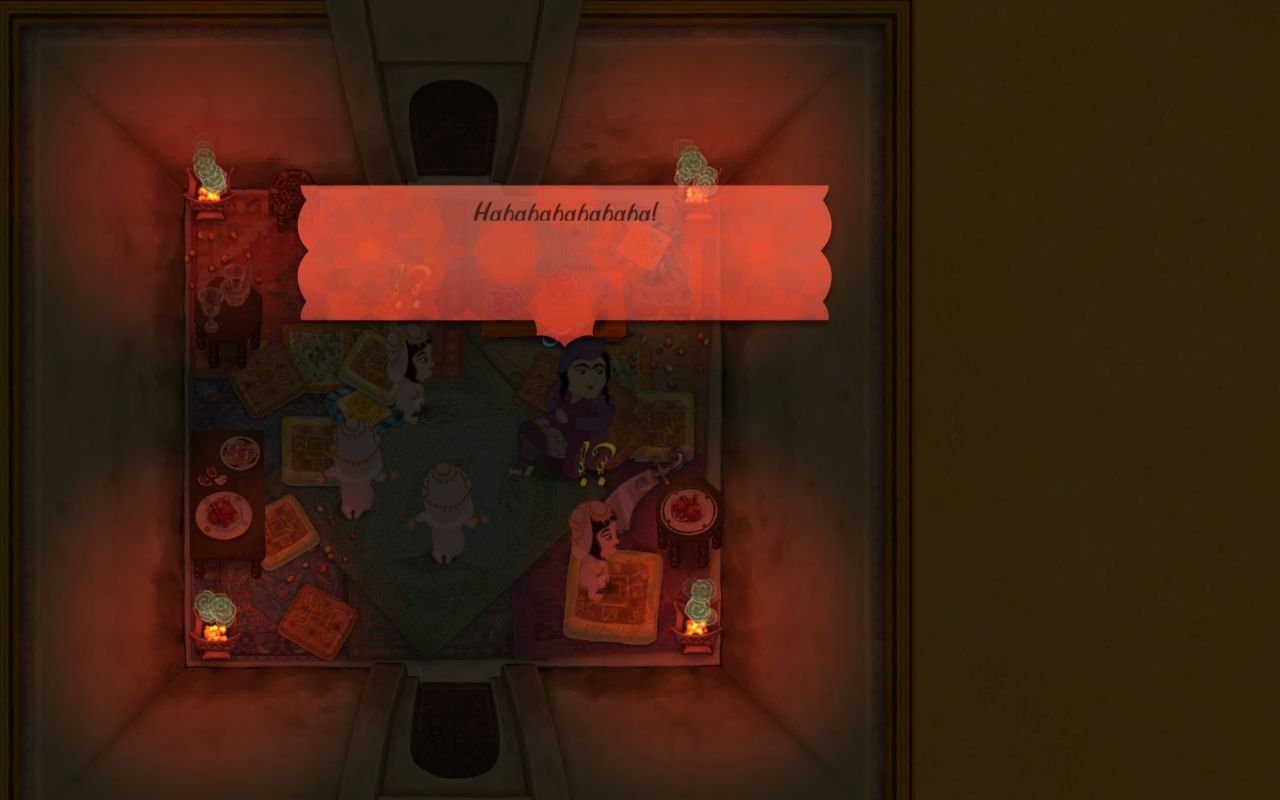
Next target. I've seen a small pool of water in the vestibule to the north, which we can use to wash up, so I'm going to flip out and kill every one here.


The second target is dead, we have another part of the poison. We can now hold three doses of poison. We are also covered in blood, and the pool in the vestibule turns out to not be enough to clear us. The gate north, to the large flooded patio is, of course, closed. So we're kind of fucked, and have no choice but to go through the south door in the second target's chamber holding a key and covered in blood.
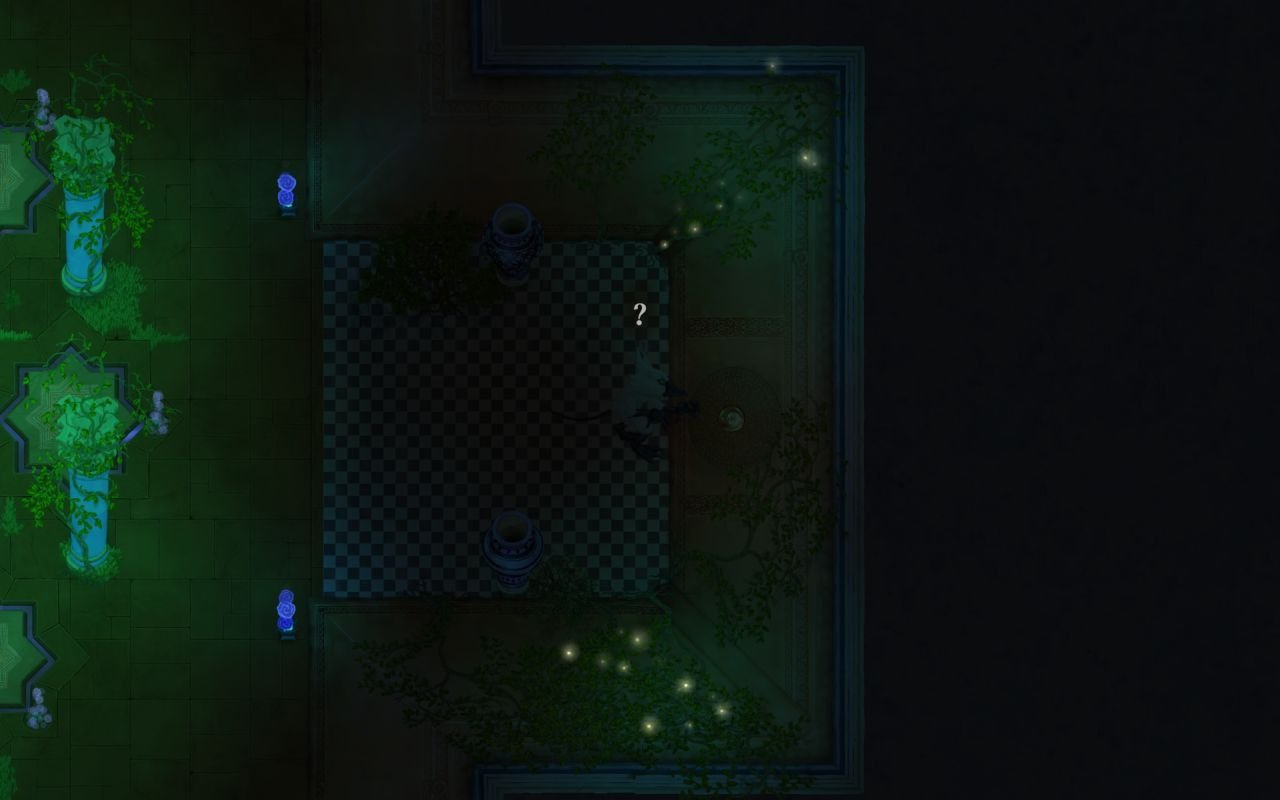
Initially, the room we enter looks like a long corridor, with only one exit. In stealth mode a door to the west shows up.
But wait, we're at the edge of the map, how can there be a room to the west? Guess we have to go through it and find out.
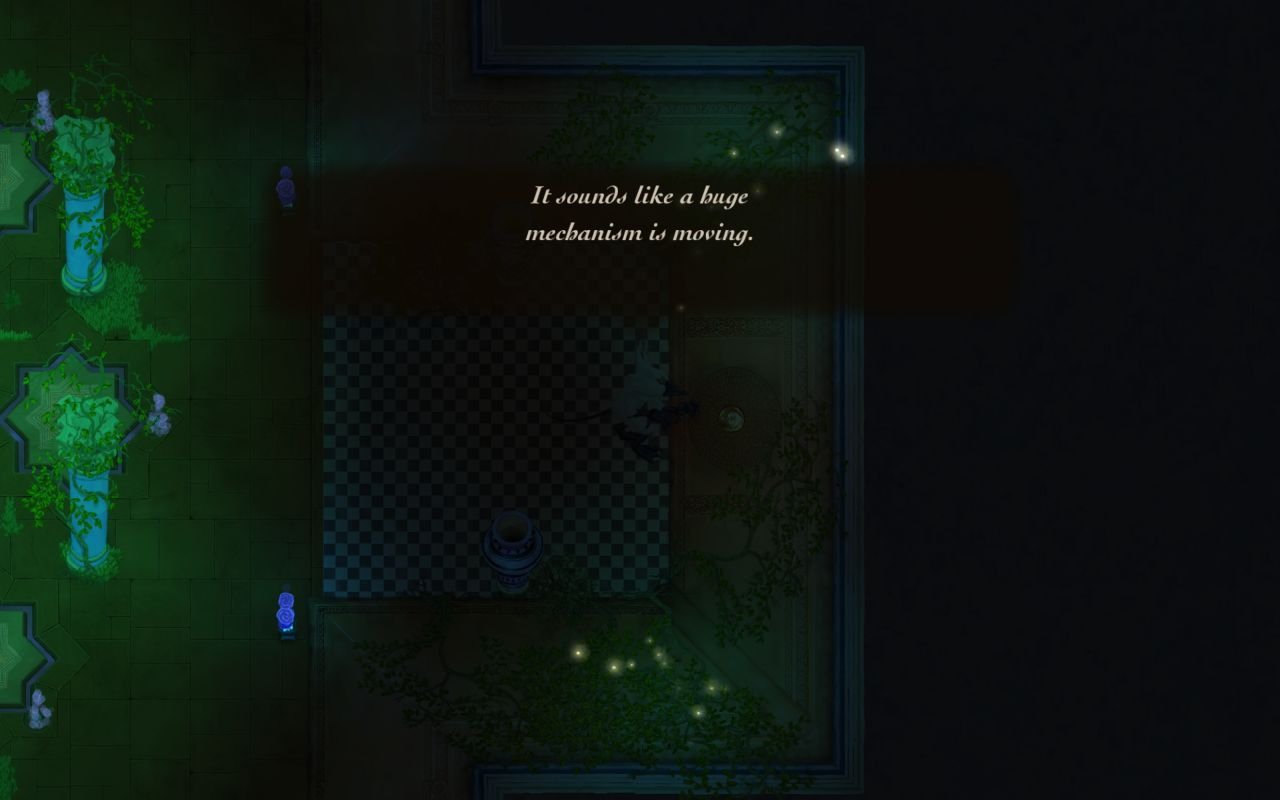
(Sorry for the lack of screenshot demostrating this.)
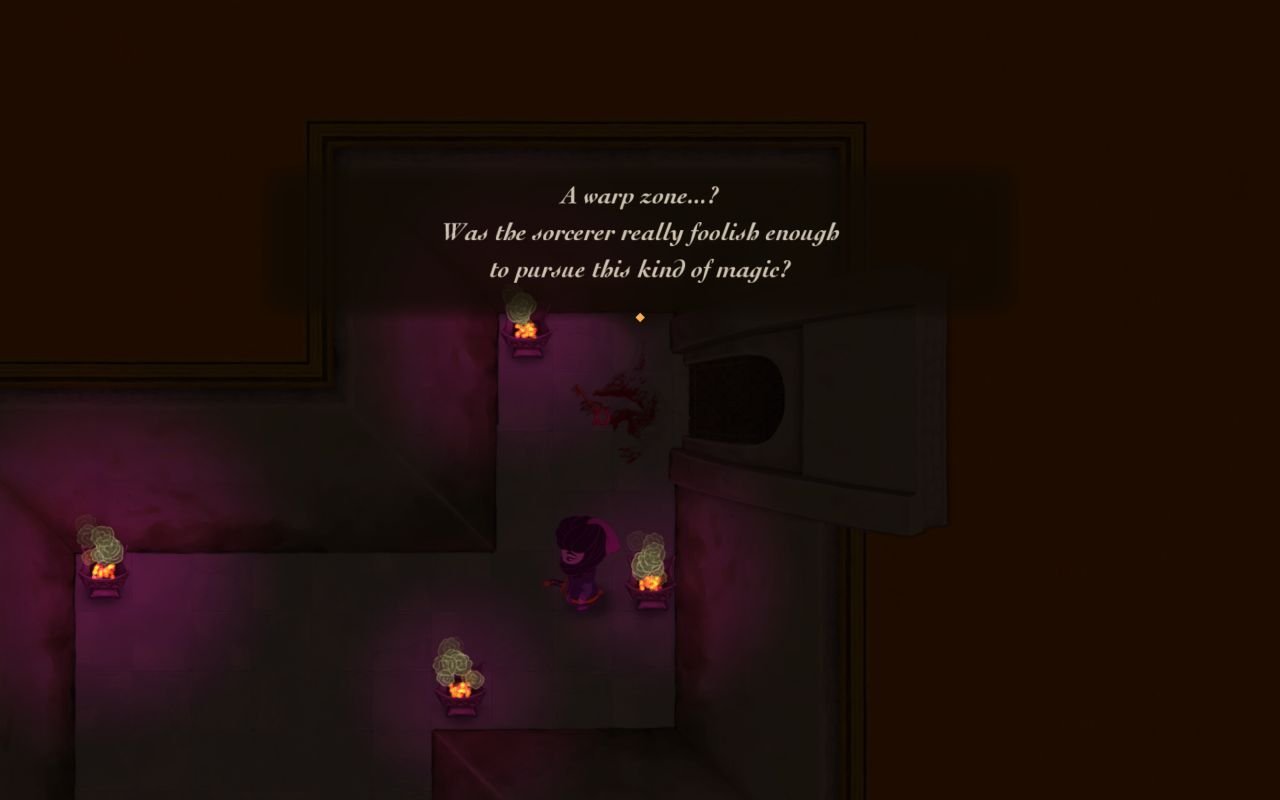
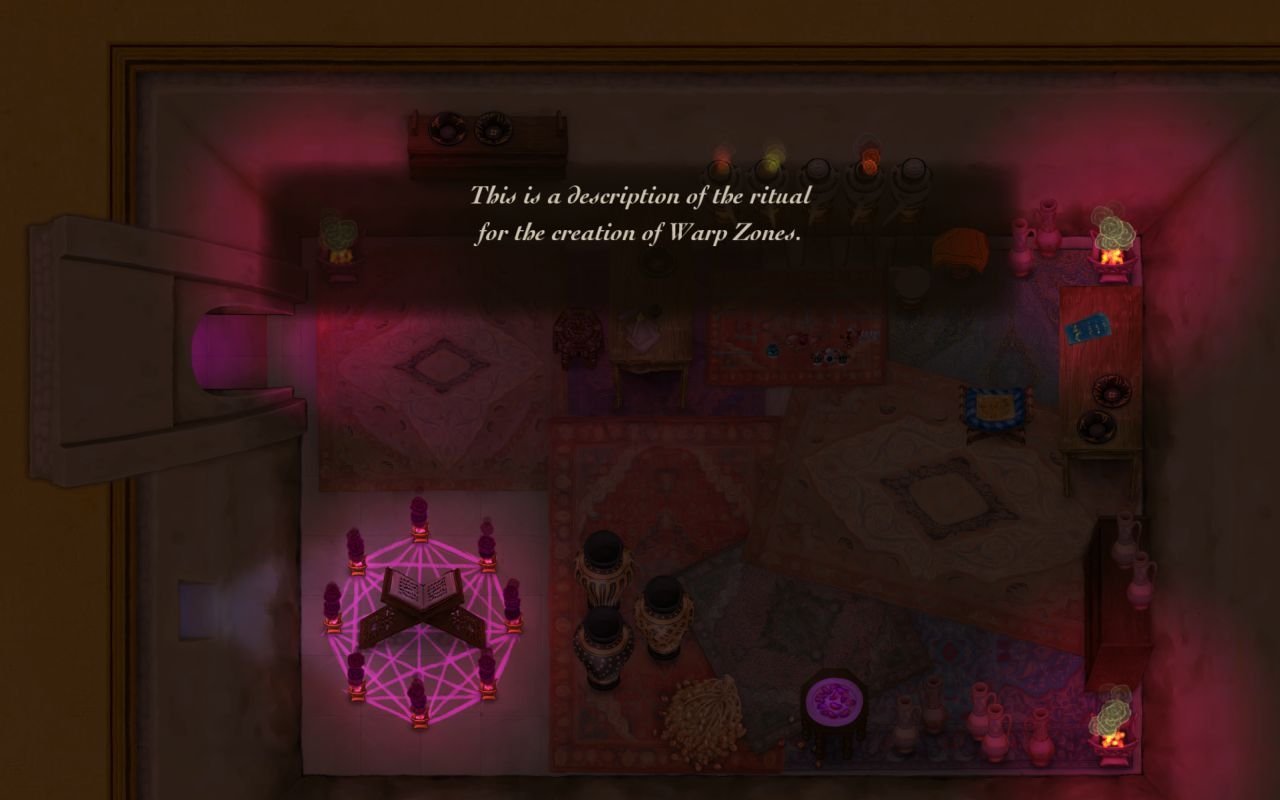
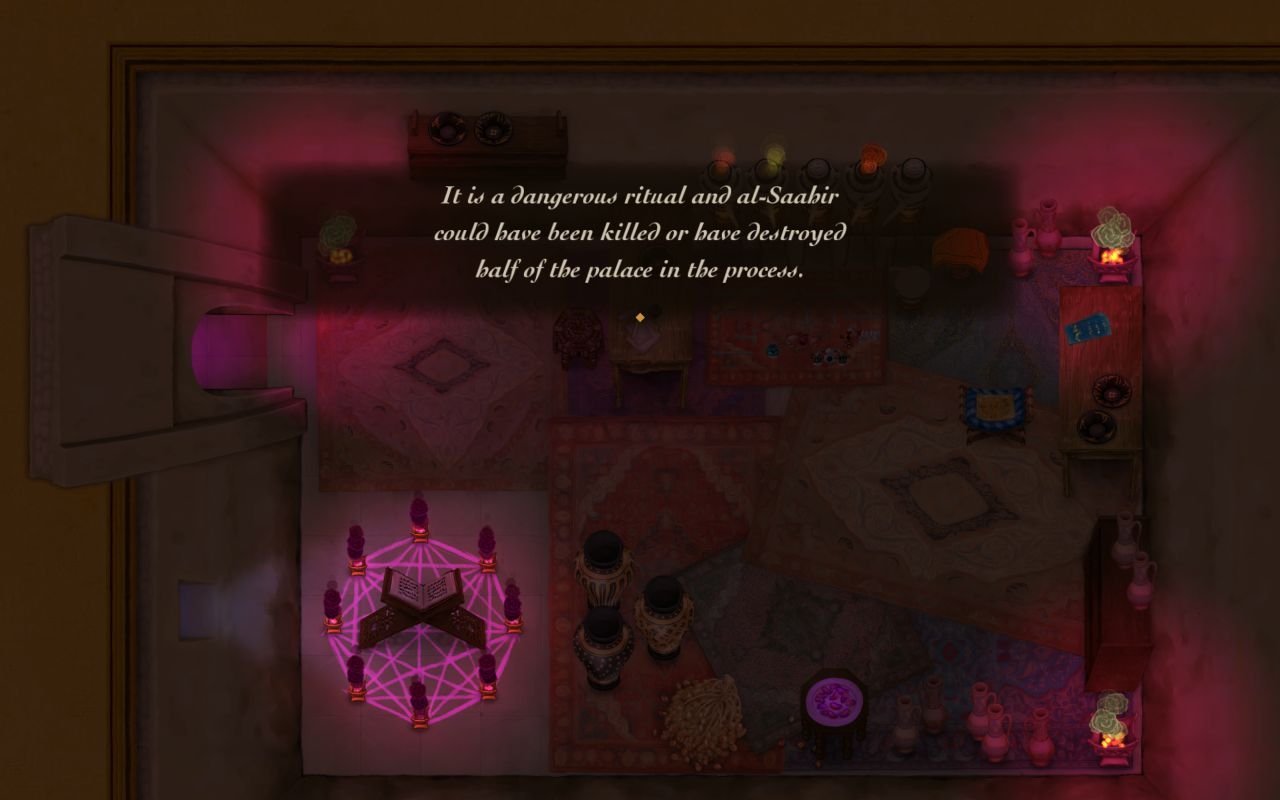
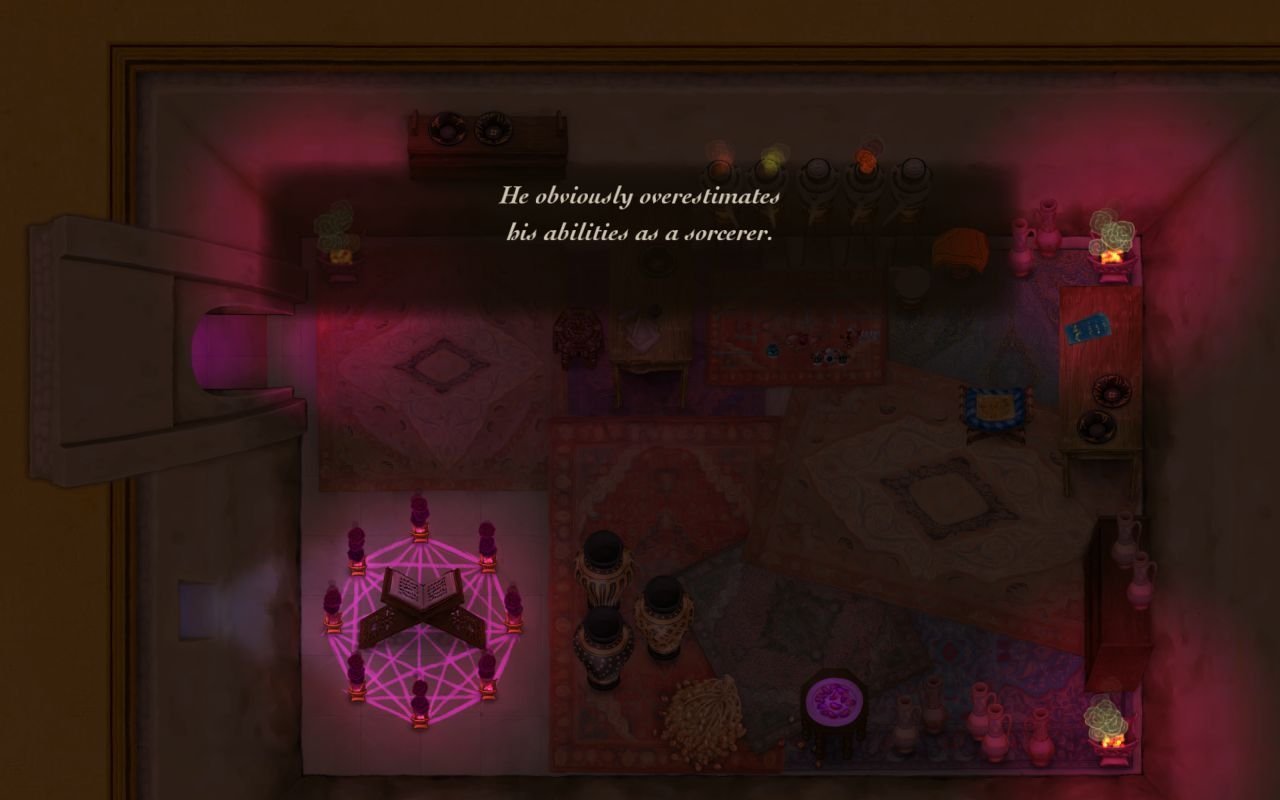
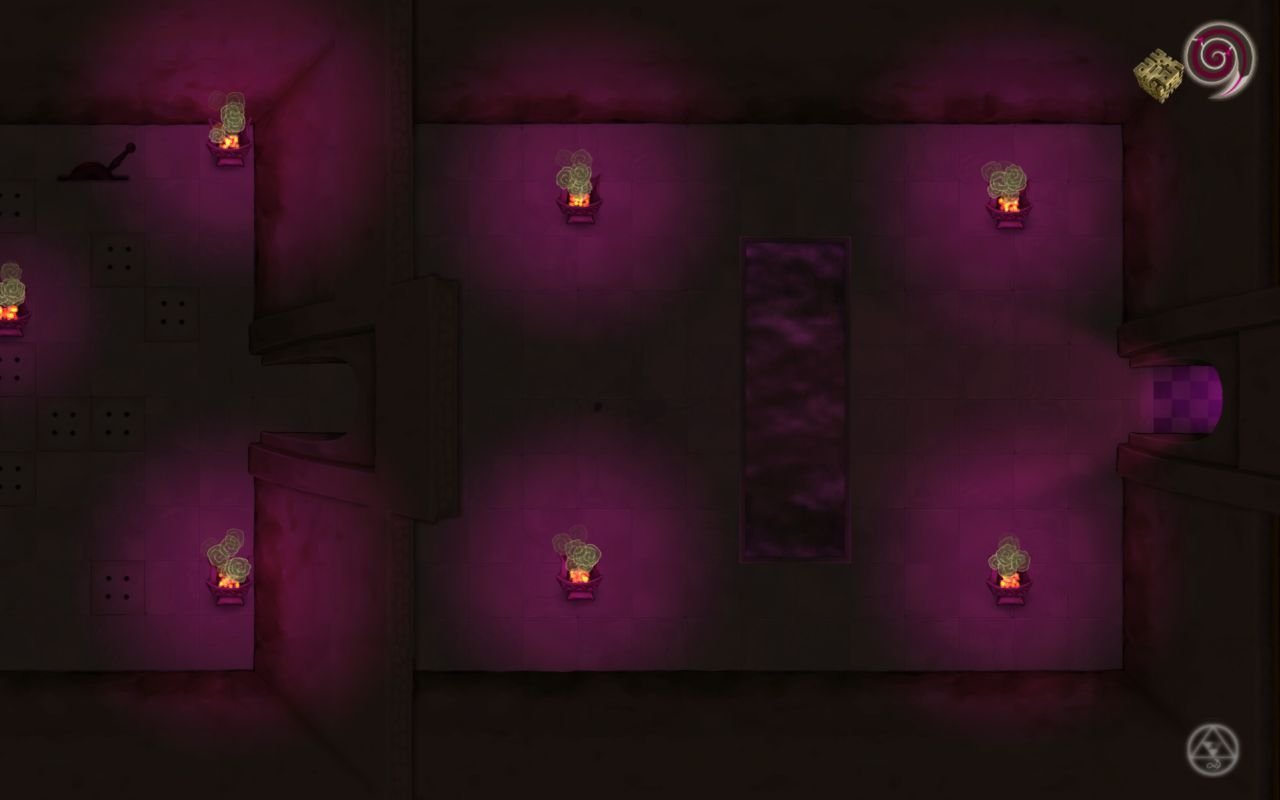
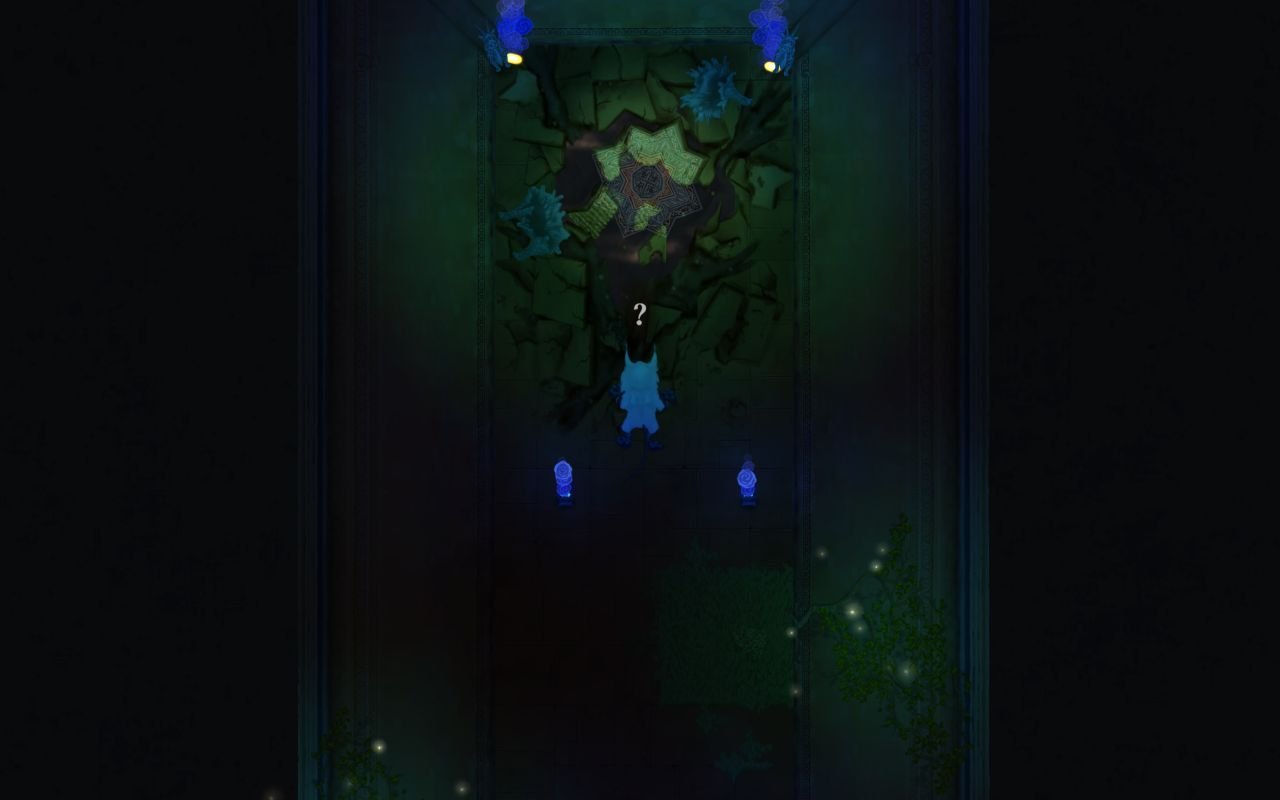
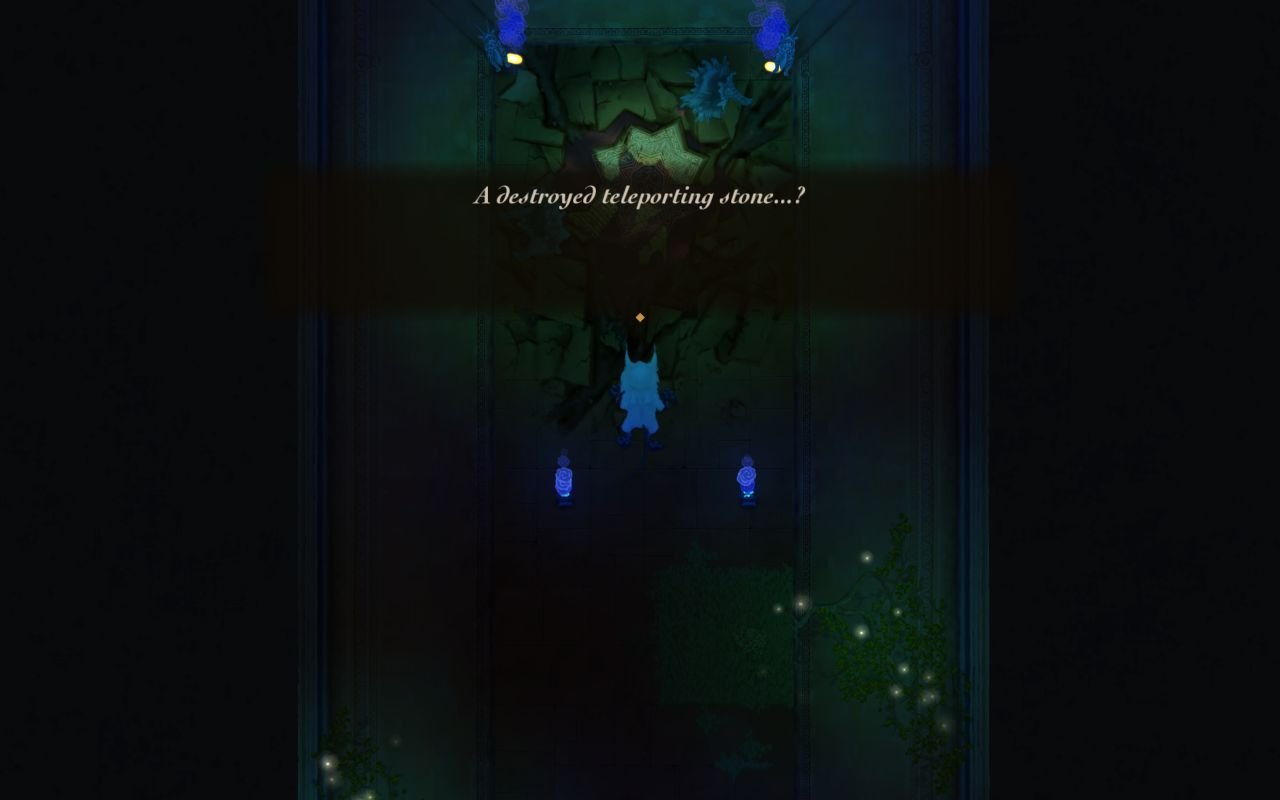
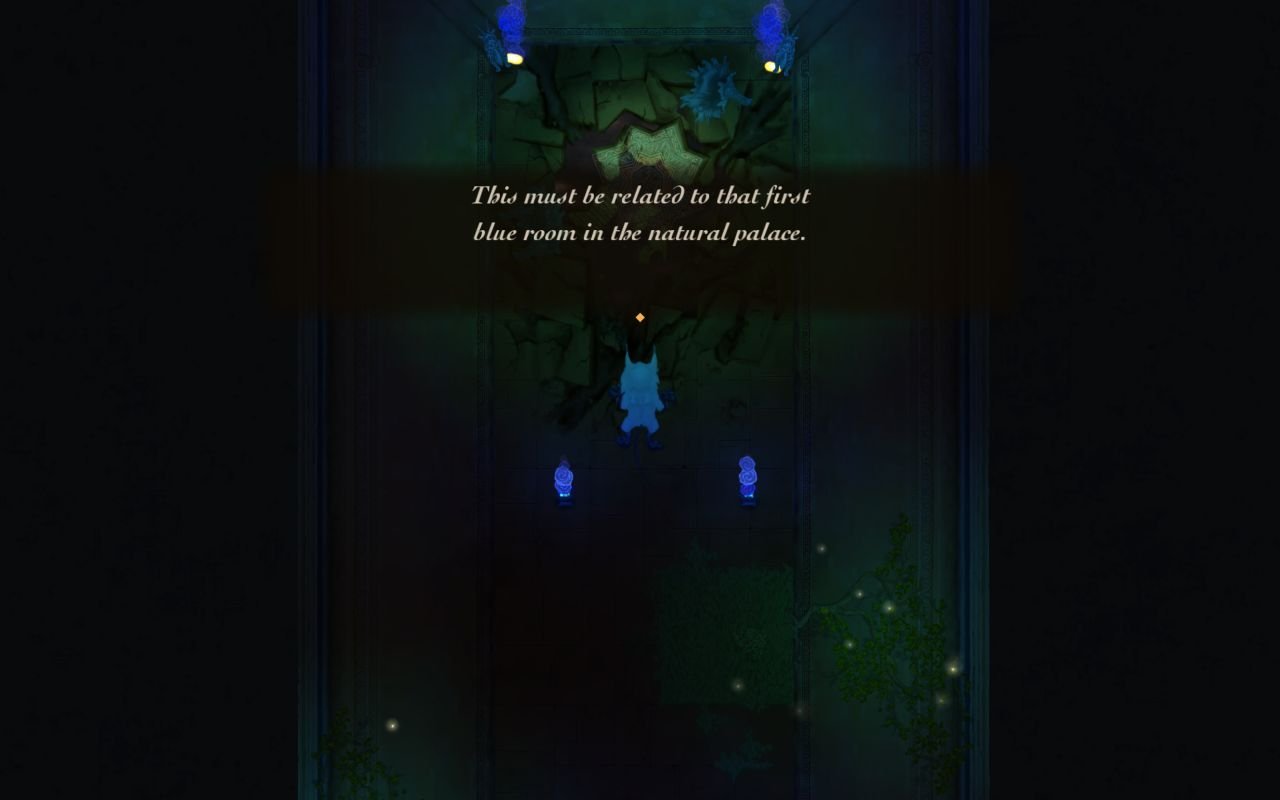
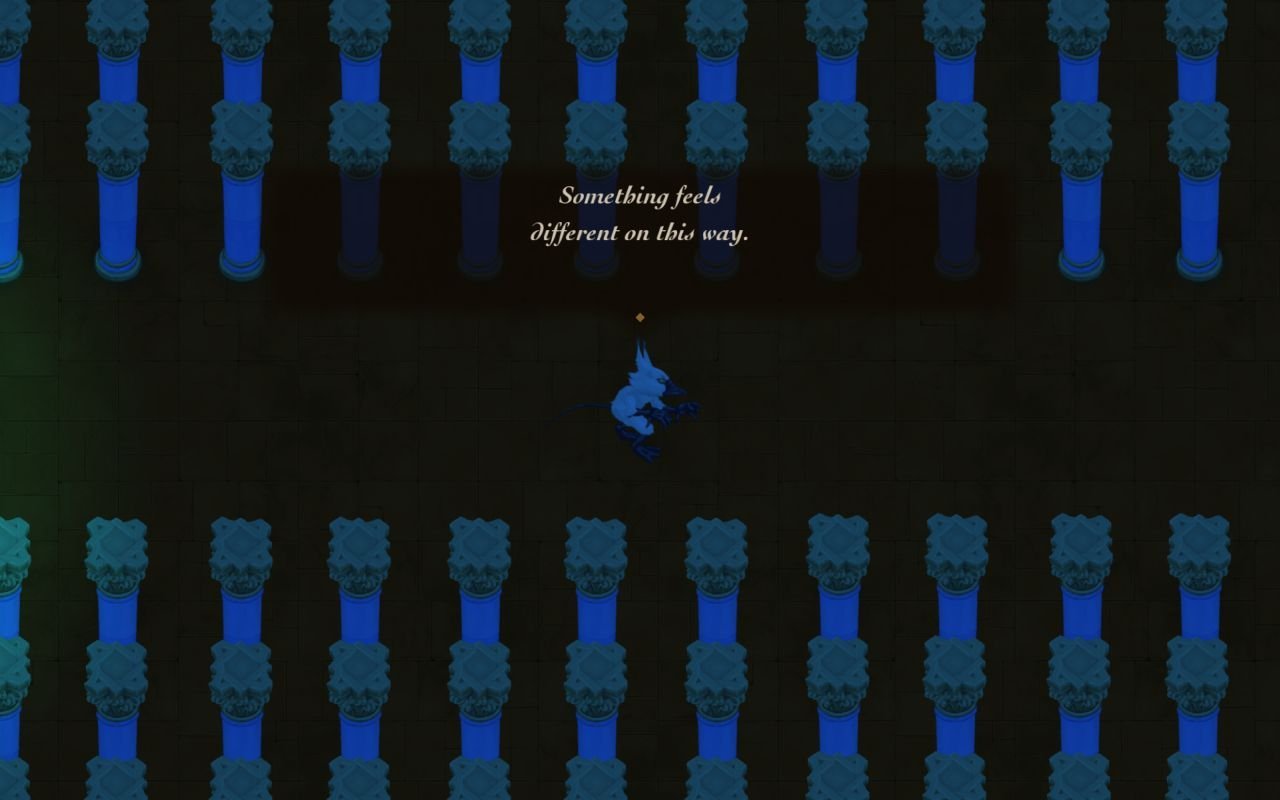
A WARP zone? Al-Saahir really messes with stuff he shouldn't...
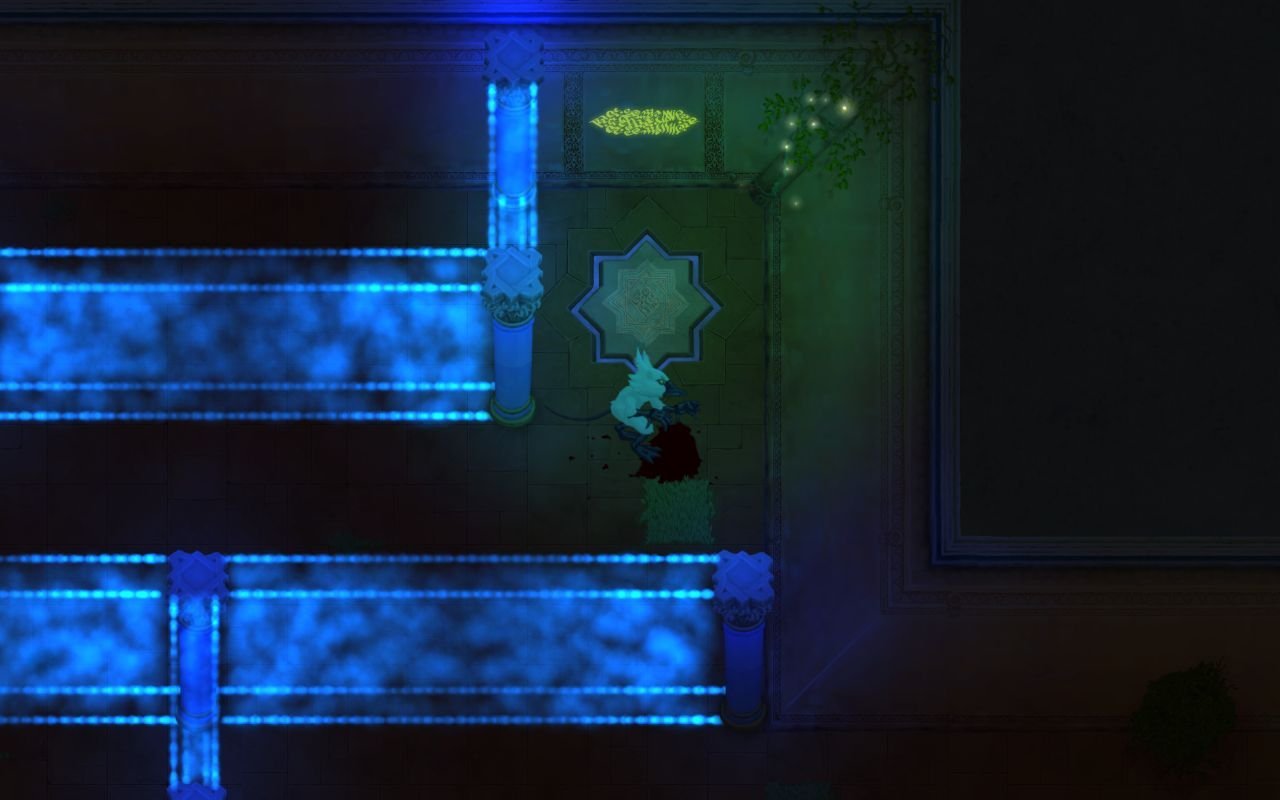
This is the first, and definately not the only, warp zone we'll encounter. This one is guarded by two women. Since we're fully visible, it takes some good reflexes to kill them.
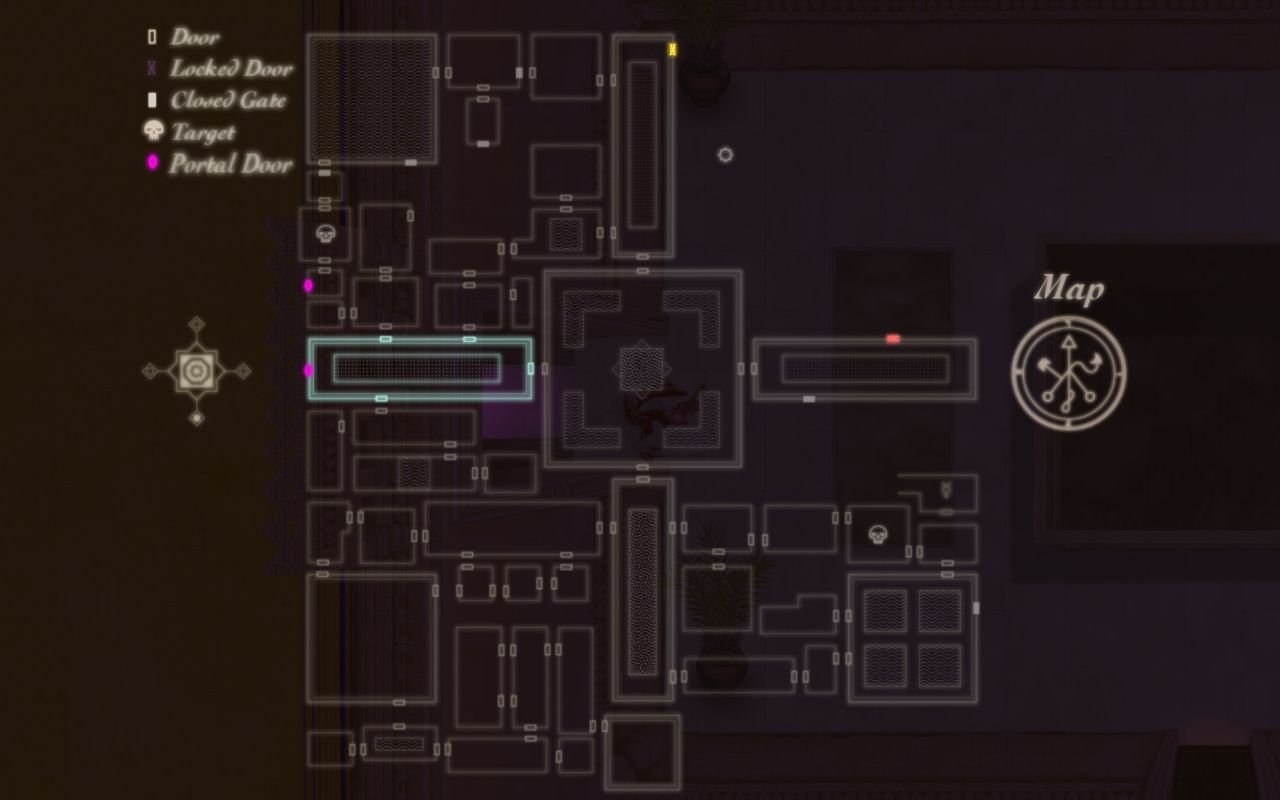
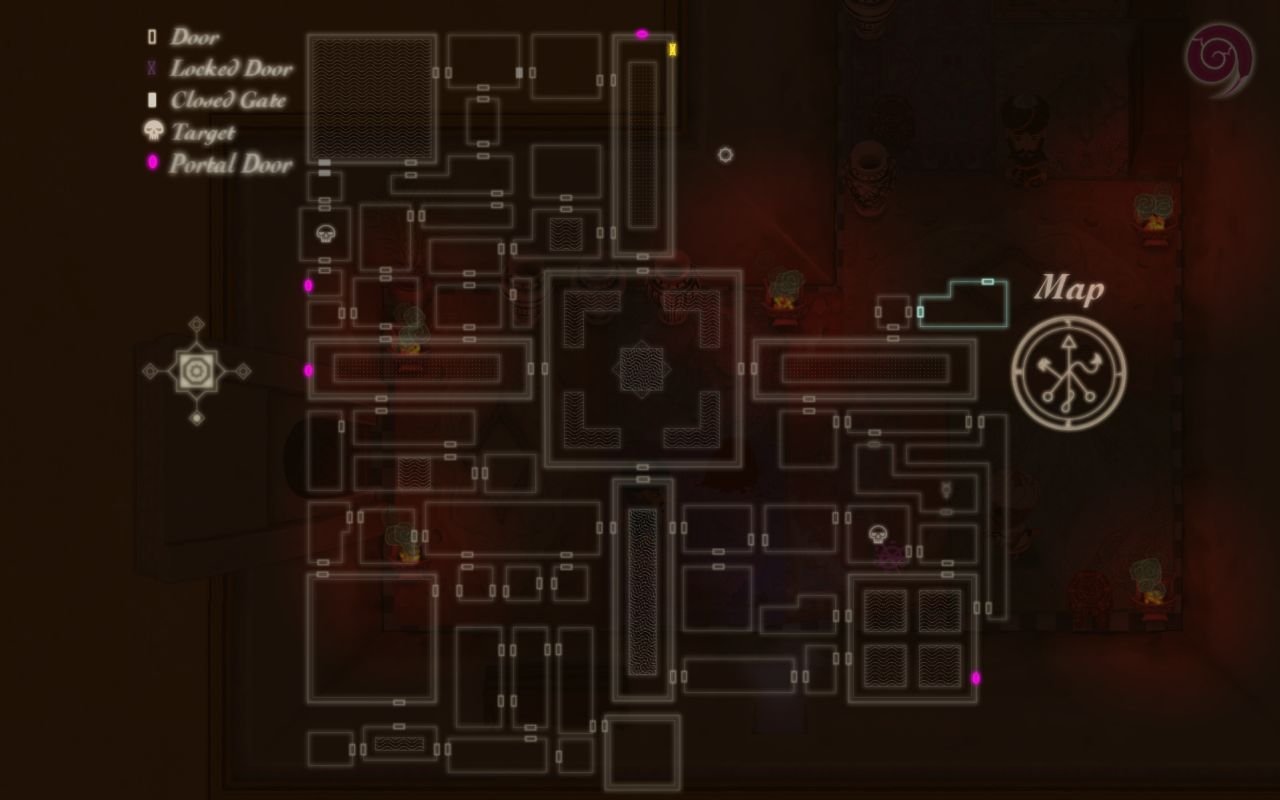
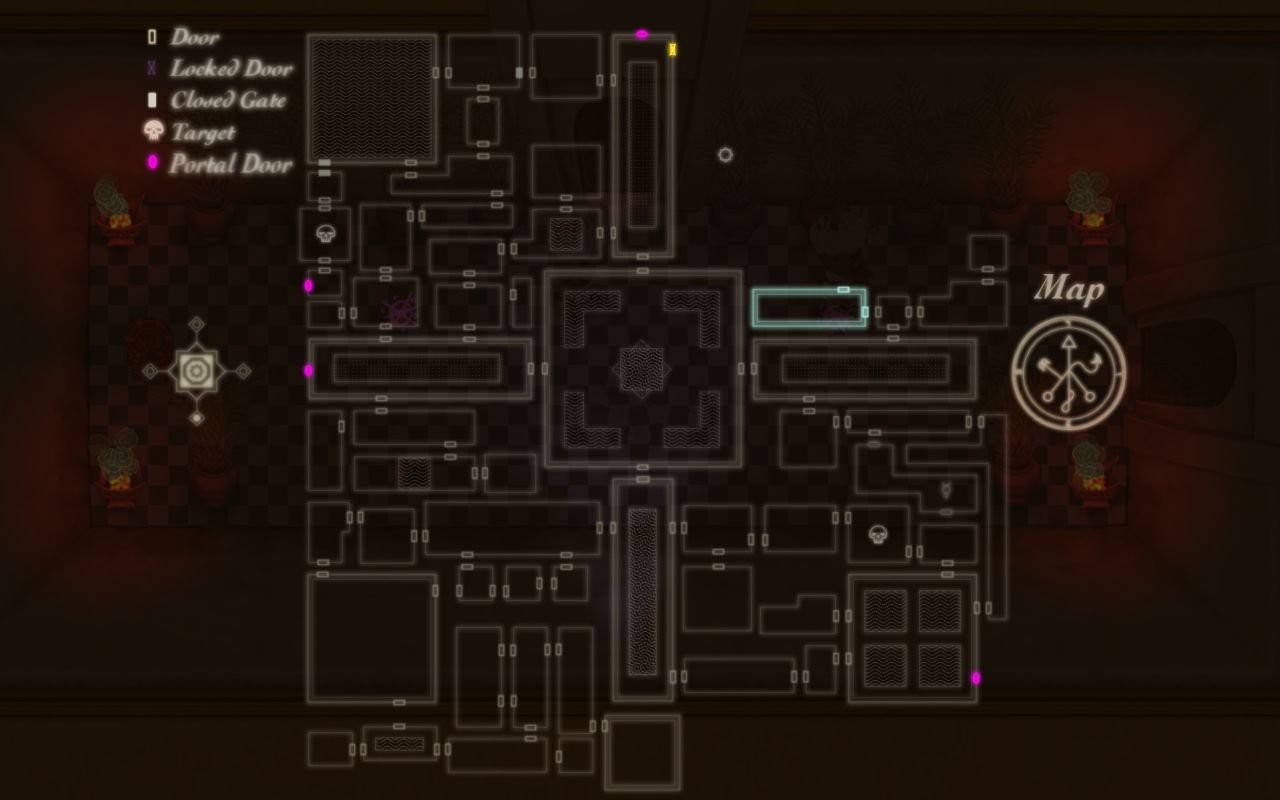
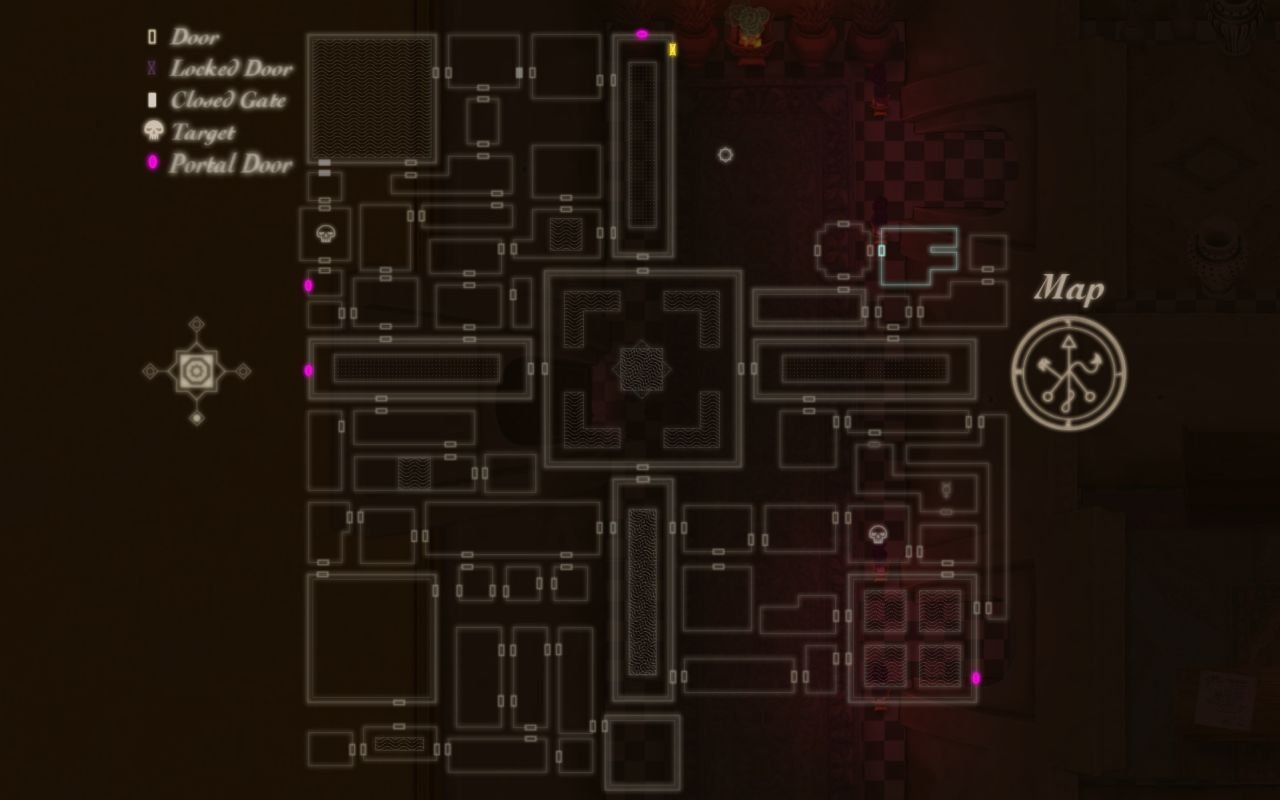
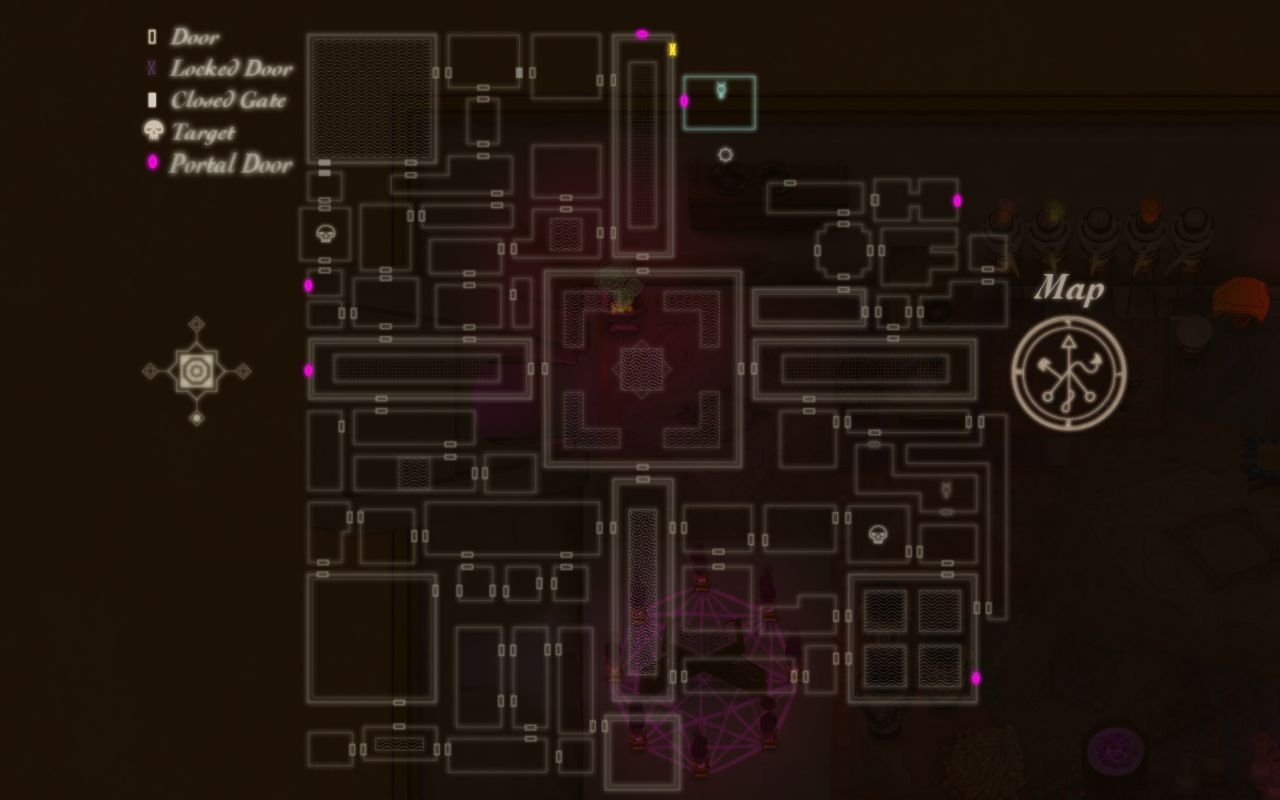
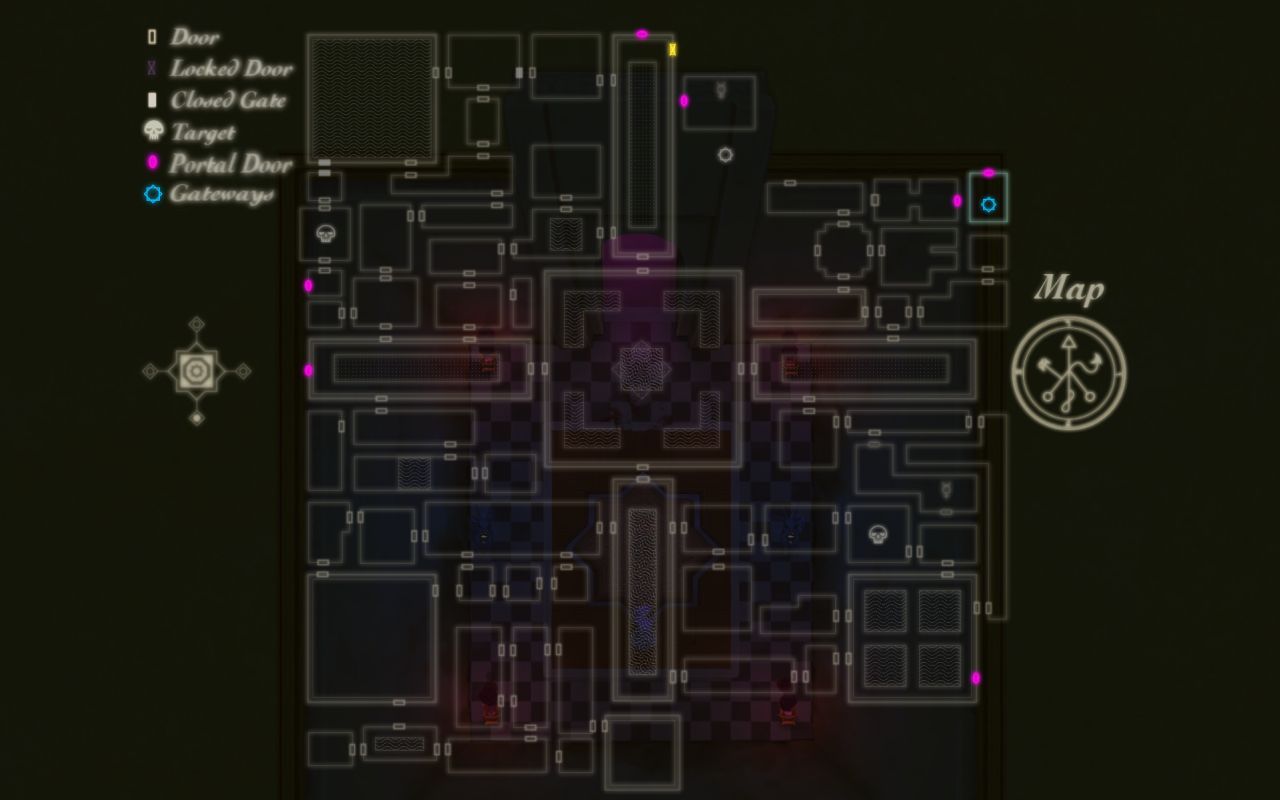
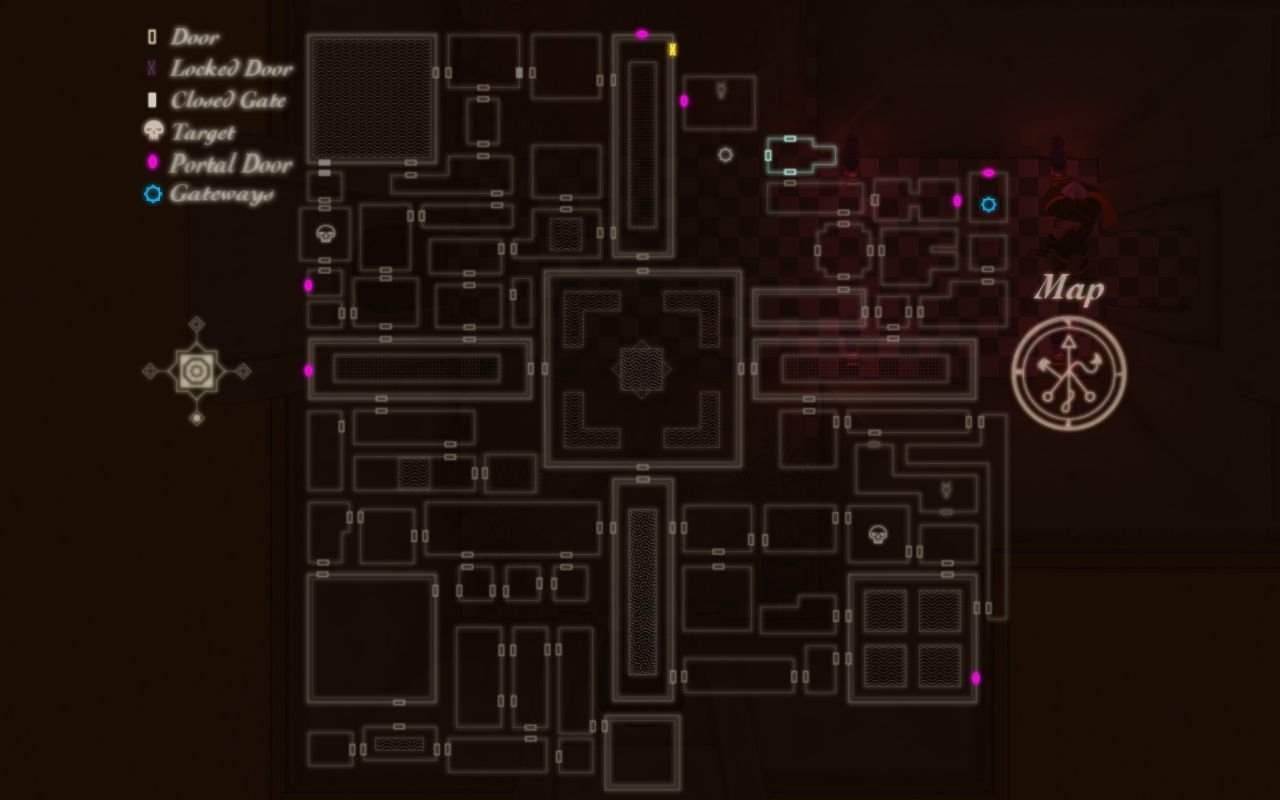
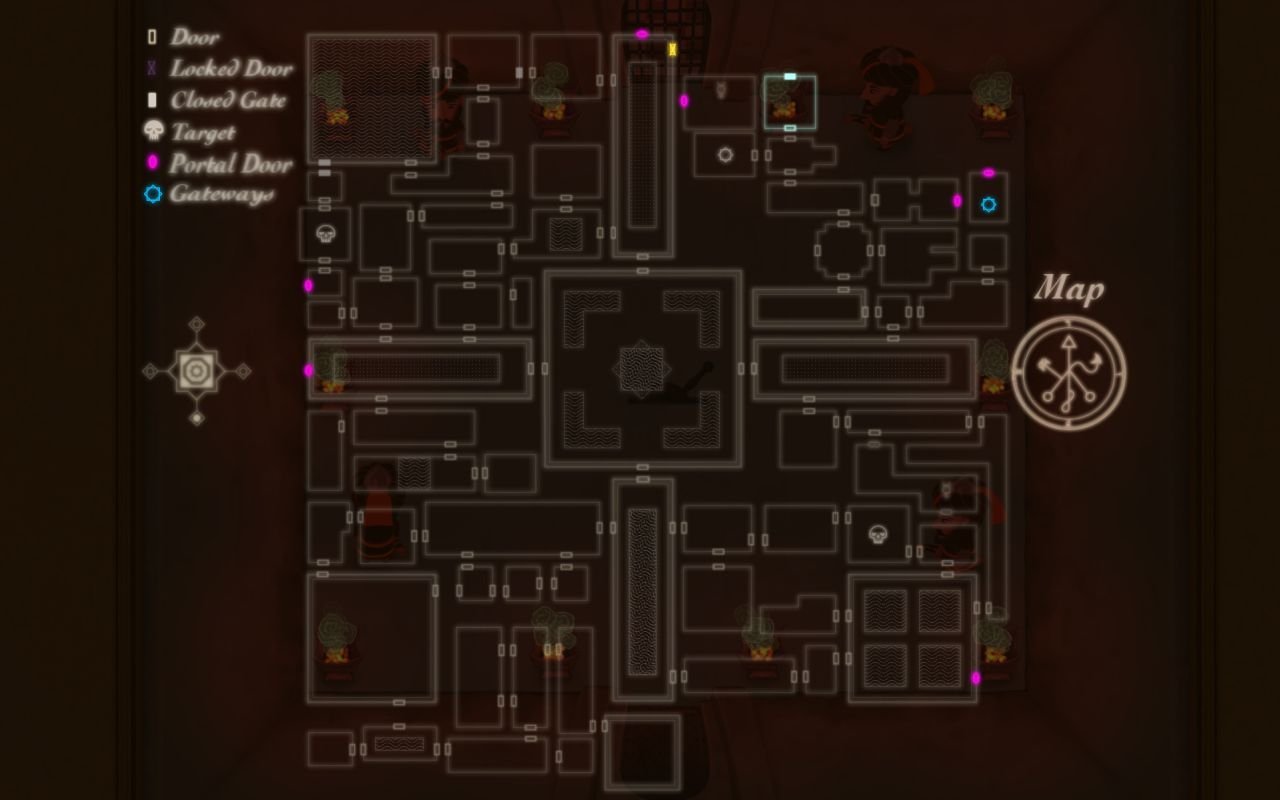
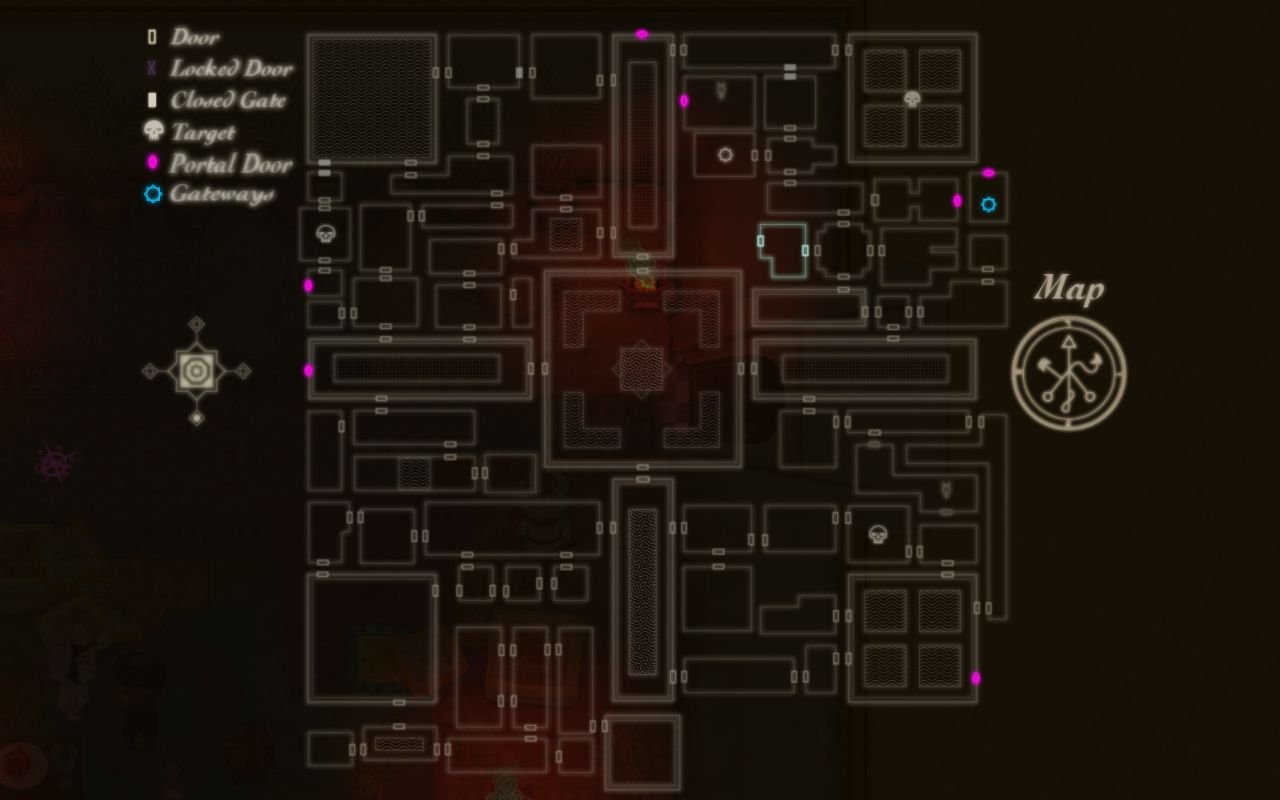
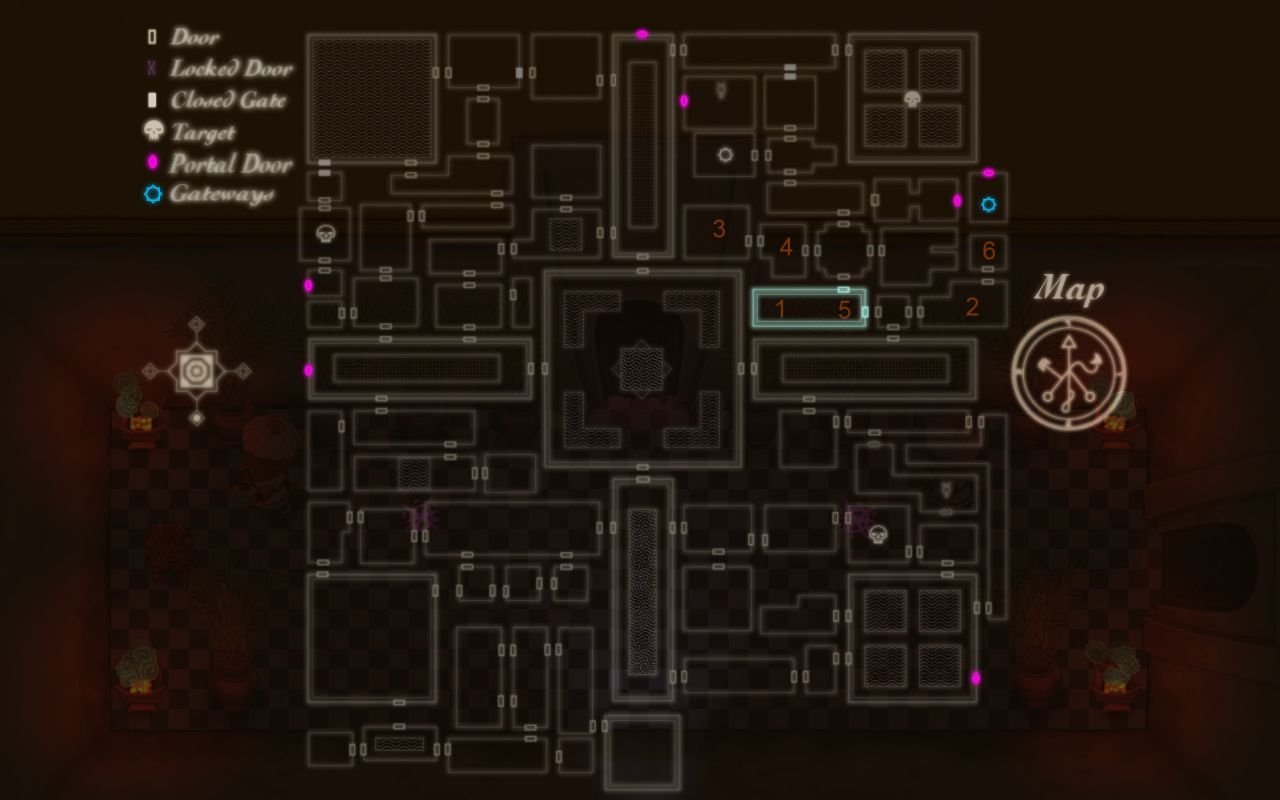
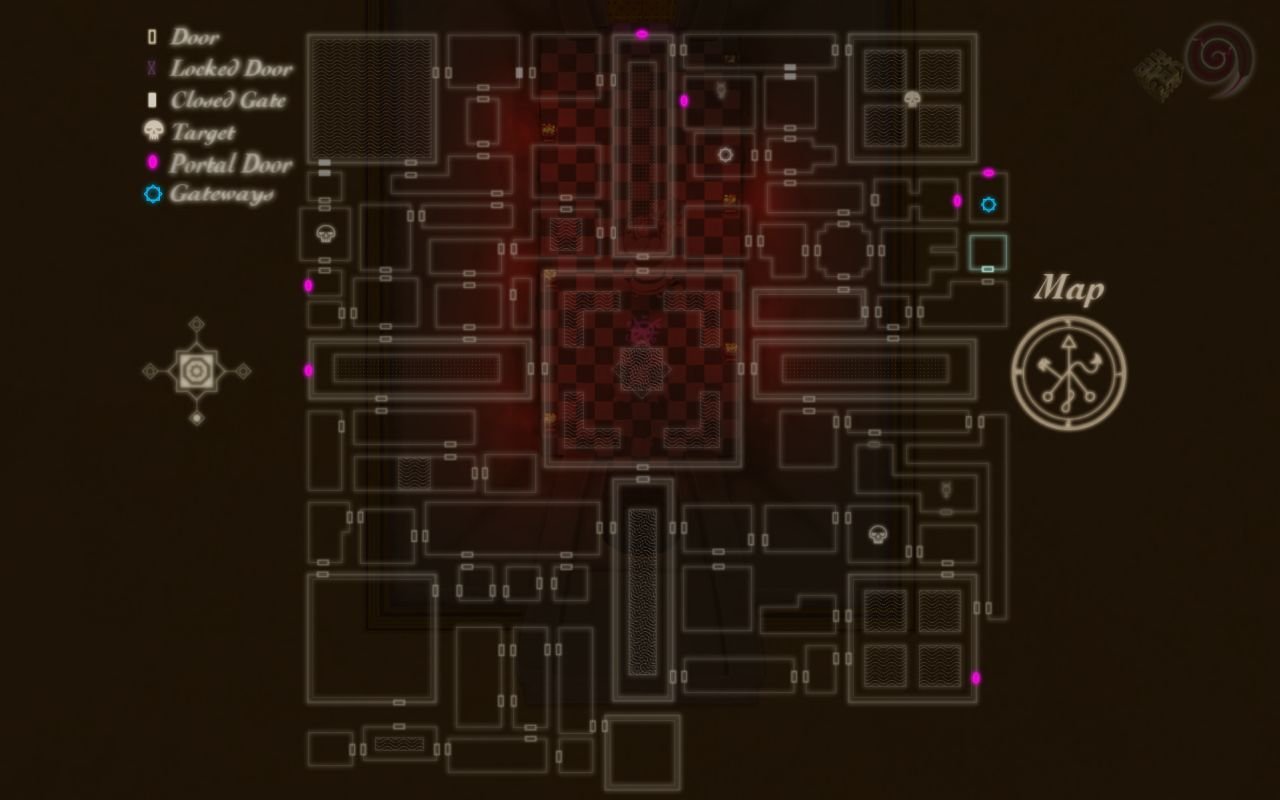
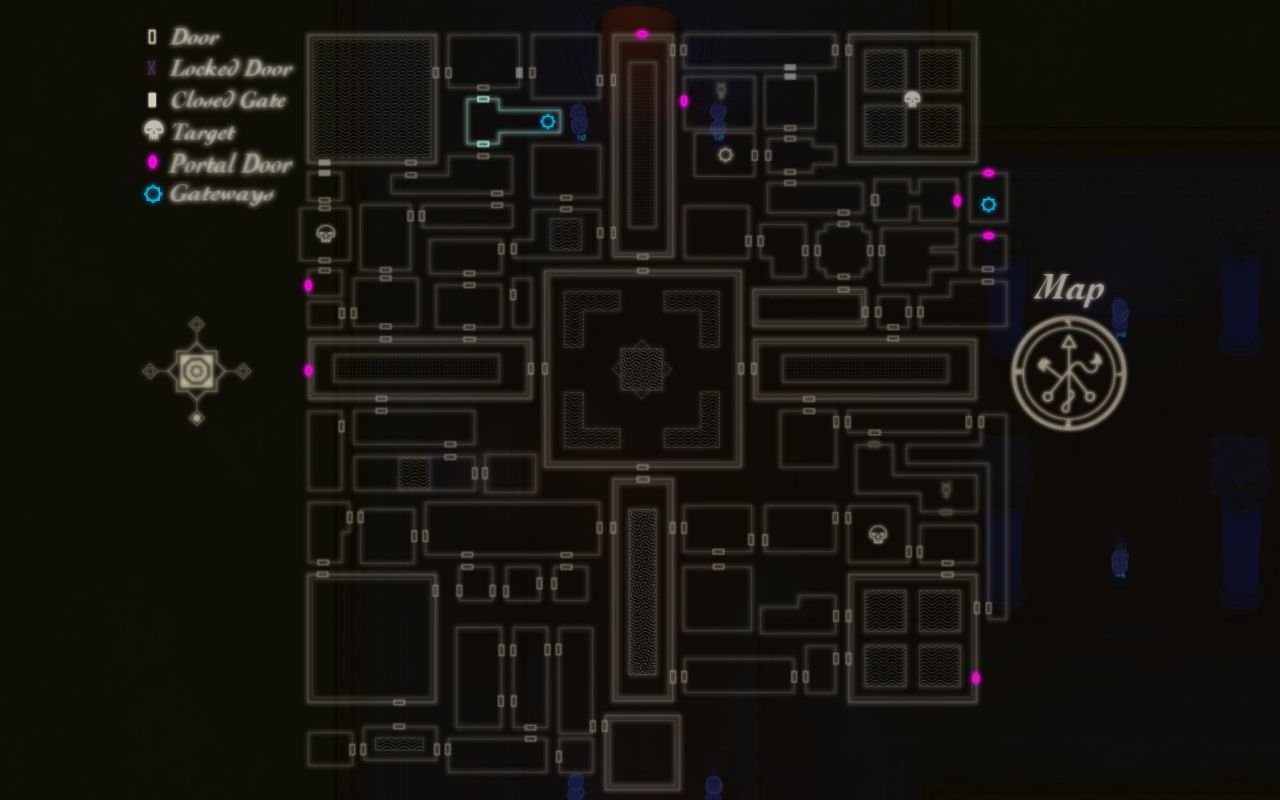
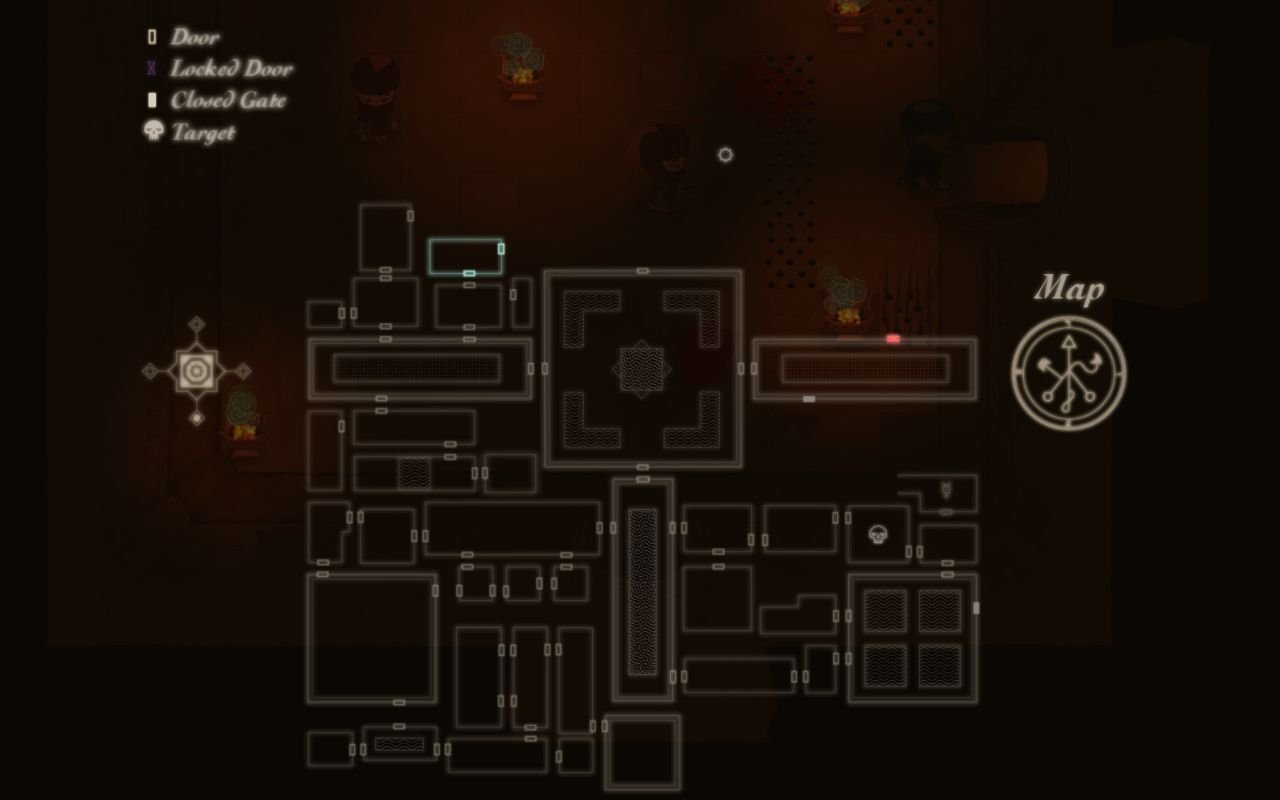
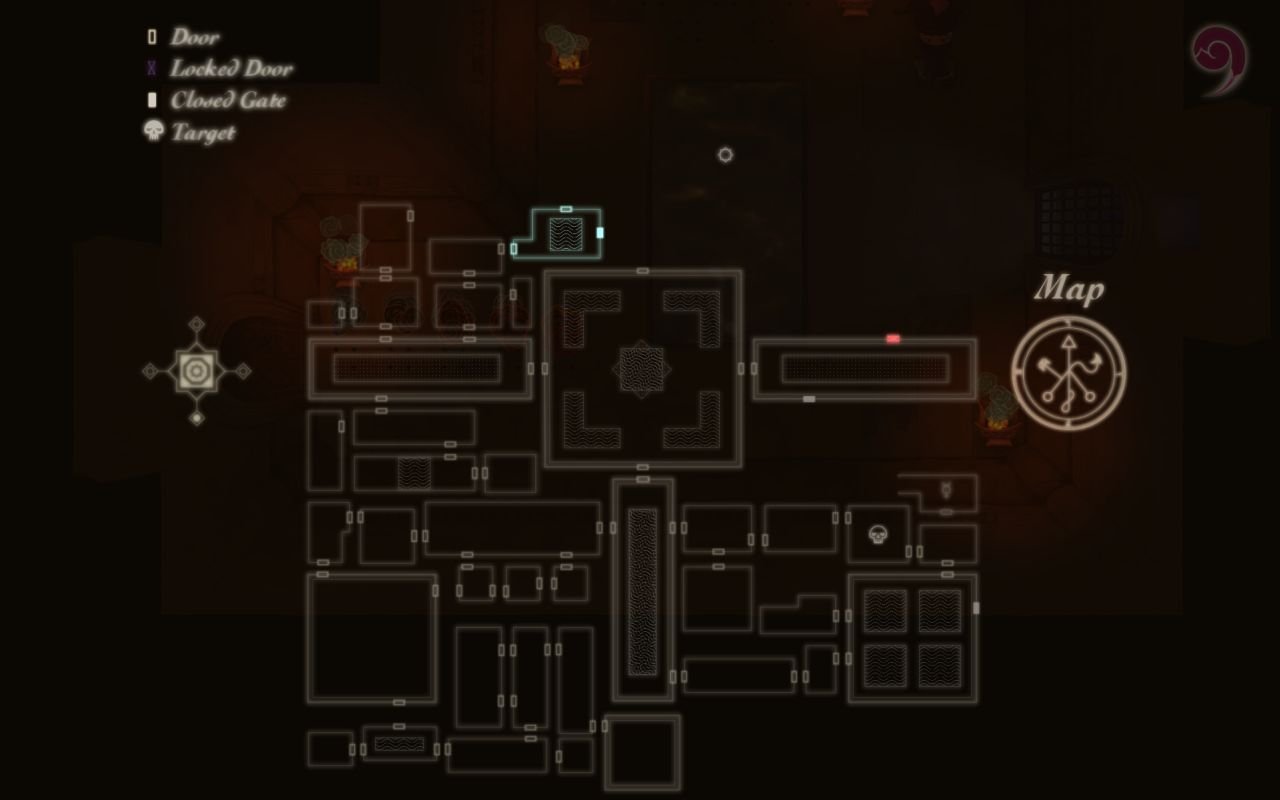
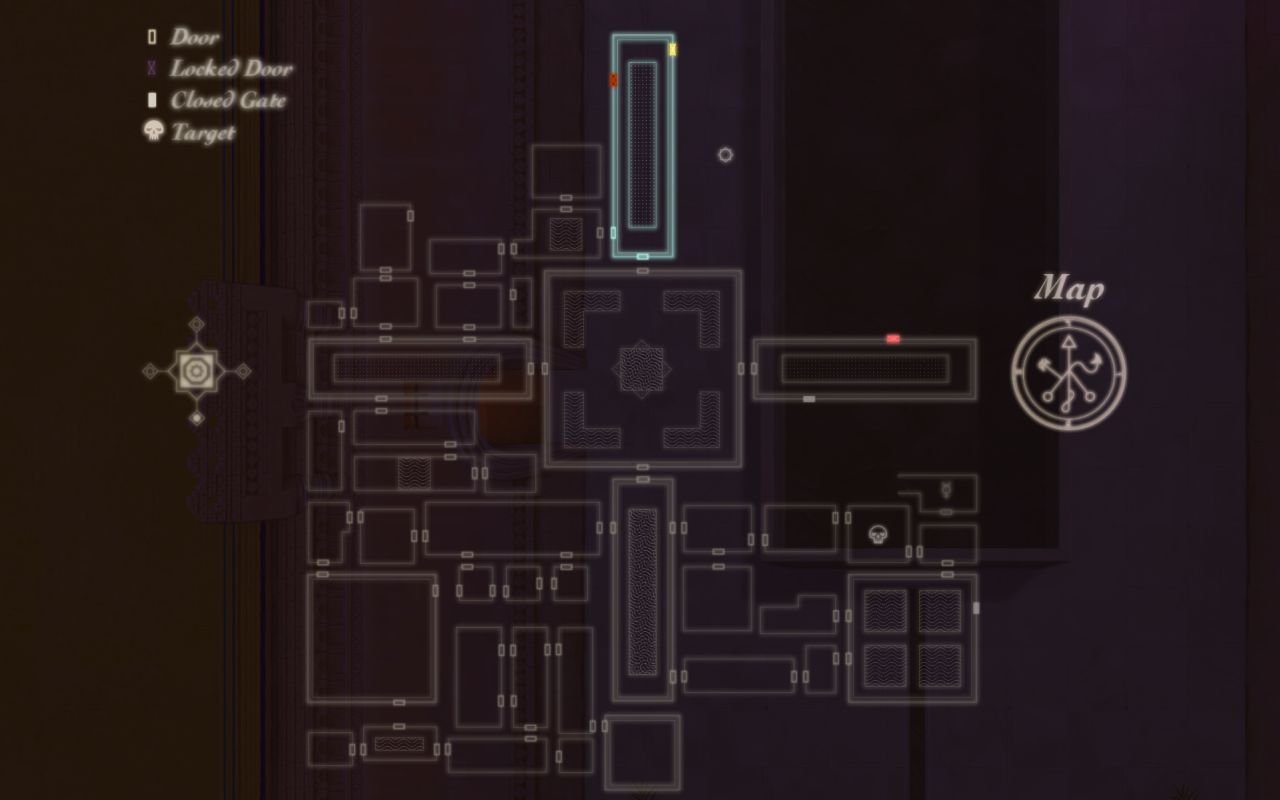
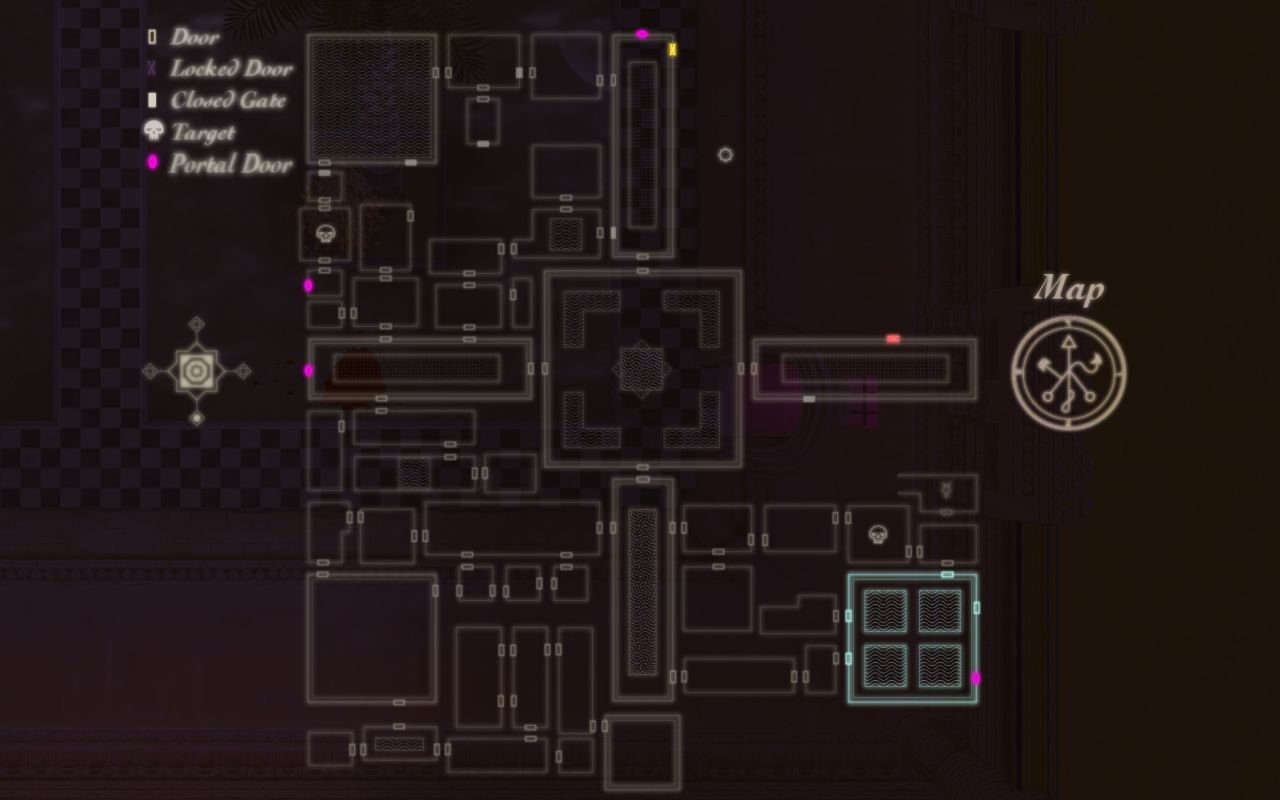
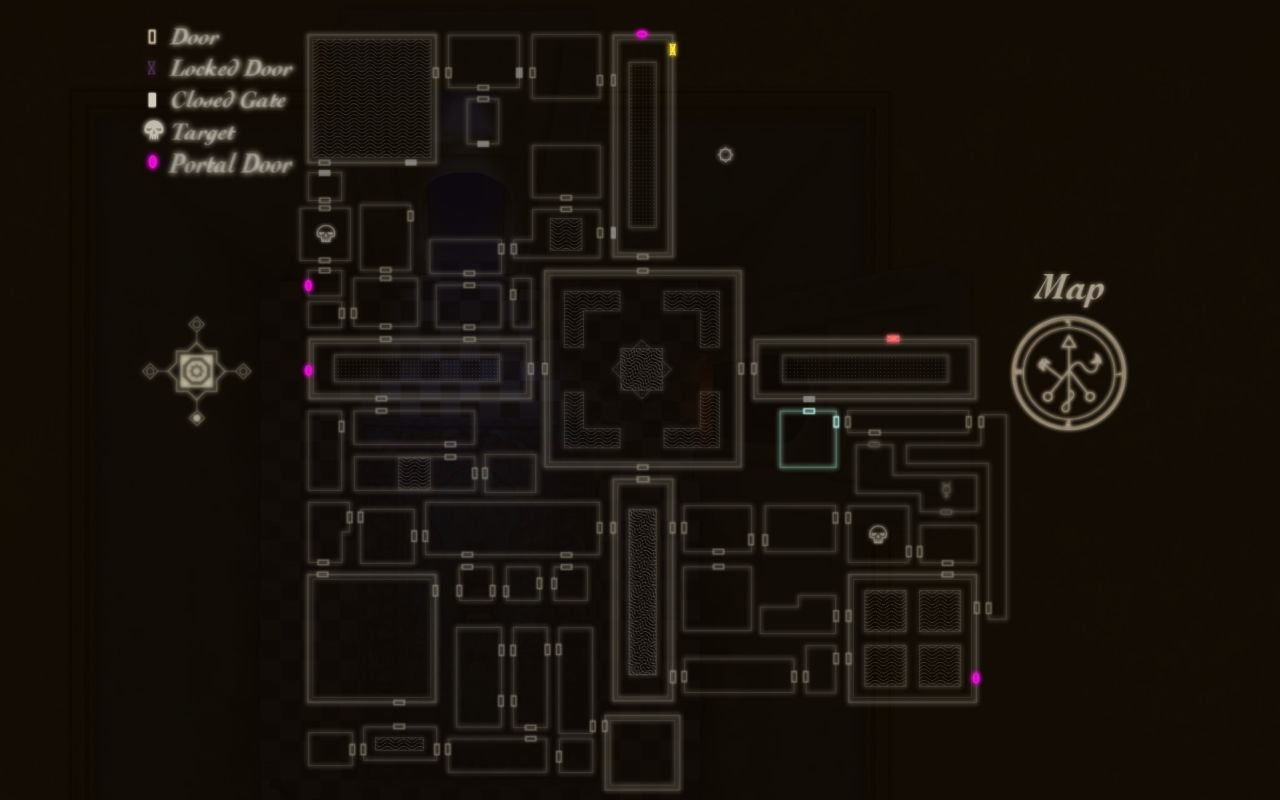
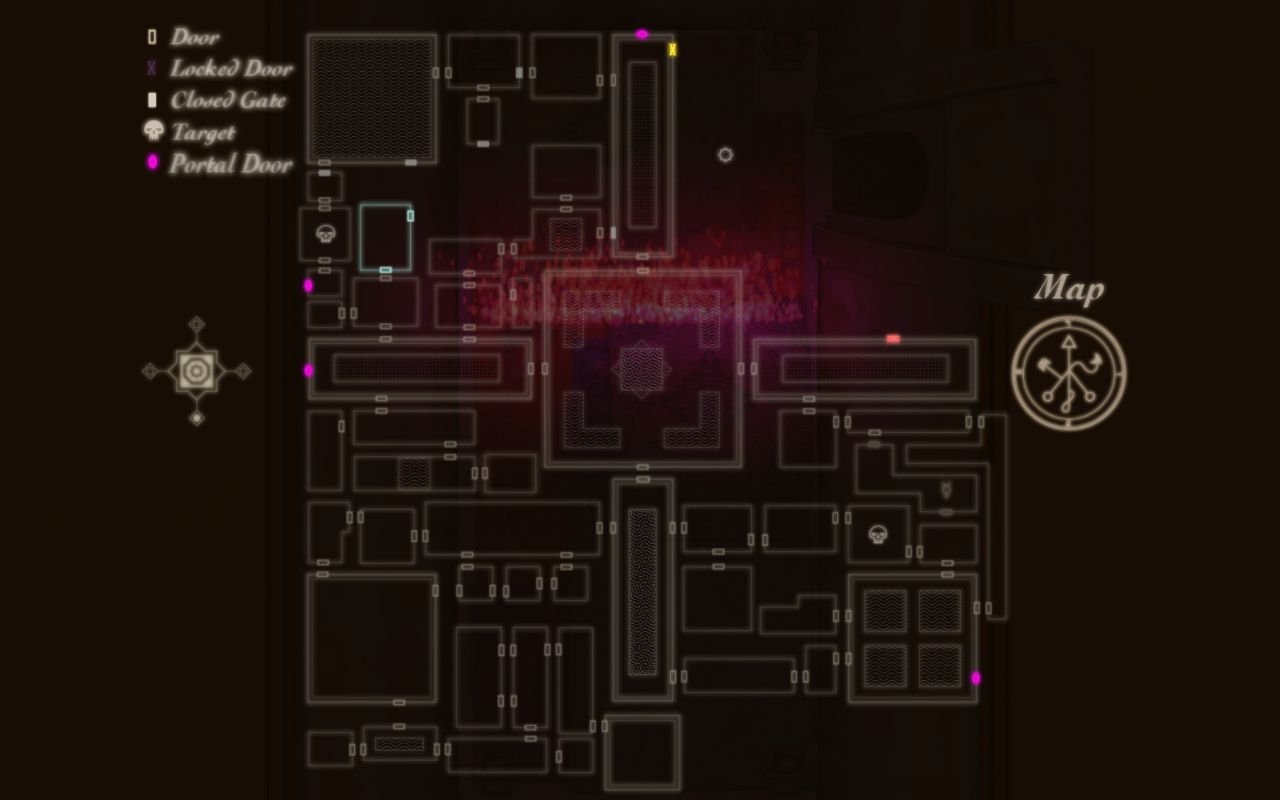
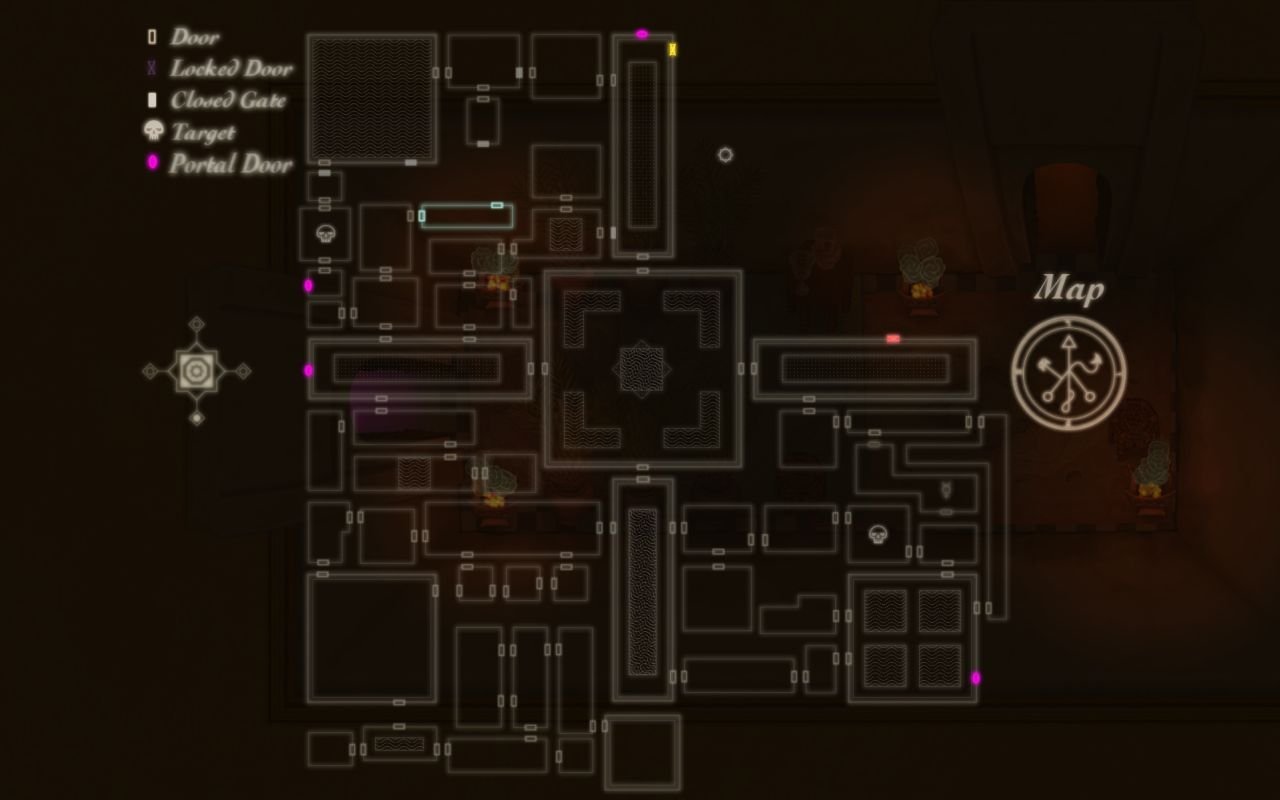
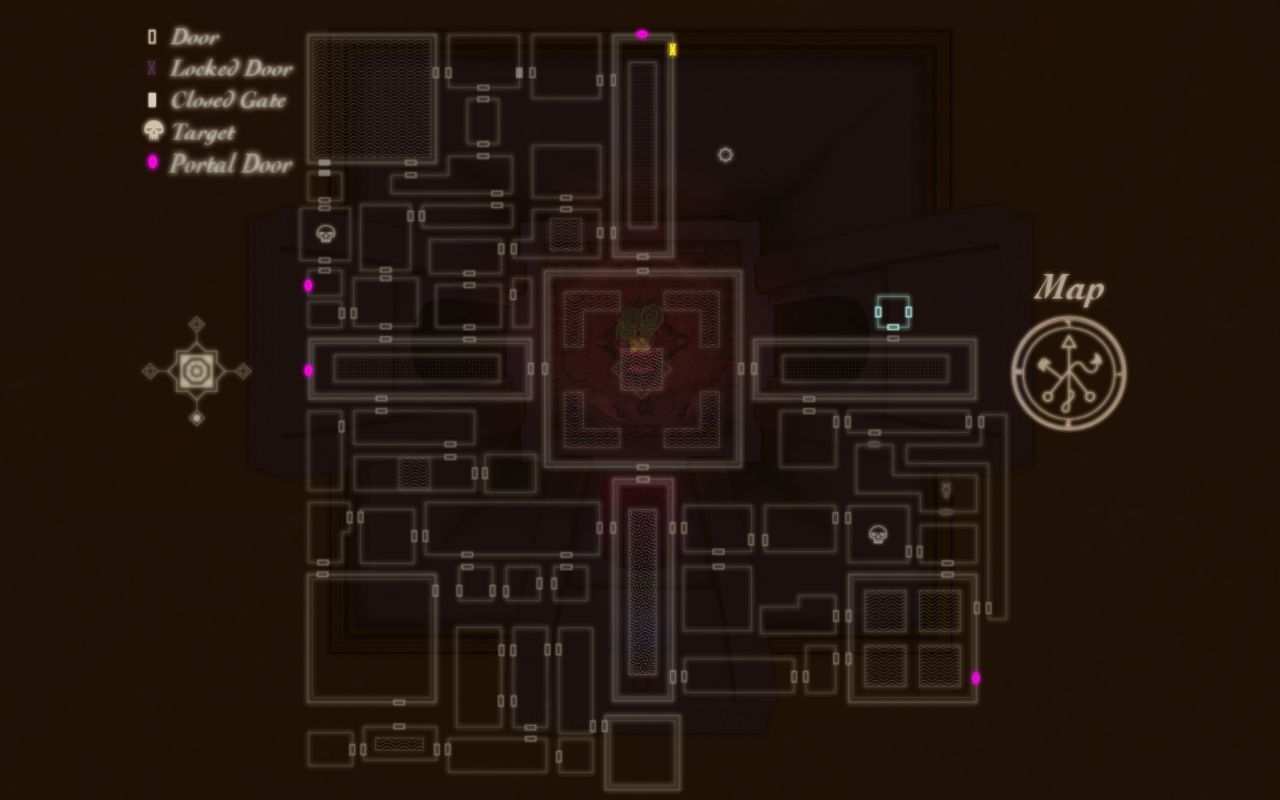
We exit in the western pool room, through a previously locked door. As you can see, entrances to the warp zones are marked in purple on our map.
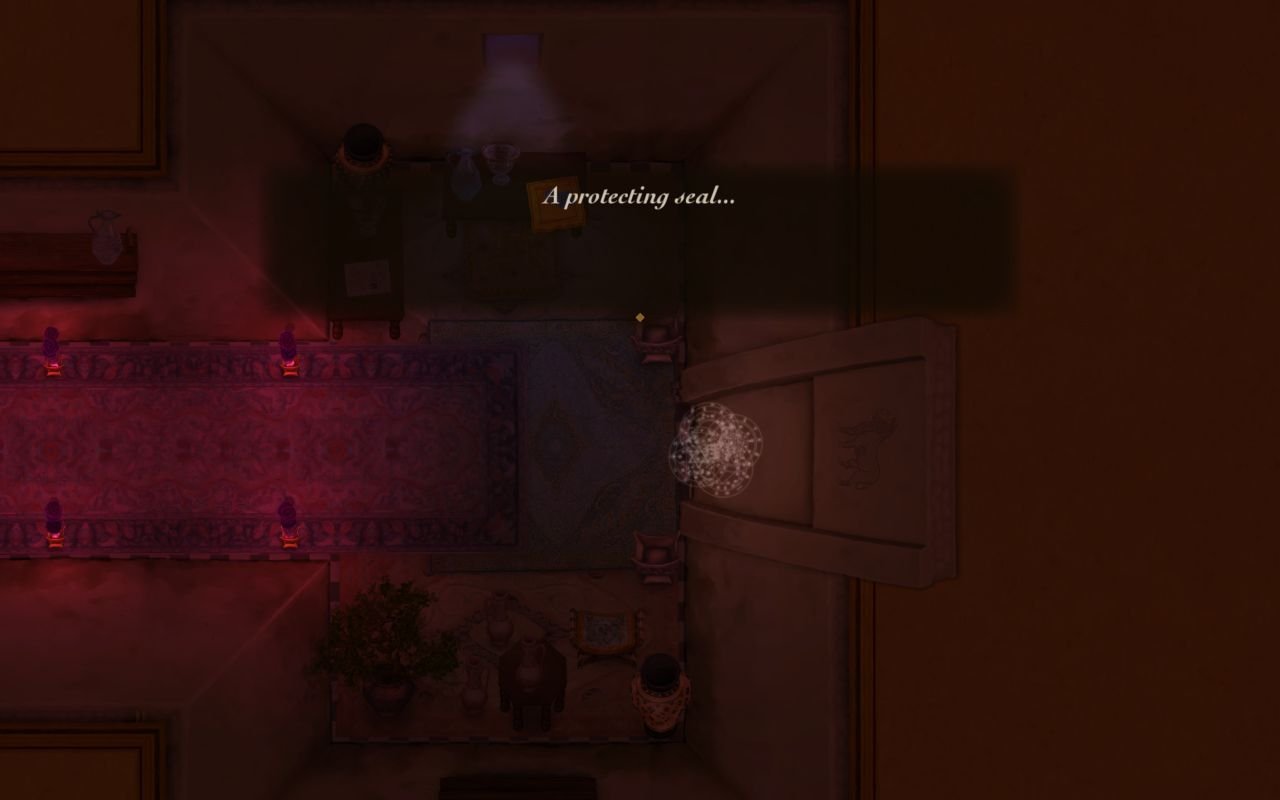
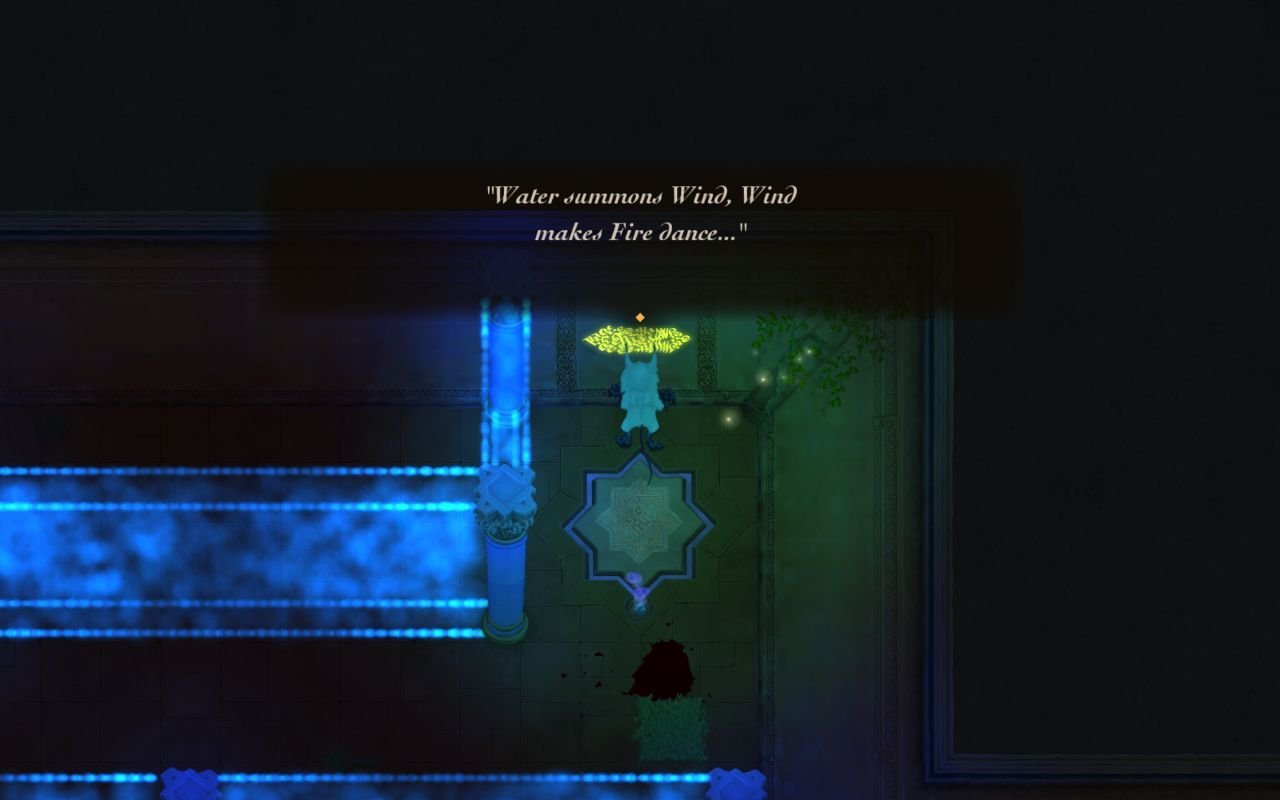
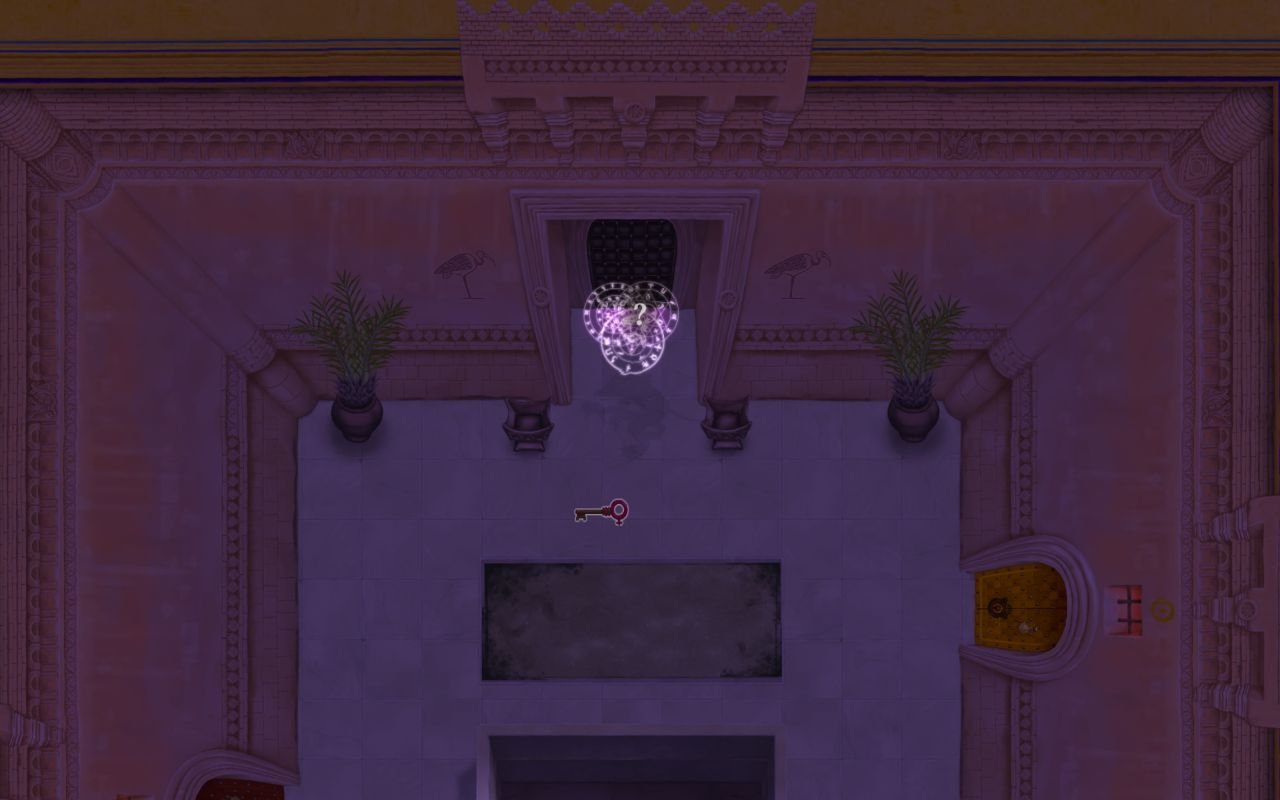
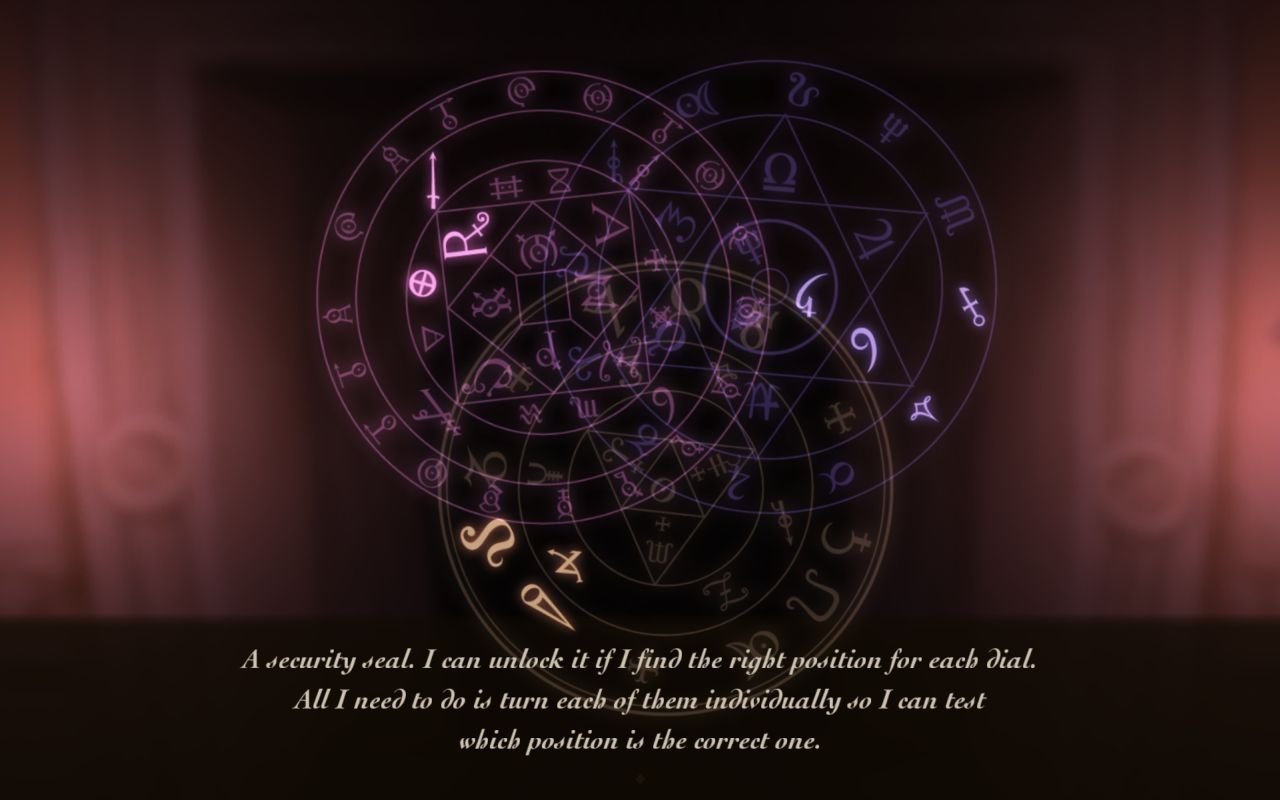
We have a key, that will open one of the doors in the eastern pool room. However, this is not where we'll be going. The northern pool room does have a door, locked by a seal puzzle on its north wall. We'll leave the key next to it and explore there.

We enter another warp zone... This room does require quick reflexes and a bit of thinking. On the north wall there is a gate, that is opened by the lever you can see on the previous screenshot. This gate is, of course, timed. Between the lever, and a gate is a maze of pressure plates that release deadly bolts from the walls. One misstep and we're dead. So we pull the lever and run north...
The gate shut after we crossed it. The lever controls the spikes, either left or right being raised at one time. We run to the left, down the corridor.
We've opened the south east gate, but there are still spikes blocking our way to the east. To lower them we need to pull the timed lever, go back through the corridor and pull the lever there and exit through the timed gate.
After some more lever play, the spikes blocking door to the north are lowered.

Surprisingly, we exit in the south eastern part of the castle. Evidently, orientation and location of the door in warp zones has nothing to do in regards to where they lead in the castle proper.
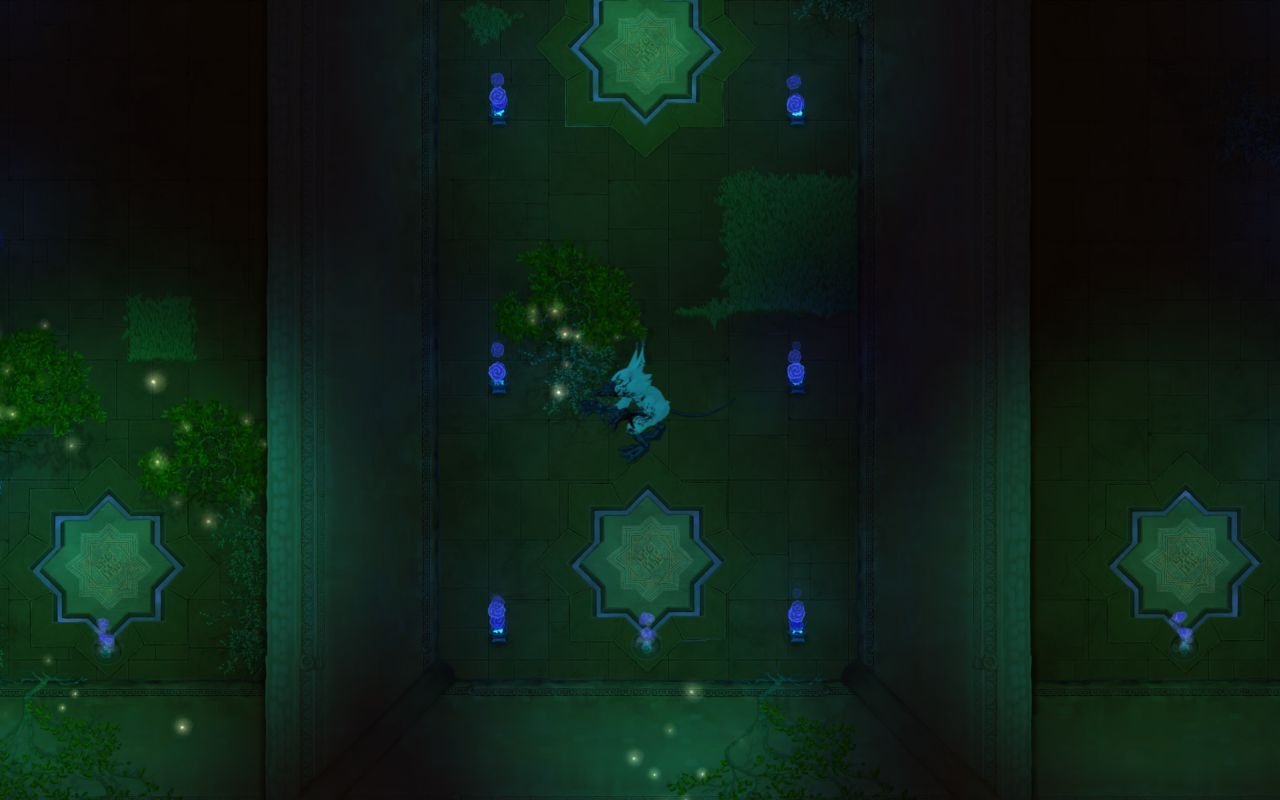
A gate on the eastern wall of the four pool room is now open.

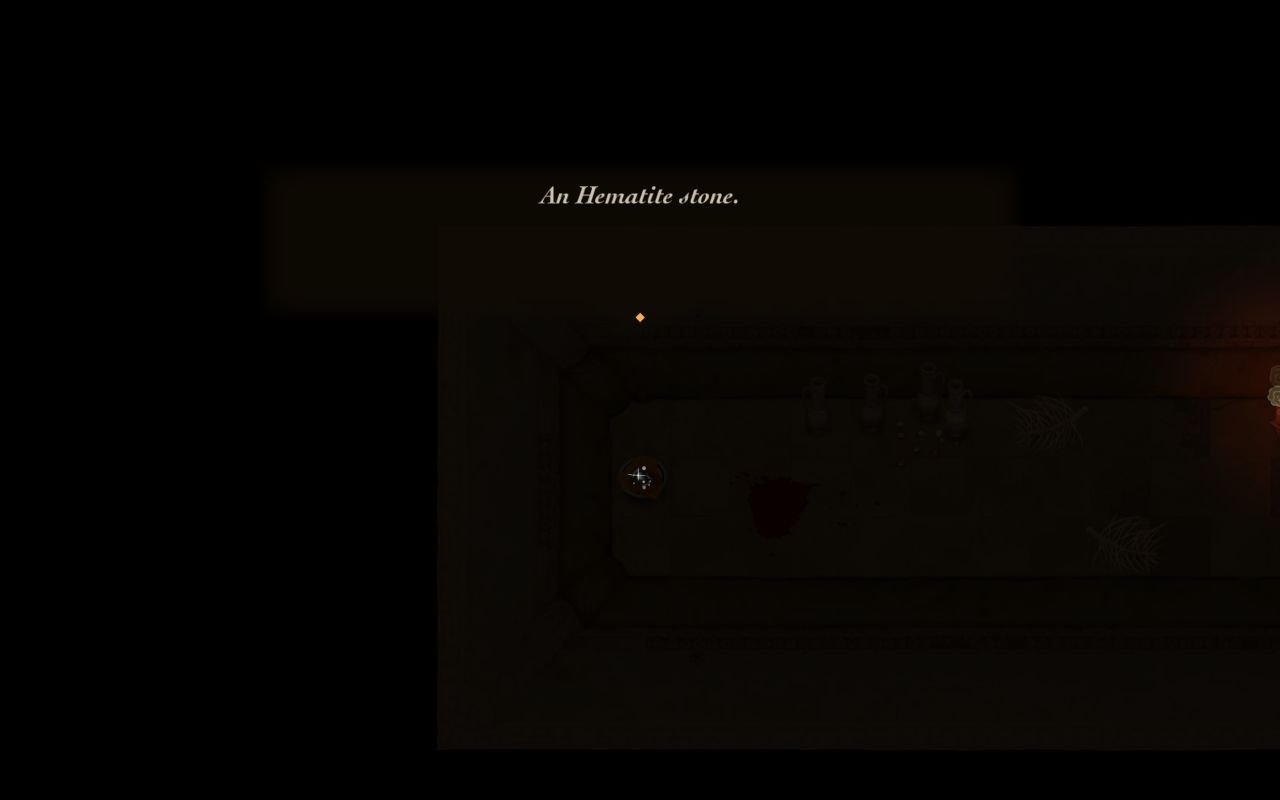
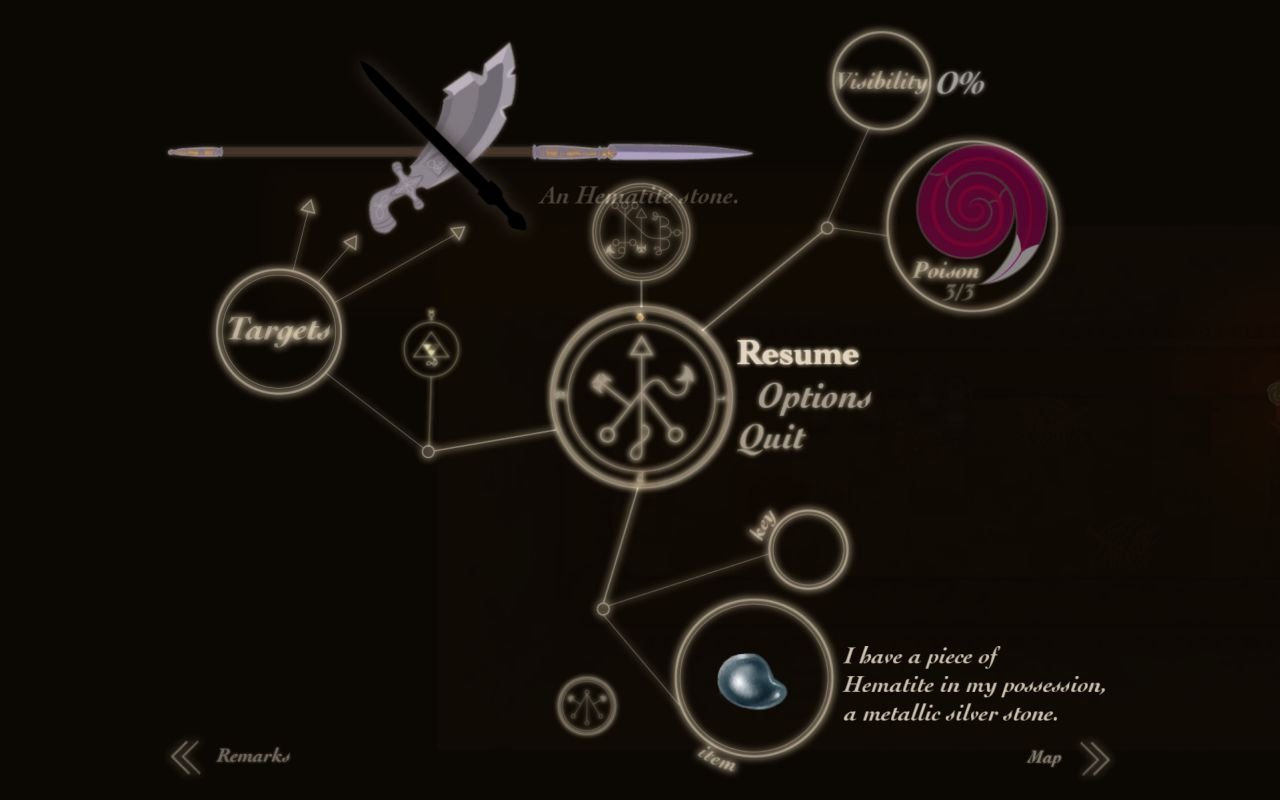
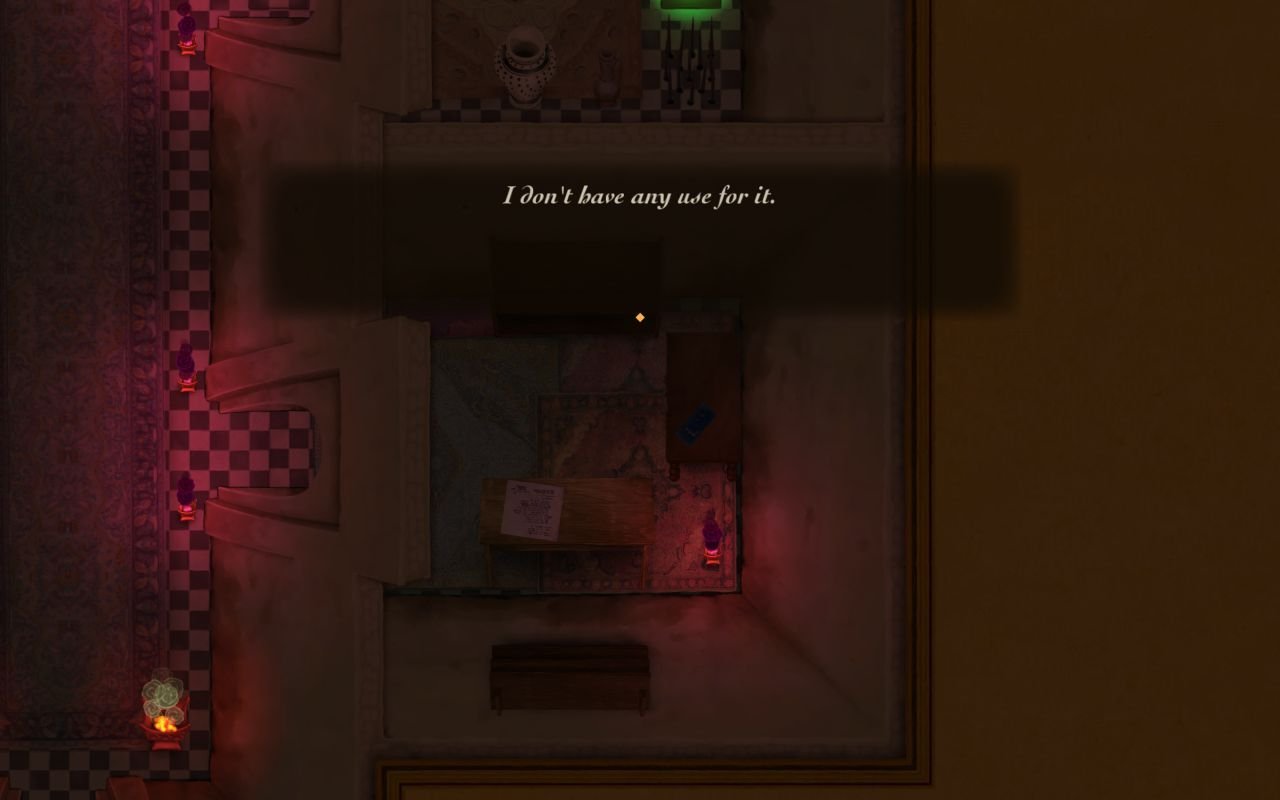
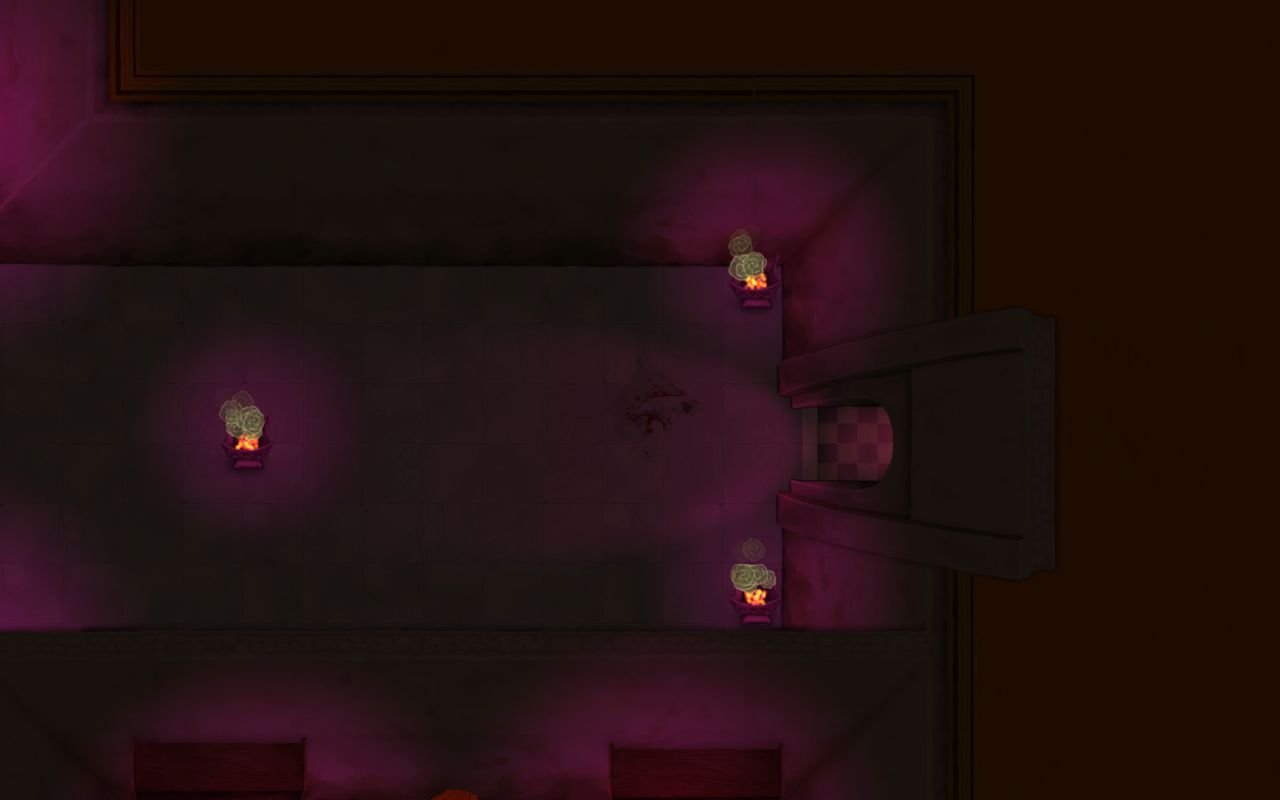
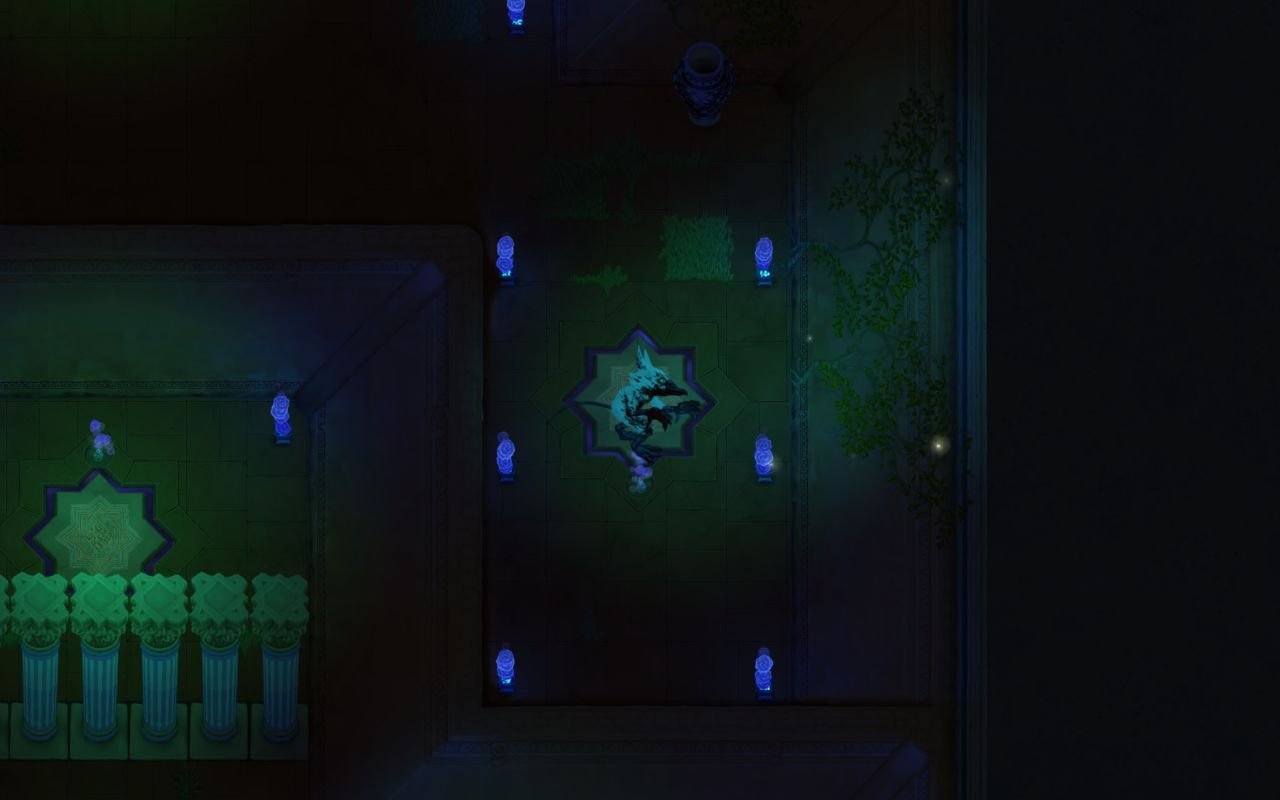
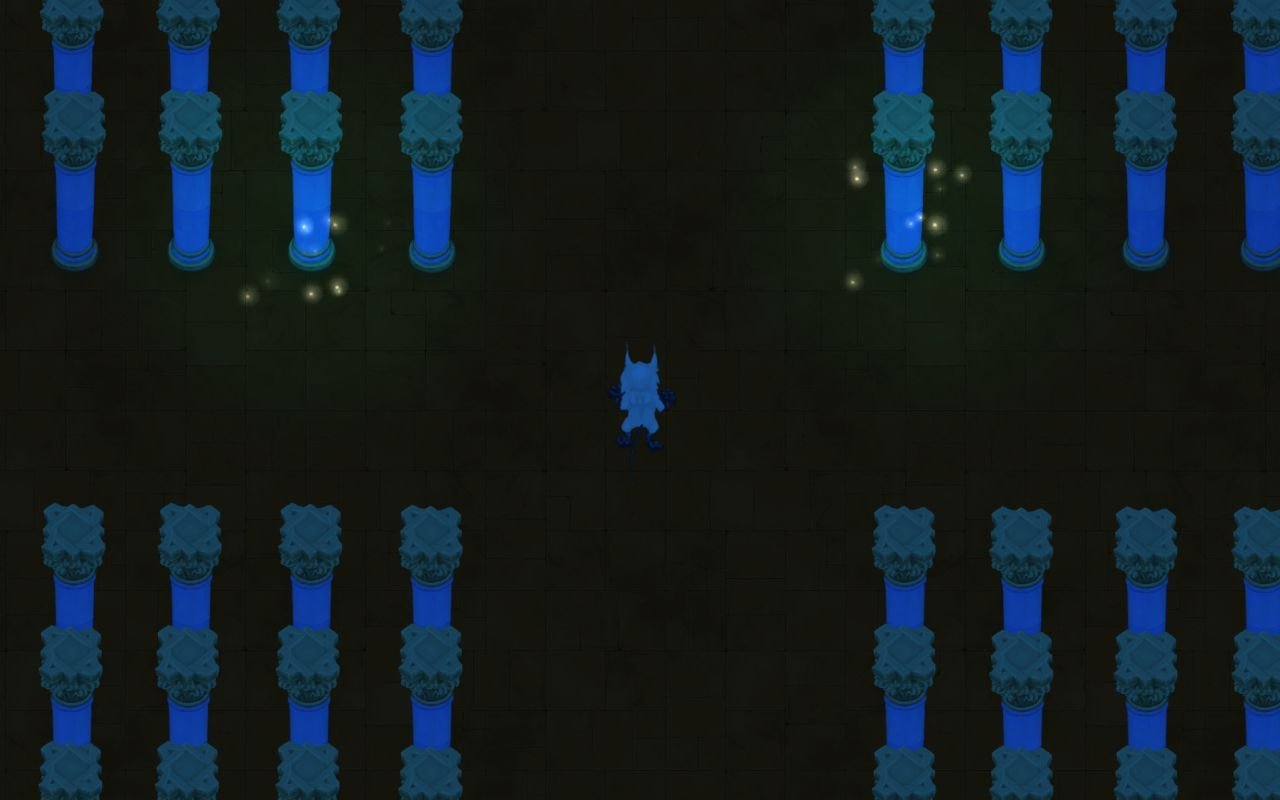
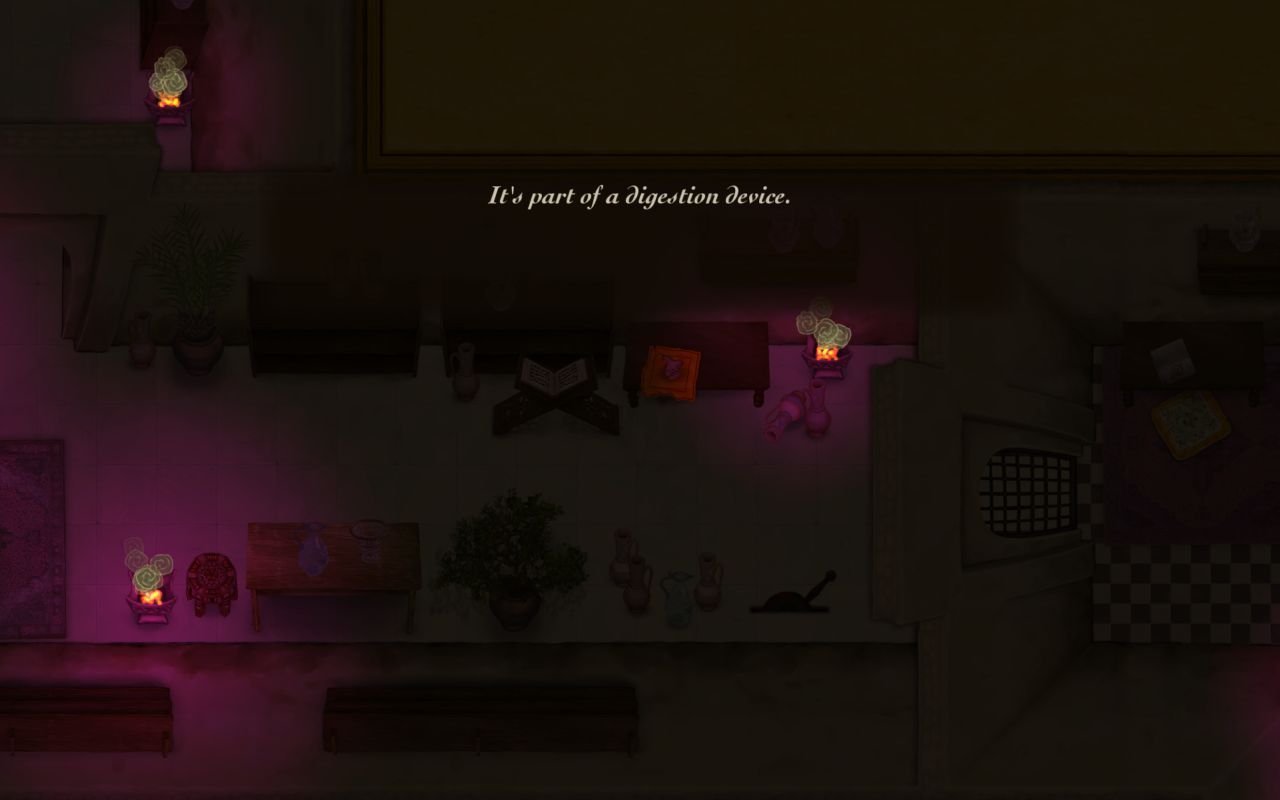
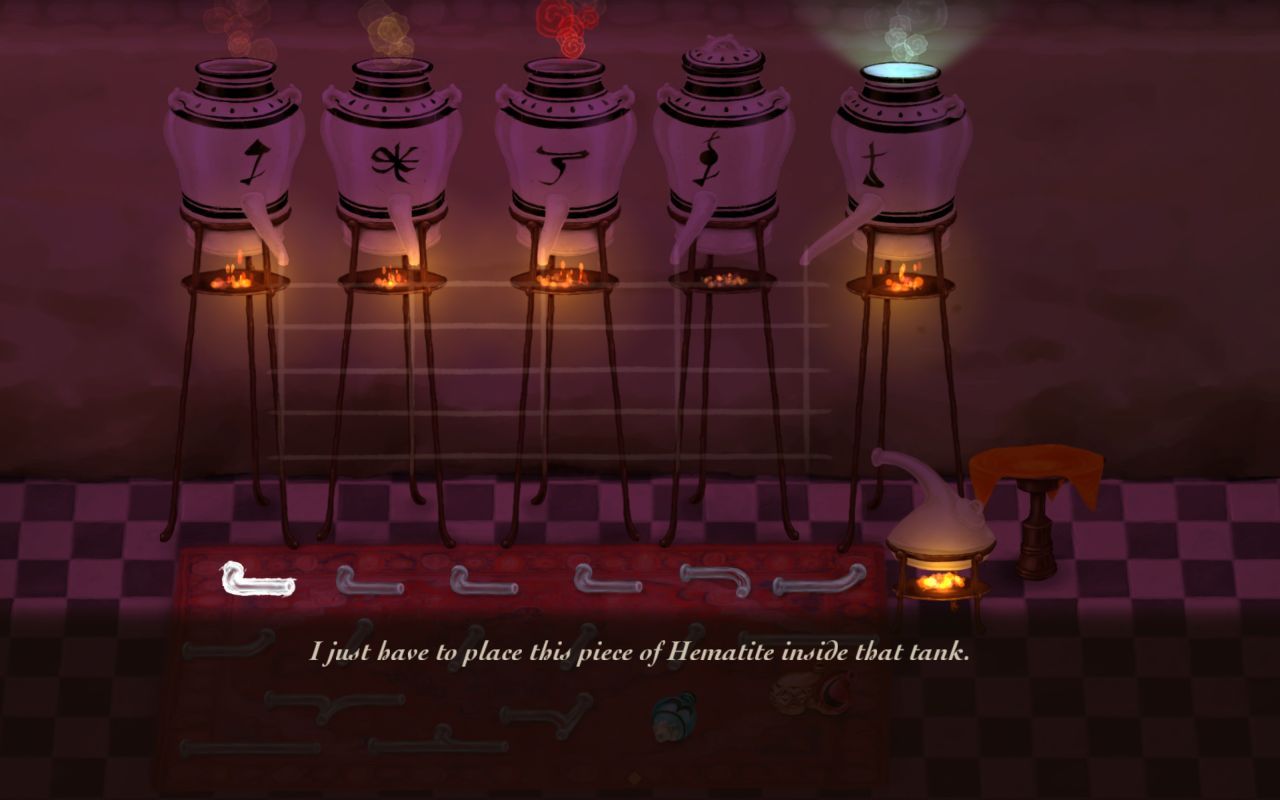
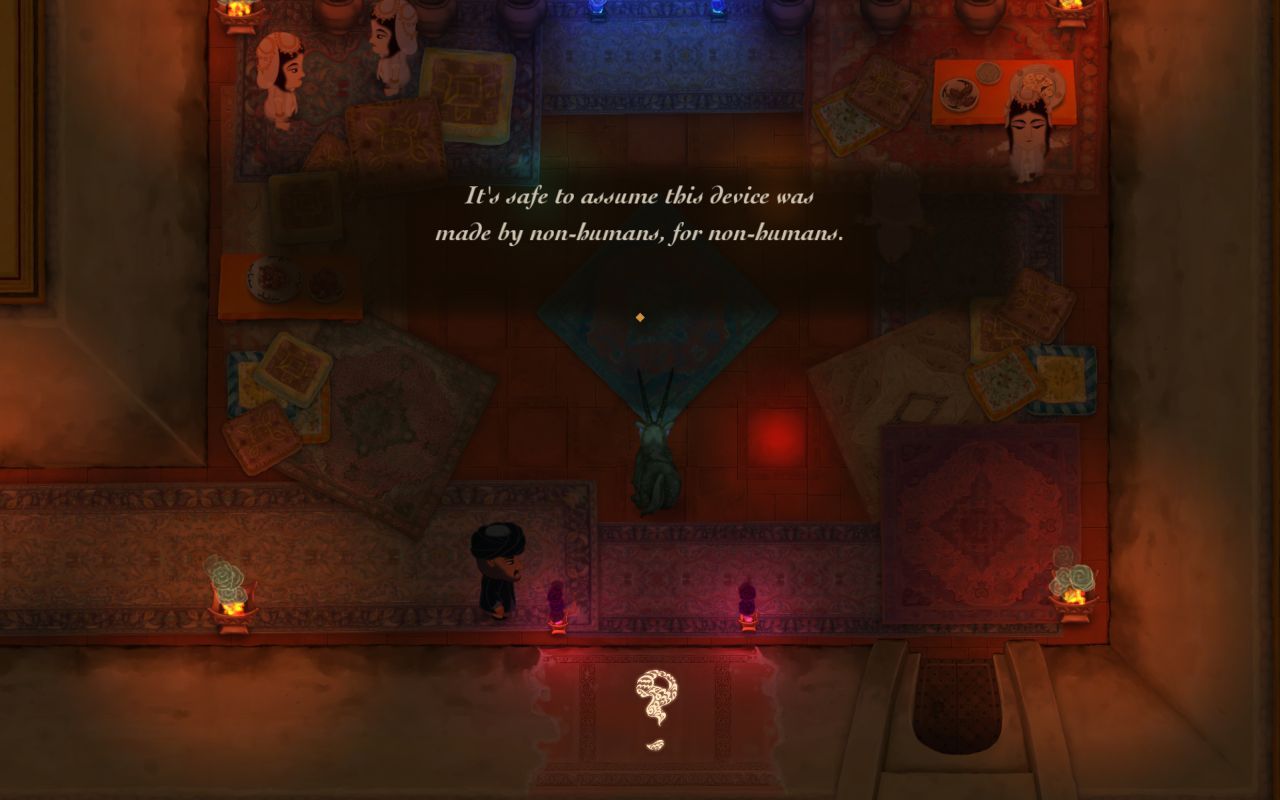
We enter a long corridor, full of traps. There are floor spikes and pressure plates releasing darts from the walls. Nothing we can't handle. In the blind corridor we find Hematite. Don't know what it's for, but we take it anyway, and then go through the western door.


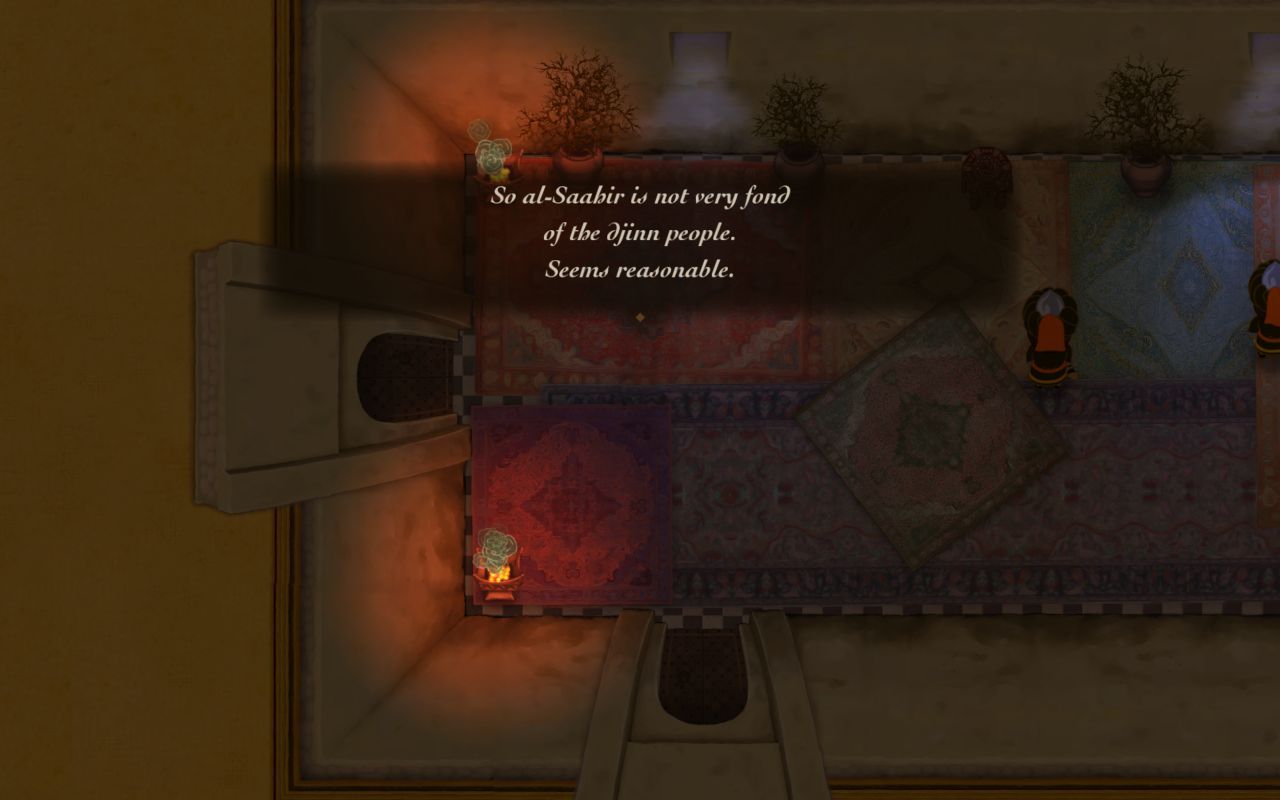
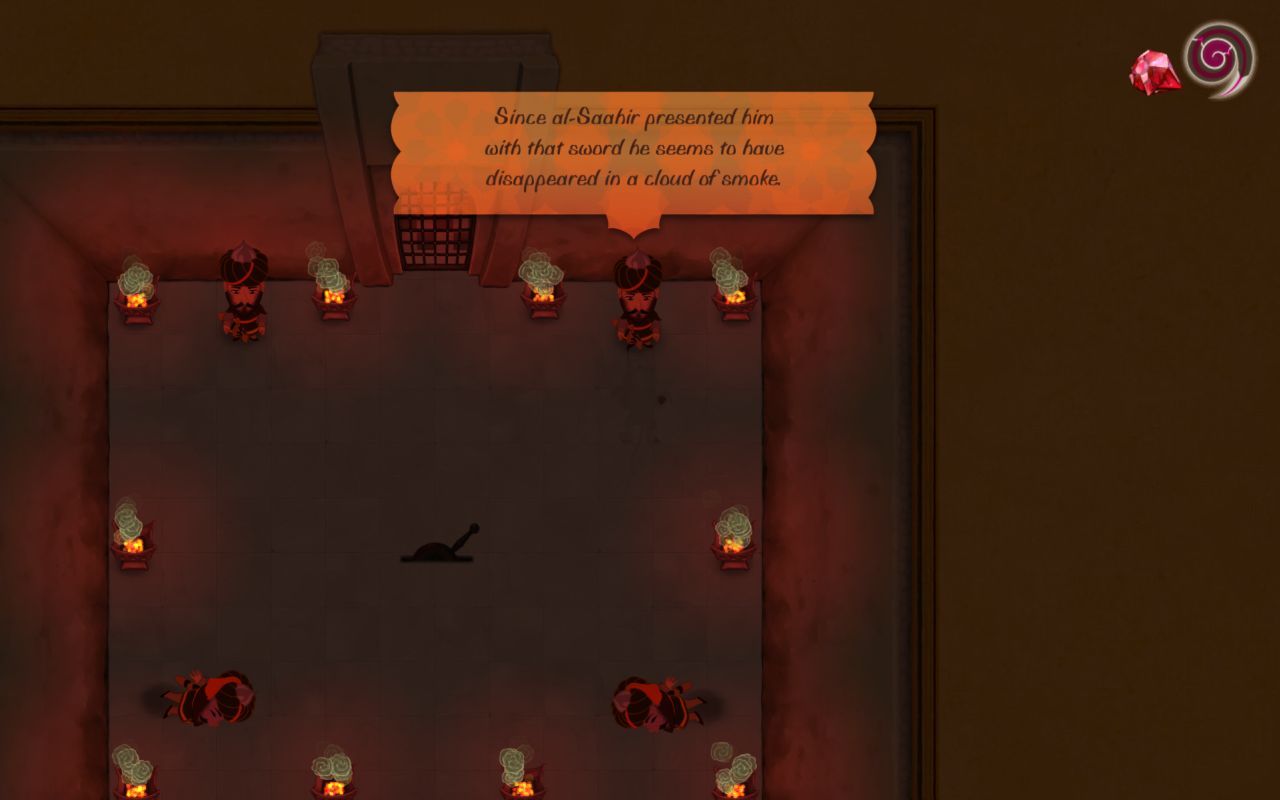
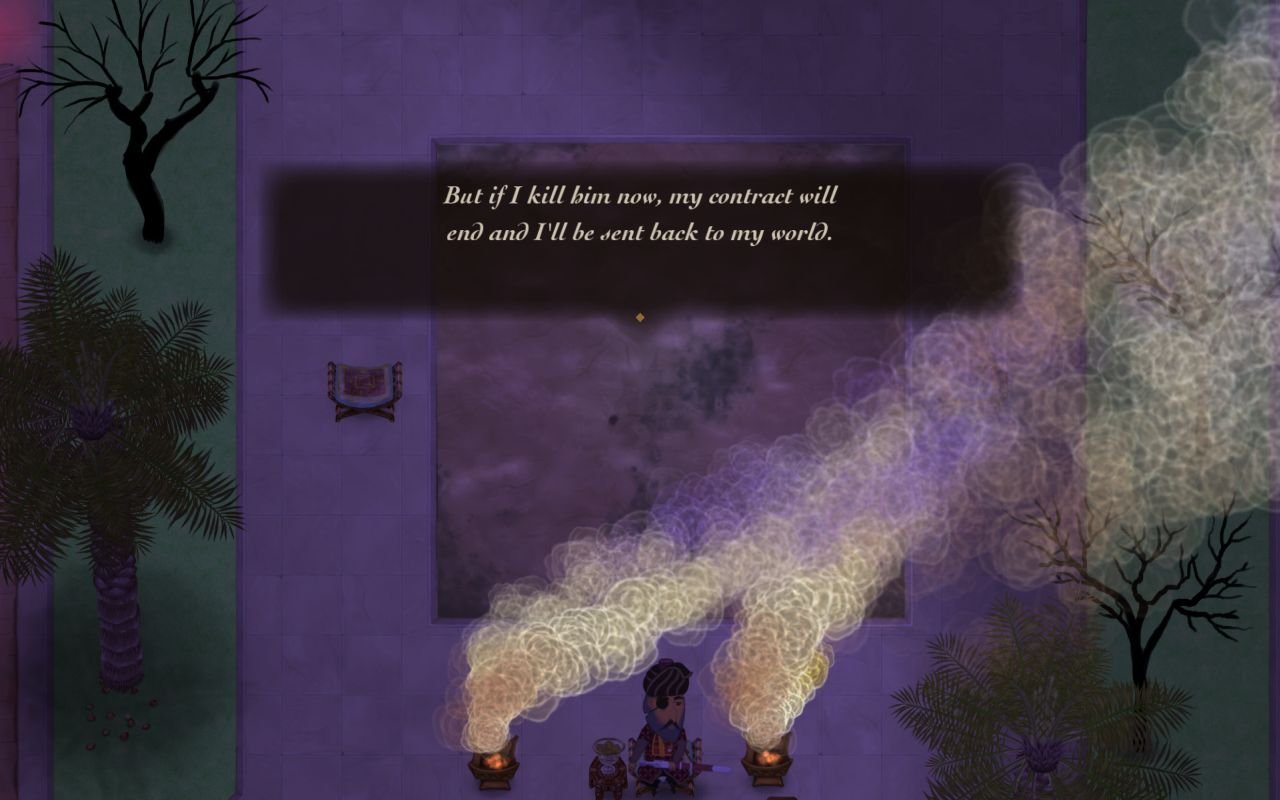
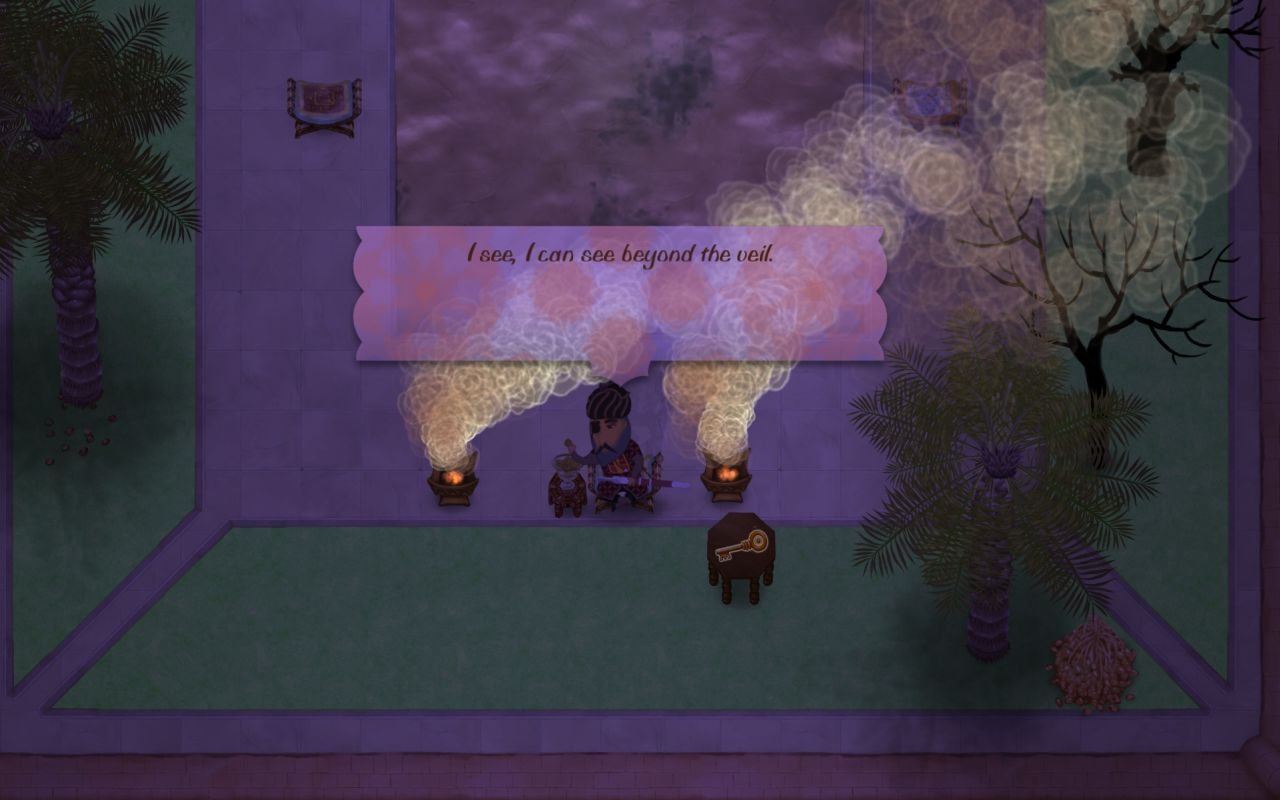
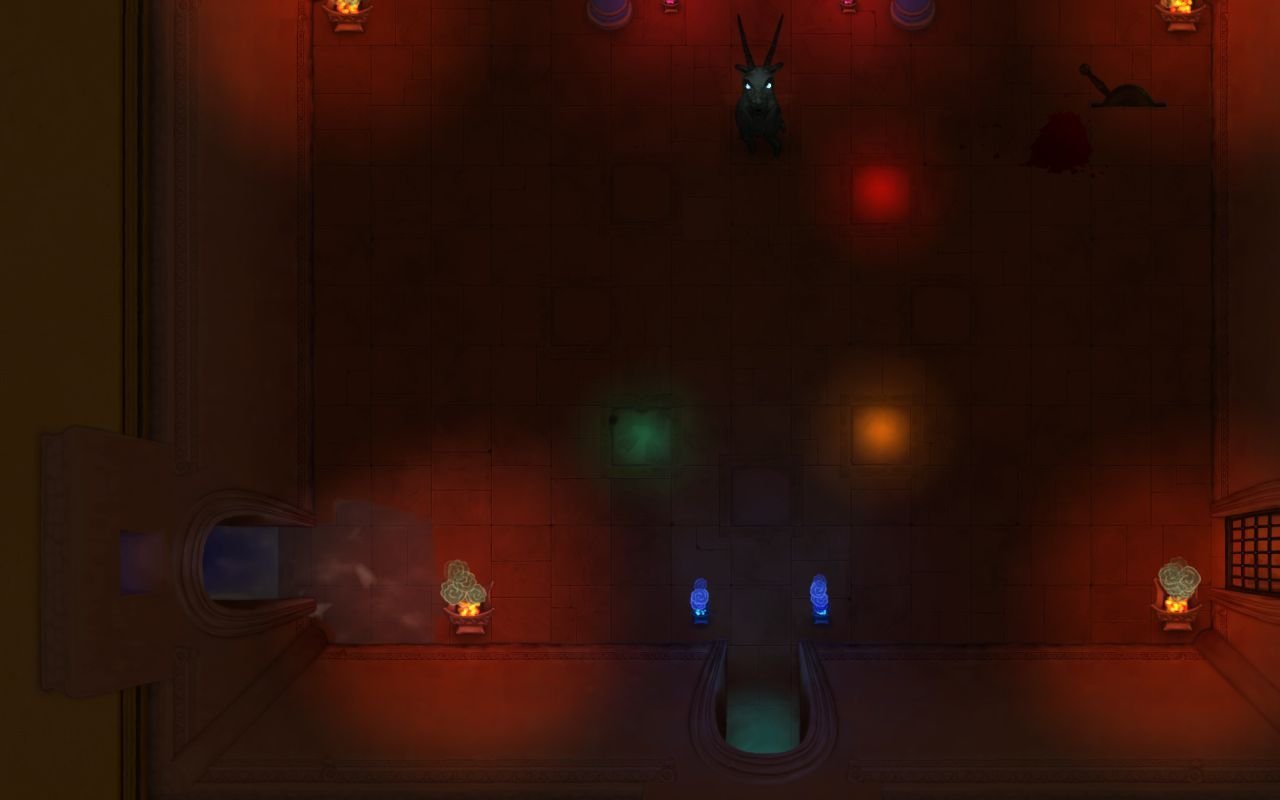
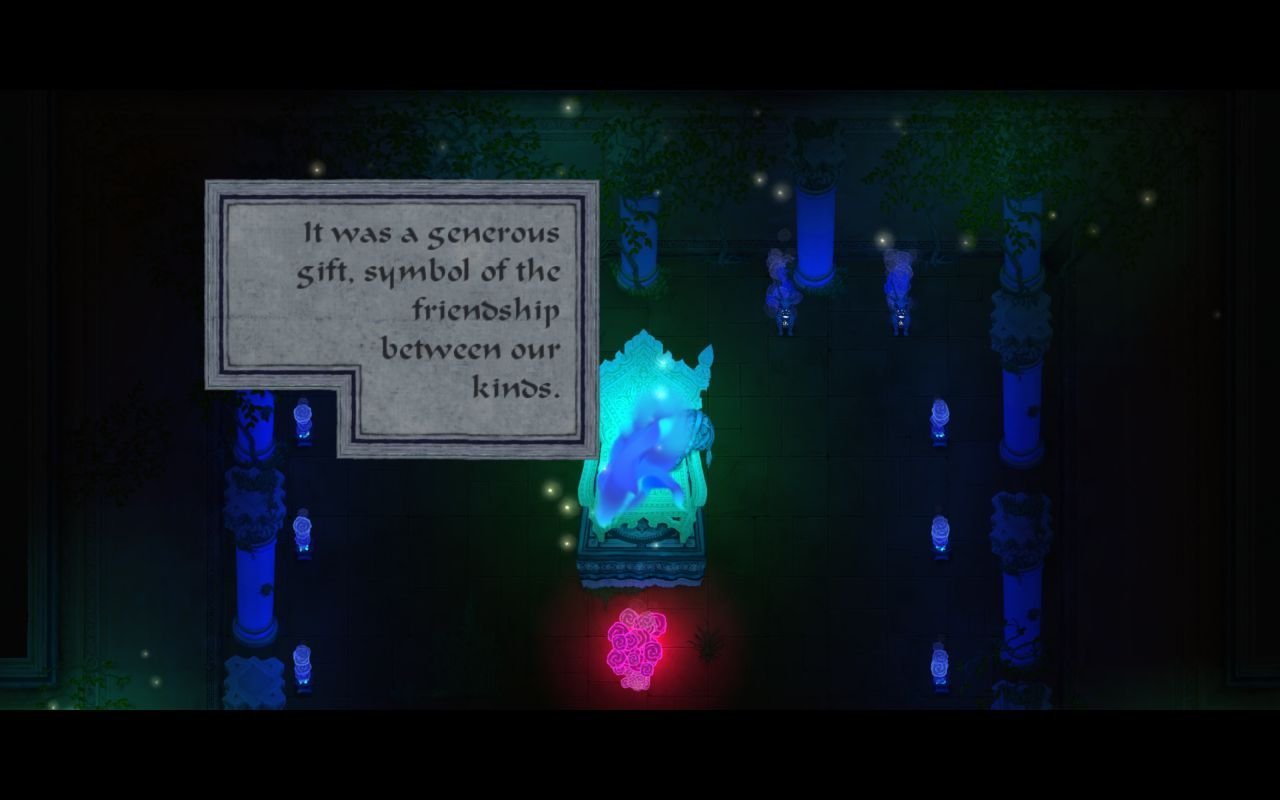
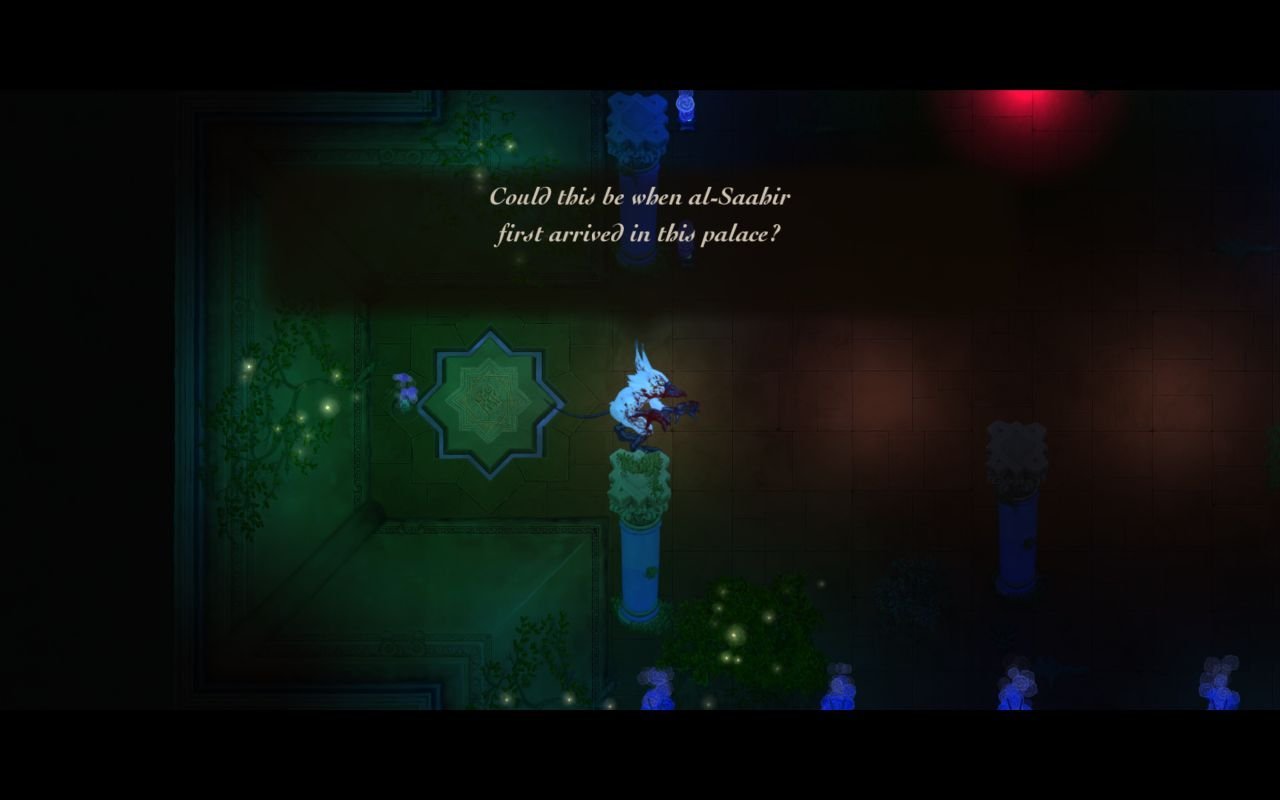
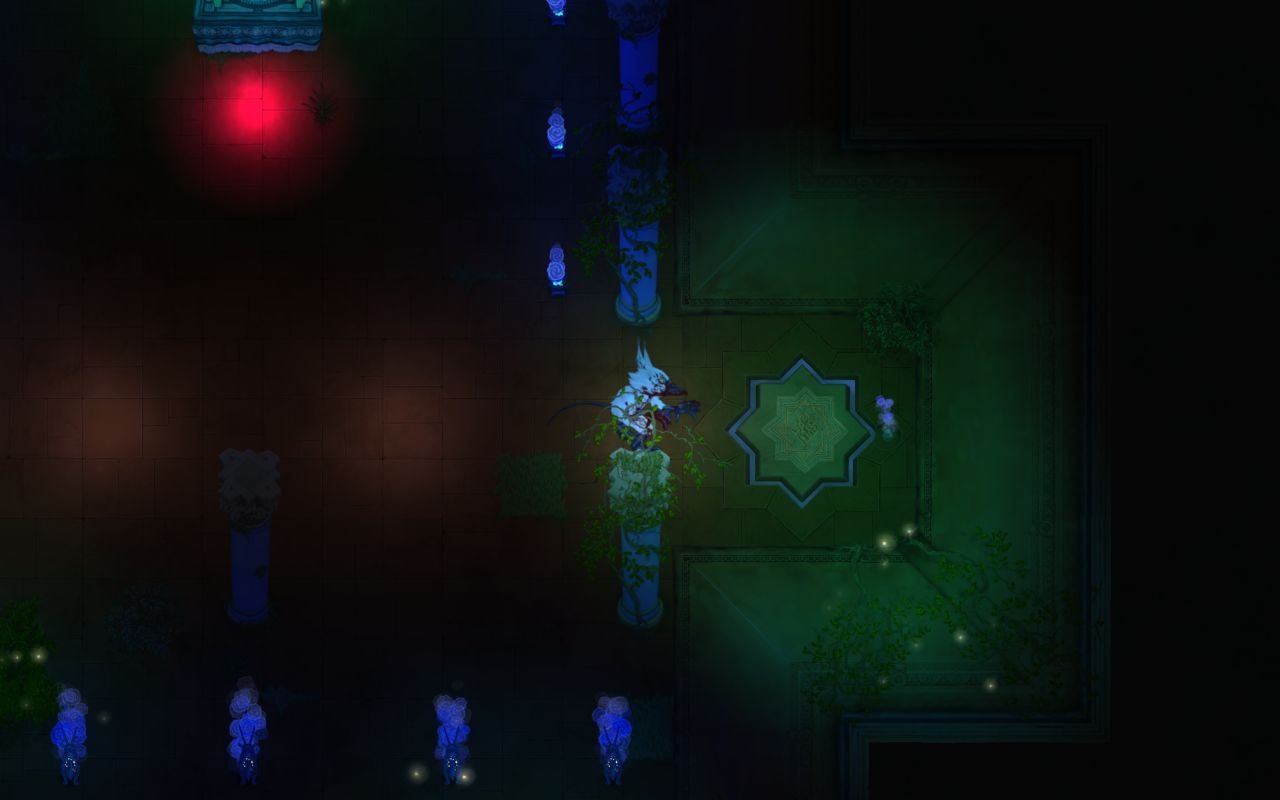
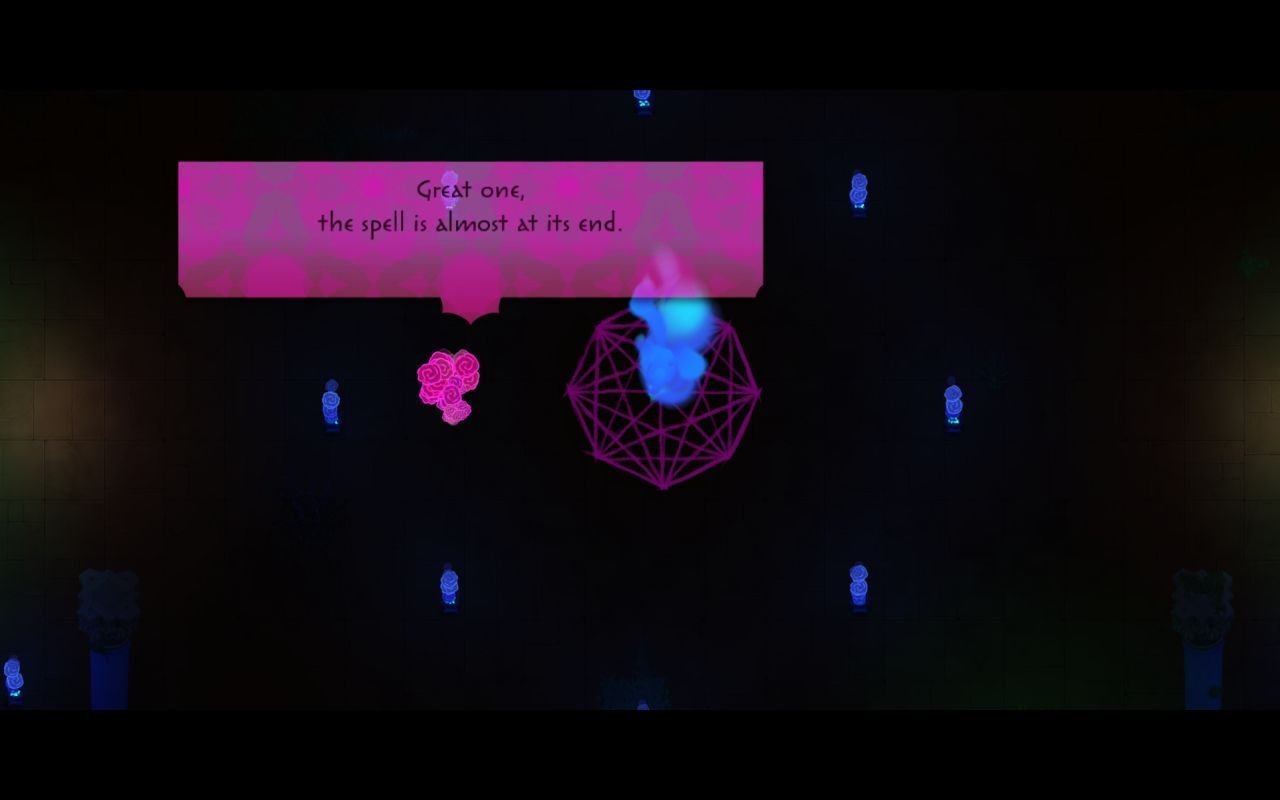
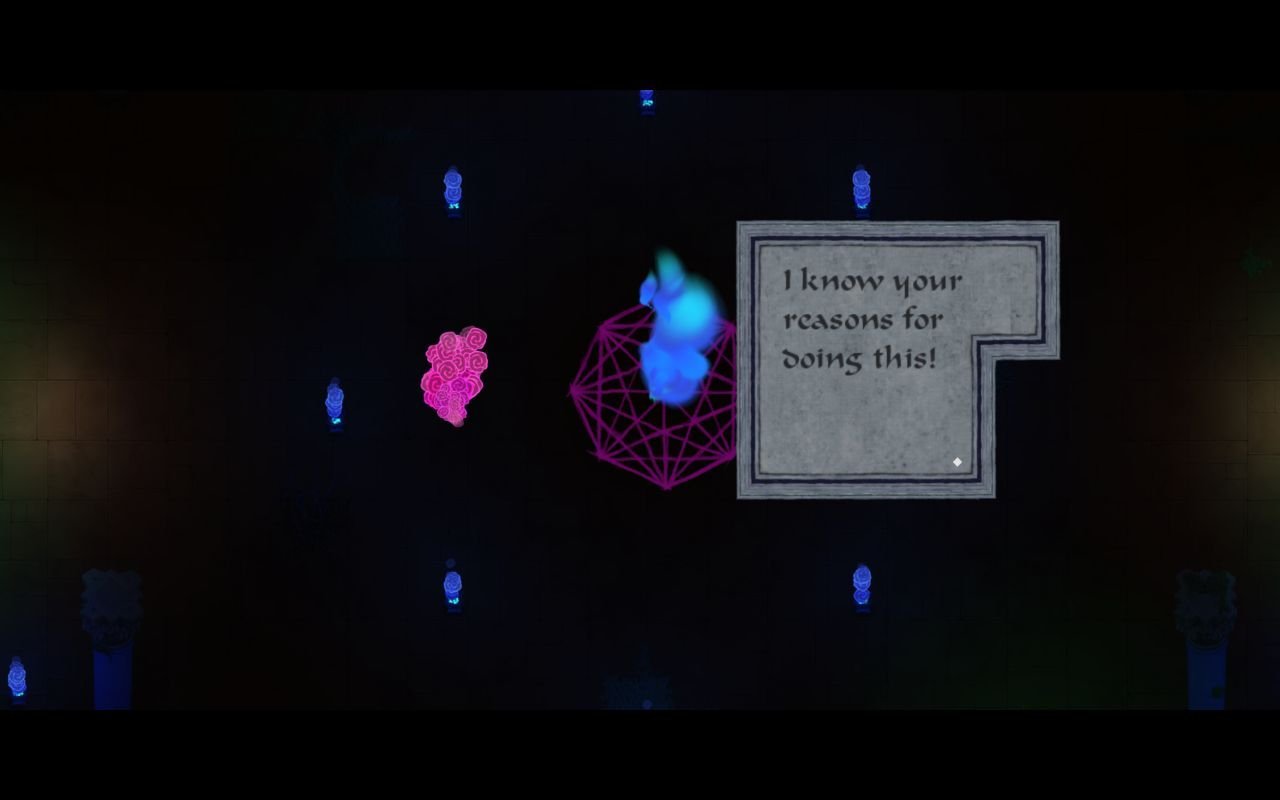
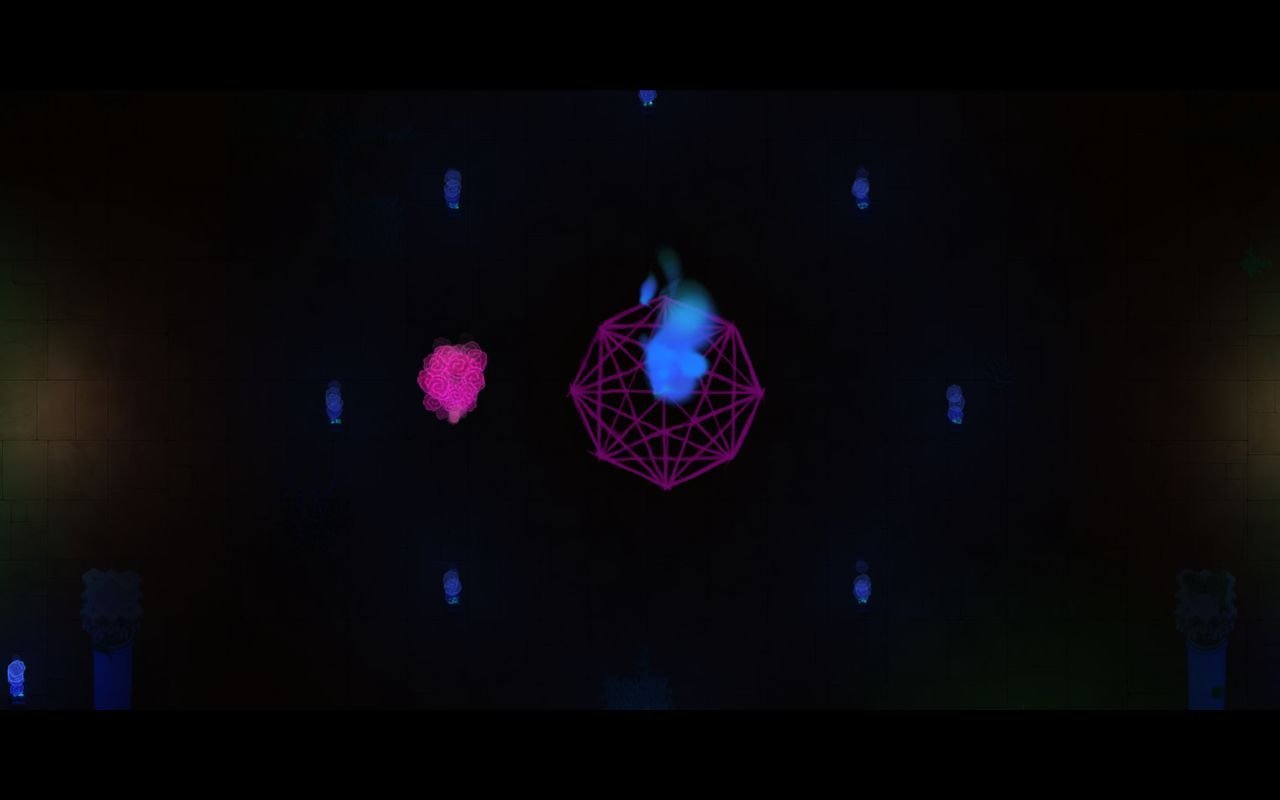
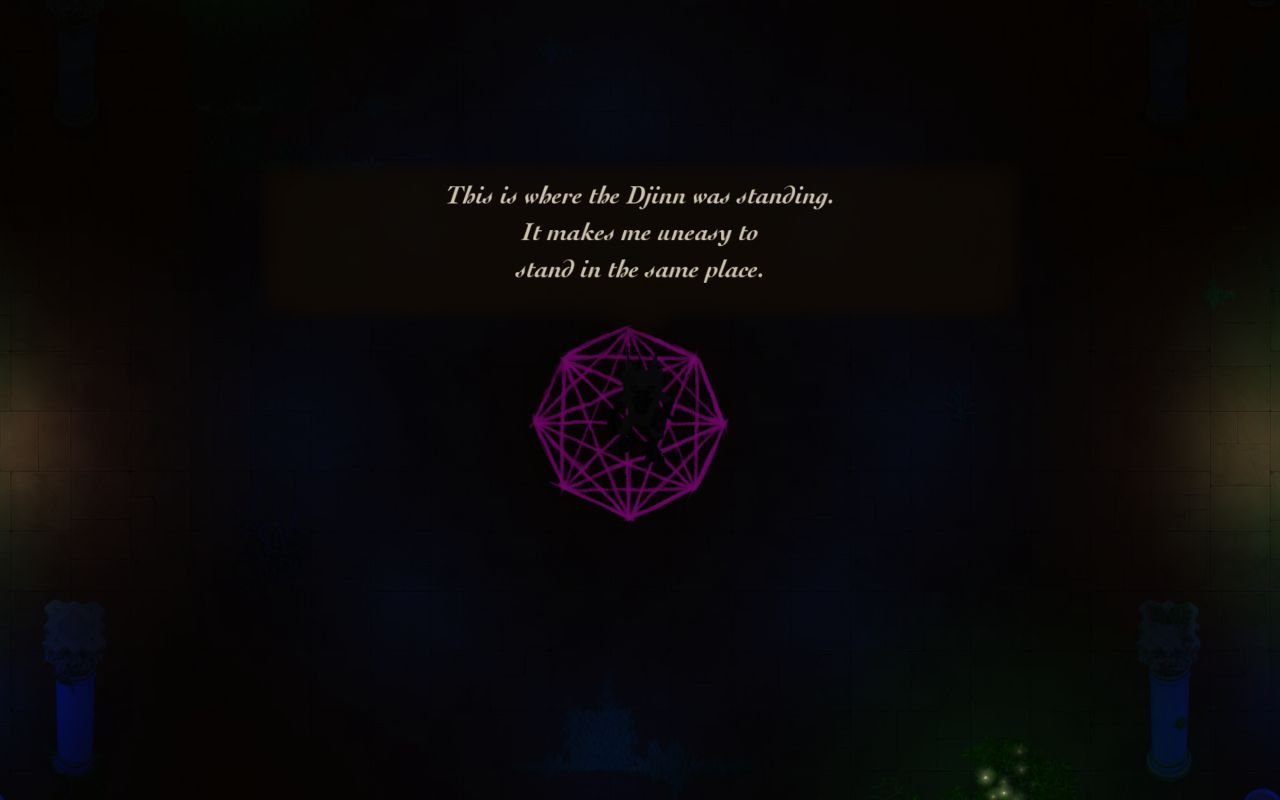
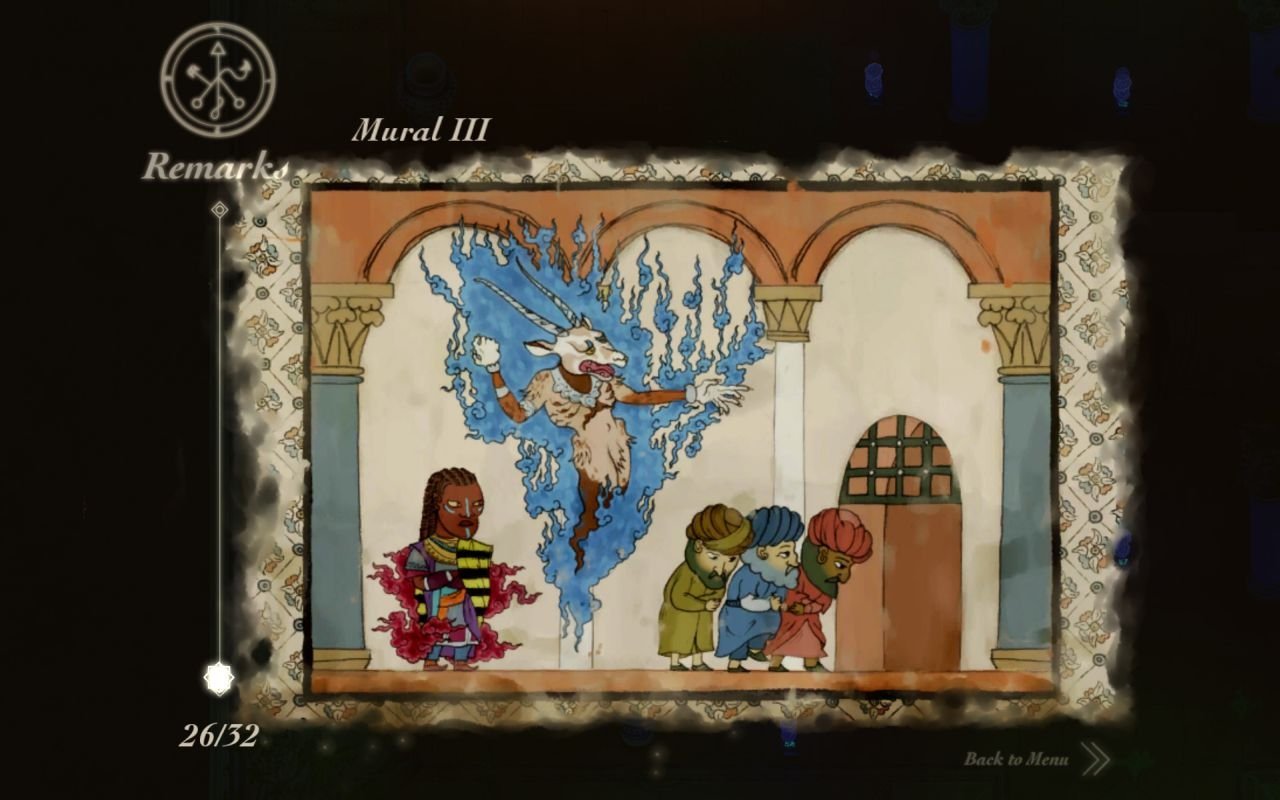
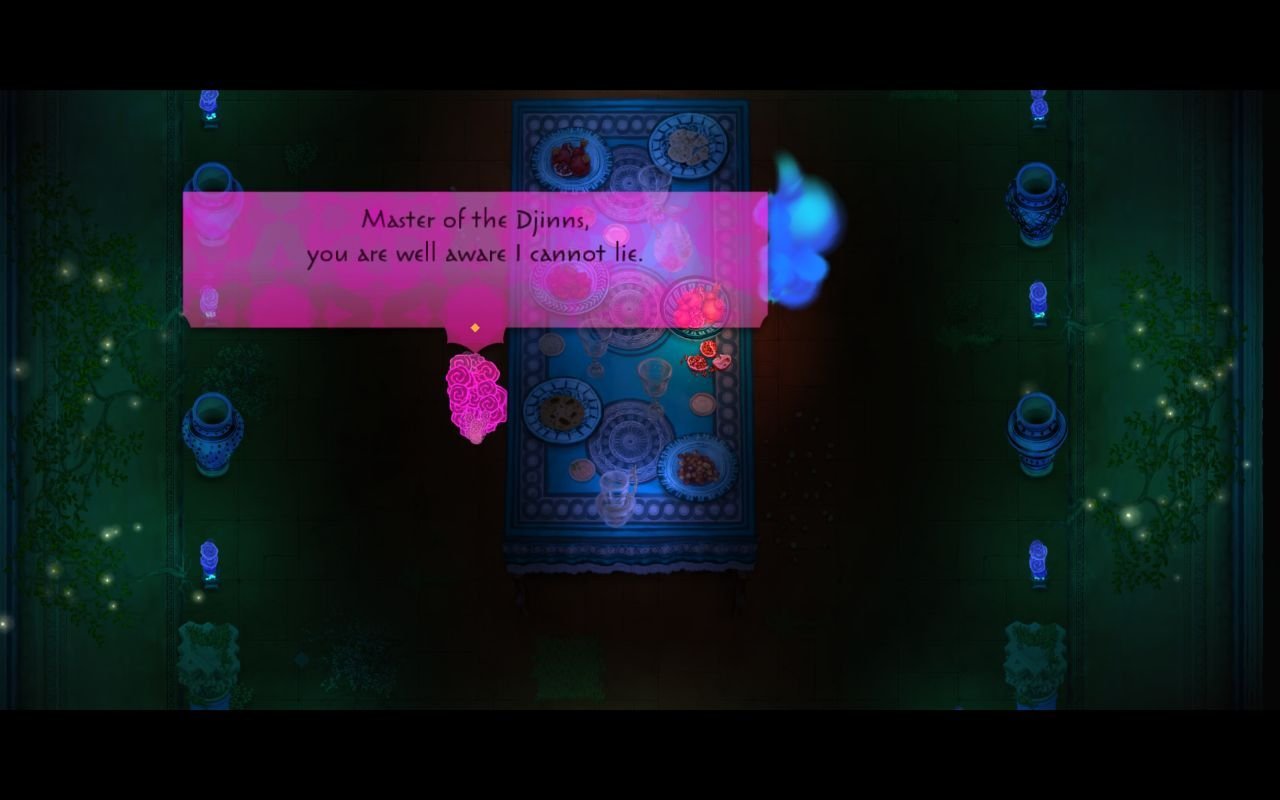
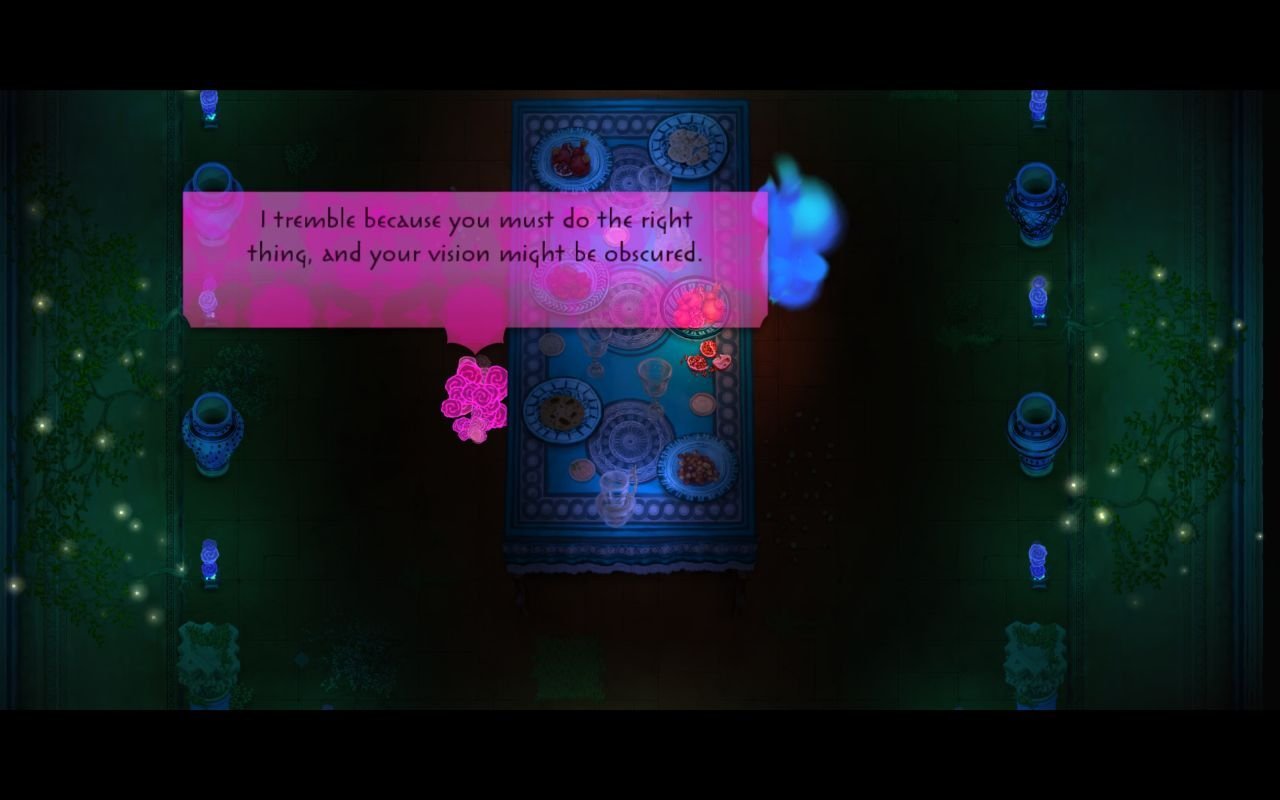
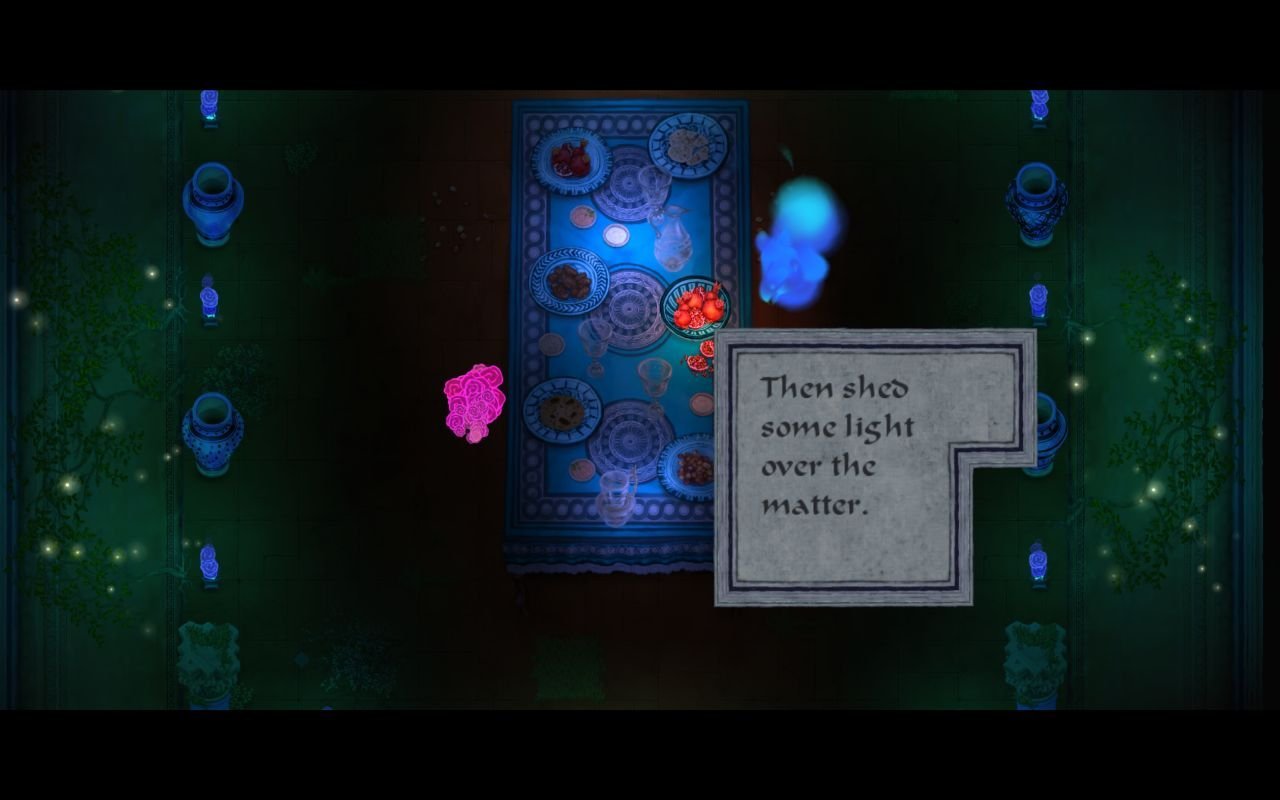
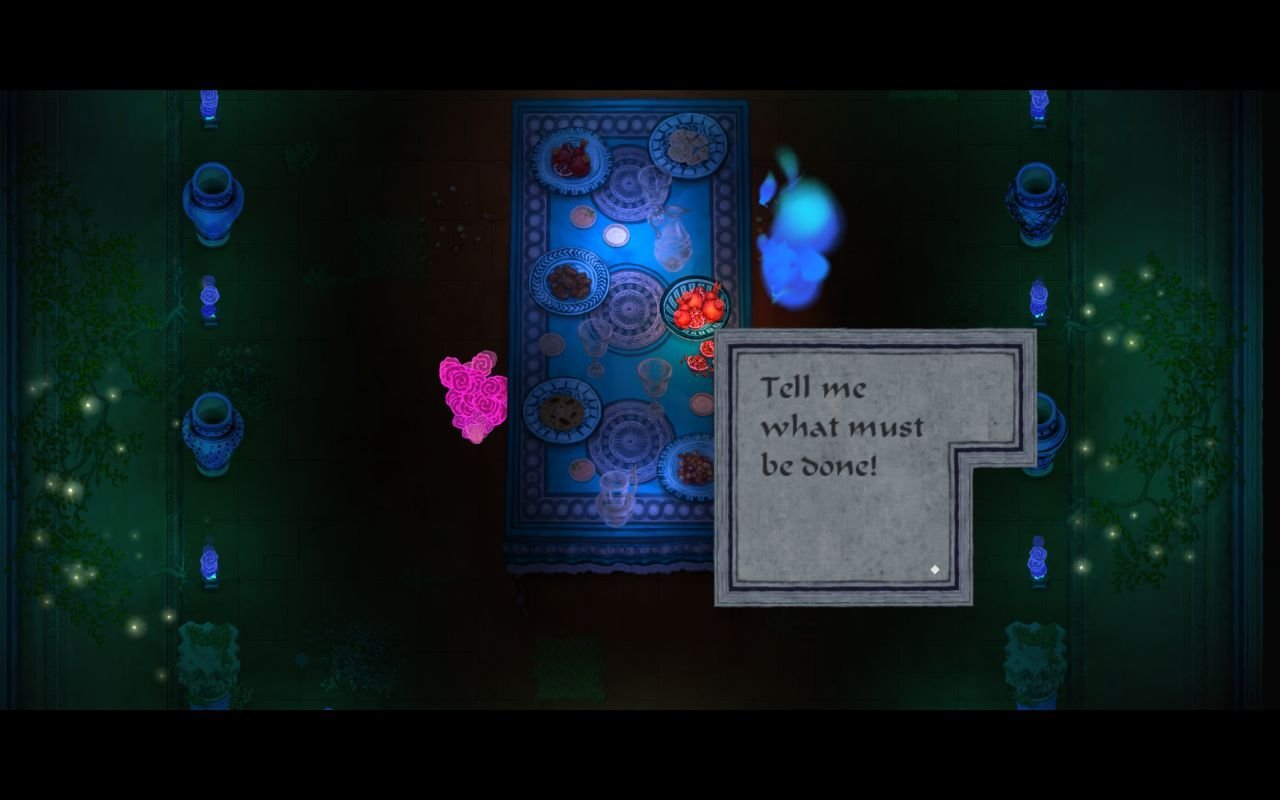
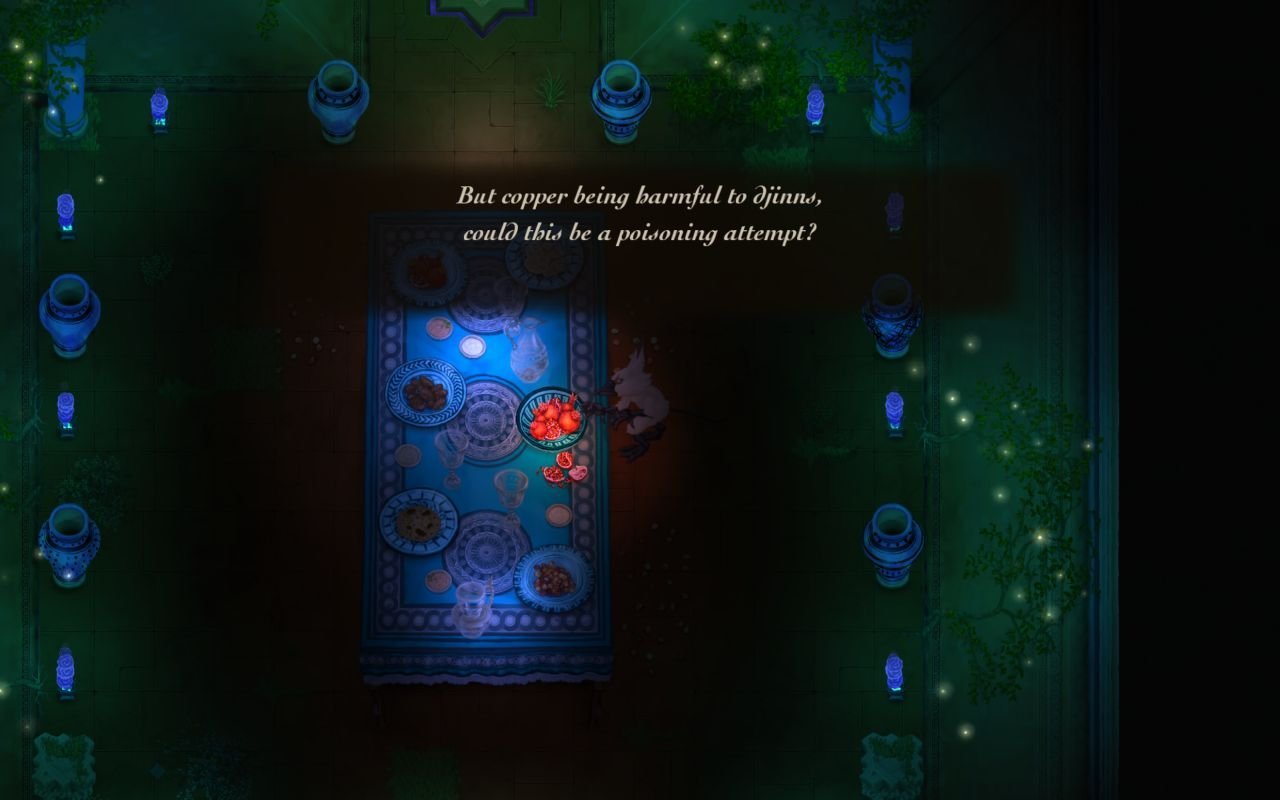
Al-Saahir doesn't like djinns. I wonder if it has something to do with the fact that a djinn was the previous owner of the palace?
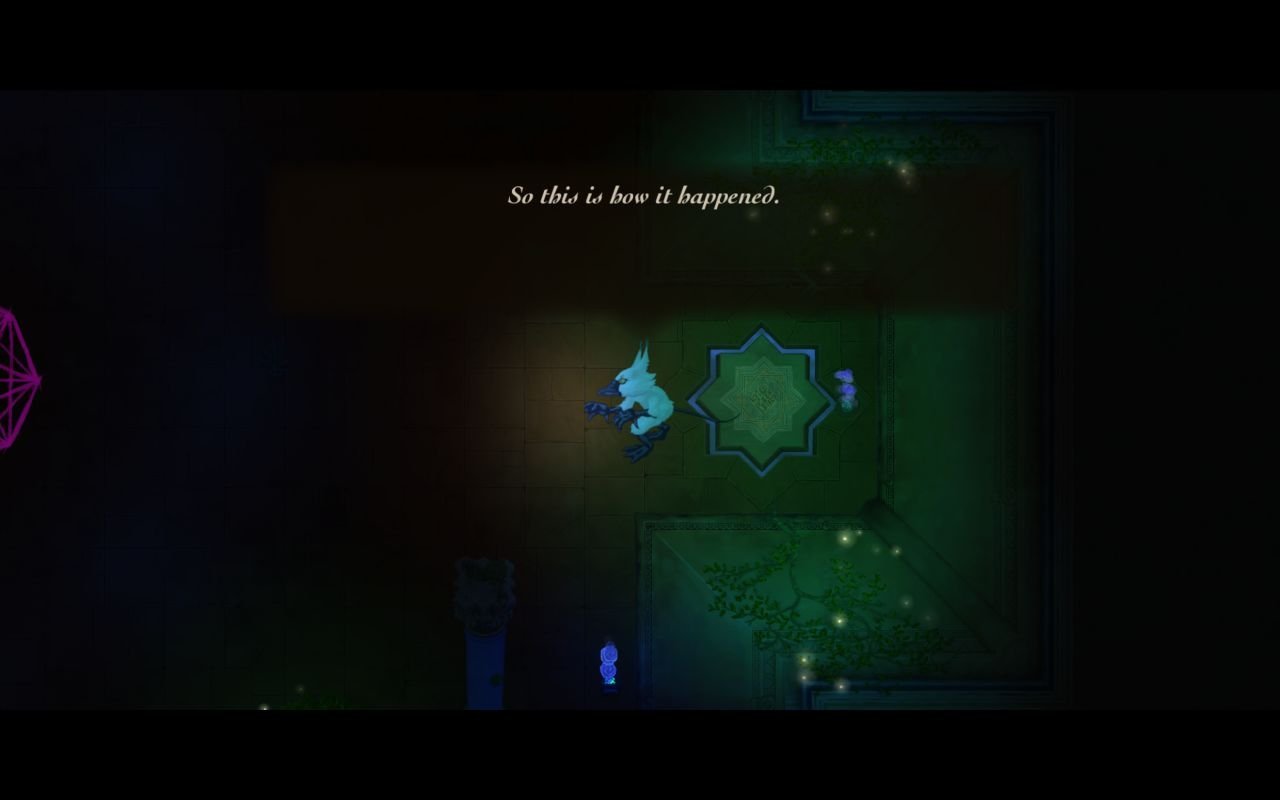
Those guys seem pretty nervous. Let's follow them to the south and see what they're up to.
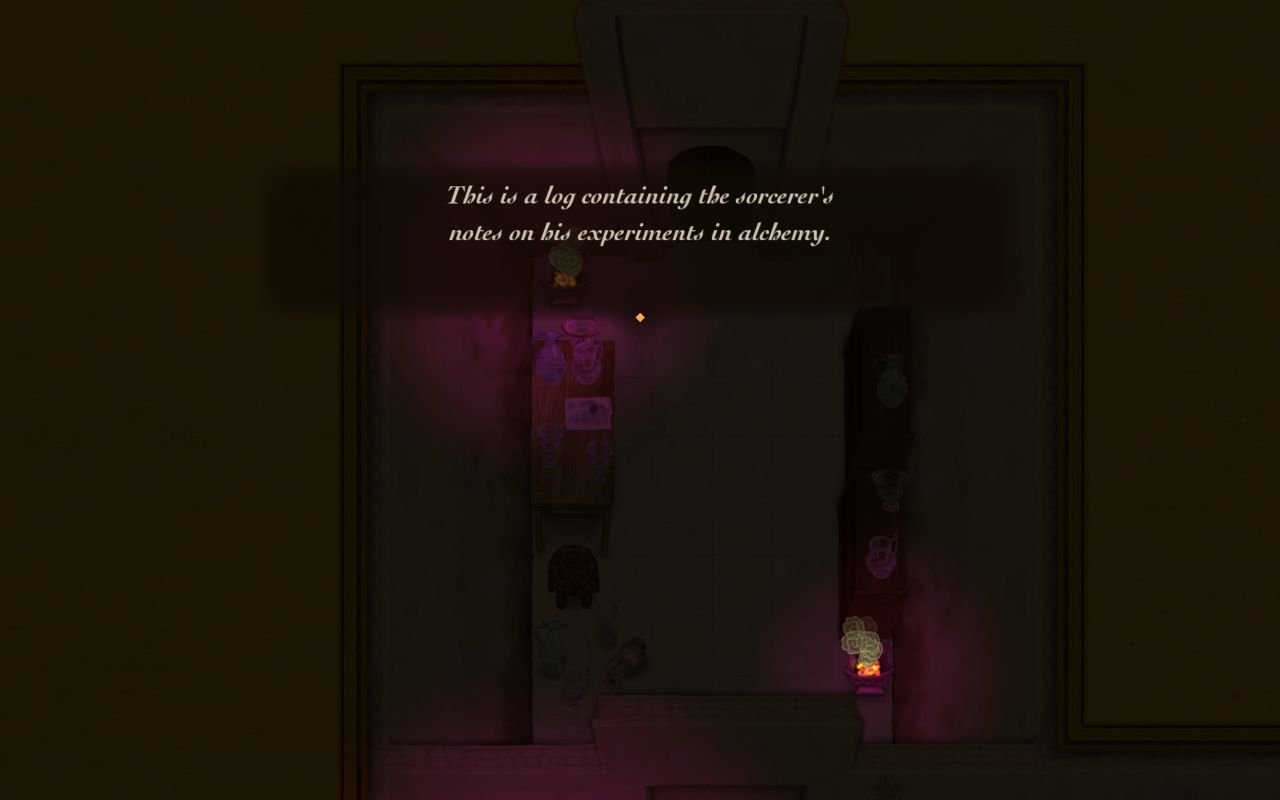
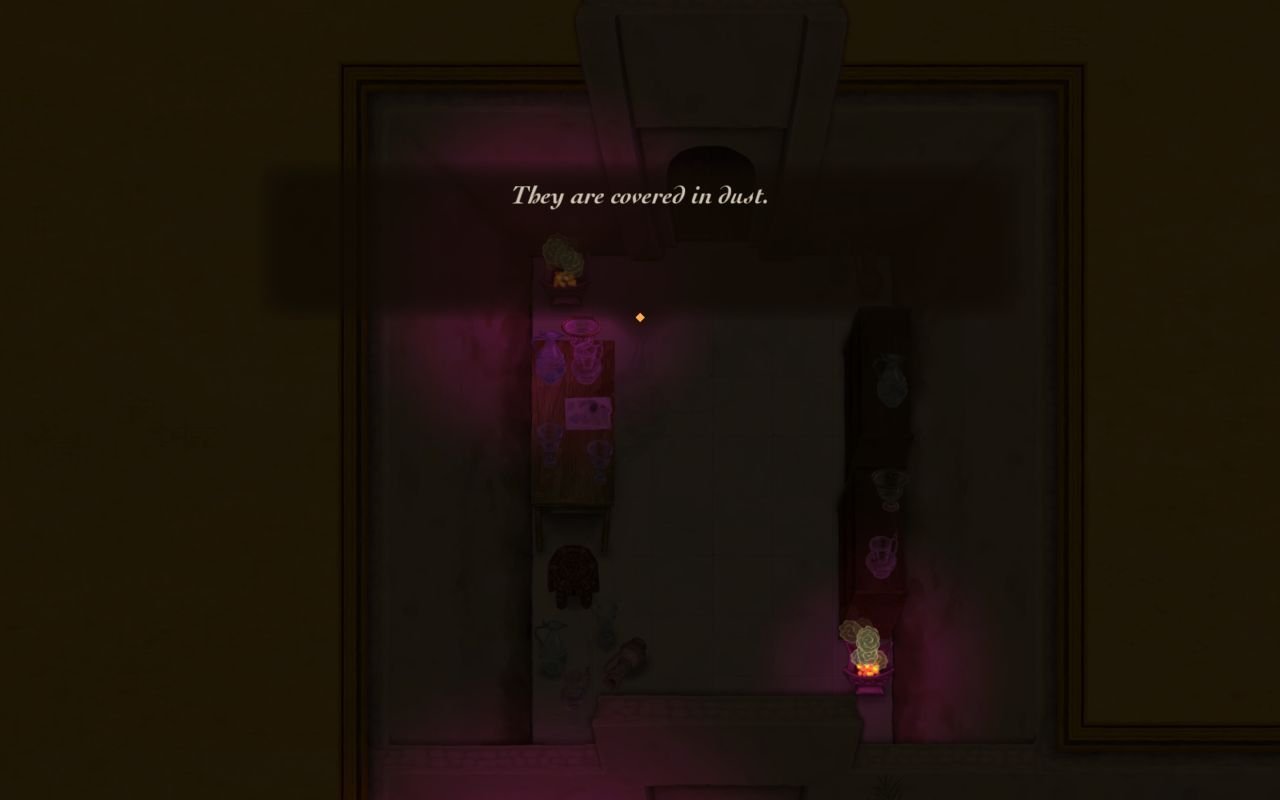
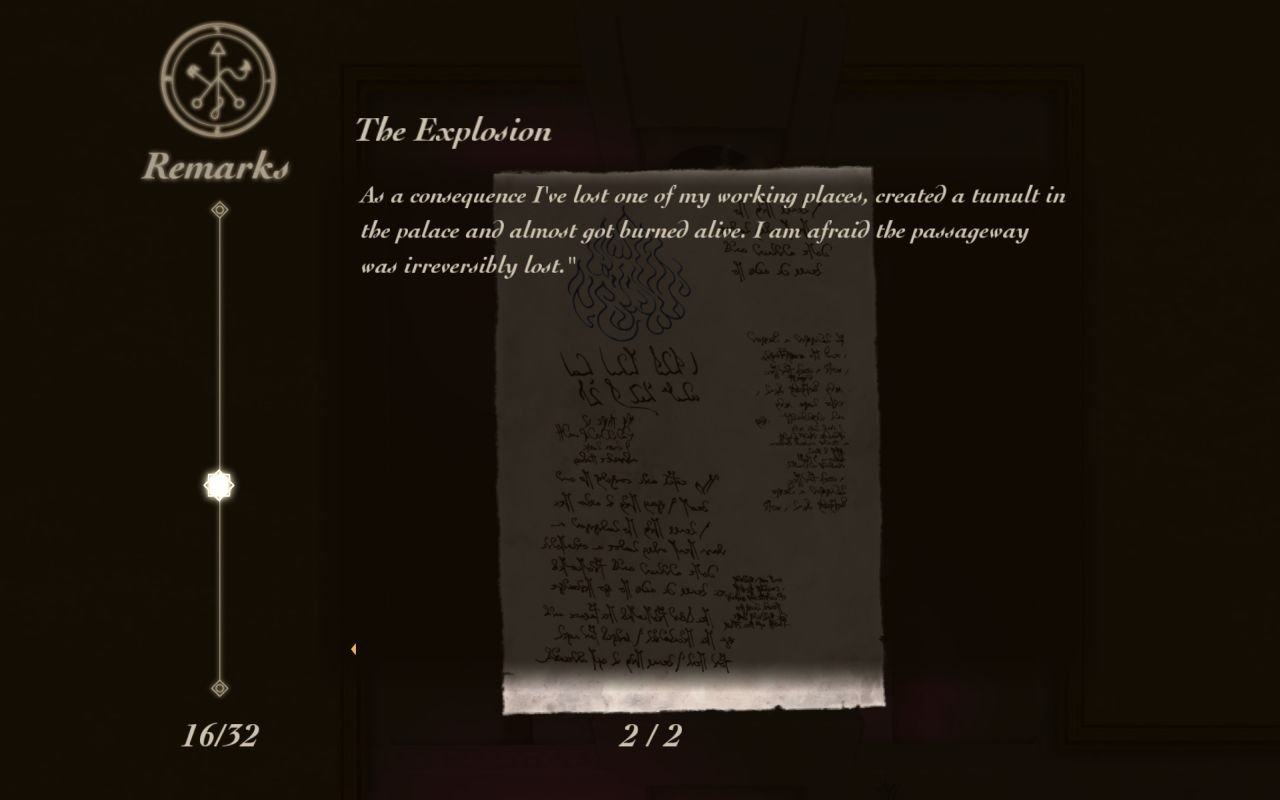
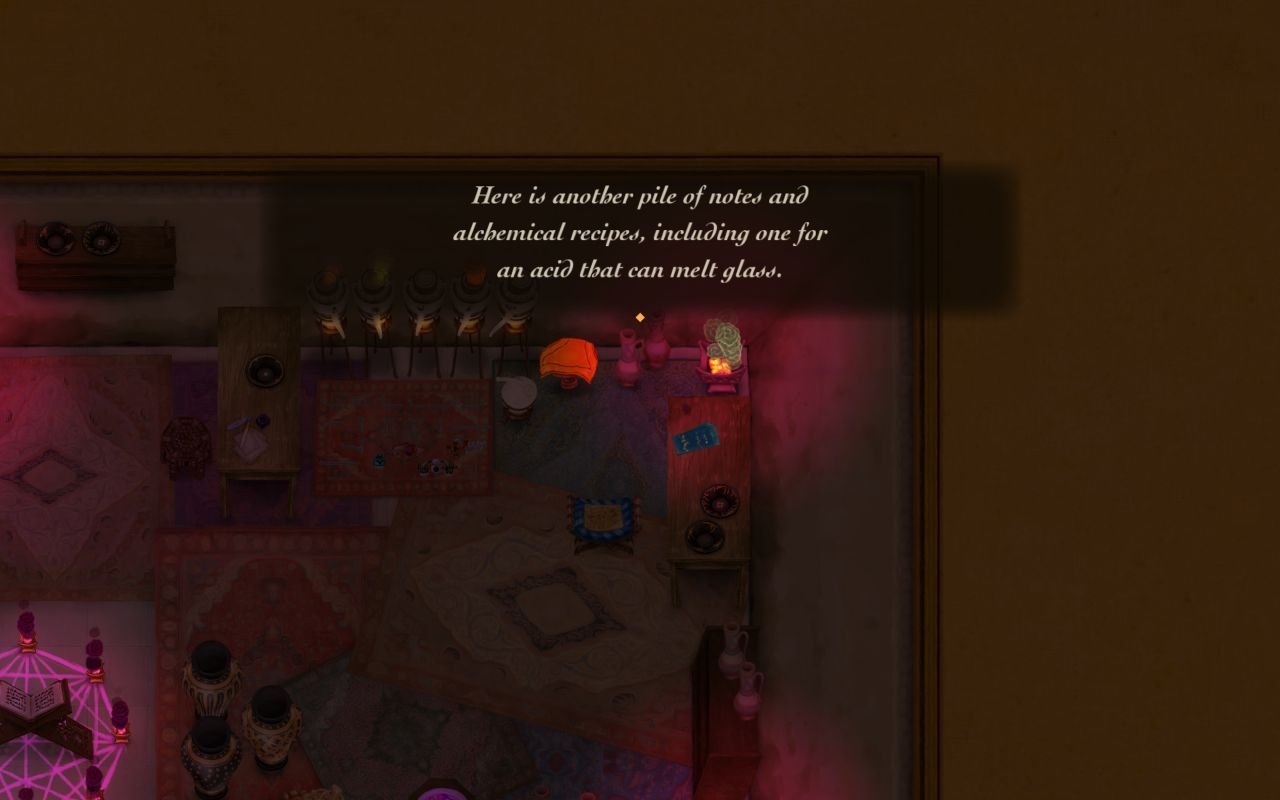
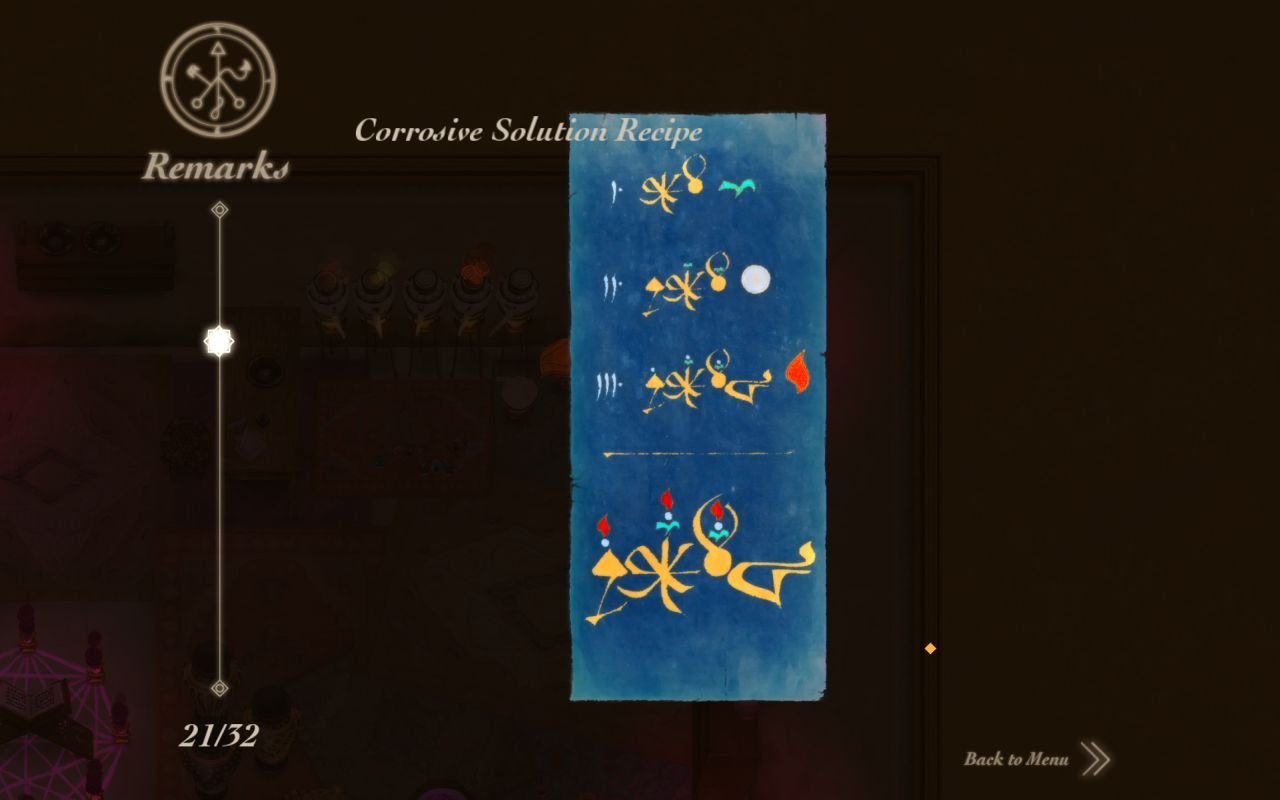
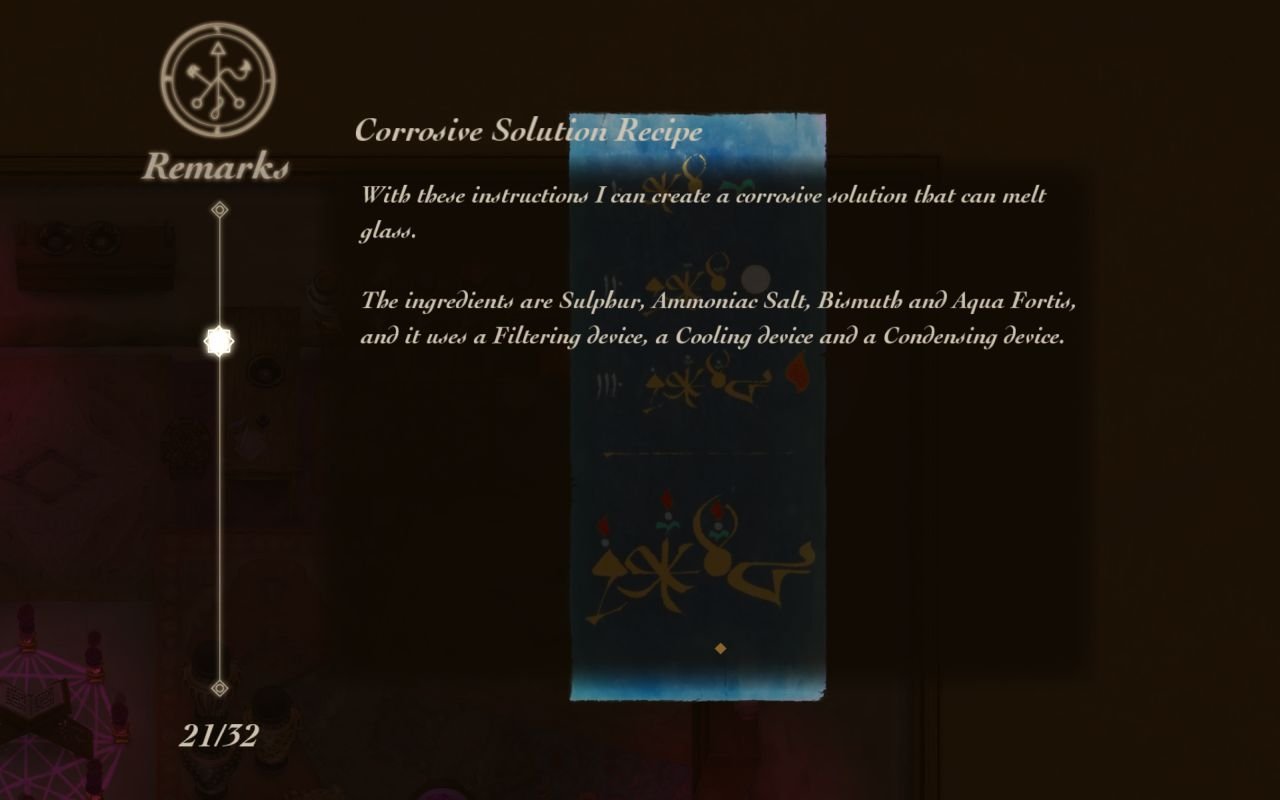
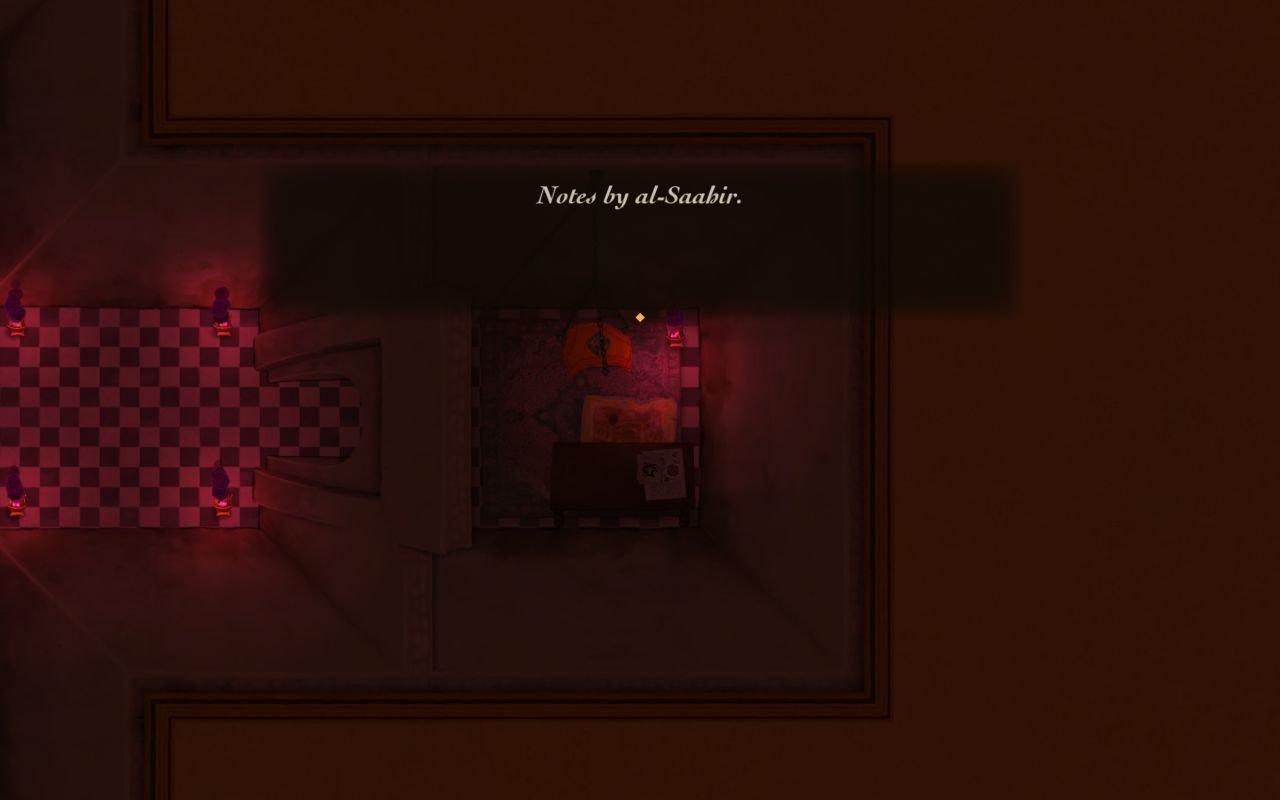
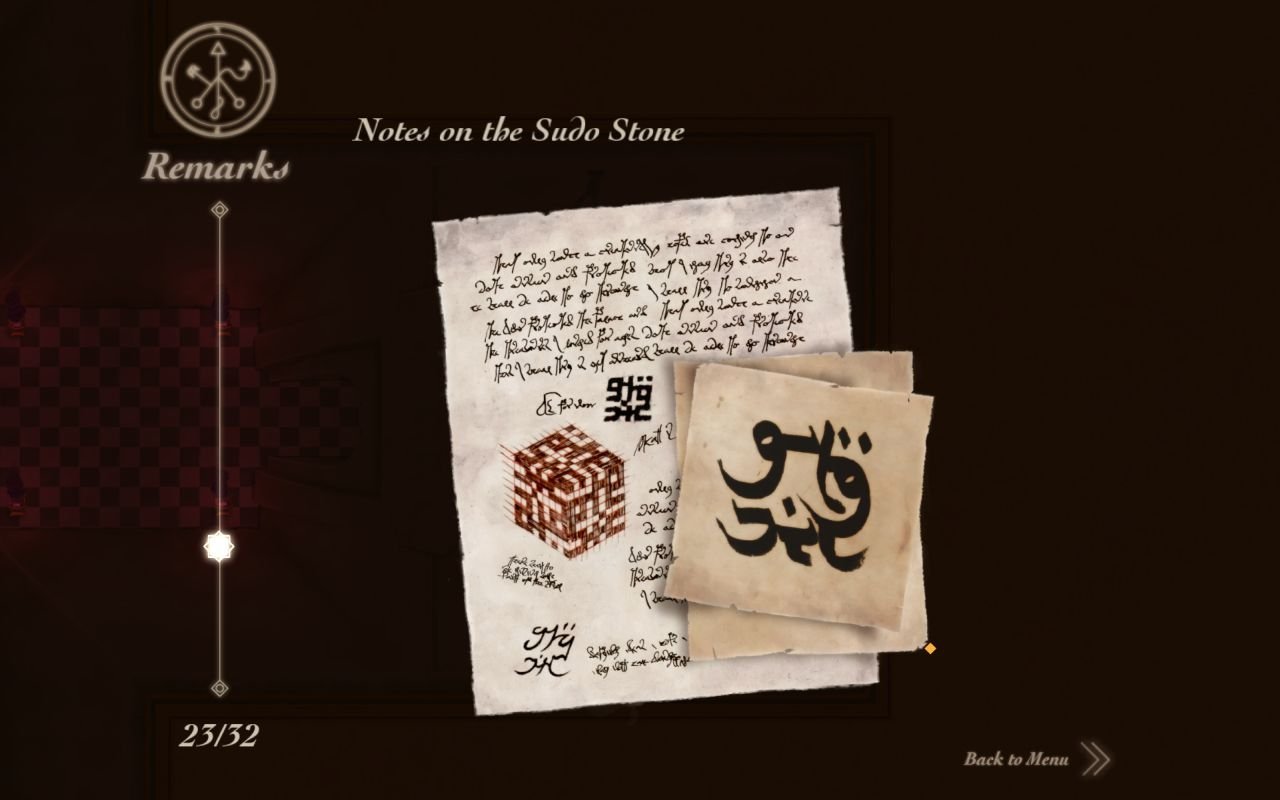
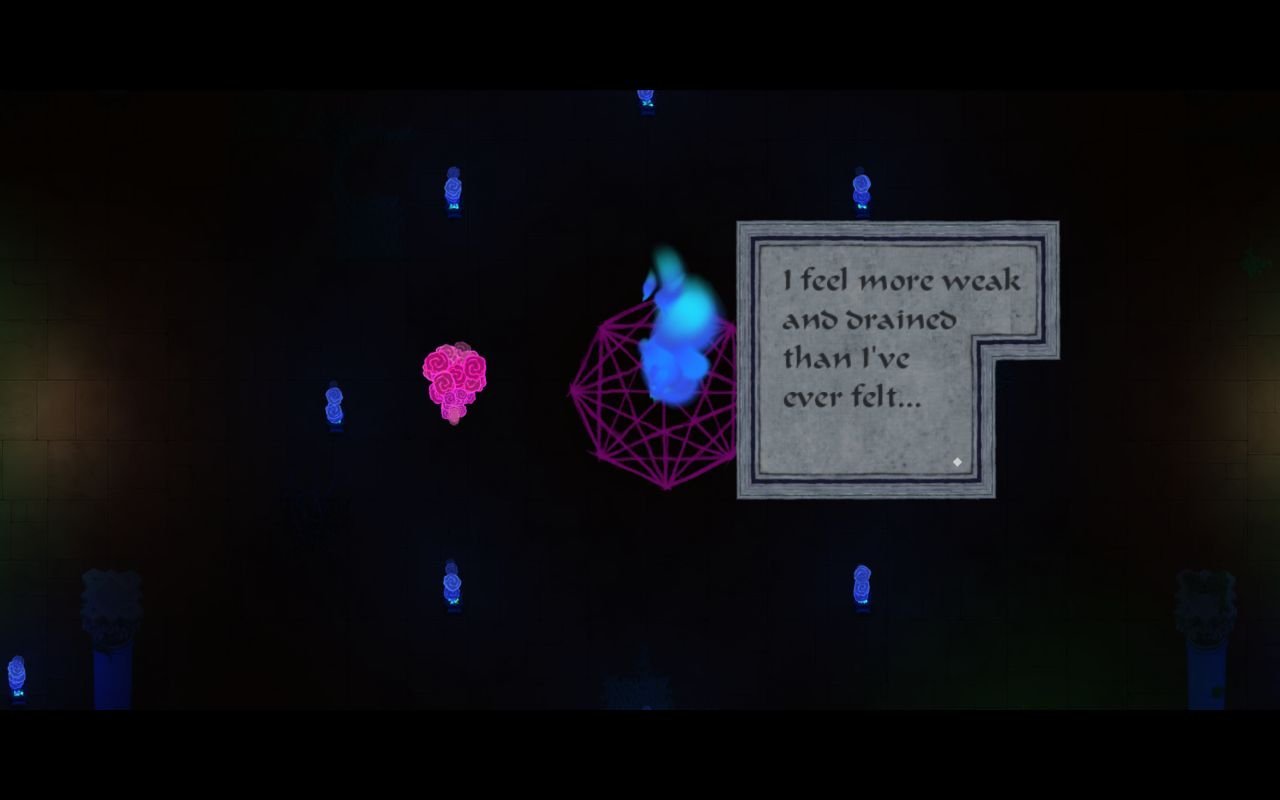
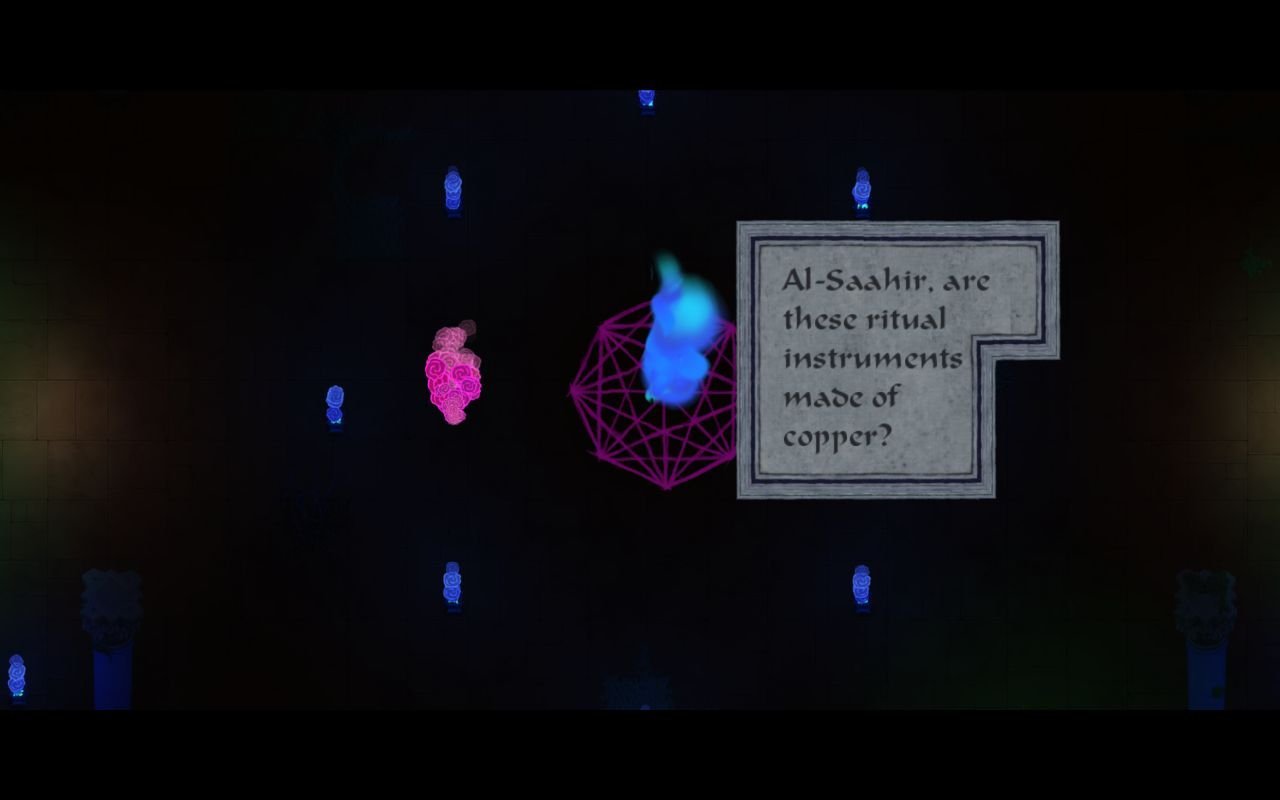
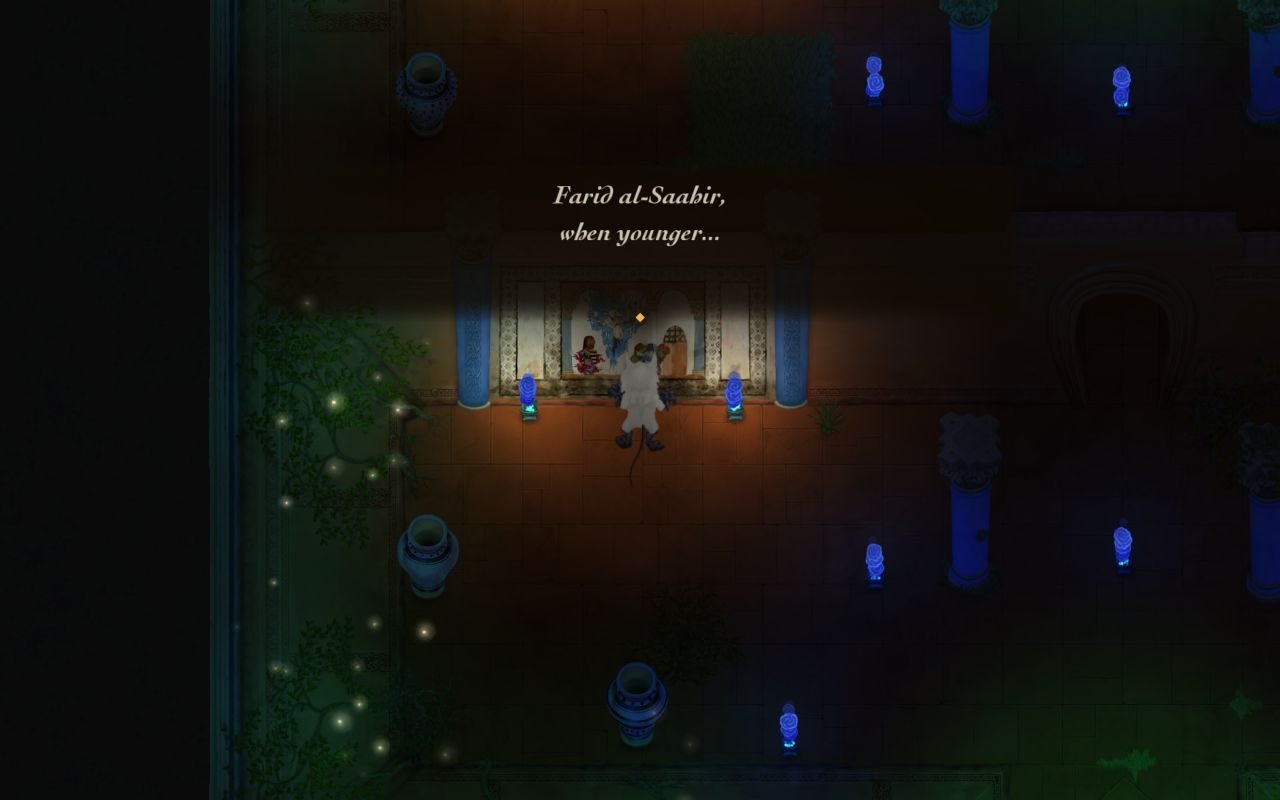
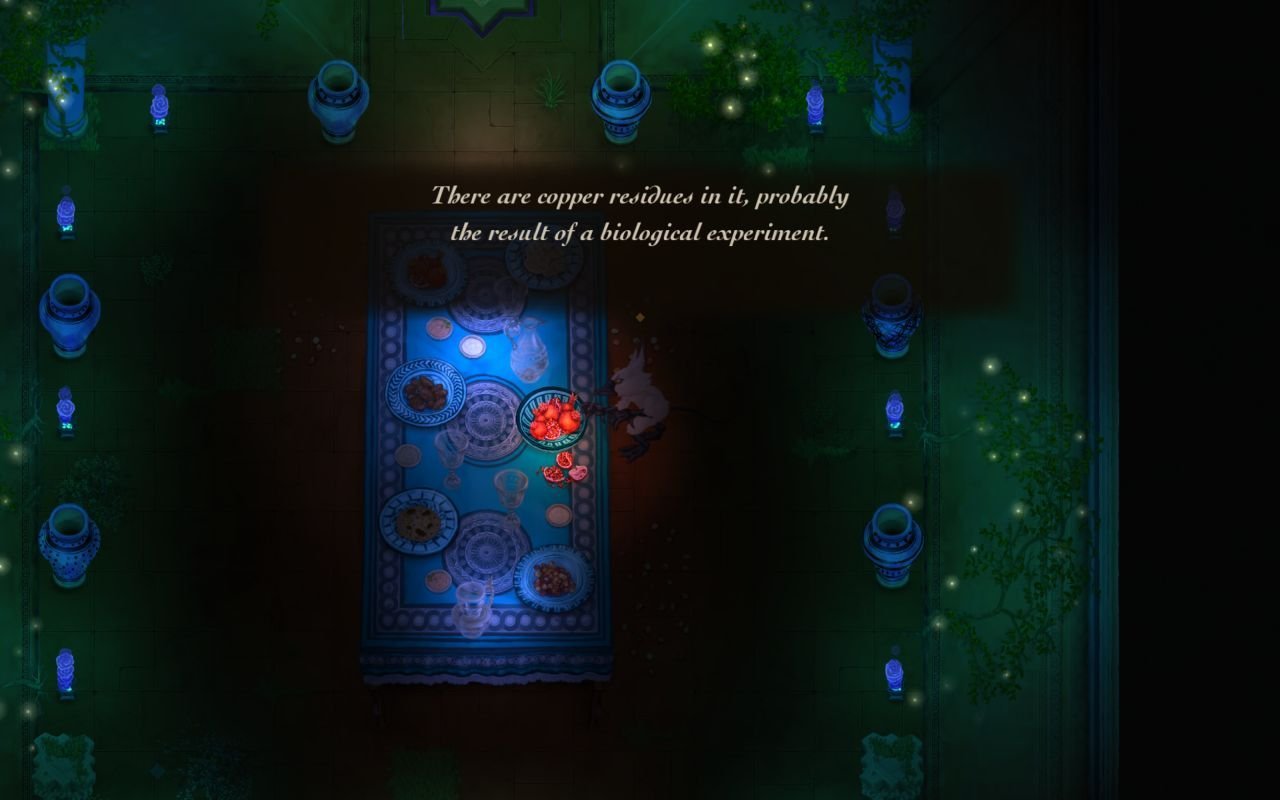
Hmmm, seems al-Saahir is not beyond fucking up. This must have happened quite a long time ago, given that those notes are dusty.


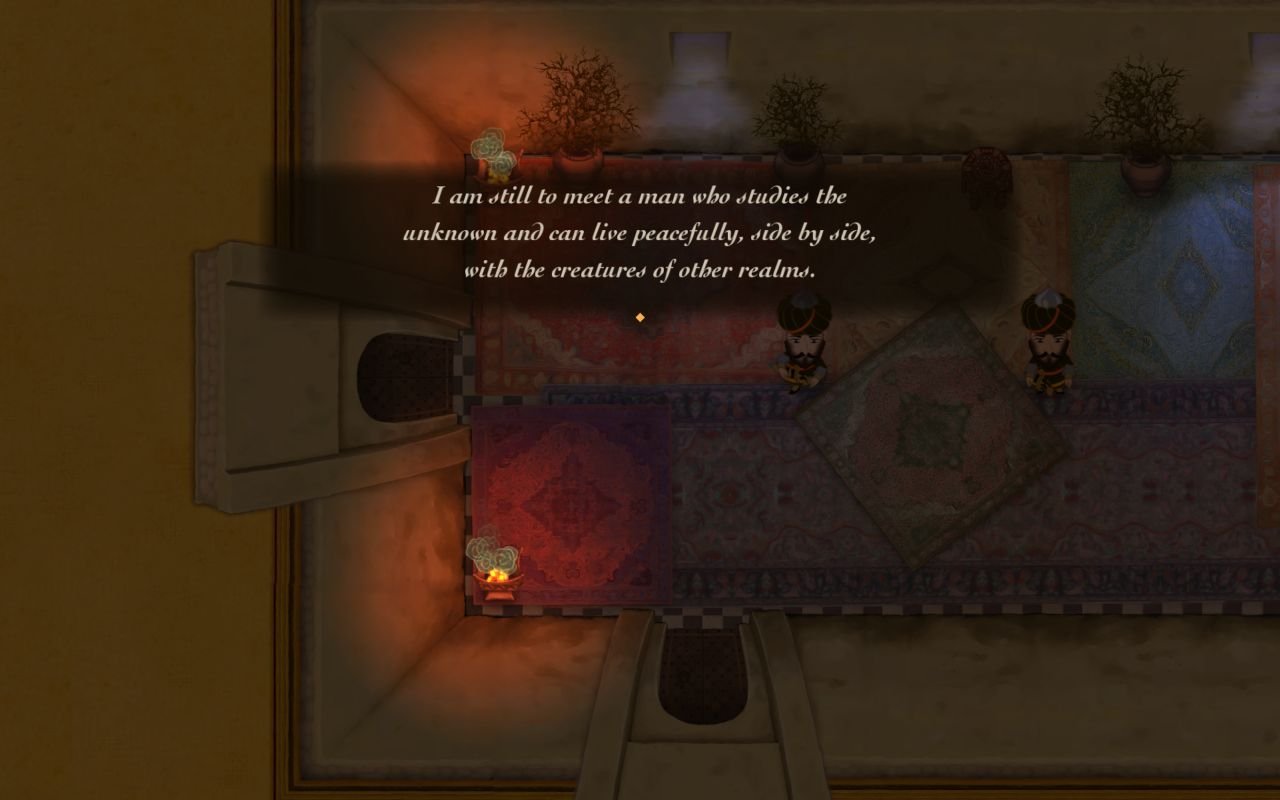
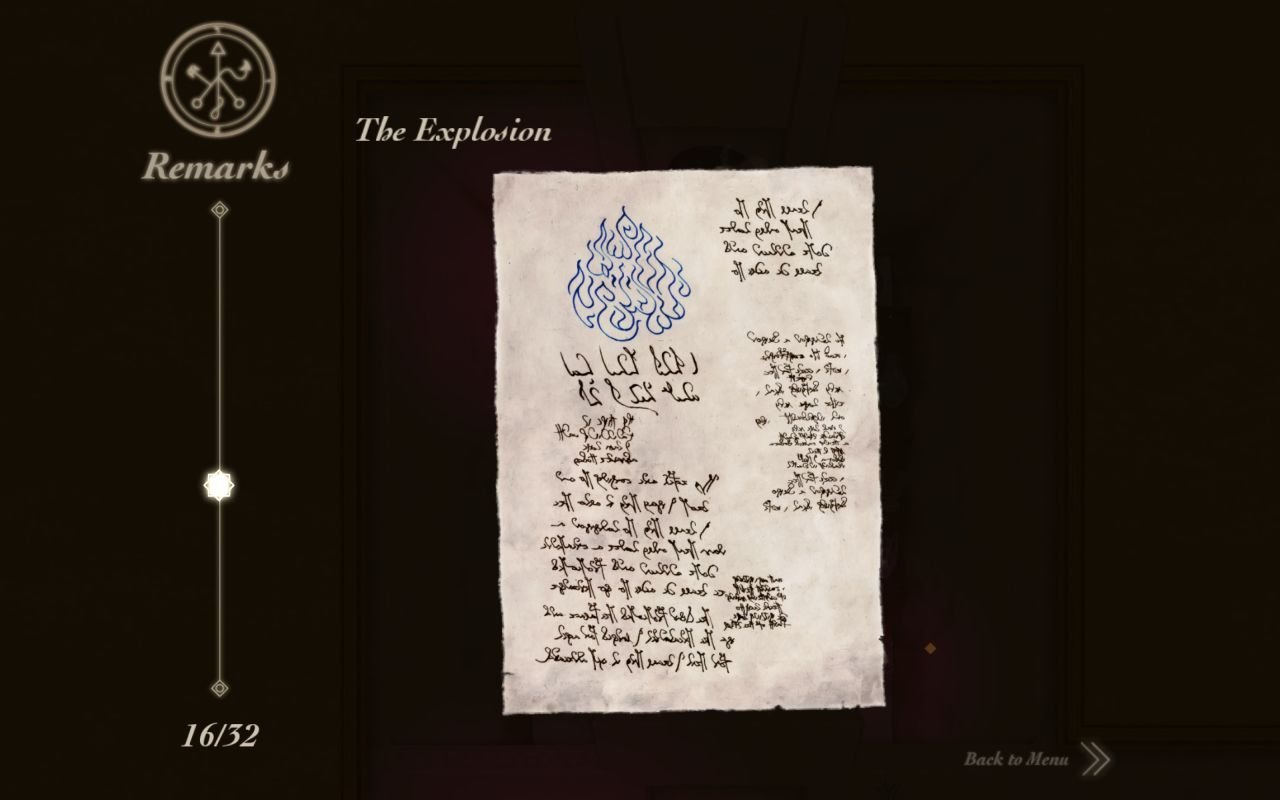
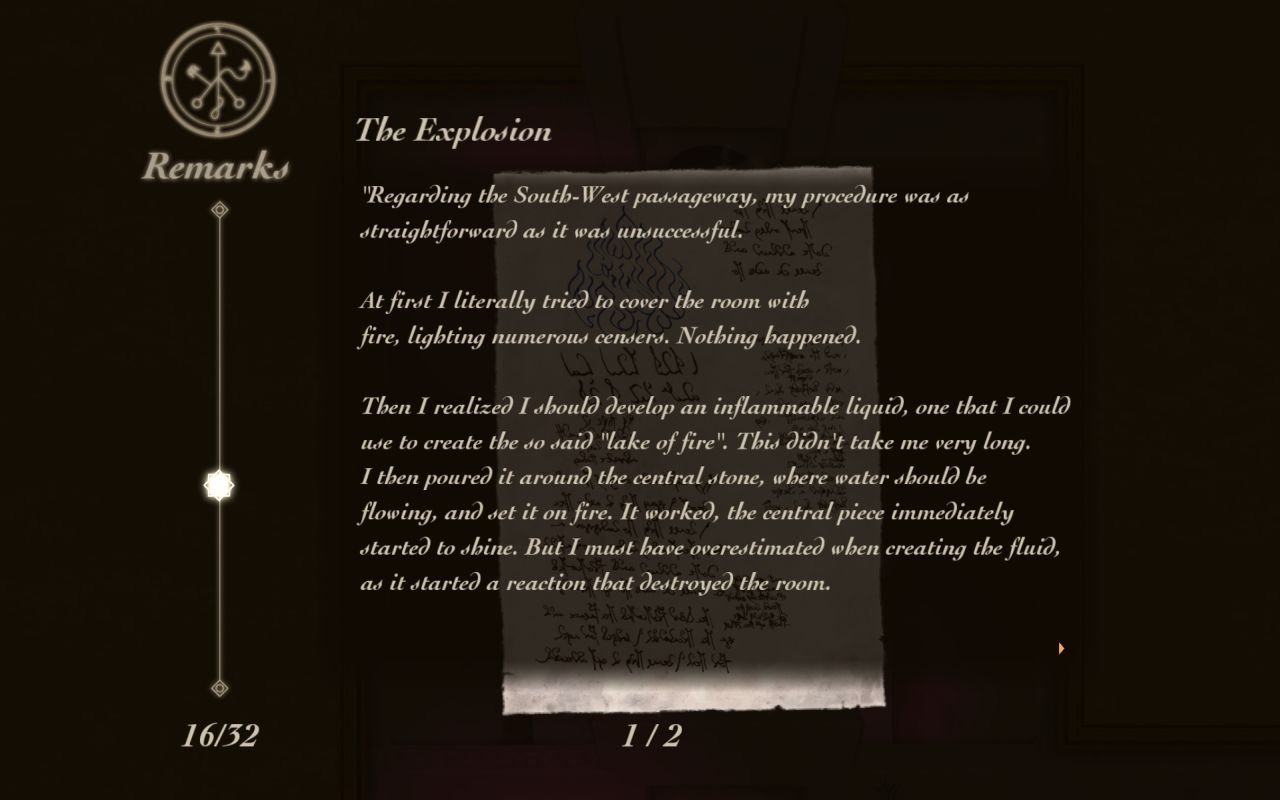
That's right kids, messing with alchemy and magic you don't understand is a bad idea.
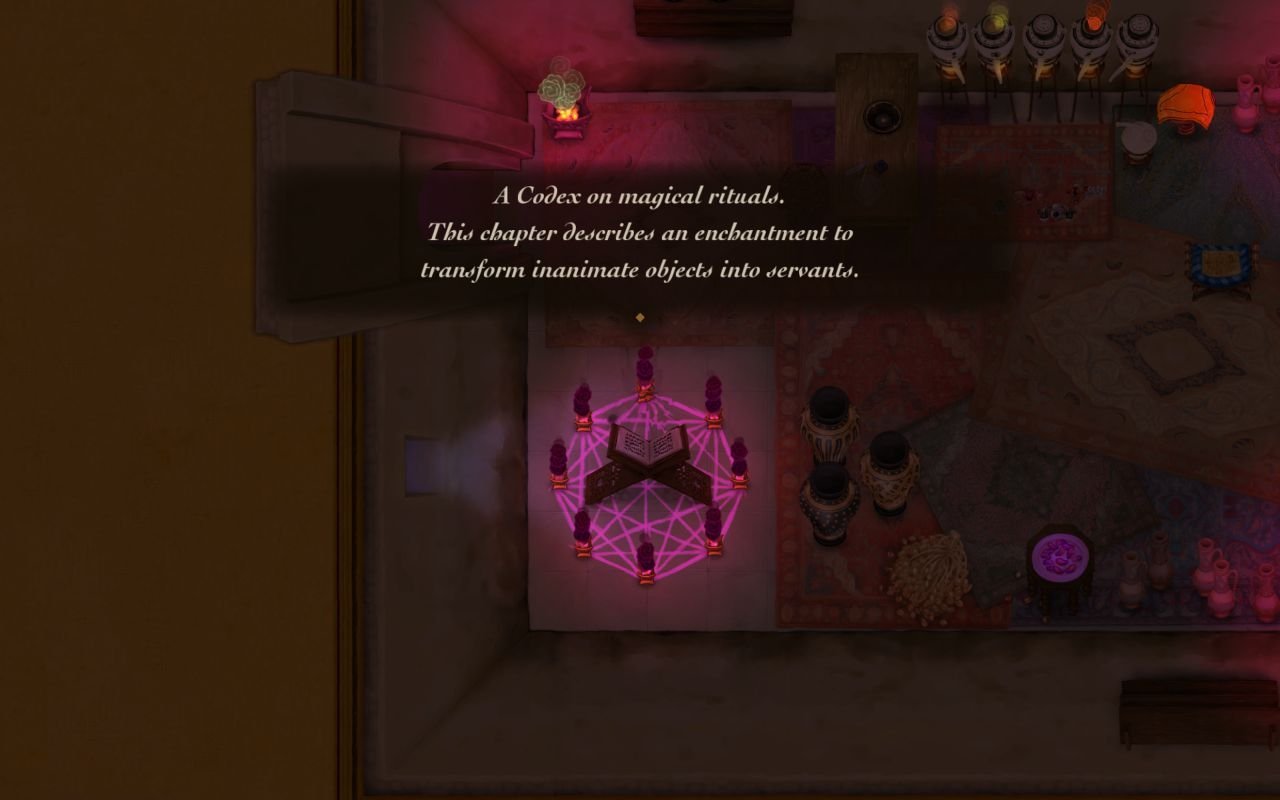
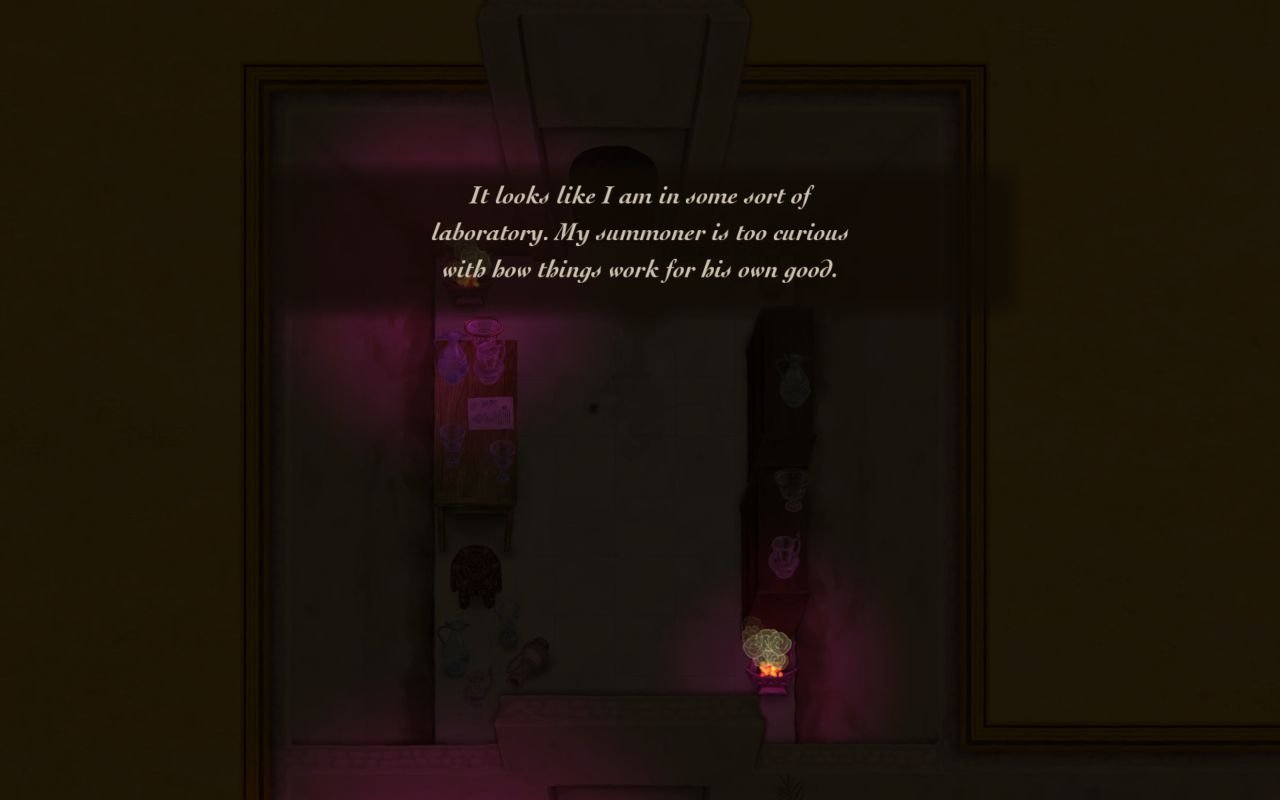
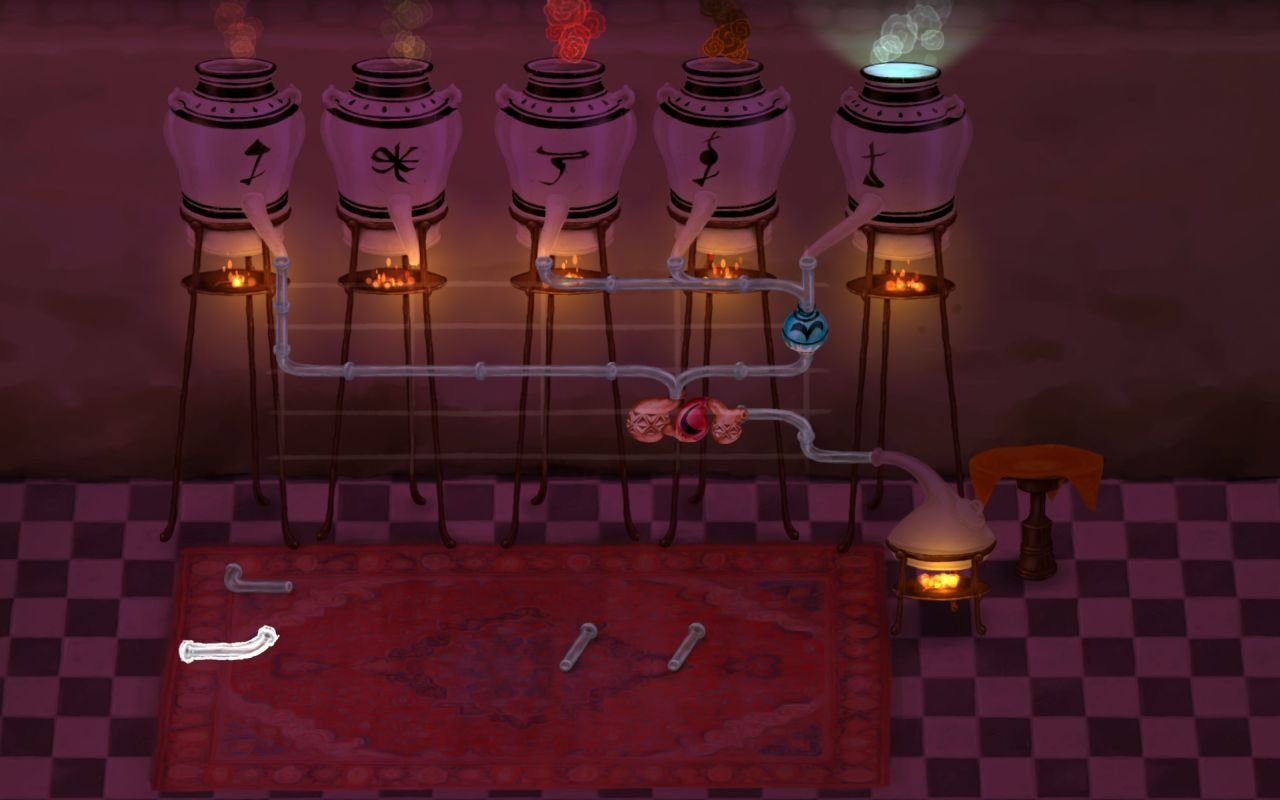
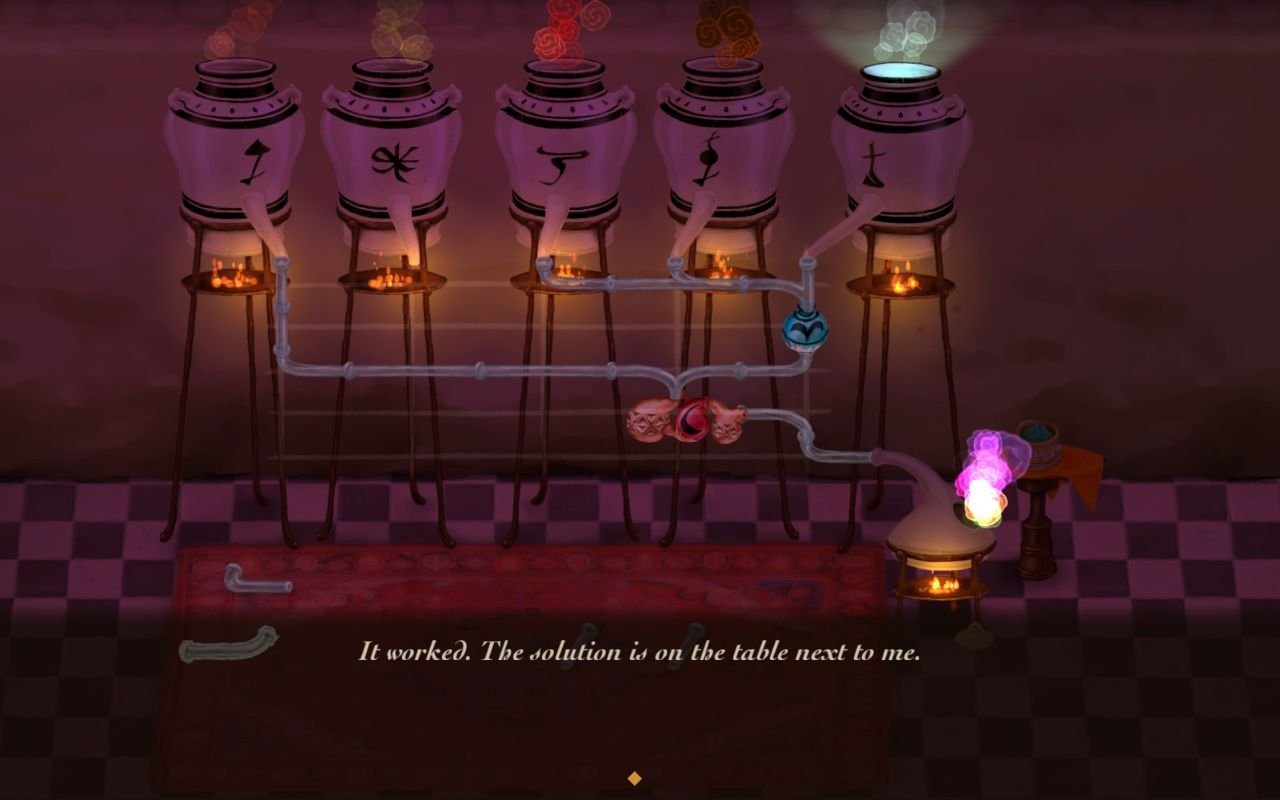
With the guards gone, we can explore the lab. As you have probably noticed, this is the very same lab we encountered earlier, the part that was behind a gate.

Nice, Neutralizing Power! With that, we can extinguish the damned firewall in the NW part of the castle.
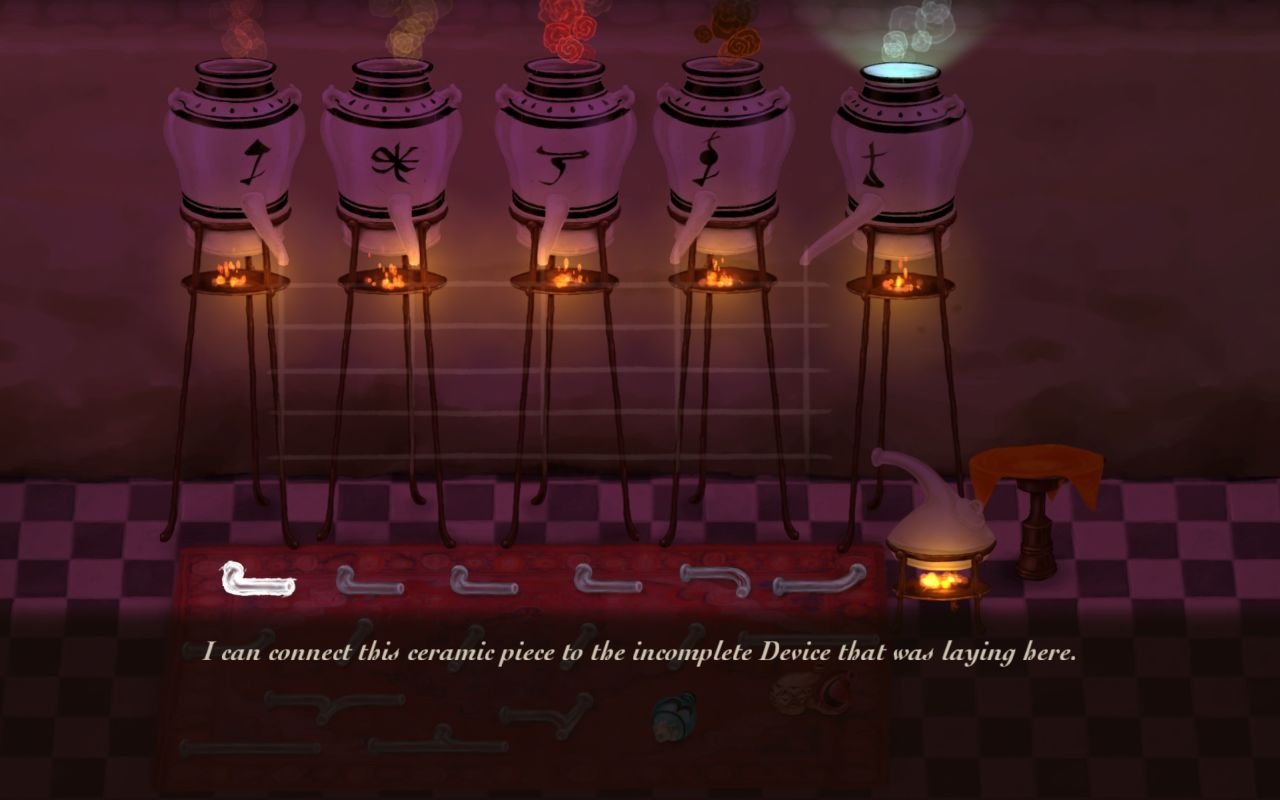
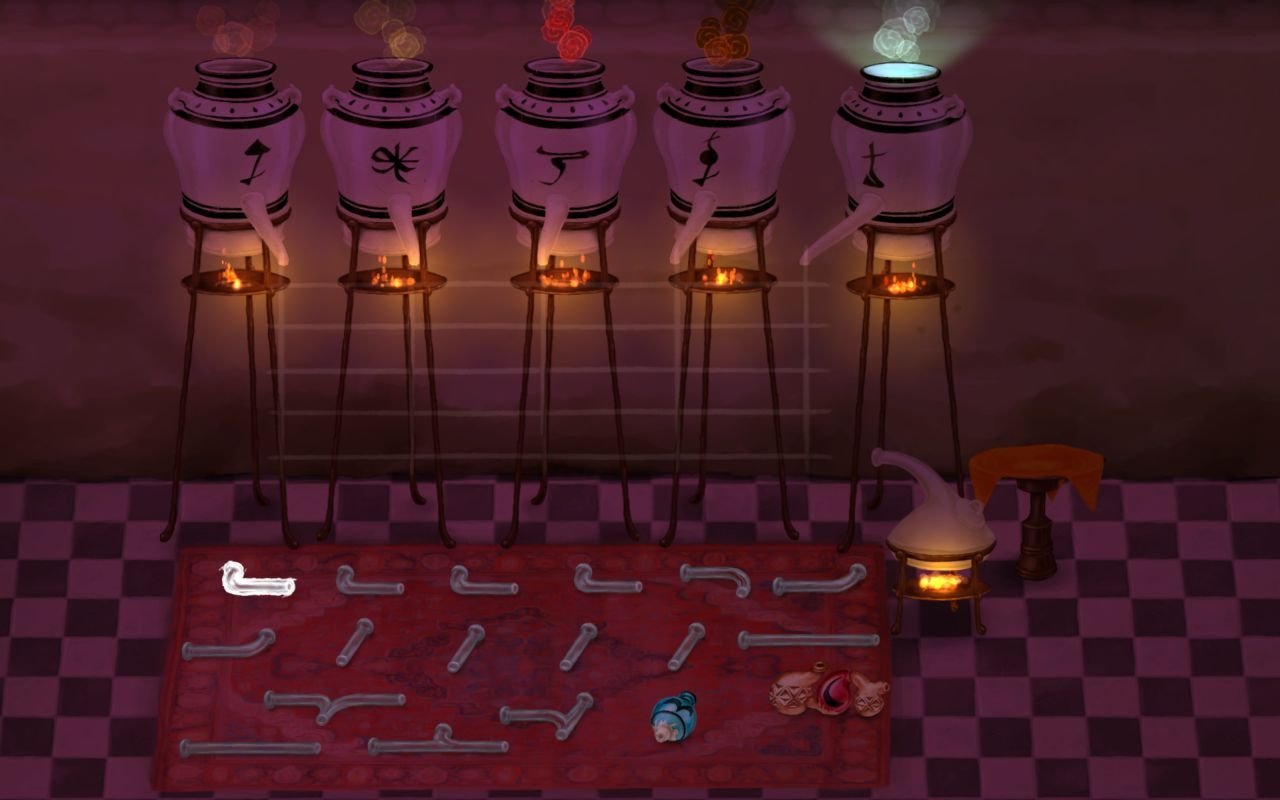
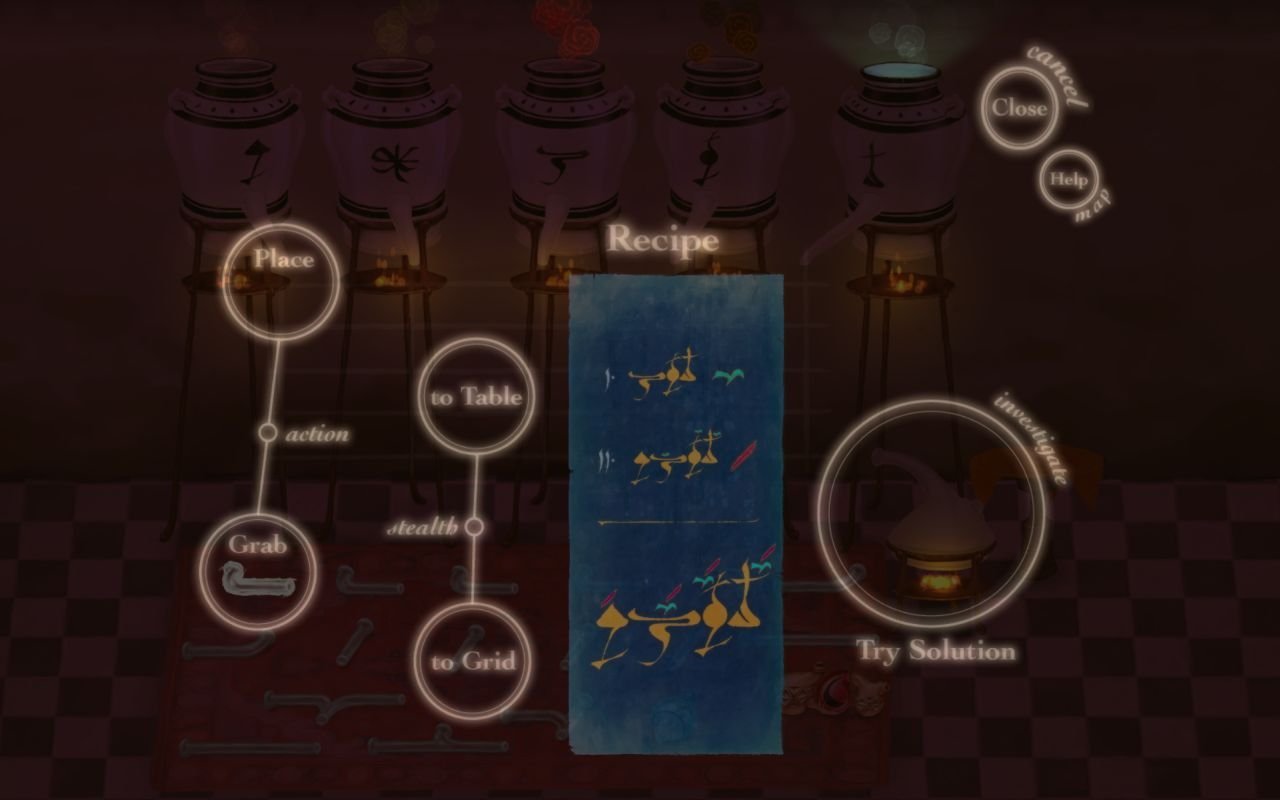
We pull the lever, and go to the alchemical apparatus to put in the Hematite and part of the digestion filter. With that, we'll be able to create the neutralizing powder.

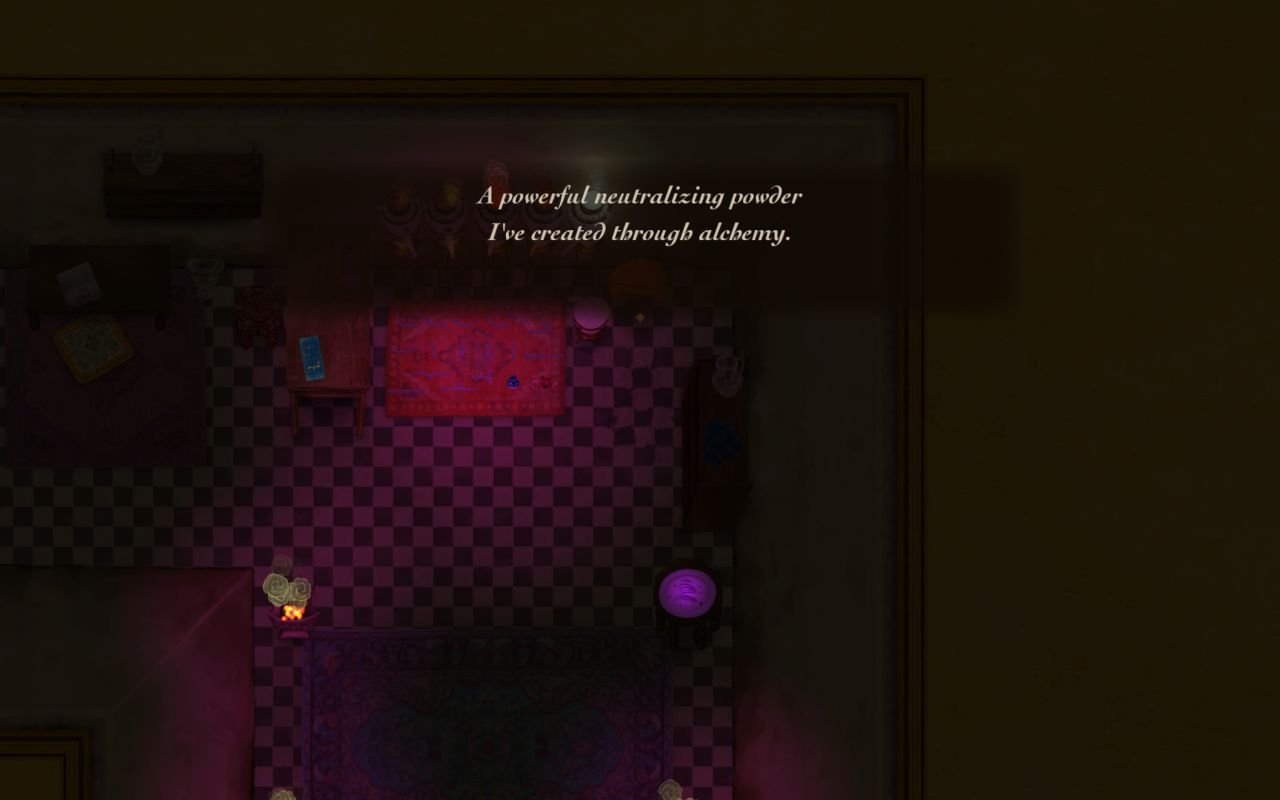
Since we have the powder, let's extinguish that wall of magical fire.
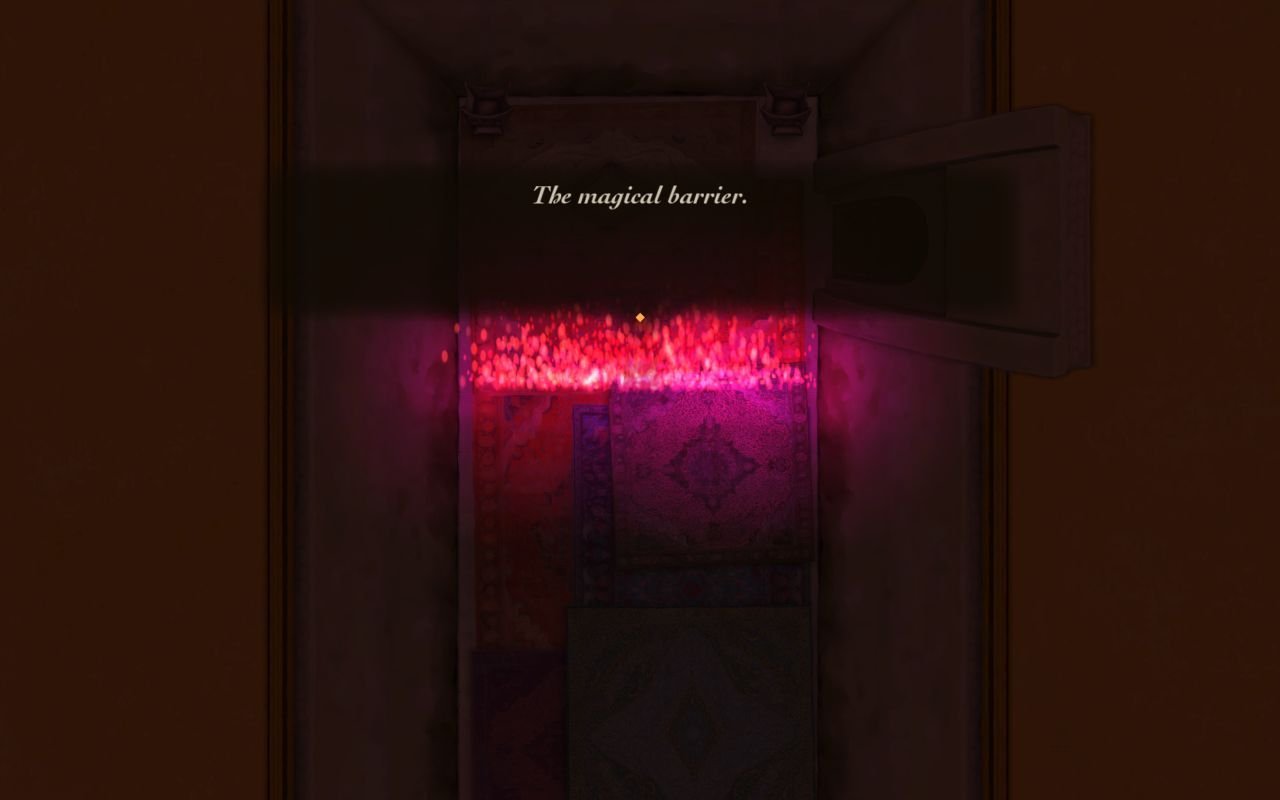

With the fire gone, we can go through the NE door.


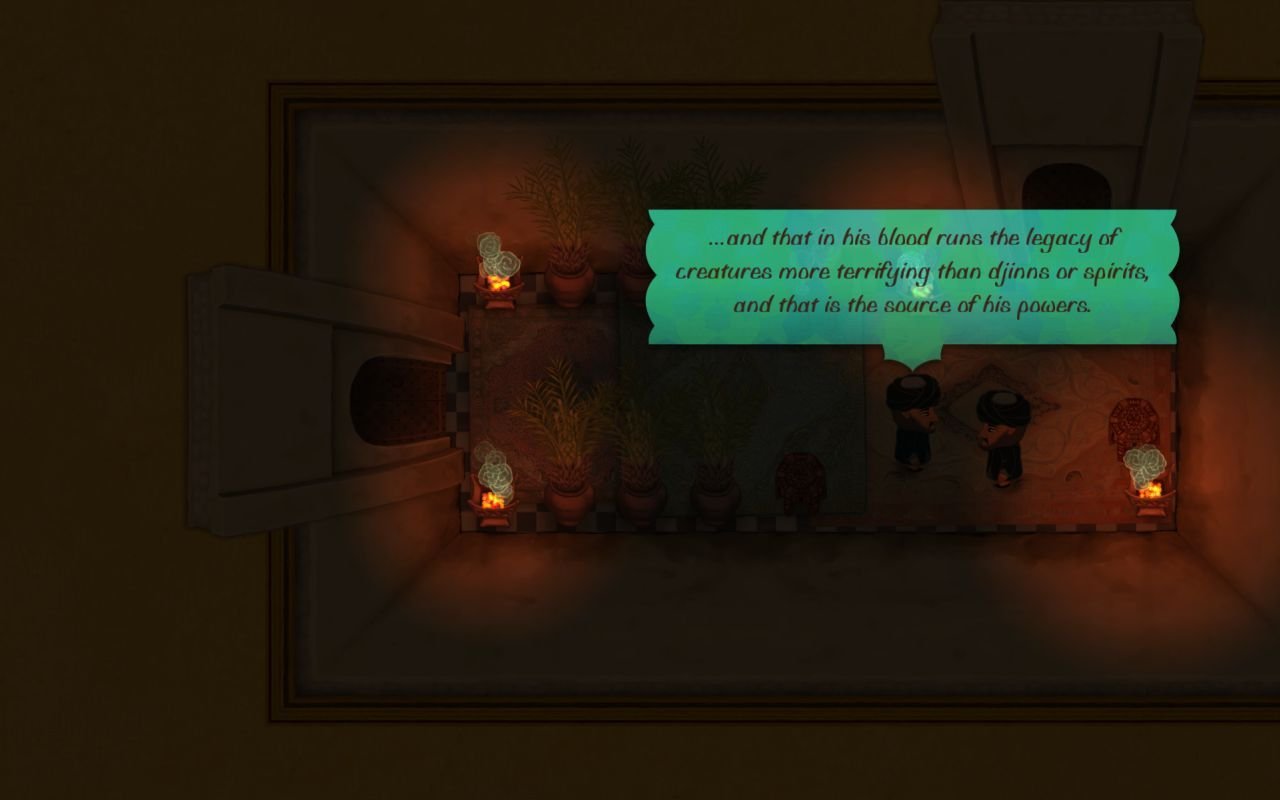


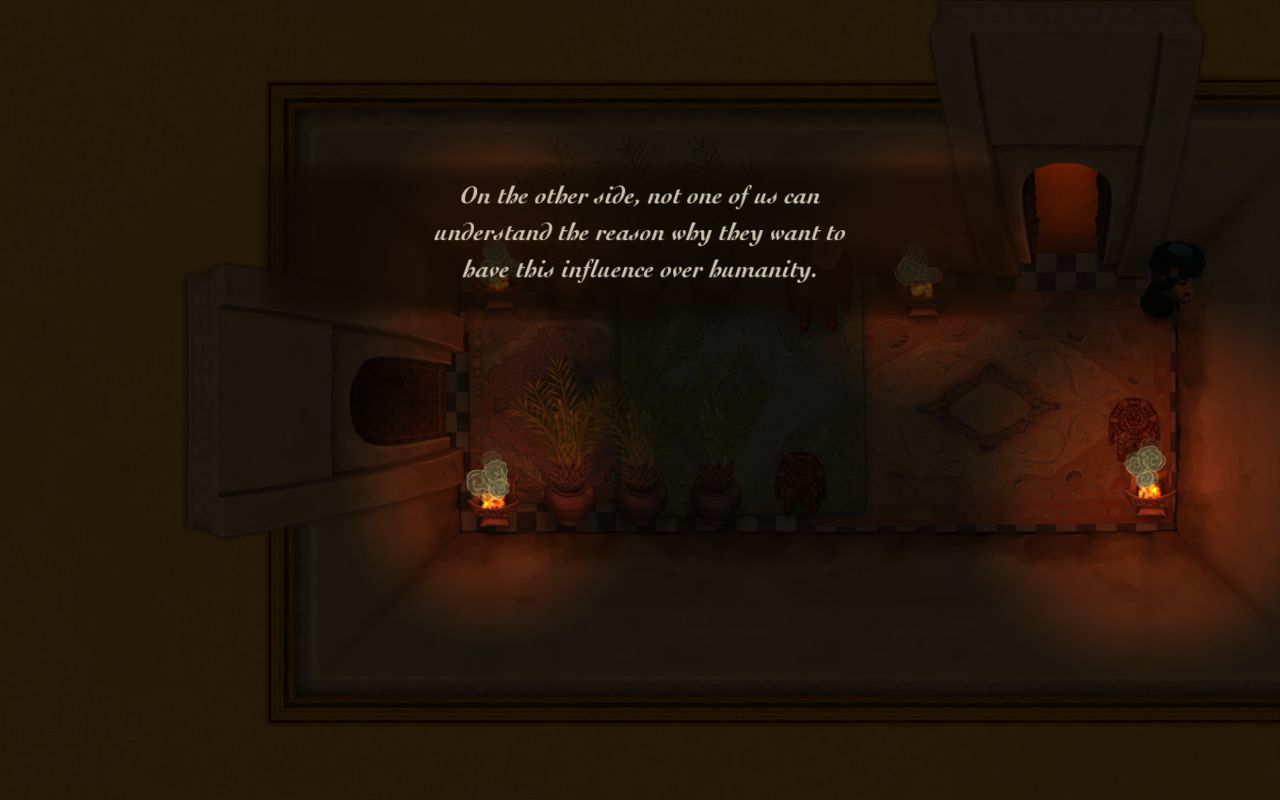
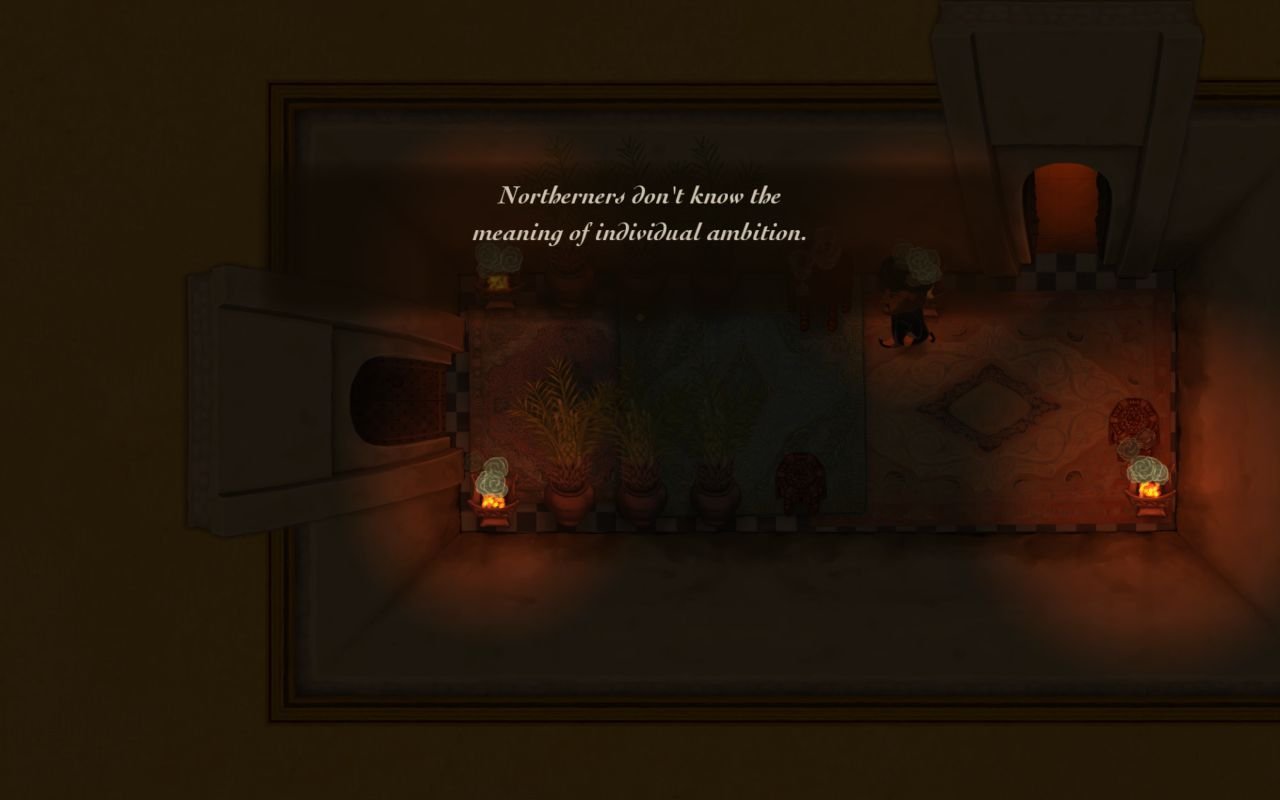
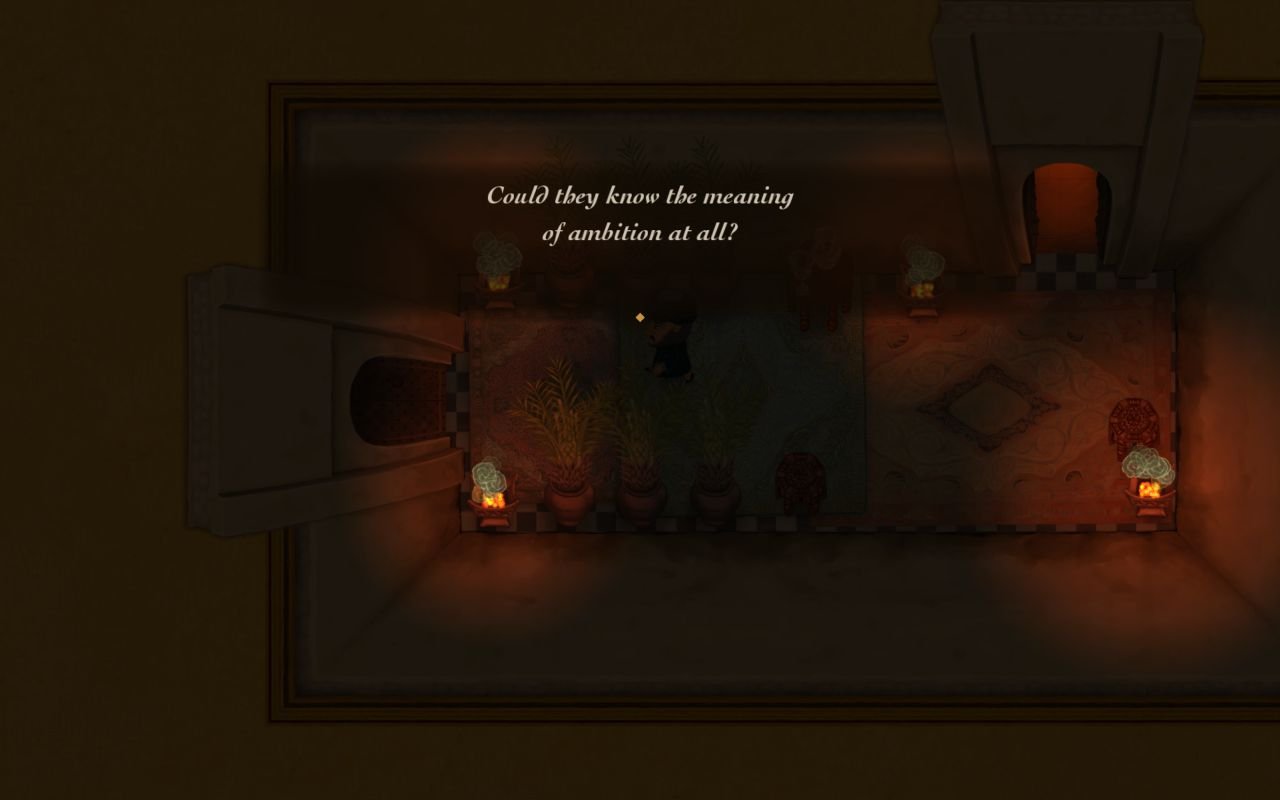
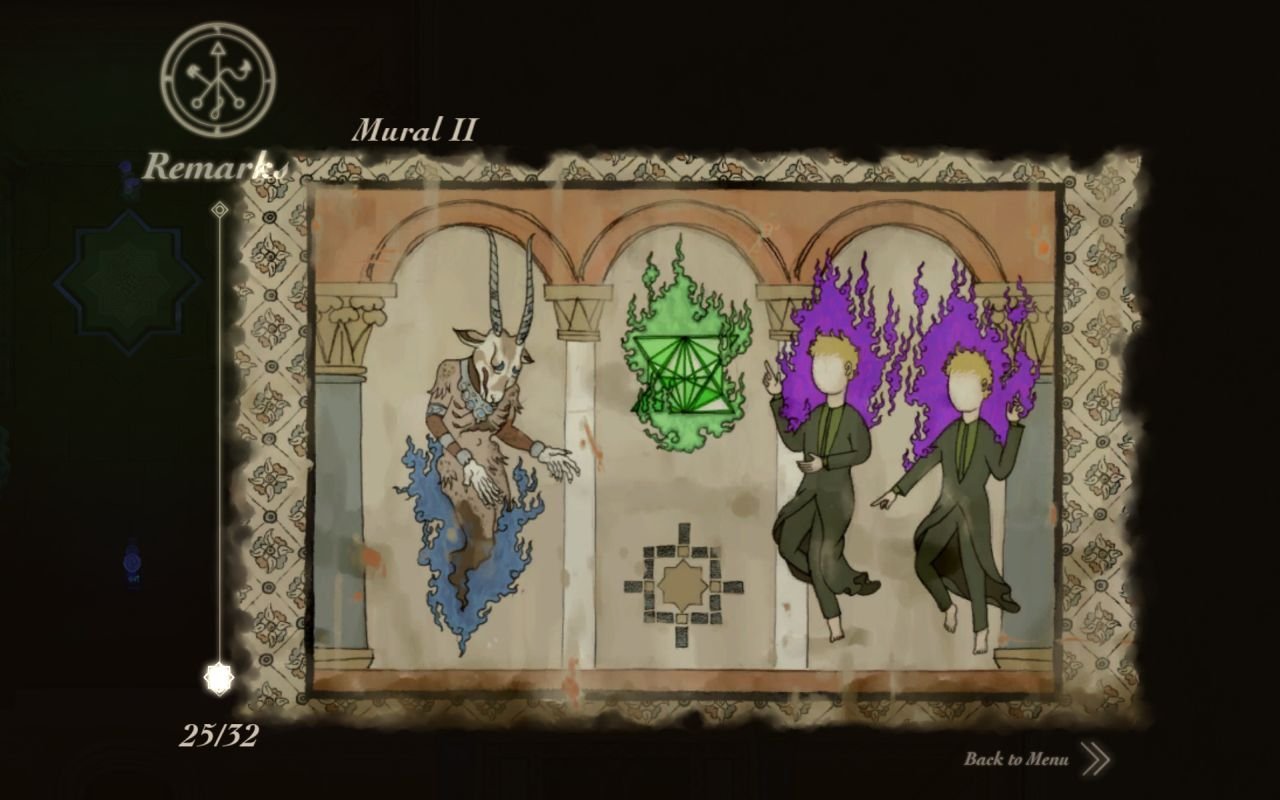
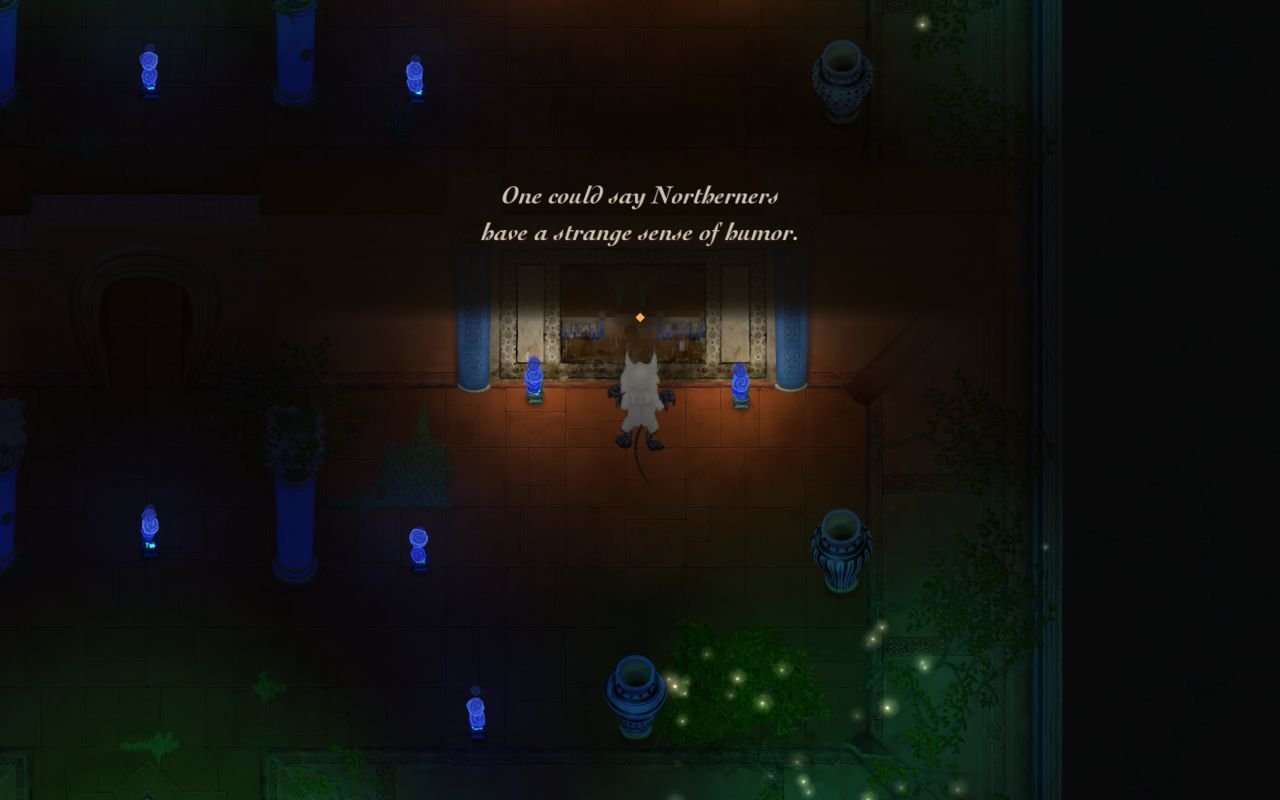
So it is possible that al-Saahir is not even a man, but some demon halfbreed. Also, fucking Northerners, they sound gay.
With that information, we procced north.
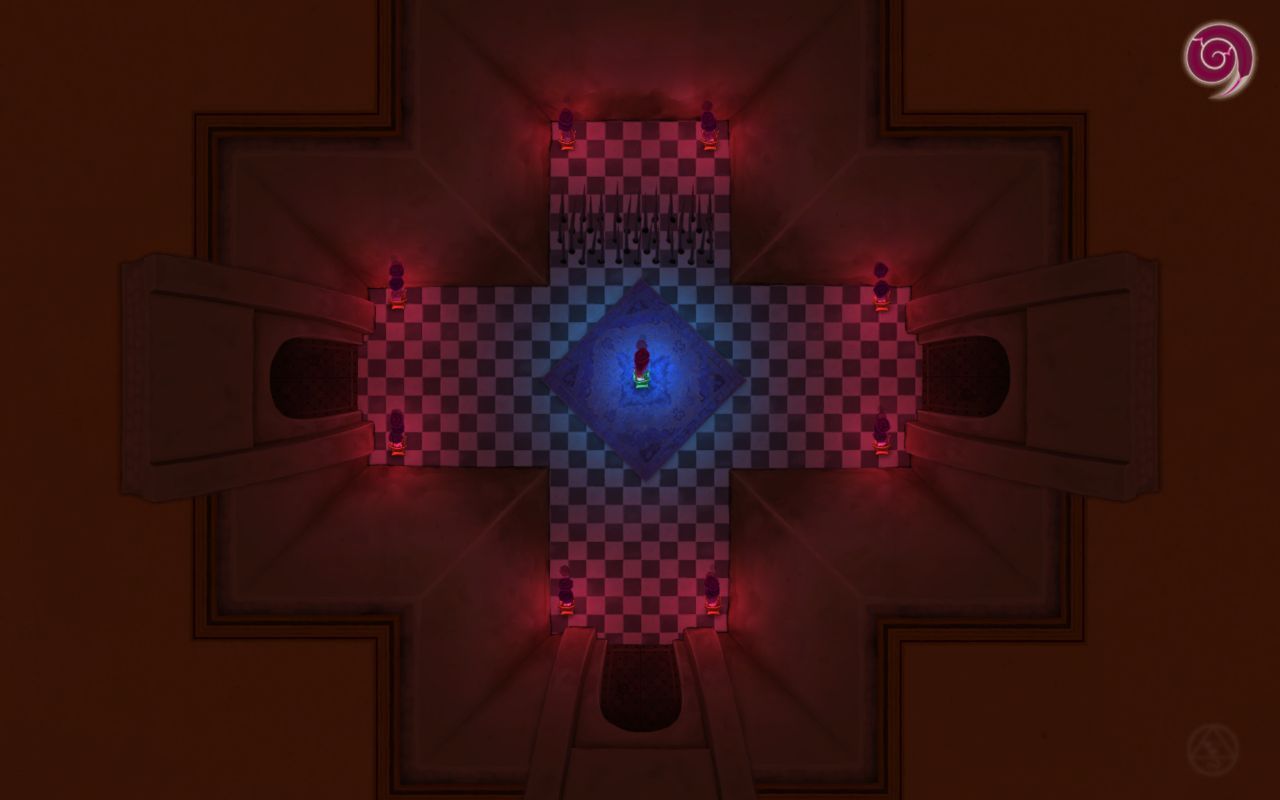
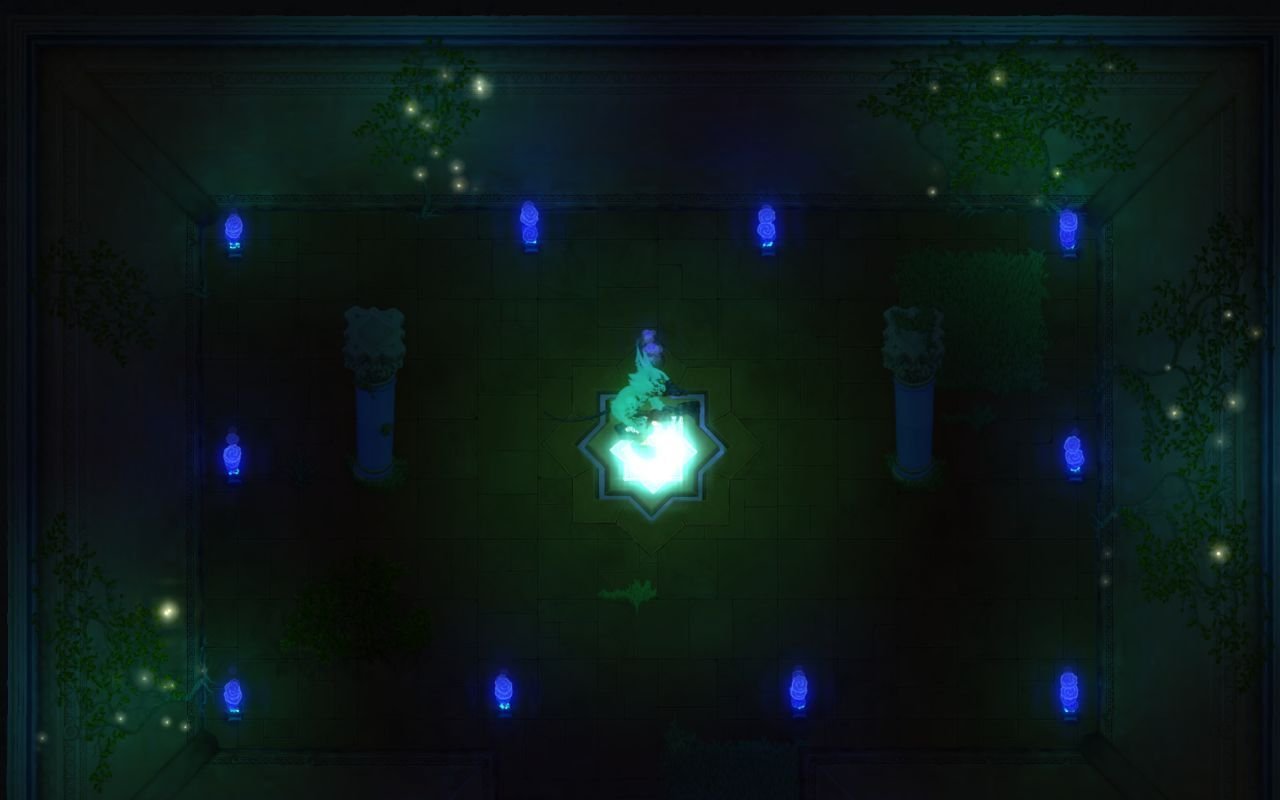
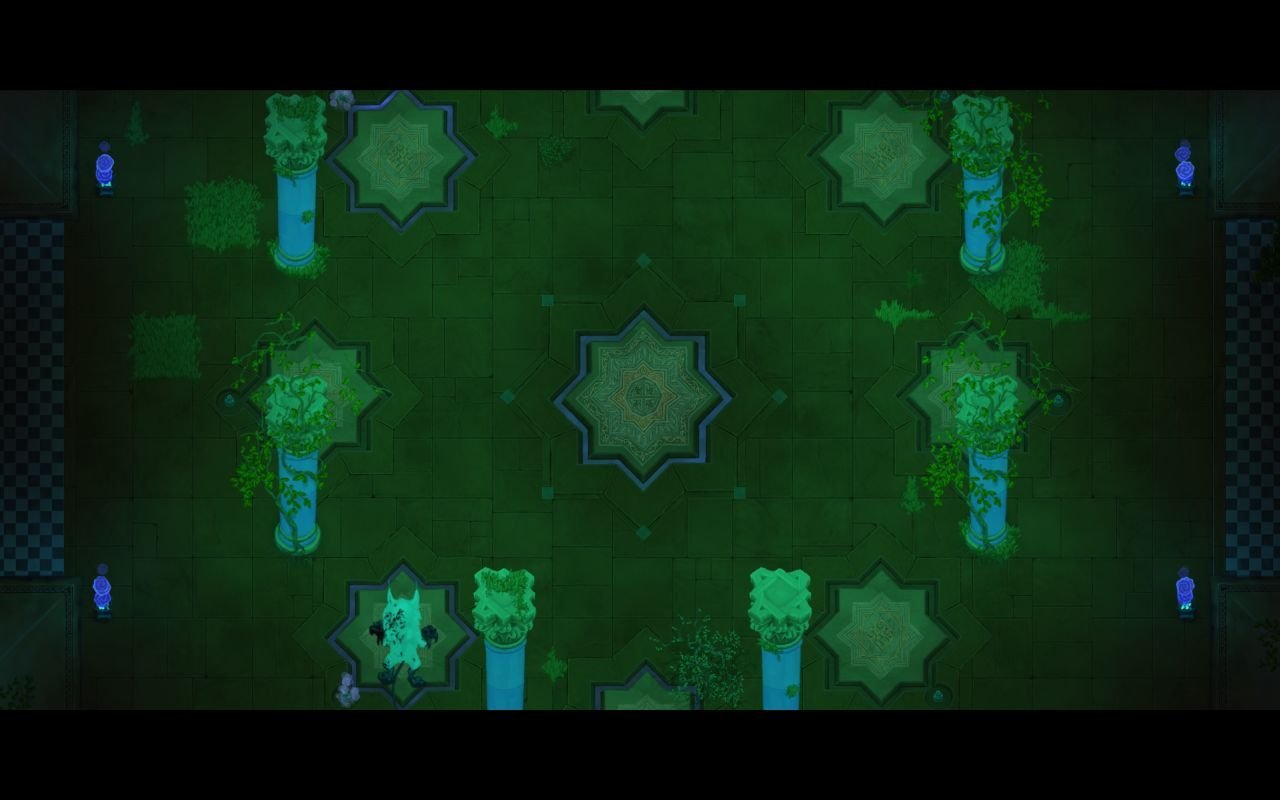
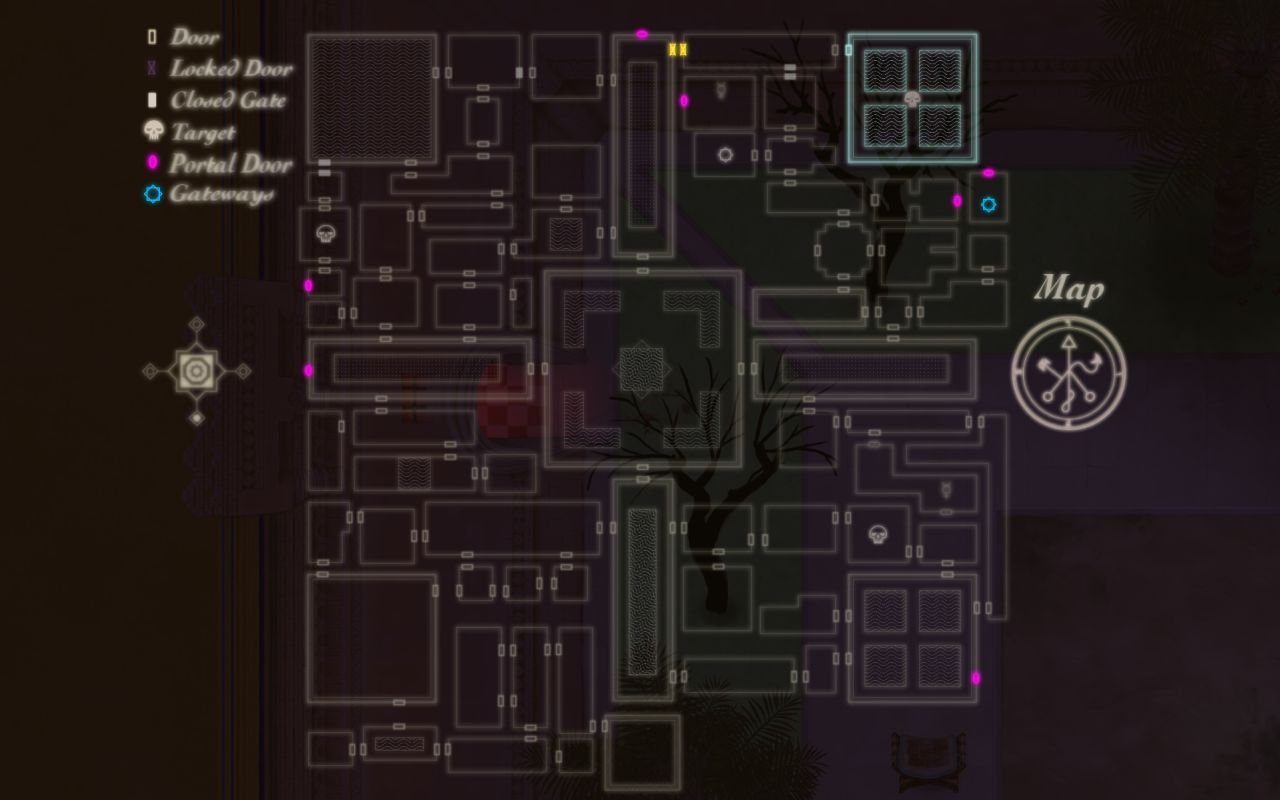
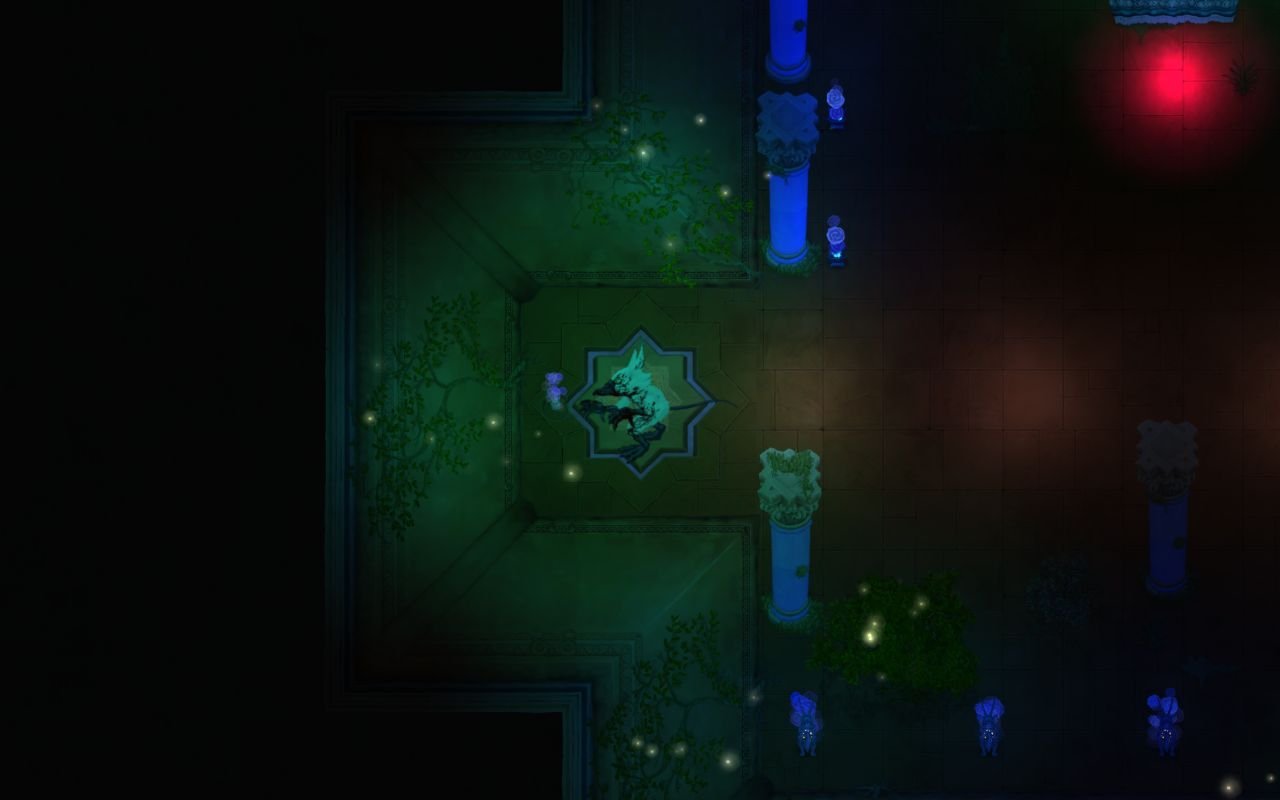
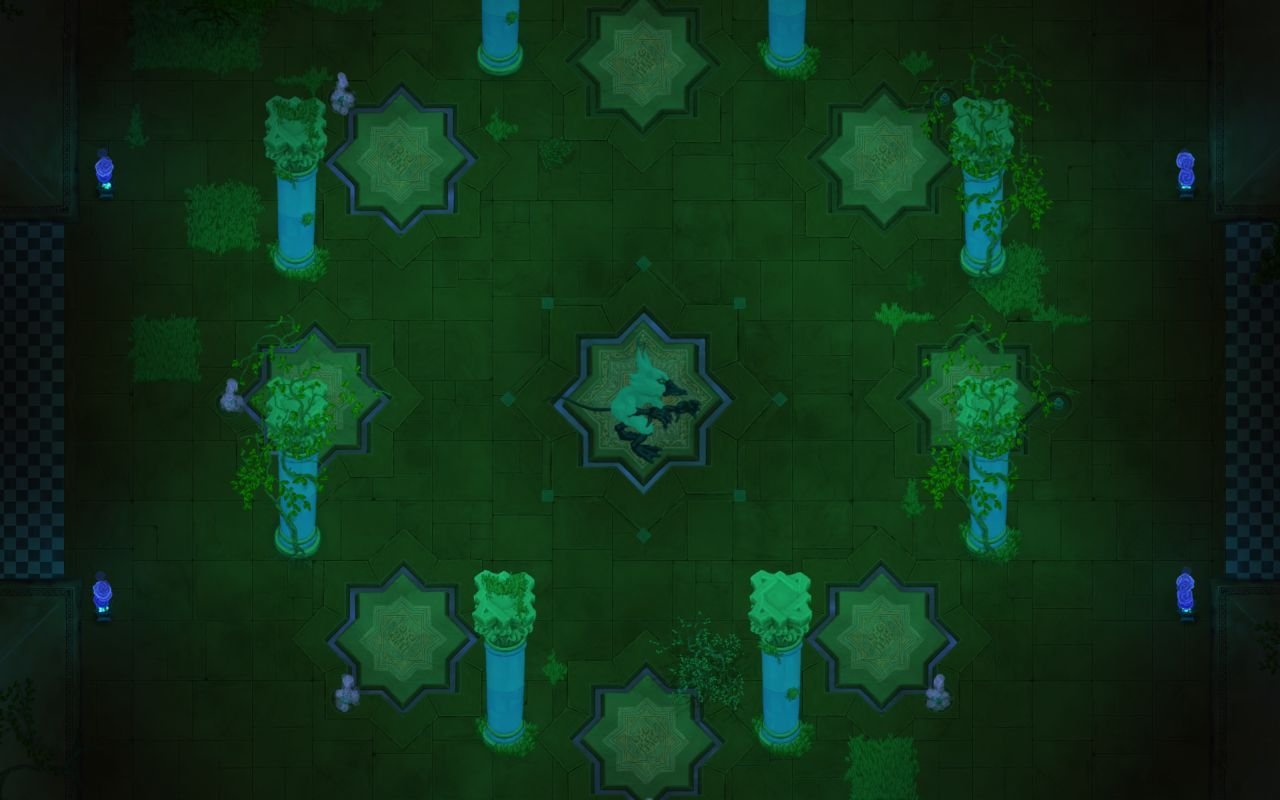
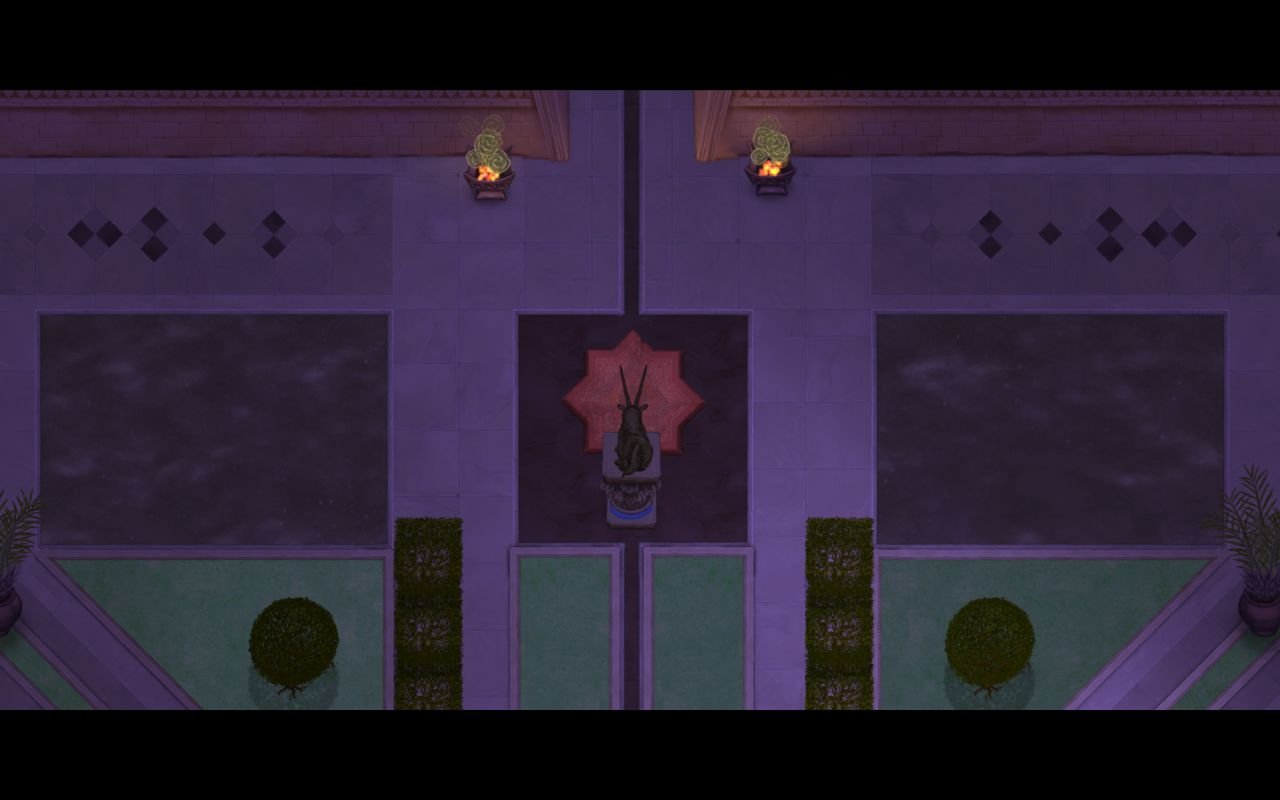
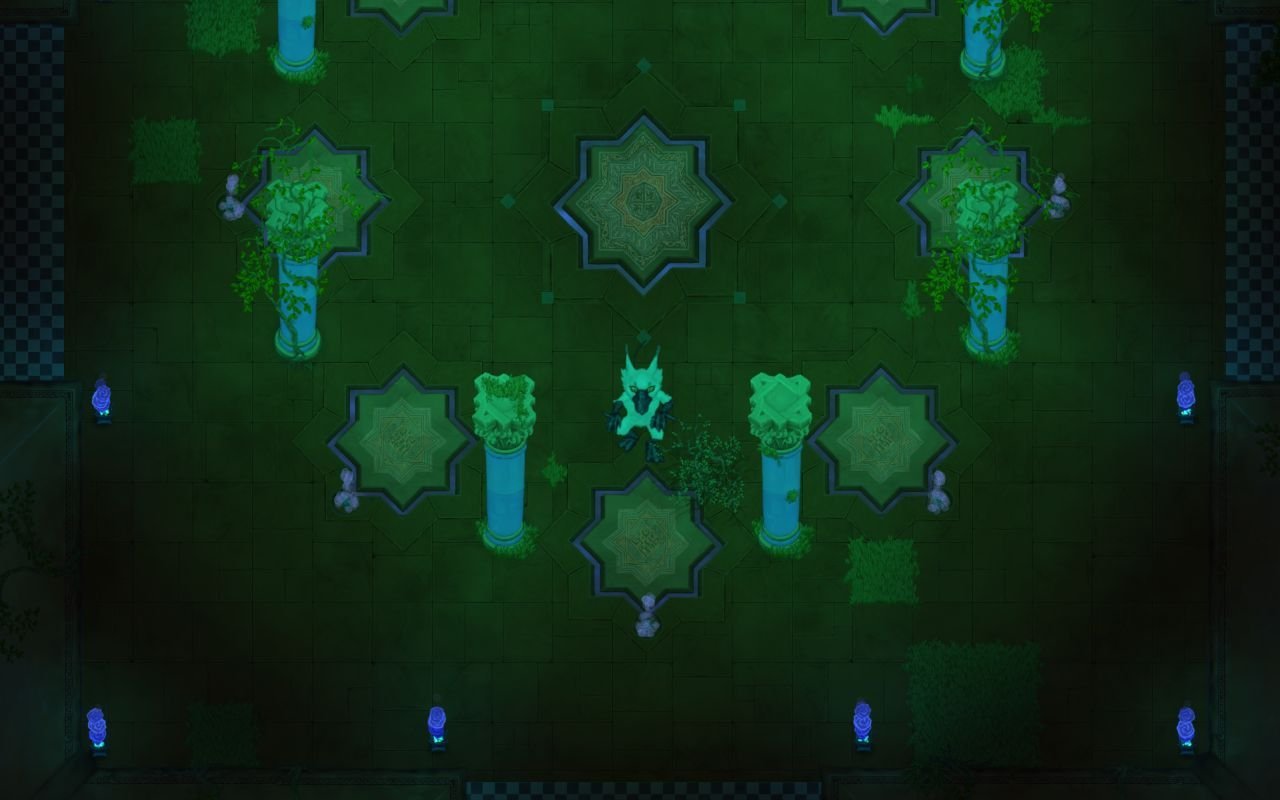
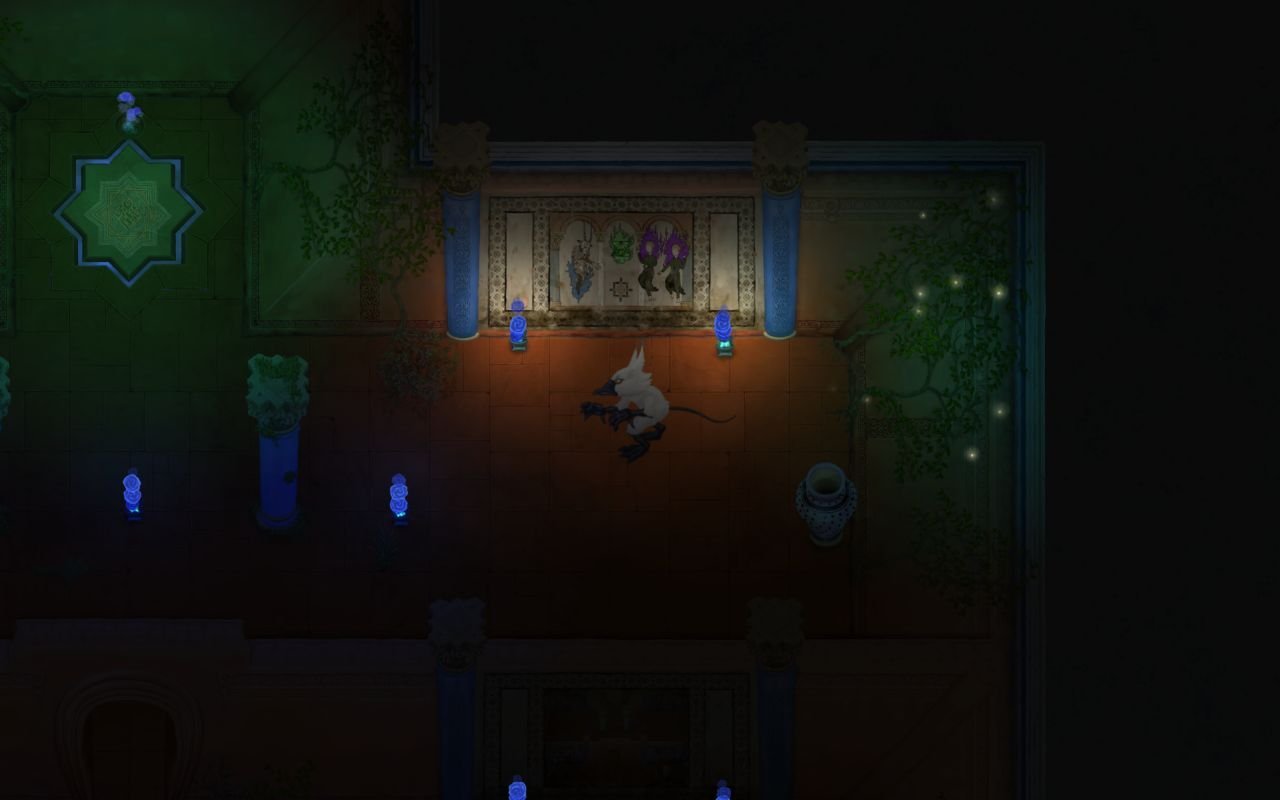
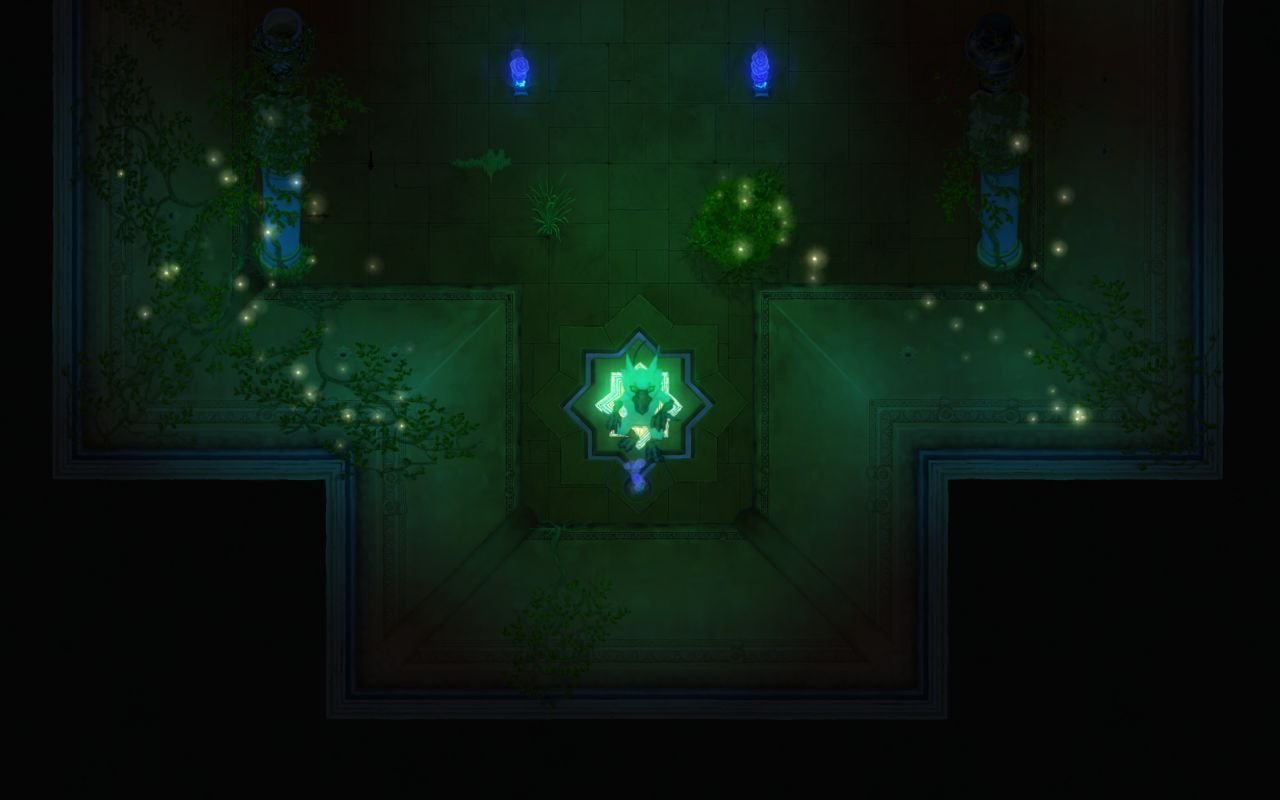
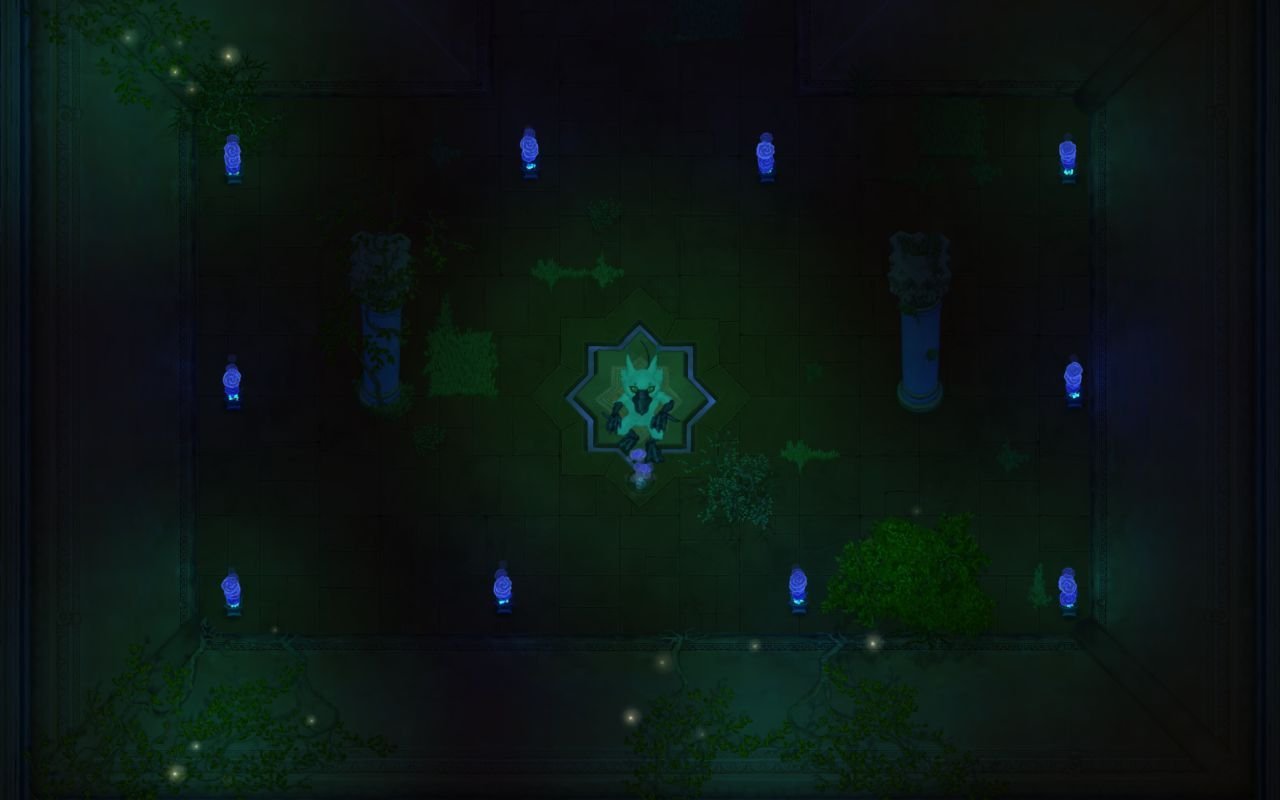
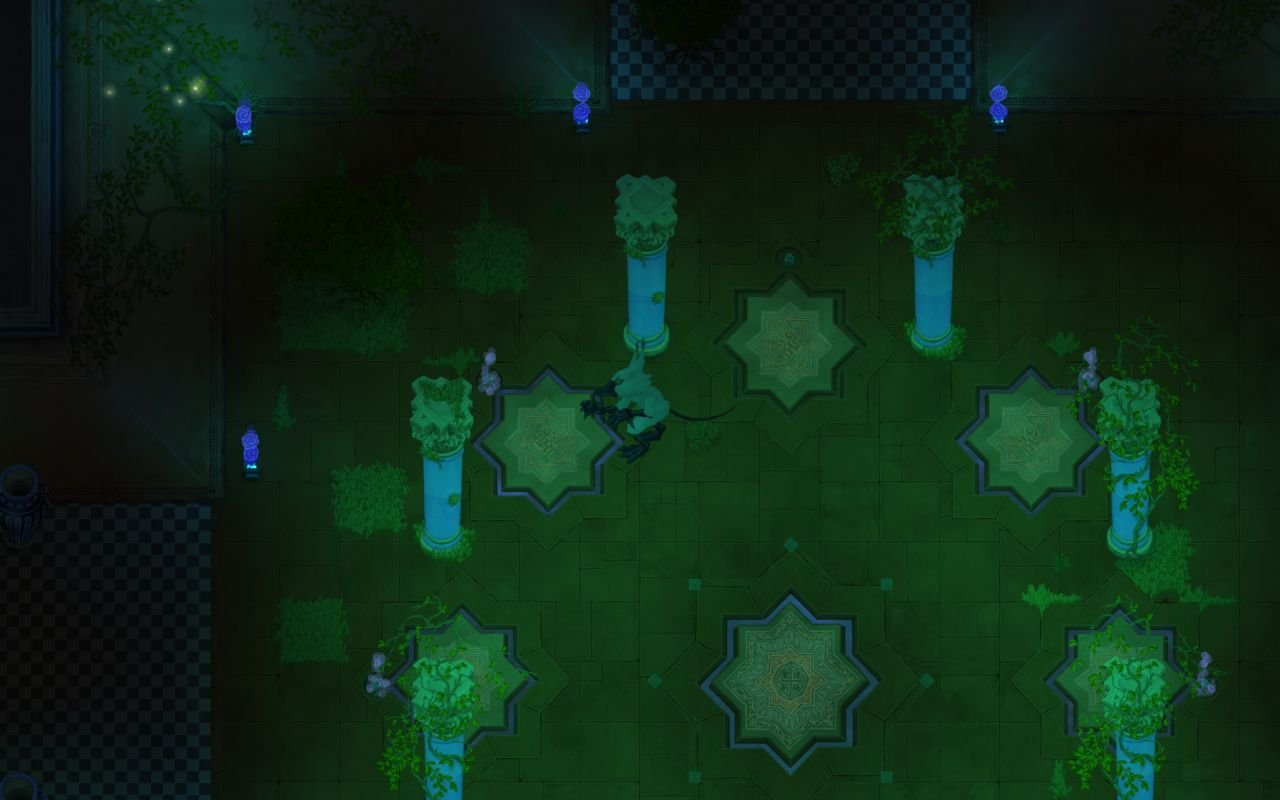
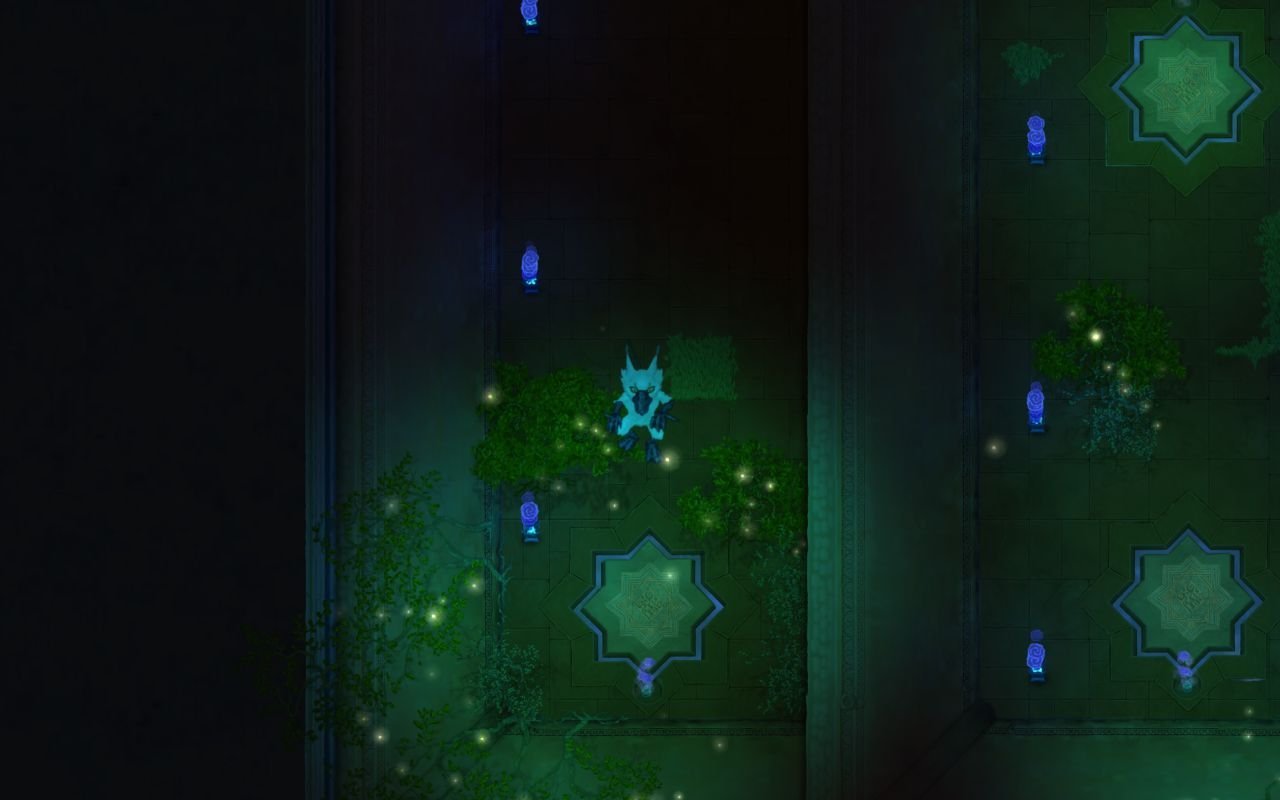
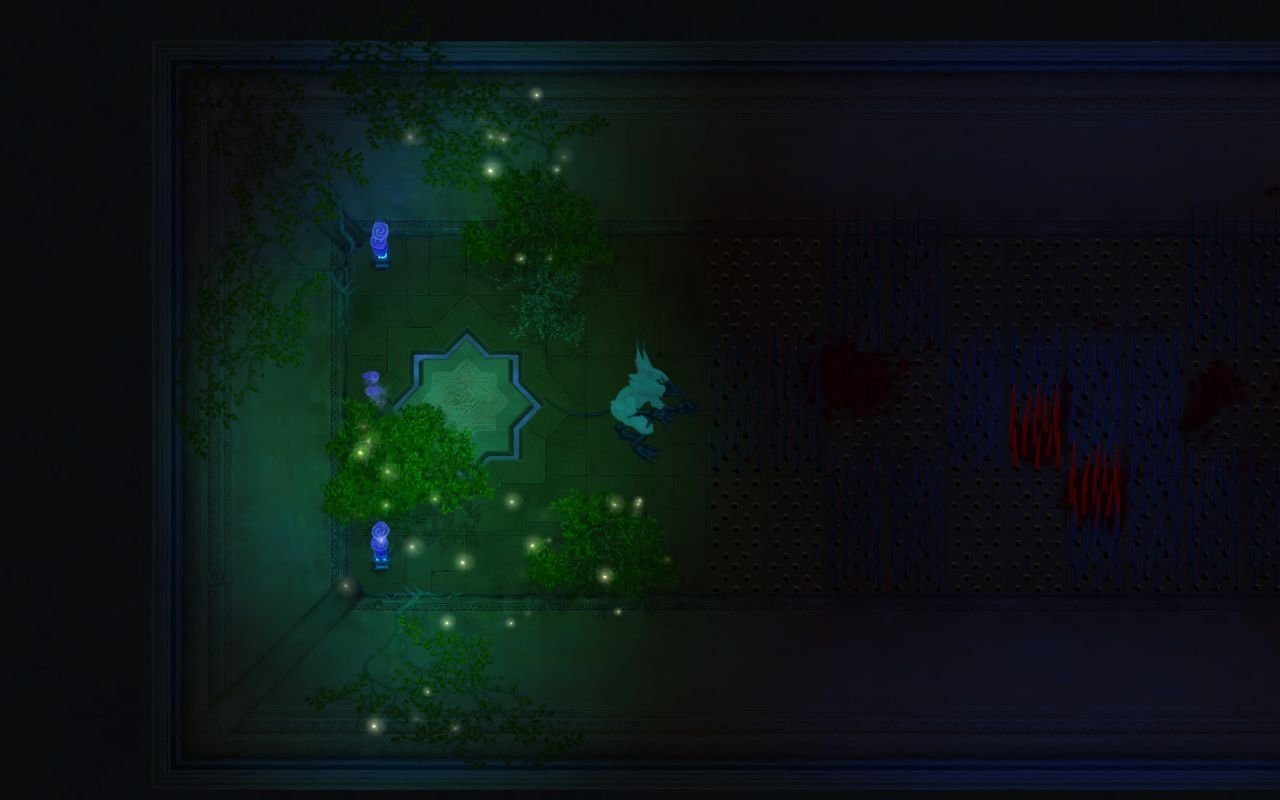
Big room, connected to both the flooded patio and the sound corridor. This is the second room of The Twin Riddle.


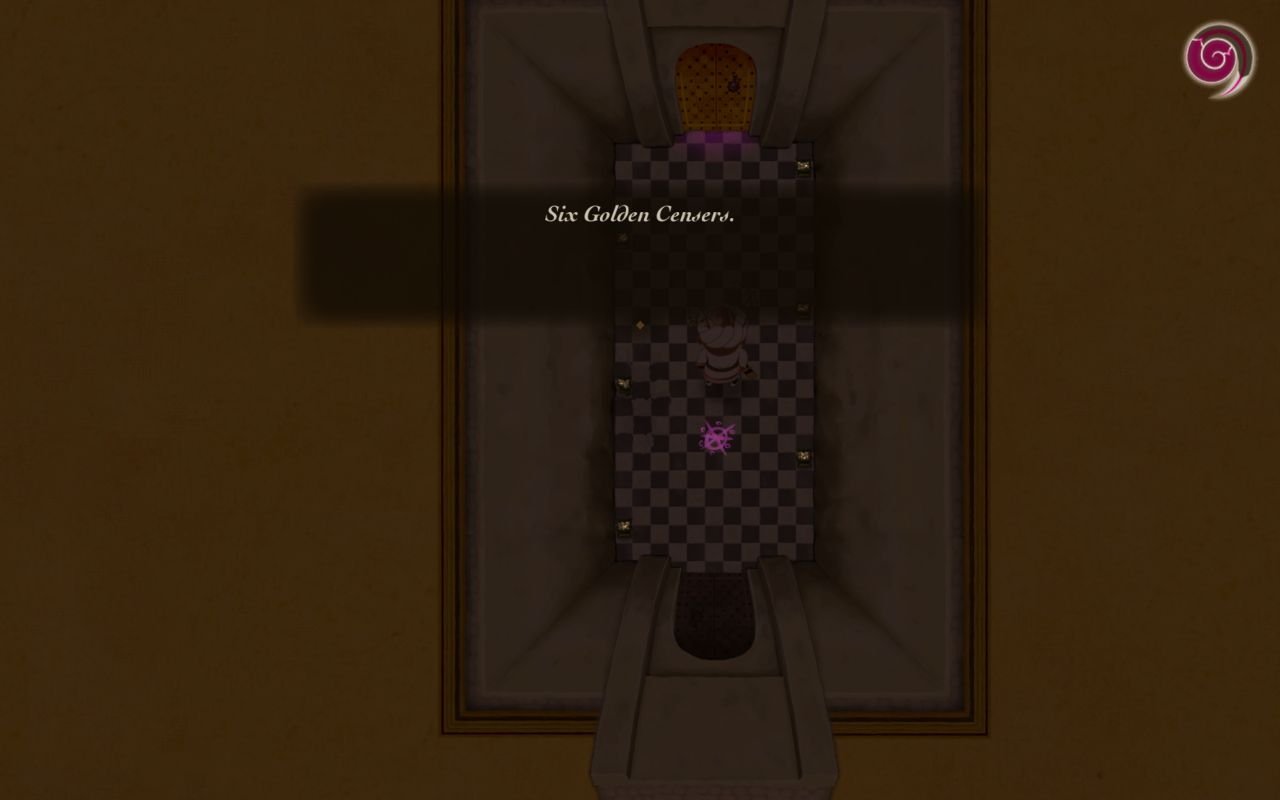
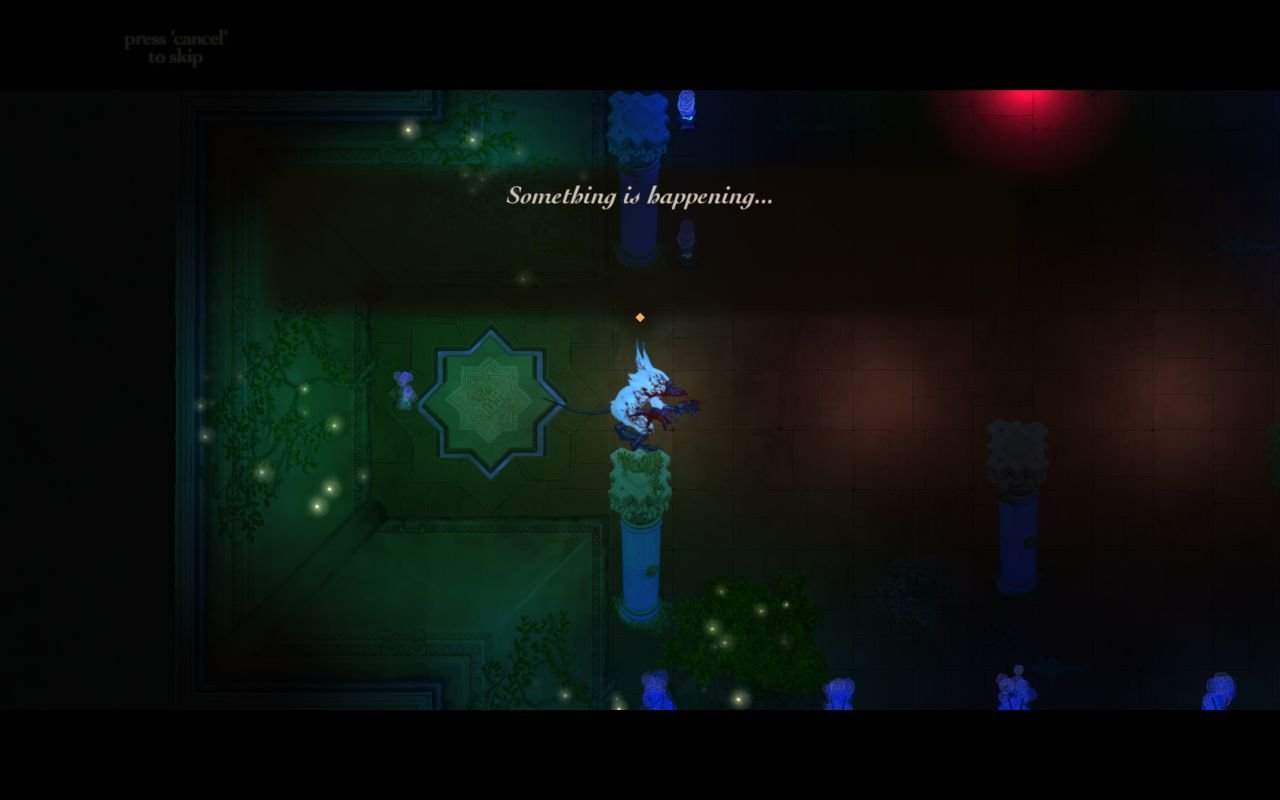
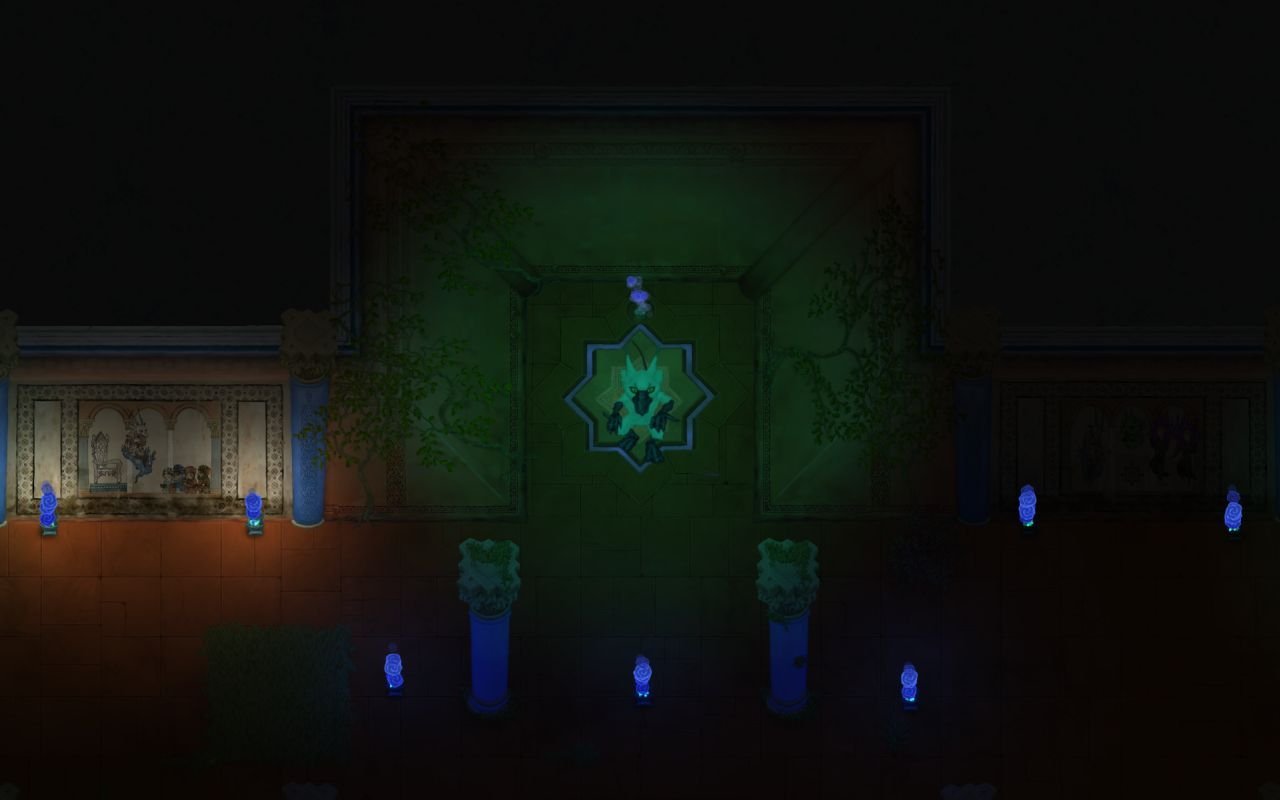
We made a pattern, using the pressure plates, symmetrical to the one in the room up north. This opens the gate, but not much more. There's nothing new in the corridor. However, keeping the oryxes working is important, so we kill everyone in the second riddle room so that they can't touch the plates and shut it off. After that, we go back to the firewall room, following one of the gossiping guys. Then back to the northern pool room to take the key, then to the east pool room to open the Copper door.

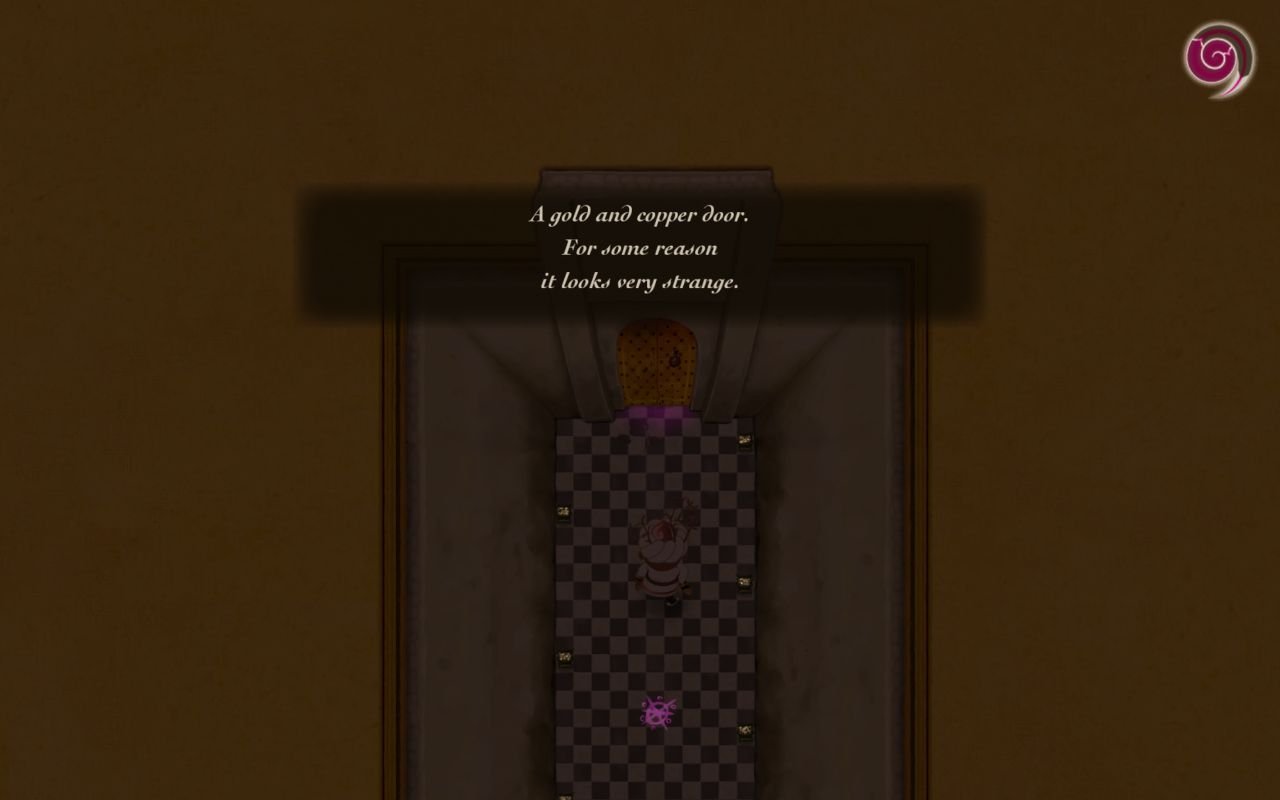
We find ourselves in a small vestibule, with doors west and east.
You'll have to come back another time to find out what's beyond this room.
This is a kind of a room we'll see more often - just a passage with traps. Setting off a trap means instant death.
In this particular room there's a hidden door on the eastern wall. We'll investigate it before proceeding north, following our bearded friend.
Notice that this room appears as a small rectangular room of our map, yet it is definately bigger and L-shaped. This is not an error, but another manifestation of the castle's extra-dimensional properties.
We won't eat dates here as our poison is currently full.
We're going back to the previous room, and through the north door.
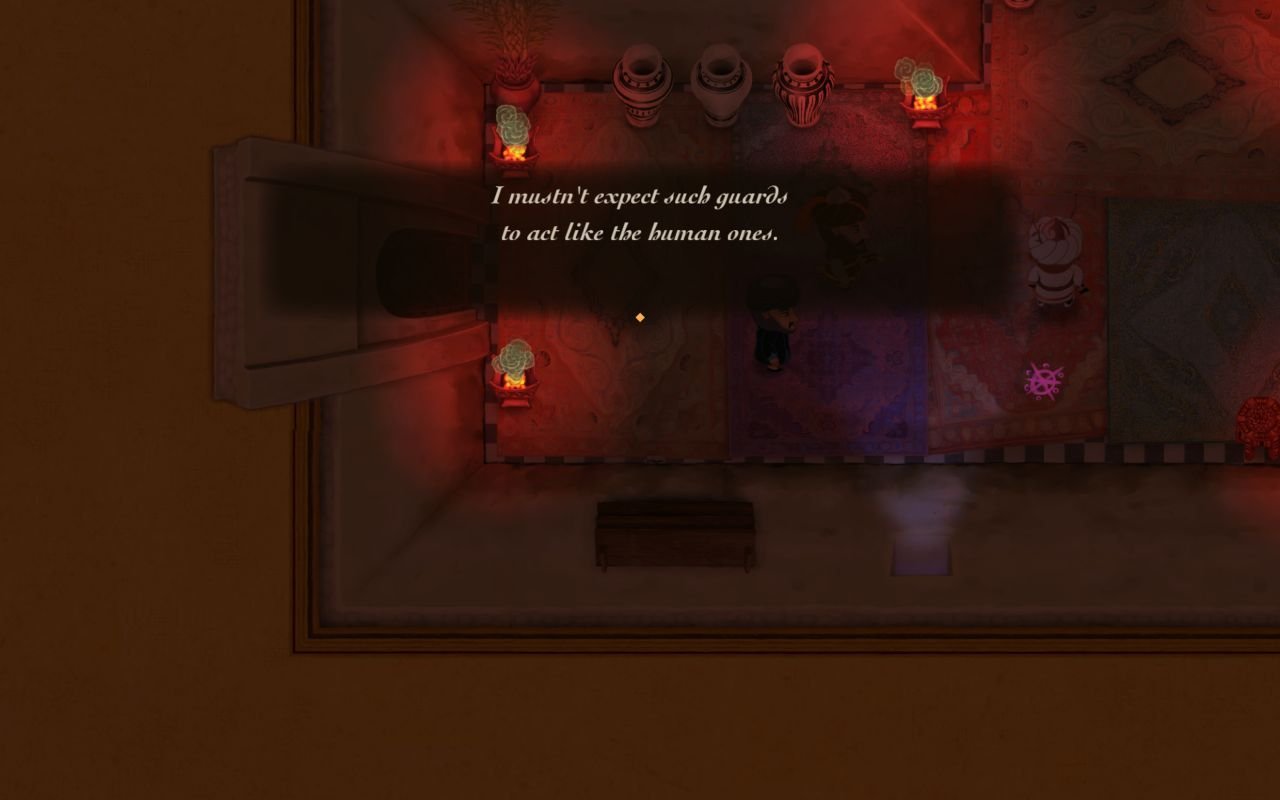
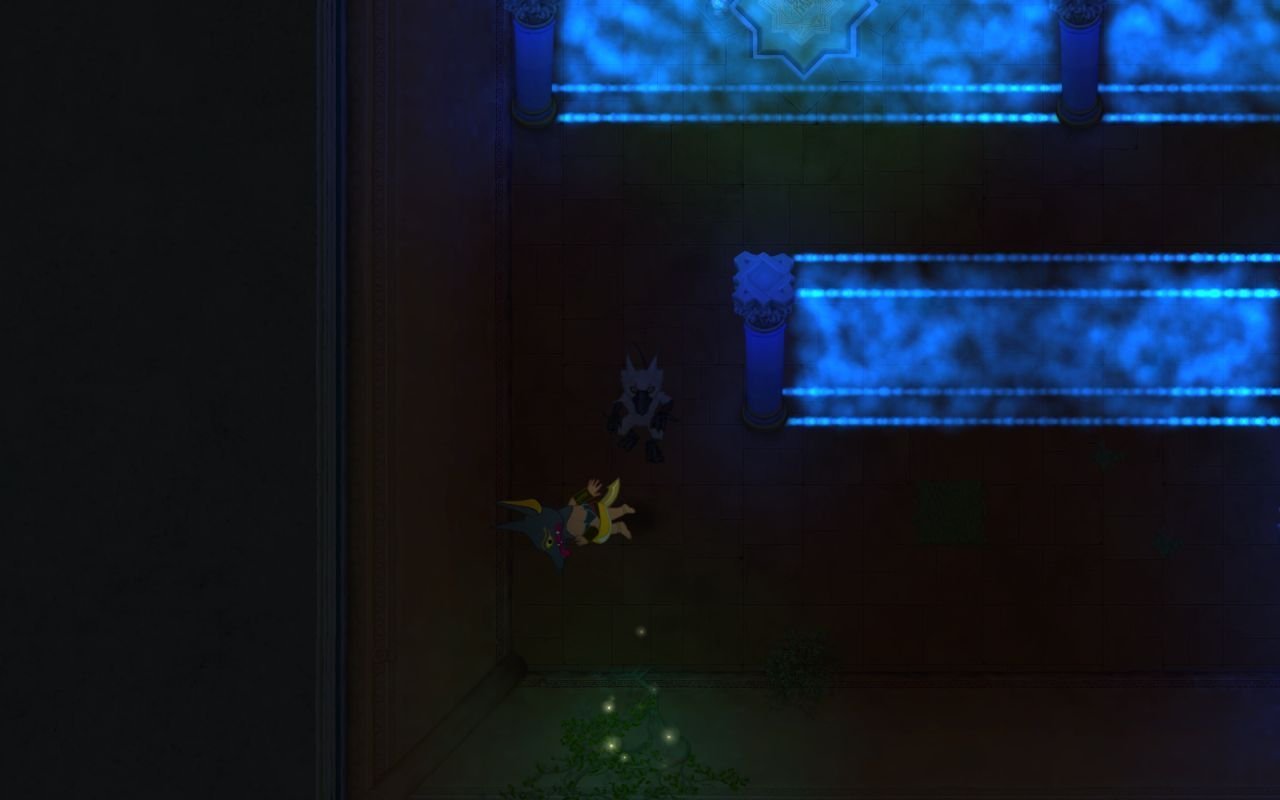
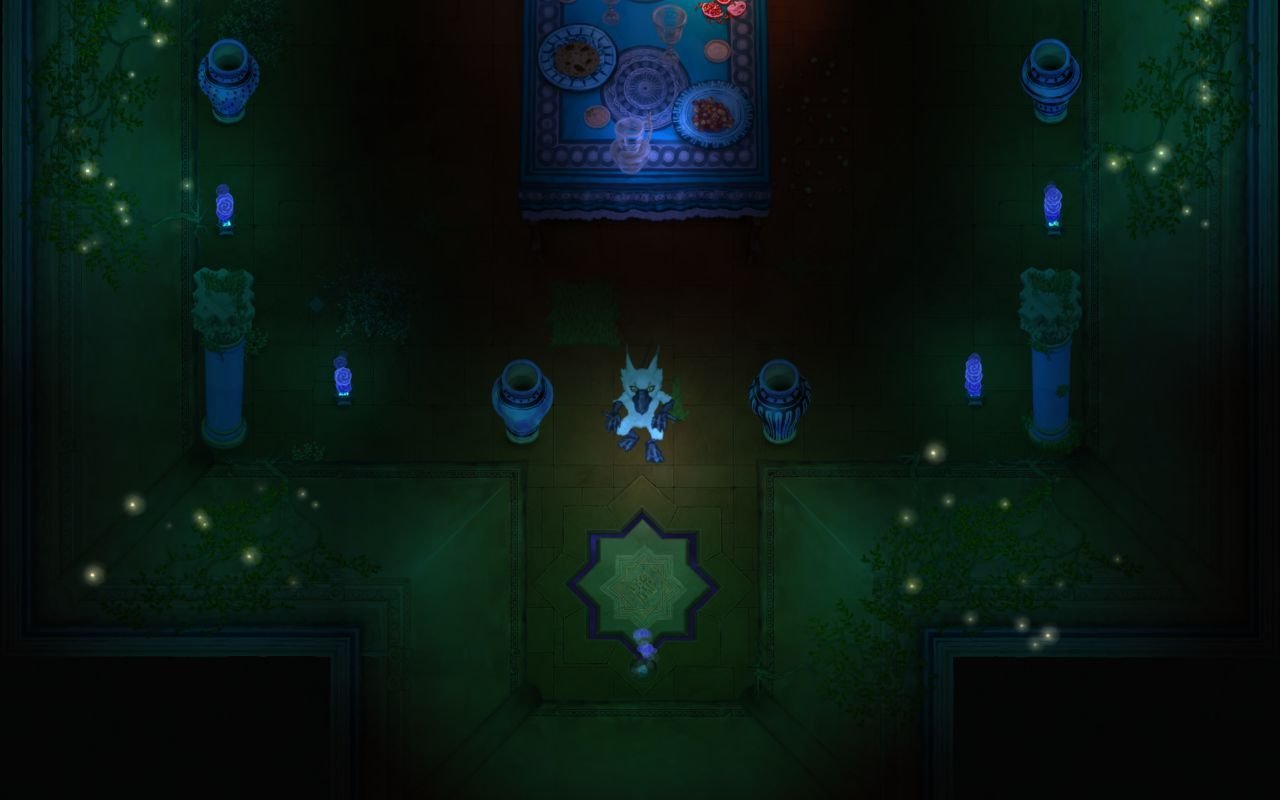
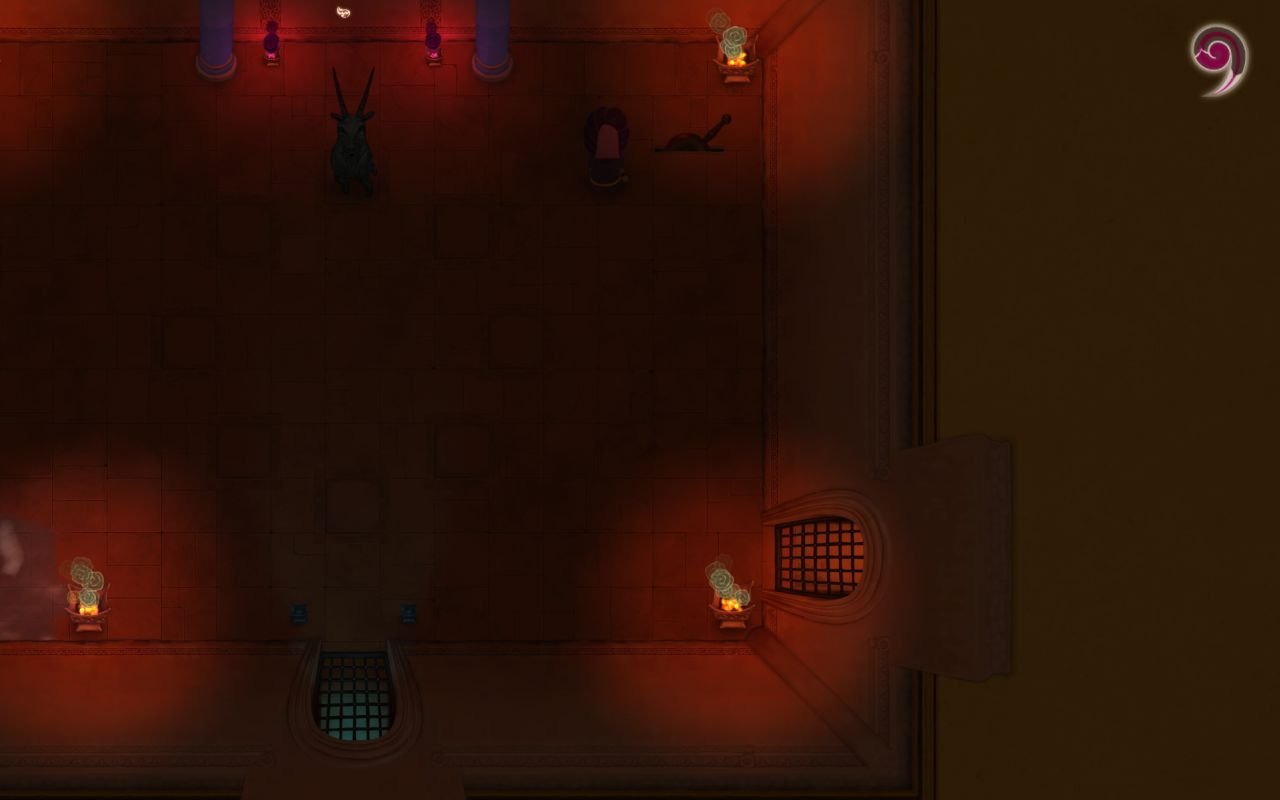
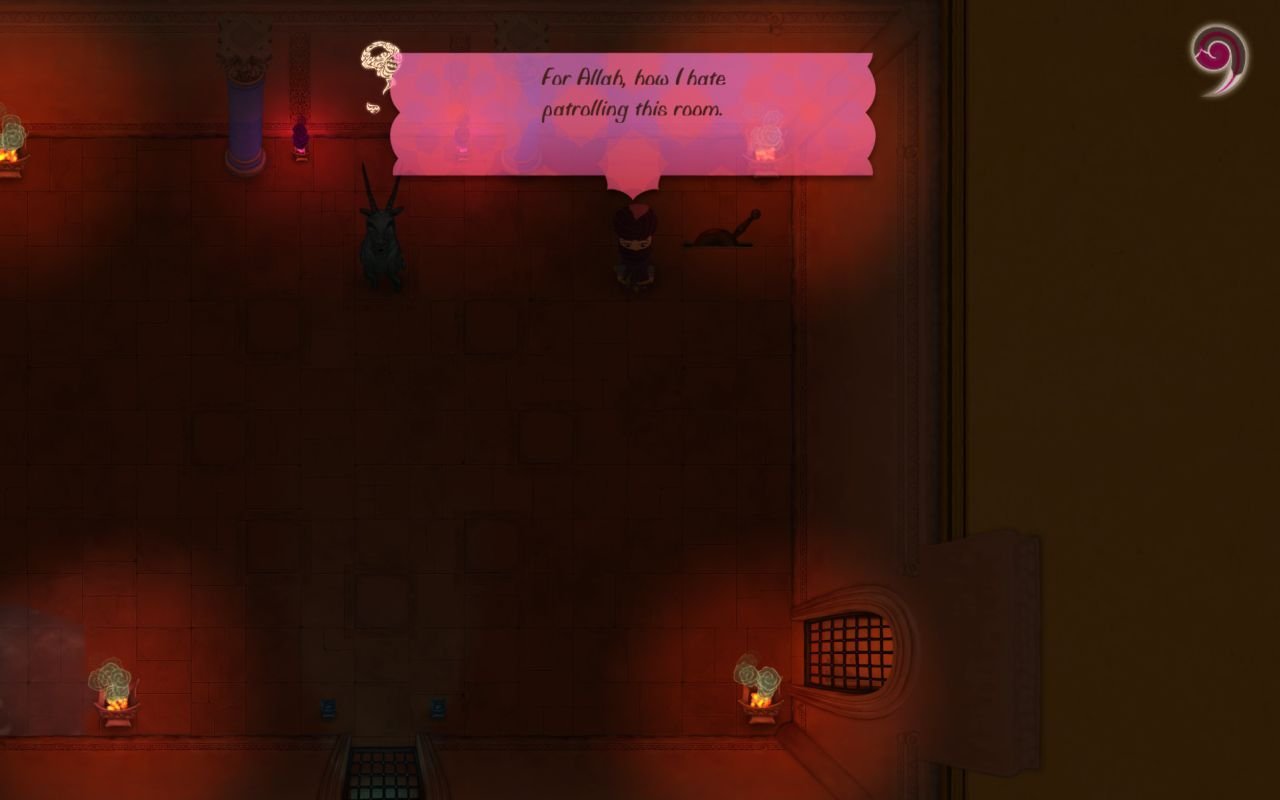
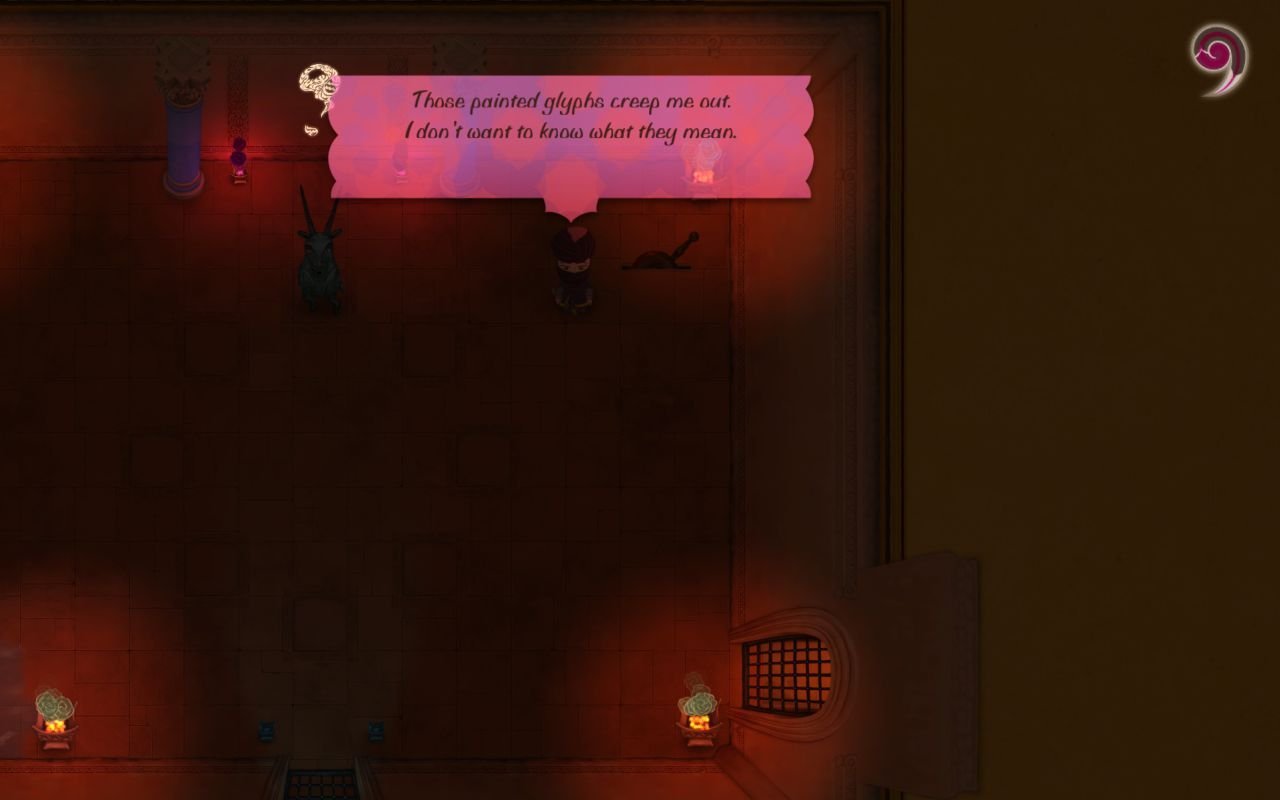
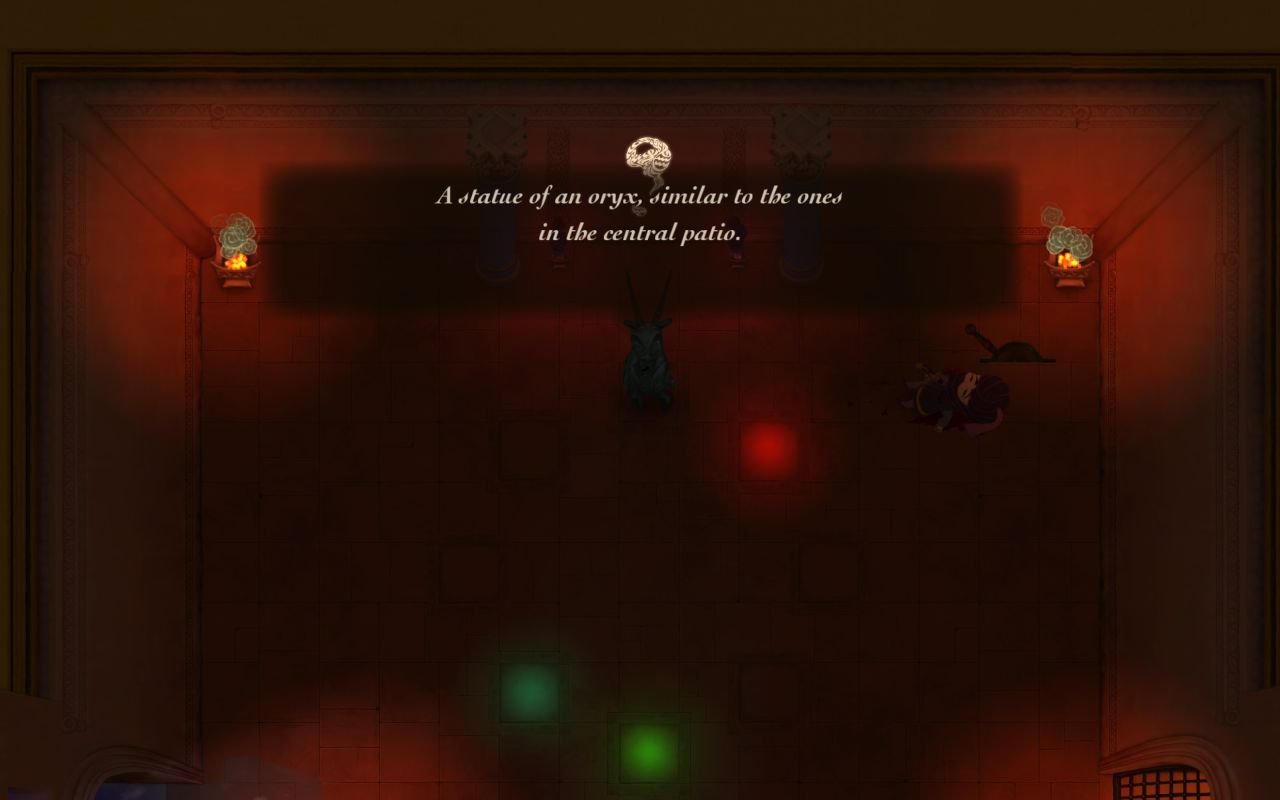
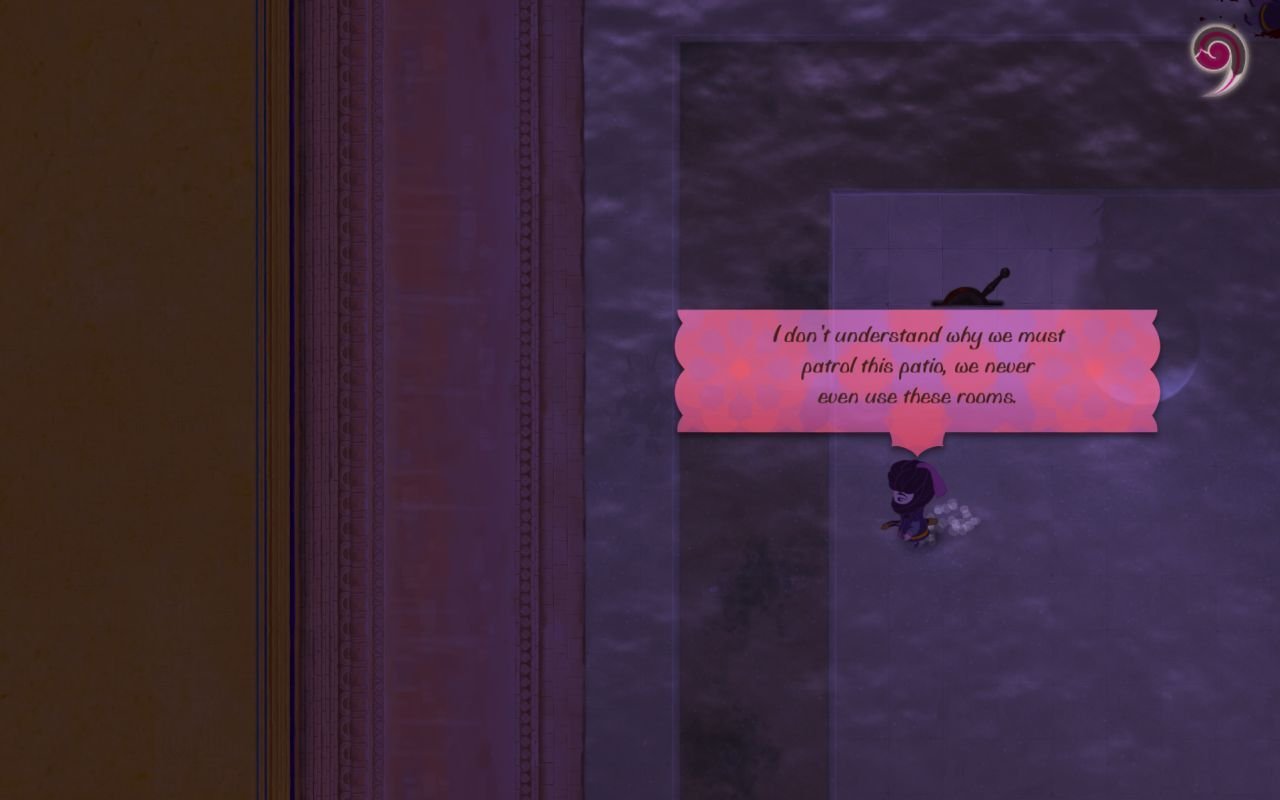
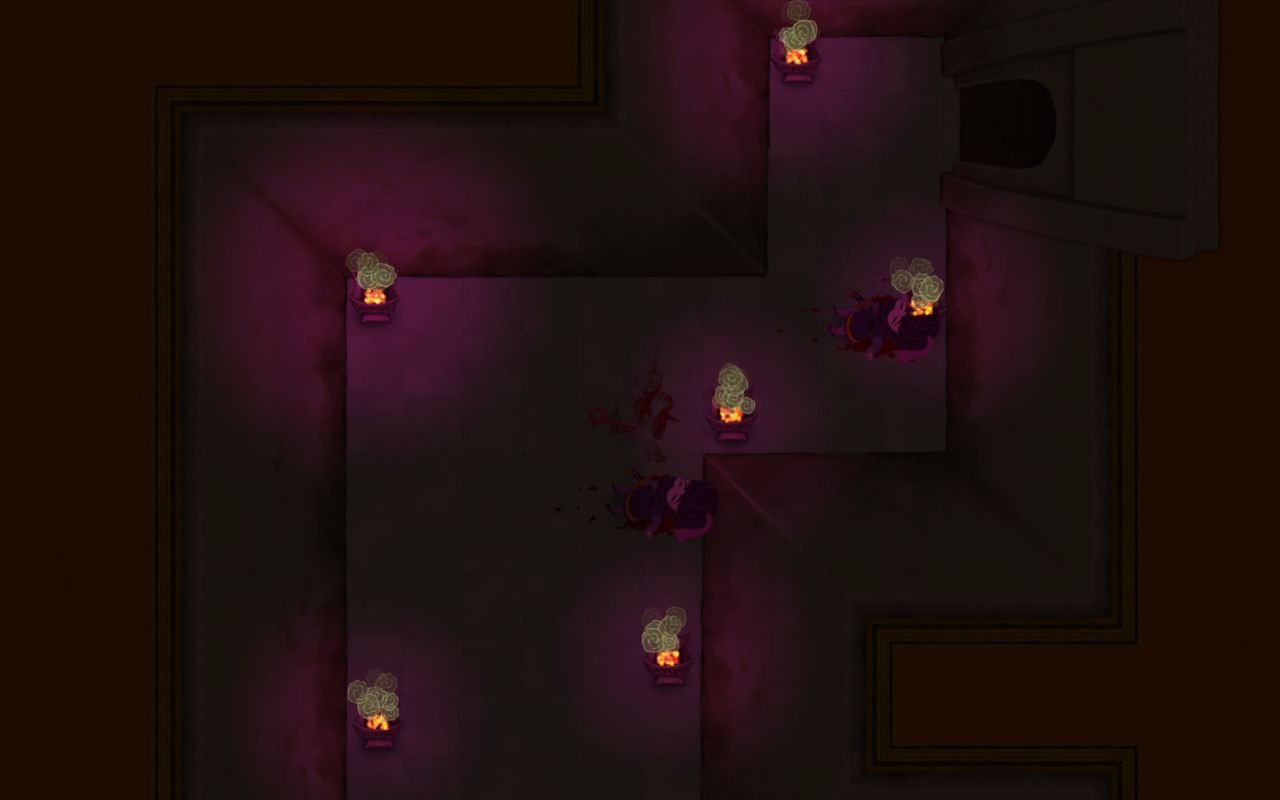
It seems al-Saahir prefers a strong-armed approach to staff management.
The particular of this room is that guards follow a circular pattern, stepping on pressure plates that raise the spikes. It's just a matter of timing to get to the easter door, which we of course do.
This room is nasty due to the fact that the patrolling guard triggers paint spray right after we enter it. A quick dodge allows us to stay invisible.
The pool in the room is bad news for the nearby guards. We dispatch the one in this room, wash up, kill the two in the previous room. After that we go back, clean up, flip the lever to open the gate east but take the north door first. Why? Because that's where our favorite curious arab went! I couldn't catch him on the screenshot though, he's too fast.
NOOOOOOOOOOOOOOOO! Bearded man, don't you know to never, ever rush towards pedestal with tresure? There are bound to be traps!
We, of course, are not so careless. We are also fast, and quickly move towards the corner of the room once we enter, otherwise we're dead. This is one of the few instances when the game can kill us right after we enter a room.
We take the key, and go back, then towards the east door.
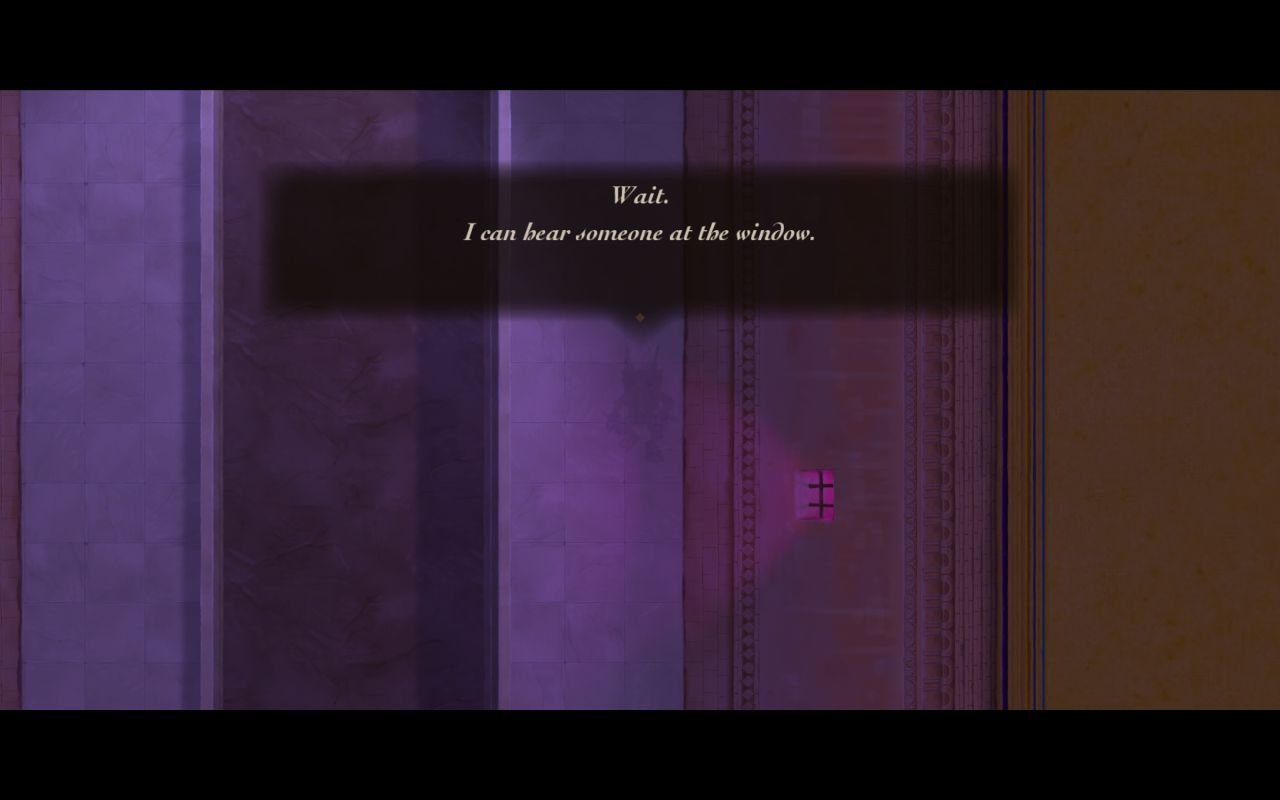
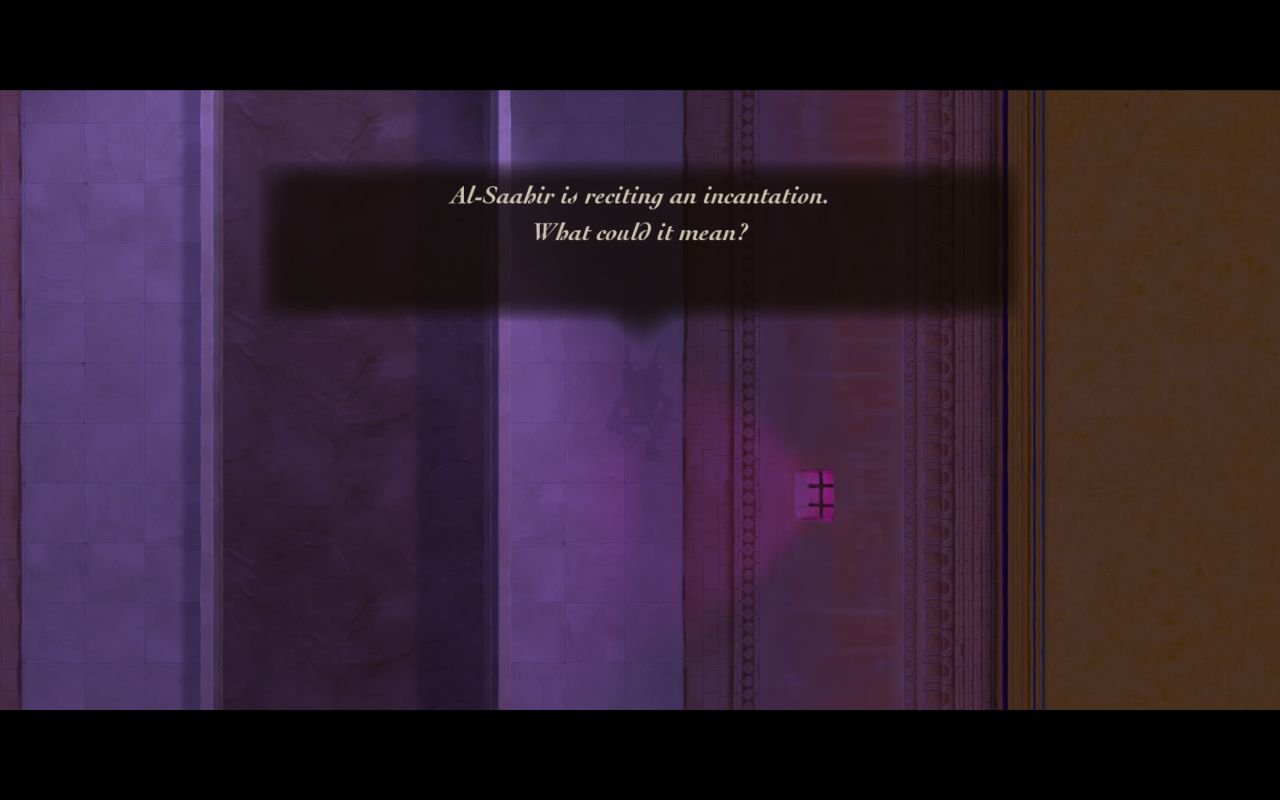
Another long corridor with an empty pool. While exploring it, we find something really interesting...
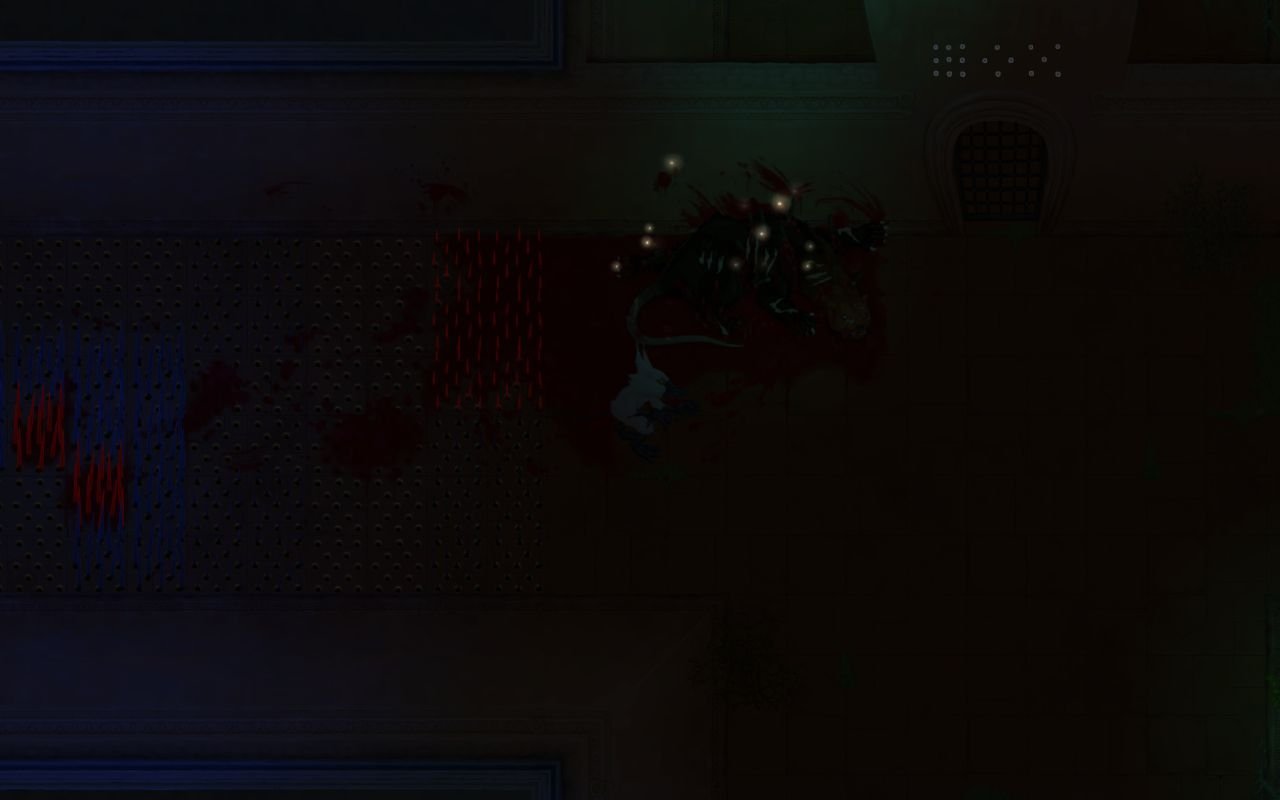
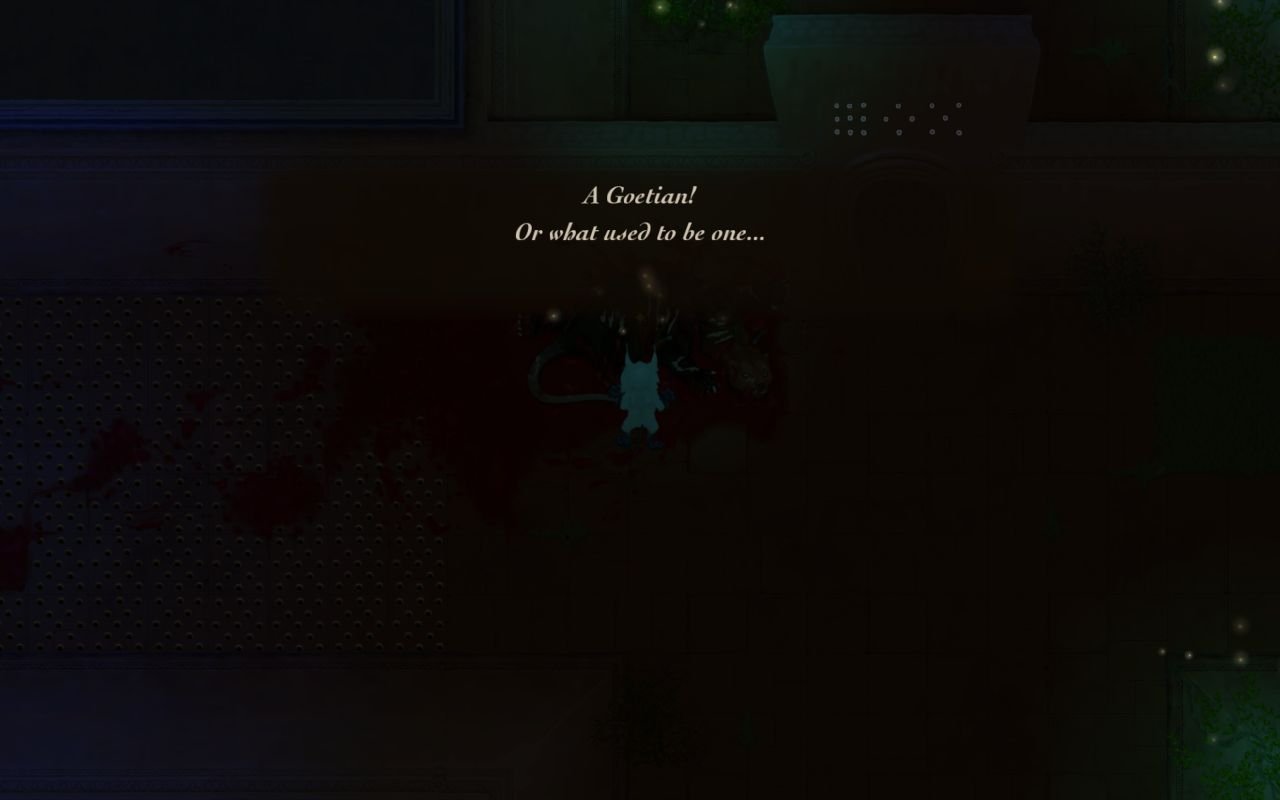
Through a window of the eastern wall we were able to overhear a spell creating some kind of woodden guard. We won't see them in this update, but believe me, they are assholes.
We do have a key, with a symbol of sulphur, and there's a door with the same symbol in this room, in the NW corner.
The guard in this room is as good as dead, what with the pool in the long corridor. This is also a first room that contains timed gates. When we pool the lever, the gate to the west opens, but only for a limited time.
The gate shuts right behind us. This looks like another puzzle room, with one annoying guard. There's a small pool of water on the SW corner of the room, so this is not a problem.
The guard is dead, we're clean. The riddle on the wall is incomplete, but enough for us to frob the pressure plates in this room. Each one lights up in a different color, and sounds a tone. When we step on a correct combination (trial and error or good ear), the eyes of the oryx and the censers on the south gate light up, while the gate itself opens. We'll see what's behind the south gate, before proceeding west.
Just a passage, locked by a gate. Judging from the The Twin Riddle, there will be a symmetrical room with oryx on the other side.
Nothing more to do now, but to go back and proceed to the west, through the gate with water under it.
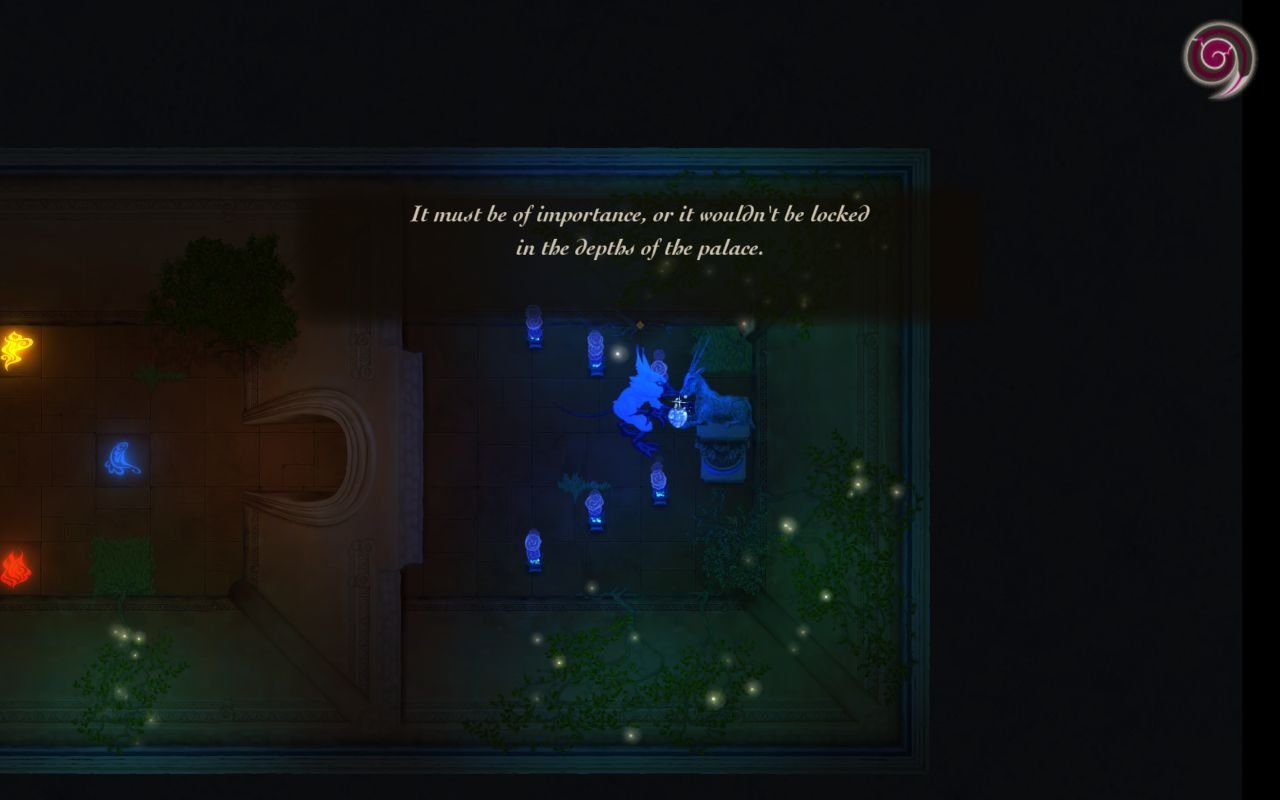
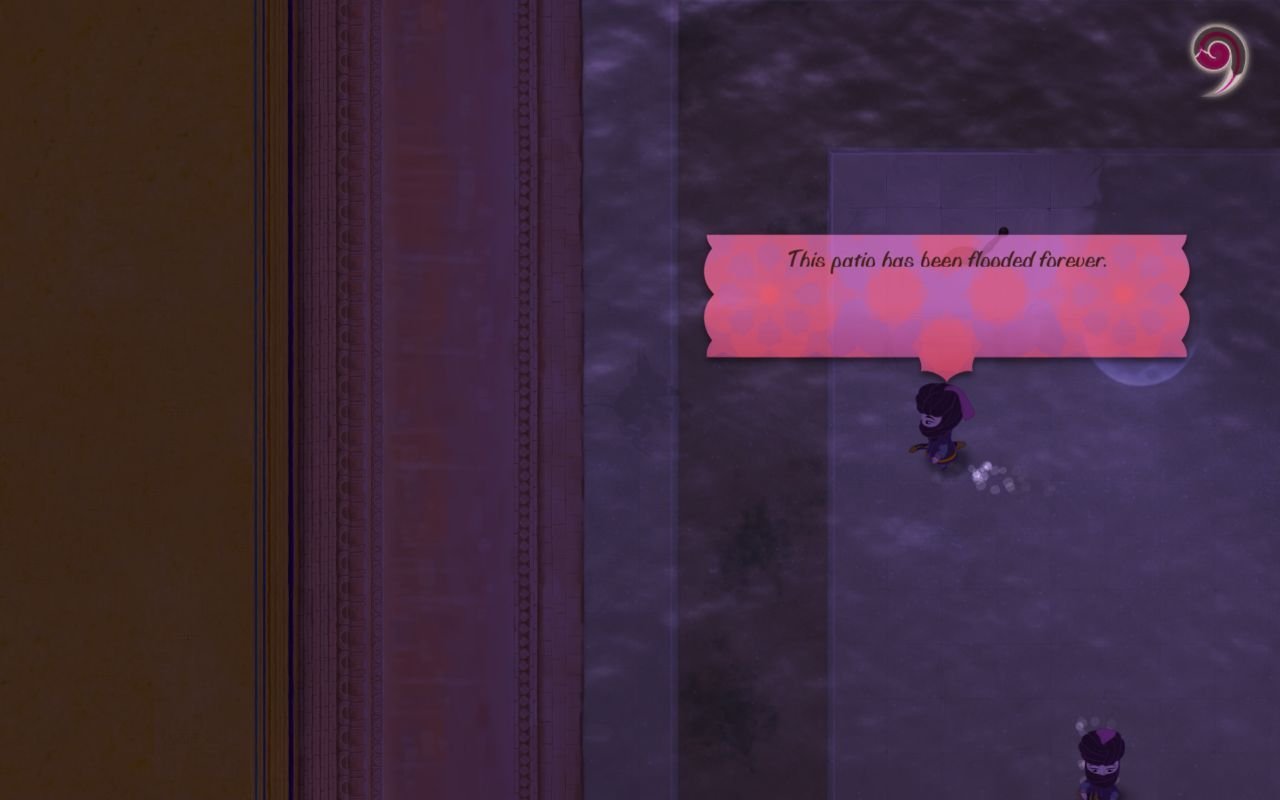
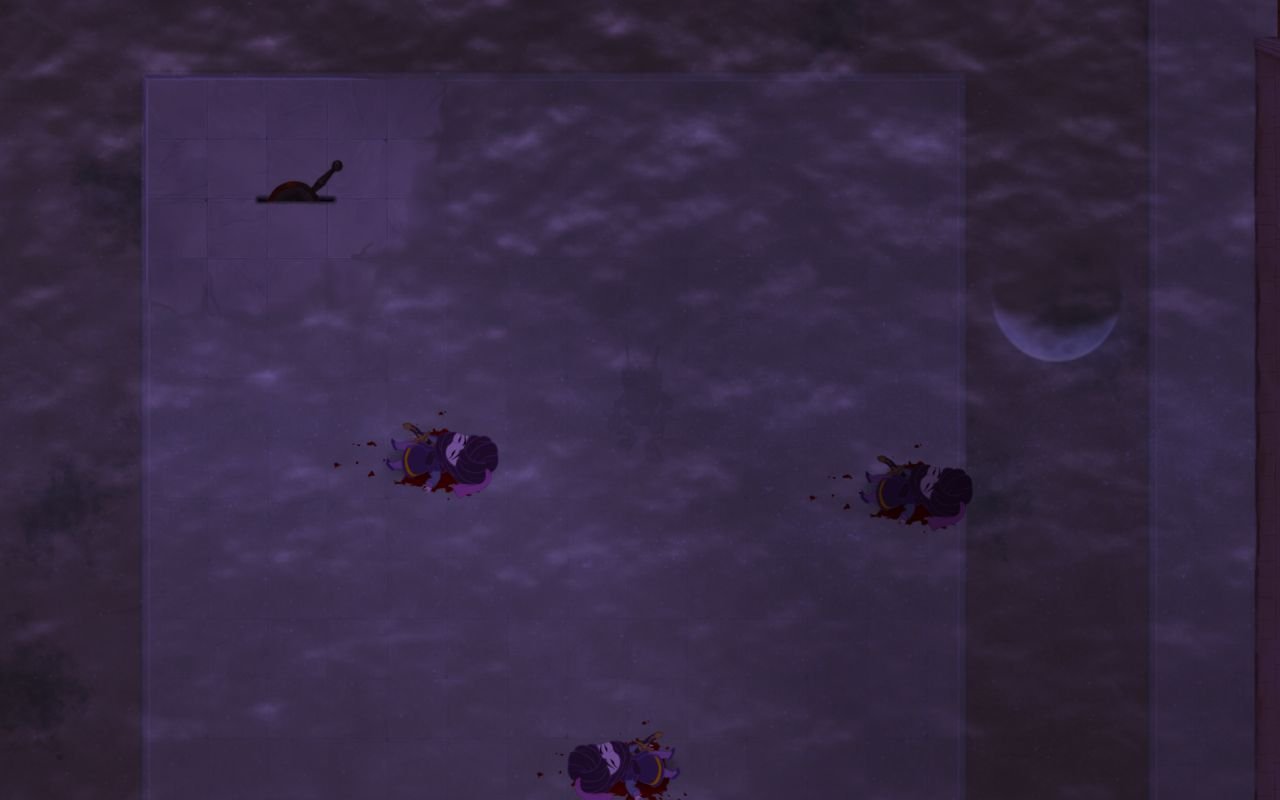
We enter a large, flooded patio, guarded by four masked women. There are two gates on the south side, one of which may be opened via the lever in this room. Unfortunately, it is a timed gate, and a very fast one to boot. The guards will be killed, although it is rather tricky, with water giving away our position. The key to success is killing them when they are as far apart as possible.
After the guards are dispatched we can proceed through the open east gate.
Our falling out with Marbas must have been a rather big one...
We go through the south door.
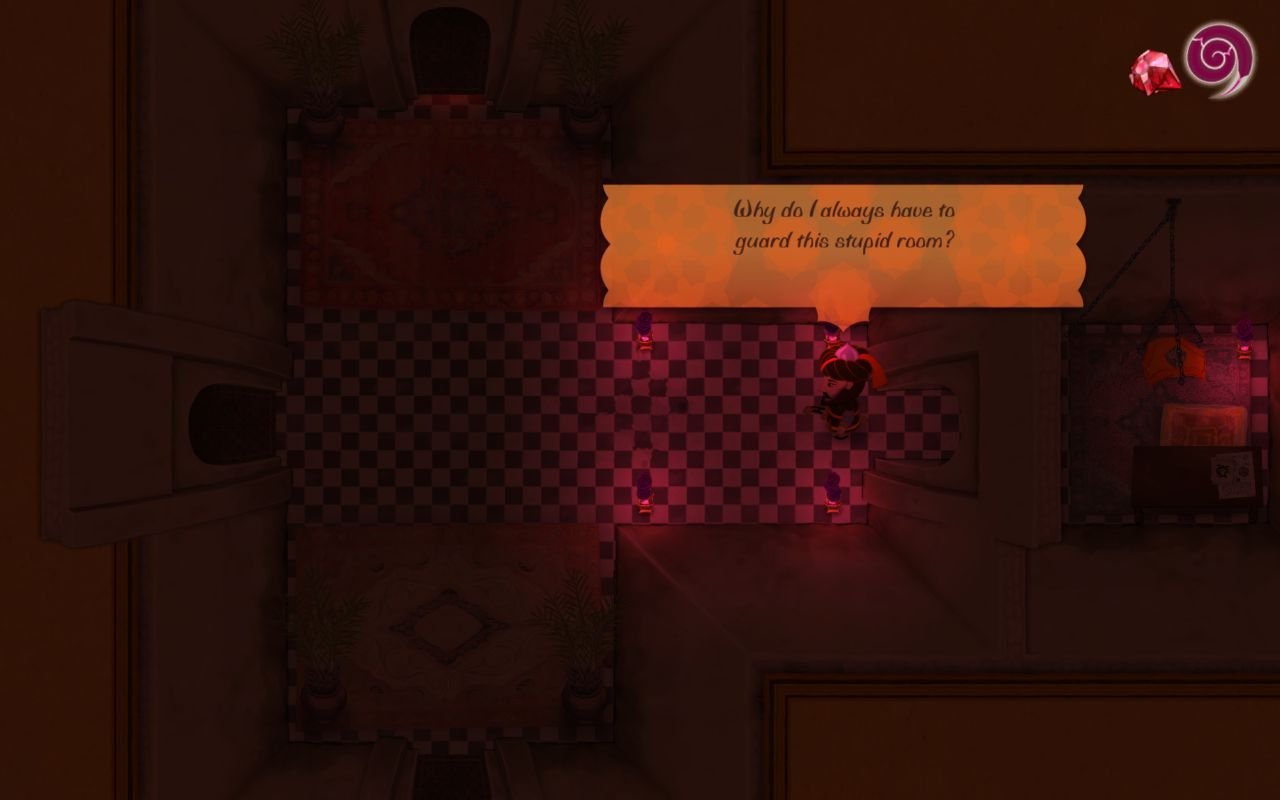
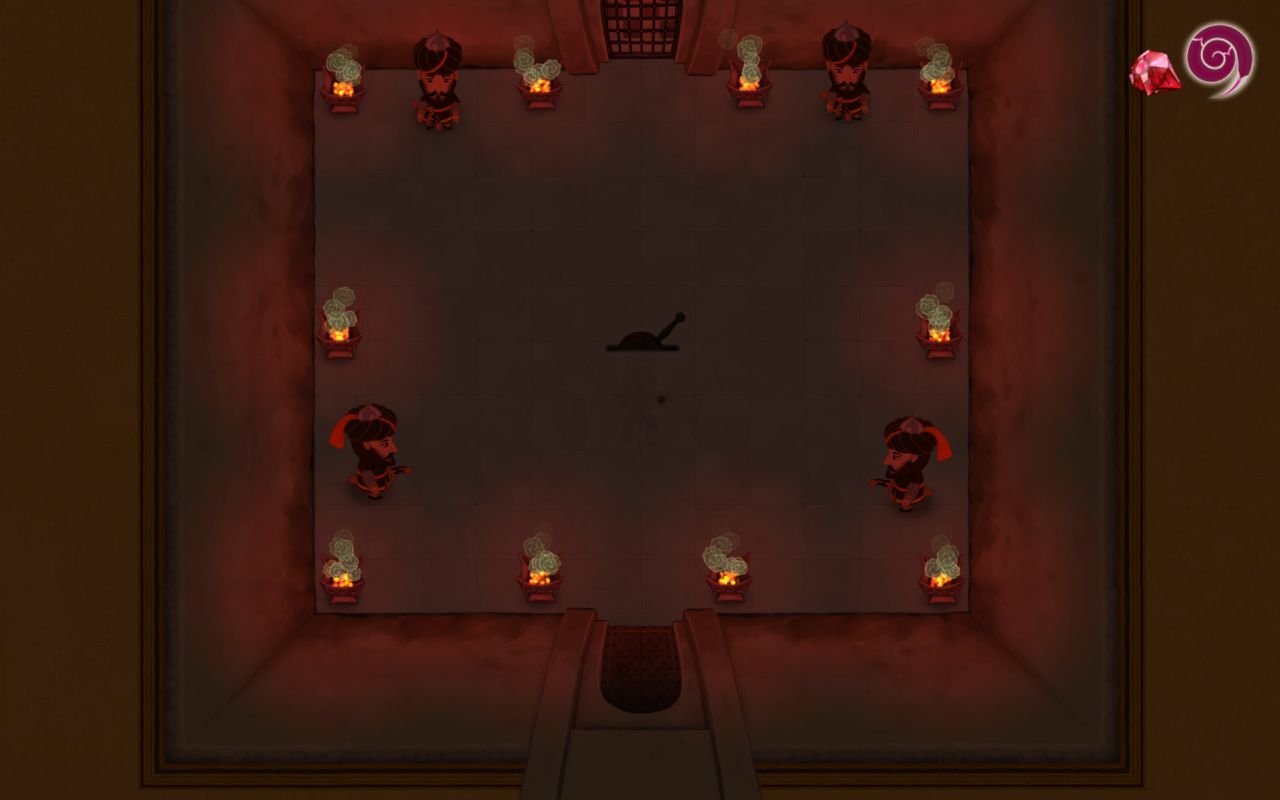
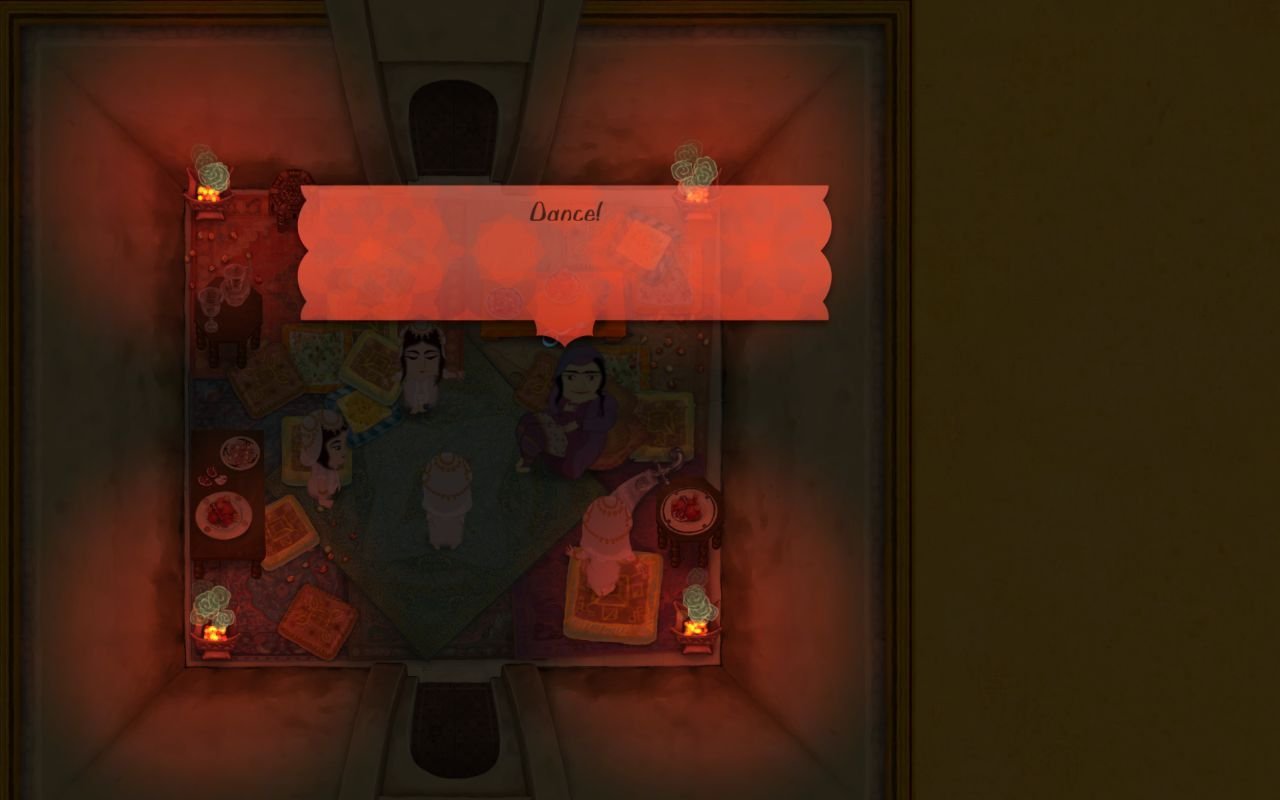
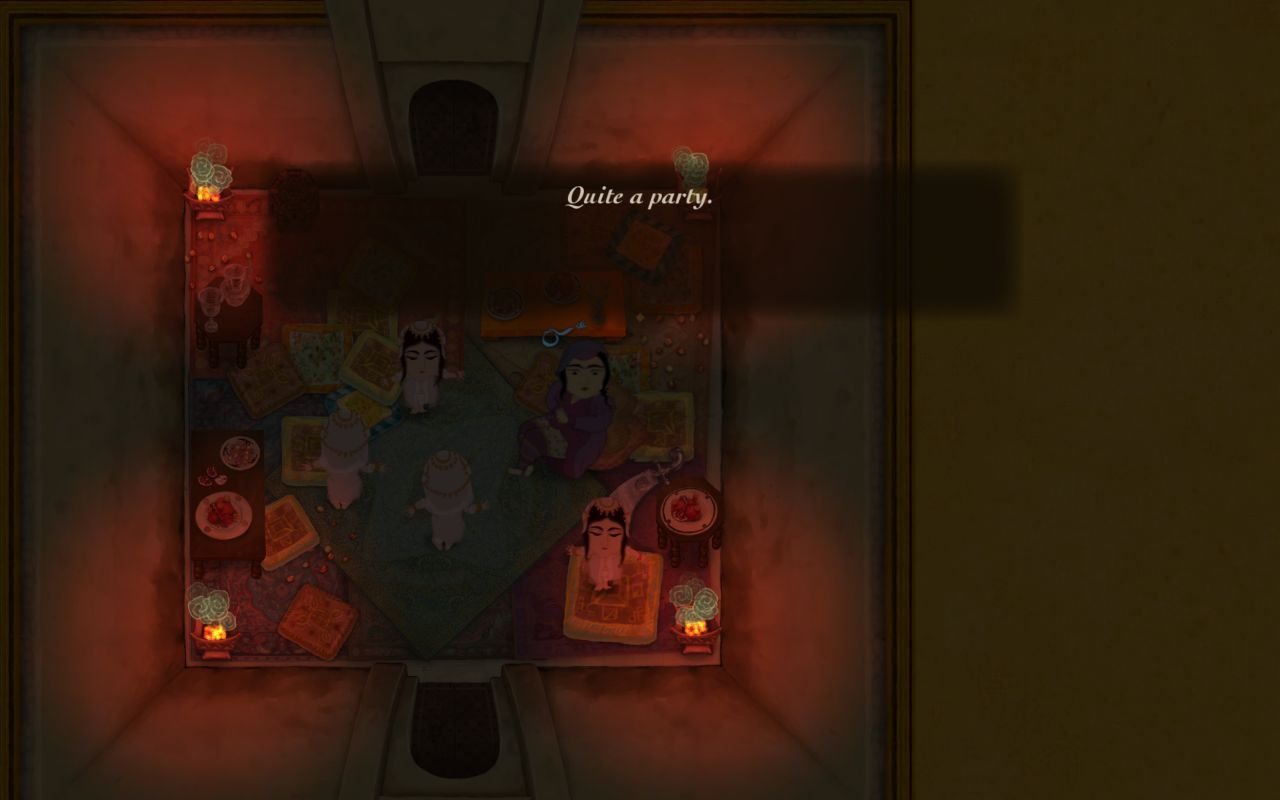
Next target. I've seen a small pool of water in the vestibule to the north, which we can use to wash up, so I'm going to flip out and kill every one here.
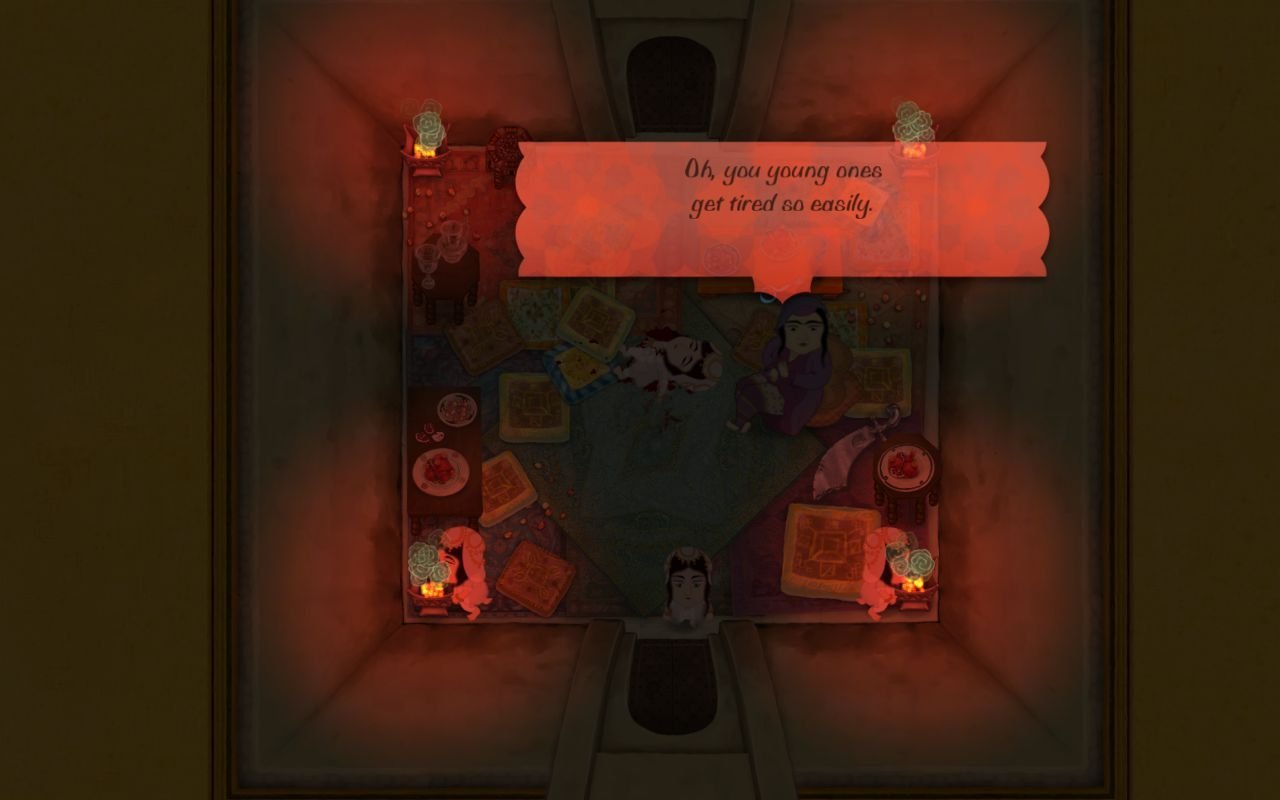
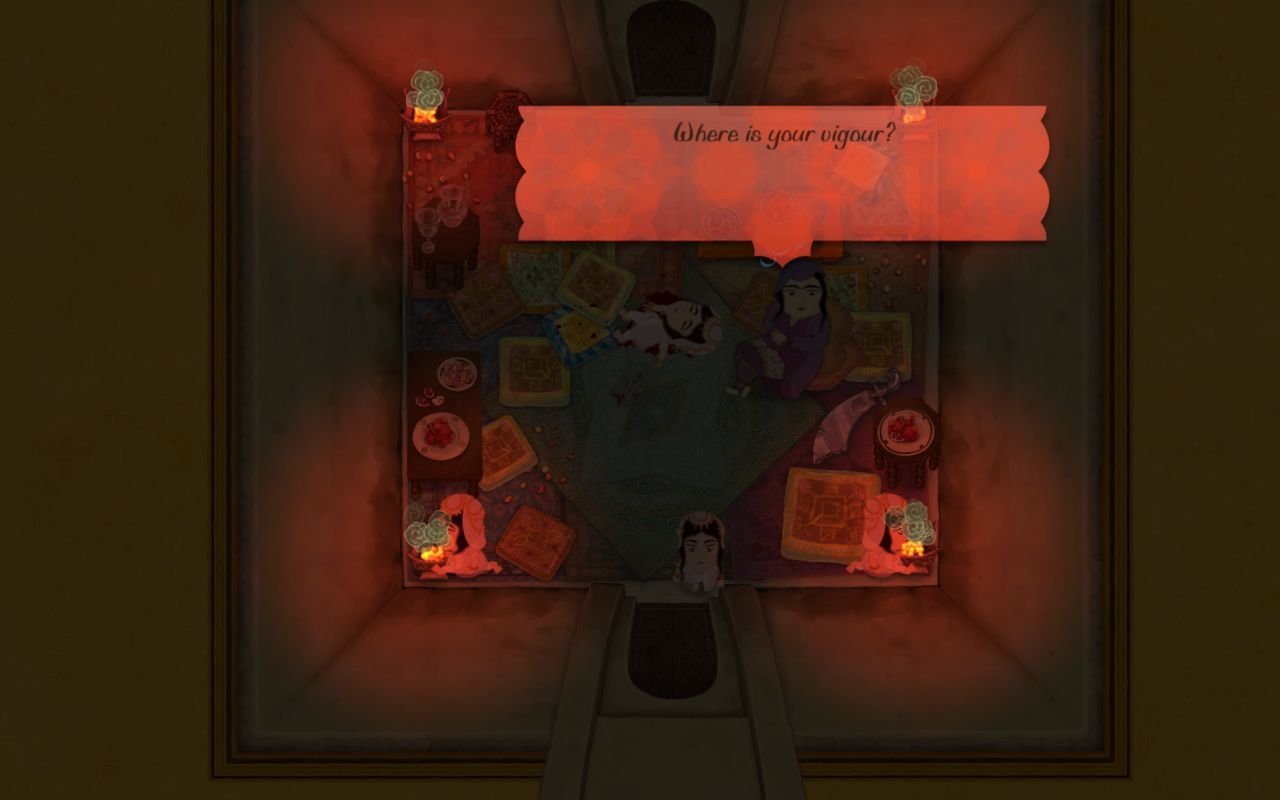
The second target is dead, we have another part of the poison. We can now hold three doses of poison. We are also covered in blood, and the pool in the vestibule turns out to not be enough to clear us. The gate north, to the large flooded patio is, of course, closed. So we're kind of fucked, and have no choice but to go through the south door in the second target's chamber holding a key and covered in blood.
Initially, the room we enter looks like a long corridor, with only one exit. In stealth mode a door to the west shows up.
But wait, we're at the edge of the map, how can there be a room to the west? Guess we have to go through it and find out.
(Sorry for the lack of screenshot demostrating this.)
A WARP zone? Al-Saahir really messes with stuff he shouldn't...
This is the first, and definately not the only, warp zone we'll encounter. This one is guarded by two women. Since we're fully visible, it takes some good reflexes to kill them.
We exit in the western pool room, through a previously locked door. As you can see, entrances to the warp zones are marked in purple on our map.
We have a key, that will open one of the doors in the eastern pool room. However, this is not where we'll be going. The northern pool room does have a door, locked by a seal puzzle on its north wall. We'll leave the key next to it and explore there.
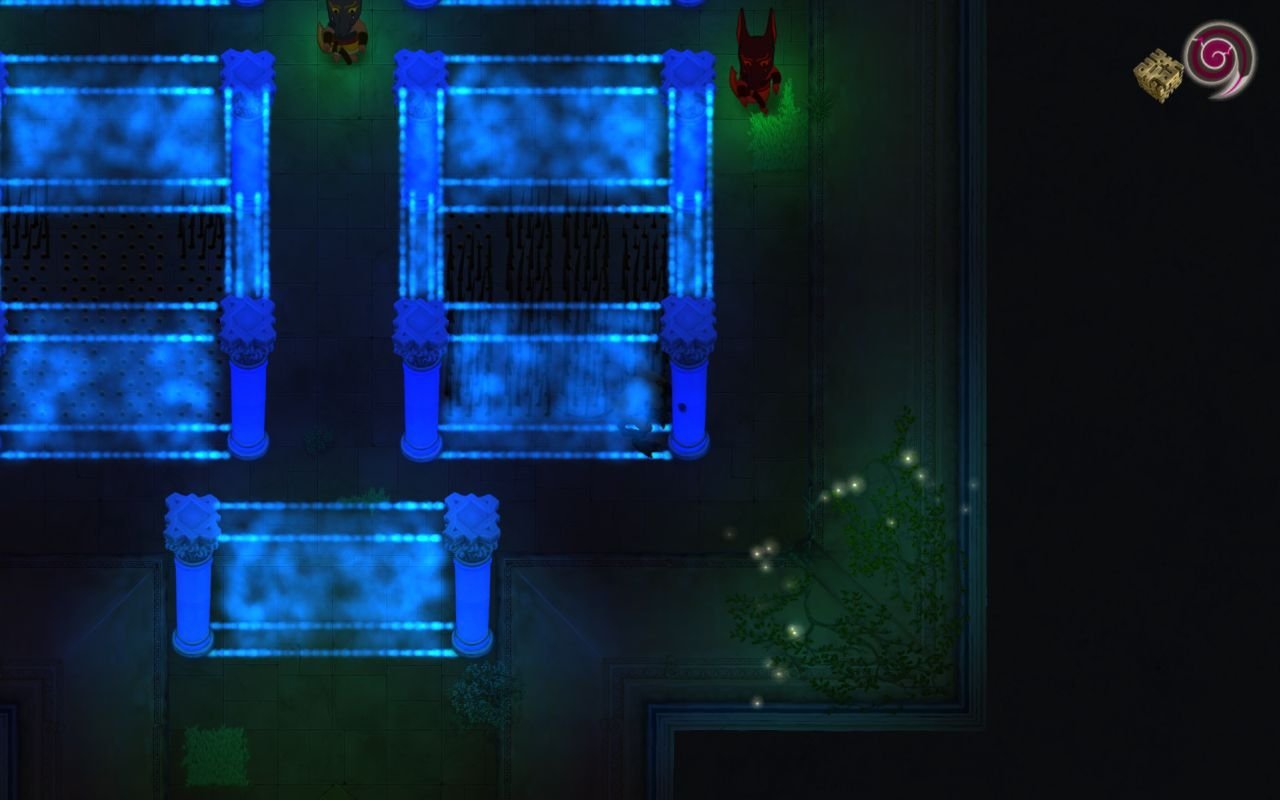
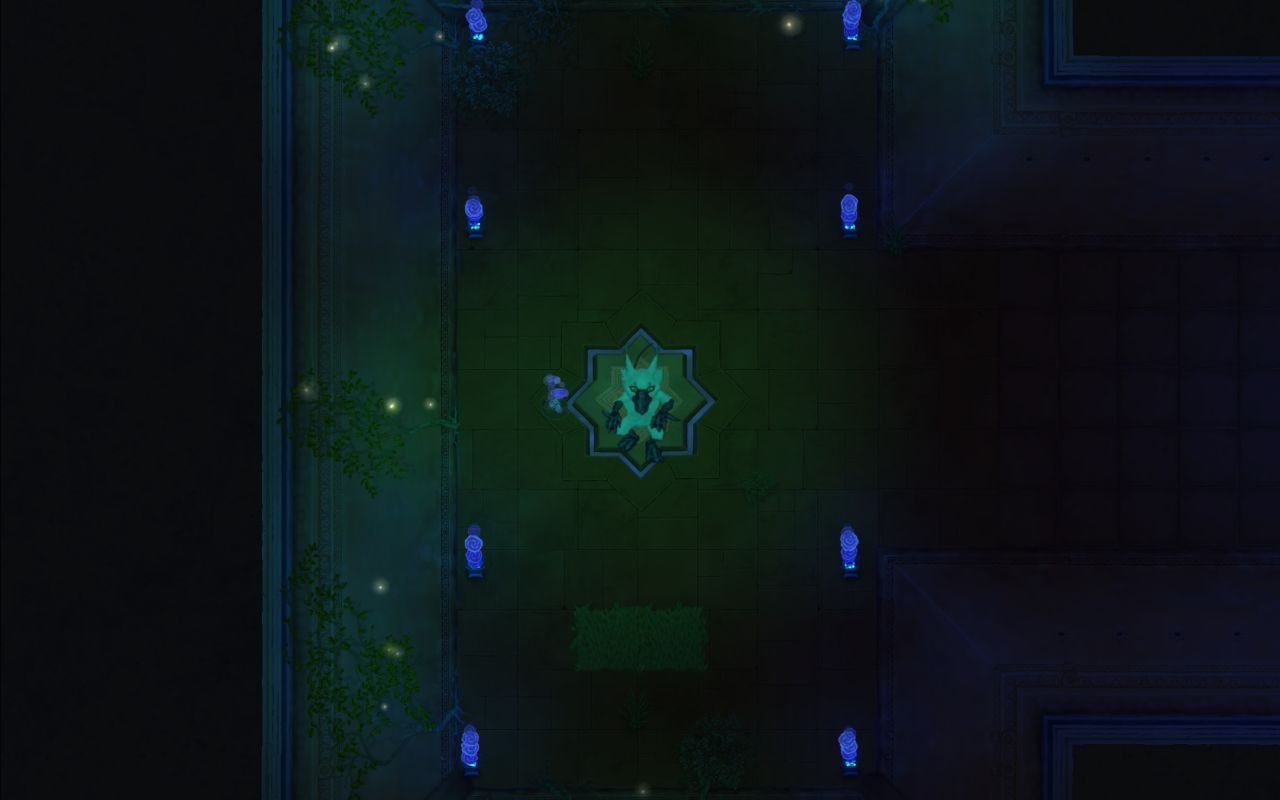
We enter another warp zone... This room does require quick reflexes and a bit of thinking. On the north wall there is a gate, that is opened by the lever you can see on the previous screenshot. This gate is, of course, timed. Between the lever, and a gate is a maze of pressure plates that release deadly bolts from the walls. One misstep and we're dead. So we pull the lever and run north...
The gate shut after we crossed it. The lever controls the spikes, either left or right being raised at one time. We run to the left, down the corridor.
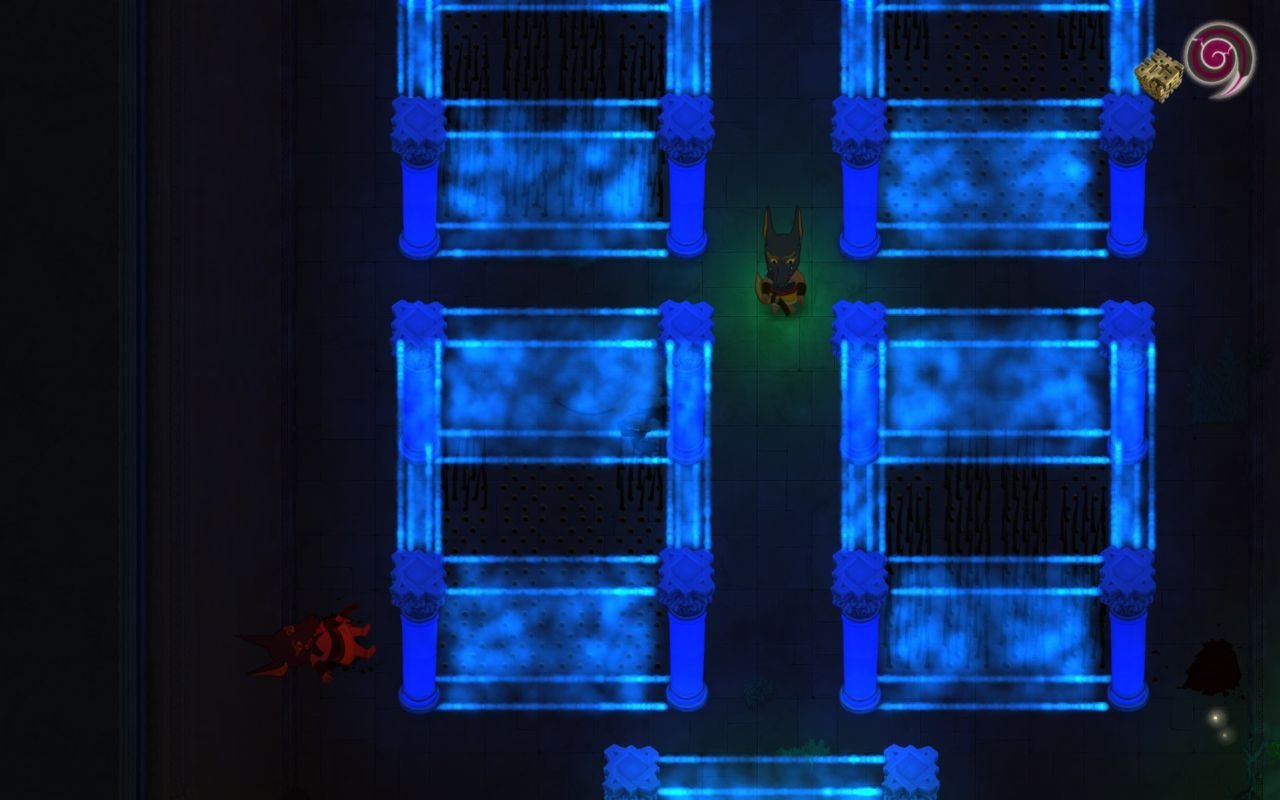
We've opened the south east gate, but there are still spikes blocking our way to the east. To lower them we need to pull the timed lever, go back through the corridor and pull the lever there and exit through the timed gate.
After some more lever play, the spikes blocking door to the north are lowered.
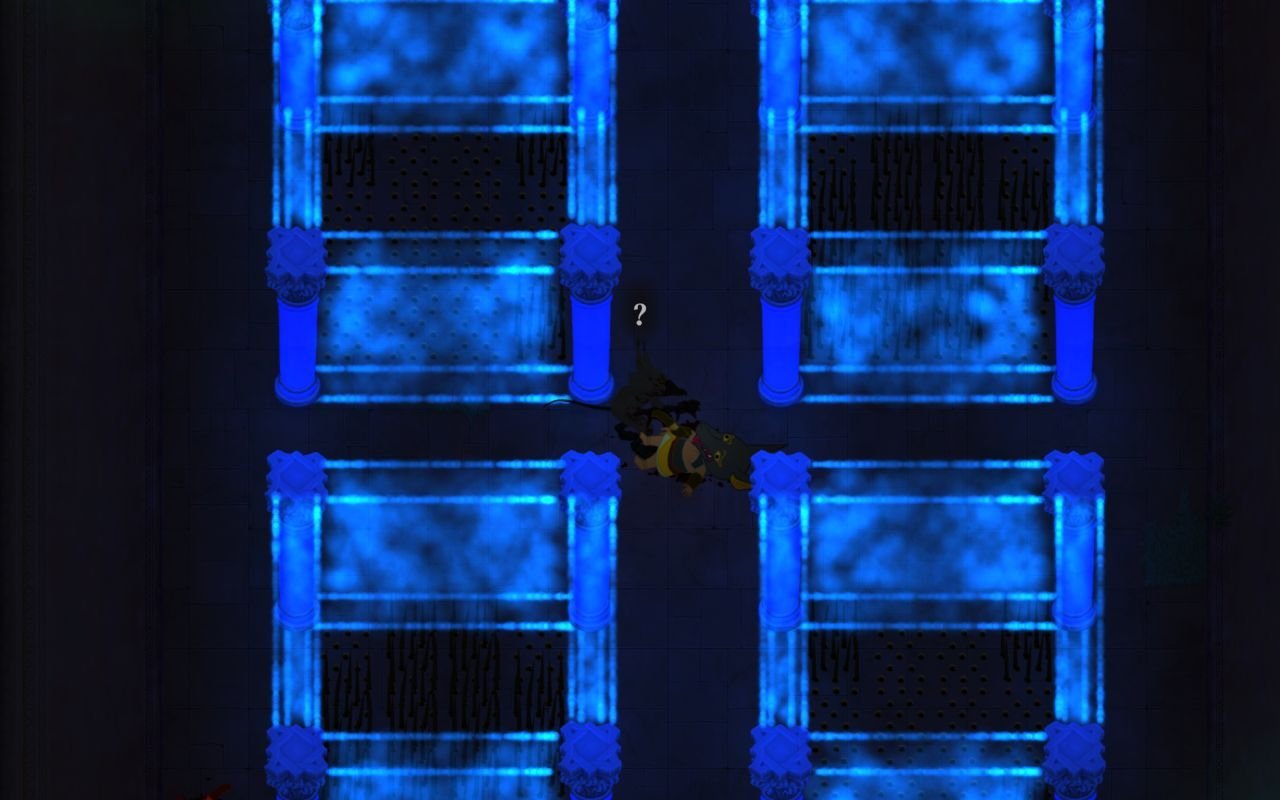
Surprisingly, we exit in the south eastern part of the castle. Evidently, orientation and location of the door in warp zones has nothing to do in regards to where they lead in the castle proper.
A gate on the eastern wall of the four pool room is now open.
We enter a long corridor, full of traps. There are floor spikes and pressure plates releasing darts from the walls. Nothing we can't handle. In the blind corridor we find Hematite. Don't know what it's for, but we take it anyway, and then go through the western door.
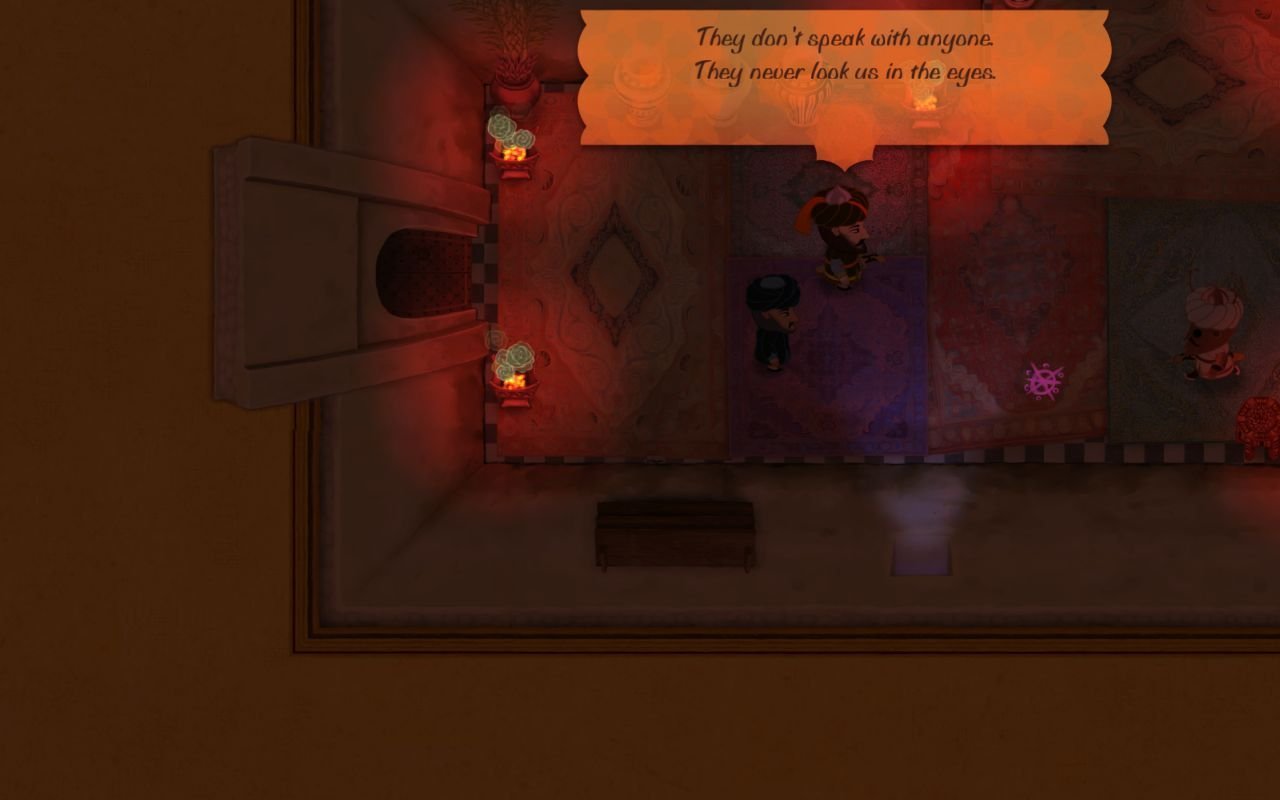
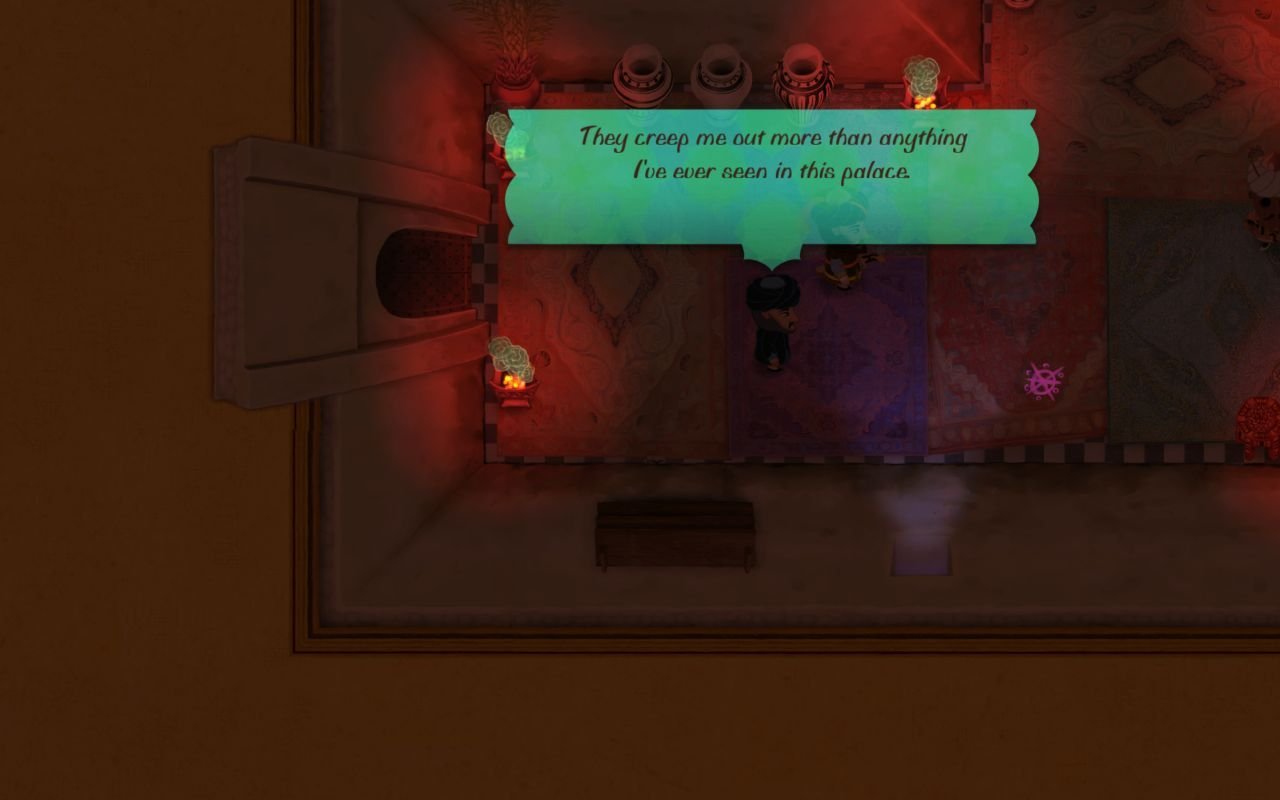
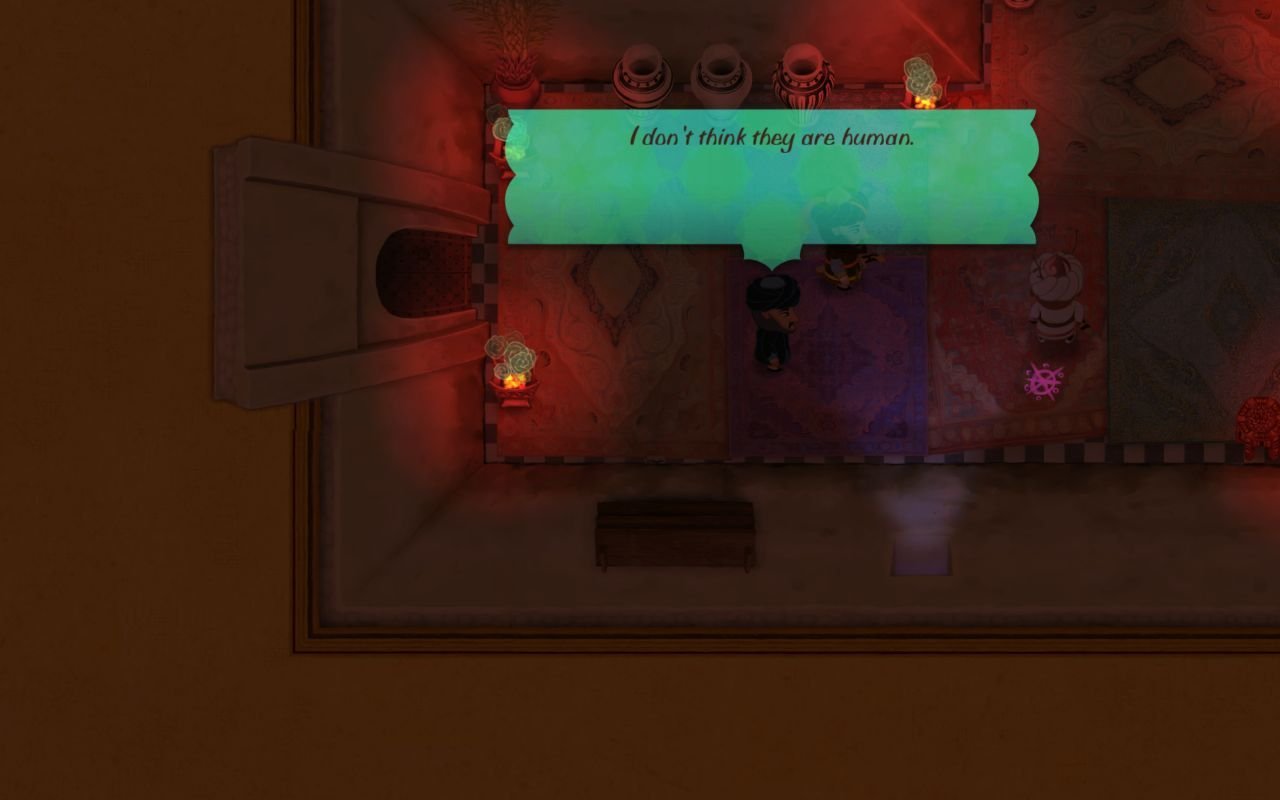
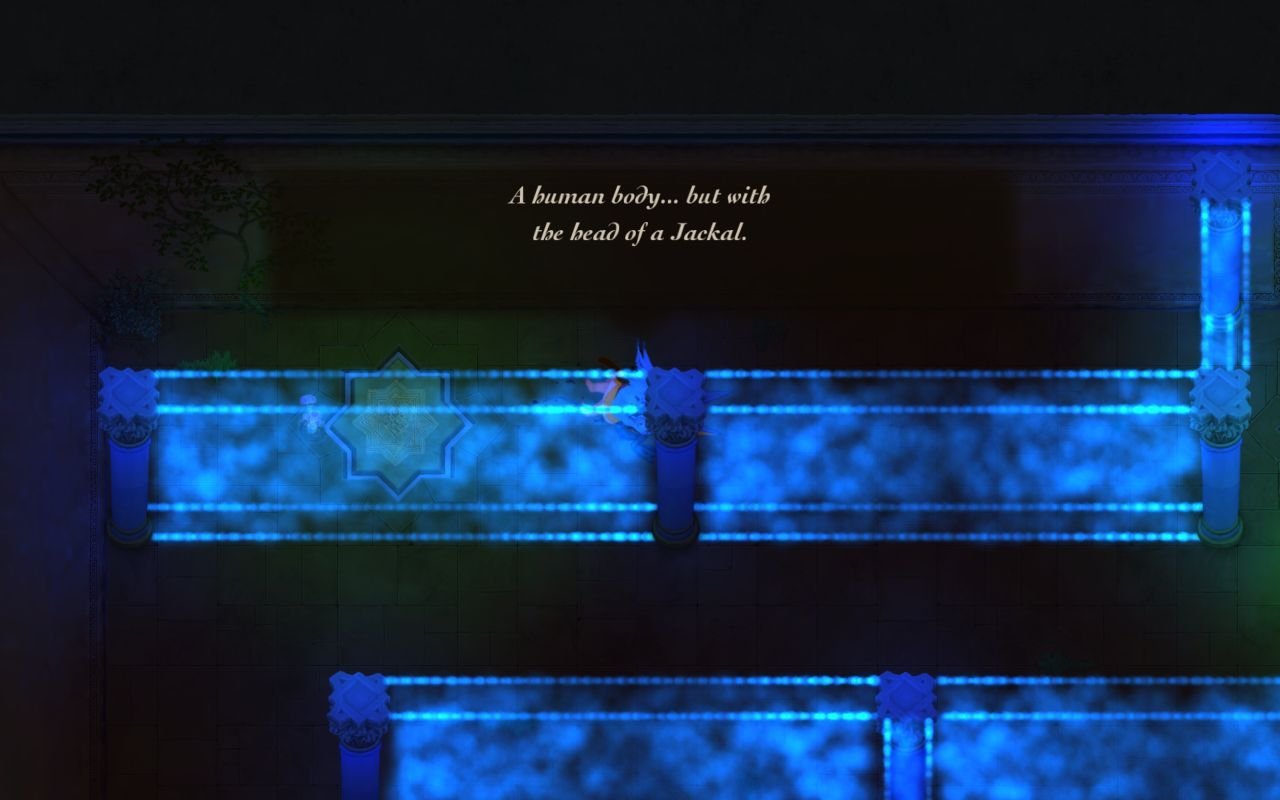
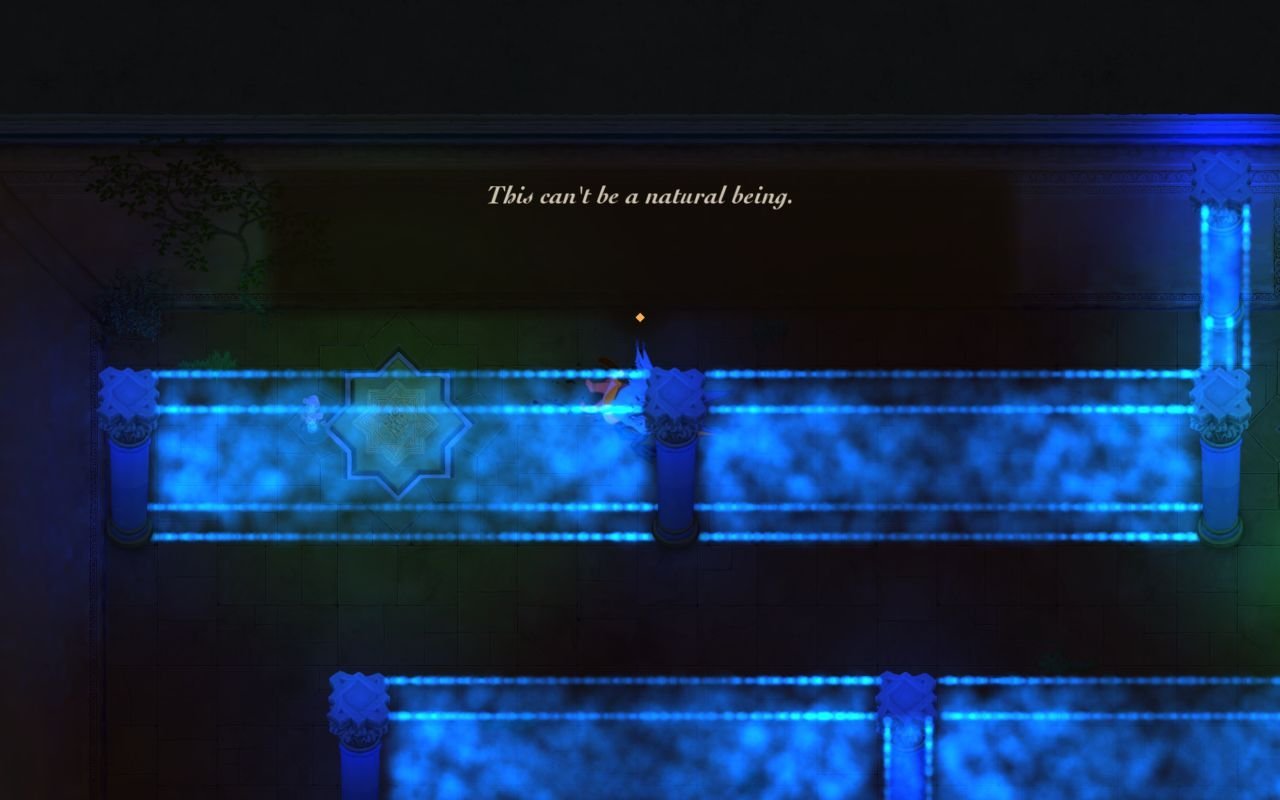
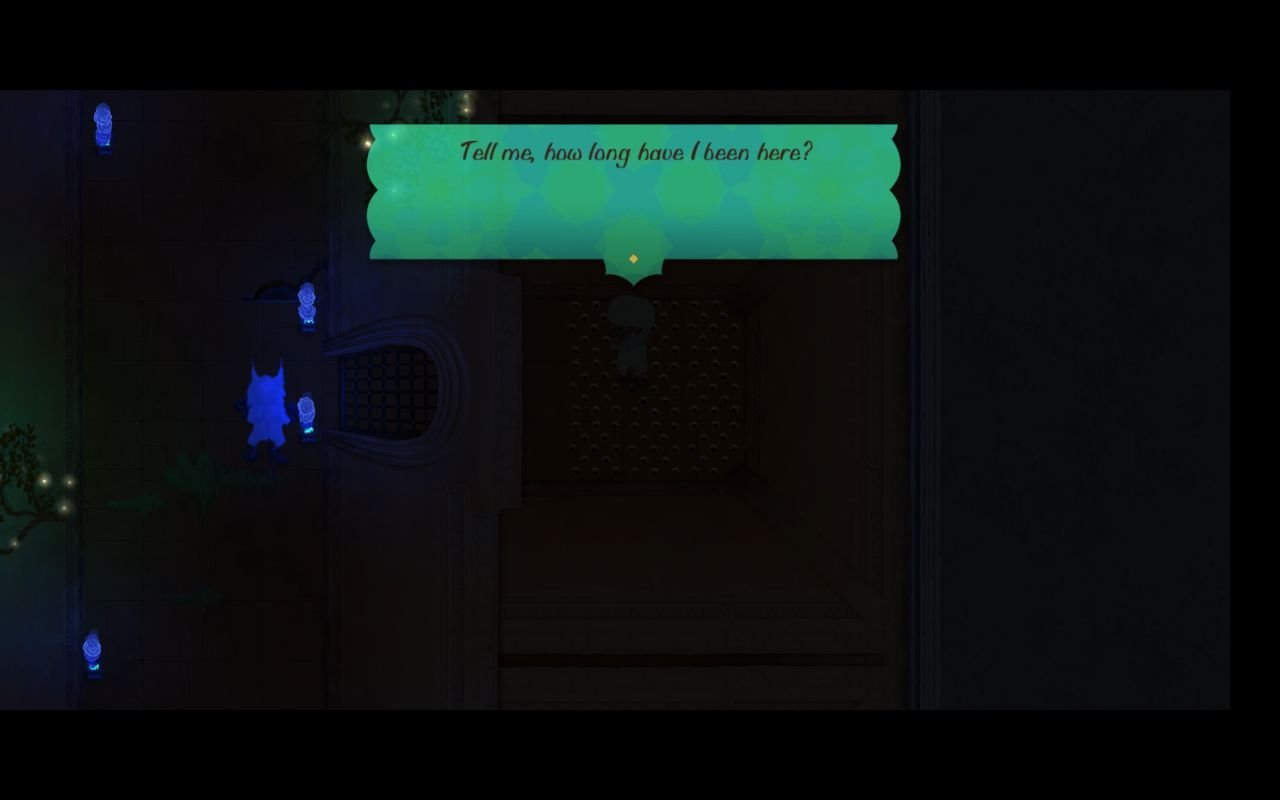
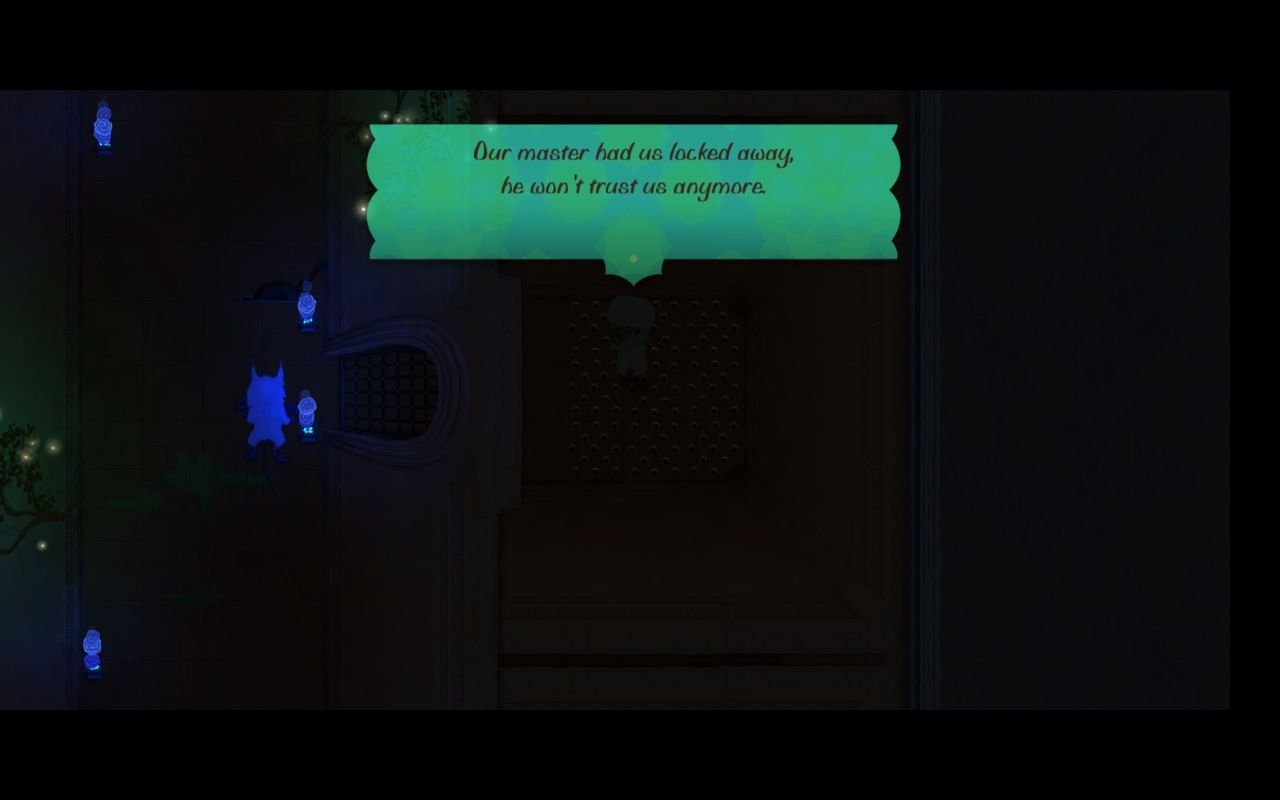
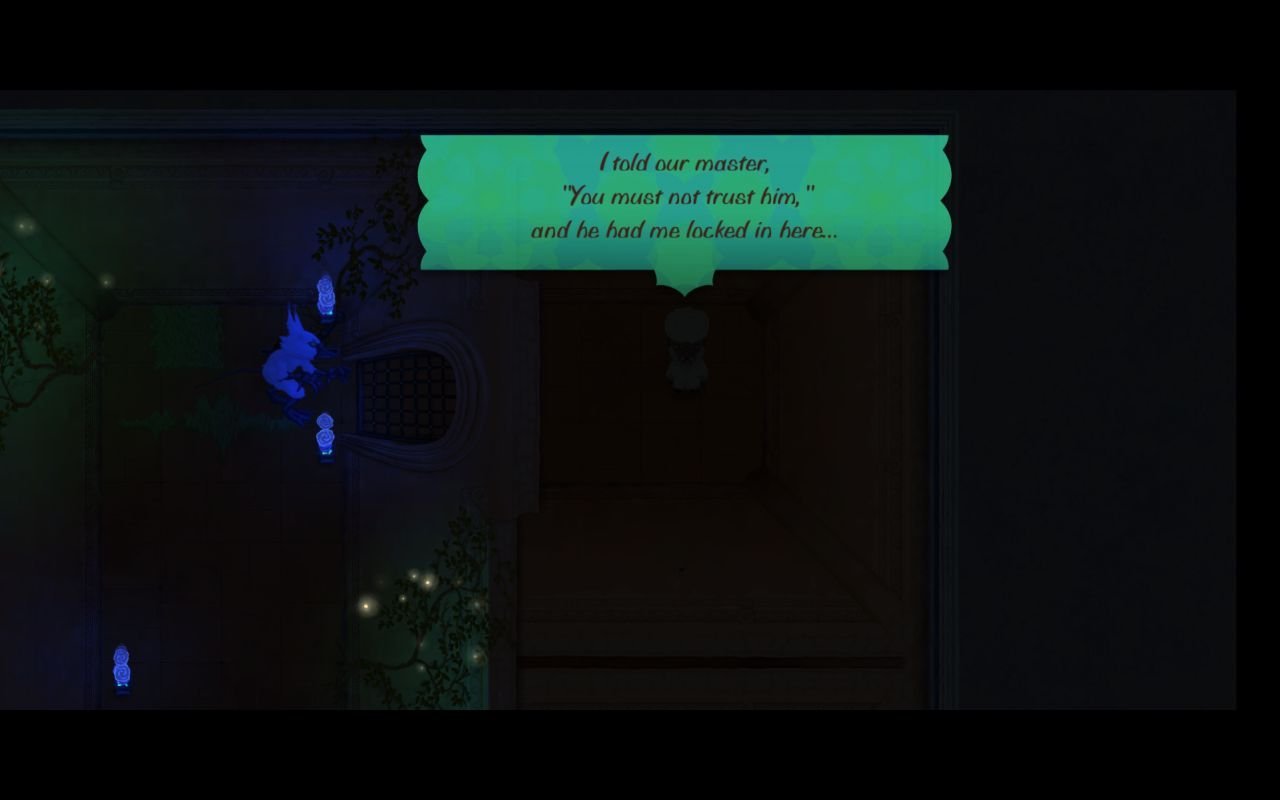
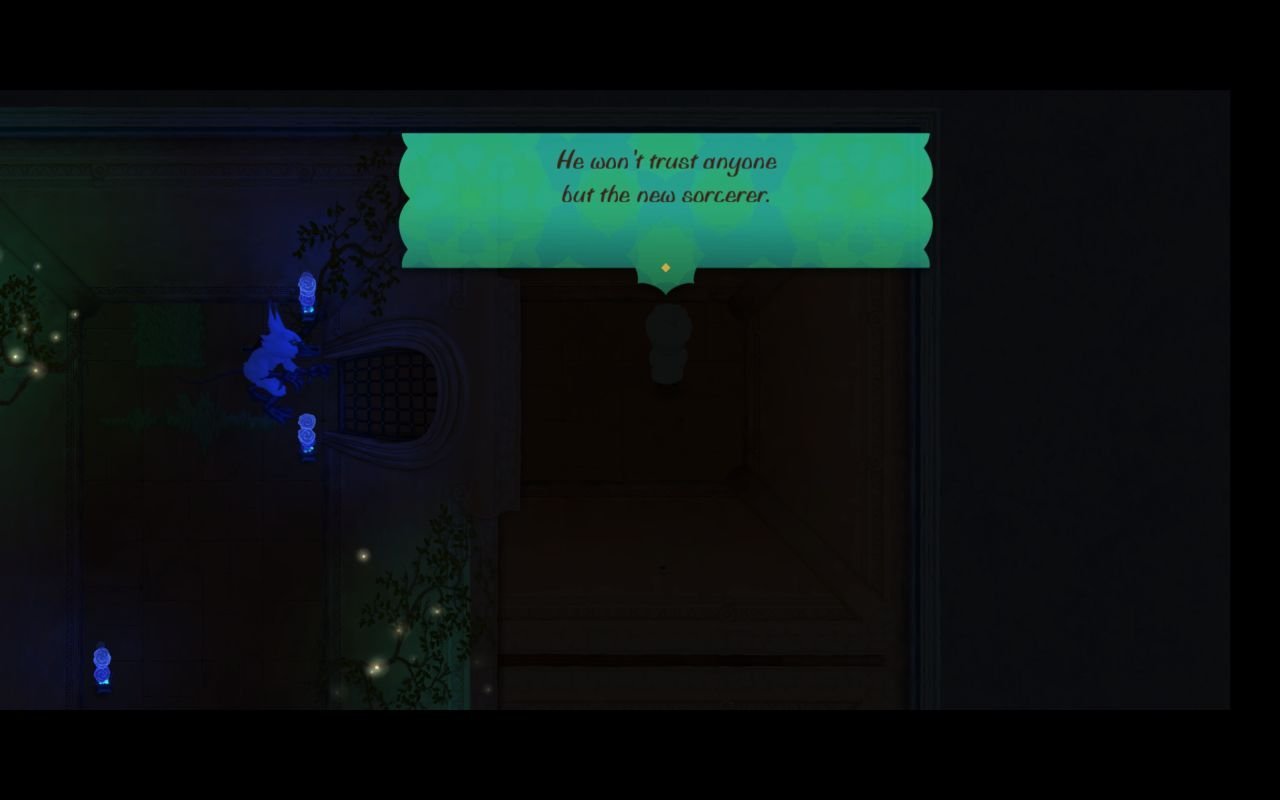
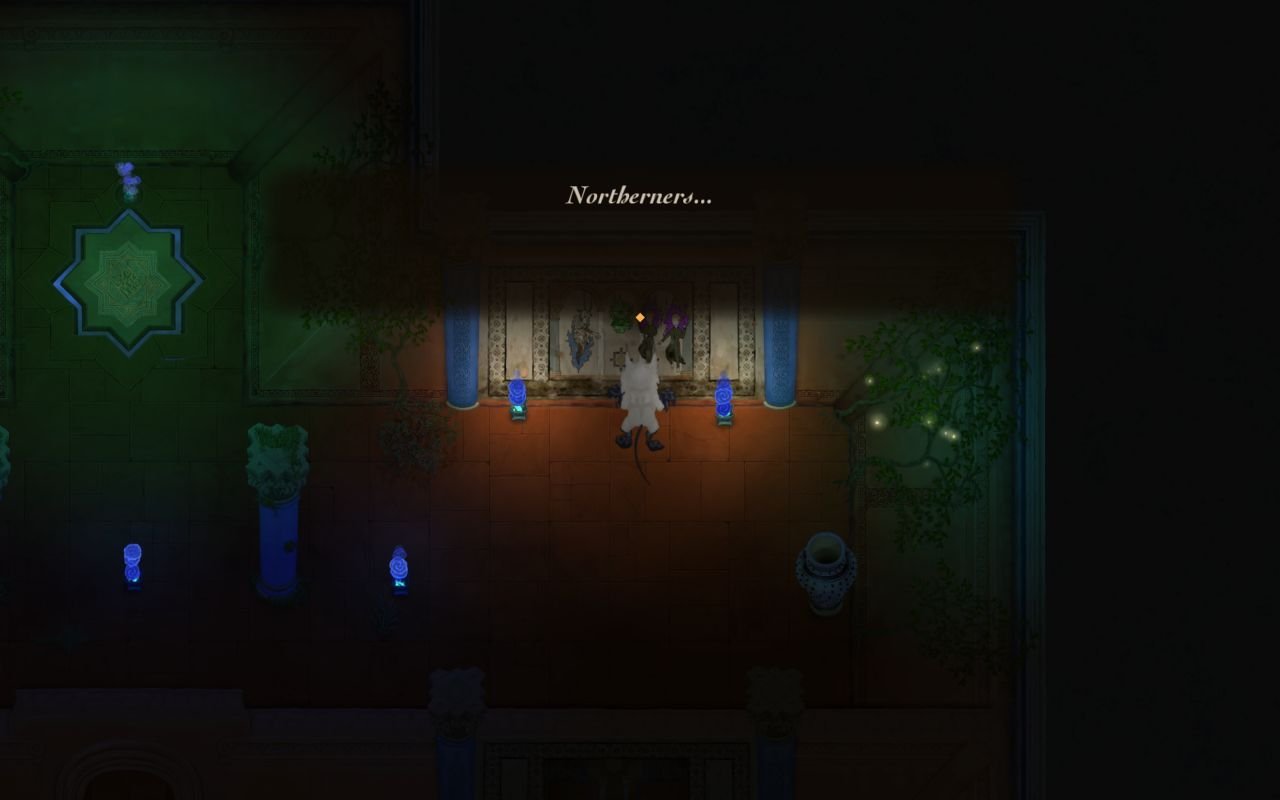
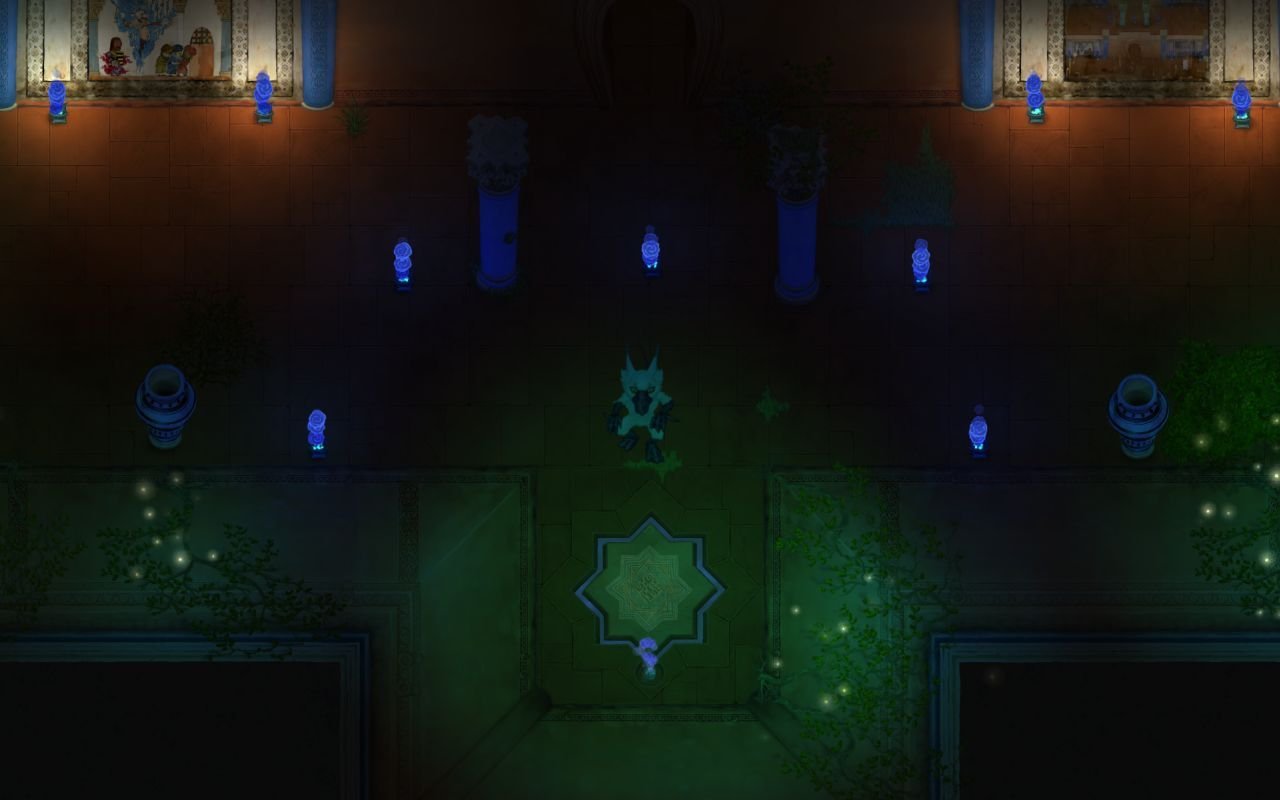
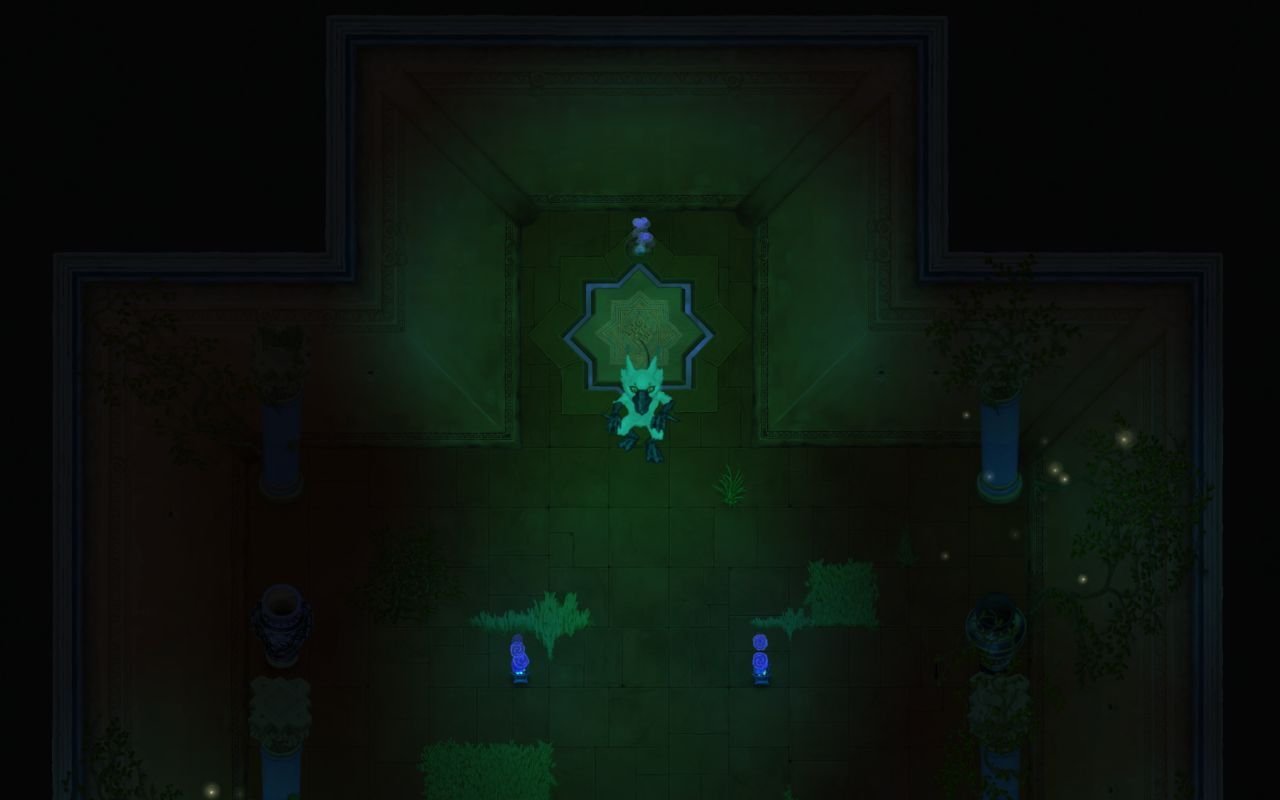
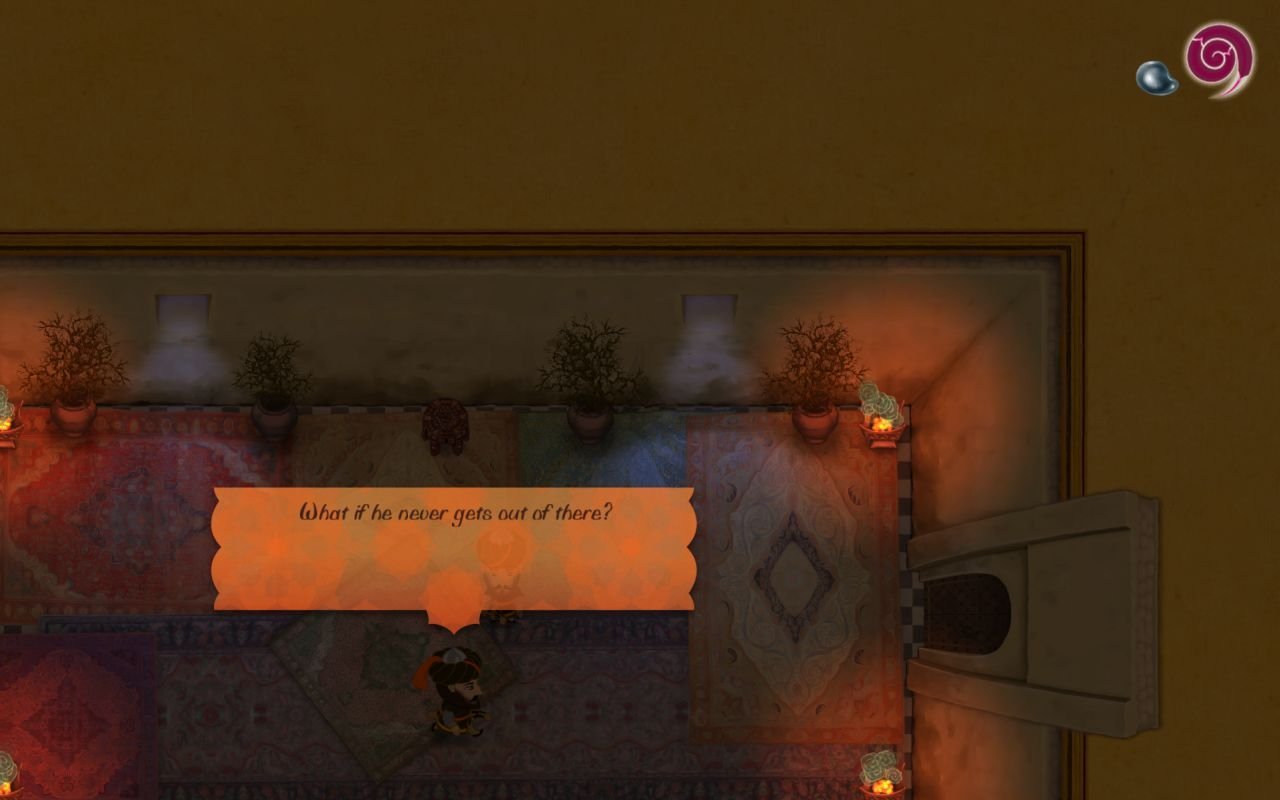
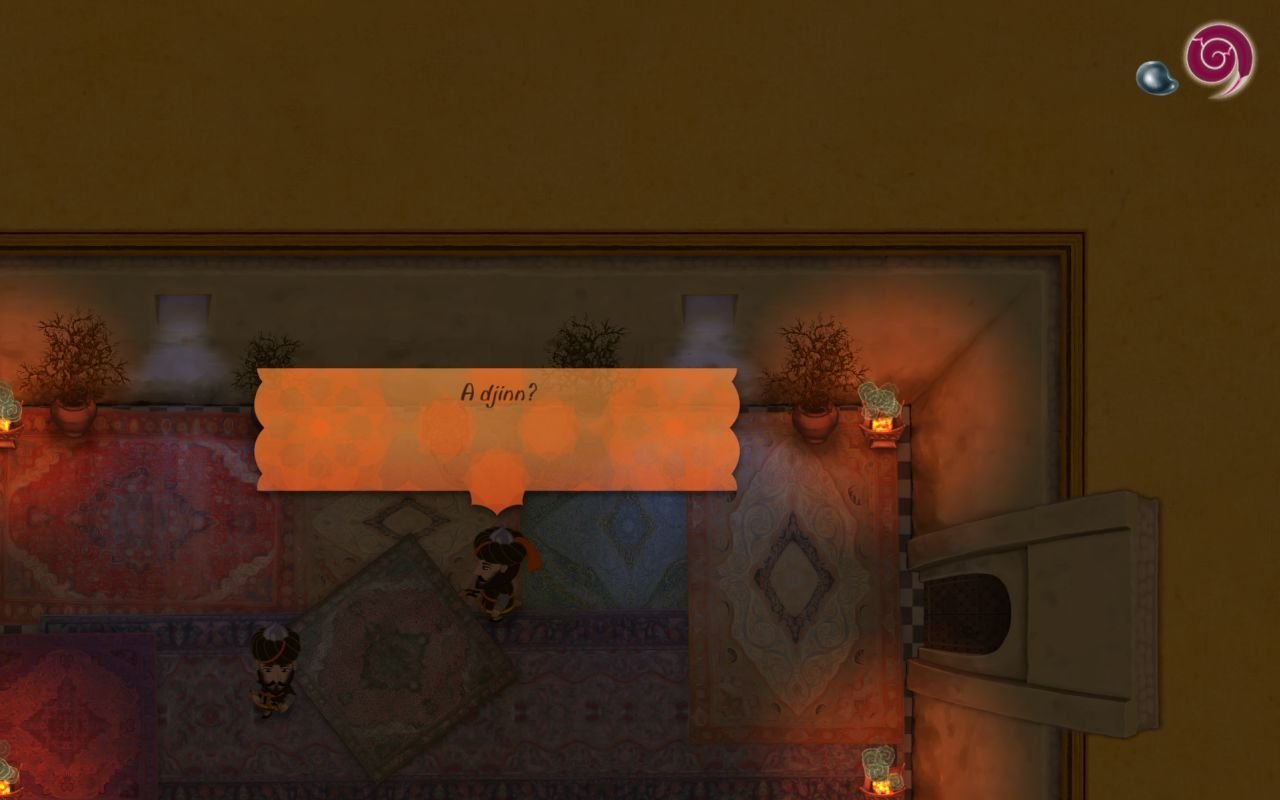
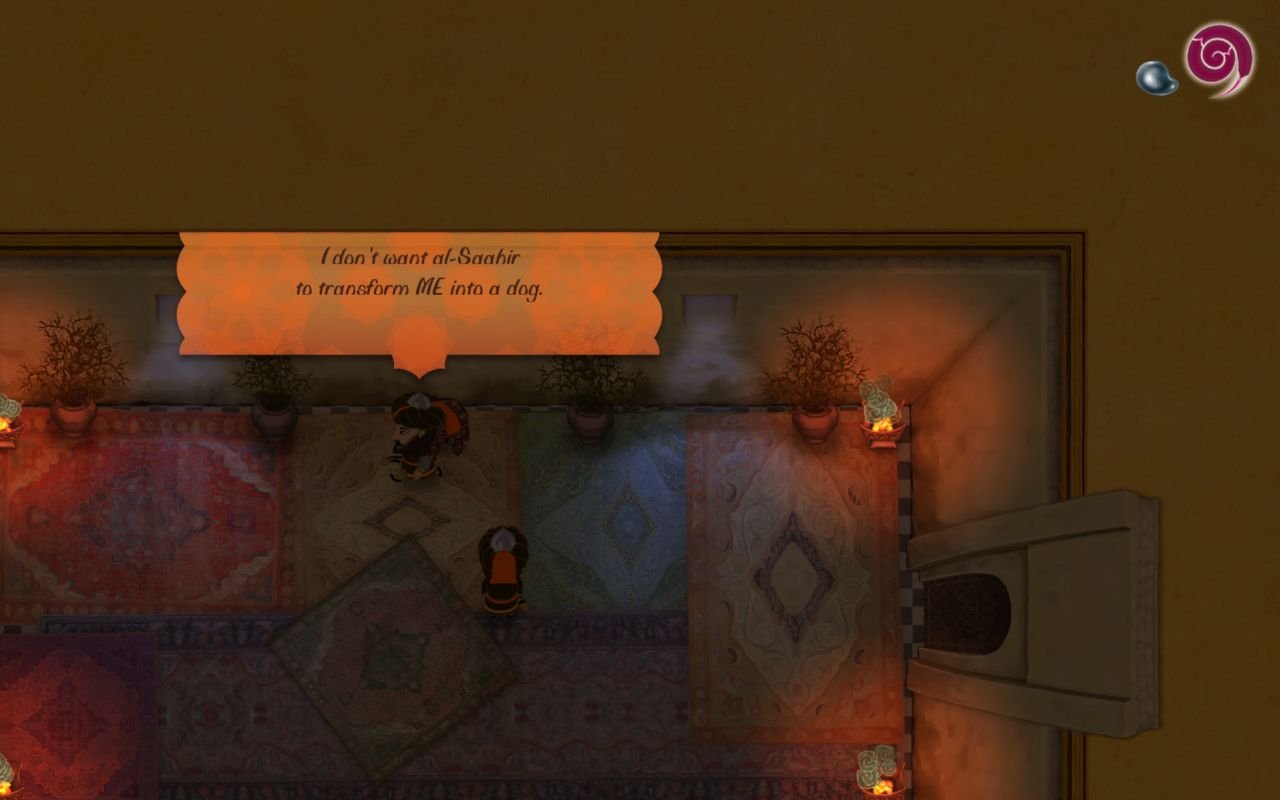
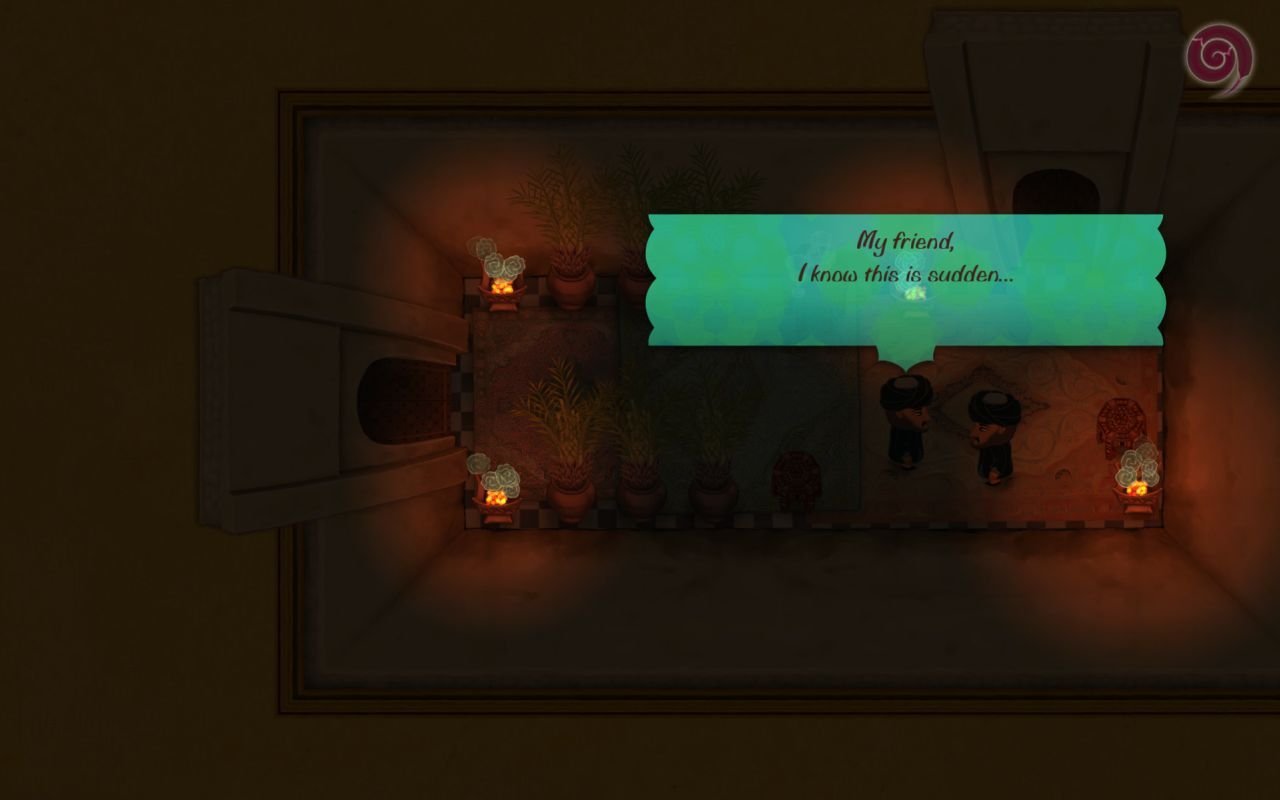
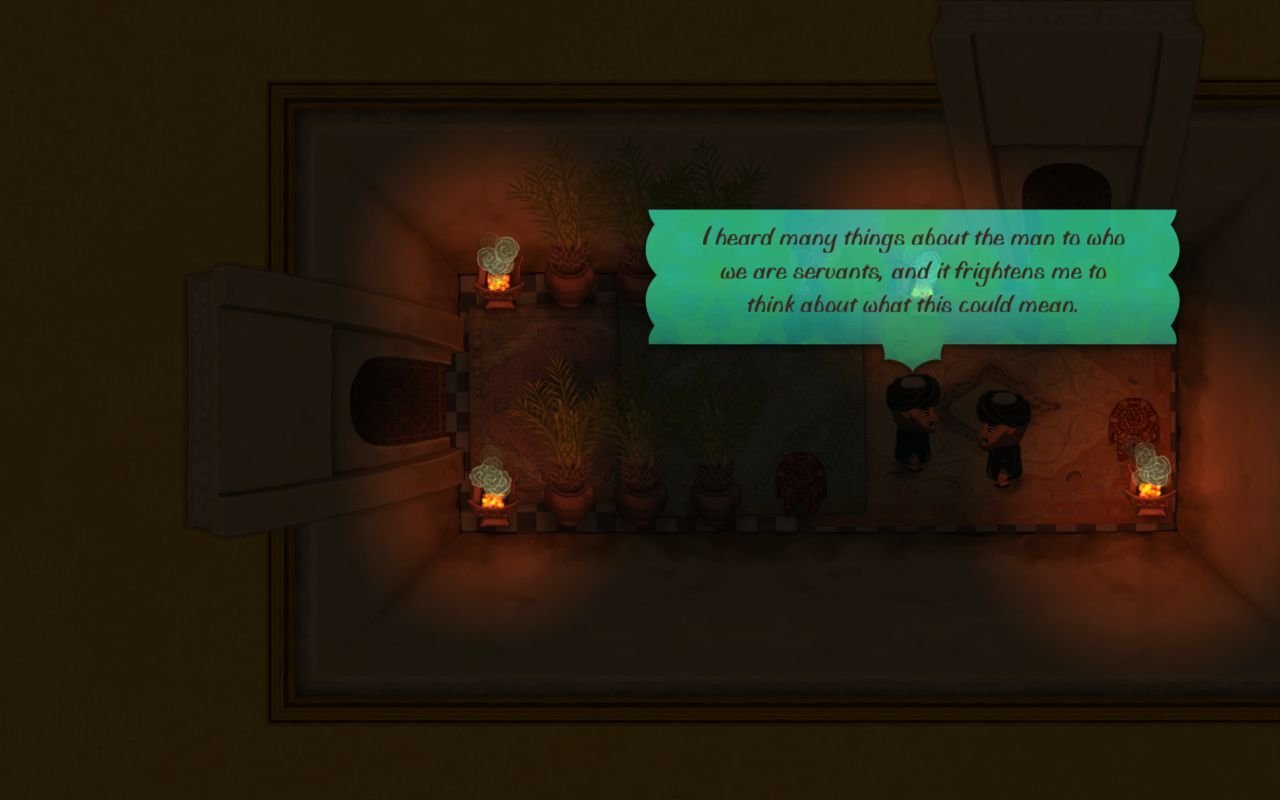
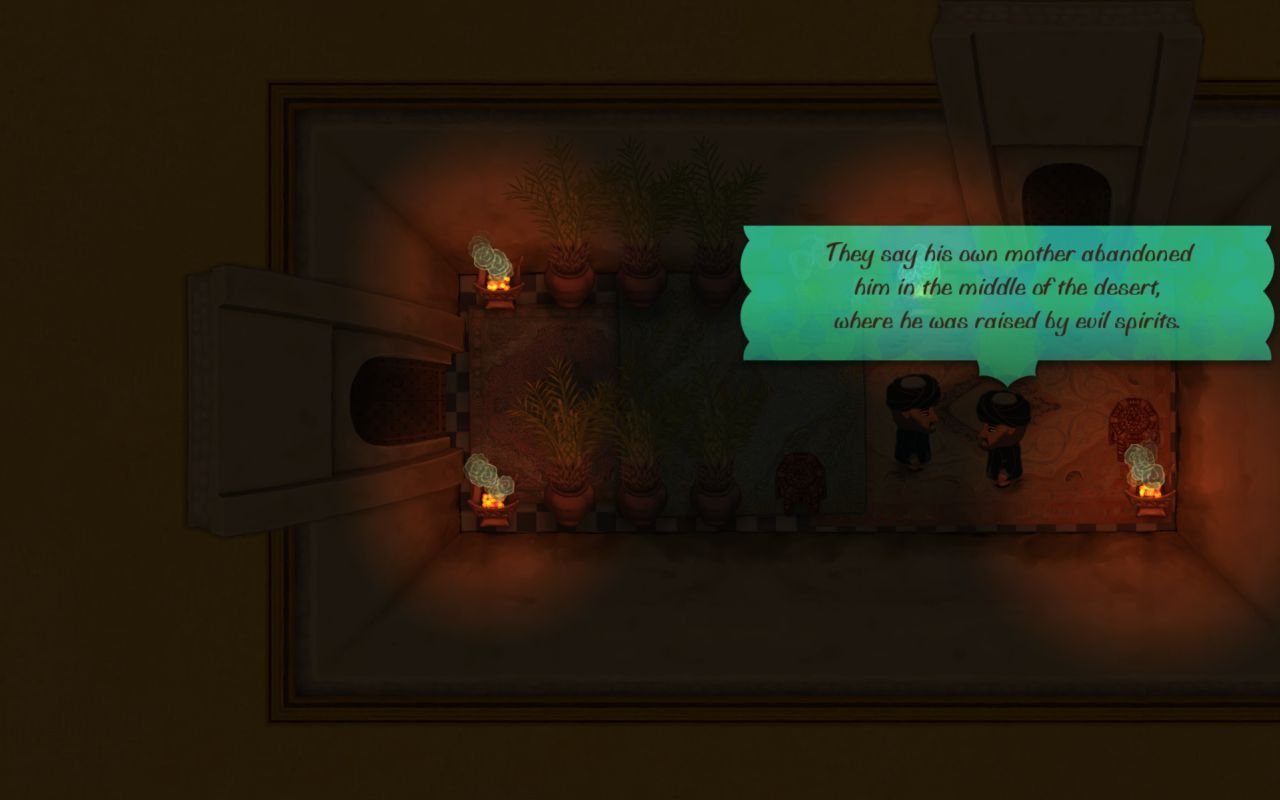
Al-Saahir doesn't like djinns. I wonder if it has something to do with the fact that a djinn was the previous owner of the palace?
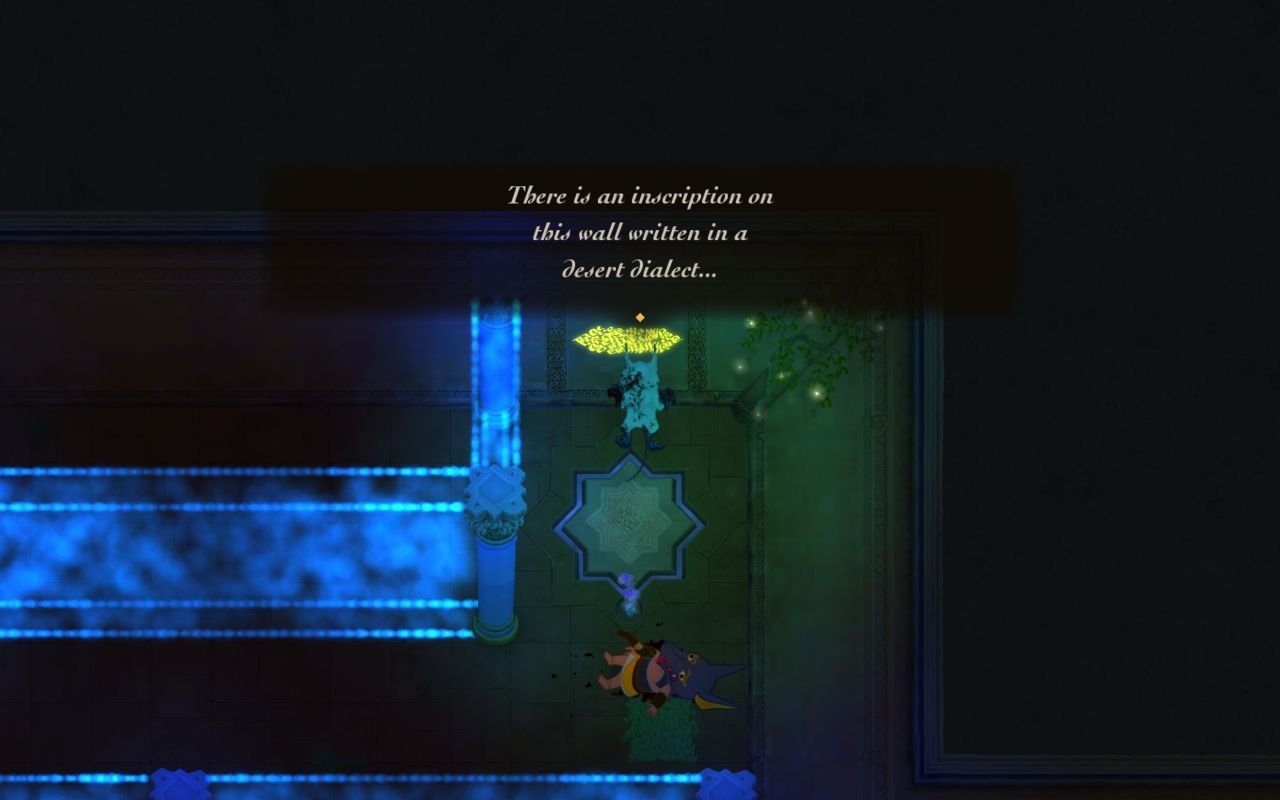
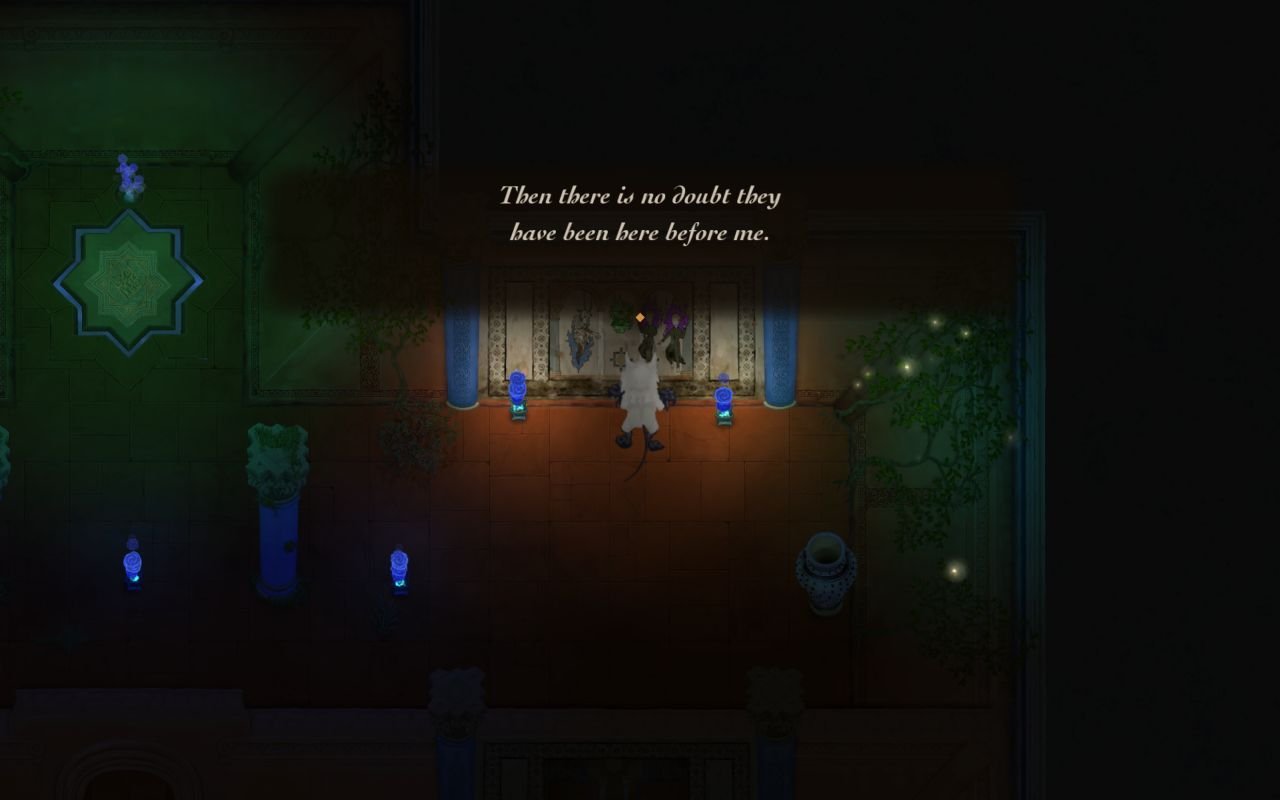
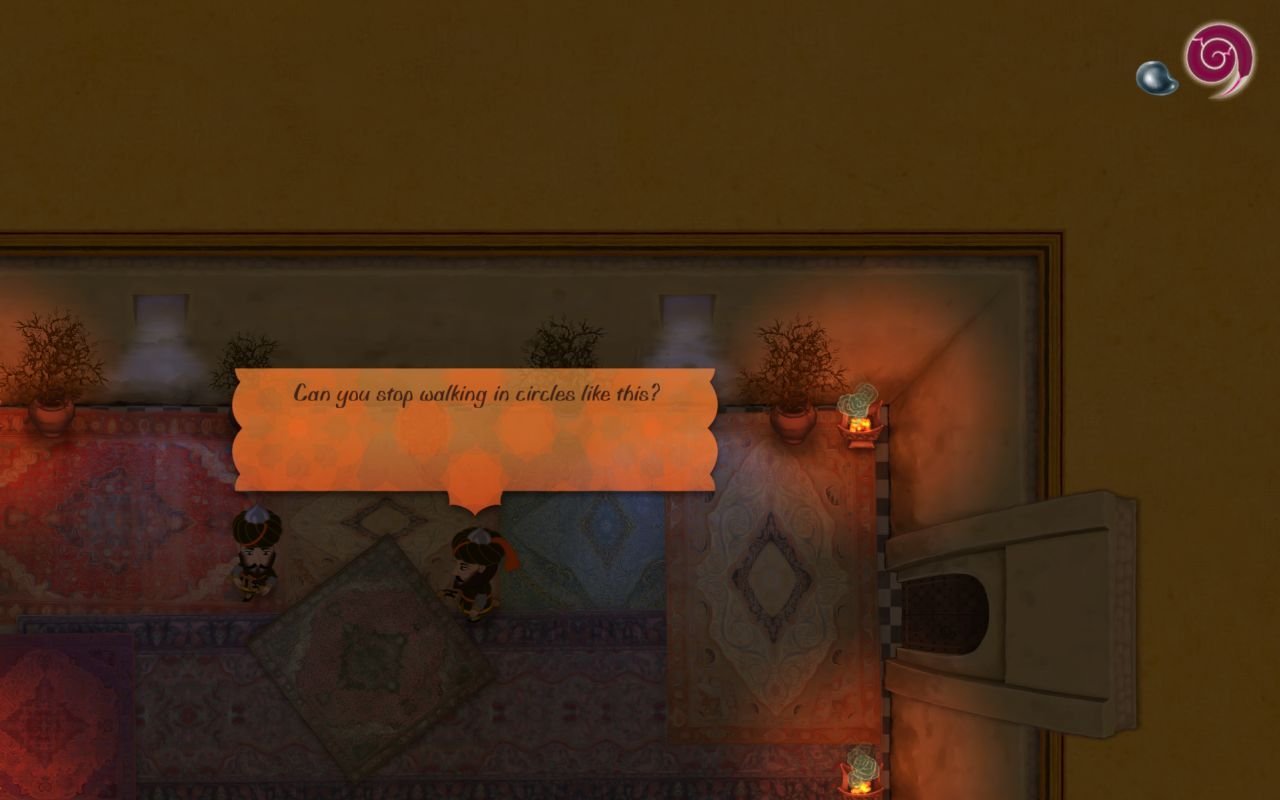
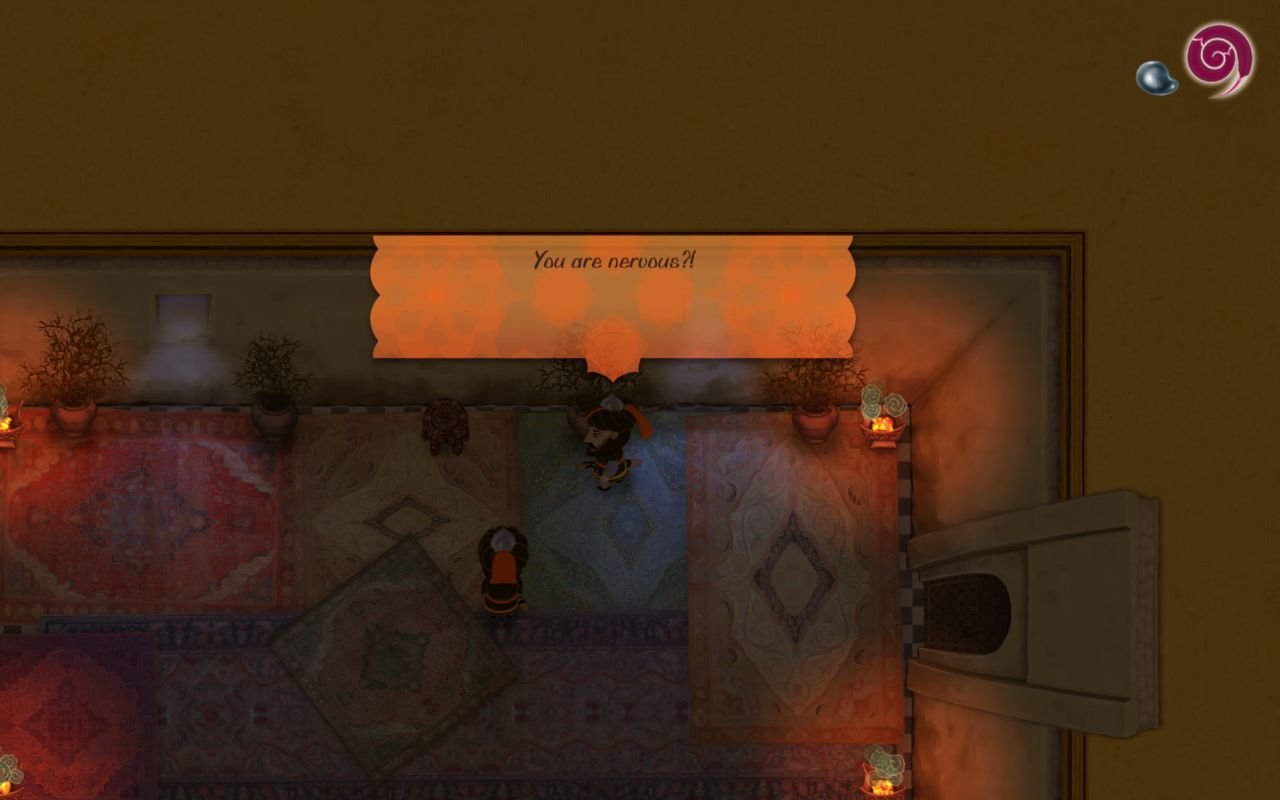
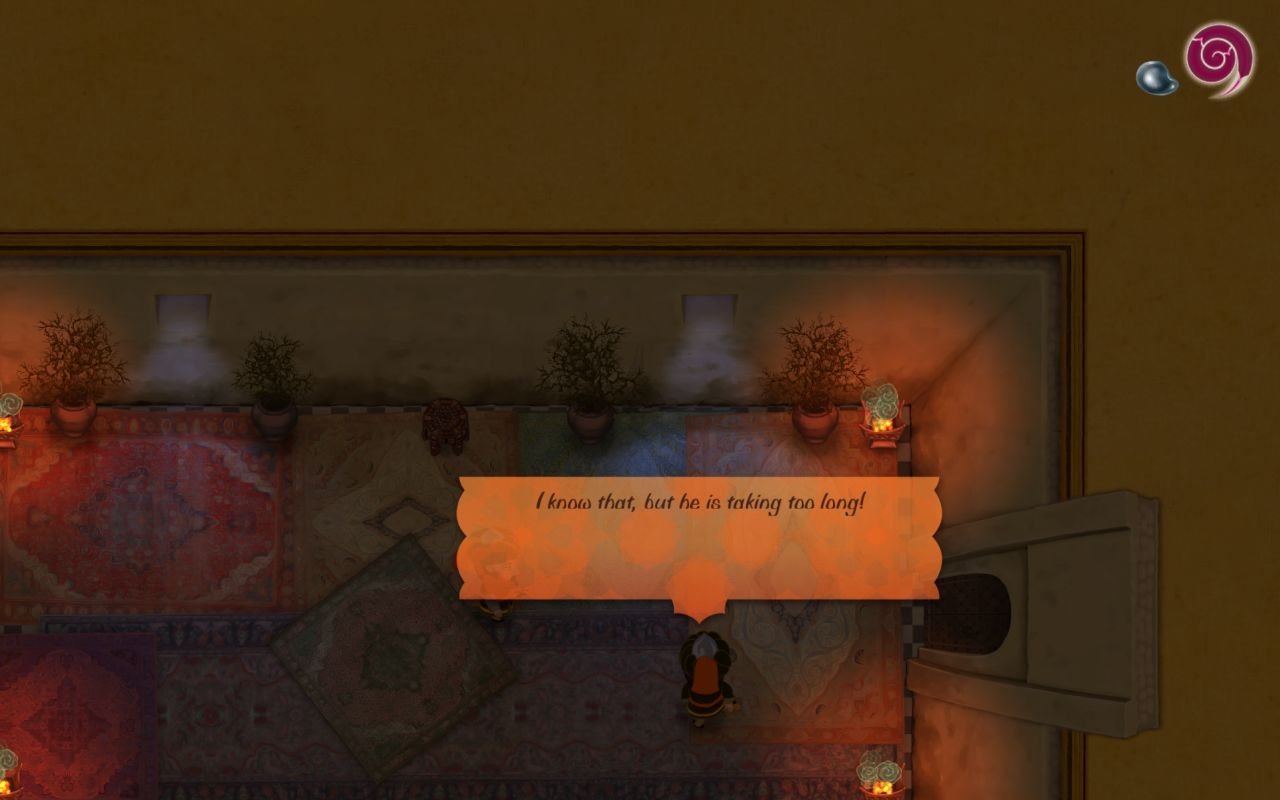
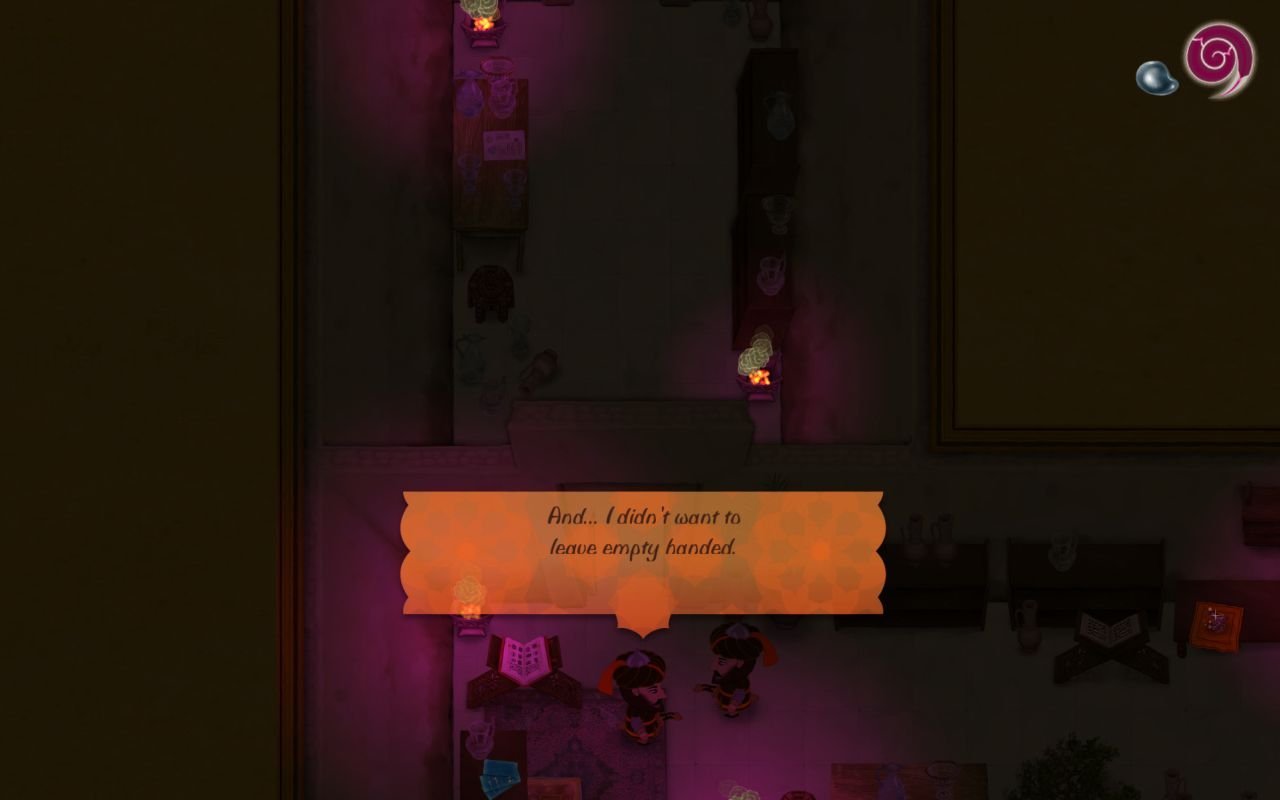
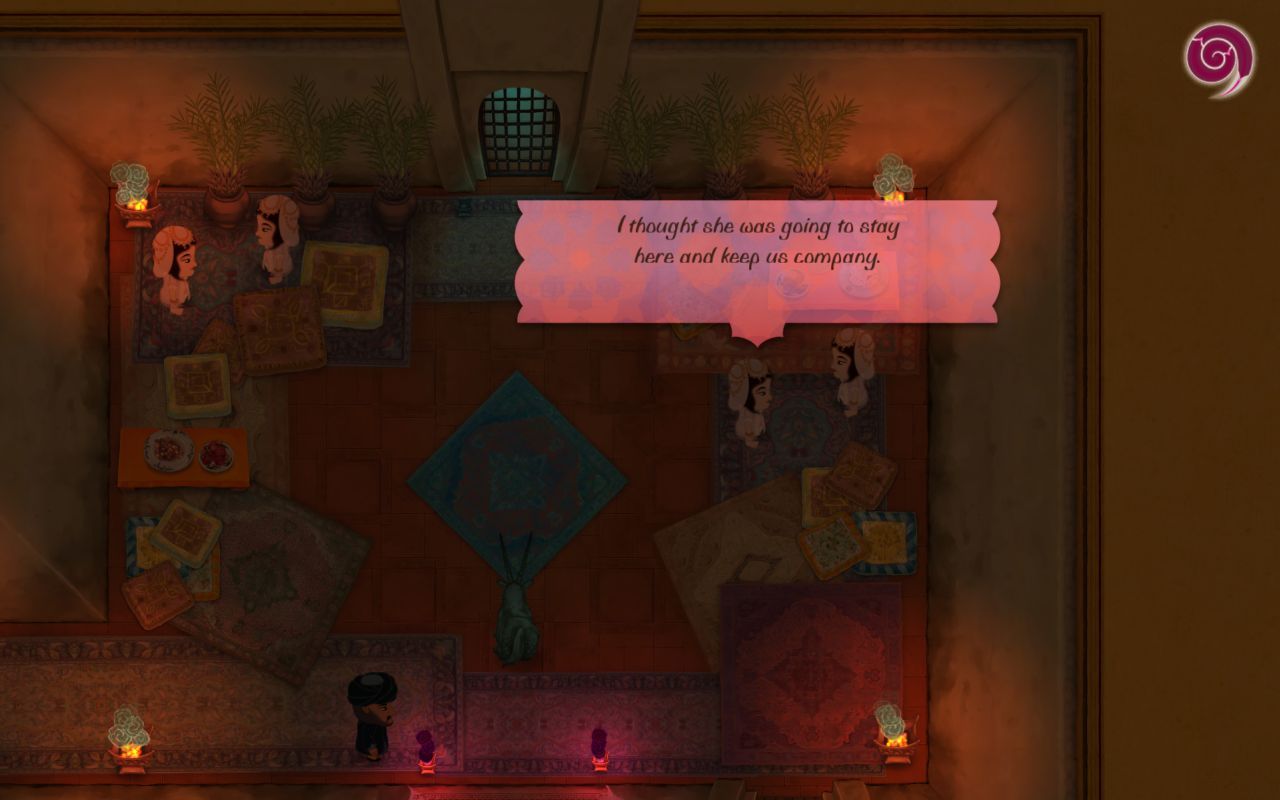
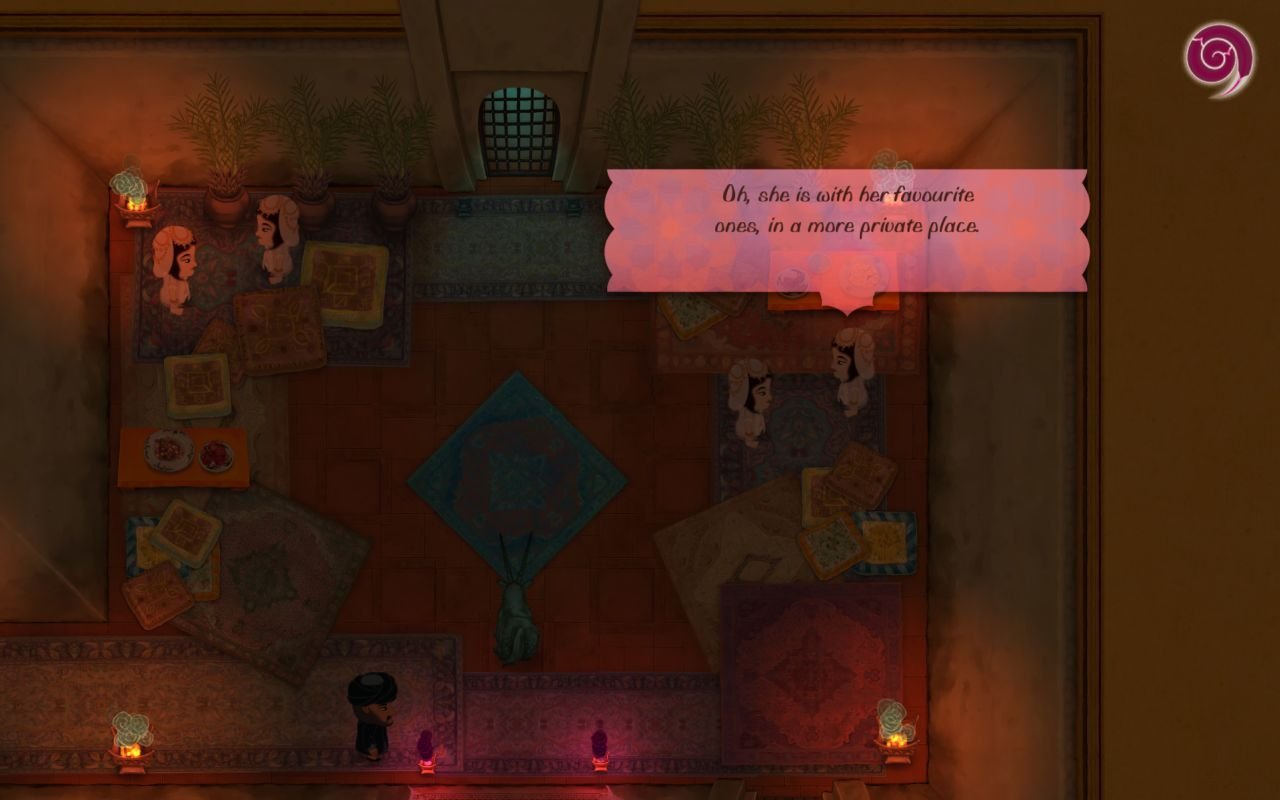
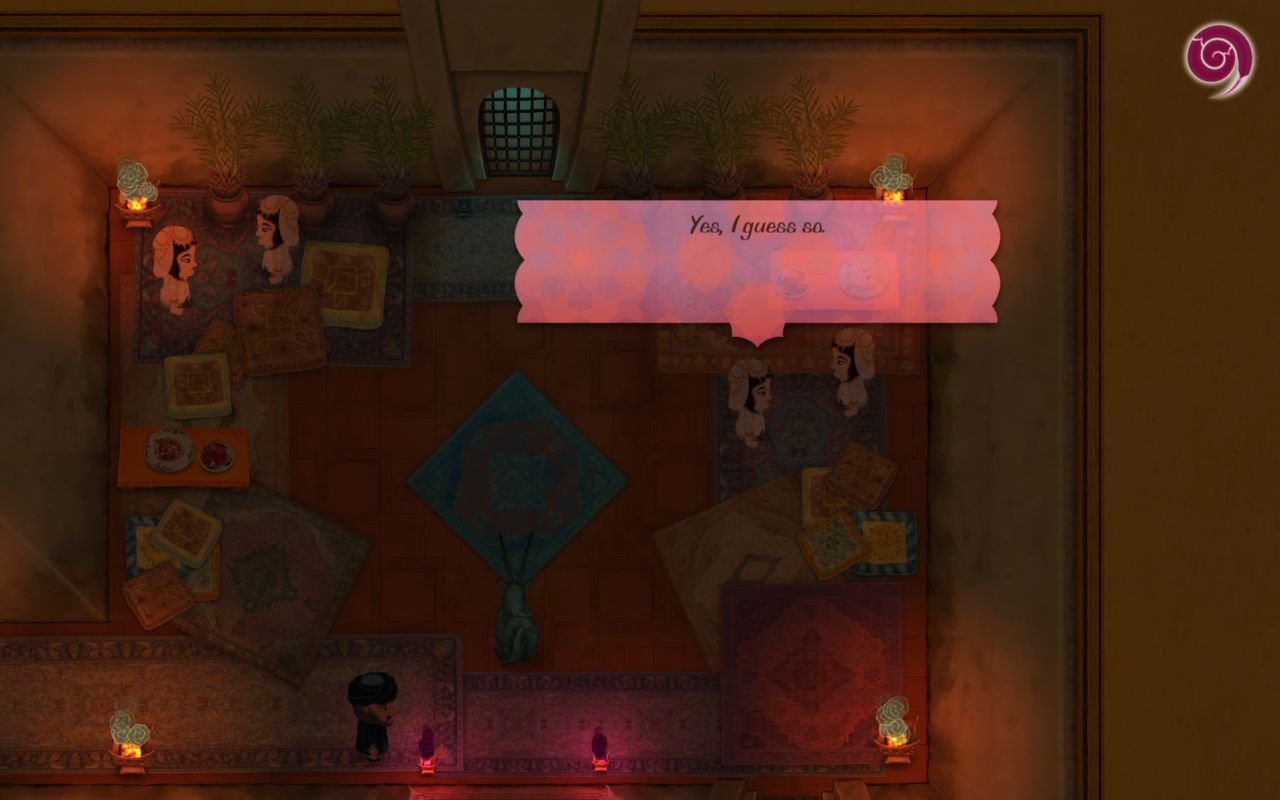
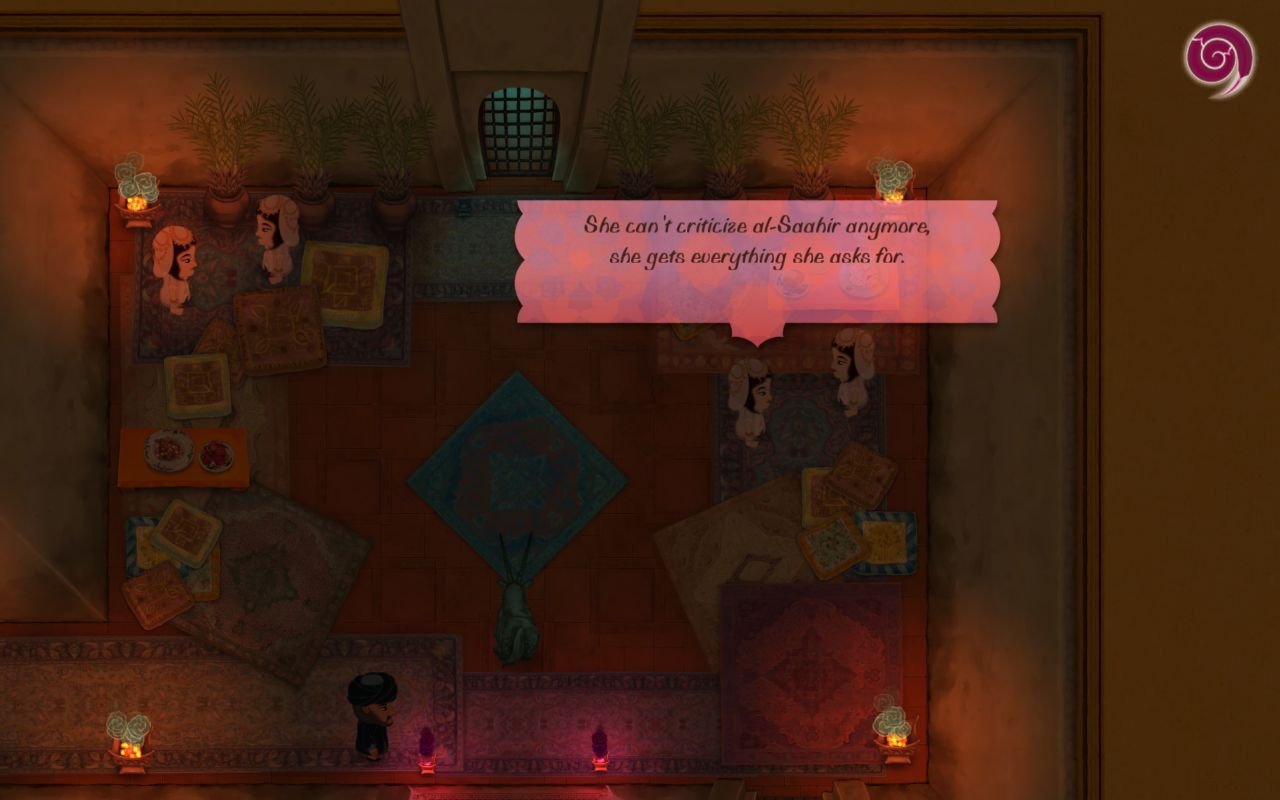
Those guys seem pretty nervous. Let's follow them to the south and see what they're up to.
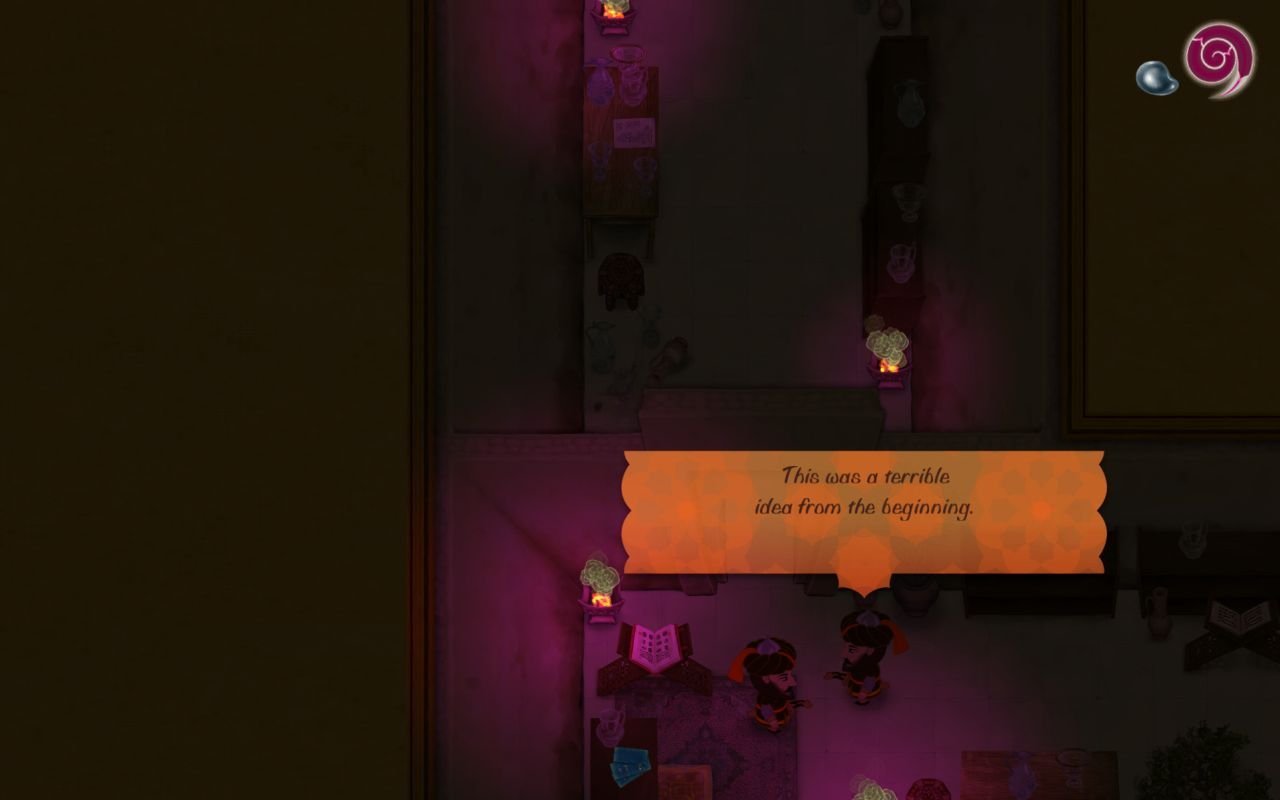
Hmmm, seems al-Saahir is not beyond fucking up. This must have happened quite a long time ago, given that those notes are dusty.
That's right kids, messing with alchemy and magic you don't understand is a bad idea.
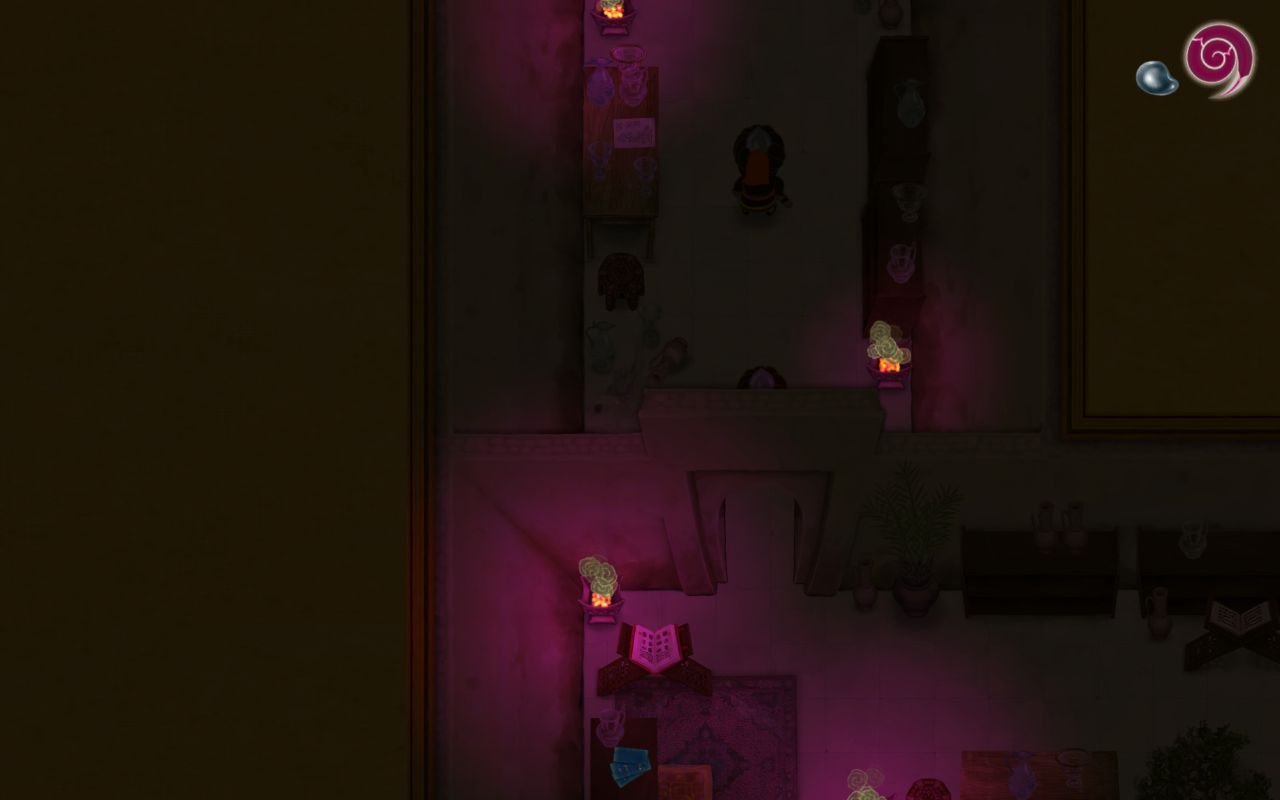
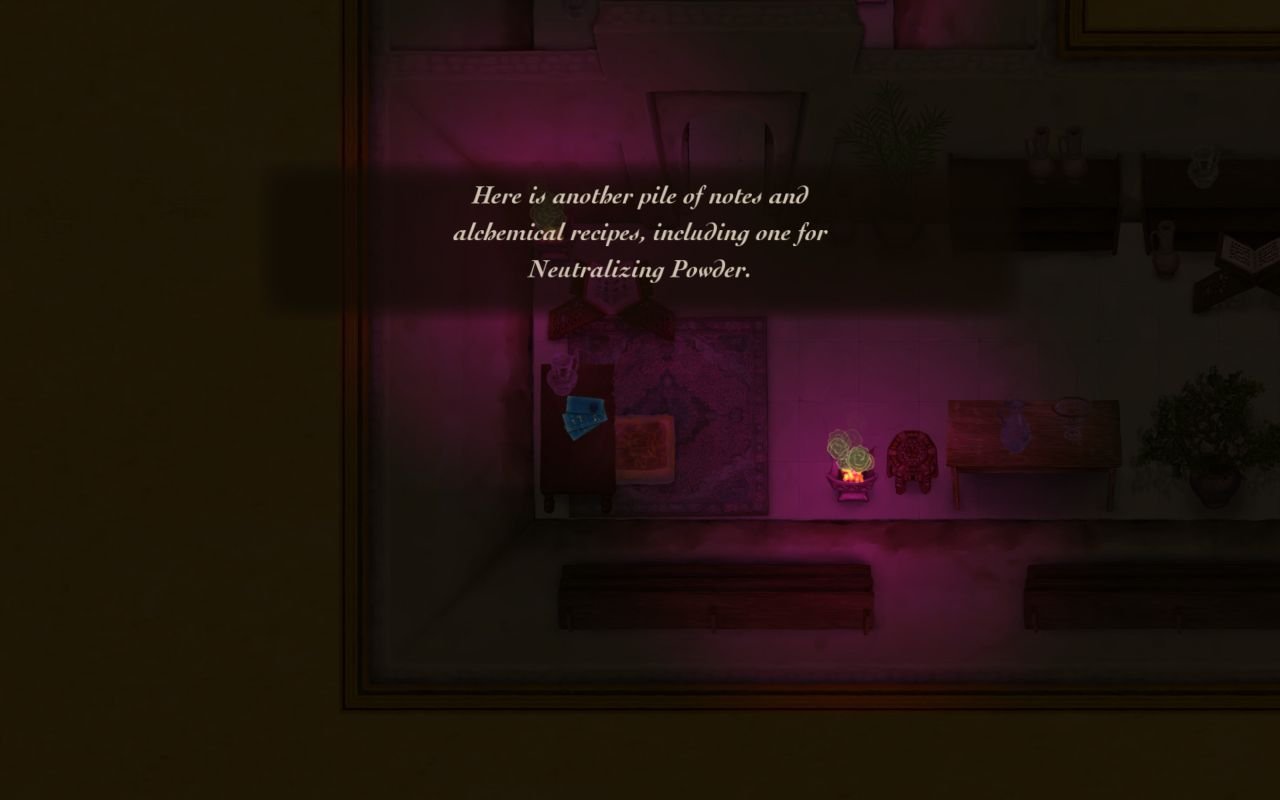
With the guards gone, we can explore the lab. As you have probably noticed, this is the very same lab we encountered earlier, the part that was behind a gate.
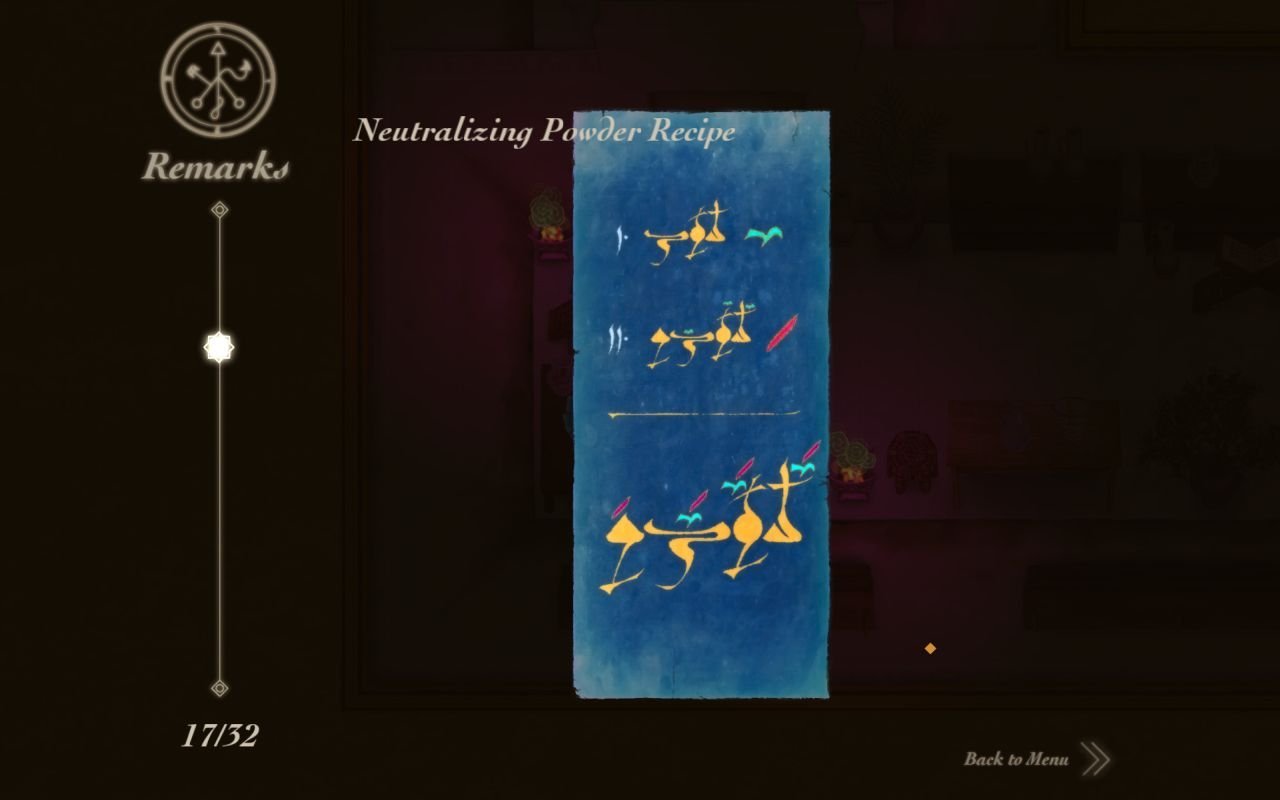
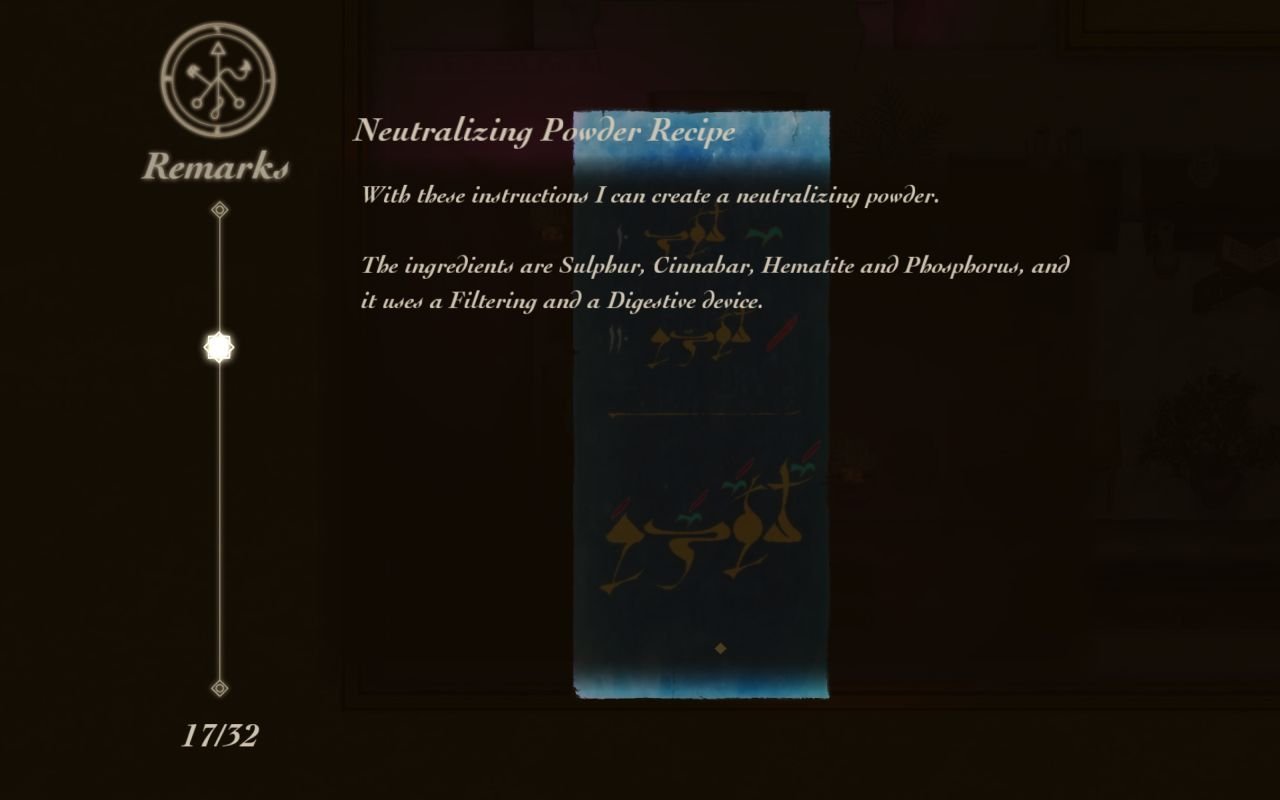
Nice, Neutralizing Power! With that, we can extinguish the damned firewall in the NW part of the castle.
We pull the lever, and go to the alchemical apparatus to put in the Hematite and part of the digestion filter. With that, we'll be able to create the neutralizing powder.
Since we have the powder, let's extinguish that wall of magical fire.
With the fire gone, we can go through the NE door.
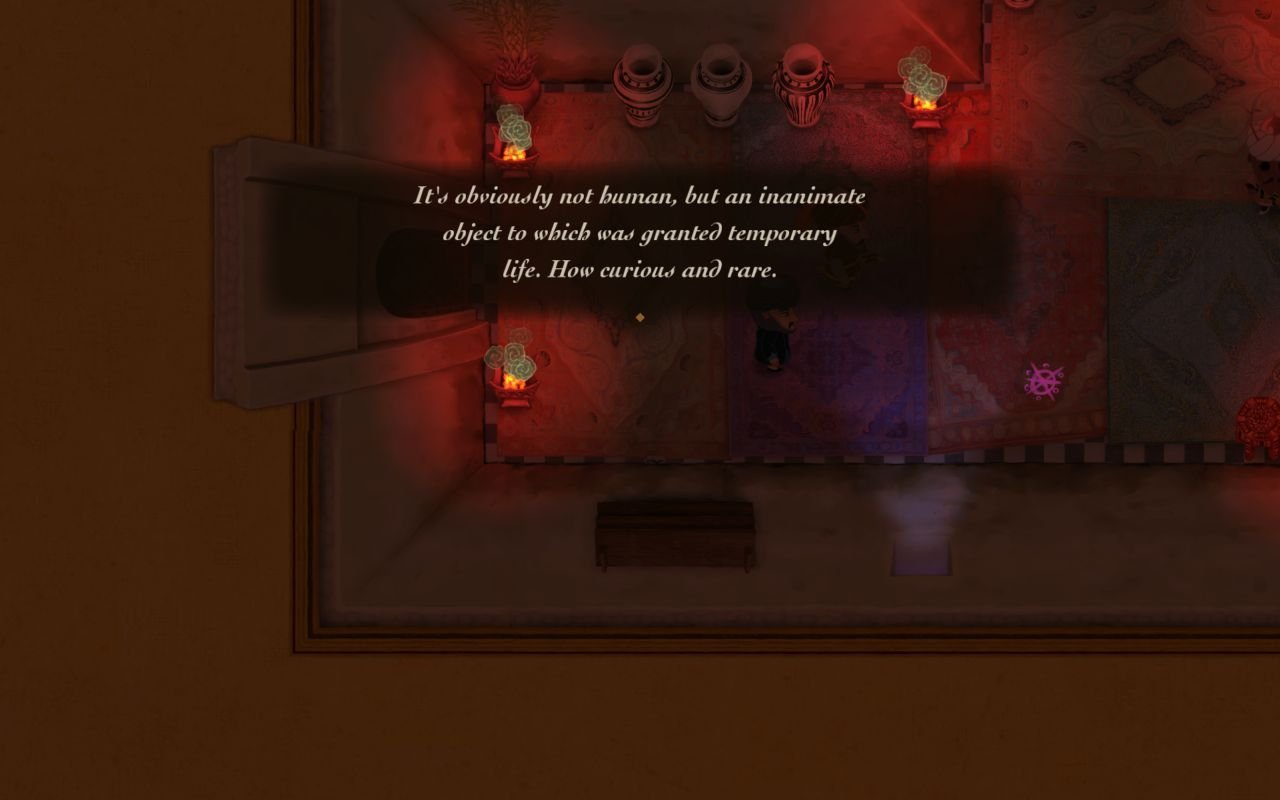
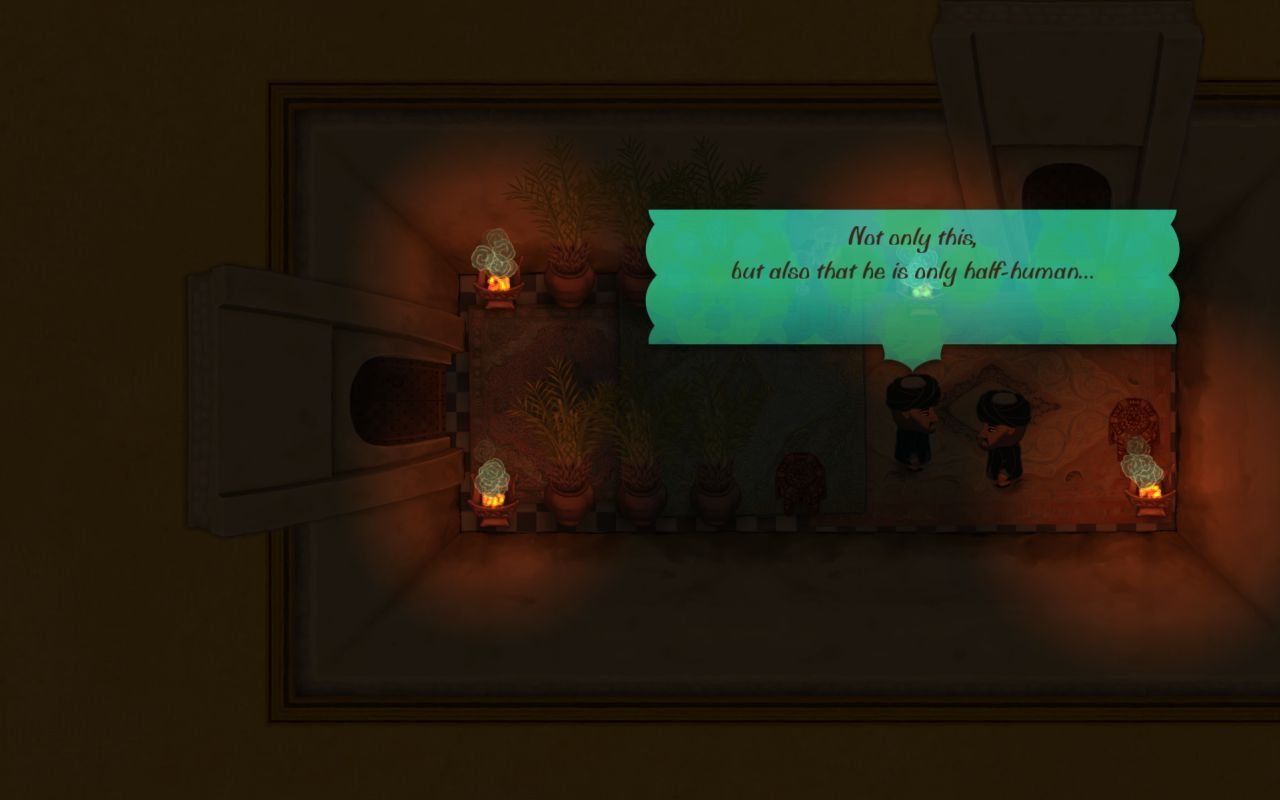
So it is possible that al-Saahir is not even a man, but some demon halfbreed. Also, fucking Northerners, they sound gay.
With that information, we procced north.
Big room, connected to both the flooded patio and the sound corridor. This is the second room of The Twin Riddle.
We made a pattern, using the pressure plates, symmetrical to the one in the room up north. This opens the gate, but not much more. There's nothing new in the corridor. However, keeping the oryxes working is important, so we kill everyone in the second riddle room so that they can't touch the plates and shut it off. After that, we go back to the firewall room, following one of the gossiping guys. Then back to the northern pool room to take the key, then to the east pool room to open the Copper door.
We find ourselves in a small vestibule, with doors west and east.
You'll have to come back another time to find out what's beyond this room.