R@S
Scholar
- Joined
- Jun 30, 2012
- Messages
- 179
**********************
Session 21: Sniper girl gets some credit
**********************
- Three Fronts are Two Too Many - Kestrel and BNC Teams Up - Rob Yu Controls his Bursts -
- SKS Sniper Mod - Close Call for Geroj - BNC's Flanking Surprise - What! Another Ambush Already! -
**********************
Are their magazines half-full or half-empty? Should they take the optimistic and offensive approach or the pessimistic defensive one? Stay tuned and tomorrow you might find out!
Session 21: Sniper girl gets some credit
**********************
- Three Fronts are Two Too Many - Kestrel and BNC Teams Up - Rob Yu Controls his Bursts -
- SKS Sniper Mod - Close Call for Geroj - BNC's Flanking Surprise - What! Another Ambush Already! -
**********************
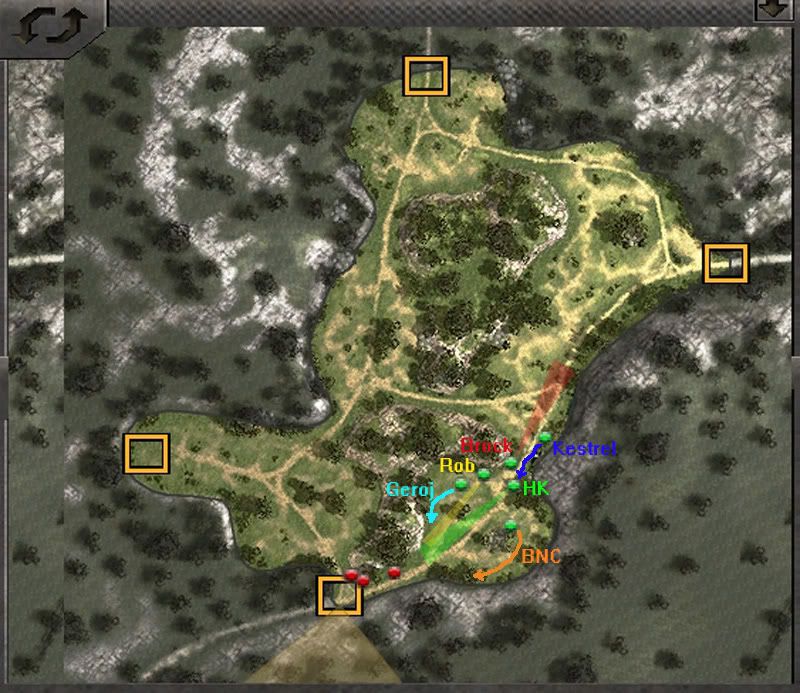
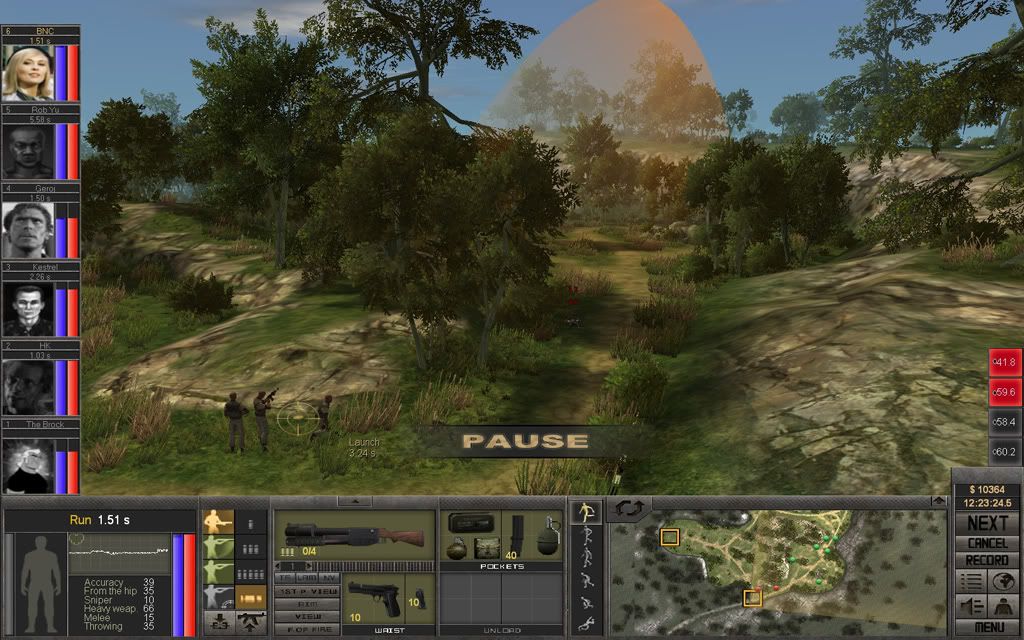
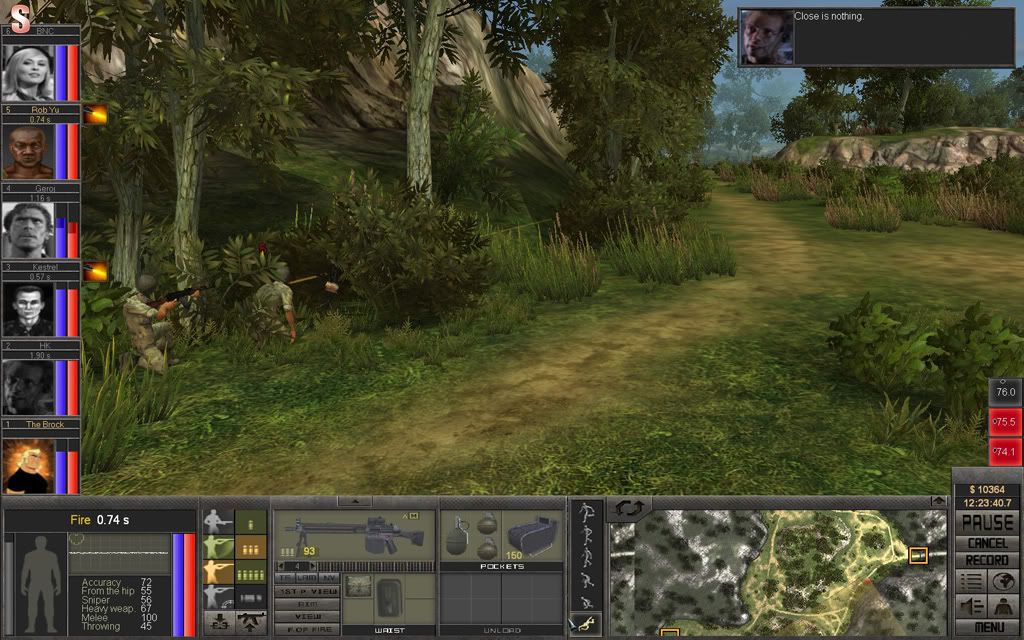
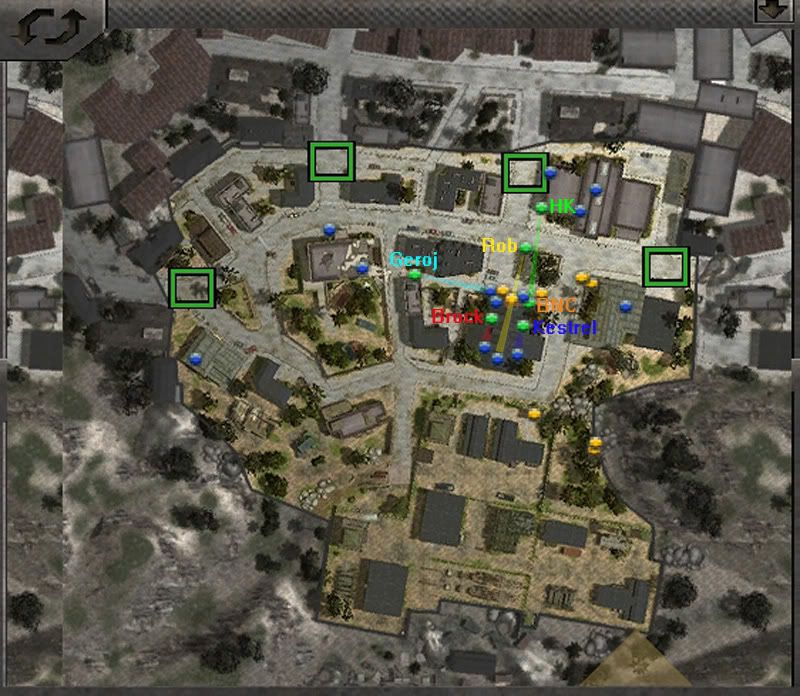
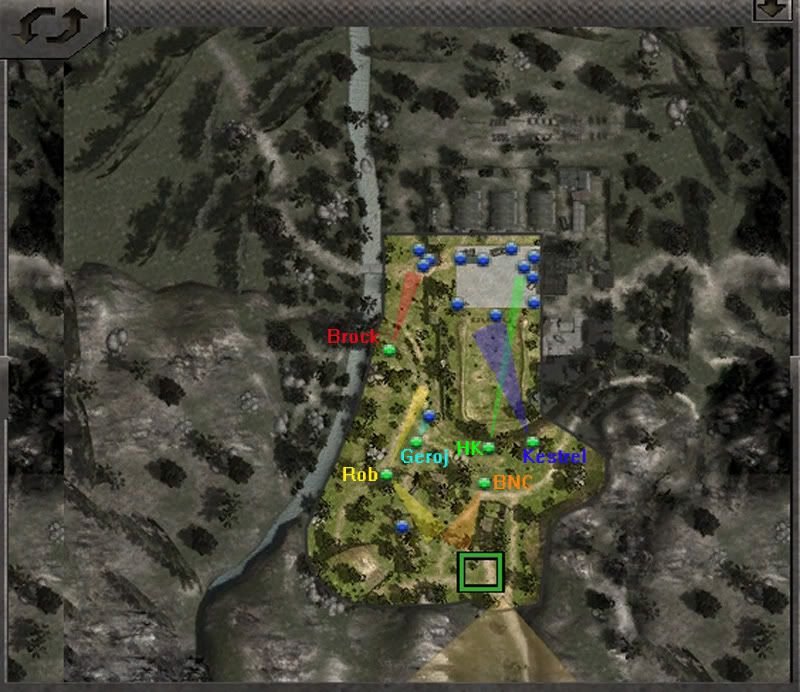
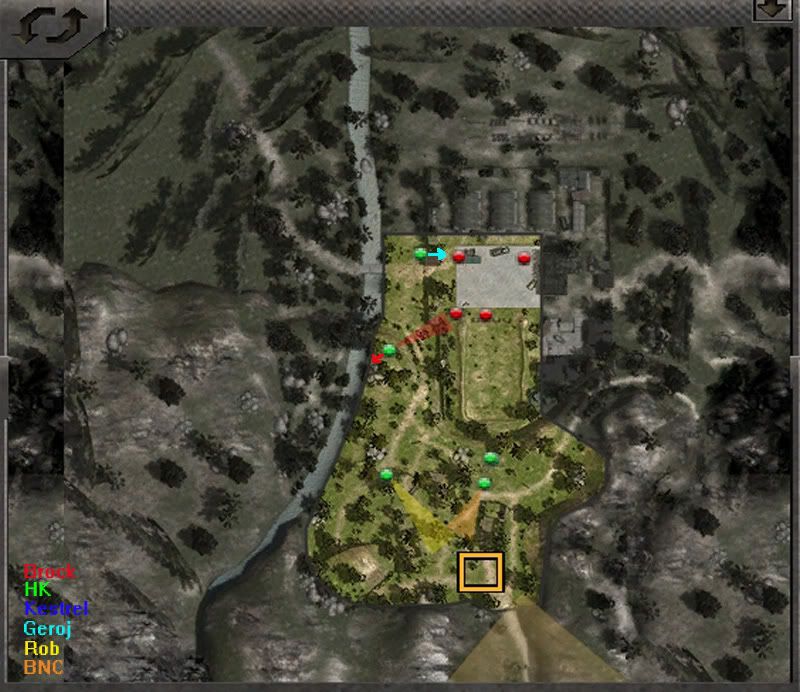
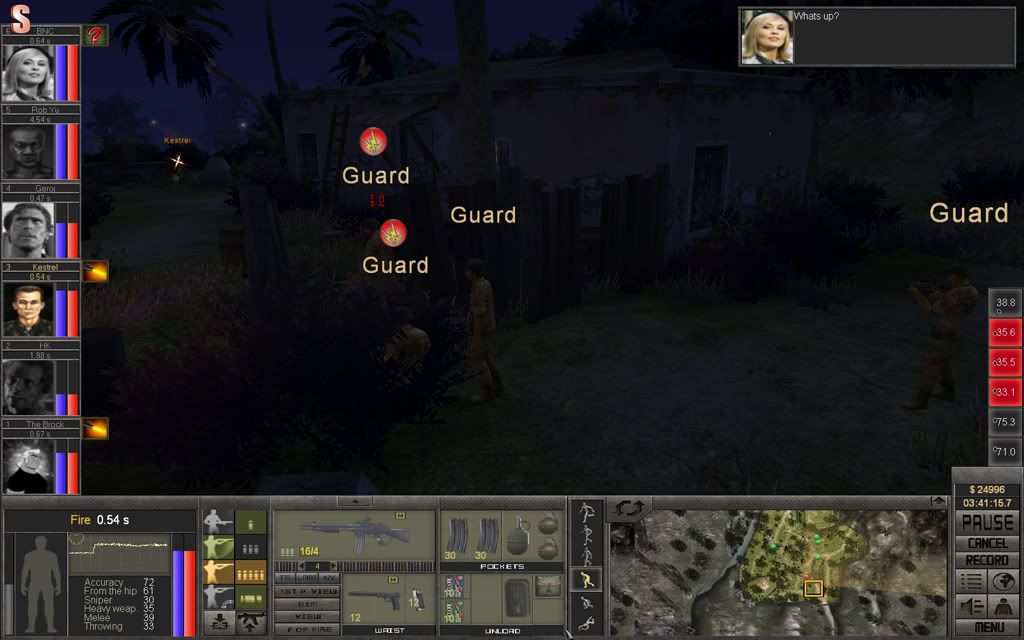
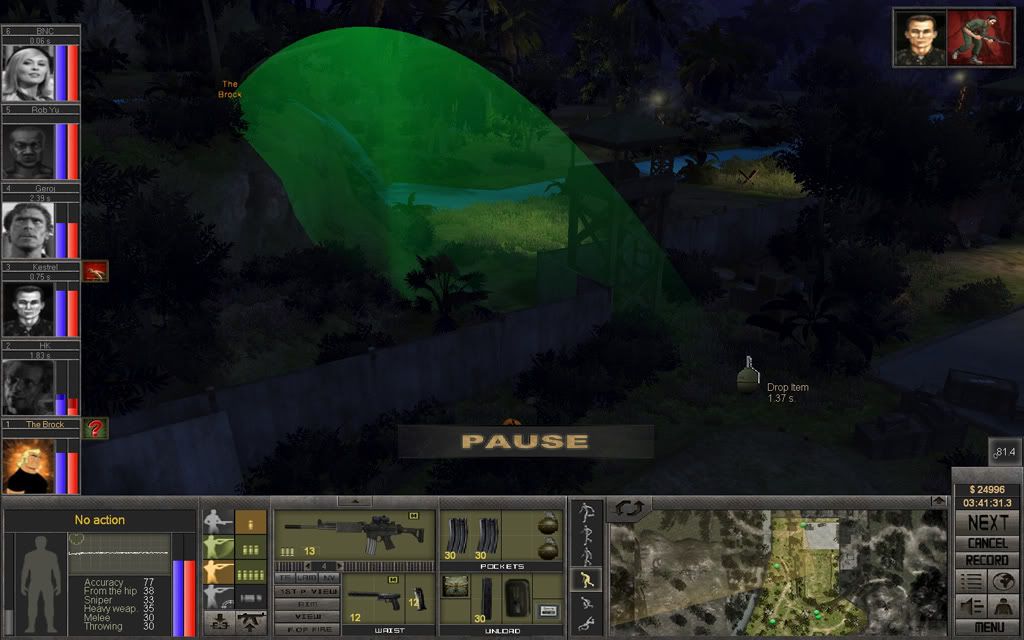
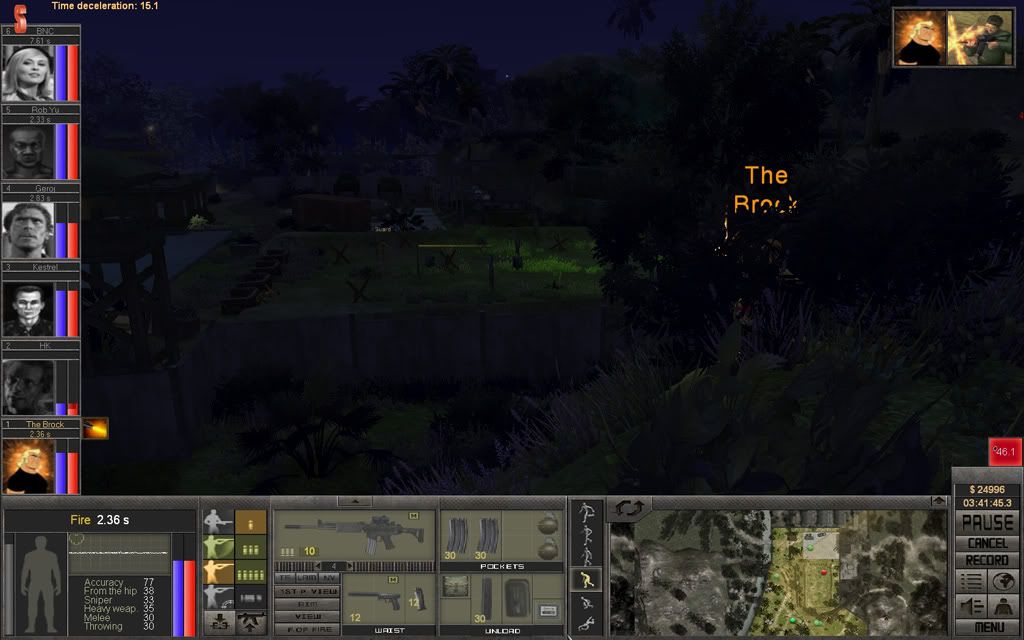
The team gets the opportunity to ambush some road agents, there's 19 of them and it'll be a tough fight.
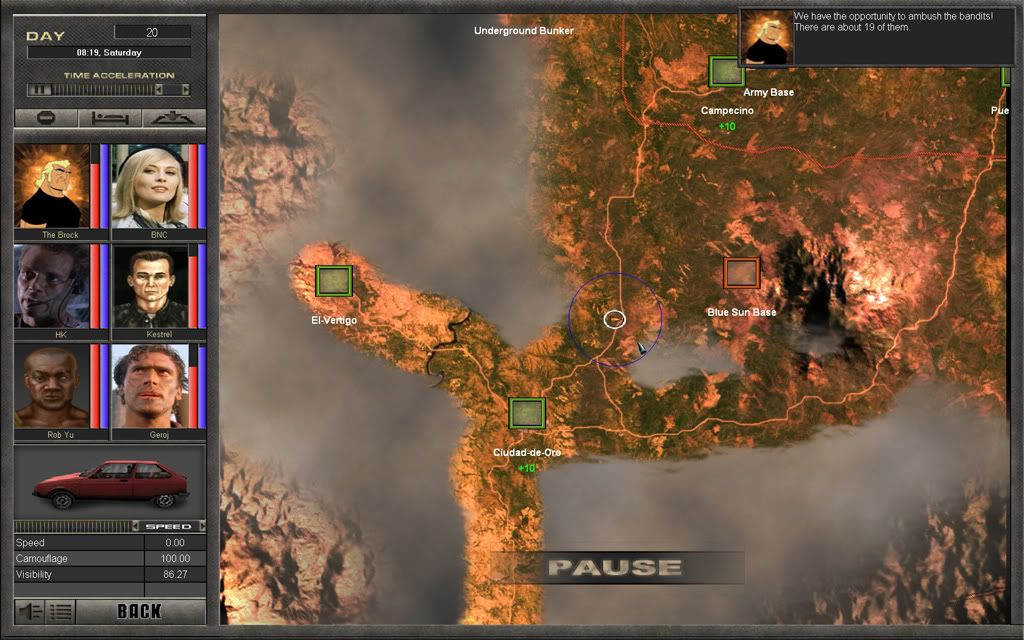
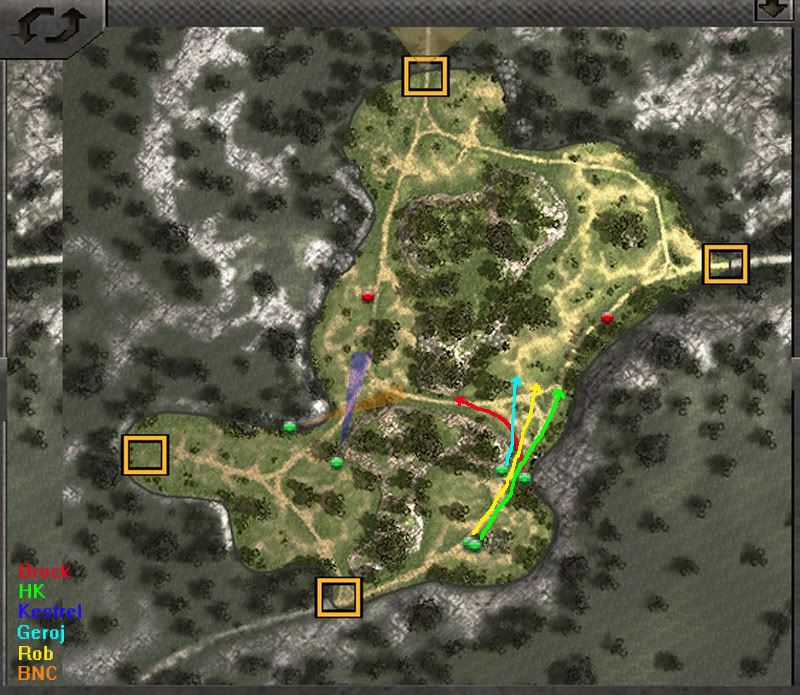
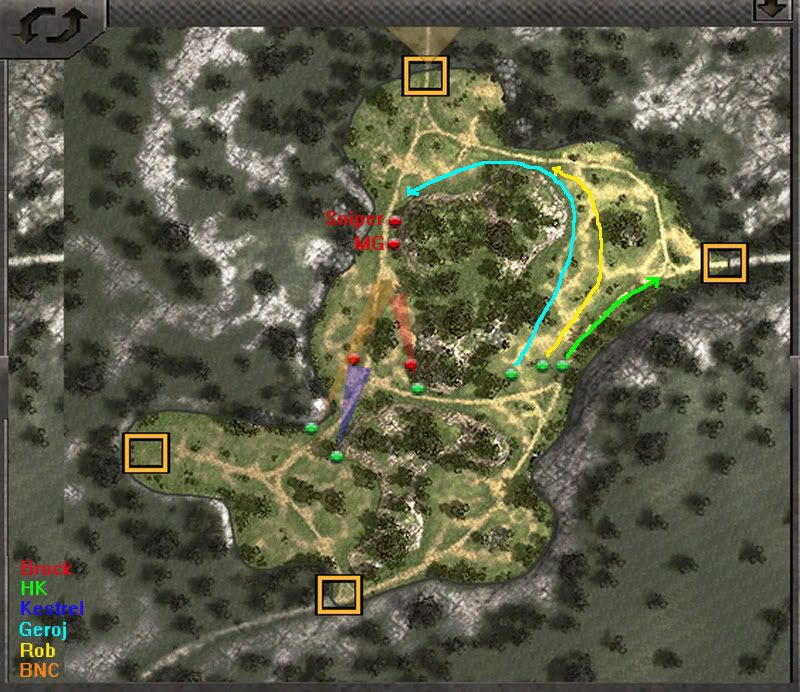
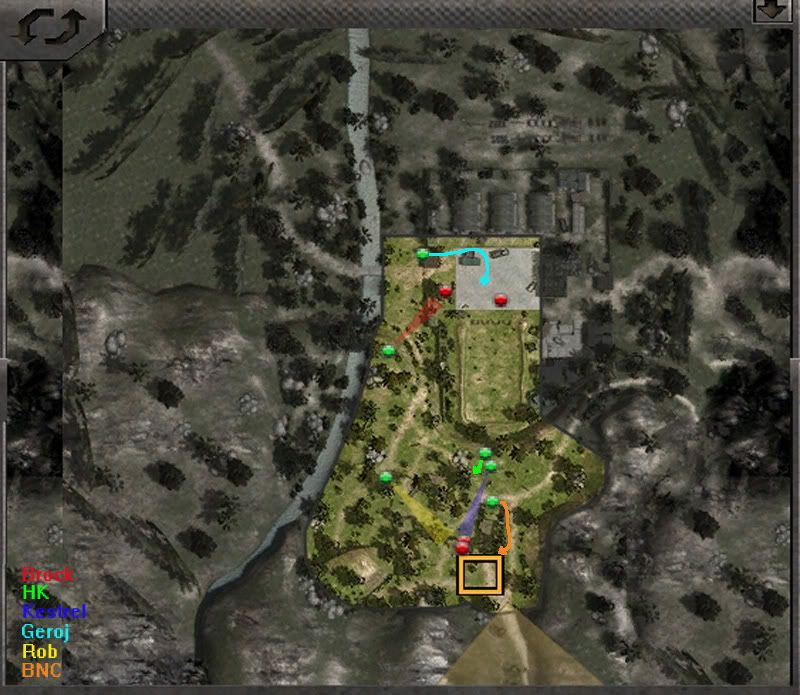
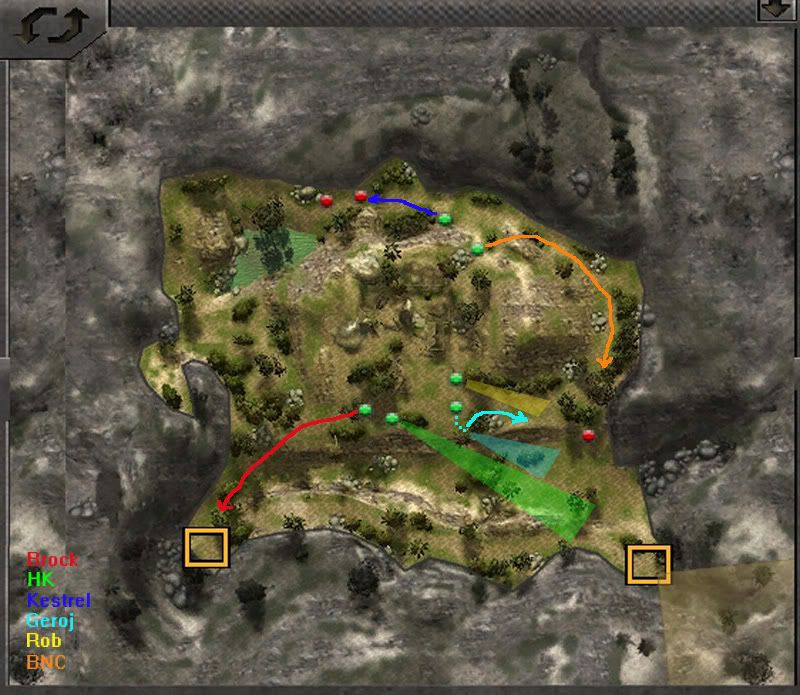
The enemy will come from three directions, the team will have the higher ground from where they can make a stand.
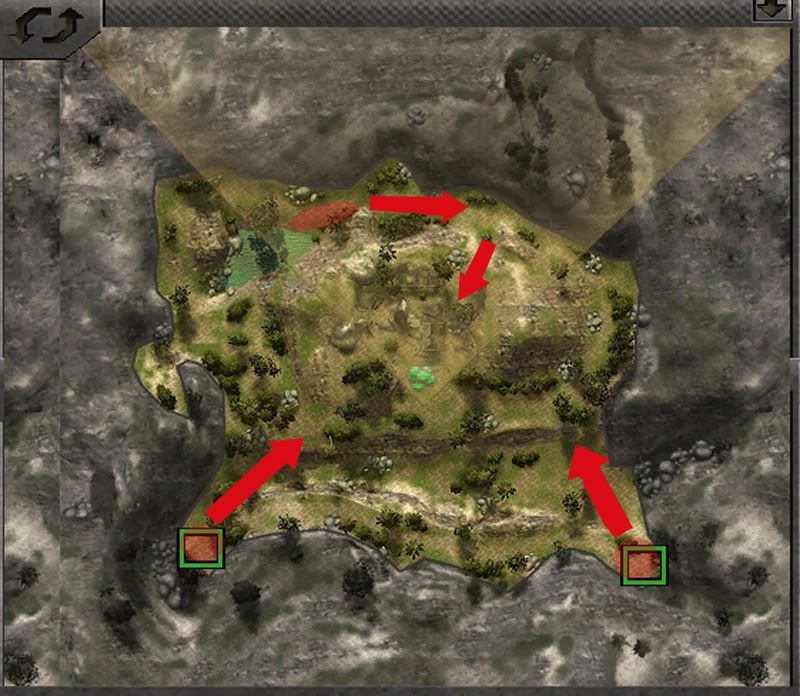
The Plan
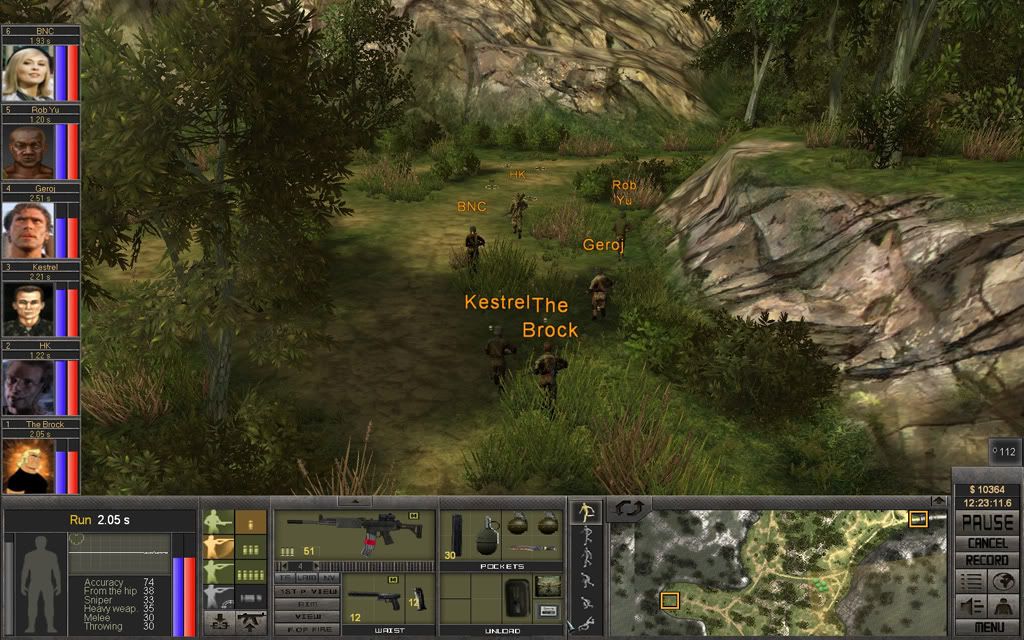
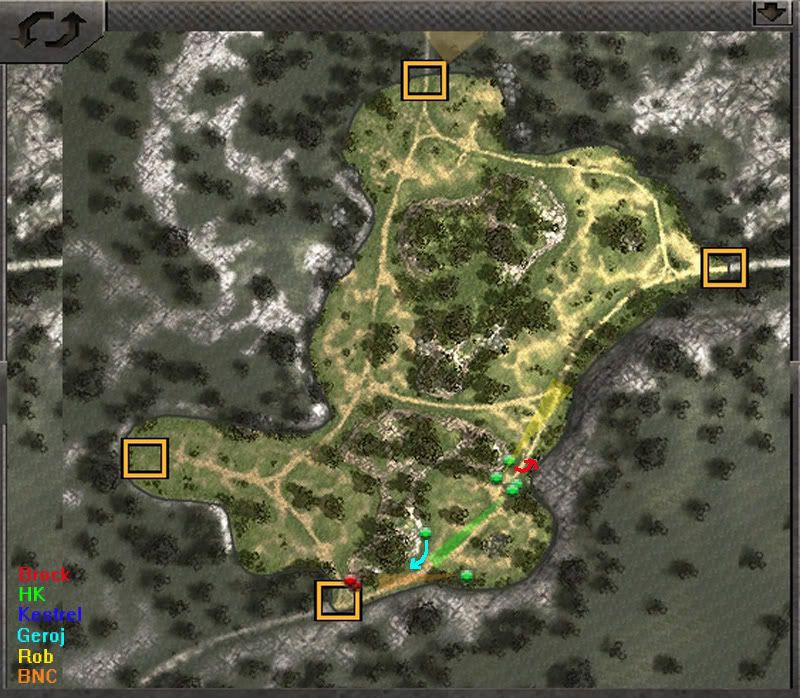
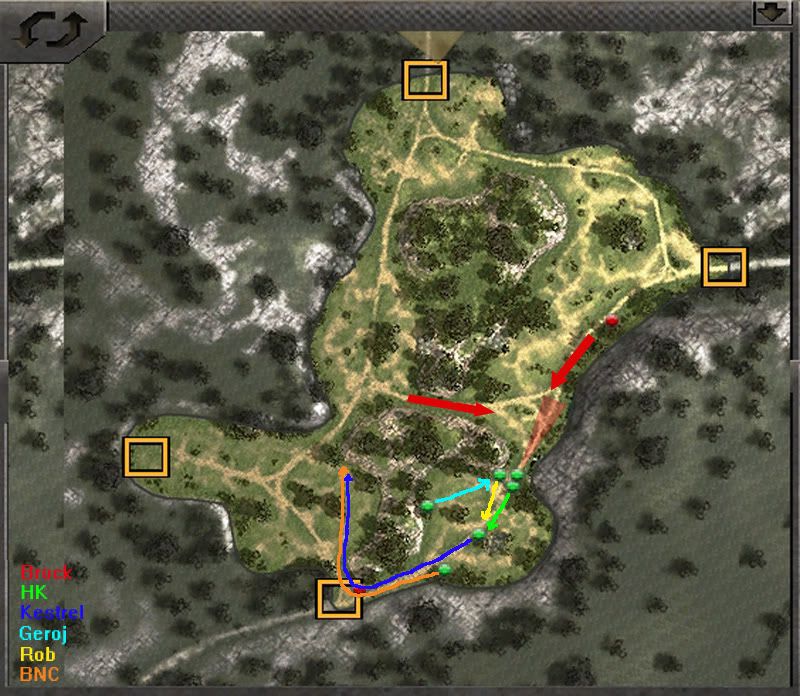
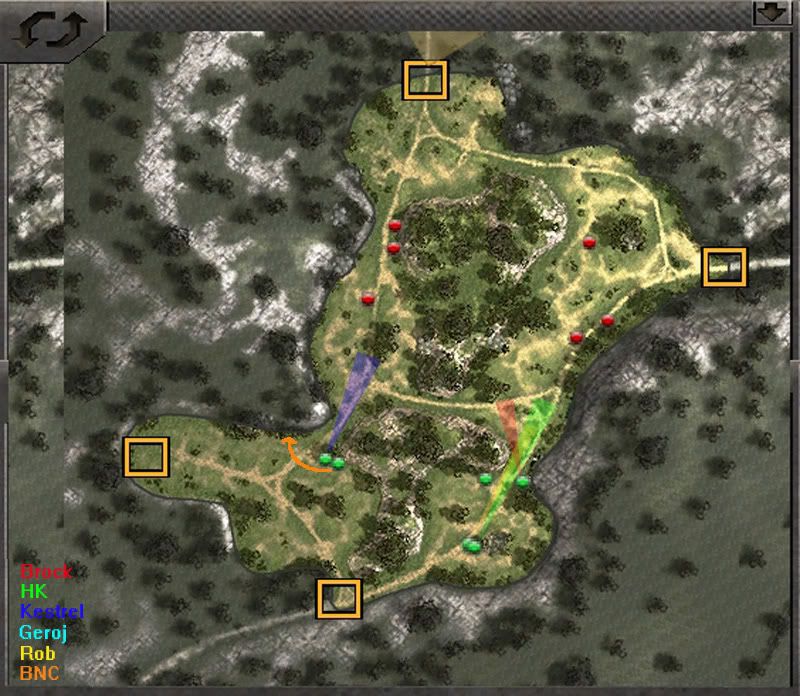
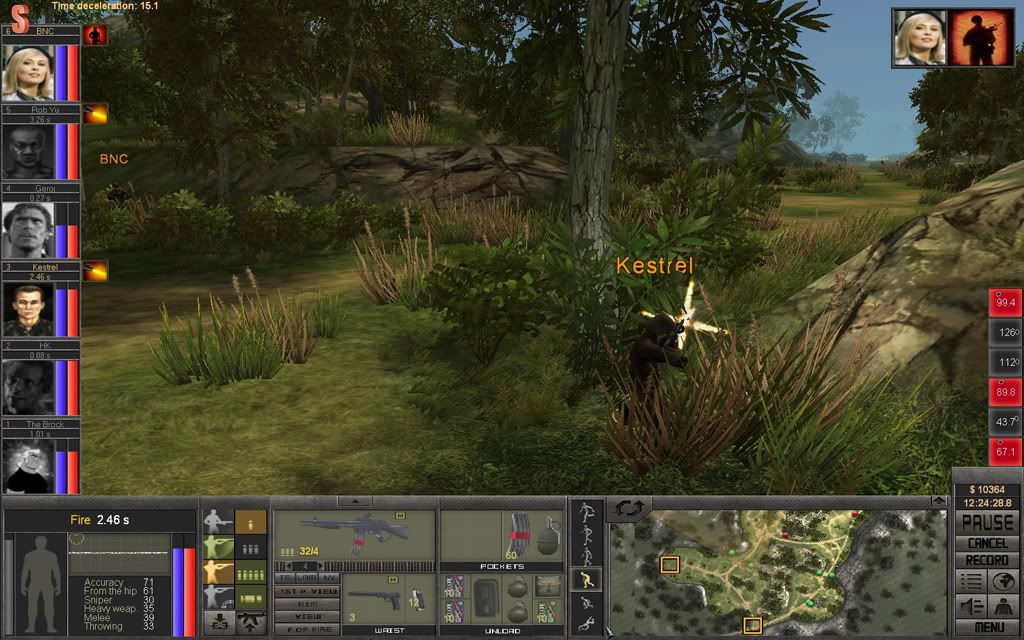
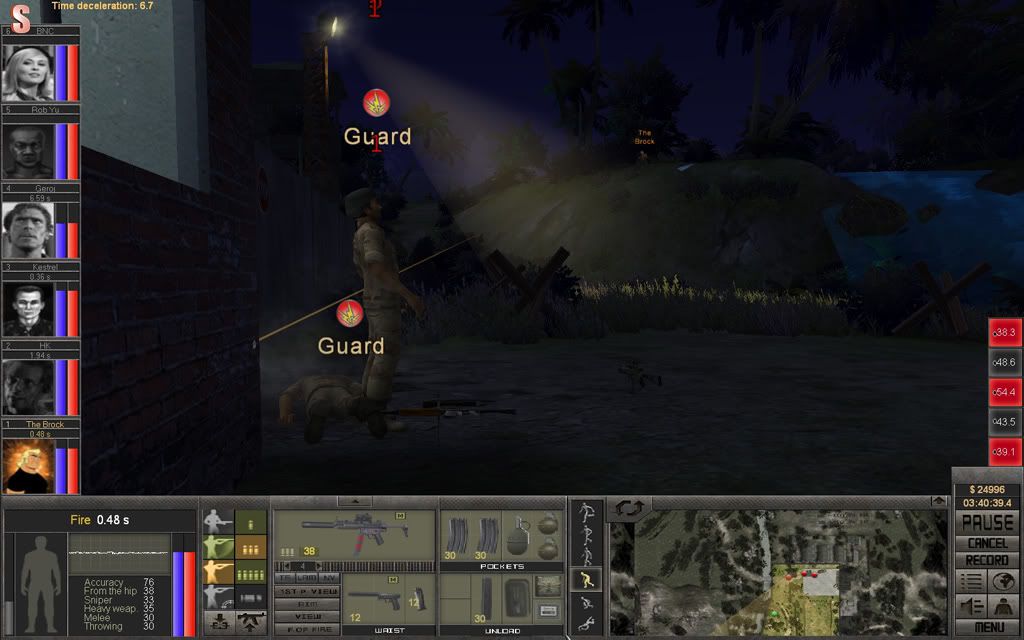
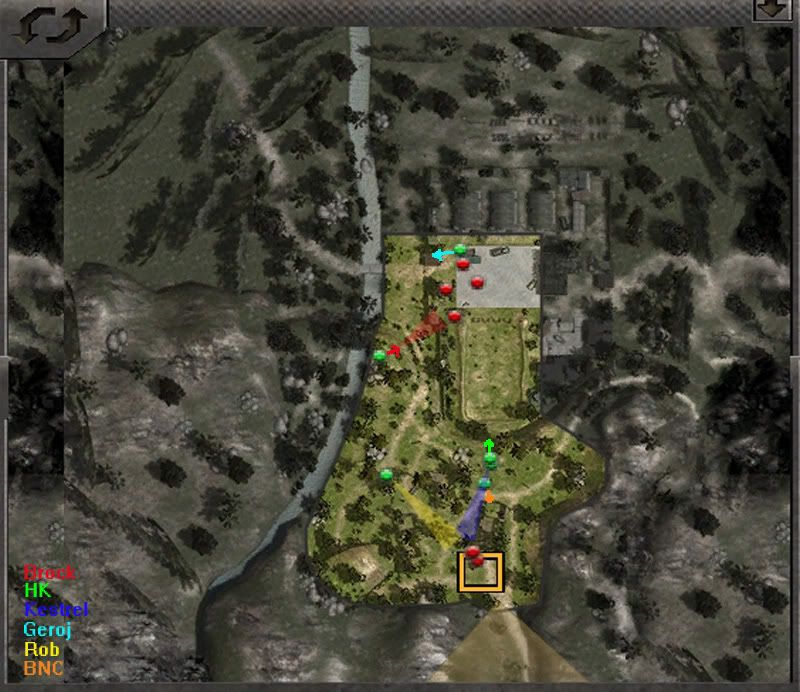
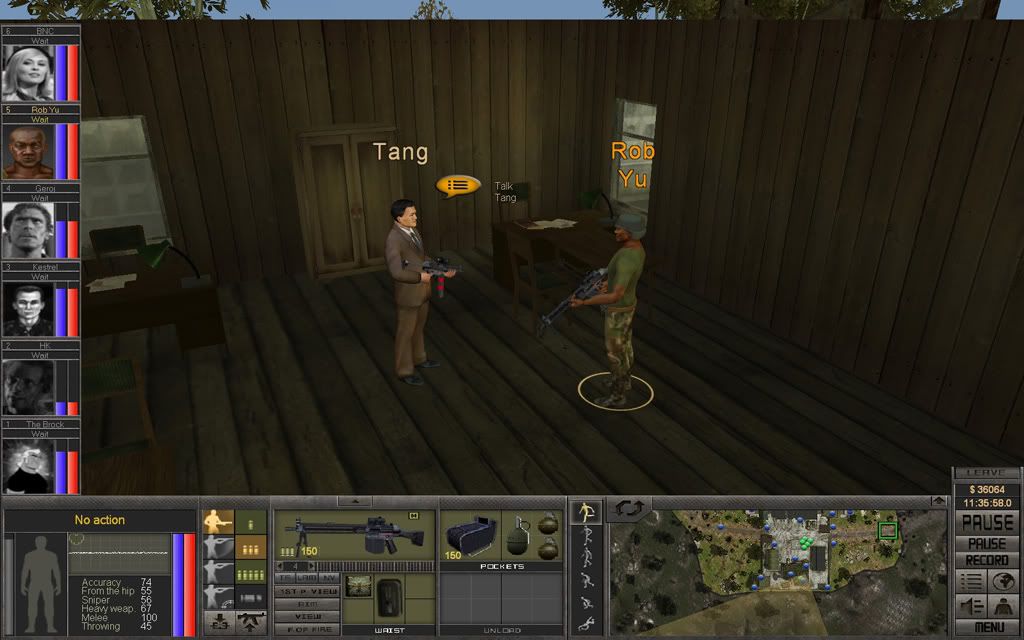
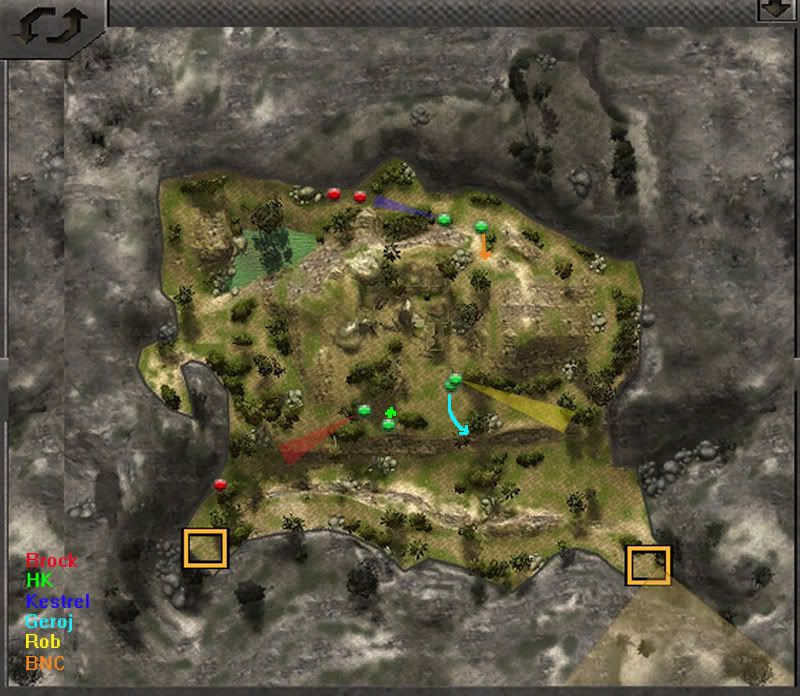
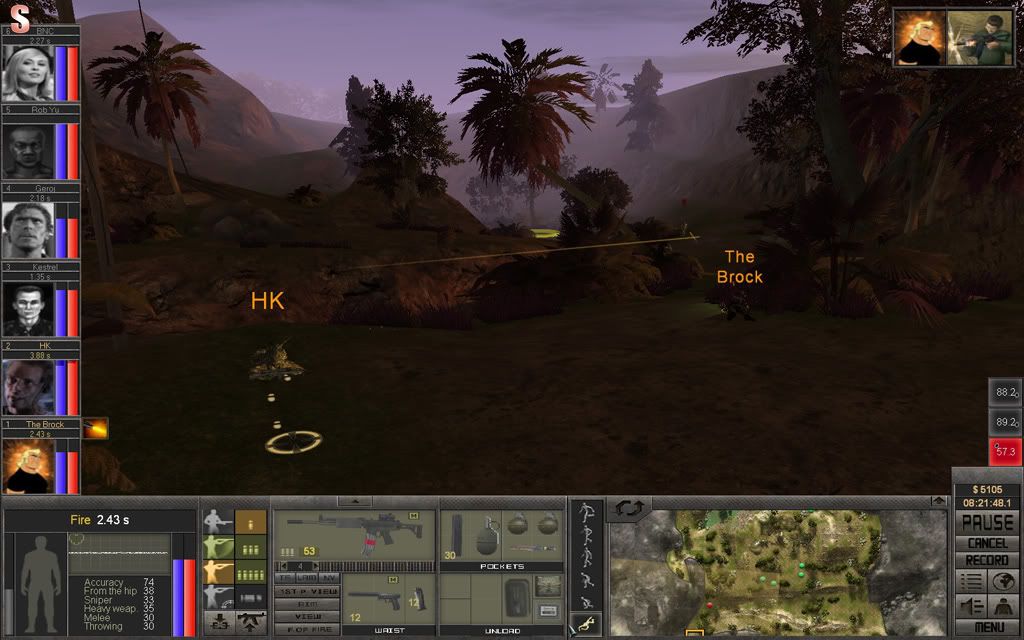
HK and The Brock will cover the south-western entry point, Geroj and Rob Yu the south-eastern. Kestrel and BNC will take care of the enemies coming from the north.
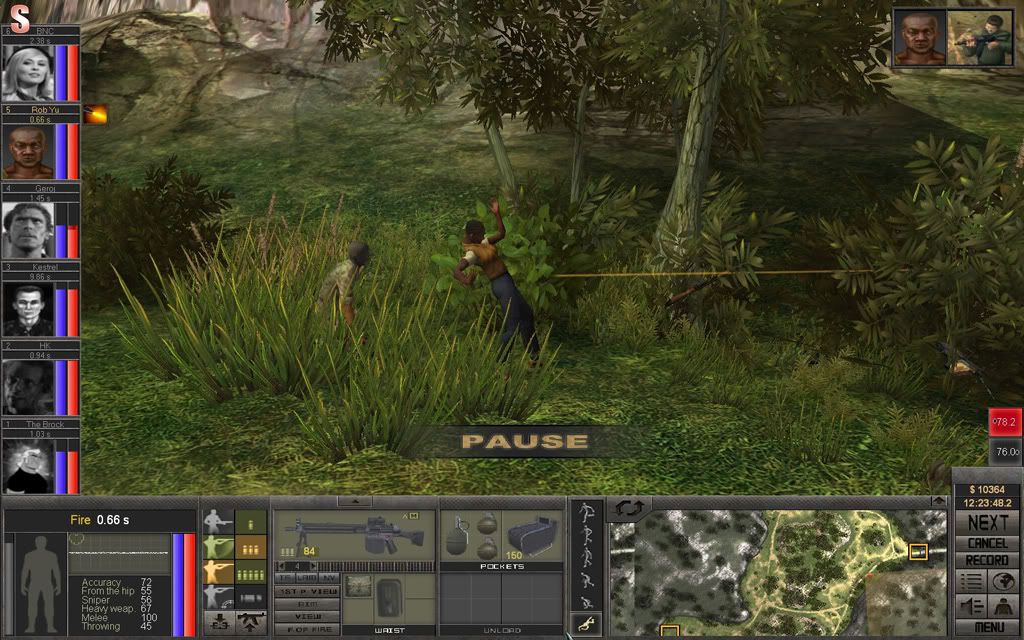
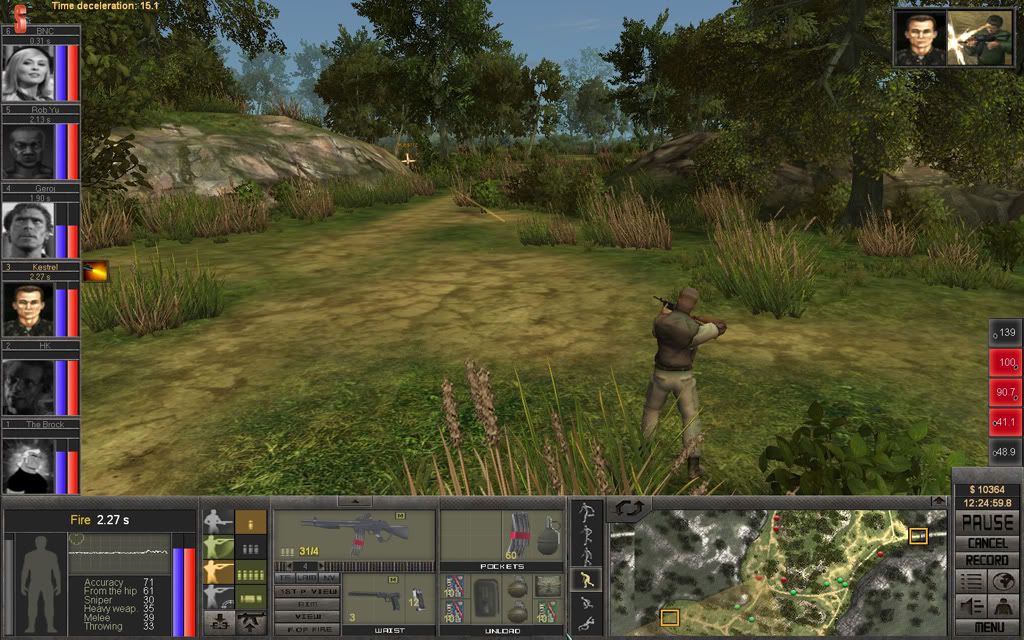
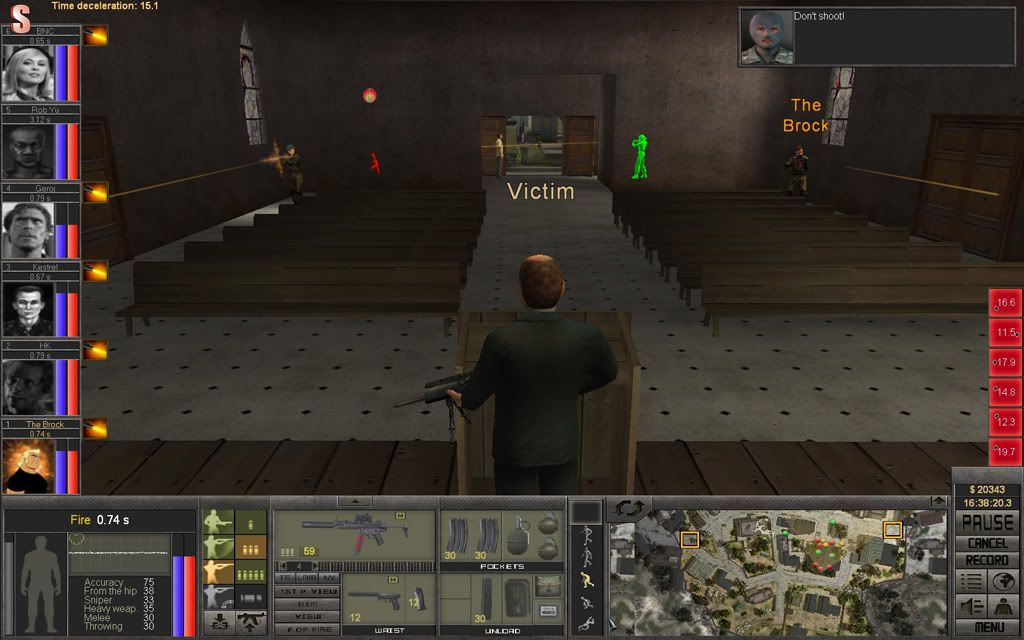
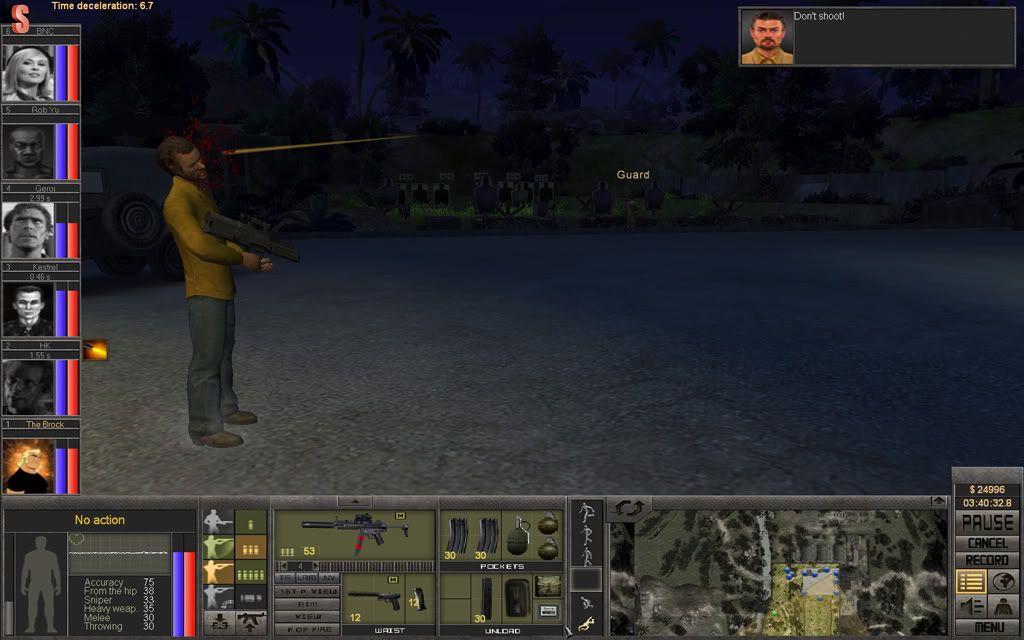
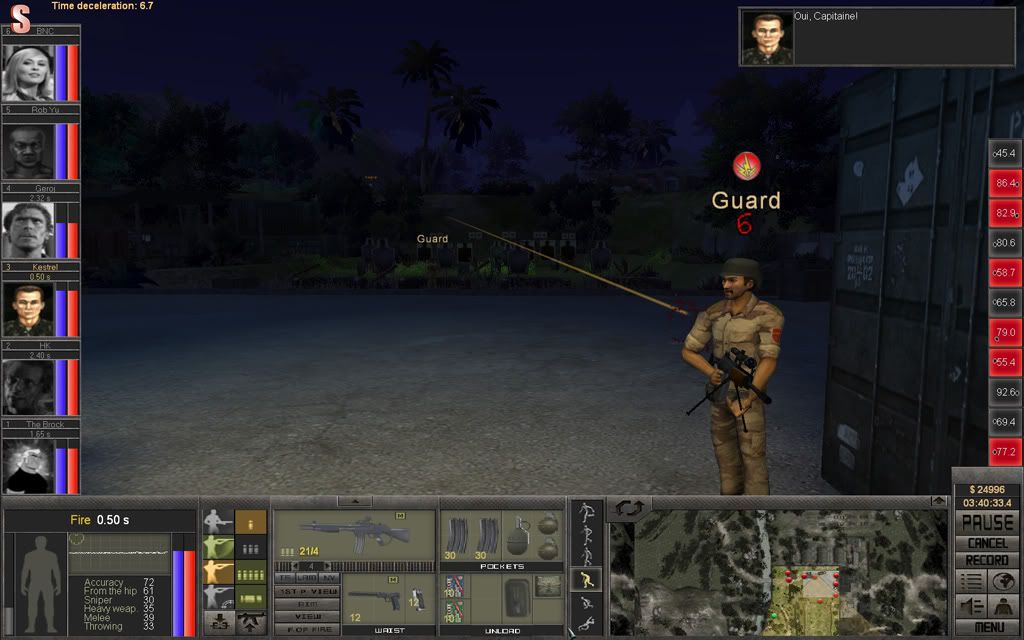
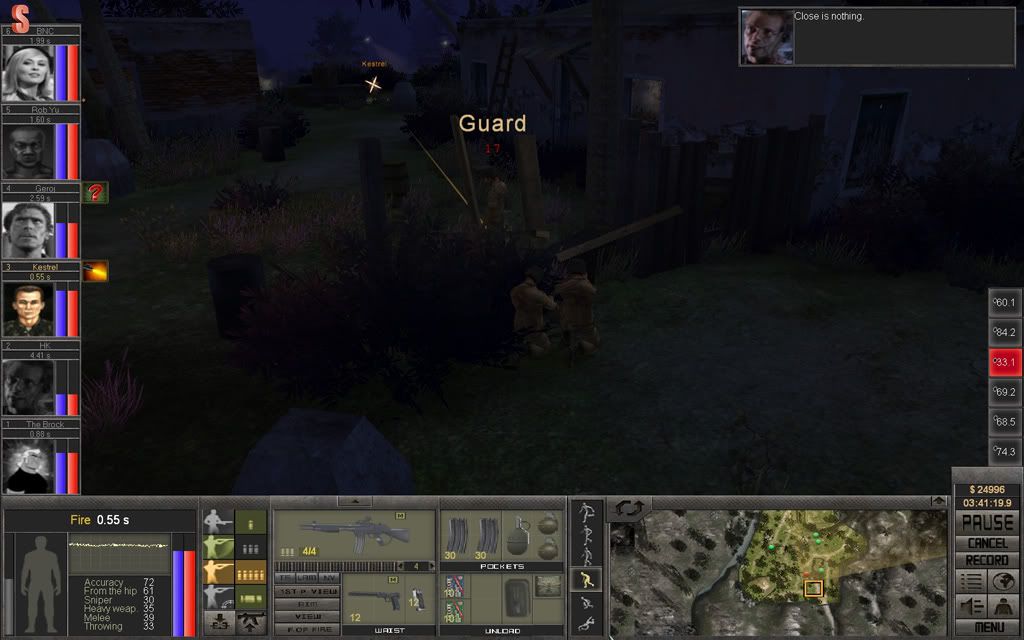
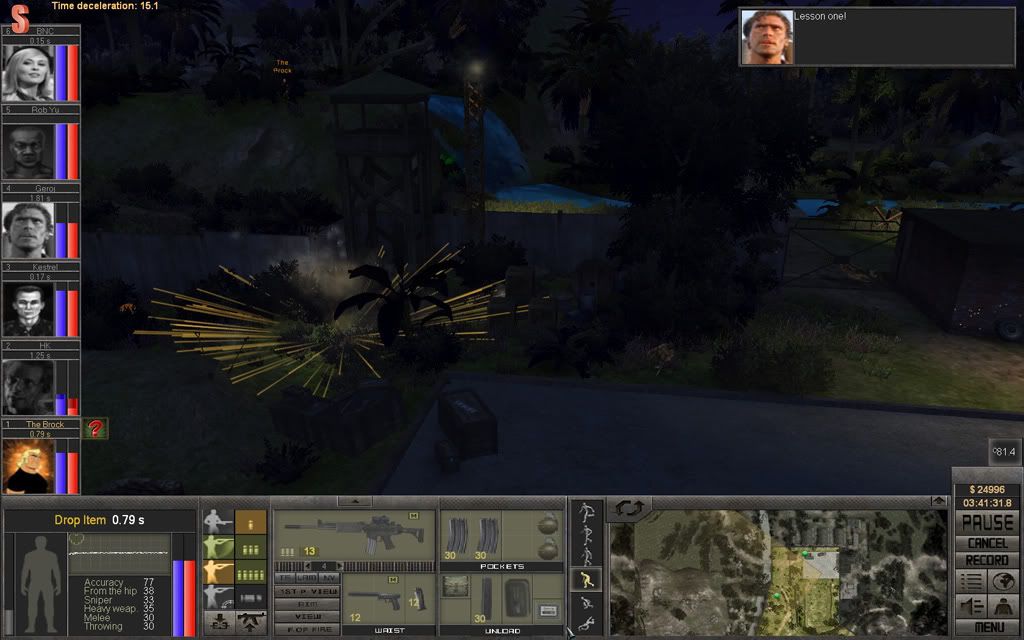
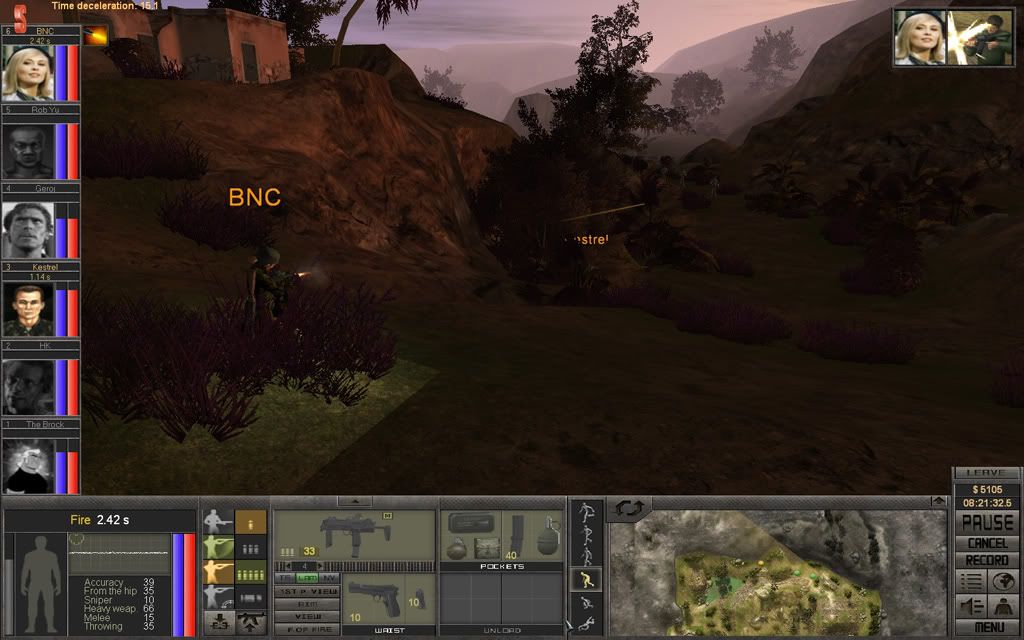
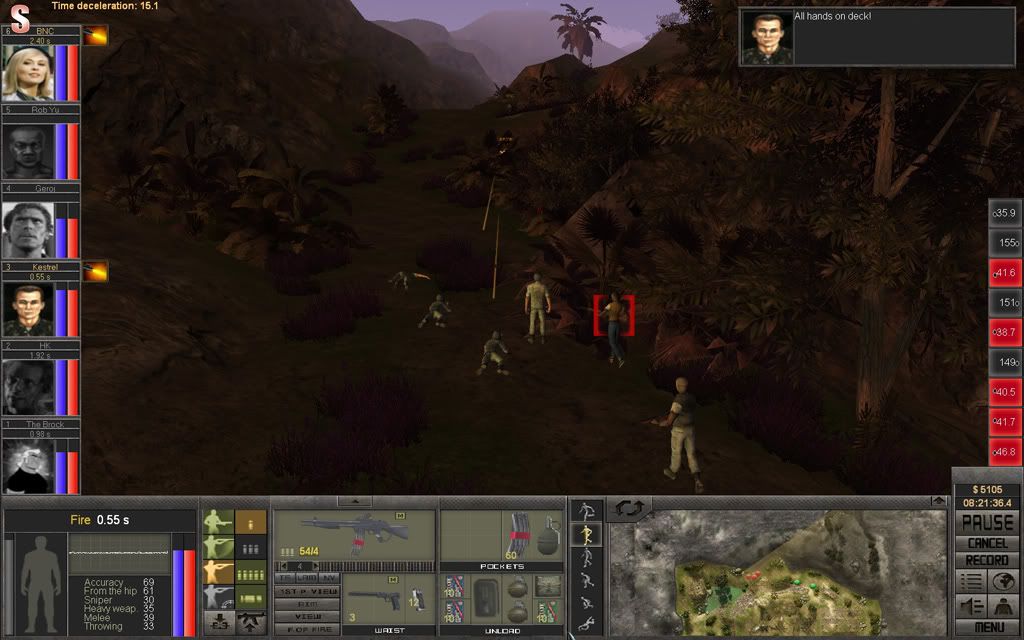
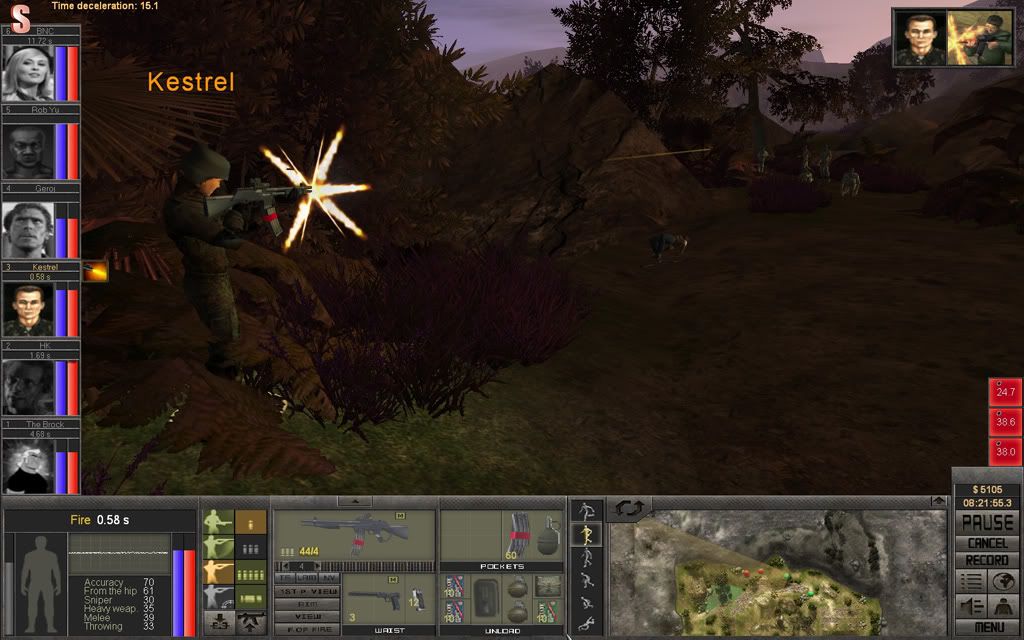
When everybody is in position, weapons ready, BNC starts the battle with a well aimed shot from her MP7A1.
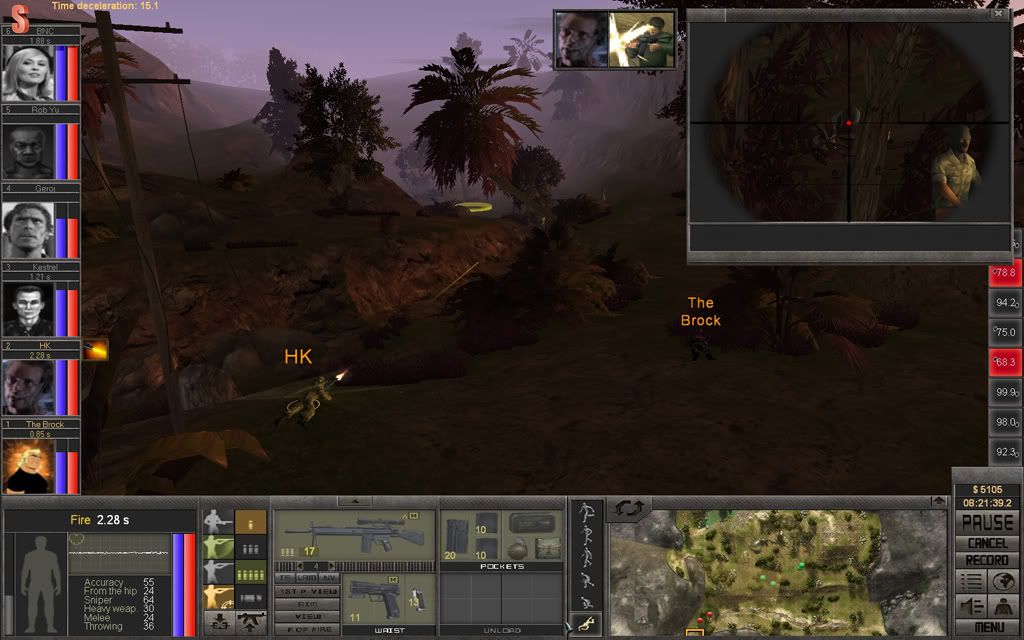
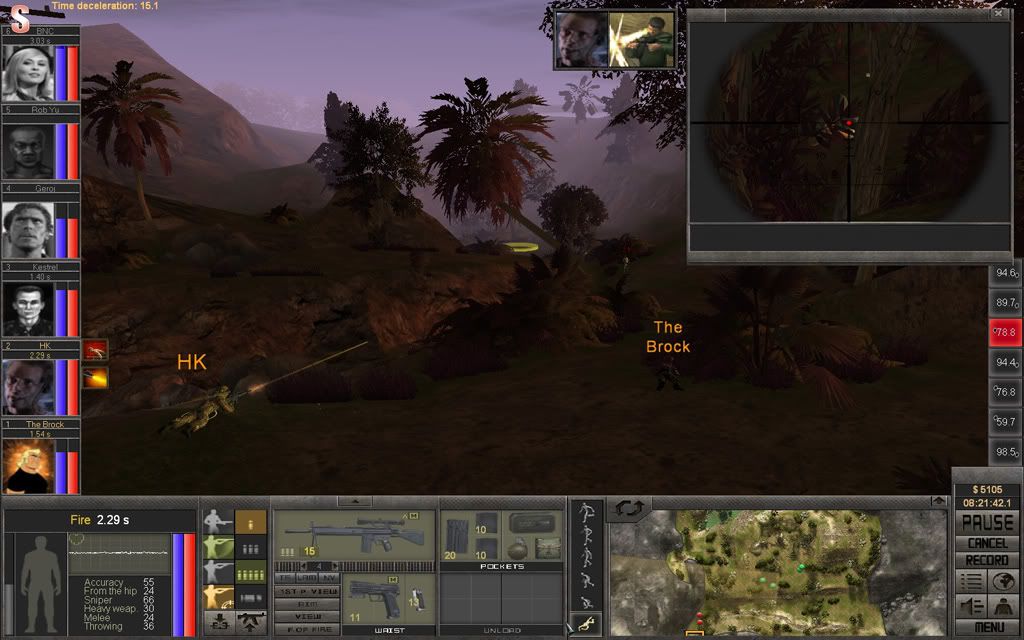
HK takes out his target, and immediately switches to the next.
BNC and Kestrel have a lot of opposition, changing targets all the time to the most immediate threat.
The Brock lays down some cover fire to take some of the attention away from HK who needs to concentrate on his work.
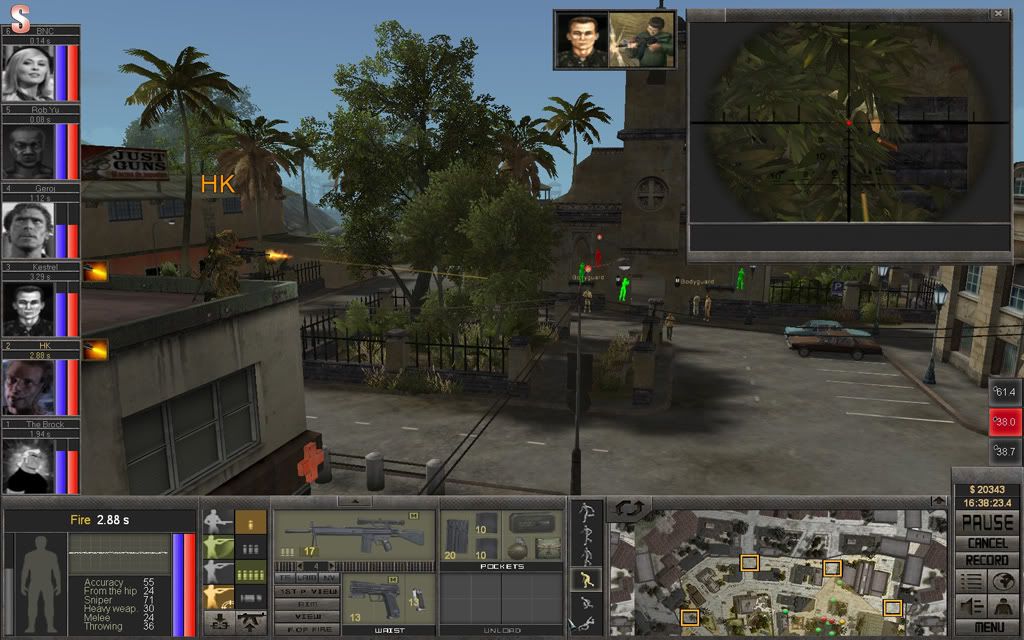
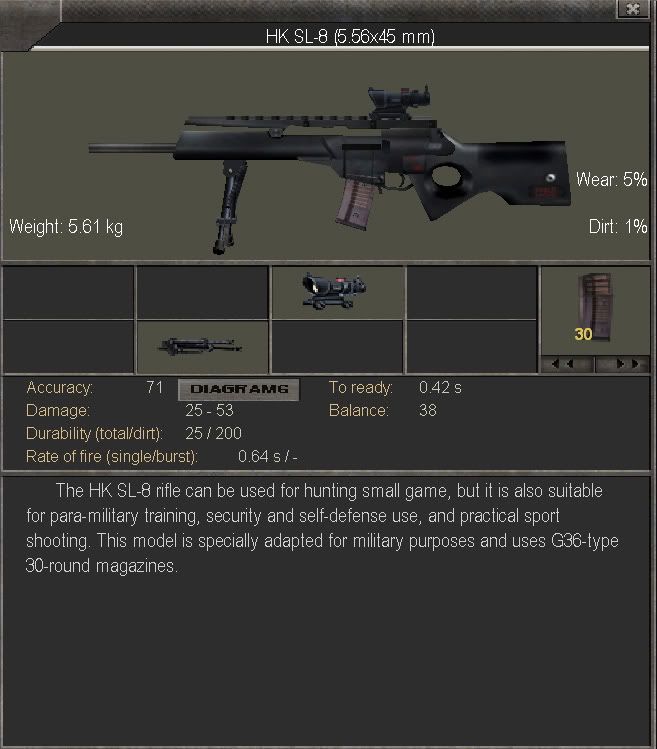
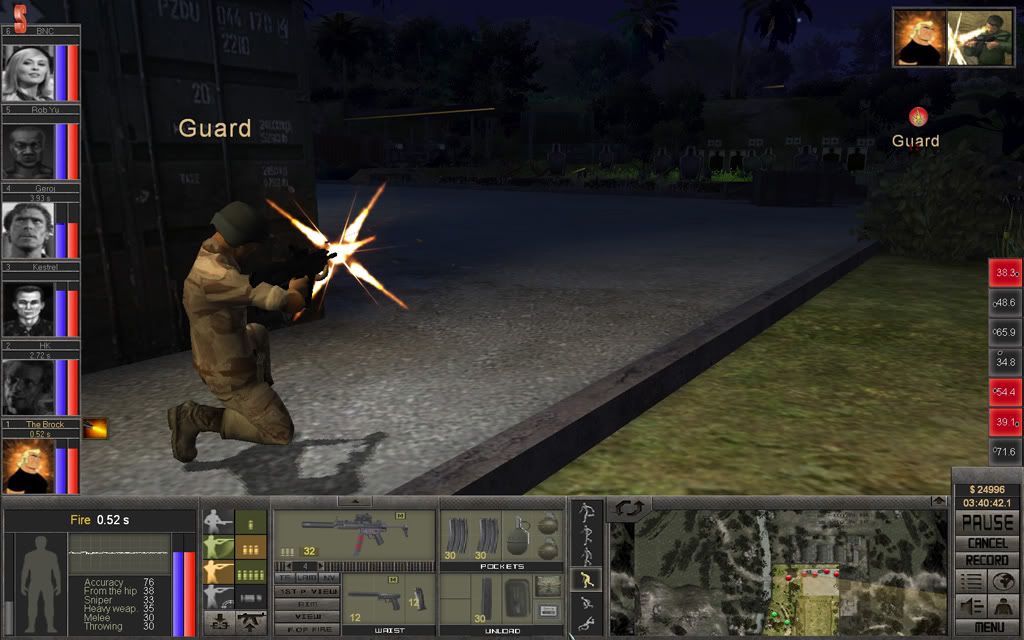
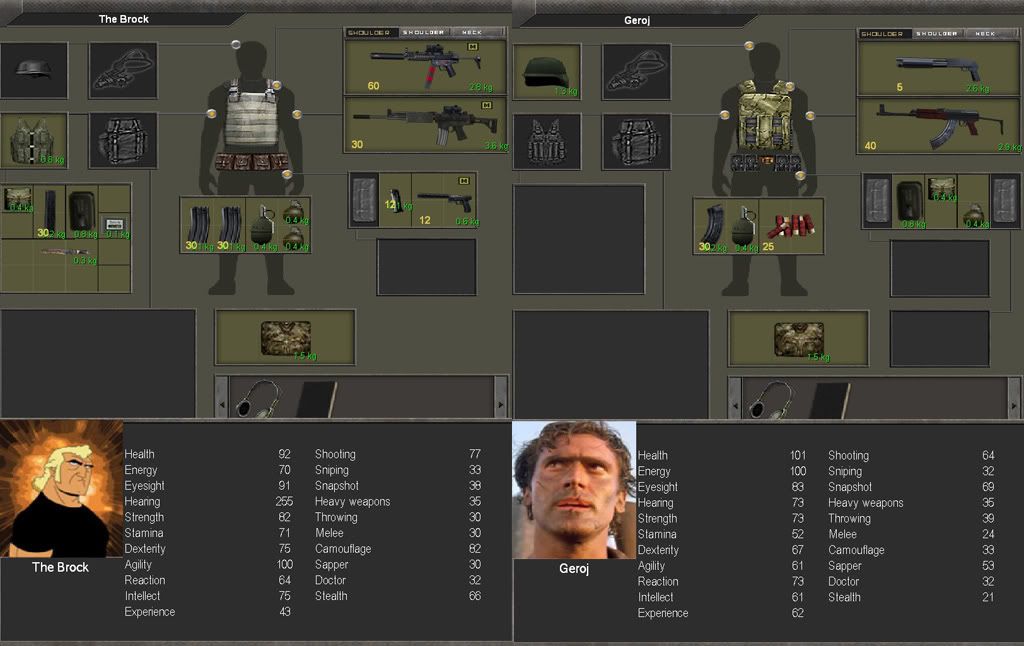
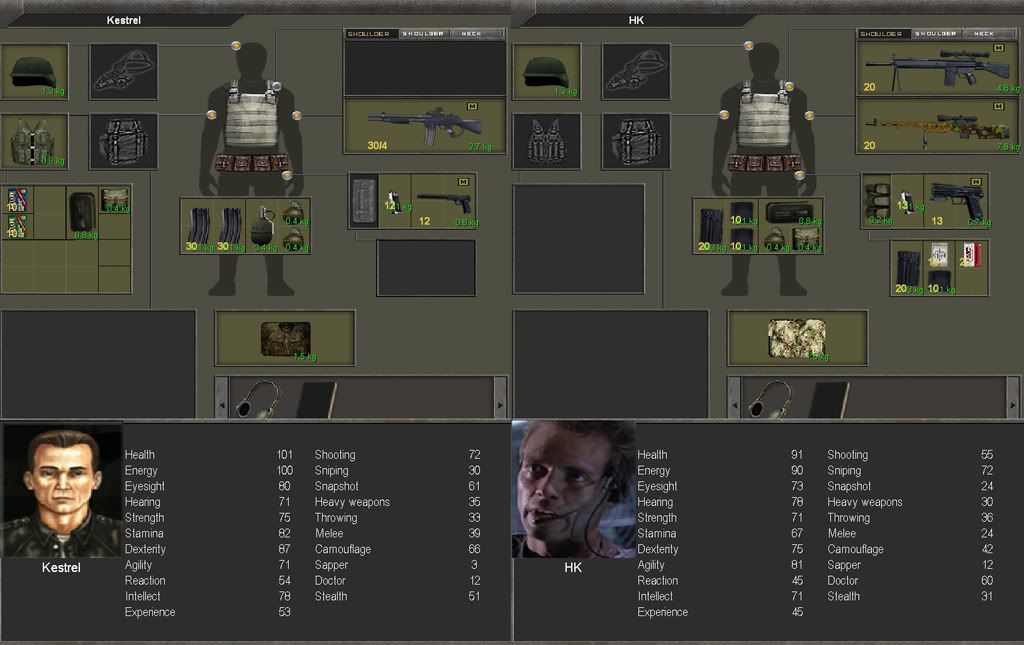
Another one-shot-kill from his G3SG/1, HK is most pleased with himself.
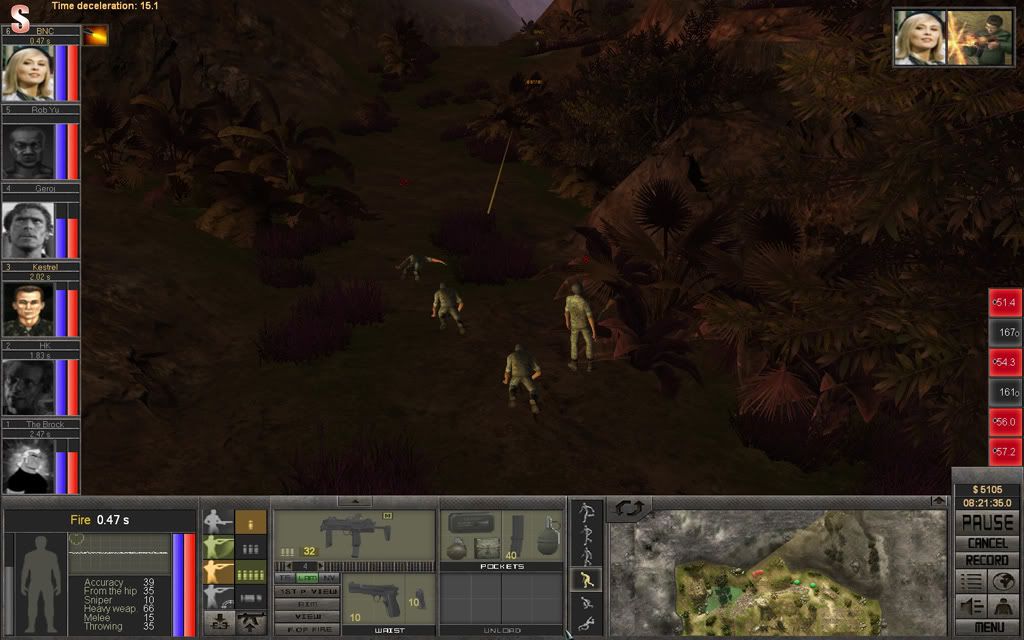
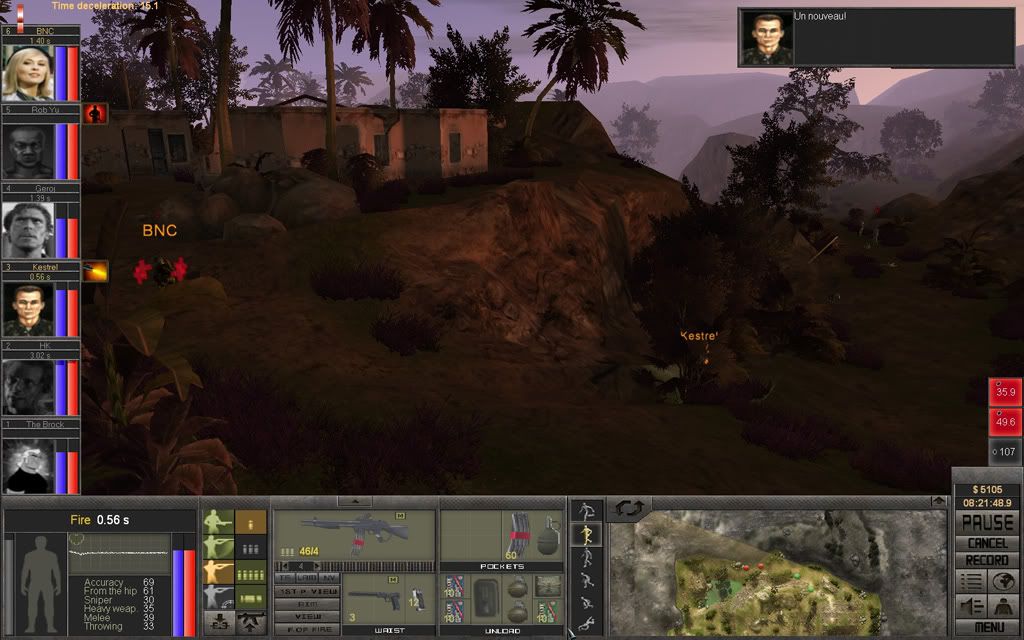
BNC gets hit, there's too many enemies to keep busy.
HK finally gets a more difficult target, one that is prone and behind some cover.
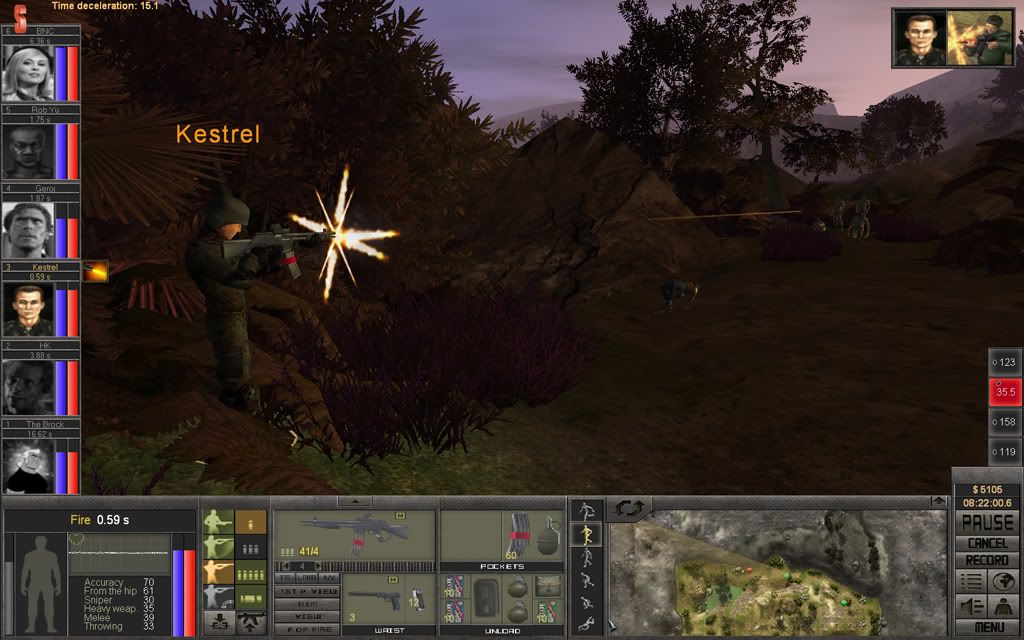
Kestrel, by shooting at the enemy most likely to get a shot off before any other, manages to keep the enemy at bay. With a little help from BNC of course.
HK's second attempt misses as well.
The Brock takes out an enemy skirmisher trying to get closer to HK.
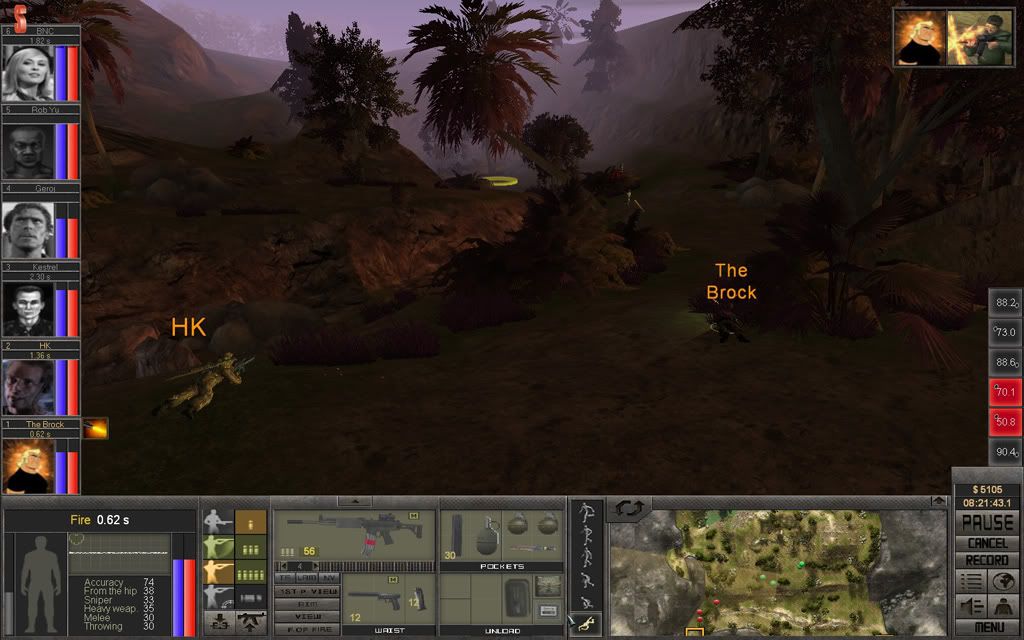
Third time's the charm, HK finally hits his target.
Things are starting to get under control at the northern front, only a few enemies left, none able to fight back efficiently.
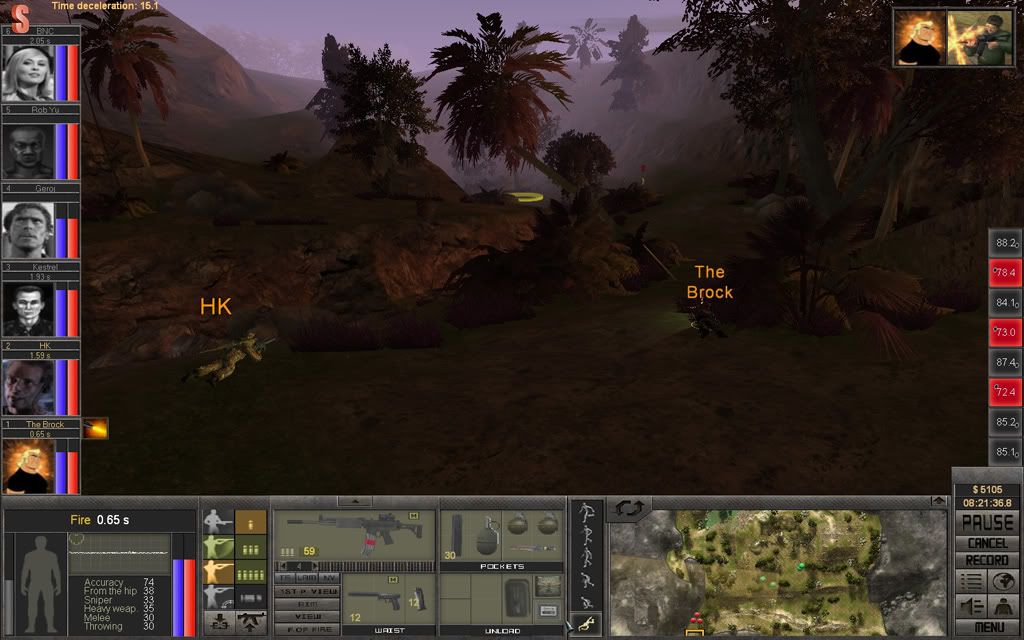
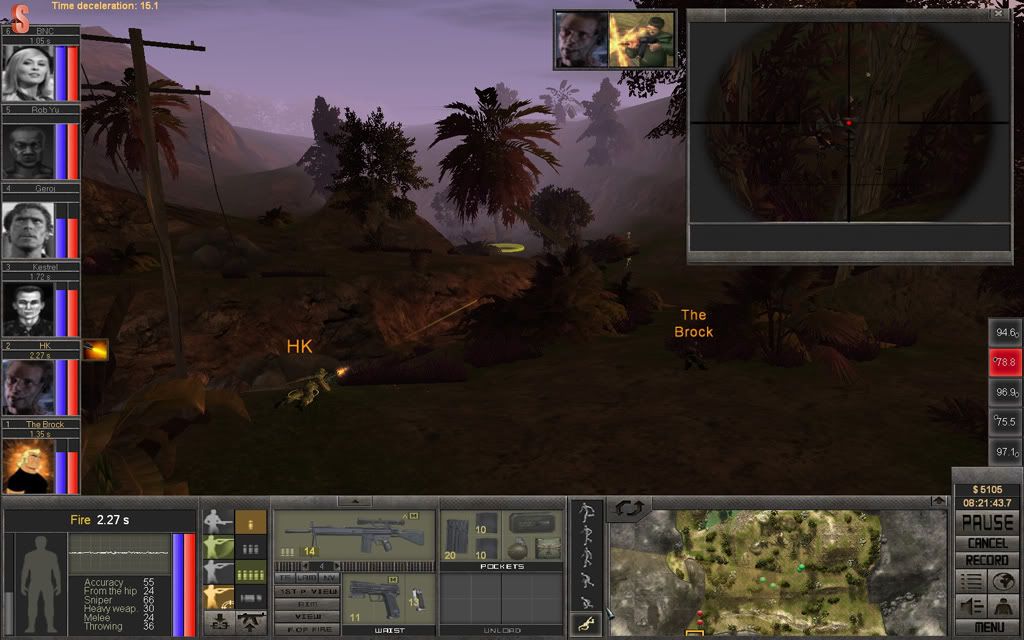
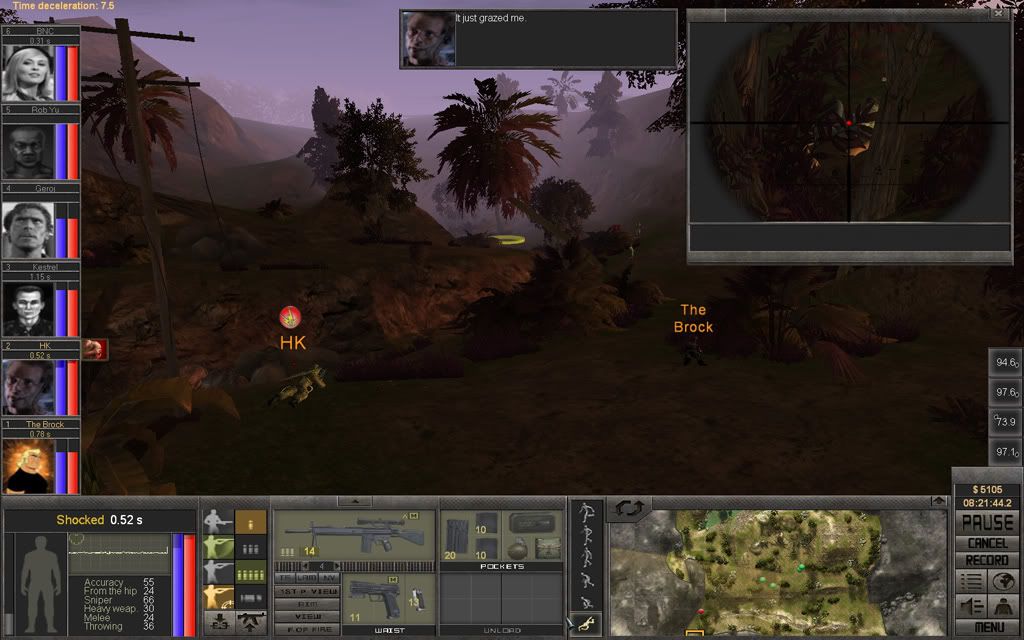
As HK is about to start looking for the next target he gets hit, he never saw where the fire was coming from.
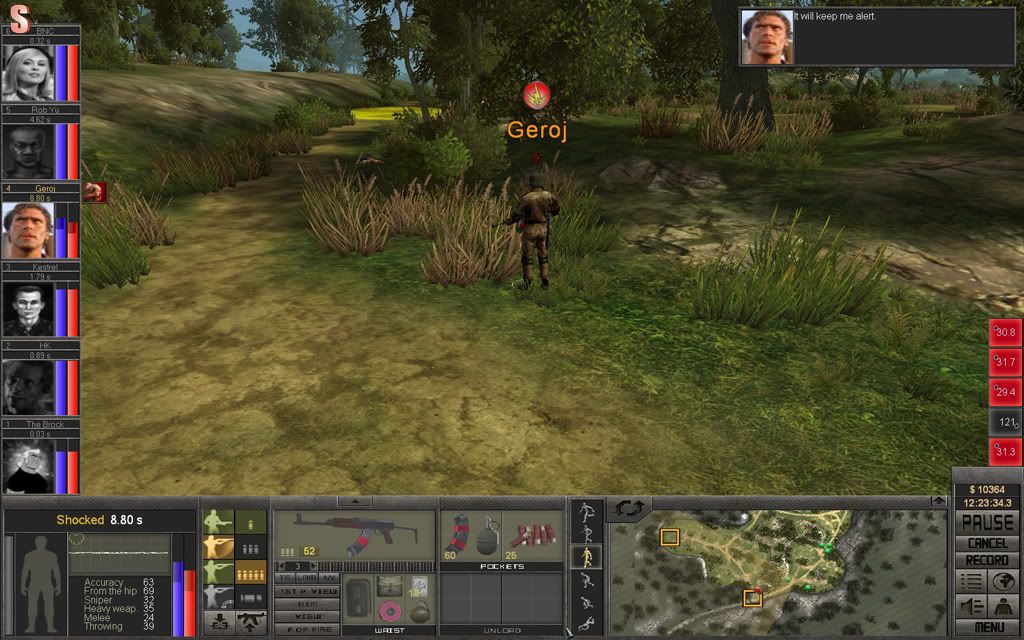
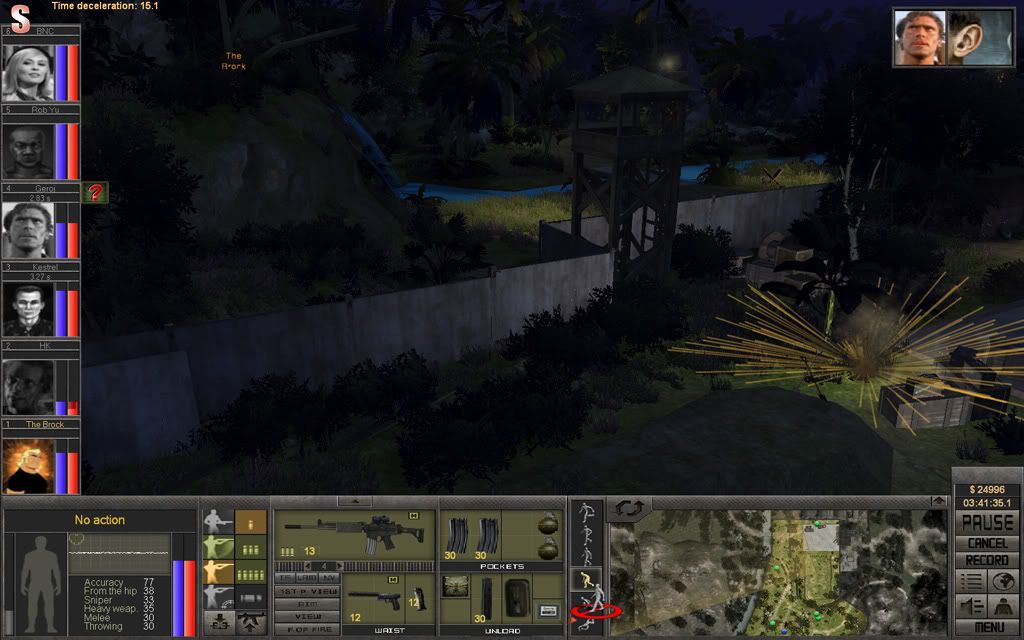
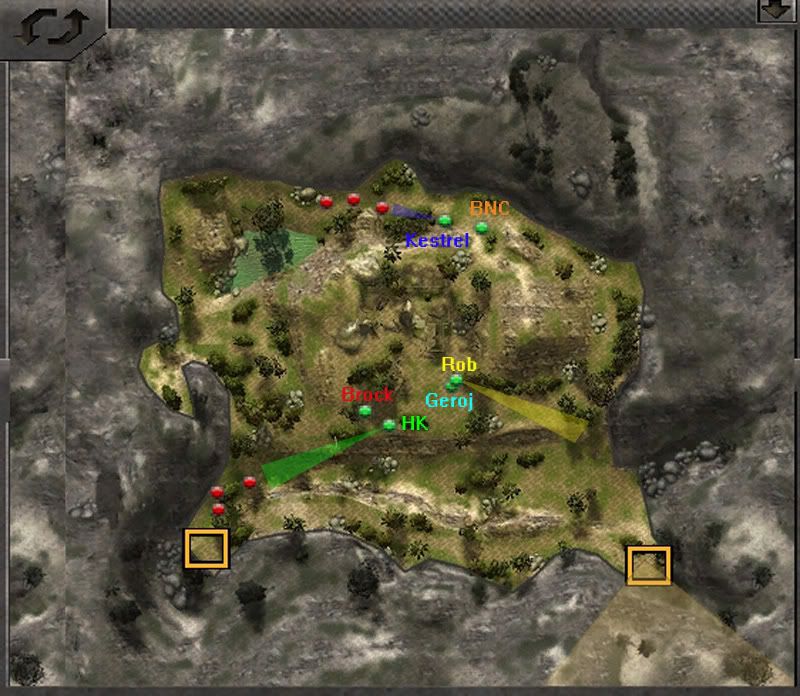
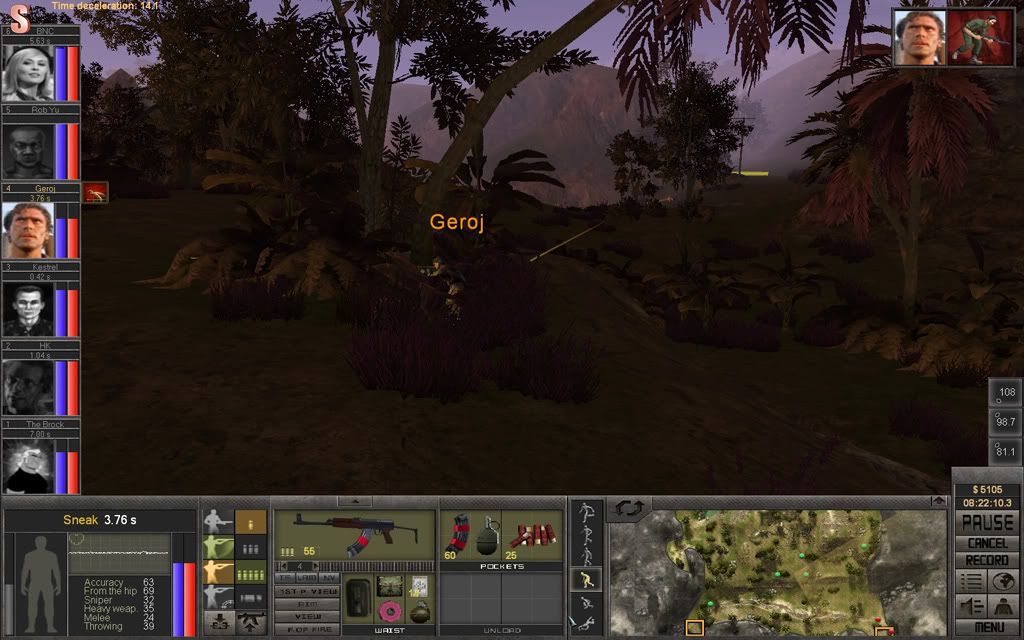
HK will pull back to avoid being hit again. BNC will move back and bandage her wound. Geroj will displace and cover the south-eastern entry point from a better vantage point.
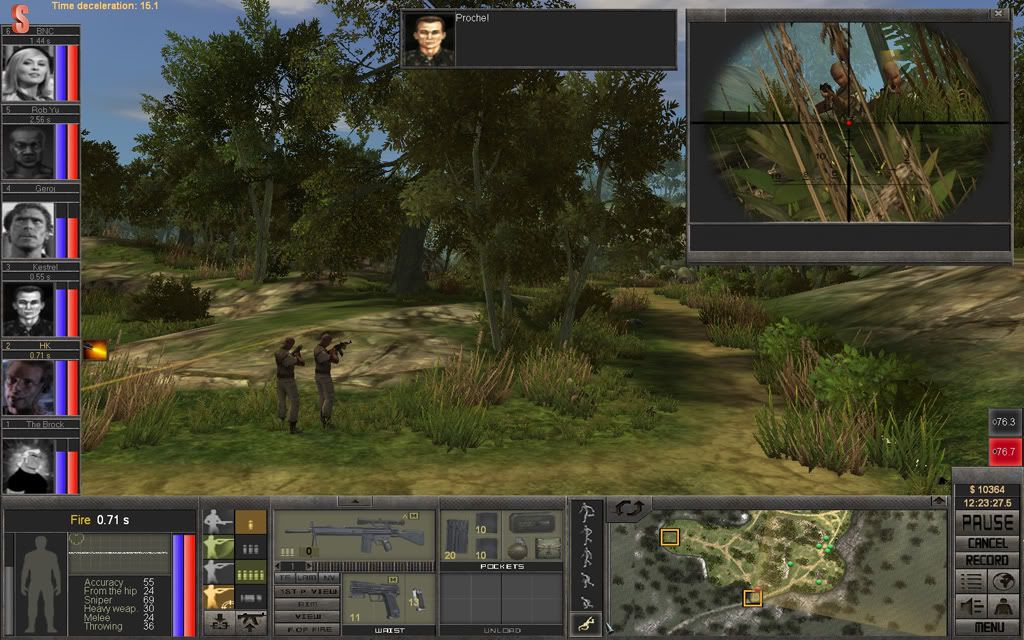
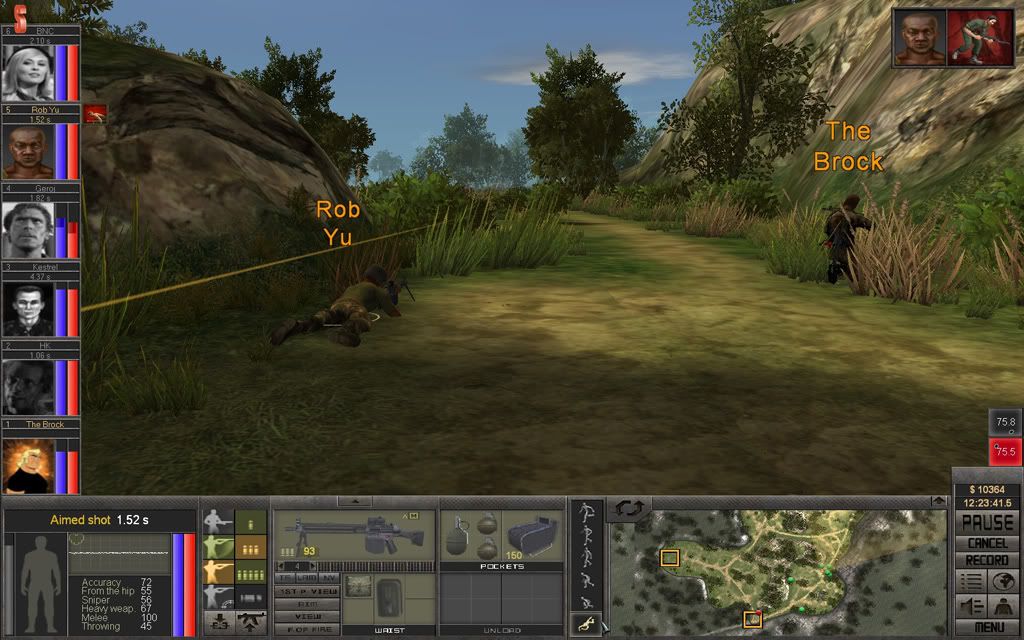
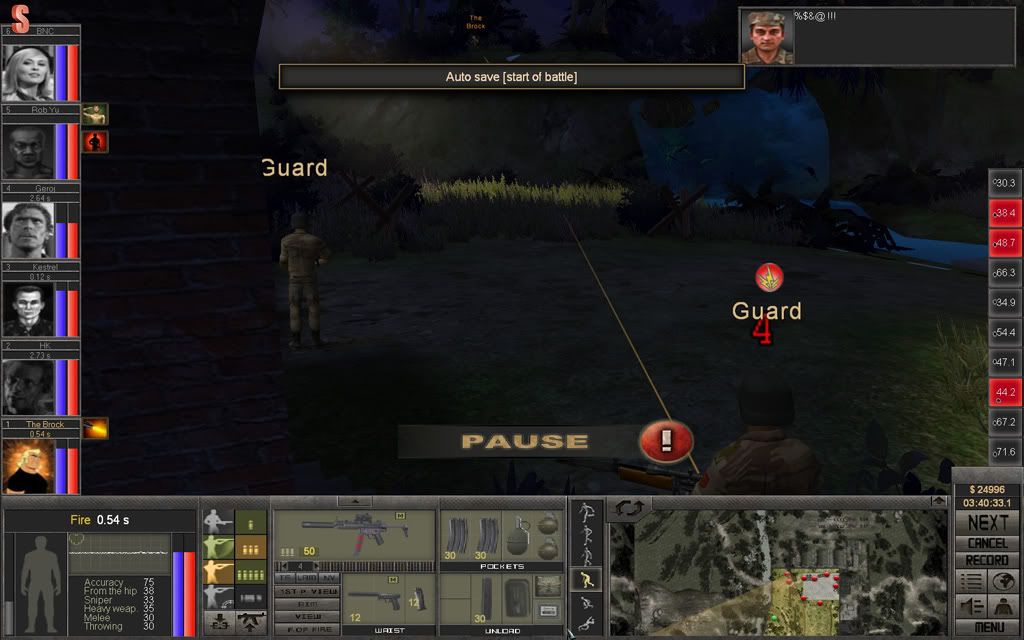
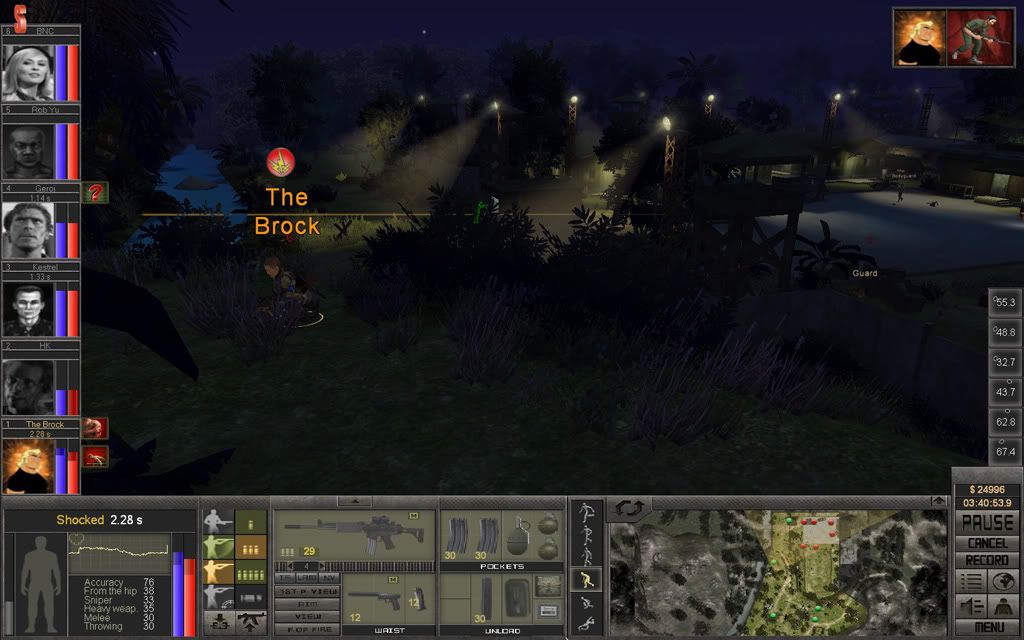
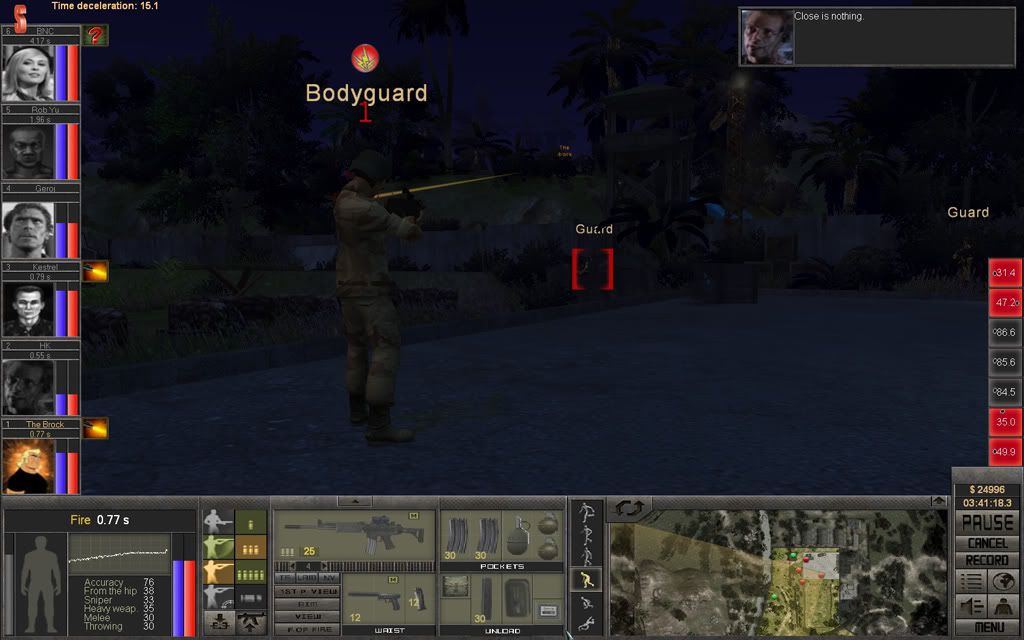
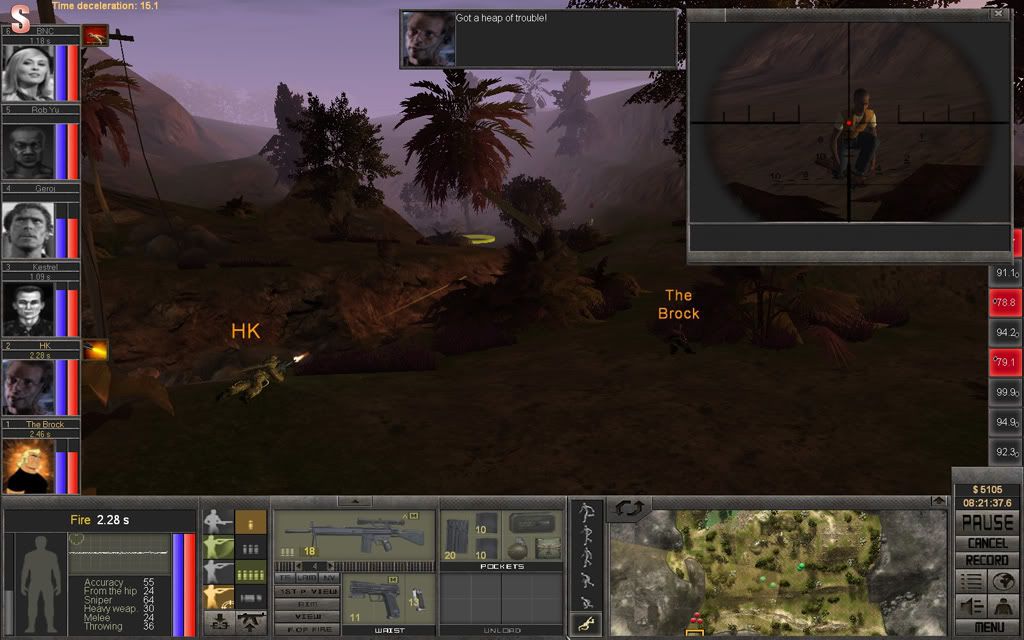
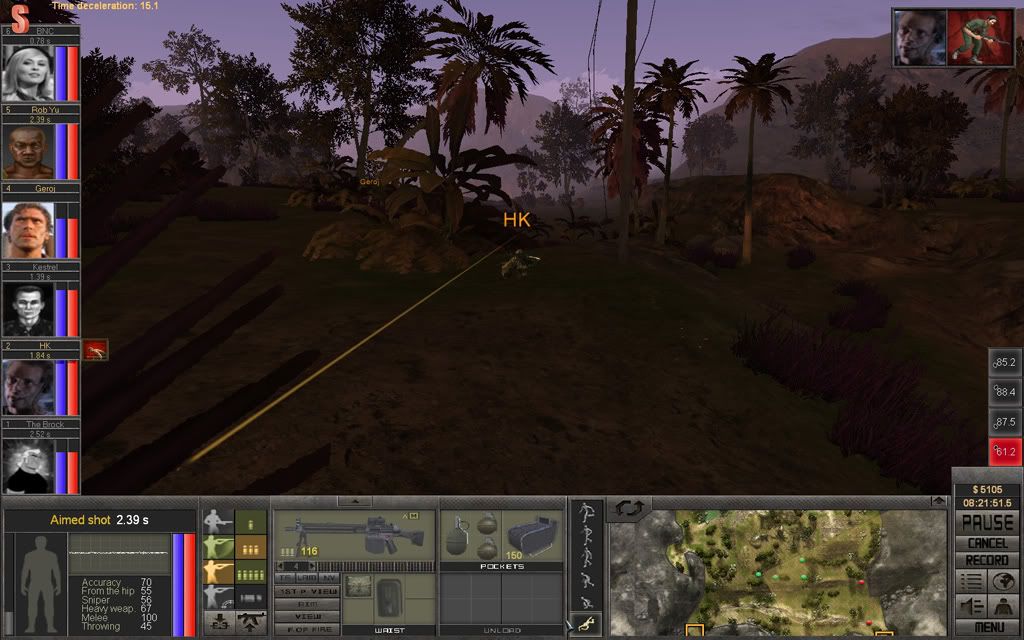
As HK starts crawling, the mystery shooter reveals her position somewhere near the south-eastern entry point. Judging by the accuracy of the bullets flying by, it's probably an enemy equipped with a sniper rifle.
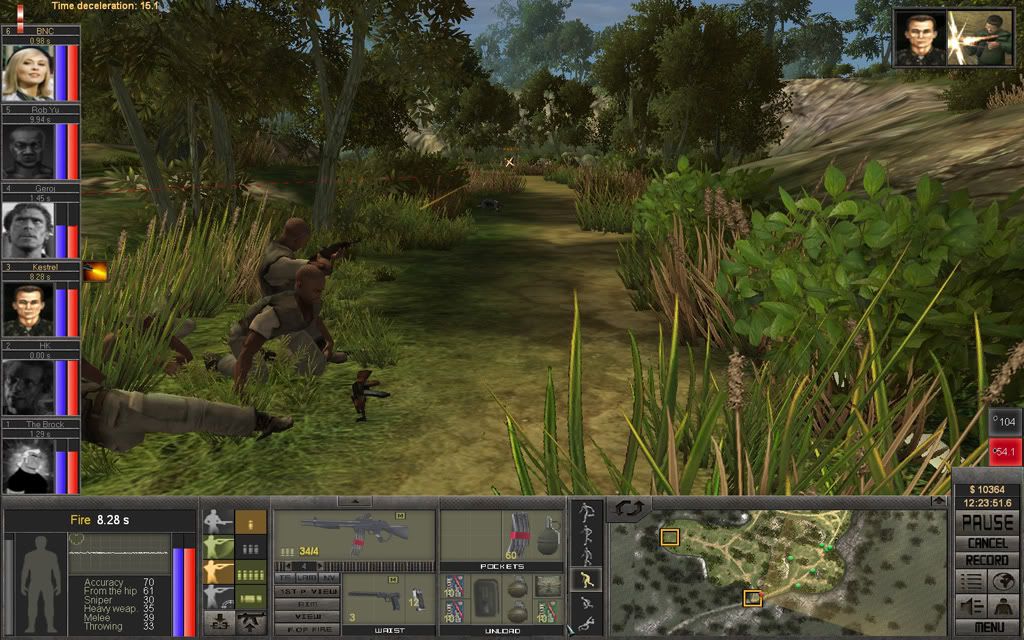
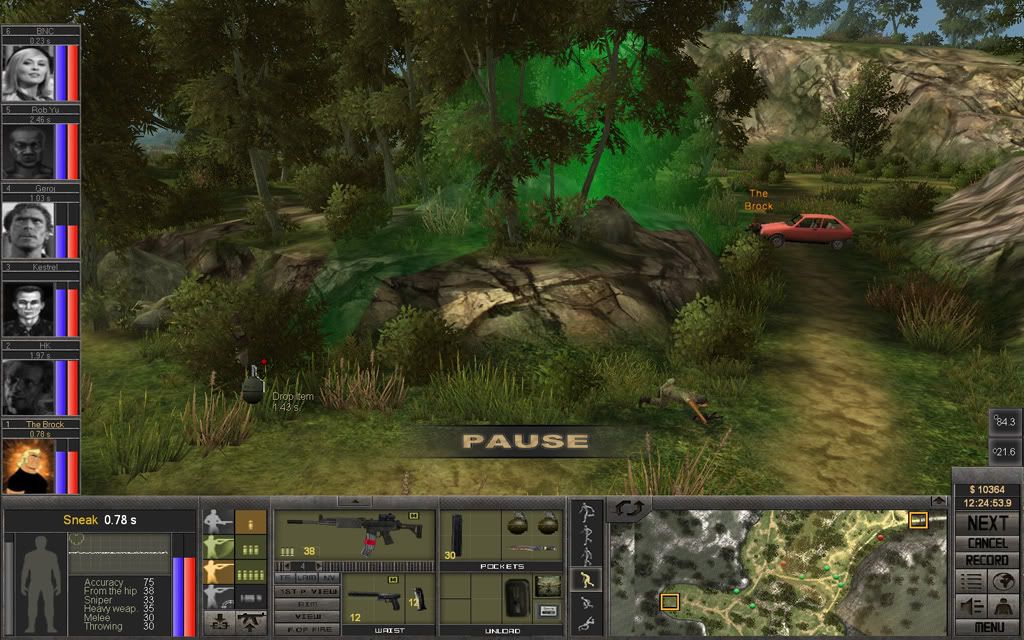
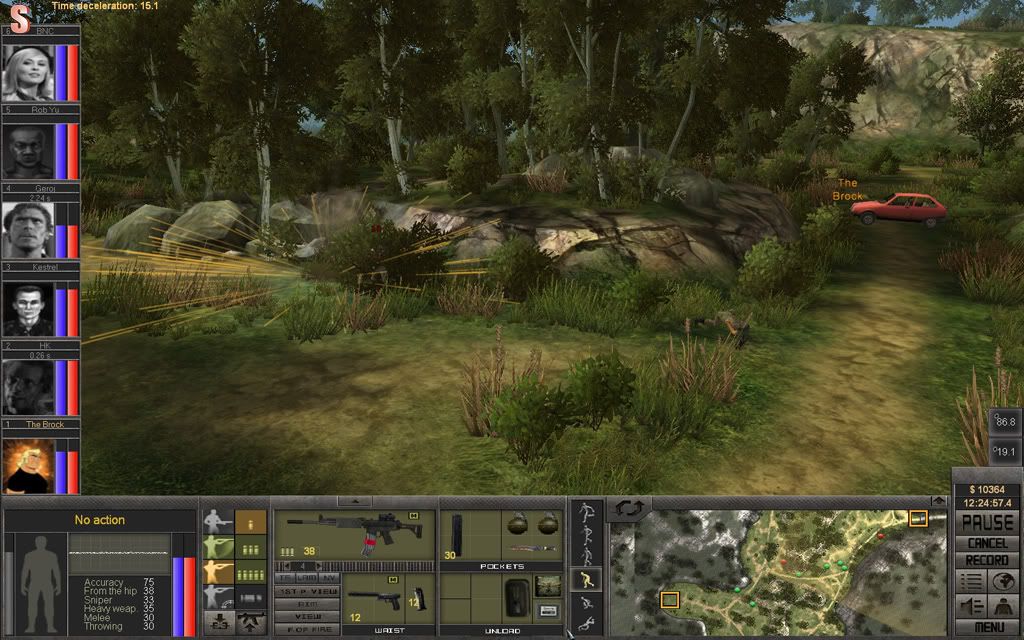
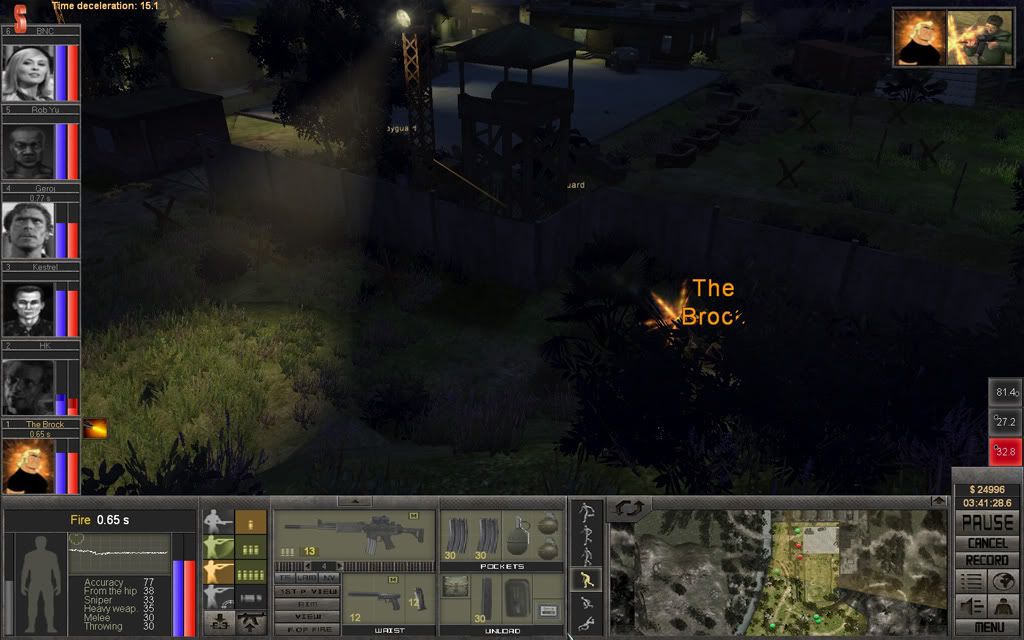
The Brock spots another enemy, brings him down with a few shots from his newly acquired Bofors AK5.
The sniper fire still comes over their heads, they need to do something about it, and soon.
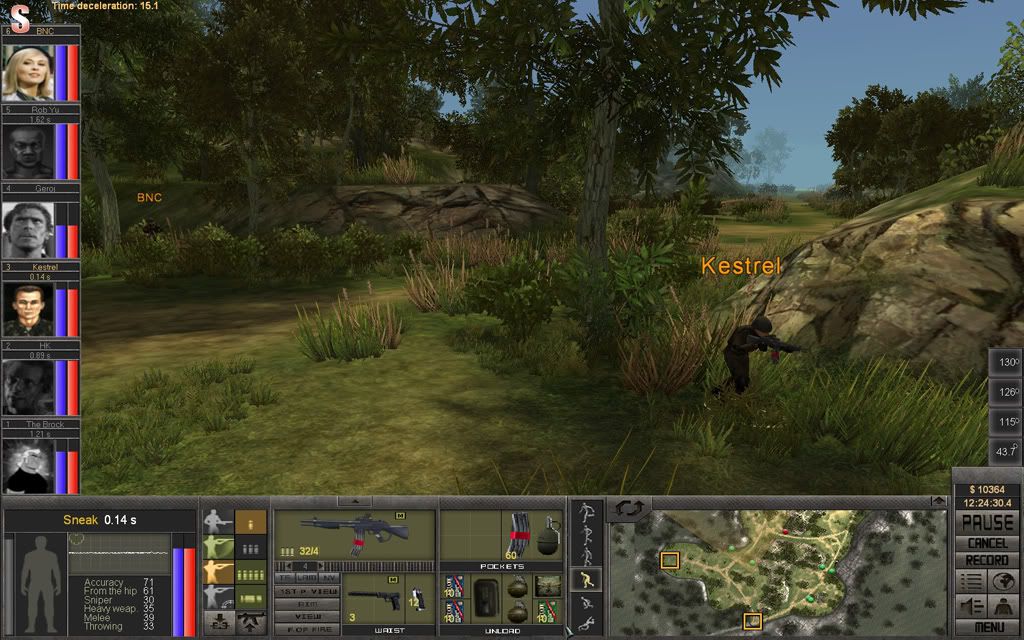
Kestrel only has 2 enemies left, both without any weapons, easy pickings.
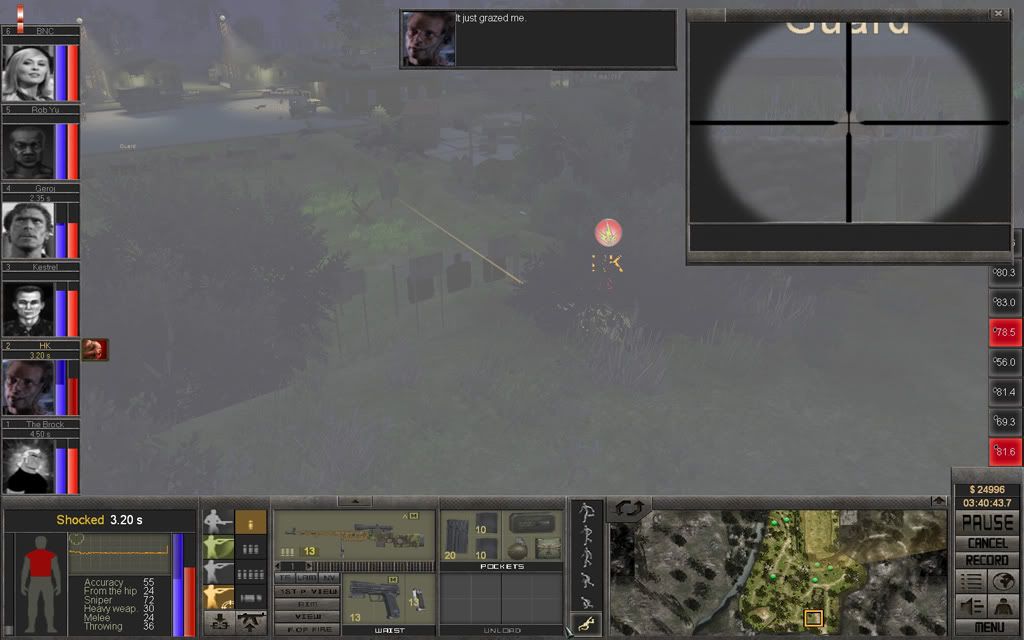
Damn that sniper! That was a close one.
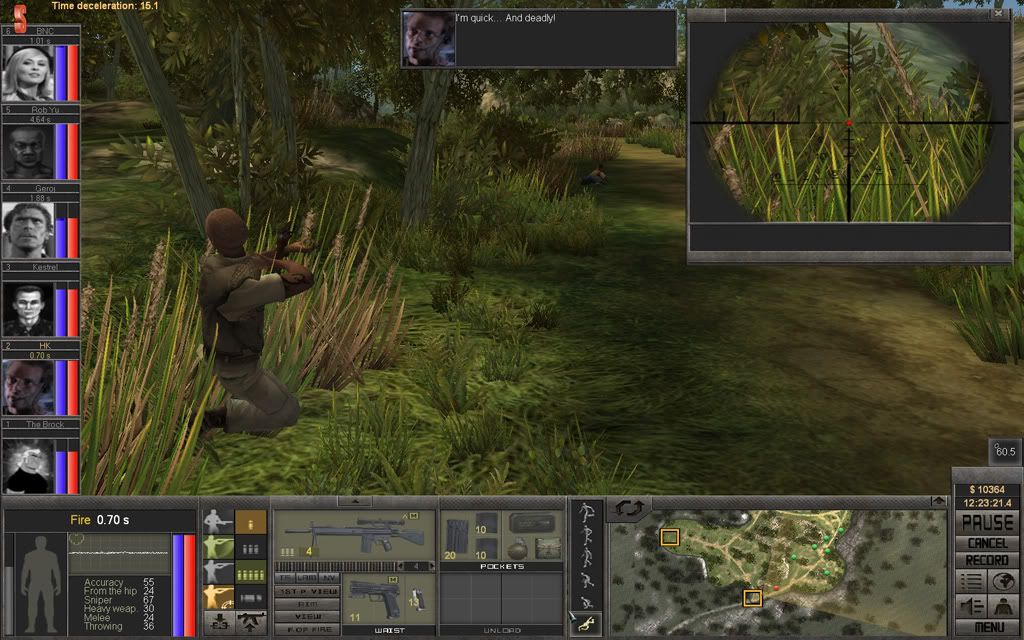
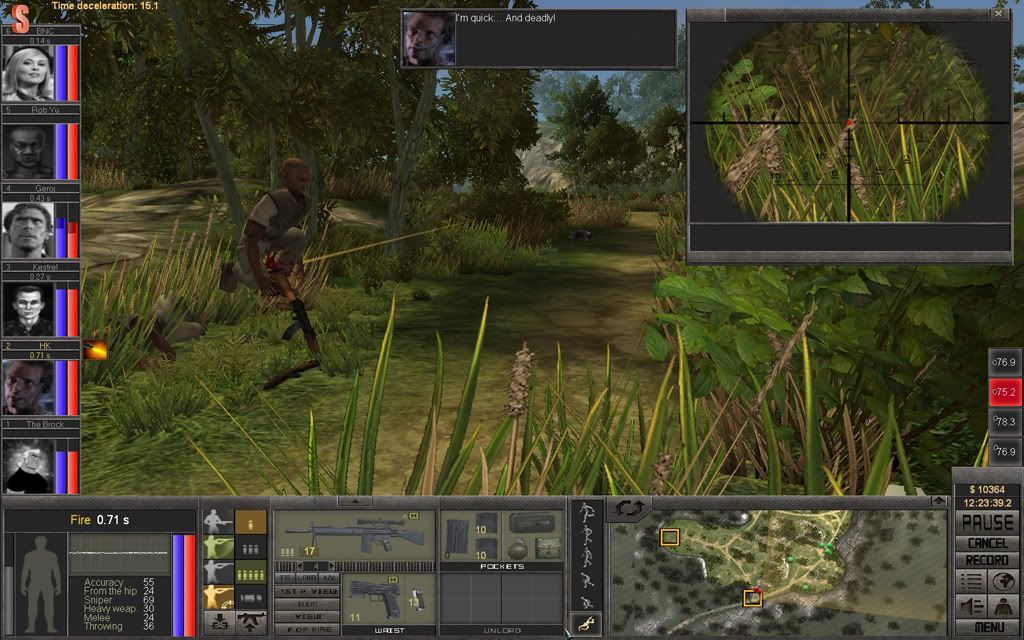
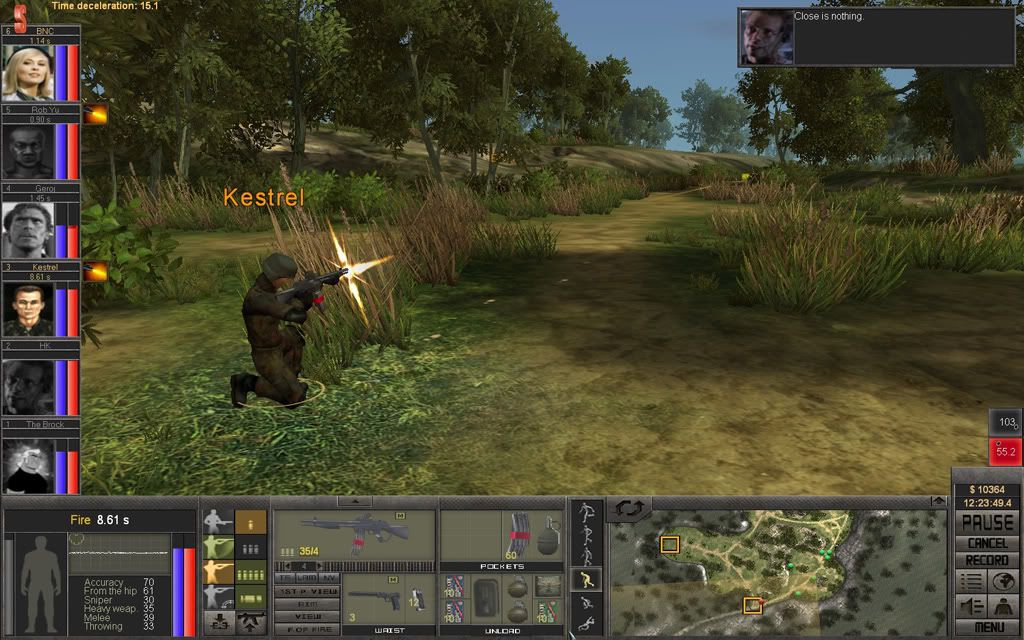
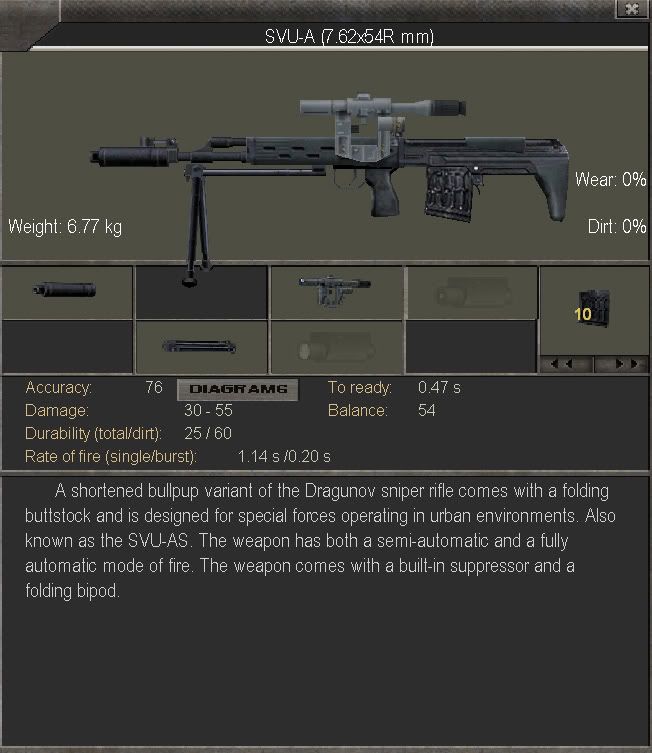
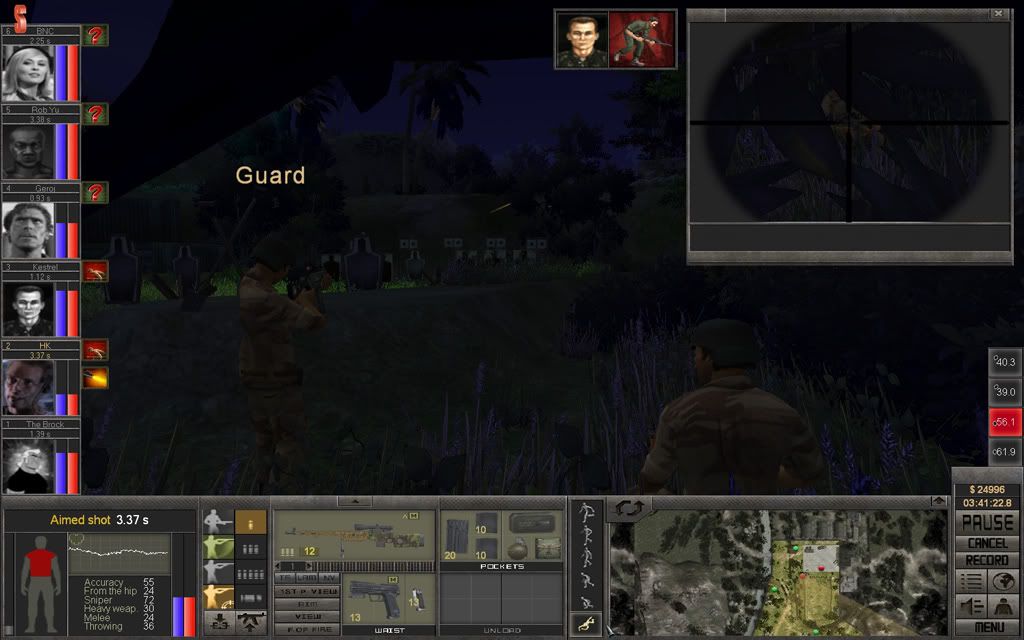
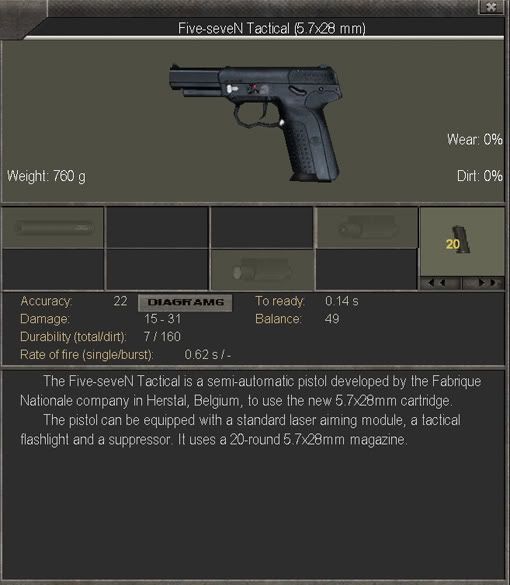
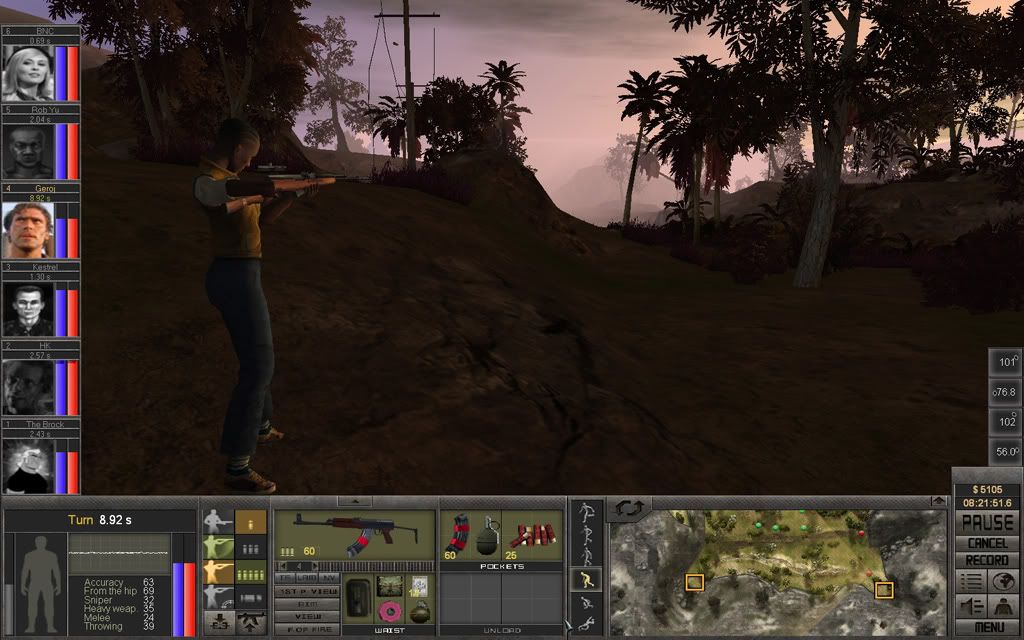
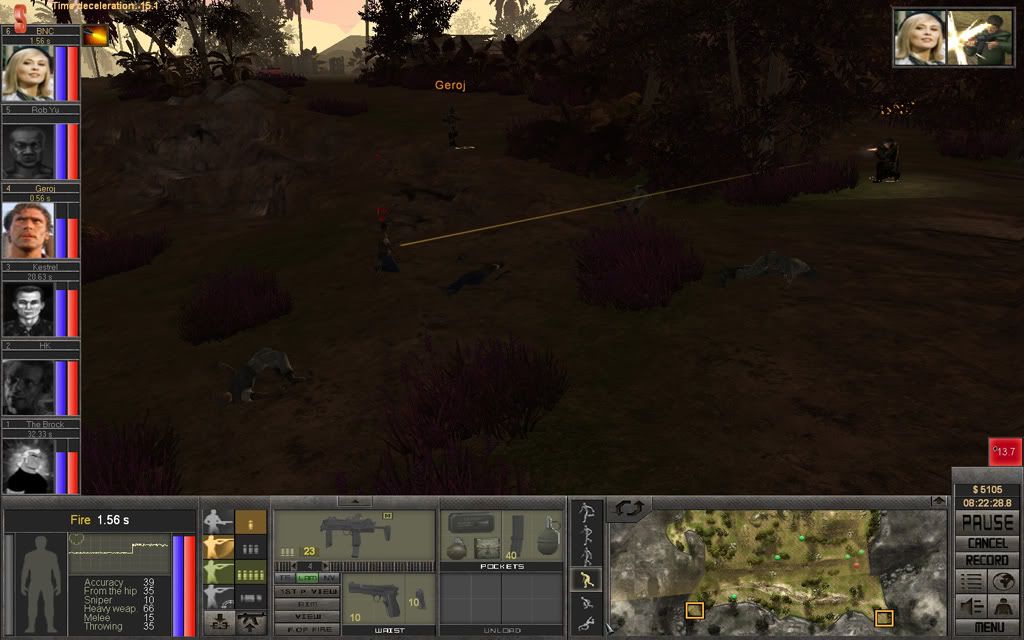
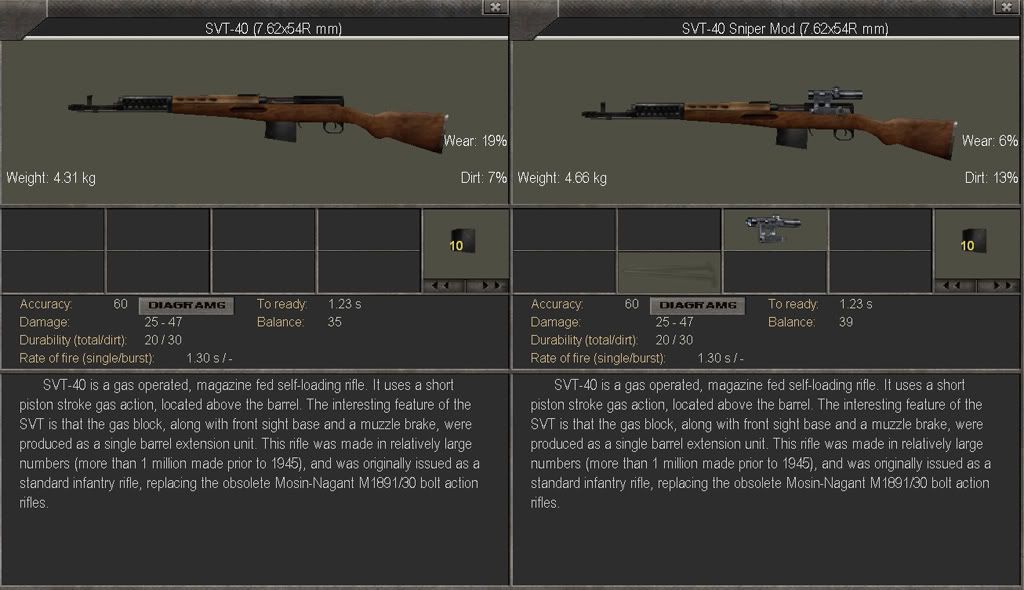
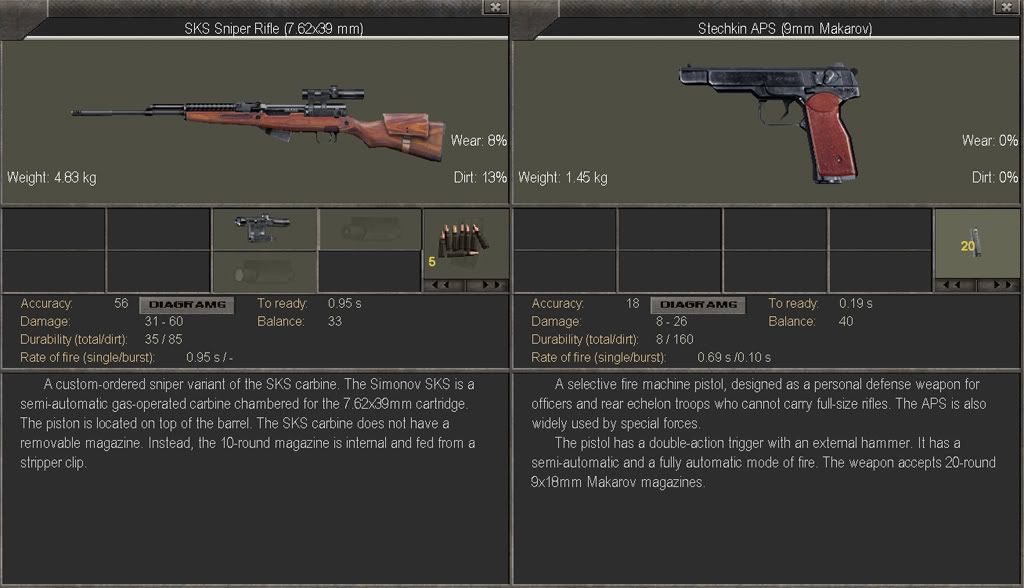
And here she is, using her SKS sniper variant to deliver those well aimed shots.
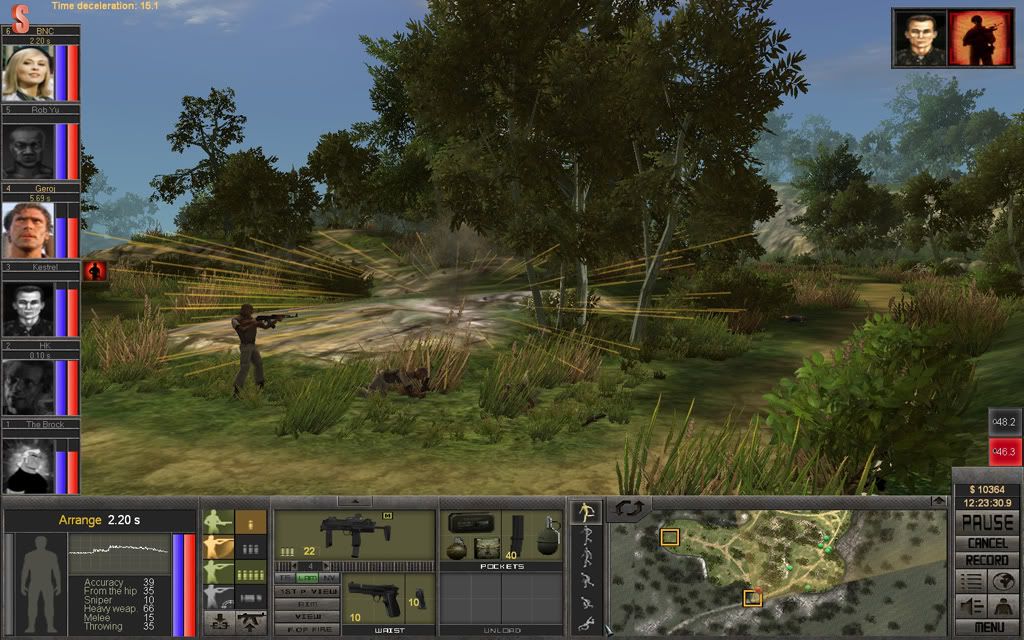
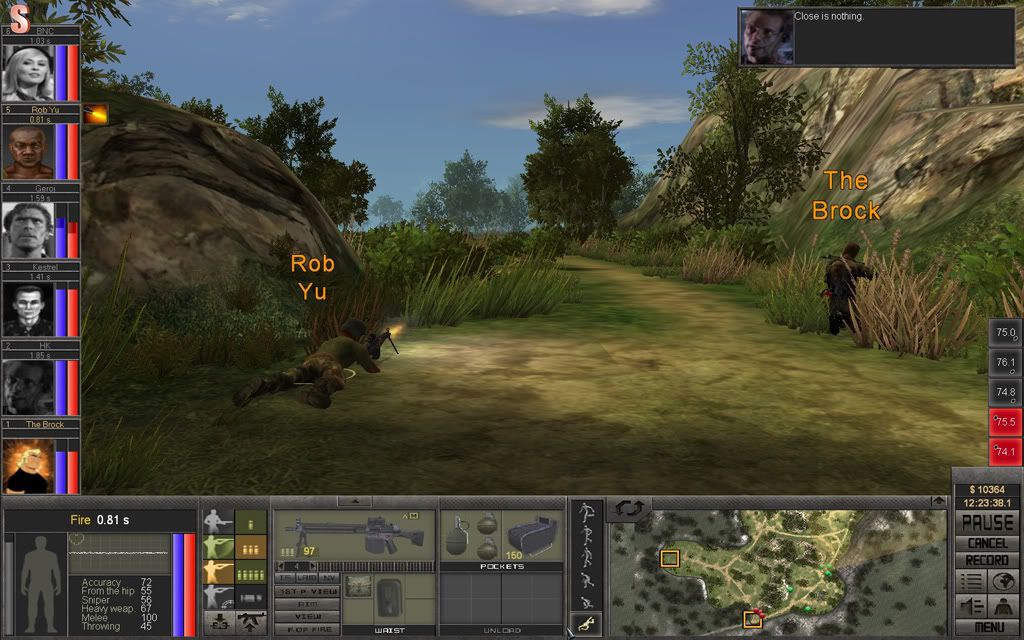
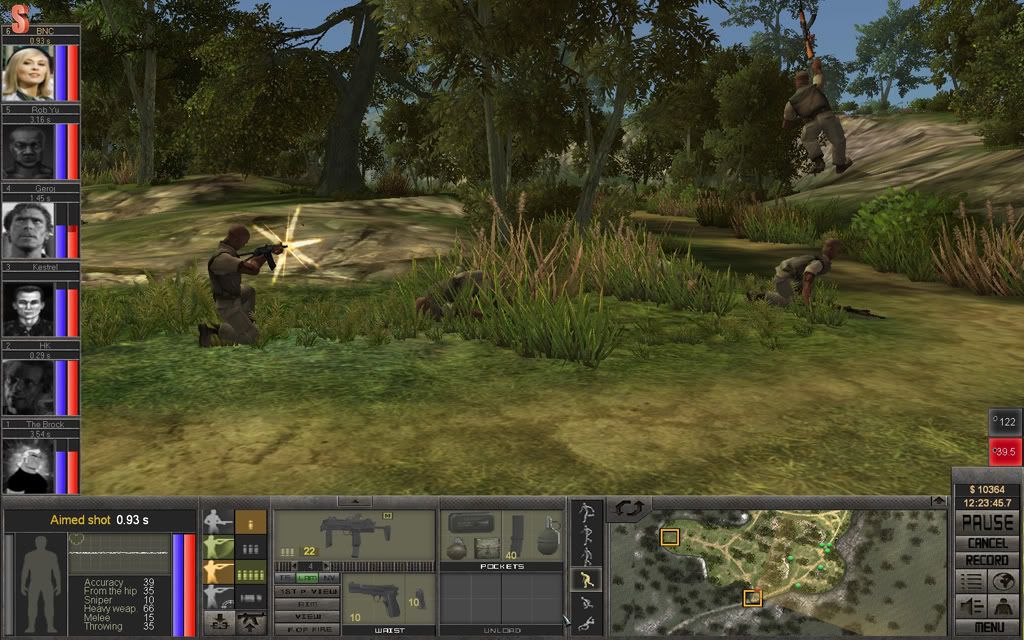
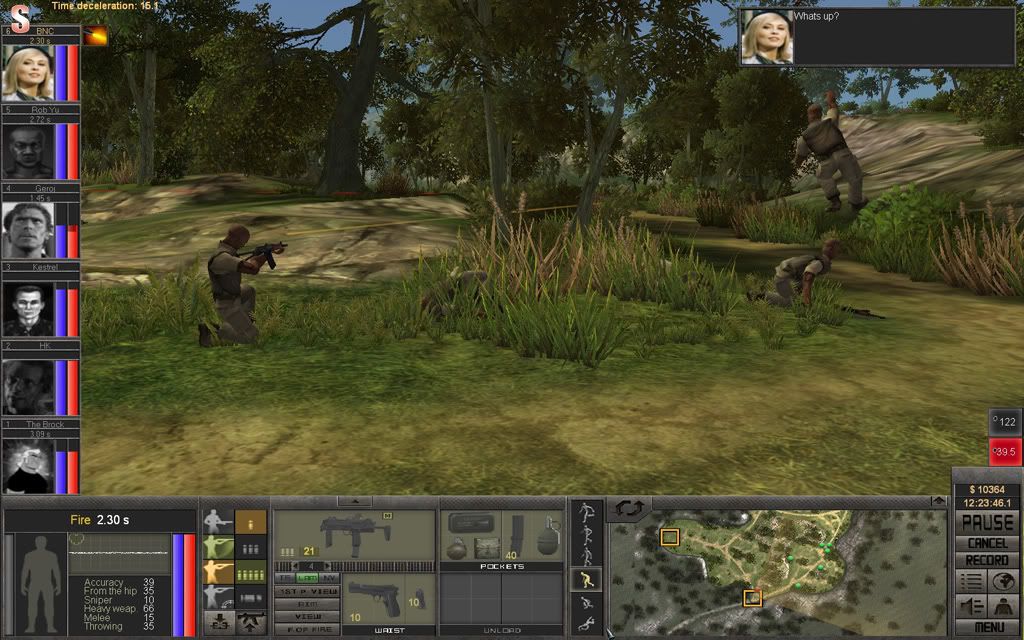
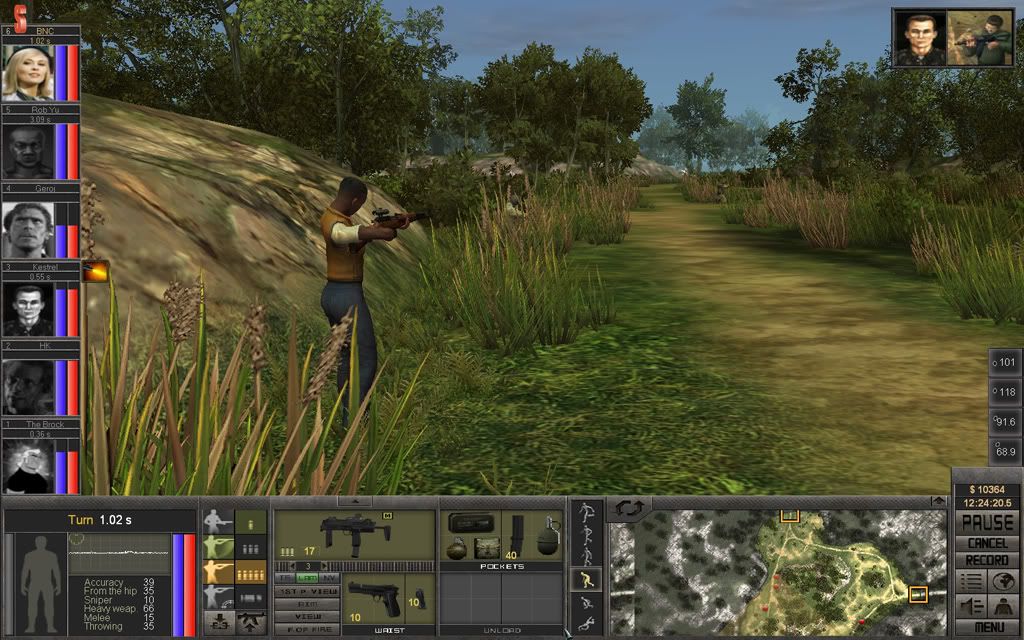
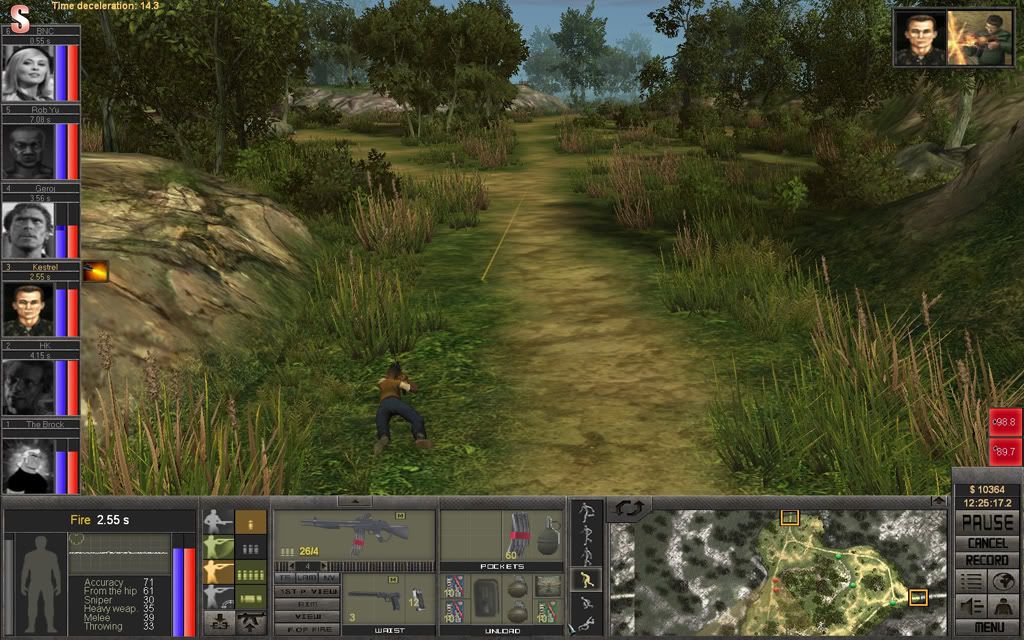
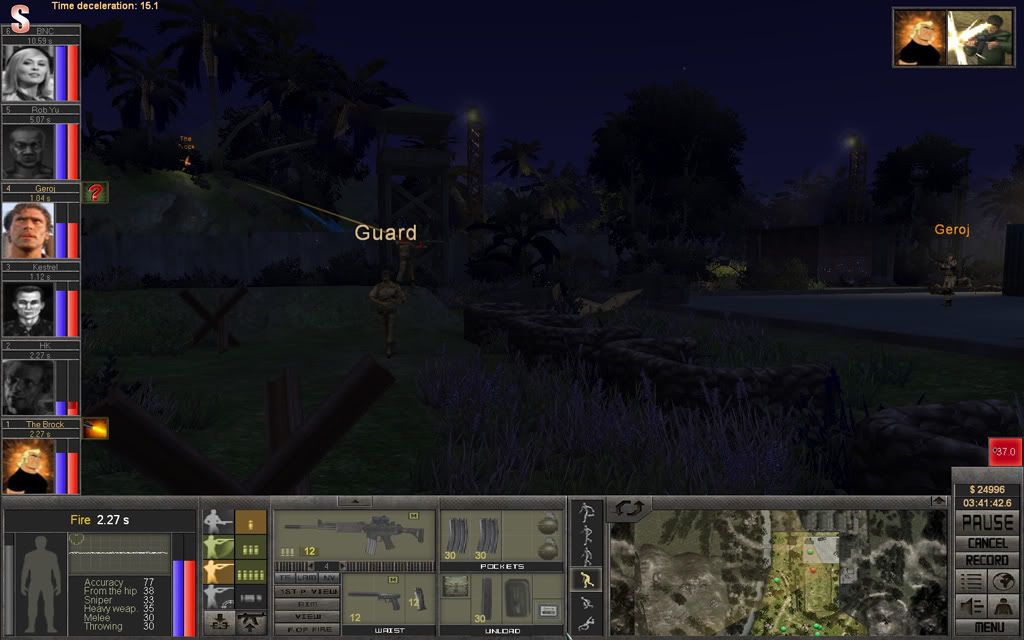
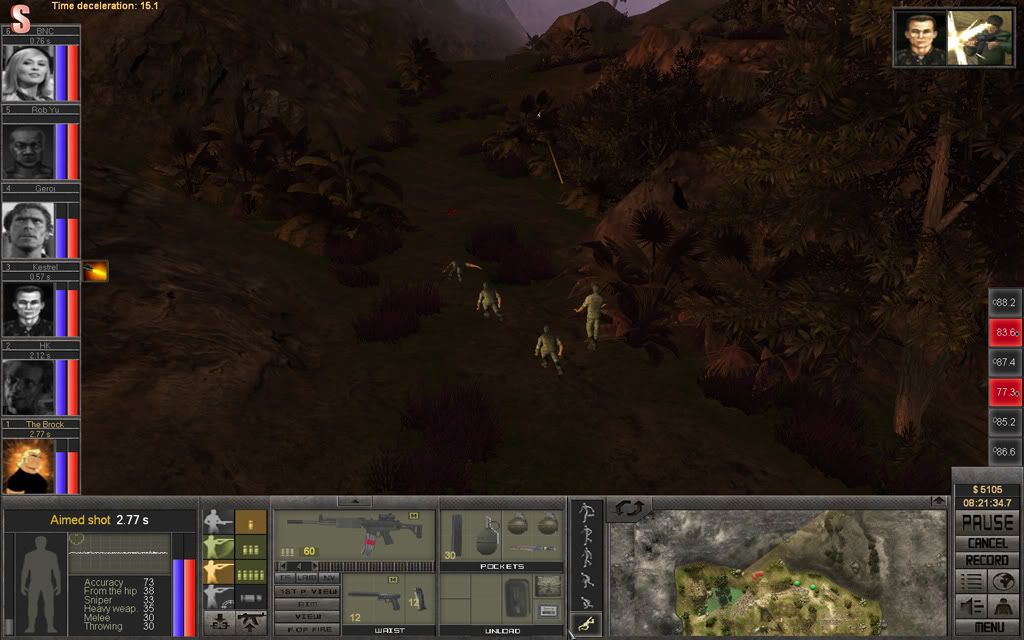
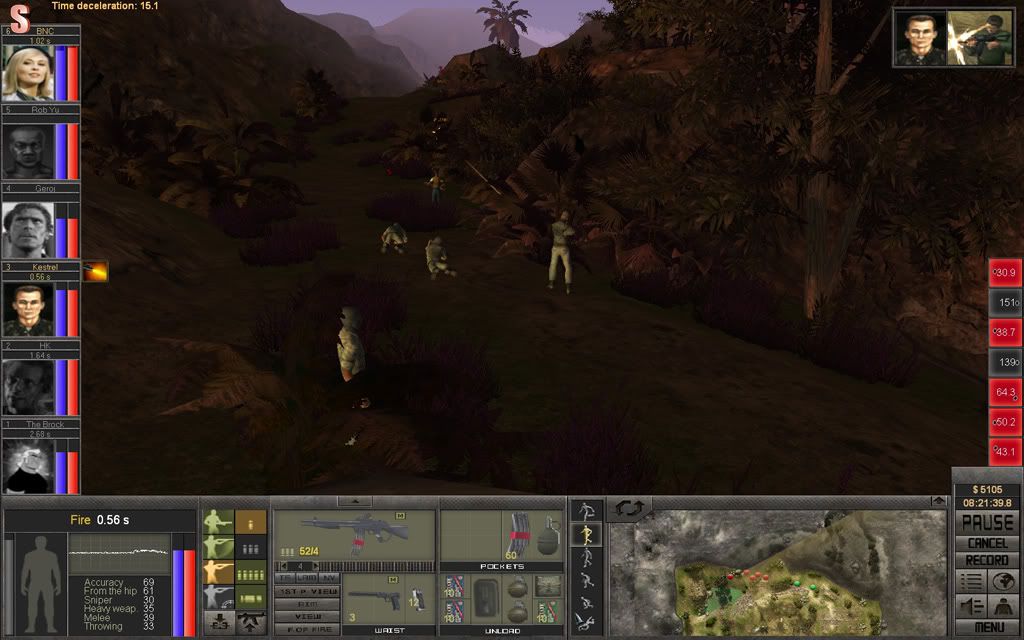
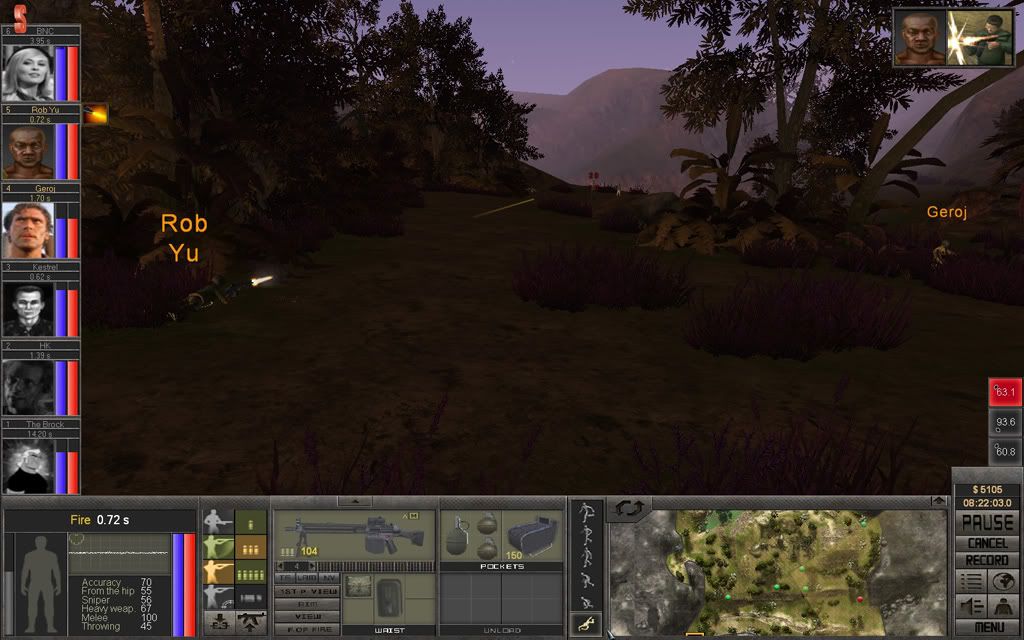
More enemies are now beginning to come from the south-western entry point, Rob Yu is ready for them with his HK23e.

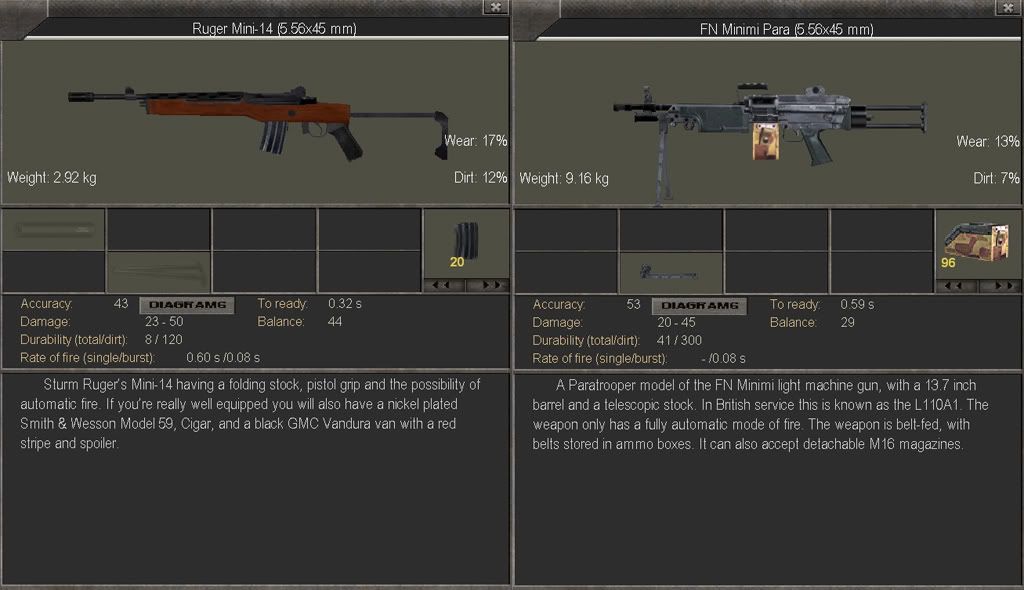
There seem to have been more enemy left than Kestrel had anticipated, an enemy with a FN Minimi Para comes running, and gets taken down quickly.
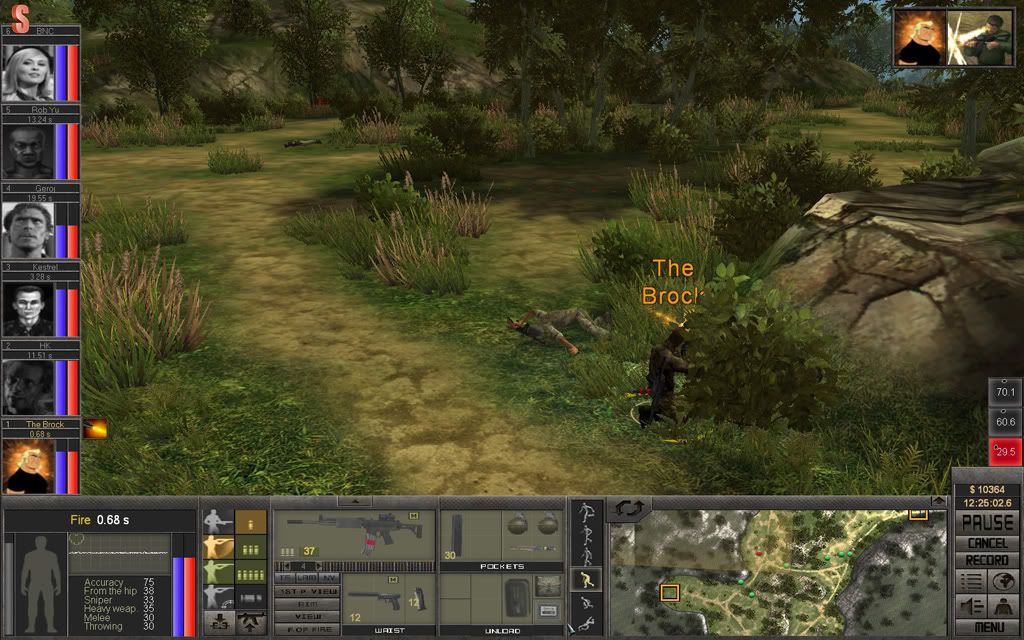
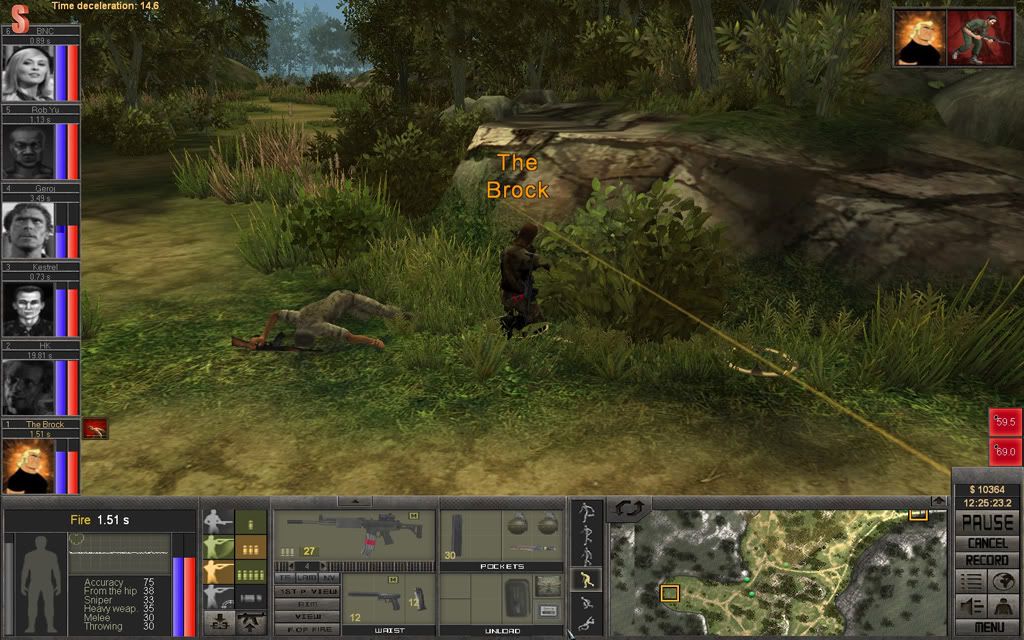
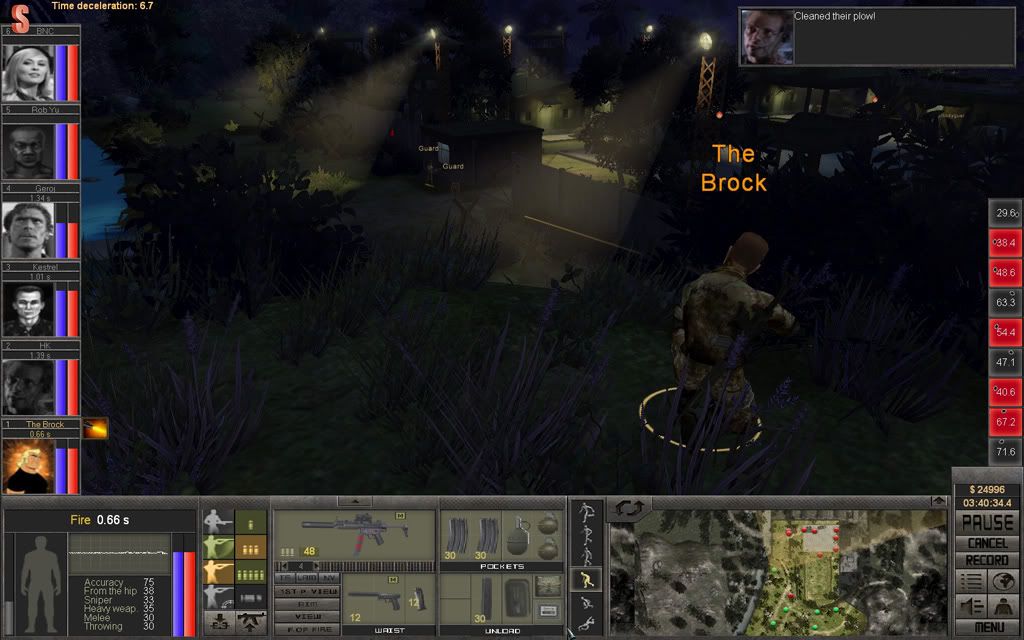
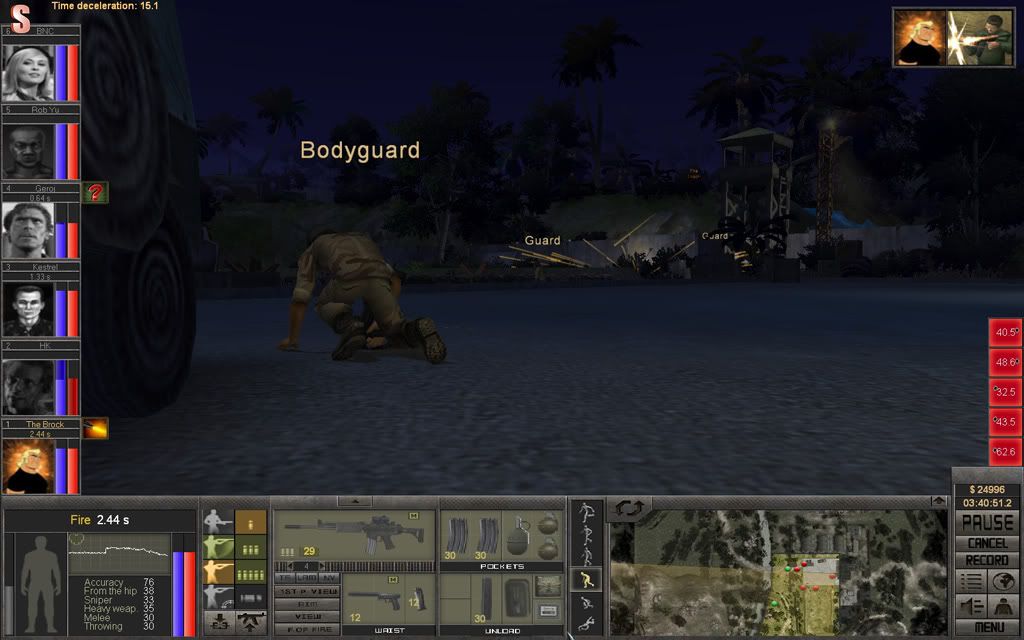
Kestrel will move up and finish of the final two at the northern front. The Brock will check out the south-eastern entry point more carefully while HK turns his G3SG/1 towards the south-western entry point. BNC will start a long flanking run to surprise the enemy there, and when she's there, Geroj will move up and support her.
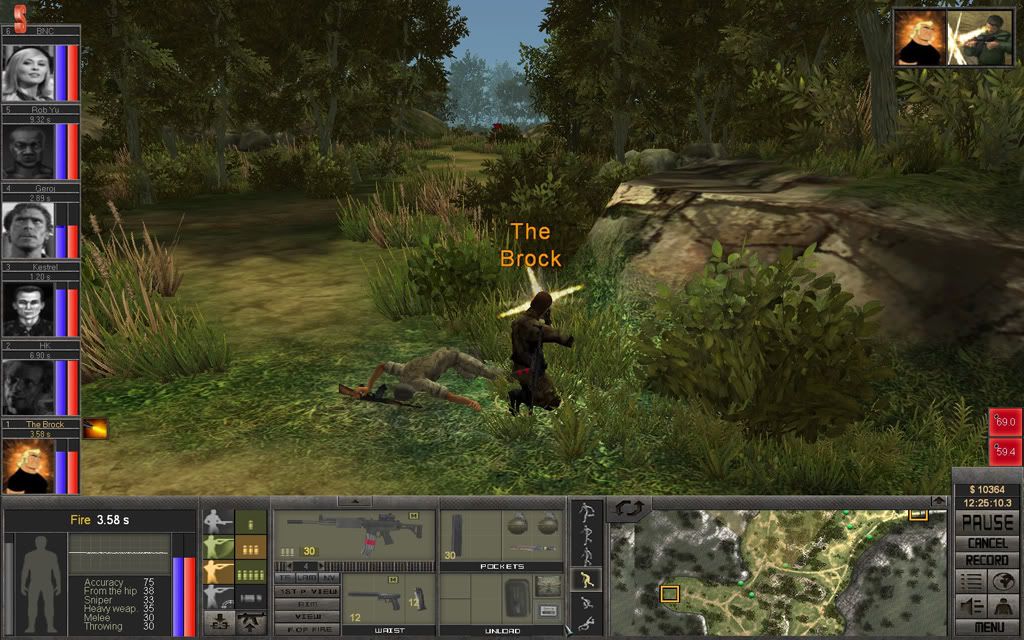
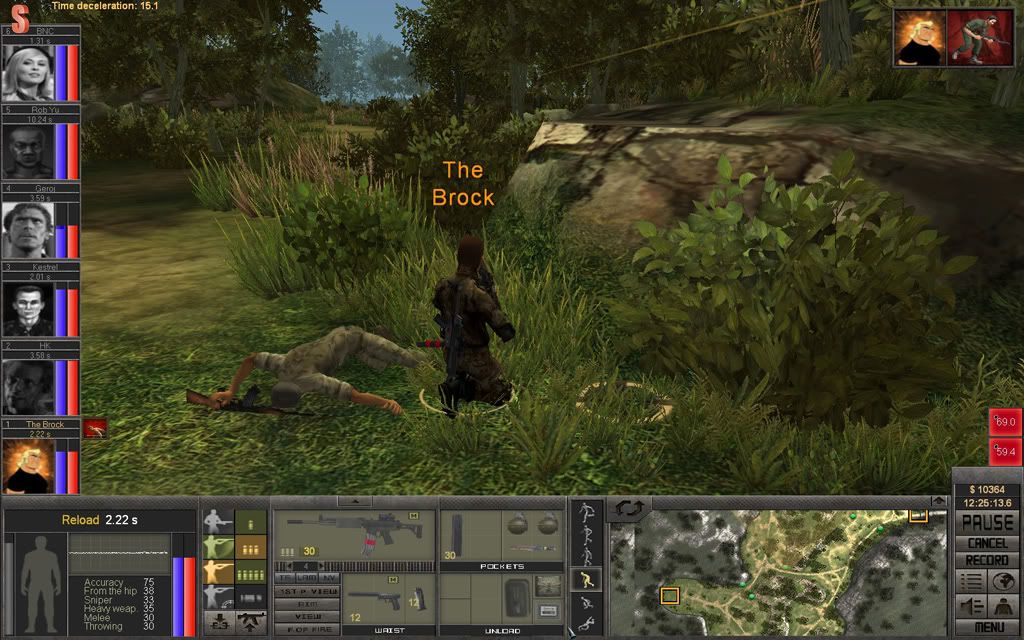
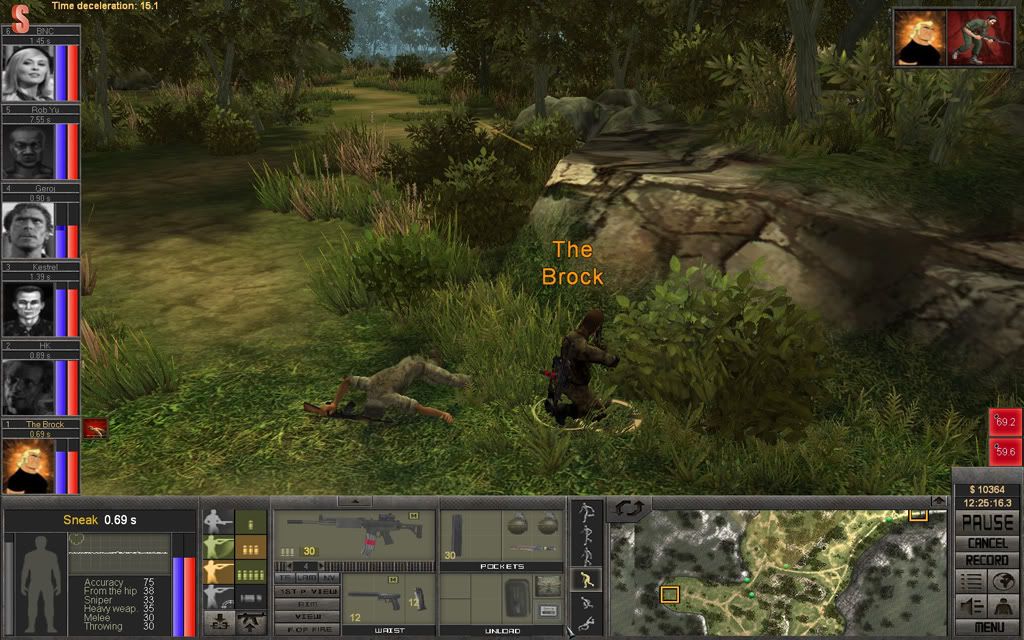
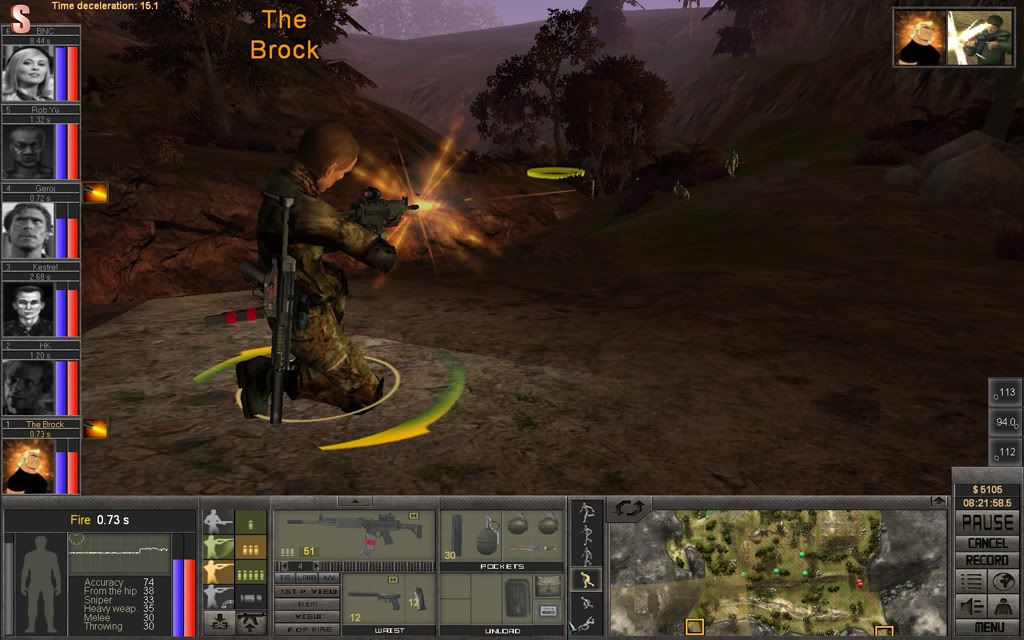
The Brock doesn't get far before an enemy reveals himself, and luckily misses.
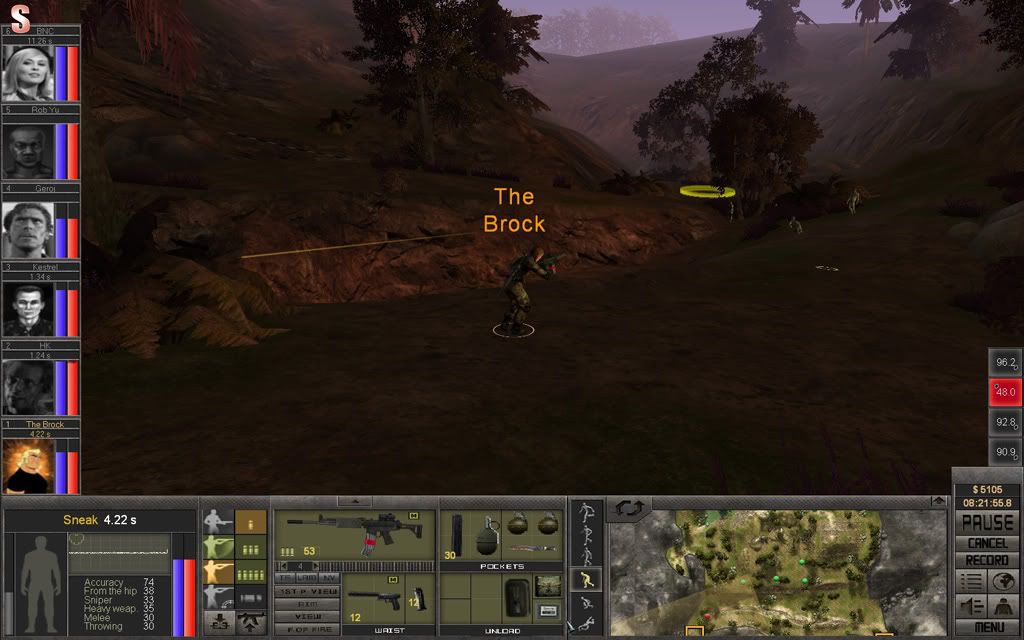
The Brock doesn't.
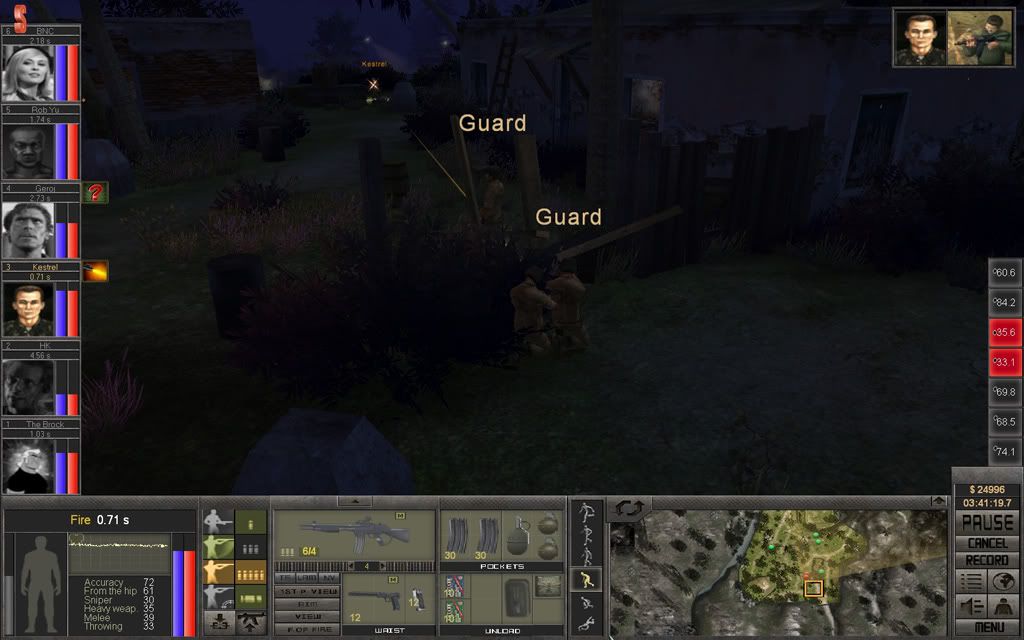
Kestrel brings down one of his targets, then moves forward.
Rob Yu takes care of another enemy, the HK23e very accurate when shooting short controlled bursts.
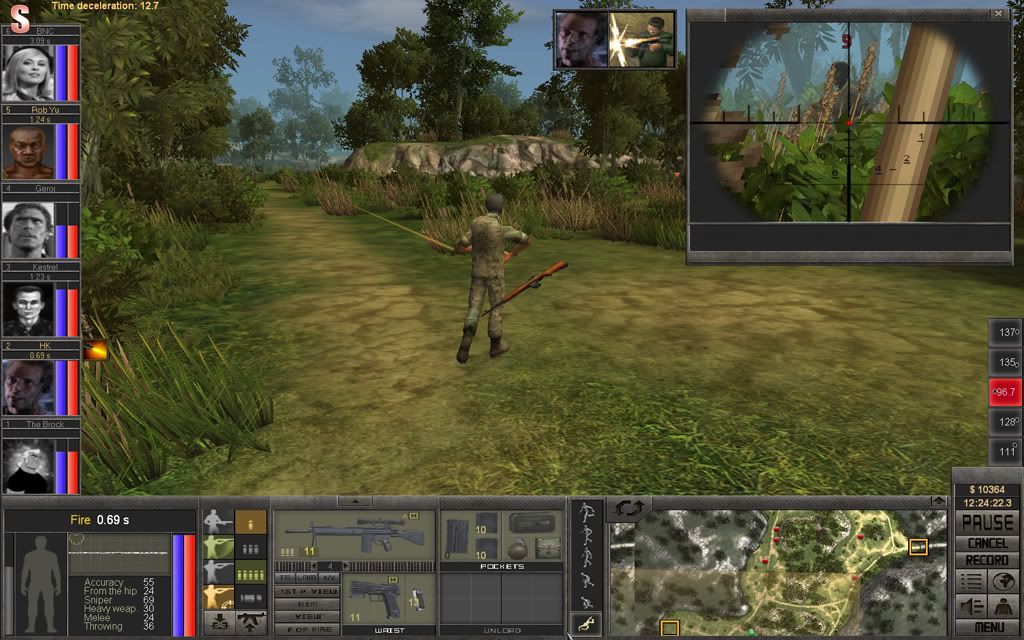
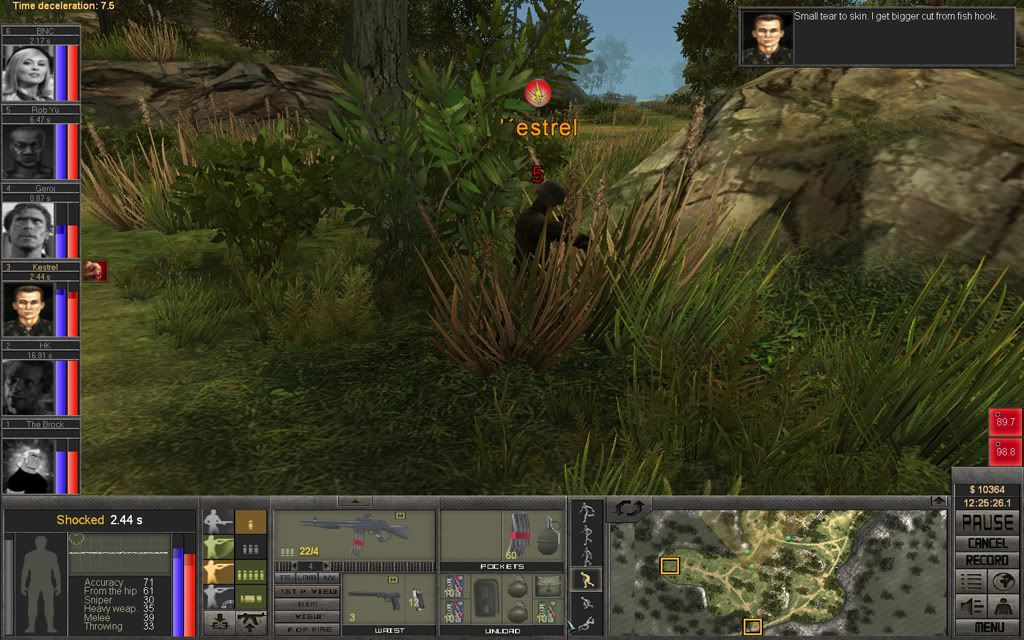
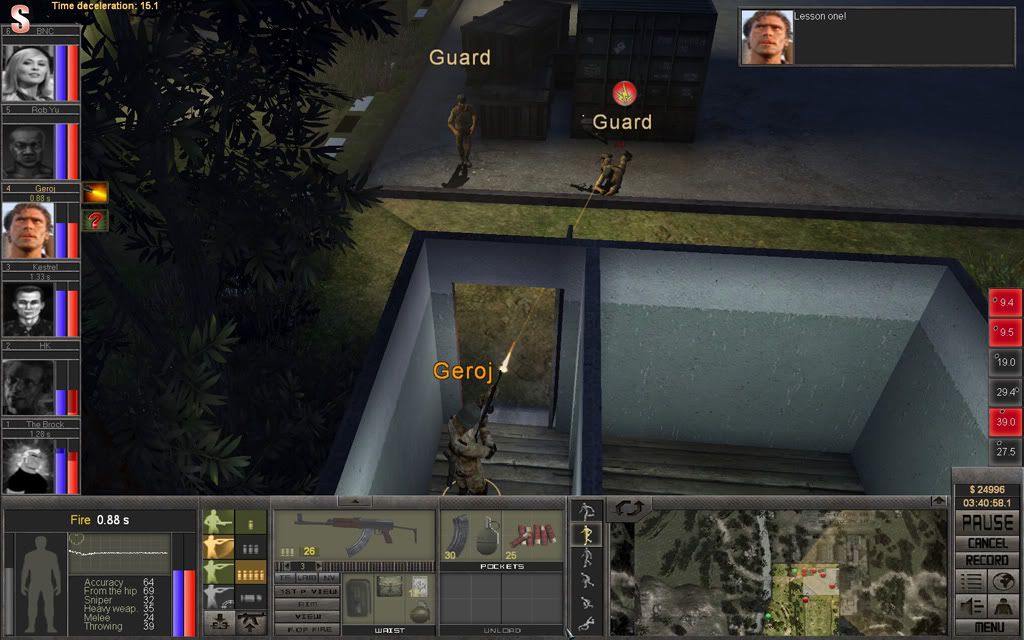
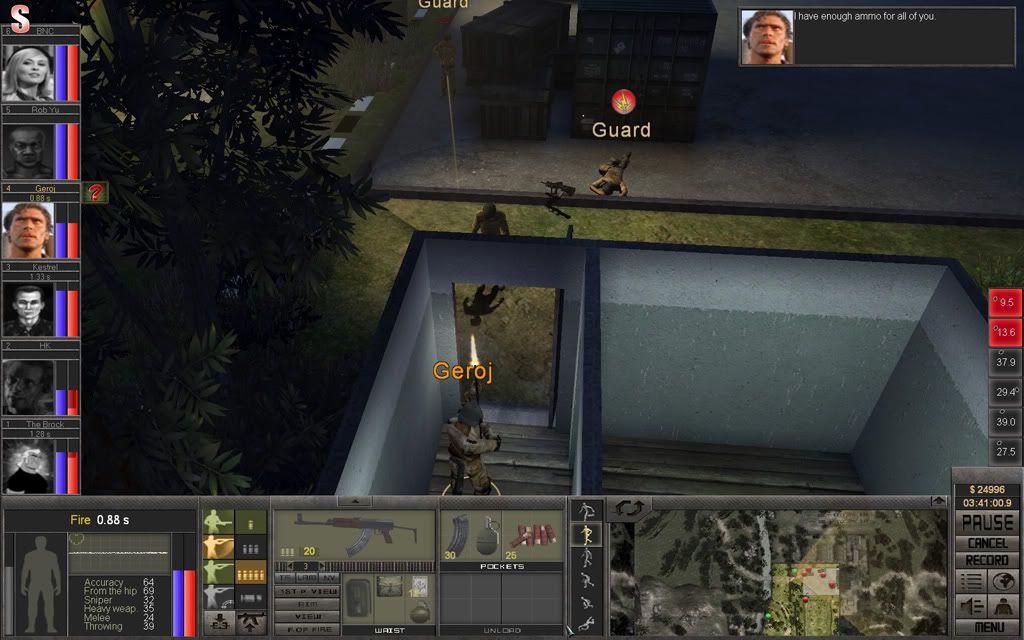
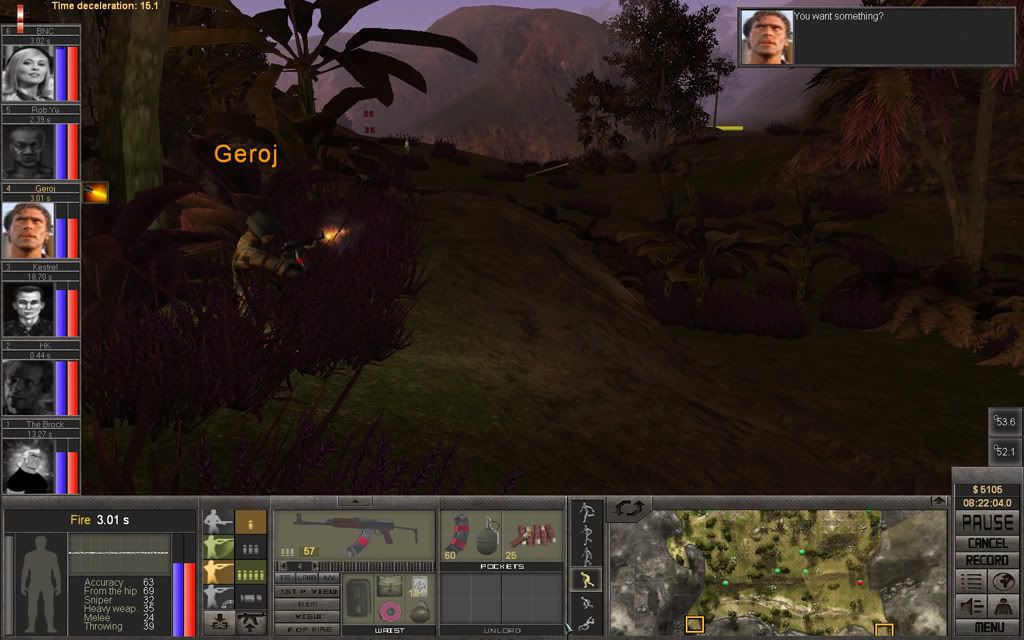
Geroj starts to suppress the enemy with the scoped SKS, having trouble connecting at this distance with his SA vz.58.
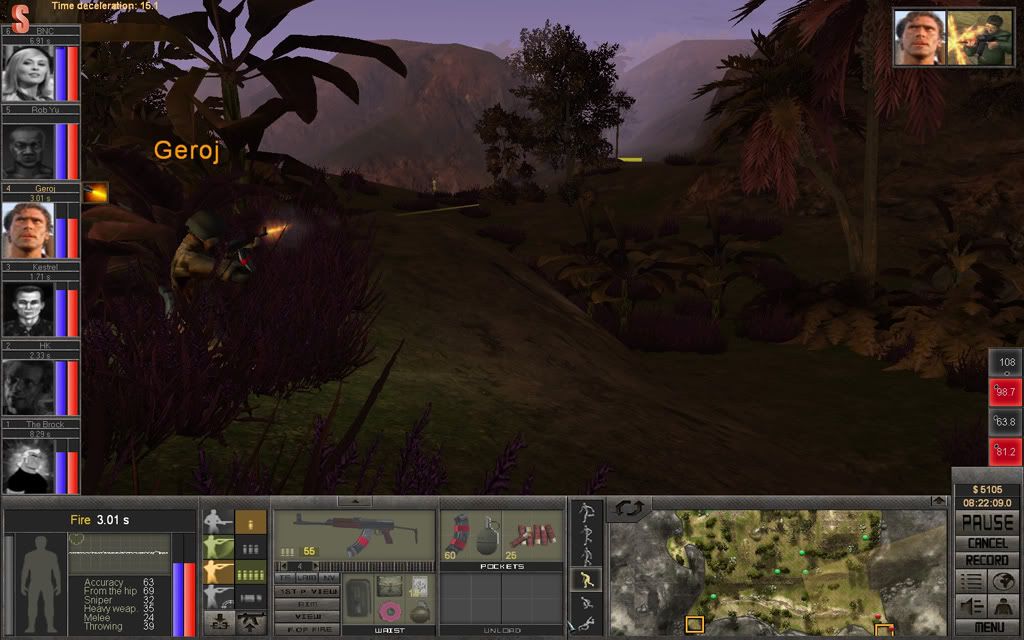
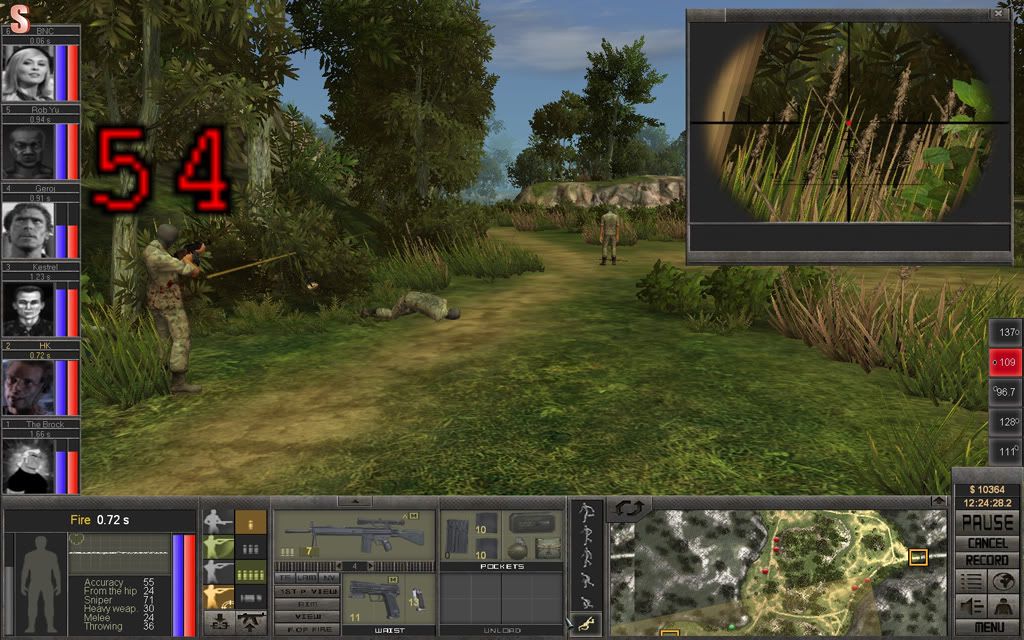
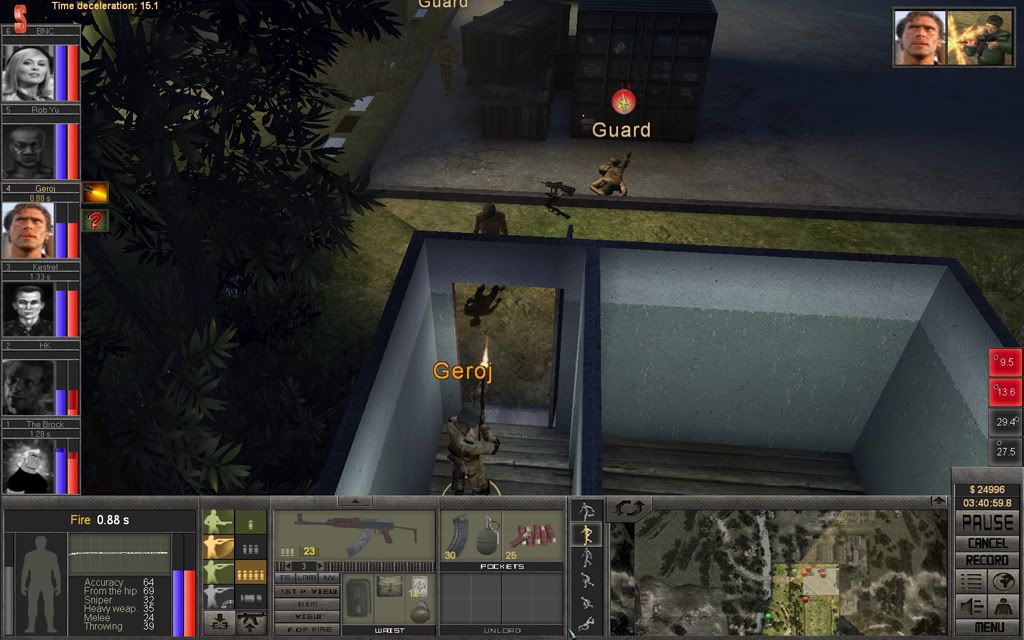
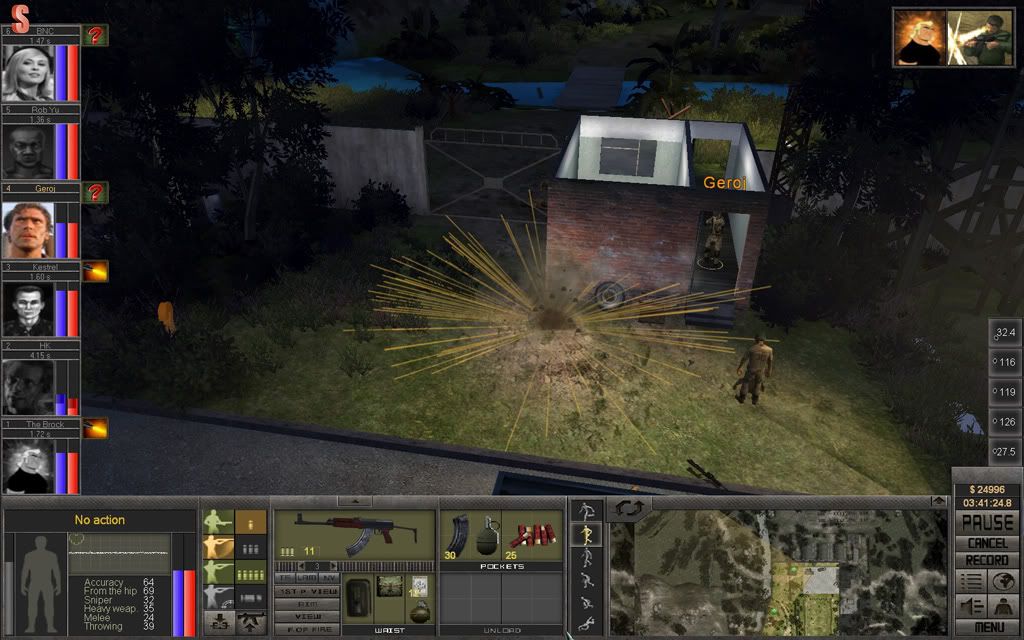
He moves away just as the enemy fires her SKS again, and gets very lucky as the bullet whizzes by mere inches from him.
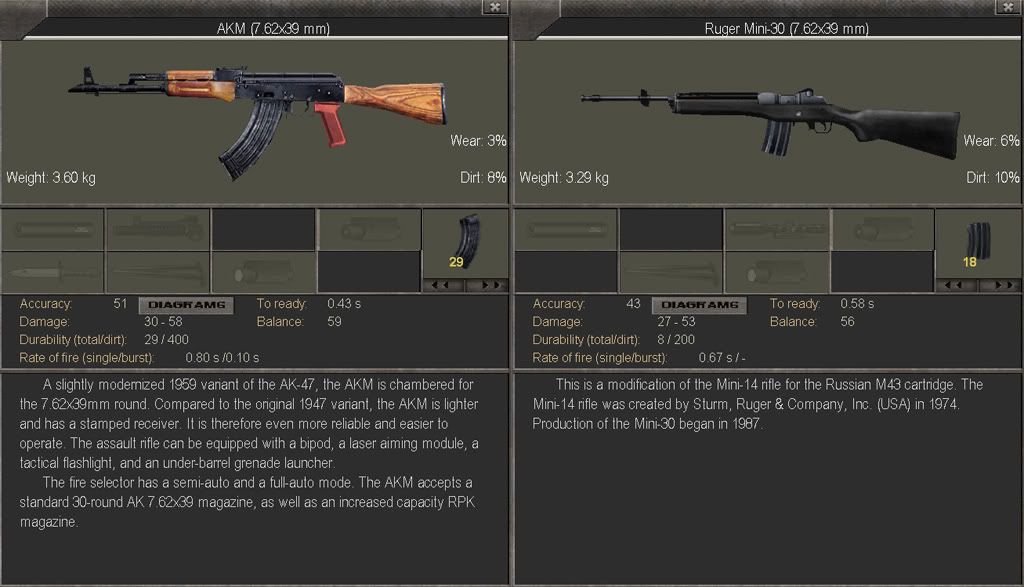
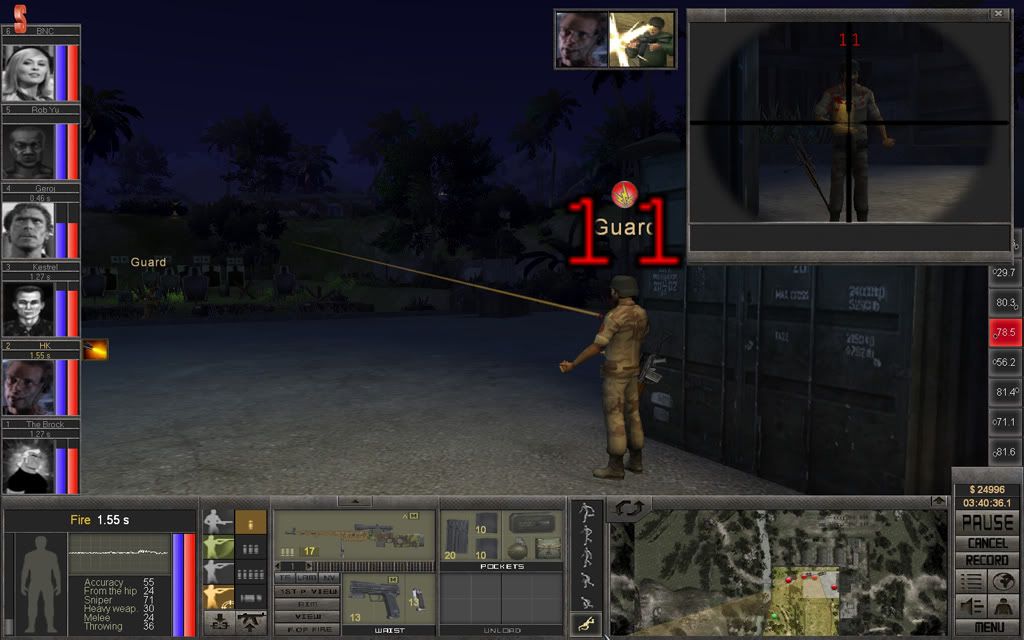
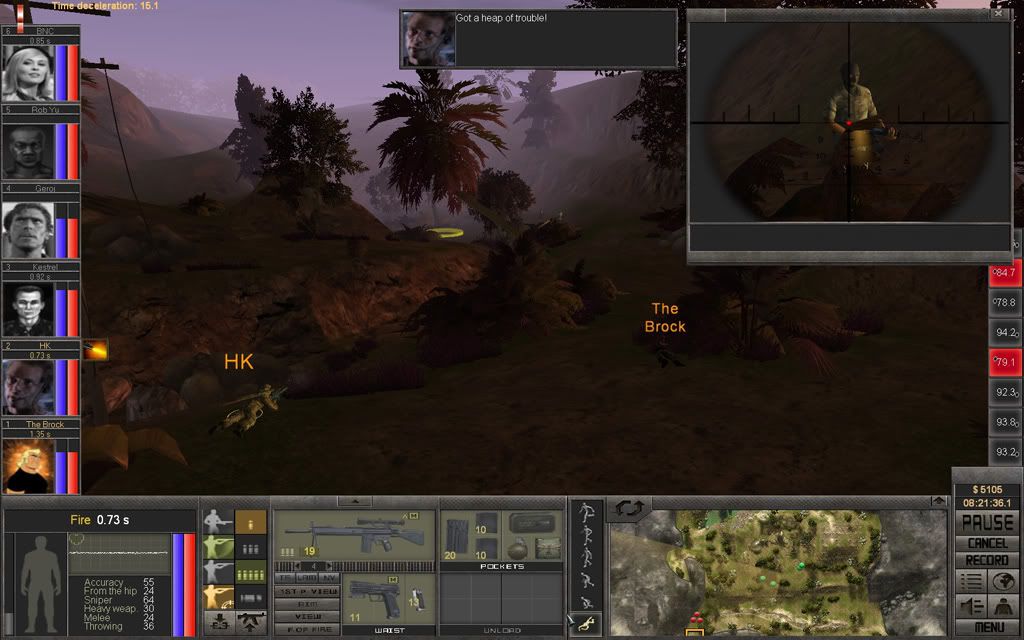
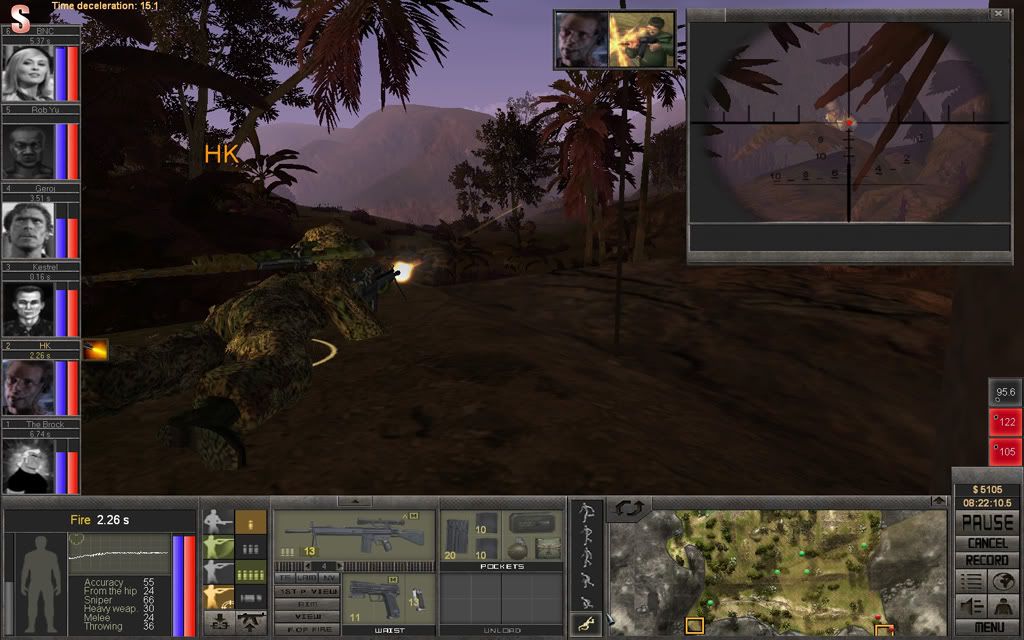
HK has found another target, using her Ruger Mini-14 from a good position. Well, not good enough it would seem.
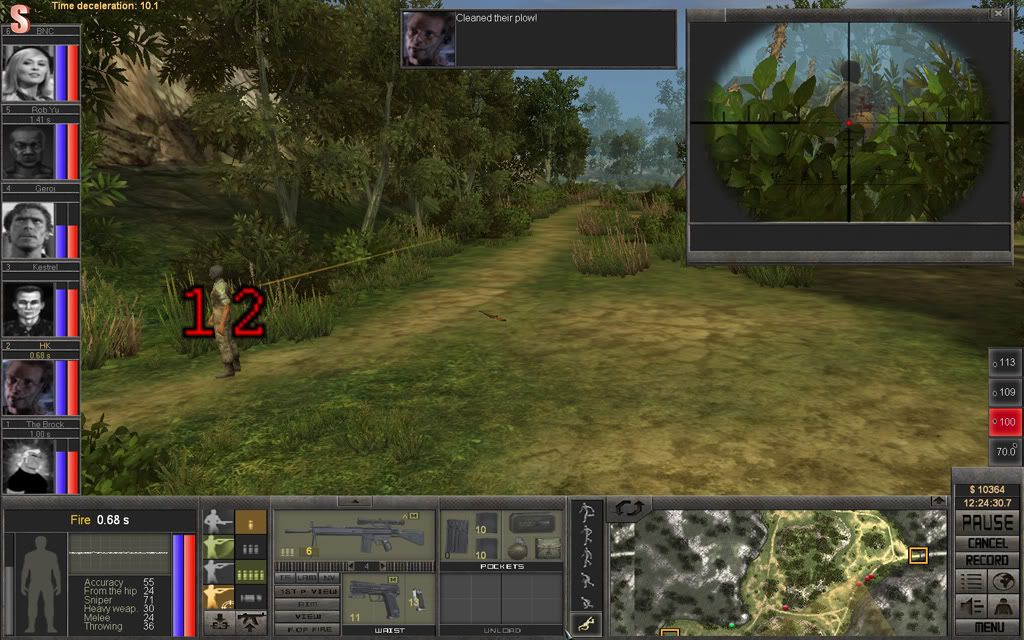
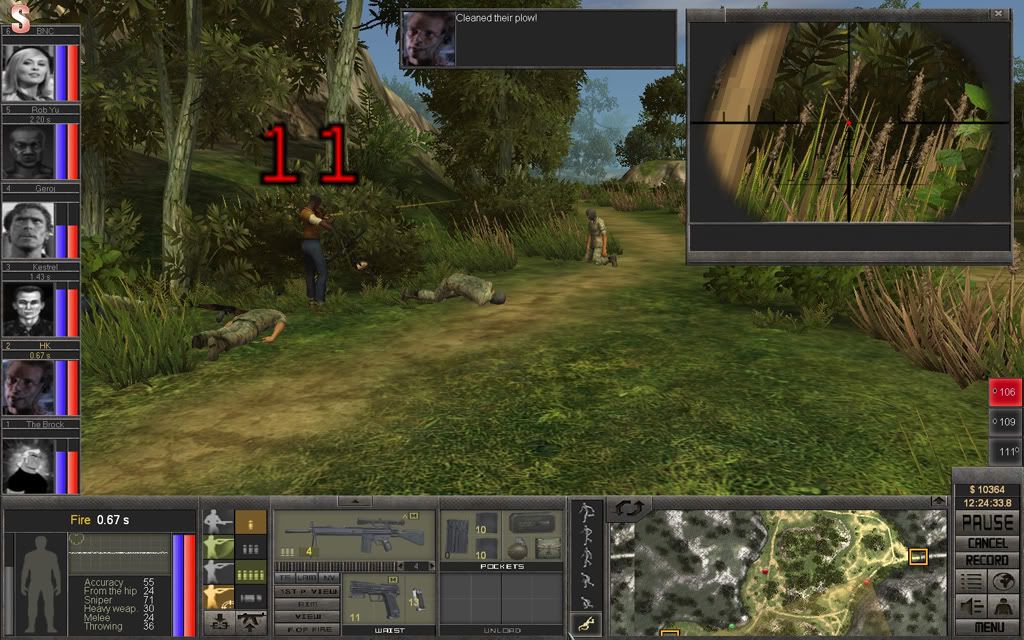
Kestrel has reached his destination and spots a wounded enemy trying to crawl away, he shows no mercy.

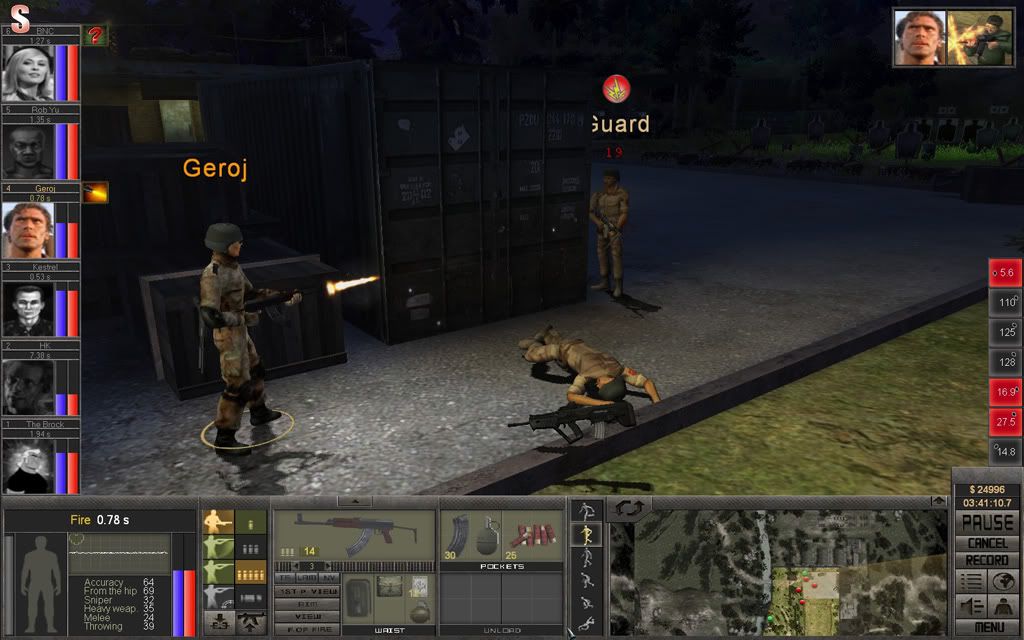
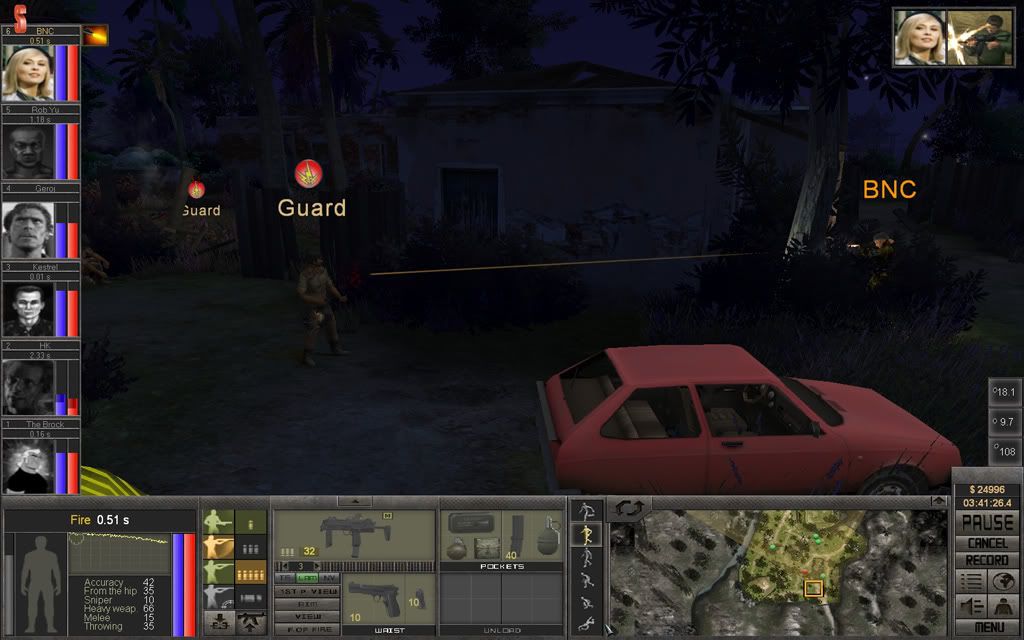
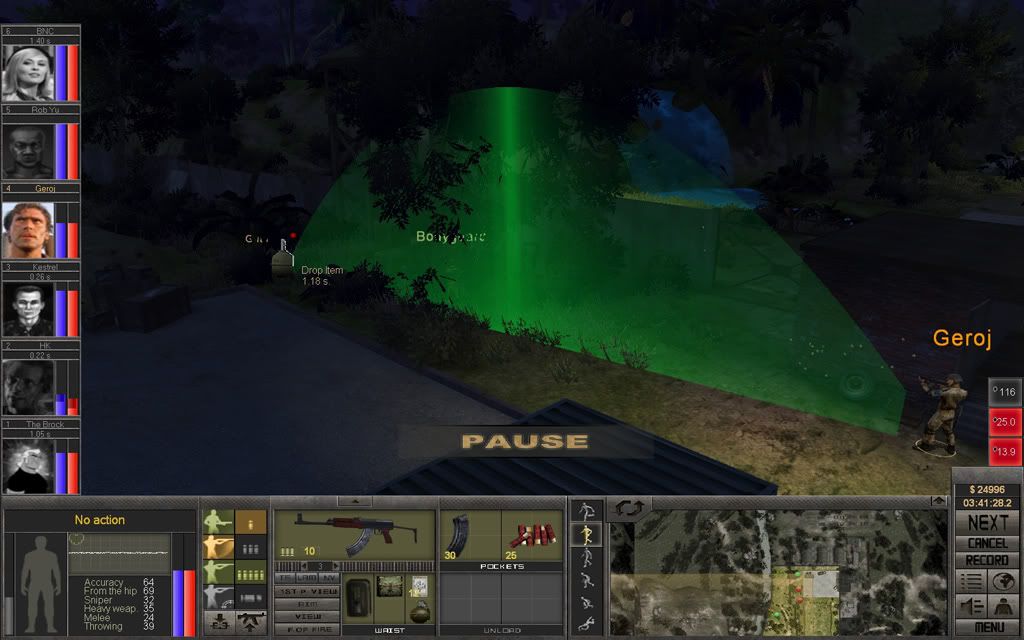
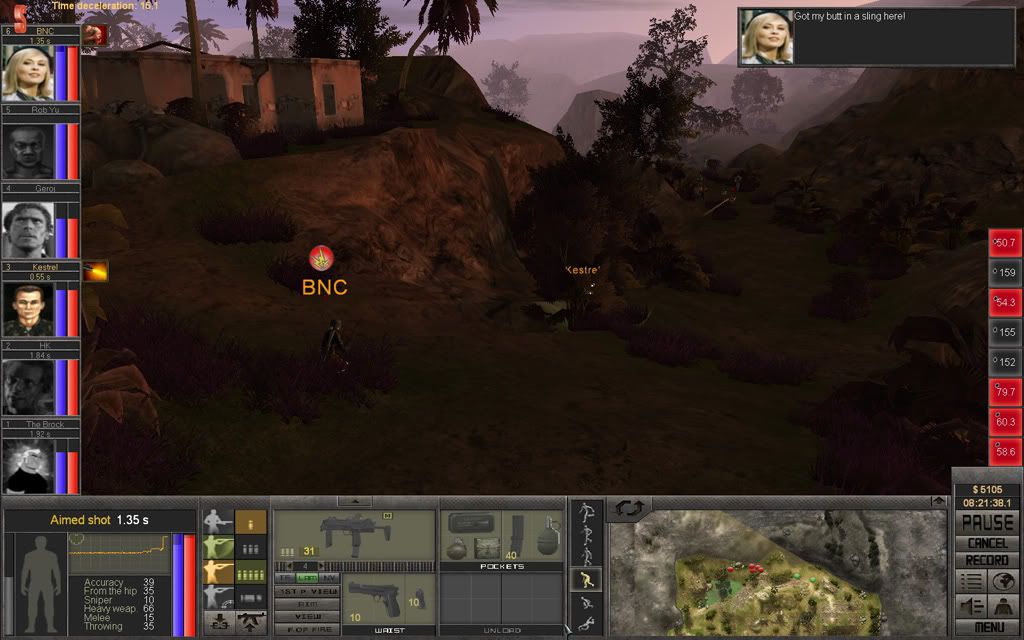
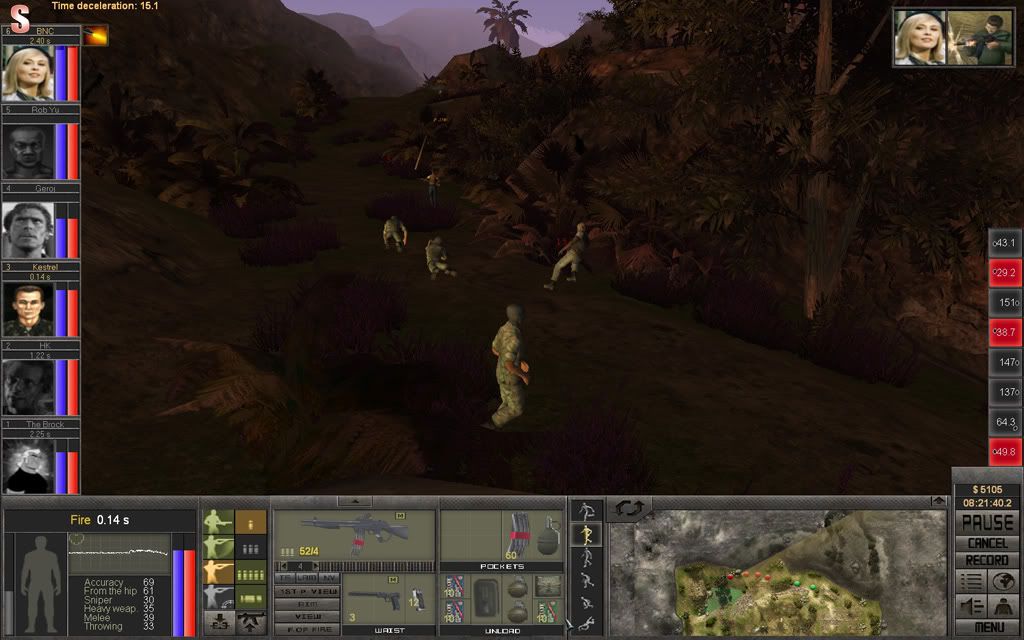
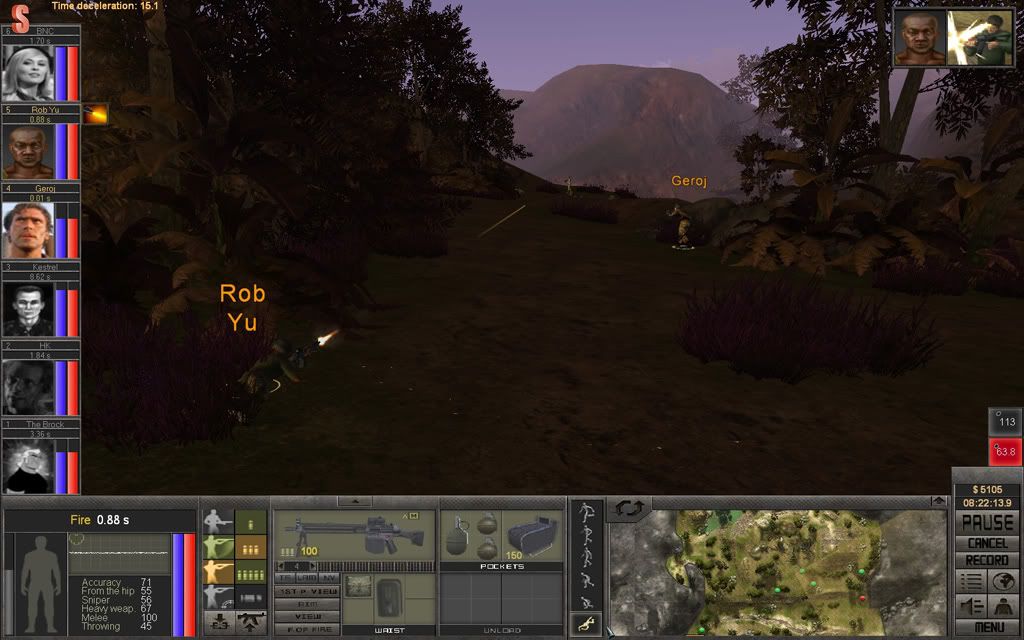
BNC has reached her position, and Geroj starts to move up. Rob Yu takes down another enemy with another burst.
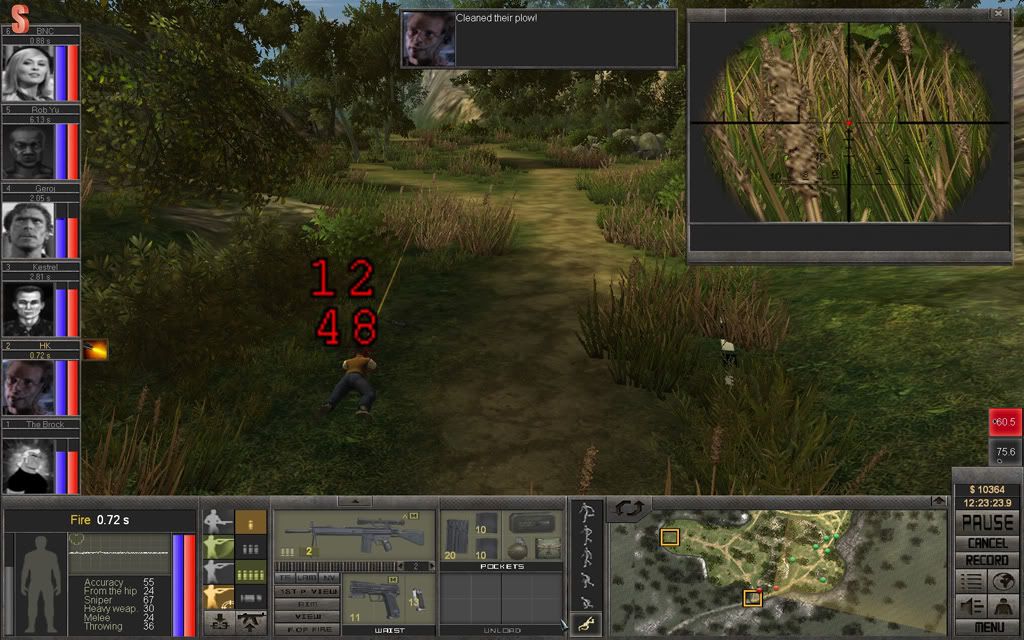
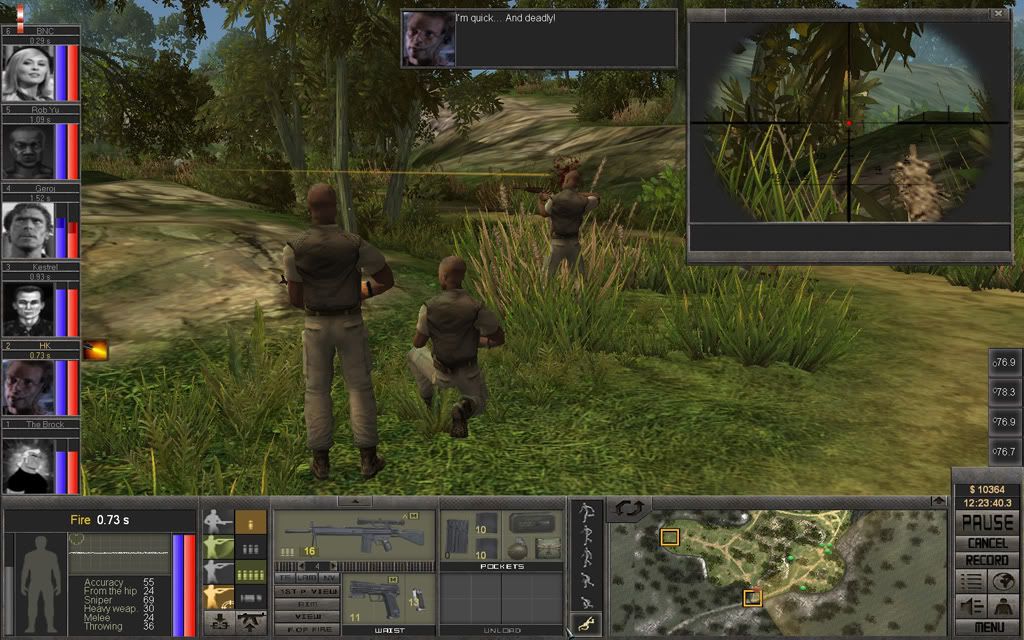
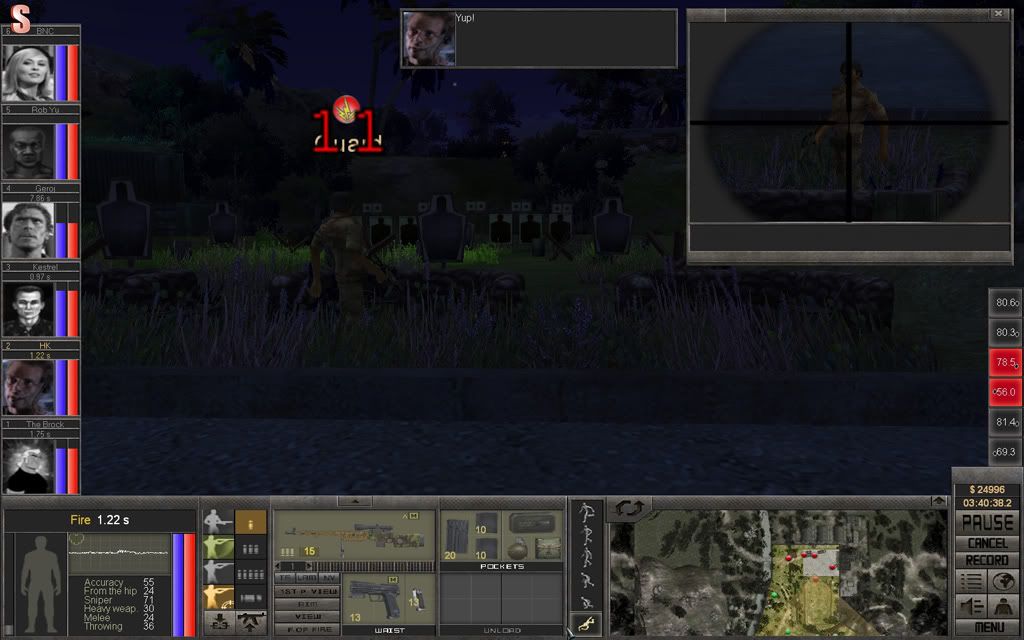
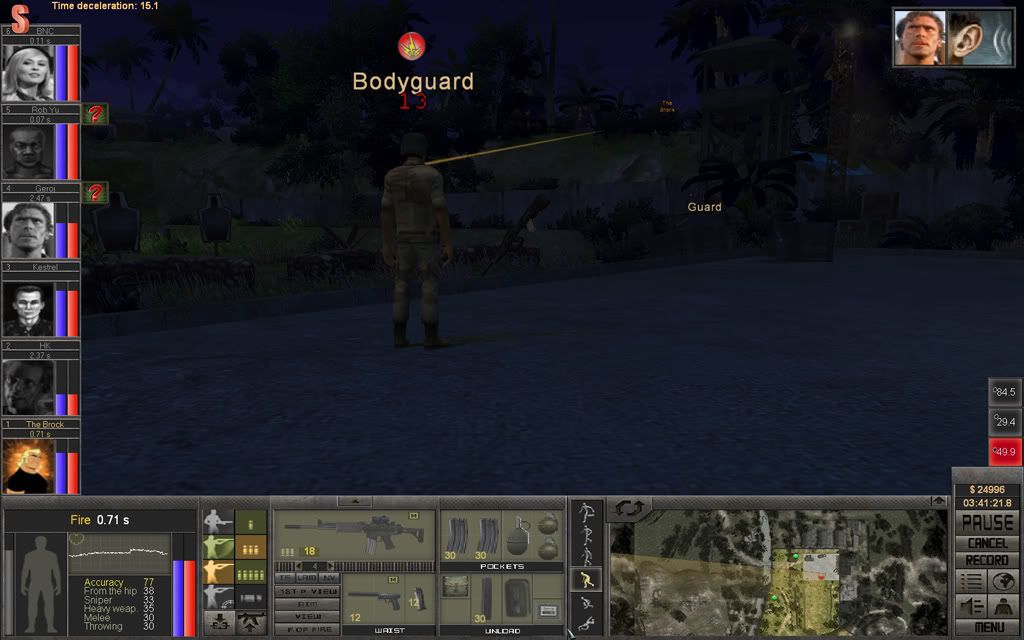
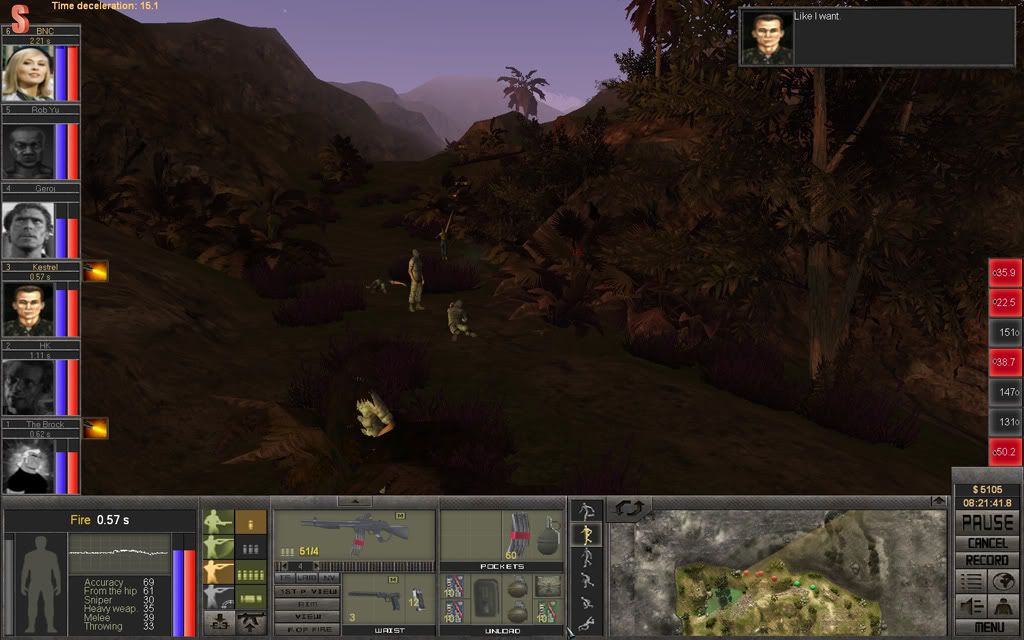
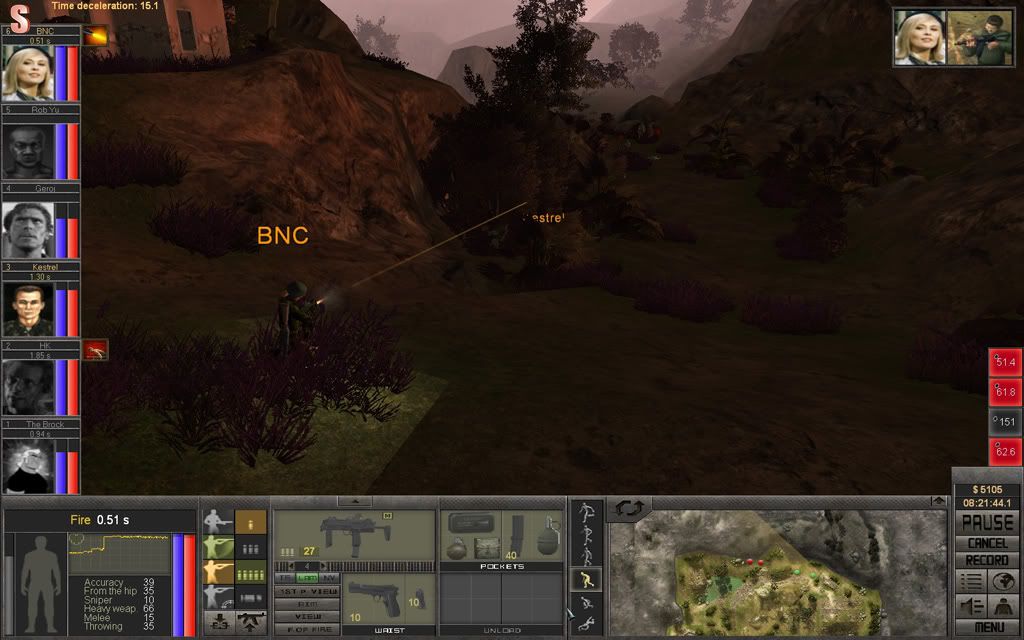
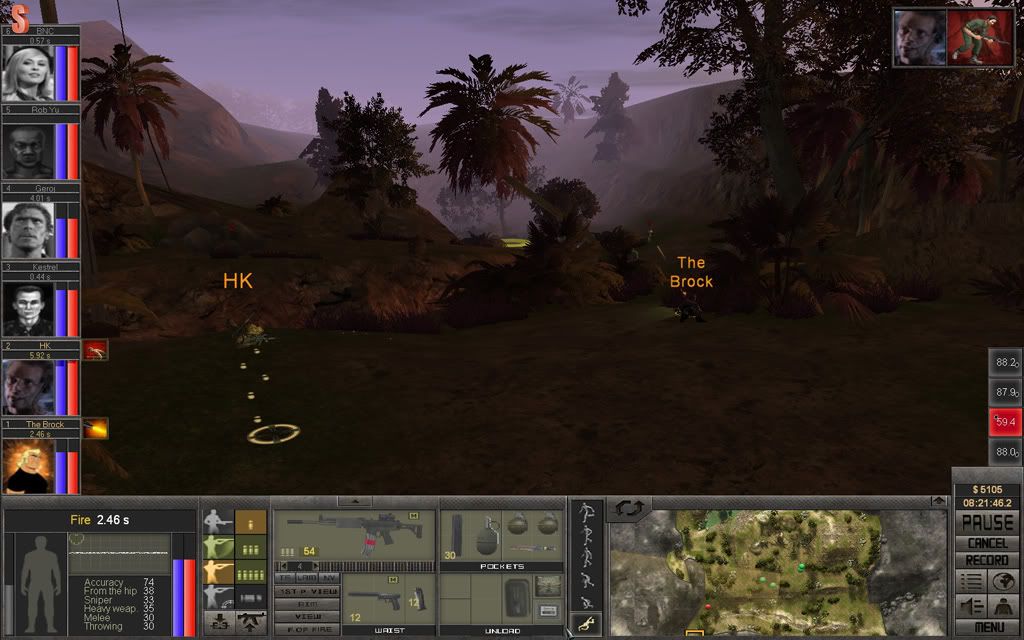
HK finally finds the SKS wielding female in his sights, but is unable to get a clean shot. She uses this to run to a spot where he can't get at her.
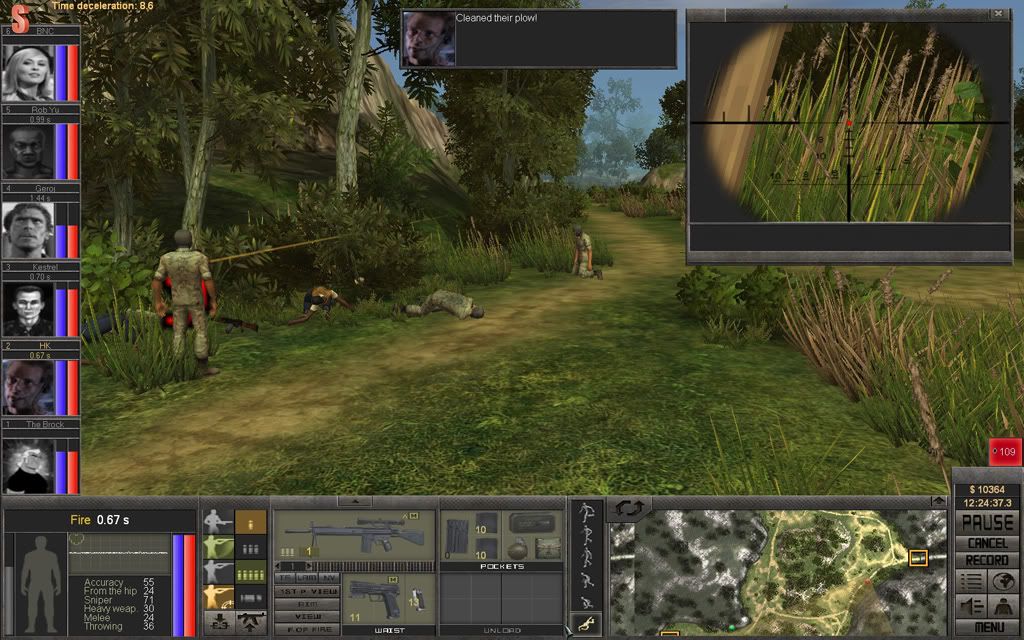
But that's what BNC was hoping for. Game over.
Even the road agents are starting to carry some good loot now, and we got some 7.52x54mmR ammo.
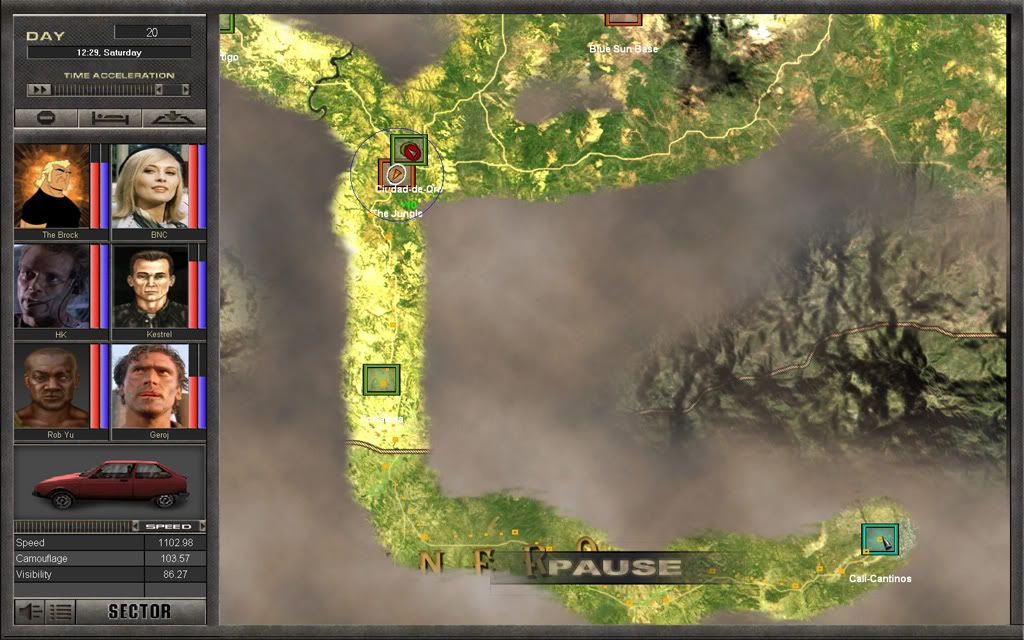
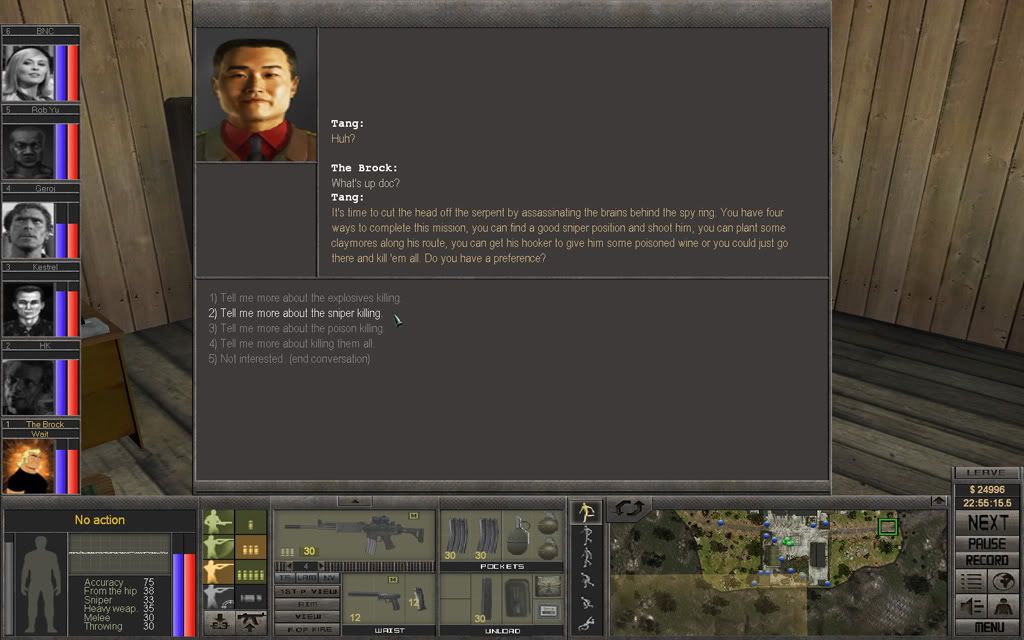
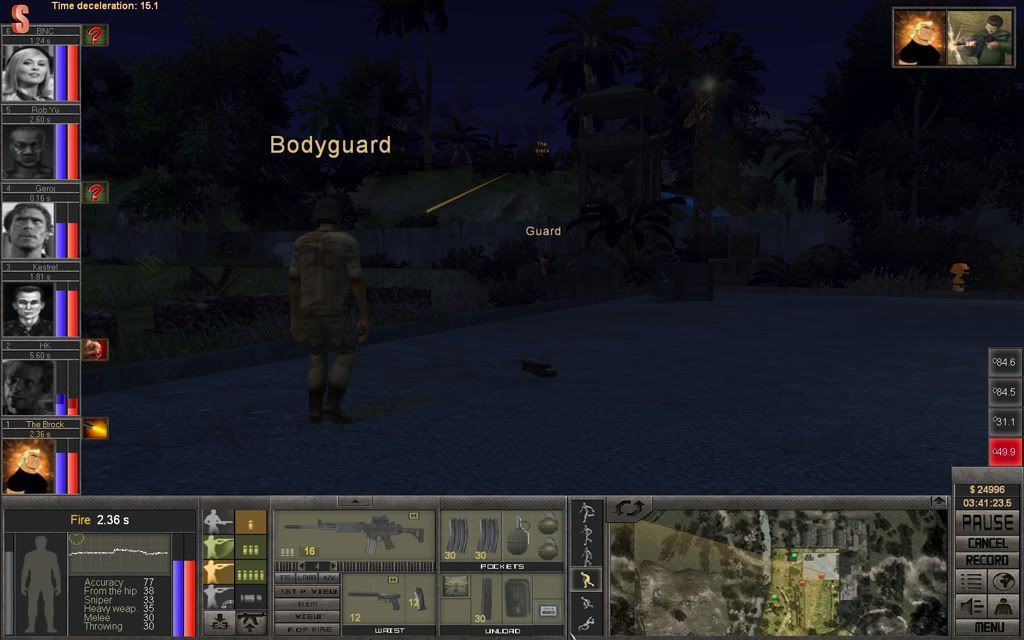
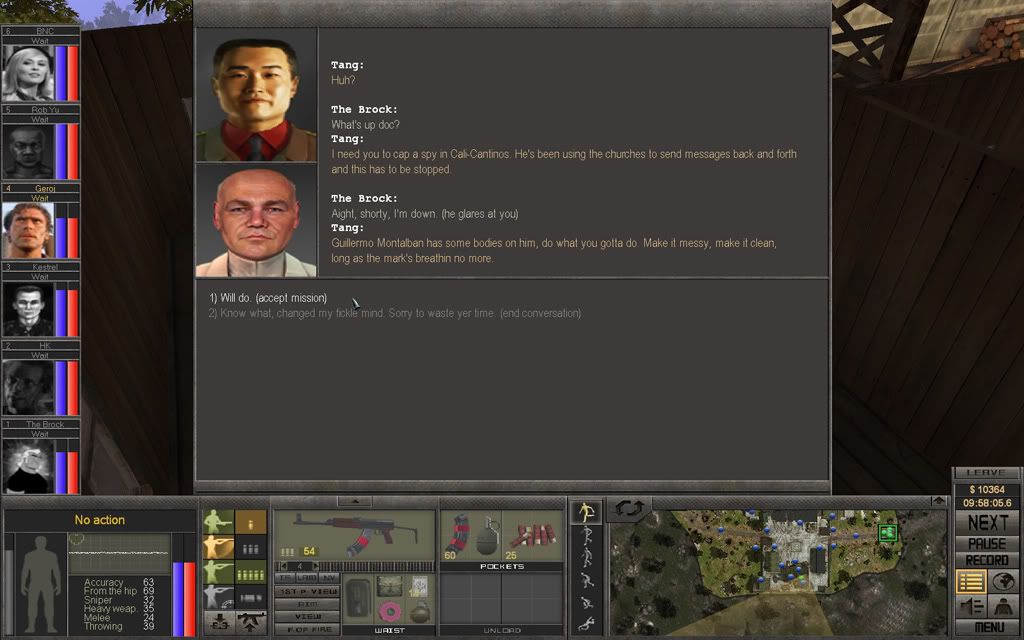
The team continue to the Blue Sun base and gets a reward and another assassination quest, this time in Cali-Cantinos.
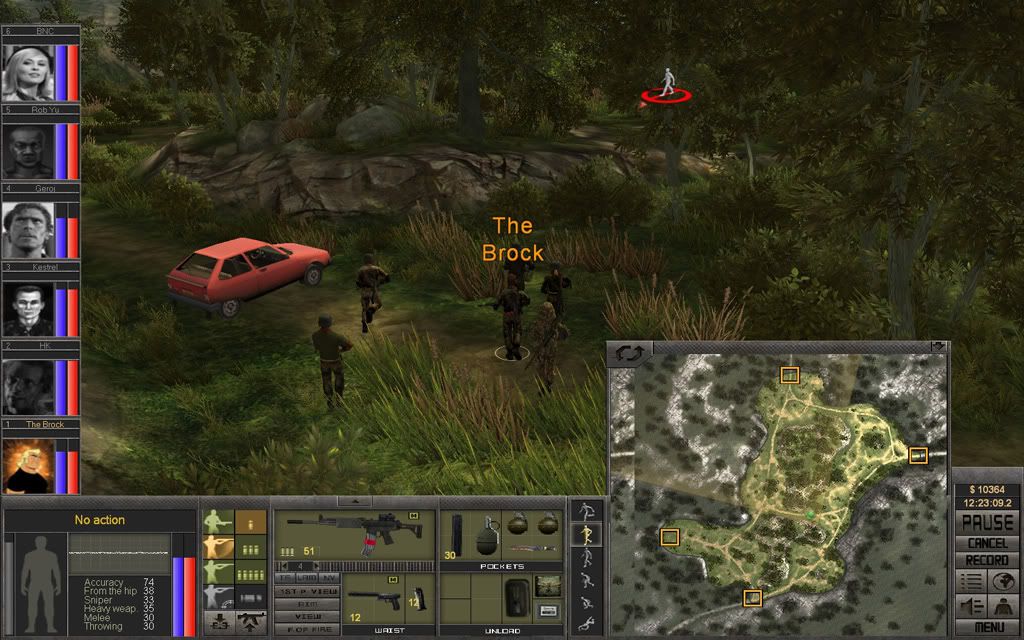
Halfway there, they get ambushed, in broad daylight, with half-full mags and starts in a very exposed position.
The enemy will come from three directions, the team will have the higher ground from where they can make a stand.
The Plan
HK and The Brock will cover the south-western entry point, Geroj and Rob Yu the south-eastern. Kestrel and BNC will take care of the enemies coming from the north.
When everybody is in position, weapons ready, BNC starts the battle with a well aimed shot from her MP7A1.
HK takes out his target, and immediately switches to the next.
BNC and Kestrel have a lot of opposition, changing targets all the time to the most immediate threat.
The Brock lays down some cover fire to take some of the attention away from HK who needs to concentrate on his work.
Another one-shot-kill from his G3SG/1, HK is most pleased with himself.
BNC gets hit, there's too many enemies to keep busy.
HK finally gets a more difficult target, one that is prone and behind some cover.
Kestrel, by shooting at the enemy most likely to get a shot off before any other, manages to keep the enemy at bay. With a little help from BNC of course.
HK's second attempt misses as well.
The Brock takes out an enemy skirmisher trying to get closer to HK.
Third time's the charm, HK finally hits his target.
Things are starting to get under control at the northern front, only a few enemies left, none able to fight back efficiently.
As HK is about to start looking for the next target he gets hit, he never saw where the fire was coming from.
HK will pull back to avoid being hit again. BNC will move back and bandage her wound. Geroj will displace and cover the south-eastern entry point from a better vantage point.
As HK starts crawling, the mystery shooter reveals her position somewhere near the south-eastern entry point. Judging by the accuracy of the bullets flying by, it's probably an enemy equipped with a sniper rifle.
The Brock spots another enemy, brings him down with a few shots from his newly acquired Bofors AK5.
The sniper fire still comes over their heads, they need to do something about it, and soon.
Kestrel only has 2 enemies left, both without any weapons, easy pickings.
Damn that sniper! That was a close one.
And here she is, using her SKS sniper variant to deliver those well aimed shots.
More enemies are now beginning to come from the south-western entry point, Rob Yu is ready for them with his HK23e.
There seem to have been more enemy left than Kestrel had anticipated, an enemy with a FN Minimi Para comes running, and gets taken down quickly.
Kestrel will move up and finish of the final two at the northern front. The Brock will check out the south-eastern entry point more carefully while HK turns his G3SG/1 towards the south-western entry point. BNC will start a long flanking run to surprise the enemy there, and when she's there, Geroj will move up and support her.
The Brock doesn't get far before an enemy reveals himself, and luckily misses.
The Brock doesn't.
Kestrel brings down one of his targets, then moves forward.
Rob Yu takes care of another enemy, the HK23e very accurate when shooting short controlled bursts.
Geroj starts to suppress the enemy with the scoped SKS, having trouble connecting at this distance with his SA vz.58.
He moves away just as the enemy fires her SKS again, and gets very lucky as the bullet whizzes by mere inches from him.
HK has found another target, using her Ruger Mini-14 from a good position. Well, not good enough it would seem.
Kestrel has reached his destination and spots a wounded enemy trying to crawl away, he shows no mercy.
BNC has reached her position, and Geroj starts to move up. Rob Yu takes down another enemy with another burst.
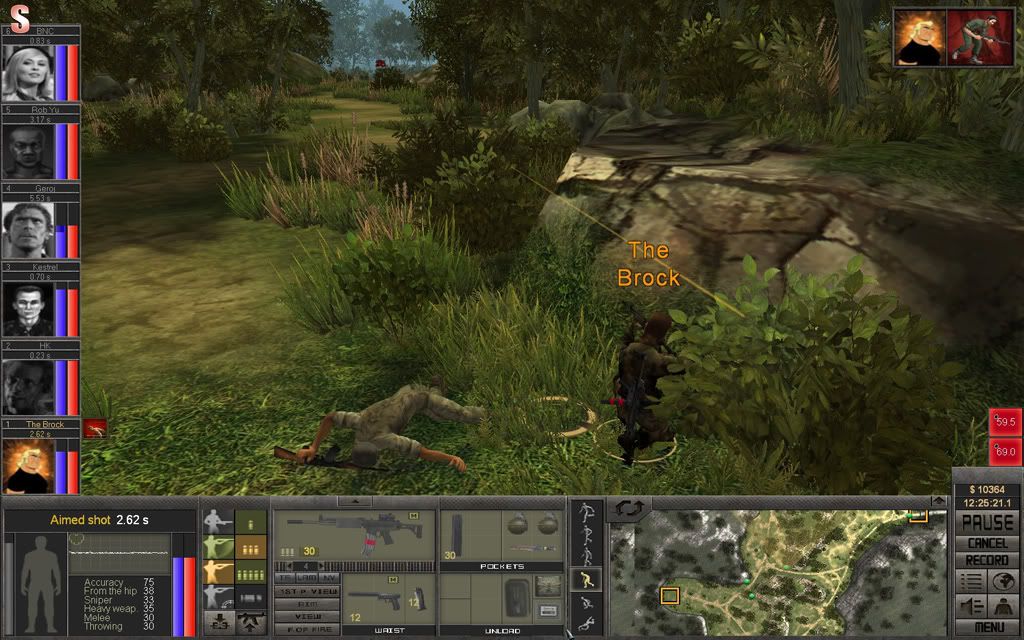
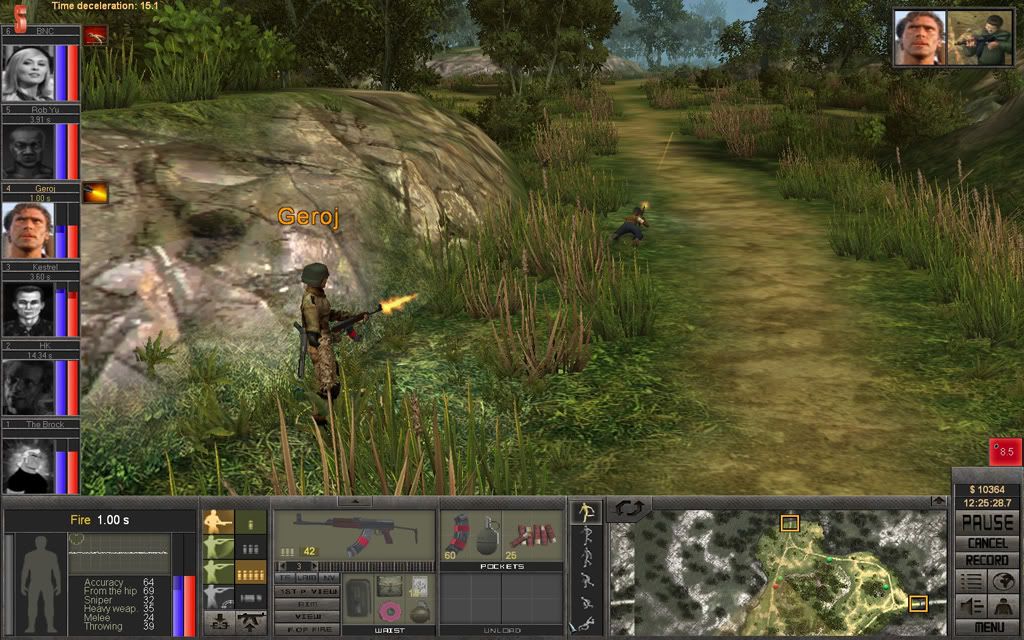
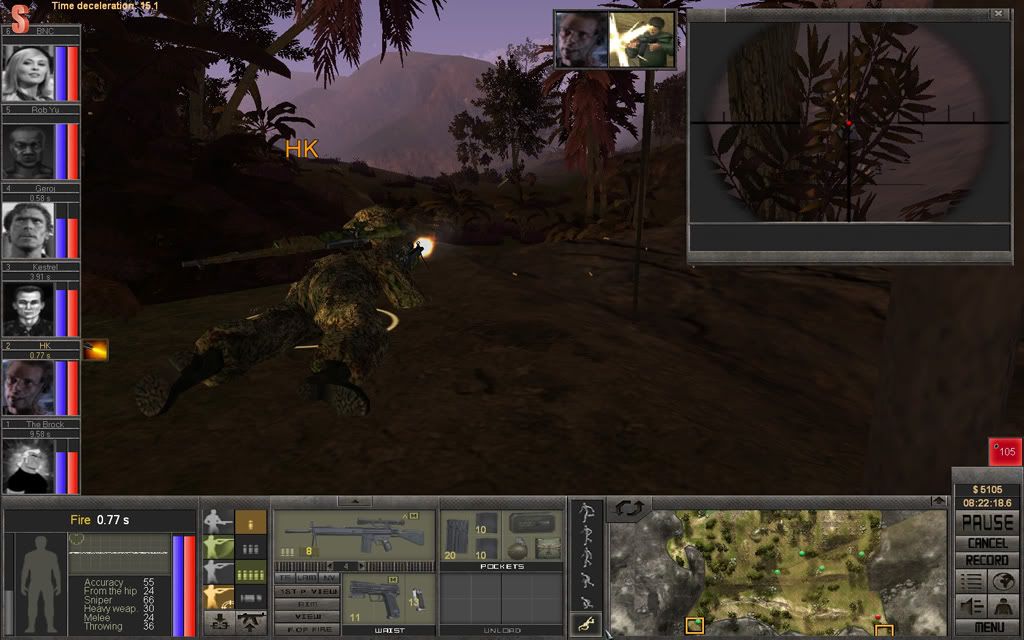
HK finally finds the SKS wielding female in his sights, but is unable to get a clean shot. She uses this to run to a spot where he can't get at her.
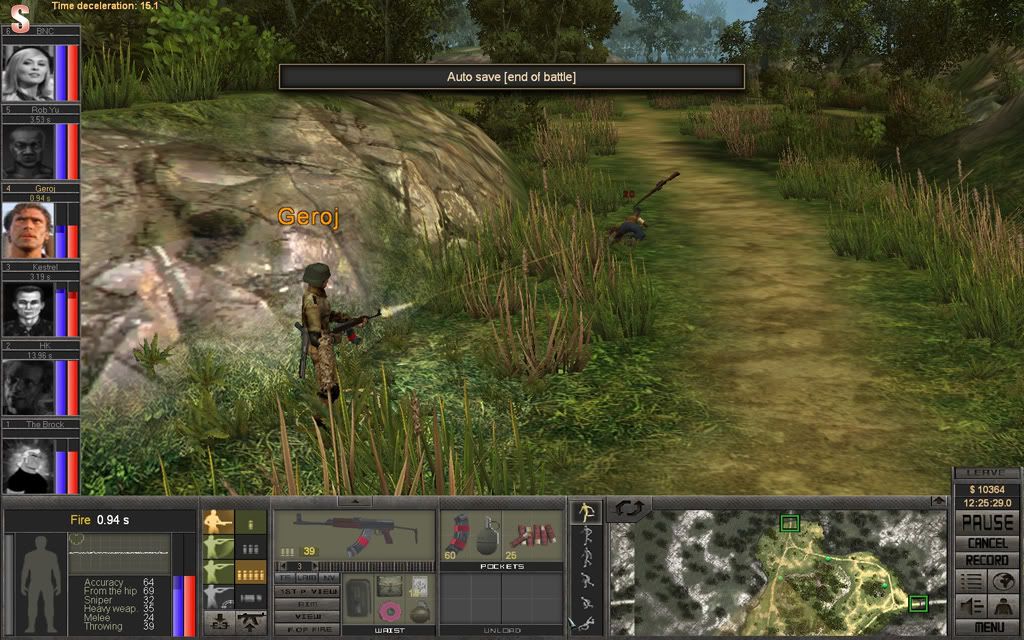
But that's what BNC was hoping for. Game over.
Even the road agents are starting to carry some good loot now, and we got some 7.52x54mmR ammo.
The team continue to the Blue Sun base and gets a reward and another assassination quest, this time in Cali-Cantinos.
Halfway there, they get ambushed, in broad daylight, with half-full mags and starts in a very exposed position.
Are their magazines half-full or half-empty? Should they take the optimistic and offensive approach or the pessimistic defensive one? Stay tuned and tomorrow you might find out!