


-
Welcome to rpgcodex.net, a site dedicated to discussing computer based role-playing games in a free and open fashion. We're less strict than other forums, but please refer to the rules.
"This message is awaiting moderator approval": All new users must pass through our moderation queue before they will be able to post normally. Until your account has "passed" your posts will only be visible to yourself (and moderators) until they are approved. Give us a week to get around to approving / deleting / ignoring your mundane opinion on crap before hassling us about it. Once you have passed the moderation period (think of it as a test), you will be able to post normally, just like all the other retards.
You are using an out of date browser. It may not display this or other websites correctly.
You should upgrade or use an alternative browser.
You should upgrade or use an alternative browser.
In Progress Let's Play 7.62HC again, Total Eclipse of the Blue Sun[SSLP]
- Thread starter R@S
- Start date
R@S
Scholar
- Joined
- Jun 30, 2012
- Messages
- 179
**********************
Session 10: Ambushing Ambushers
**********************
- Making Every Round Count - The Brock and the Lucky Bushwhacker - Retreat! - Having Fun with a Garand -
- Higher Ground Surprise - M45 Magdump - Watch Your Back, Jack - Out of Ammo! - BAR, What is it Good For -
**********************
Session 10: Ambushing Ambushers
**********************
- Making Every Round Count - The Brock and the Lucky Bushwhacker - Retreat! - Having Fun with a Garand -
- Higher Ground Surprise - M45 Magdump - Watch Your Back, Jack - Out of Ammo! - BAR, What is it Good For -
**********************
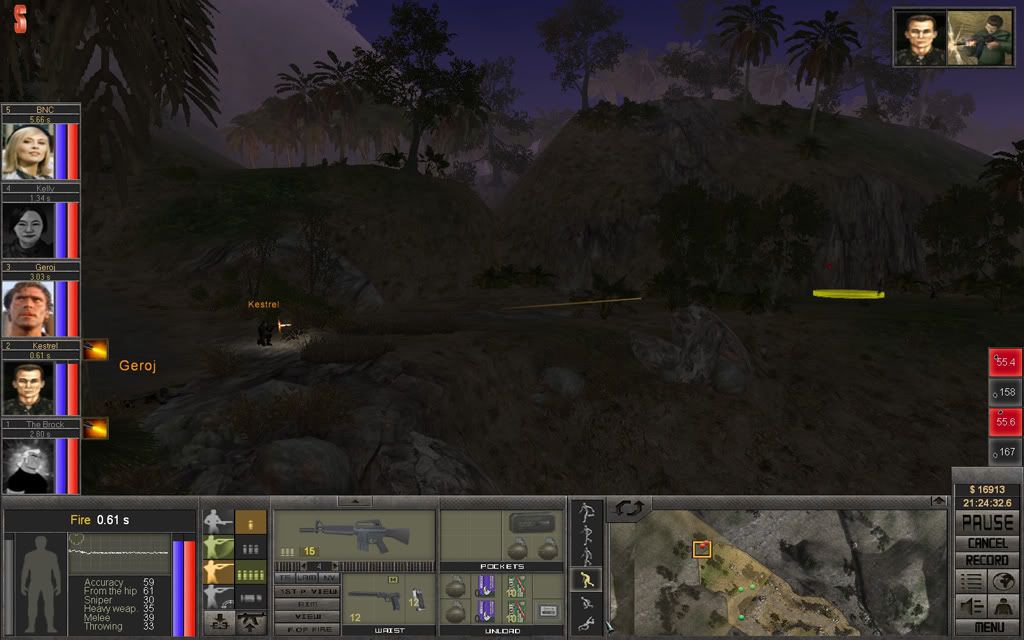
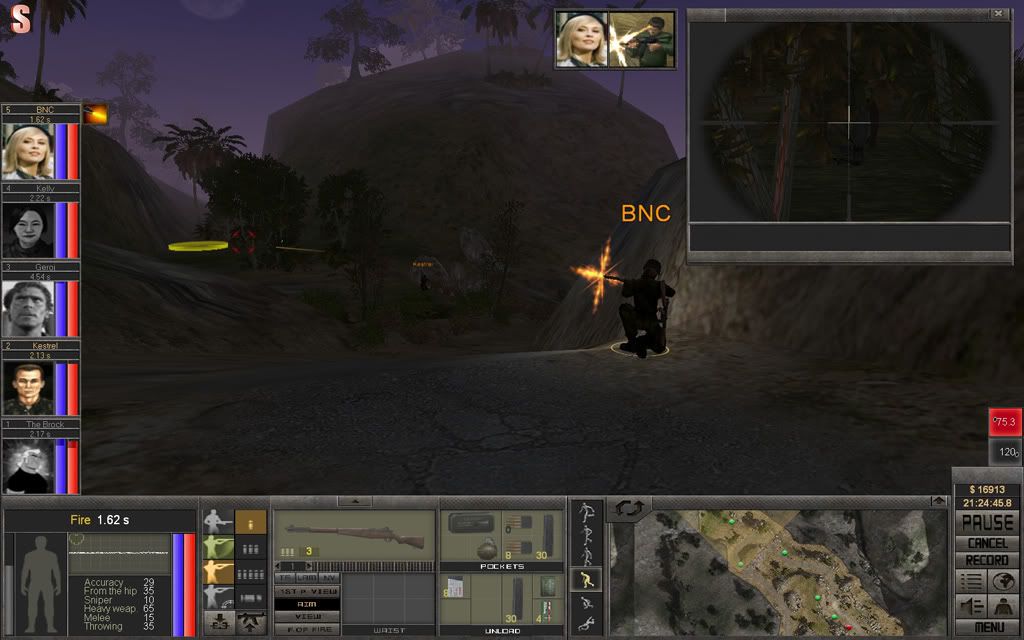
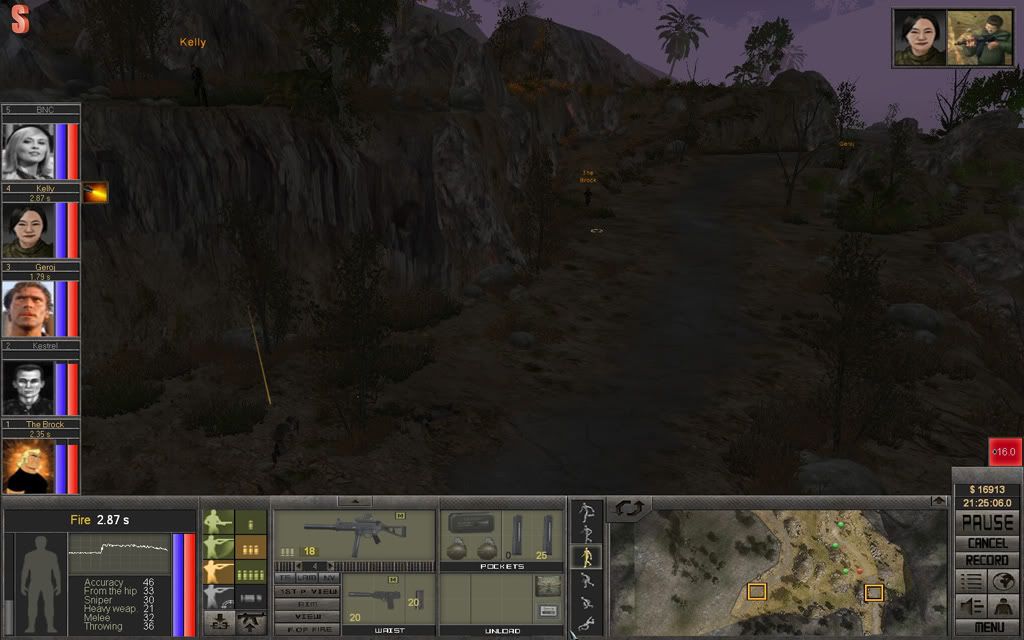
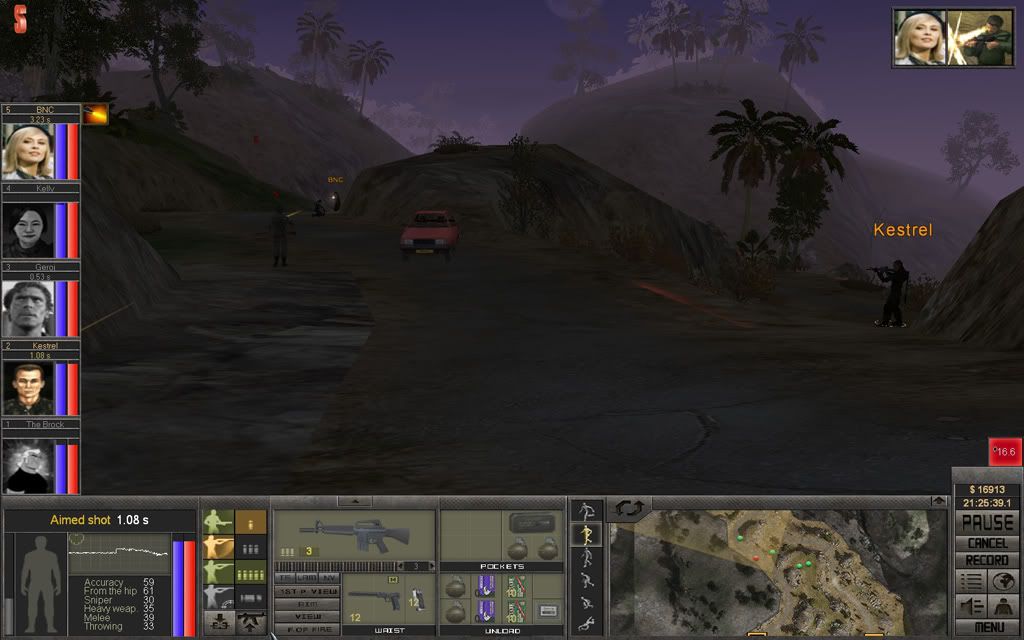
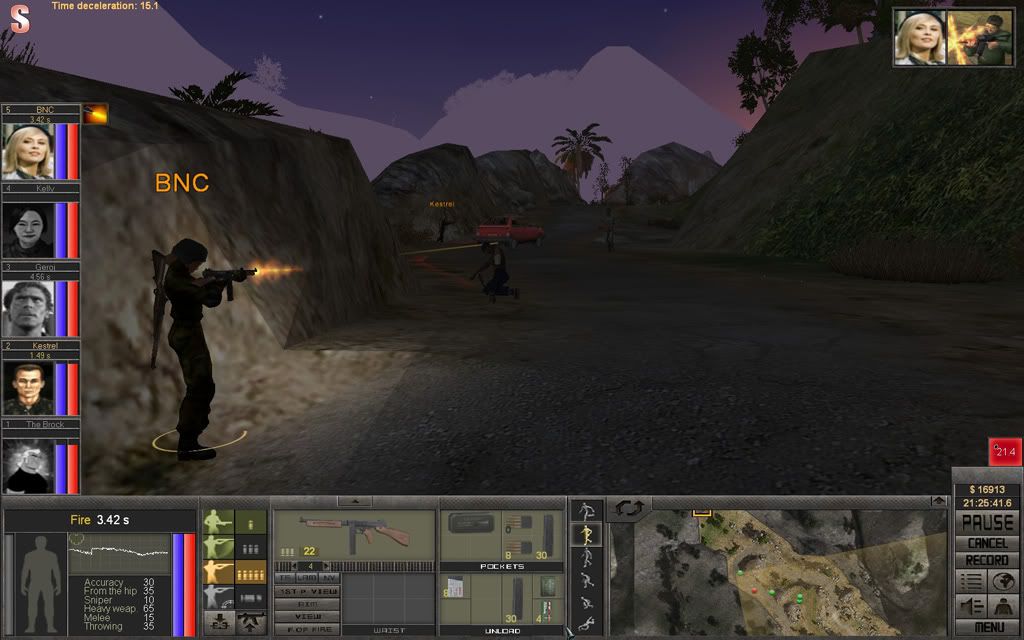
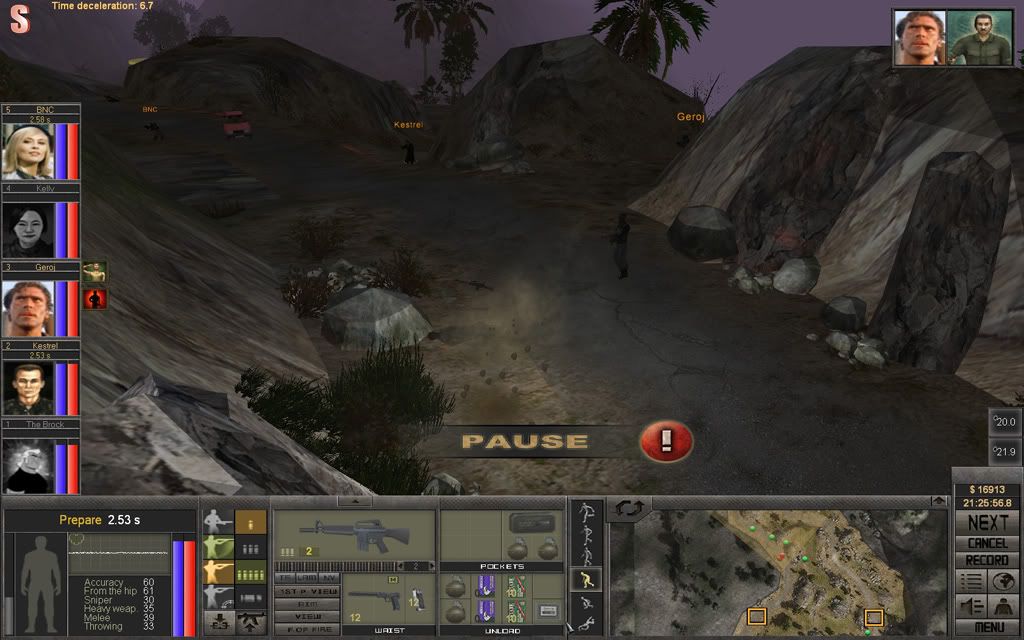
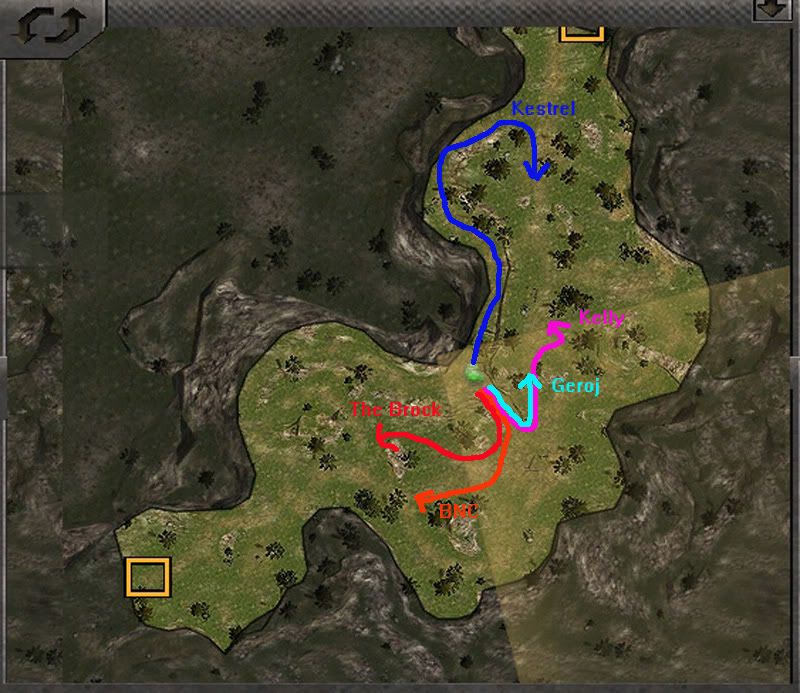
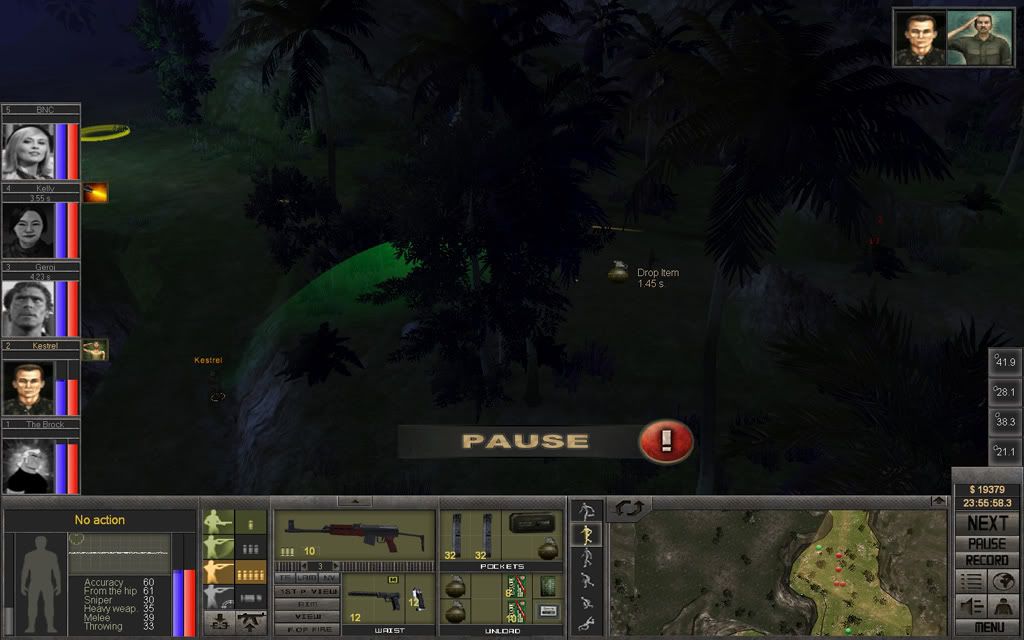
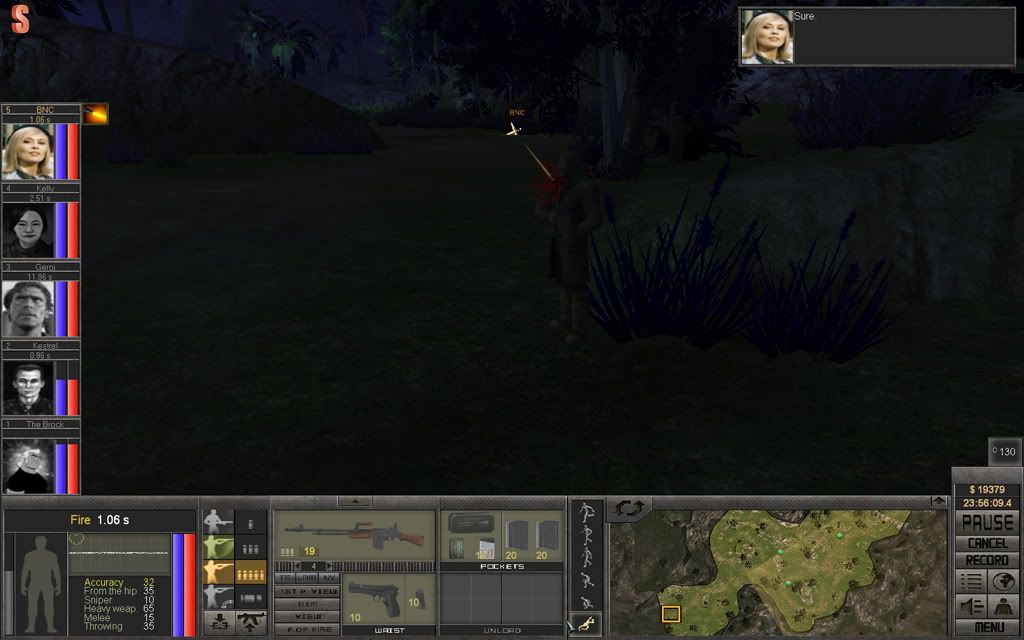
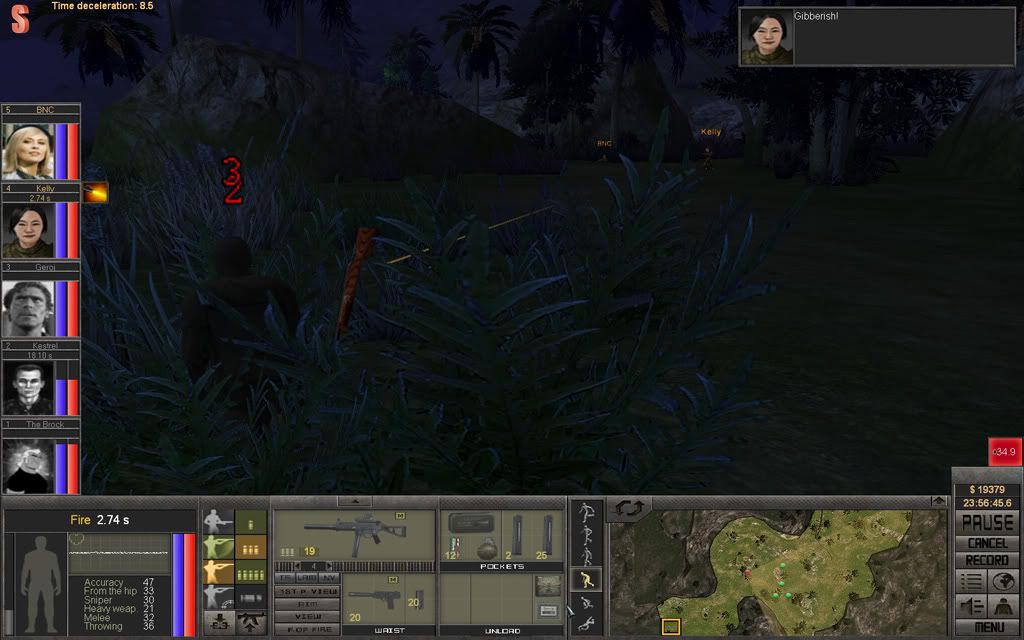
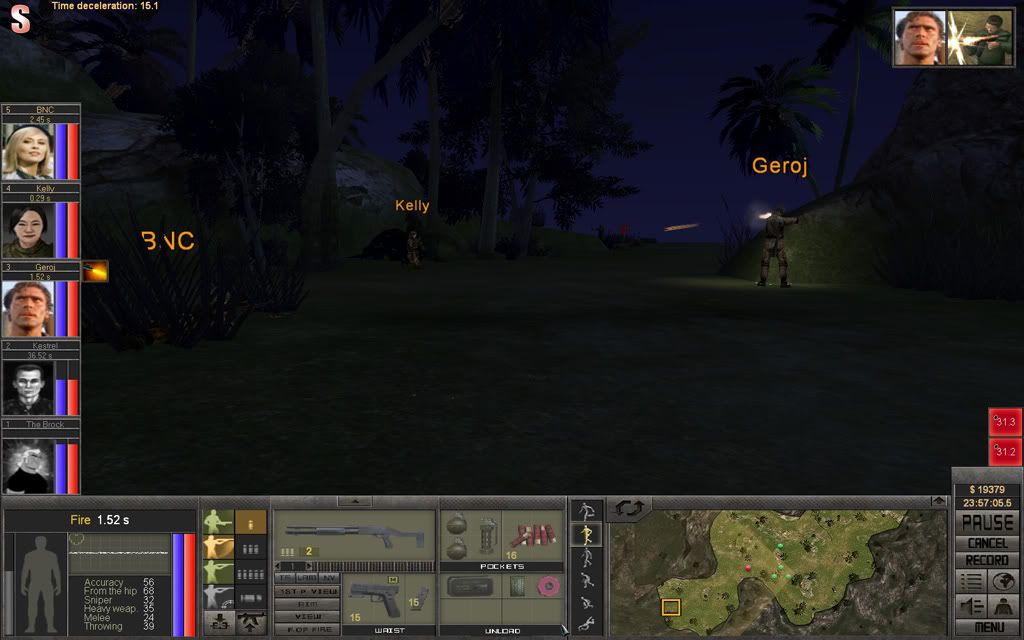
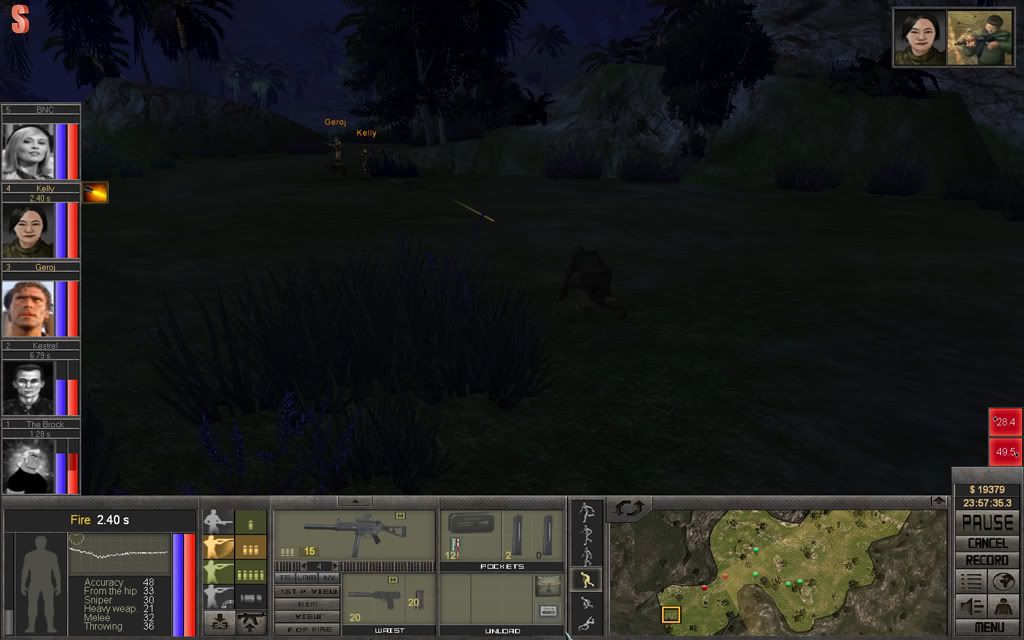
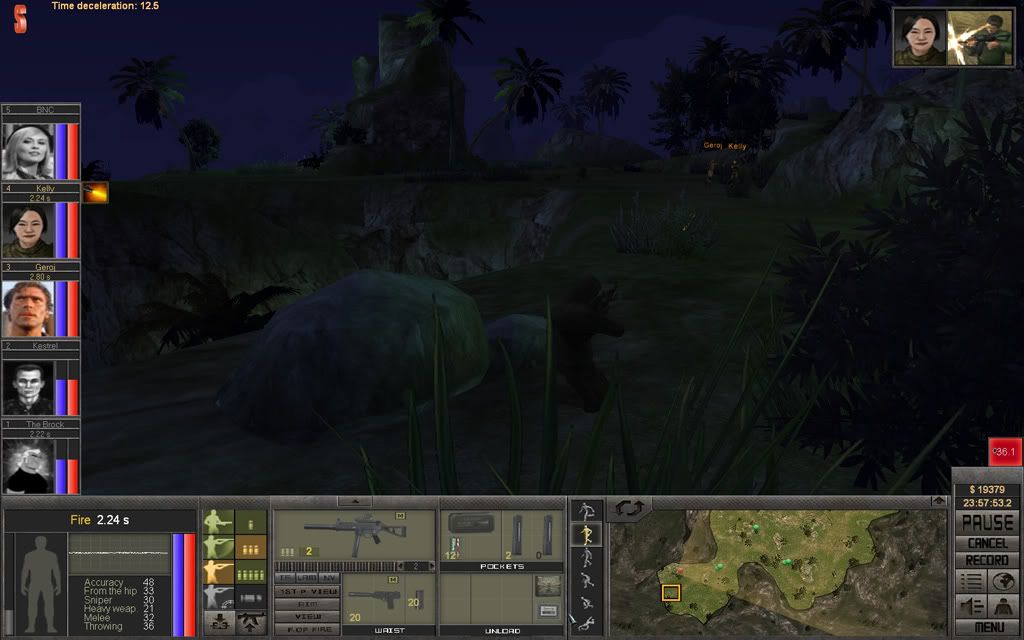
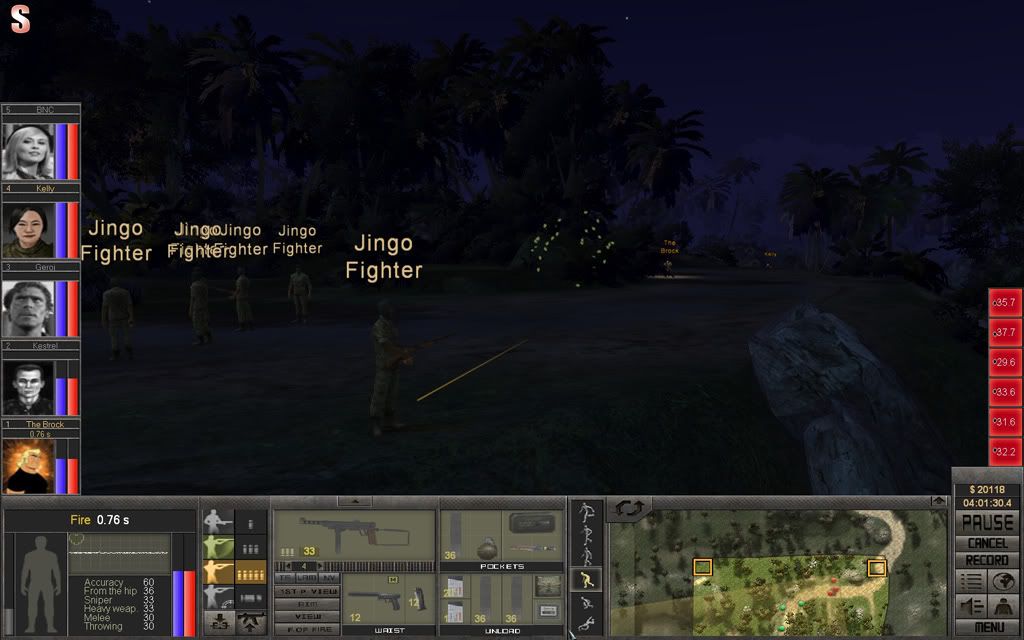
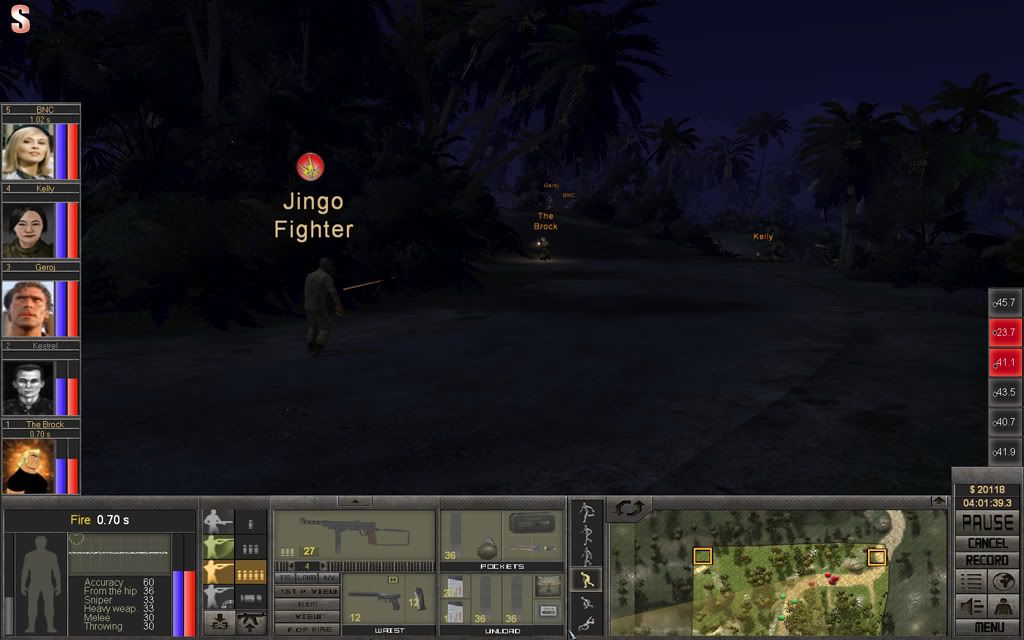
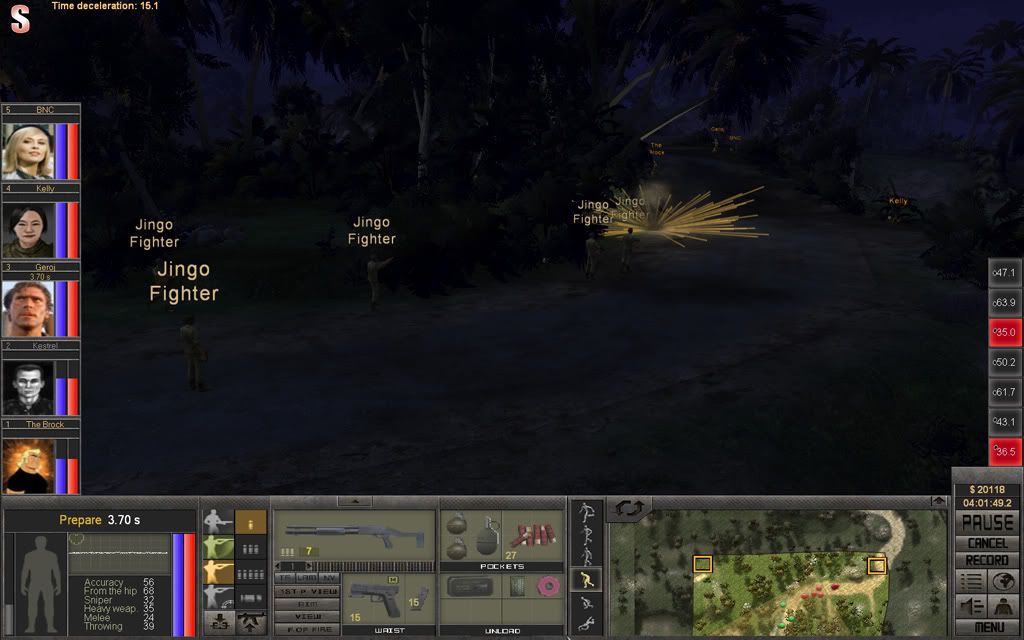
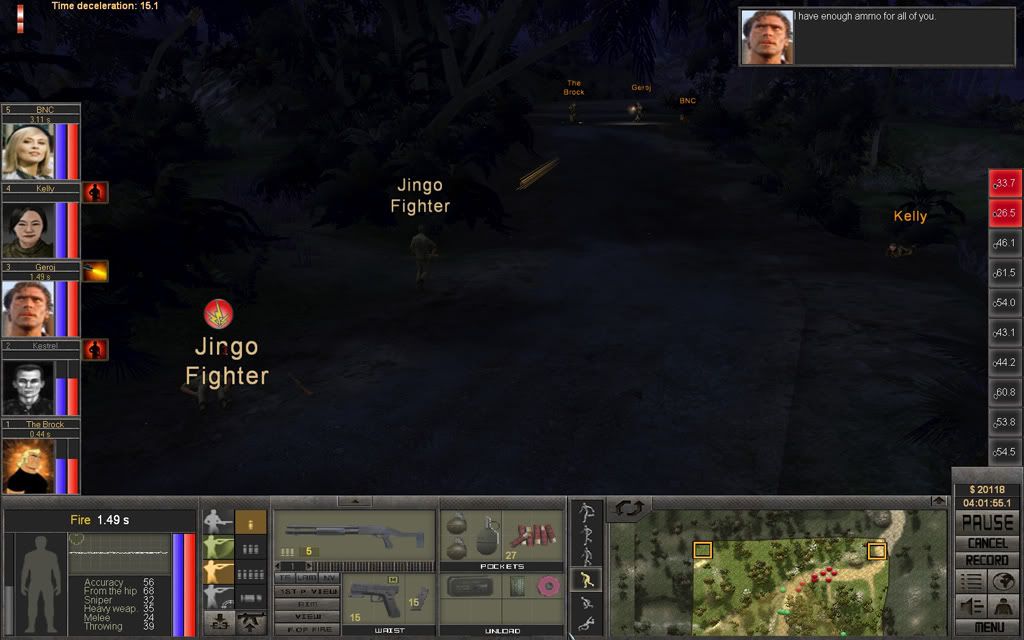
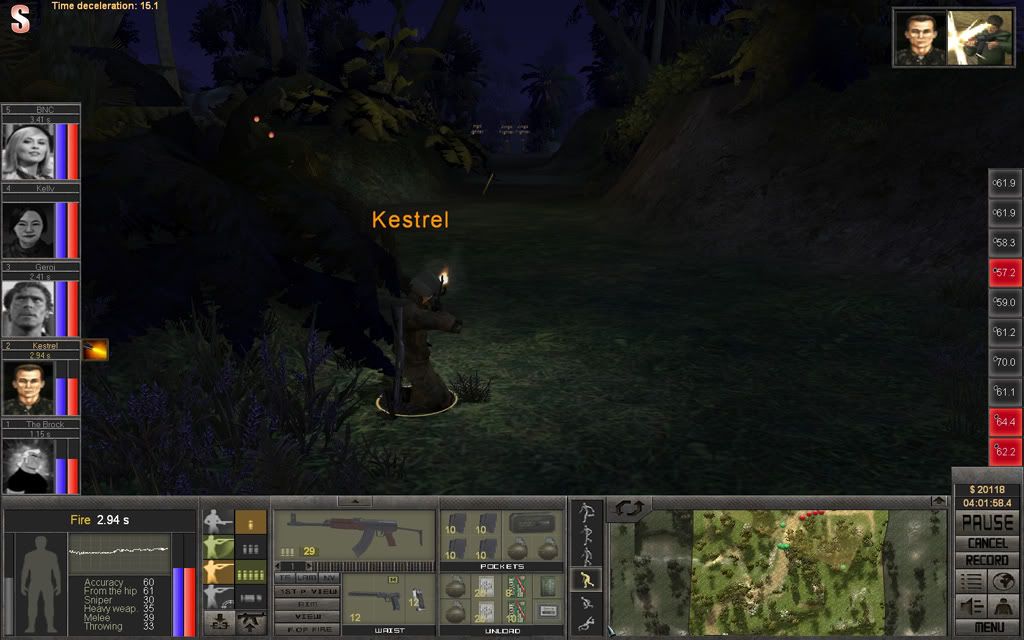
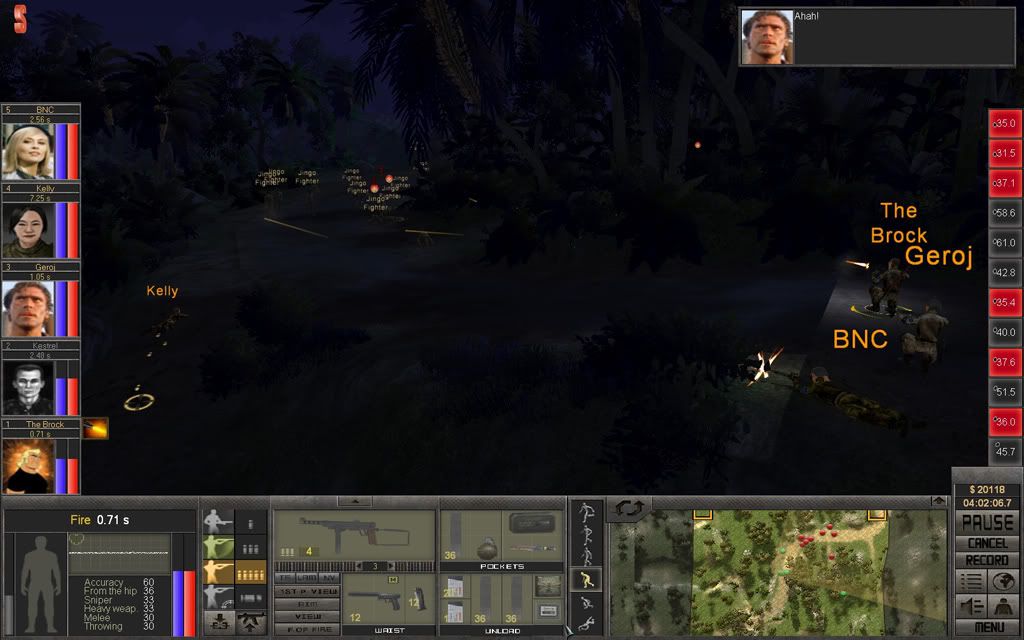
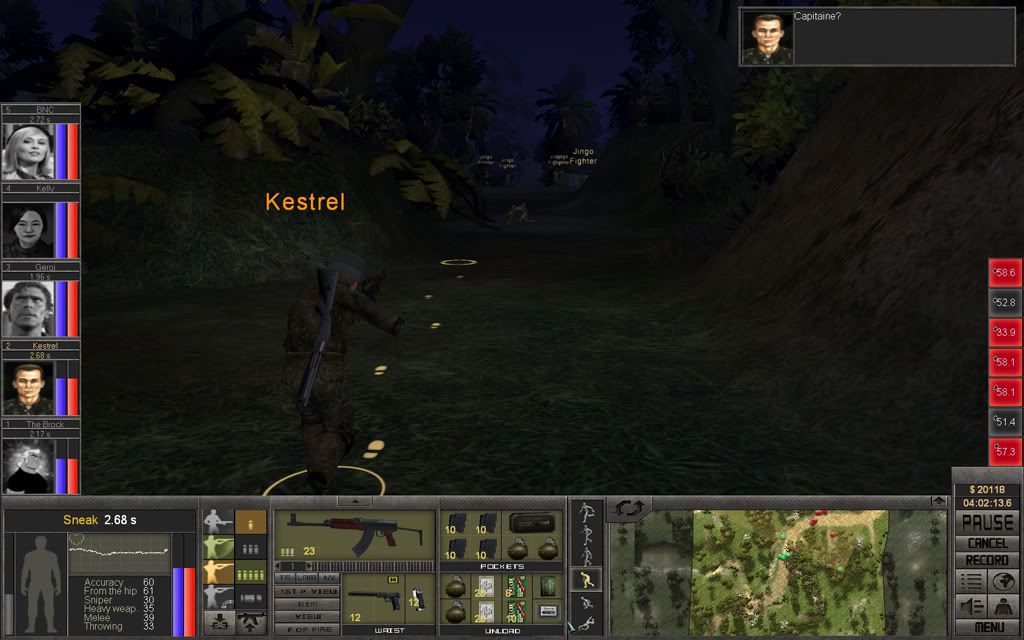
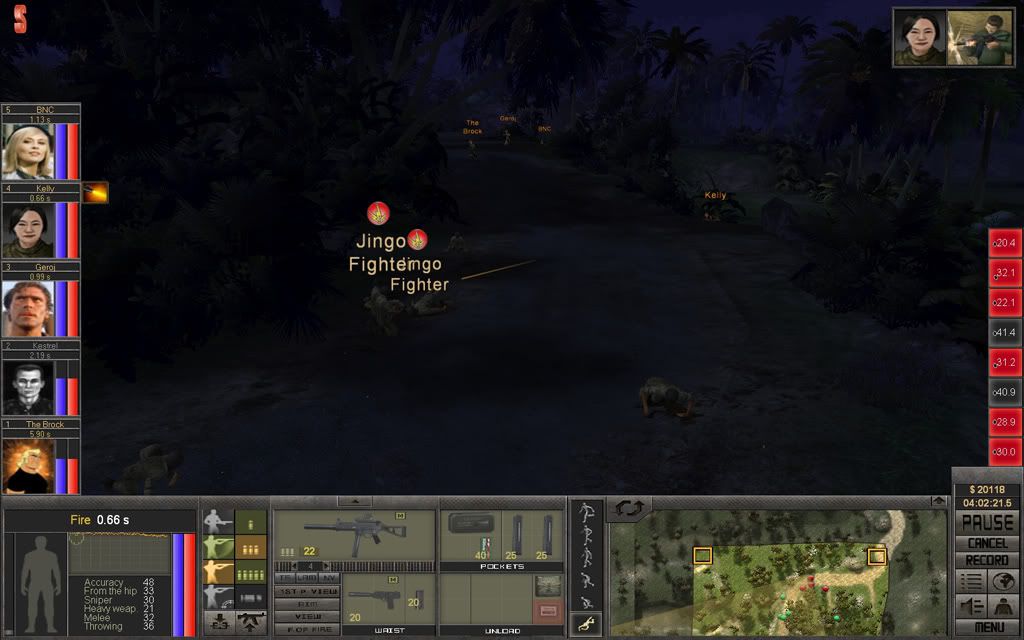
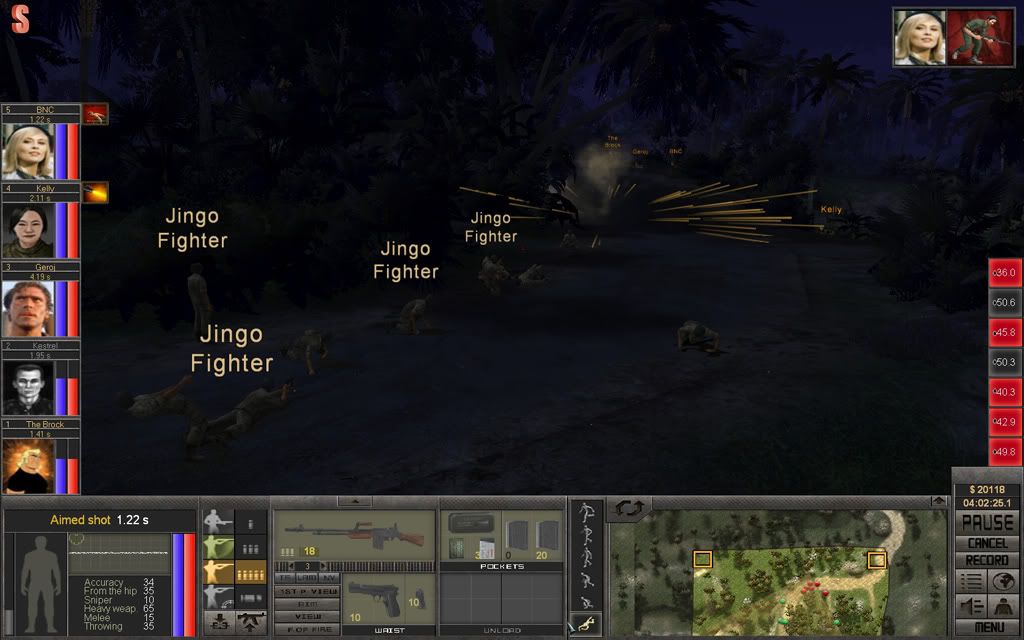
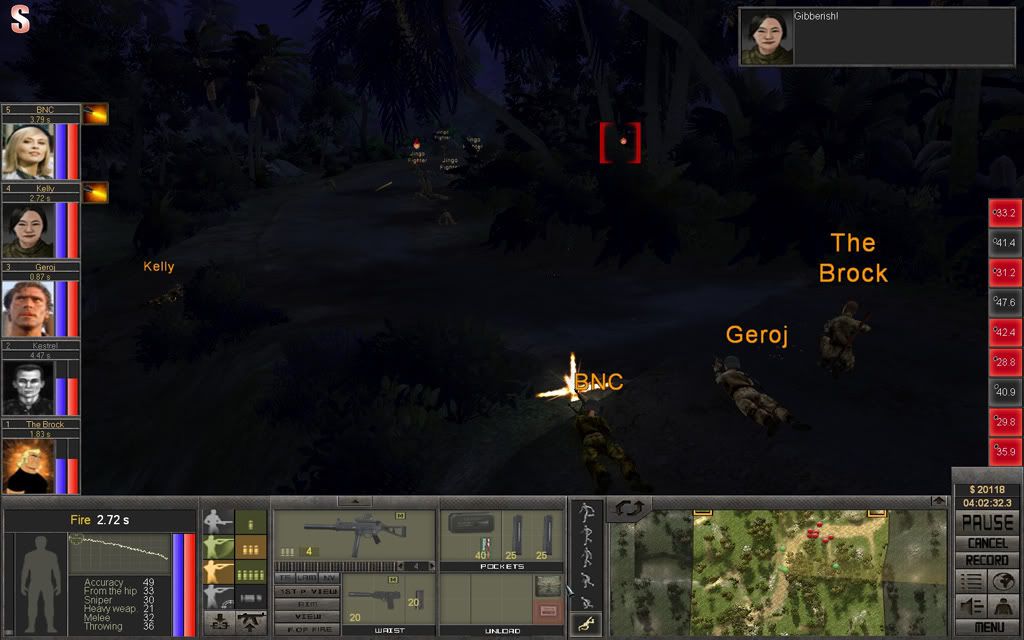
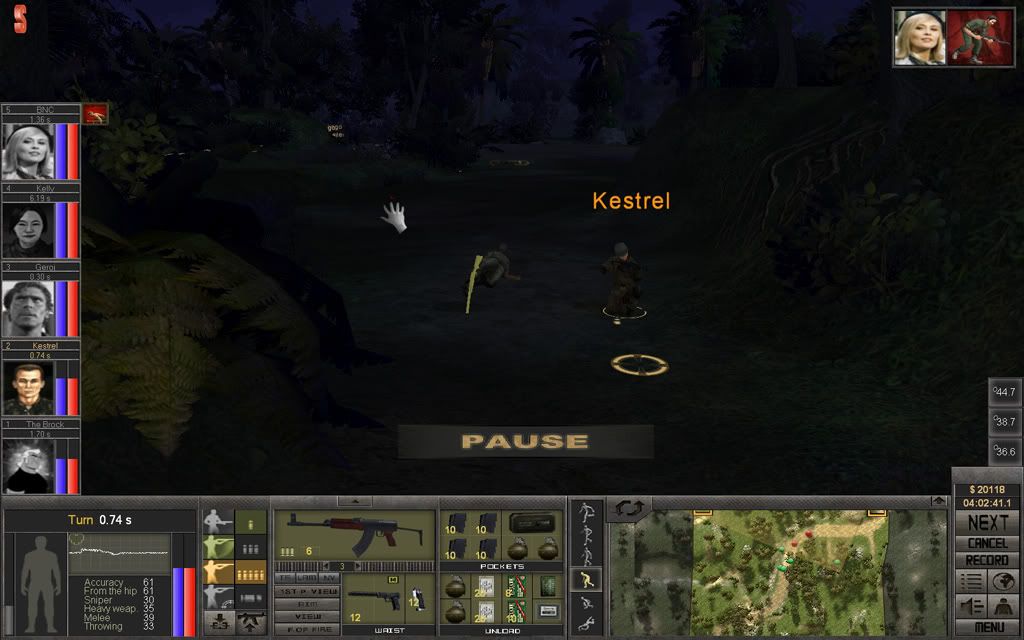
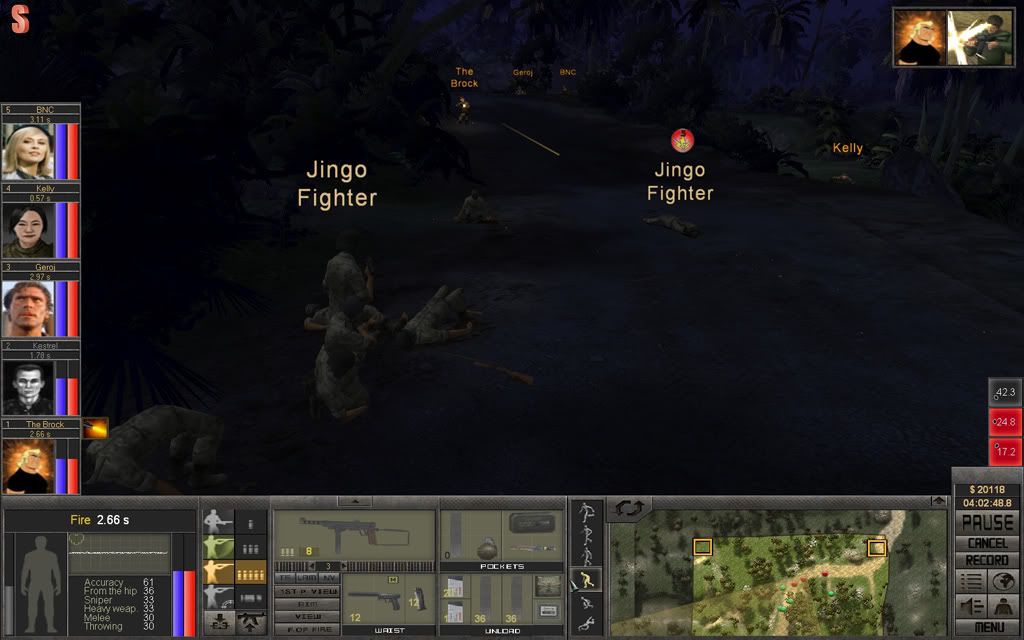
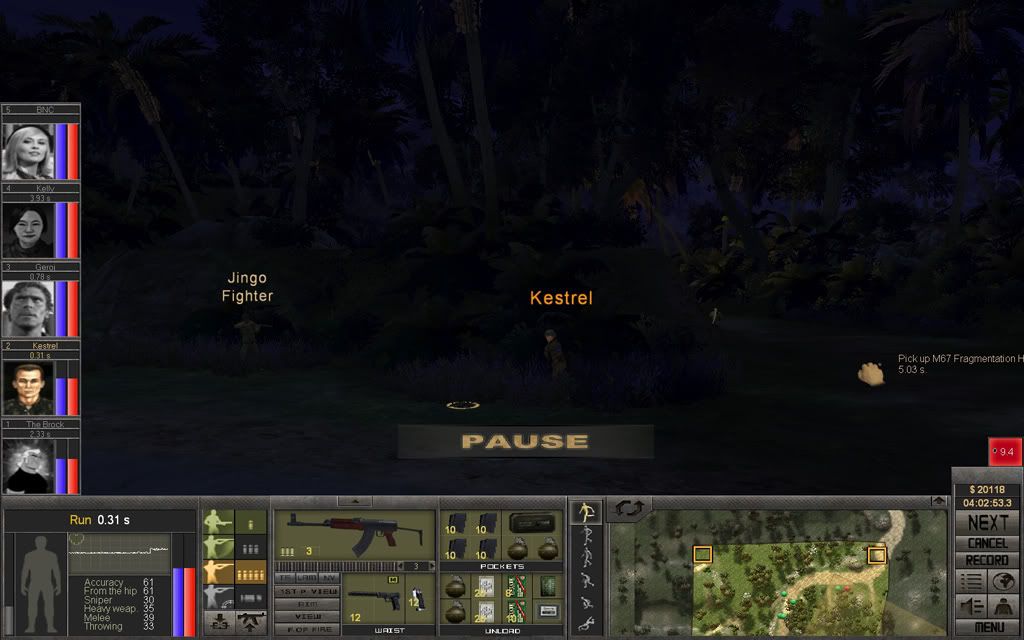
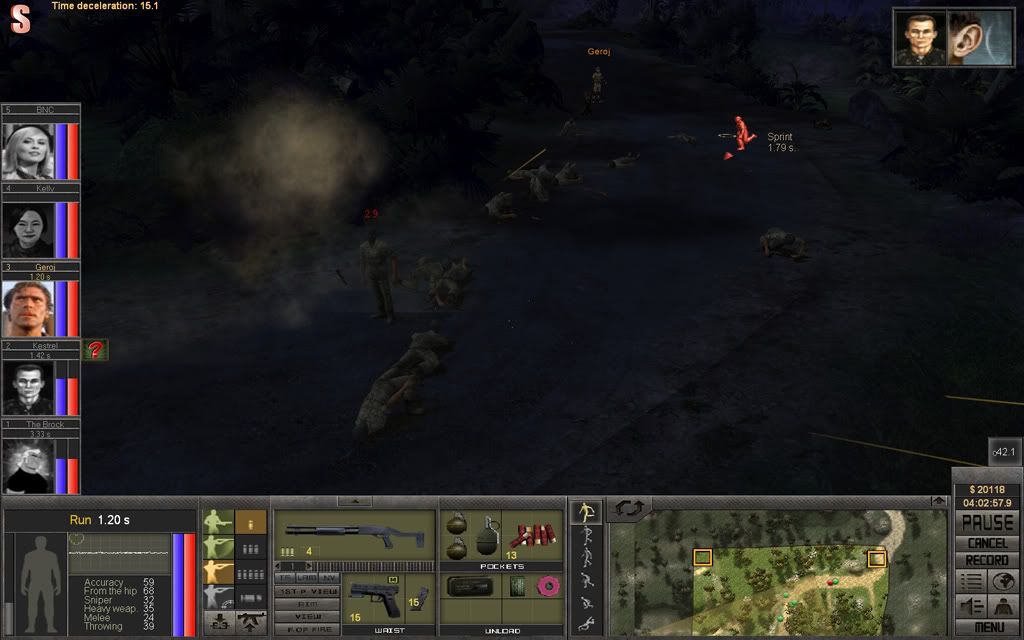
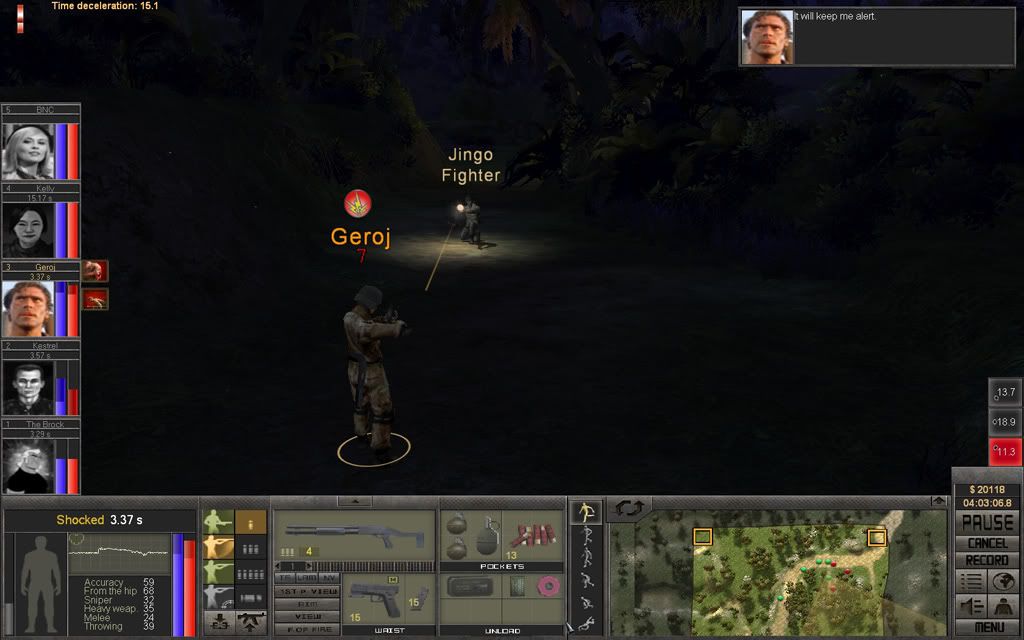
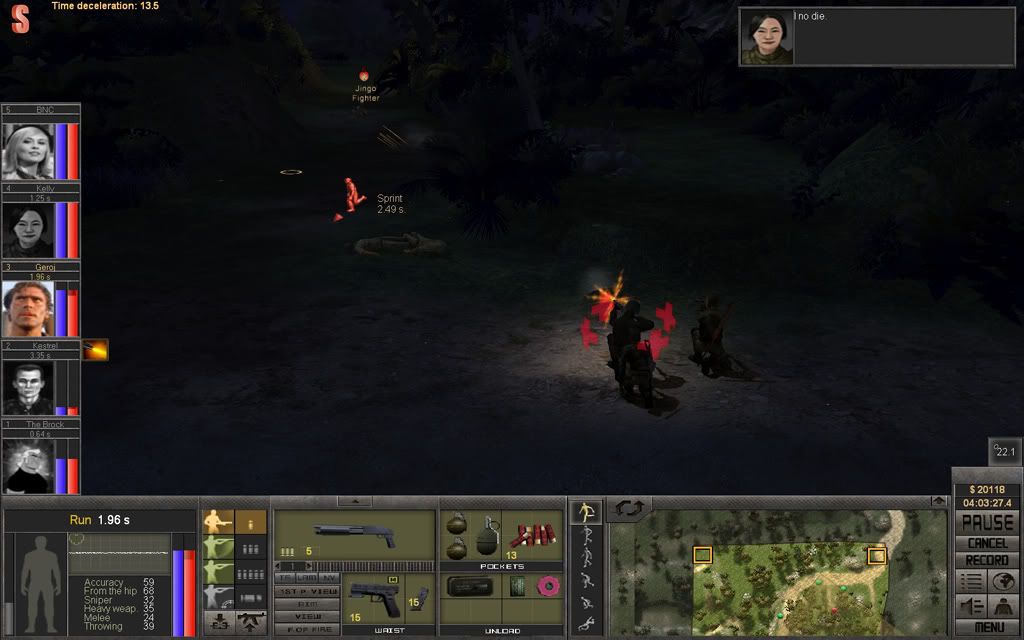
BNC scores a hit with her Garand and the battle starts.
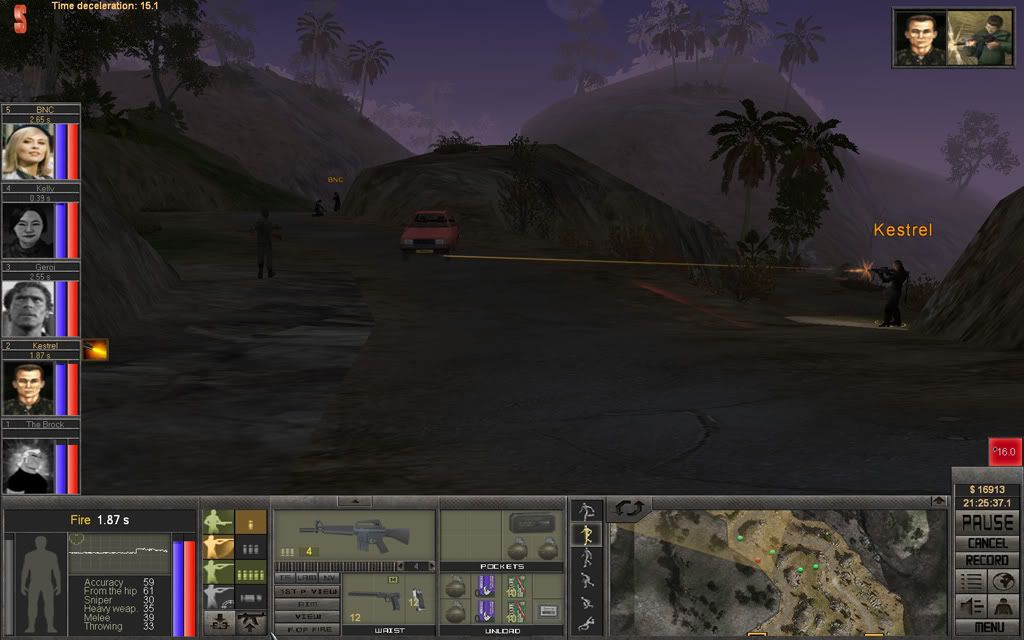
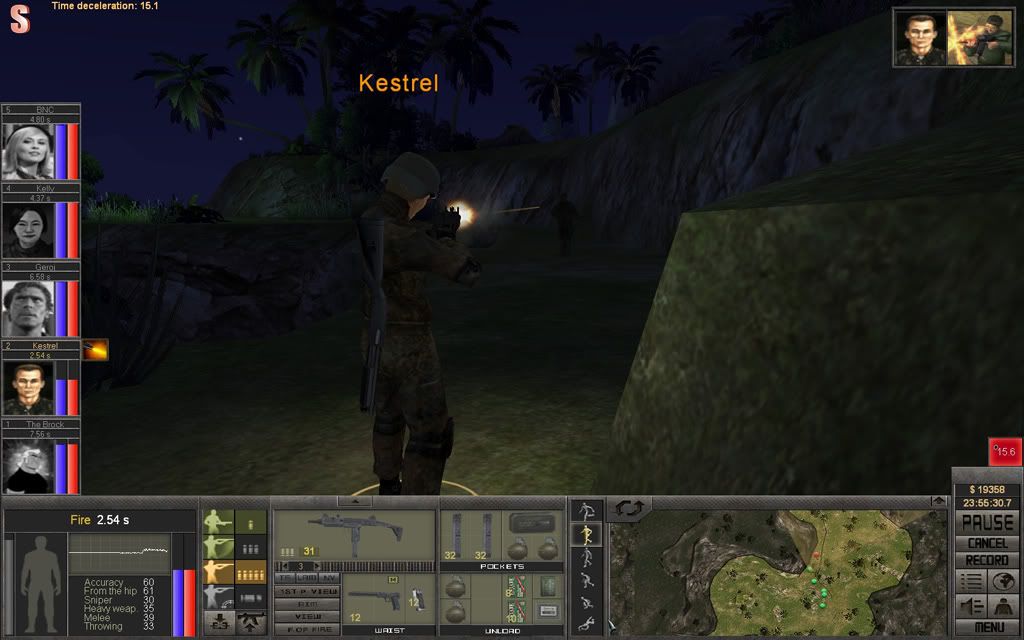
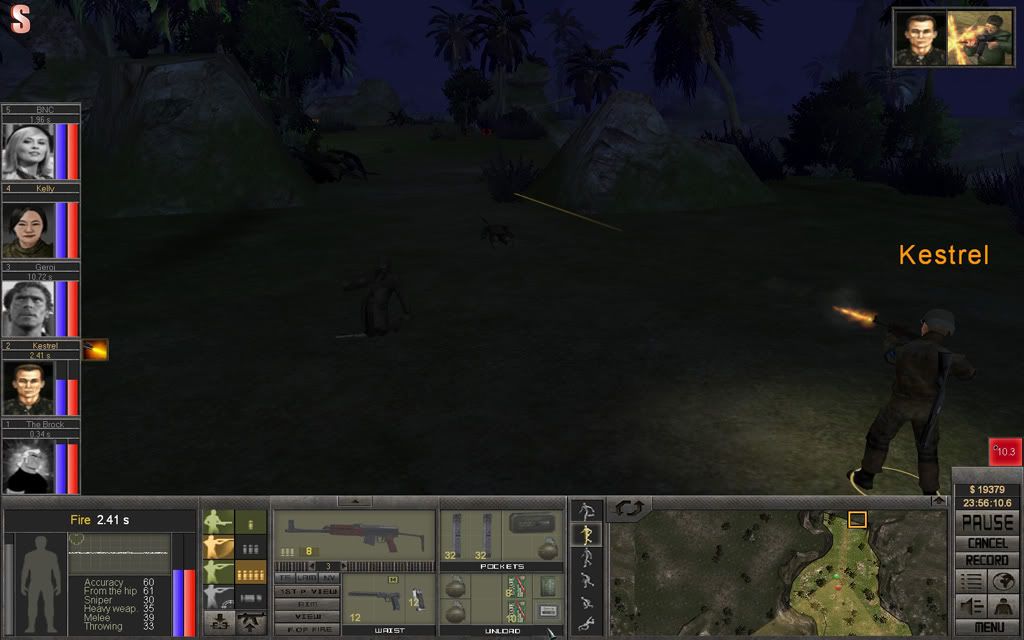
Kestrel, with only 20 rounds left for his CAR-15, opens up on another one but misses.
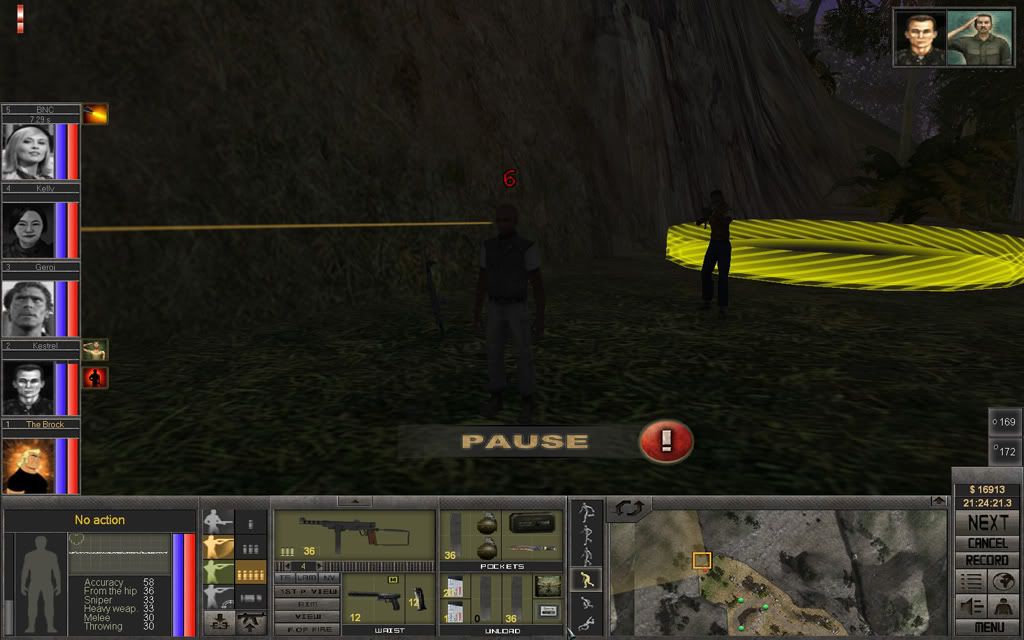
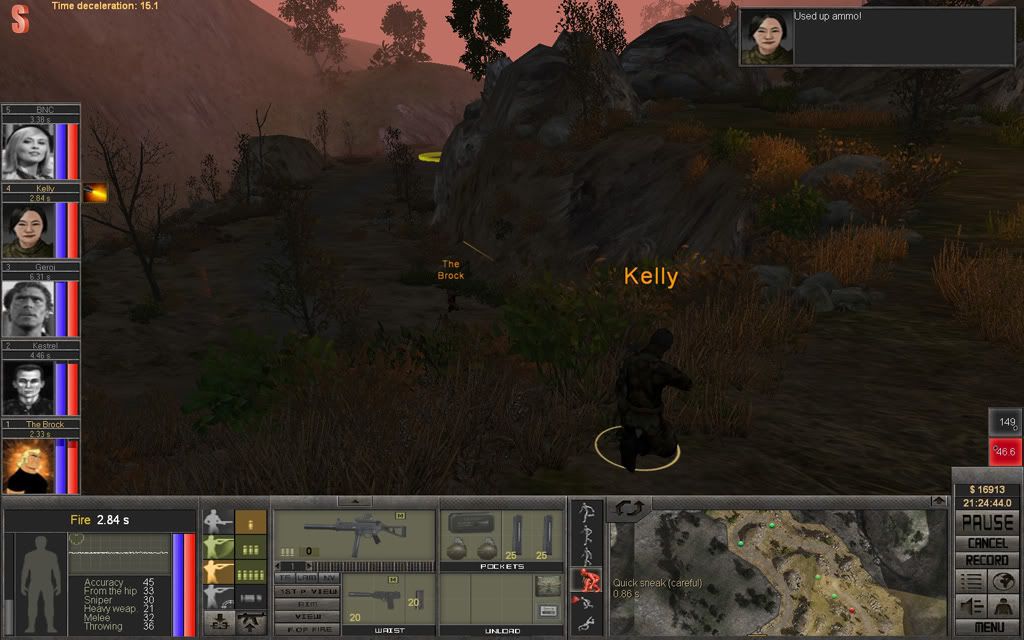
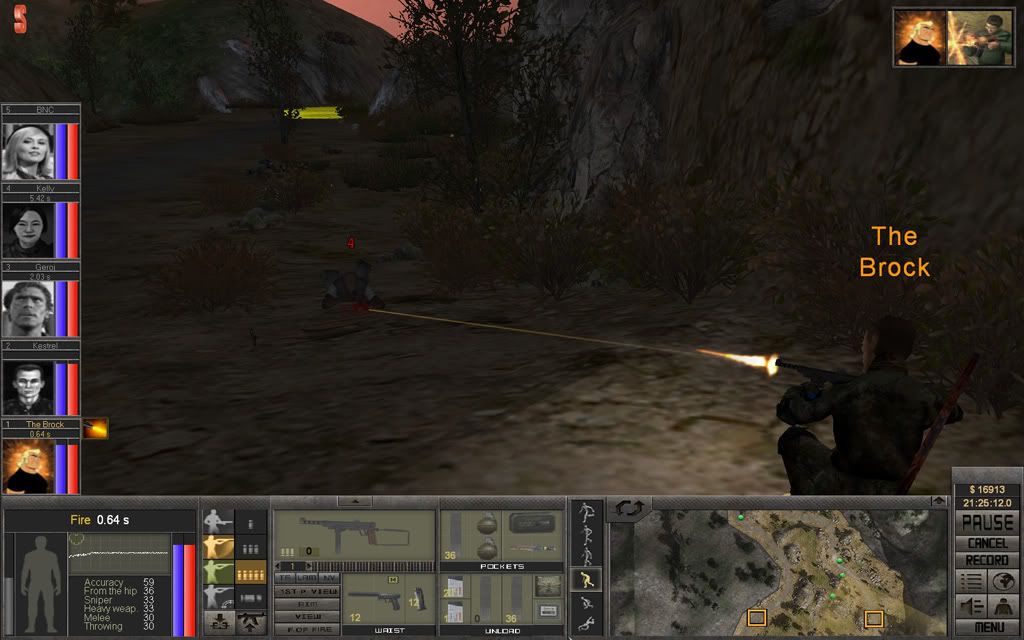
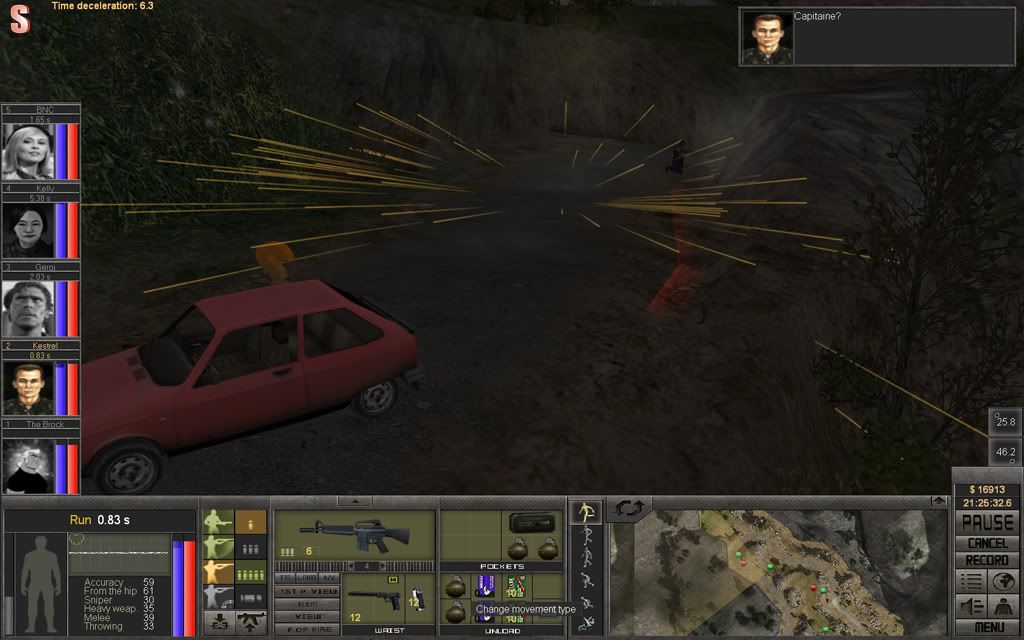
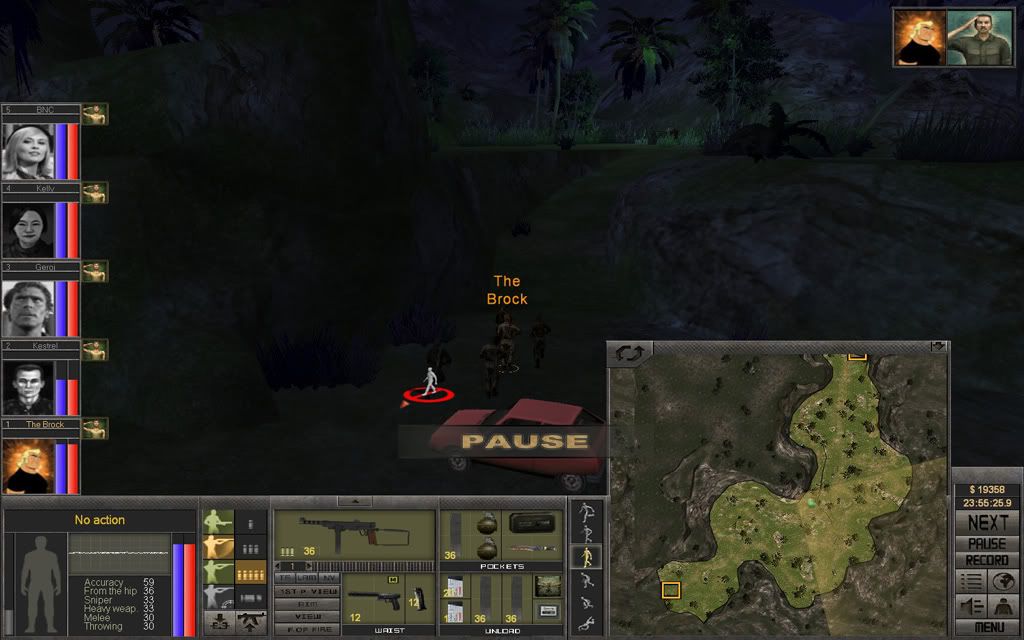
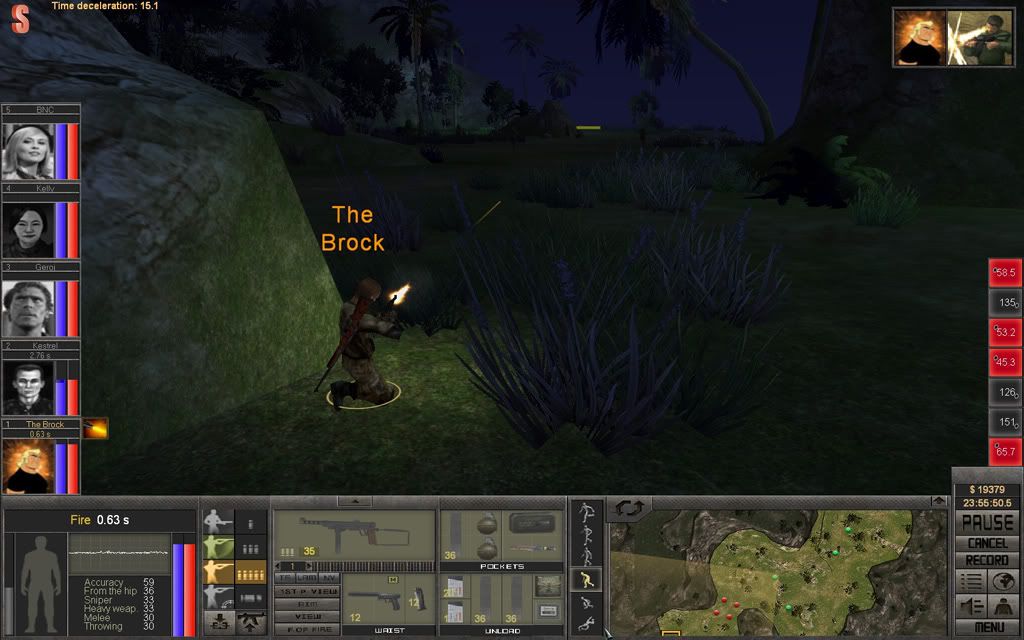
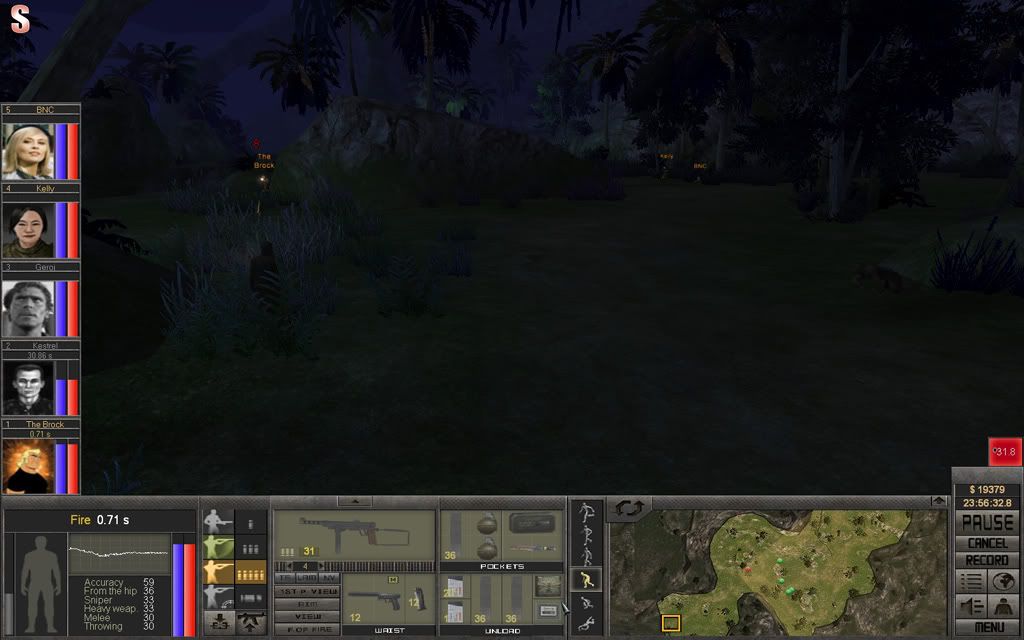
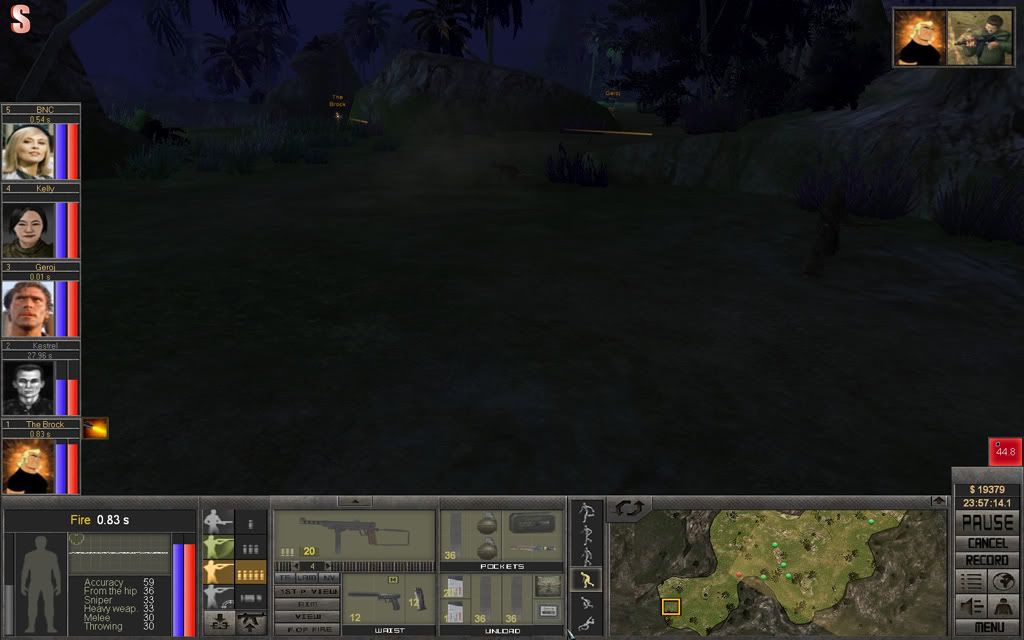
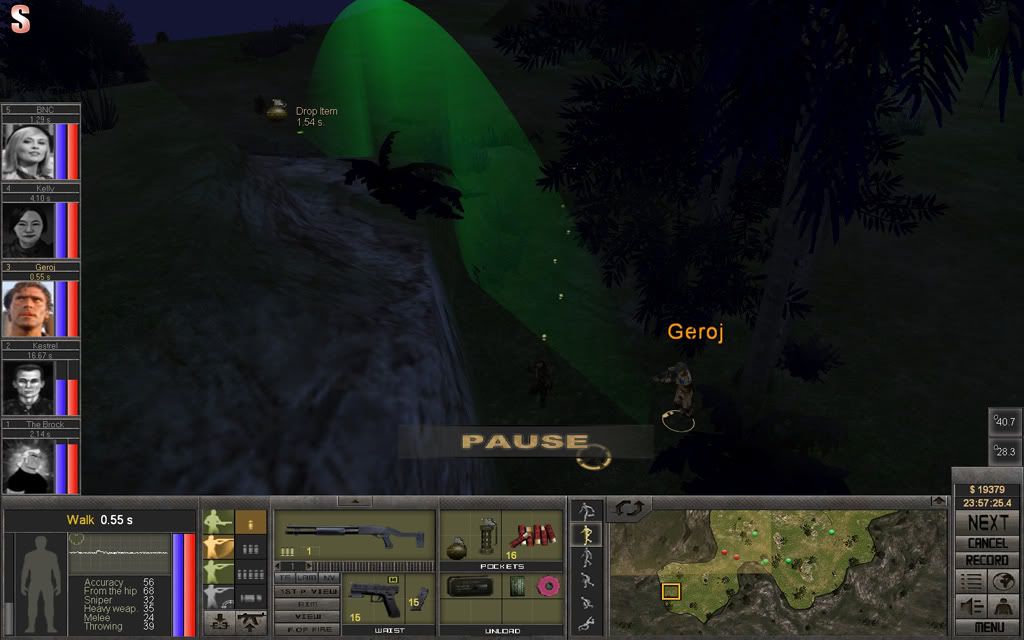
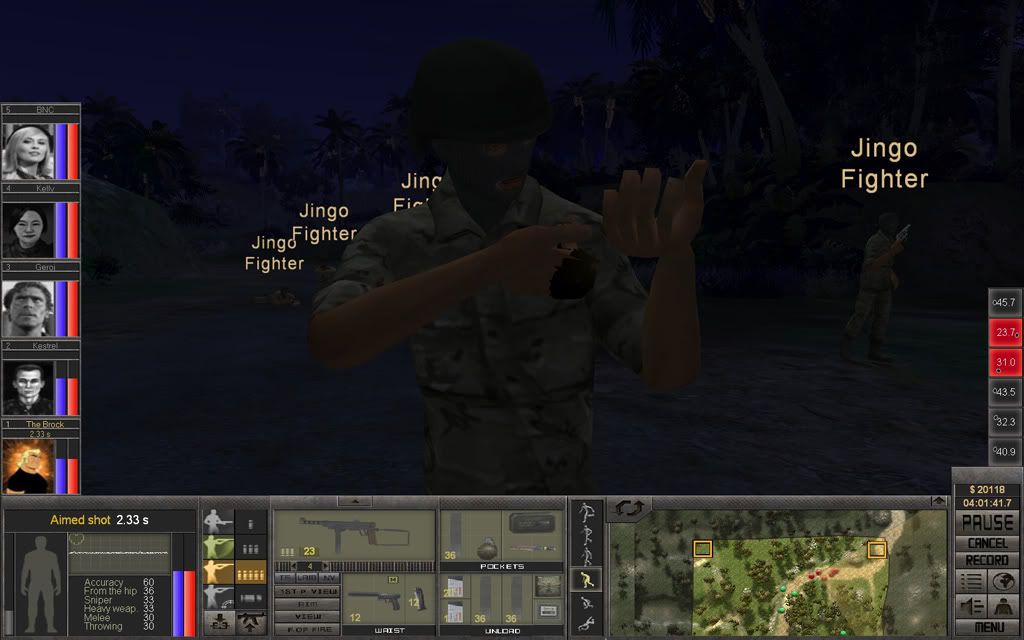
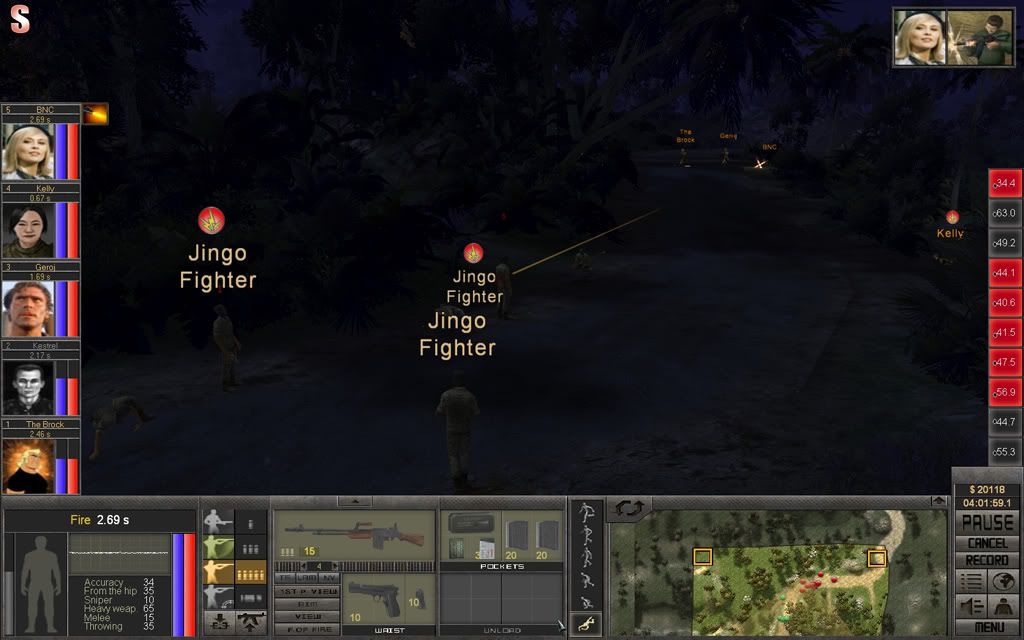
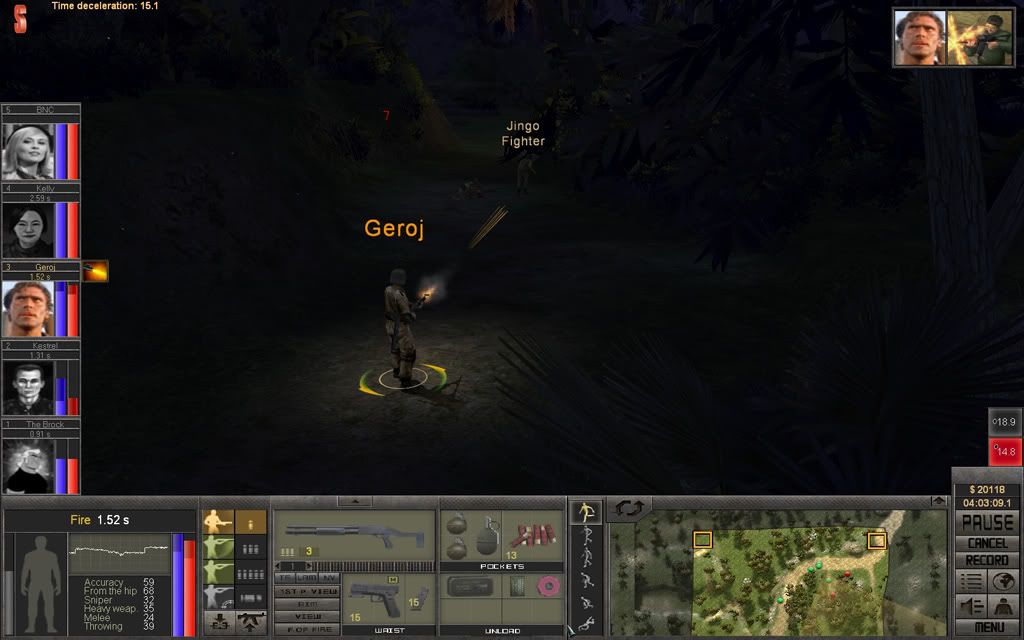
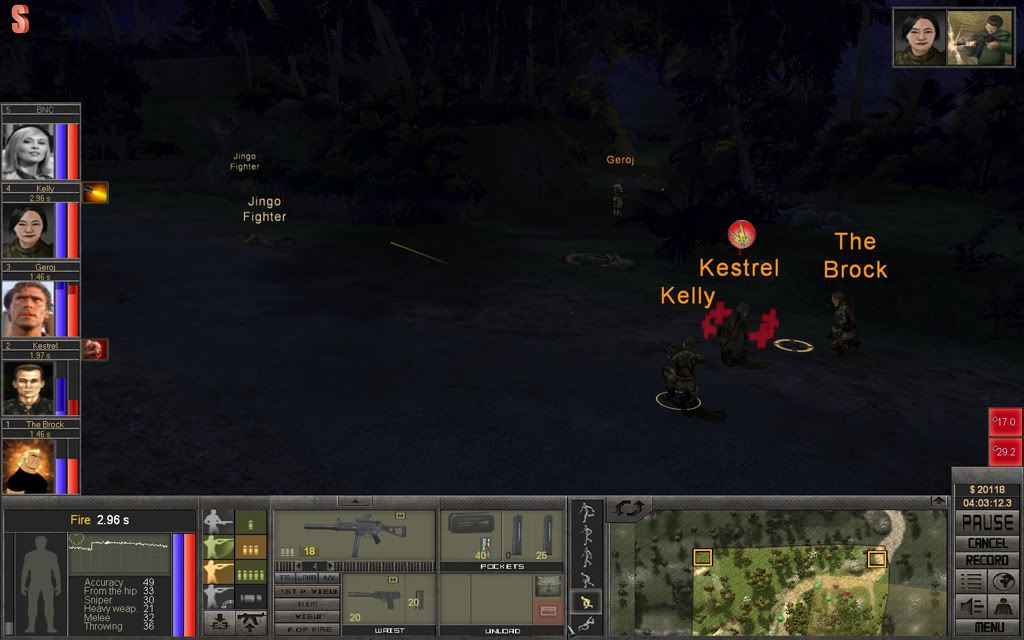
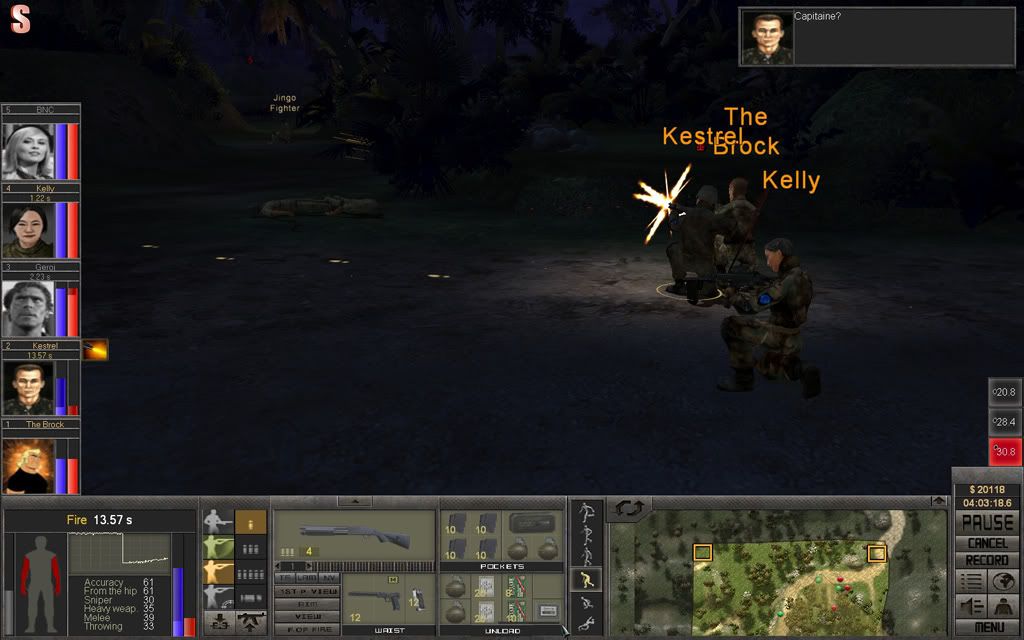
A Bushwhacker rushes The Brock's position and gets a burst from the M45 as a greeting. All shots miss the intended target, but takes down another bushwhacker behind the target.

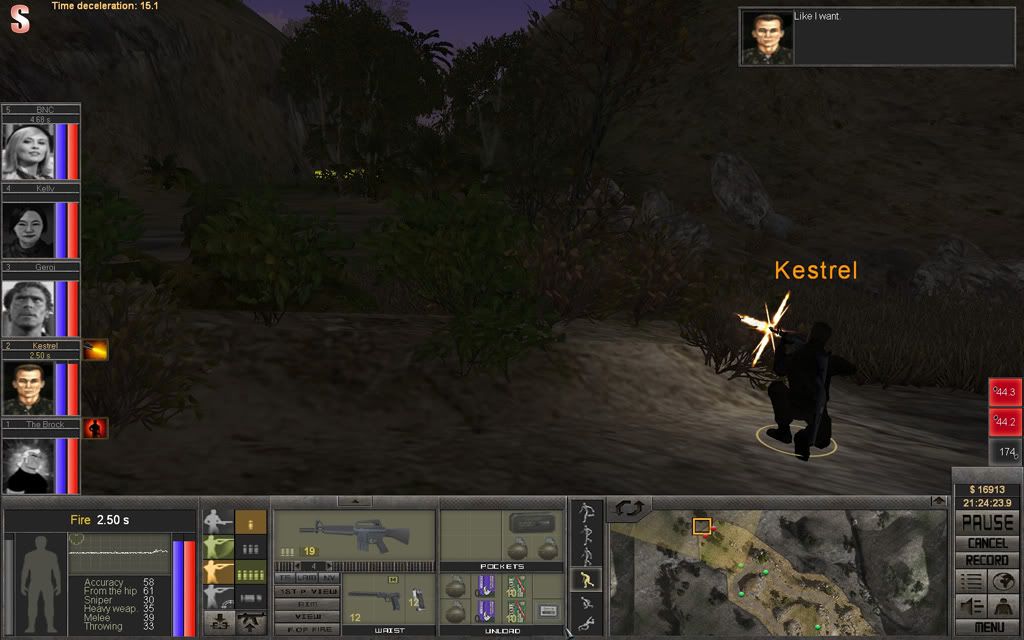
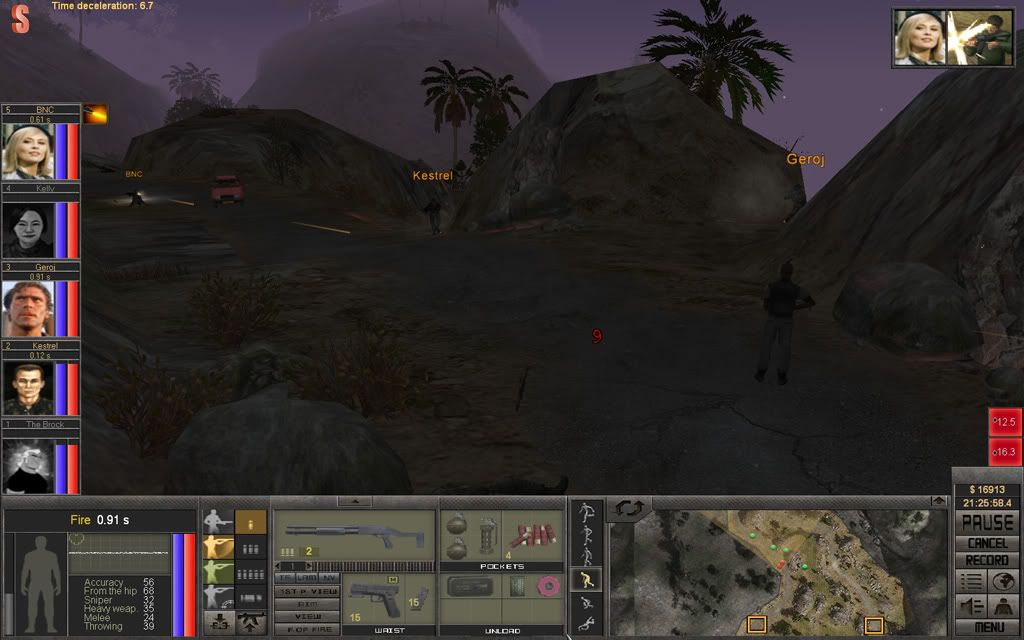
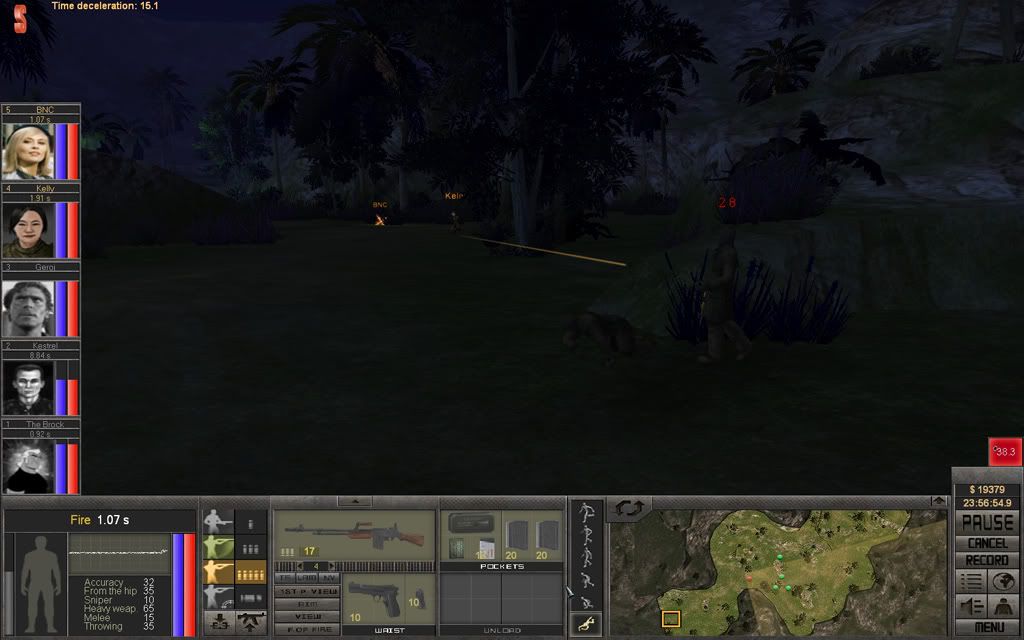
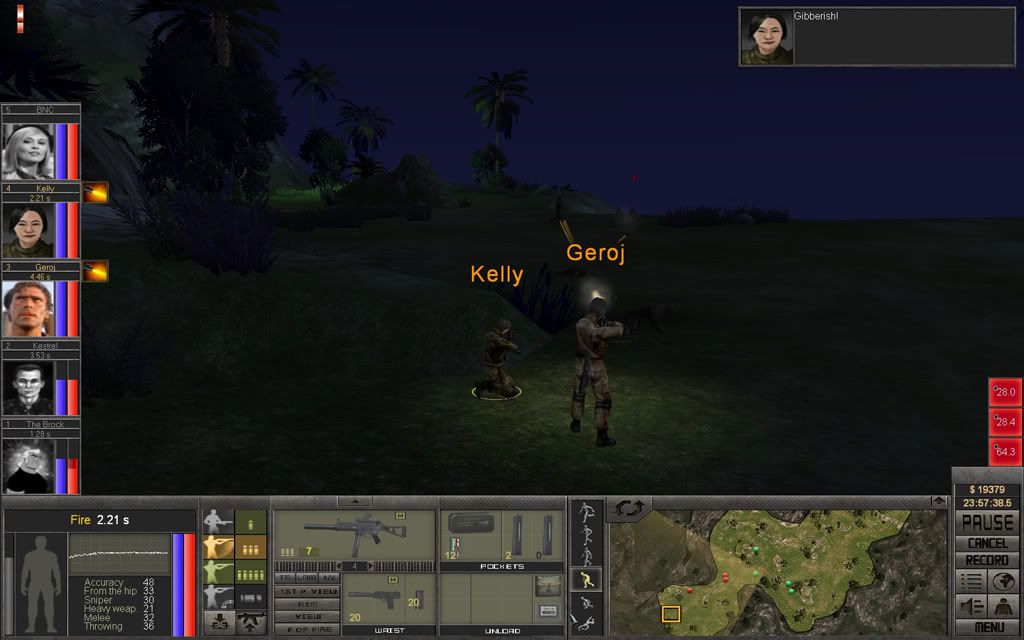
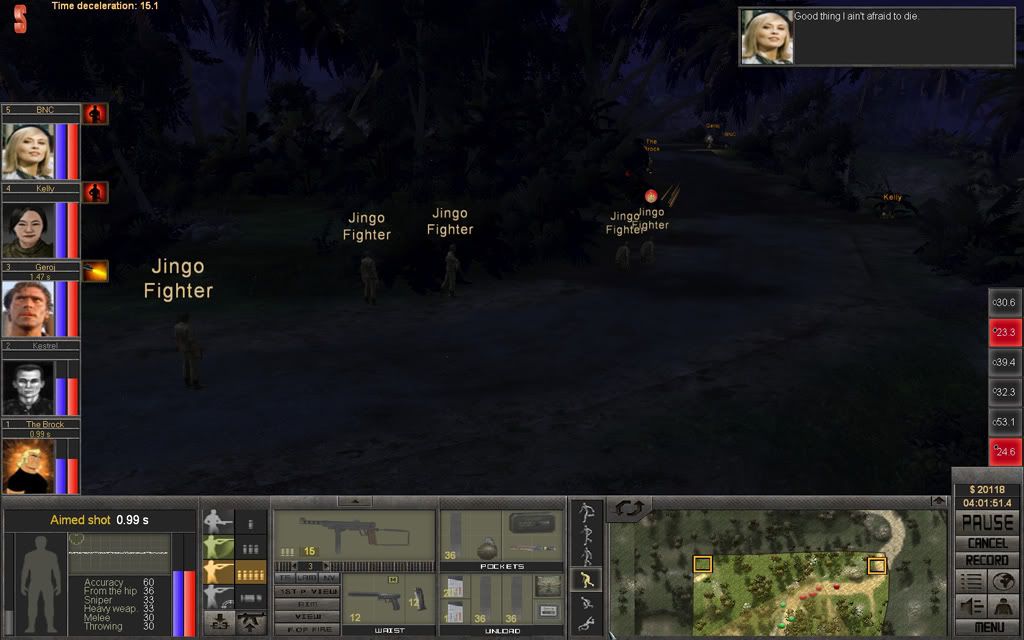
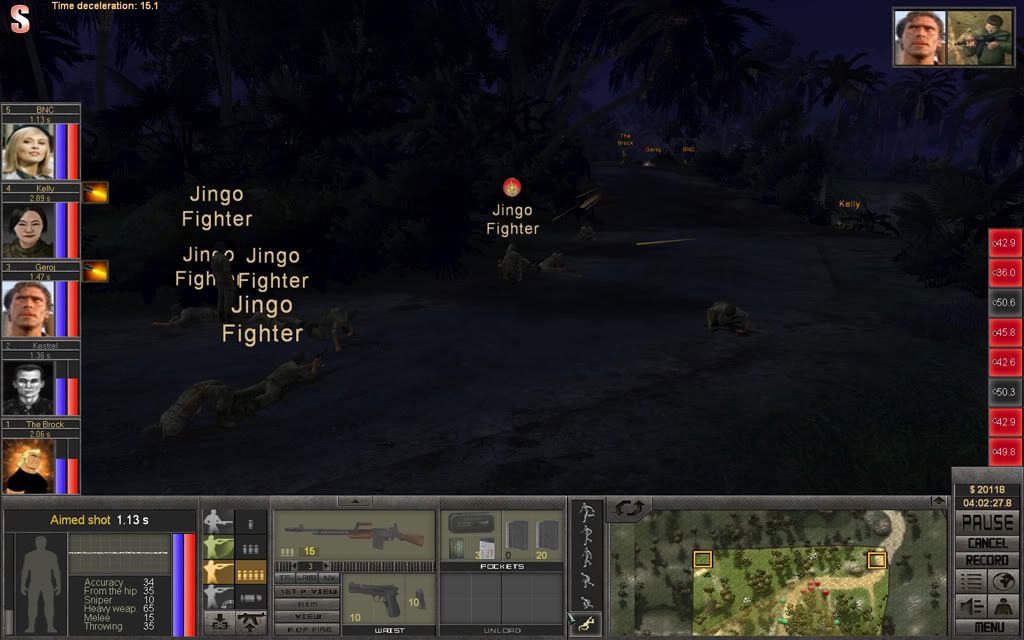
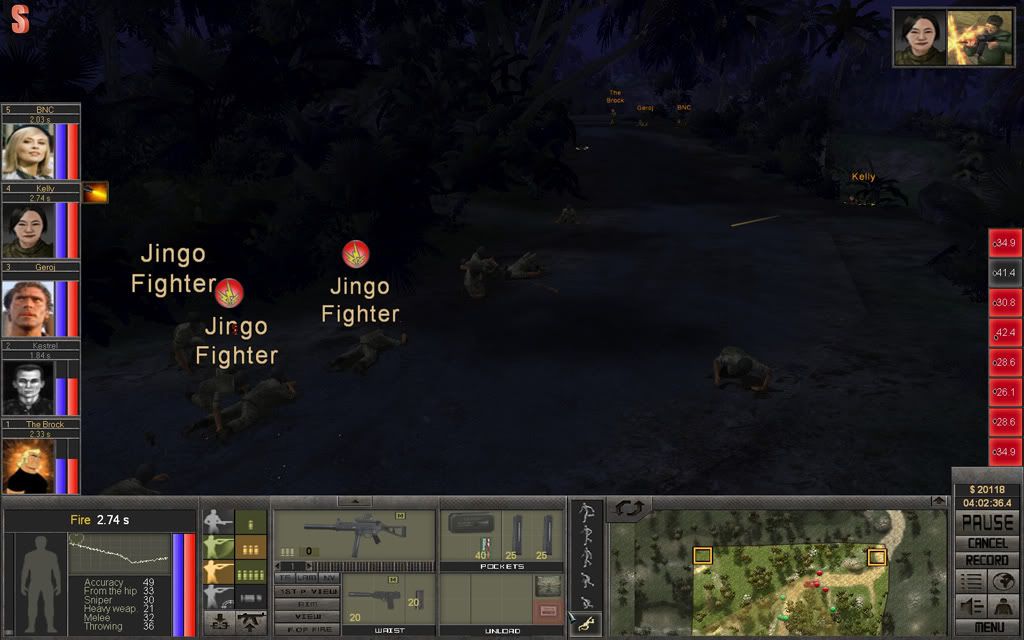
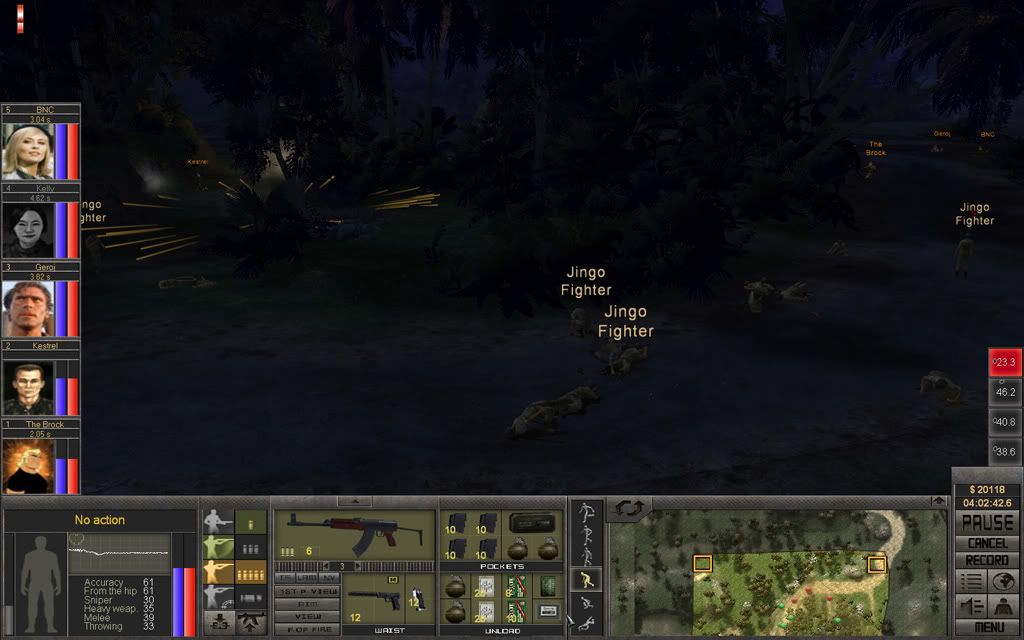
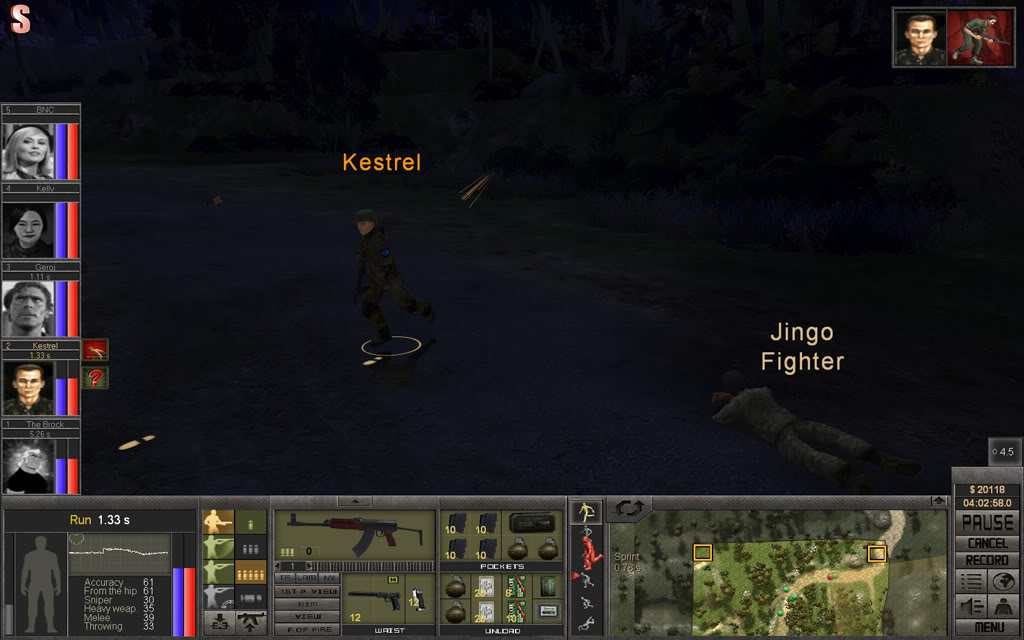
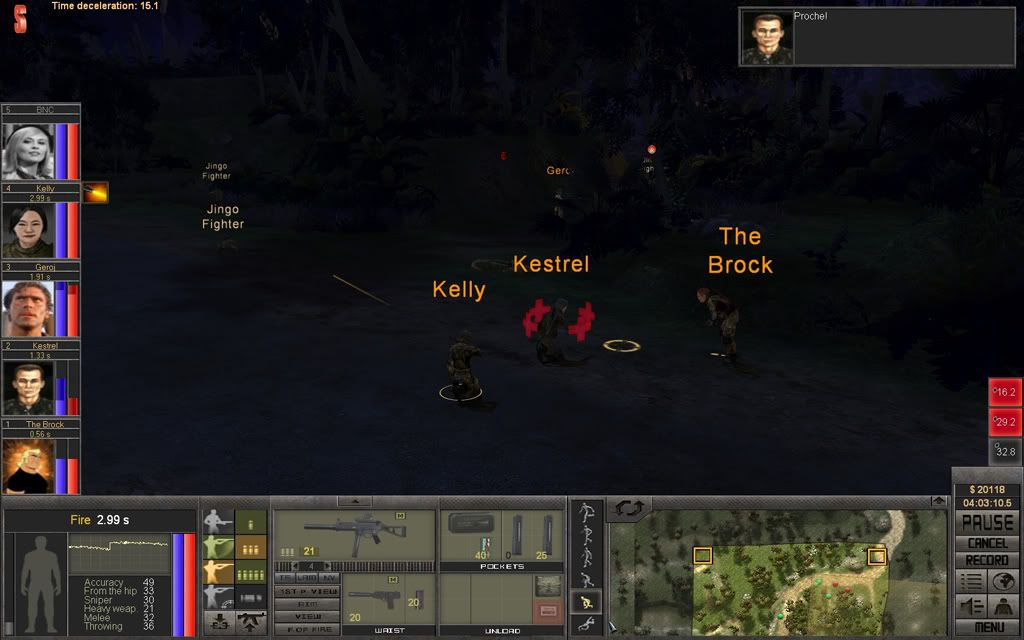
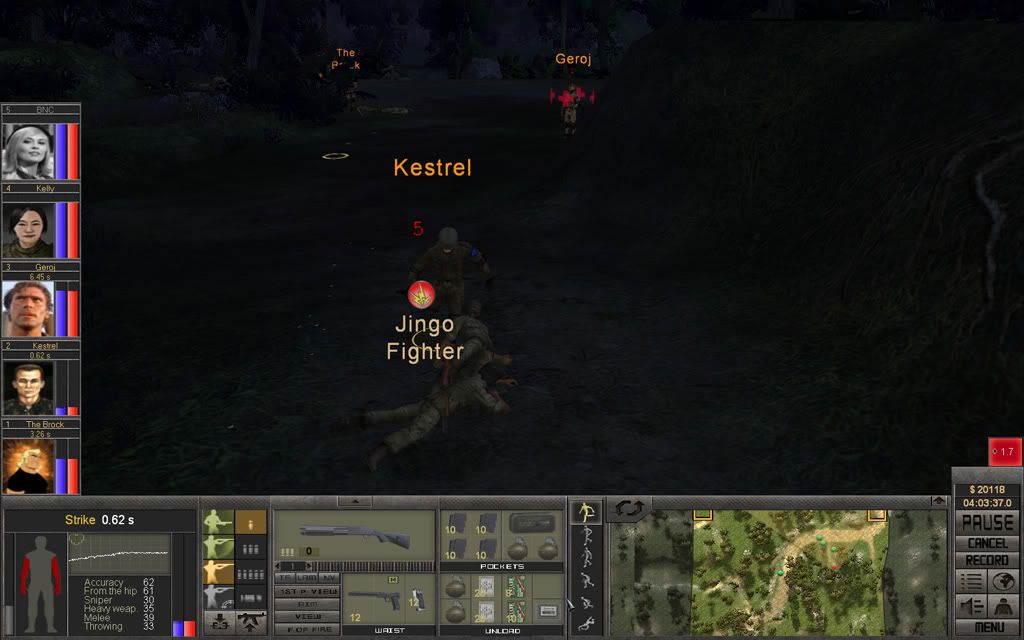
Kestrel finally hits his target, and this time it's a deadly headshot. It was lucky since that particular Bushwhacker was carrying a Garand, and if left alive could do some real damage. Kestrel switches to the next target, and together with BNC they'll keep them busy for a while.
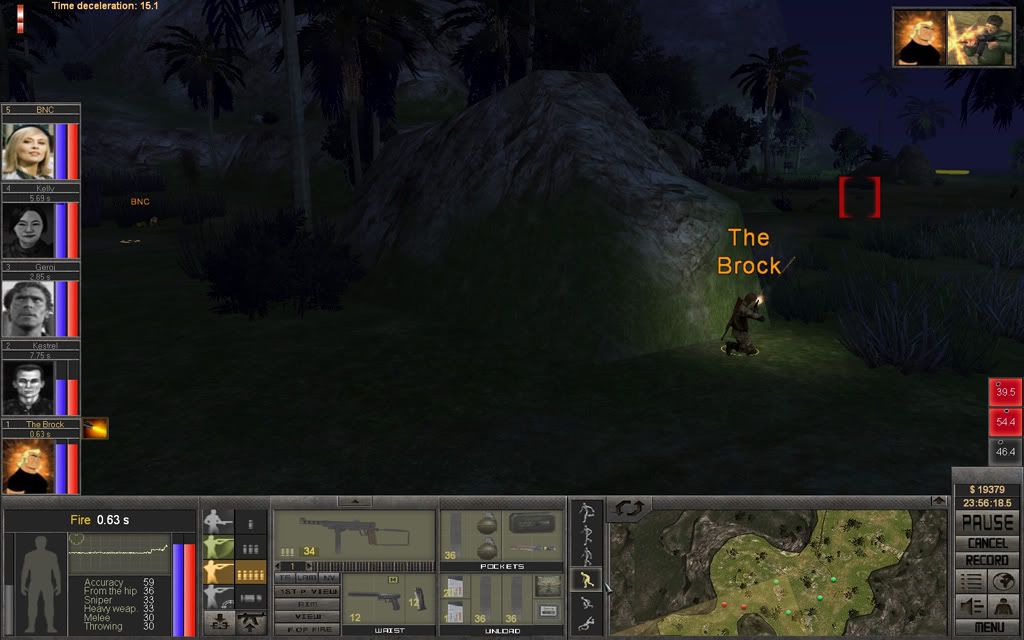
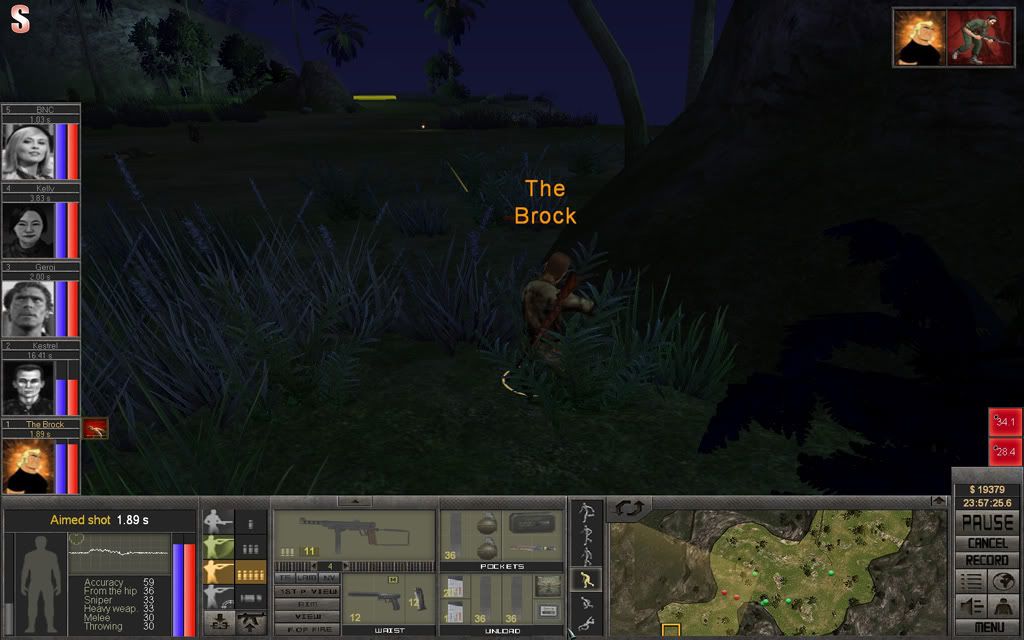
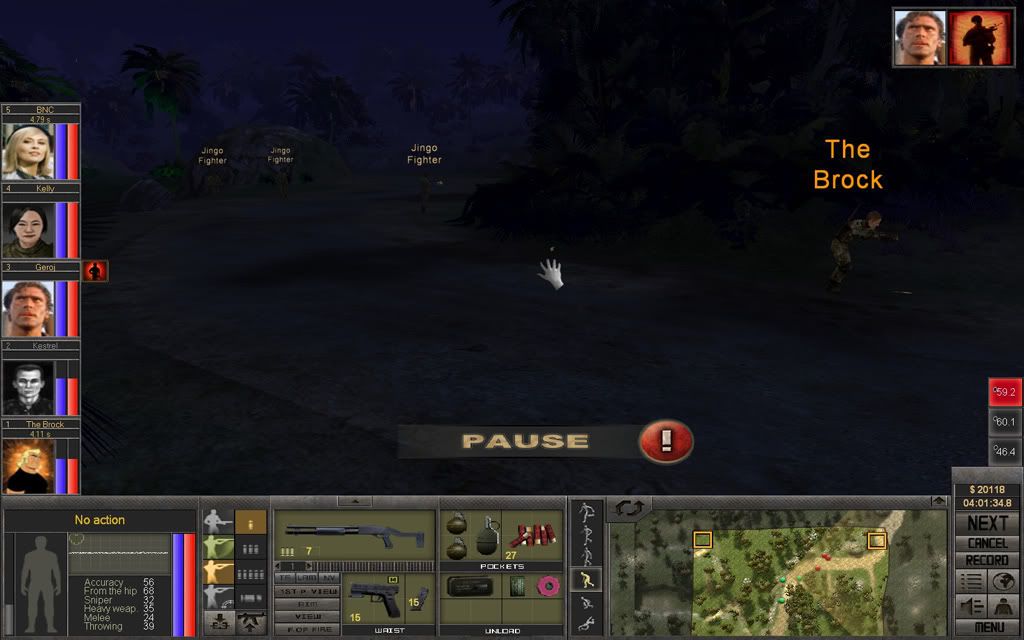
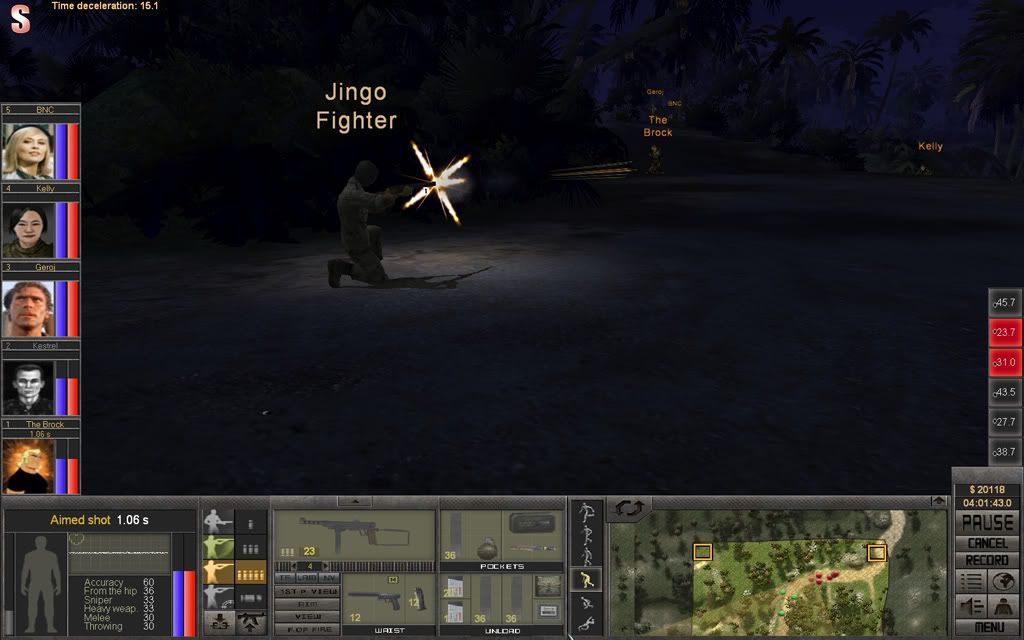
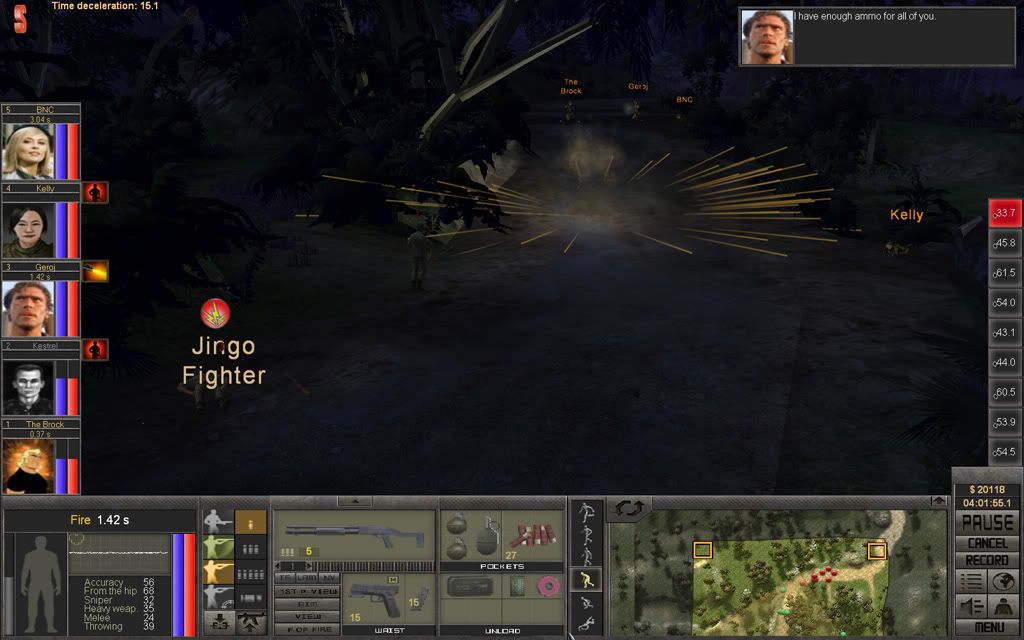
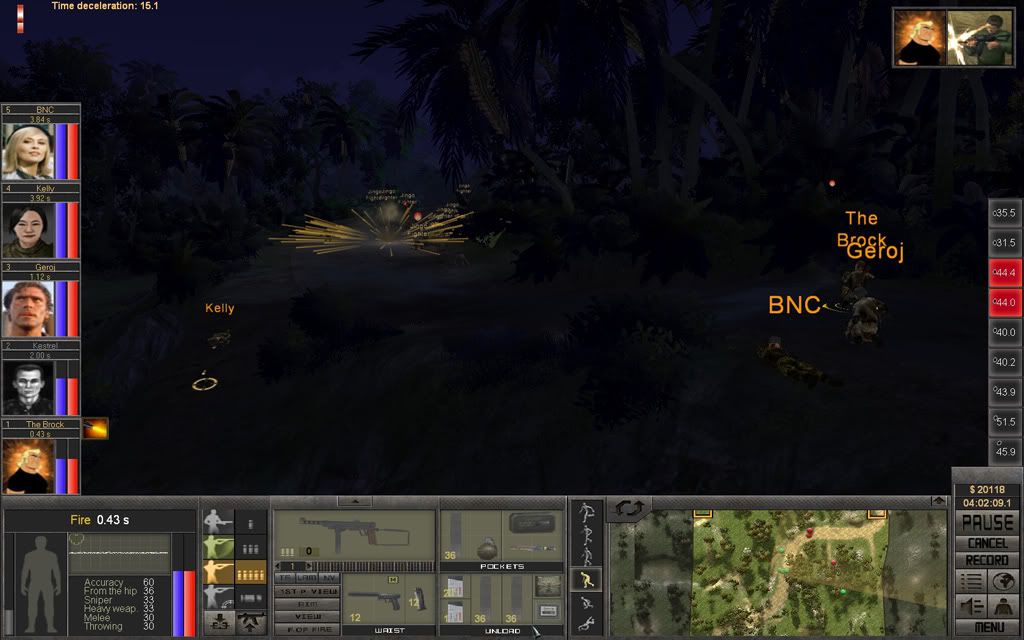
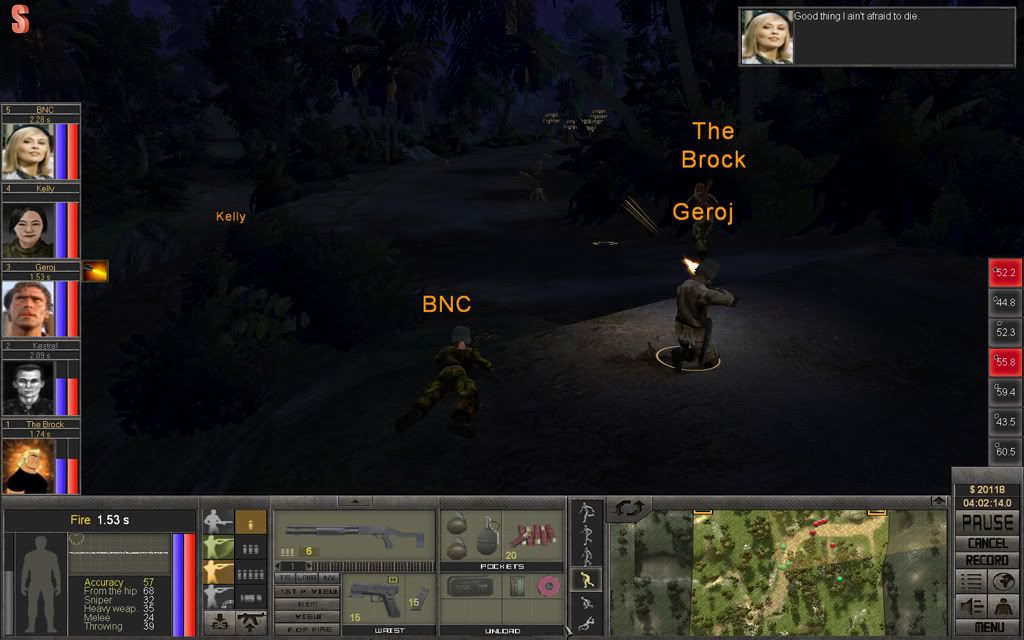
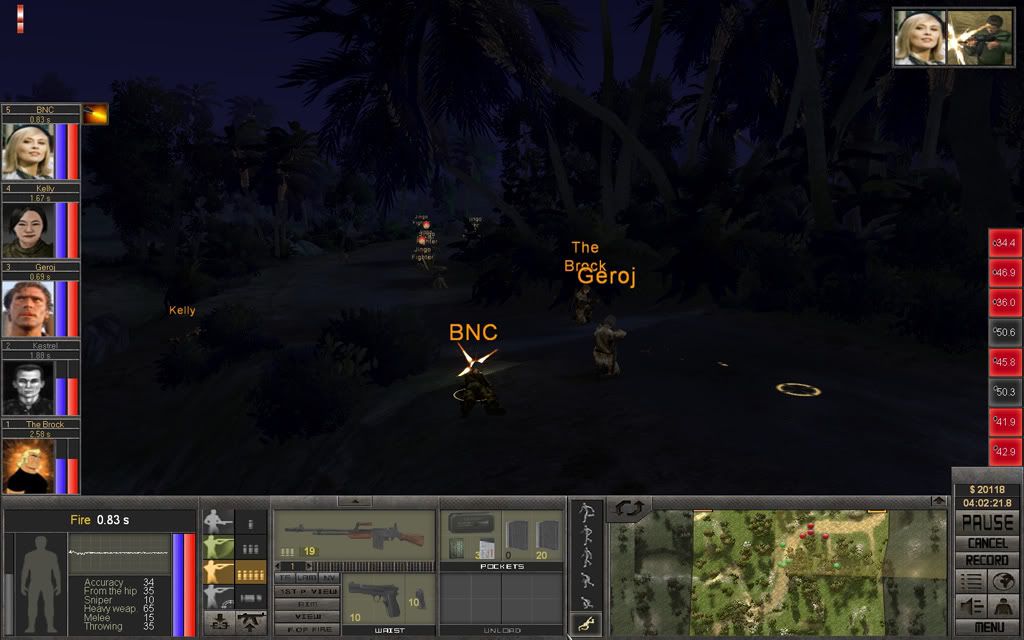
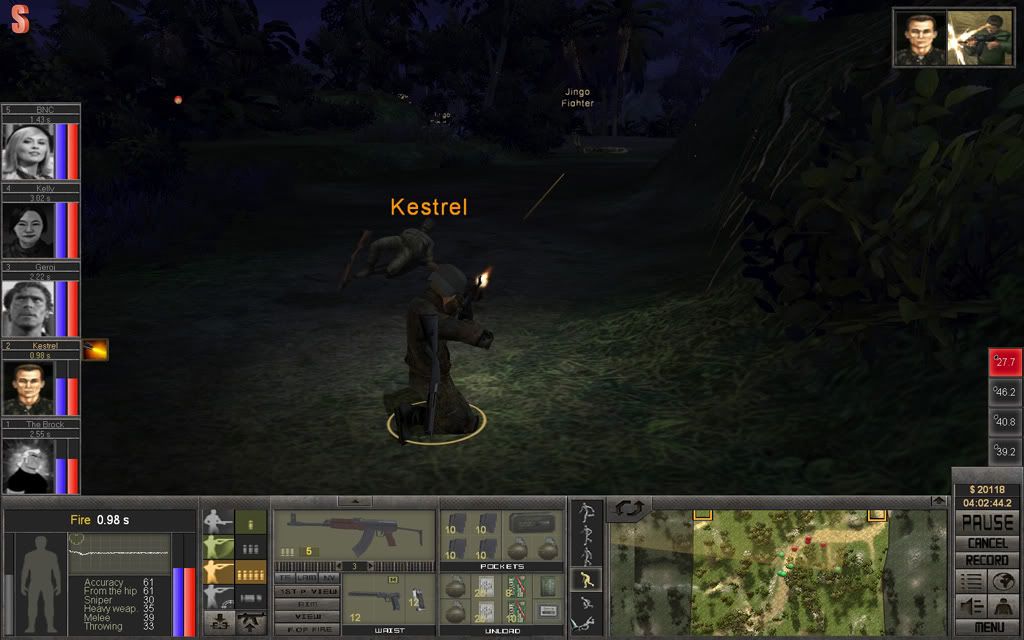
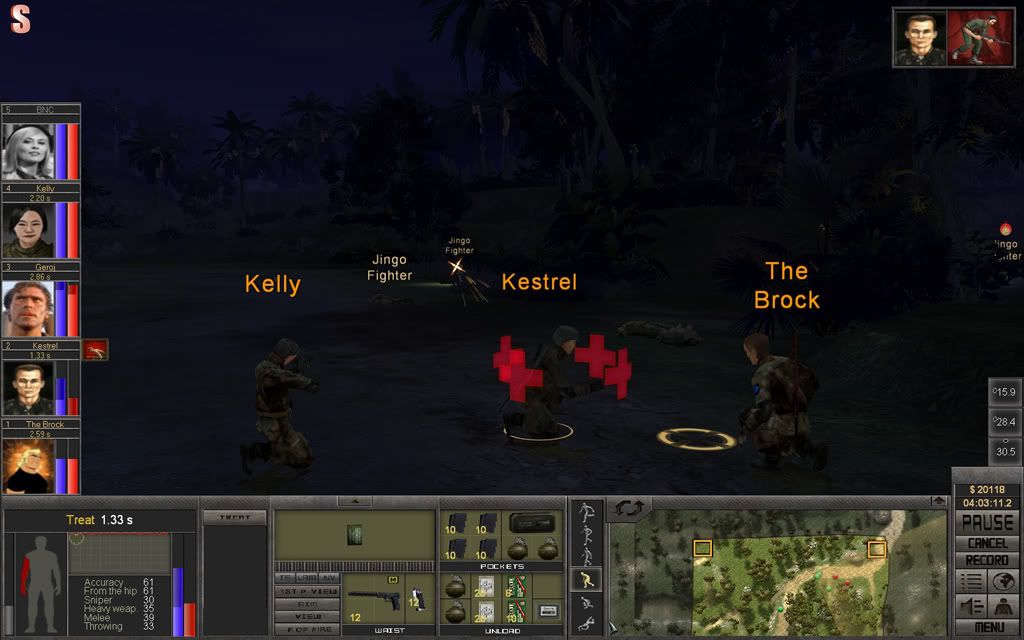
The Brock wounds one of the Bushwhackers with another burst from his M45, forcing him to eat some dirt. But then...
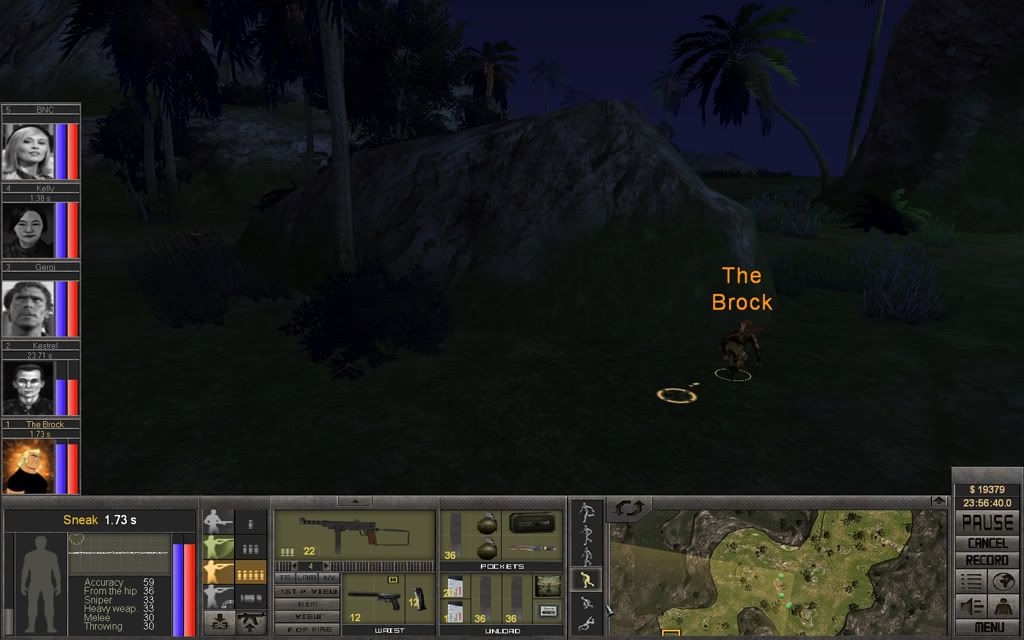
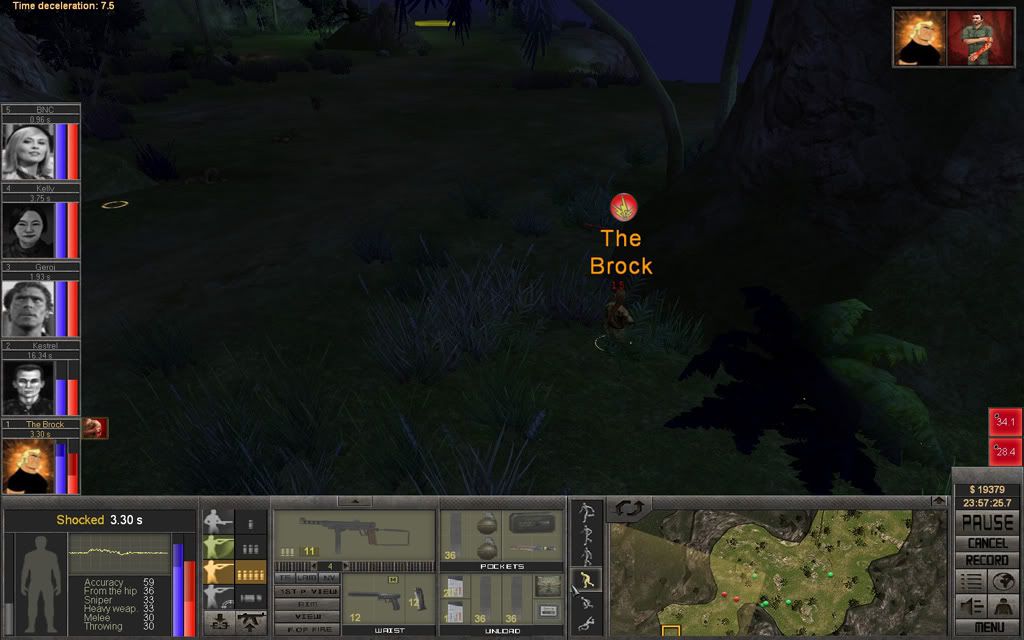
One of the Bushwhackers gets lucky and hits him.
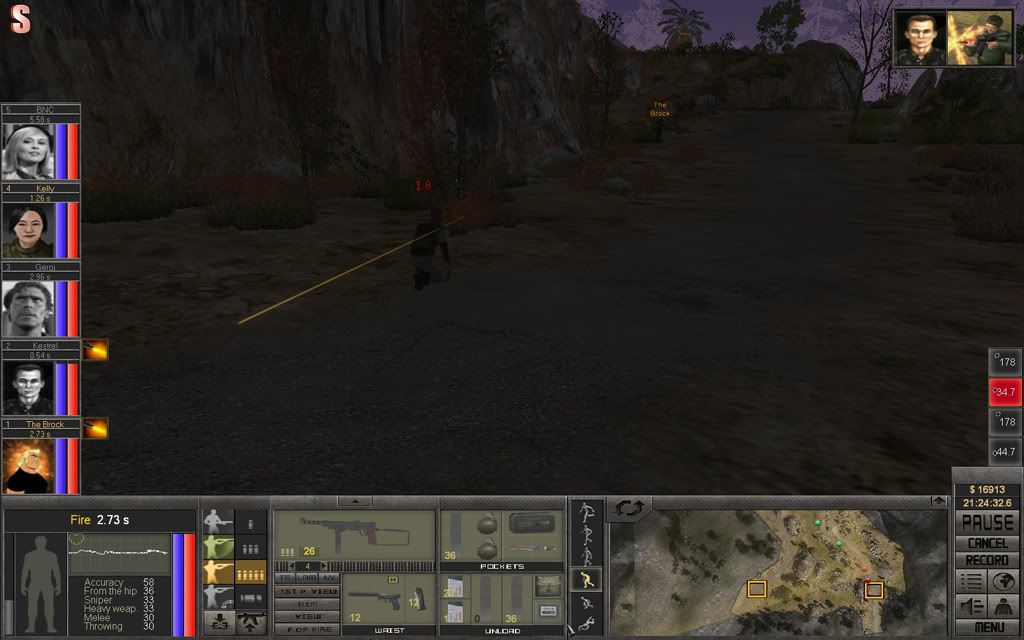
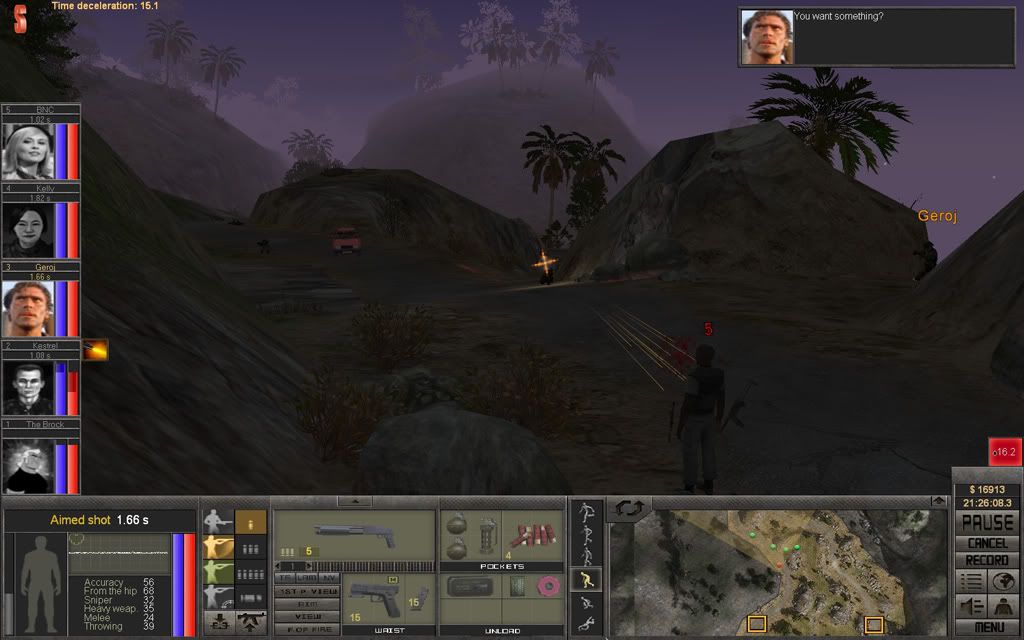
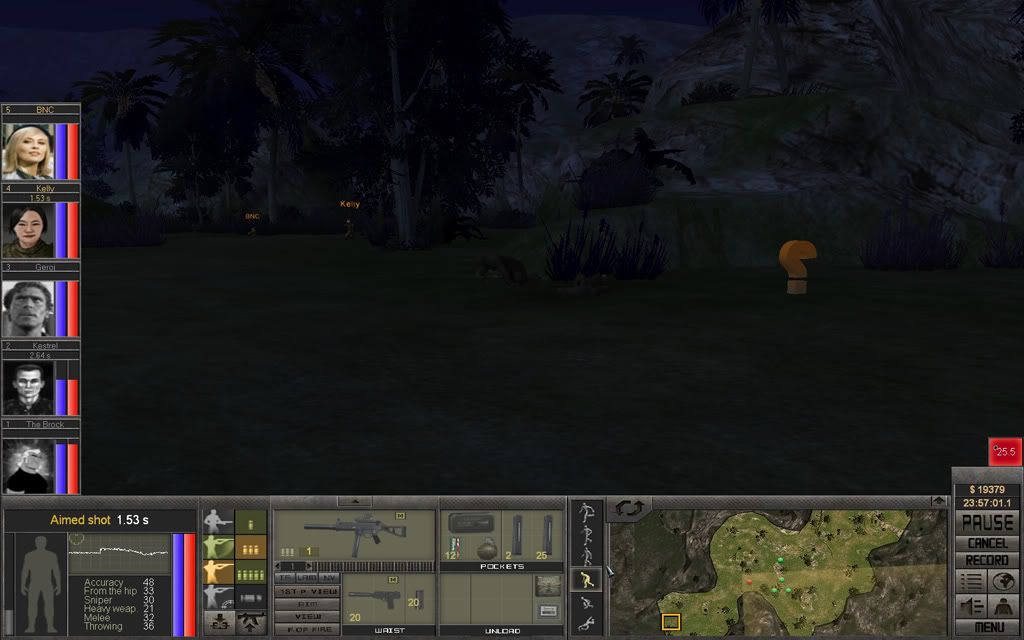
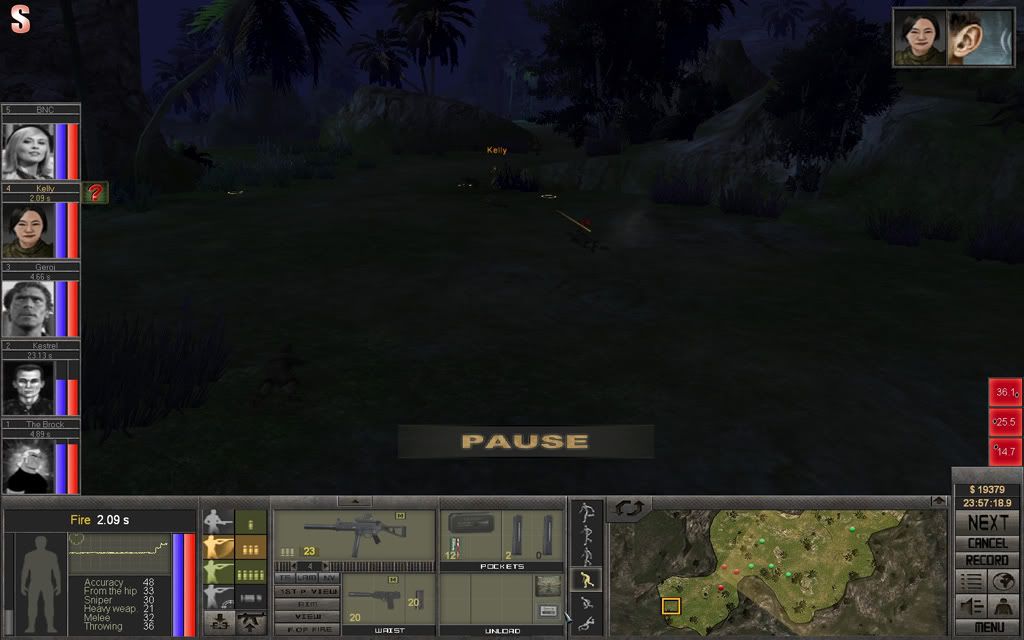
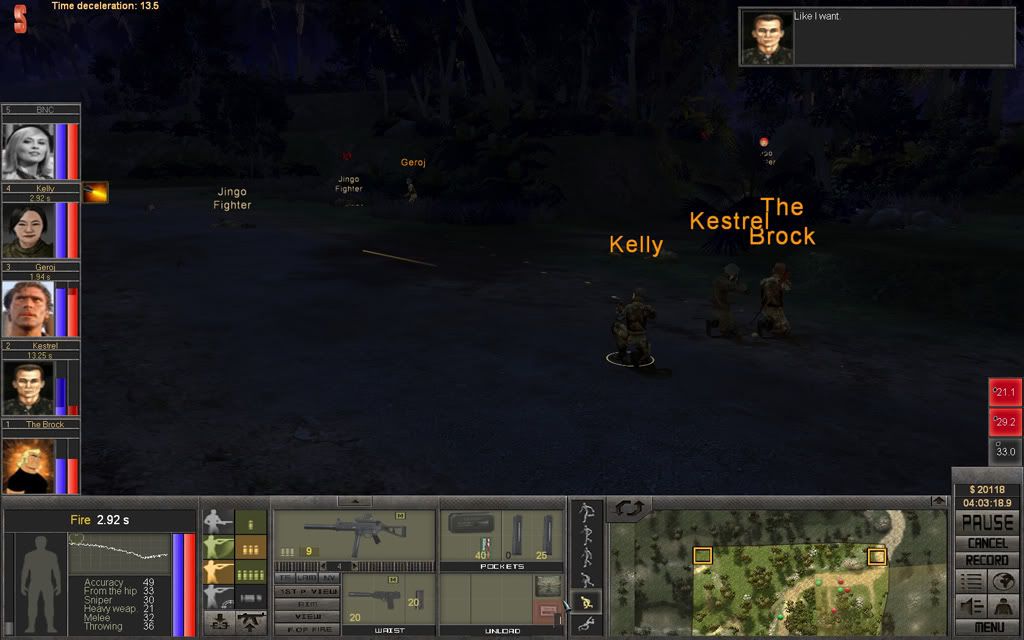
The Brock is forced to retreat, fighting 3 enemies while wounded is not a good idea. While he retreats, Kelly provides some covering fire, but the targets are well without the UMP's effective range. But it will keep the enemy's adrenalin levels high and lower their accuracy.
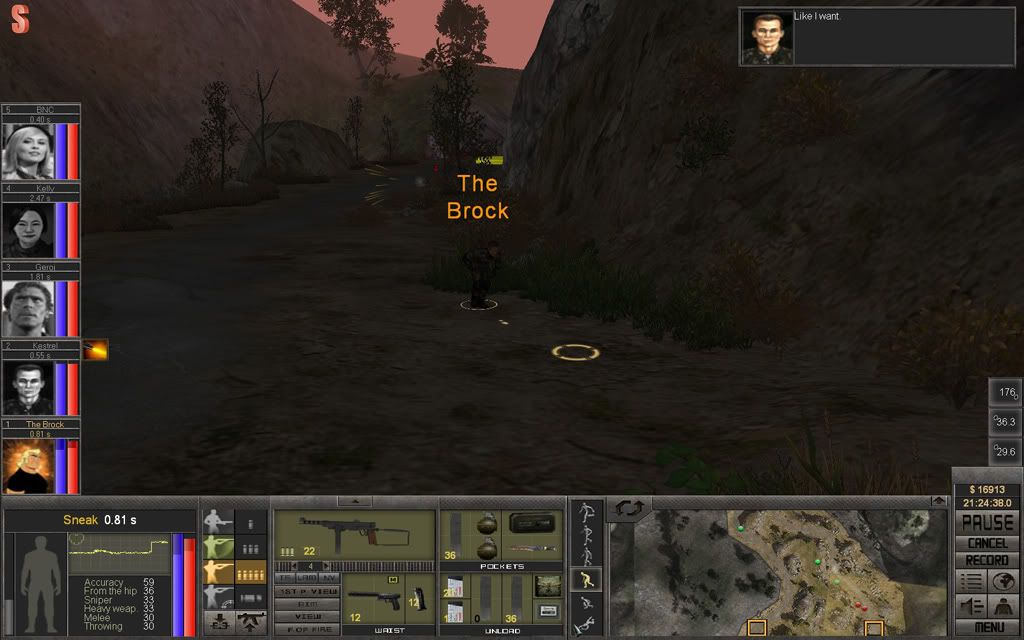
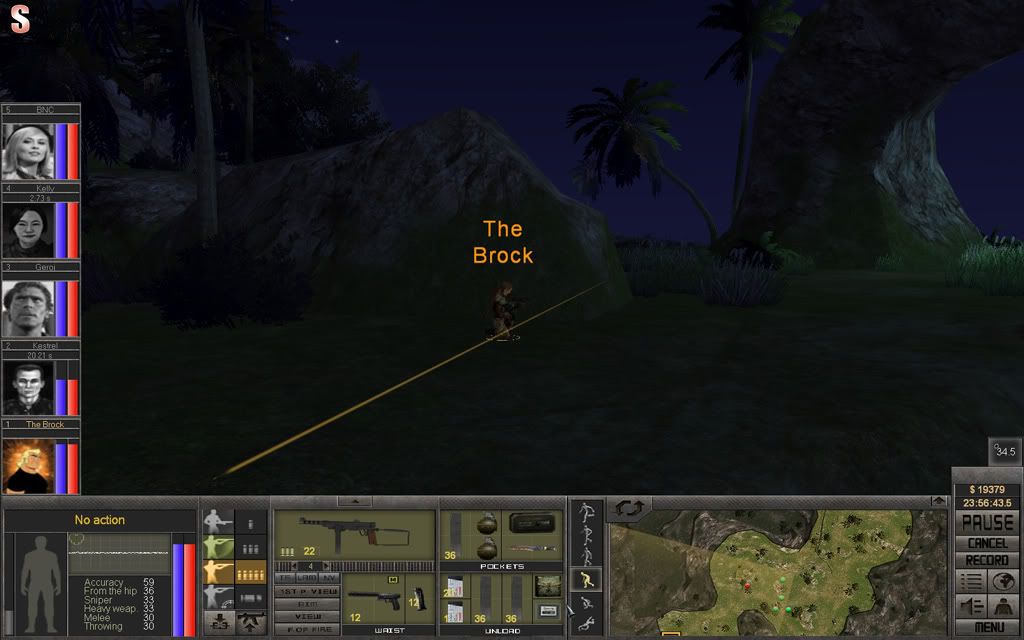
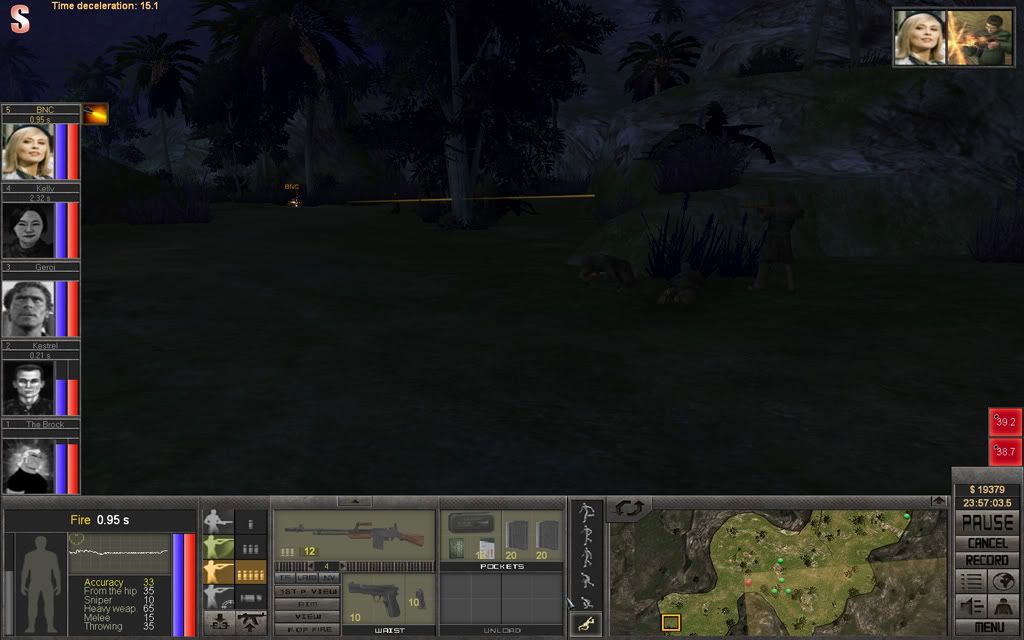
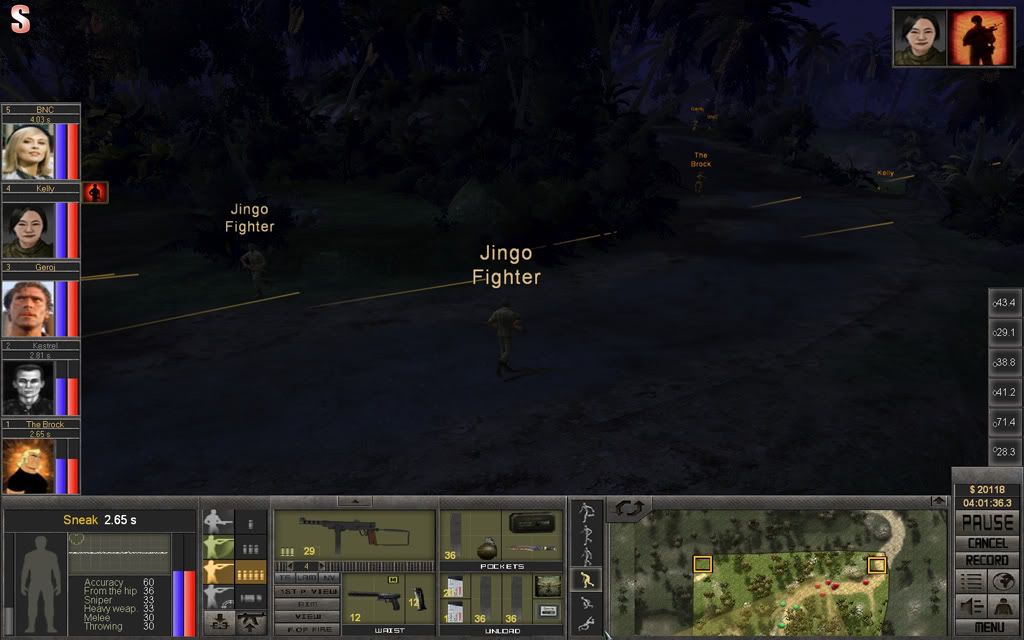
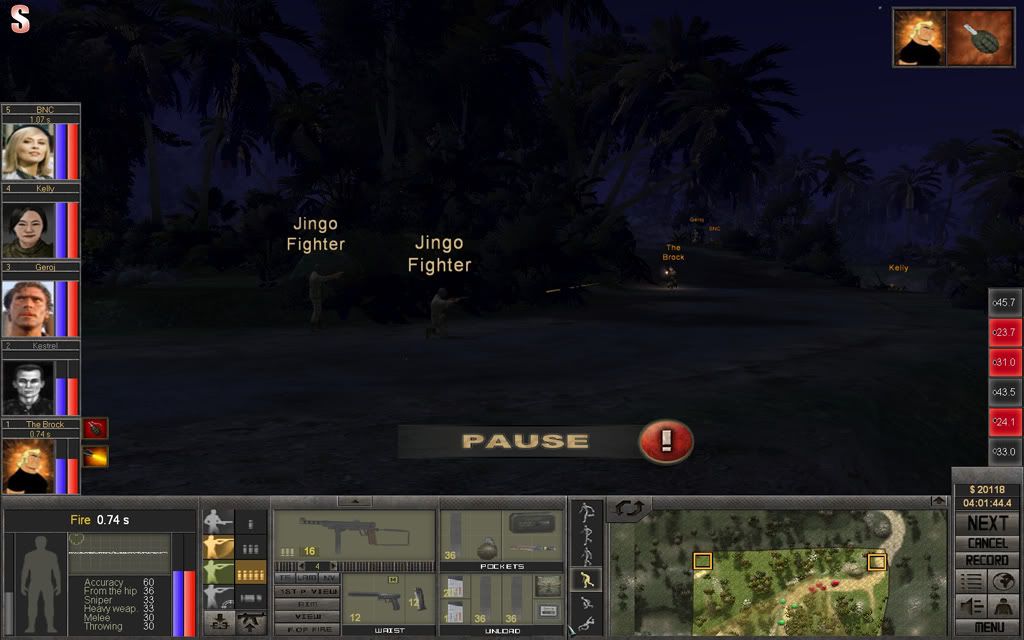
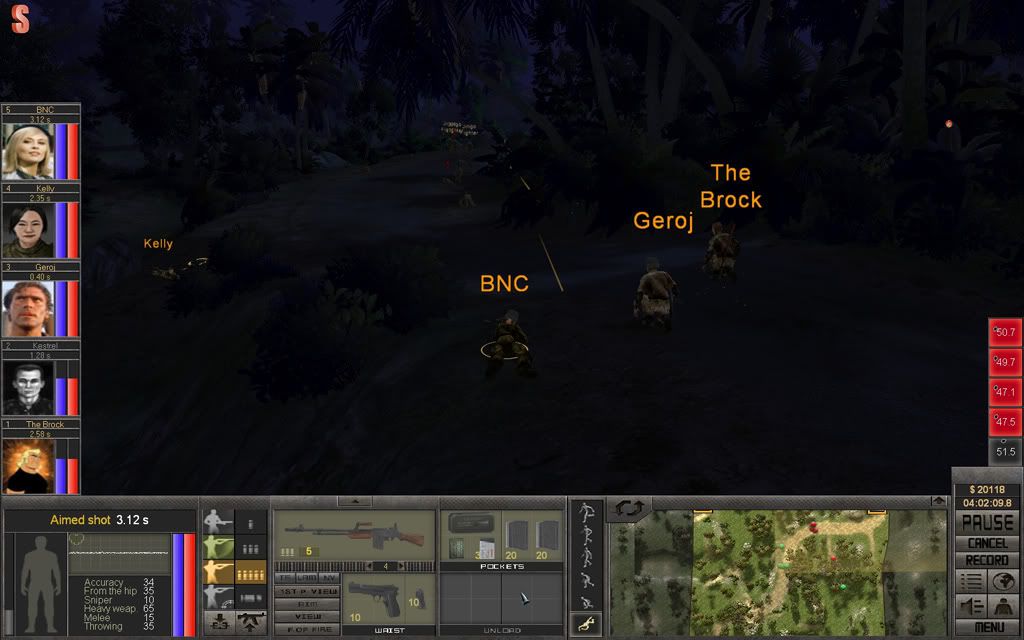
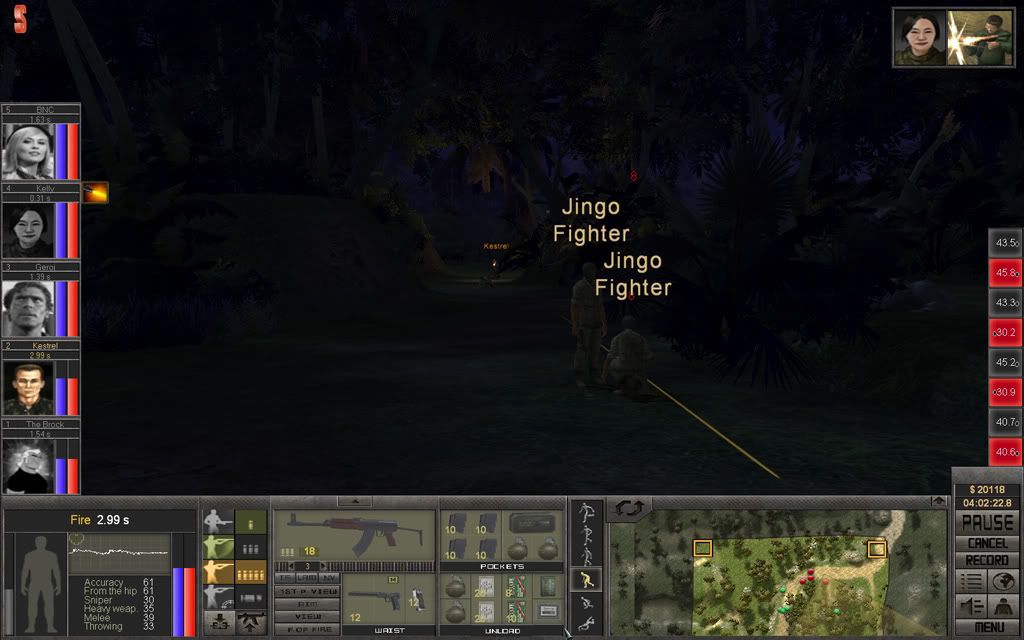
A rushing Bushwhacker forces The Brock to turn around, and he connects with his M45 knocking the the target down.
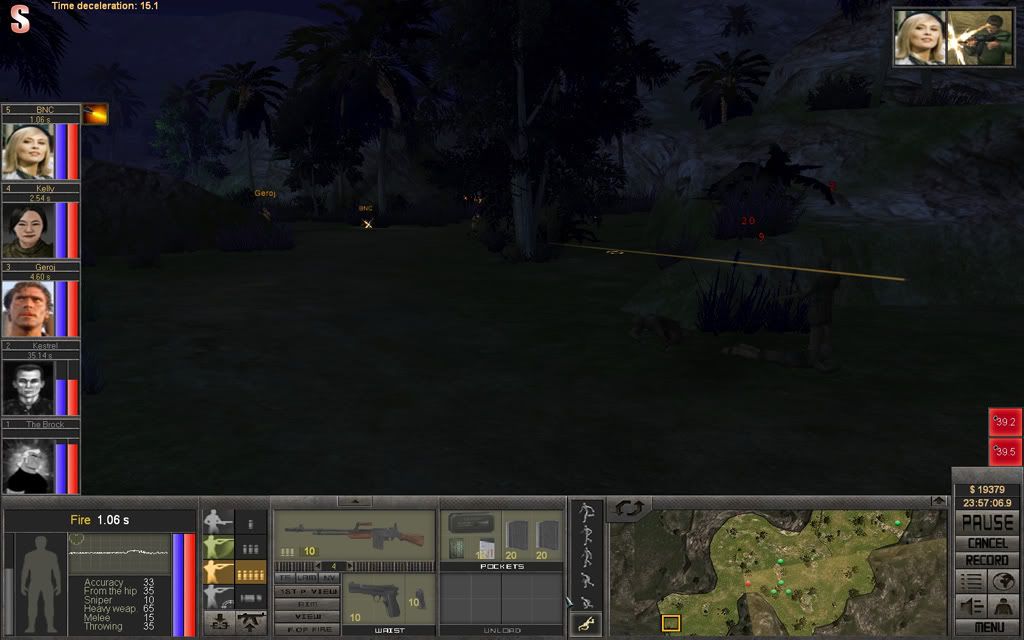
Meanwhile, BNC is having fun with her Garand, and Kestrel takes out another one, leaving him with only 10 rounds left.

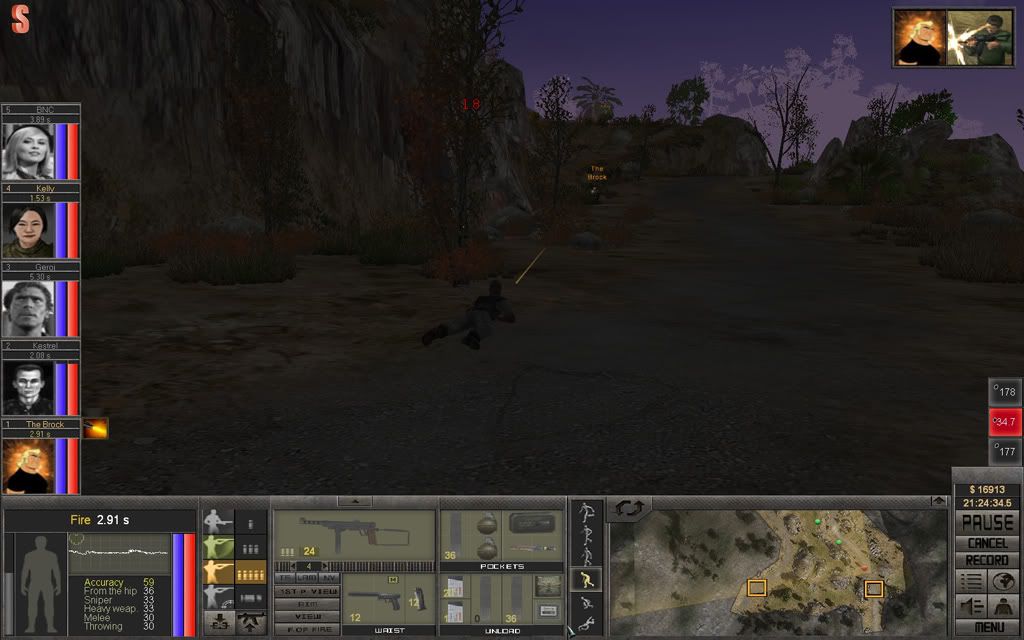
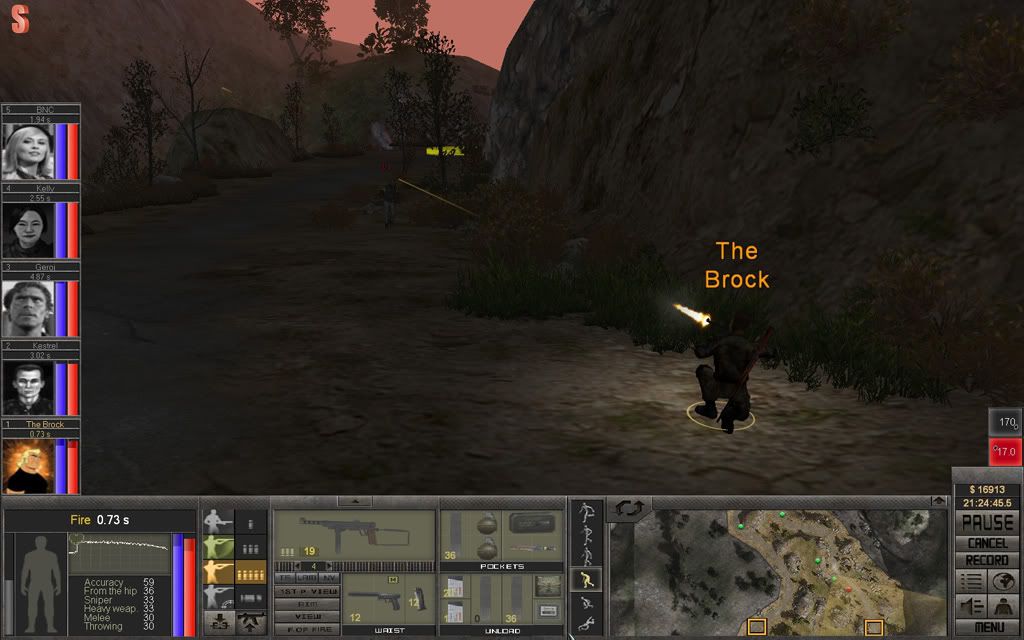
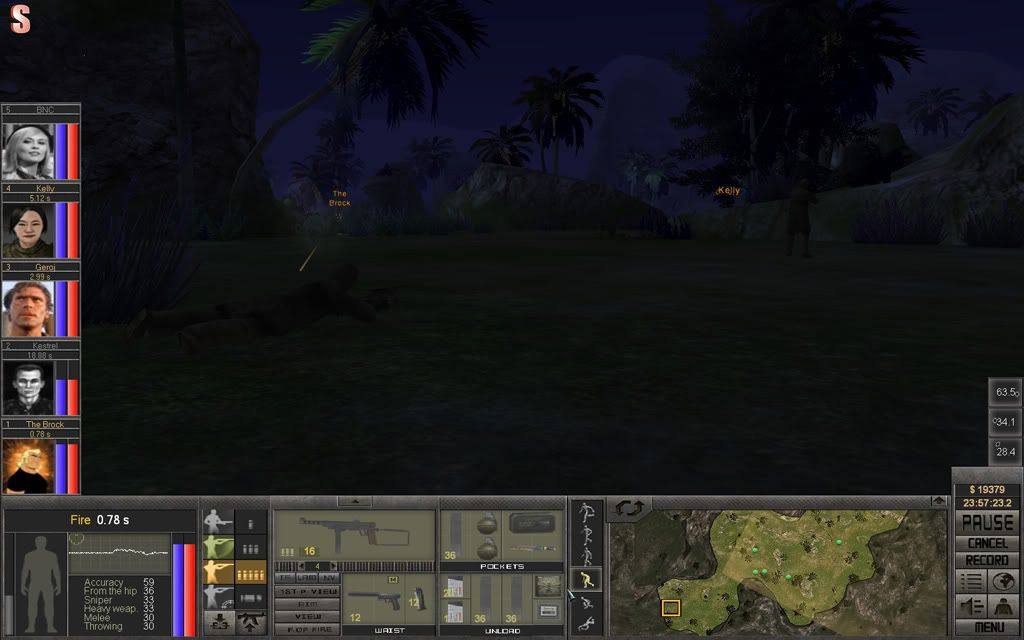
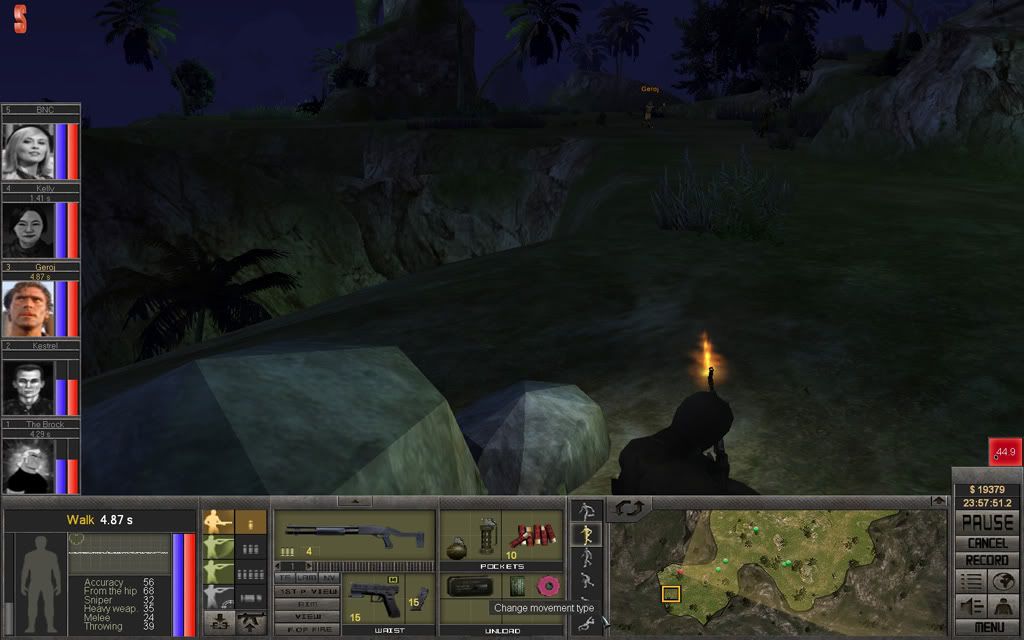
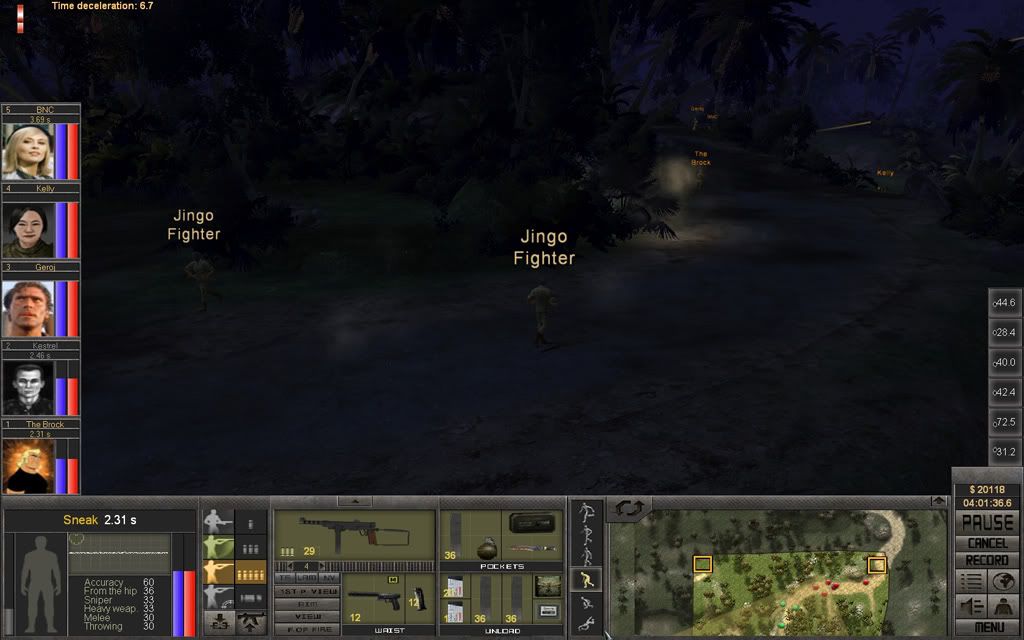
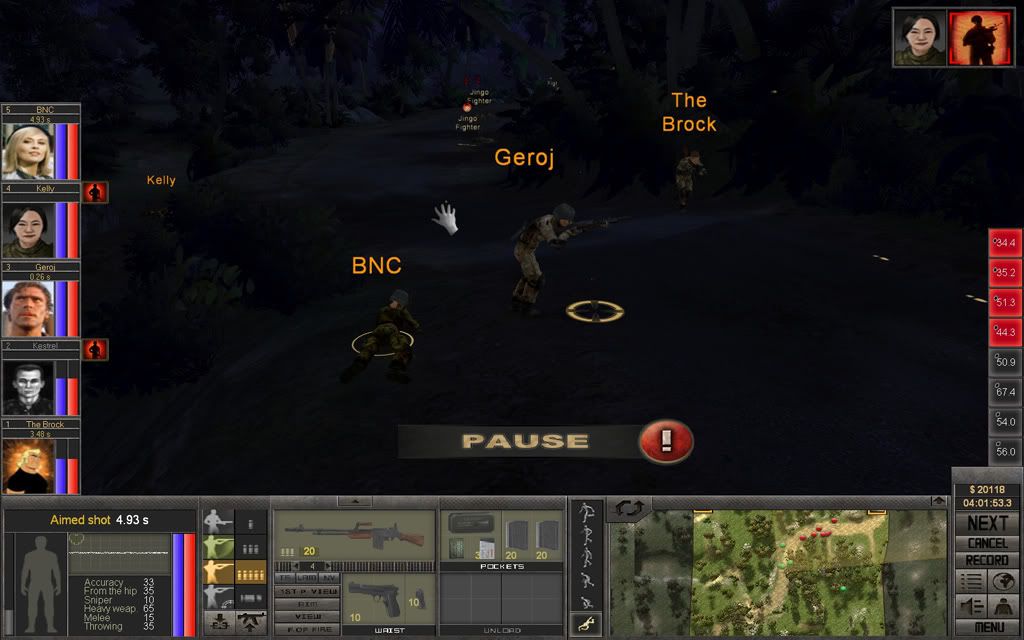
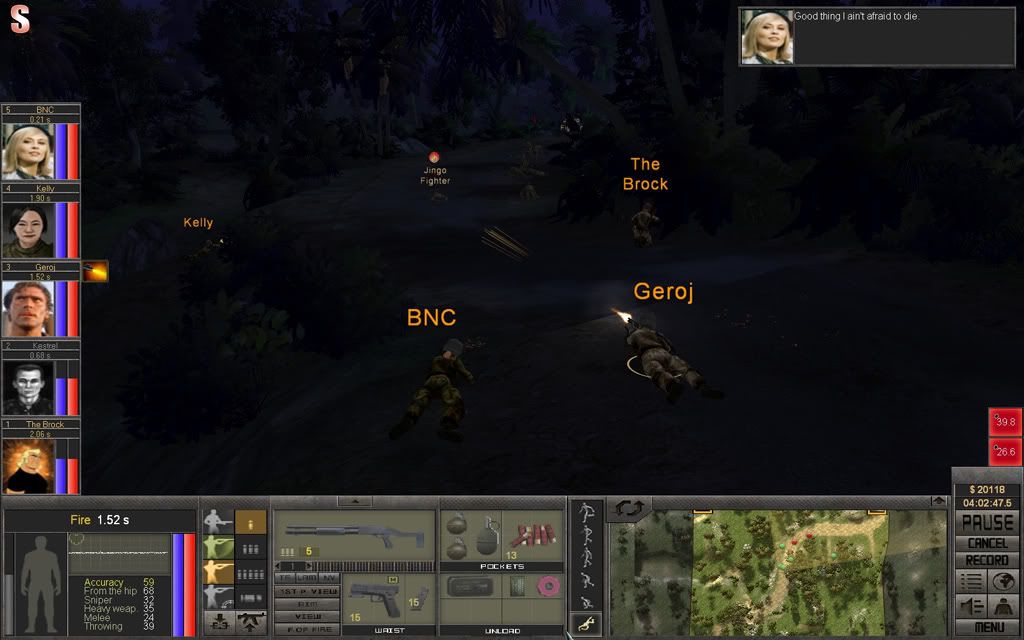
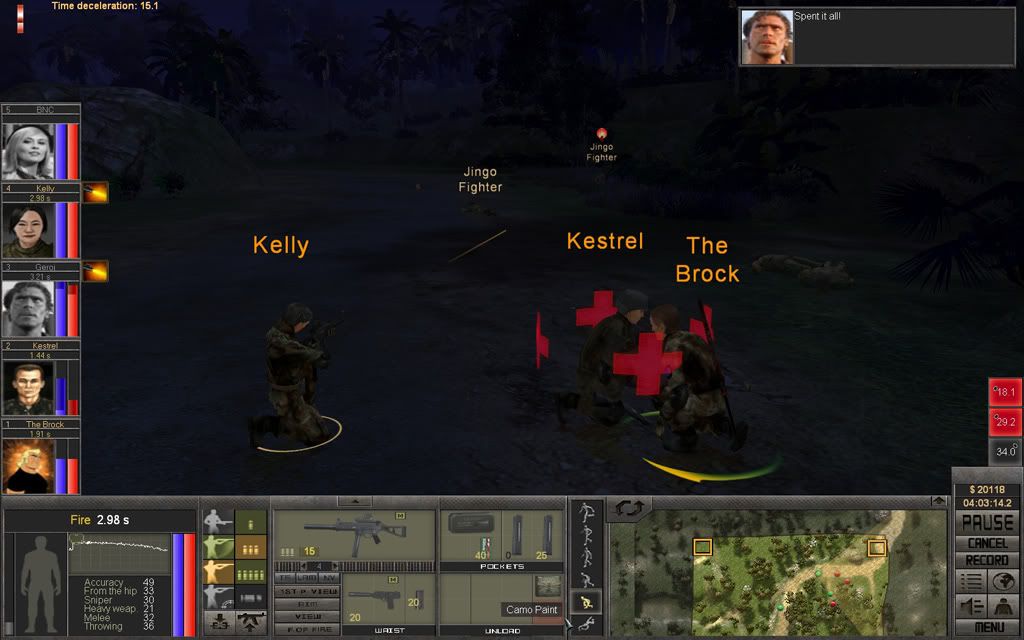
The Brock keeps bleeding, he needs to bandage his wounds soon or he'll bleed out. He kills his target, then moves back further to get some time to get that done.
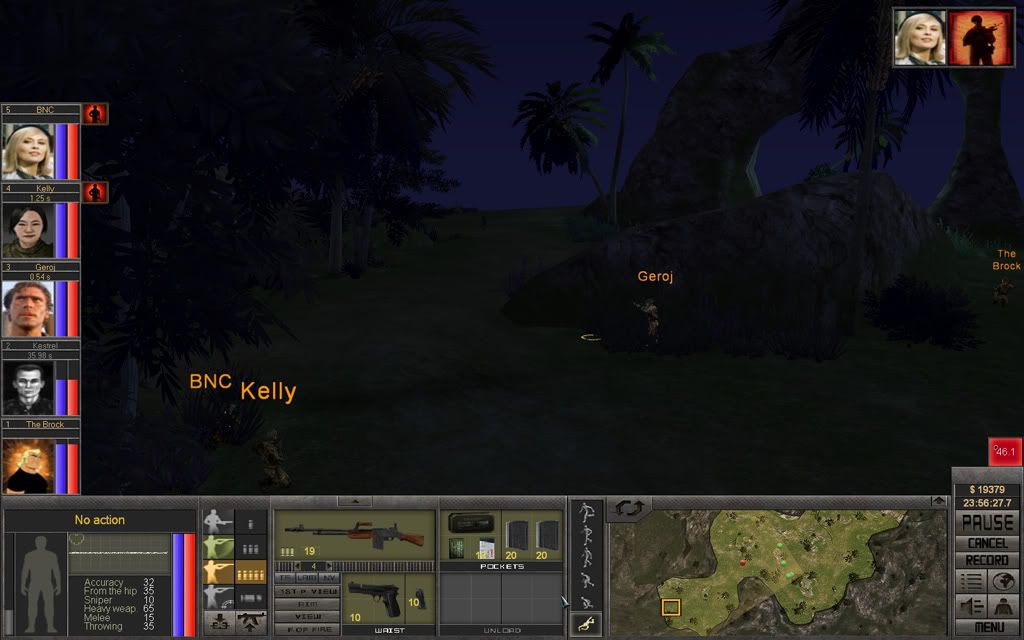
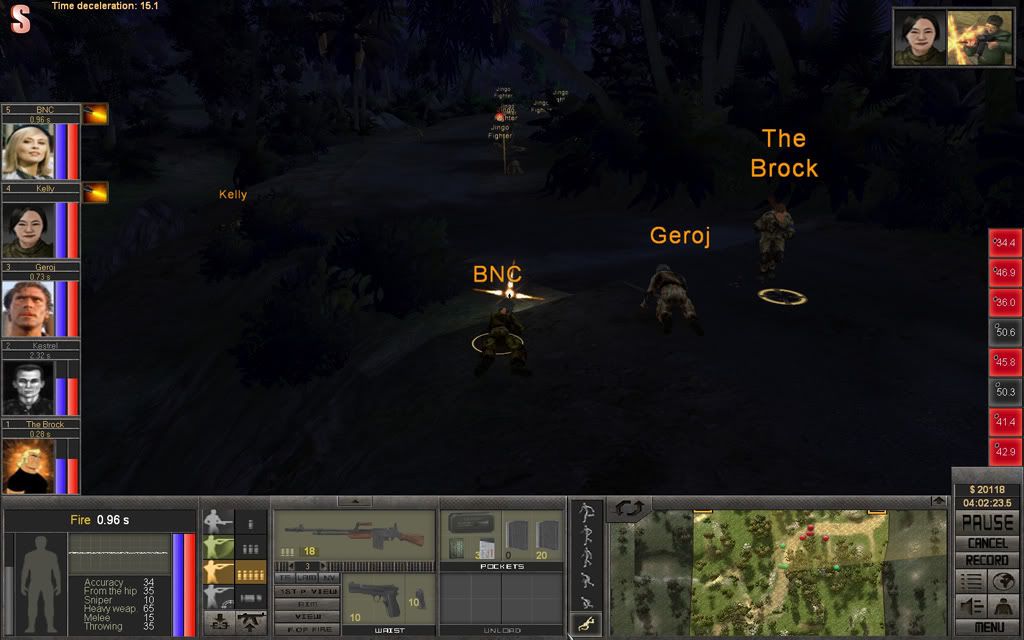
By now, Geroj has finally reached them and will support The Brock while he's busy with medic stuff.
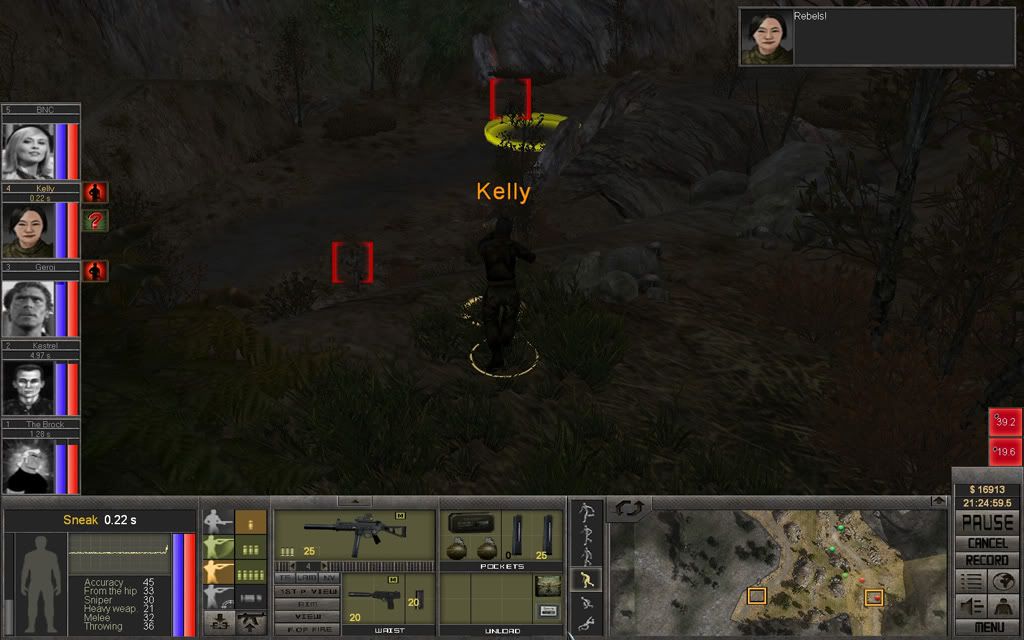
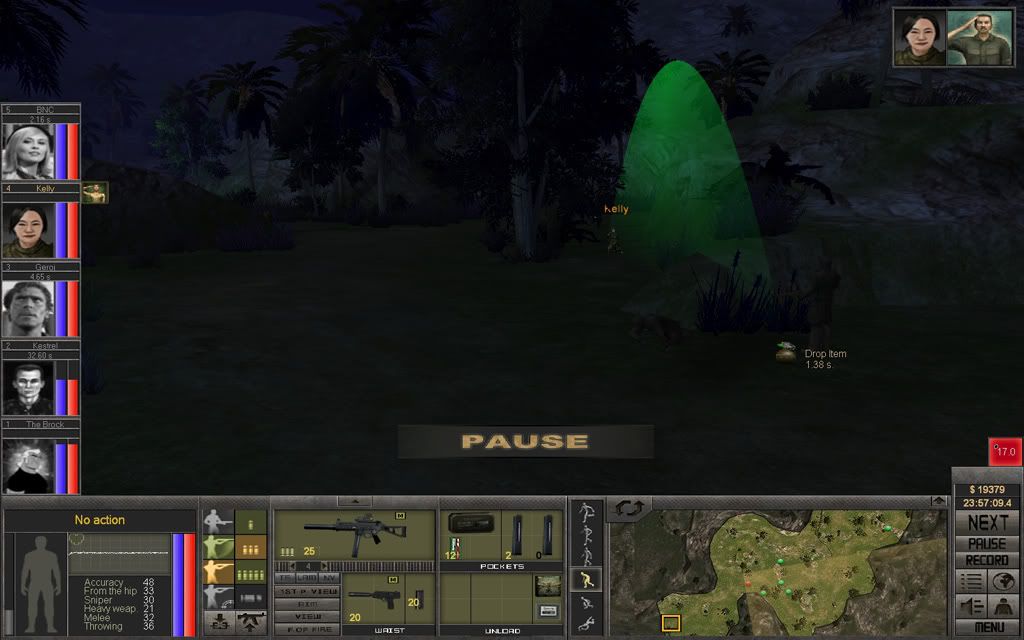
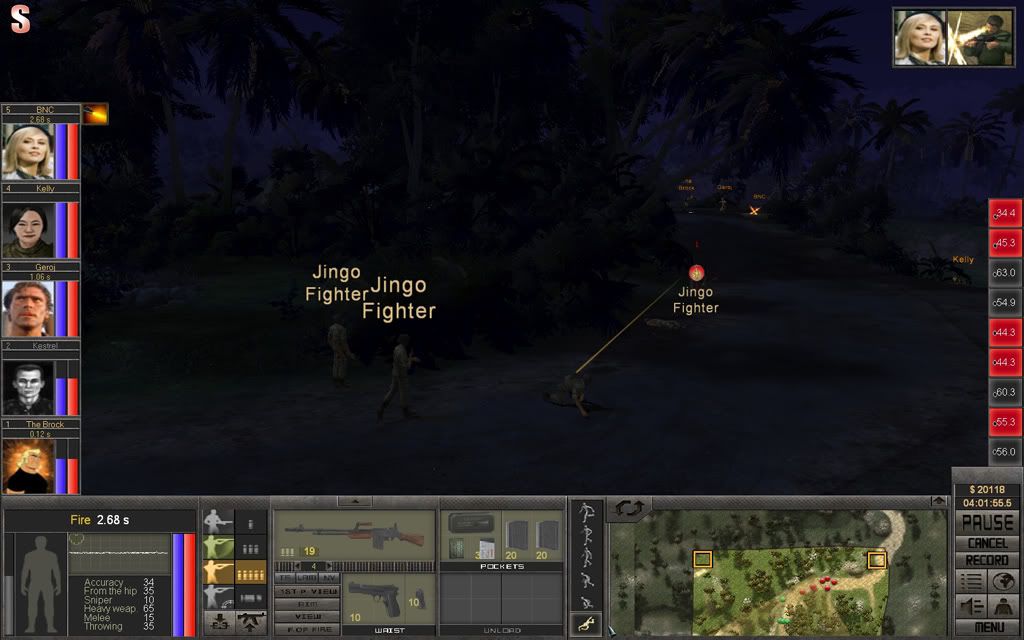
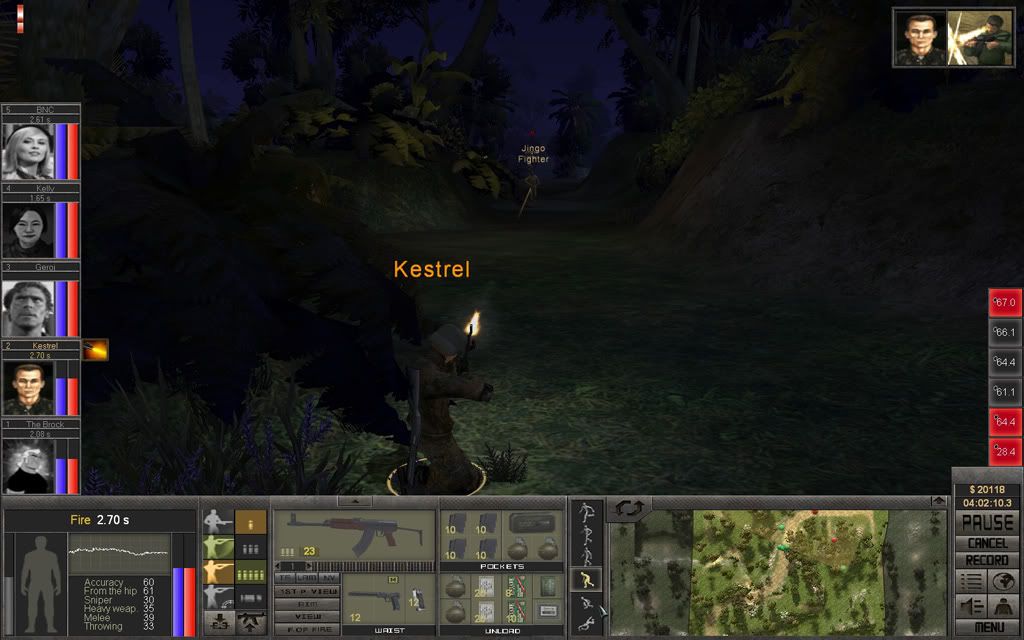
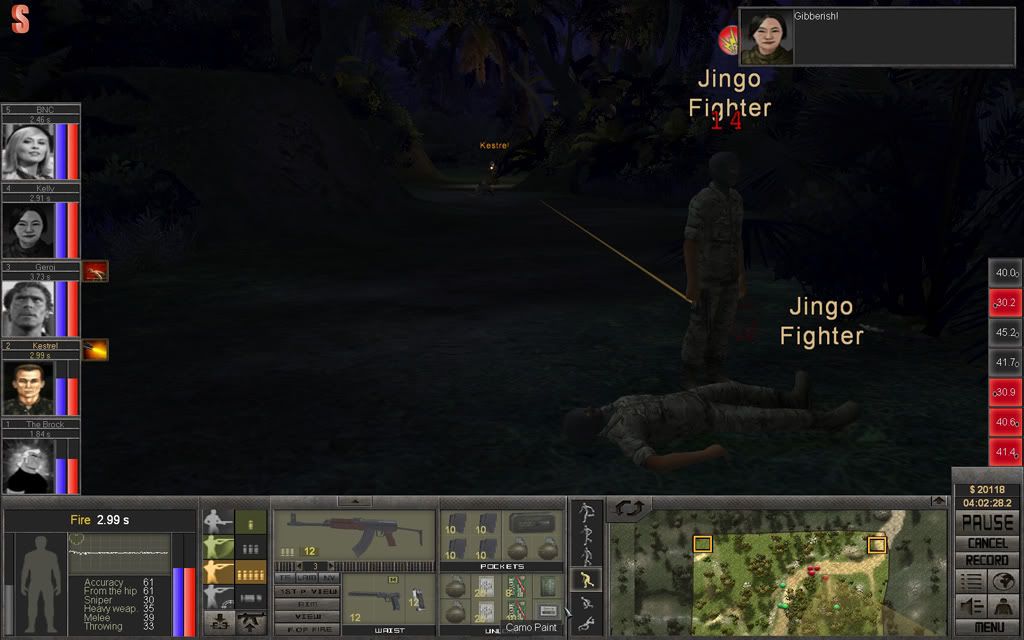
Kelly, who left her over-watch position to get a nice advantage on the Bushwhackers, takes one of them down with 3 bursts. The other one was wounded and escaped, what a coward!
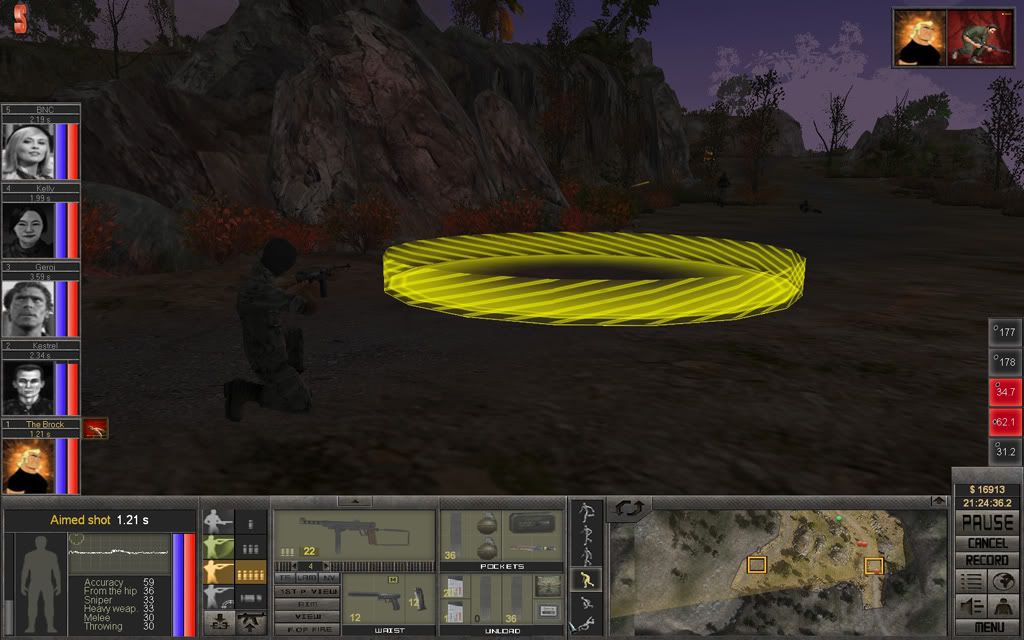
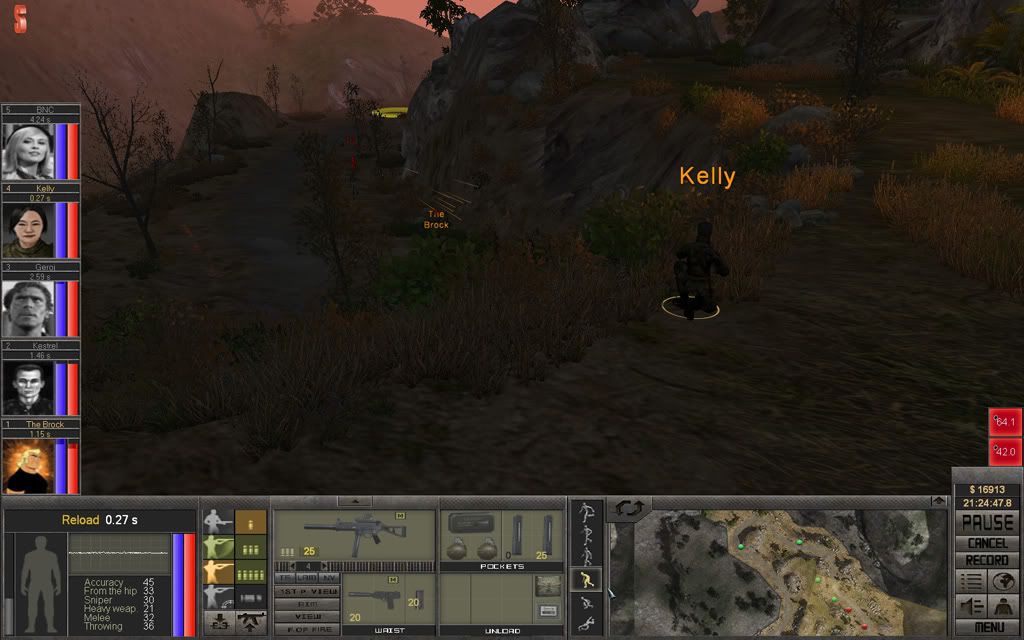
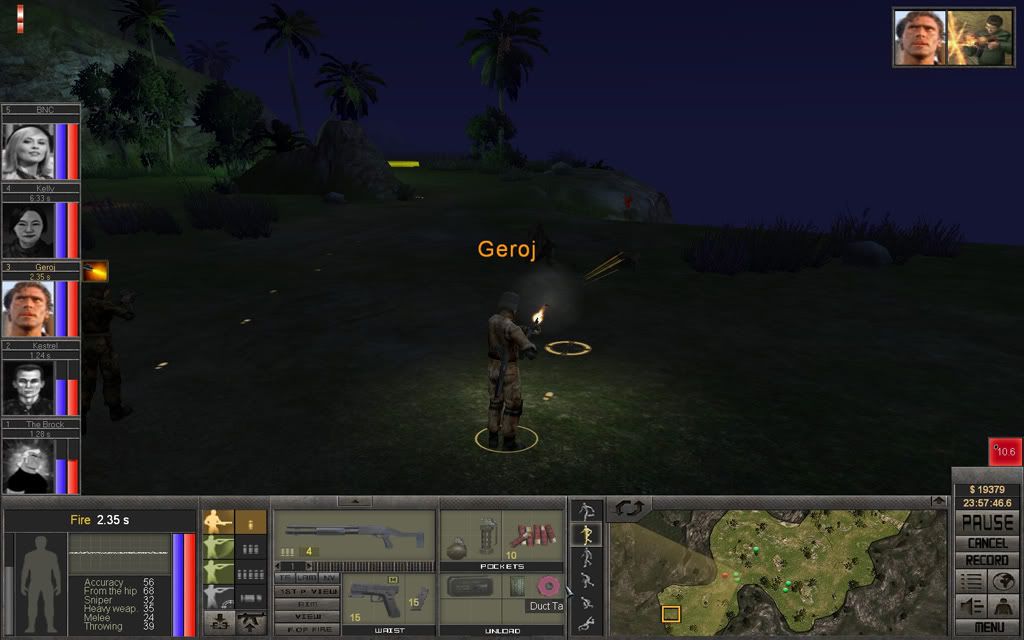
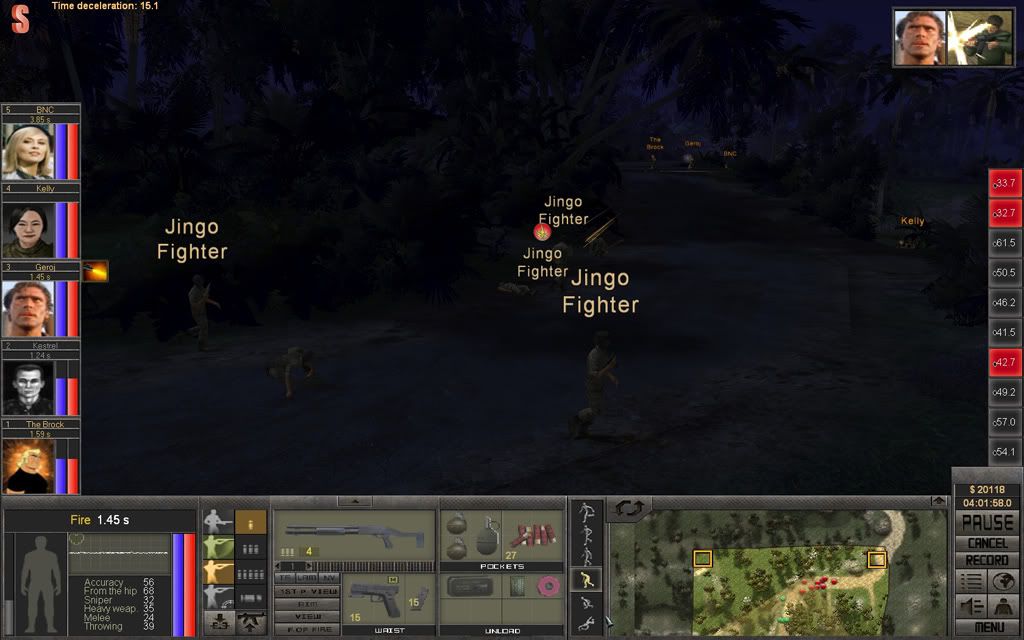
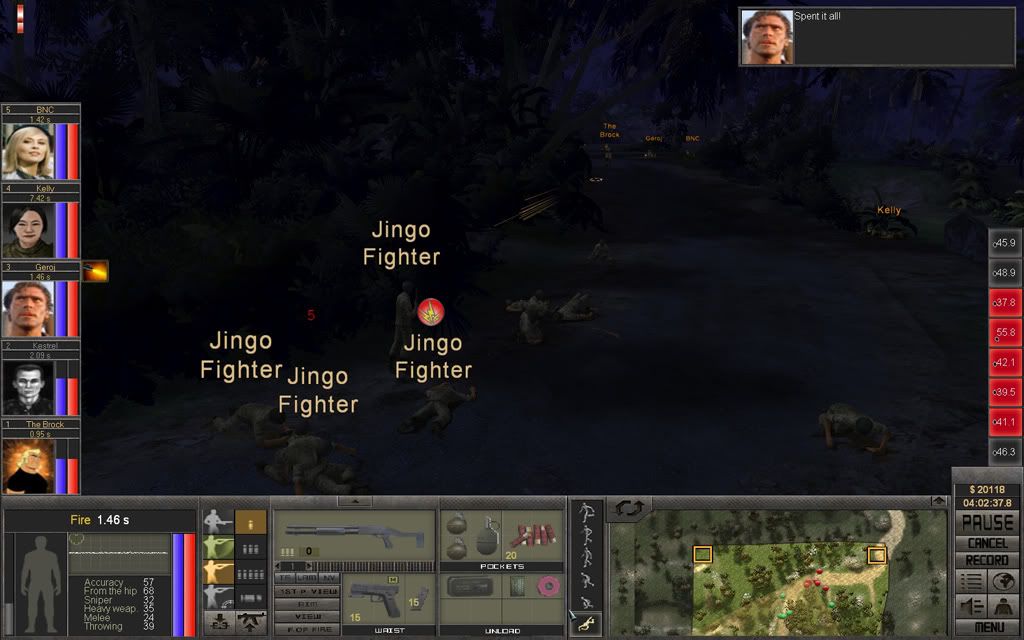
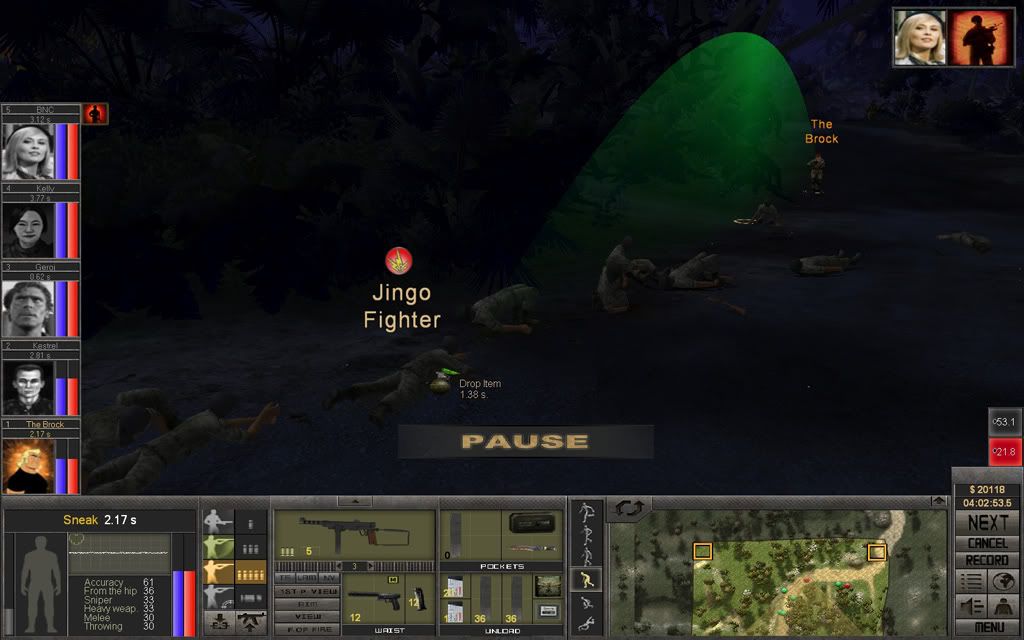
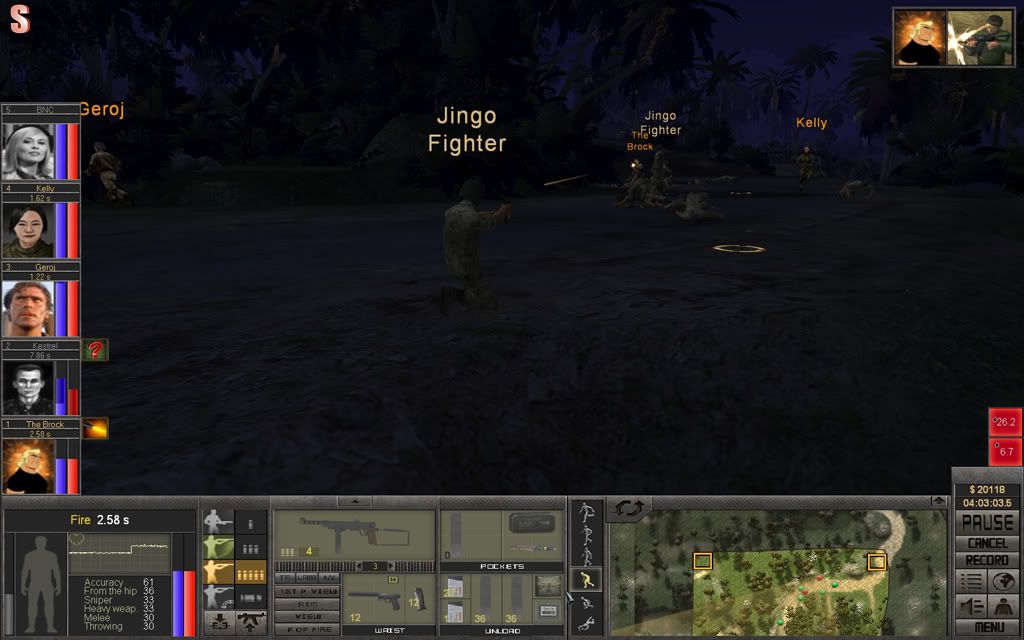
The Brock, all bandaged up, moves up a little and magdumps into the first Bushwhacker he spots.
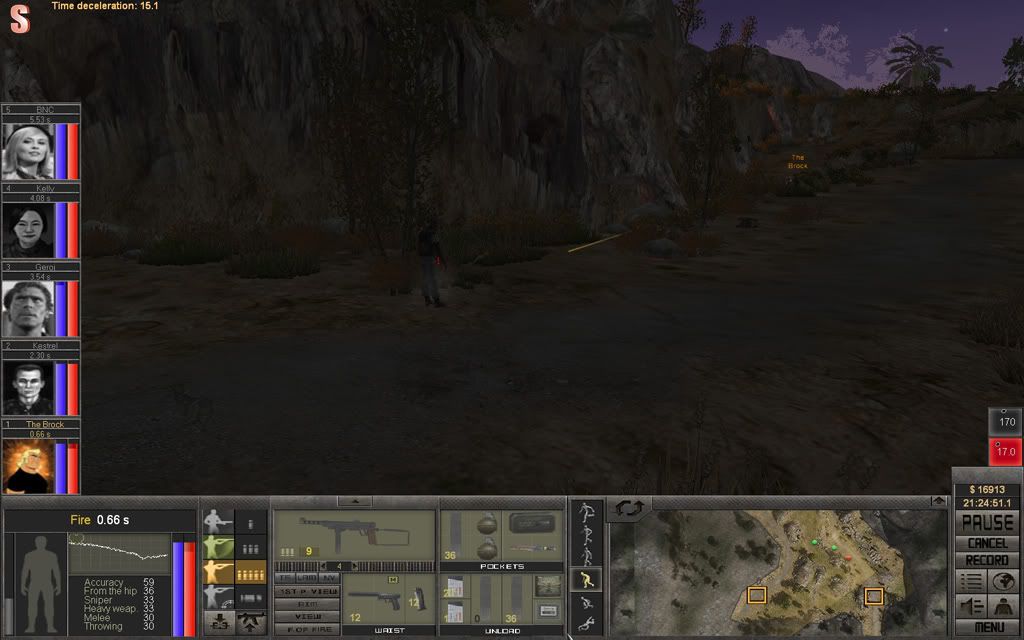
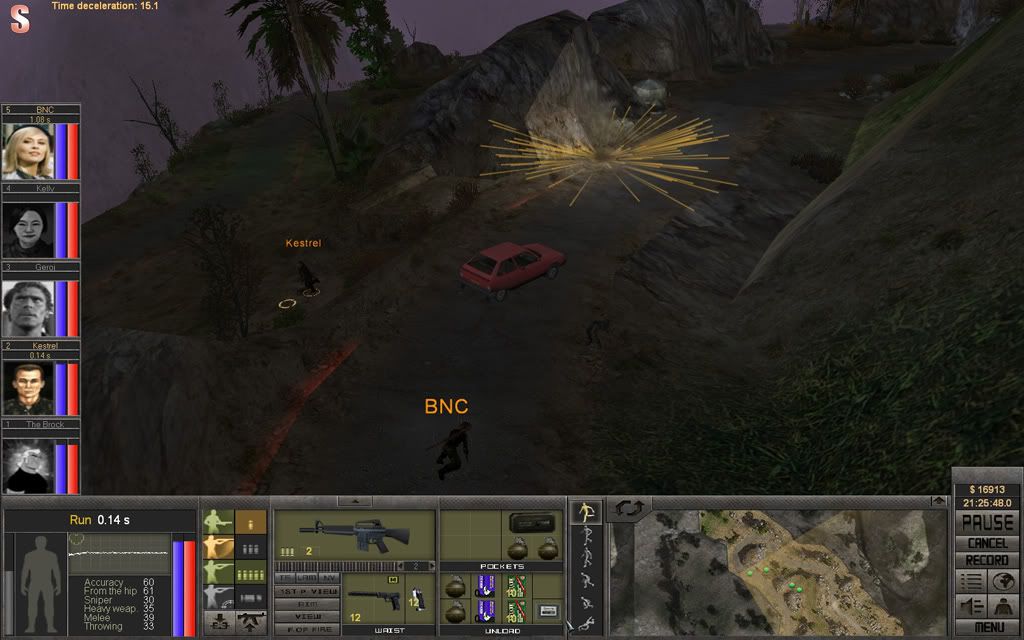
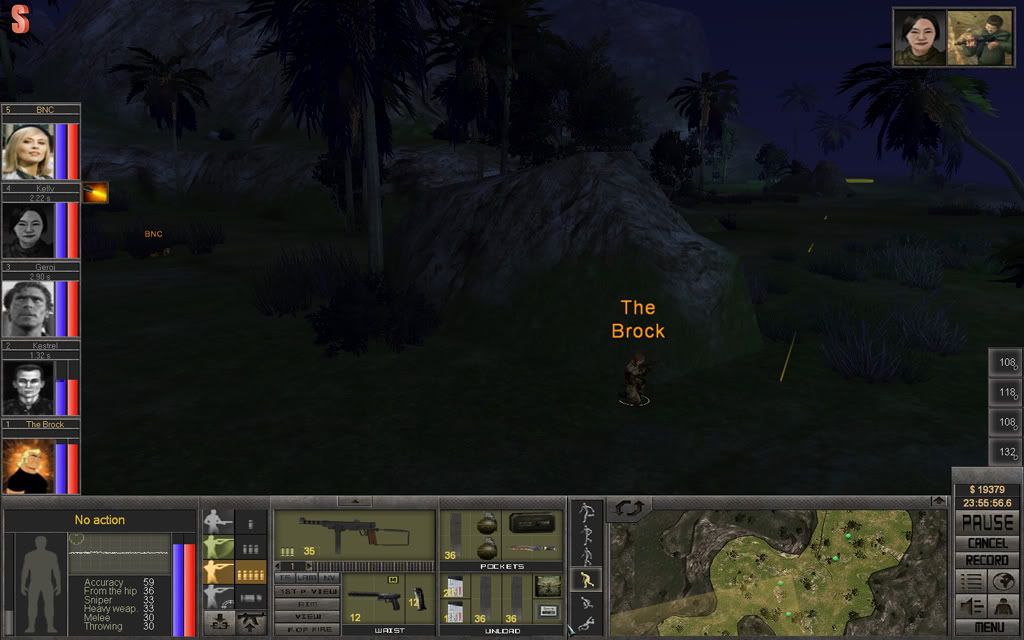
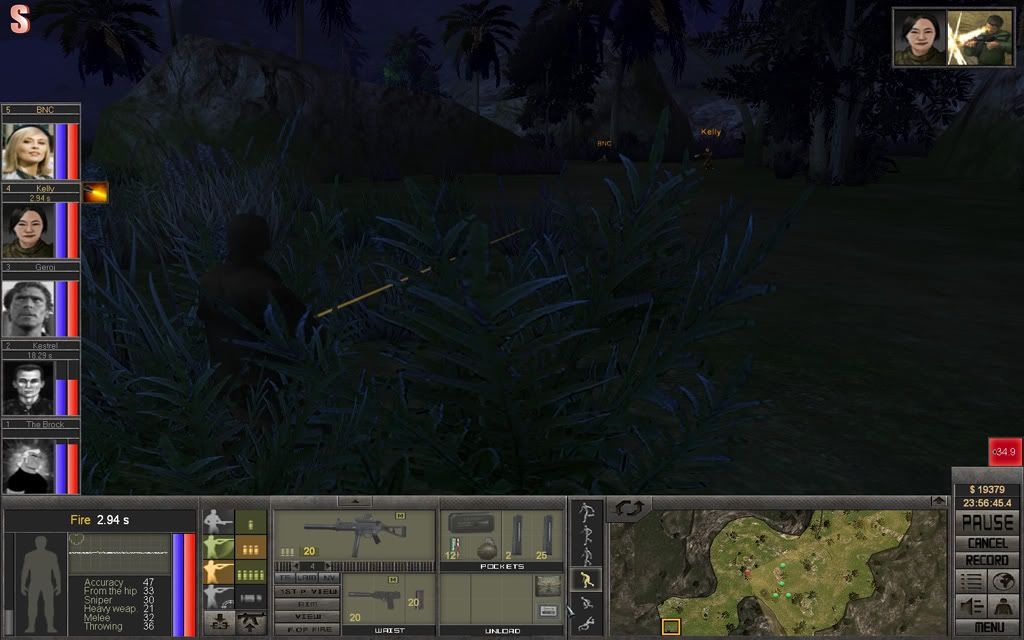
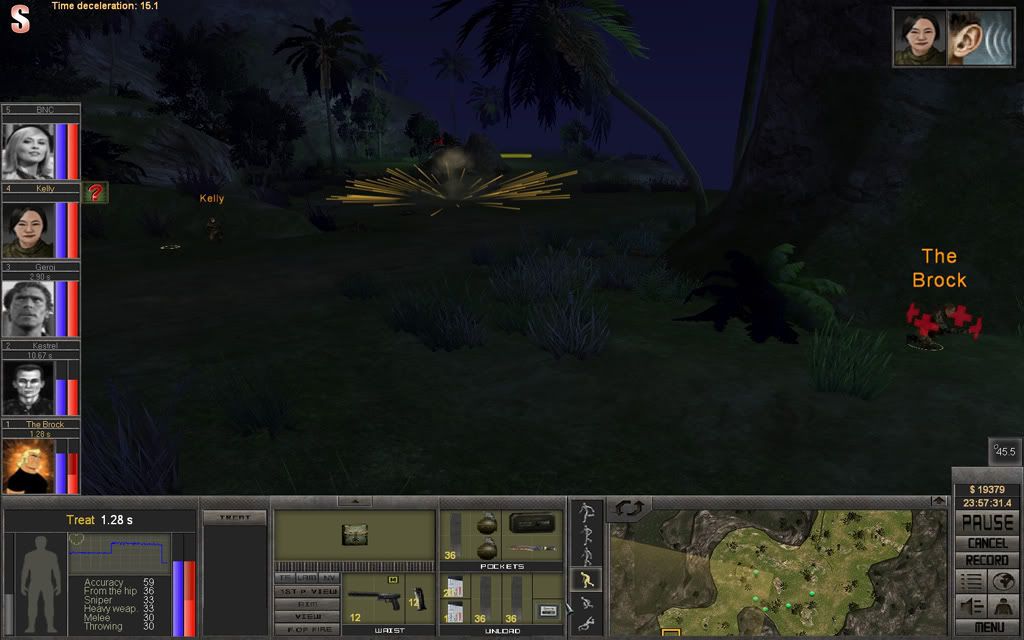
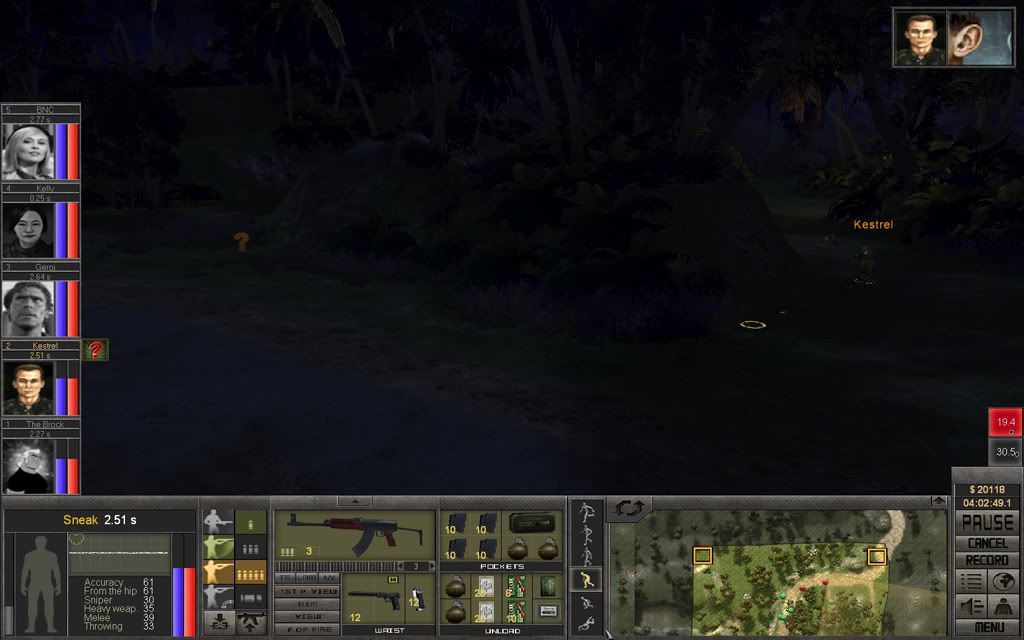
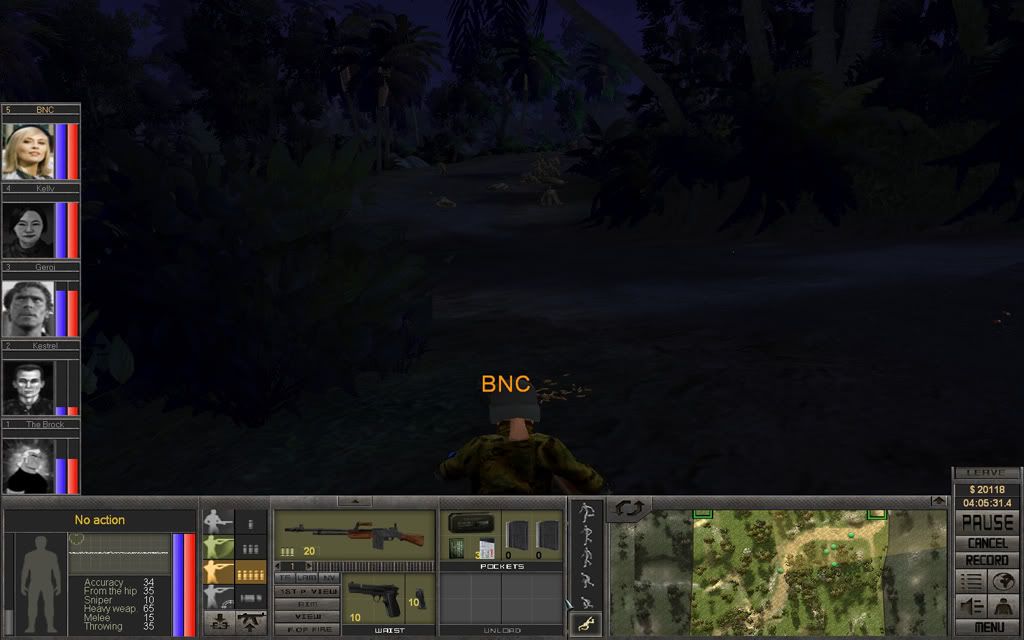
Suddenly, BNC hears some movement behind her, she moves forward just in time as a bullet whizzes past.
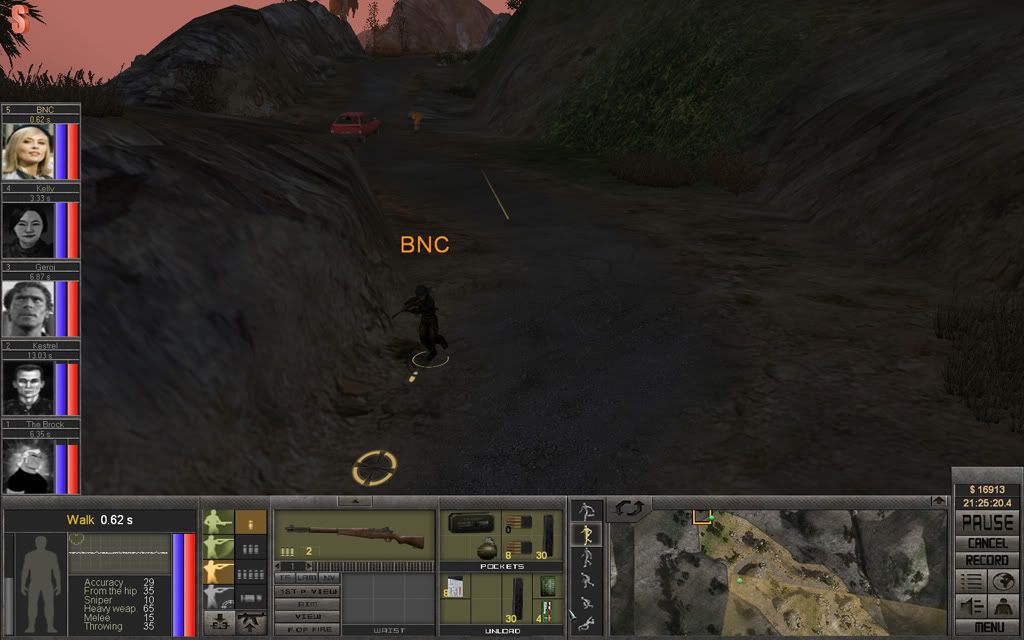
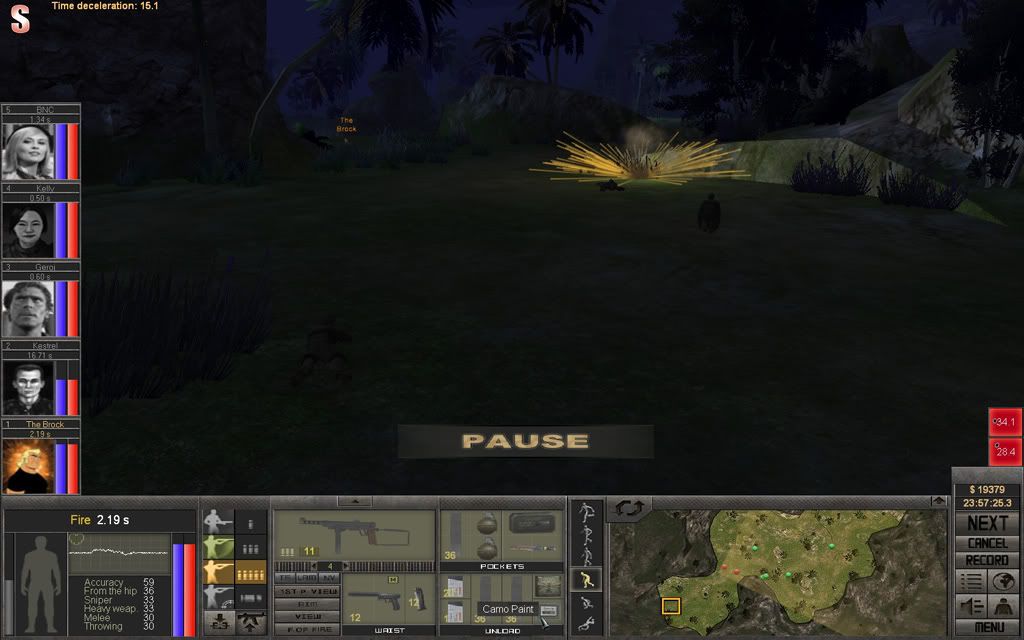
She uses this time to switch to her Tommy gun, then she turns around and throws a grenade to deter any pursuers.

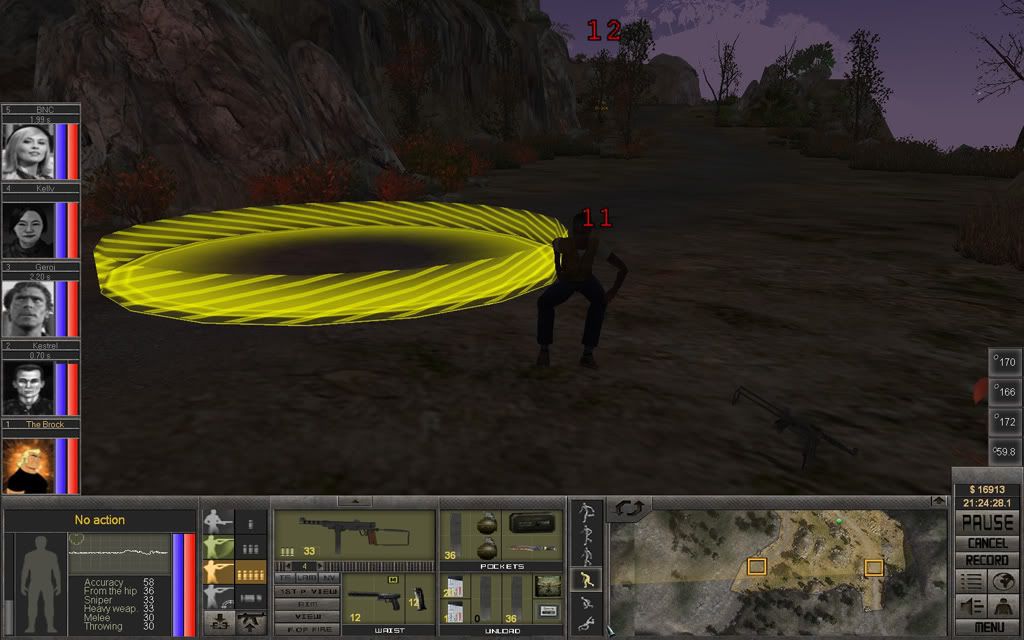
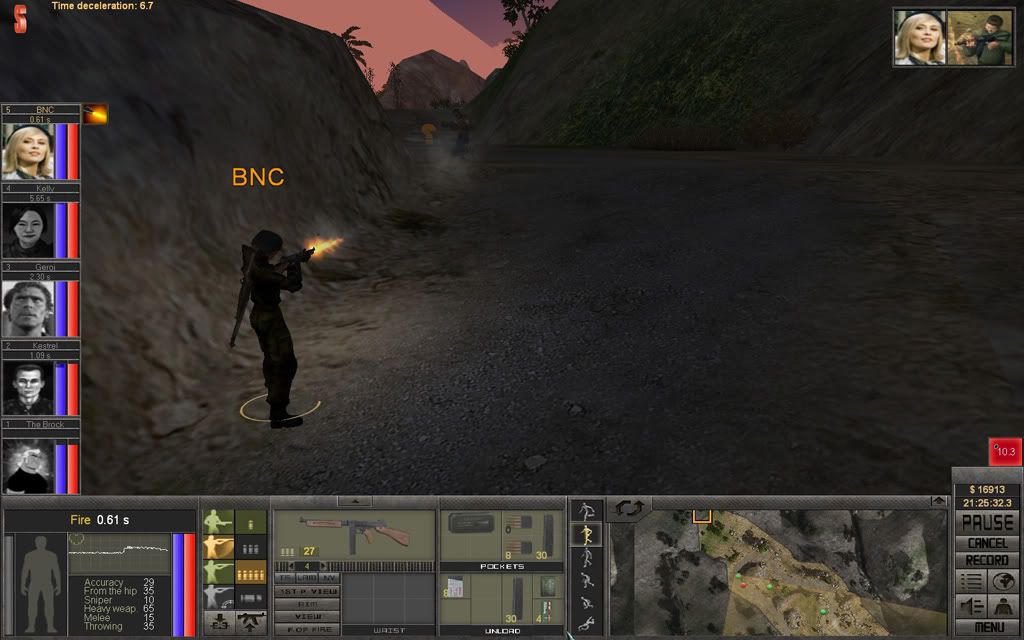
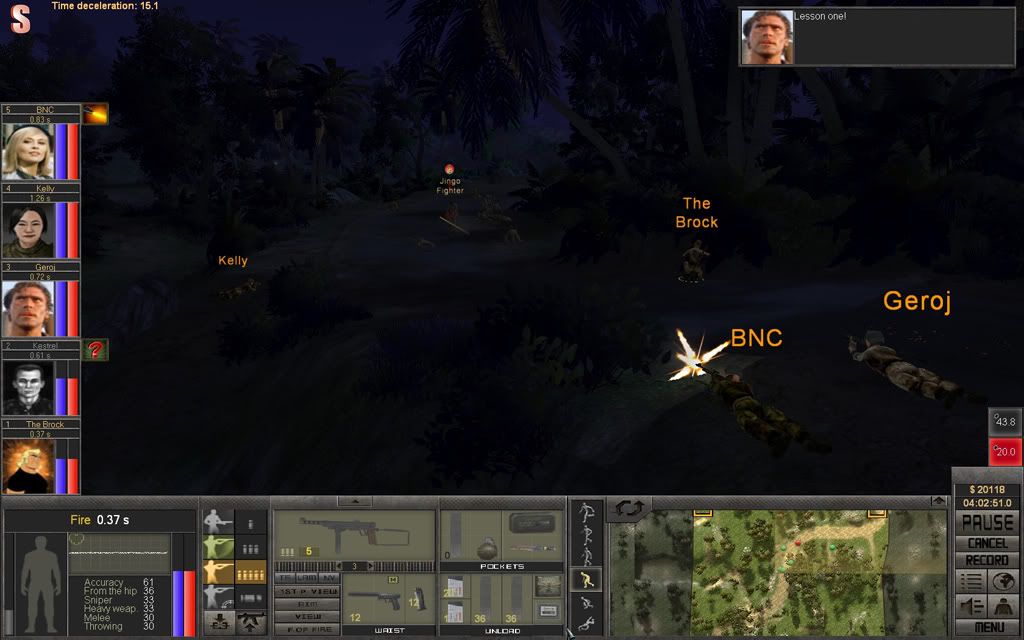
A quick aimed burst kills the pursuing Bushwhacker, then the grenade detonates.
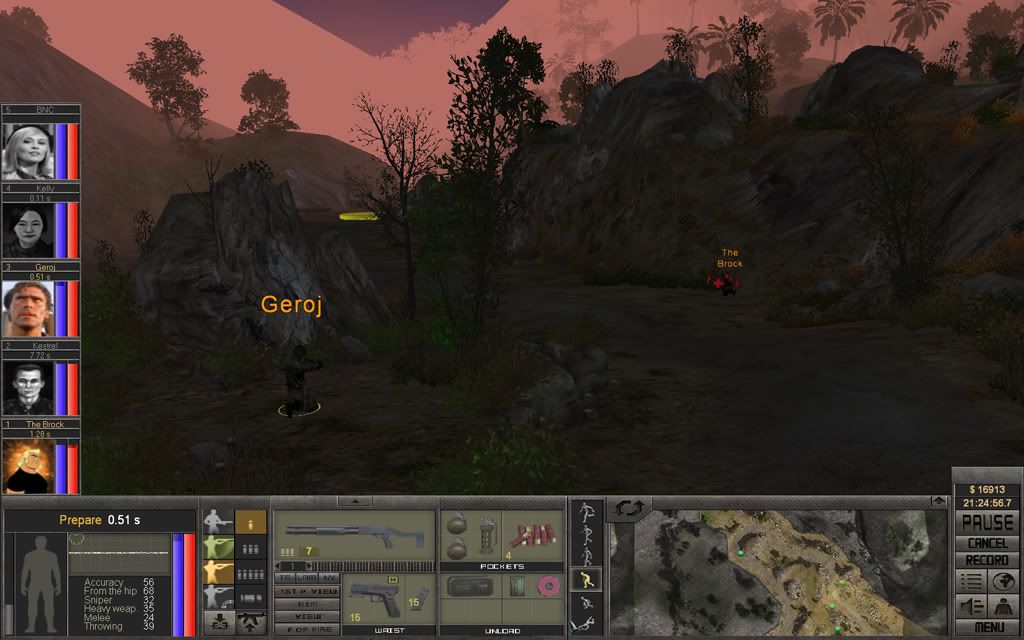
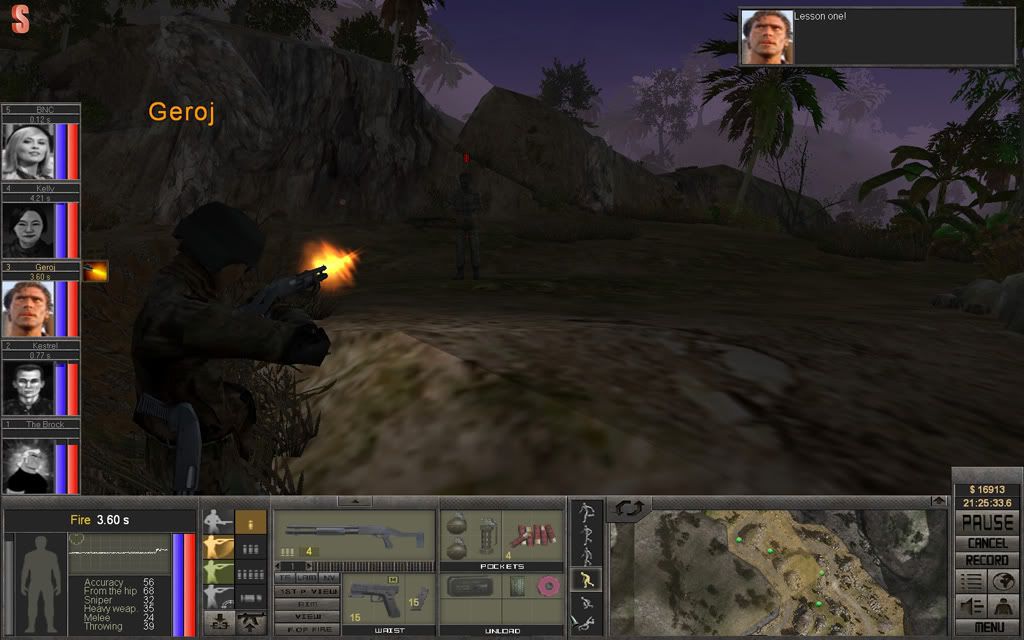
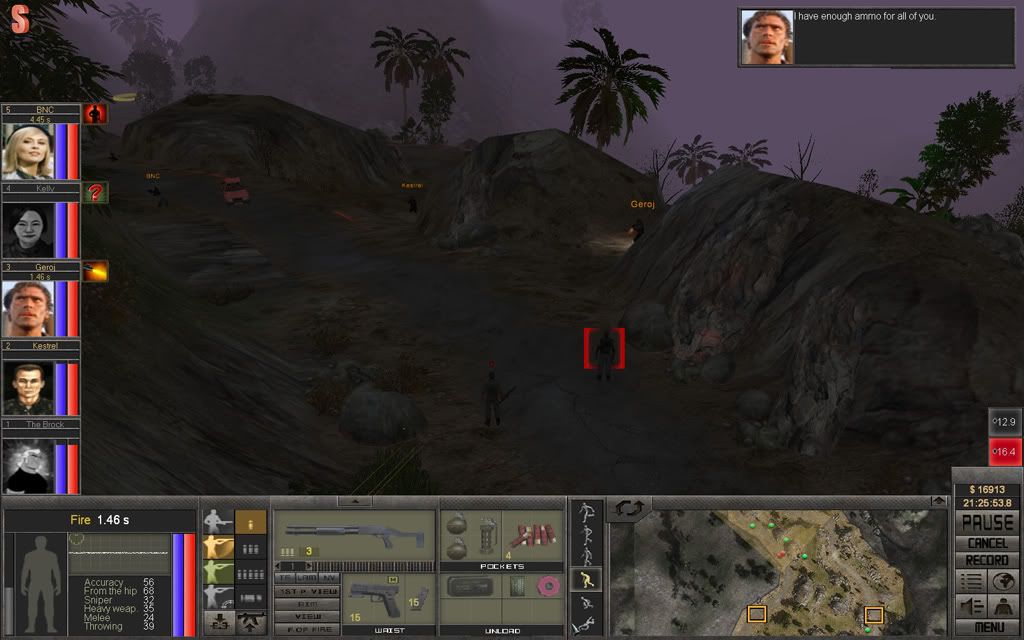
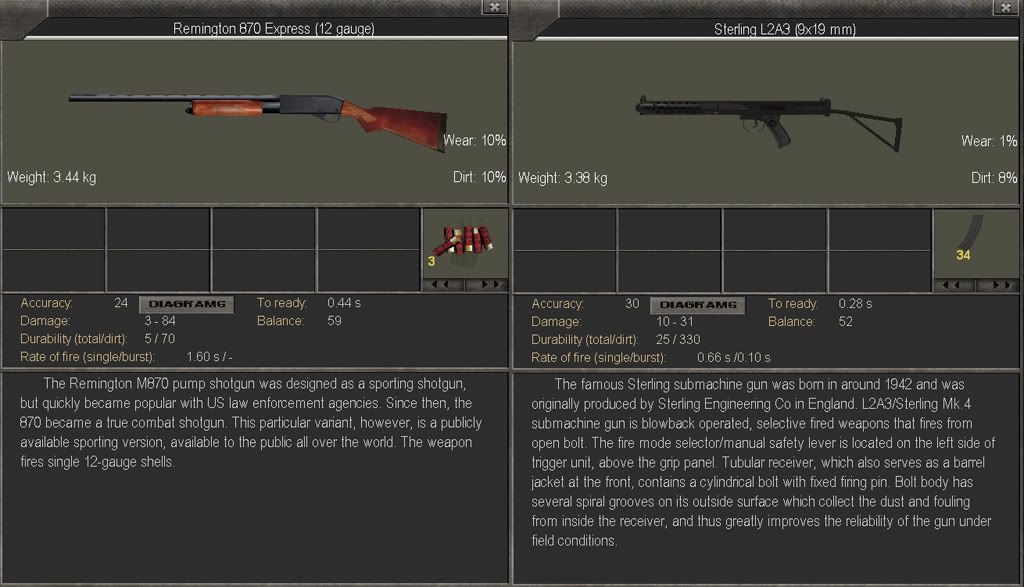
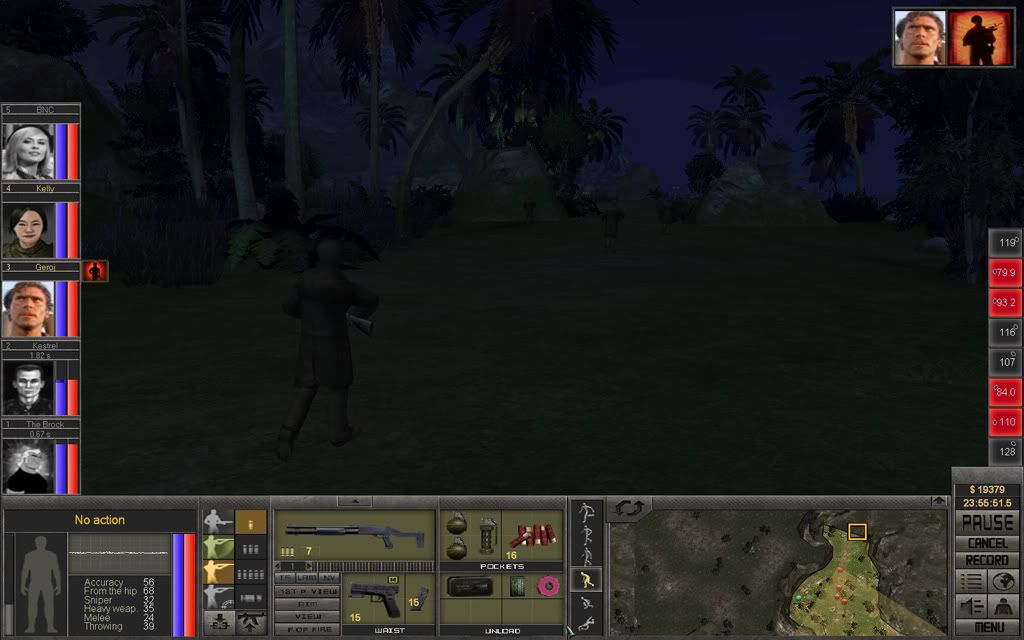
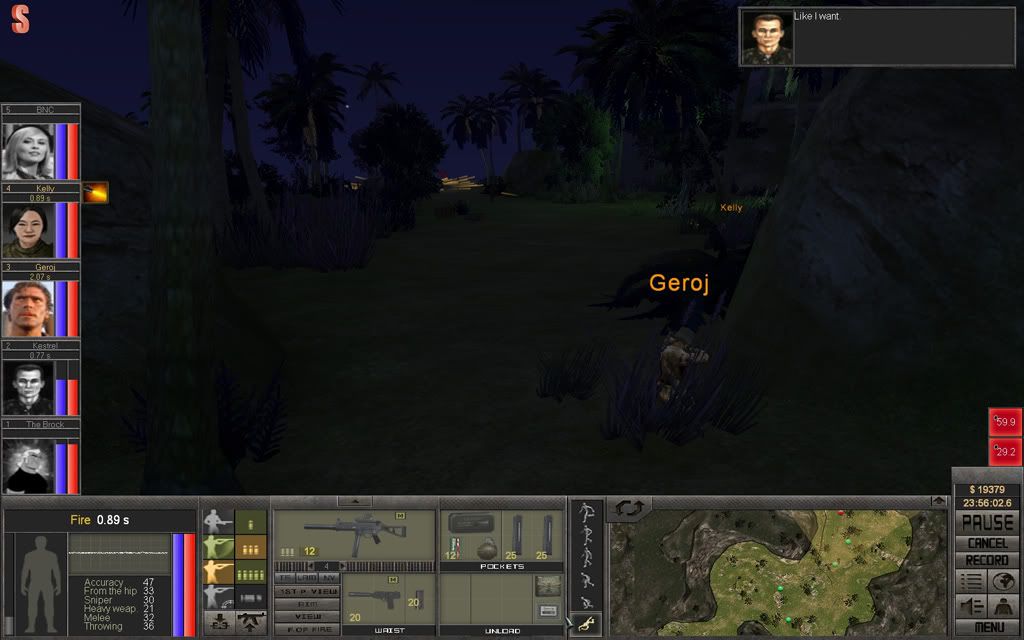
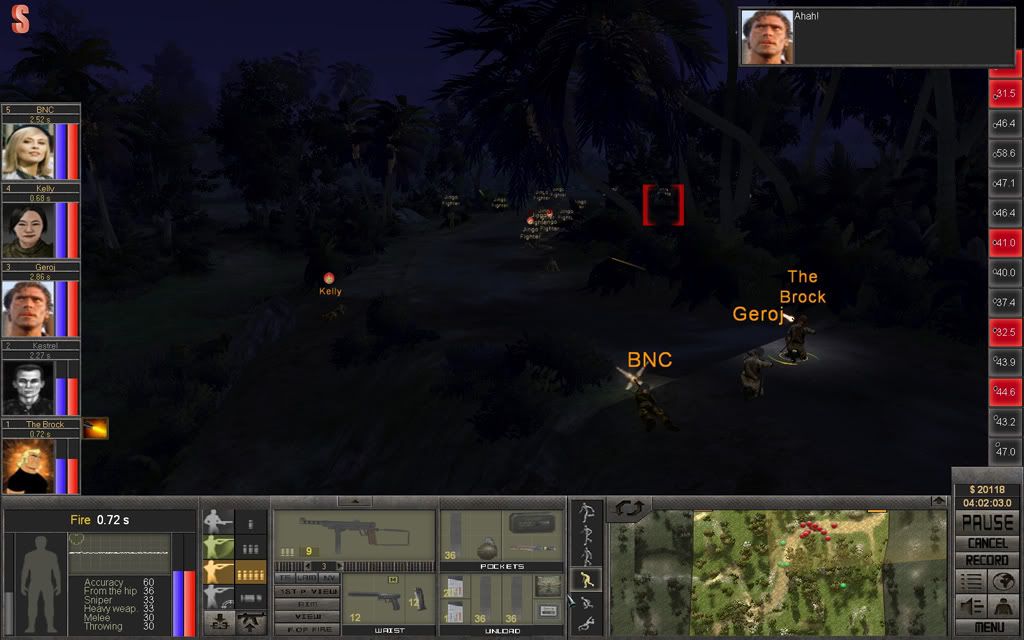
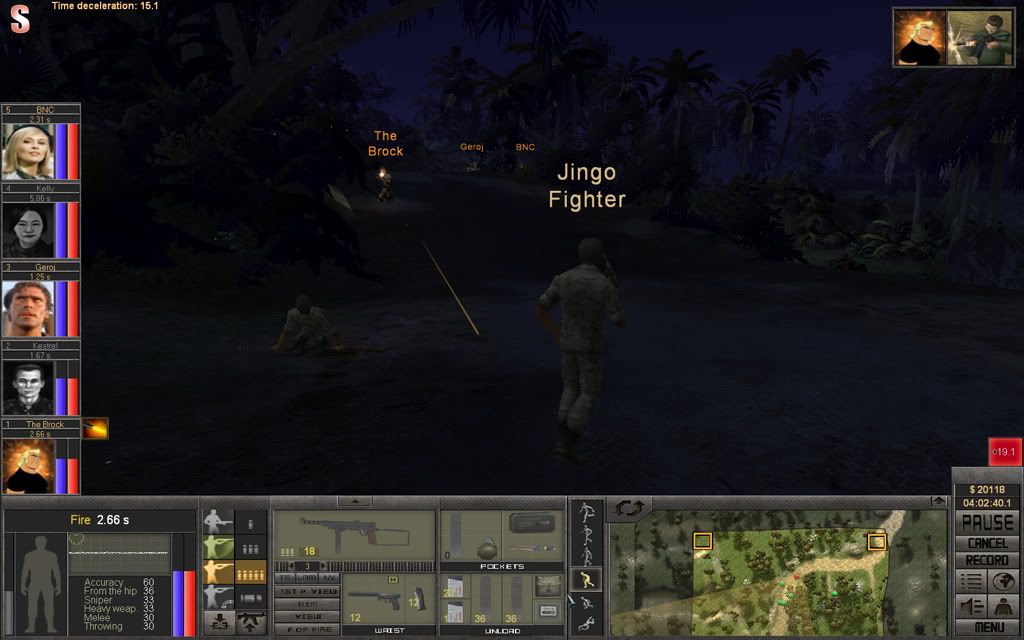
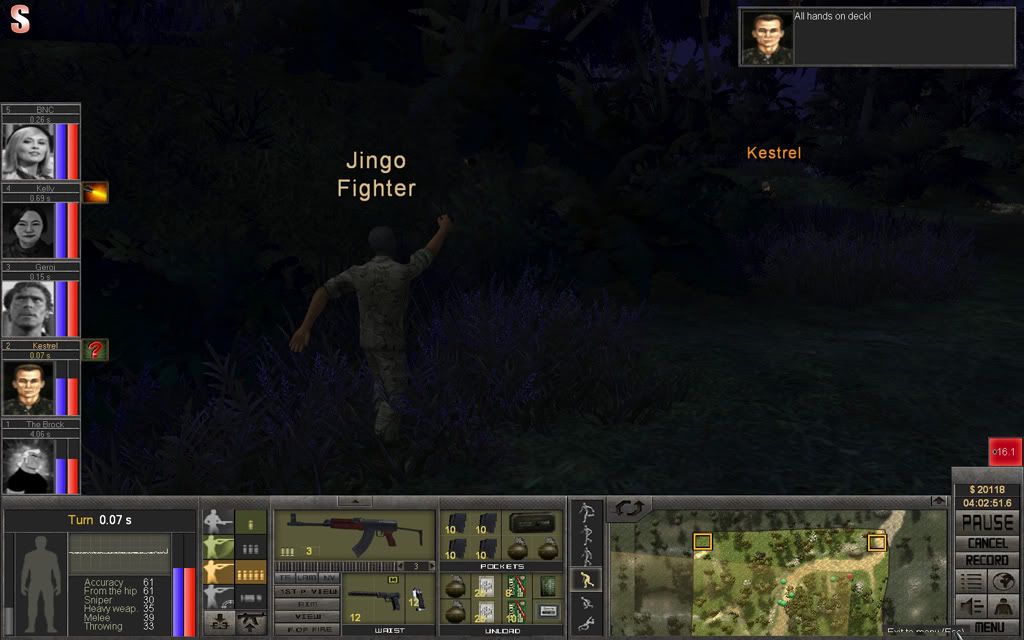
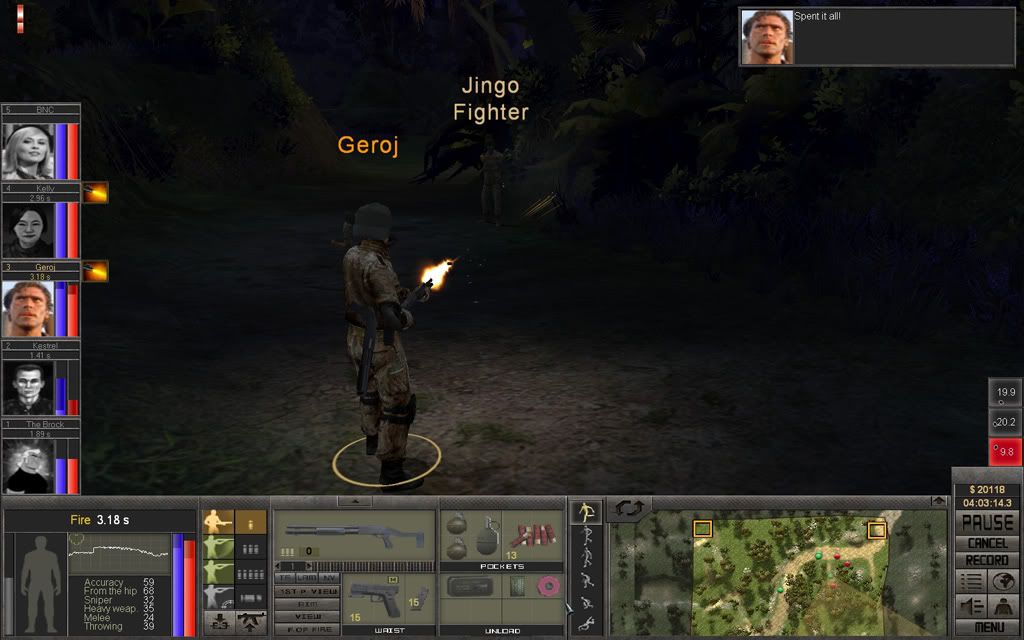
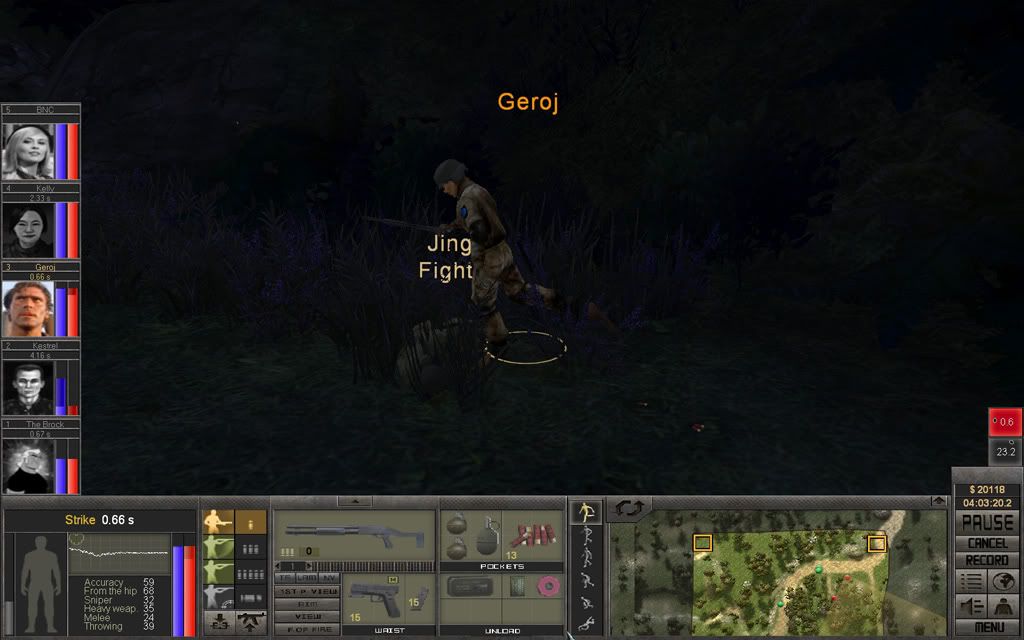
Geroj, who'd been heading towards the action, stumbles upon a Bushwhacker and one-shot-kills him with his Boomstick.
Kestrel and BNC has a Bushwhacker cornered, taking turns to shoot at him.
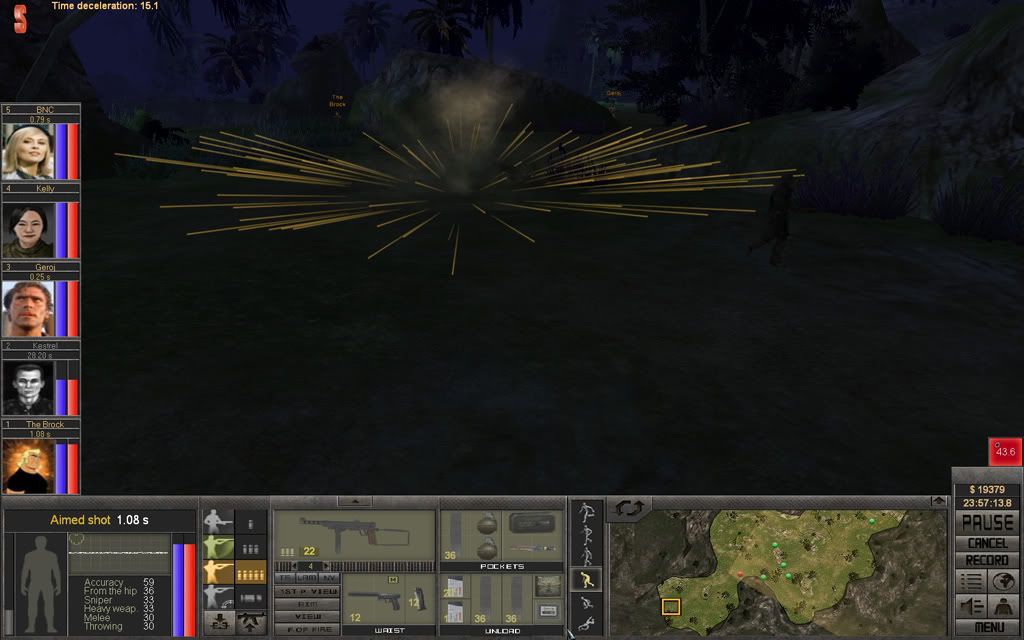
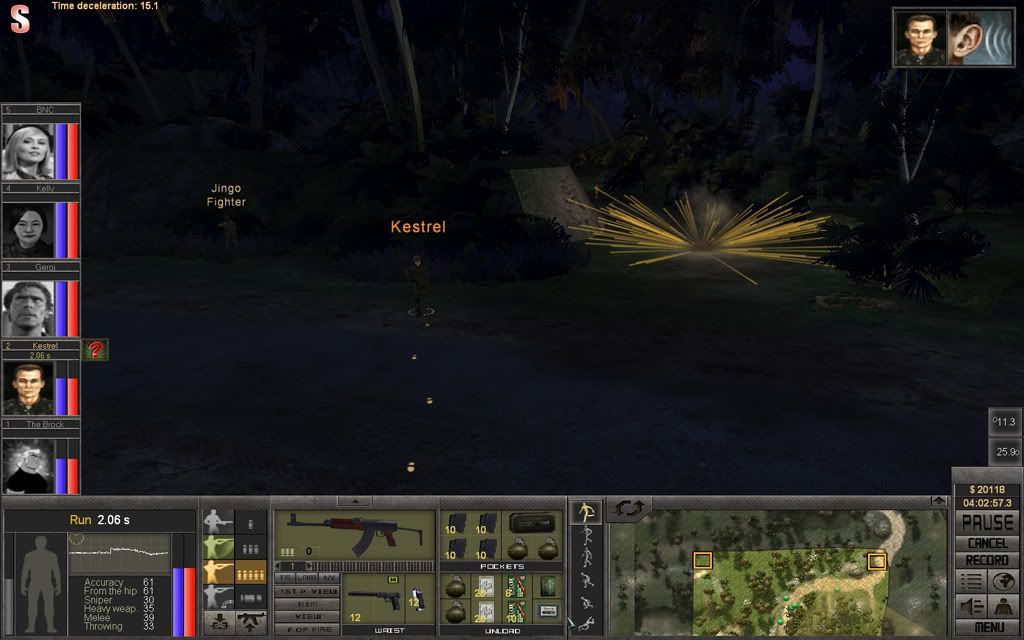
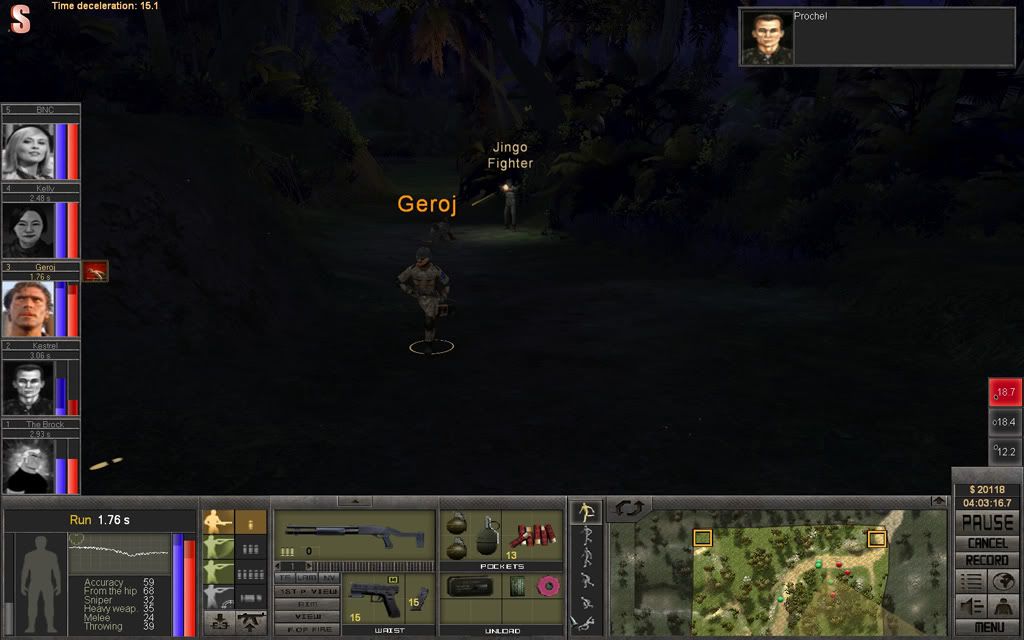
While BNC finishes him off, Kestrel decides to see if there are any more coming, and spots a grenade flying through the air.

Since Kestrel spotted the grenade in time, he's well outside the blast radius as it goes off.
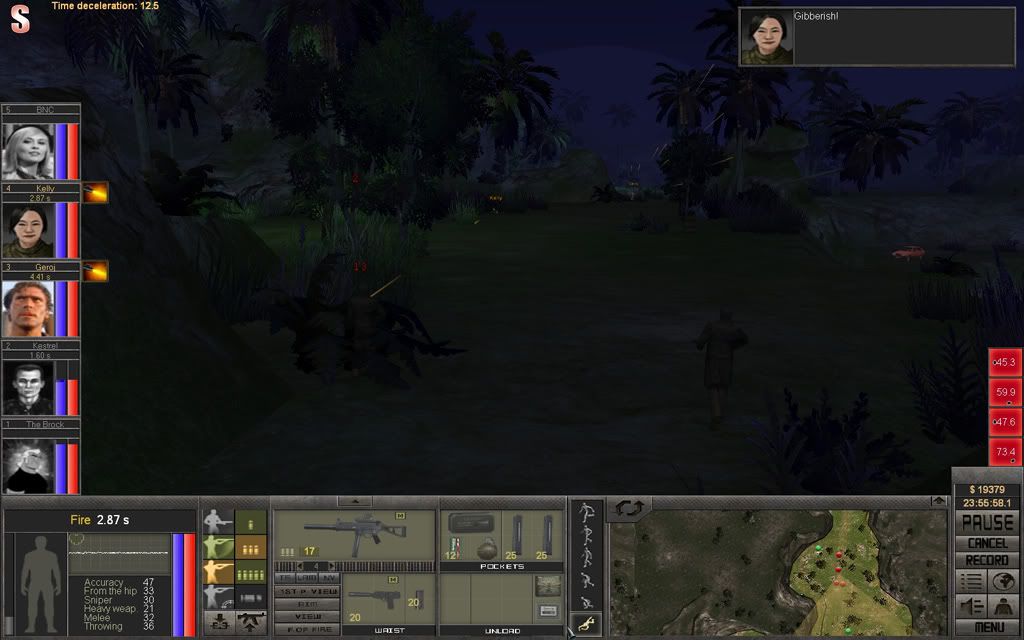
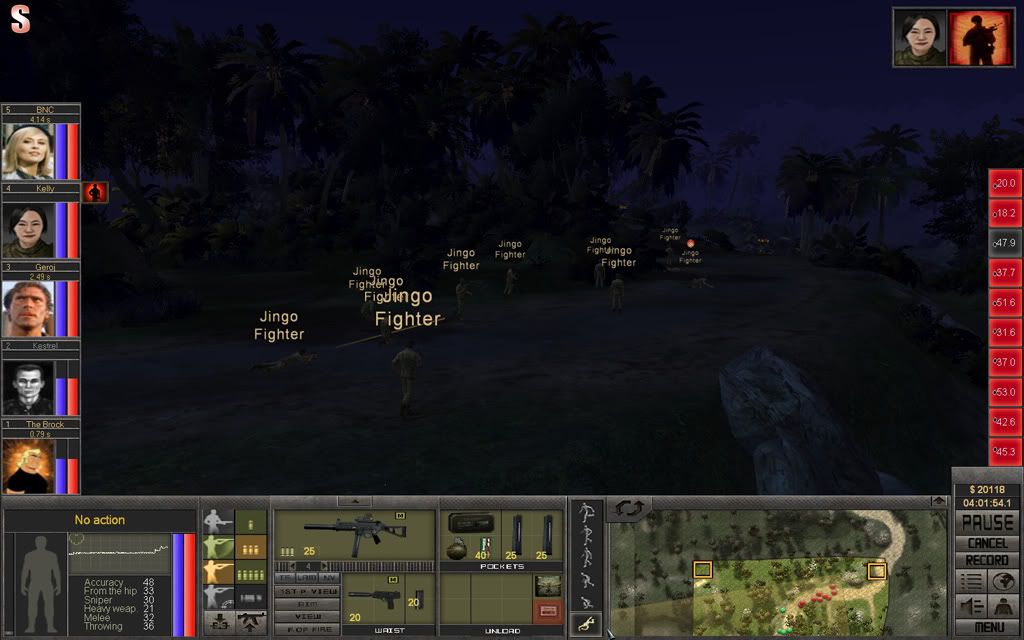
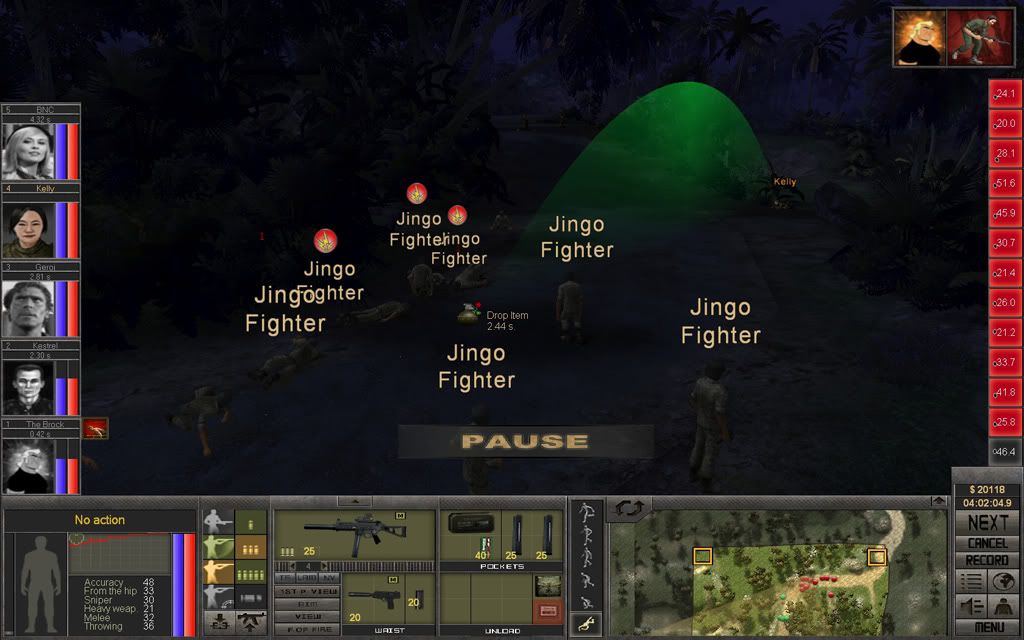
By now, both Geroj and Kelly are close by, and when they hear movement Kelly throws a grenade into the mix.
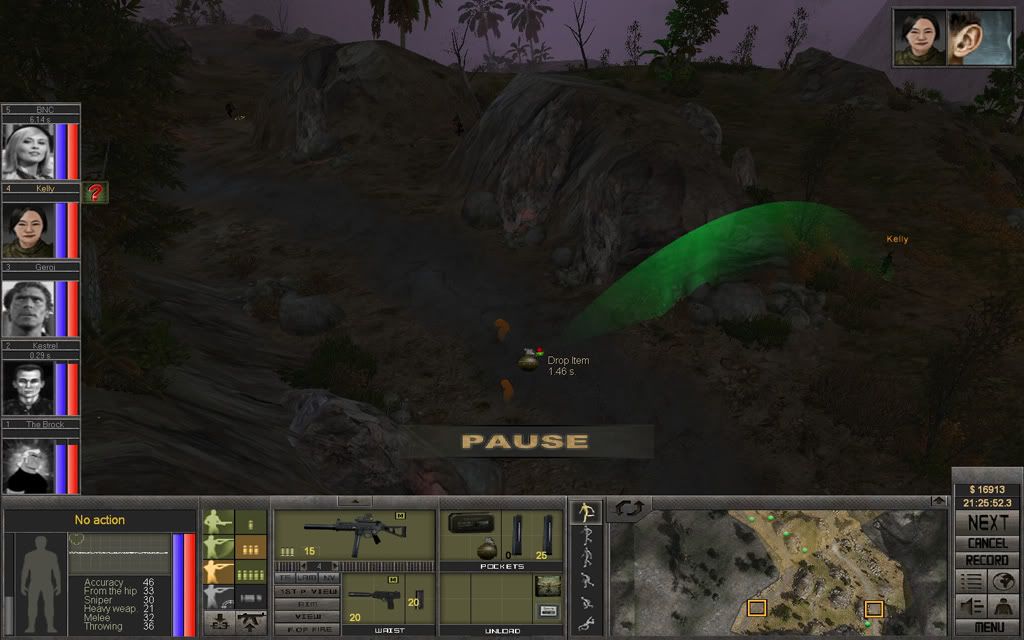
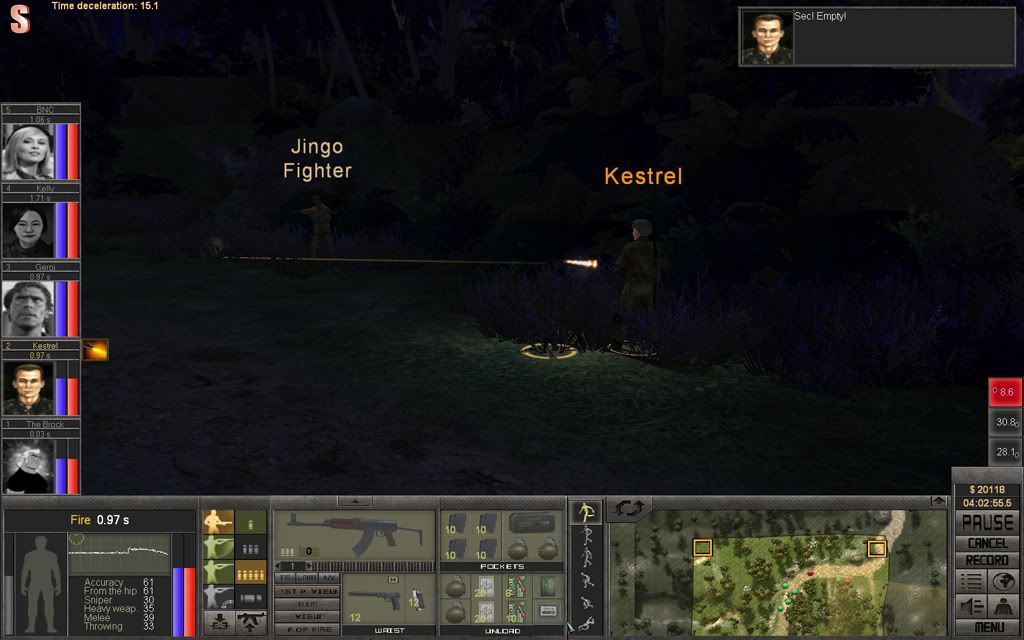
Geroj finds himself in a good position and manages to hit one of the Bushwhackers before Kelly's grenade detonates. Kestrel fires the final rounds for his CAR-15 and switches to his Mossberg 500.
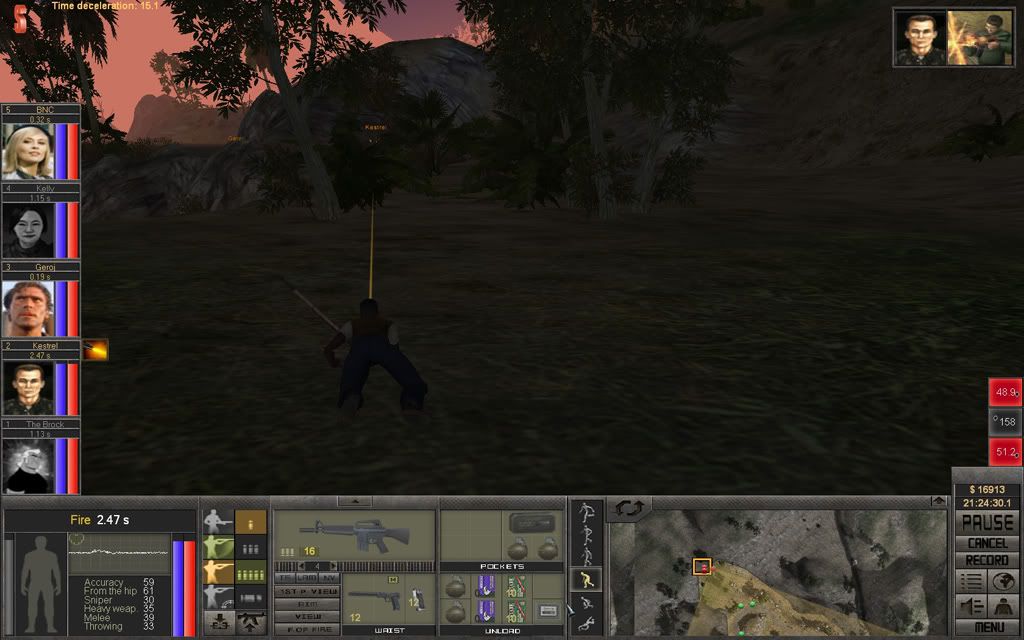
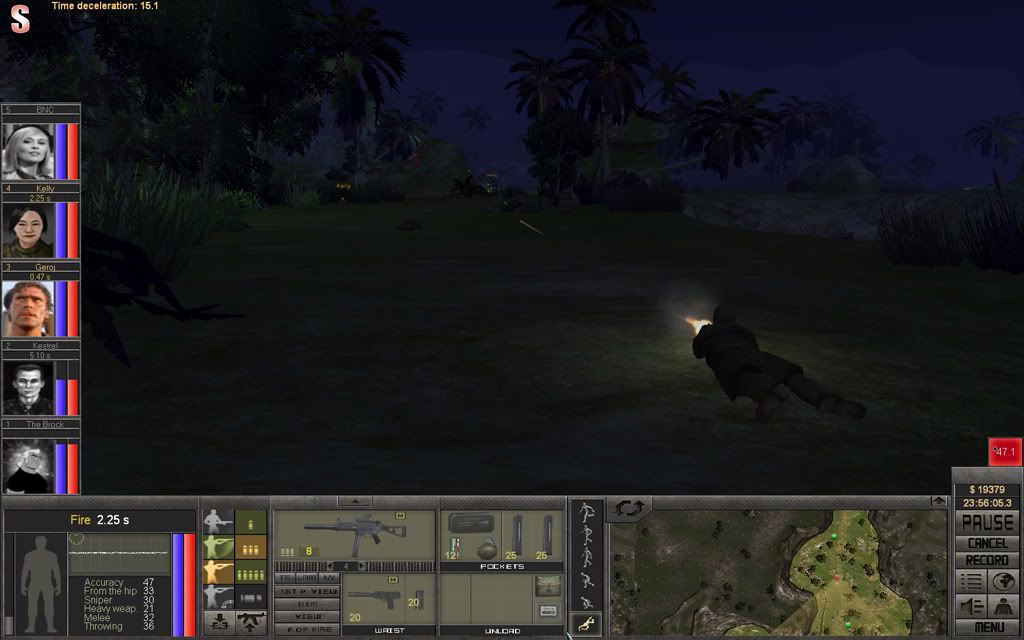
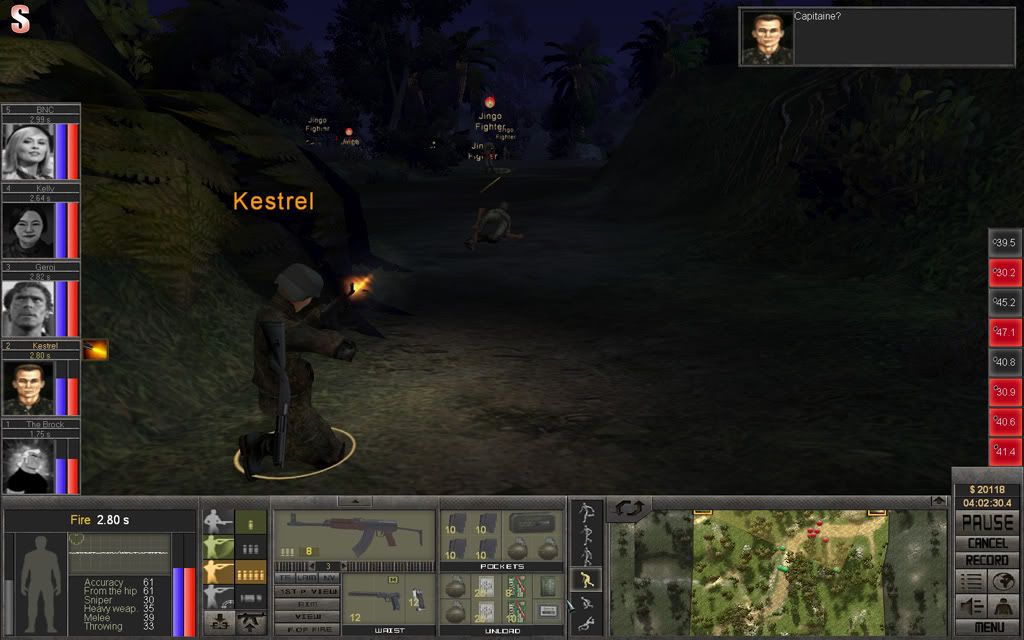
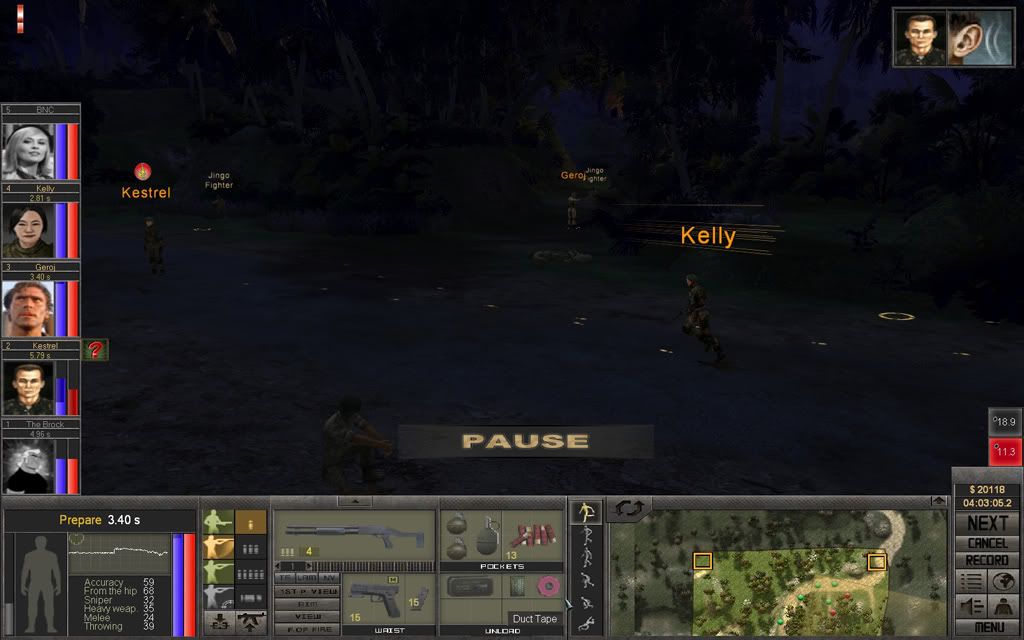
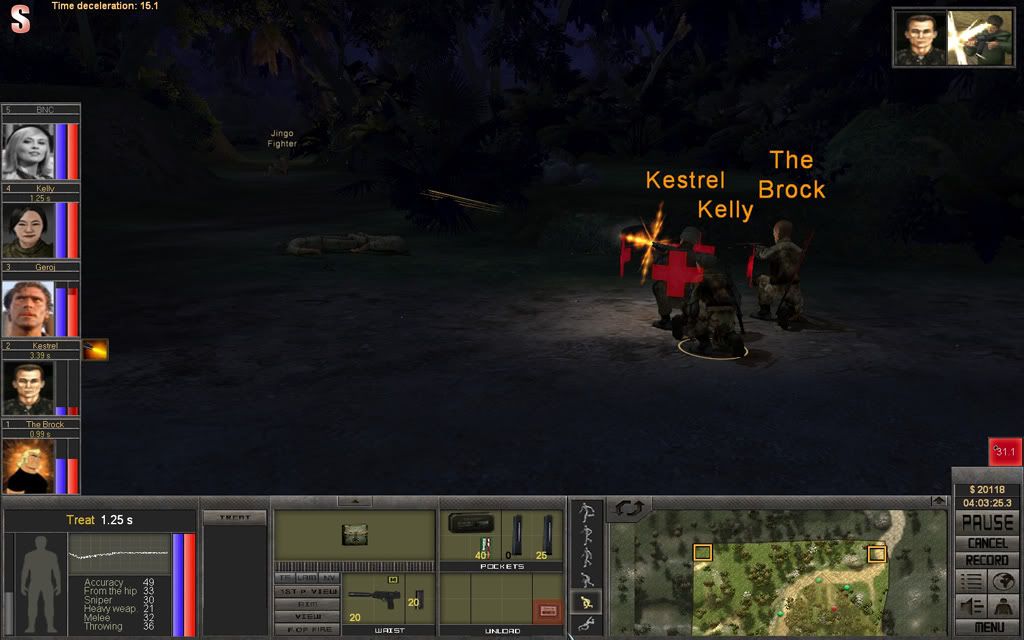
Kestrel moves up while BNC and Geroj provides covering fire, but this Bushwhacker has some true grit. He hits Kestrel in the head, doing some serious damage.

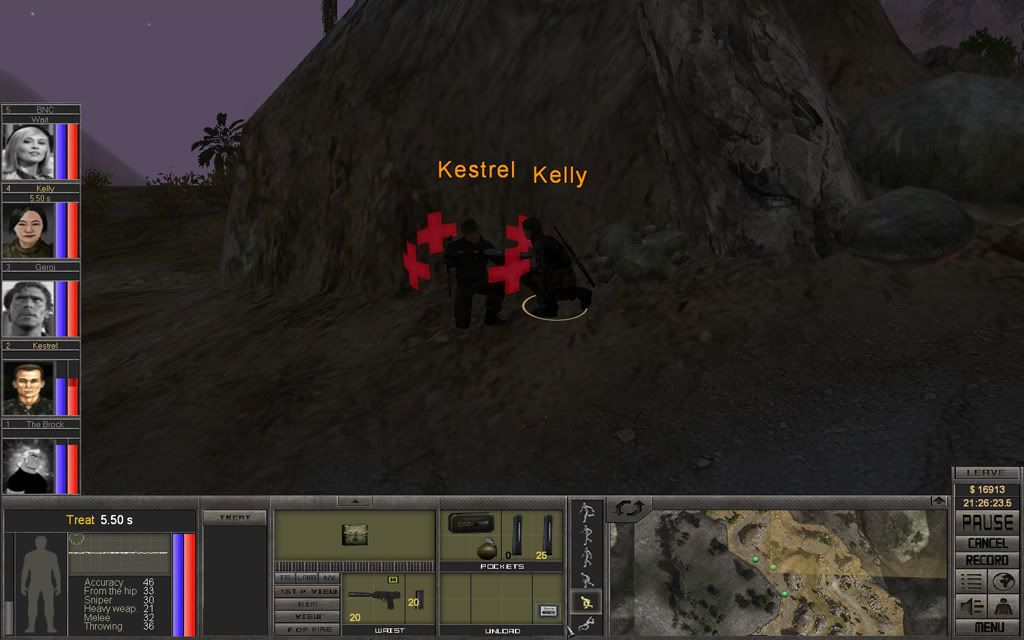
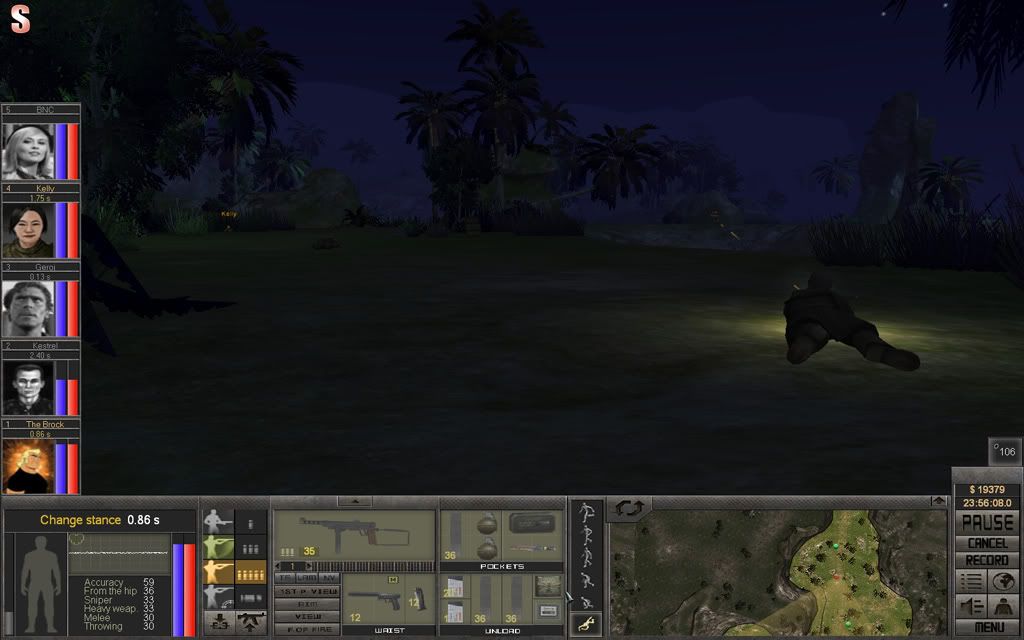
In the end, Kestrel gets his revenge scoring a massive hit with his sawed-off Mossberg.
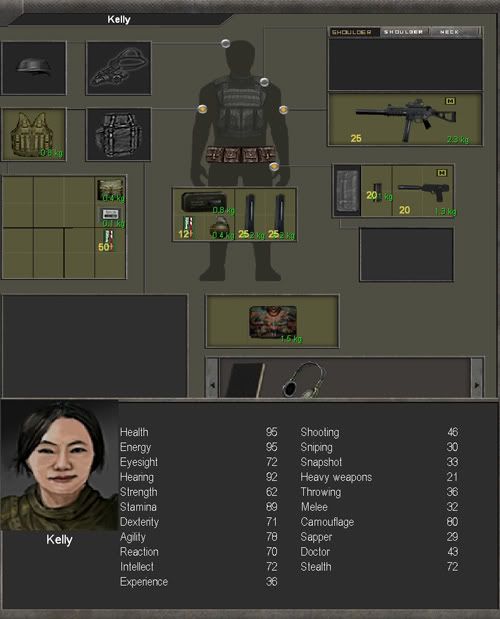
Kelly, the best medic on the team, fixes him up and congratulates him on his perseverance.
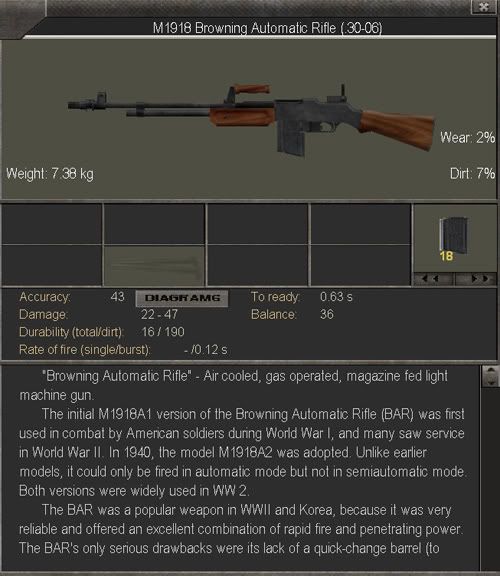
The team finally has a Machine Gun, a BAR M1918.
They travel back to Ciudad-de-Oro to talk to the mechanic who agrees to come to their base and help with mechanical stuff.
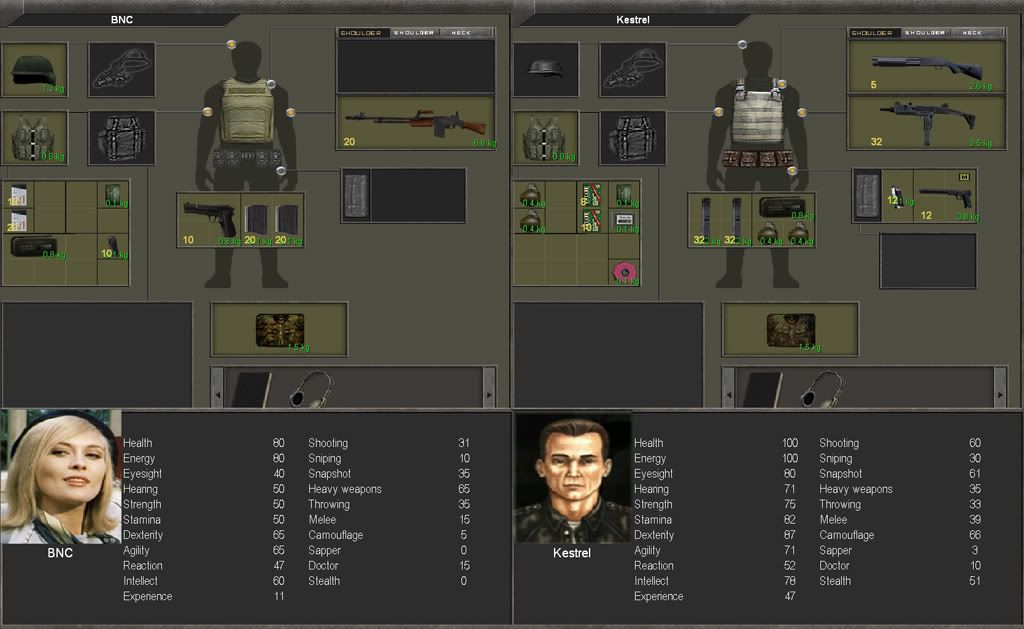
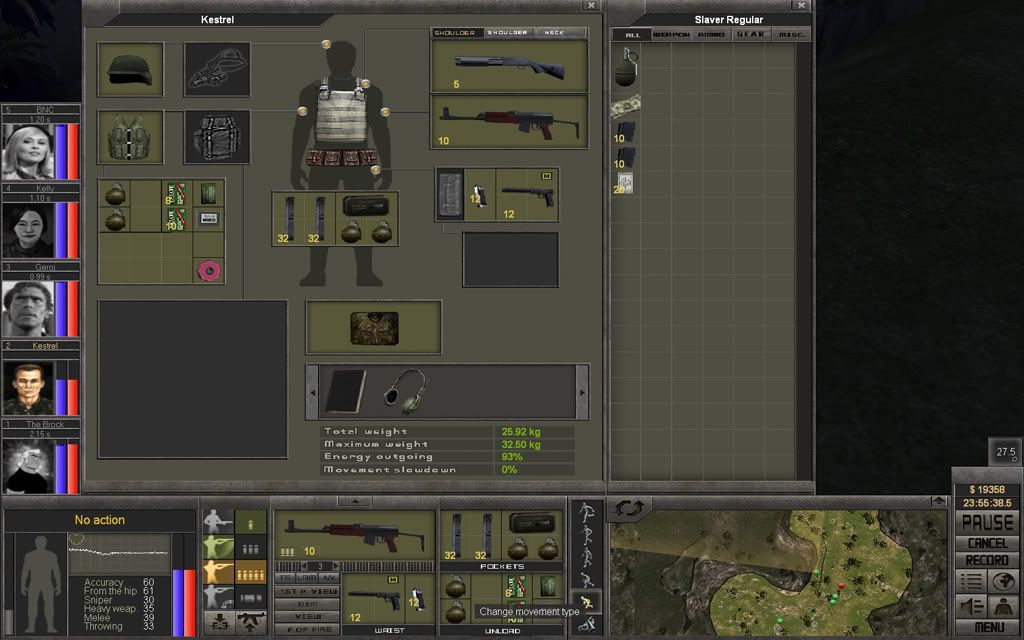
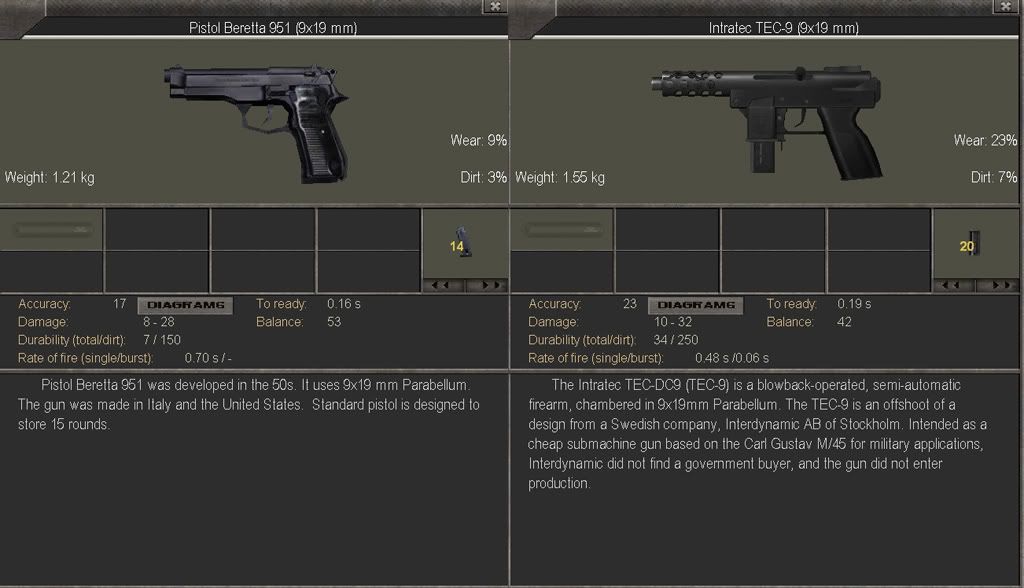
They re-arm and are ready for new adventures. BNC will hopefully be able to use the BAR better than she used the Tommy gun, her 65 in Heavy Weapons should make sure of that. And her low strength makes a secondary weapon out of the question, but she gets the Browning Hi-Power as a sidearm. Kestrel switches back to the UZI, haven't got any other AR's or ammo yet. Kelly is rather good with that UMP, so she'll be keeping it, and The Brock proved how useful the M45 is in the right hands, even if it's range leaves much to be desired.

Kestrel, with only 20 rounds left for his CAR-15, opens up on another one but misses.
A Bushwhacker rushes The Brock's position and gets a burst from the M45 as a greeting. All shots miss the intended target, but takes down another bushwhacker behind the target.
Kestrel finally hits his target, and this time it's a deadly headshot. It was lucky since that particular Bushwhacker was carrying a Garand, and if left alive could do some real damage. Kestrel switches to the next target, and together with BNC they'll keep them busy for a while.
The Brock wounds one of the Bushwhackers with another burst from his M45, forcing him to eat some dirt. But then...
One of the Bushwhackers gets lucky and hits him.
The Brock is forced to retreat, fighting 3 enemies while wounded is not a good idea. While he retreats, Kelly provides some covering fire, but the targets are well without the UMP's effective range. But it will keep the enemy's adrenalin levels high and lower their accuracy.
A rushing Bushwhacker forces The Brock to turn around, and he connects with his M45 knocking the the target down.
Meanwhile, BNC is having fun with her Garand, and Kestrel takes out another one, leaving him with only 10 rounds left.
The Brock keeps bleeding, he needs to bandage his wounds soon or he'll bleed out. He kills his target, then moves back further to get some time to get that done.
By now, Geroj has finally reached them and will support The Brock while he's busy with medic stuff.
Kelly, who left her over-watch position to get a nice advantage on the Bushwhackers, takes one of them down with 3 bursts. The other one was wounded and escaped, what a coward!
The Brock, all bandaged up, moves up a little and magdumps into the first Bushwhacker he spots.
Suddenly, BNC hears some movement behind her, she moves forward just in time as a bullet whizzes past.
She uses this time to switch to her Tommy gun, then she turns around and throws a grenade to deter any pursuers.
A quick aimed burst kills the pursuing Bushwhacker, then the grenade detonates.
Geroj, who'd been heading towards the action, stumbles upon a Bushwhacker and one-shot-kills him with his Boomstick.
Kestrel and BNC has a Bushwhacker cornered, taking turns to shoot at him.
While BNC finishes him off, Kestrel decides to see if there are any more coming, and spots a grenade flying through the air.
Since Kestrel spotted the grenade in time, he's well outside the blast radius as it goes off.
By now, both Geroj and Kelly are close by, and when they hear movement Kelly throws a grenade into the mix.
Geroj finds himself in a good position and manages to hit one of the Bushwhackers before Kelly's grenade detonates. Kestrel fires the final rounds for his CAR-15 and switches to his Mossberg 500.
Kestrel moves up while BNC and Geroj provides covering fire, but this Bushwhacker has some true grit. He hits Kestrel in the head, doing some serious damage.
In the end, Kestrel gets his revenge scoring a massive hit with his sawed-off Mossberg.
Kelly, the best medic on the team, fixes him up and congratulates him on his perseverance.
The team finally has a Machine Gun, a BAR M1918.
They travel back to Ciudad-de-Oro to talk to the mechanic who agrees to come to their base and help with mechanical stuff.
They re-arm and are ready for new adventures. BNC will hopefully be able to use the BAR better than she used the Tommy gun, her 65 in Heavy Weapons should make sure of that. And her low strength makes a secondary weapon out of the question, but she gets the Browning Hi-Power as a sidearm. Kestrel switches back to the UZI, haven't got any other AR's or ammo yet. Kelly is rather good with that UMP, so she'll be keeping it, and The Brock proved how useful the M45 is in the right hands, even if it's range leaves much to be desired.
R@S
Scholar
- Joined
- Jun 30, 2012
- Messages
- 179
I have just played a little more, one random encounter on the way back to the Harbor against some slavers, and then the first Billy-Bob mission. I'll be busy for a few hours but plan to get the next update released later tonight. There are so much things happening in those encounters, I'll have to go though all the screen shots and see if I need to split them up into 2 updates.
R@S
Scholar
- Joined
- Jun 30, 2012
- Messages
- 179
**********************
Session 11: Slavery is bad and you'll pay dearly for it
**********************
- Slaver's Mountain - Looting while Fighting - Draw Them In and I'll Knock Them Down - Flanking the Rear -
- Pin Them Down! - Back and Forth We Go - The Legless Slaver - Mopping Up is Never Fun To Do -
**********************
On the way to the Secret Harbor the team gets ambushed by some slavers who thought they would be easy prey.
But they didn't expect to meet some top notch mercenaries with superior tactics. This time, BNC and The Brock team up, and so does Geroj and Kelly. Kestrel will do a flanking maneuver and come up behind the enemy.
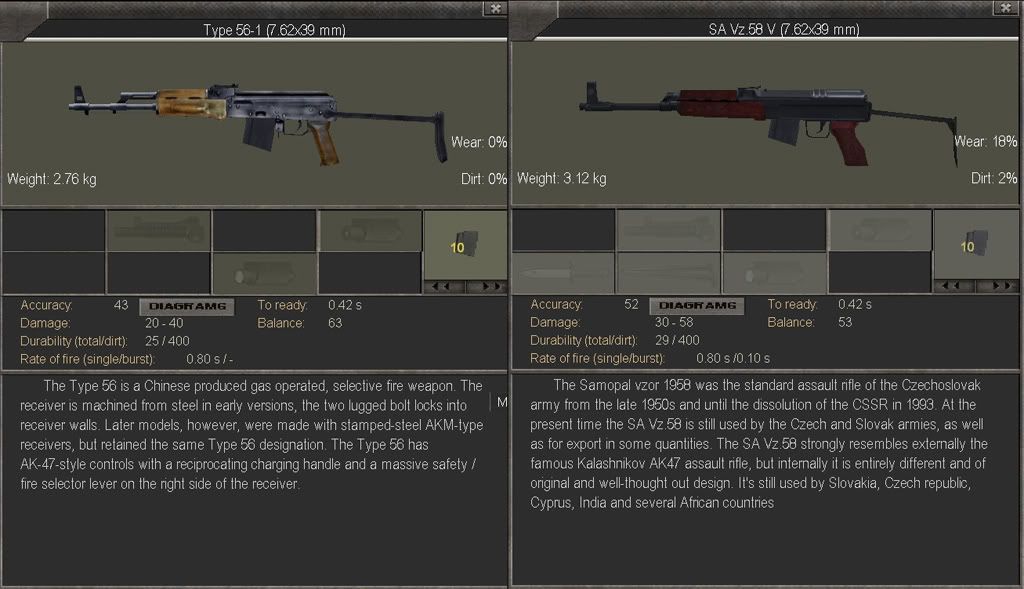
Kestrel is the first to encounter resistance, and a burst from his UZI brings him down. He saw that the Slaver carried an SA vz.58, so he loots the corpse and finds some ammo to go with it.
Kelly spots another Slaver, one that is sporting a BAR, so she delivers a deadly salvo before he manages to use it.
The slavers are very much aware of the team by now, and luckily they have reached their positions. Kestrel is still on his way, but he wont be needed just yet.
The Brock suppresses the rushing enemy with his M45 to get their attention, his goal is to draw them in to BNC's firing line. He pulls back once the lead starts coming his way.
Geroj and Kelly got some company, a lot of company. Kelly does some damage with a burst, but Geroj's Remington doesn't have the range.
Kestrel comes to the rescue, throwing a grenade at the rear Slavers, killing one and wounding another.
One of the Slaver's suppression fire gets too close to Geroj, so he seeks cover. The Slaver then turns towards The Brock and tries to suppress him instead. The Brock hits the dirt as bullets fly over his head.
One of the Slavers stumbles into BNC's kill zone, and is dealt with accordingly.
Kestrel finishes his flanking maneuver and comes up behind the Slaver suppressing The Brock, an aimed burst dispenses of him.
Things are getting more interesting at the northern front, Kelly and Geroj starts moving there fast. The Brock is keeping them busy while they are trying to get there, and he succeeds with his task.
One of the Slavers rushes past BNC's firing line, but she misses her shot and The Brock takes over.
Some of the Slavers has slipped by BNC and Kelly unnoticed, but The Brock gets a warning shot and pulls back behind cover. The next shot whizzes past, it would have hit him if he hadn't moved back.
Kelly moves up and spots the Slaver, her UMP takes him down.
The next Slaver that moves into BNC's kill zone goes down without any complaints, still alive but unconscious.
While Kelly is bursting like a madman at the unconscious Slaver, she hears another one coming up. BNC misses, Geroj doesn't.
BNC and Geroj keeps him busy, Kelly moves up to throw a grenade.
The Slaver retreats and manages to get out of the blast radius.
The Brock sends a salvo his way forcing him to hit the deck. Then Kelly moves around the corner and delivers a burst.
She spots another Slaver who hurls a grenade at her, so she is forced to pull back behind cover, but not before she throws a shot at him.

The Brock has moved up and covers her retreat.
The grenade goes off without doing any harm to anyone. Geroj will show them how it's done.
A bullet hits The Brock, causing a lot of damage. He swears he'll start wearing armor if he gets out of this alive. But no helmet, never a helmet...
As Geroj's grenade explodes, he and Kelly are preparing their advance. Kelly's UMP scares the Slaver from his prone position and as he runs away Geroj's Remington takes his legs off.
Kelly and Geroj moves up, Geroj finishing off the legless Slaver while on the move.
A shot whizzes past and the final Slaver reveals his position. While the Slaver aims at Geroj, Kelly uses that time for an aimed burst which kills him.
Finally, it's been a while since the loot was this good. Even if Geroj is begging Kestrel to give him the SA vz.58, Kestrel refuses.
I'm about to write down the next encounter where the team fights 23 enemies, be prepared for an epic battle.
But they didn't expect to meet some top notch mercenaries with superior tactics. This time, BNC and The Brock team up, and so does Geroj and Kelly. Kestrel will do a flanking maneuver and come up behind the enemy.
Kestrel is the first to encounter resistance, and a burst from his UZI brings him down. He saw that the Slaver carried an SA vz.58, so he loots the corpse and finds some ammo to go with it.
Kelly spots another Slaver, one that is sporting a BAR, so she delivers a deadly salvo before he manages to use it.
The slavers are very much aware of the team by now, and luckily they have reached their positions. Kestrel is still on his way, but he wont be needed just yet.
The Brock suppresses the rushing enemy with his M45 to get their attention, his goal is to draw them in to BNC's firing line. He pulls back once the lead starts coming his way.
Geroj and Kelly got some company, a lot of company. Kelly does some damage with a burst, but Geroj's Remington doesn't have the range.
Kestrel comes to the rescue, throwing a grenade at the rear Slavers, killing one and wounding another.
One of the Slaver's suppression fire gets too close to Geroj, so he seeks cover. The Slaver then turns towards The Brock and tries to suppress him instead. The Brock hits the dirt as bullets fly over his head.
One of the Slavers stumbles into BNC's kill zone, and is dealt with accordingly.
Kestrel finishes his flanking maneuver and comes up behind the Slaver suppressing The Brock, an aimed burst dispenses of him.
Things are getting more interesting at the northern front, Kelly and Geroj starts moving there fast. The Brock is keeping them busy while they are trying to get there, and he succeeds with his task.
One of the Slavers rushes past BNC's firing line, but she misses her shot and The Brock takes over.
Some of the Slavers has slipped by BNC and Kelly unnoticed, but The Brock gets a warning shot and pulls back behind cover. The next shot whizzes past, it would have hit him if he hadn't moved back.
Kelly moves up and spots the Slaver, her UMP takes him down.
The next Slaver that moves into BNC's kill zone goes down without any complaints, still alive but unconscious.
While Kelly is bursting like a madman at the unconscious Slaver, she hears another one coming up. BNC misses, Geroj doesn't.
BNC and Geroj keeps him busy, Kelly moves up to throw a grenade.
The Slaver retreats and manages to get out of the blast radius.
The Brock sends a salvo his way forcing him to hit the deck. Then Kelly moves around the corner and delivers a burst.
She spots another Slaver who hurls a grenade at her, so she is forced to pull back behind cover, but not before she throws a shot at him.
The Brock has moved up and covers her retreat.
The grenade goes off without doing any harm to anyone. Geroj will show them how it's done.
A bullet hits The Brock, causing a lot of damage. He swears he'll start wearing armor if he gets out of this alive. But no helmet, never a helmet...
As Geroj's grenade explodes, he and Kelly are preparing their advance. Kelly's UMP scares the Slaver from his prone position and as he runs away Geroj's Remington takes his legs off.
Kelly and Geroj moves up, Geroj finishing off the legless Slaver while on the move.
A shot whizzes past and the final Slaver reveals his position. While the Slaver aims at Geroj, Kelly uses that time for an aimed burst which kills him.
Finally, it's been a while since the loot was this good. Even if Geroj is begging Kestrel to give him the SA vz.58, Kestrel refuses.
I'm about to write down the next encounter where the team fights 23 enemies, be prepared for an epic battle.
R@S
Scholar
- Joined
- Jun 30, 2012
- Messages
- 179
**********************
Session 12: Give us a challenge and we will rise to the occasion
**********************
- Stolen goods under the hood - Setting up the Kill Zone - Retreat! No, I Mean Advance! - .30-06 Finds a Home -
- Kelly Saves the Day - Dead Bodies, Great Cover - Back-Stabbin' Bastard - Close Call - Kick Him Where It Hurts! -
**********************
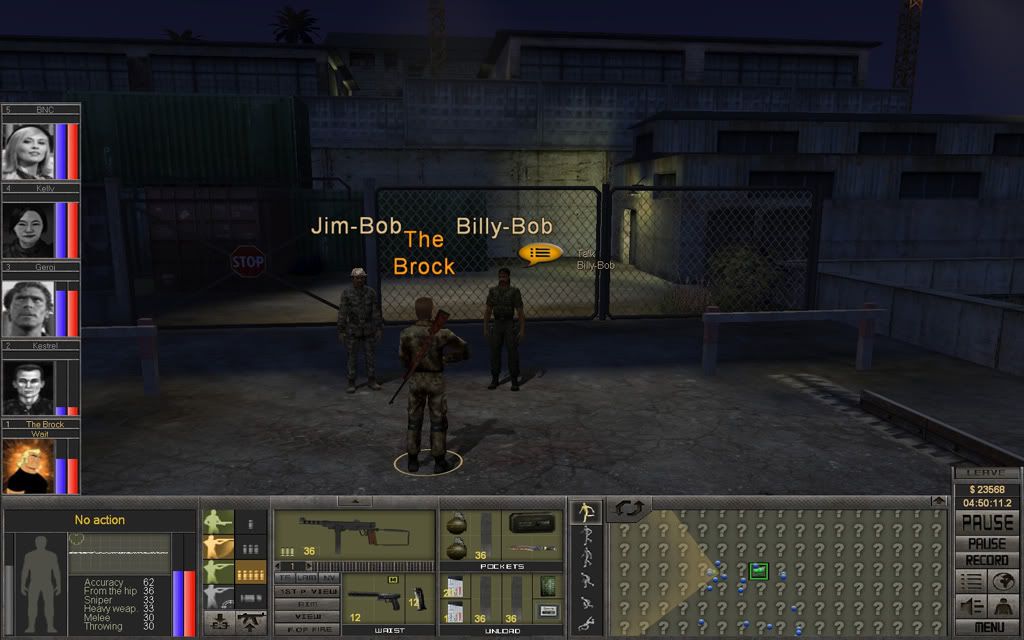
Back at the Harbor, Billy-Bob asks the team to help him retrieve some stolen goods.
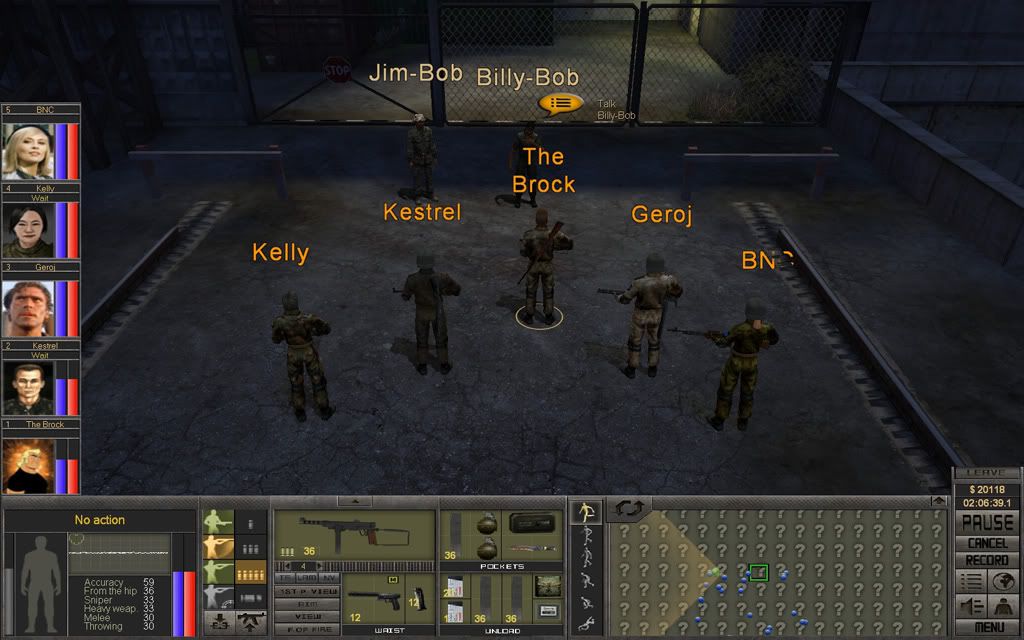
Now that BNC is getting used to her BAR, they decide to set up a kill zone, Geroj and The Brock will help her and Kelly will scout for them. Kestrel will do a flanking run, hitting the enemy at their left flank.
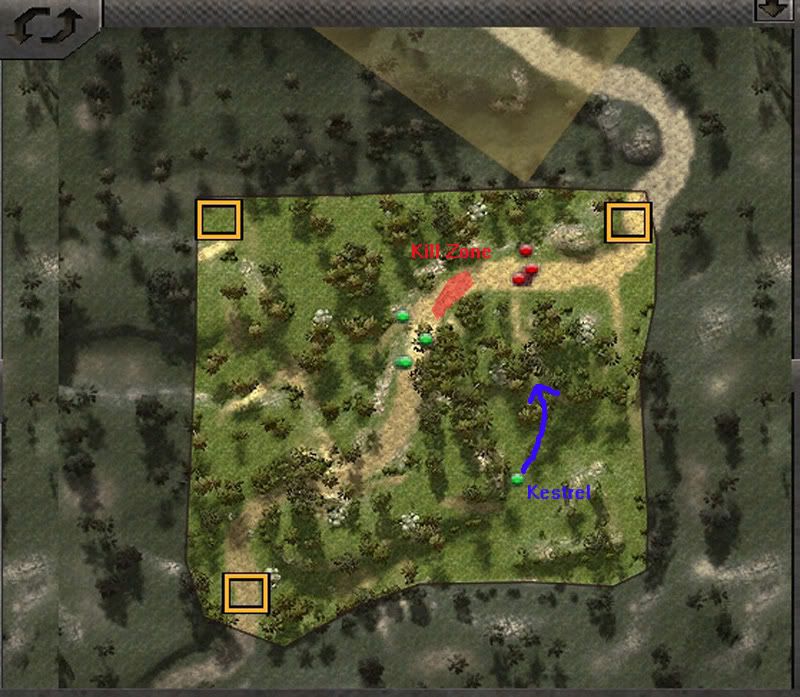
Kelly slaps on some camouflage for maximum invisibility while The Brock moves up. Once again the team uses a slope to protect them from any grenade thrown their way.
With enemies bunched up like this, The Brock decides to go for the most damage to as many of them as possible.
The grenade falls short, and The Brock sends a burst to wake them up. And wake up they do, they throw a grenade at his position forcing him back, and some massive suppression fire to boot.
When the grenade detonates The Brock is well out of reach, he turns around and puts a burst in the chest of the pursuer.
This guy doesn't have a clue of what's going on, and tries to aim with his grenade. Shock can make people do stupid things, eh?
The Brock gets lucky when a shotgun blast barely misses him, he returns fire and then spots another grenade in the air. He manages to pull back just in time and turns around again.
Geroj helps out with his Boomstick, hitting both targets with one shot.
Another grenade lands in front of them and both Geroj and The Brock pulls back. This is a good time to light up that BAR.
Now all three of them are firing up on all cylinders, and the grenade blast is well out of range.
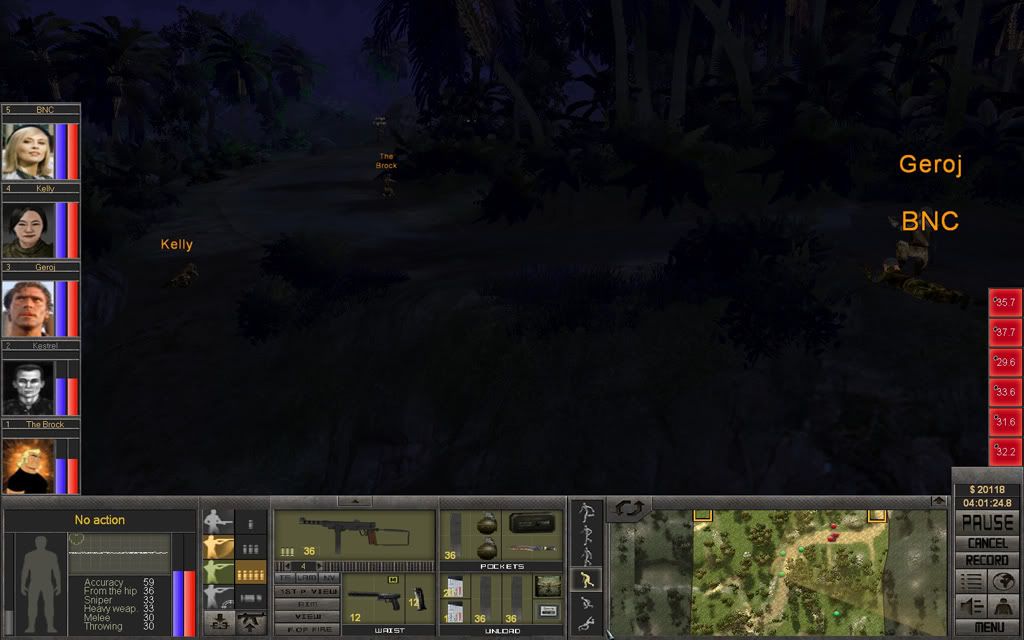
Kestrel starts shooting to distract the rushing enemies, but they seem not to notice him.
BNC is doing some real damage to anyone who enters the kill zone, the .30-06 caliber working at it's best.
They are about to be overrun, there's just too many of them.
That's when Kelly saves the day by throwing a grenade to interrupt their charge.
Both Geroj and The Brock need to reload, but BNC still has some rounds left. In hindsight, what would have happened if Kelly hadn't thrown that grenade? Death and destruction!
Finally the enemies seem to notice Kestrel, he notices them as well.
By the time BNC fires her last round, The Brock and Geroj are ready again.

Kestrel decides to move up closer to see if he can't get more of them to notice him.
The Brock moves up again while Geroj is laying down some covering fire. The Brock doesn't get far down the slope before he has to stop and help out shooting, there's so many targets to pick from.
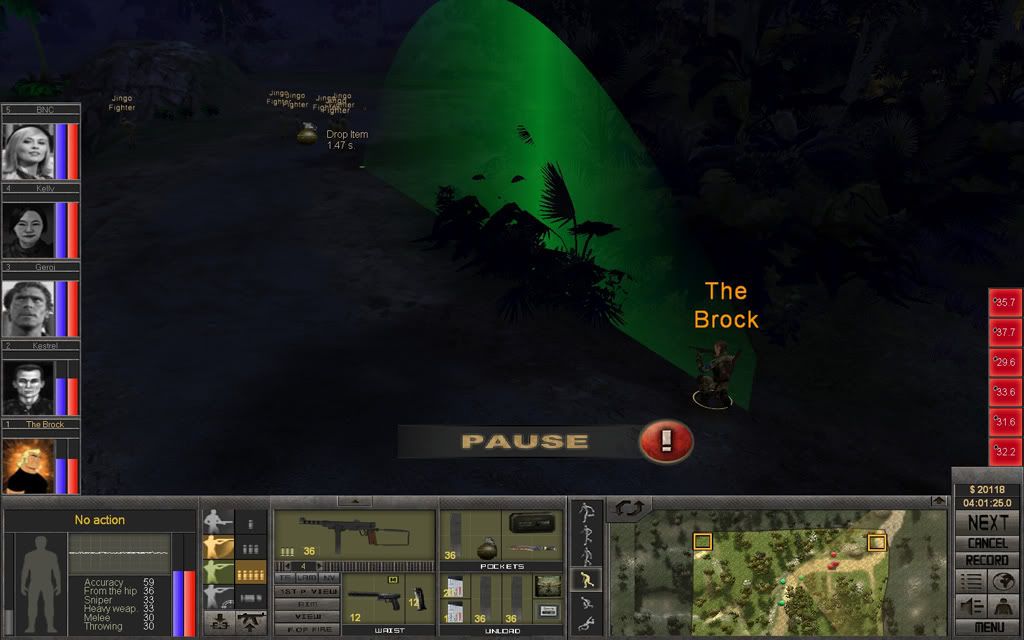
Another grenade is thrown towards him, and this time he spots the thrower in the middle of it. It gives him plenty of time to pull back up the slope.
Kestrel pins down two enemies waiting on their turn, knocking one unconscious.

BNC's BAR s getting hotter and hotter.
The grenade detonates without doing any harm, better luck next time kiddo!
One of the fighters have found some cover behind a dead friend, the only one with a clear shot is Kelly.
Kestrel keeps up his good work, they still haven't spotted him.
BNC is still working her way through targets inside the kill zone, Kelly is doing her best to keep up. Kelly fires her last bullet, then retreats to reload.
The Brock makes another go down the slope while Geroj and BNC are covering him, and he catches one on the way towards Kelly.
Kestrel gets some attention at last in the form of a grenade and pulls back. He then turns back around and continues shooting to distract the enemy.
By now the team has broken the enemy's back and it's time to move up and take care of the rest of them.
Kestrel is faced with a tough decision when he spots a grenade coming his way, pull back or move up. He chooses the latter.
One of the enemies have good cover behind a pile of dead bodies, the only way to take him out is with a grenade.
Kestrel fires a hip-shot burst and misses, and discovers he's out of ammo. It couldn't have happened at a worse time since there's a live grenade behind him about to go off. He rushes across the road to give the enemy the least chance of hitting him.
The Brock's grenade does what it was intended for, taking out the entrenched enemy.
Kestrel's gamble fails and a shotgun blast sends him into shock, it also wounds his right arm causing him to drop his weapon.
The Brock covers Geroj and Kelly when they rush up to help Kestrel, easily taking out two enemies with his M45.

Geroj spots an enemy that had tried to sneak up behind Kestrel, and while Kelly is rushing forward a shotgun blast flies over her head.
Geroj gets hit, but manages to stay with it and gets off a hip-shot that misses the retreating target.
Kestrel gets out of his shocked state and pulls back while Kelly covers him.
Another blast hits Kestrel in the left arm, he's very close to dying.
Kelly provides covering fire while The Brock help patching up Kestrel. Geroj keeps missing his target and runs out of ammo
Geroj retreats and gets lucky when the shot misses.
Kestrel switches to his secondary weapon and together with The Brock they open up on the target, covering Gerojs retreat.
Kelly has taken down the backstabber and concentrates on the other unconscious enemy while Geroj takes revenge the close and personal way.
Kelly turns her medical attention on Kestrel while he lands a few hits with his Mossberg
When the chamber is empty and he's all patched up, he walks up to the last enemy and kicks him where it hurts.
BNC takes a moment to contemplate the meaning of death, looking at the field of dead bodies.
For such an intense fight, the loot is rather disappointing
Back to the Harbor and return the stolen cargo to Billy-Bob. Kestrel will need to sit a few missions out while he recuperates at the hospital. Geroj is pleased to get the SA vz.58, but a little sad to see Kestrel in such a bad shape, not...
Another weekend is over, might be some time until the next update, got a terribly busy week at work.
Now that BNC is getting used to her BAR, they decide to set up a kill zone, Geroj and The Brock will help her and Kelly will scout for them. Kestrel will do a flanking run, hitting the enemy at their left flank.
Kelly slaps on some camouflage for maximum invisibility while The Brock moves up. Once again the team uses a slope to protect them from any grenade thrown their way.
With enemies bunched up like this, The Brock decides to go for the most damage to as many of them as possible.
The grenade falls short, and The Brock sends a burst to wake them up. And wake up they do, they throw a grenade at his position forcing him back, and some massive suppression fire to boot.
When the grenade detonates The Brock is well out of reach, he turns around and puts a burst in the chest of the pursuer.
This guy doesn't have a clue of what's going on, and tries to aim with his grenade. Shock can make people do stupid things, eh?
The Brock gets lucky when a shotgun blast barely misses him, he returns fire and then spots another grenade in the air. He manages to pull back just in time and turns around again.
Geroj helps out with his Boomstick, hitting both targets with one shot.
Another grenade lands in front of them and both Geroj and The Brock pulls back. This is a good time to light up that BAR.
Now all three of them are firing up on all cylinders, and the grenade blast is well out of range.
Kestrel starts shooting to distract the rushing enemies, but they seem not to notice him.
BNC is doing some real damage to anyone who enters the kill zone, the .30-06 caliber working at it's best.
They are about to be overrun, there's just too many of them.
That's when Kelly saves the day by throwing a grenade to interrupt their charge.
Both Geroj and The Brock need to reload, but BNC still has some rounds left. In hindsight, what would have happened if Kelly hadn't thrown that grenade? Death and destruction!
Finally the enemies seem to notice Kestrel, he notices them as well.
By the time BNC fires her last round, The Brock and Geroj are ready again.
Kestrel decides to move up closer to see if he can't get more of them to notice him.
The Brock moves up again while Geroj is laying down some covering fire. The Brock doesn't get far down the slope before he has to stop and help out shooting, there's so many targets to pick from.
Another grenade is thrown towards him, and this time he spots the thrower in the middle of it. It gives him plenty of time to pull back up the slope.
Kestrel pins down two enemies waiting on their turn, knocking one unconscious.
BNC's BAR s getting hotter and hotter.
The grenade detonates without doing any harm, better luck next time kiddo!
One of the fighters have found some cover behind a dead friend, the only one with a clear shot is Kelly.
Kestrel keeps up his good work, they still haven't spotted him.
BNC is still working her way through targets inside the kill zone, Kelly is doing her best to keep up. Kelly fires her last bullet, then retreats to reload.
The Brock makes another go down the slope while Geroj and BNC are covering him, and he catches one on the way towards Kelly.
Kestrel gets some attention at last in the form of a grenade and pulls back. He then turns back around and continues shooting to distract the enemy.
By now the team has broken the enemy's back and it's time to move up and take care of the rest of them.
Kestrel is faced with a tough decision when he spots a grenade coming his way, pull back or move up. He chooses the latter.
One of the enemies have good cover behind a pile of dead bodies, the only way to take him out is with a grenade.
Kestrel fires a hip-shot burst and misses, and discovers he's out of ammo. It couldn't have happened at a worse time since there's a live grenade behind him about to go off. He rushes across the road to give the enemy the least chance of hitting him.
The Brock's grenade does what it was intended for, taking out the entrenched enemy.
Kestrel's gamble fails and a shotgun blast sends him into shock, it also wounds his right arm causing him to drop his weapon.
The Brock covers Geroj and Kelly when they rush up to help Kestrel, easily taking out two enemies with his M45.
Geroj spots an enemy that had tried to sneak up behind Kestrel, and while Kelly is rushing forward a shotgun blast flies over her head.
Geroj gets hit, but manages to stay with it and gets off a hip-shot that misses the retreating target.
Kestrel gets out of his shocked state and pulls back while Kelly covers him.
Another blast hits Kestrel in the left arm, he's very close to dying.
Kelly provides covering fire while The Brock help patching up Kestrel. Geroj keeps missing his target and runs out of ammo
Geroj retreats and gets lucky when the shot misses.
Kestrel switches to his secondary weapon and together with The Brock they open up on the target, covering Gerojs retreat.
Kelly has taken down the backstabber and concentrates on the other unconscious enemy while Geroj takes revenge the close and personal way.
Kelly turns her medical attention on Kestrel while he lands a few hits with his Mossberg
When the chamber is empty and he's all patched up, he walks up to the last enemy and kicks him where it hurts.
BNC takes a moment to contemplate the meaning of death, looking at the field of dead bodies.
For such an intense fight, the loot is rather disappointing
Back to the Harbor and return the stolen cargo to Billy-Bob. Kestrel will need to sit a few missions out while he recuperates at the hospital. Geroj is pleased to get the SA vz.58, but a little sad to see Kestrel in such a bad shape, not...
Another weekend is over, might be some time until the next update, got a terribly busy week at work.
 on another good update.
R@S
Scholar
- Joined
- Jun 30, 2012
- Messages
- 179
The Slaver encounter really payed off, got about 100 7.62x39mm rounds. Too bad there were only some 10 round mags, but I had a 30 rounds mag from the Chinese carbine I got at the Army Base fight.
The Billy-Bob mission was really intense, and as you noticed I made a mistake not reloading the SA vz.58 before I moved Kestrel up. But thats what I love about this game, a single action can turn the tide of a battle, like Kelly proved by tossing that grenade at the exact right moment. I wonder if it wouldn't have been better if I sent Kestrel the far east way instead, coming up behind the enemy. I guess I have to test that in my next play-through.
I also just noticed that I used The Brock as grenade bait a lot, taking the heat from BNC and Geroj. This is an important tactic when fighting enemies that like to throw grenades, always keep the main force behind a spearhead merc.
Another thing I learned is to keep the bandages fresh and fully charges, both Kestrel and The Brock had already used the ones they had, and it did cost Kestrel a few health points.

R@S
Scholar
- Joined
- Jun 30, 2012
- Messages
- 179
I have just finished playing the last part of the next session, and I'll write it up tomorrow. I'll definitely try to desrcibe the tactics used and explain why I chose them from now on. Since I didn't get screen shots of the mini-map in this session, I'll try to remember doing it from now on. Then when any major shift in enemy or merc movements occur, it can be better explained on those mini-map shots.
But I wont post the next session until the next page is reached, just so you know you've got work to do on your end as well...
But I wont post the next session until the next page is reached, just so you know you've got work to do on your end as well...
R@S
Scholar
- Joined
- Jun 30, 2012
- Messages
- 179
D_F_N, you have heard of the expression: "Do unto otters what you would have them do unto you". right? And what have the otters ever done to you then
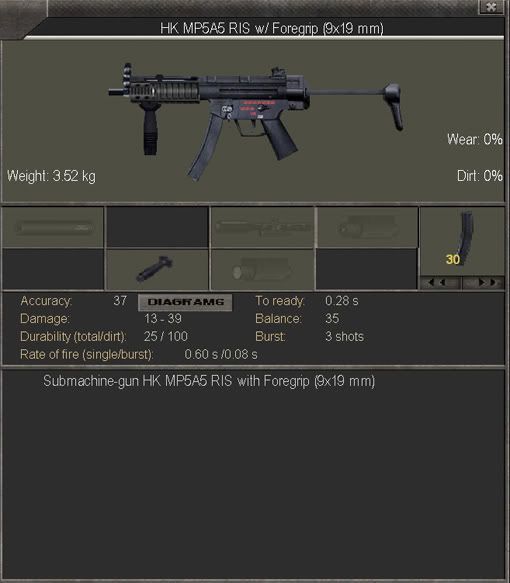
Oh, I'm looking forward to the HK mission as well, those guys are carrying some nice weapon attachments, not to mention all the ammo I'm in desperate need of. But I need to complete the Billy-Bob missions before it gets available, or is it reaching CGL 6 that is needed? Been a while since I actually noticed when it became available. Anyways, I reached CGL 5 in my latest session, so I should find out pretty soon. I should also do the Skyrider mission soon, I think they are carrying some stuff worth the effort.
Oh, I'm looking forward to the HK mission as well, those guys are carrying some nice weapon attachments, not to mention all the ammo I'm in desperate need of. But I need to complete the Billy-Bob missions before it gets available, or is it reaching CGL 6 that is needed? Been a while since I actually noticed when it became available. Anyways, I reached CGL 5 in my latest session, so I should find out pretty soon. I should also do the Skyrider mission soon, I think they are carrying some stuff worth the effort.
dextermorgan
Arcane
Bump for moar gun pr0n.
Cookie Eating Huskarl
Educated
- Joined
- Jul 18, 2012
- Messages
- 49
Doing my due for more gun porn. Bump.
R@S
Scholar
- Joined
- Jun 30, 2012
- Messages
- 179
Using the boring JA2 tactic where you line up your mercs and shoot anything that gets within range is, well, boring, especially since this game is all about tactics. It's one of the reasons I gave the enemies so many grenades, it will make that JA2 tactic very dangerous. You need to get some depth in your lines to survive an enemy advance, some mobility and flanking never hurts either. How to use a sniper "correctly" will be shown in the next session, which I've just finished writing. I'll post it tonight when I get home from work, if...
BUMP!
BUMP!
dextermorgan
Arcane
I approve of this gameplay style, ergo bump.
D_F_N
Novice
- Joined
- Jun 30, 2012
- Messages
- 29
R@S
Scholar
- Joined
- Jun 30, 2012
- Messages
- 179
That's the thing about tactics, sometimes it works, sometimes not. Try to learn from when they didn't and figure out why. It's often the small details, like merc position or stats, that is the difference between success and failure. Since I've played this game a lot, I know the maps very well, I know what spots are likely to protect my mercs or keep them hidden. The enemy AI is not very good, but not as bad as in other similar games, and knowing how they'll react to your actions is also a part of it.
Having a good understanding of how time works in this game is also important, which actions should be avoided when and so forth. Finally, picking the right target is what I think is the most important factor. When faced with 5 enemies, taking out the one carrying the most deadly weapon first is a no brainer, but ignoring enemies that are doing things that takes a lot of time and can't get a shot off quickly is equally important. You might have noticed that I often run past some enemies in the above sessions and let the guys in the rear take care of them, that's something that many players never realize as an important thing, so you have now officially been notified :D
Only 3 more post until the next page, so I'll have my dinner and then we'll see if it's time to post the next session.
Cookie Eating Huskarl
Educated
- Joined
- Jul 18, 2012
- Messages
- 49
I definitely would like a tutorial in tactics for my own playthrough of 2.0. BUMP
IceShade
Novice
- Joined
- Jul 6, 2012
- Messages
- 23
I'm currently doing a solo-campaign, and while it's more hectic and dangerous .. it's a different kind of fun. In missions where you are up against many many enemies in broad daylight, there aren't many tactics to use, which is not as much fun. It usually comes down to picking a well covered location, poking out, shooting some, and then go after the rest when the danger is over. It's only going to get worse when the enemies with their hive-mind and tendency to just rush up on your position get heavier weapons with longer range and more gadgets and armour, etc. To remedy that I keep the CGL around lvl 5, so I still have some fun.
Solo only really works well when it's dark, or even night. Suppressors, fast firing submachineguns that don't make too much noise.. Those things are great. That's where you can mislead your enemies and come up behind them. At one point I had enemies to my left, enemies to my right, and I ran through the middle of them. It was fun to see them shoot each other by accident. It's definitely a completely different game where you can't lay down a base of fire with a machinegun, have people on the flanks and a medic on stand-by.
Solo only really works well when it's dark, or even night. Suppressors, fast firing submachineguns that don't make too much noise.. Those things are great. That's where you can mislead your enemies and come up behind them. At one point I had enemies to my left, enemies to my right, and I ran through the middle of them. It was fun to see them shoot each other by accident. It's definitely a completely different game where you can't lay down a base of fire with a machinegun, have people on the flanks and a medic on stand-by.


As an Amazon Associate, rpgcodex.net earns from qualifying purchases.