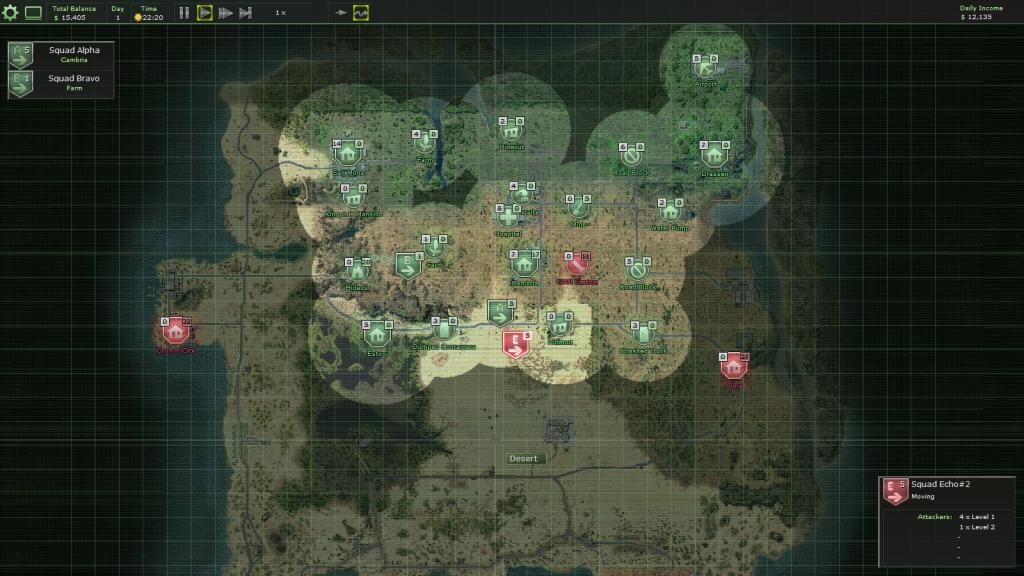
5) Hicks Farm, Rebel Hideout, San Mona, Greenhouse Farm
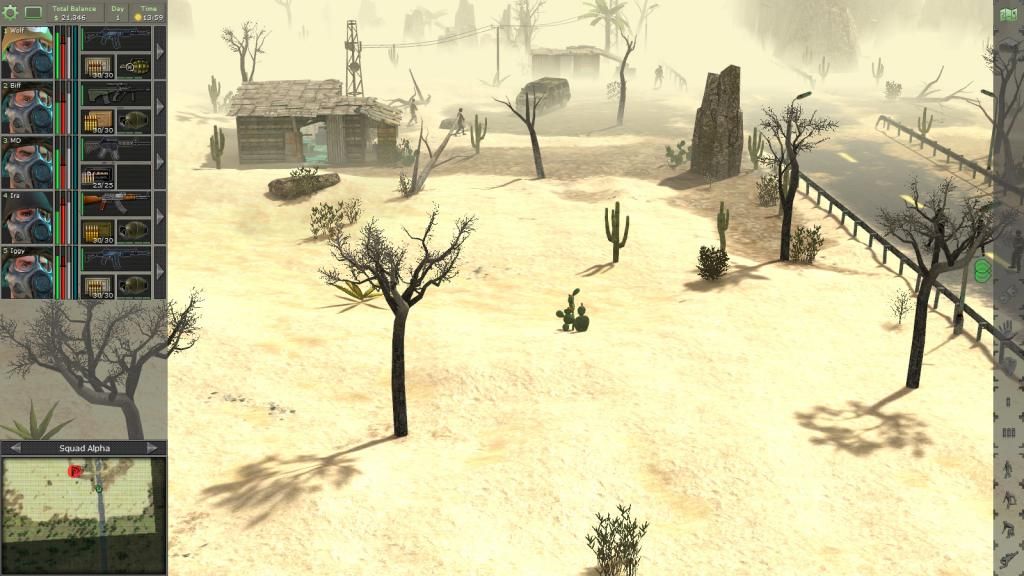
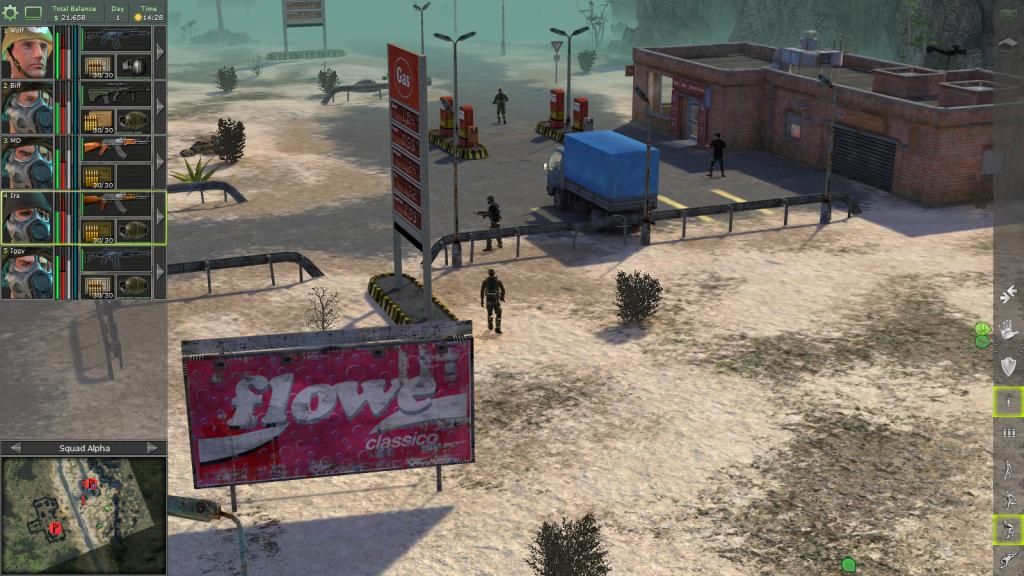
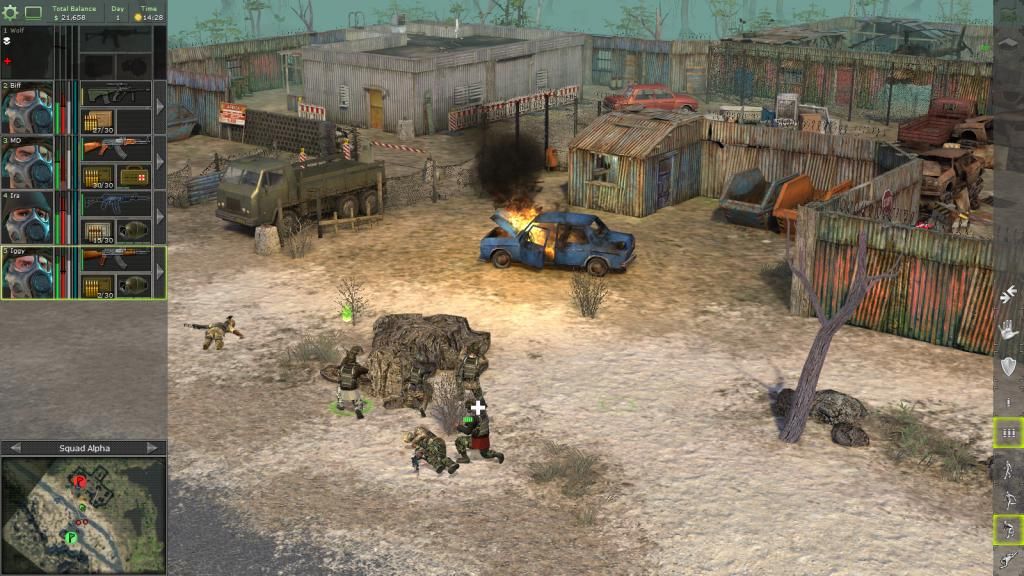
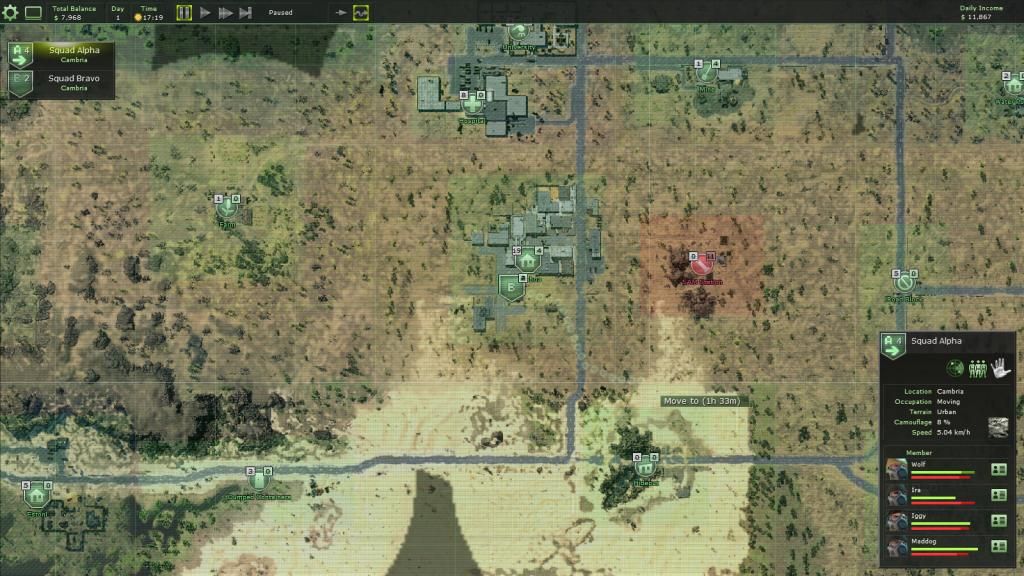
On our way to the rebel hideout to the west, we attack the Hicks farm, 17 level 2 should be easy.
Day 1 0742
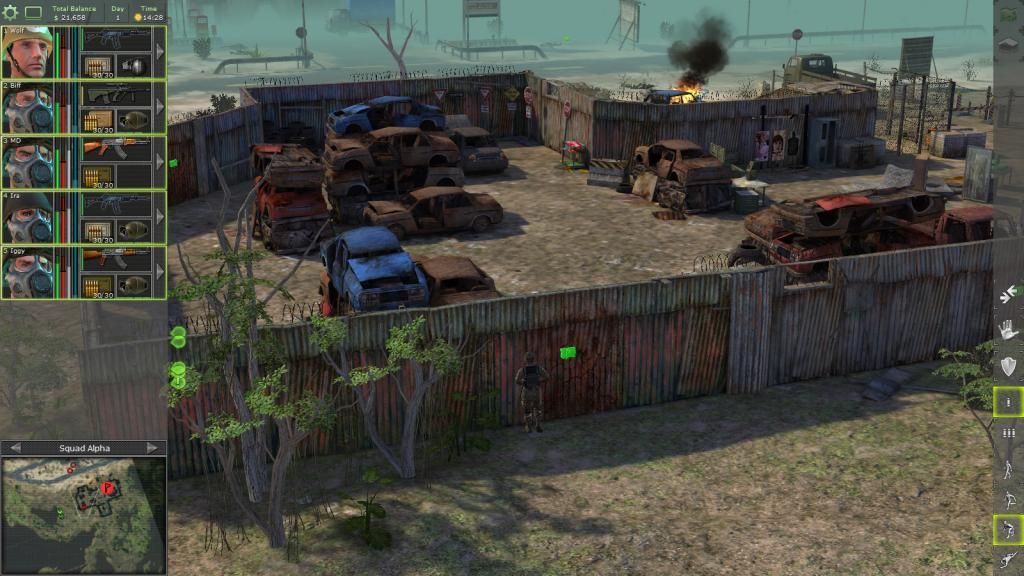
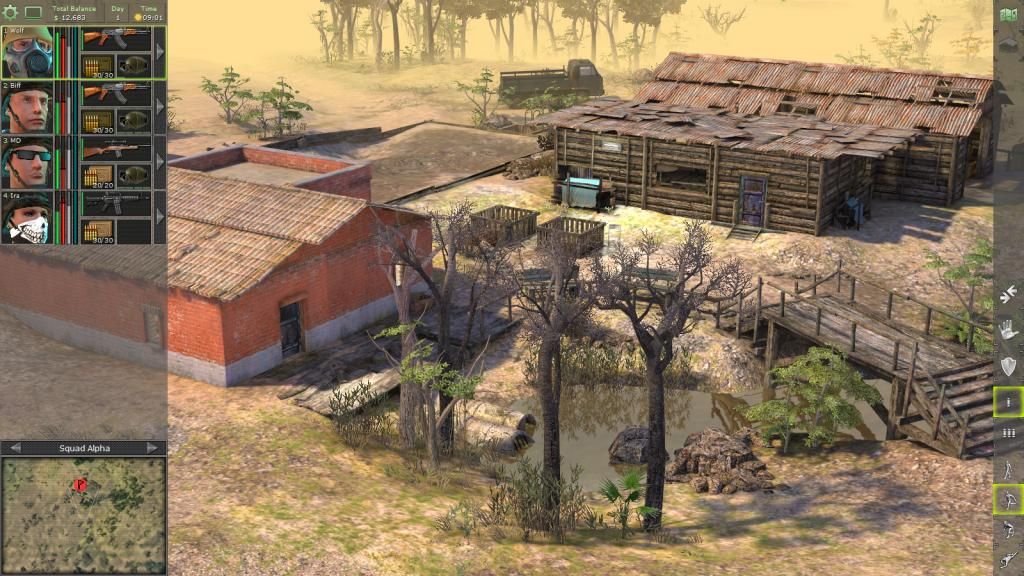
Hicks Farm
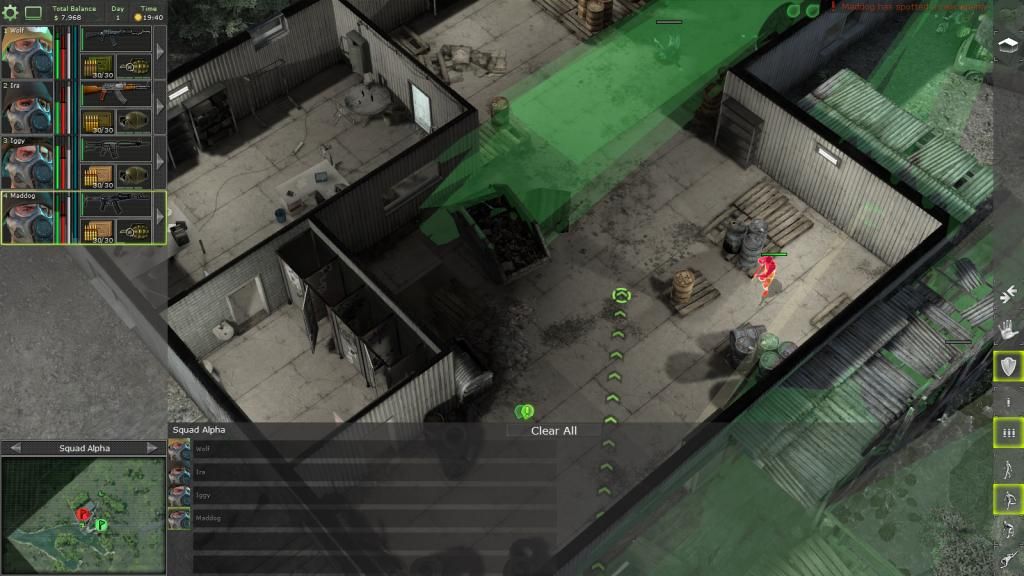
They have a bunker in the orange house.
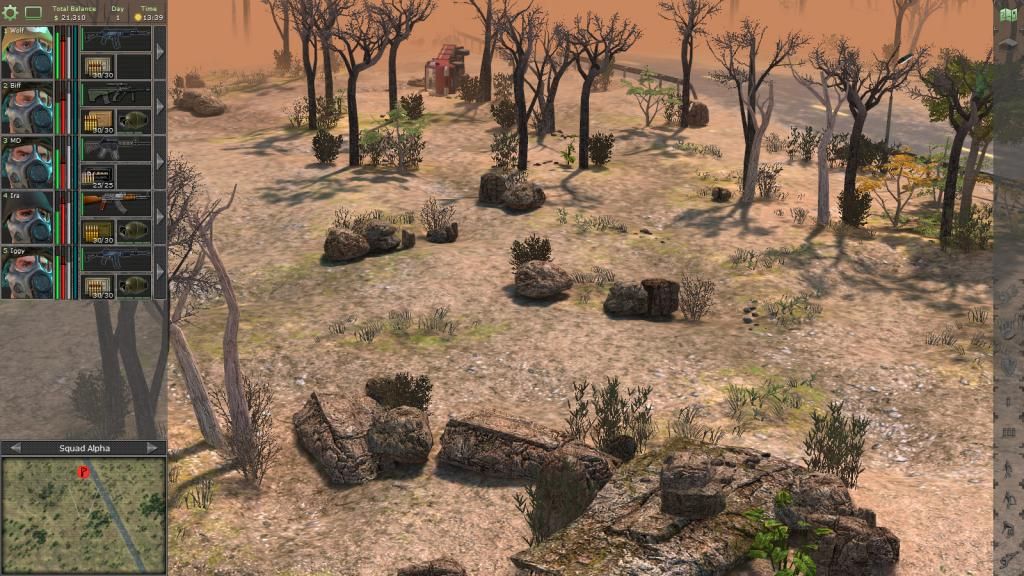
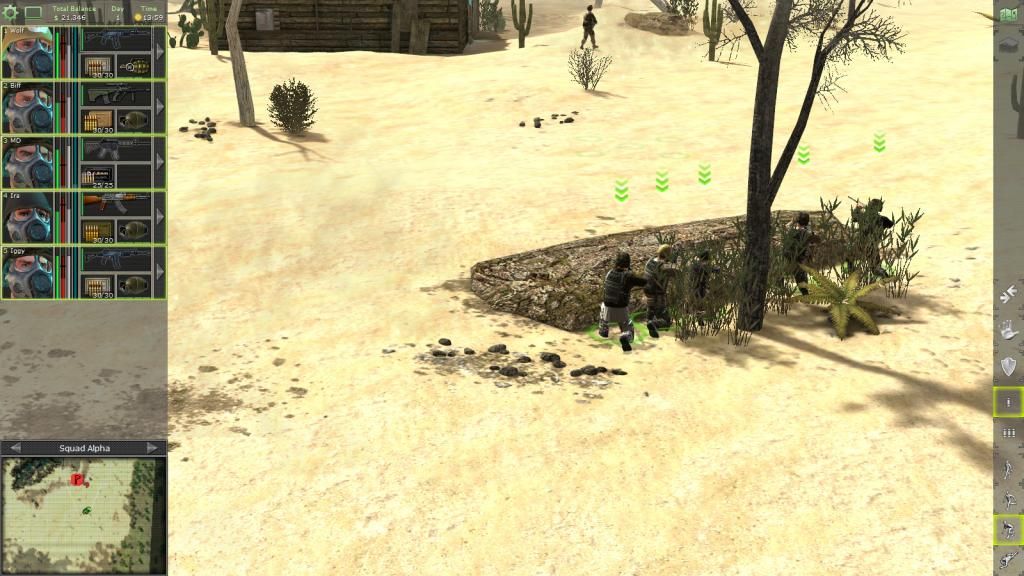
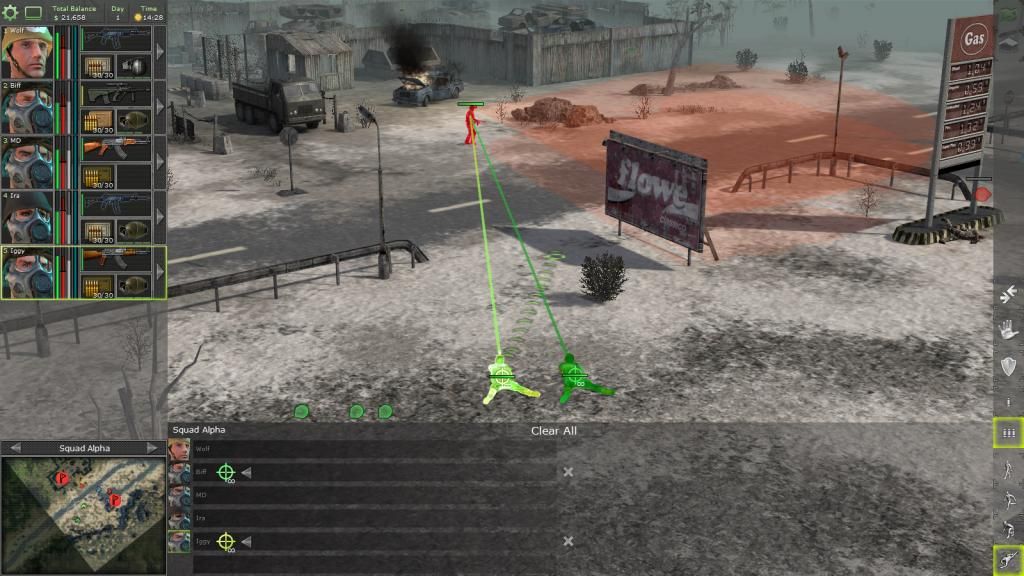
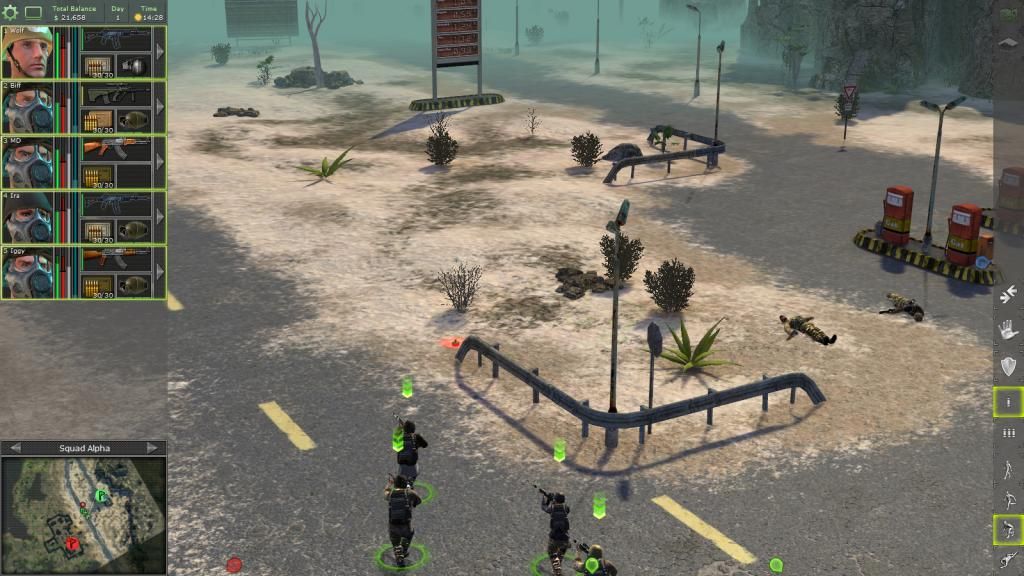
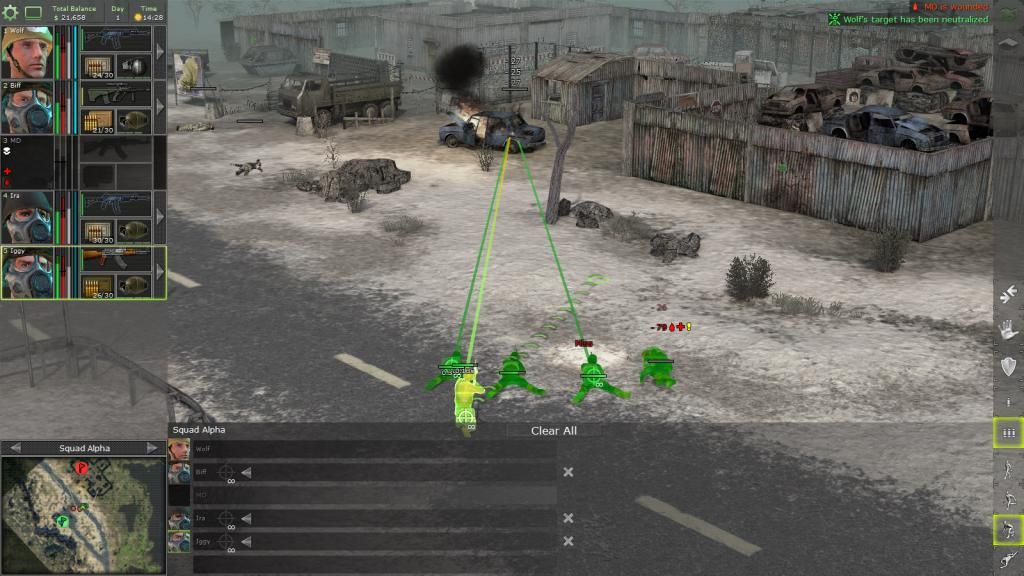
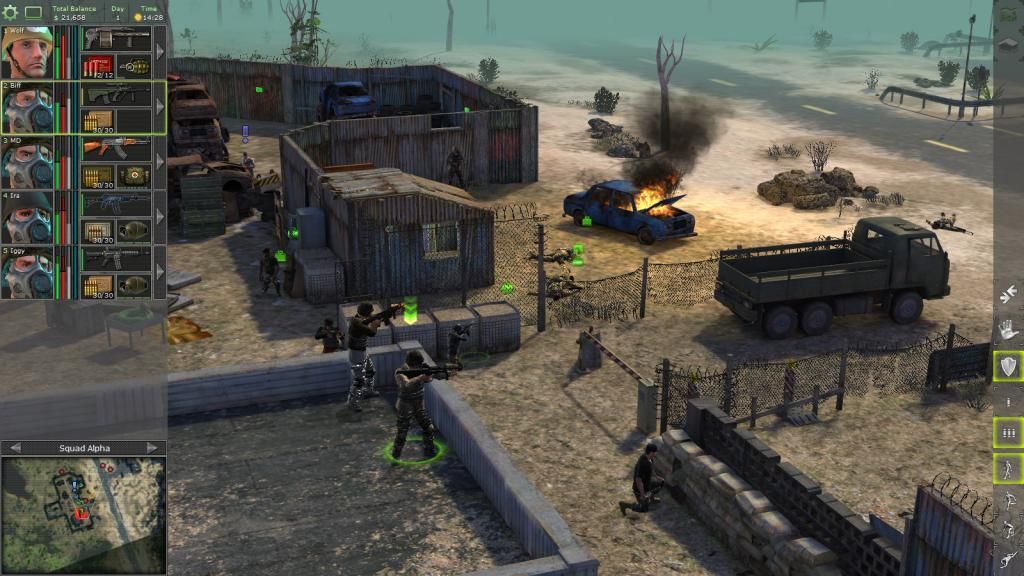
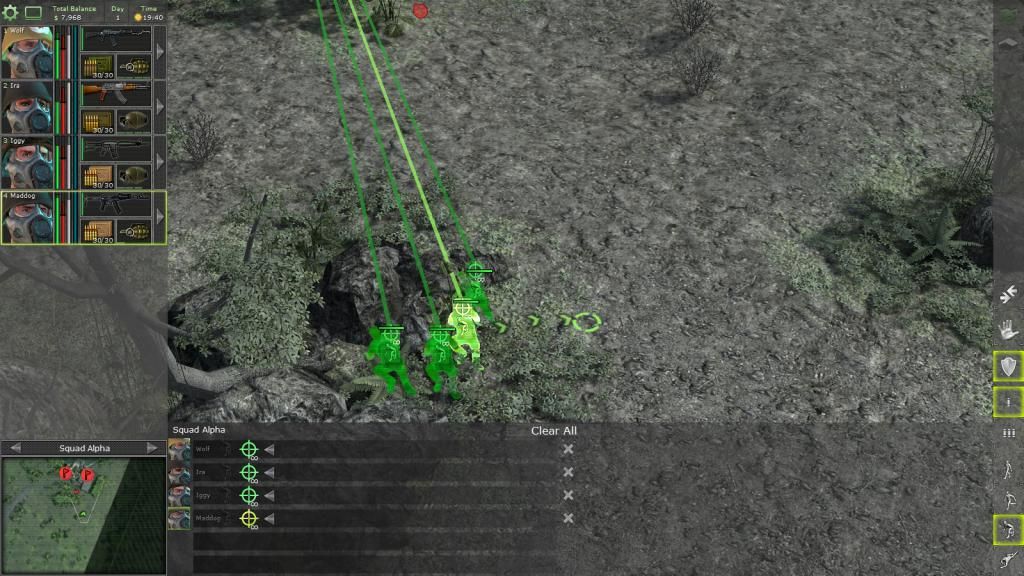
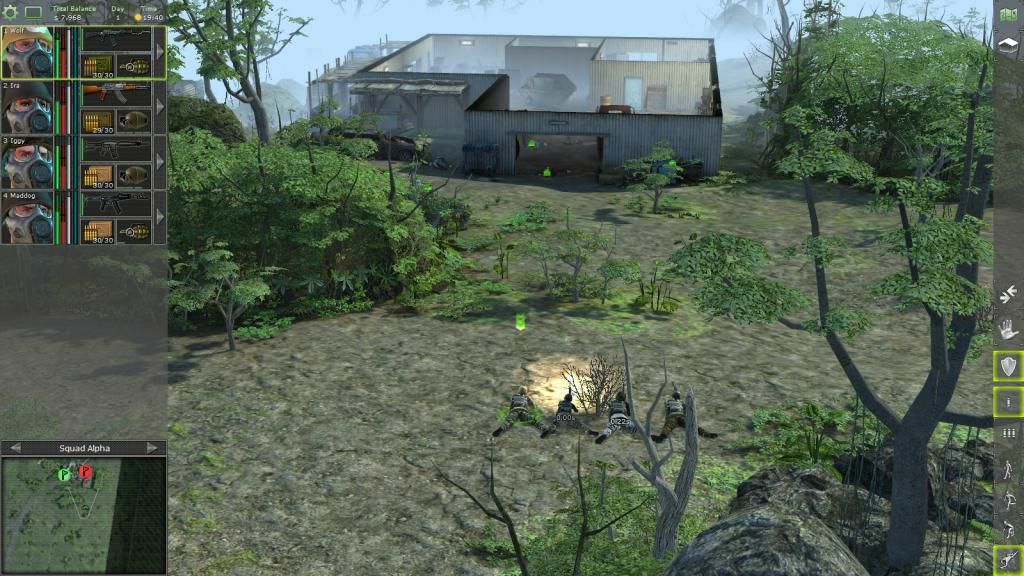
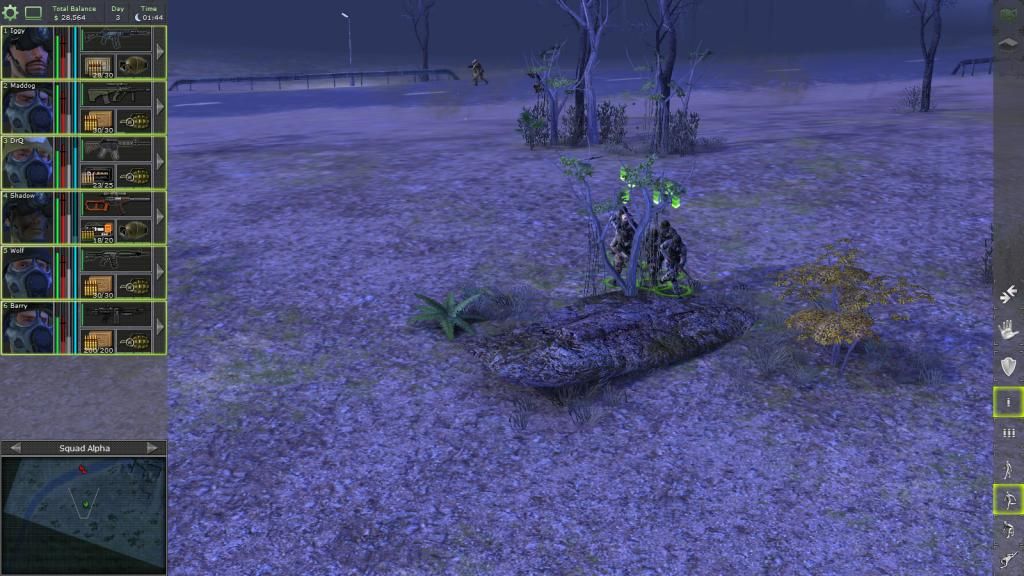
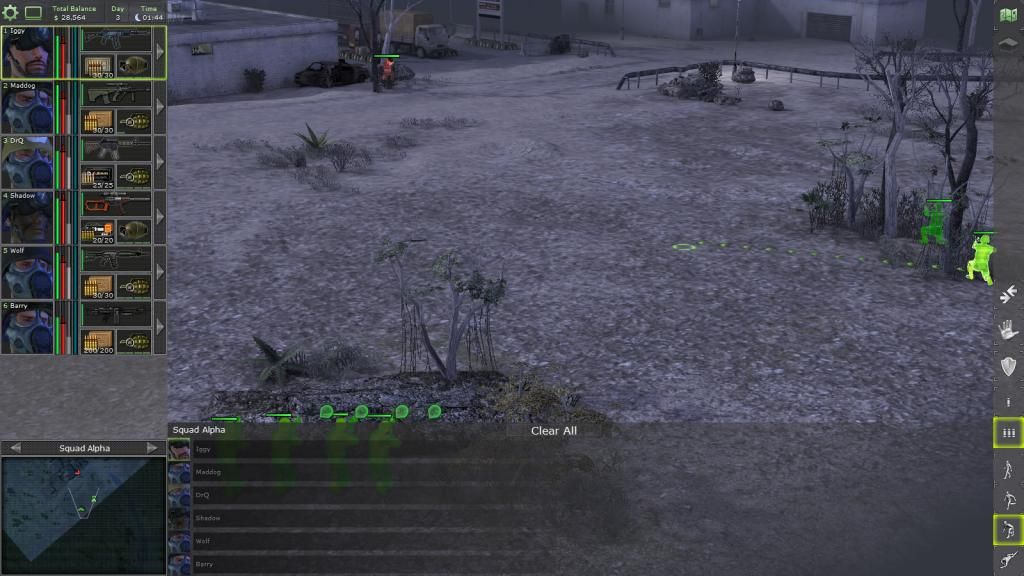
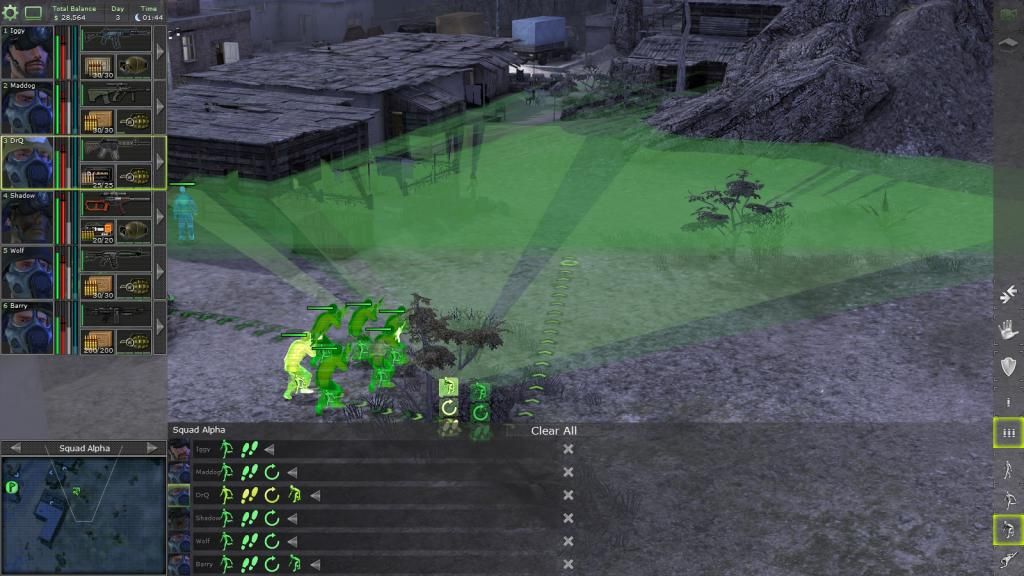
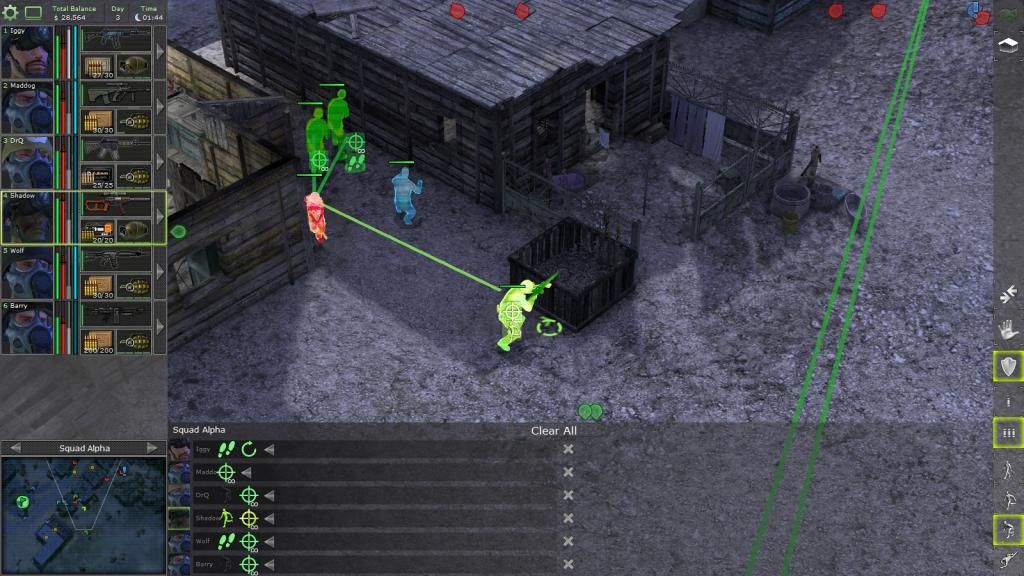
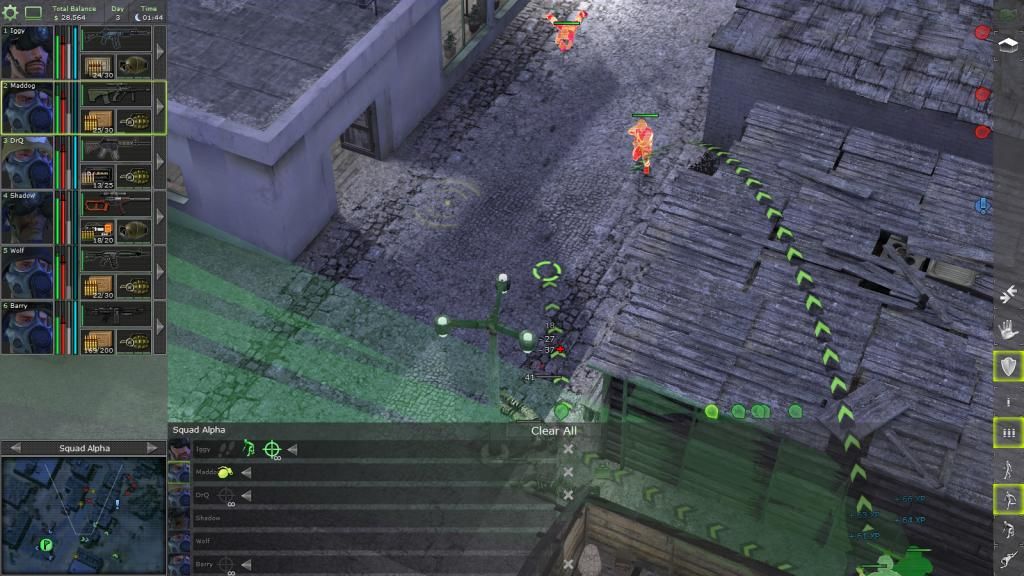
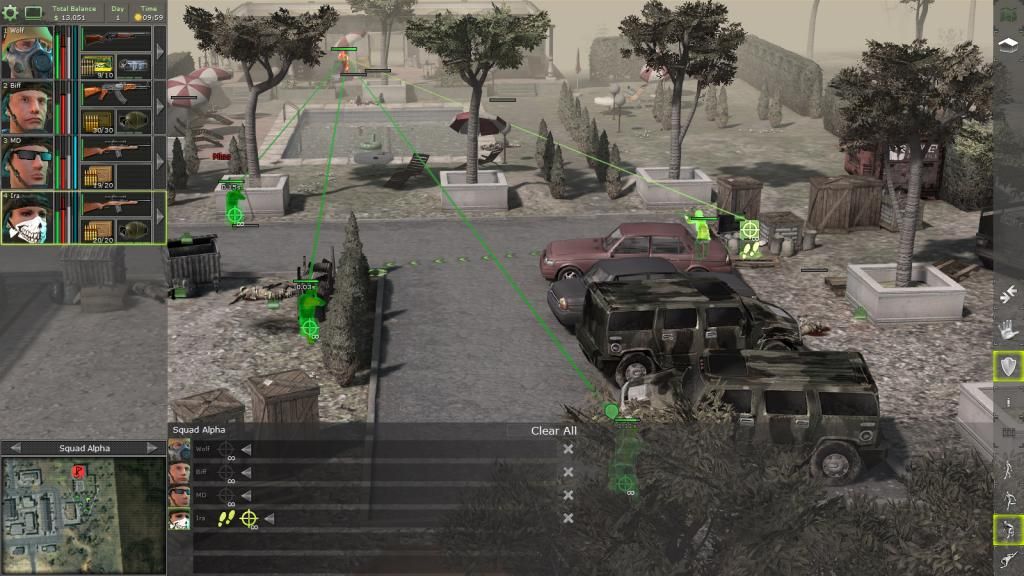
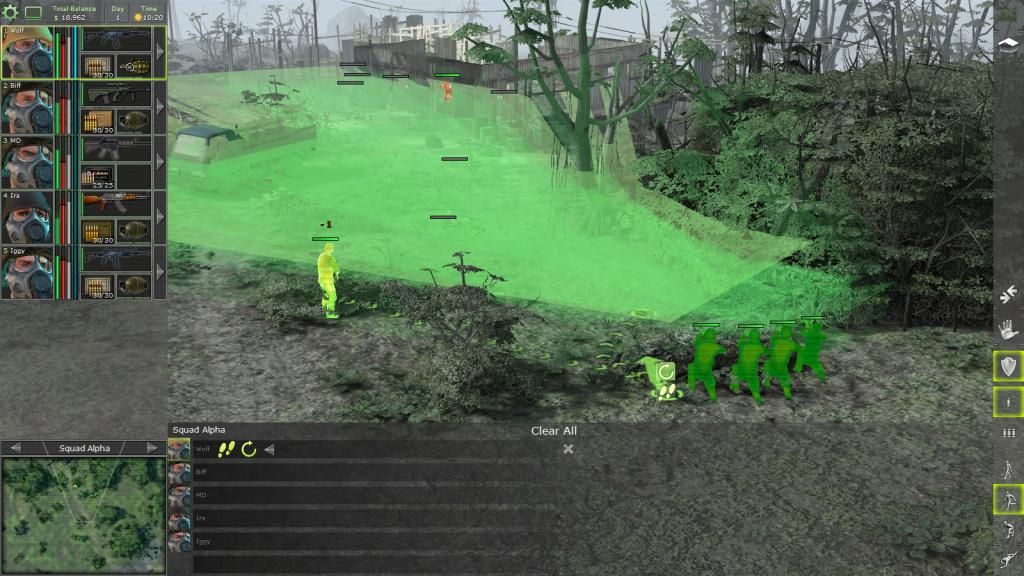
SOP is to find some rocks and start shooting.
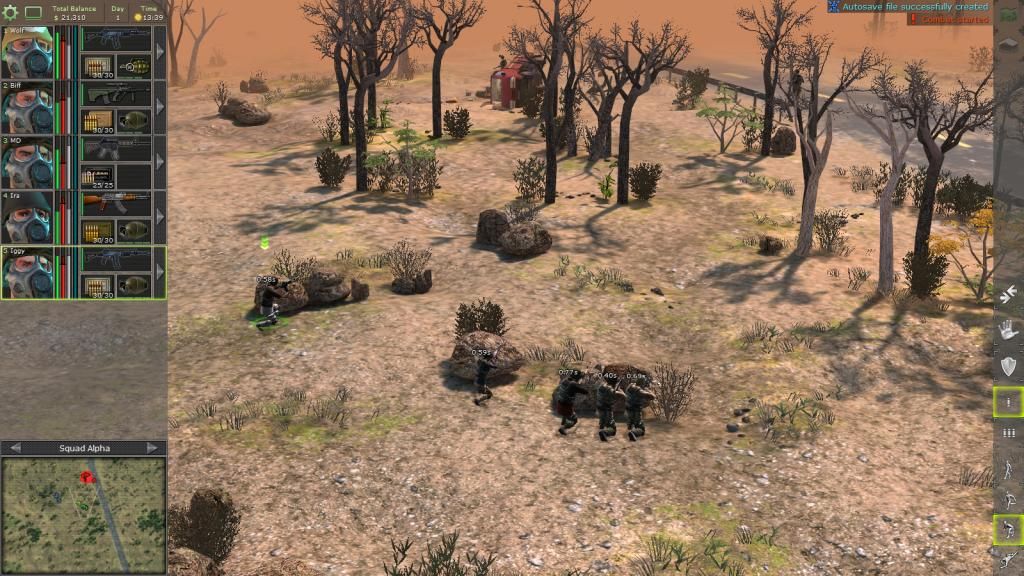
Move to another bunch of rocks...
... start shooting.
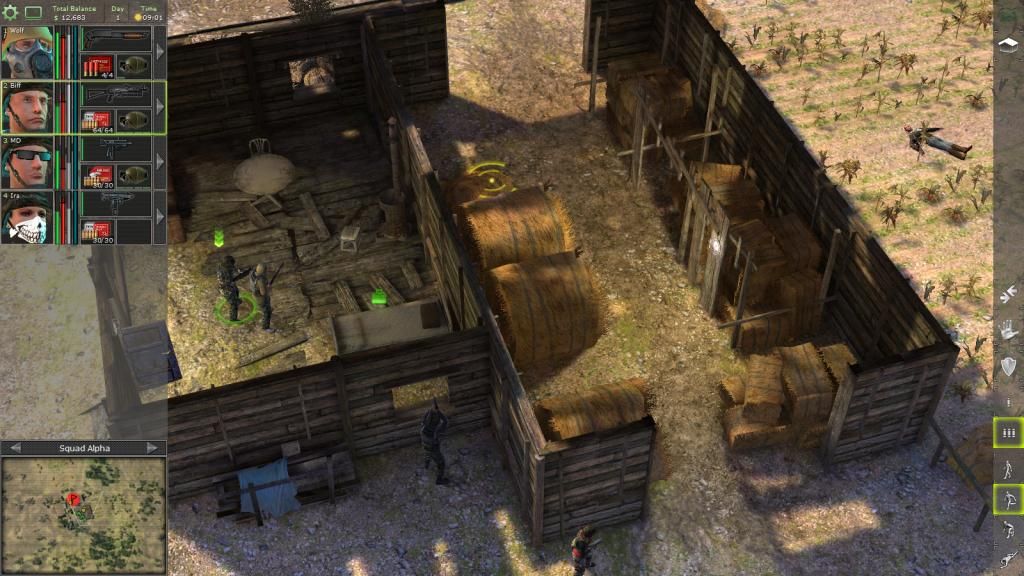
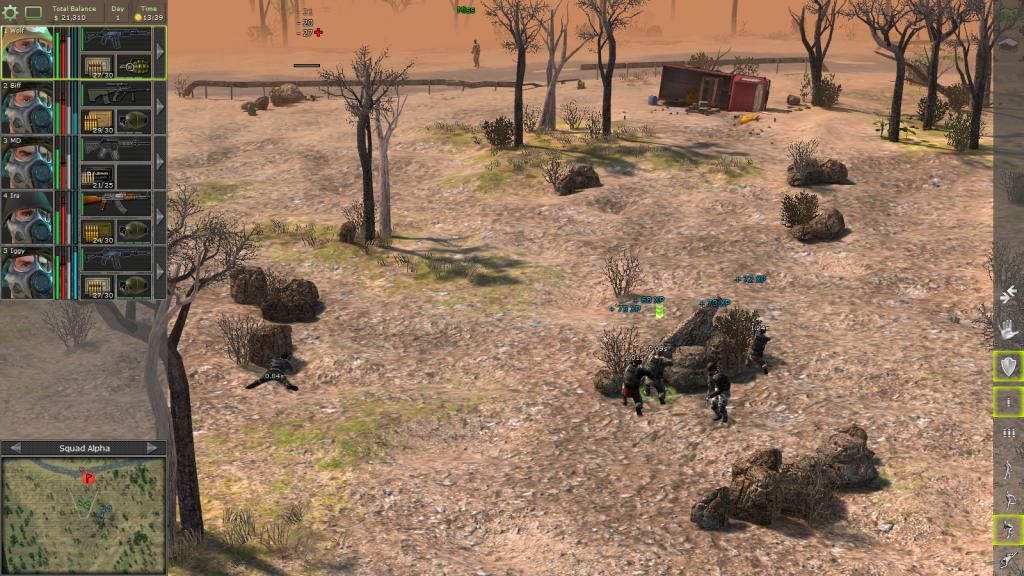
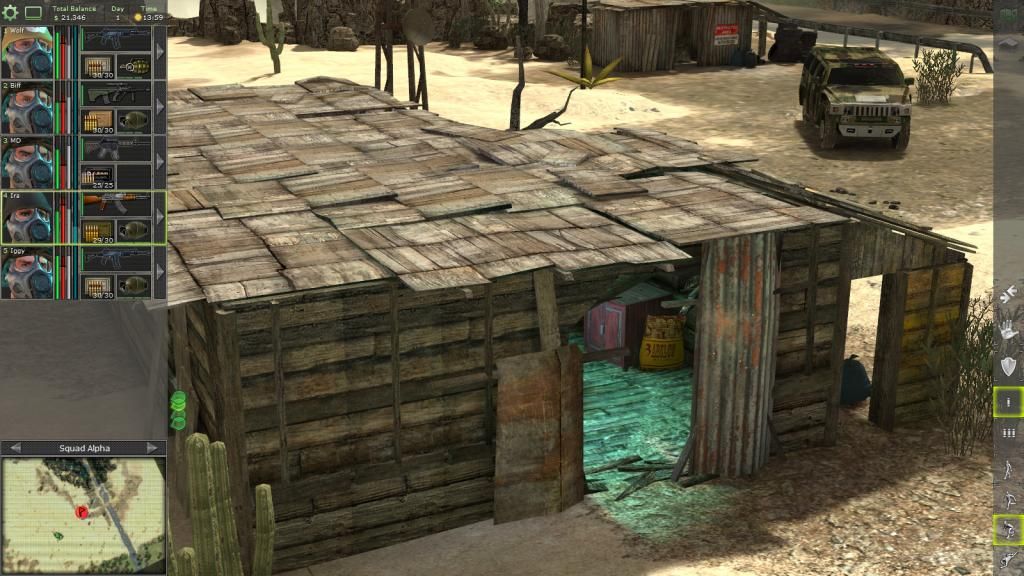
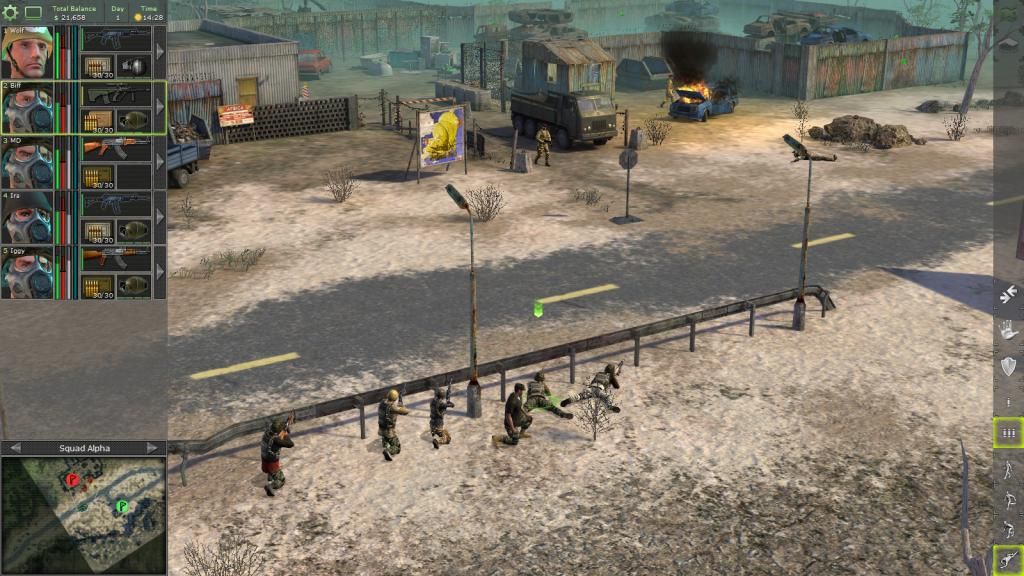
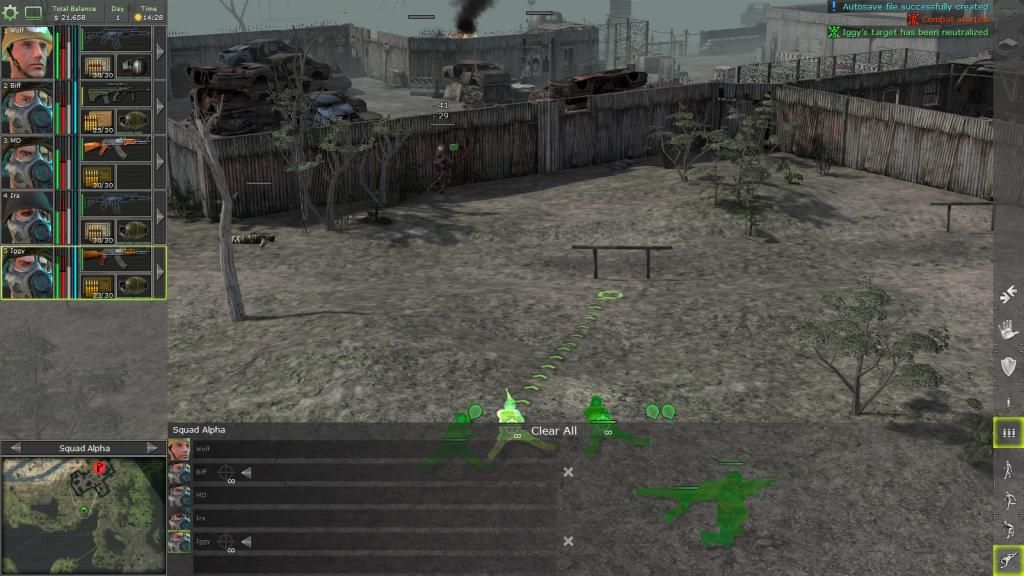
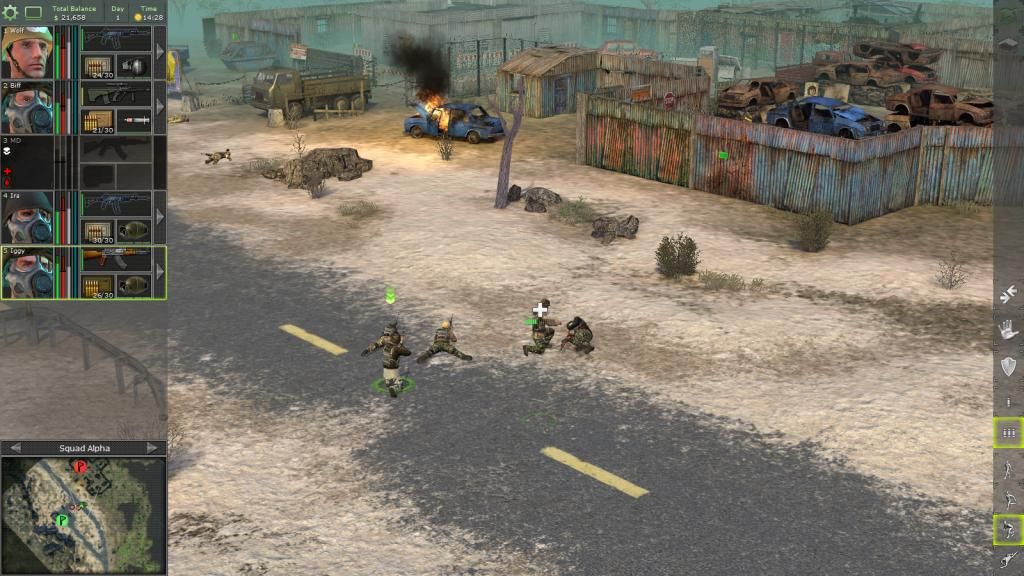
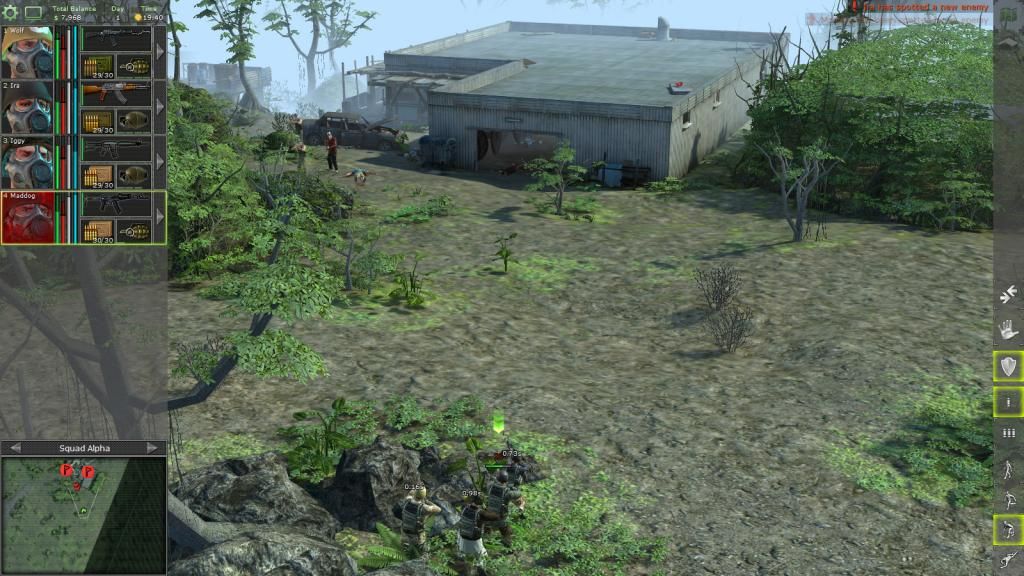
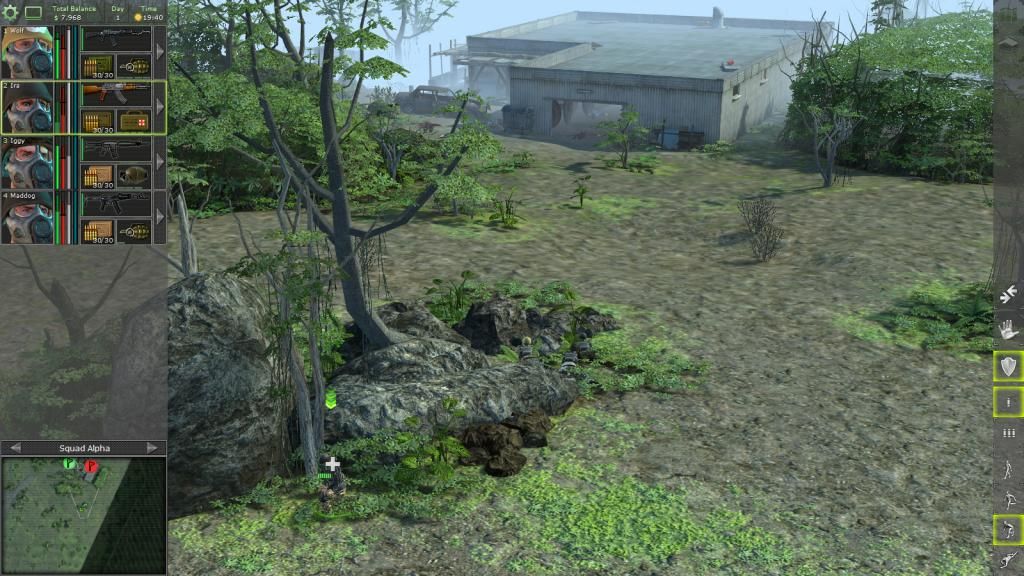
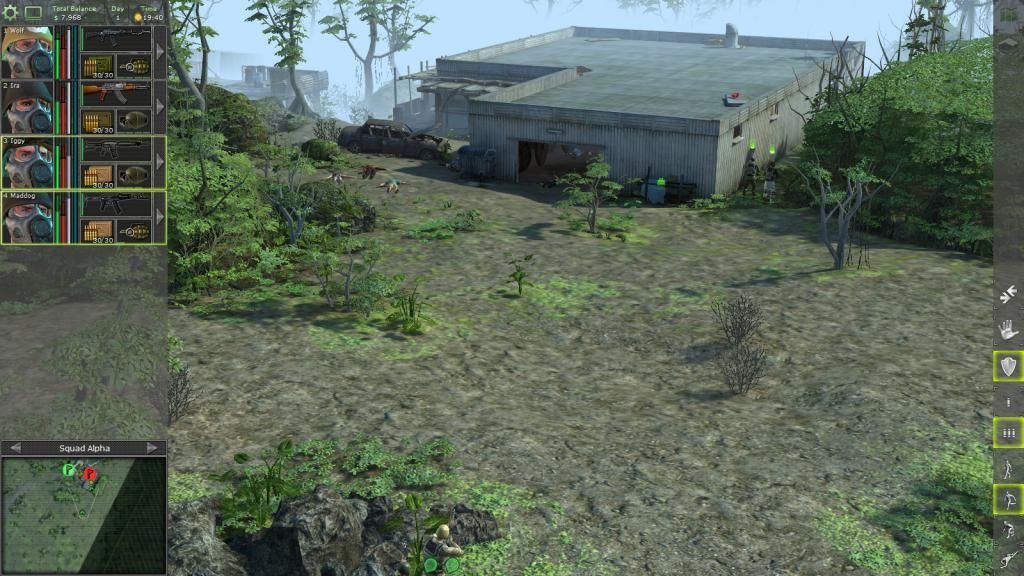
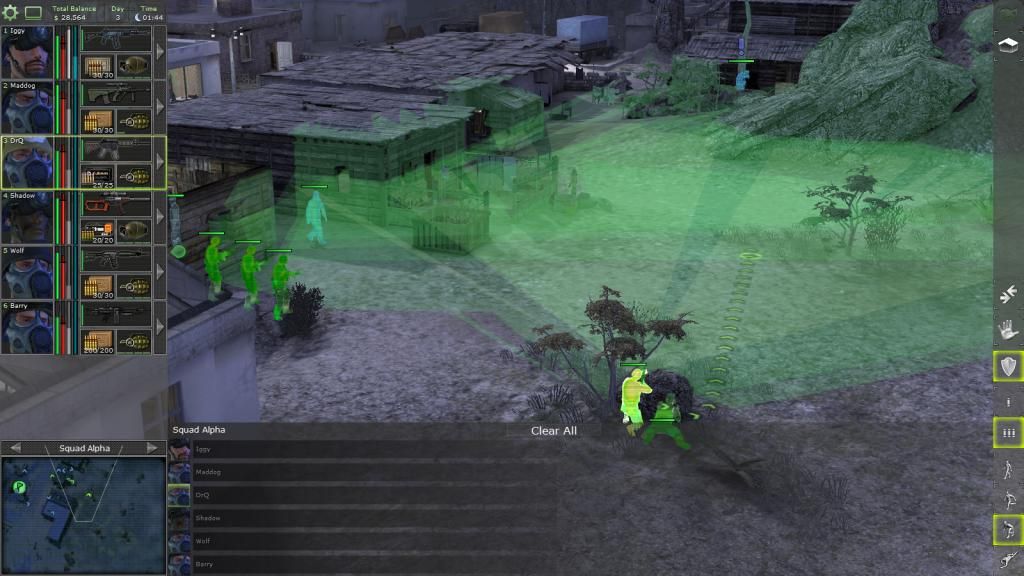
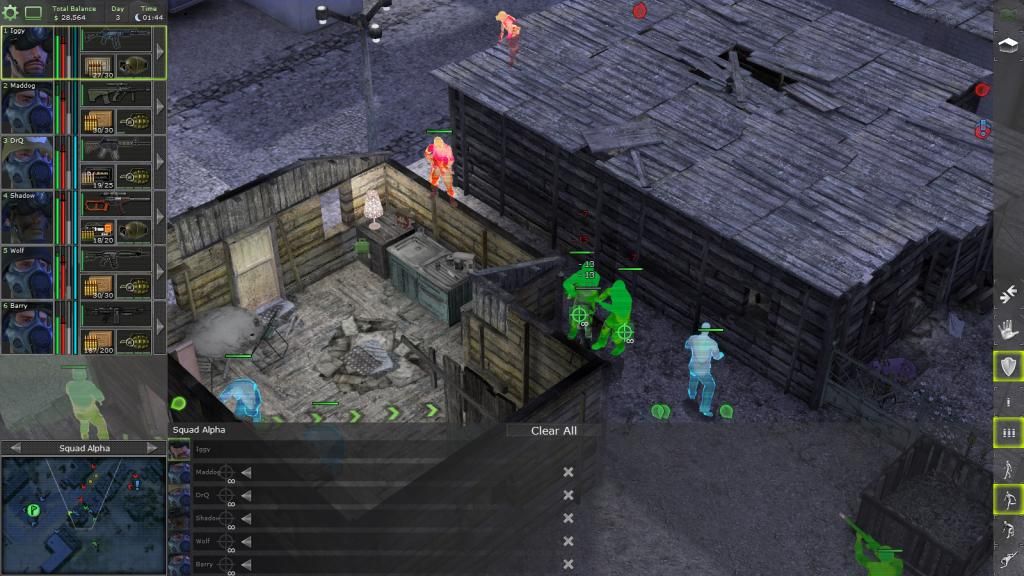
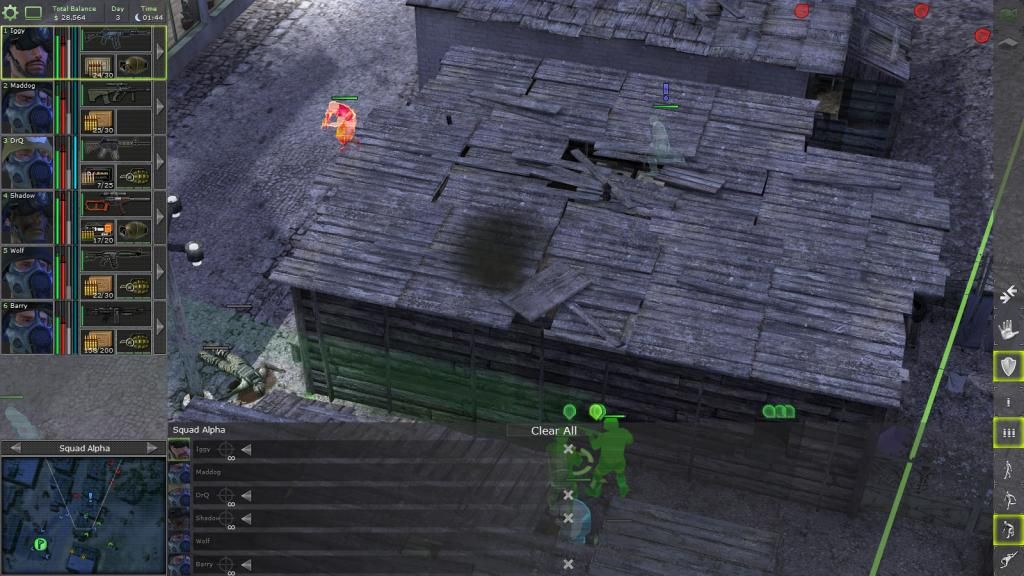
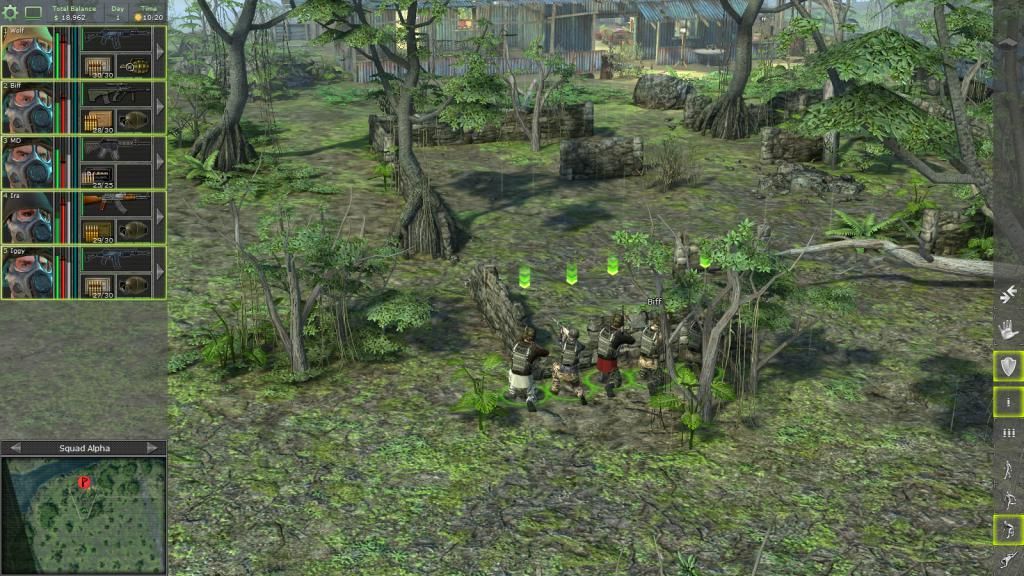
Switch to smgs and advance and clear barn.
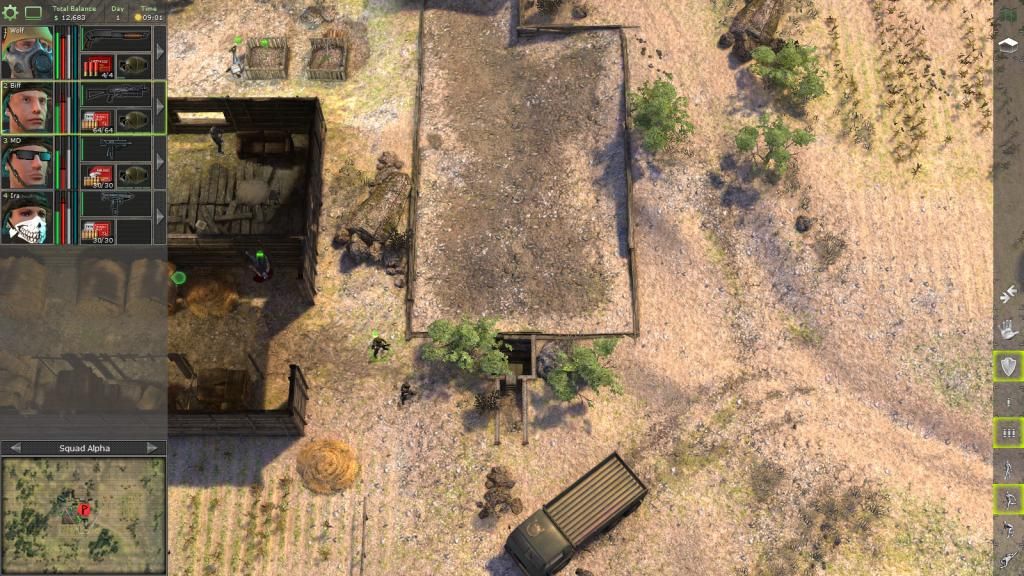
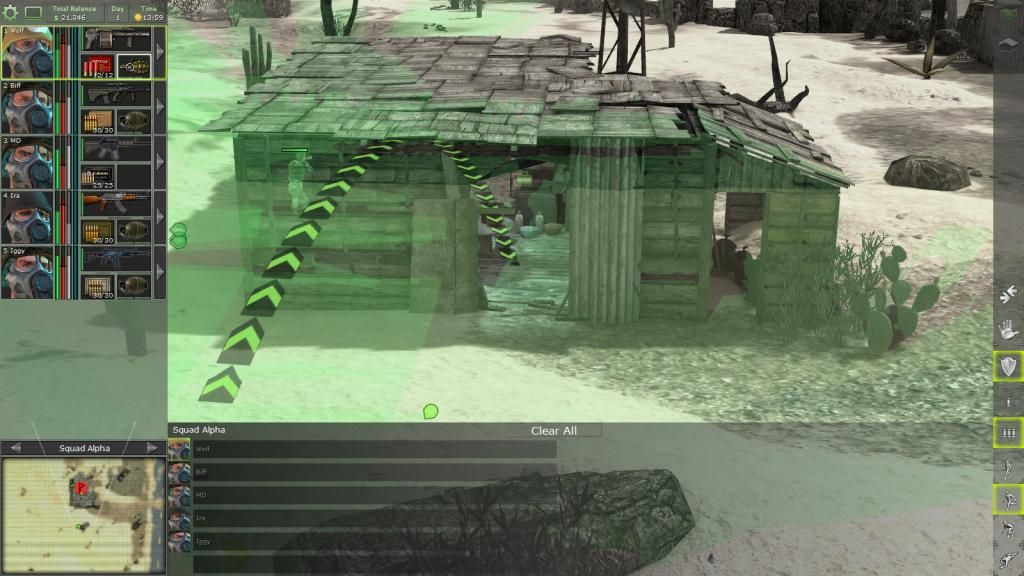
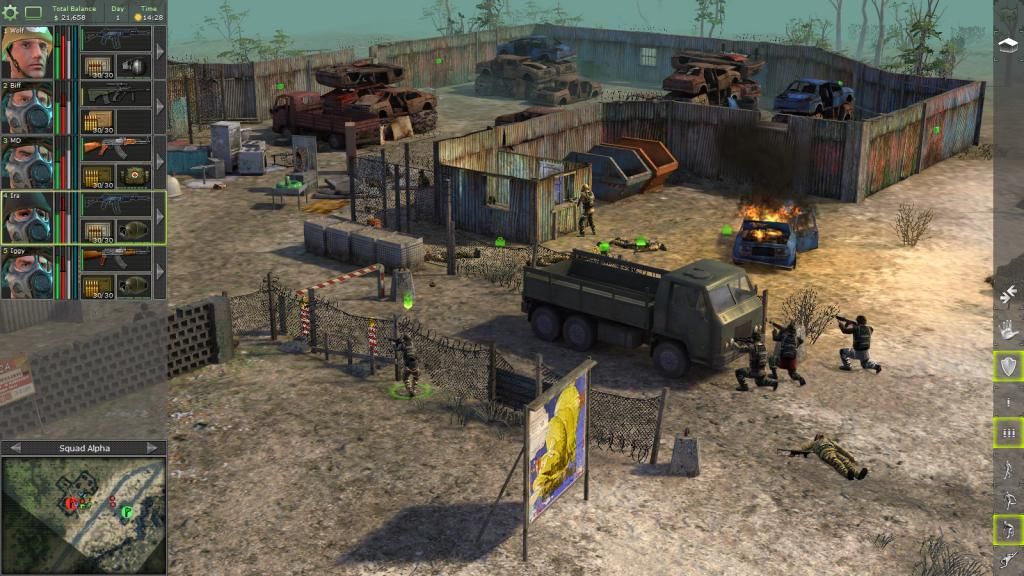
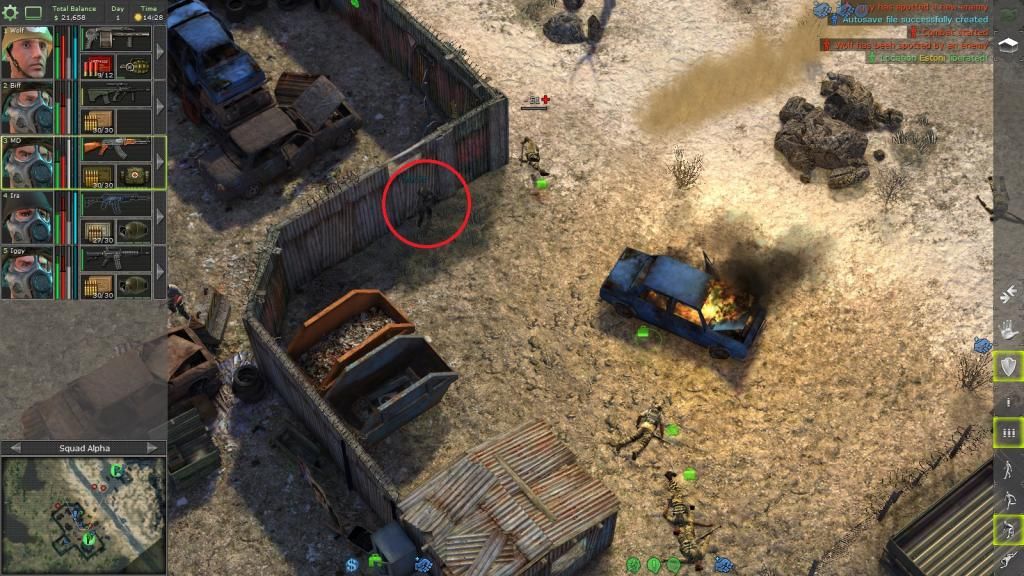
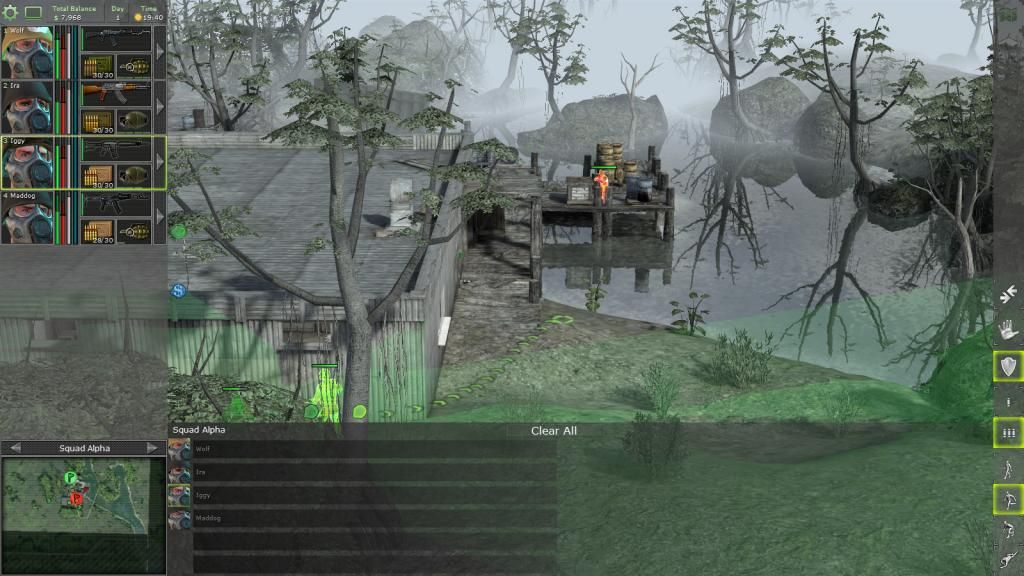
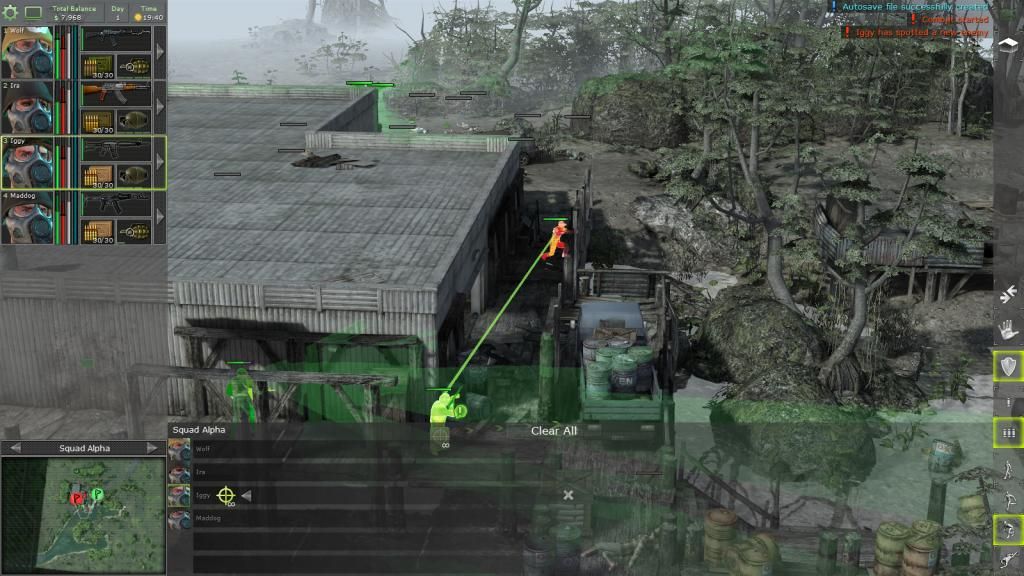
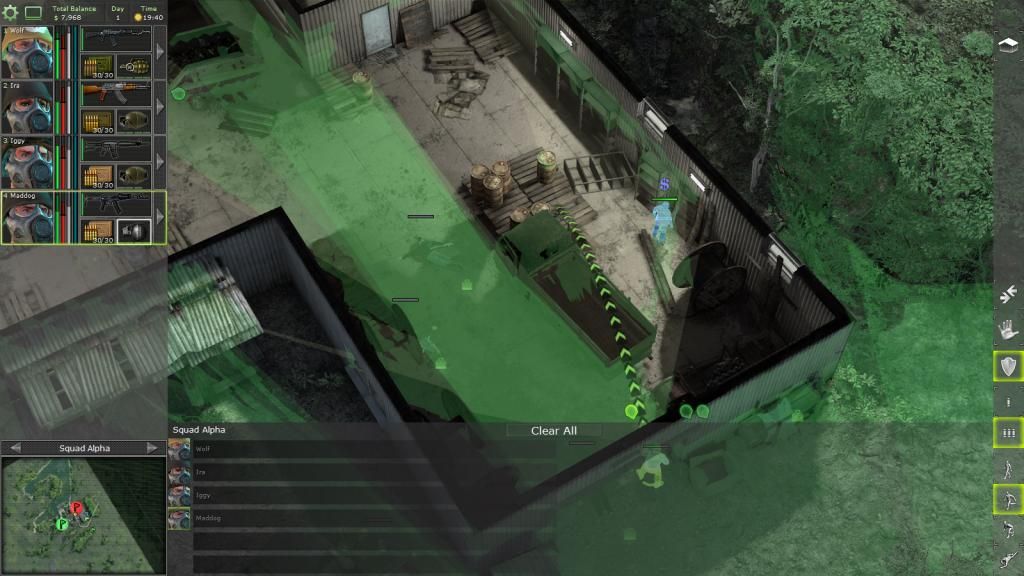
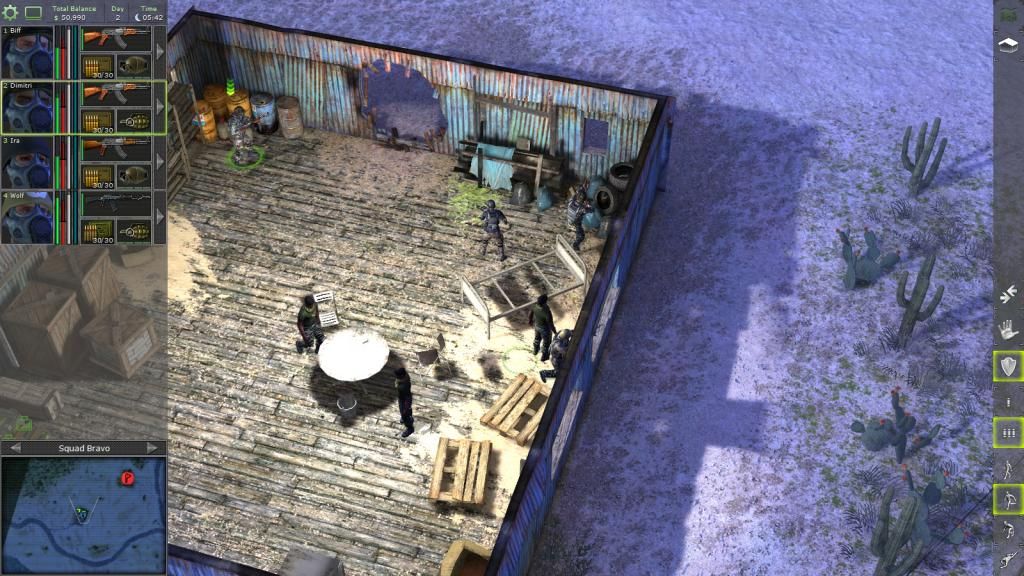
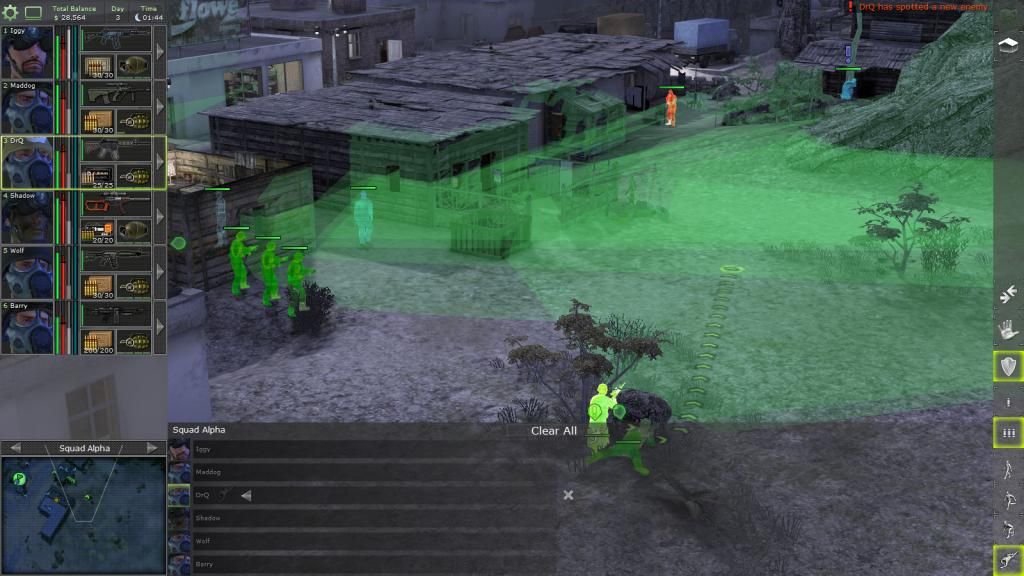
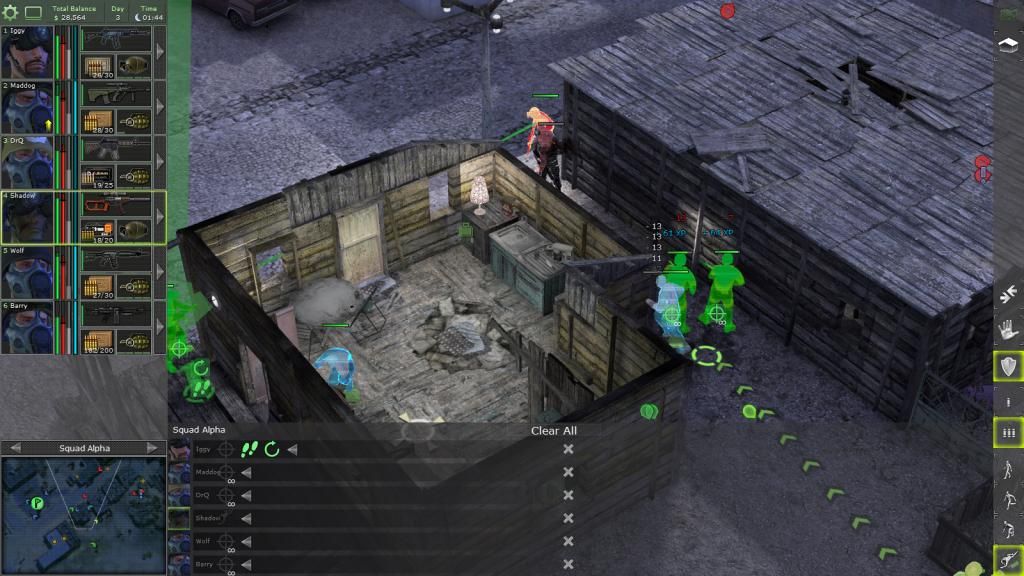
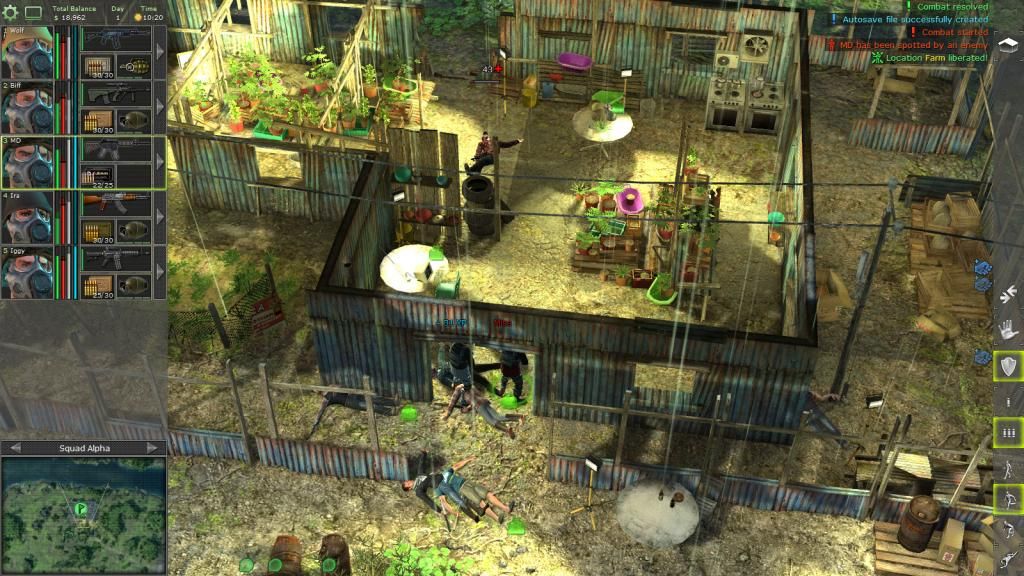
This ladder leads to the bunker, we tossed a grenade down but it didn't seem to do anything. Climbing down here will be suicide.
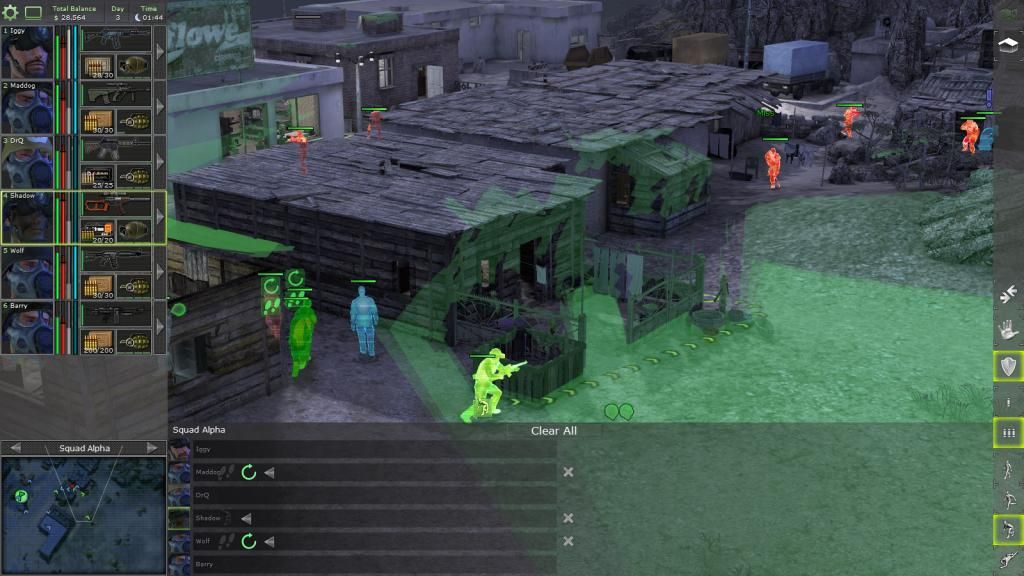
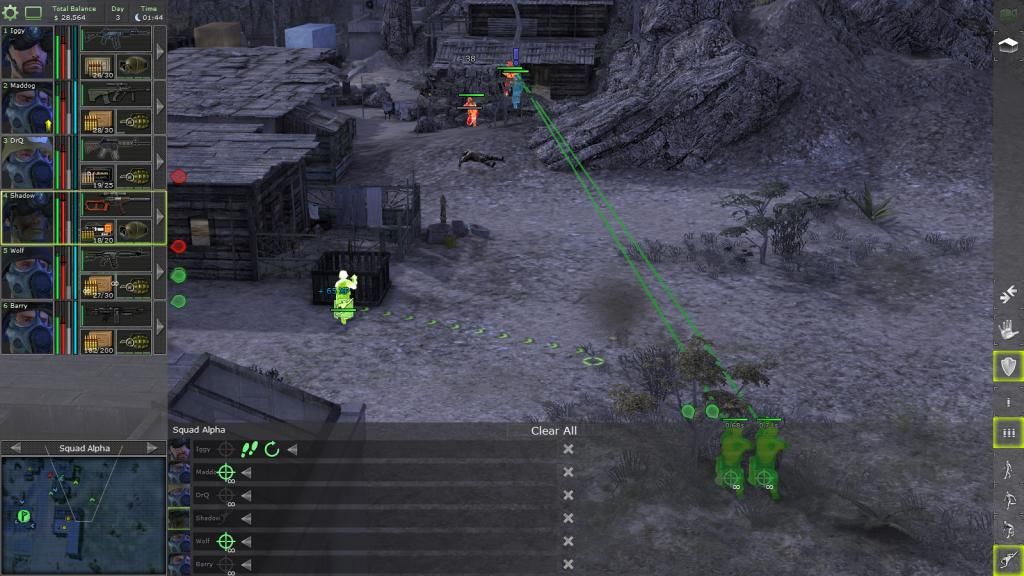
Instead we enter through the house, got some injuries as they have the superior cover.
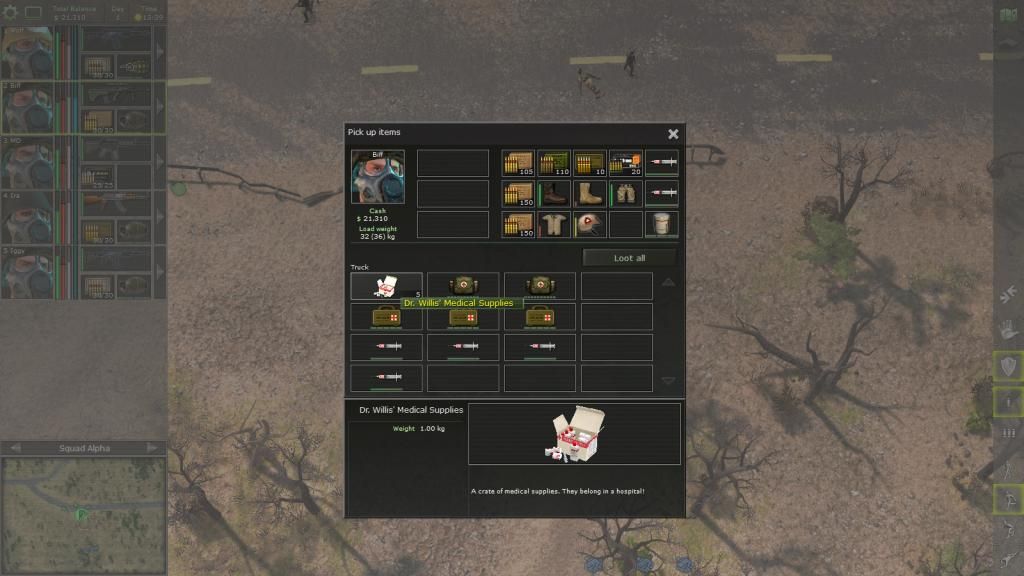
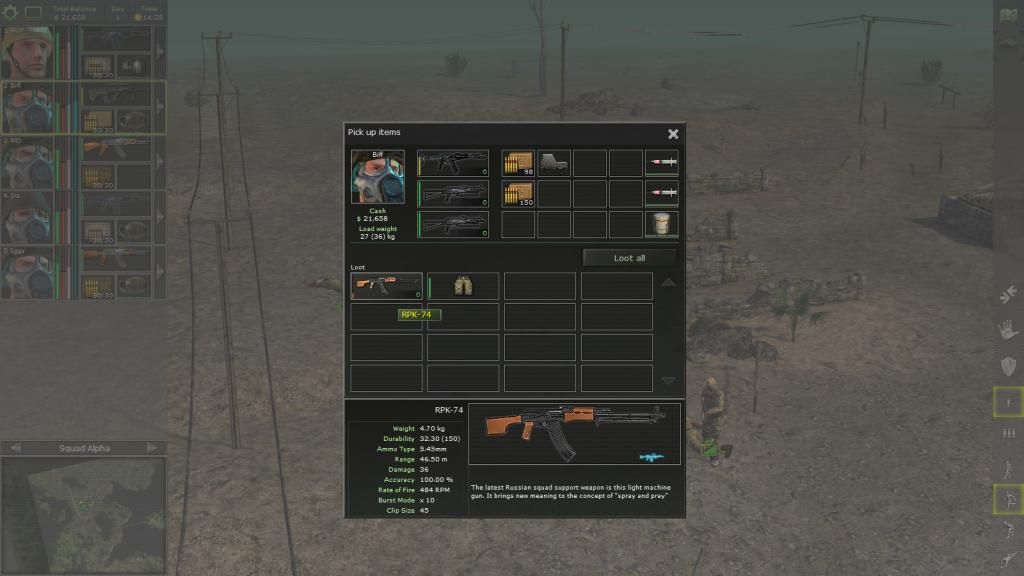
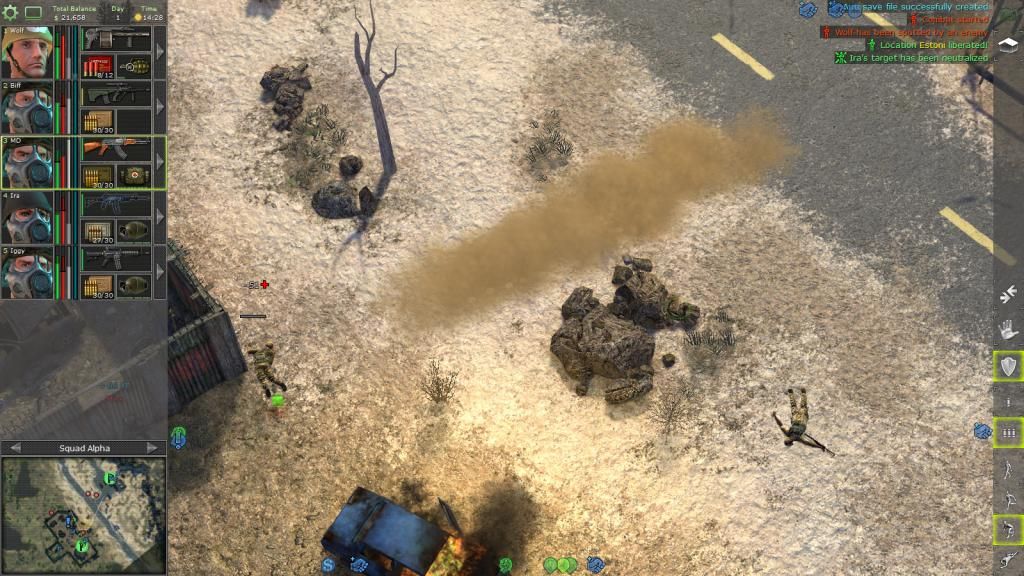
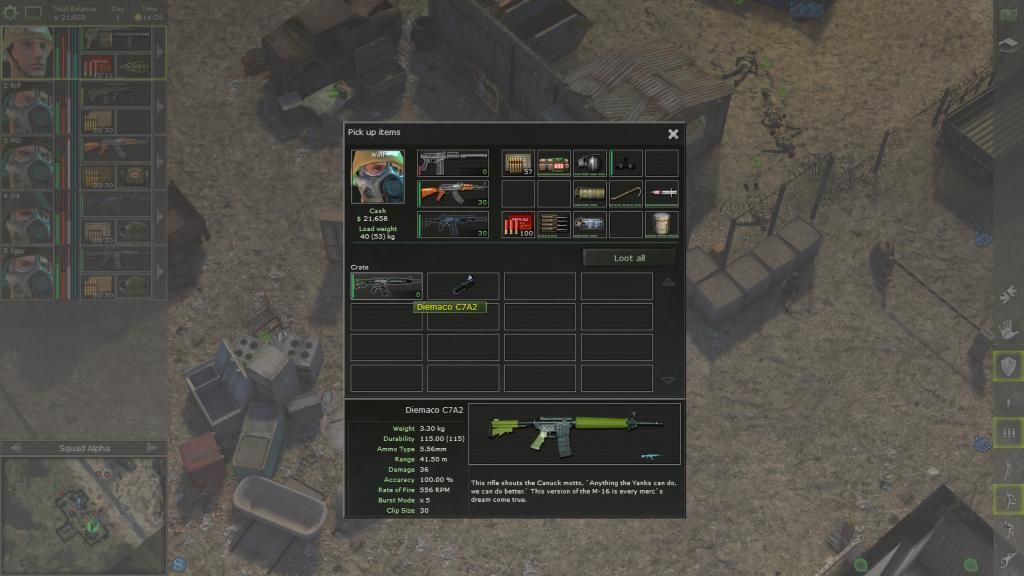
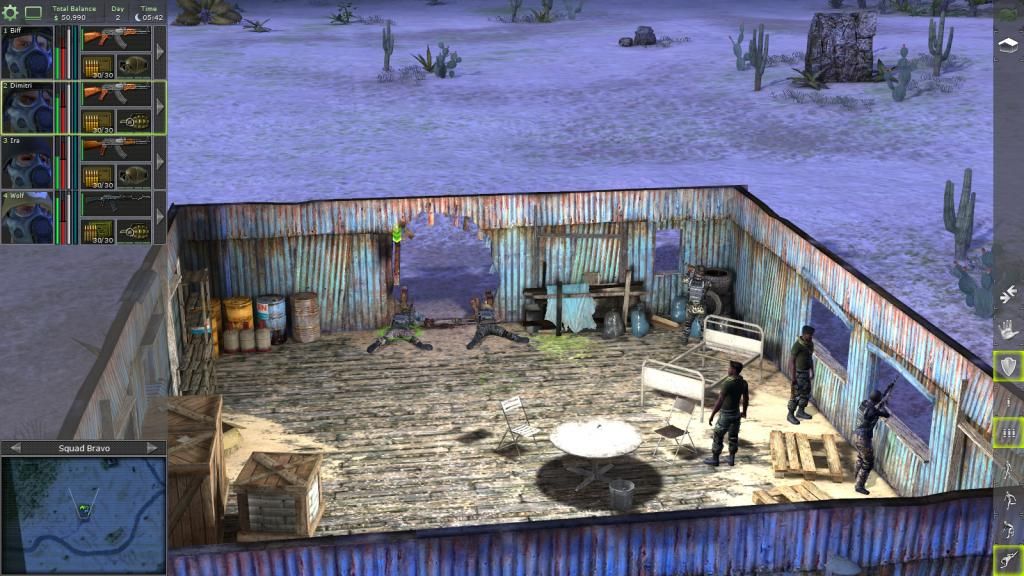
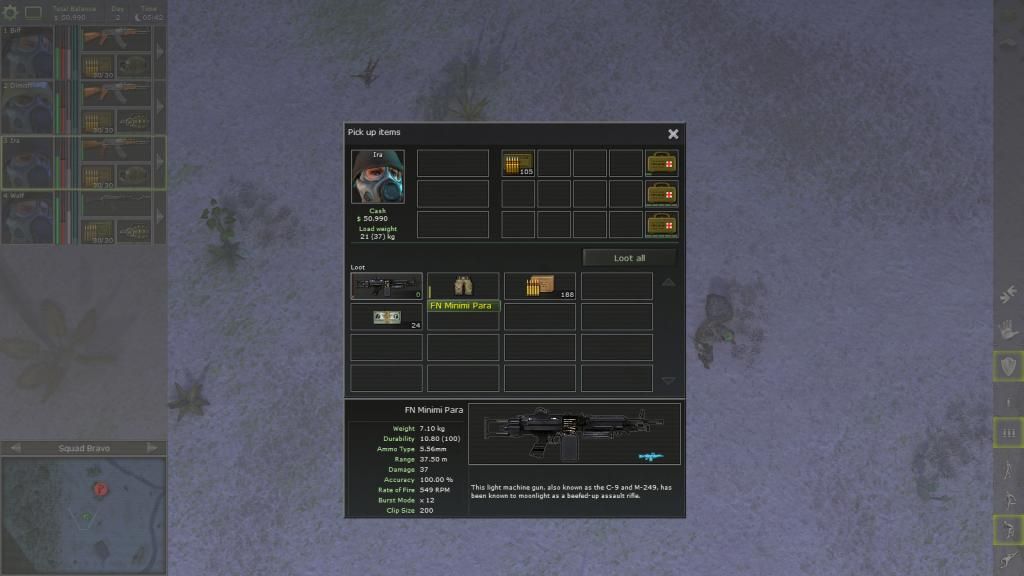
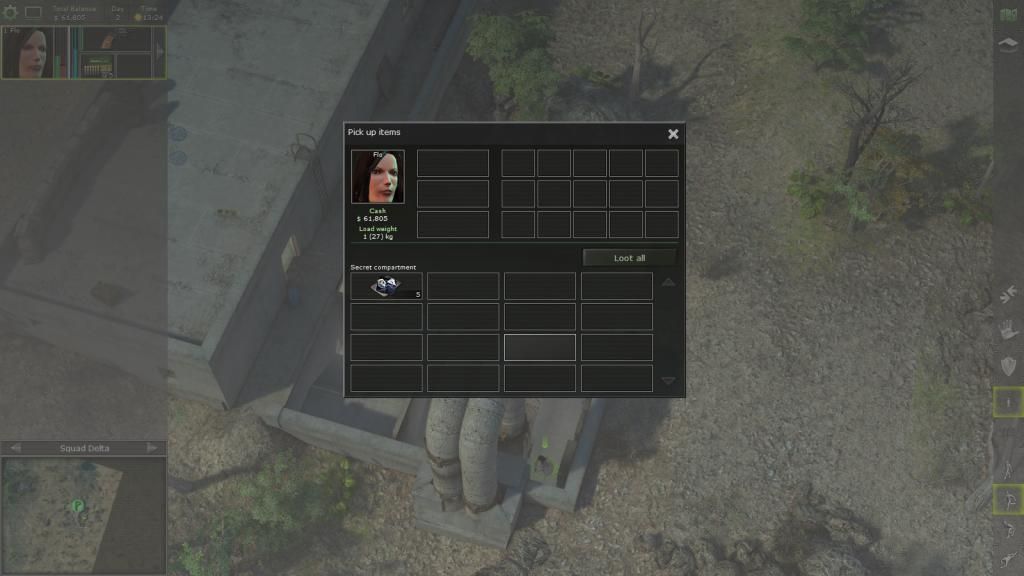
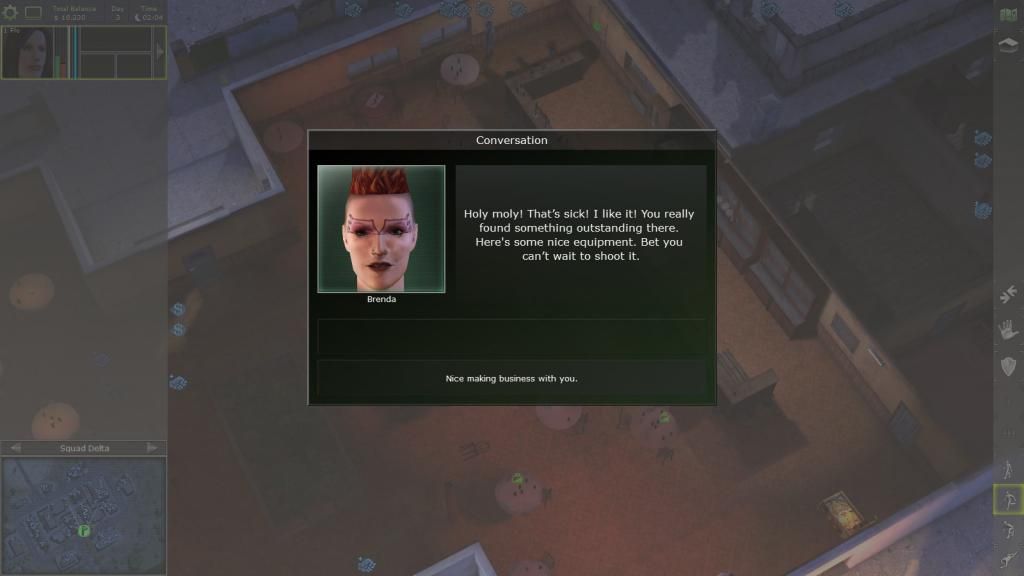
The bunker has some butchered corpses as well as lots of guns, Ak47s for everyone!
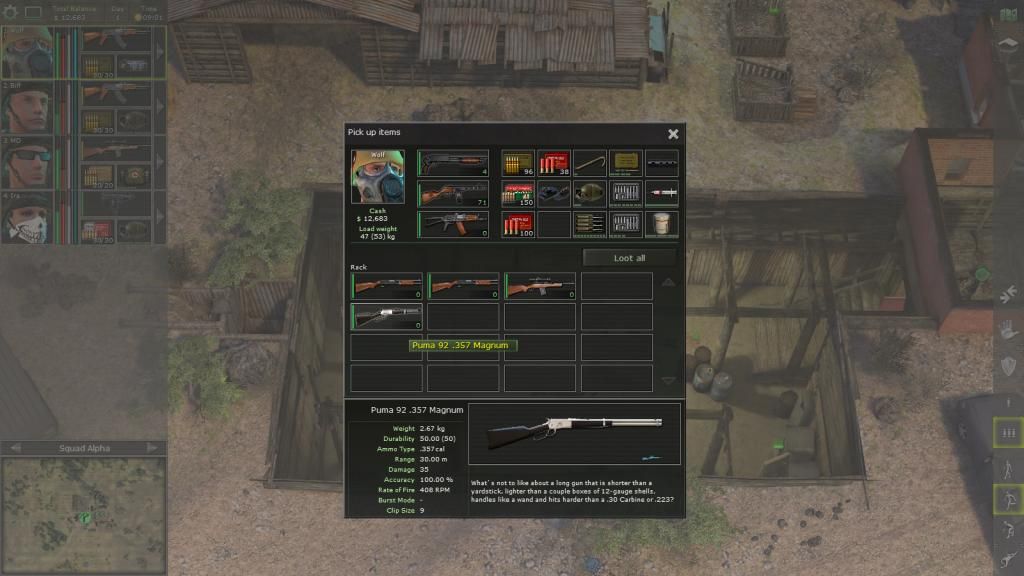
Some gun I never heard of. We get some guns but not much ammo.
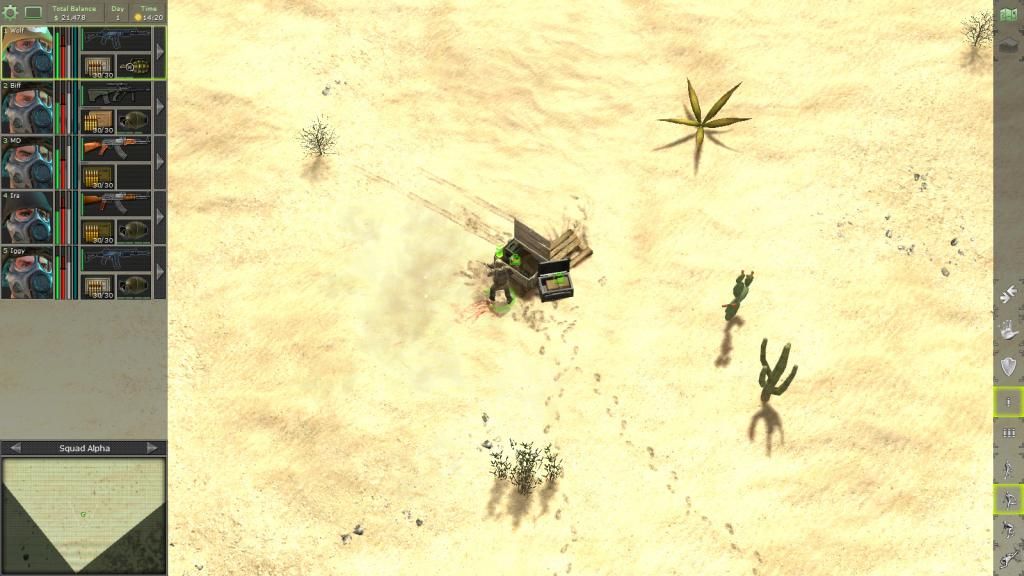
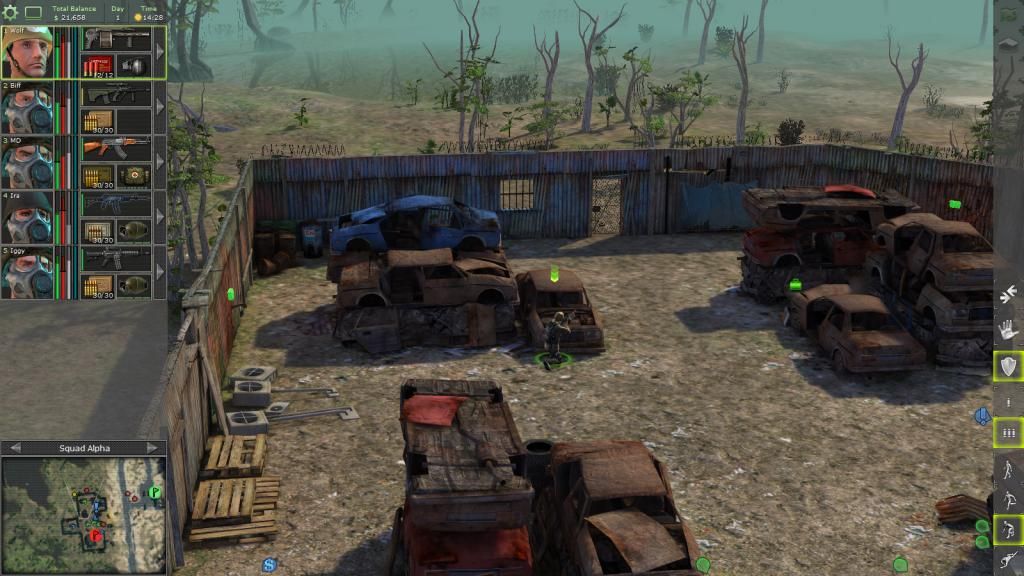
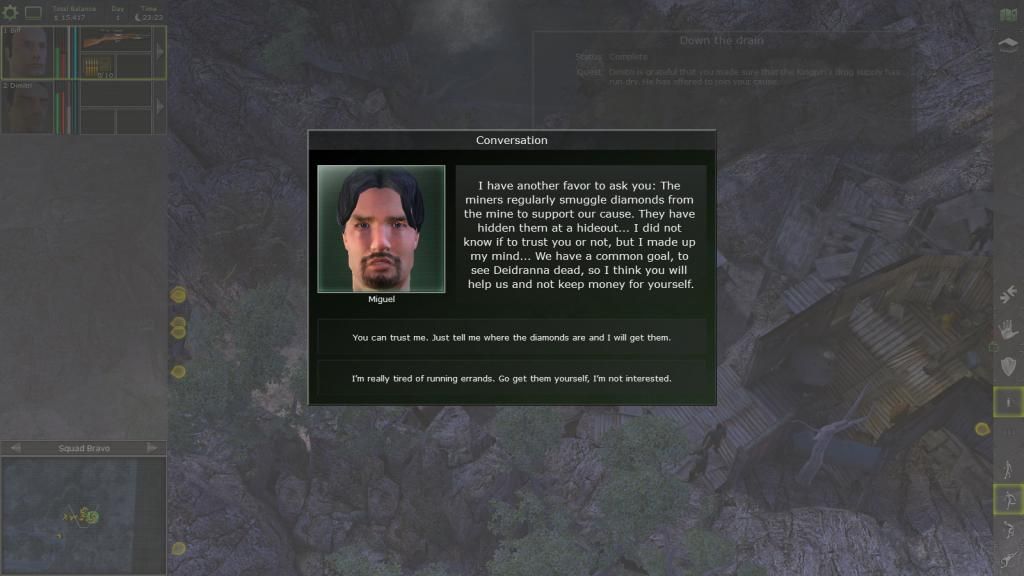
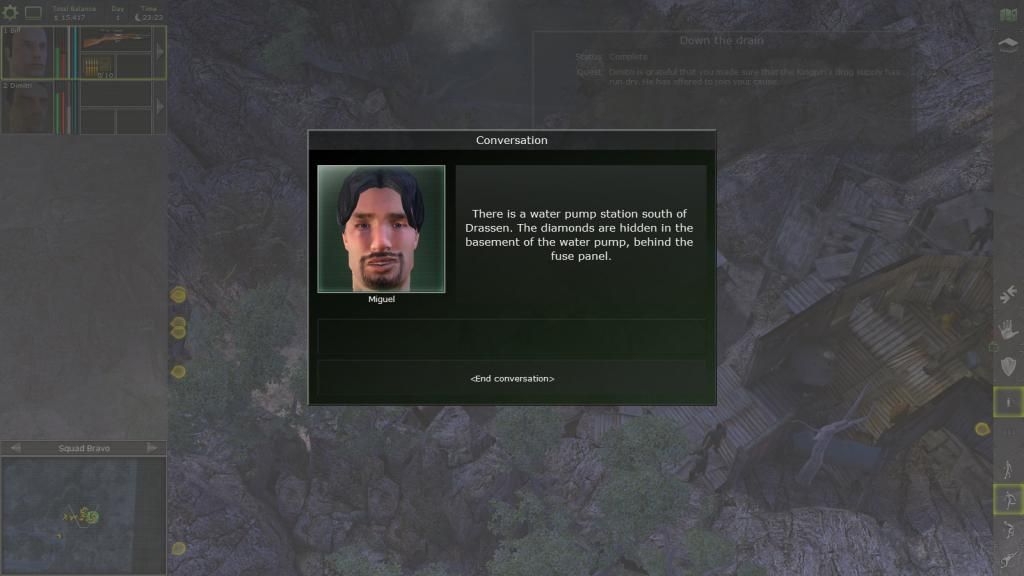
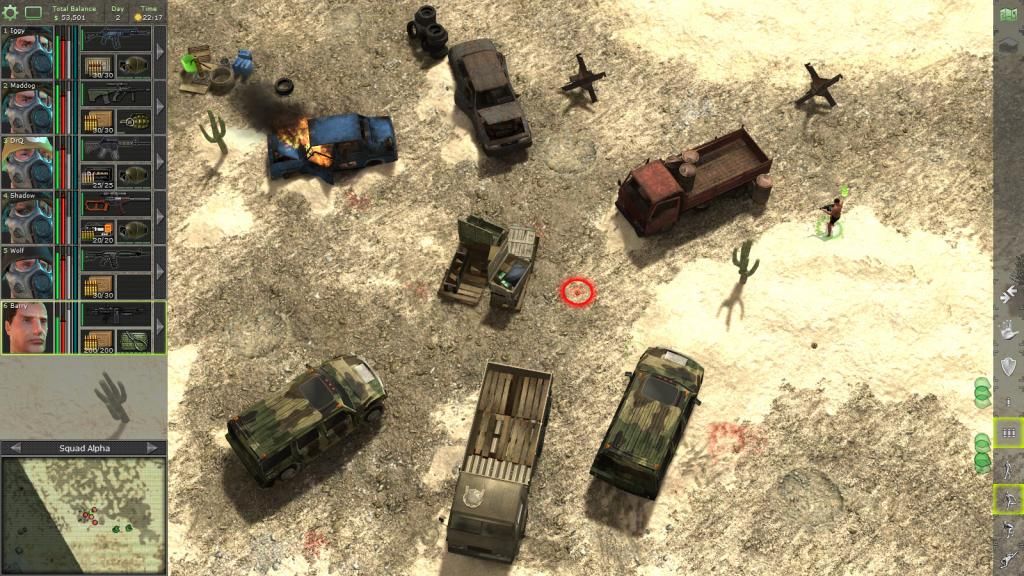
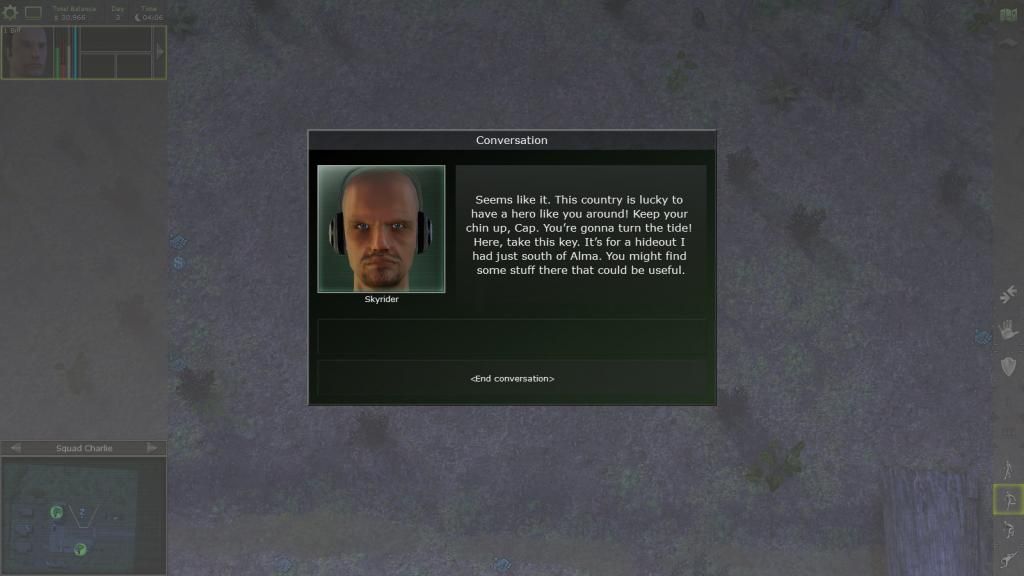
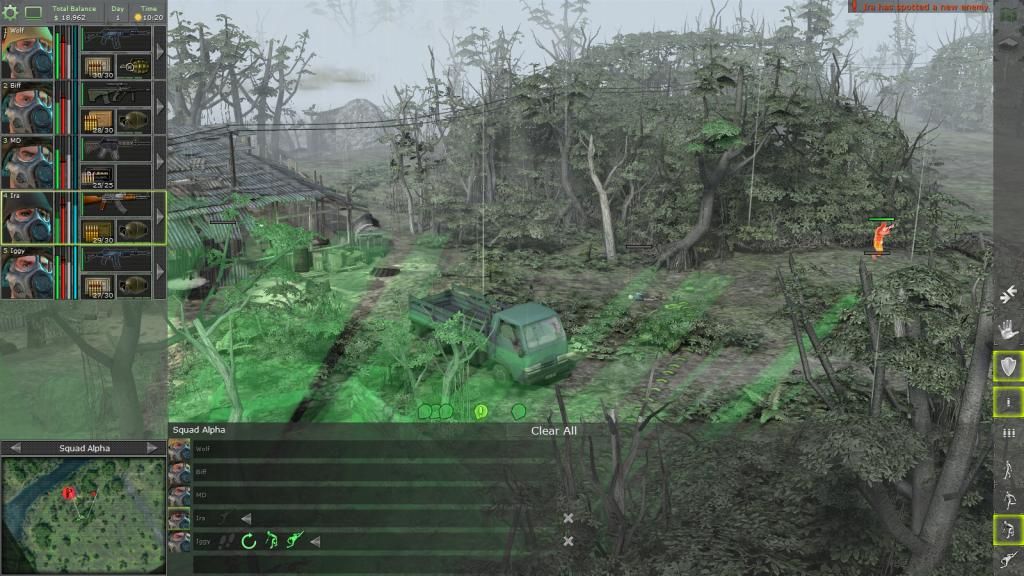
Skyrider's crashed helicopter is on this map and we recovered his diamonds.
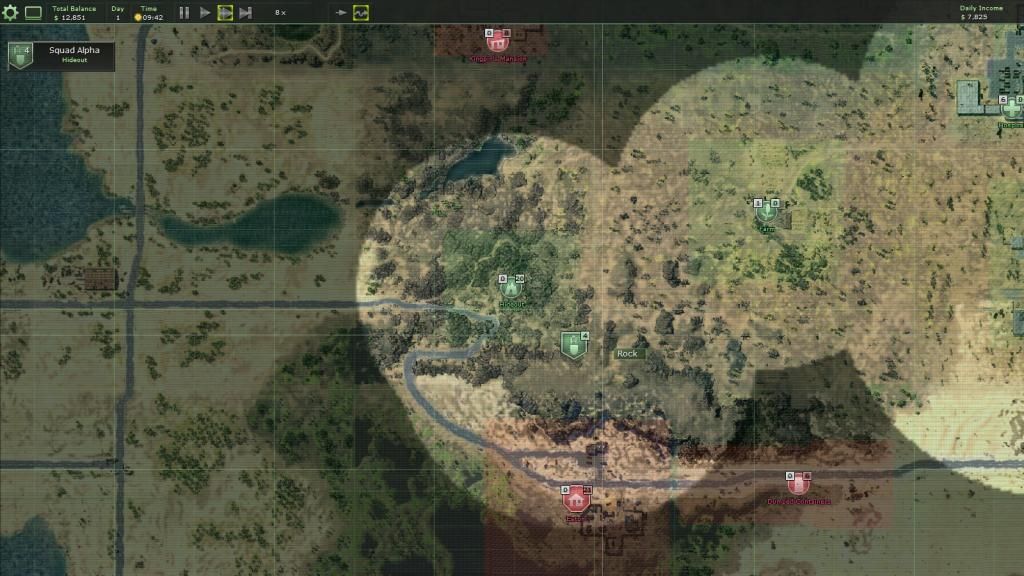
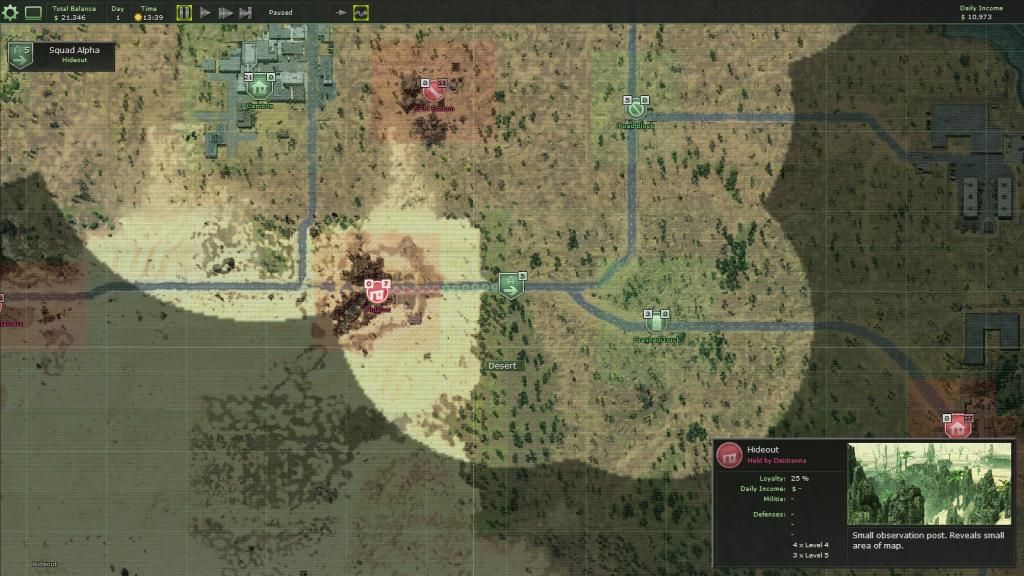
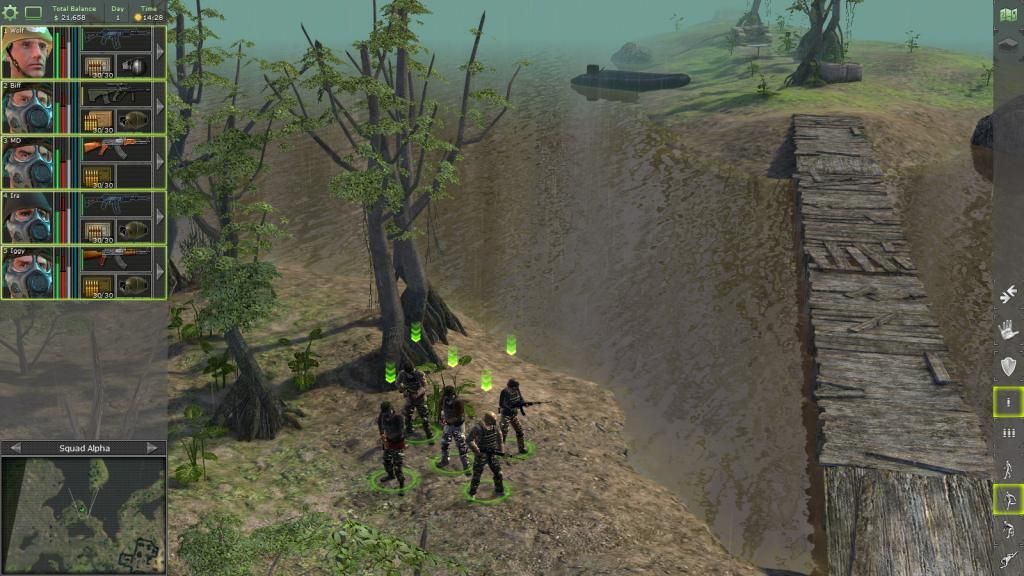
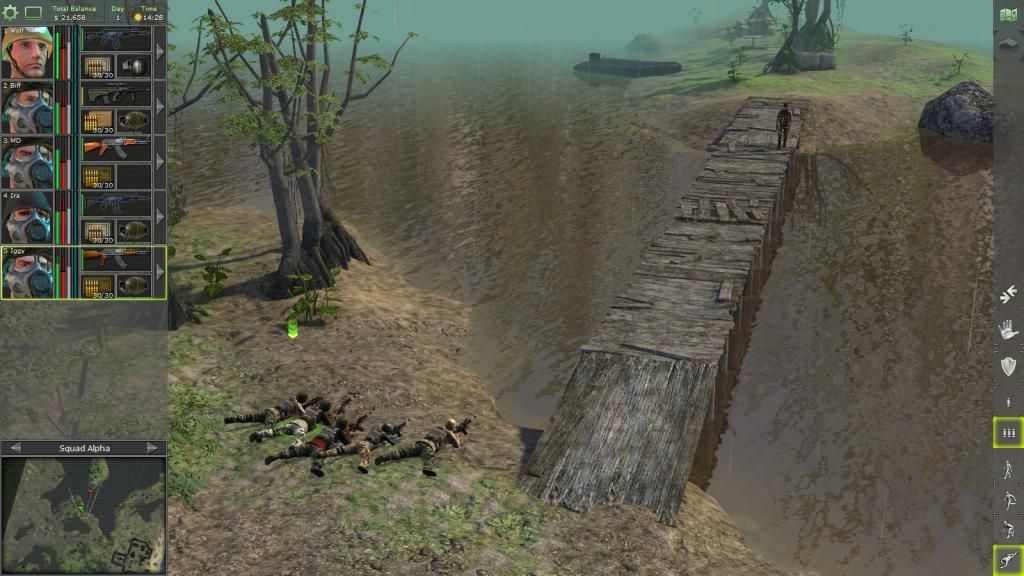
Continue our march west to the rebel hideout.
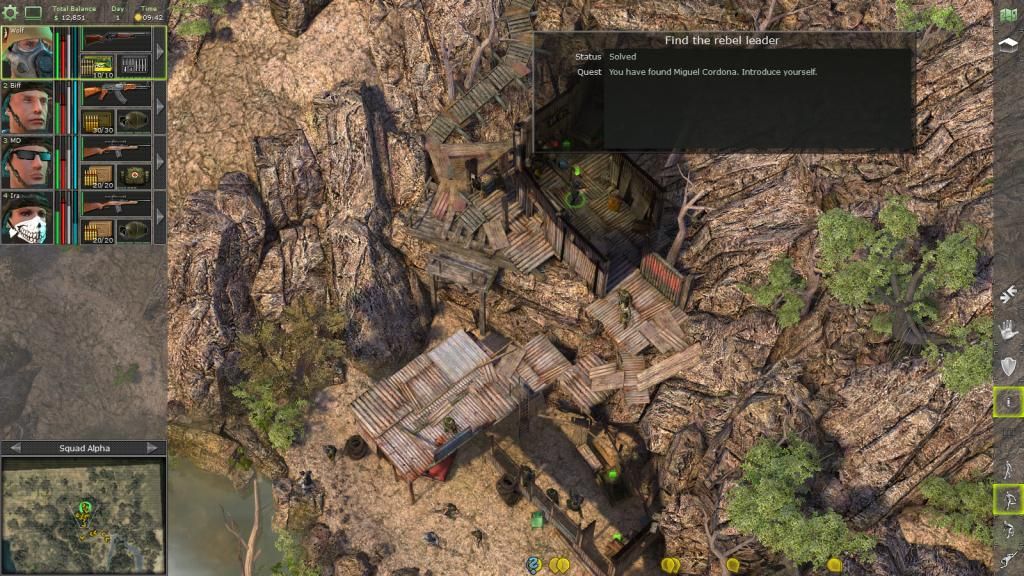
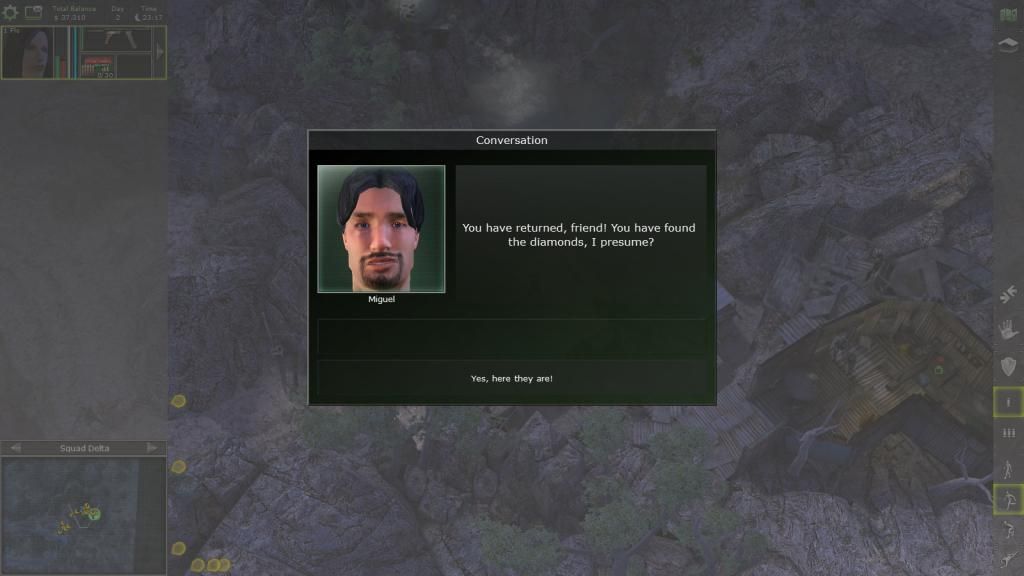
Found it.
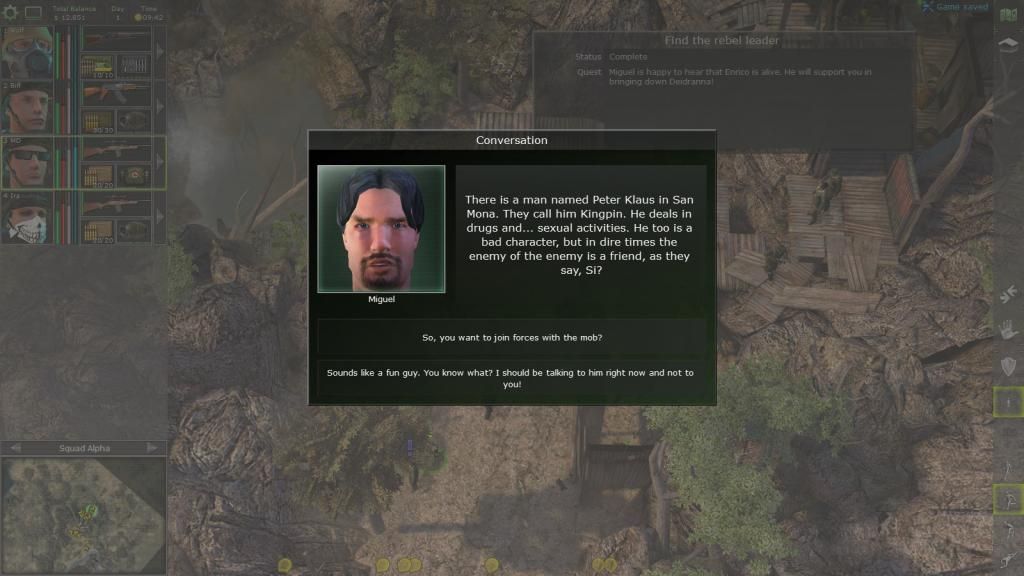
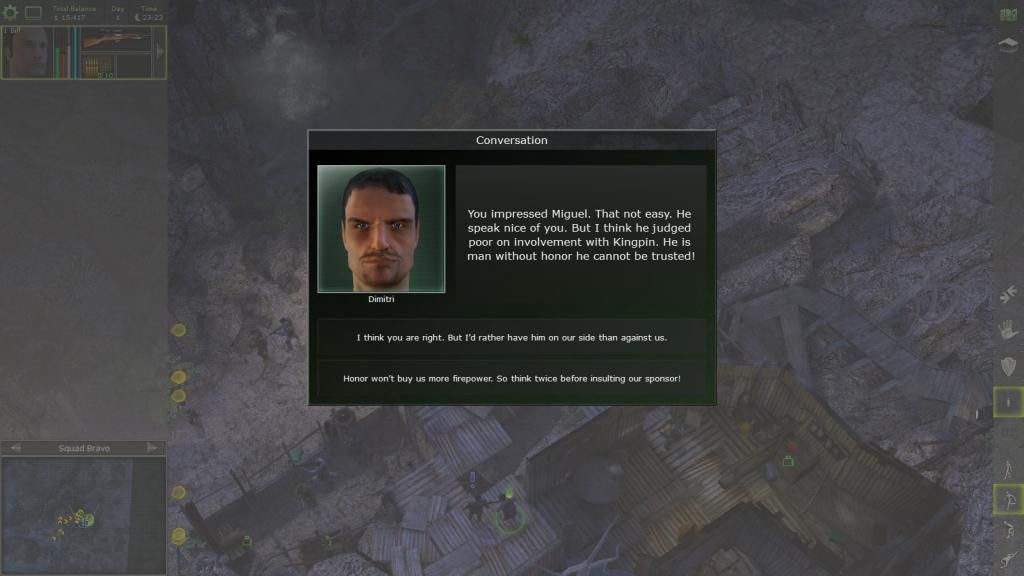
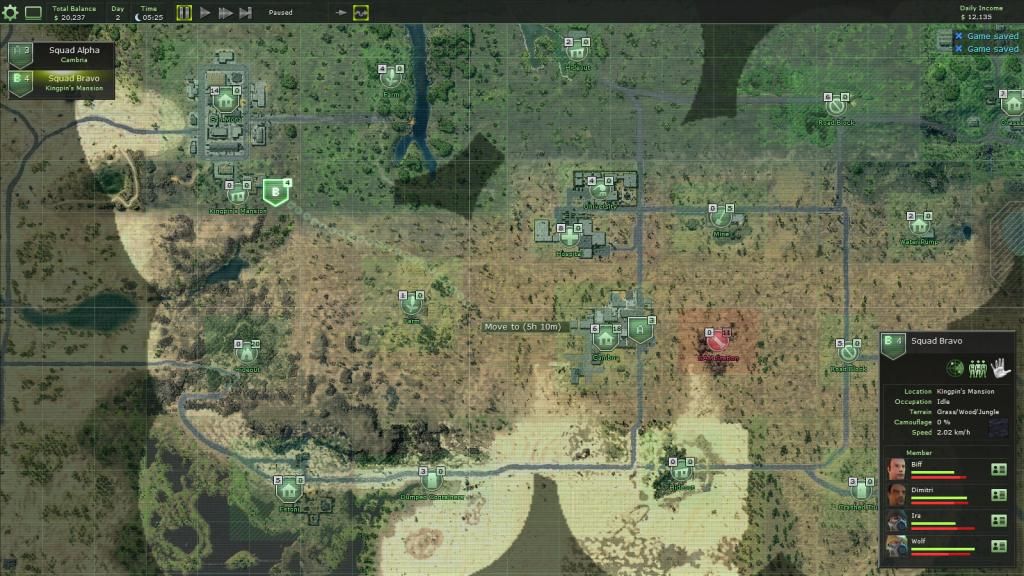
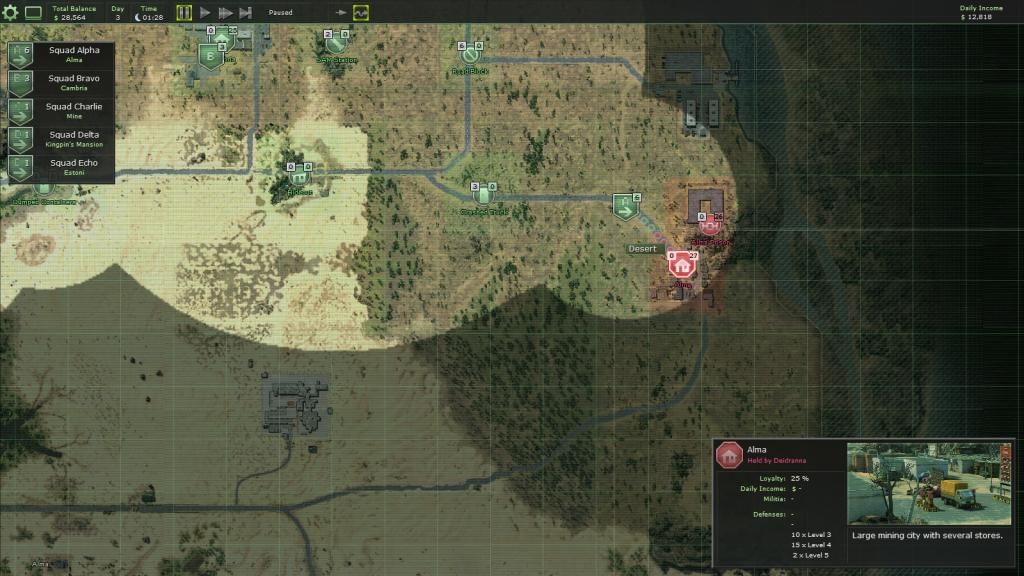
Miguel wants us to help Kingpin in San Mona.
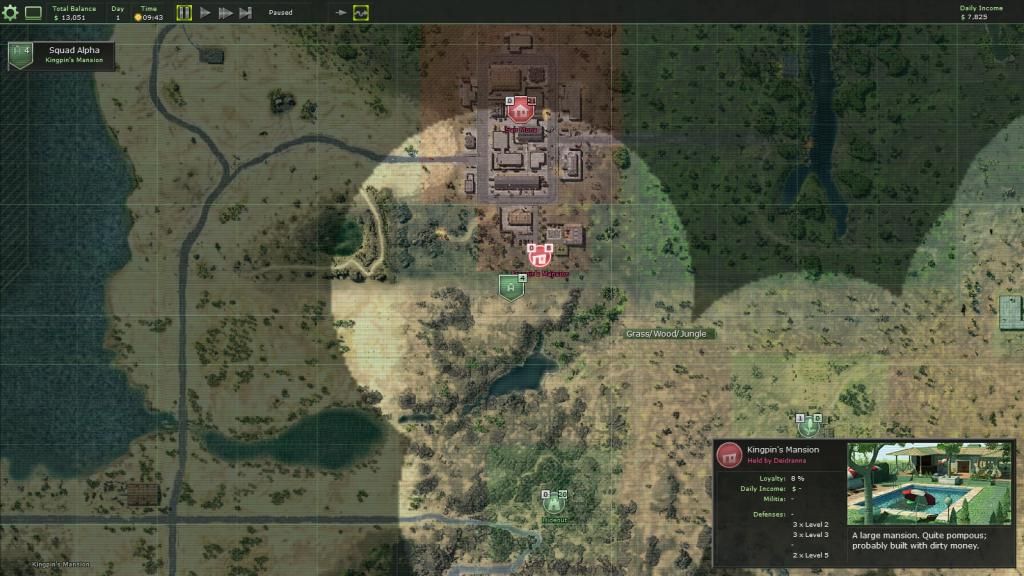
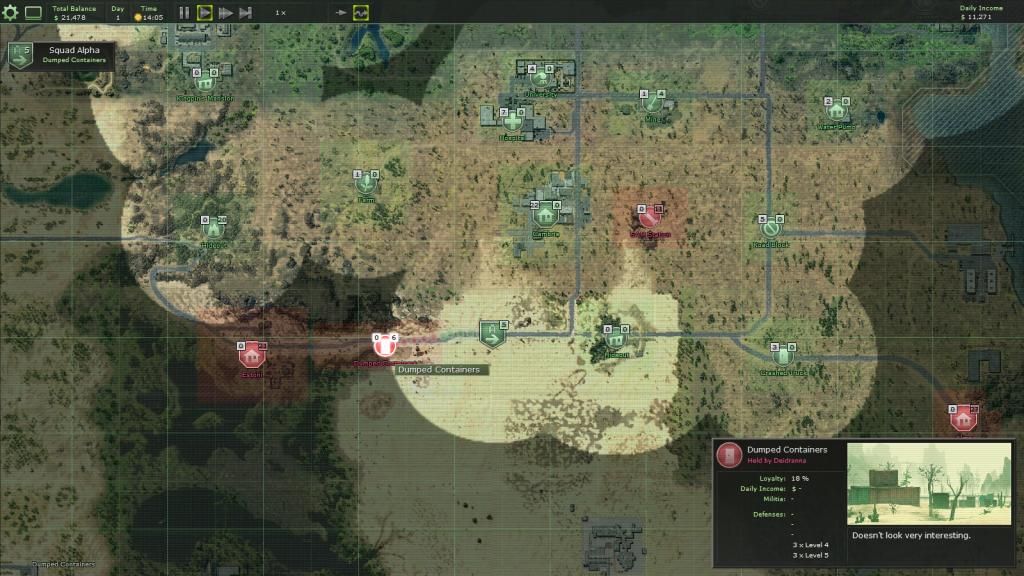
San Mona is nearby to the north, it is a wretched hive of scum and villainy.
Kingpin's mansion is guarded by 2 level 5 soldiers. ヽ(゚Д゚)ノ
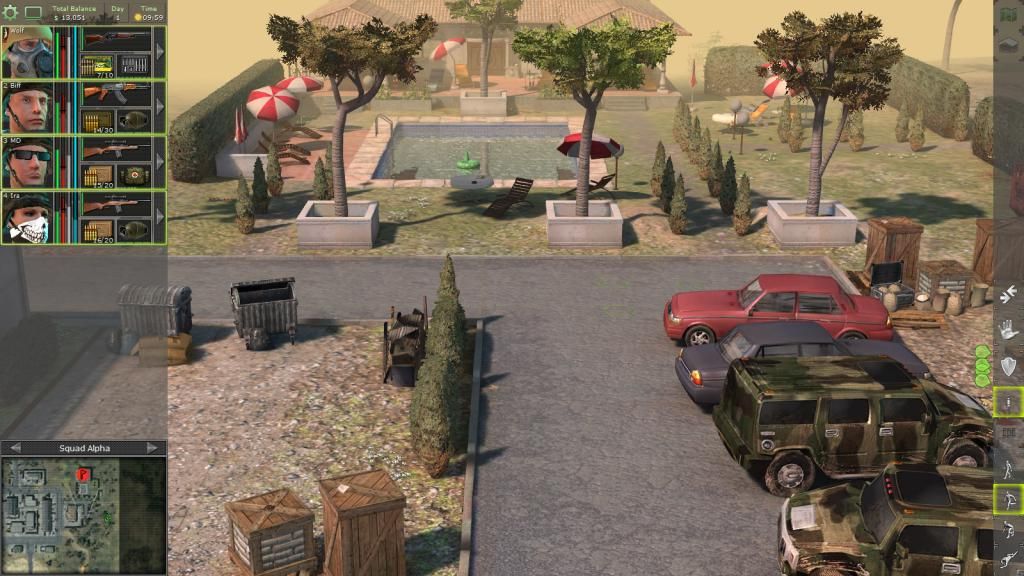
Nice.
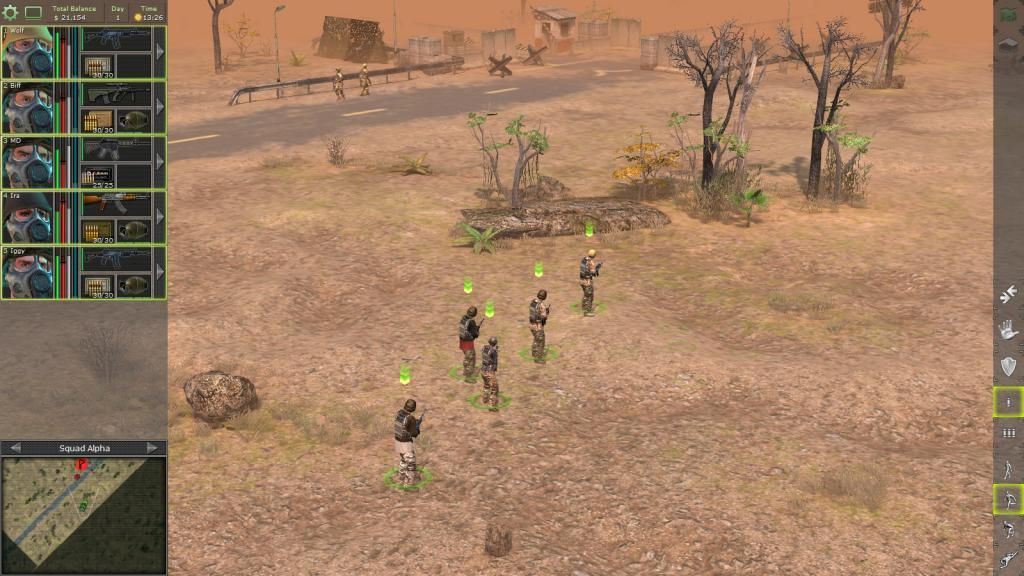
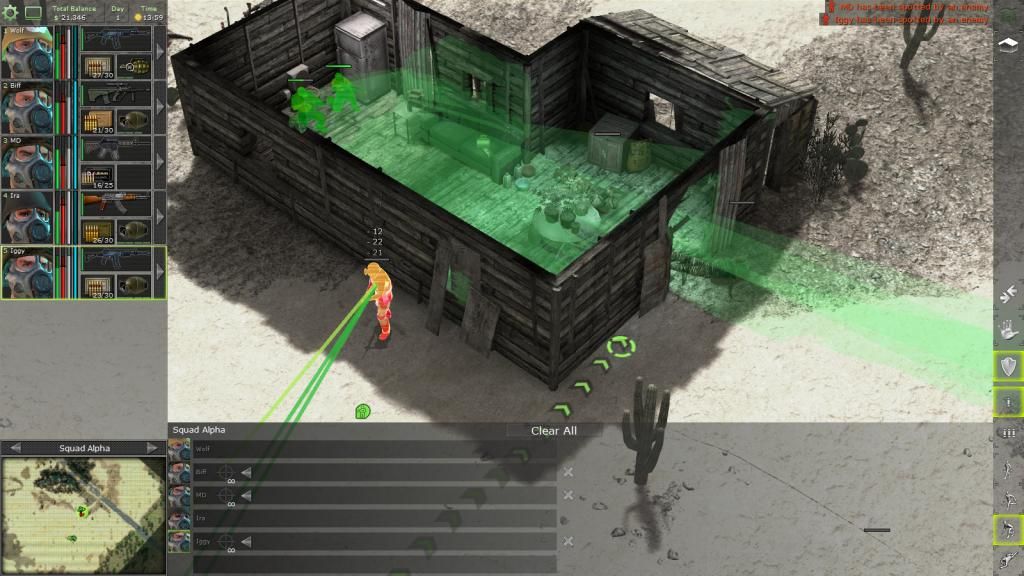
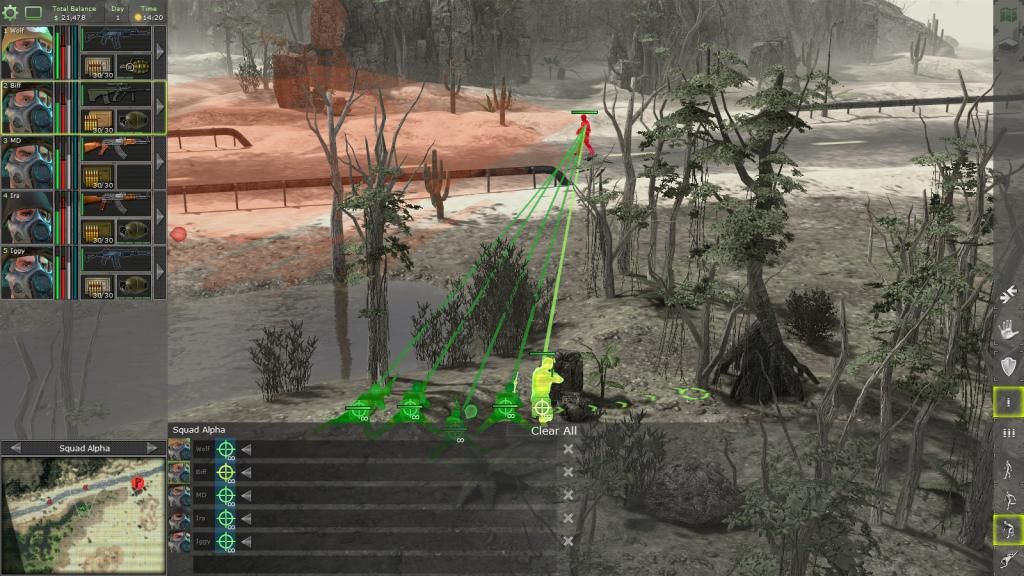
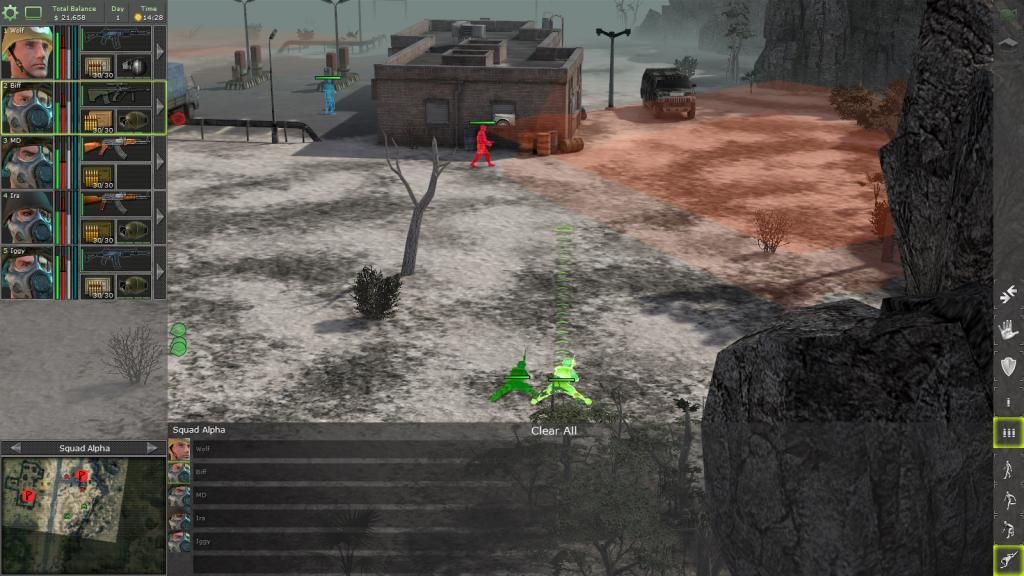
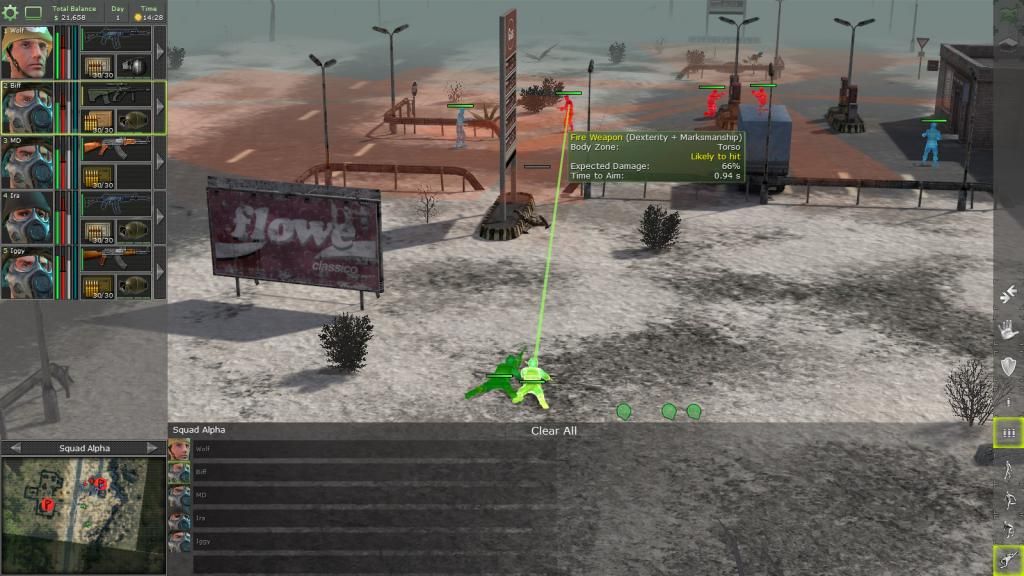
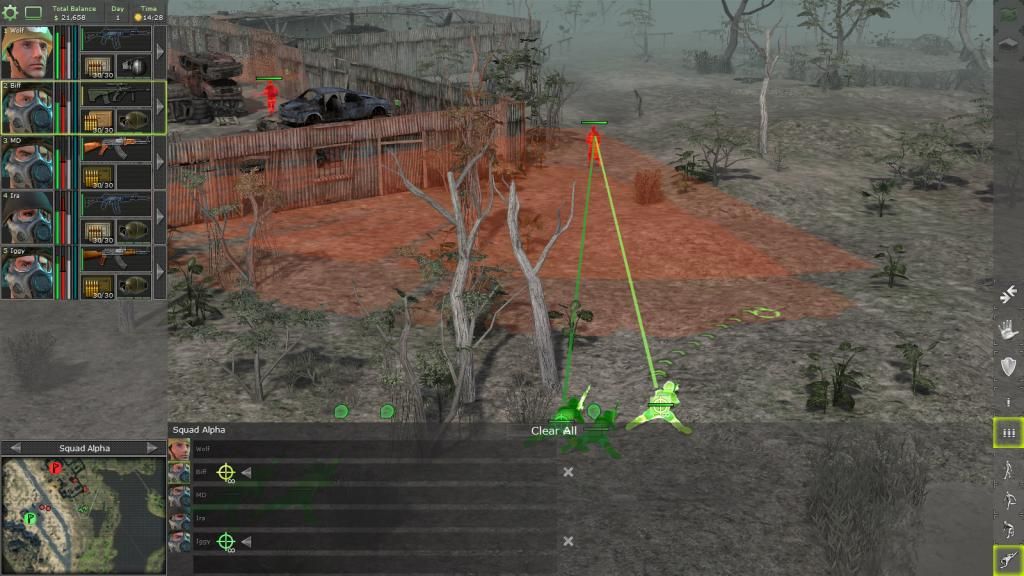
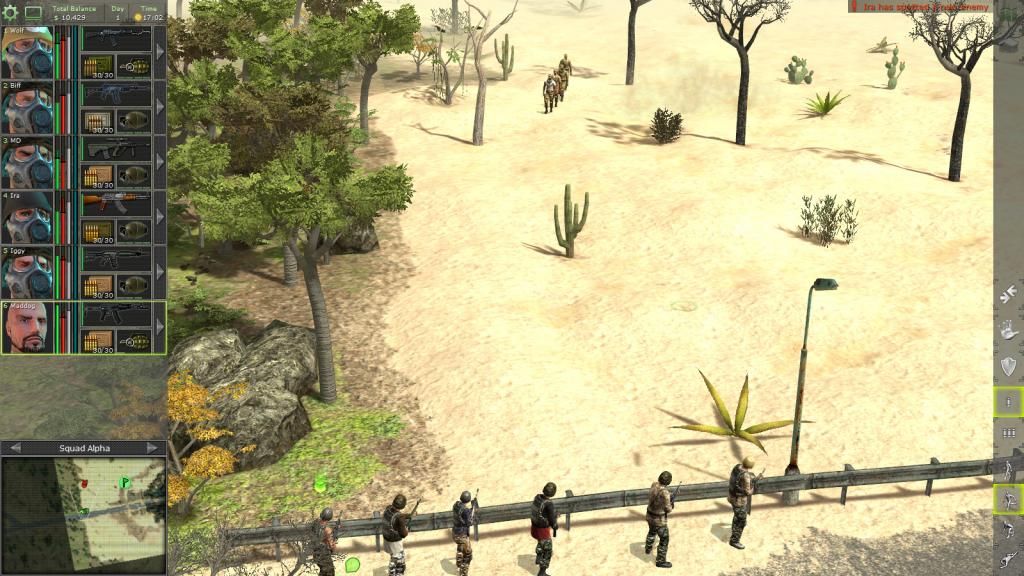
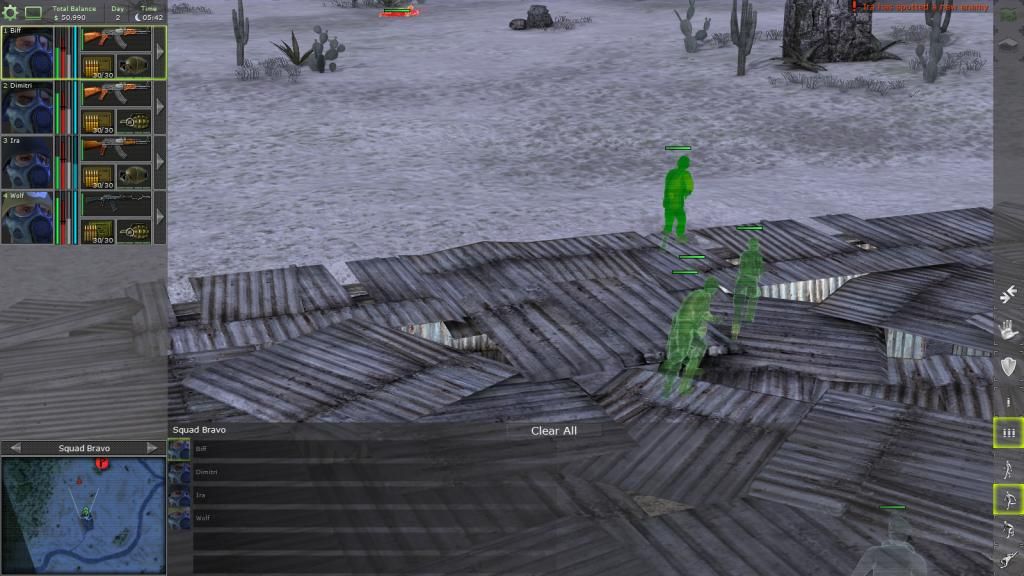
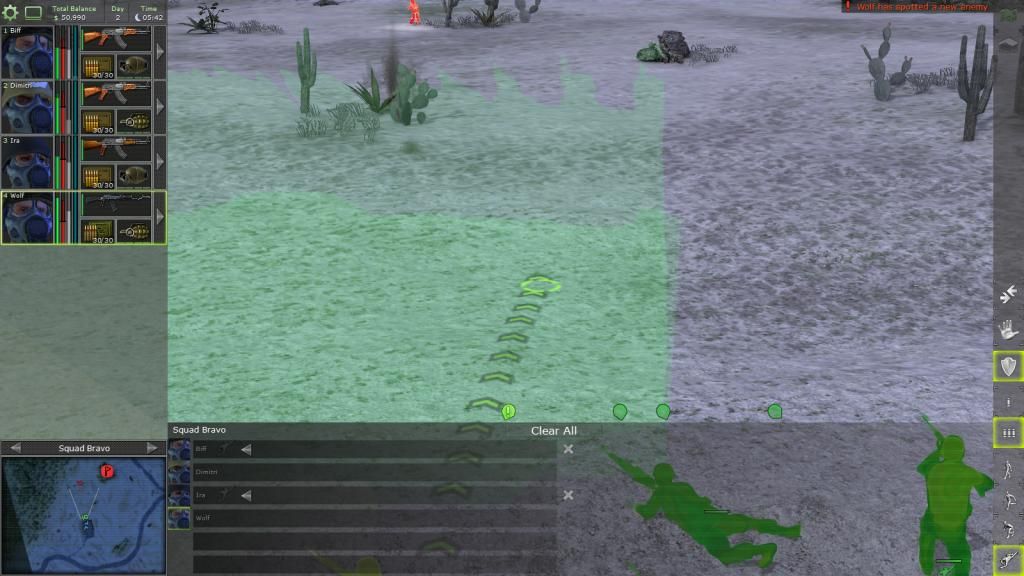
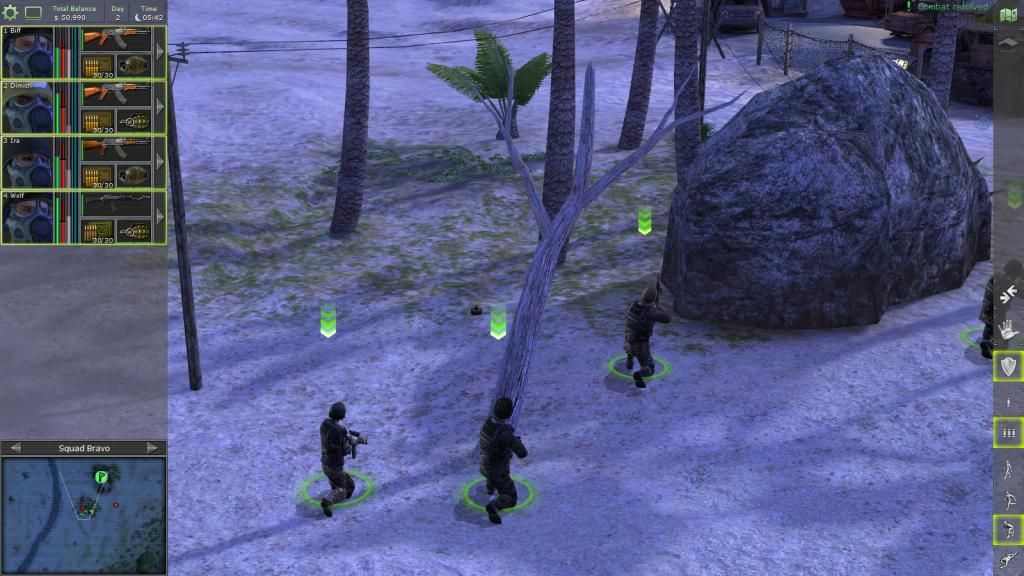
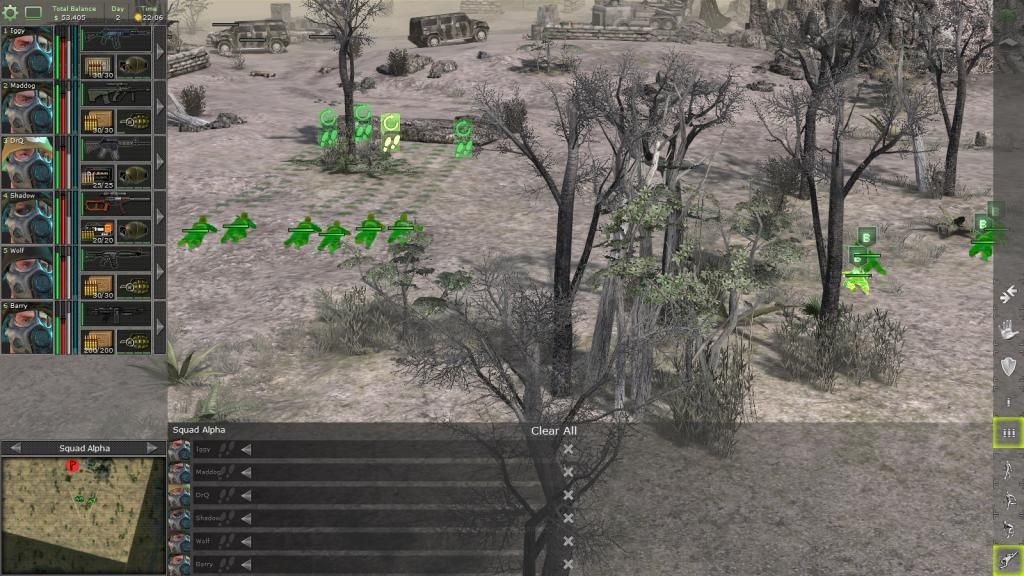
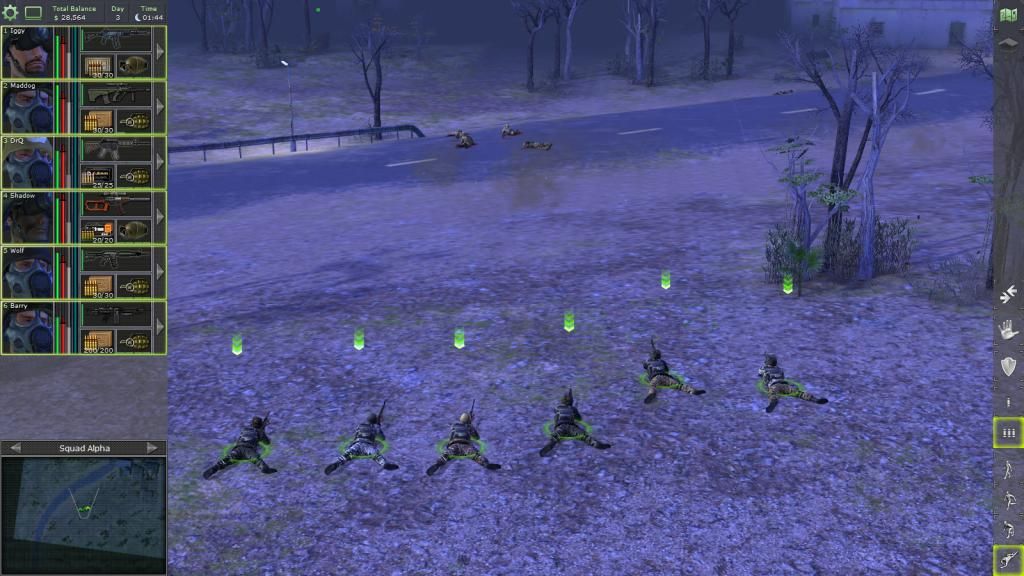
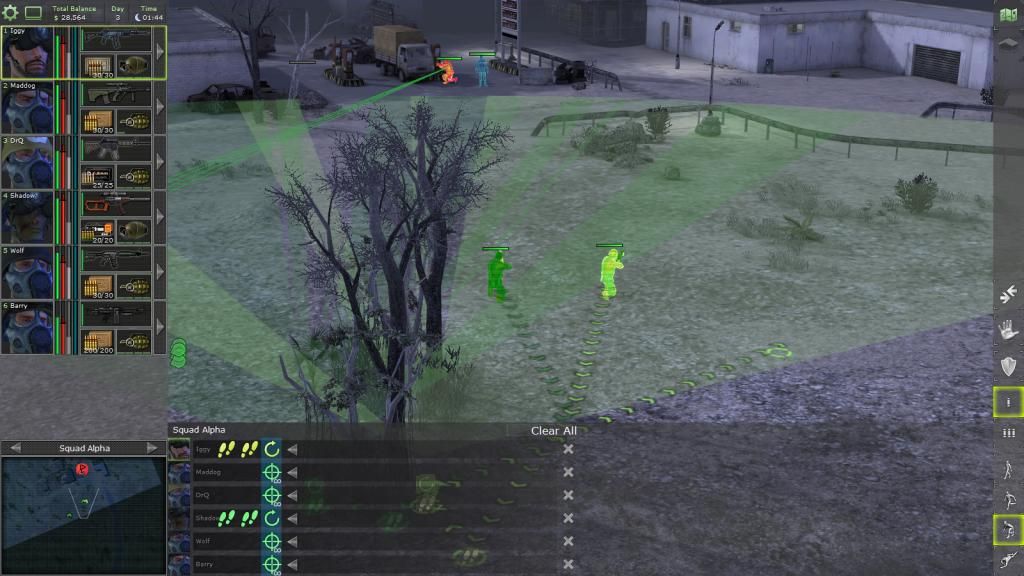
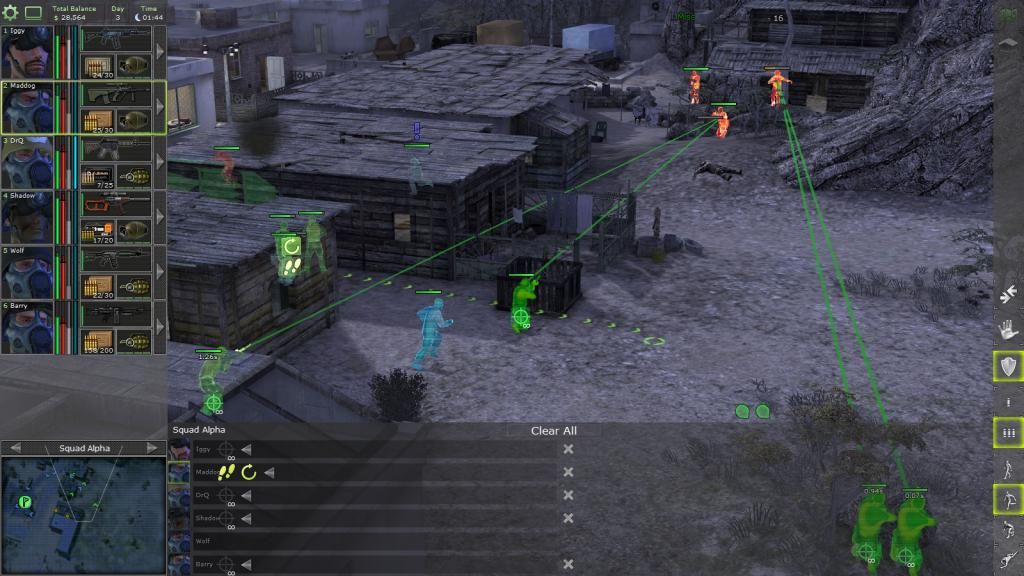
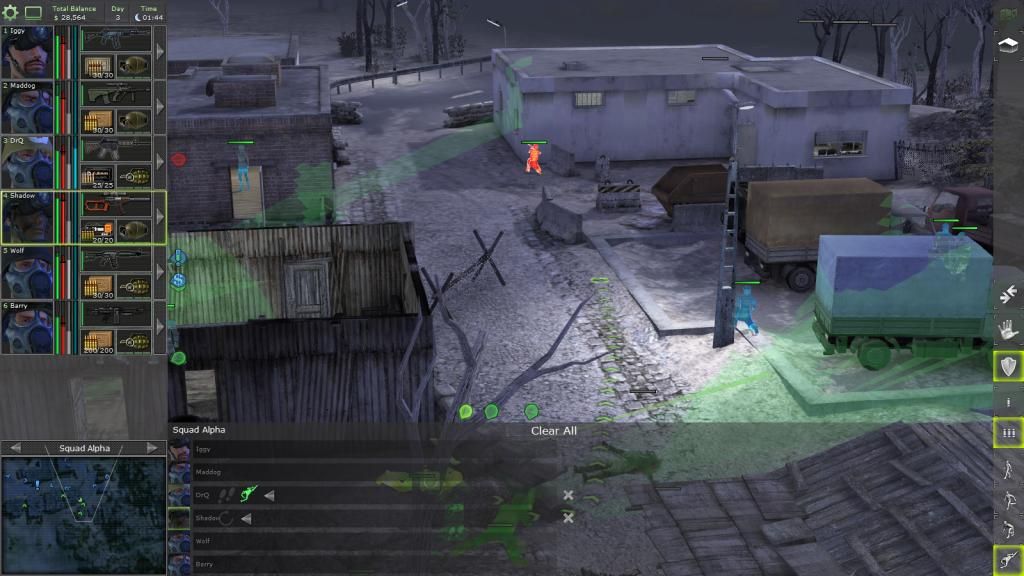
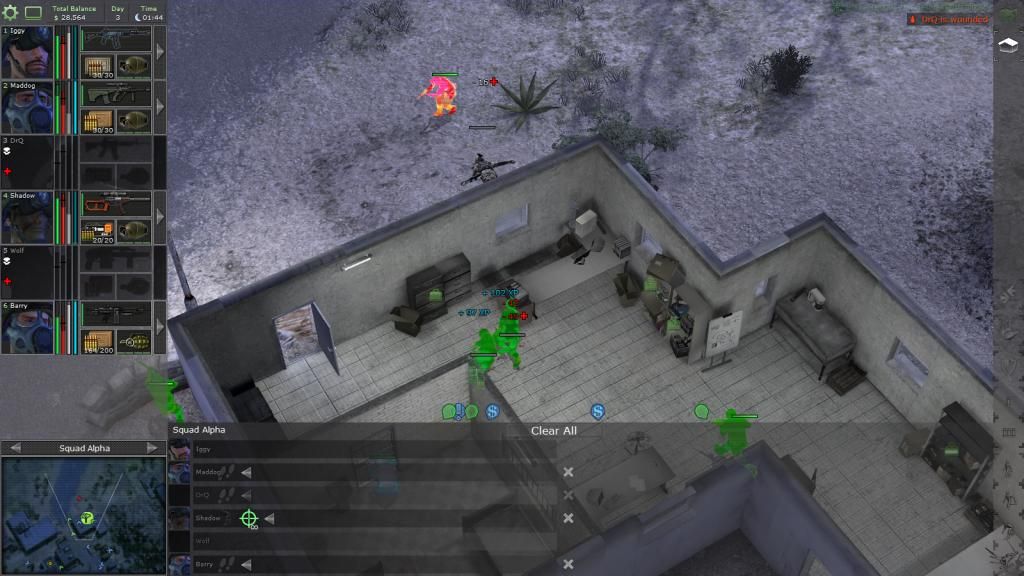
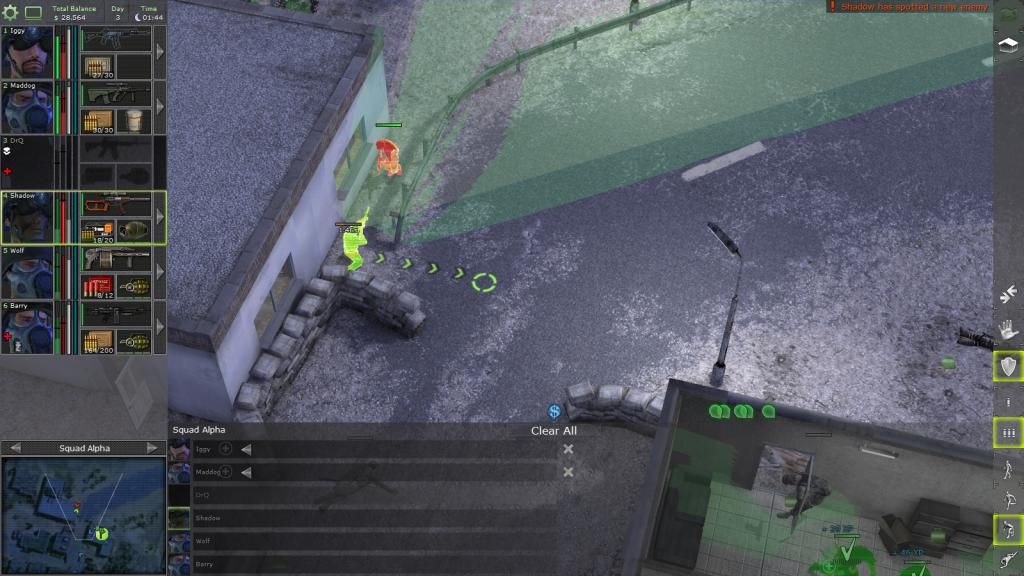
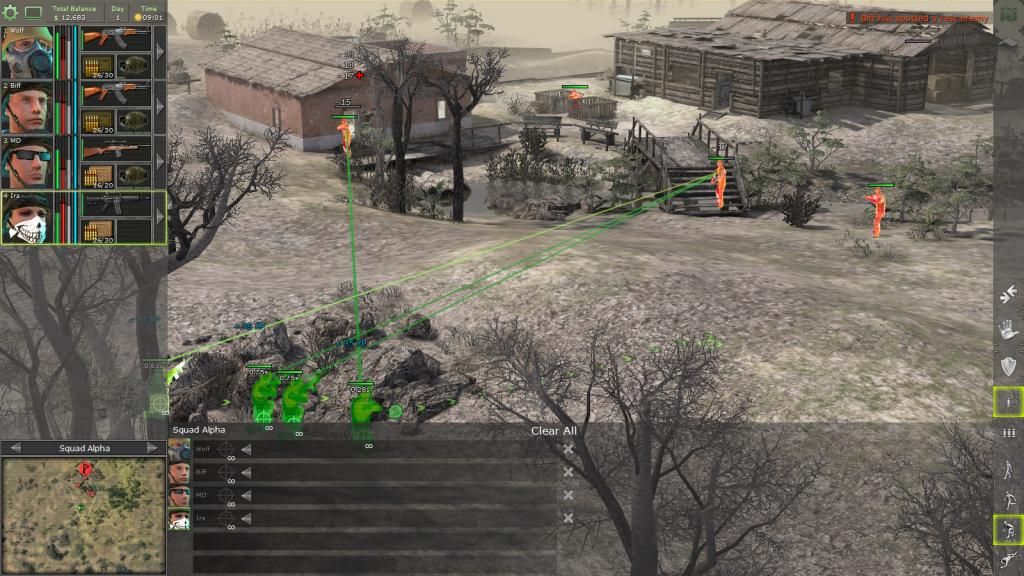
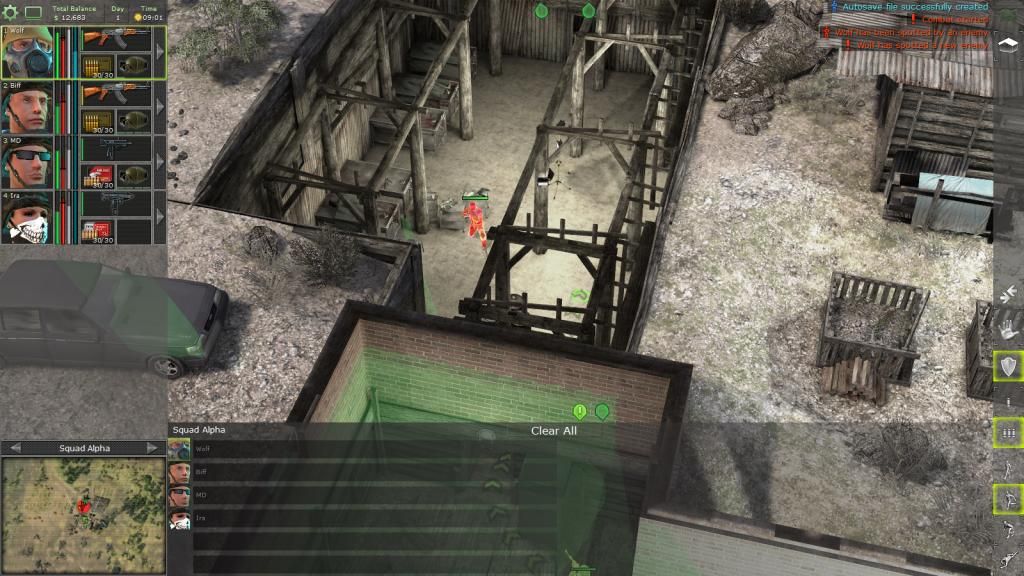
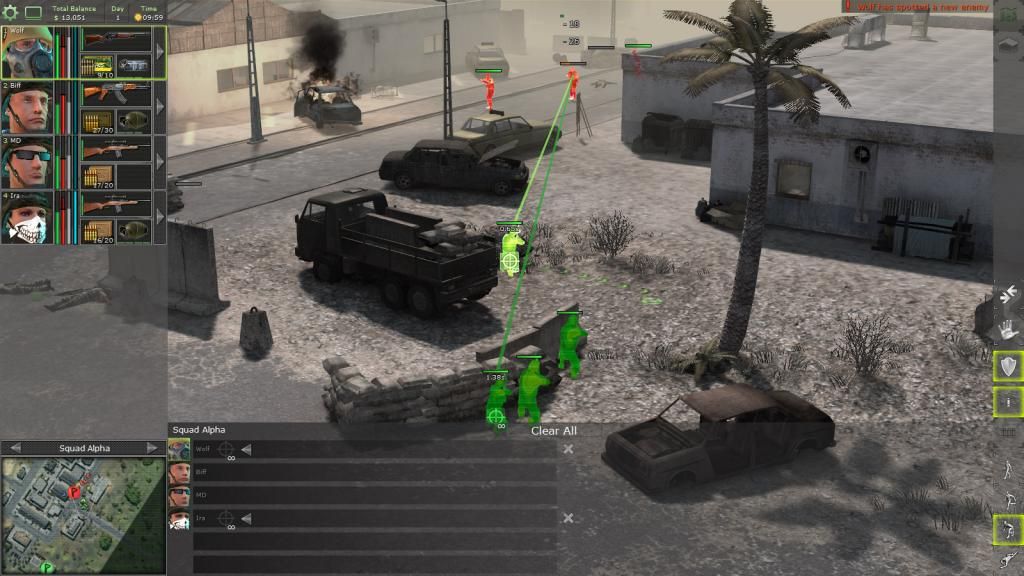
Unaware enemy spotted behind a wall, 2 mercs crouch and shoot over 2 mercs prone. You can add 2 mercs standing behind those crouching if you want.
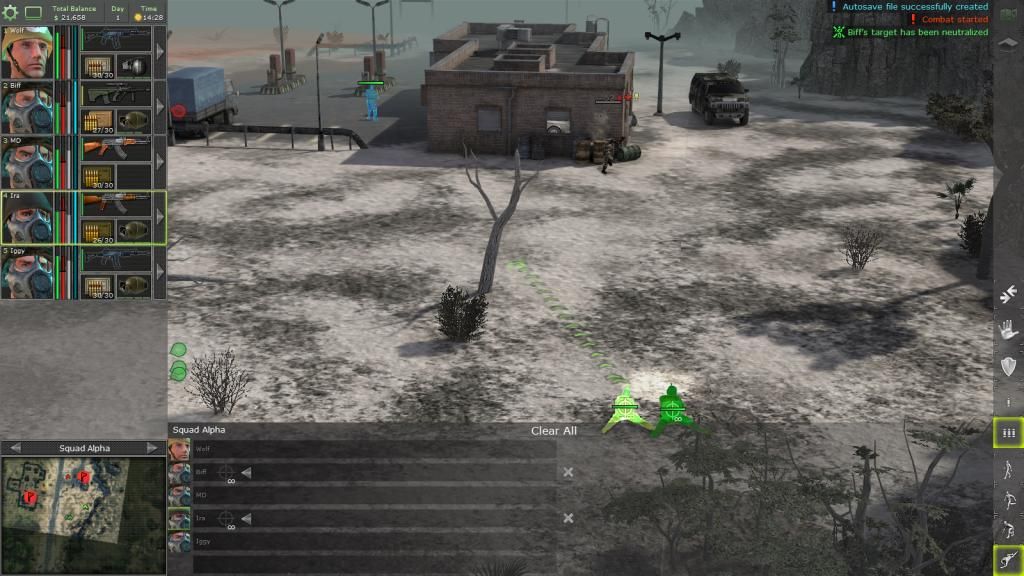
The ensuring shoot out left Wolf and Biff near death even behind cover. Sadly I was too preoccupied to take screenshots.
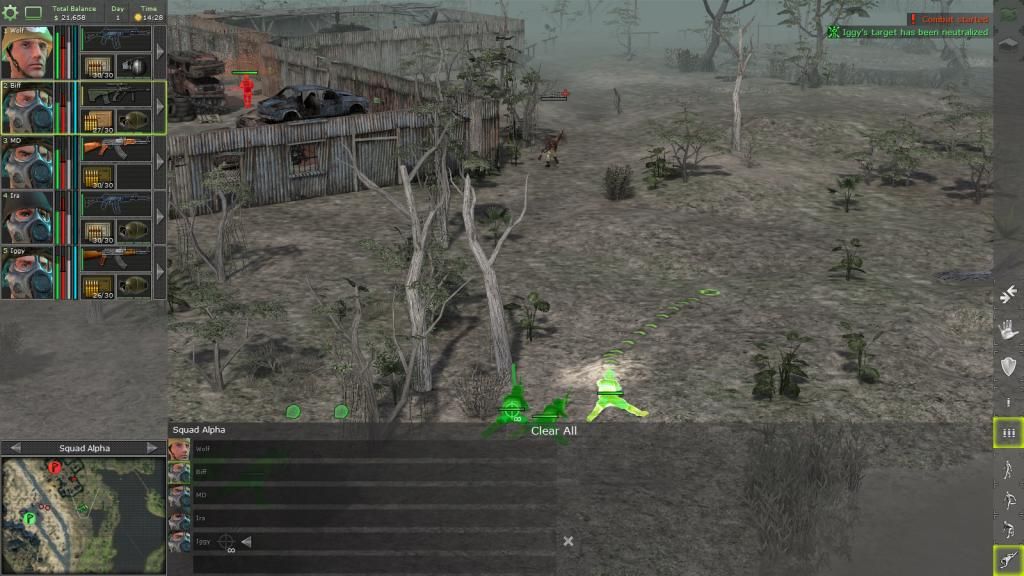
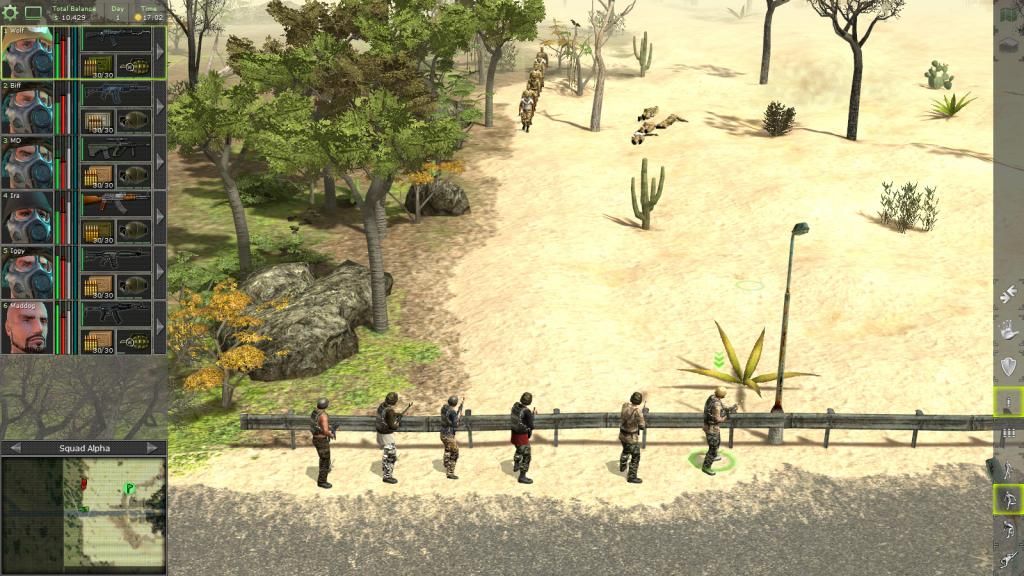
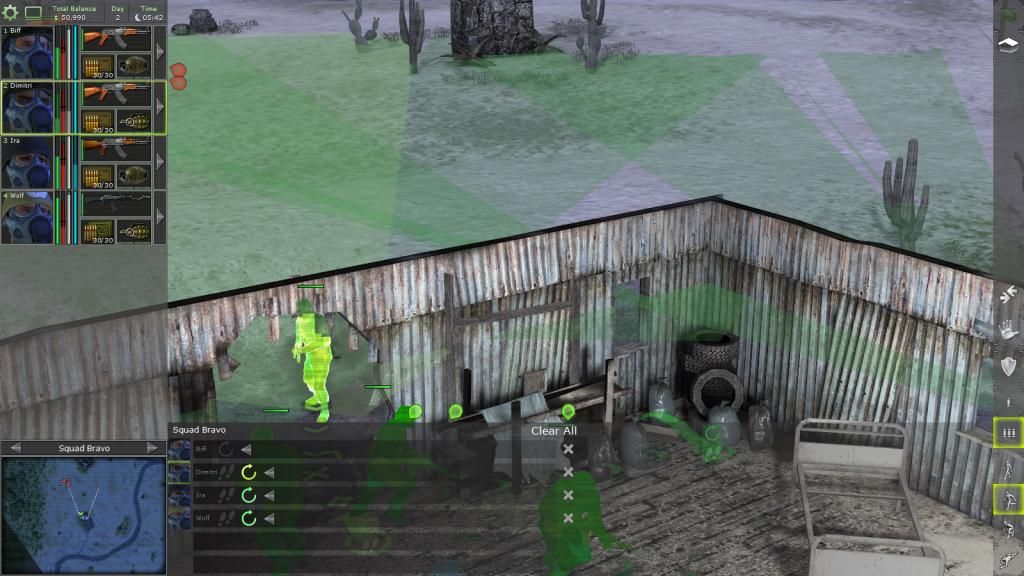
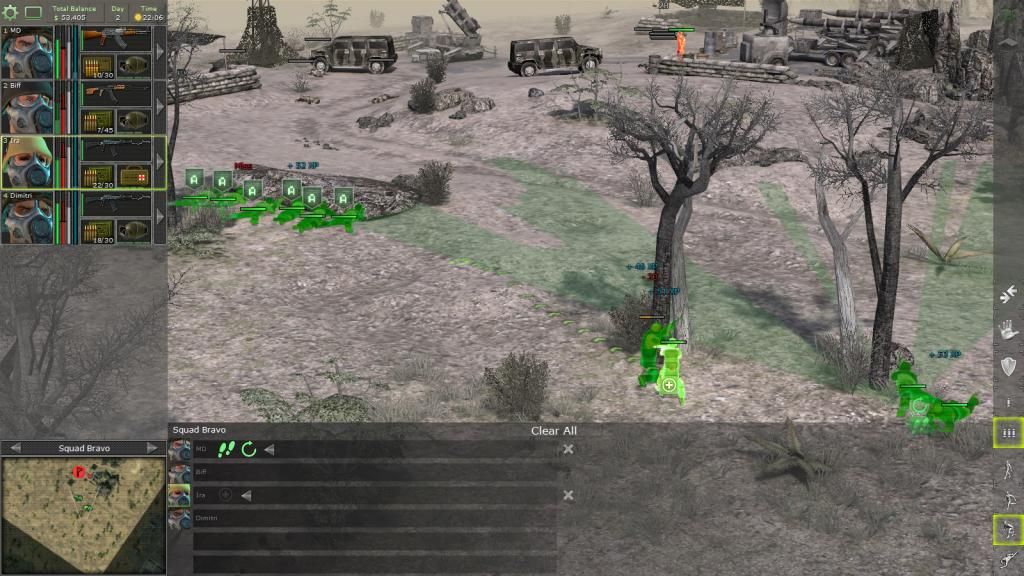
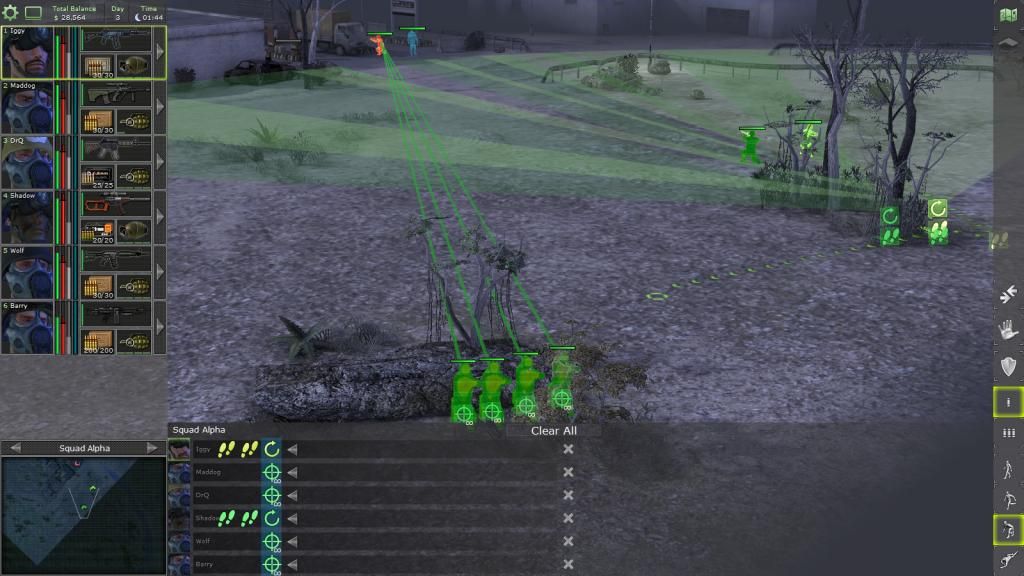
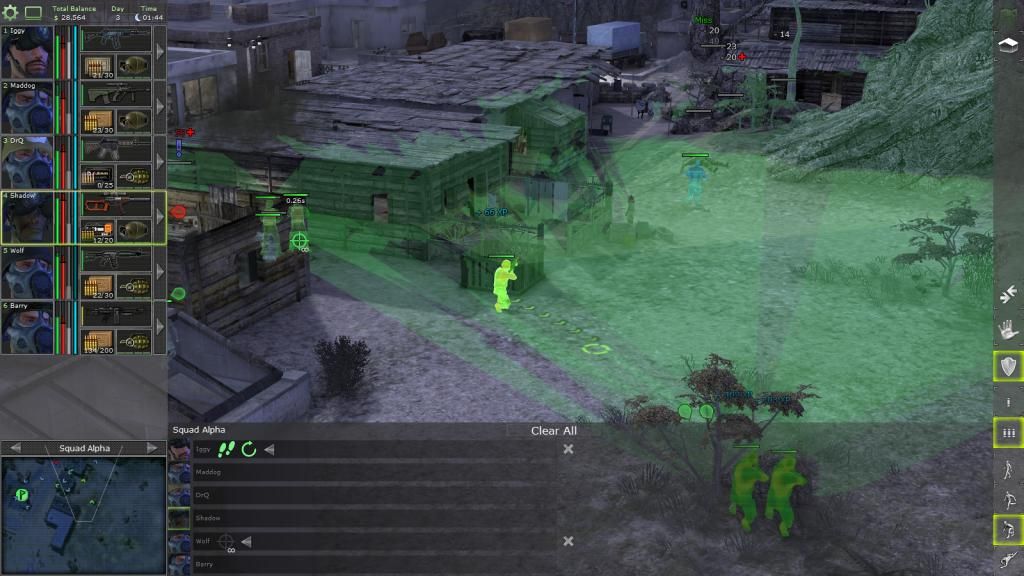
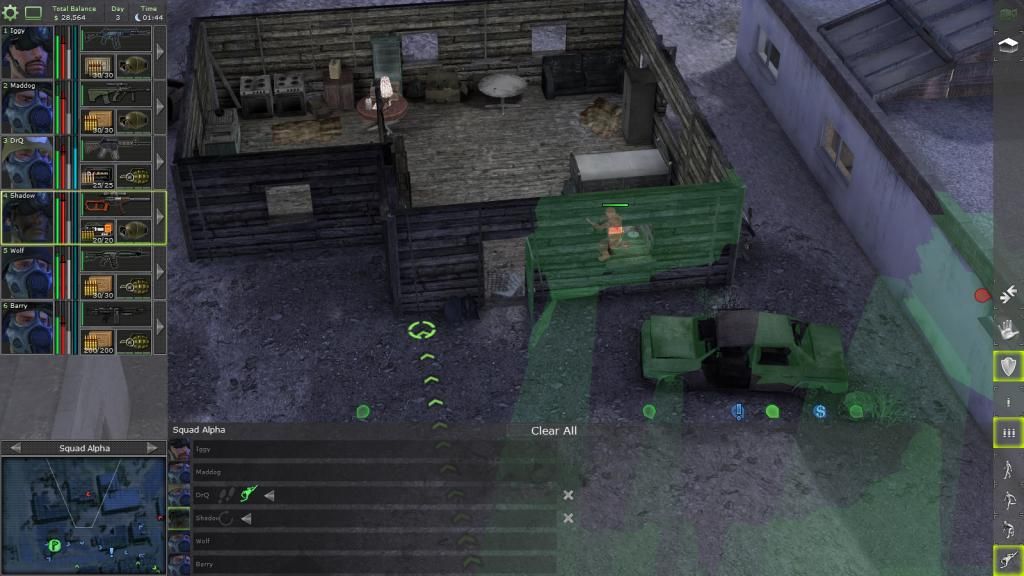
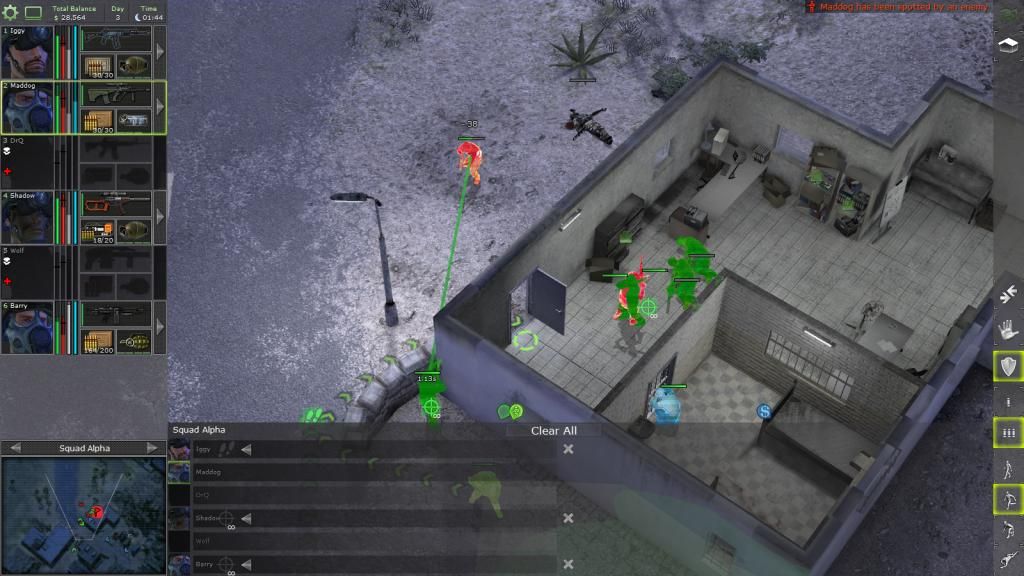
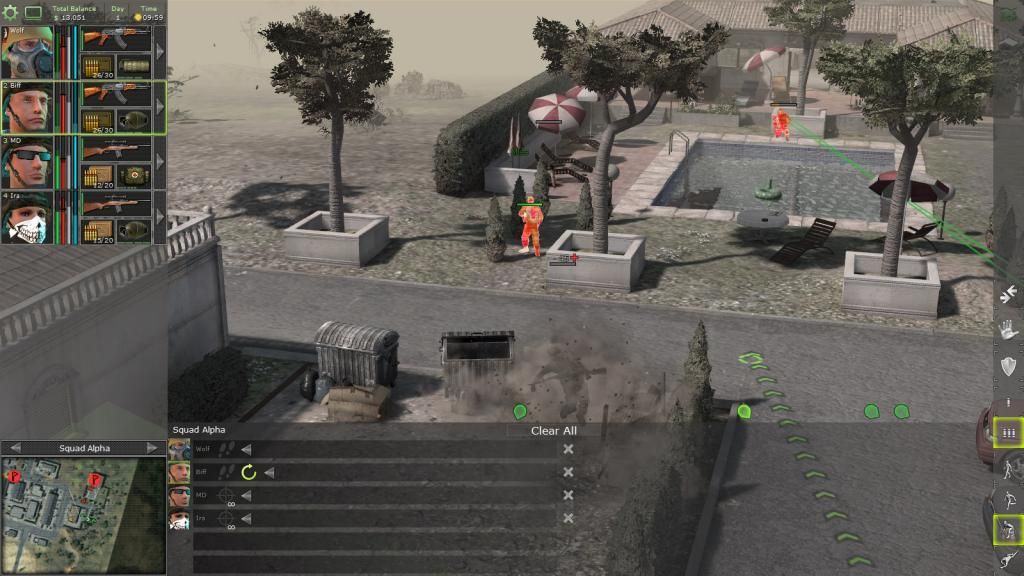
Wolf prones behind cover and grenades an advancing soldier in this picture.
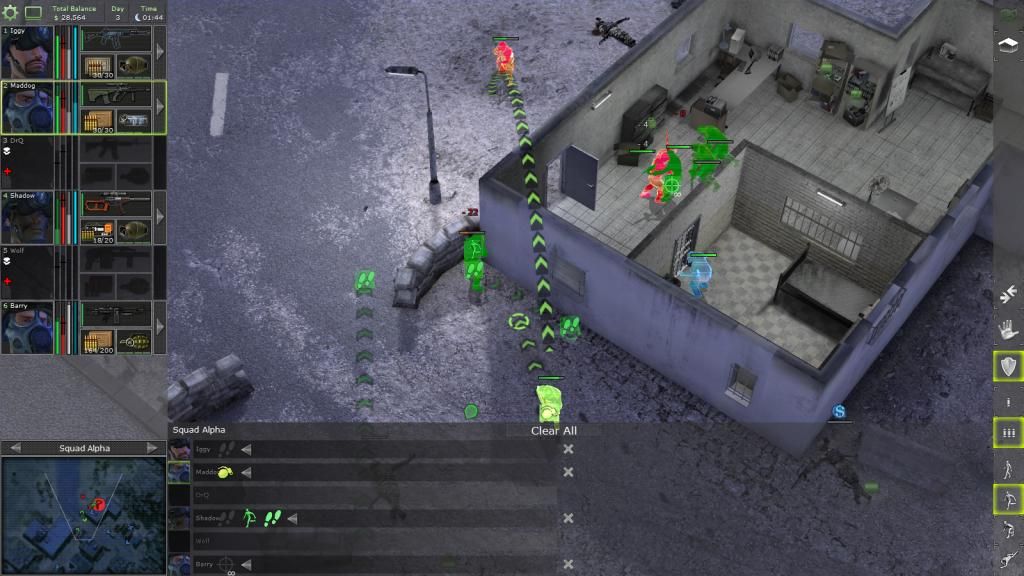
We then used a smoke grenade to cover MD as he heals the team.
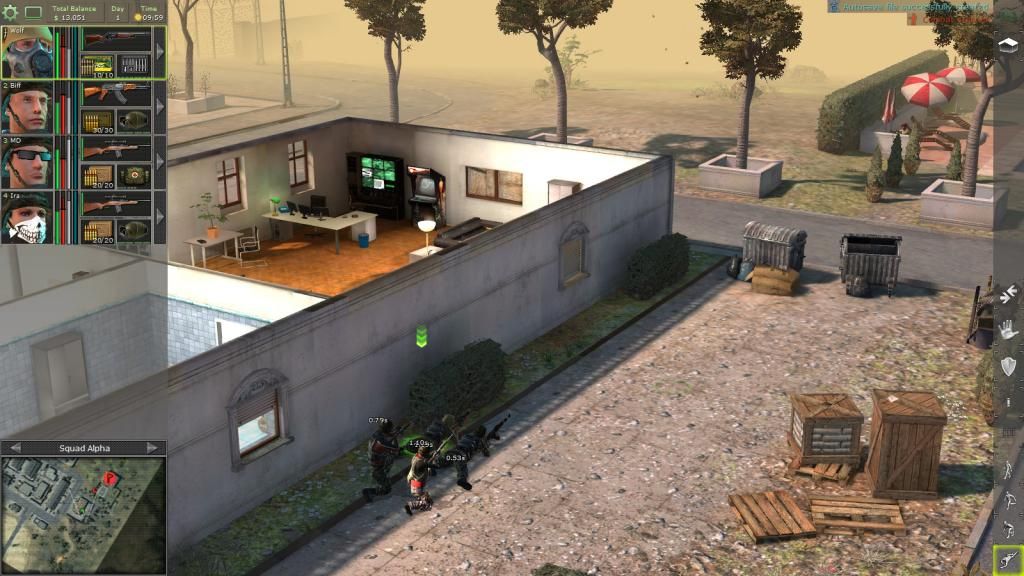
This is level 5 opposition.
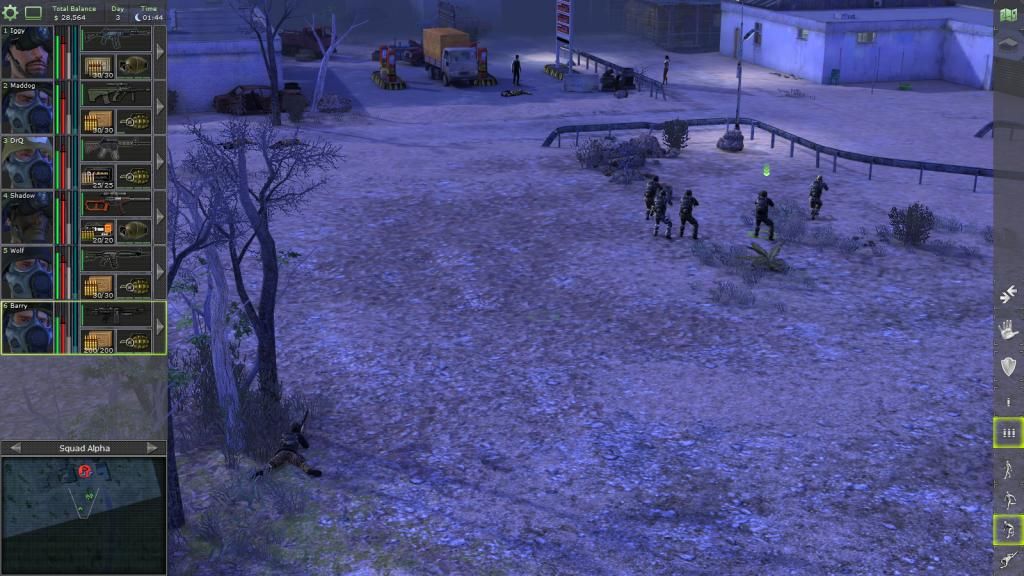
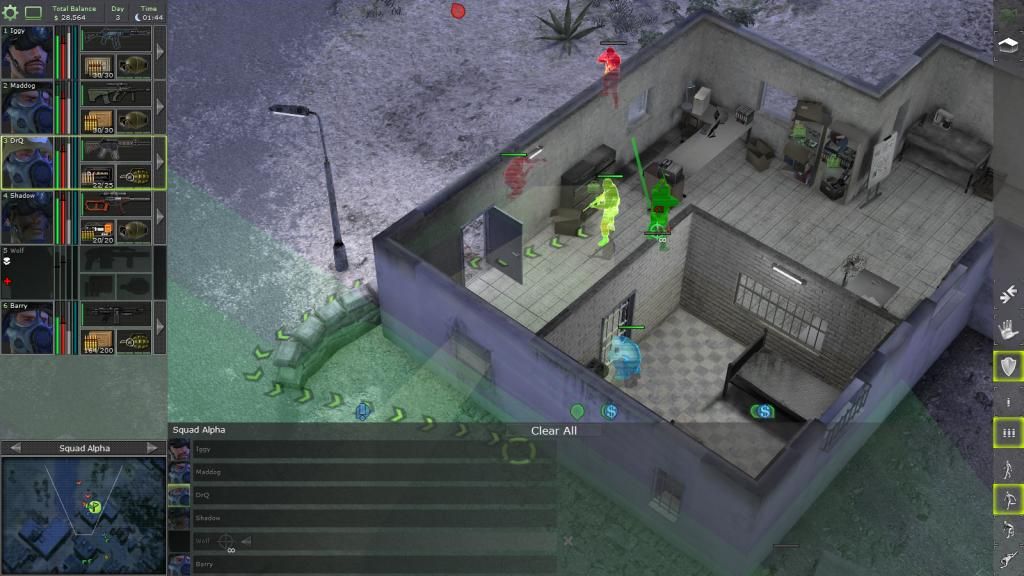
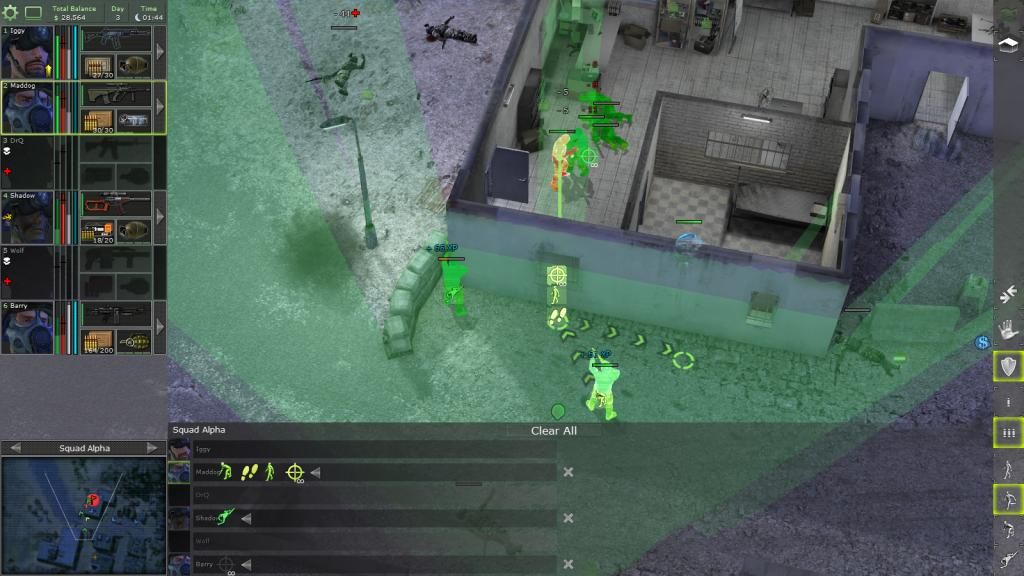
Utilising cover, the team slowly advance towards the mansion and clear it.

Kingpin wants us to liberate San Mona in return for lots of cash.
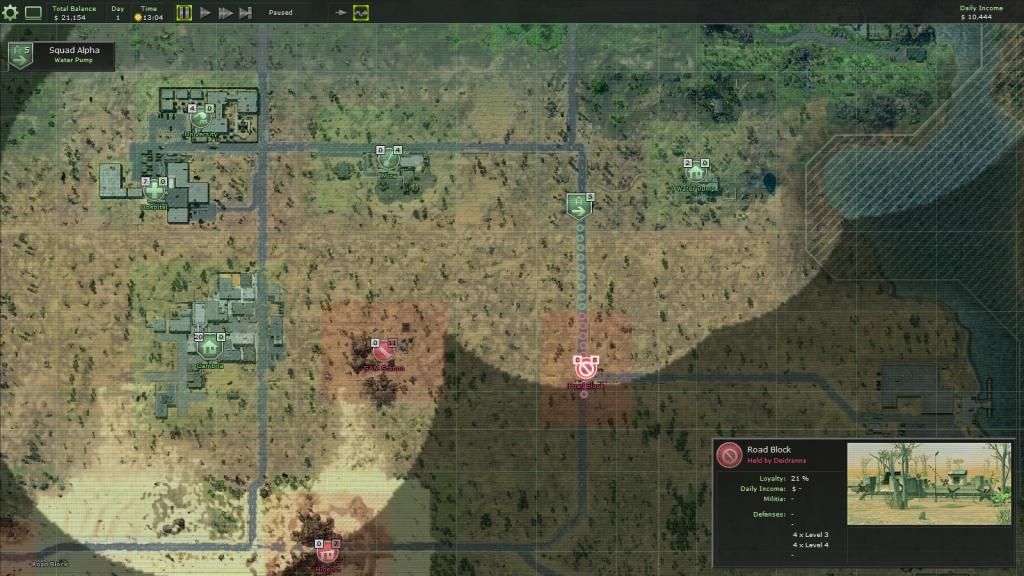
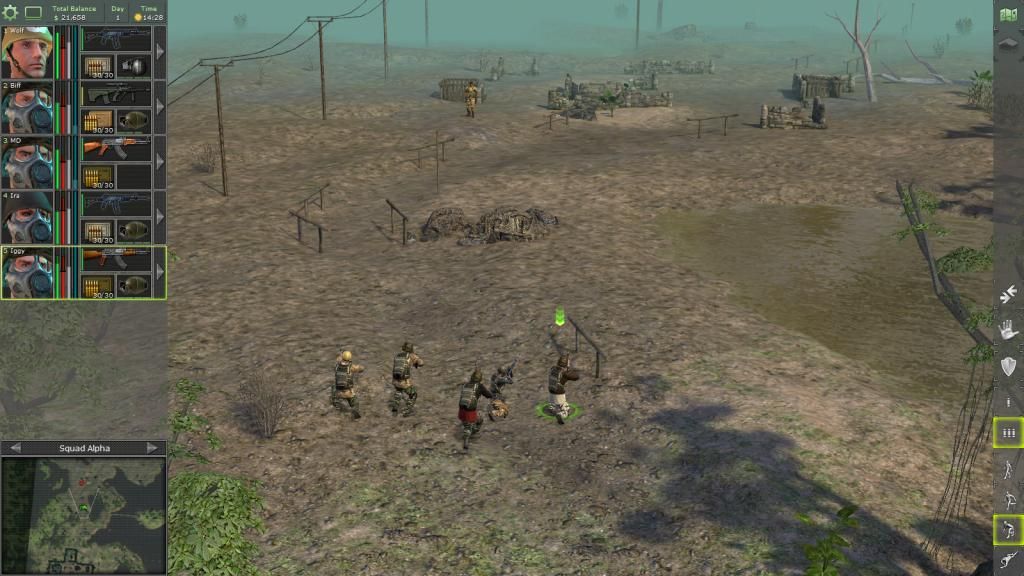
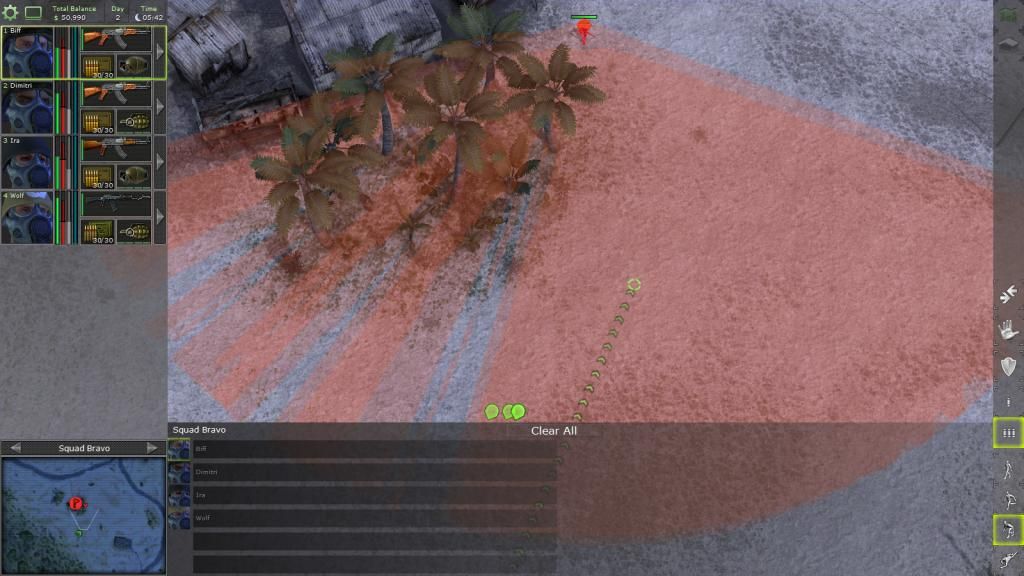
San Mona only have one strategic point, this street leads directly north to it.
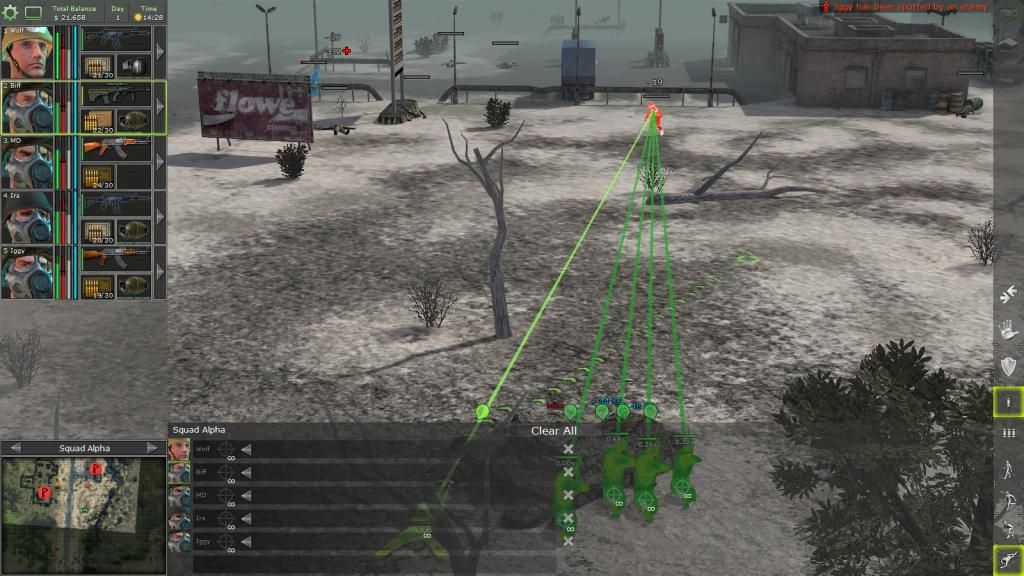
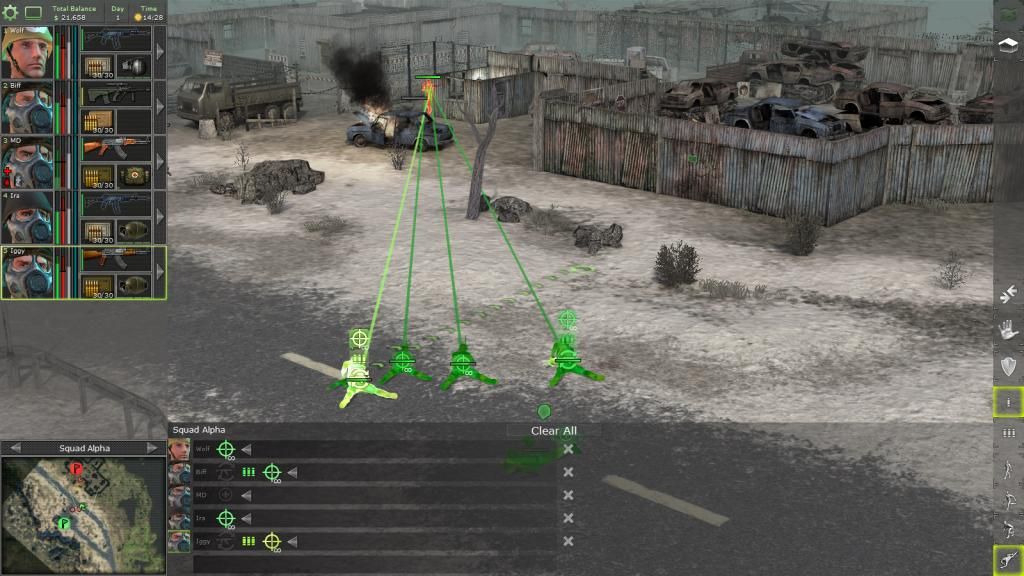
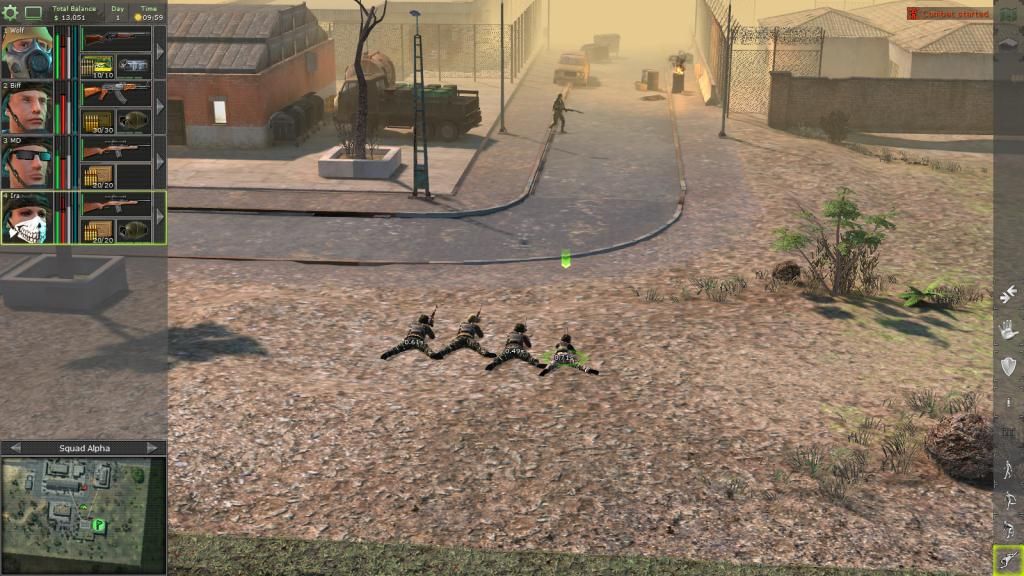
In contrast to my SOP of using cover, the team prones on the ground and crawl and shoot their way forward.

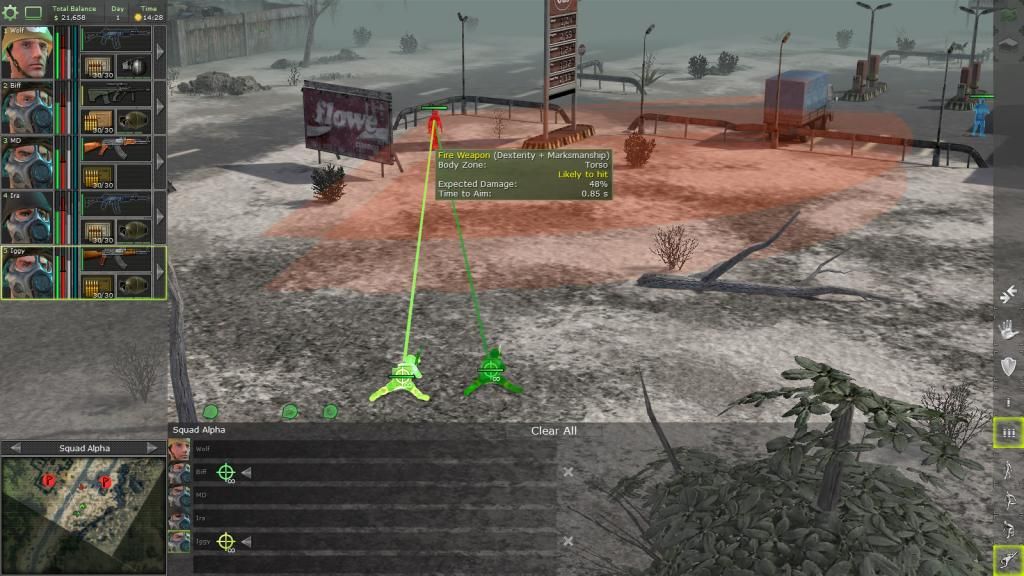
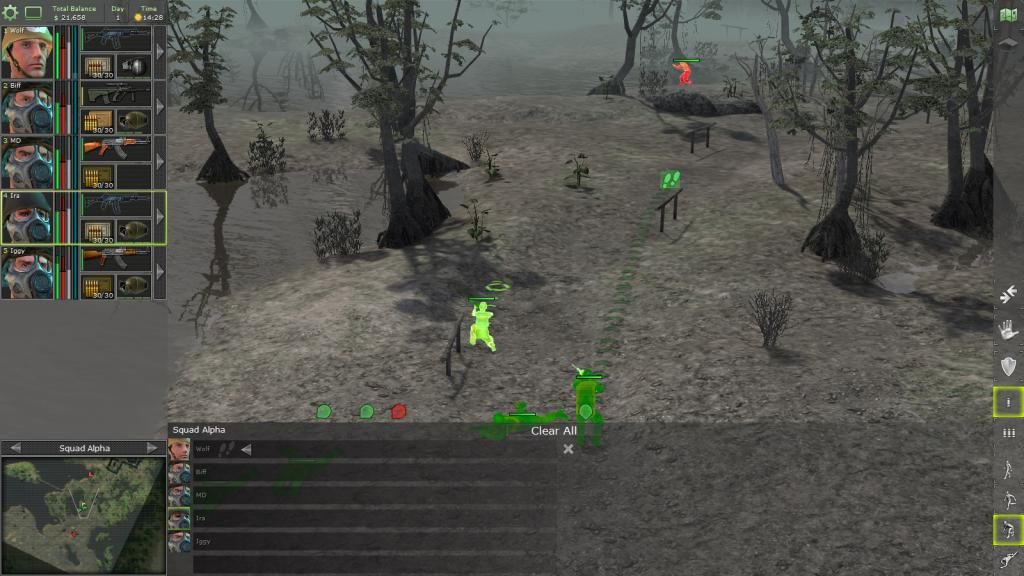
The trick is to spot them first and kill them before they can fire at us.
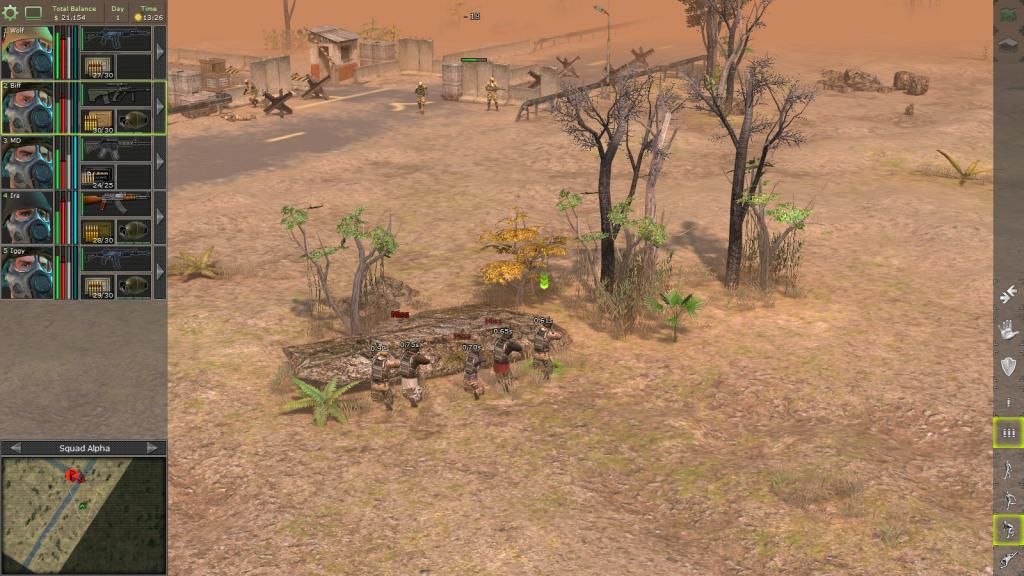
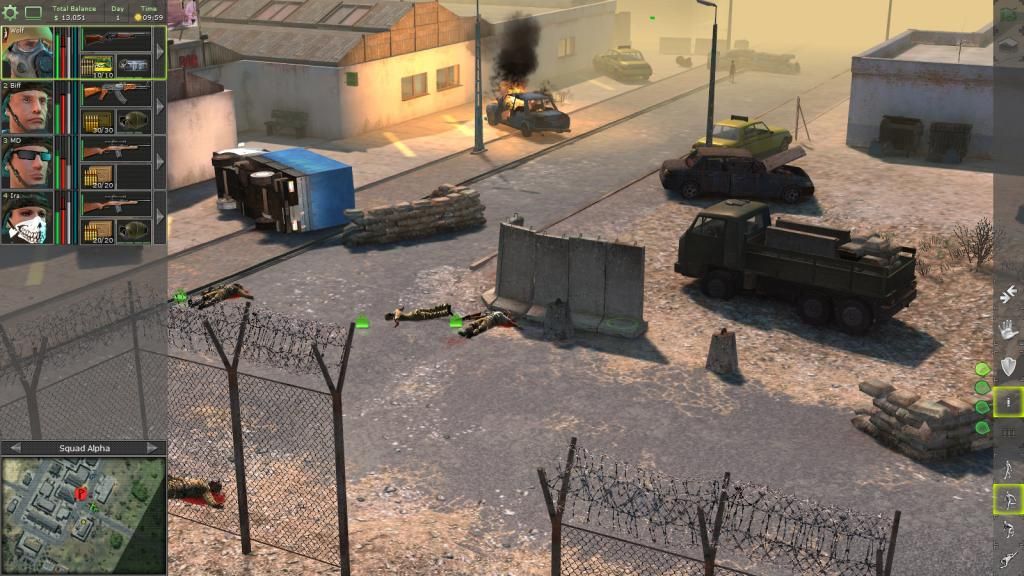
Finally reach cover, lots of bodies, mostly lower level opposition so it was easy.
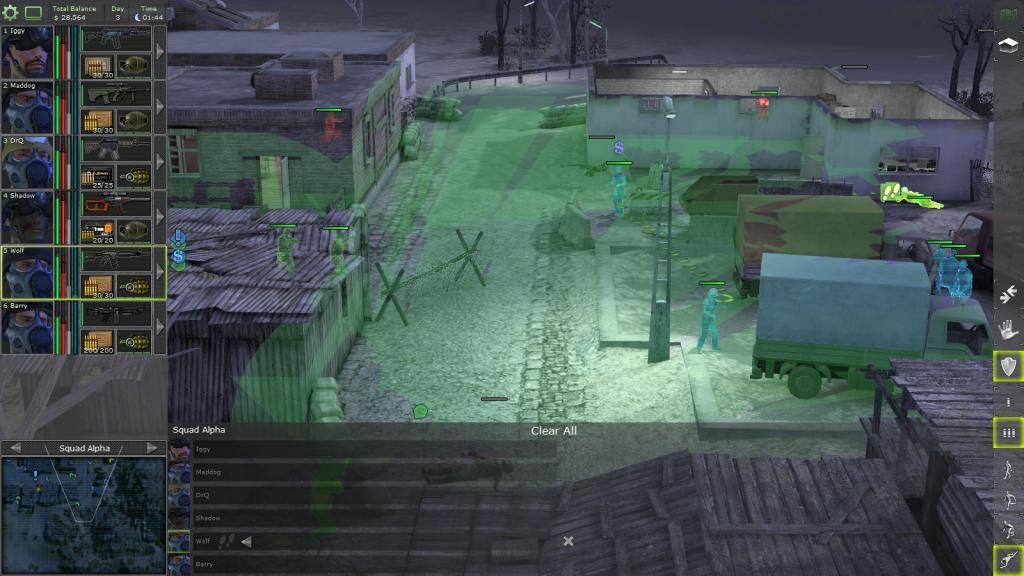
View of the bar from the east street.
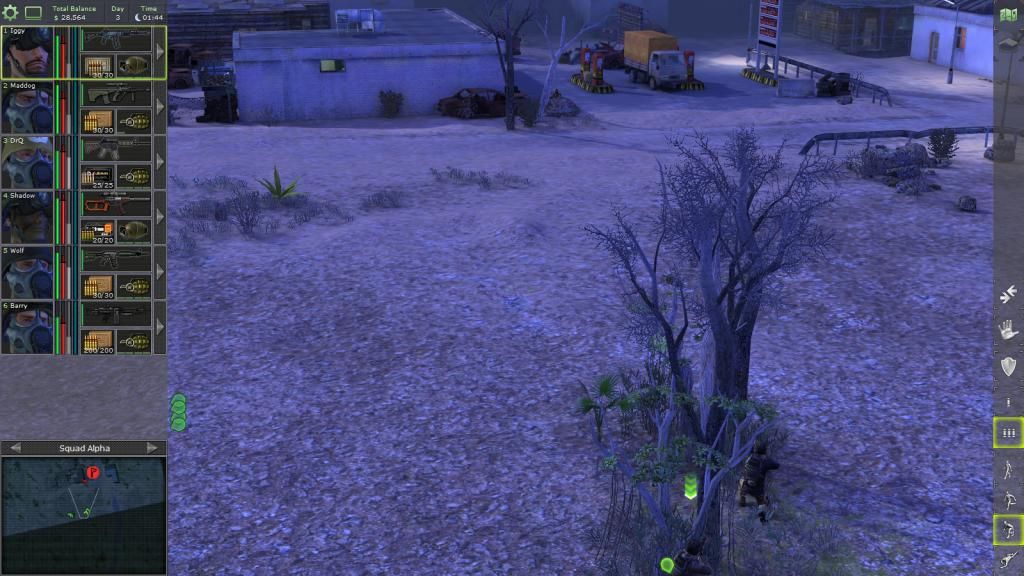
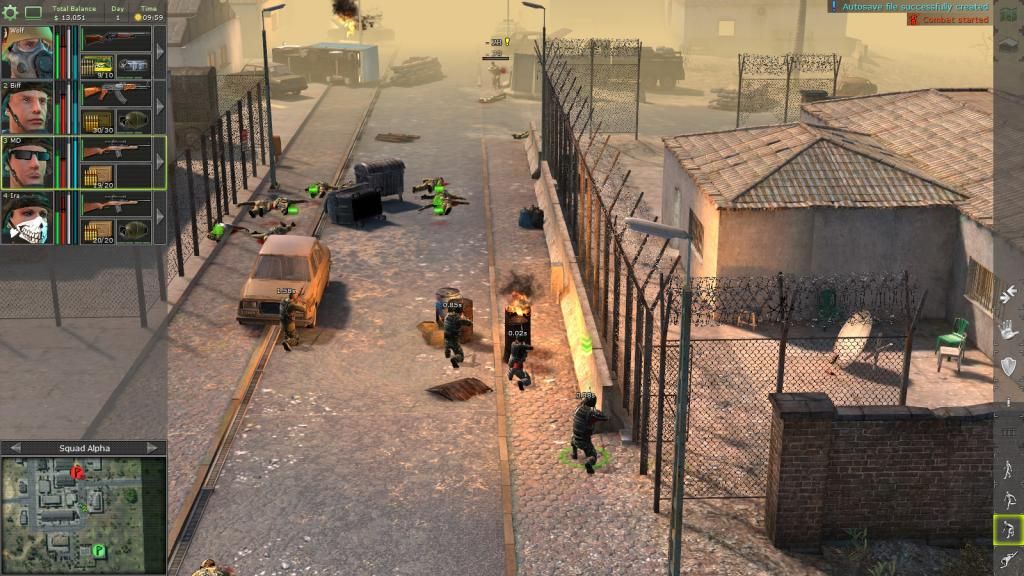
Continue using cover and advance north, clearing the street in front of the bar.
Squad watches the front door leading to the bar wiping out the last resistance that pops into view.
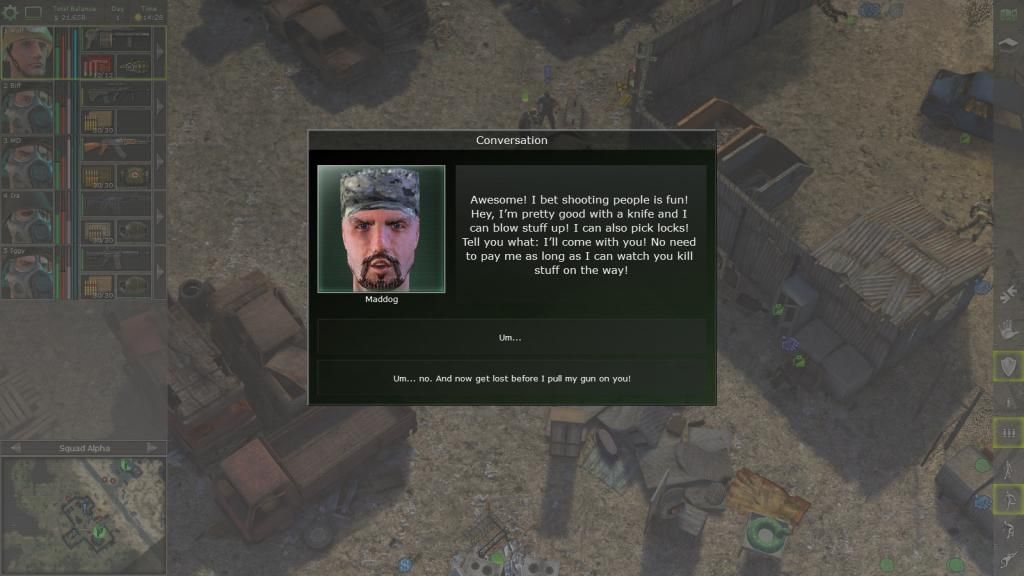
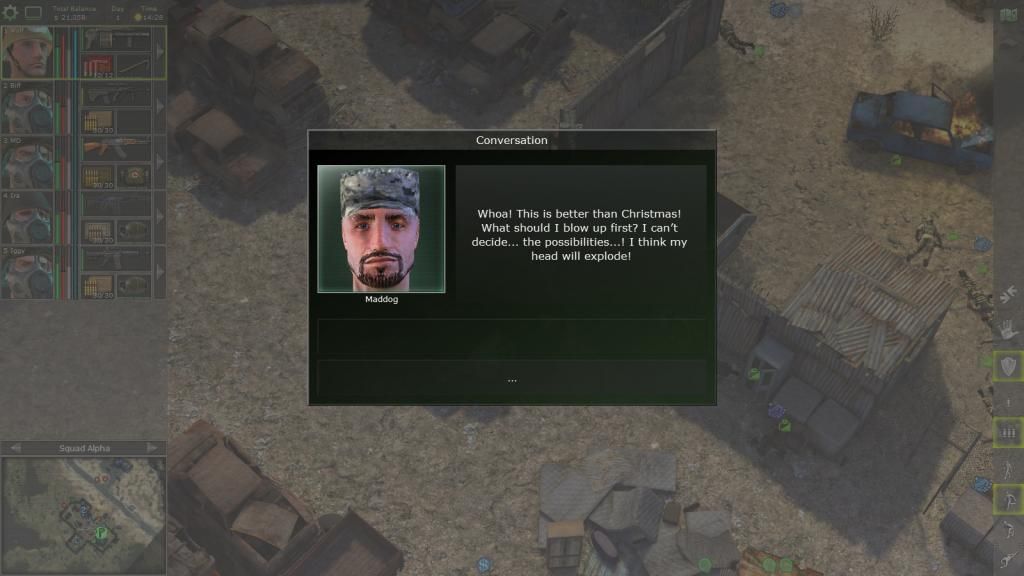
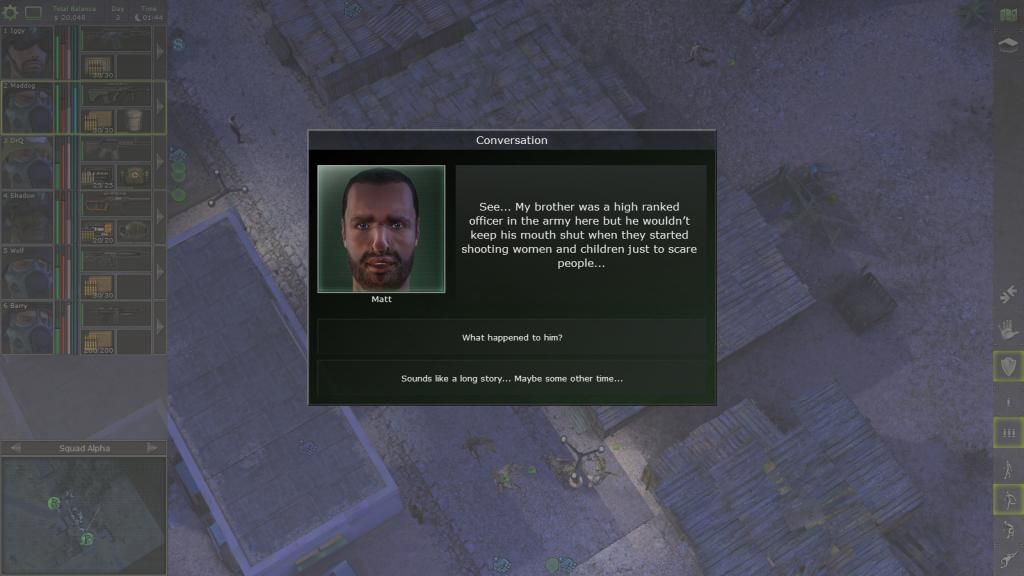
Who's that?
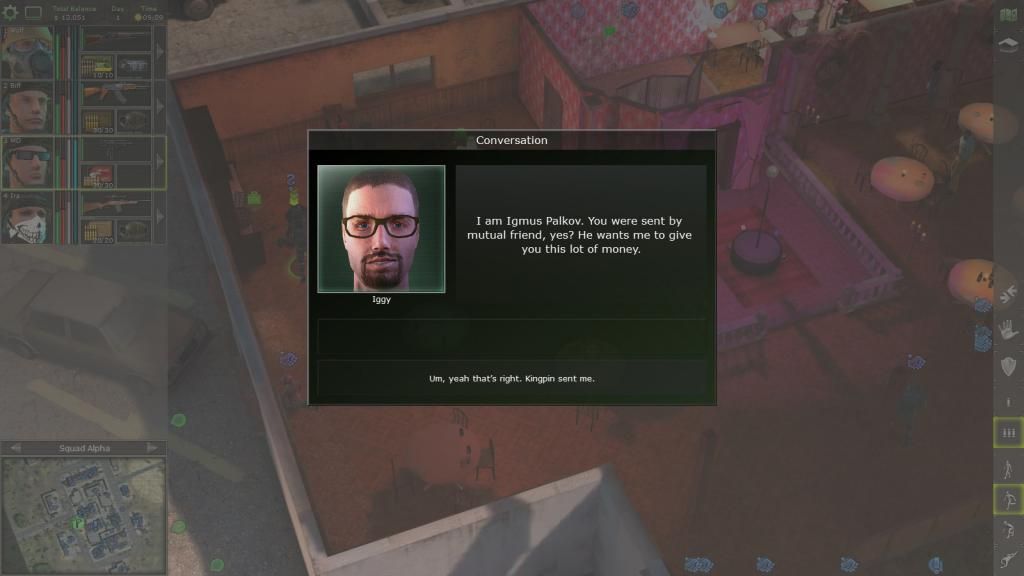
He gave us $50,000. (/^▽^)/

Too bad Mike isn't in this game.
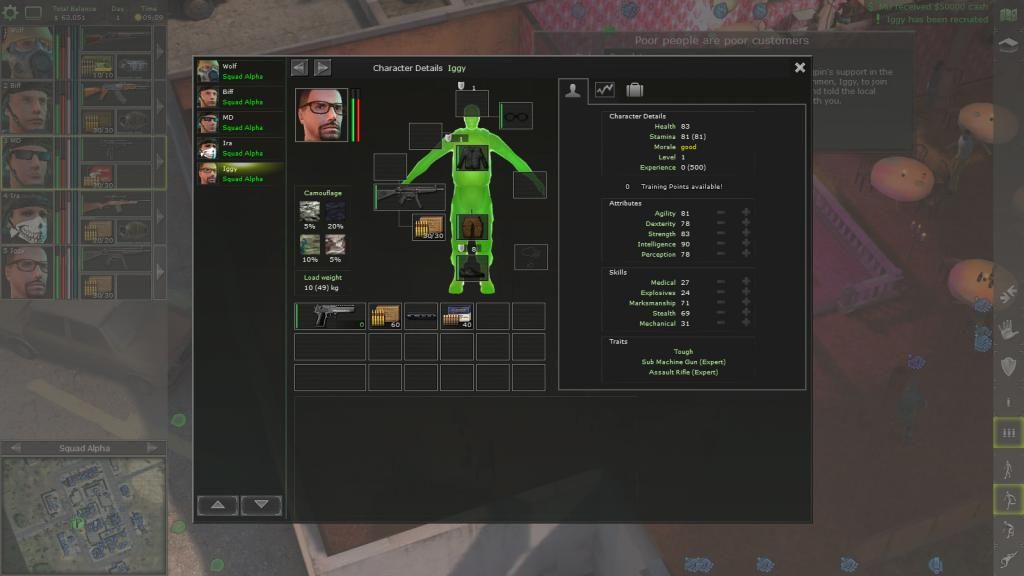
Iggy is one of the best mercs in the game.
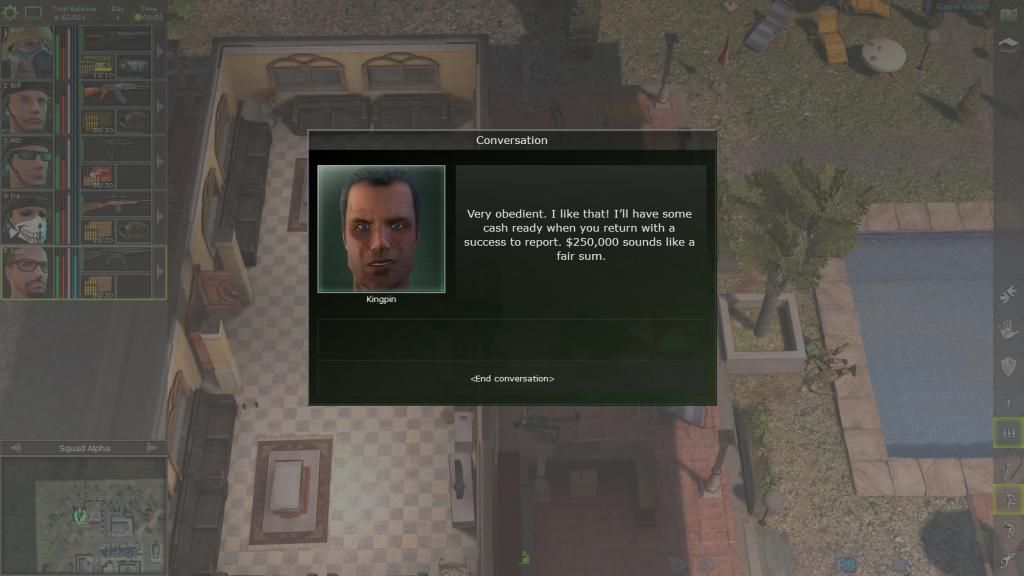
Reporting back to Kingpin, he promises $250,000 if we liberate Balime.
That's a lot of money!
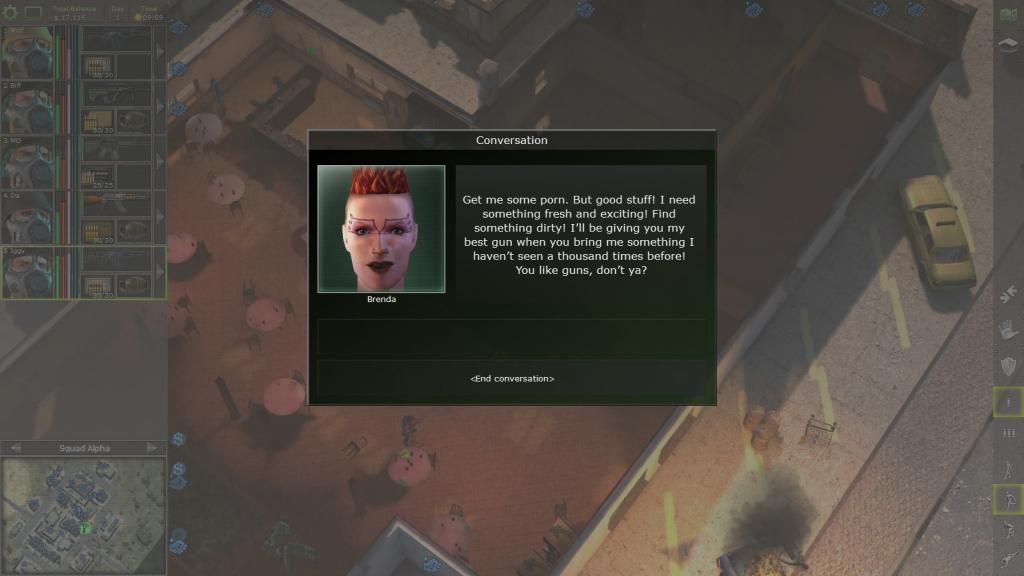
A bar denizen wants us to find a lesbian porn magazine for her. Too bad the mod remove the magazine in San Mona, there was one at the Drassen Airport.
Speaking of porn, there is another type of porn in this game.
Gun porn.
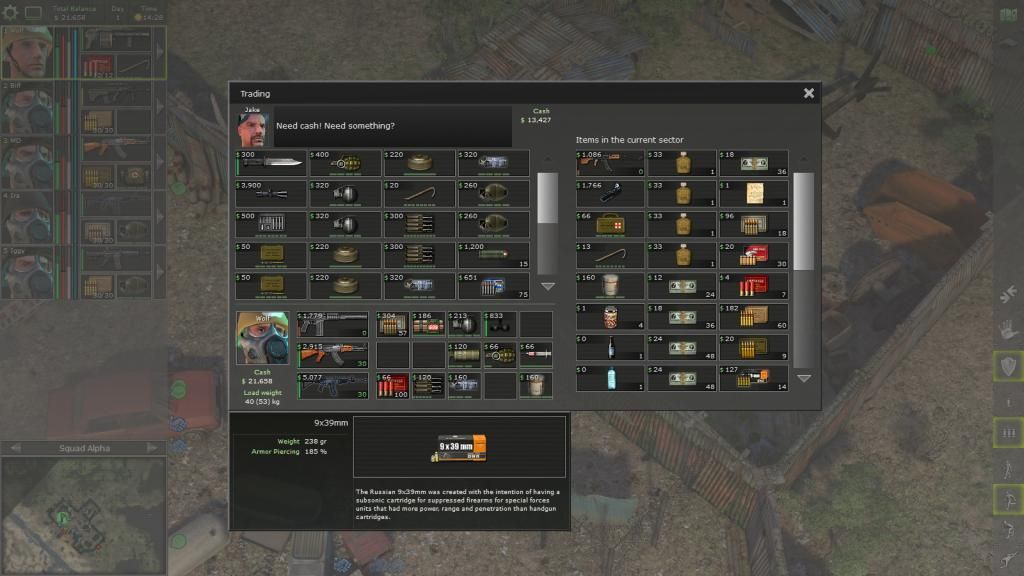
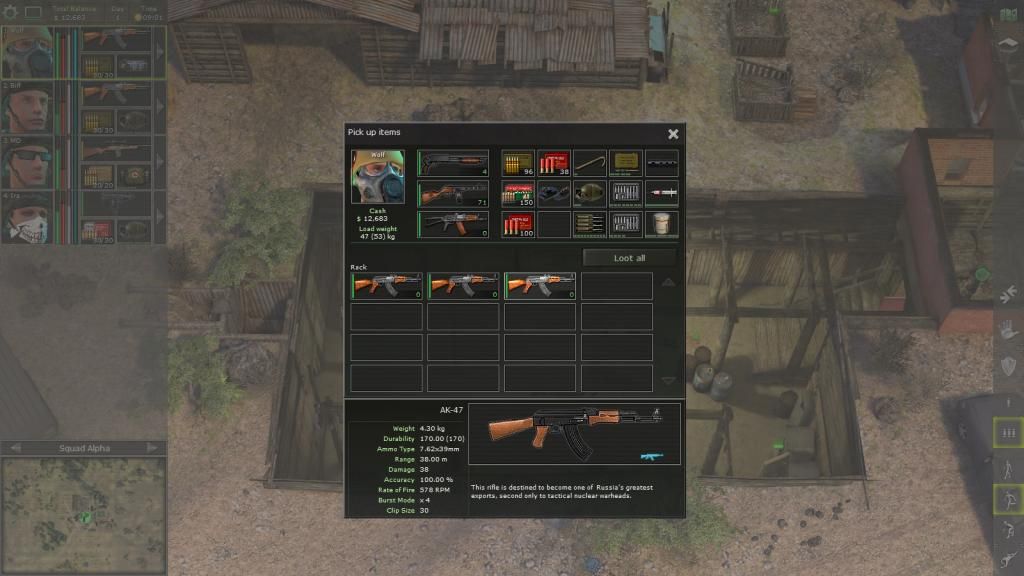
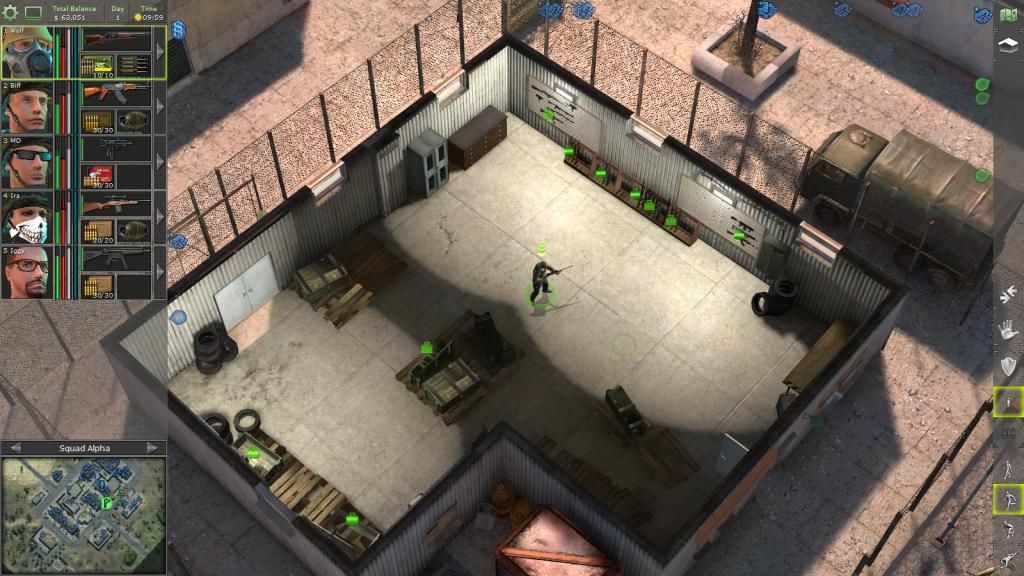
One of the locked buildings in San Mona has an arsenal of weapons.
There are plenty of excess guns that will be sold for cash.

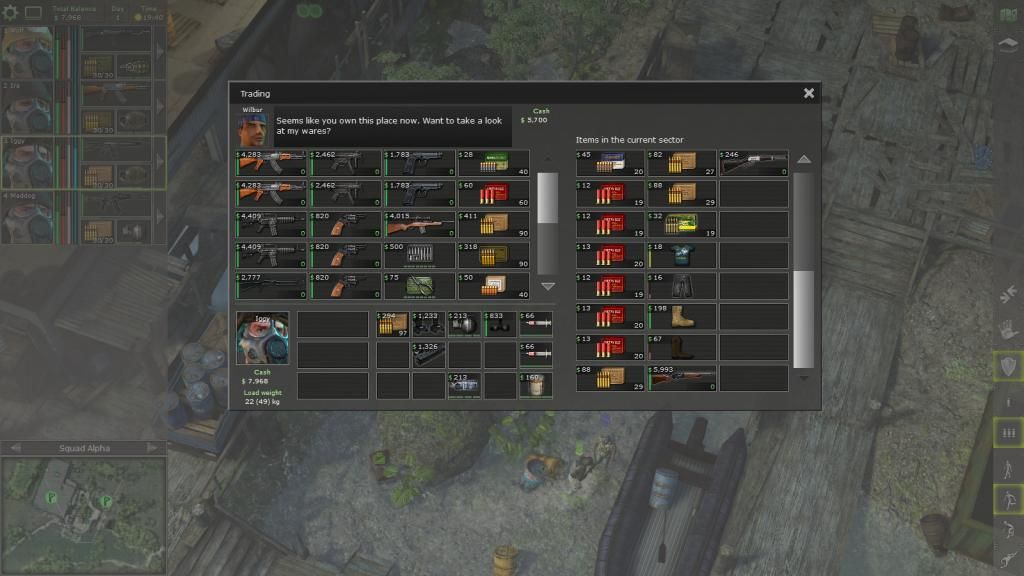
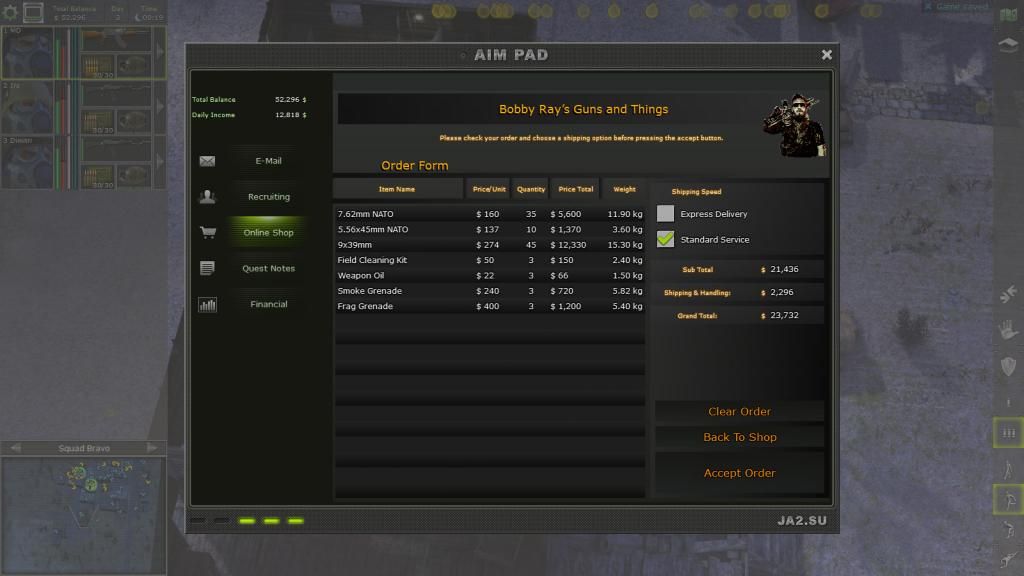
Tony the weapons dealer also have tons of guns to sell.
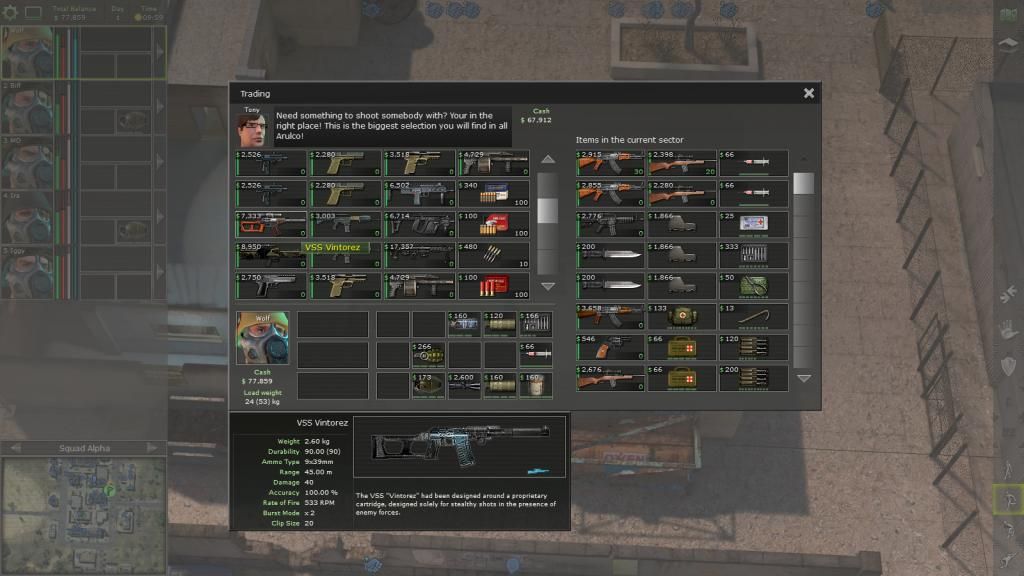
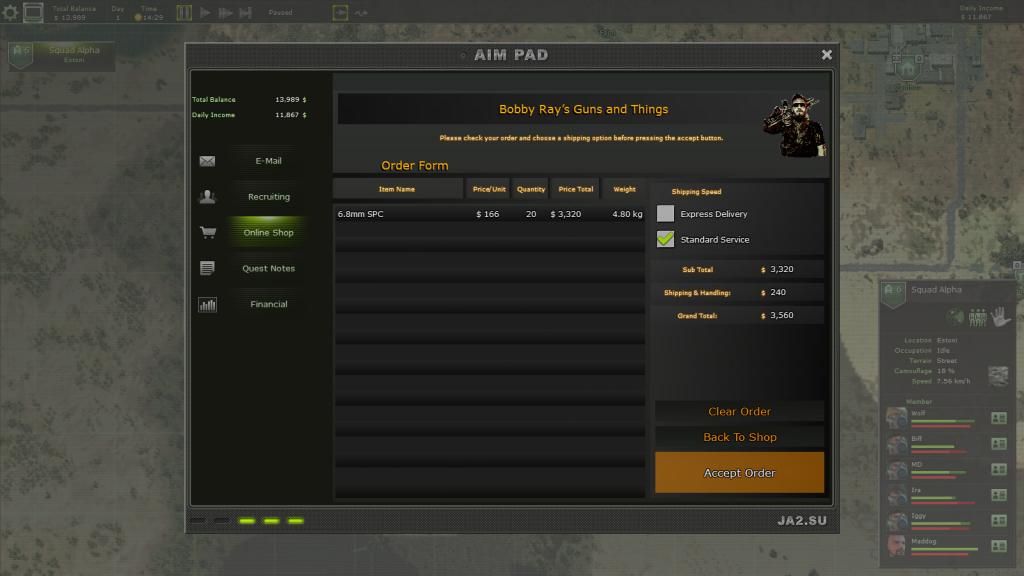
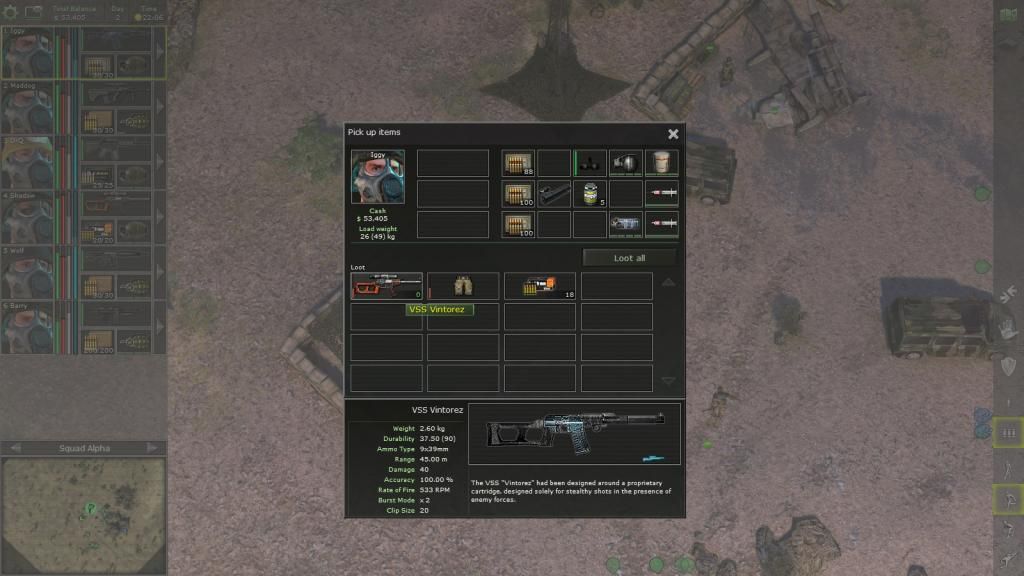
VSS Vintorez, I bought this, a 'silenced' sniper rifle that is like an assault rifle. High ROF, 2 shot burst mode, extremely accurate, but uses expensive 9x39mm ammo.
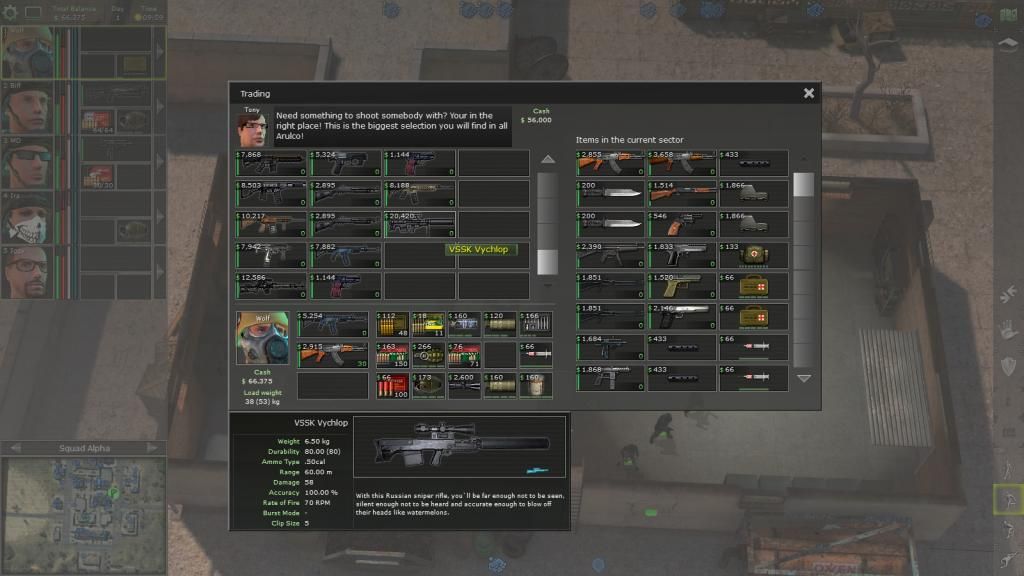
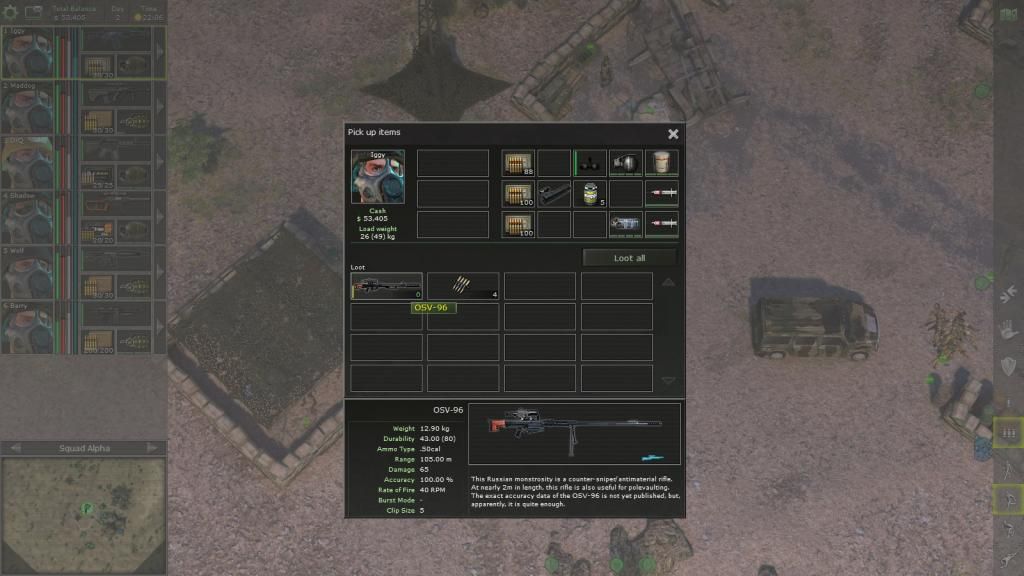
A 'silenced' AMR, too bad silenced weapons are bugged and aren't actually silent.
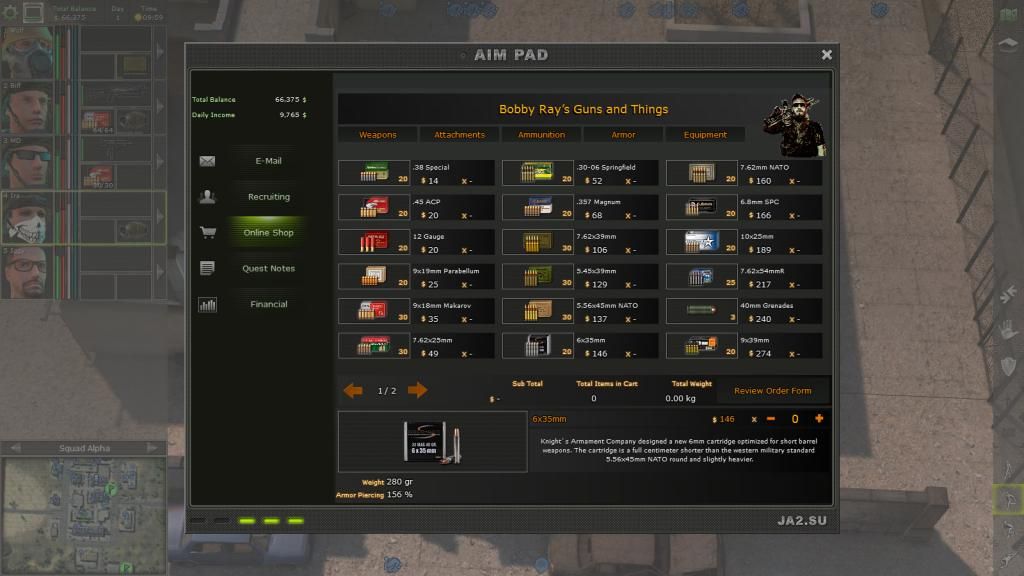
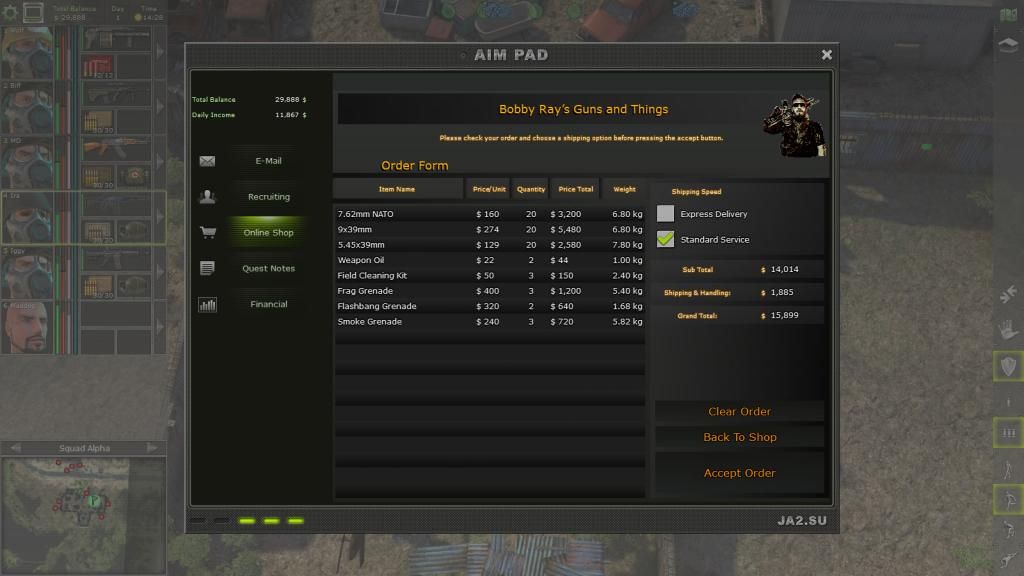
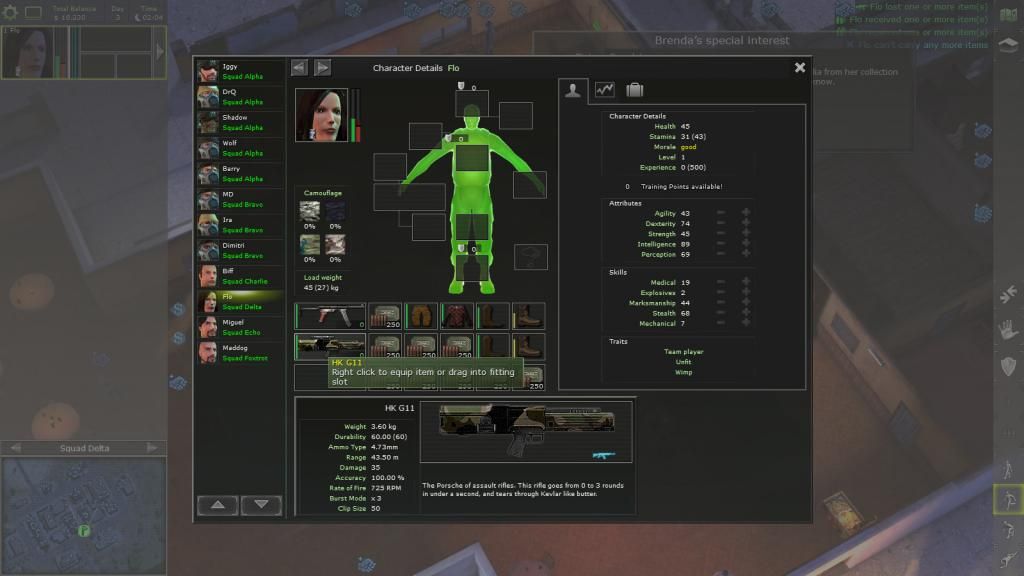
Looking at all these guns made me look at Bobby's Ray's ammunition catalog, some of which I never heard of.
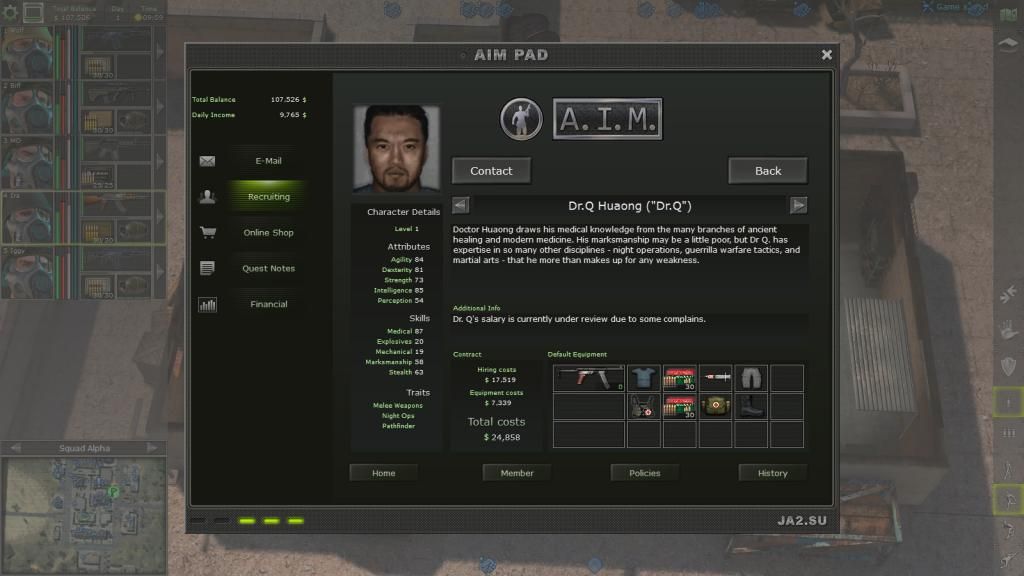
With the 100k money we made, time for some hires.
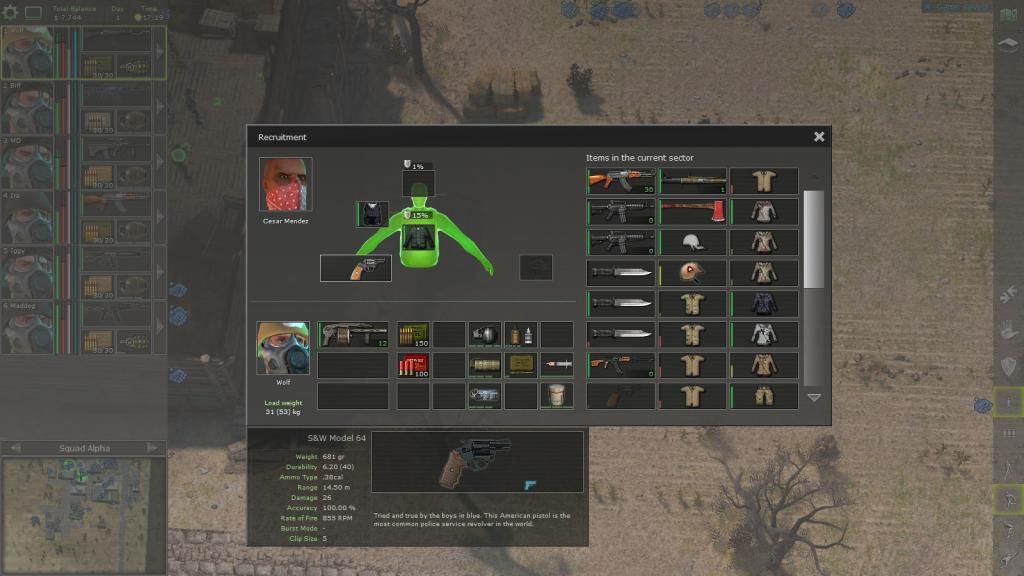
First we get Dr. Q.
Why? He has the pathfinder trait and is also a doctor, good for a second team.
On the other hand, his perception is terrible and he has so-so stealth and marksmanship.
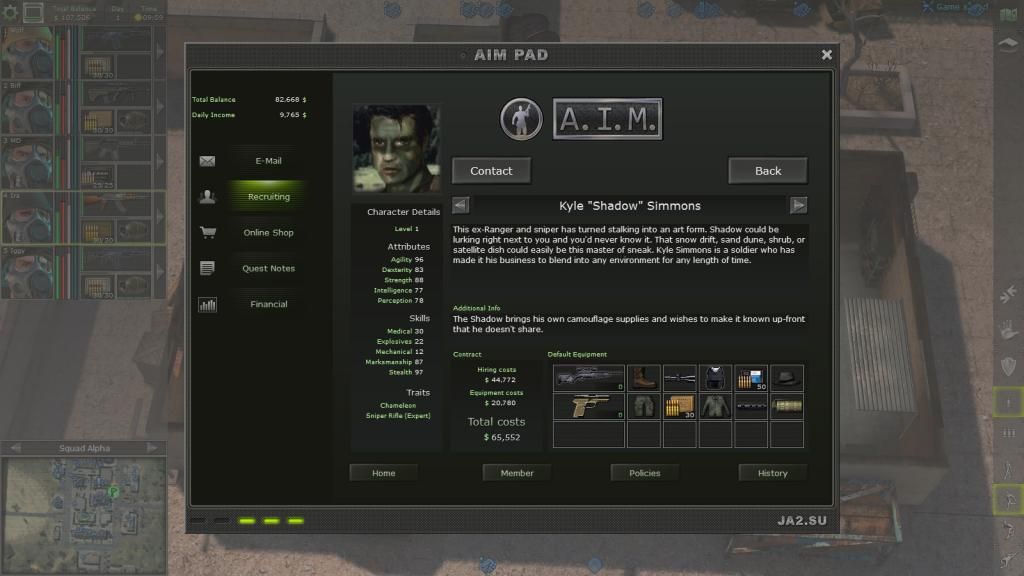
Next we hire Shadow, one of the most expensive mercs, he is a Sniper specialist, the stealthiest mercenary in the game and has the chameleon trait.
He makes a good scout and sniper, which is an odd combination as you usually don't want the scout to snipe.
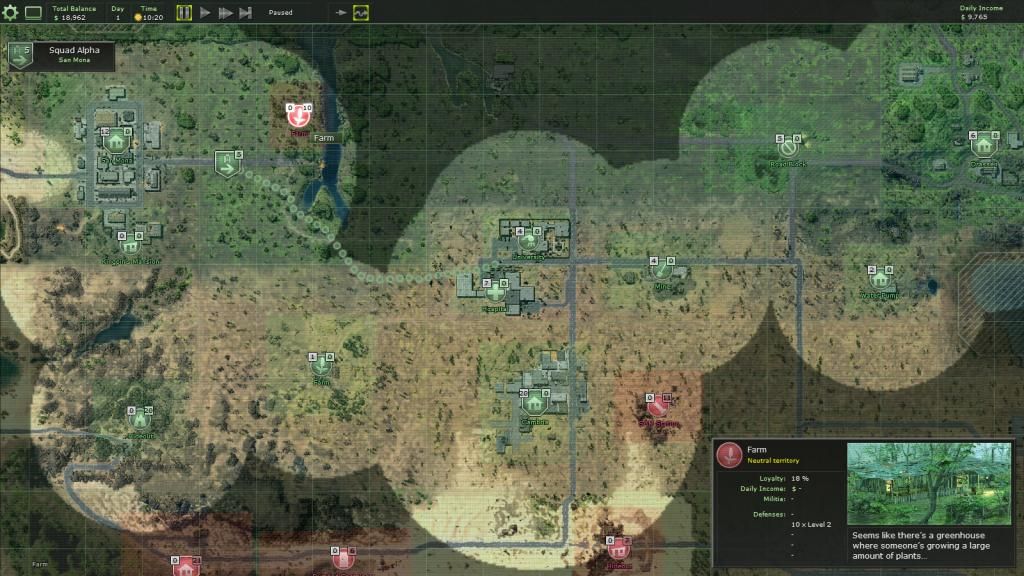
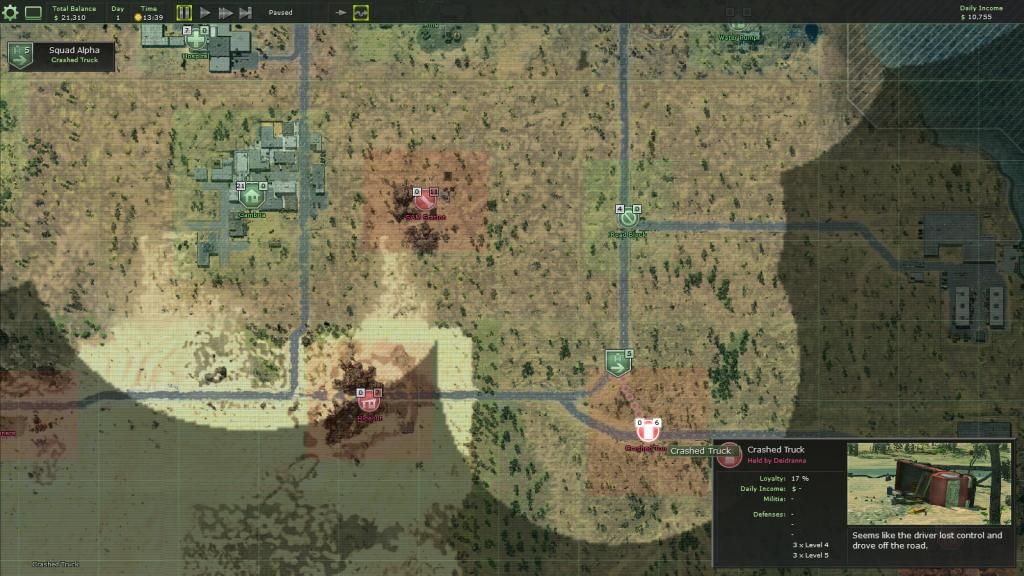
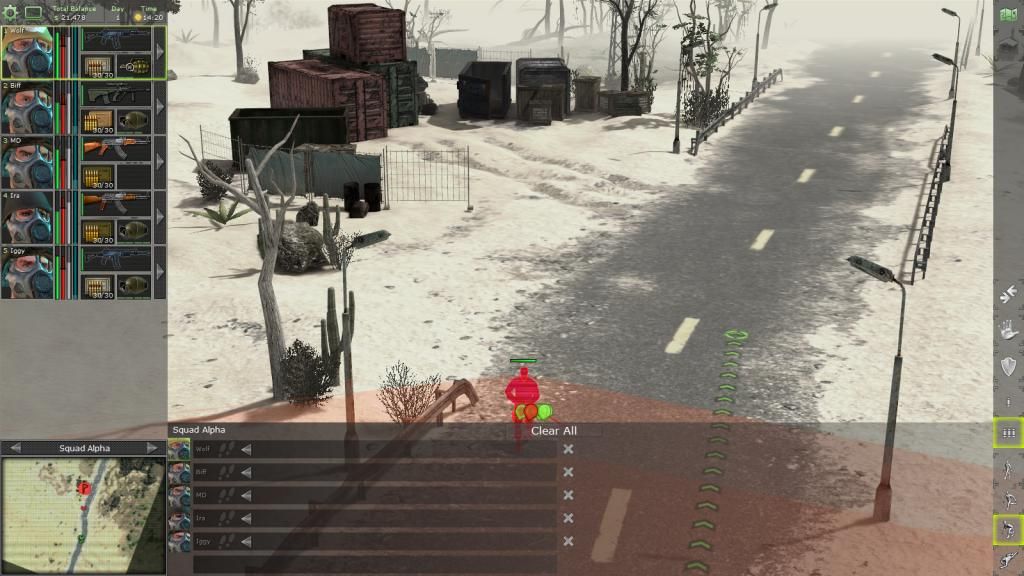
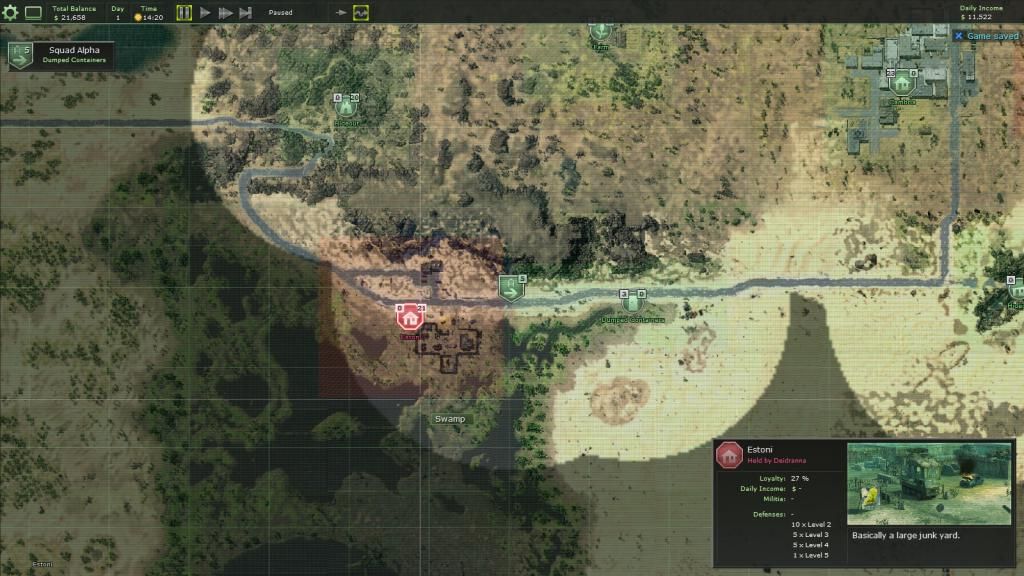
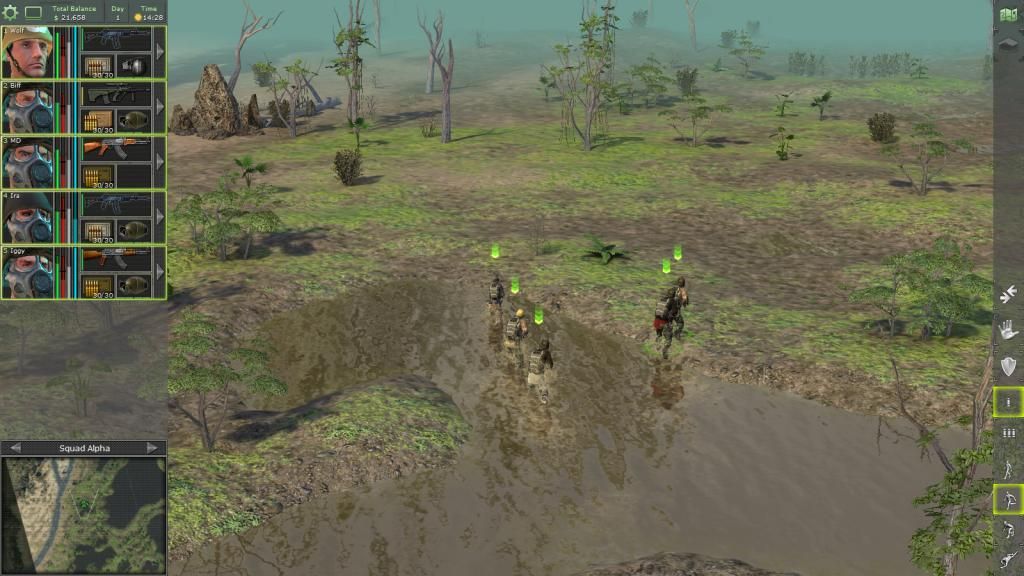
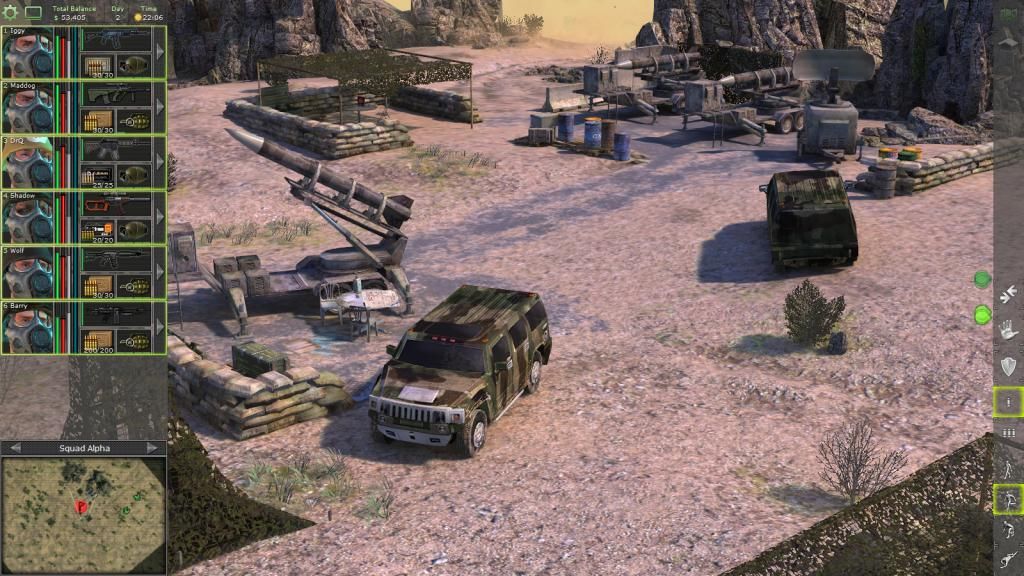
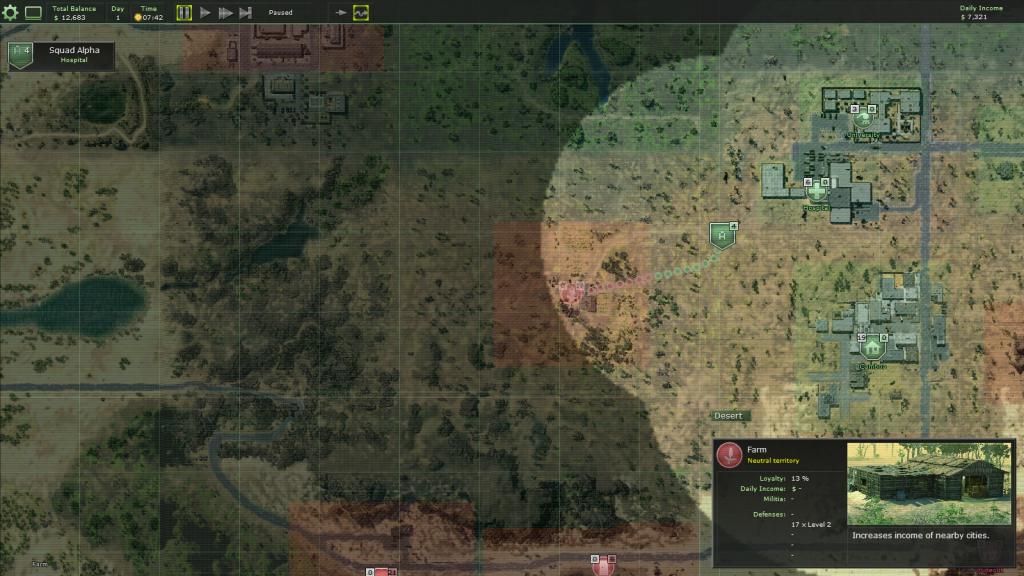
Returning to Cambria, we spot a lightly defended greenhouse farm.

Day 1 1020
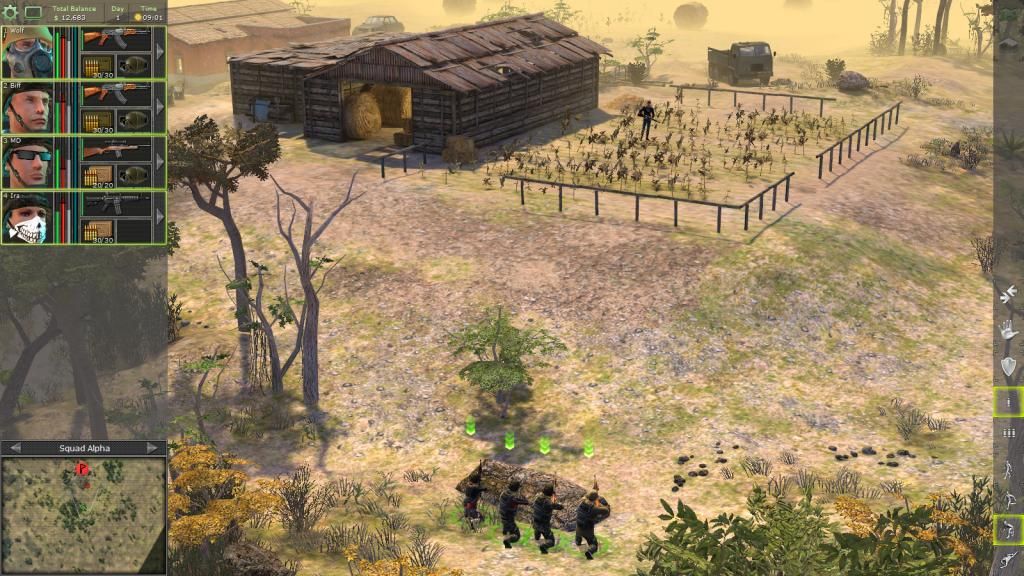
Greenhouse farm
The squad are wearing the gas masks and using the guns we found and bought in San Mona.
Wolf and Iggy are using IMI Galil chambered for the 7.62 NATO.
Biff is using a Steyr AUG.
MD is using an M4A3 Bushmaster chambered for the expensive 6.8mm SPC.
Ira wields an AKM.
Not using the VSS Vintorez as we don't have enough ammo atm.
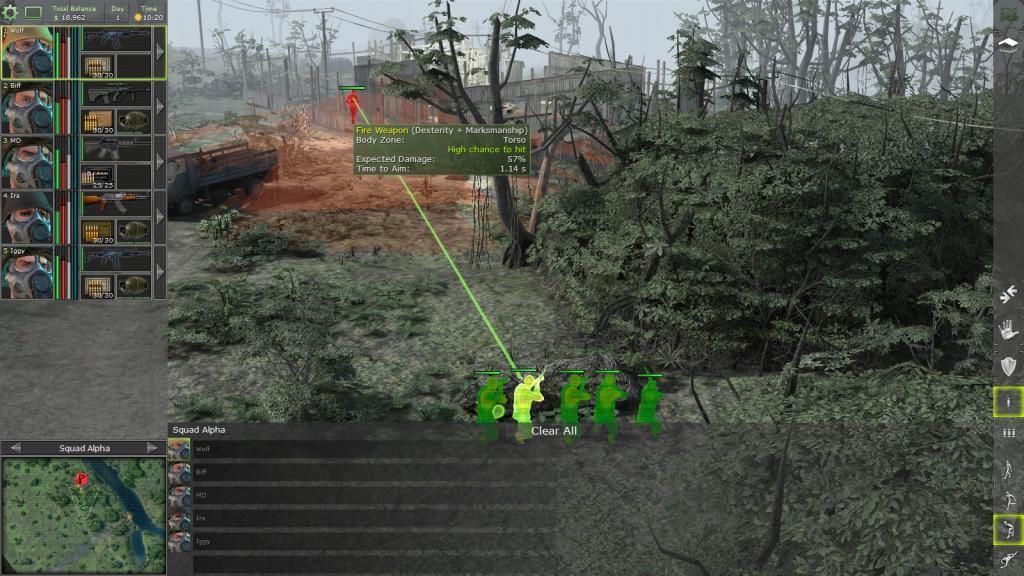
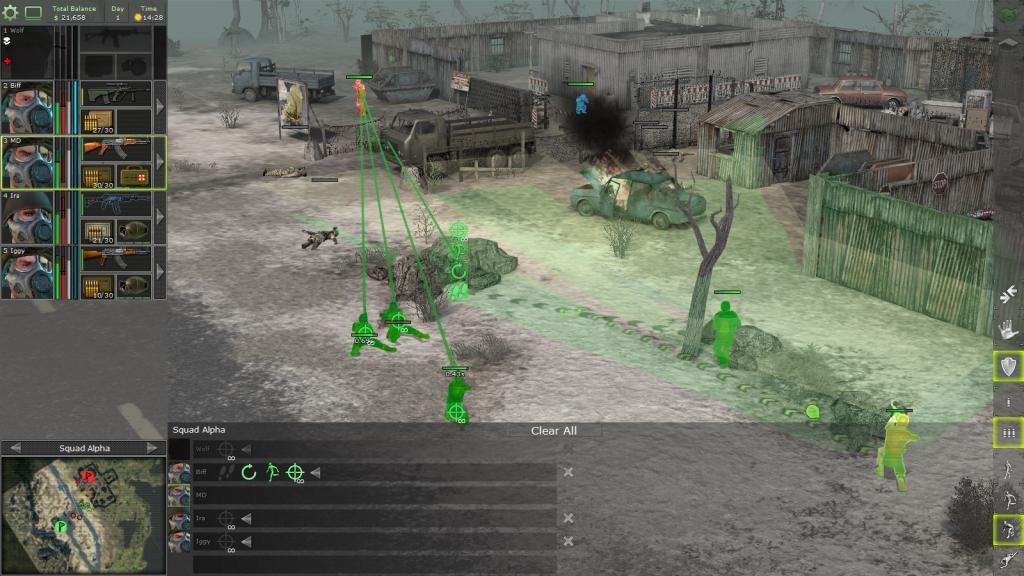
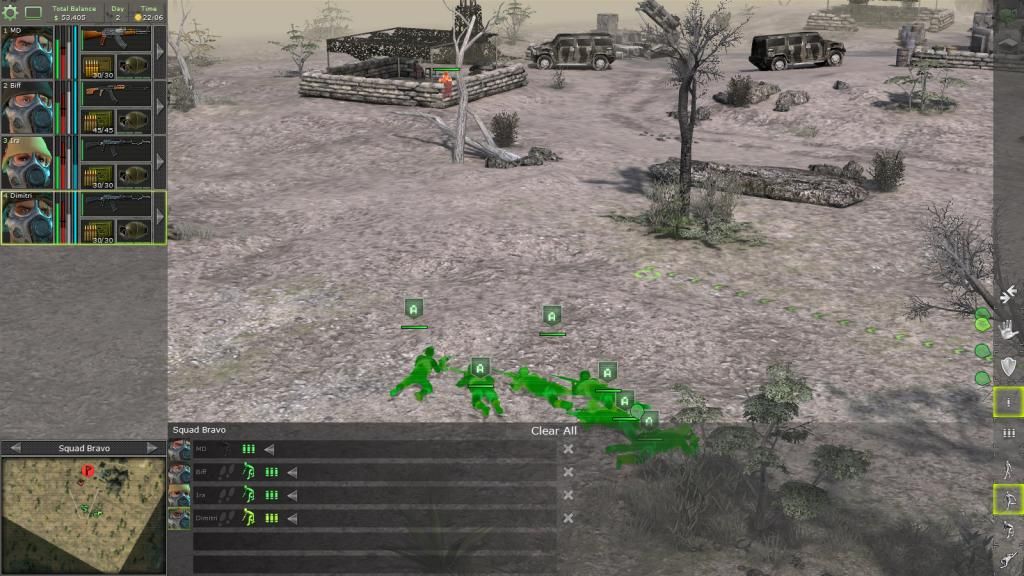
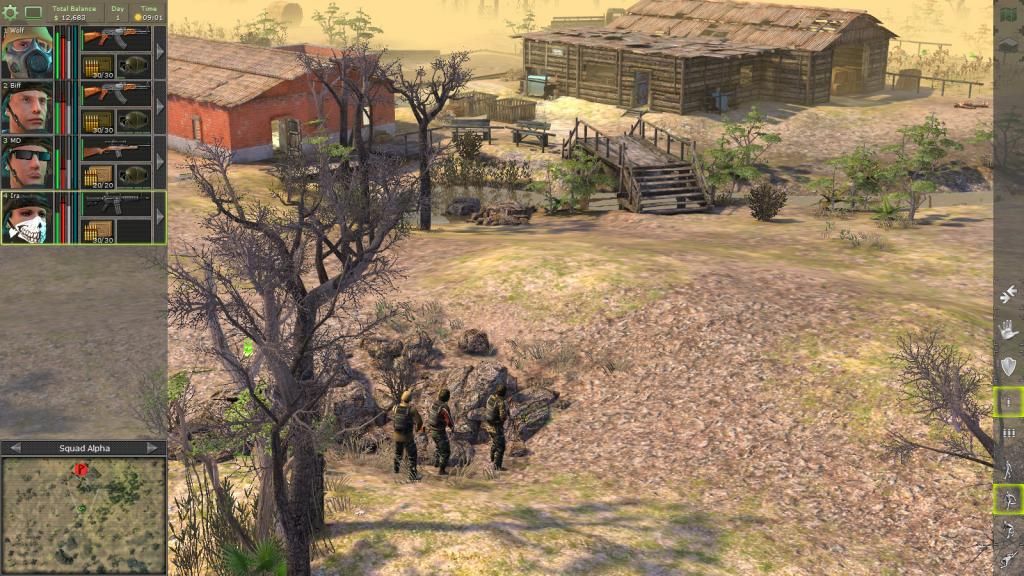
Advance north using rocks as cover.
Grenade this annoying guy who won't come into view, he managed to run away from the explosion.
Our scout was spotted but took little damage due to range, armour and a lousy weapon.
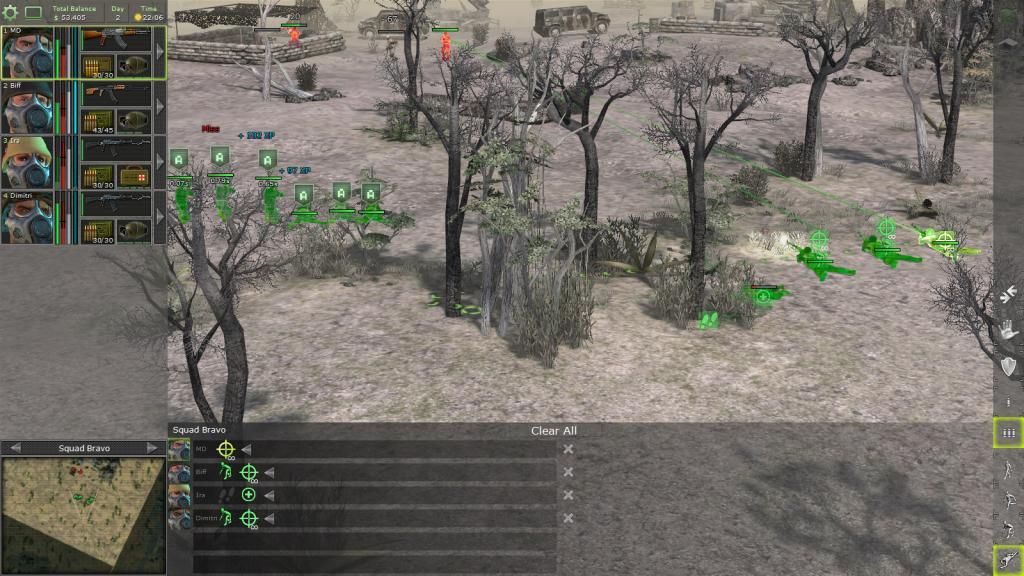
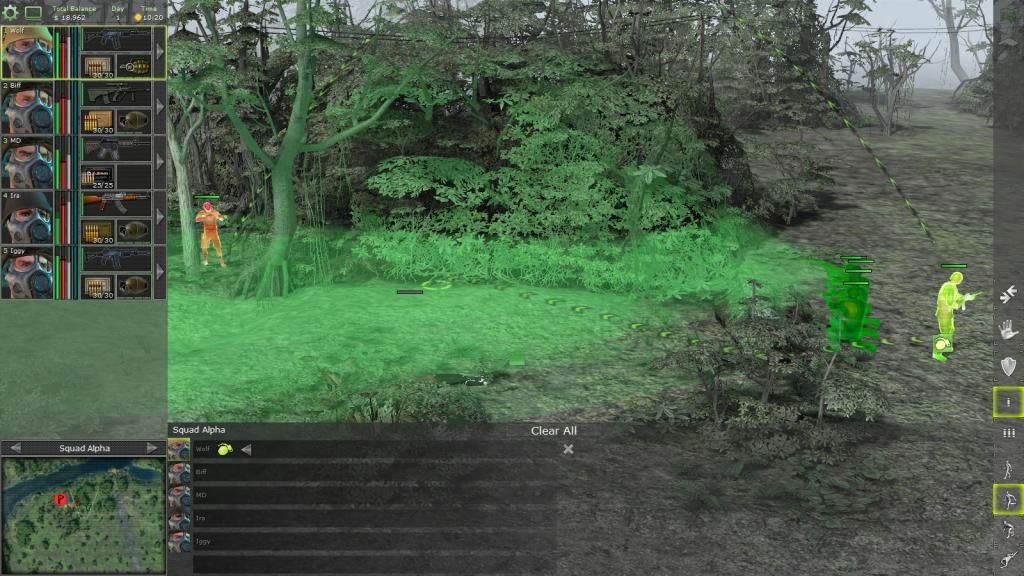
Squad left position and move to advance from the west, using the skeleton of a building as cover.
Spotted the annoying baddie who survived the grenade at our previous rock position.
At the end we enter the greenhouse for some hand-to-hand combat.
Just kidding, we use guns, hand-to-hand is to be avoided as it causes a lot of expensive damage to your armour even if you win.
On our way to the rebel hideout to the west, we attack the Hicks farm, 17 level 2 should be easy.
Day 1 0742
Hicks Farm
They have a bunker in the orange house.
SOP is to find some rocks and start shooting.
Move to another bunch of rocks...
... start shooting.
Switch to smgs and advance and clear barn.
This ladder leads to the bunker, we tossed a grenade down but it didn't seem to do anything. Climbing down here will be suicide.
Instead we enter through the house, got some injuries as they have the superior cover.
The bunker has some butchered corpses as well as lots of guns, Ak47s for everyone!
Some gun I never heard of. We get some guns but not much ammo.
Skyrider's crashed helicopter is on this map and we recovered his diamonds.
Continue our march west to the rebel hideout.
Found it.
Miguel wants us to help Kingpin in San Mona.
San Mona is nearby to the north, it is a wretched hive of scum and villainy.
Kingpin's mansion is guarded by 2 level 5 soldiers. ヽ(゚Д゚)ノ
Nice.
Unaware enemy spotted behind a wall, 2 mercs crouch and shoot over 2 mercs prone. You can add 2 mercs standing behind those crouching if you want.
The ensuring shoot out left Wolf and Biff near death even behind cover. Sadly I was too preoccupied to take screenshots.
Wolf prones behind cover and grenades an advancing soldier in this picture.
We then used a smoke grenade to cover MD as he heals the team.
This is level 5 opposition.
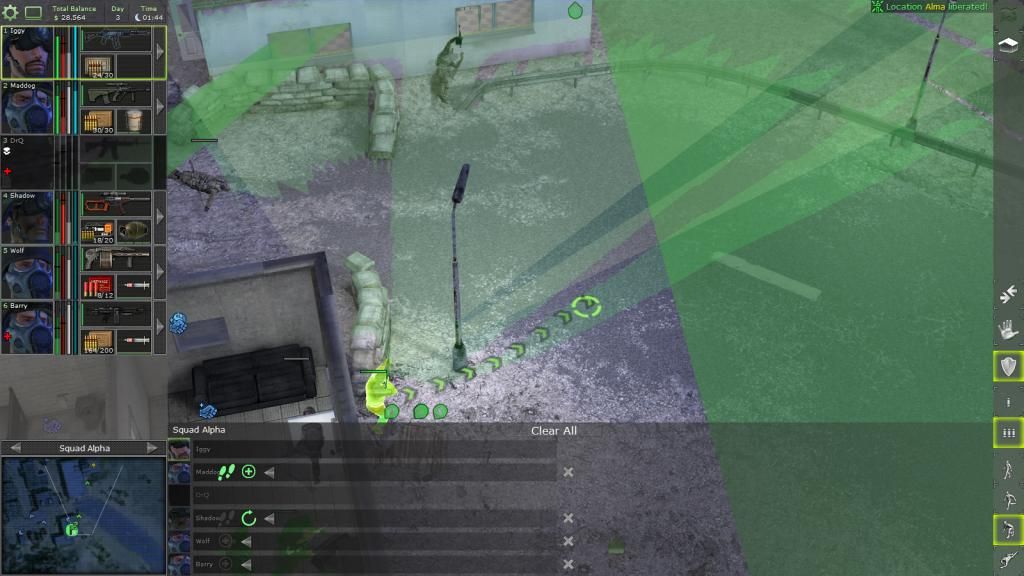
Utilising cover, the team slowly advance towards the mansion and clear it.
Kingpin wants us to liberate San Mona in return for lots of cash.
San Mona only have one strategic point, this street leads directly north to it.
In contrast to my SOP of using cover, the team prones on the ground and crawl and shoot their way forward.
The trick is to spot them first and kill them before they can fire at us.
Finally reach cover, lots of bodies, mostly lower level opposition so it was easy.
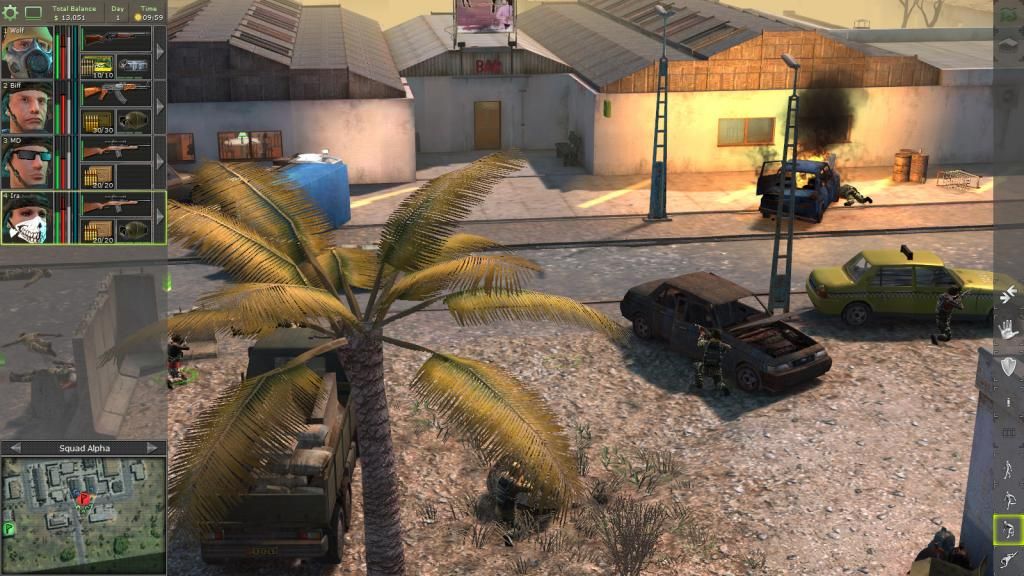
View of the bar from the east street.
Continue using cover and advance north, clearing the street in front of the bar.
Squad watches the front door leading to the bar wiping out the last resistance that pops into view.
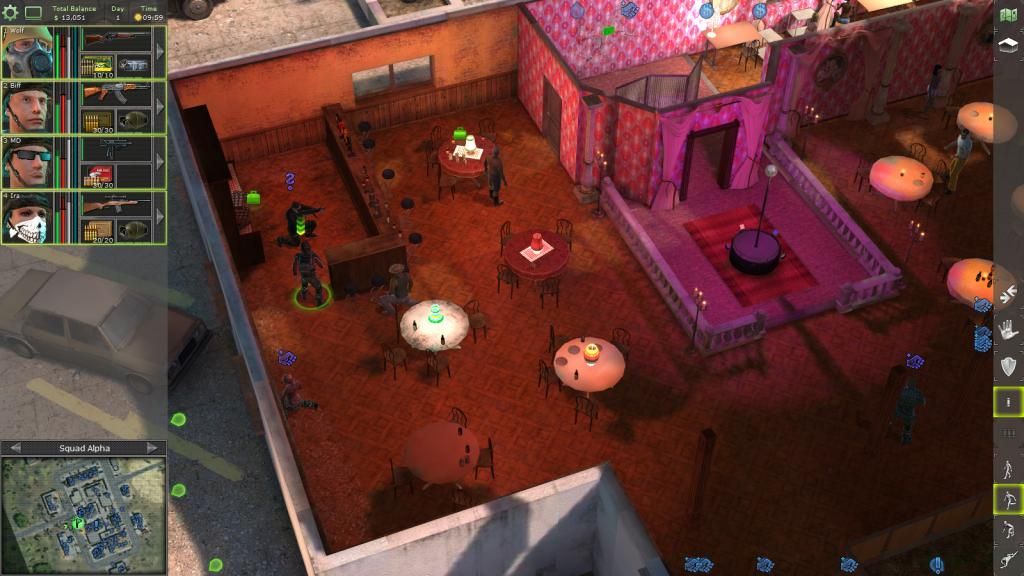
Who's that?
He gave us $50,000. (/^▽^)/
Too bad Mike isn't in this game.
Iggy is one of the best mercs in the game.
Reporting back to Kingpin, he promises $250,000 if we liberate Balime.
That's a lot of money!
A bar denizen wants us to find a lesbian porn magazine for her. Too bad the mod remove the magazine in San Mona, there was one at the Drassen Airport.
Speaking of porn, there is another type of porn in this game.
Gun porn.
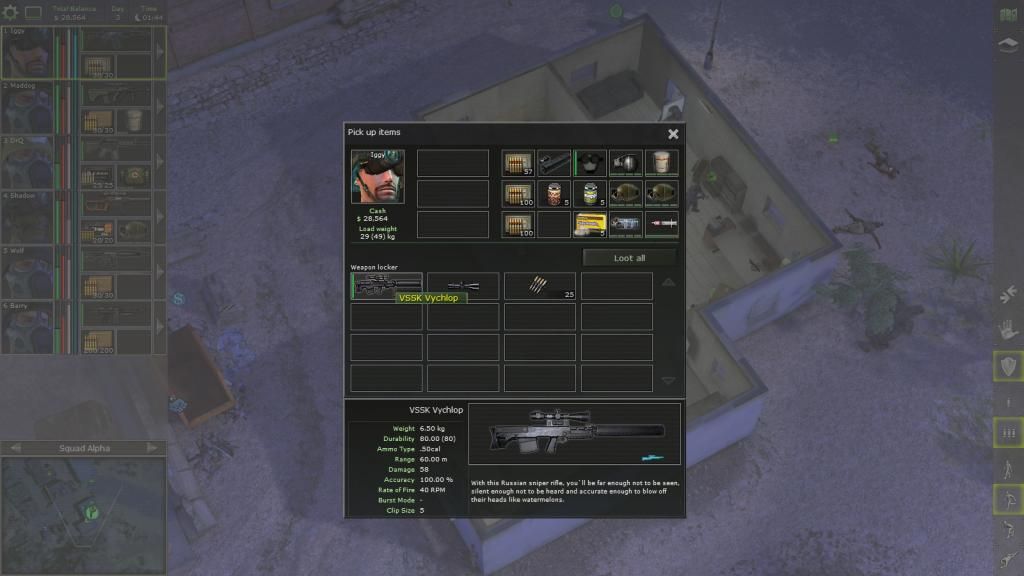
One of the locked buildings in San Mona has an arsenal of weapons.
There are plenty of excess guns that will be sold for cash.
Tony the weapons dealer also have tons of guns to sell.
VSS Vintorez, I bought this, a 'silenced' sniper rifle that is like an assault rifle. High ROF, 2 shot burst mode, extremely accurate, but uses expensive 9x39mm ammo.
A 'silenced' AMR, too bad silenced weapons are bugged and aren't actually silent.
Looking at all these guns made me look at Bobby's Ray's ammunition catalog, some of which I never heard of.
With the 100k money we made, time for some hires.
First we get Dr. Q.
Why? He has the pathfinder trait and is also a doctor, good for a second team.
On the other hand, his perception is terrible and he has so-so stealth and marksmanship.
Next we hire Shadow, one of the most expensive mercs, he is a Sniper specialist, the stealthiest mercenary in the game and has the chameleon trait.
He makes a good scout and sniper, which is an odd combination as you usually don't want the scout to snipe.
Returning to Cambria, we spot a lightly defended greenhouse farm.
Day 1 1020
Greenhouse farm
The squad are wearing the gas masks and using the guns we found and bought in San Mona.
Wolf and Iggy are using IMI Galil chambered for the 7.62 NATO.
Biff is using a Steyr AUG.
MD is using an M4A3 Bushmaster chambered for the expensive 6.8mm SPC.
Ira wields an AKM.
Not using the VSS Vintorez as we don't have enough ammo atm.
Advance north using rocks as cover.
Grenade this annoying guy who won't come into view, he managed to run away from the explosion.
Our scout was spotted but took little damage due to range, armour and a lousy weapon.
Squad left position and move to advance from the west, using the skeleton of a building as cover.
Spotted the annoying baddie who survived the grenade at our previous rock position.
At the end we enter the greenhouse for some hand-to-hand combat.
Just kidding, we use guns, hand-to-hand is to be avoided as it causes a lot of expensive damage to your armour even if you win.